This is a fantastic fall cake. It’s relatively straight-forward and doesn’t require too much technical work aside from paying close attention to certain indicators. If pears are in season, then give this recipe a try! Note that many of the ingredients in this recipe can be substituted for – including the chestnuts and type of pears. See the linked video for more details (and a rare full baking video from Dessert Person).
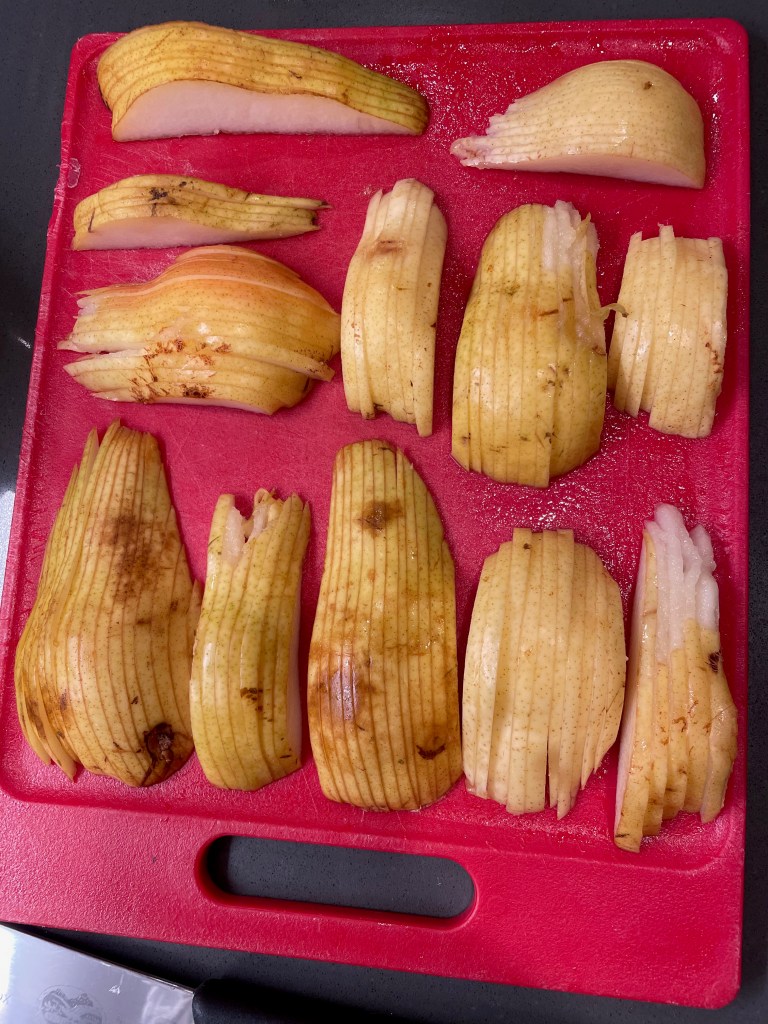
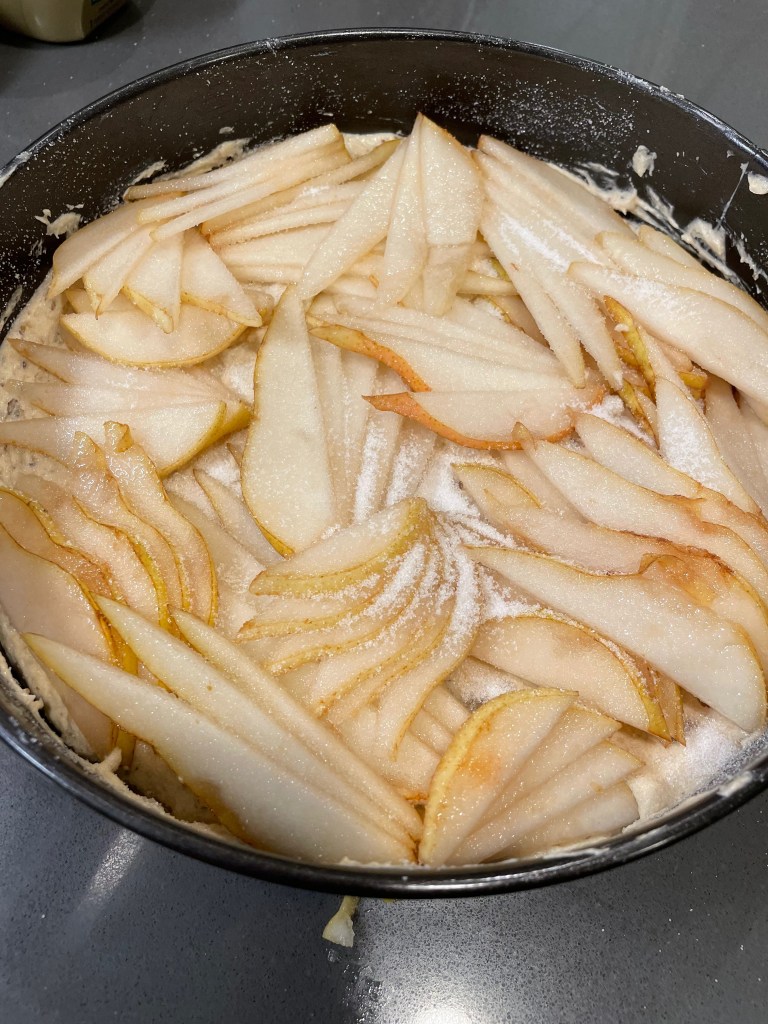
Tip: The firms should be firm-ripe. Claire explains this in the recipe video, but it basically means a pear that can be pressed-in slightly, but not significantly (there should be a slight amount of give). Bartlett and Comice pears work well.
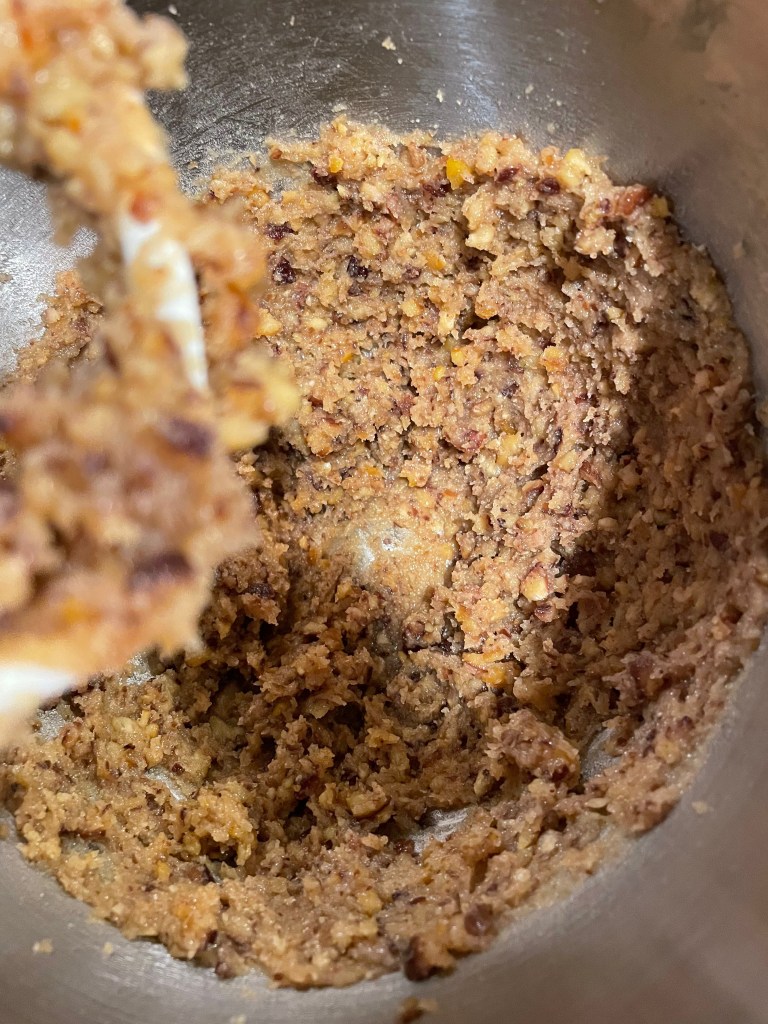
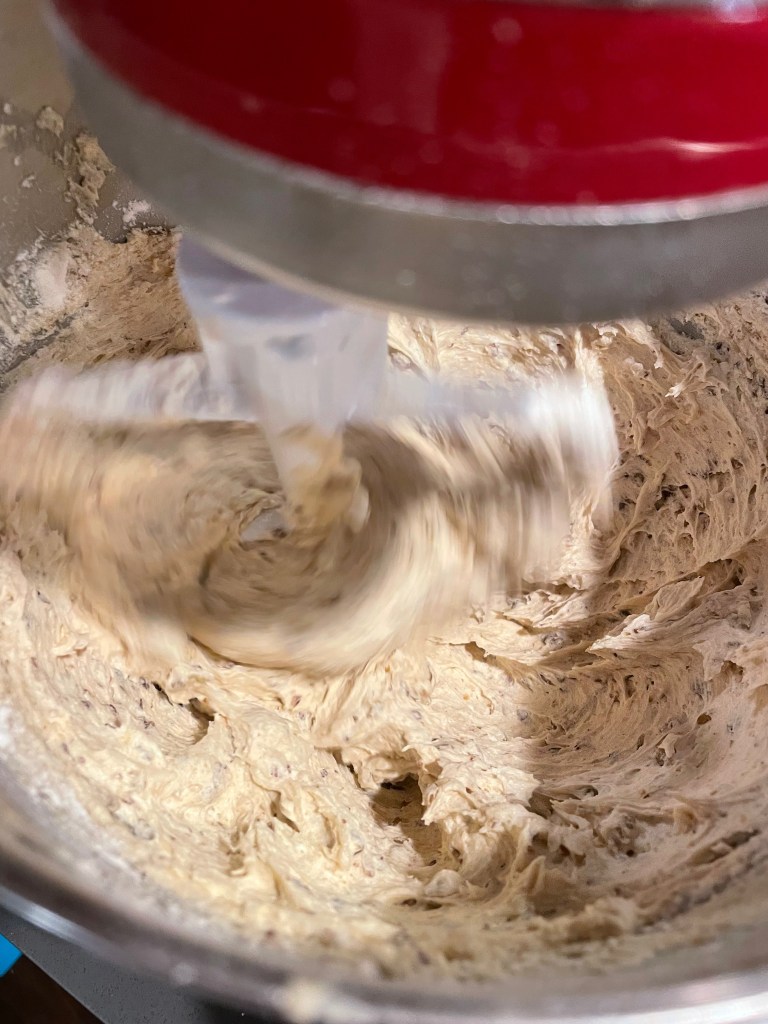
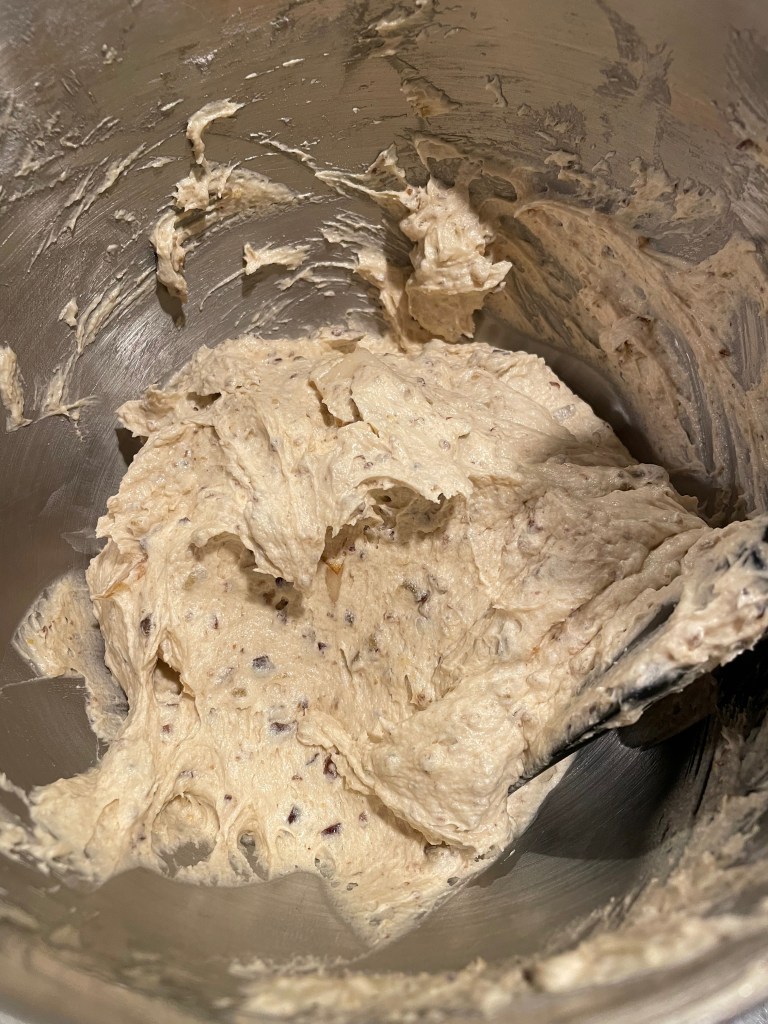
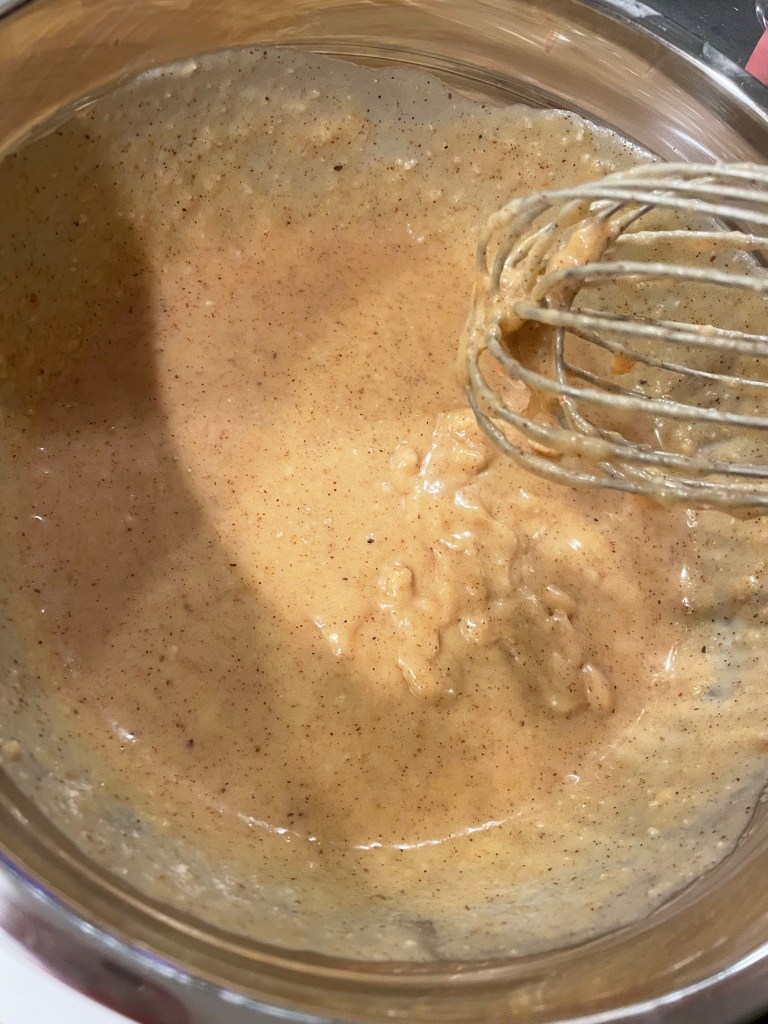
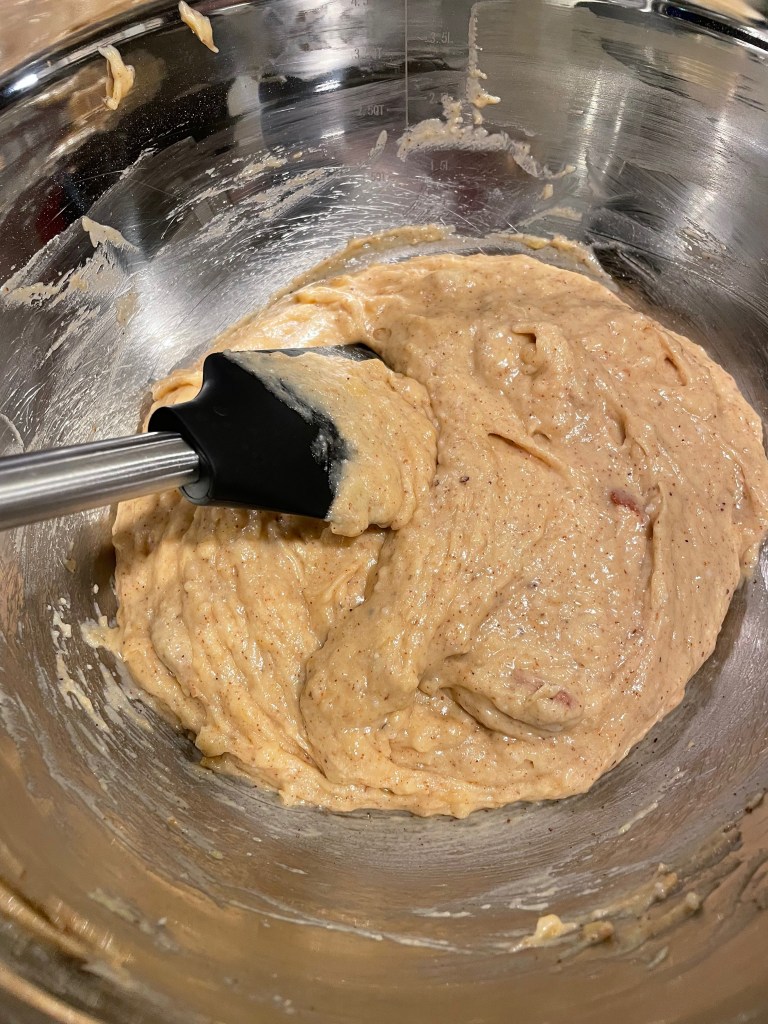
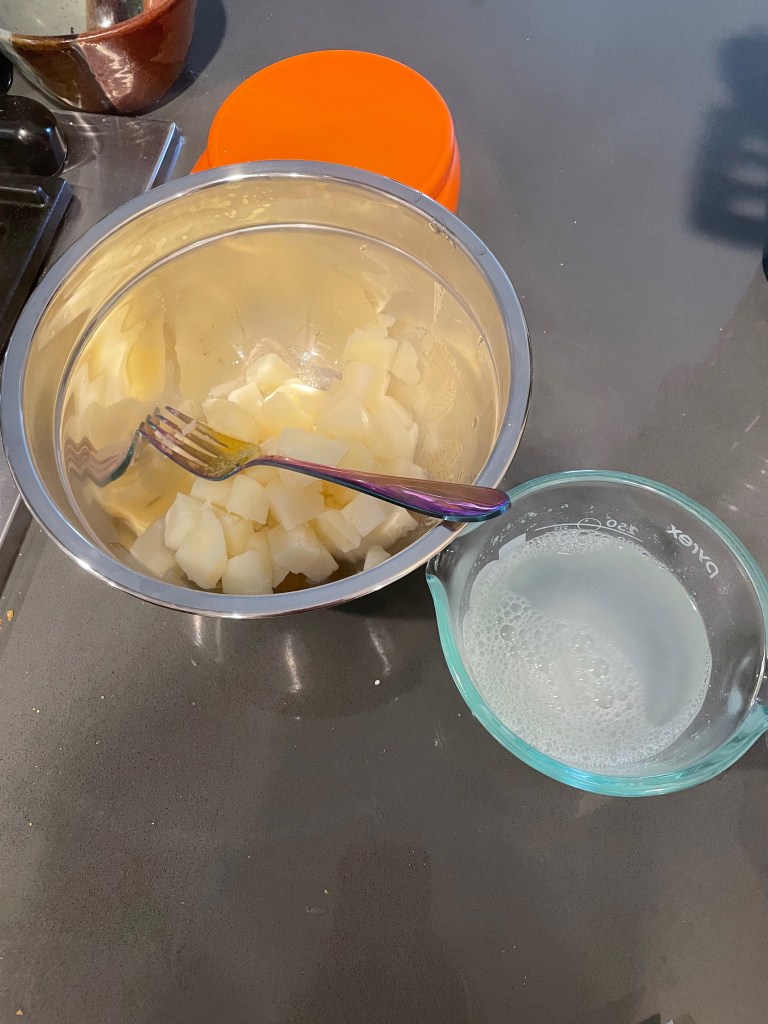
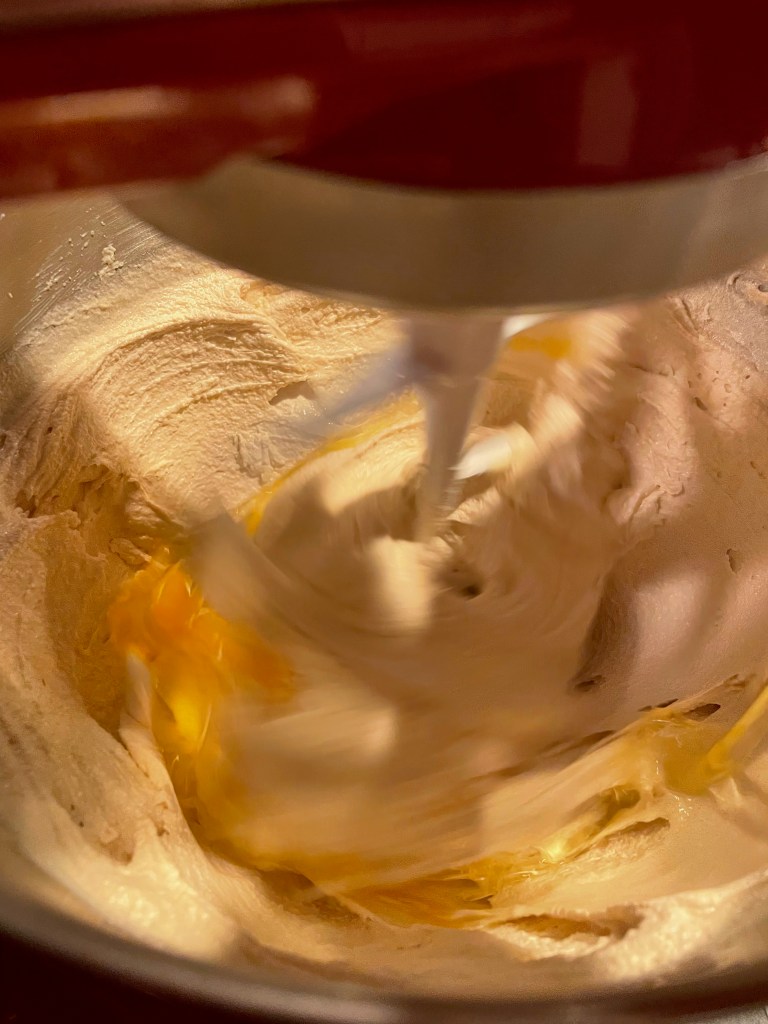
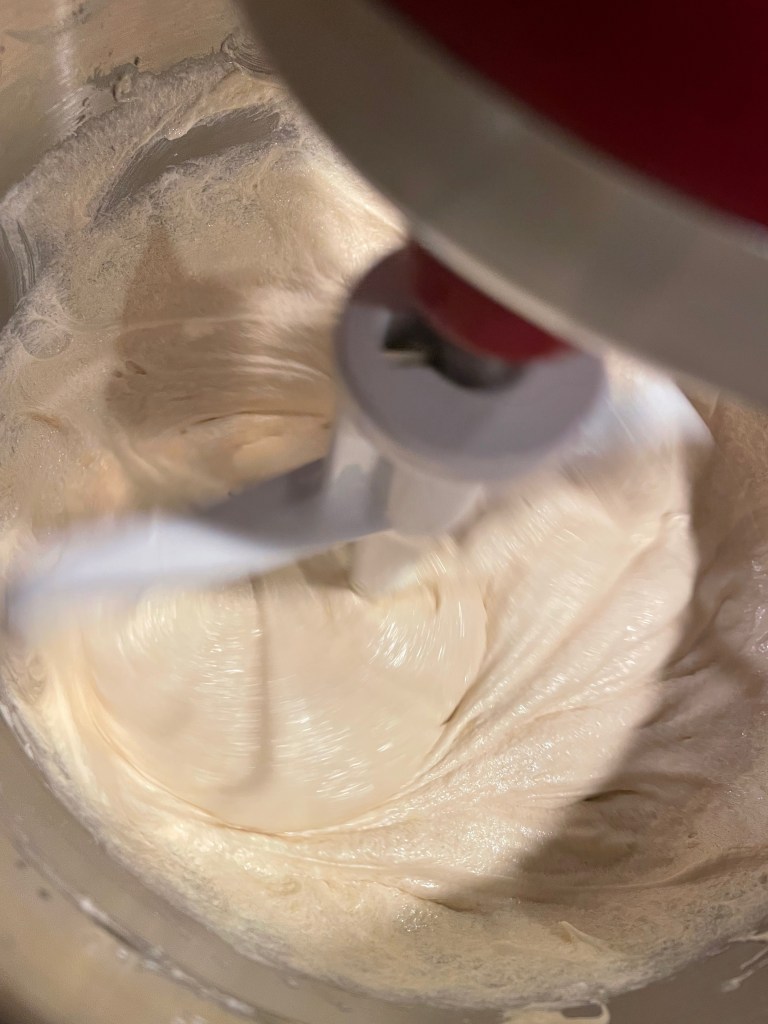
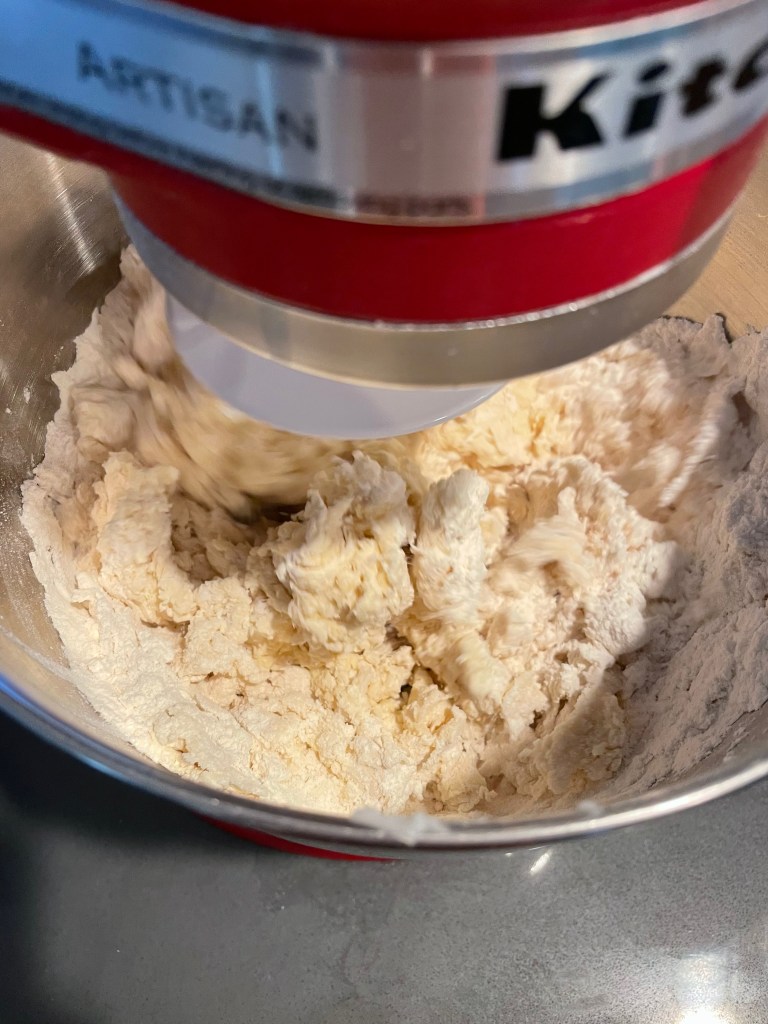
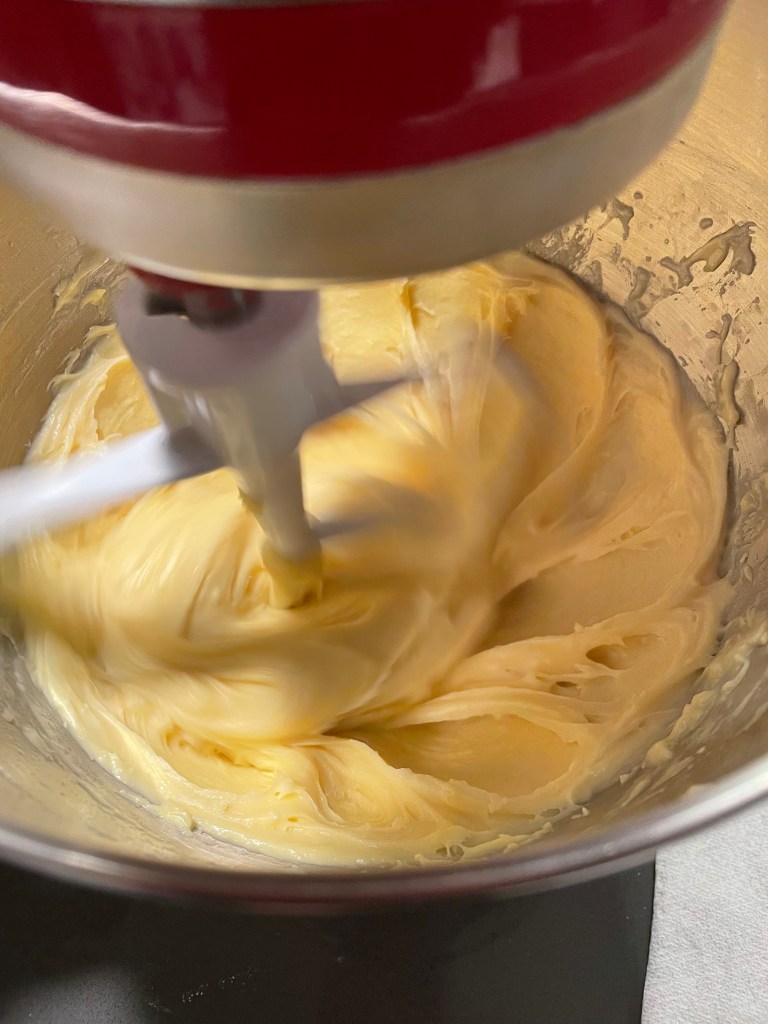
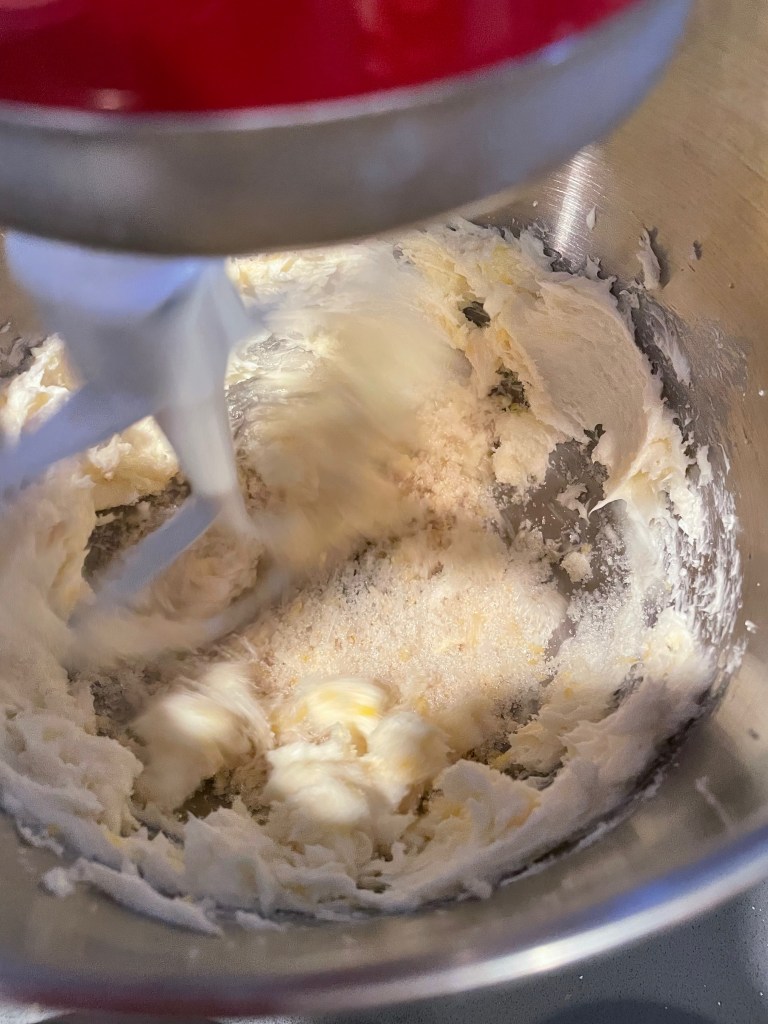
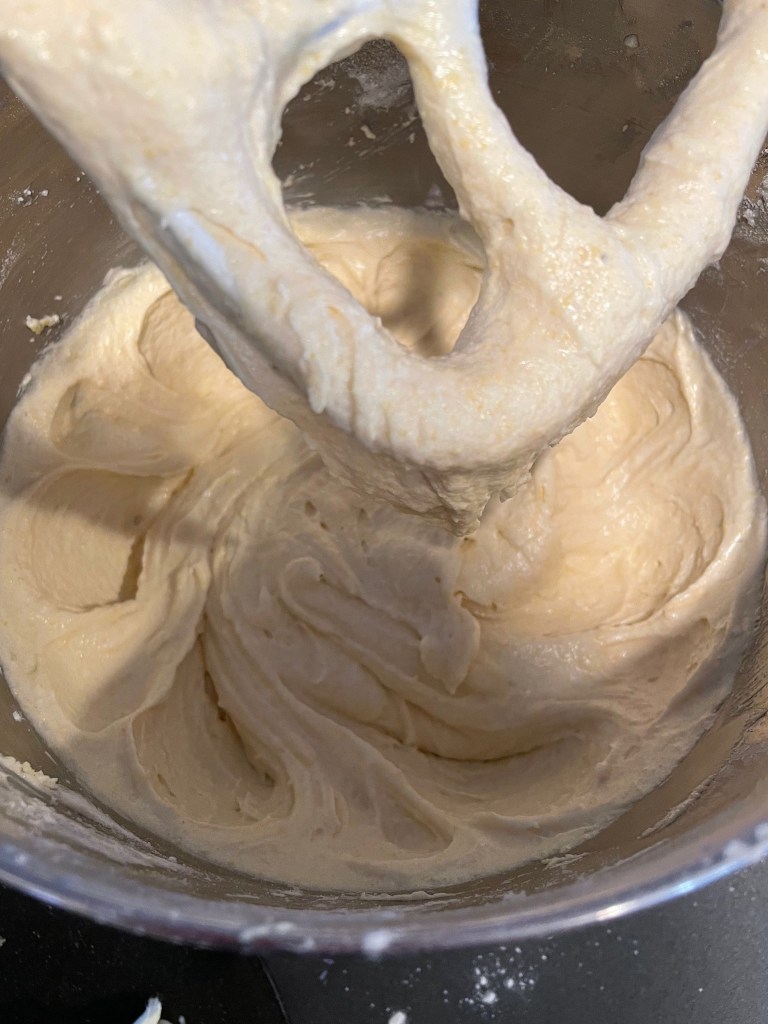
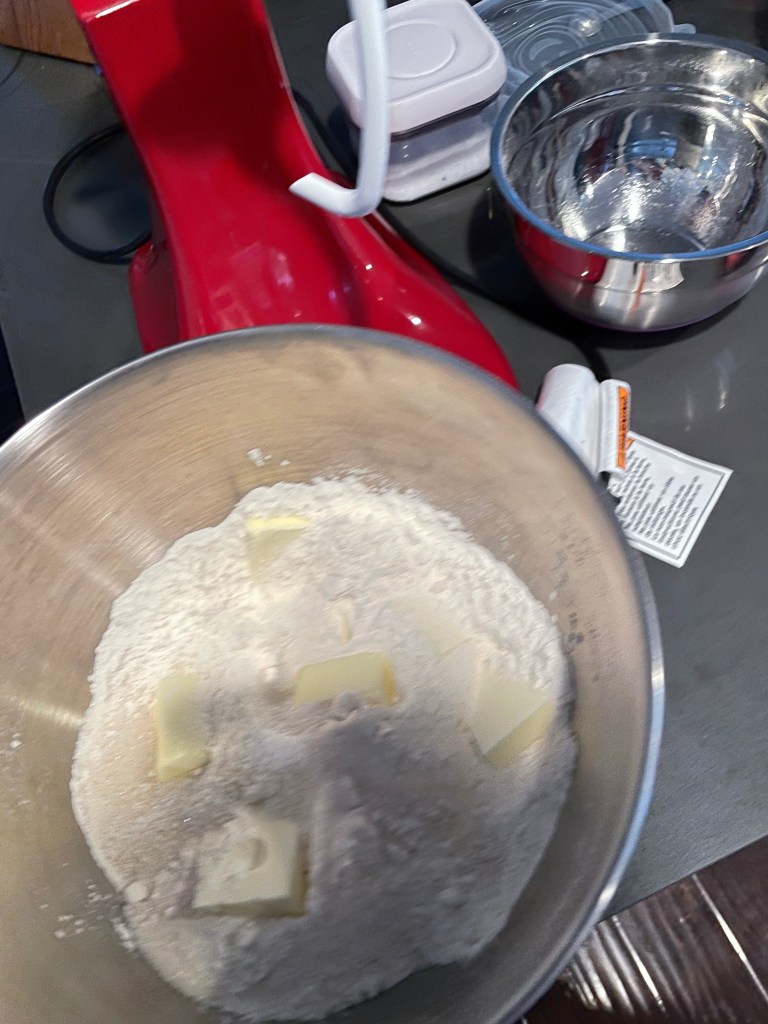
Making The Batter
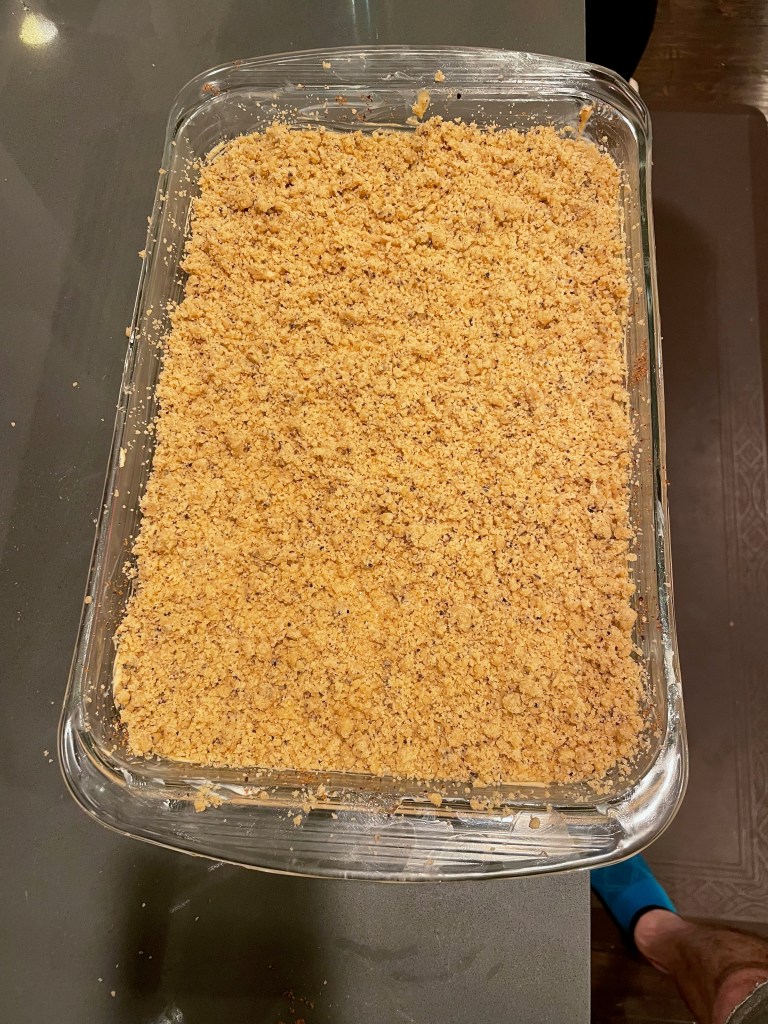
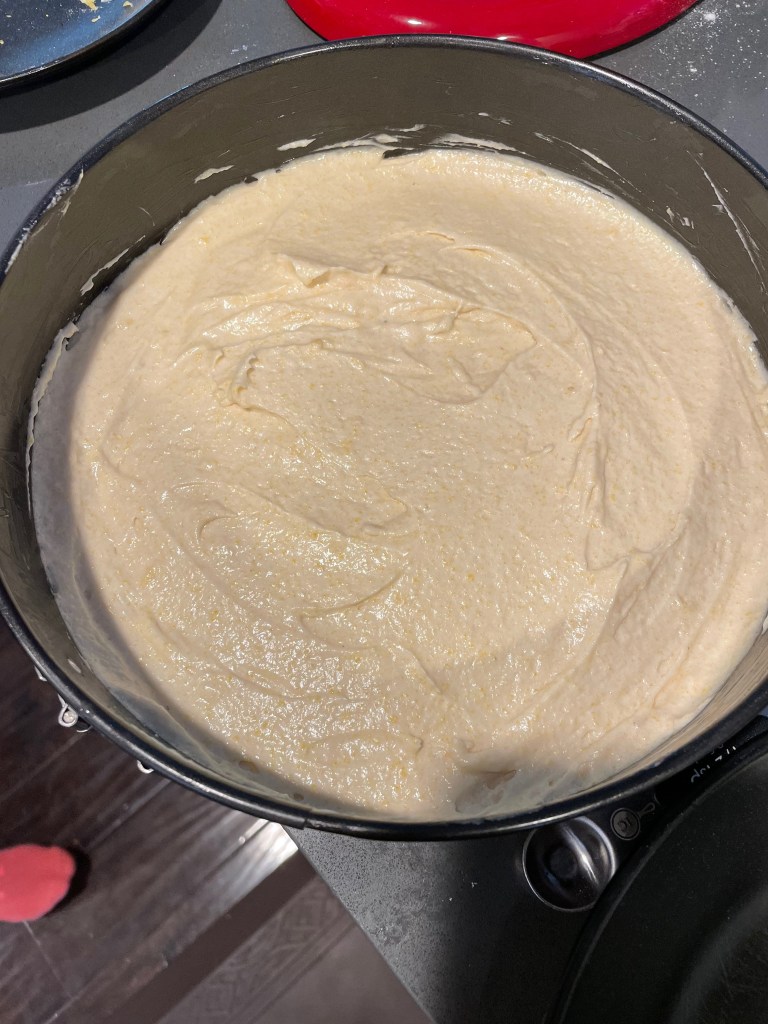
Baking The Cake
Tip: In the linked video Claire uses parchment paper but not in the written instructions. Simply add a circular layer of parchment paper on the bottom of the prepared pan (but not yet sugared) and then butter the parchment paper top as well.
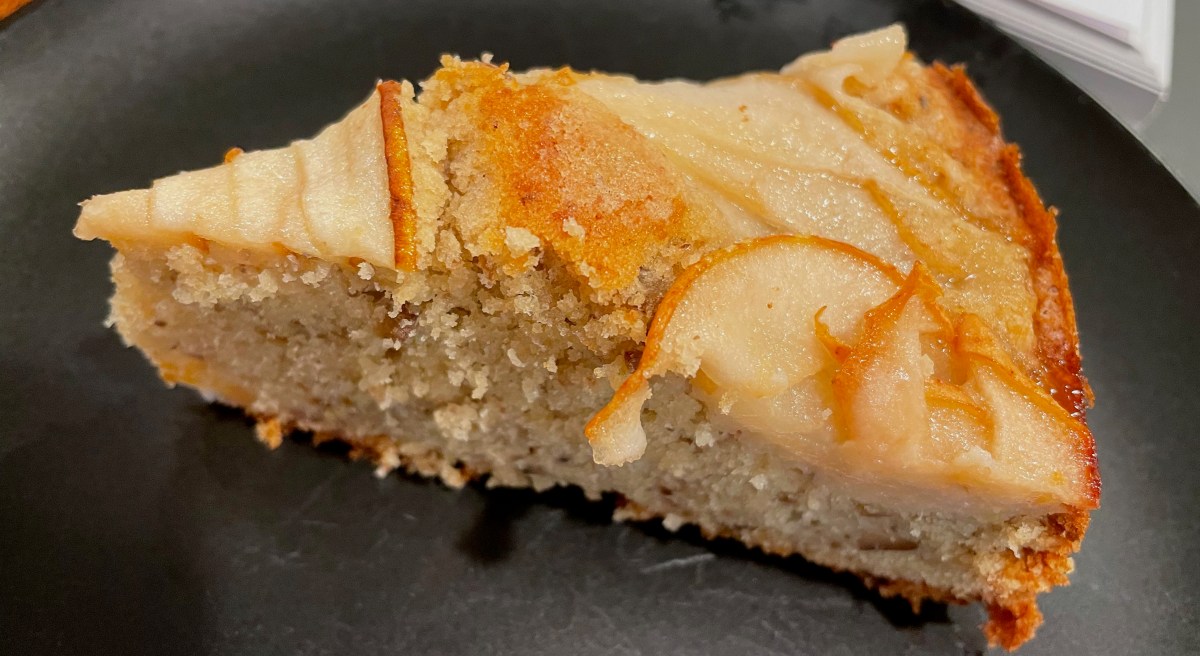
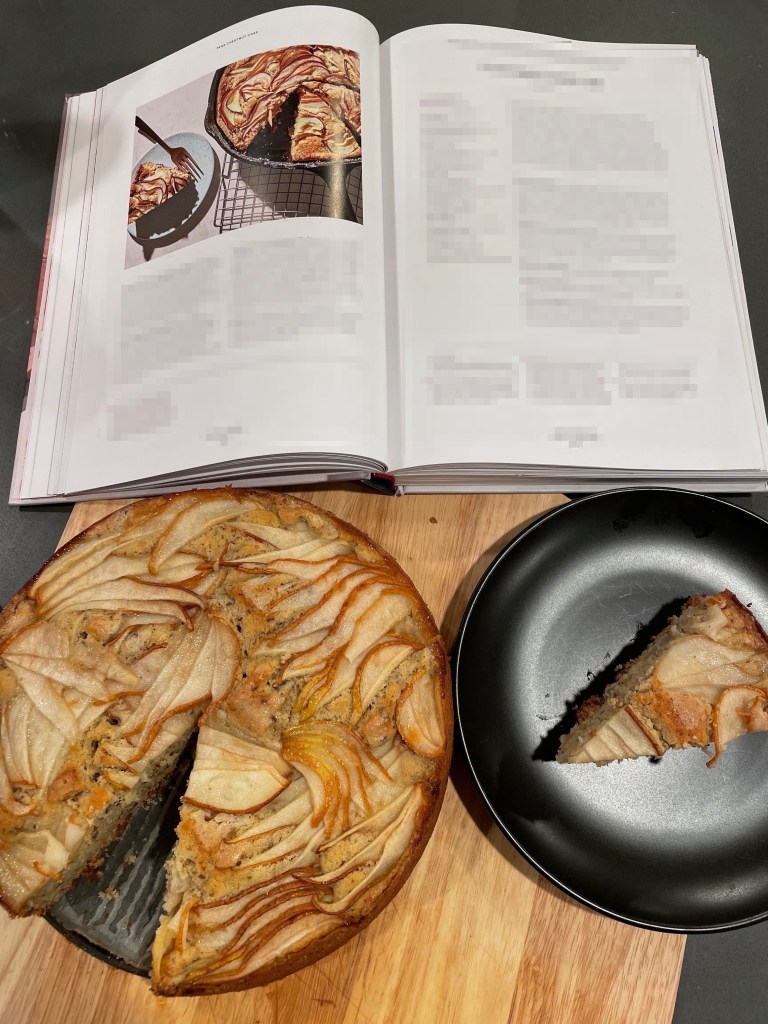
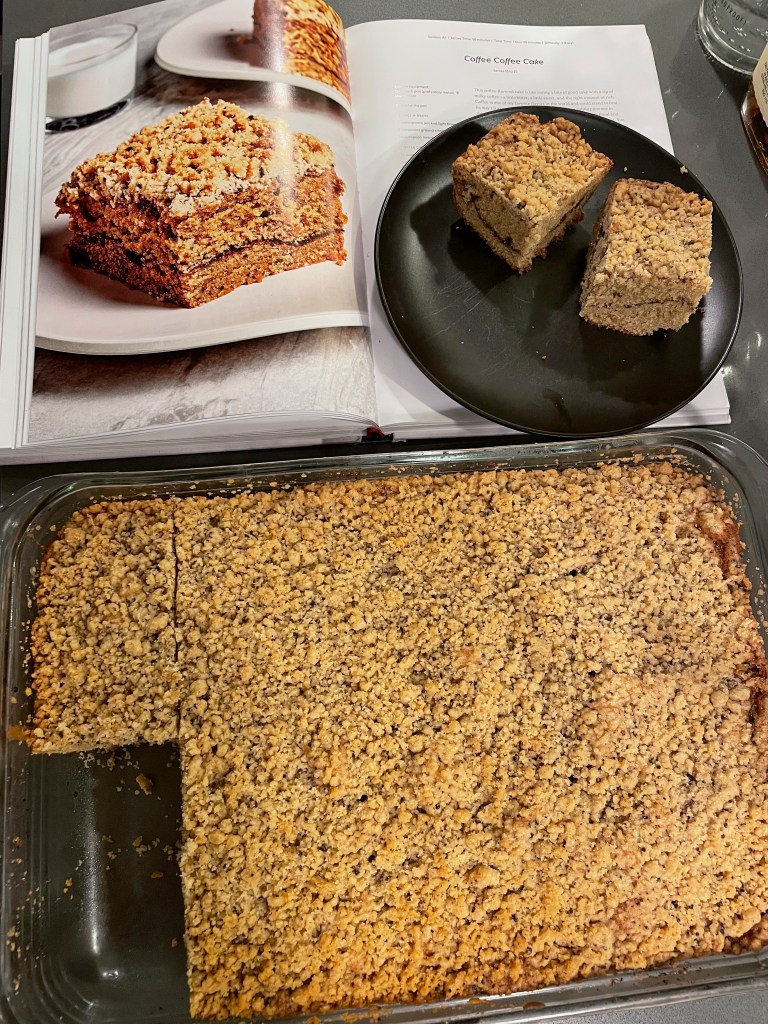
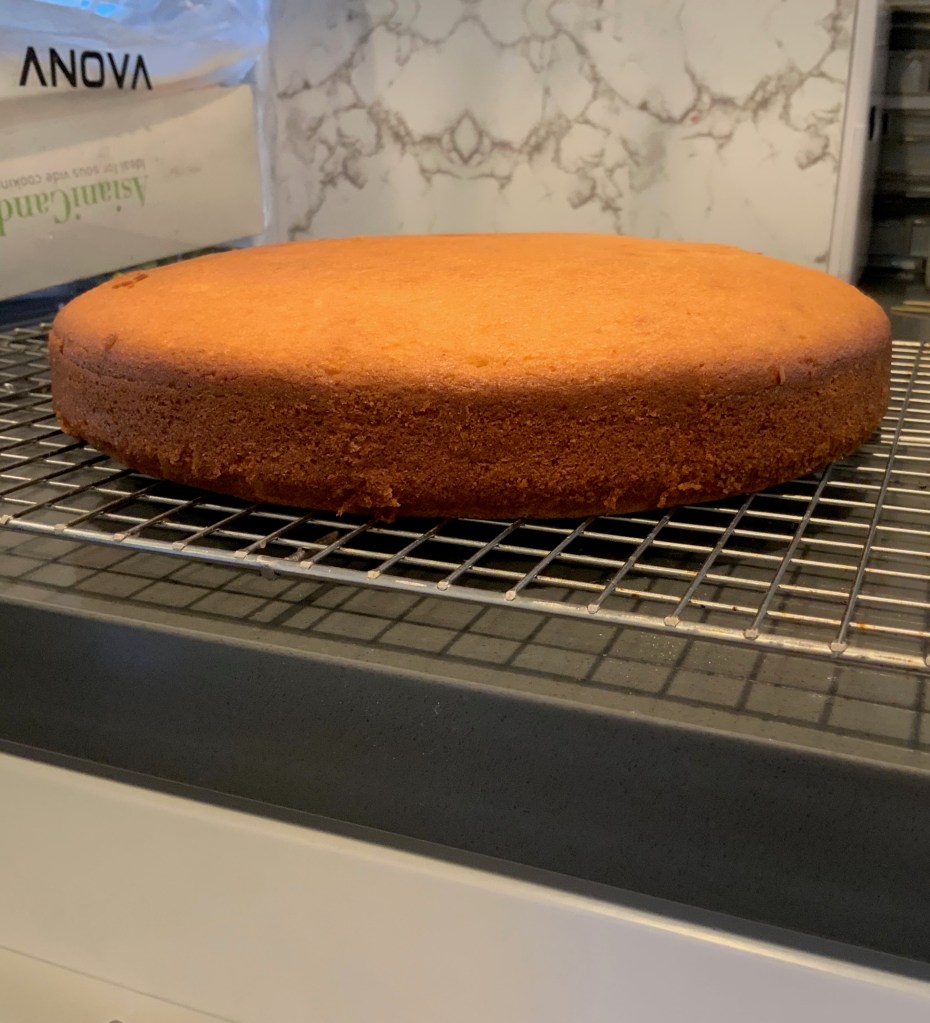
Final Product
Key Takeaways
If you have fresh pears, this is the recipe to make!
The chestnuts leave some crunchy bits in the cake, so be careful!
Final Score: 4/5 – This is an excellent cake and one of the few where the fruit is really the star. Only make this cake when you have fresh, in-season pears.
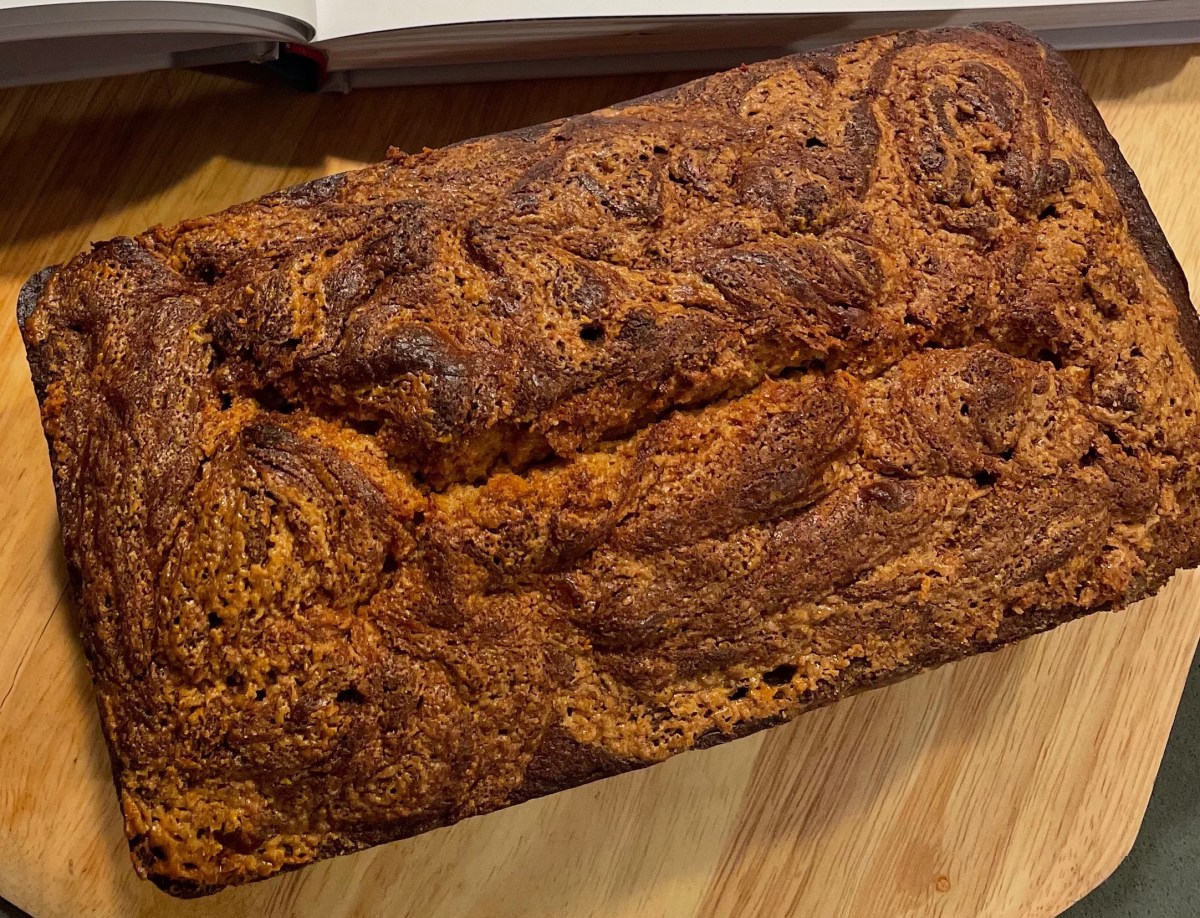
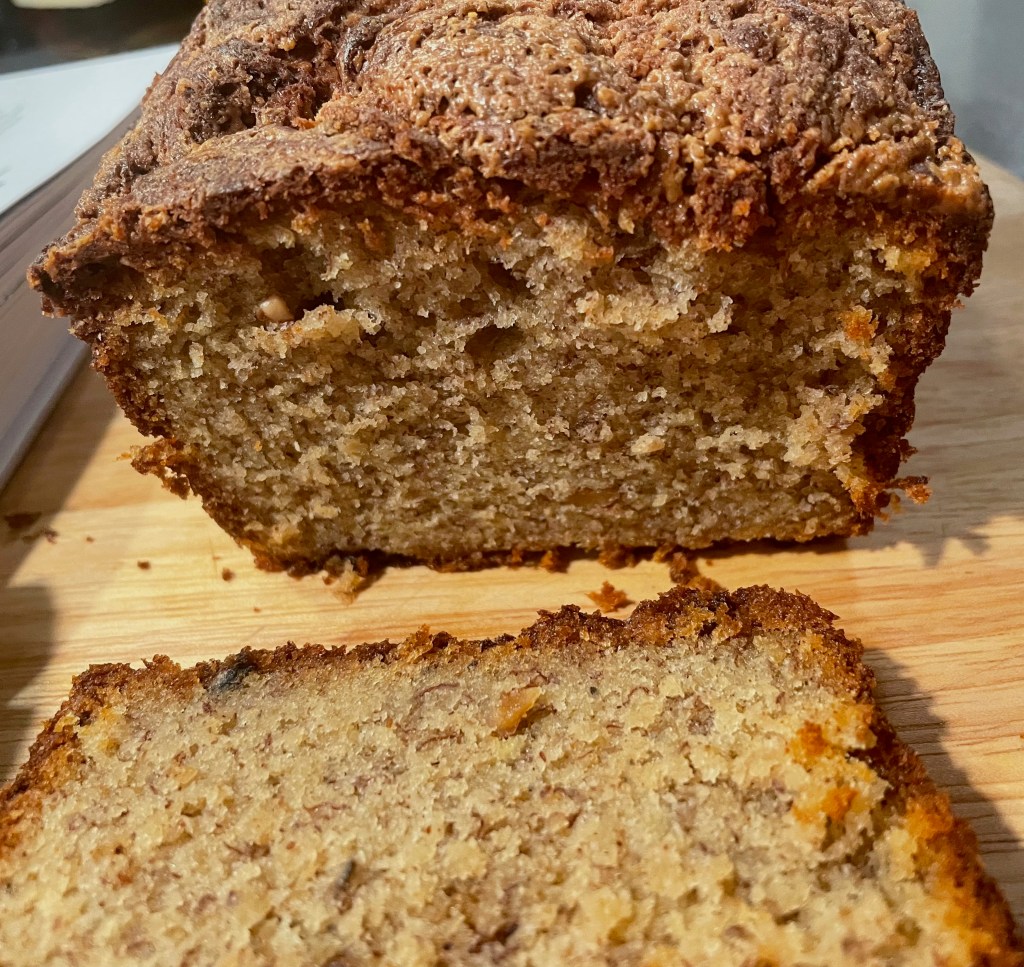
Banana bread is the “hello world” of baking. As such, it’s a great way to bake for your first time. There’s no special equipment and no complicated techniques. Claire’s take on banana bread manages to elevate the classic banana bread without making the recipe more difficult.
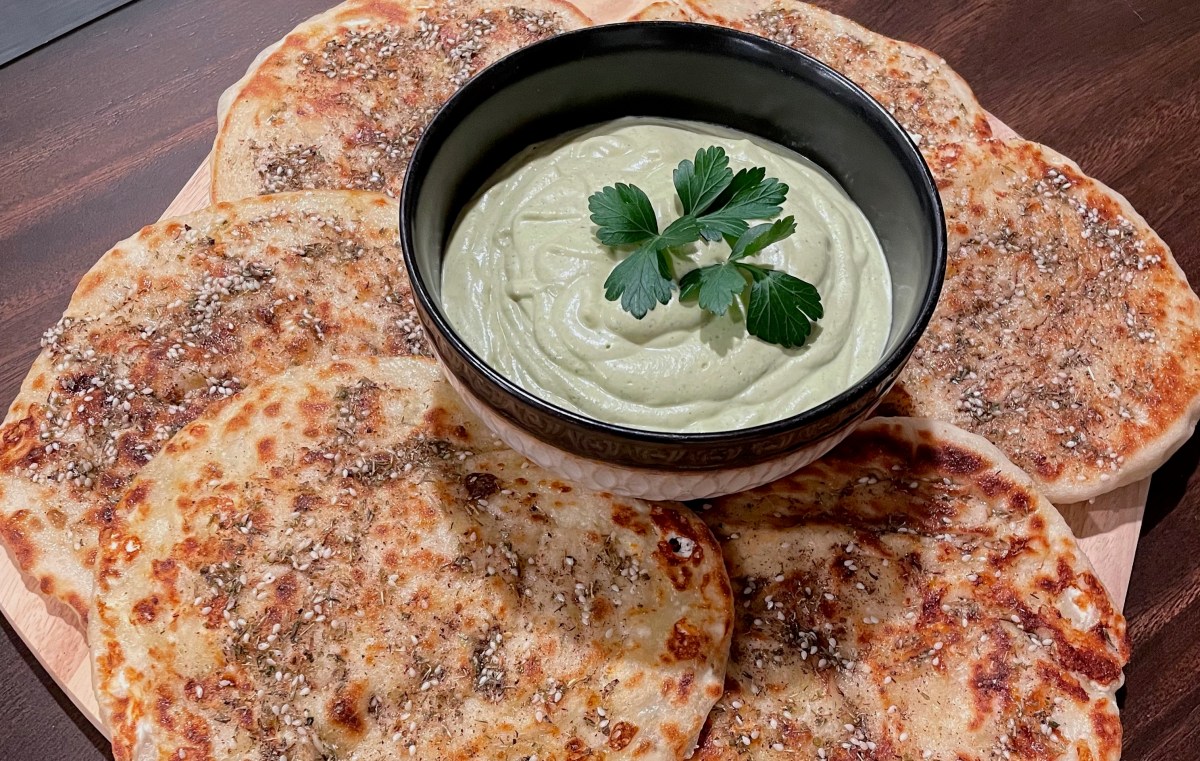
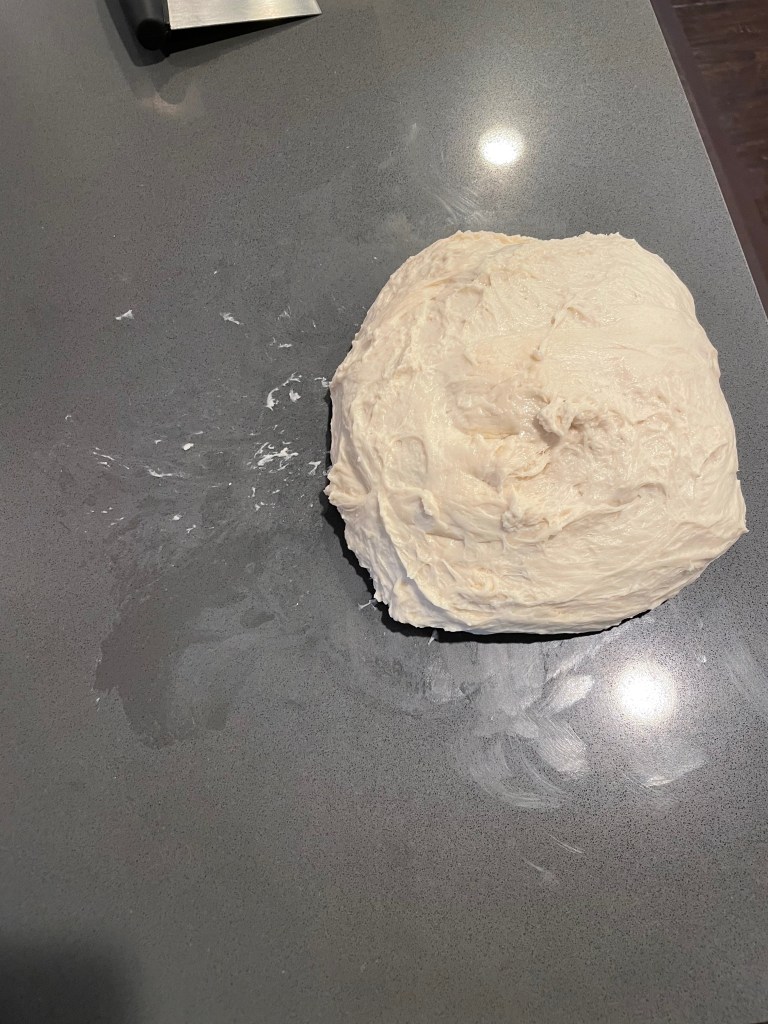
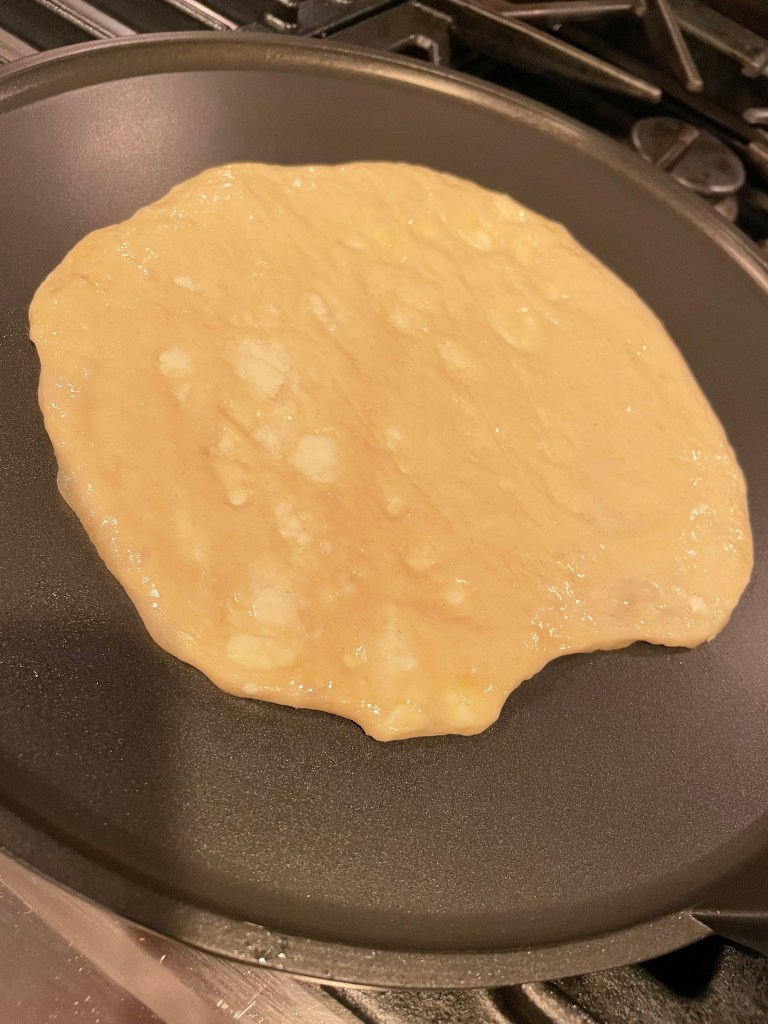
This recipe may look simple, but it’s surprisingly intensive and difficult. The dough can be a bit difficult to work with and get right. Likewise the dip takes a while to make. Nonetheless, the recipe comes out delicious and is highly recommended for a few reasons. First, the dip is incredible and arguably even better than the flatbread. Second, stuffing the flatbread with feta is a great twist. Lastly, the recipe is great for learning a variety of techniques.
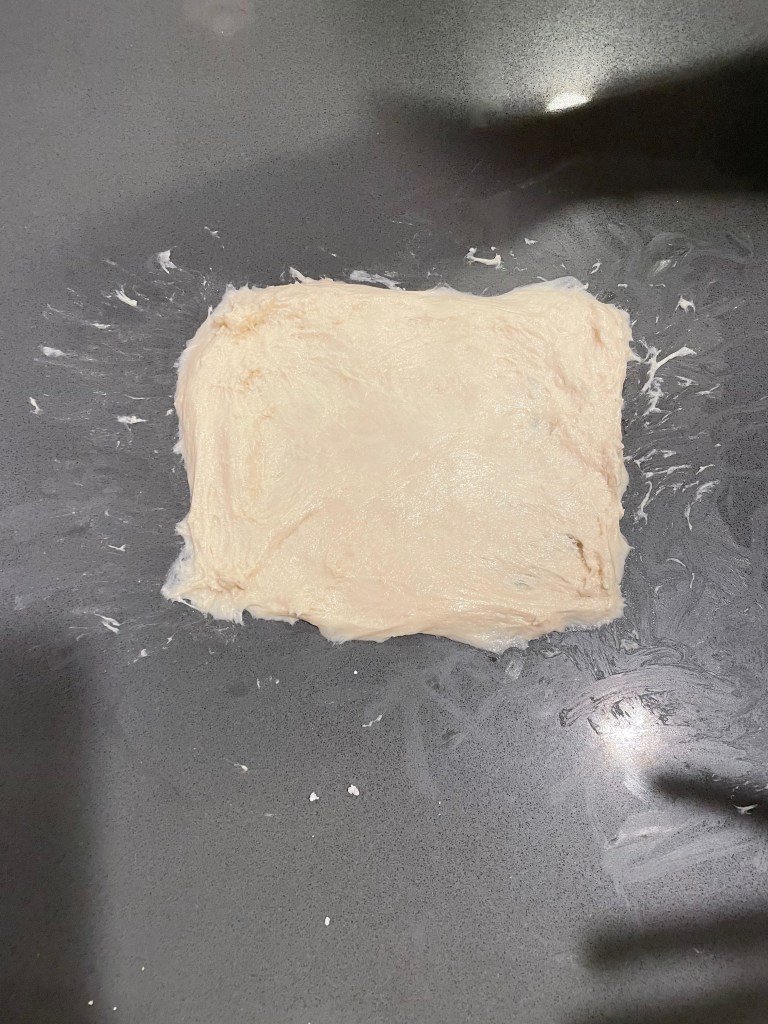
Tip: The dough will likely be quite sticky. If it’s too sticky add some additional flour and continue to mix/knead. Do expect some stickiness though.
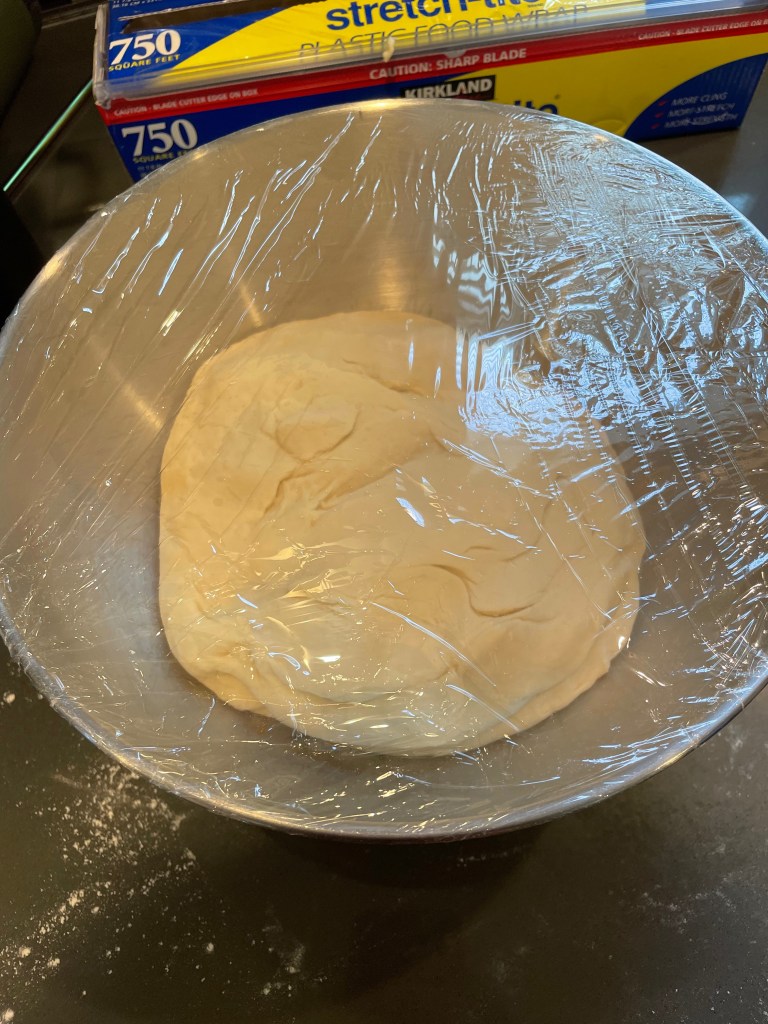
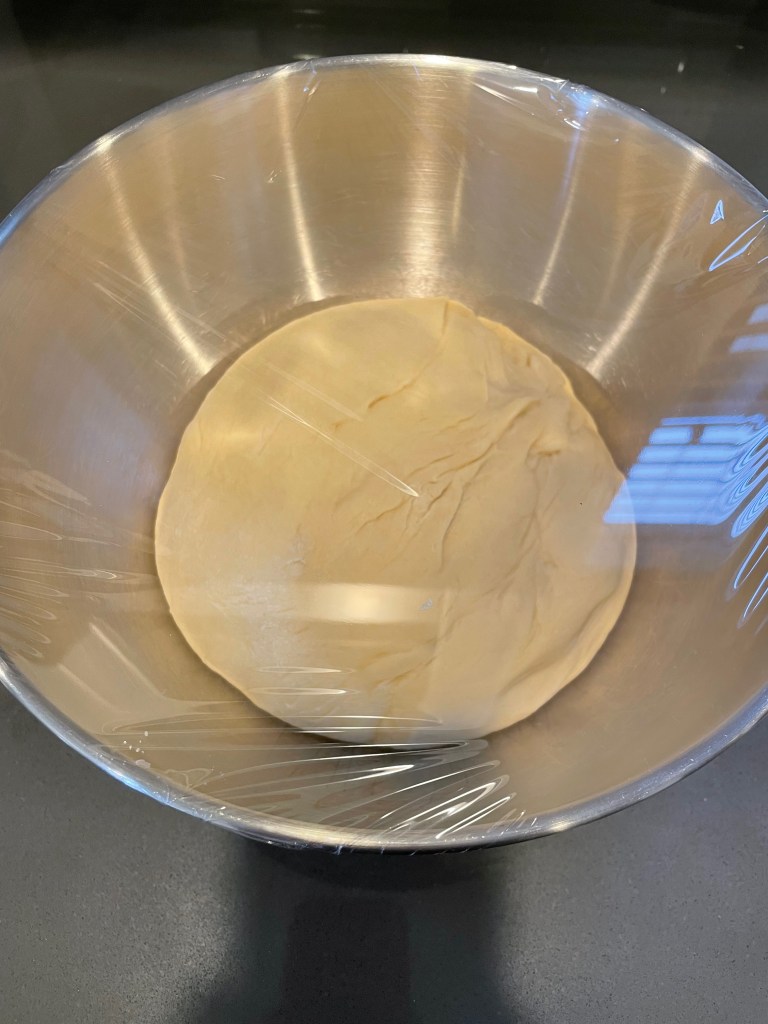
Proof The Dough Again
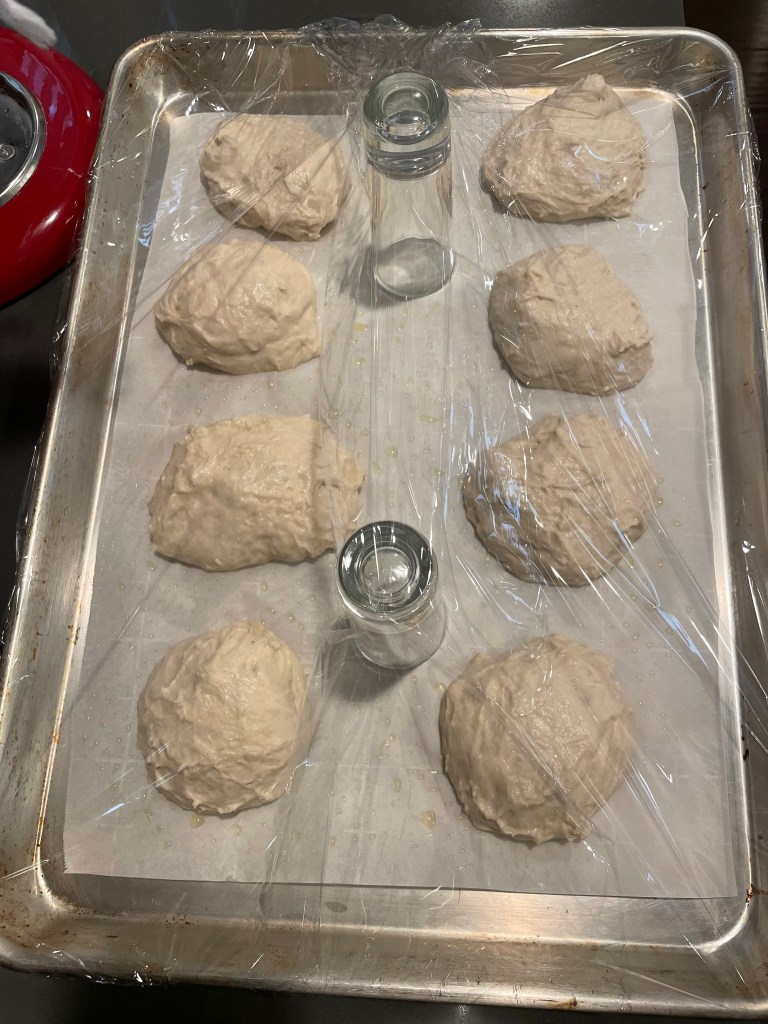
Tip: If your dough is too sticky it can be a bit difficult to maneuver the balls. Slightly oiled hands can help though – but be careful to not overuse the oil while forming the ball, as the friction is key to forming the balls. In the example above, you can see how it might look if your dough is too sticky and would benefit from oil to make a better ‘ball’ (they would end up smooth; as opposed to in the picture).
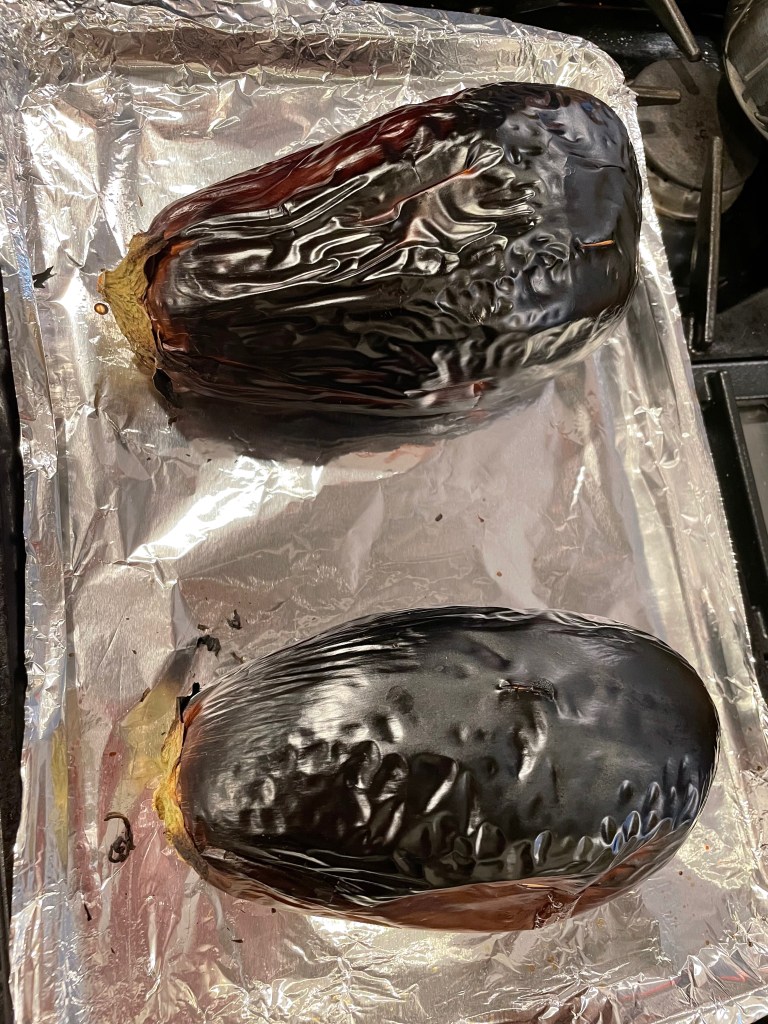
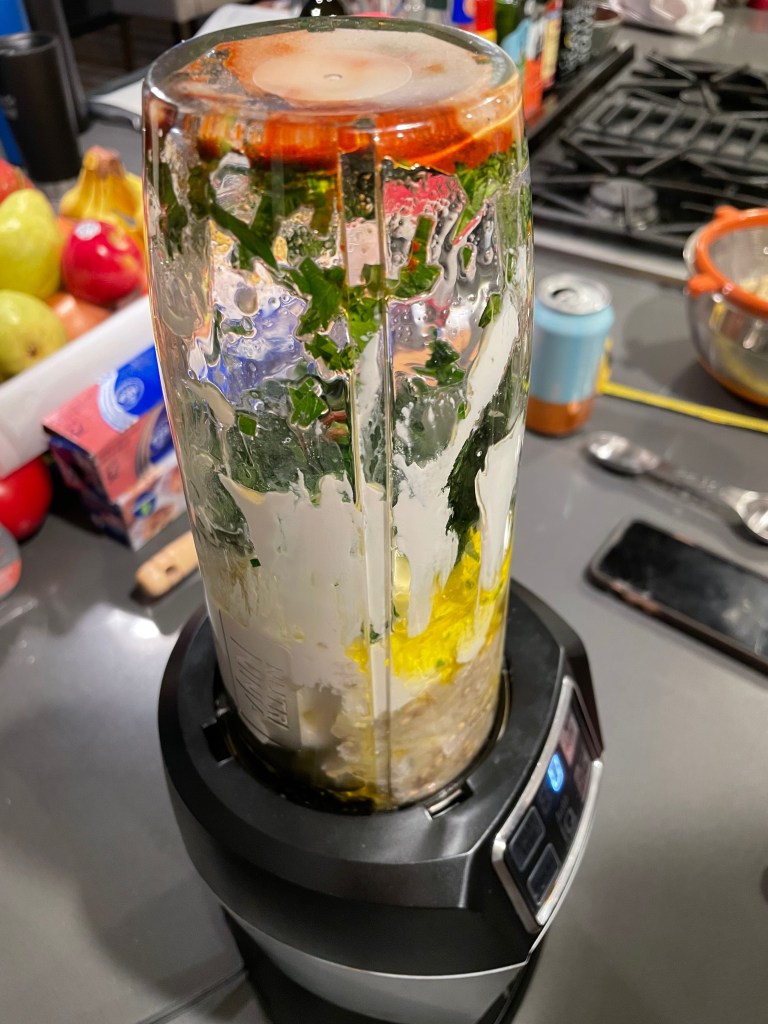
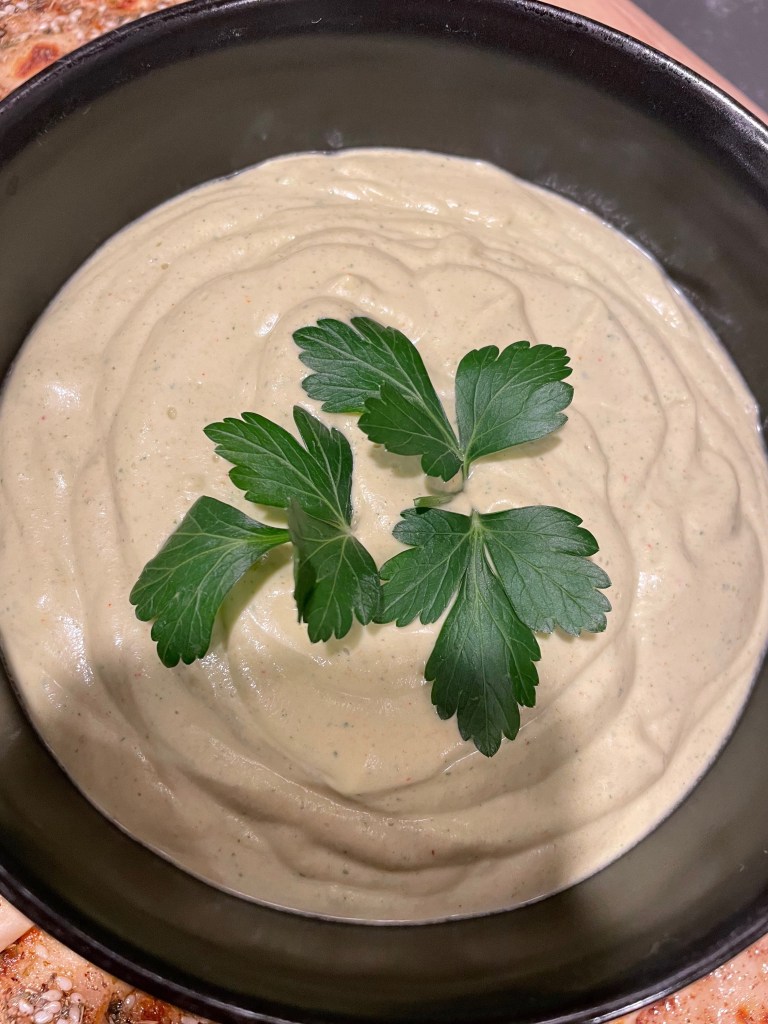
Making The Dip
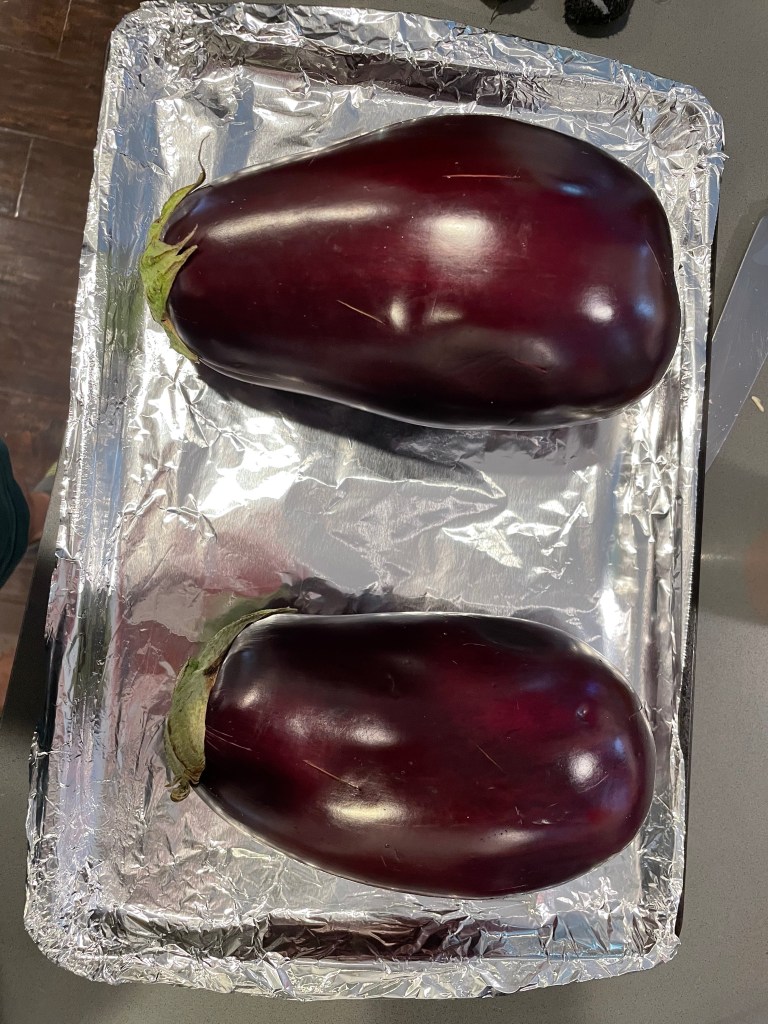
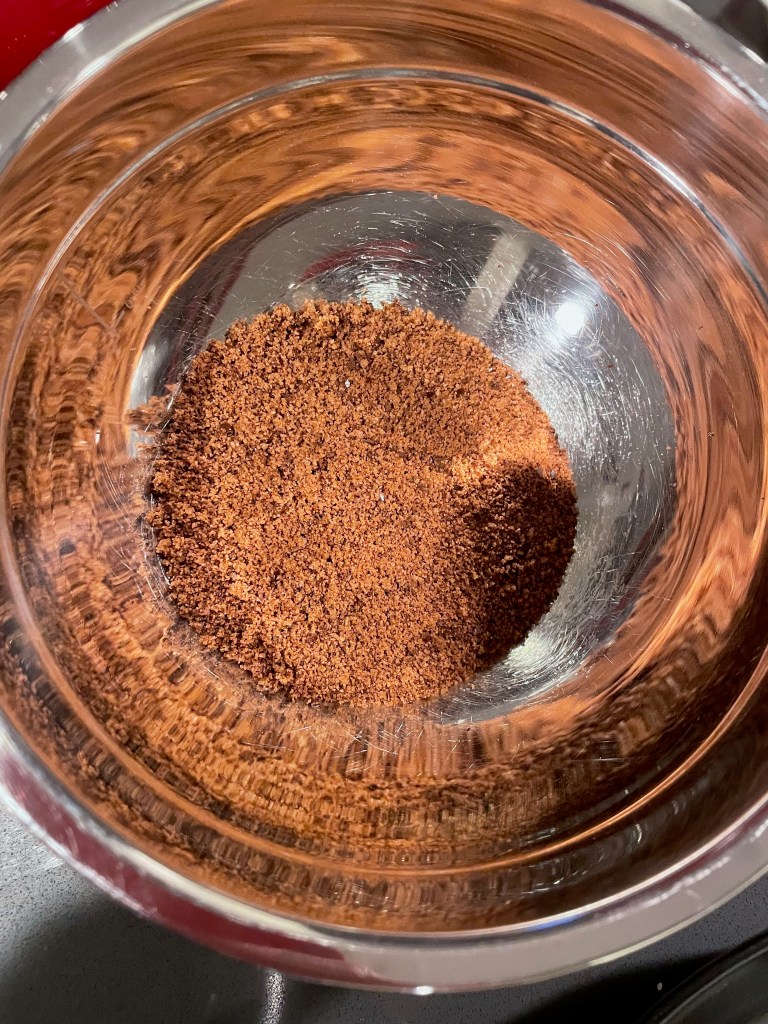
Tip 1: We broiled the eggplant. It can take a while, but go until it is black and charred even if it takes longer than the recommended time.
Tip 2: This dip is incredible and goes great with a variety of mediterranean dishes.
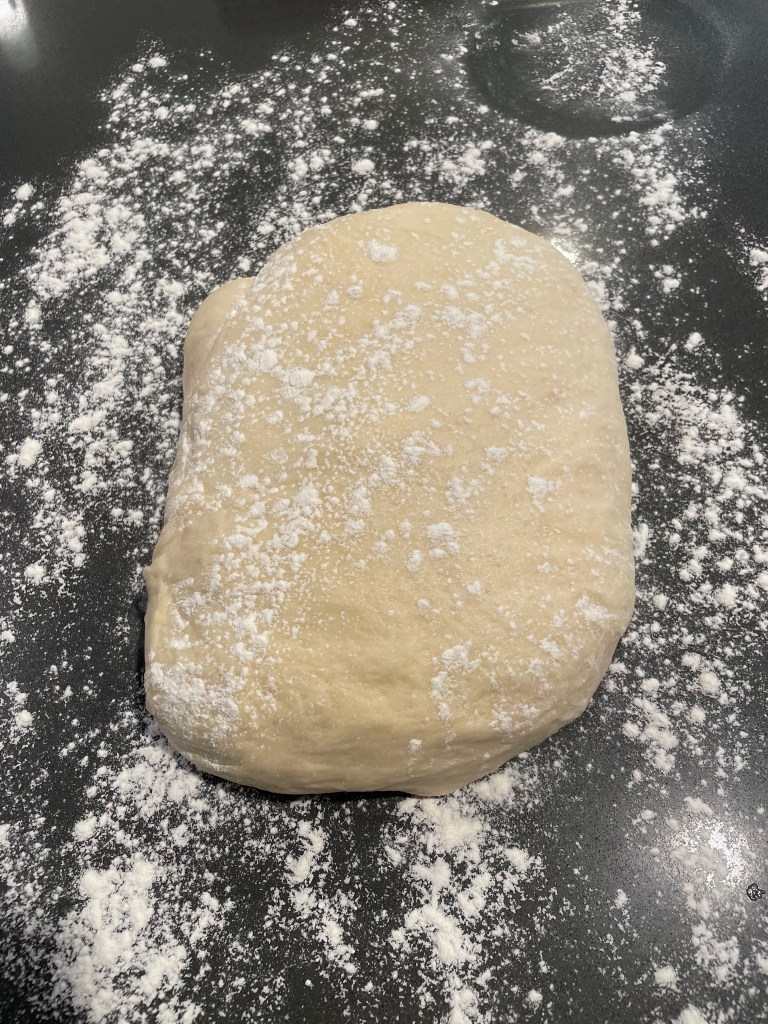
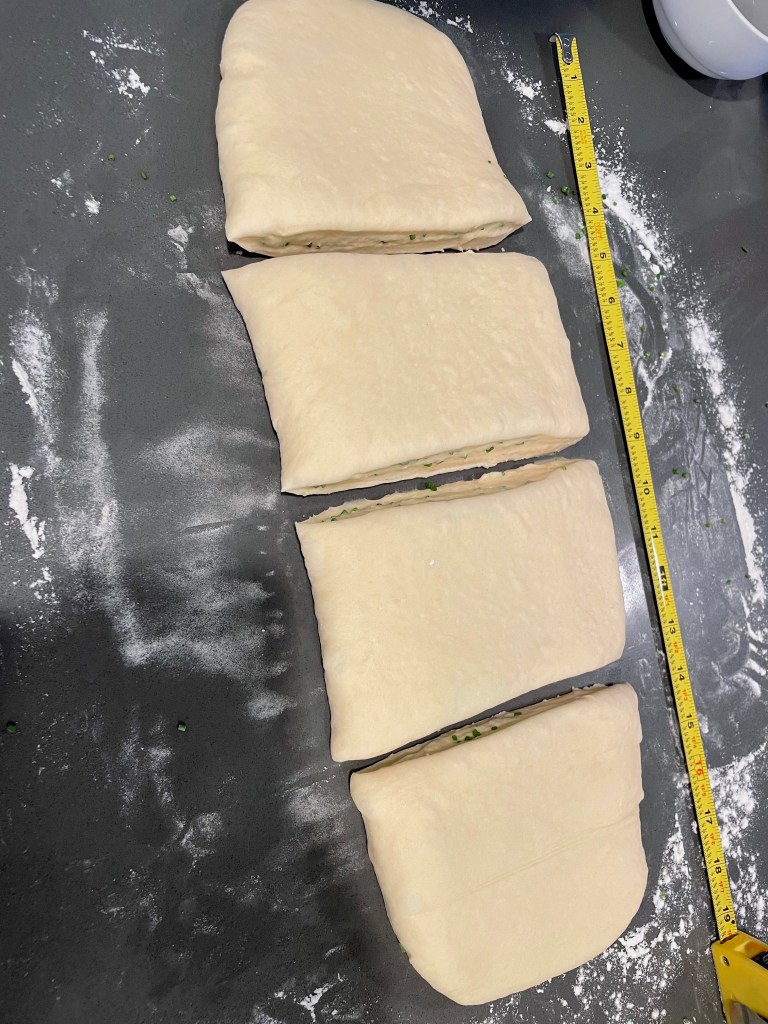
Stuffing And Forming The Flatbread
Tip 1: The roll-and-curl technique works well, but can lead to some of the feta getting distributed unevenly. To avoid this, go lighter on the amount of feta in the middle.
Tip 2: Oil the rolling pin and your hands generously to deal with sticky dough.
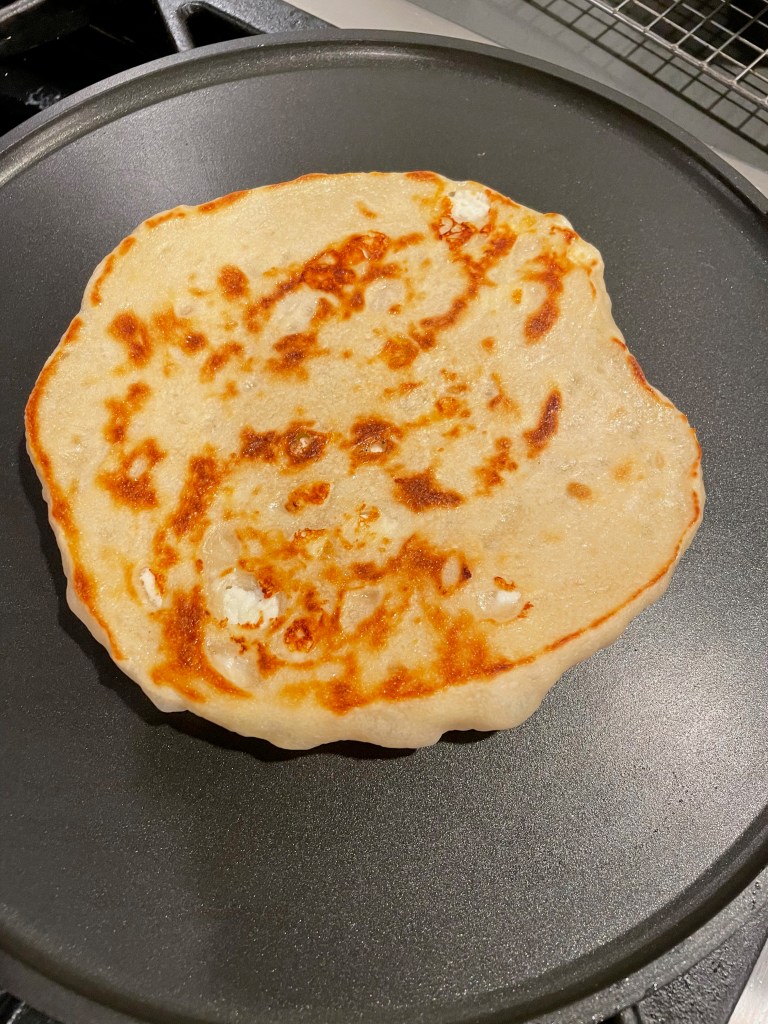
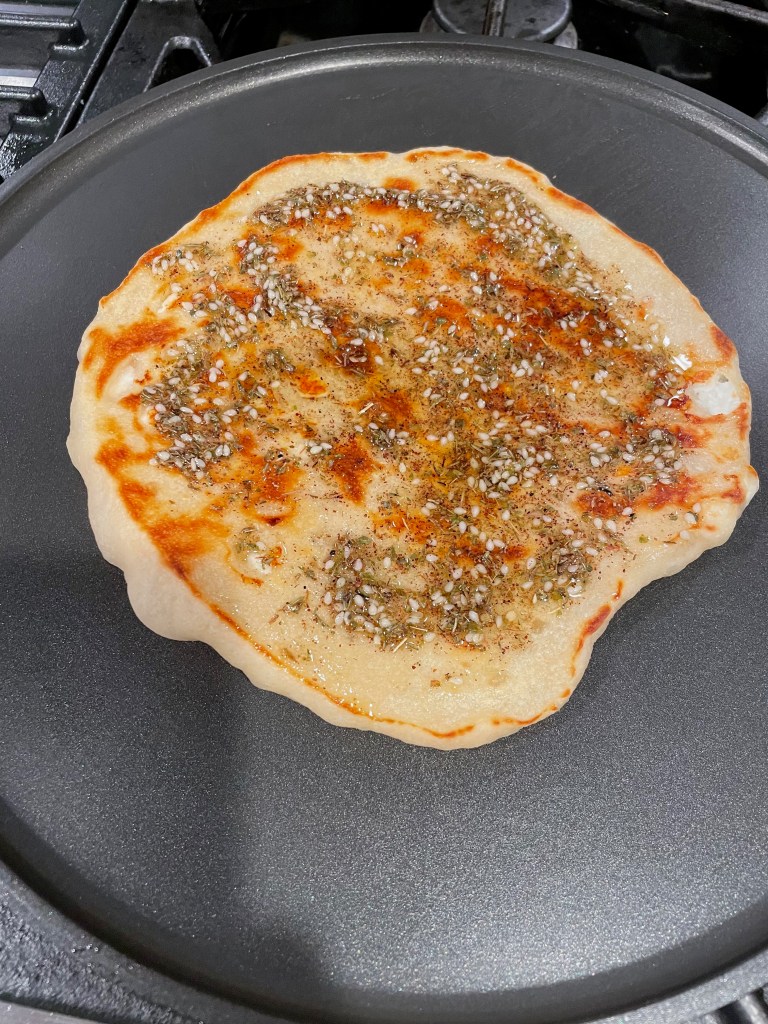
Cooking The Flatbread
Final Product
Key Takeaways
Pay close attention to your dough and don’t let it end up too sticky.
The dip could be a recipe on its own!
Final Score: 3/5 – The dish is surprisingly complicated, but quite delicious. In the video Claire claims this could be made while doing other things (i.e. at a party/gathering), although chances are this recipe will demand your full attention.
It turns out coffee cake usually doesn’t have coffee in it — it’s meant to be eaten with coffee. This coffee coffee cake, however, actually has coffee in it (and quite a bit). Don’t worry though, it’s not too strong. It actually has just the right balance. The recipe is very straightforward and quite easy, although there is a lot of measuring to be done. The cake itself is delicious and looks quite nice.
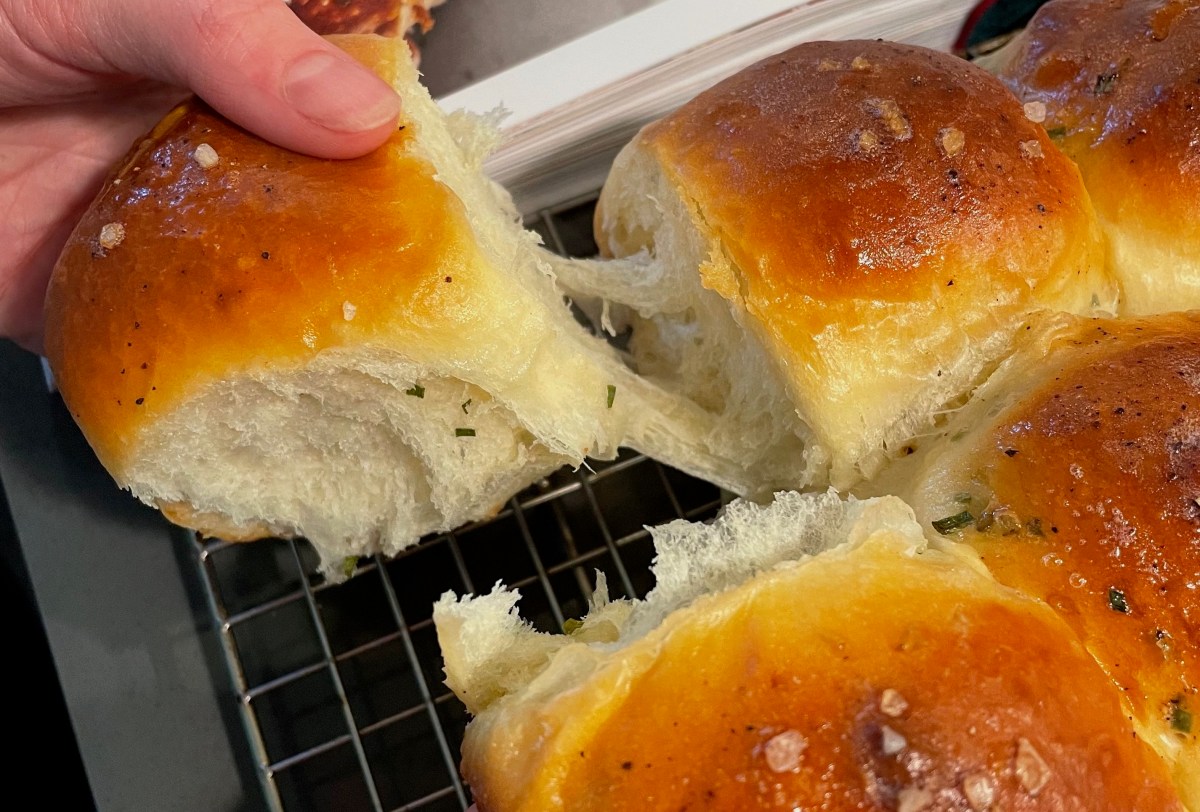
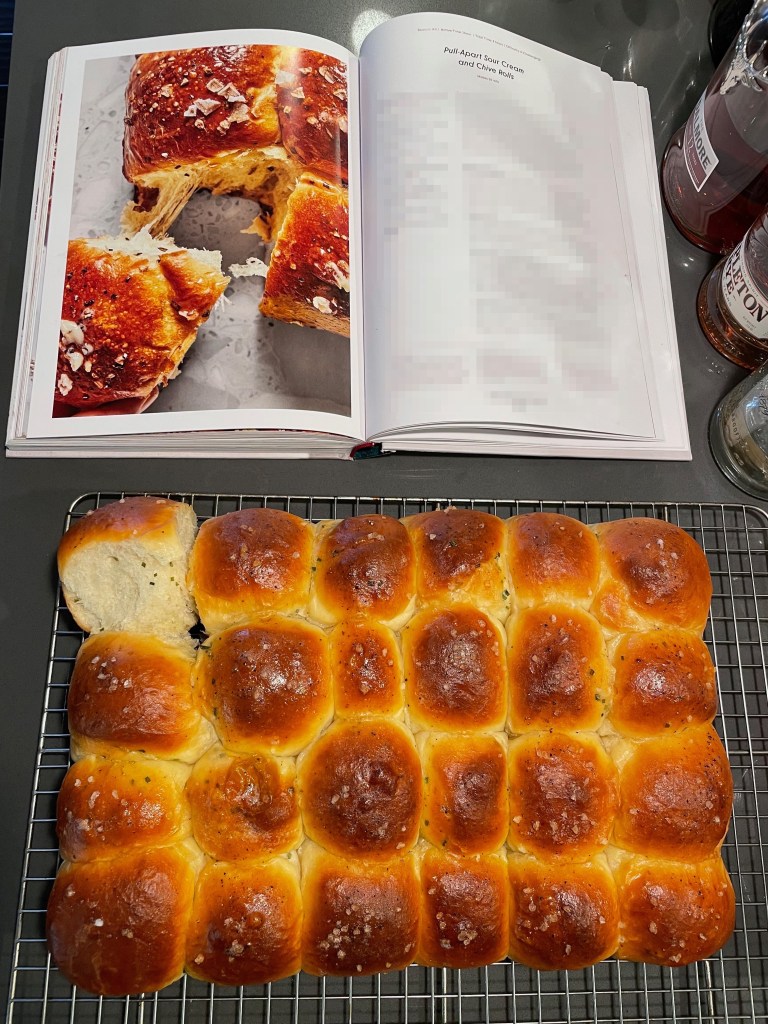
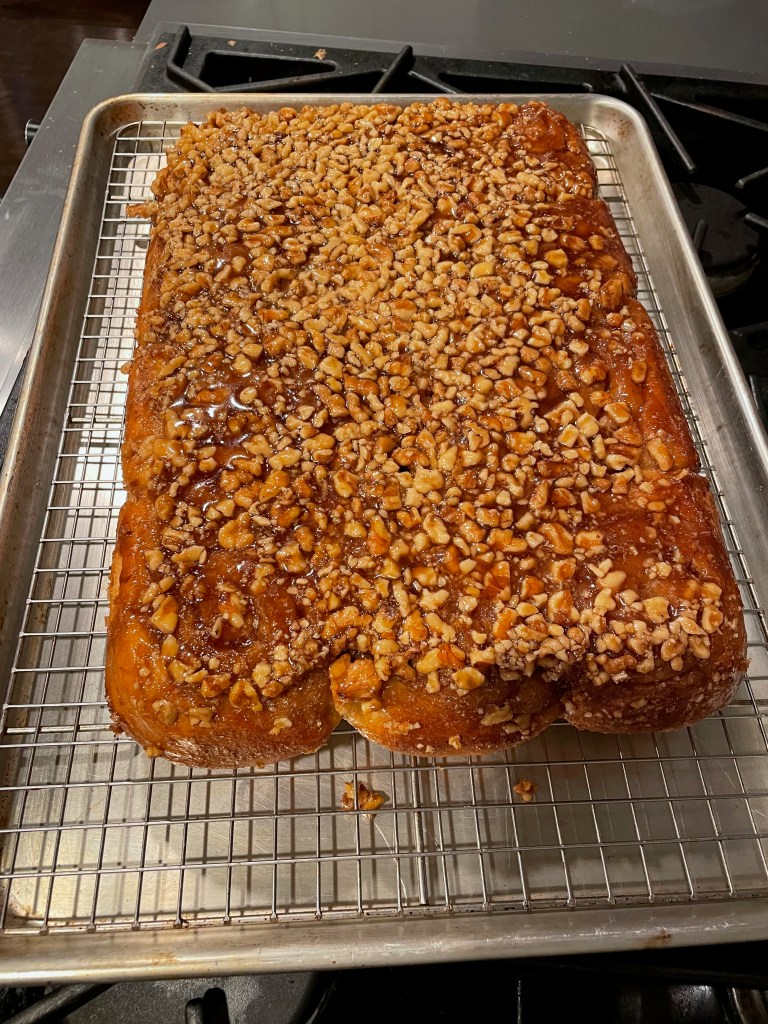
This is a surprisingly difficult recipe for a seemingly simple dish. It takes some time to make the “pull-apart” magic happen, but it really does work! This is a highly educational recipe that involves multiple techniques that can be used elsewhere. The rolls themselves are delicious and will earn a lot of inquiries for the recipe.
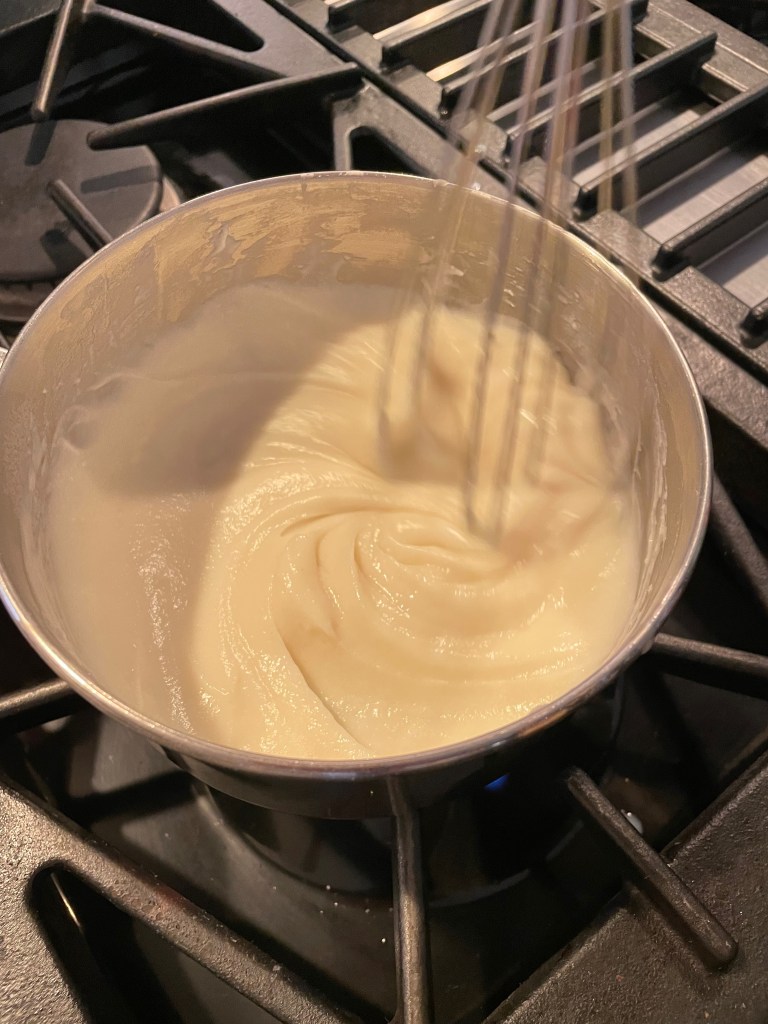
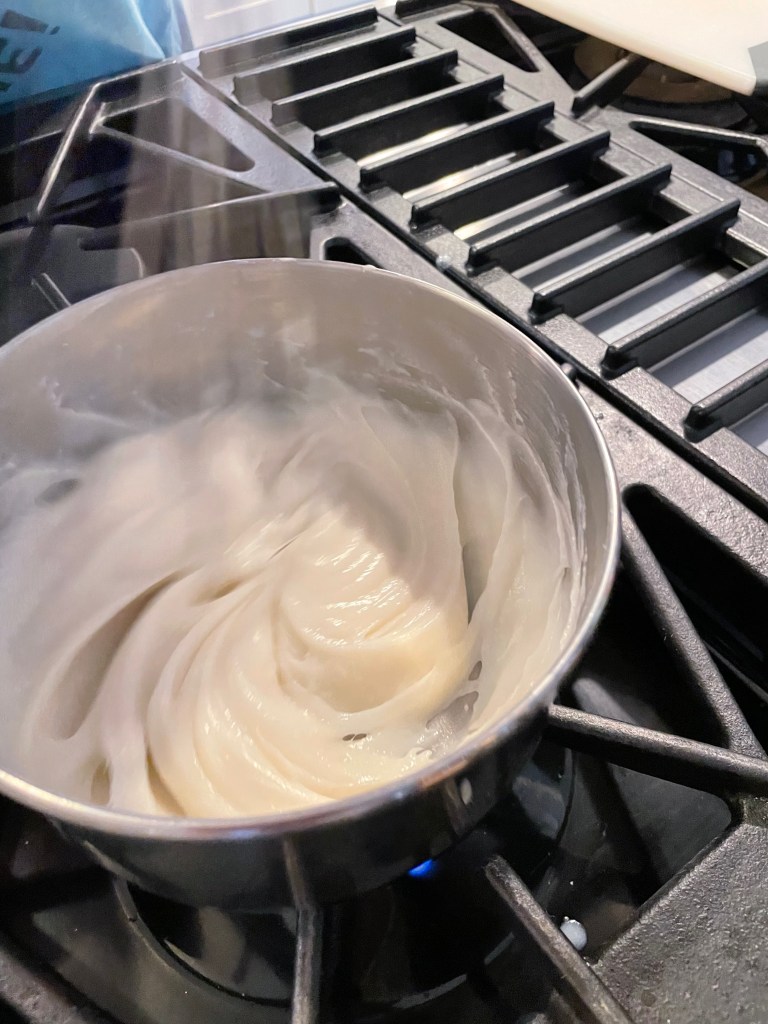
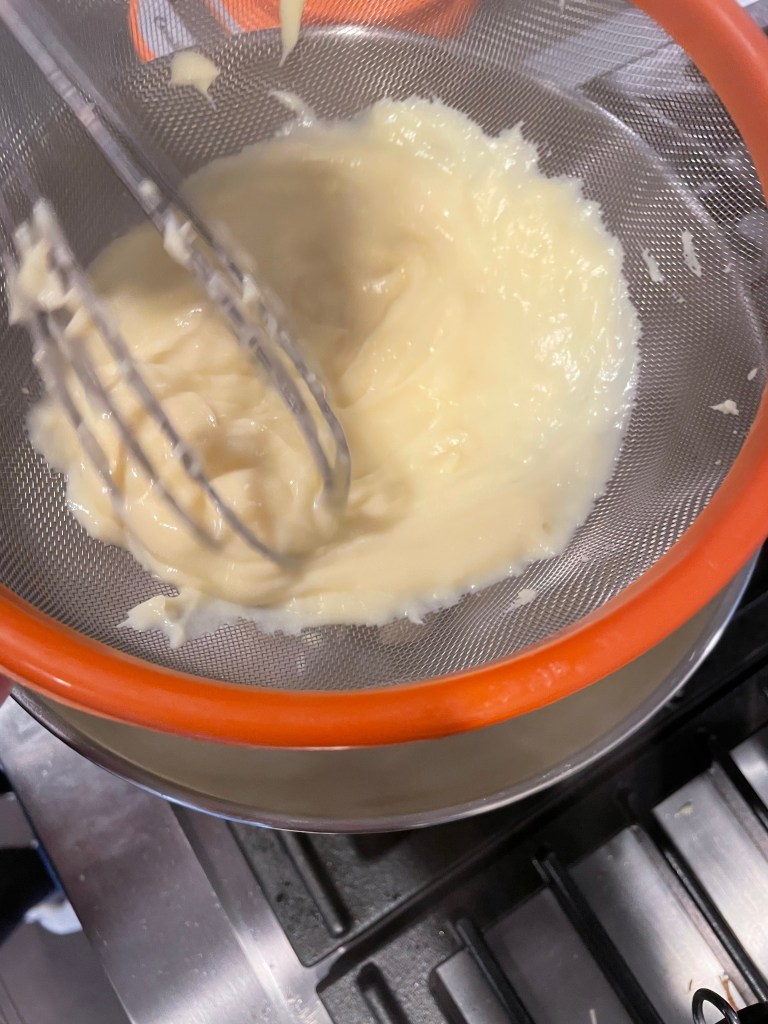
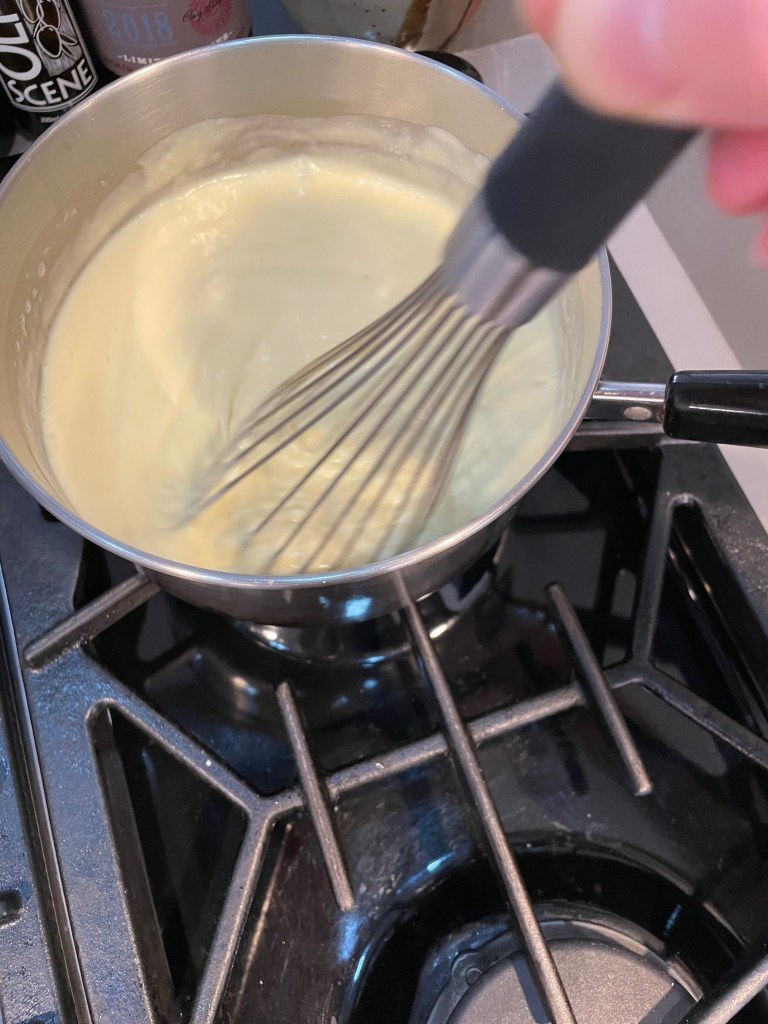
Tip: Keep it on the heat and stirring – it will thicken eventually and you will feel the transformation.
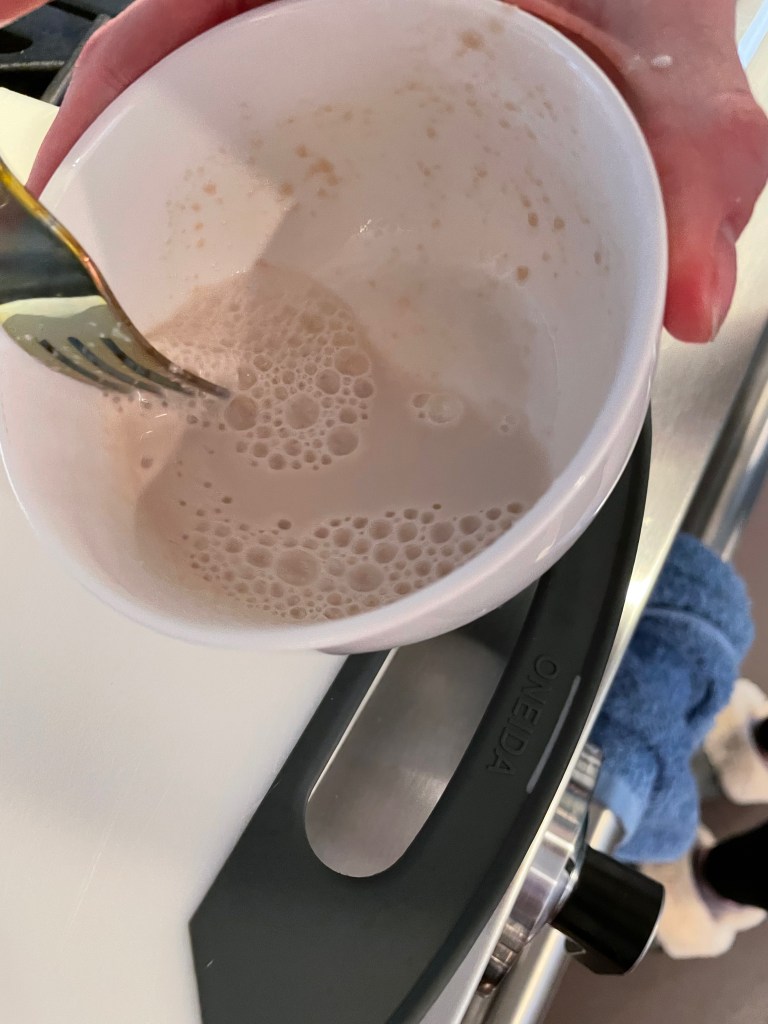
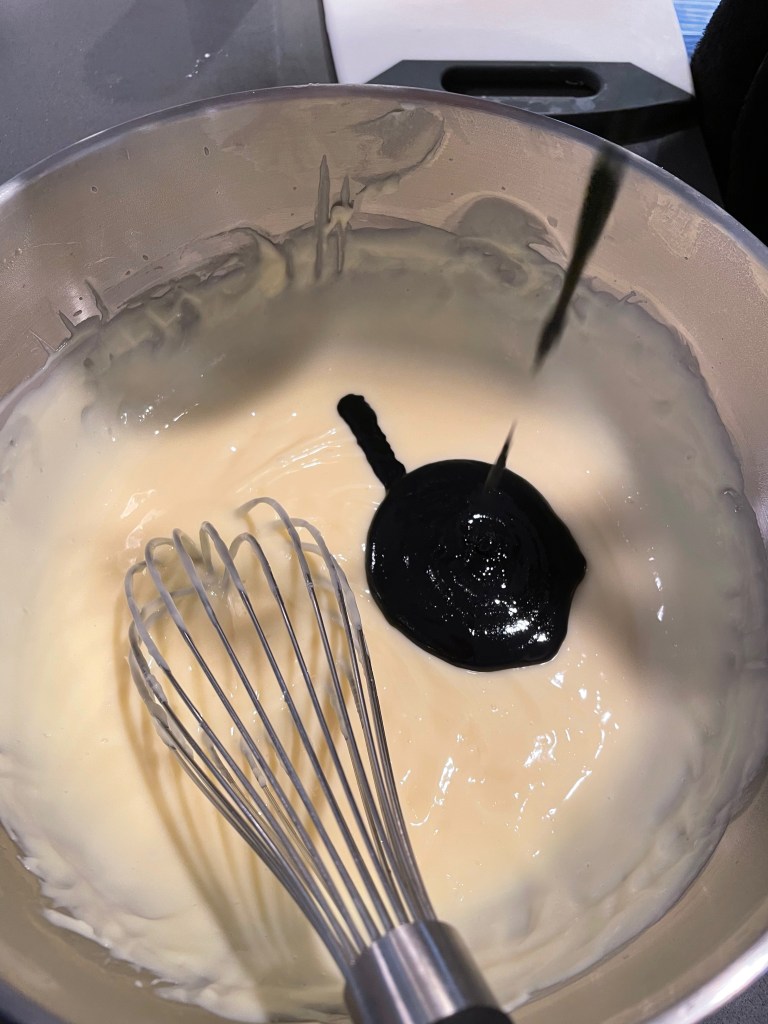
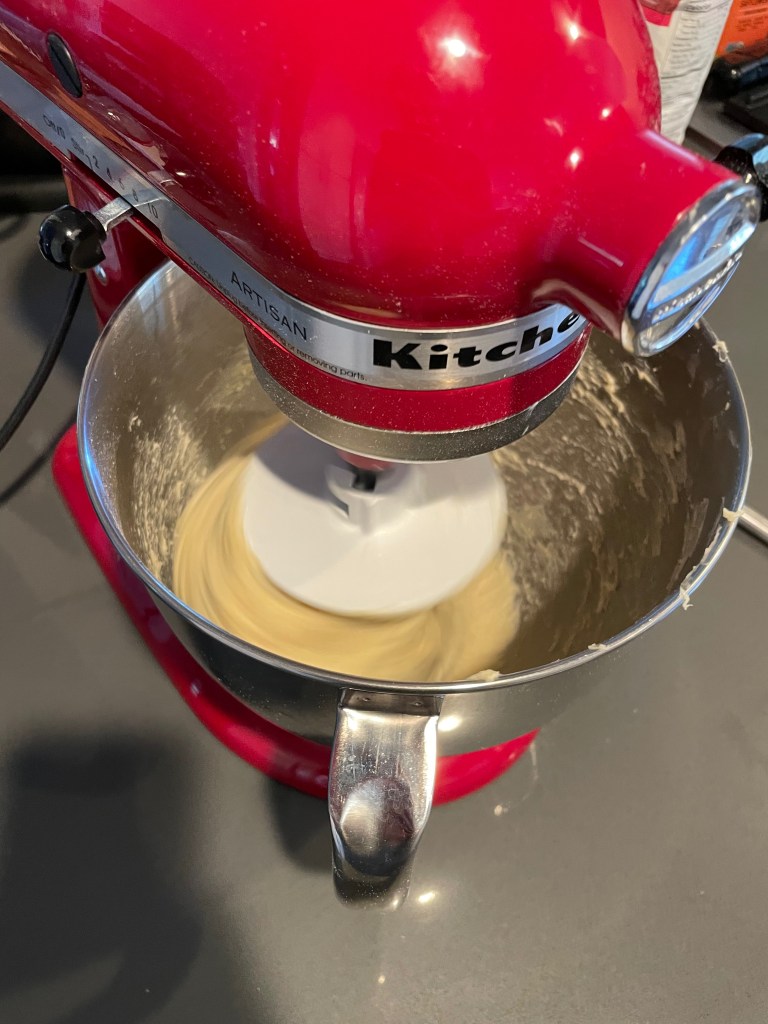
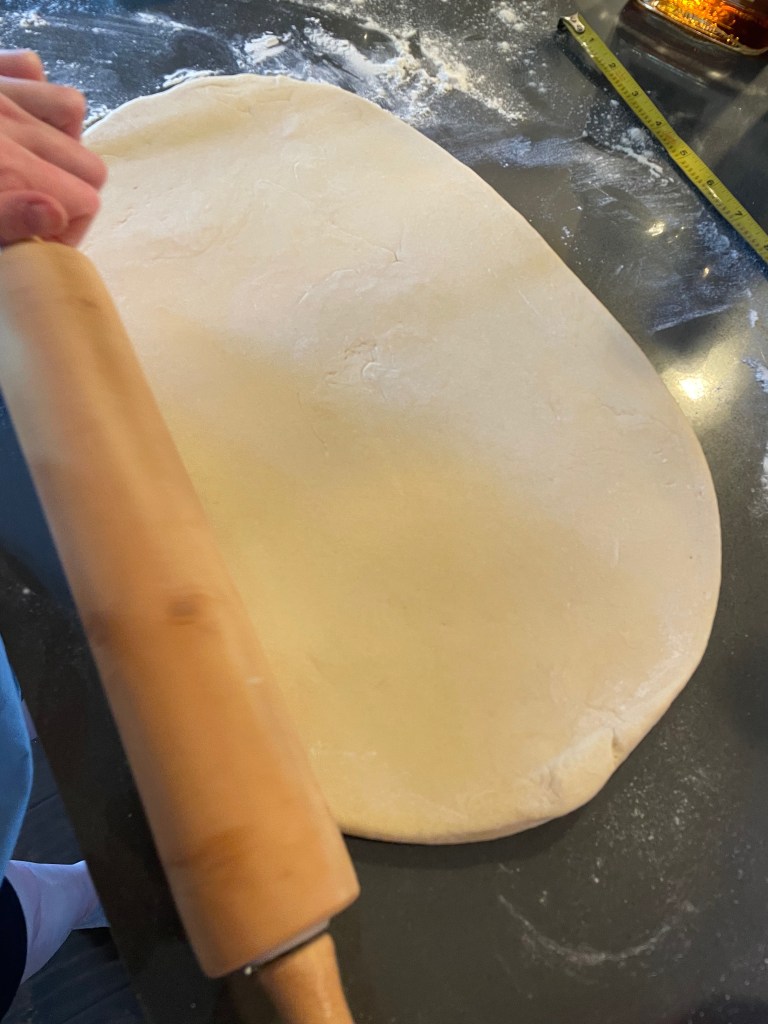
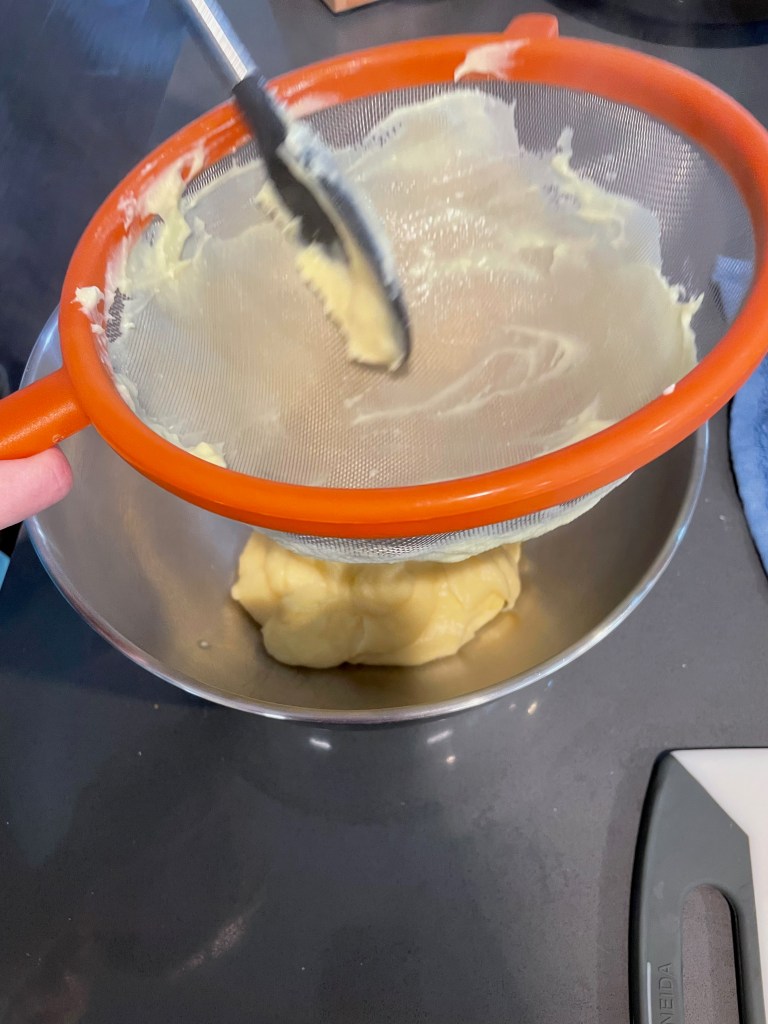
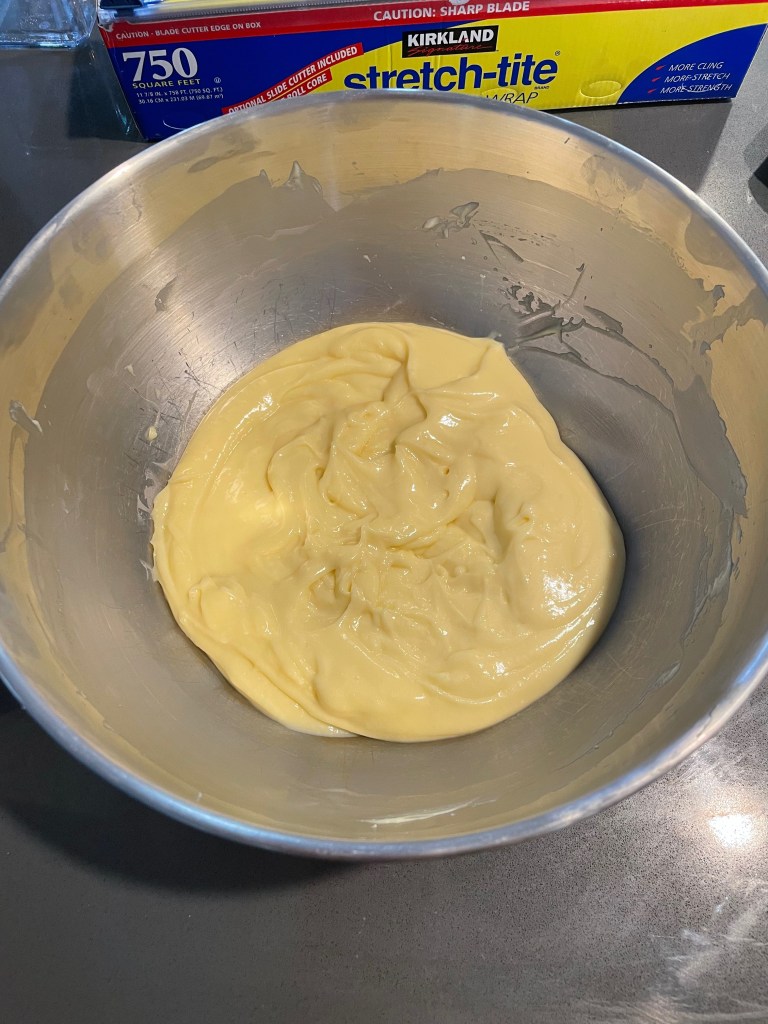
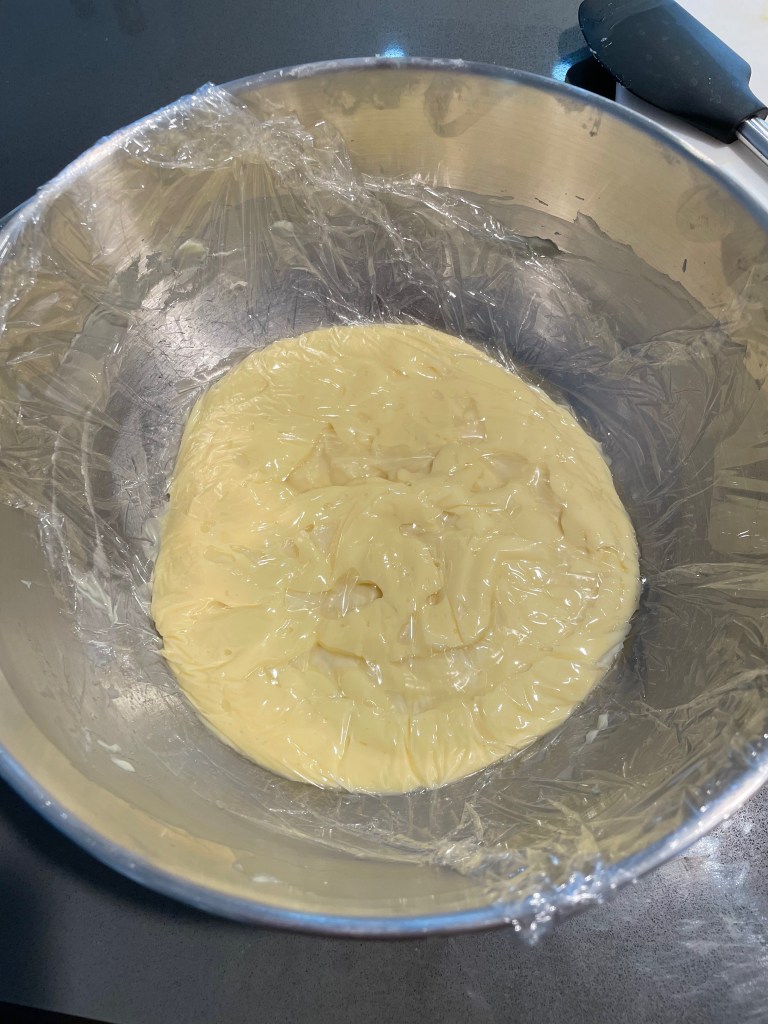
Making The Dough
Tip 1: You can also microwave the milk if you’d like. No more than 10 seconds though; stop at 5 to check.
Tip 2: We ended up using an extra 1.5 tablespoons of flour as it mixed before it stopped being too sticky. We deemed it too sticky when poking it gently led to a decent amount being stuck to the finger..
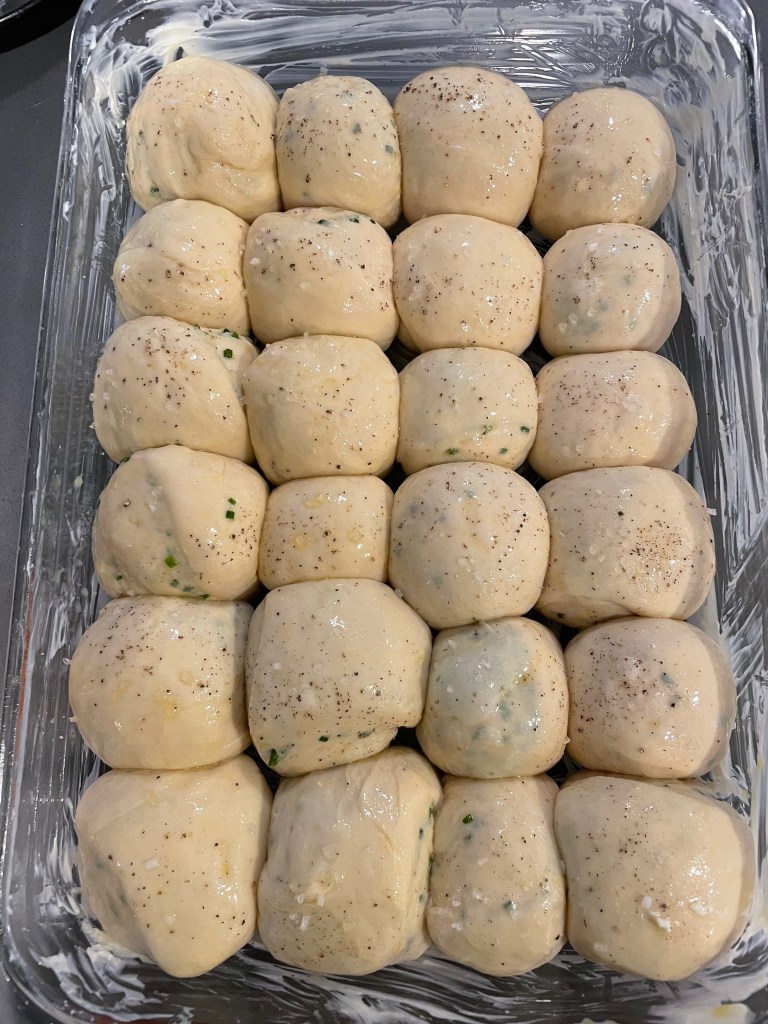
Forming The Rolls
Tip: The pinch and roll/drag method as described works very well.
Baking The Rolls
Final Product
Key Takeaways
Use the indicators instead of just the listed times!
Don’t be impatient with the tangzhong.
Final Score: 4/5 – These are probably some of the best rolls I’ve ever had. They really do “pull-apart” and they are incredibly tender, light, and fully. These rolls pull out all of the stops and definite deliver.
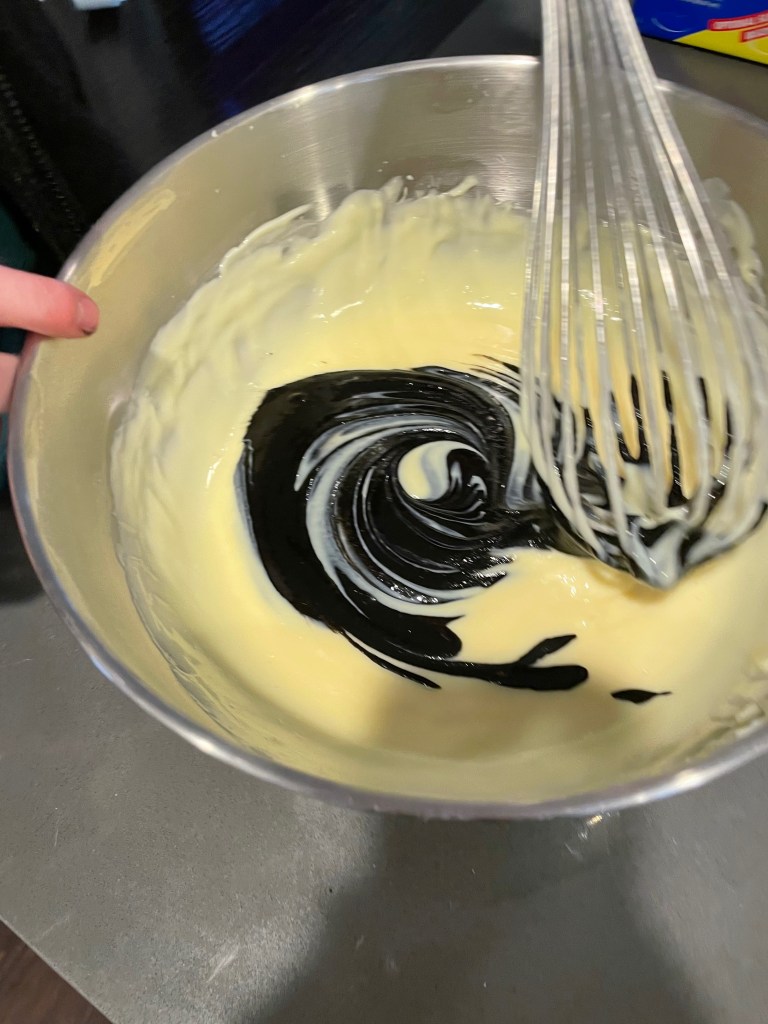
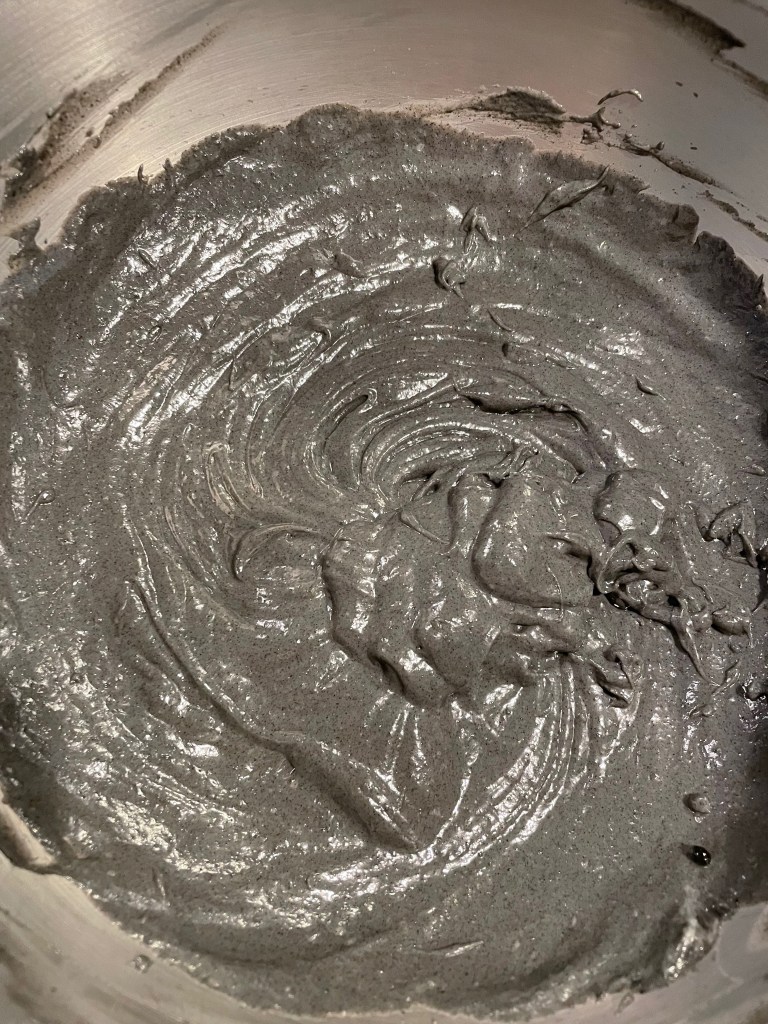
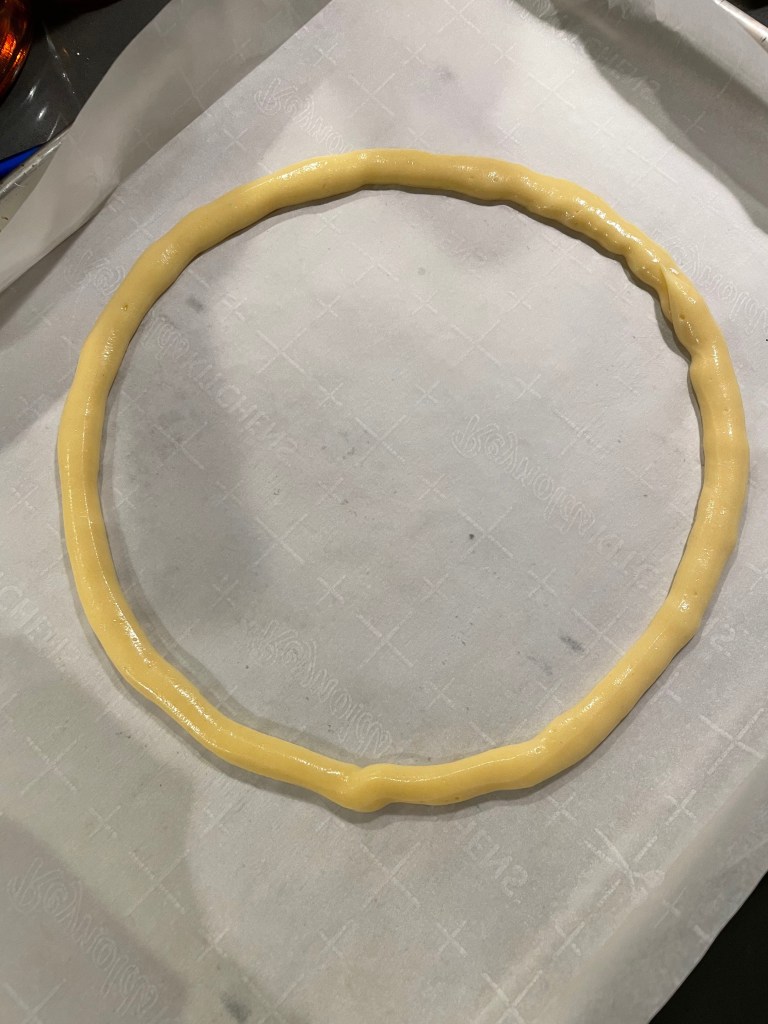
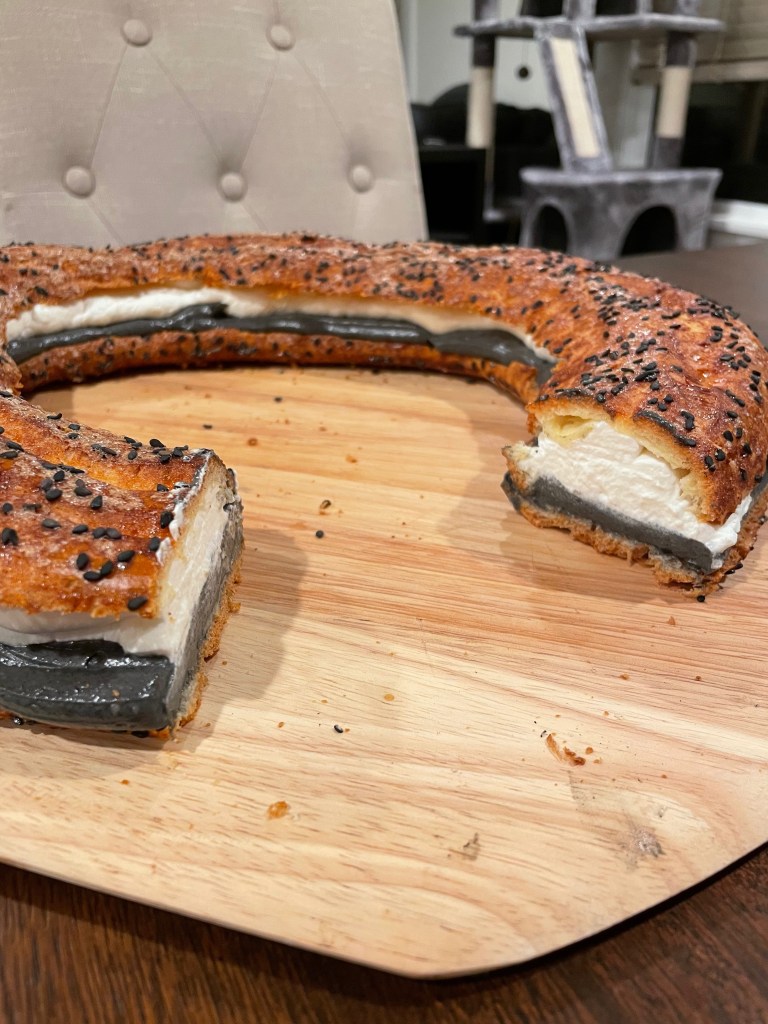
This recipe is quite an undertaking, much like the croquembouche. While the croquembouche has more work and steps, this one is slightly more difficult due to the elaborate choux ring made. The black sesame pastry cream is absolutely incredible and really makes the recipe standout. The final product is quite avant-garde. The recipe involves making pâte à choux. Only attempt this recipe once you have some baking experience.
Tip: If you can’t find black sesame tahini, you can make your own from black sesame seeds with a food processor.
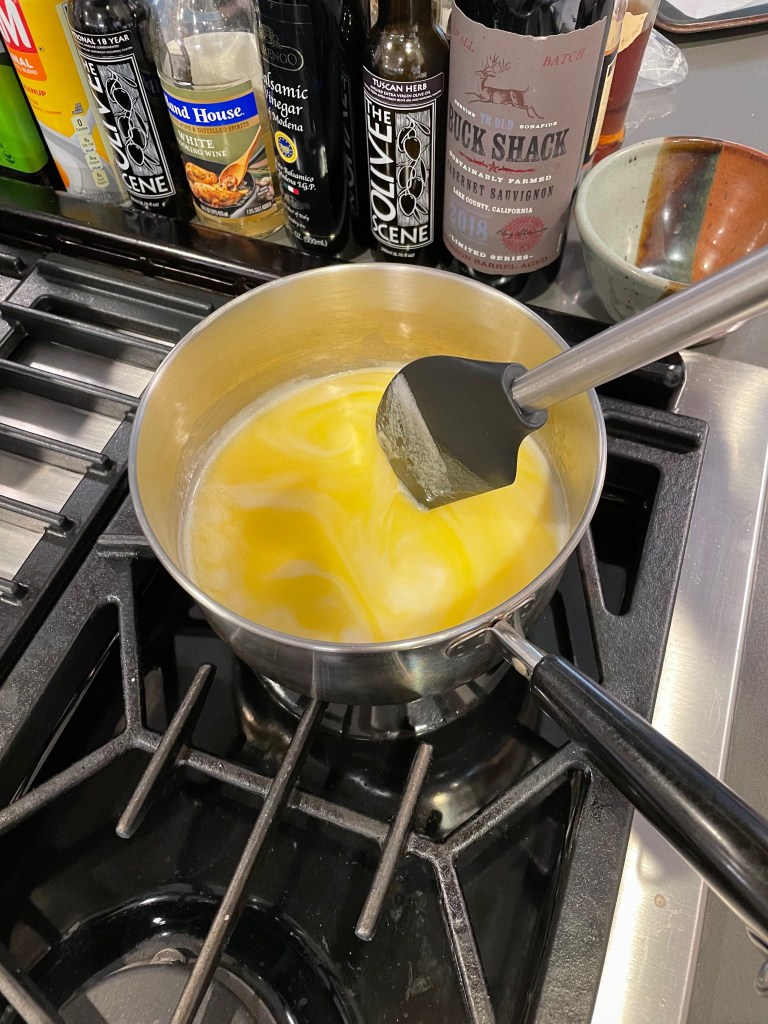
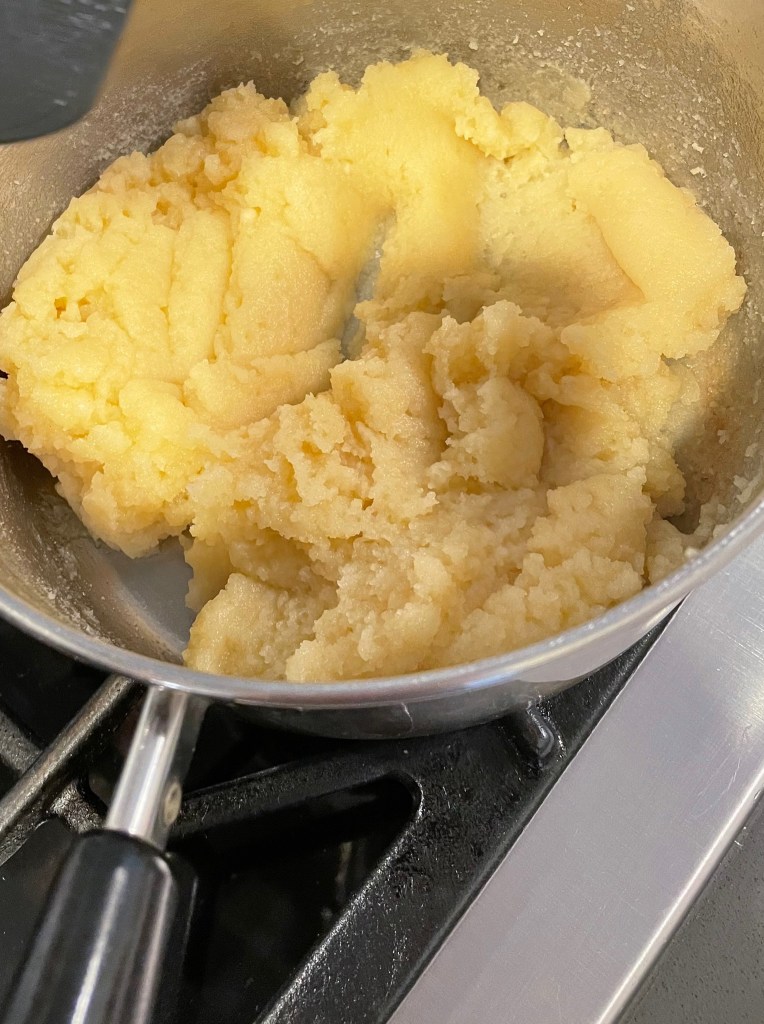
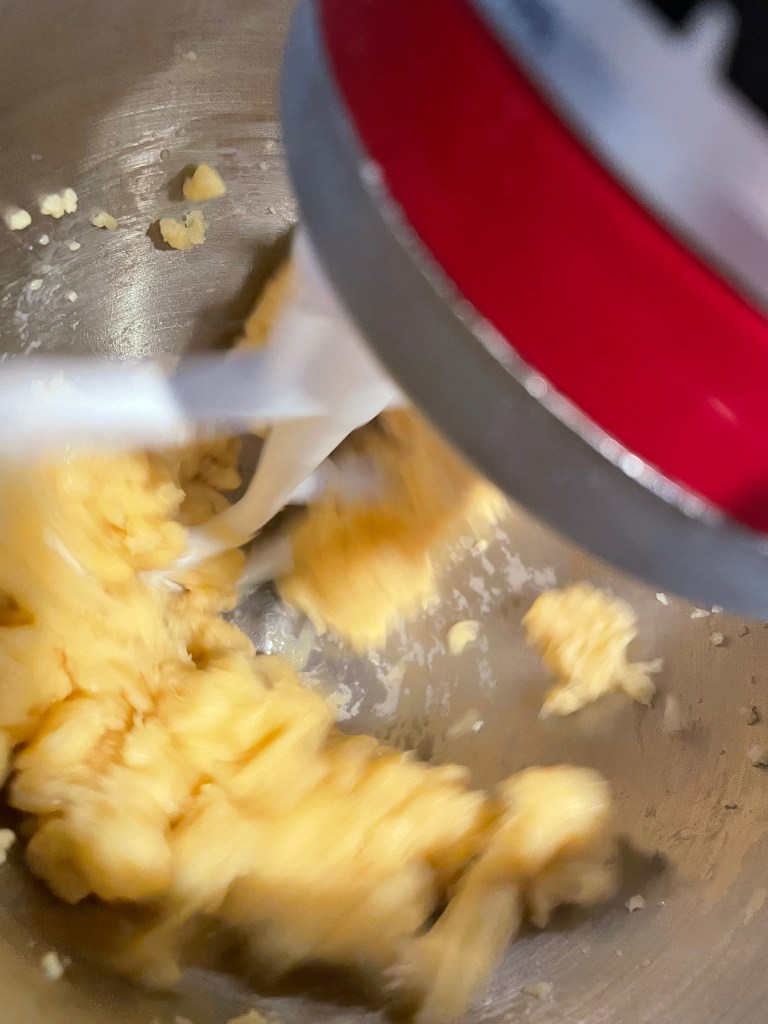
Making The Pâte à Choux
Tip 1: Claire makes choux for a different recipe in this video, which can serve as a helpful reference.
Tip 2: While the technique described in the book works fine, we found this video to be even better for making choux (we still used the recipe from the book and baking time/temperature; just not the technique).
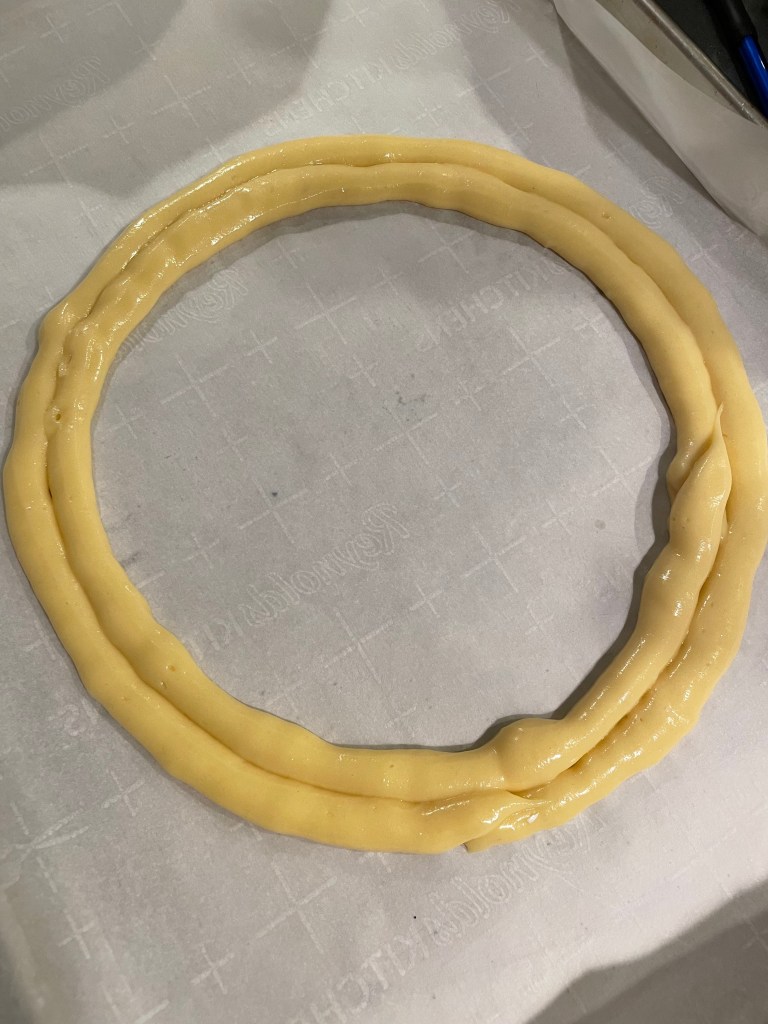
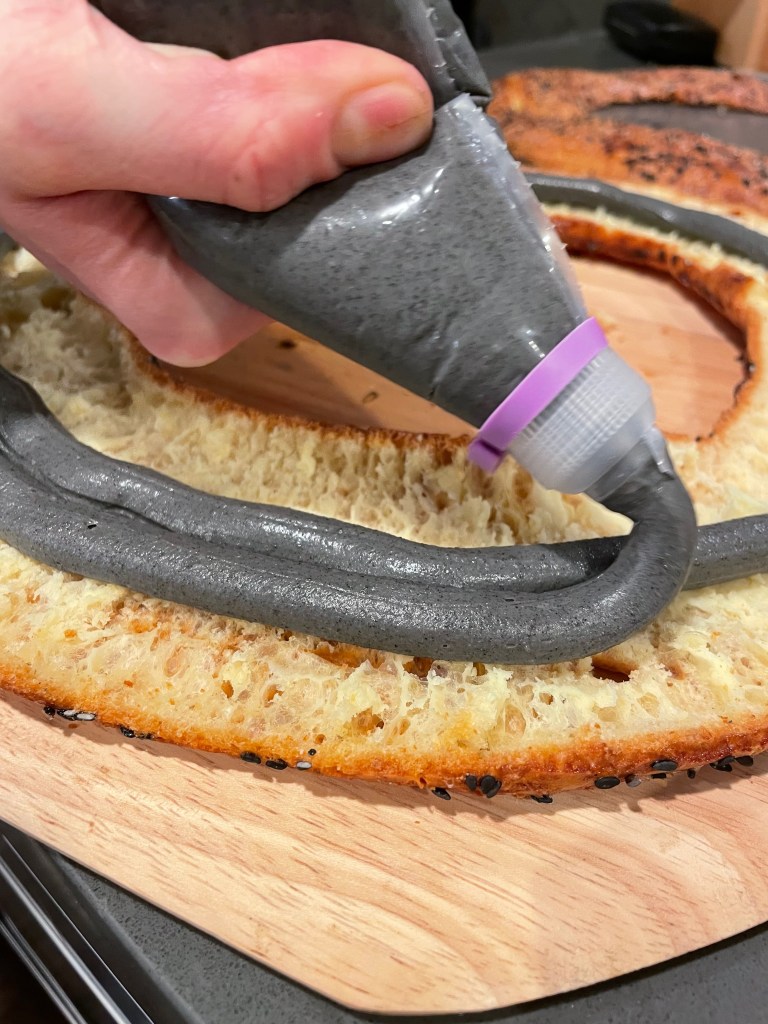
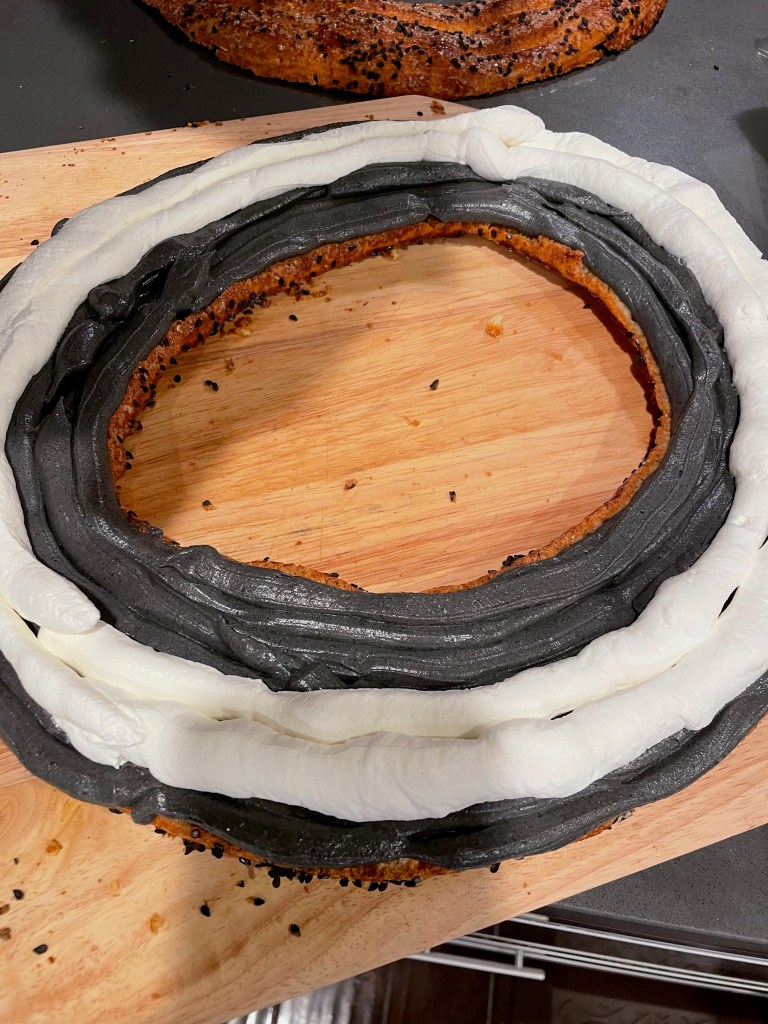
Making The Ring
Tip: We accidentally used a half-inch opening instead of an inch opening when piping and had far too much choux left over. We made up for it by adding more layers to compensate in a pyramid type of structure. It came out fine anyway! We did not use a tip.
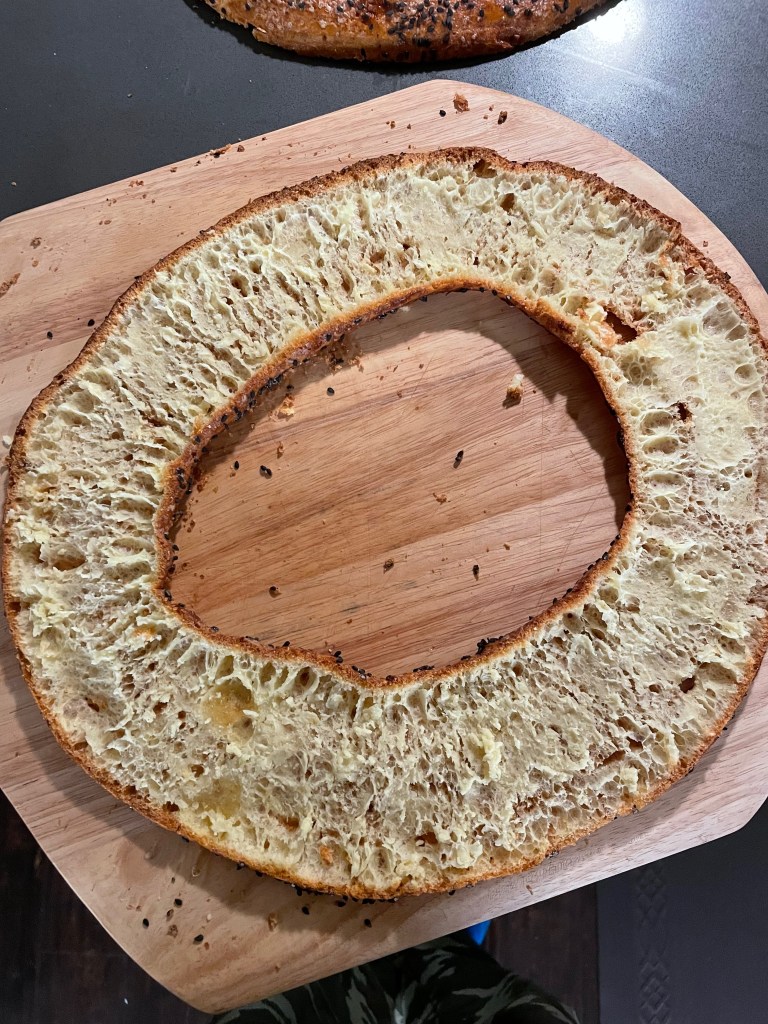
Baking The Ring
Tip 1: Cut in half using a serrated knife in a sawing motion. Get eye level with the ring to ensure you cut through the middle. Make sure your force is exerted parallel to the surface and not up or down.
Tip 2: Lean on the side of over-baking rather than under-baking.
Assembling The Ring
Final Product
Key Takeaways
Read the tips on making the choux!
Final Score: 5/5 – The final product looks spectacular and taste delicious. The black sesame gives it a unique taste that complements the sweetness perfectly. This is insane though, so be warned.
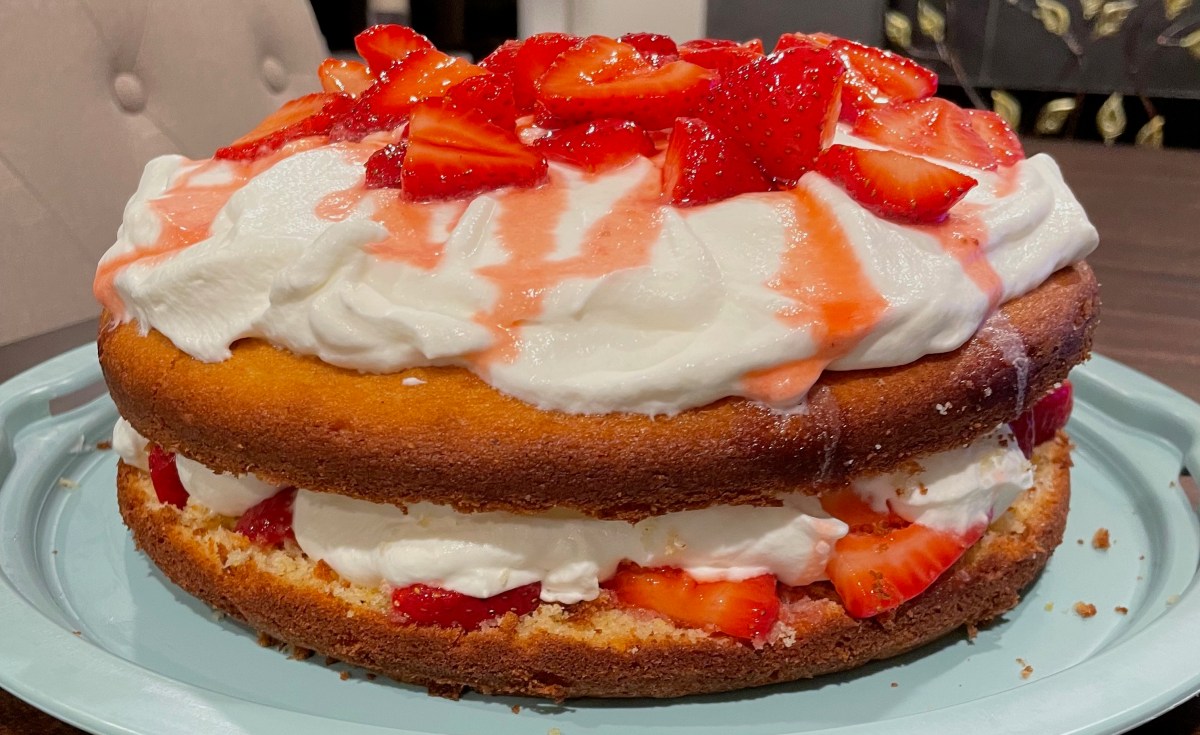
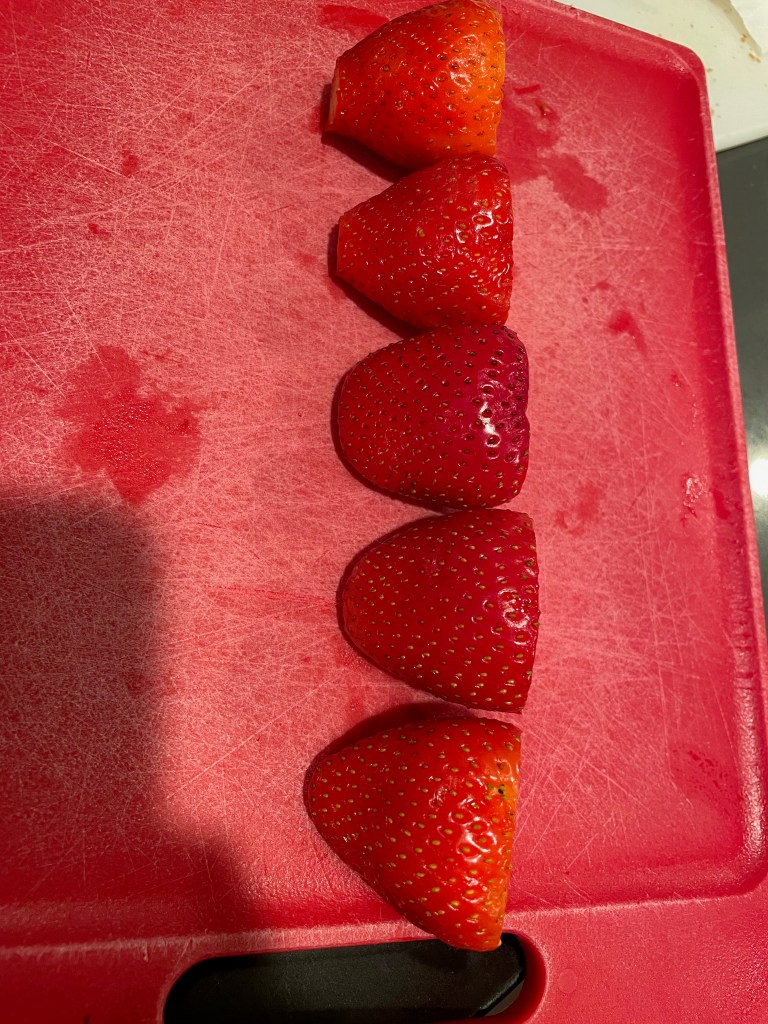
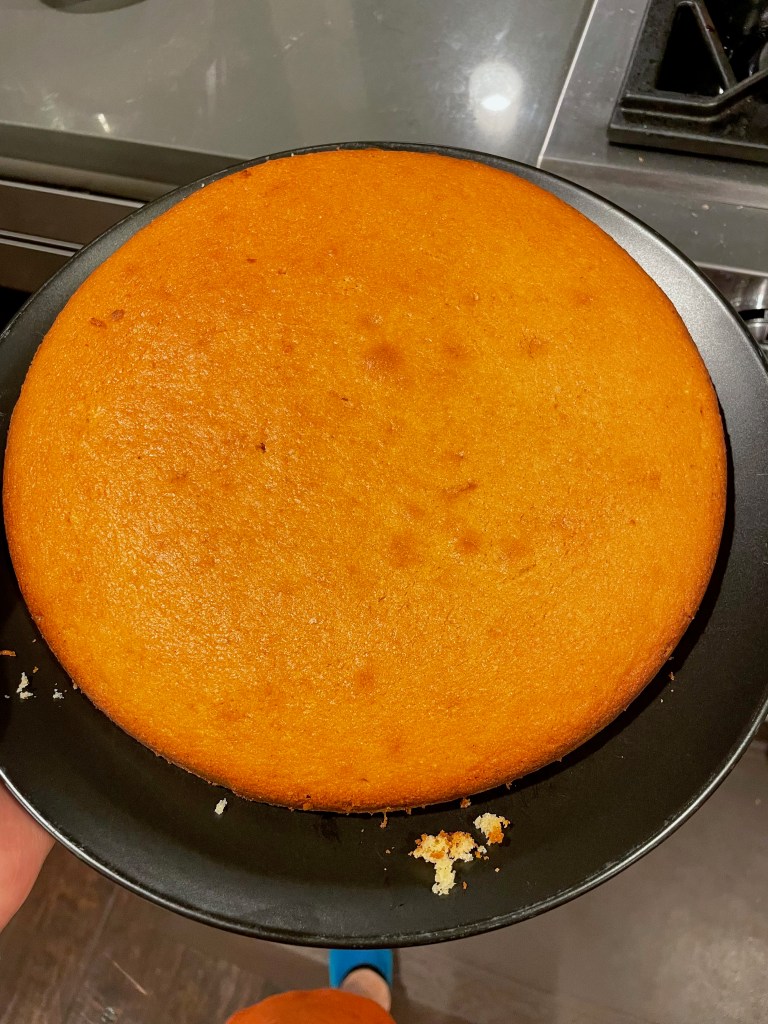
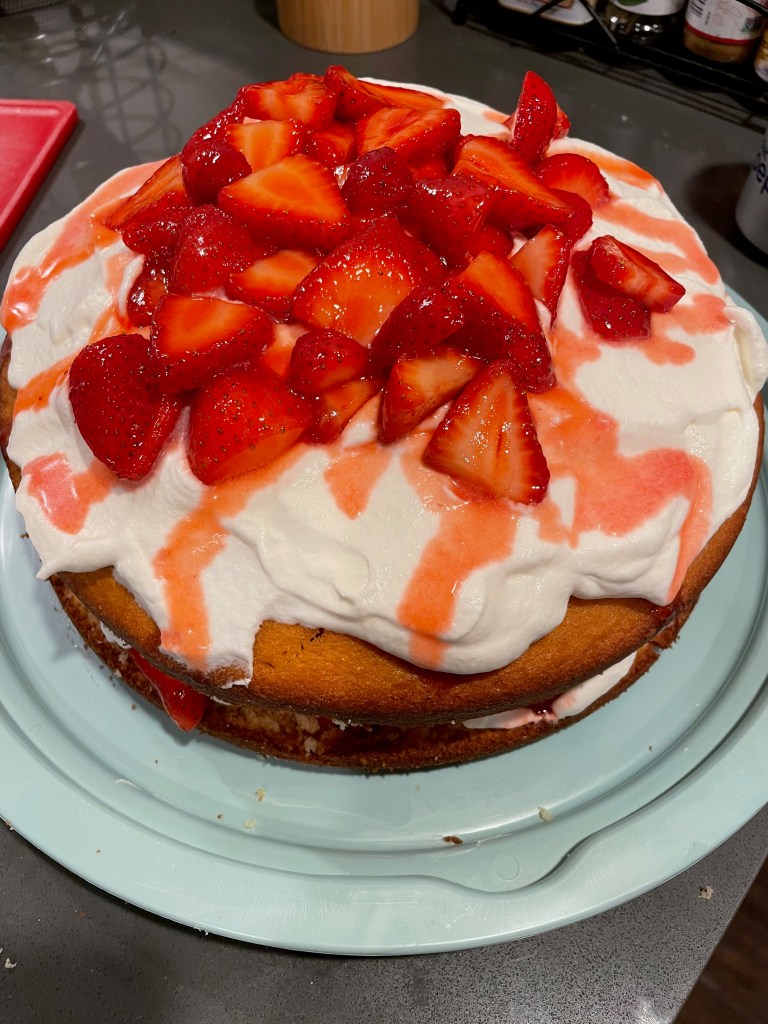
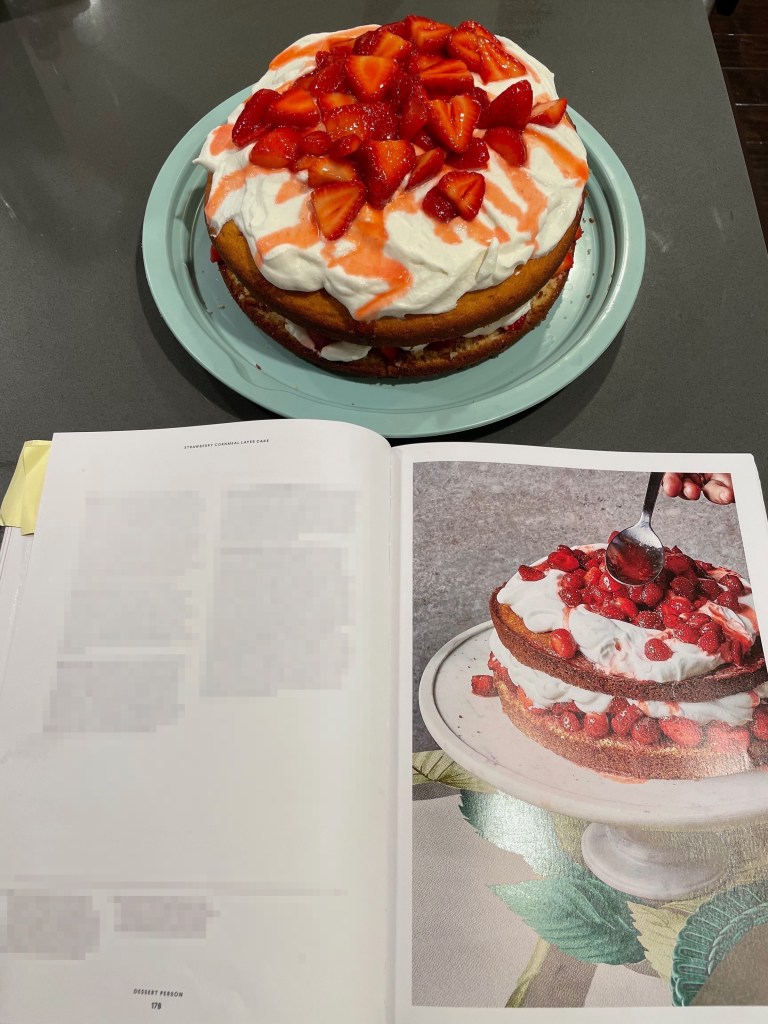
This a great summer cake recipe for when strawberries are ripe and fresh. It’s also a great introduction to cutting a cake in a half, which is by far the most difficult step in this recipe. This cake was surpassingly delicious given its simplicity. Don’t skip macerating the strawberries.
Recipe Outline
Recipe: Strawberry Cornmeal Layer Cake
Special Equipment: 9-inch Pan With 2-inch Sides, Stand Mixer
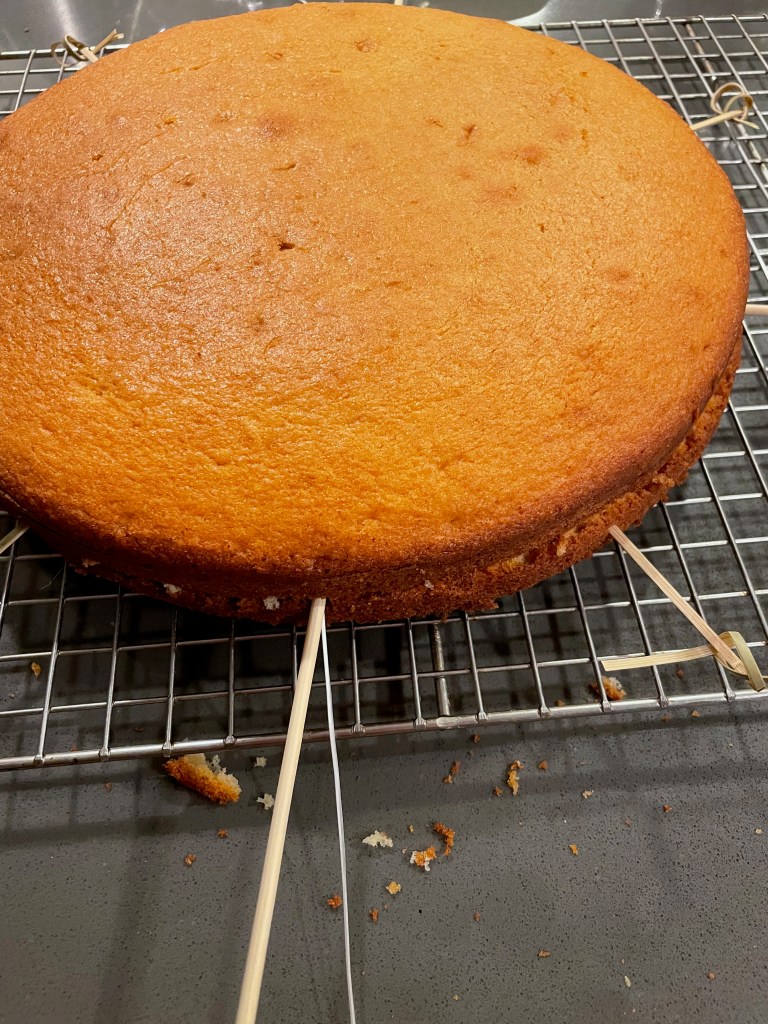
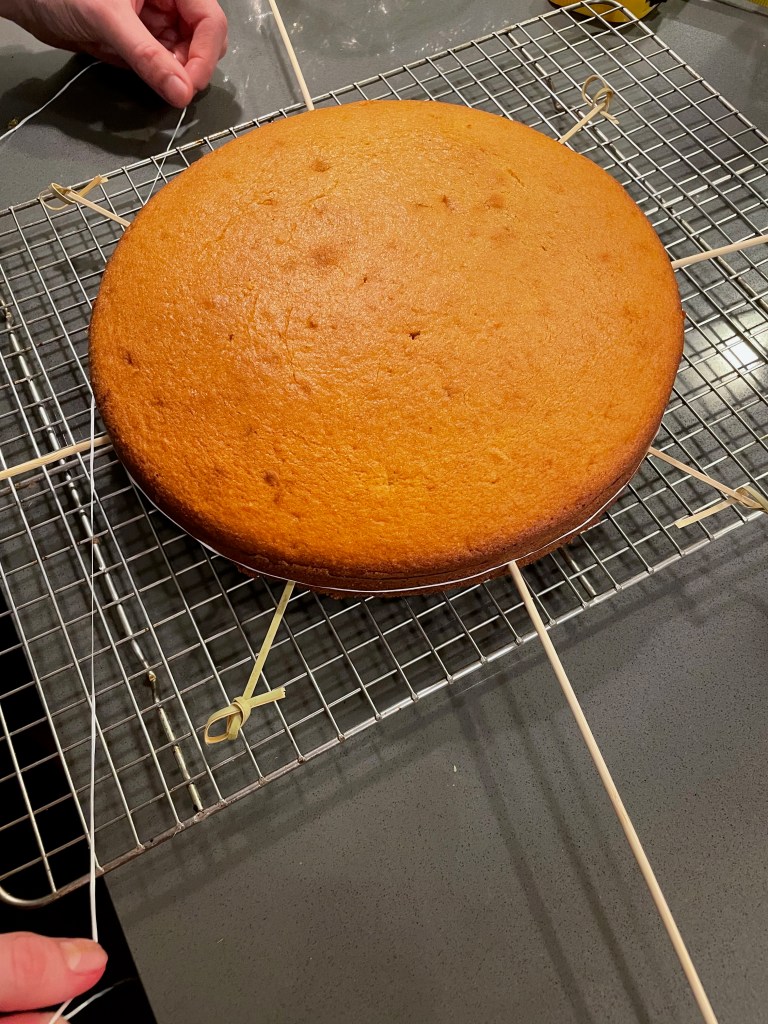
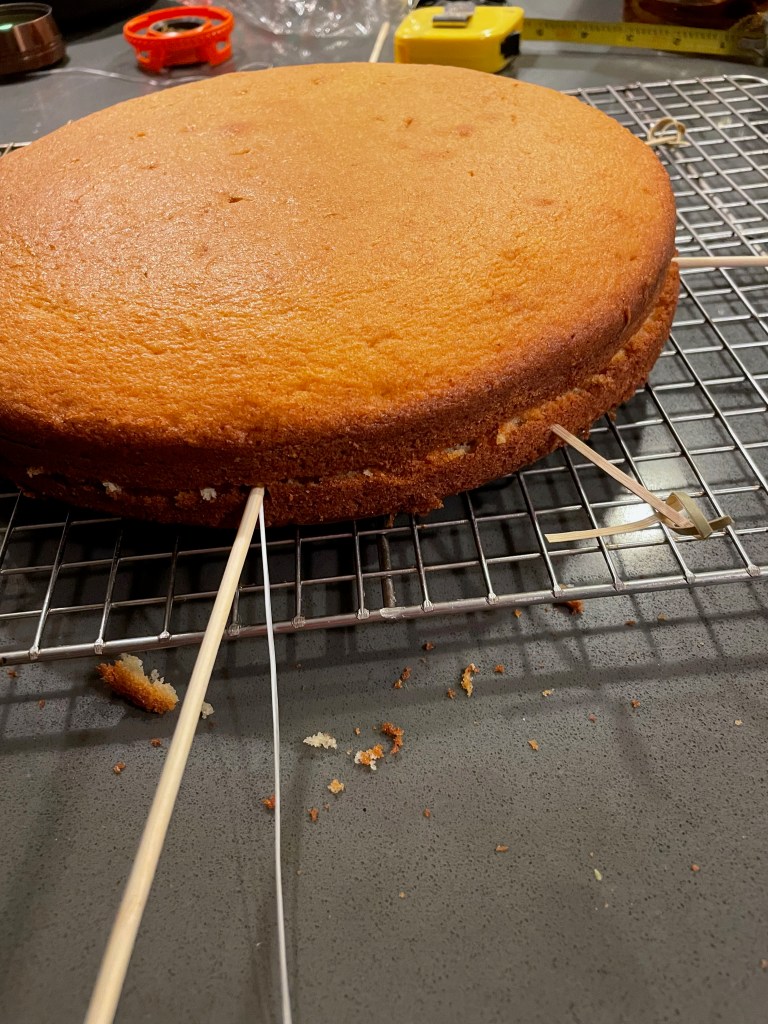
Tip: Cutting a cake in half is not easy. The most straightforward way is to use a large serrated knife. A better alternative though is to use toothpicks and cutting wire (or simply dental floss). Just go around the cake and insert 8 toothpicks equally apart at the midpoint of the cake. Wrap the string around and set it atop the toothpicks. Then pull the string firmly, but not too quickly about the cake. Make sure to exert your force parallel to the cake — no upward or downward force/pressure. Here’s a video. There are also products made specifically for this.
Assembling The Cake
Final Product
Key Takeaways
Only attempt if you want to practice cutting a cake or have fresh, quality strawberries.
Final Score: 4/5 – Despite it’s simplicity this is an incredible cake. Don’t underestimate cutting a cake in half though.
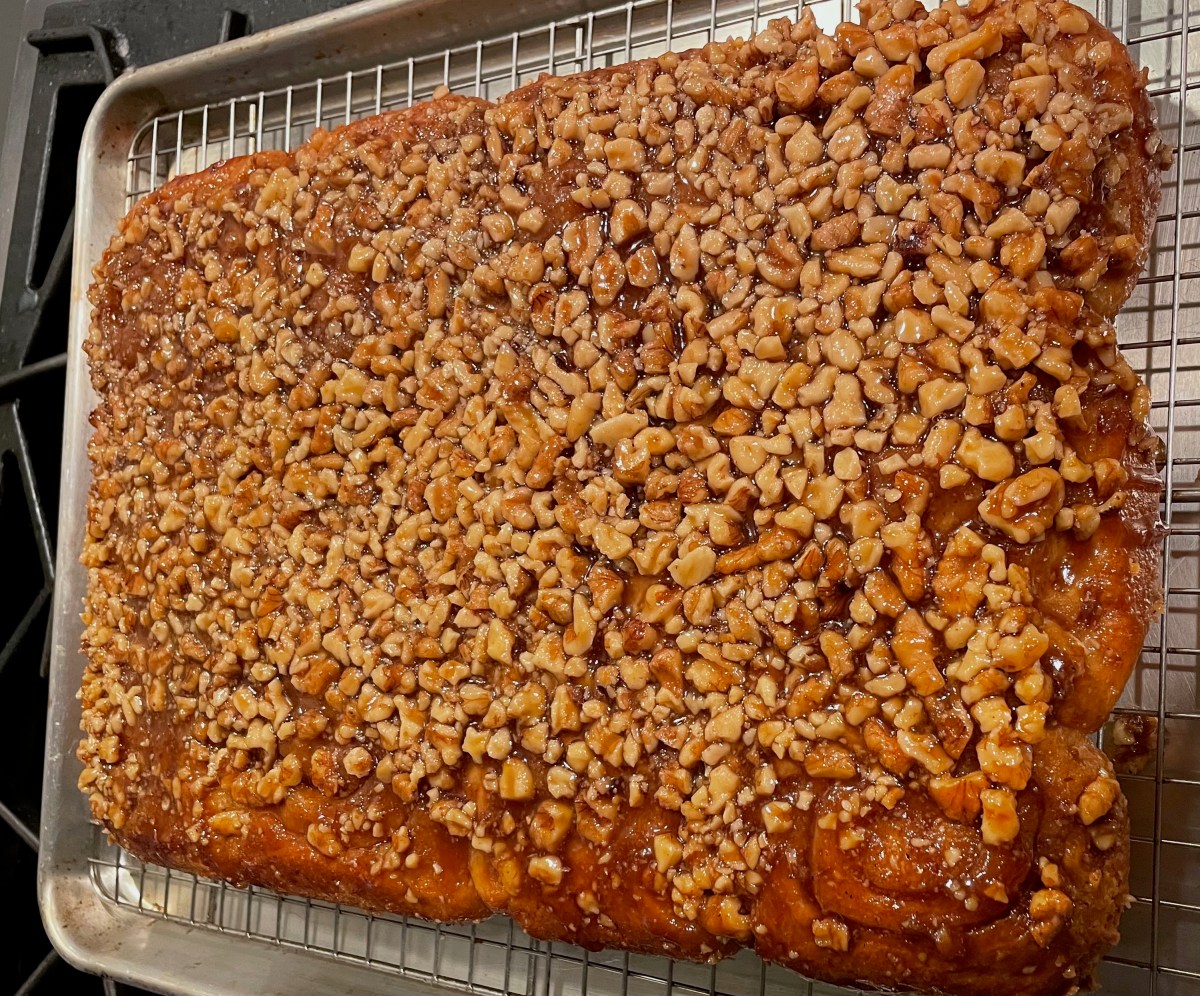
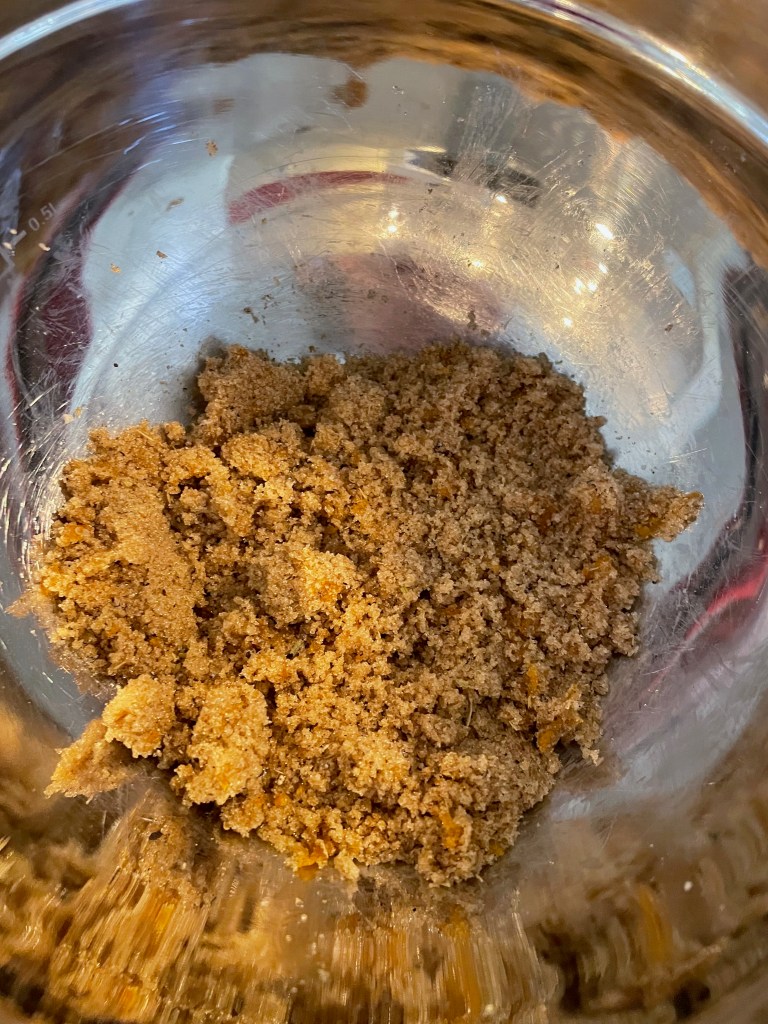
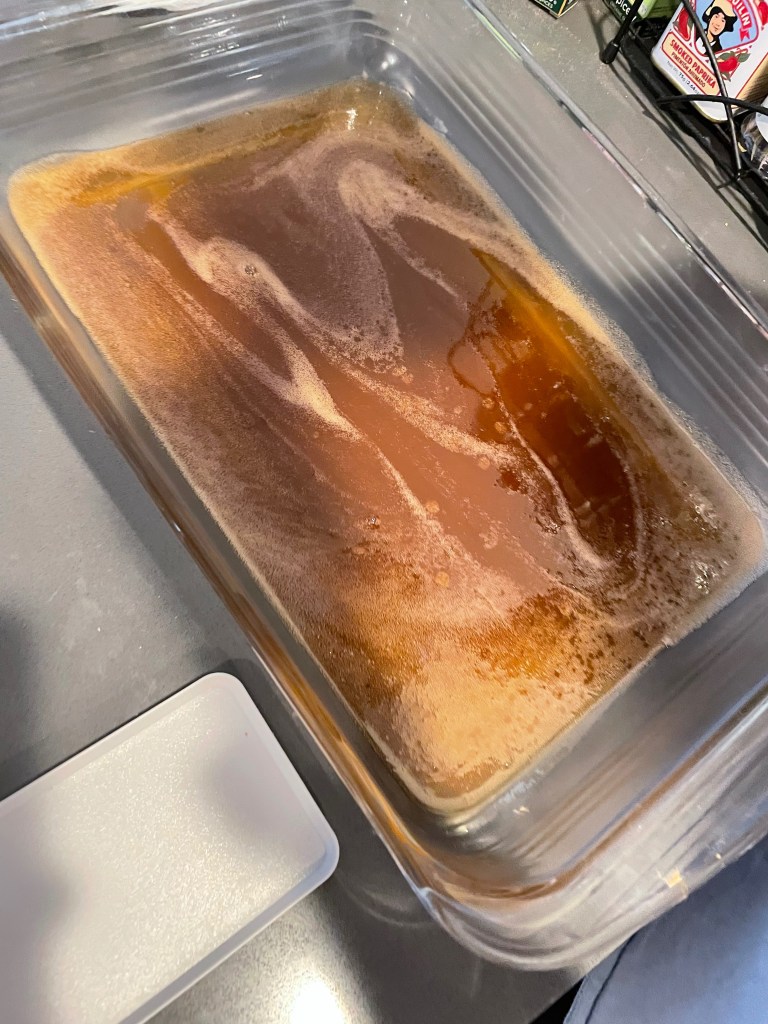
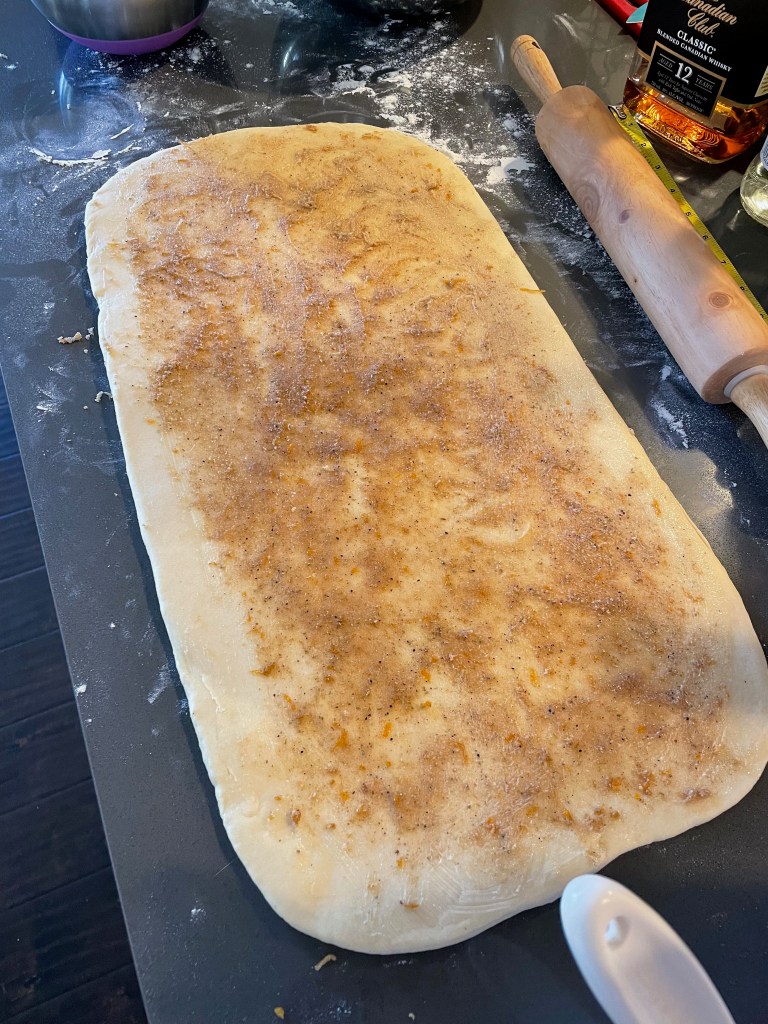
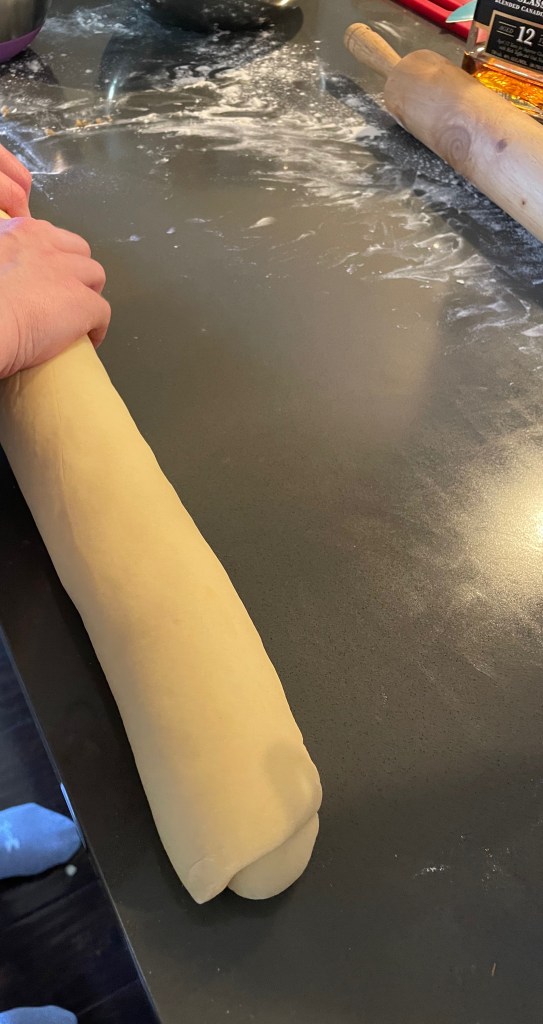
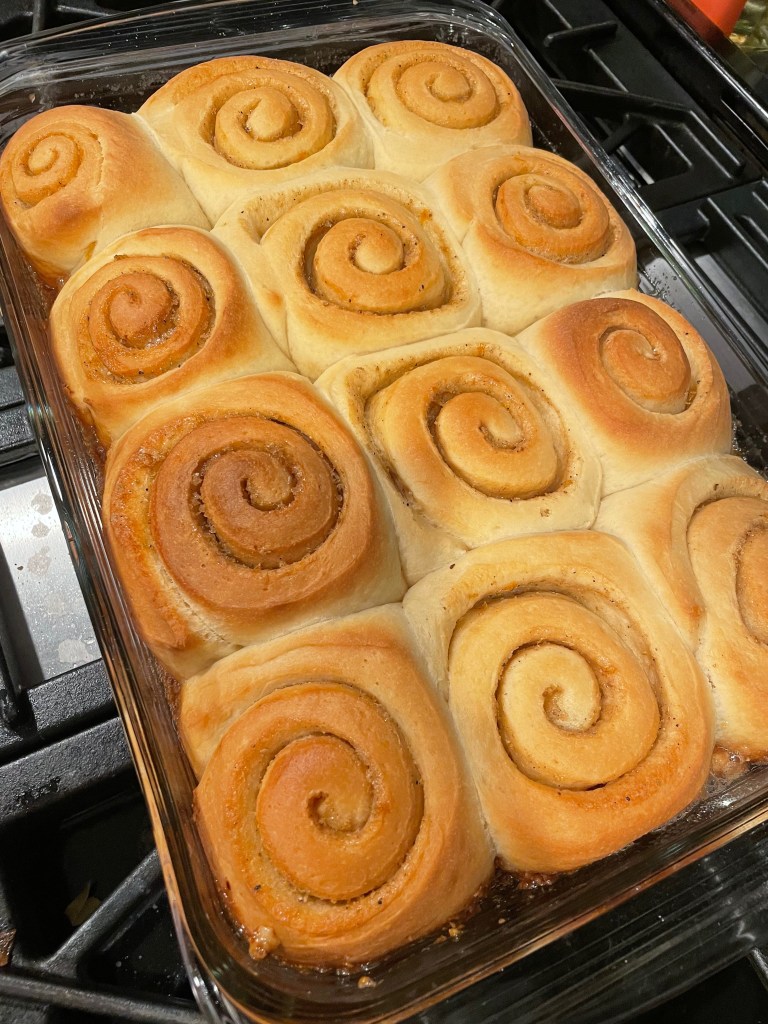
This recipe is a good twist on a cinnamon roll/bun. The sweet yeast dough gives the dough a light and tender feel, while not being overly rich. The walnut-maple topping is similar story, delicious but not too rich. As a result, the final product is not too rich either. That means if you’re looking for a decadent and gooey Cinnabon type of thing, this is not the recipe to choose. If you’re looking for a more restrained and refined, yet still delicious roll then this is a great choice.
Tip: Consider making more topping if you want it to be richer.
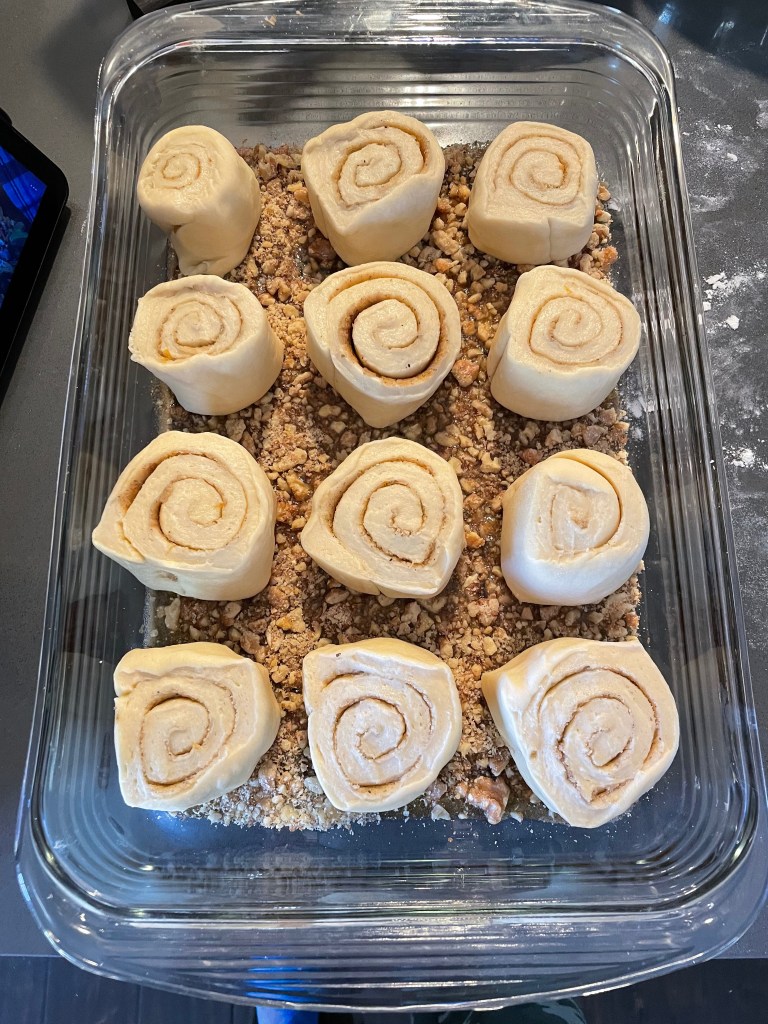
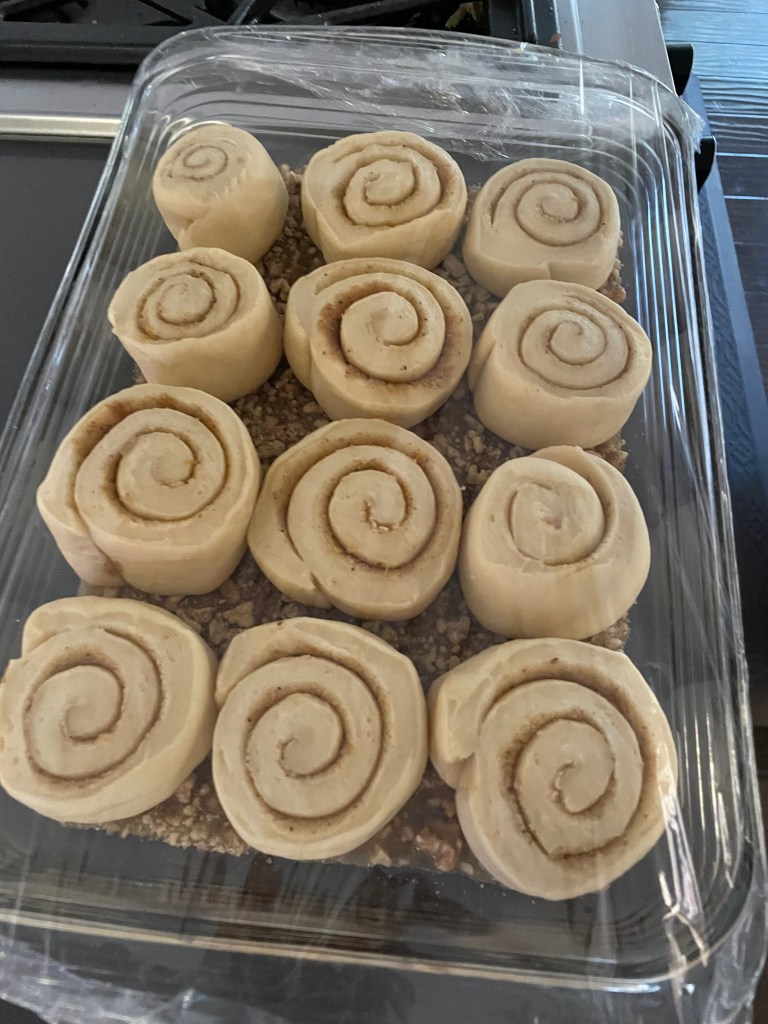
Forming The Buns
Baking The Buns
Tip: In the video, it’s recommend to cook at 25° less if using a glass pan. We did 15° less for a total of 38 minutes.
Final Product
Key Takeaways
These are a much more refined take on a classic cinnamon roll.
The end product looks great and the recipe is very well written.
Final Score: 4/5 – The final product is great. It’s also quite easy to make for what it is. You may wish you had added more filling and more topping though!
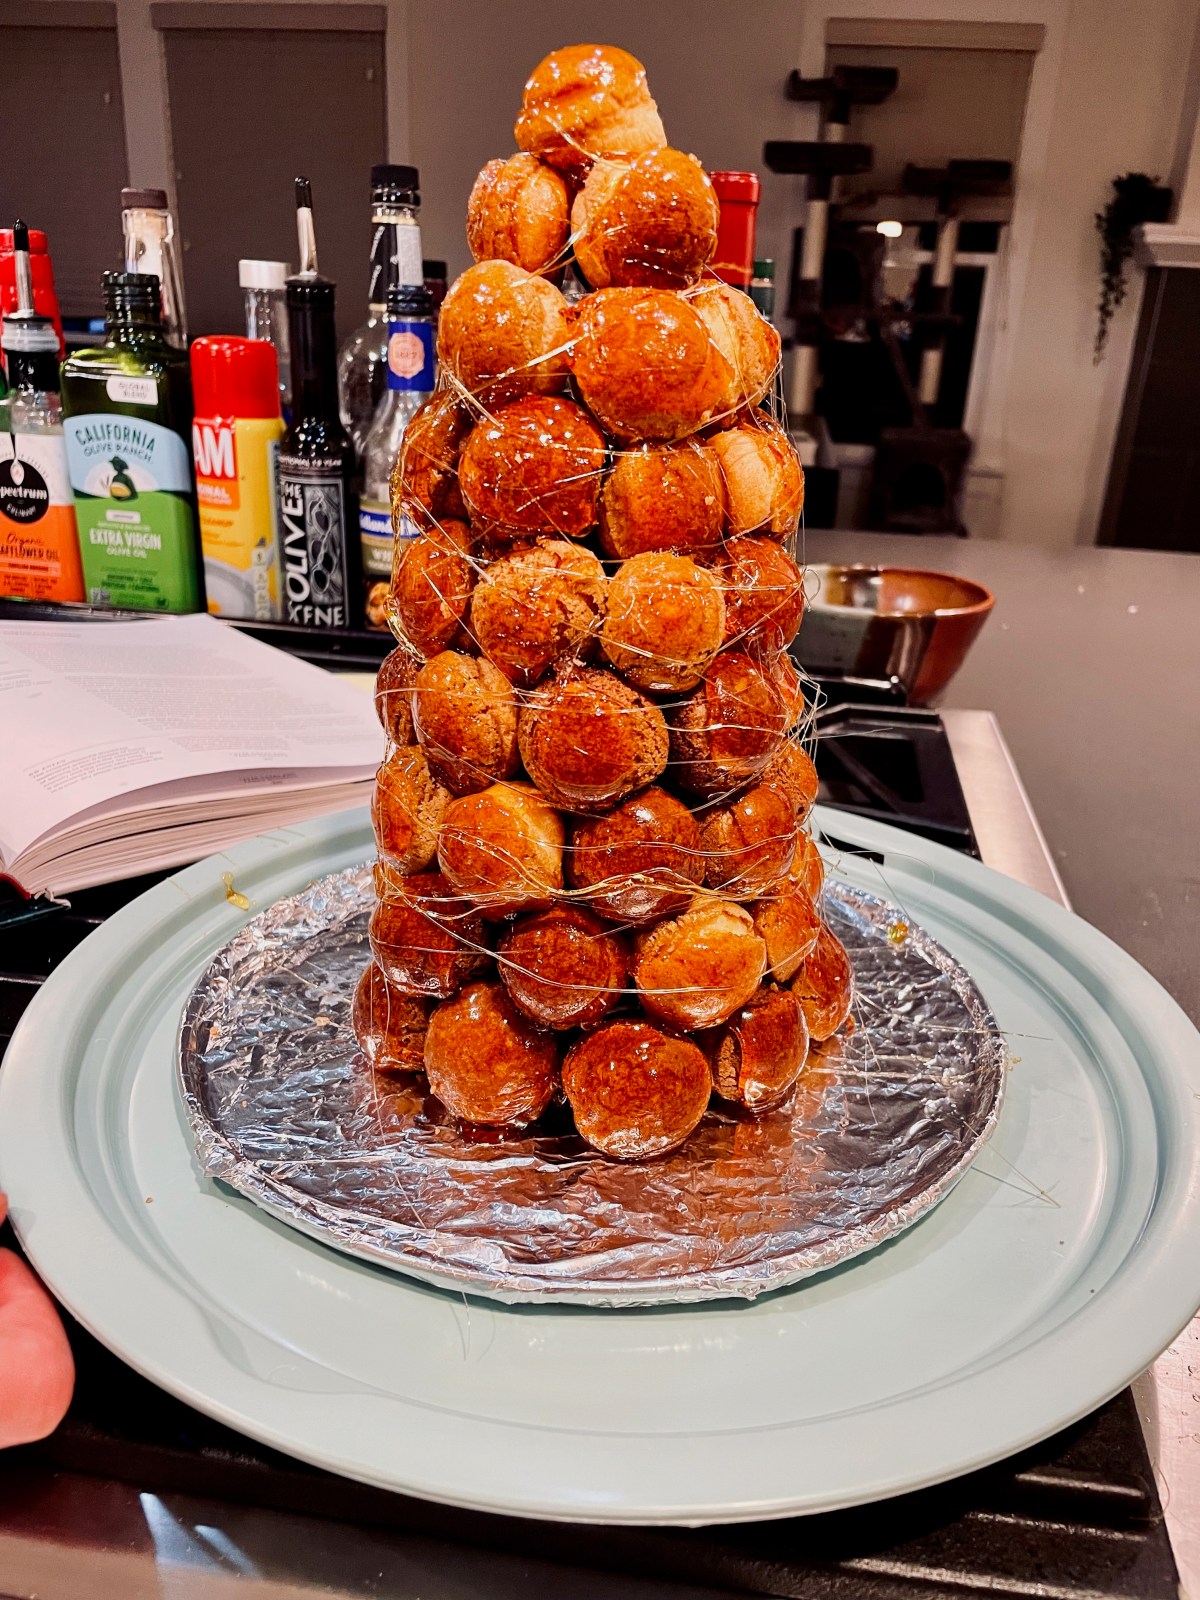
This recipe is quite an undertaking. The final product looks great and is delicious, but if this is your first time making all of the components then set aside a full day to make it. The recipe involves making pâte à choux, pastry cream, and caramel. There are multiple reference videos: here and here. Only attempt this recipe once you have some baking experience. Lastly, make sure to plan out the entire process beforehand. Watch the videos and read the recipe in its entirety a few times before beginning. Don’t learn/watch as you go!
Tip: Feel free to use any of the pastry creams. I can confirm it tastes great with vanilla or chocolate. Black sesame or coconut pastry cream could both work, but I’d only recommend committing to the black sesame if you’ve either made it before or like sesame products (Tahini, Halvah, etc).
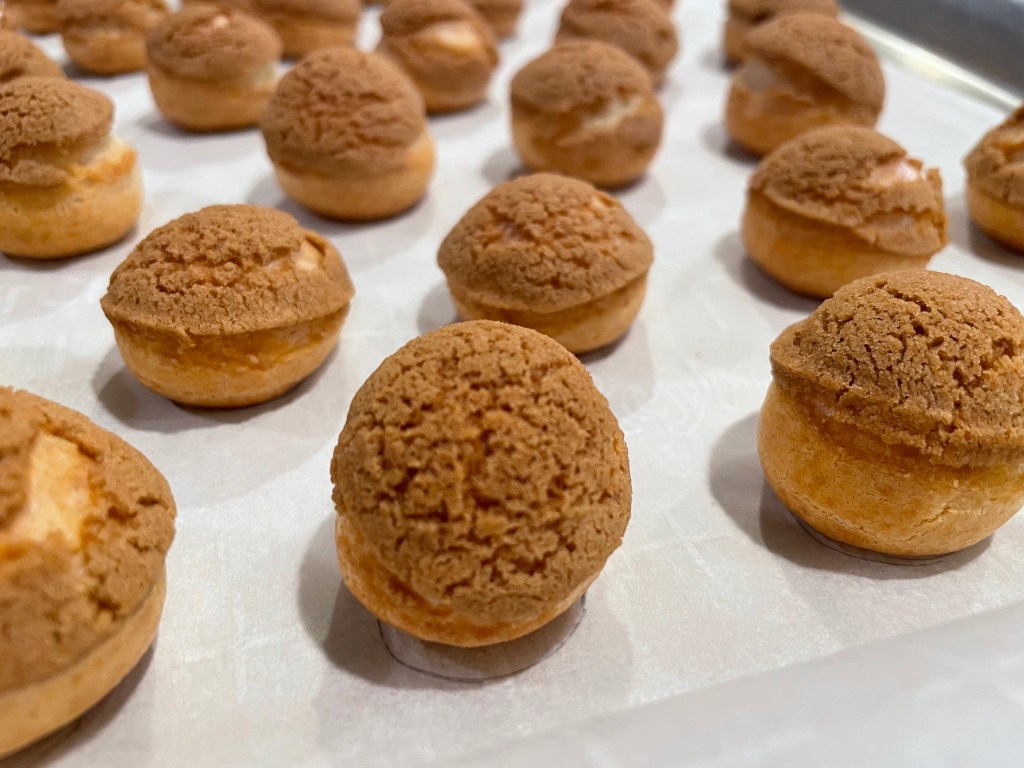
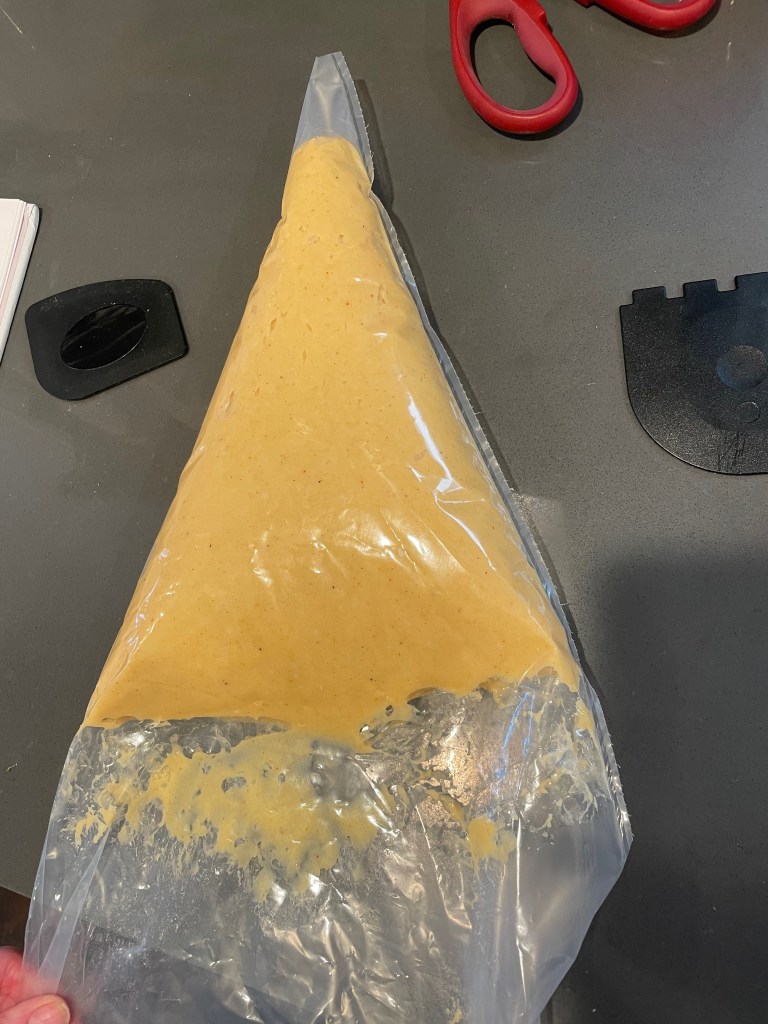
Making The Craquelin
Tip 1: Some argue that this step can be skipped or isn’t necessary. I completely disagree. The craquelin is key to making the taste of each cream puff pop. The sweet flavor and crunchy texture makes it all come together.
Tip 2: Use an offset spatula to lift up the sheet and the craquelin should pretty much fall out. You may need to refrigerate a few times while cutting out the craquelin if the sheet gets too soft to work with.
Making The Pâte à Choux
Tip 1: Claire makes choux for a different recipe in this video, which can serve as a helpful reference.
Tip 2: While the technique described in the book works fine, we found this video to be even better for making choux (we still used the recipe from the book; just not the technique).
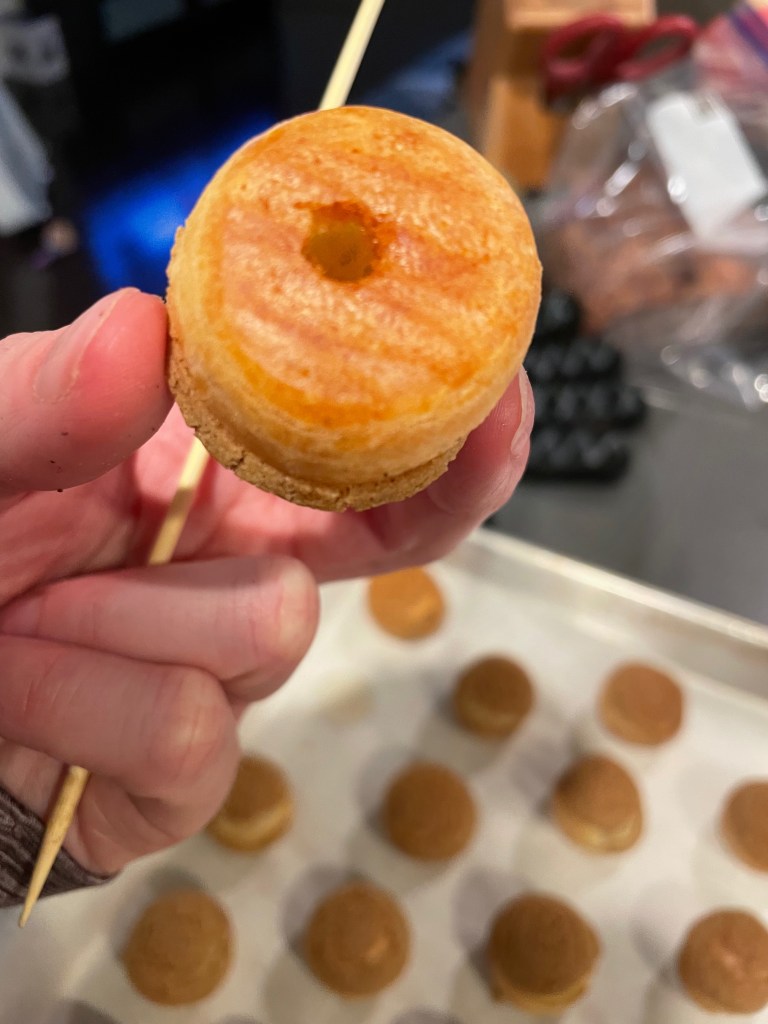
Assembling The Puffs
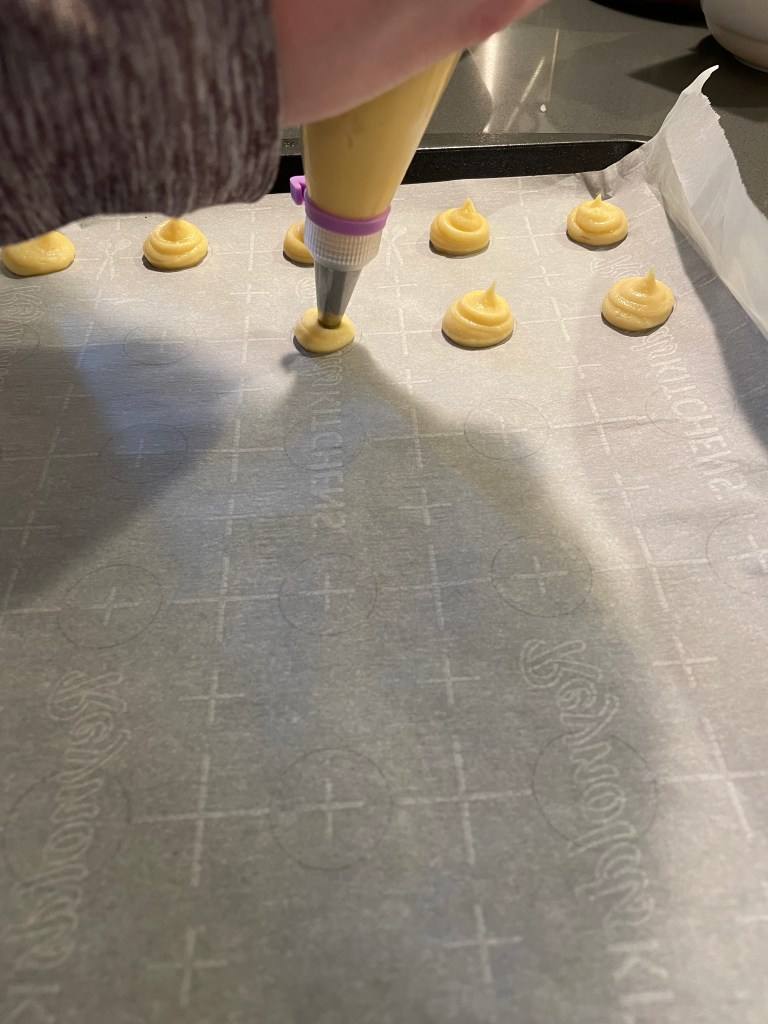
Tip: Using pre-marked (1 inch square) parchment paper will save you a lot of tracing and measuring!
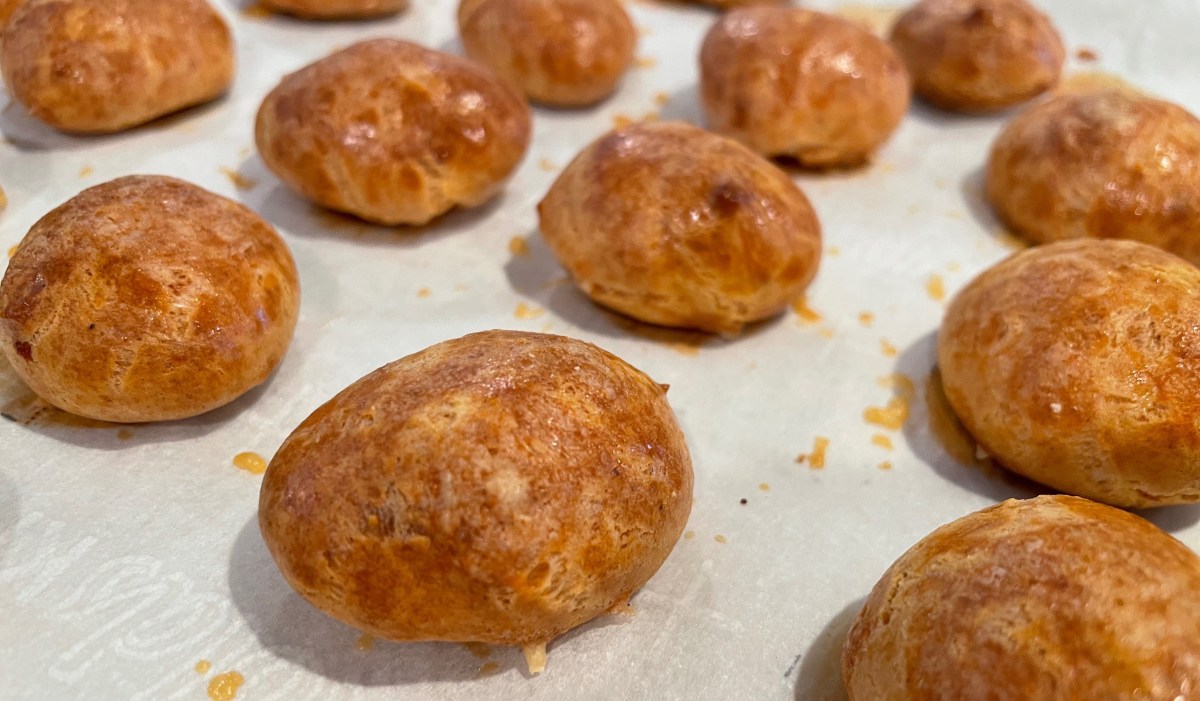
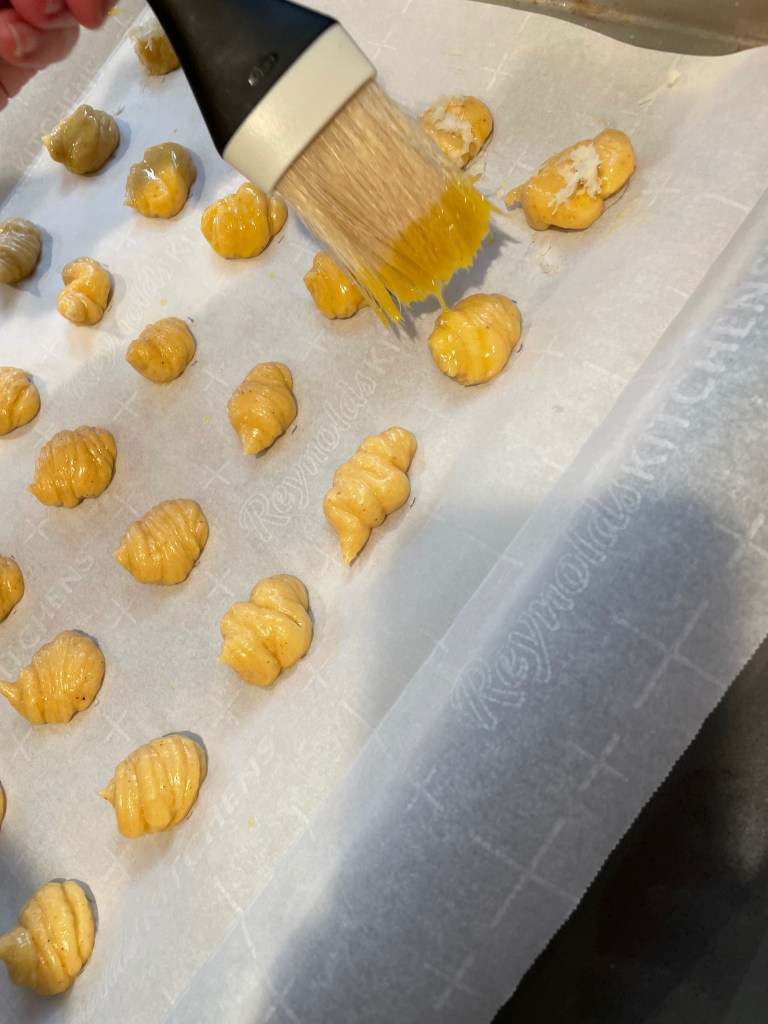
Baking The Puffs
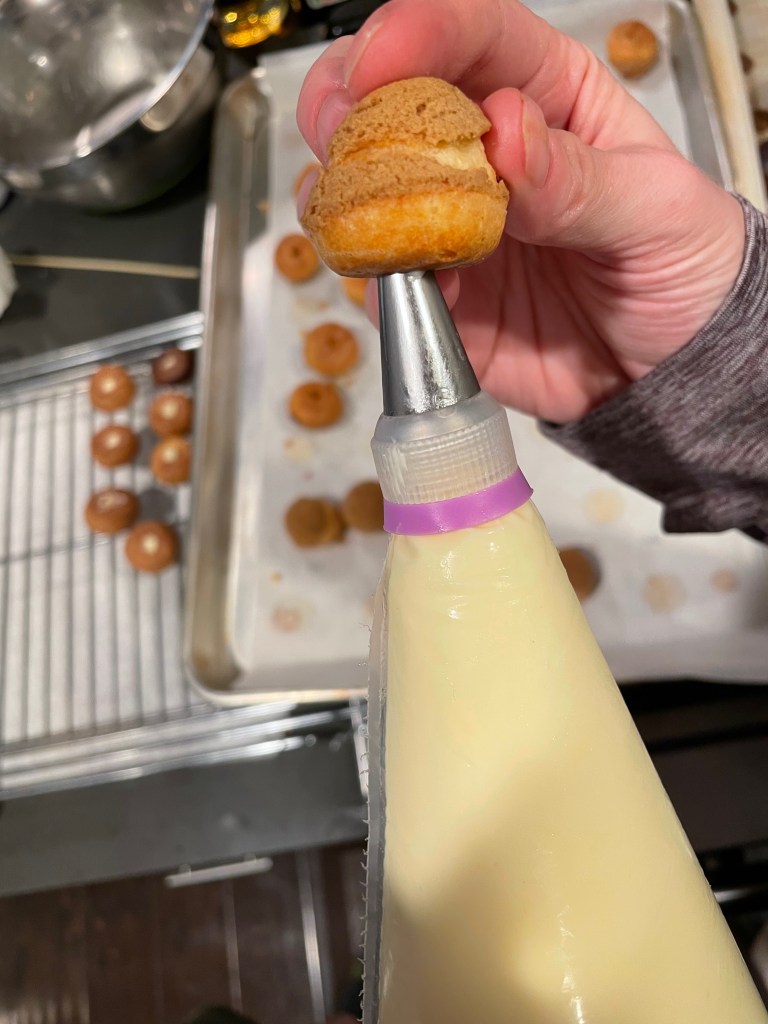
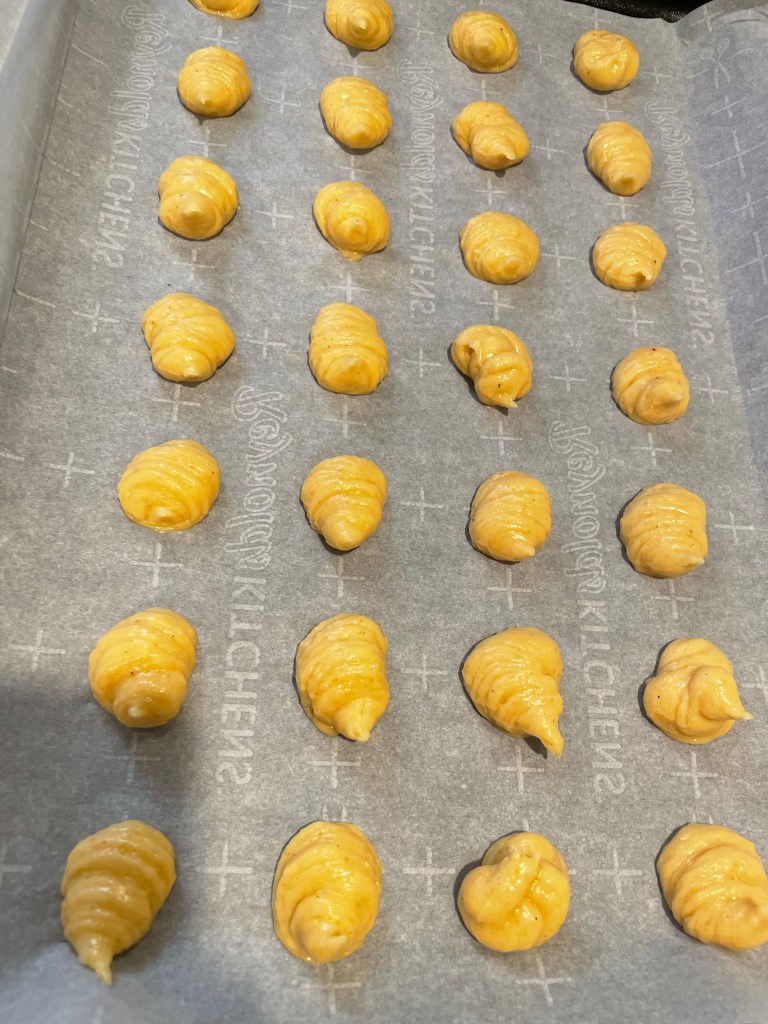
Piping The Puffs
Tip: Using a piping tip makes the process much easier.
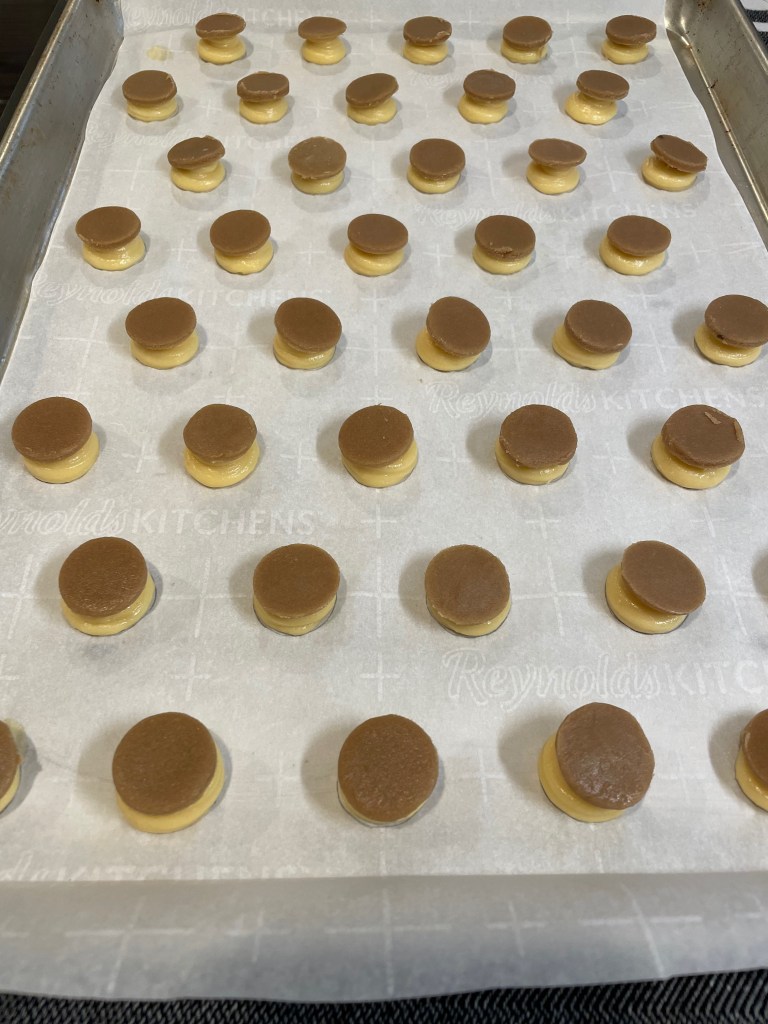
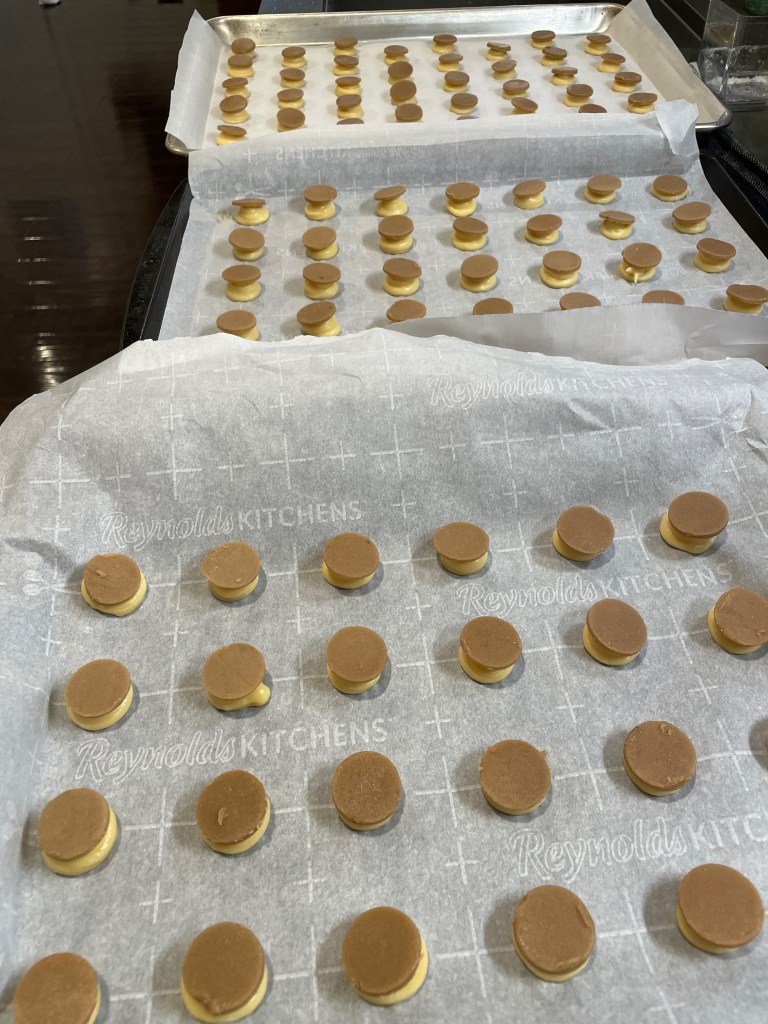
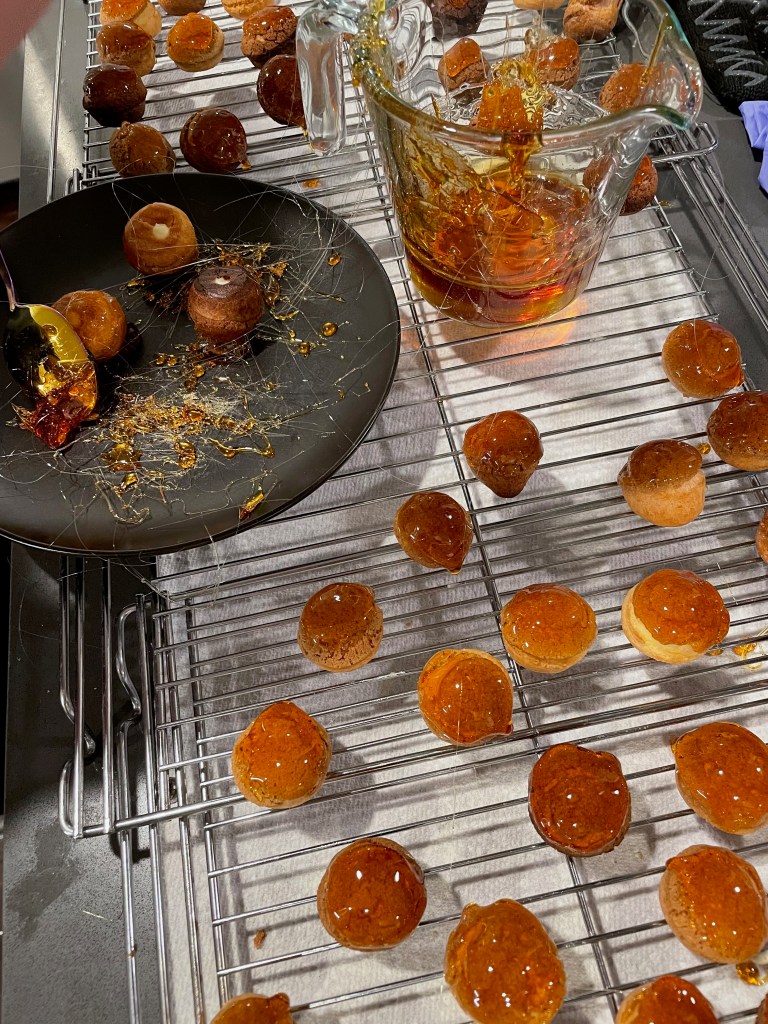
Applying The Caramel And Assembling The Croquembouche
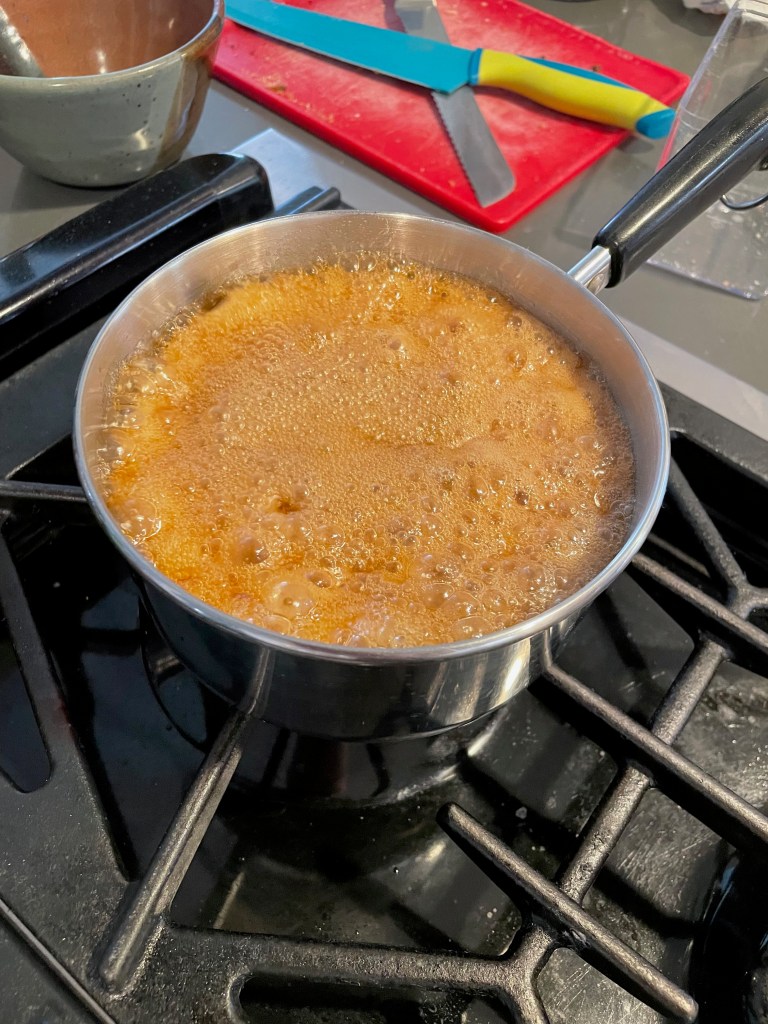
Tip 1: Be very careful when working with the caramel. For a process as intensive and complex as this seriously consider wearing gloves so you can easily take them off should you get any hot caramel on yourself.
Tip 2: Work fast (be careful though) or the caramel will harden too much. Consider using a more insulated container for the caramel so it doesn’t harden as fast. Alternatively, simply heat the caramel up briefly in the microwave while keeping a very close eye on it.
Tip 3: Plan out your structure for the tower ahead of time. After each layer check your inwards slope with a ruler to make sure the final layer will be small enough (in circumference).
Final Product
Key Takeaways
Read all of the tips; they’re all actually quite important for this recipe.
Final Score: 4/5 – The final product is a spectacle and is actually delicious as well. The recipe is definitely an undertaking though. The key to success is planning and rehearsing the steps in advance.
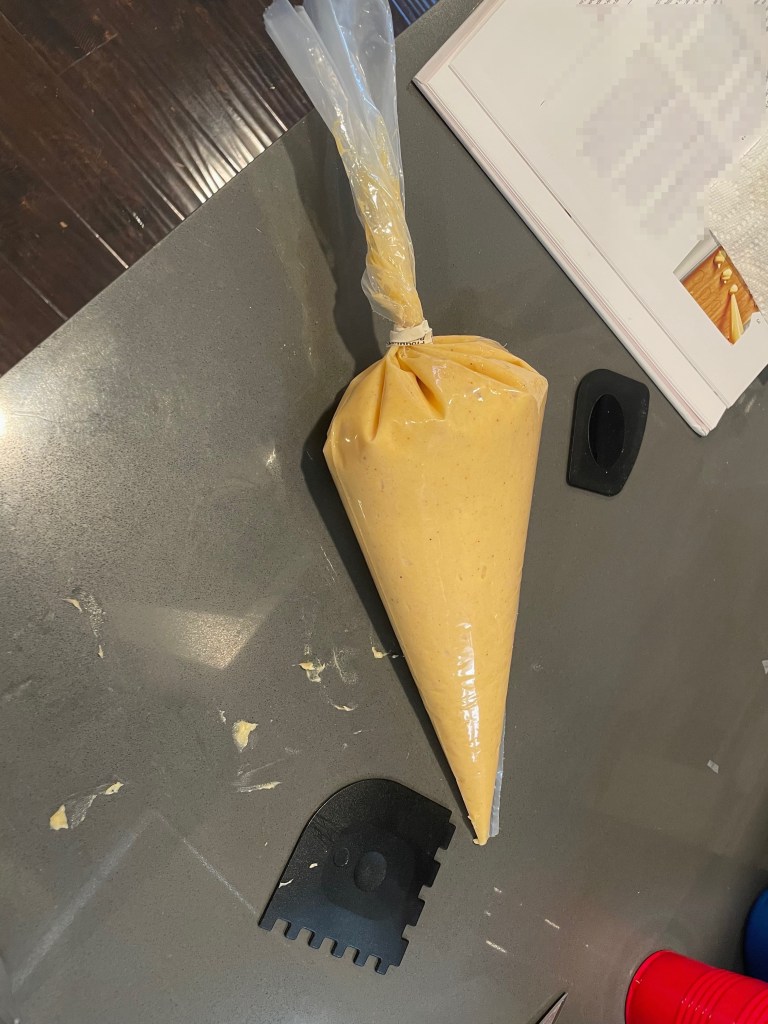
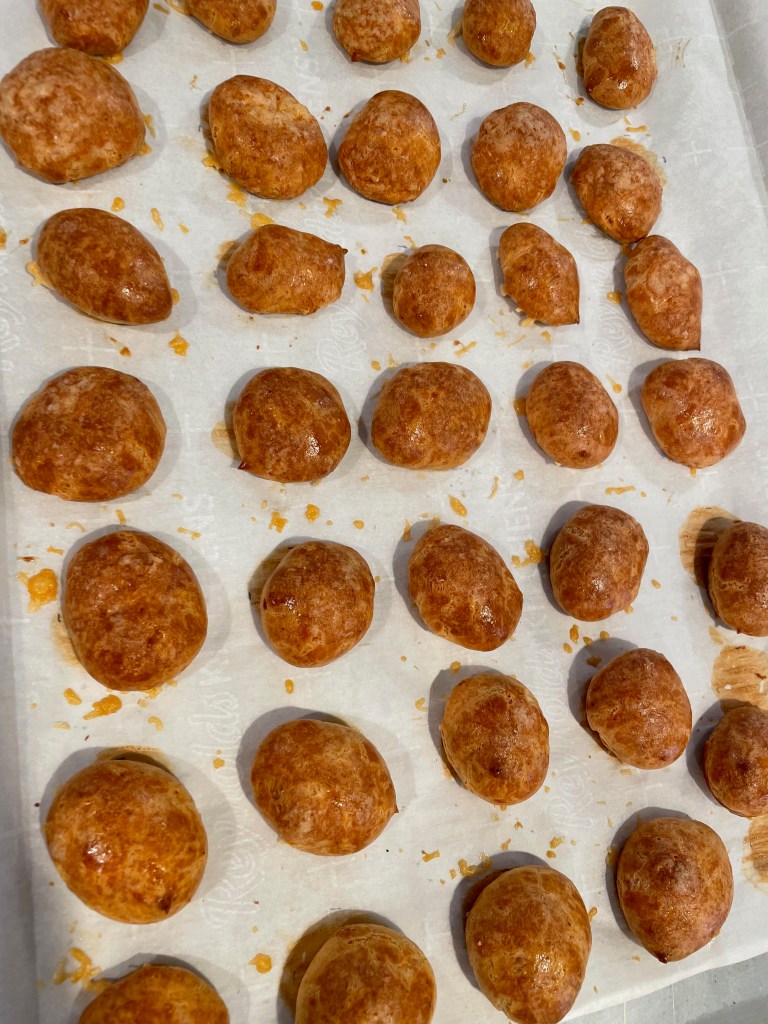
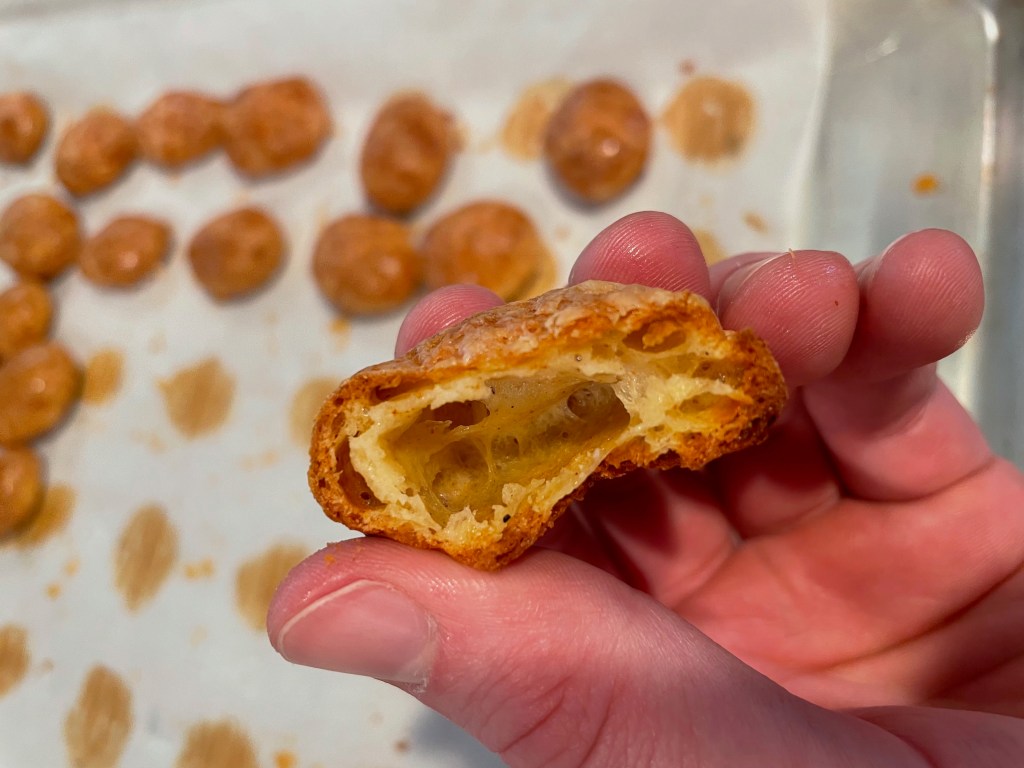
This recipe is basically pâte à choux with gruyère thrown in. It’s a good recipe for learning to make choux as that’s 95% of the work. This is definitely more of a savory dessert than a sweet one. The end result is good, but make sure you get quality cheese as that will be the primary taste that comes through. At the same time, don’t get cheese that’s too strong otherwise the taste may be overpowering.
Tip 1: Claire makes choux for a different recipe in this video, which can serve as a helpful reference.
Tip 2: While the technique described in the book works fine, we found this video to be even better for making choux (we still used the recipe from the book; just not the technique).