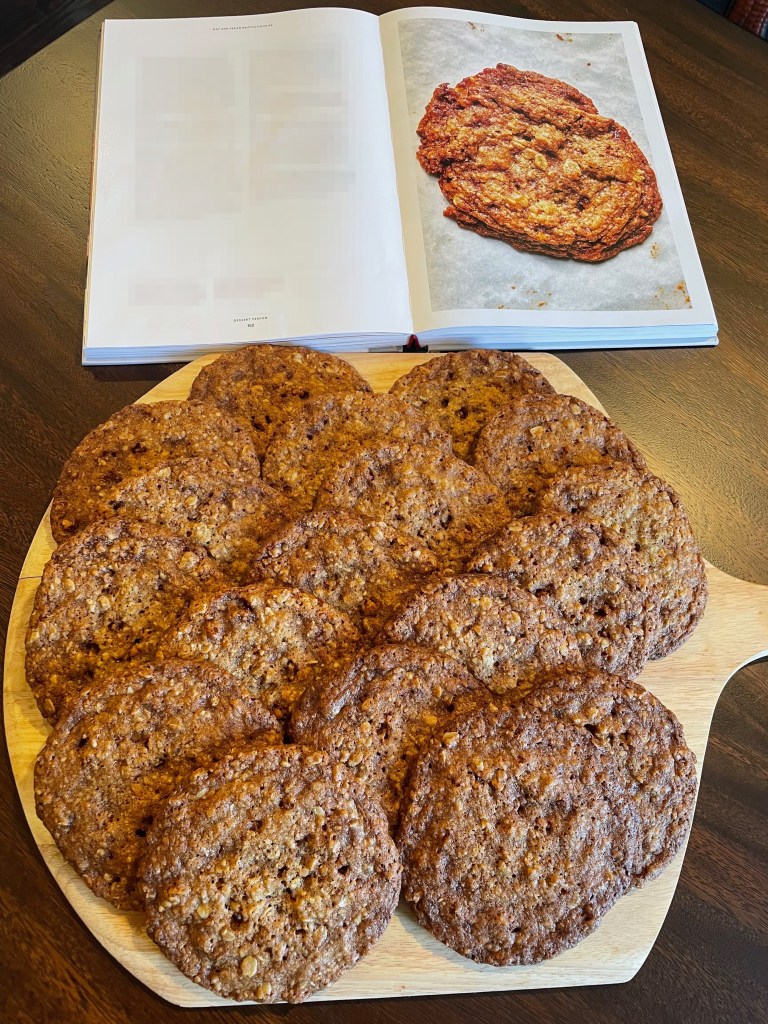
Introduction
This is a great chocolate cake with an even better frosting. Similarly, the frosting is much more difficult to make than the cake. Note that there is a video available that explains how to make the frosting (there is not one for the cake). Keep in mind that the video instructions are slightly different at times. We generally followed the video instructions, but see the tips below for more information. This cake can be made in a relatively quickly time frame, but you’ll be busy for most of it. Make sure to let the ingredients come to room temperature ahead of time though (and cool completely). This is very important for this recipe (both cake and frosting).
Recipe Outline
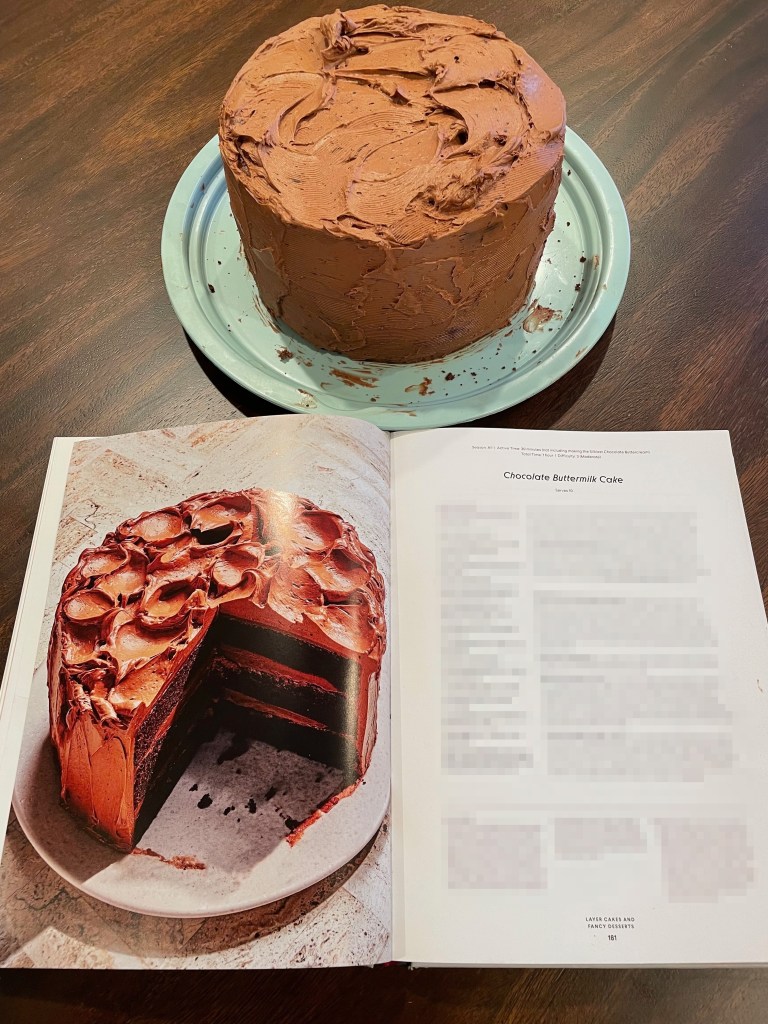
| Recipe: Chocolate Buttermilk Cake | Special Equipment: Three 8 Inch Cake Pans, Stand Mixer, Instant-Read Thermometer |
| Source: Dessert Person | Time: 2.5 Hours |
| Author: Claire Saffitz | Difficulty: 3/5 |
| Type: Dessert (Baking) | Score: ★★★★☆ |
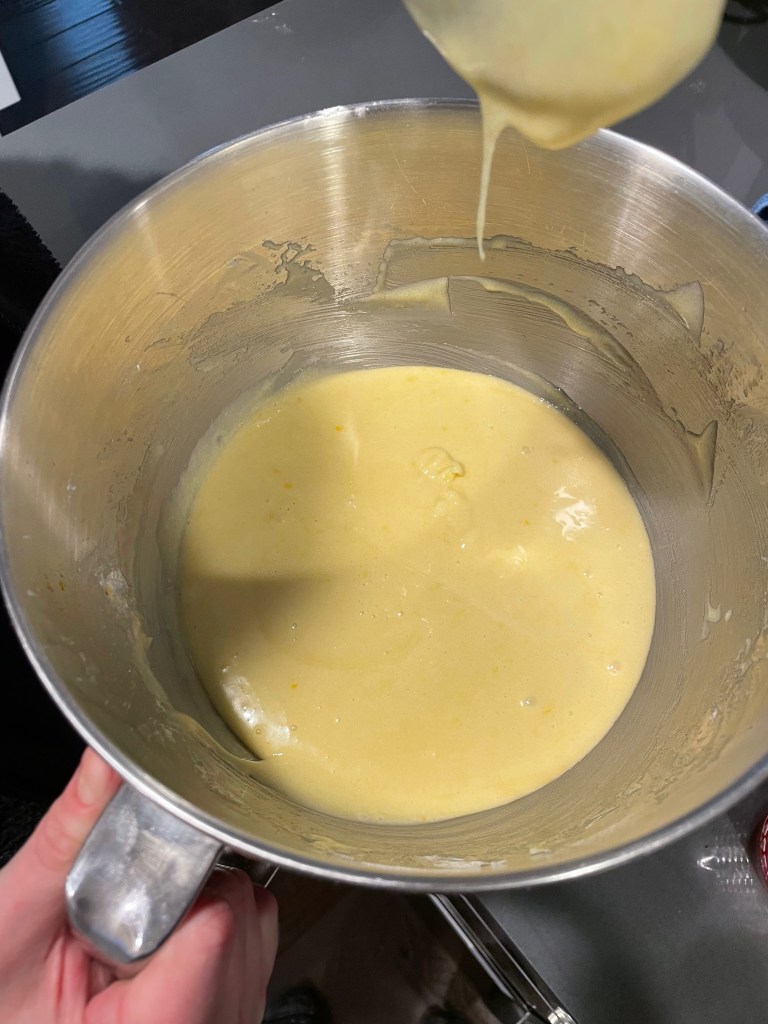
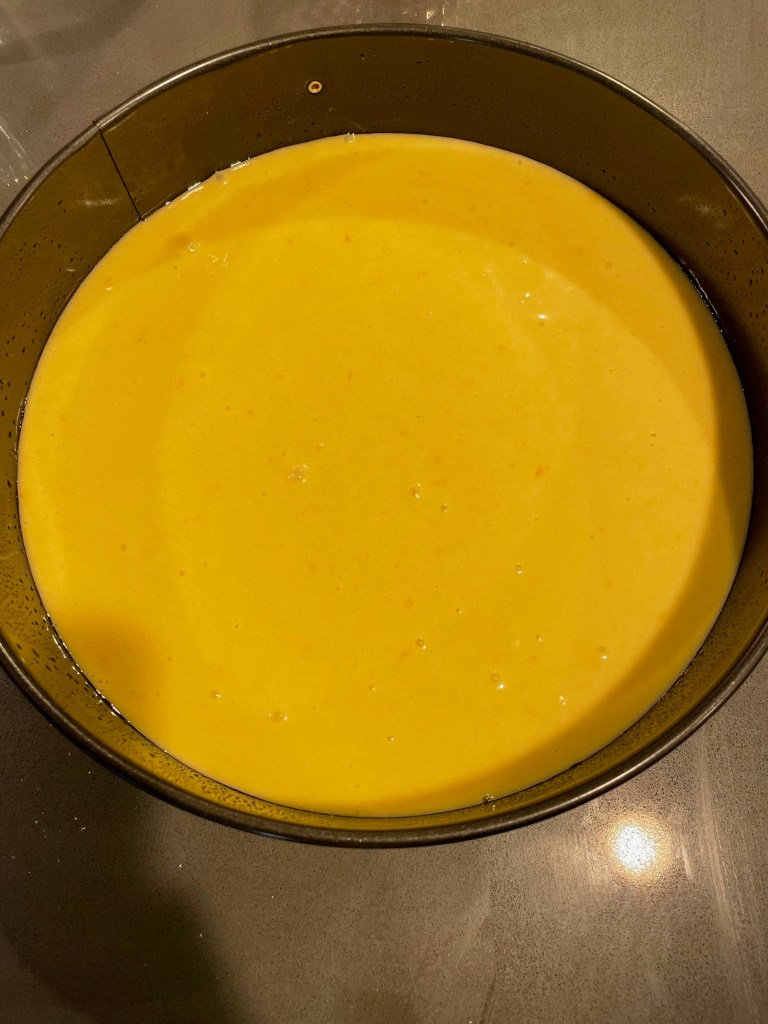
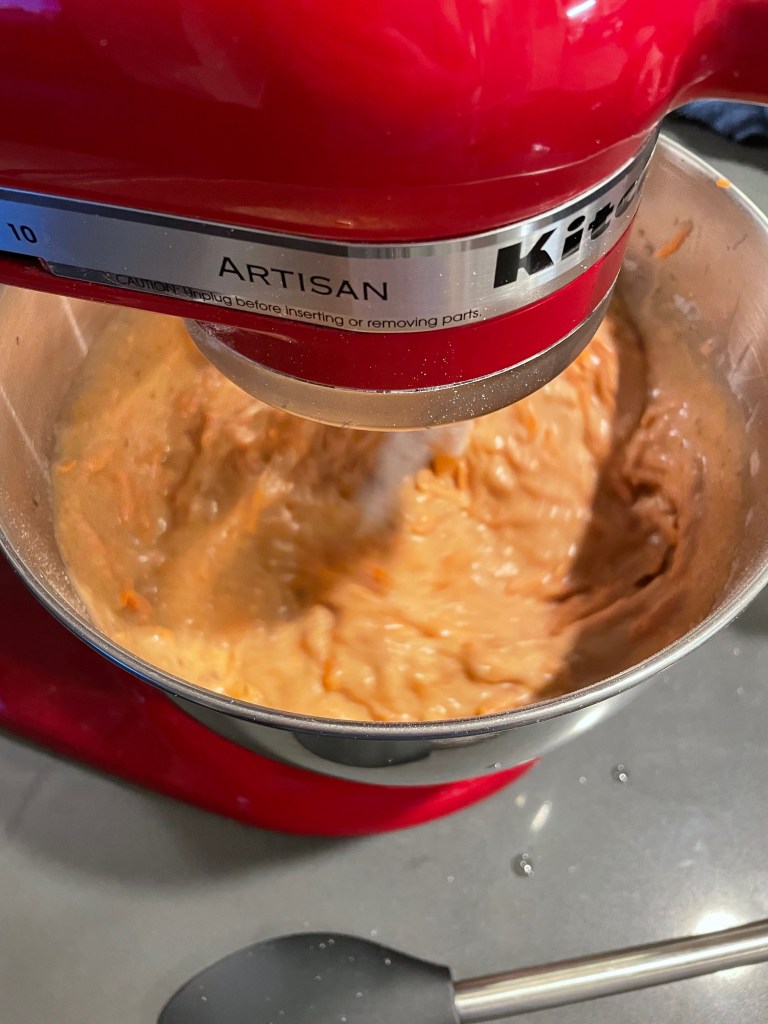
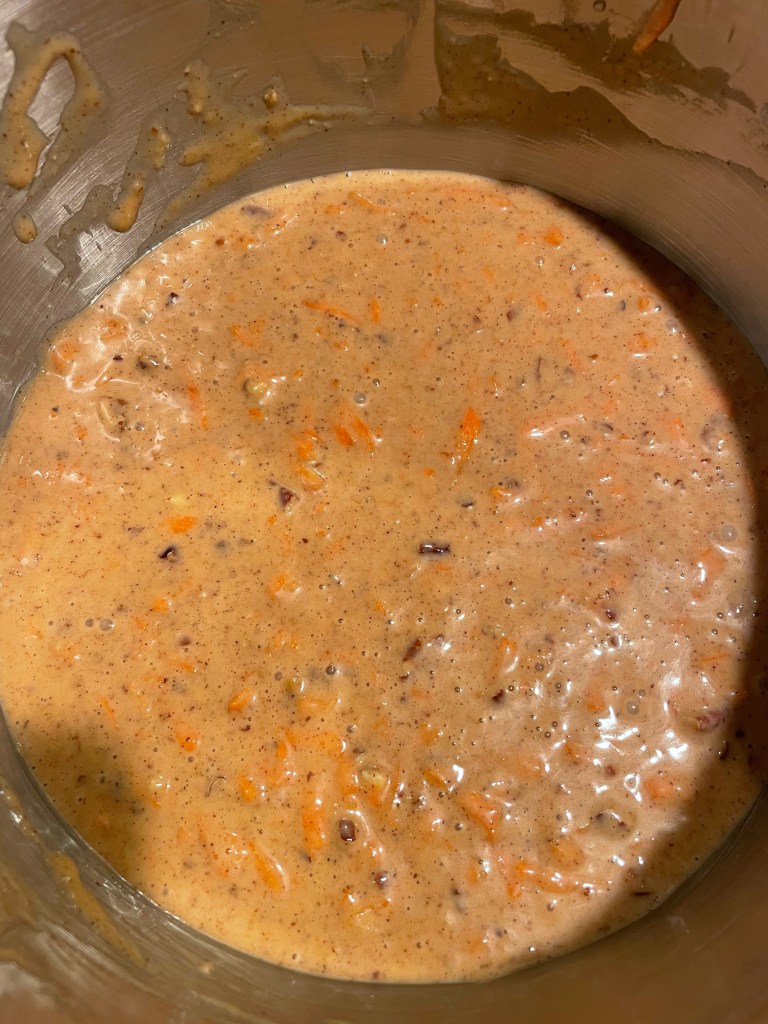
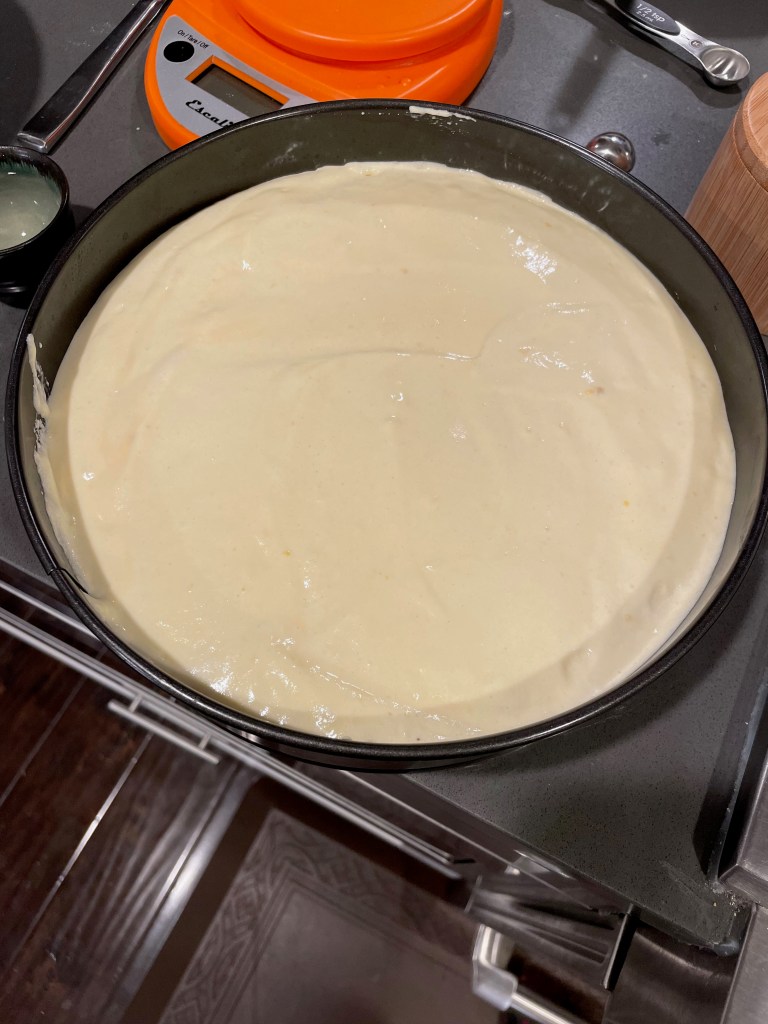
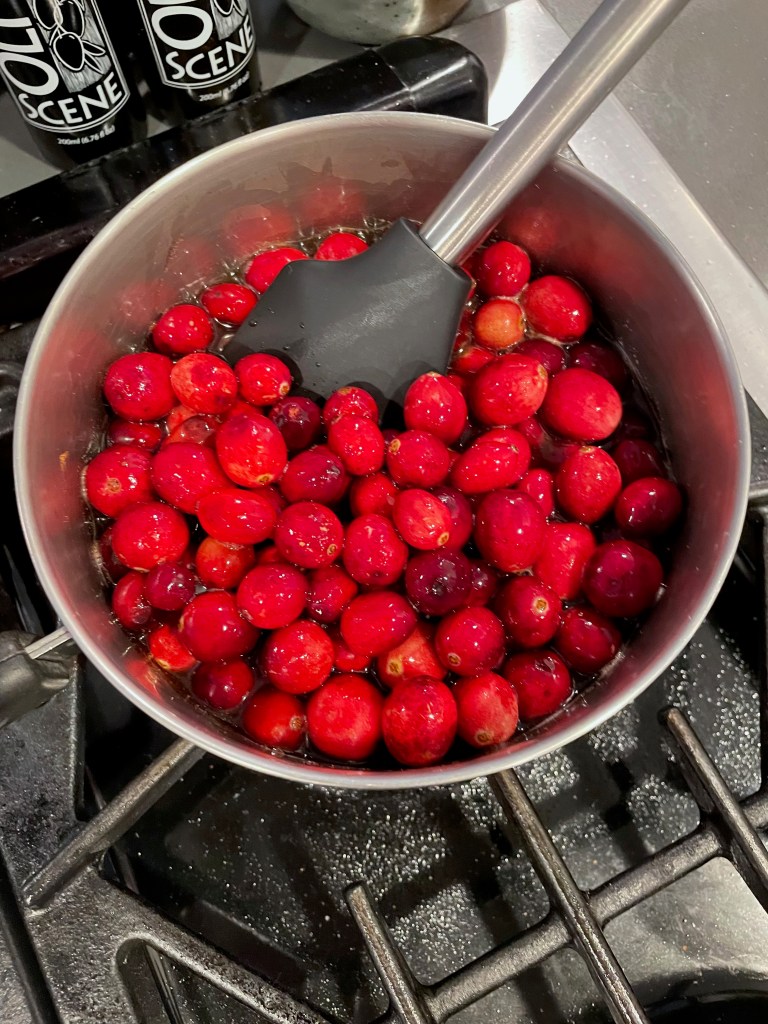
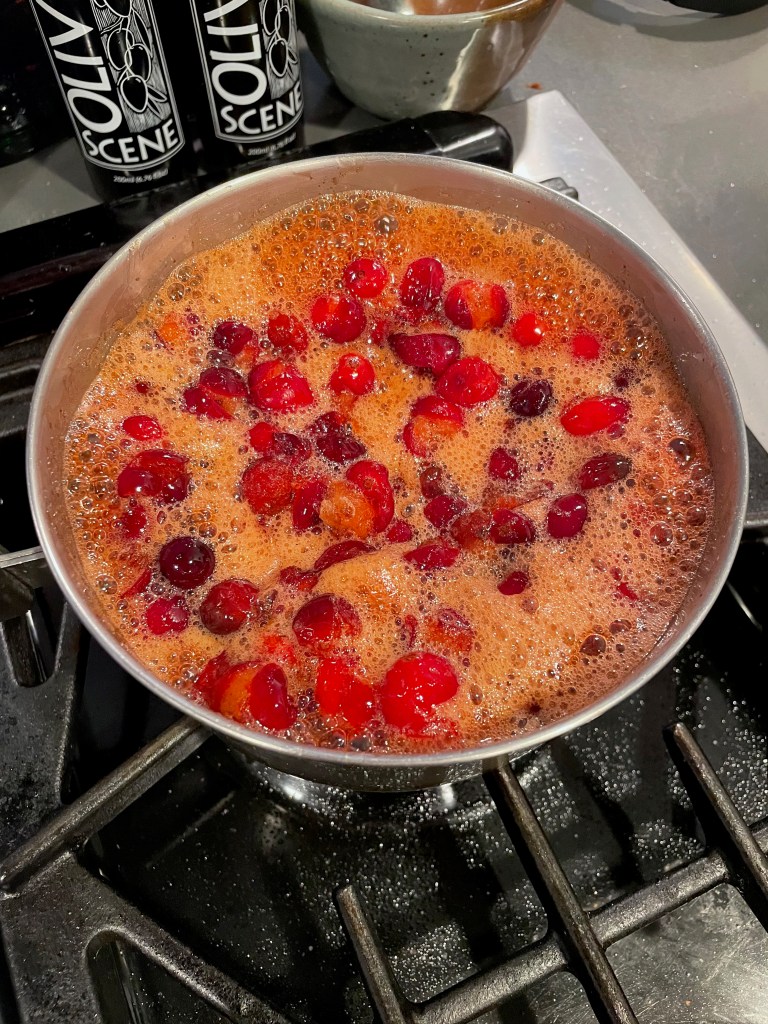
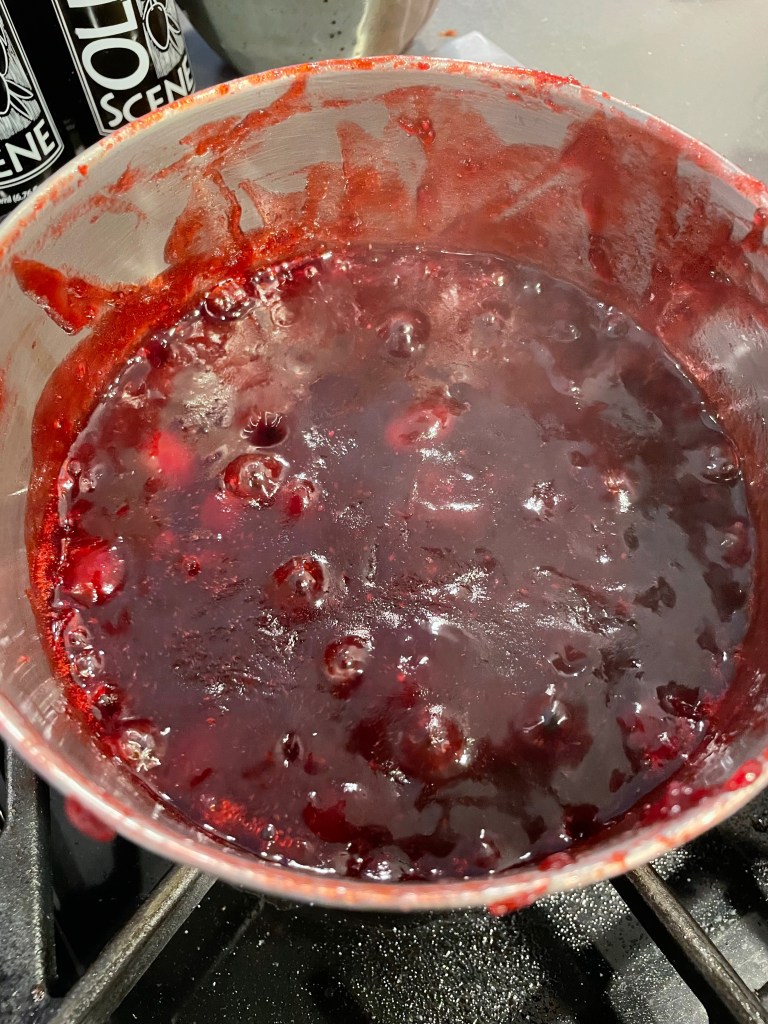
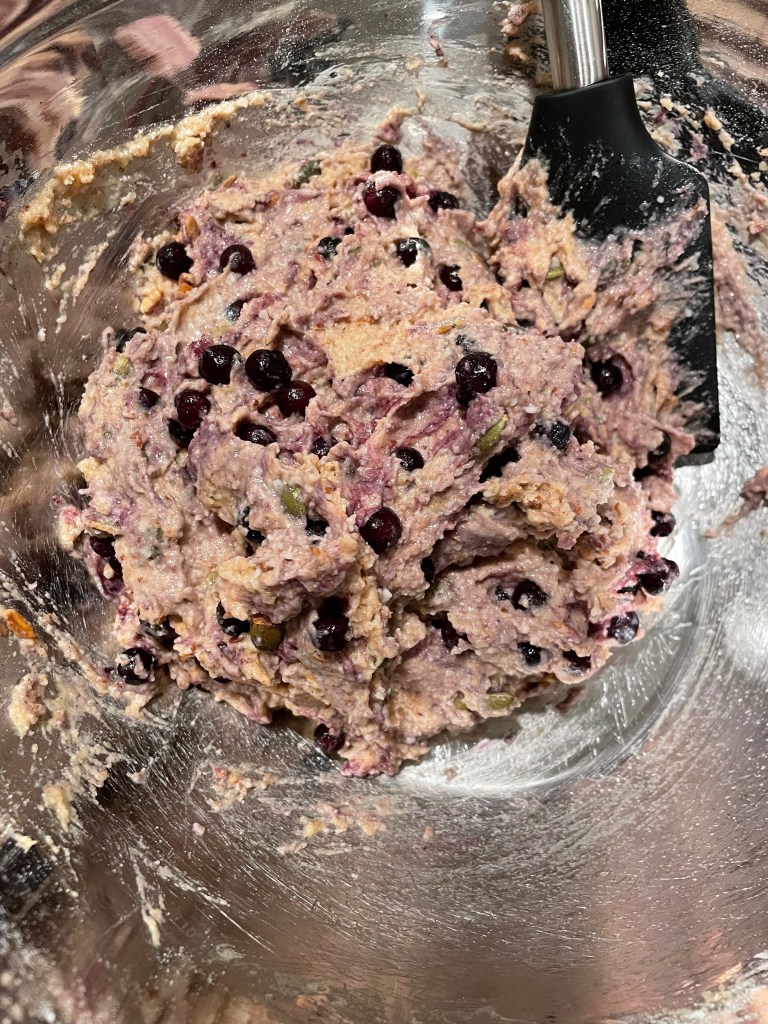
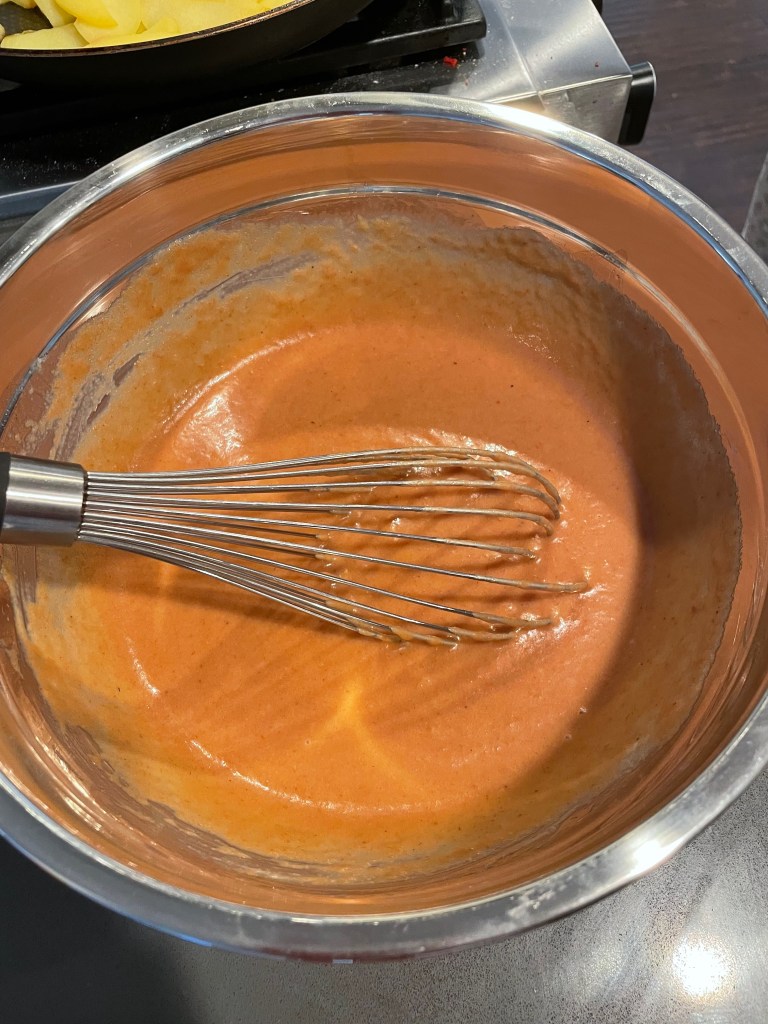
Making The Batter


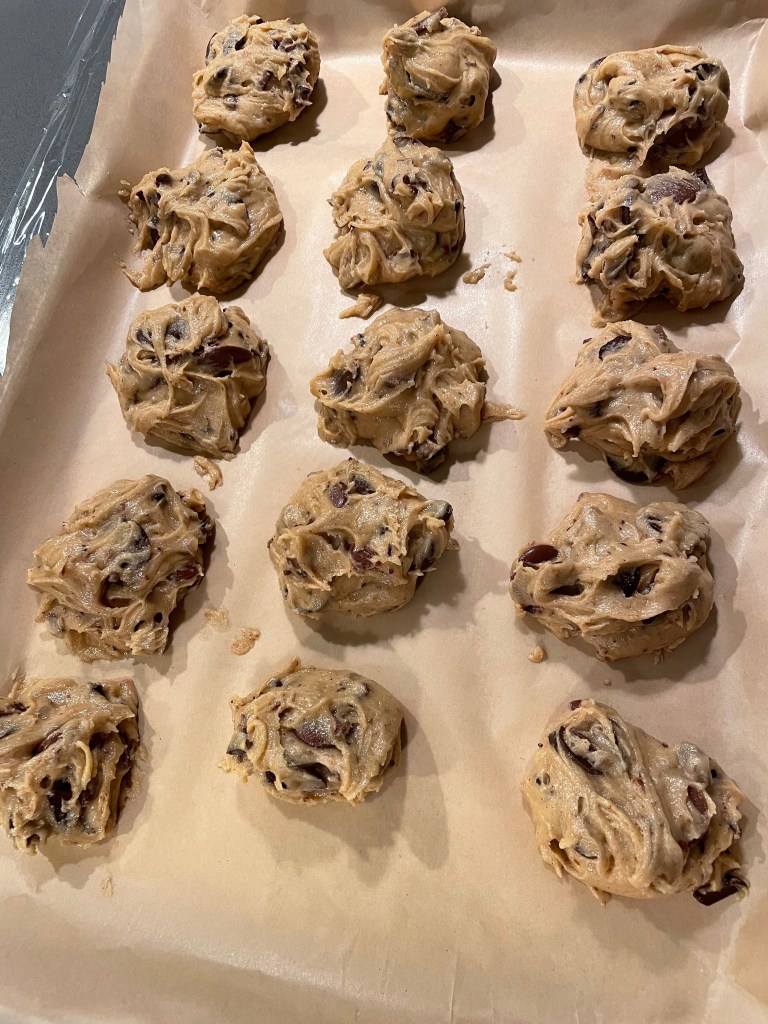
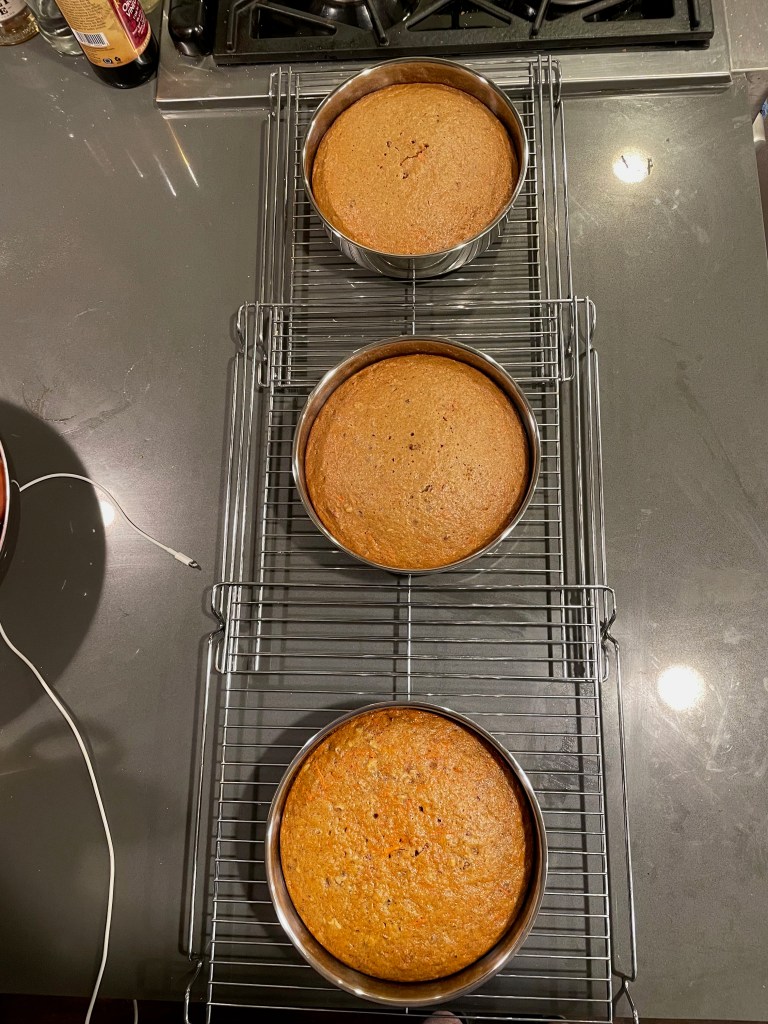
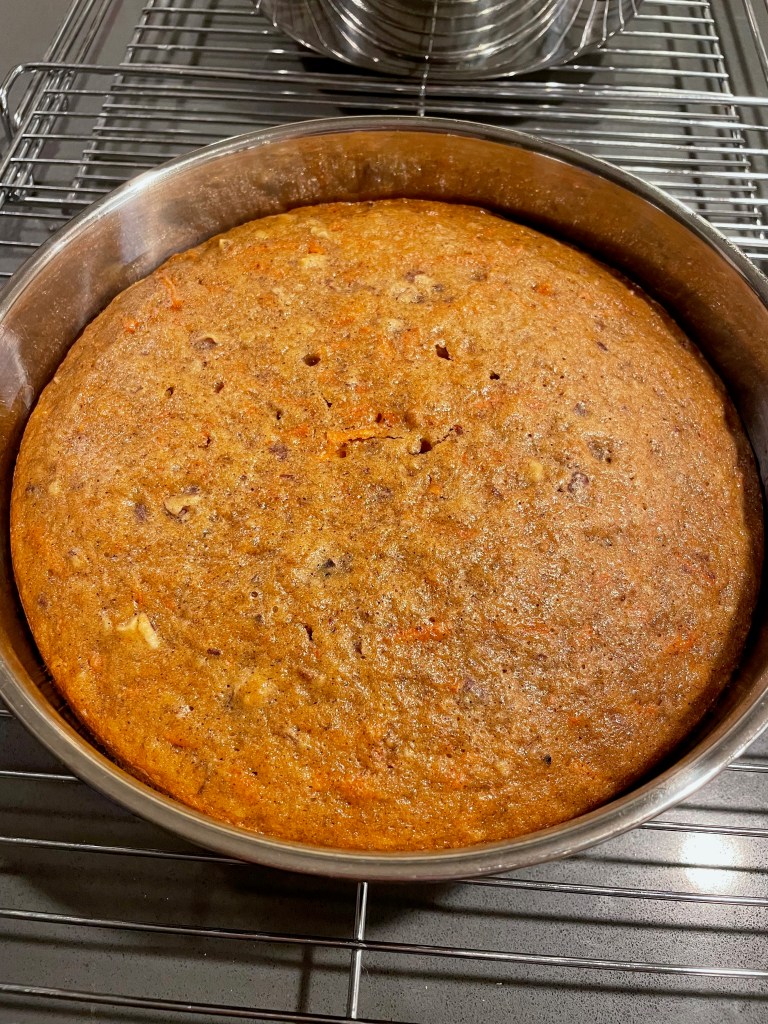
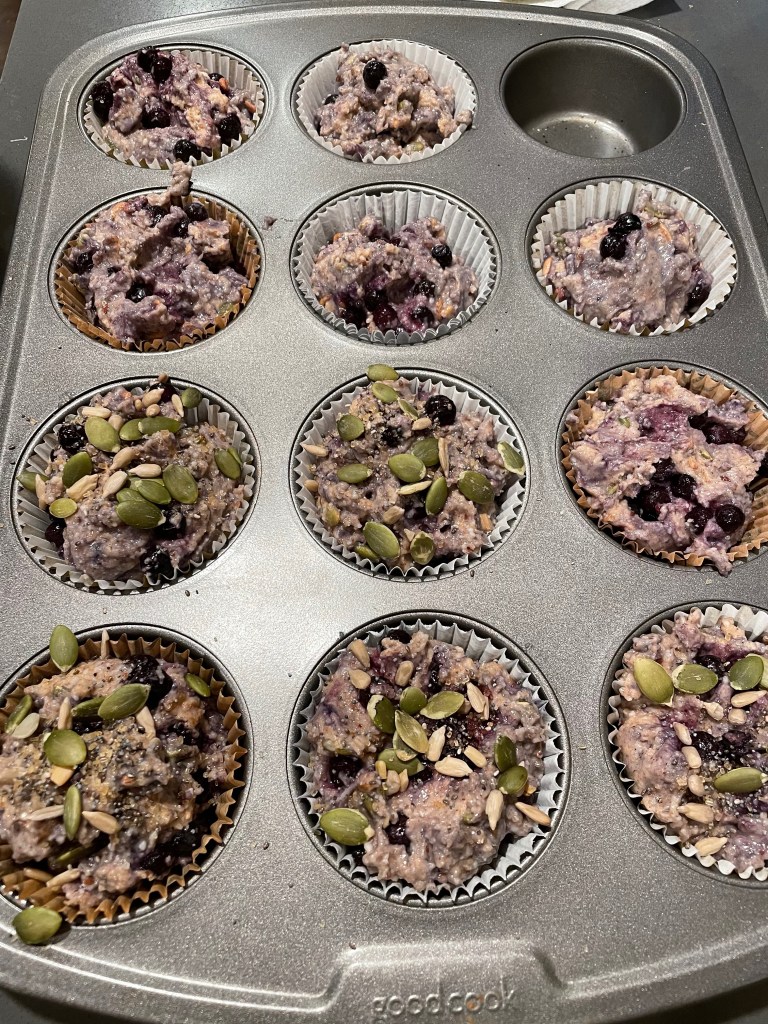
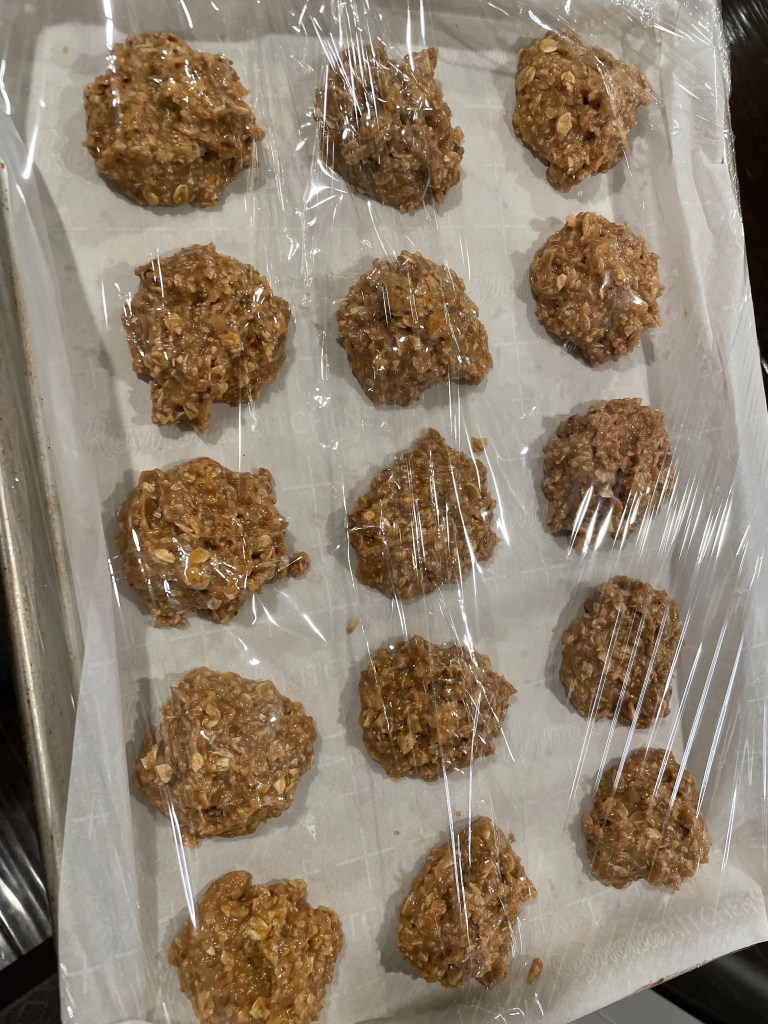
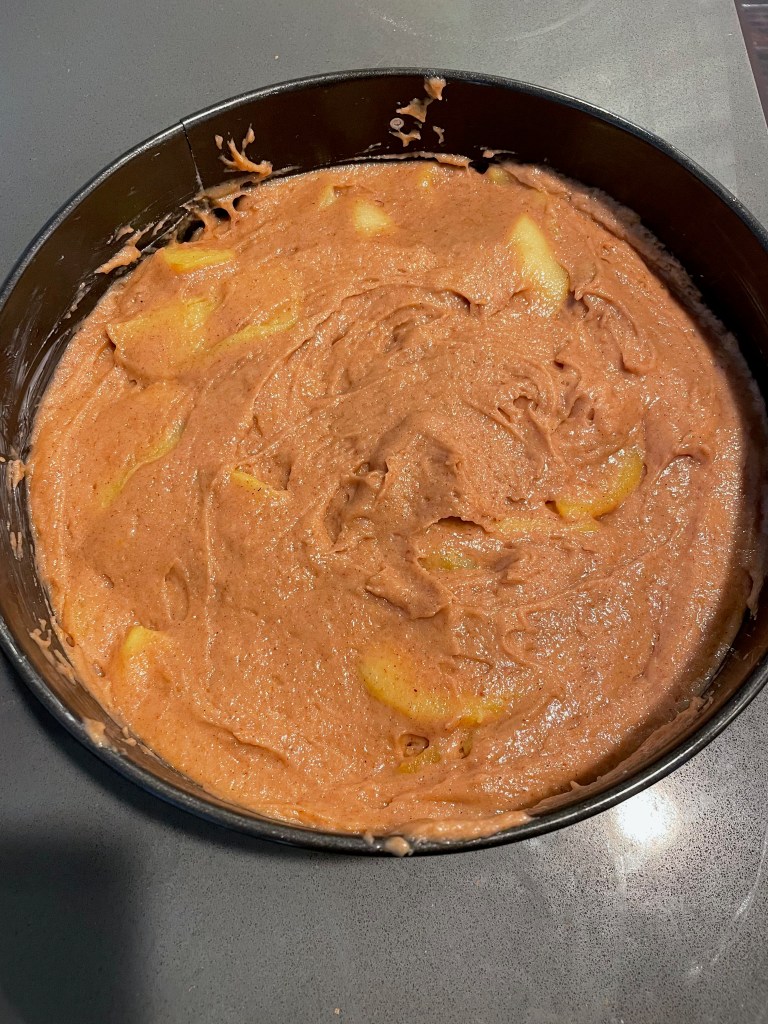
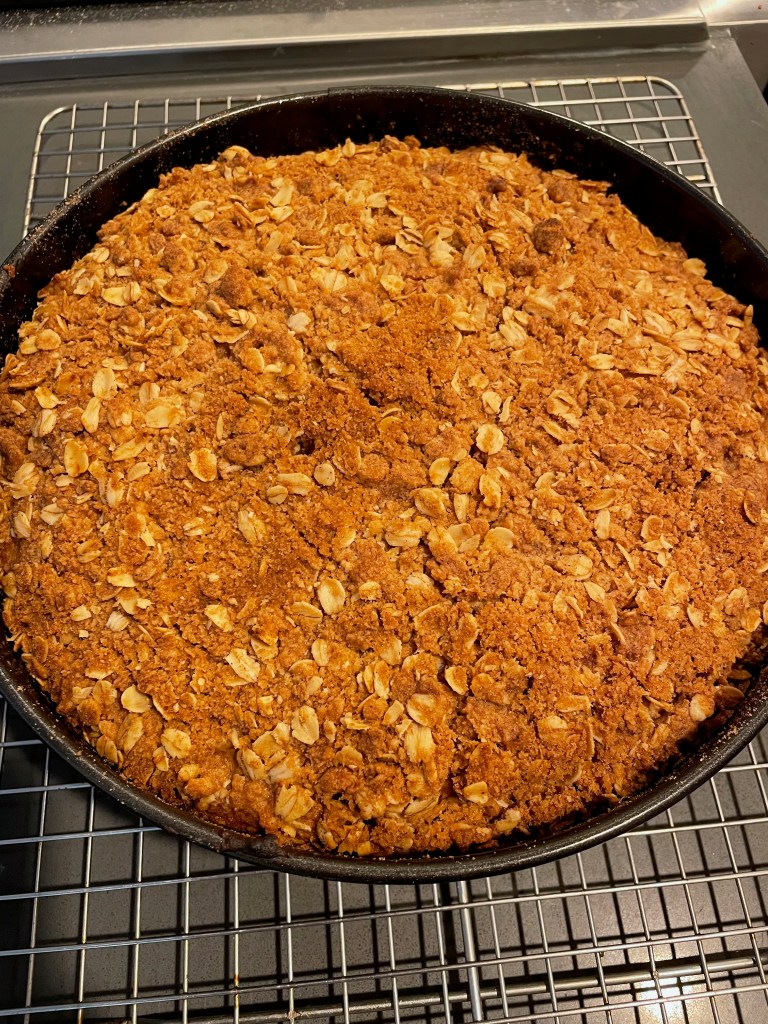
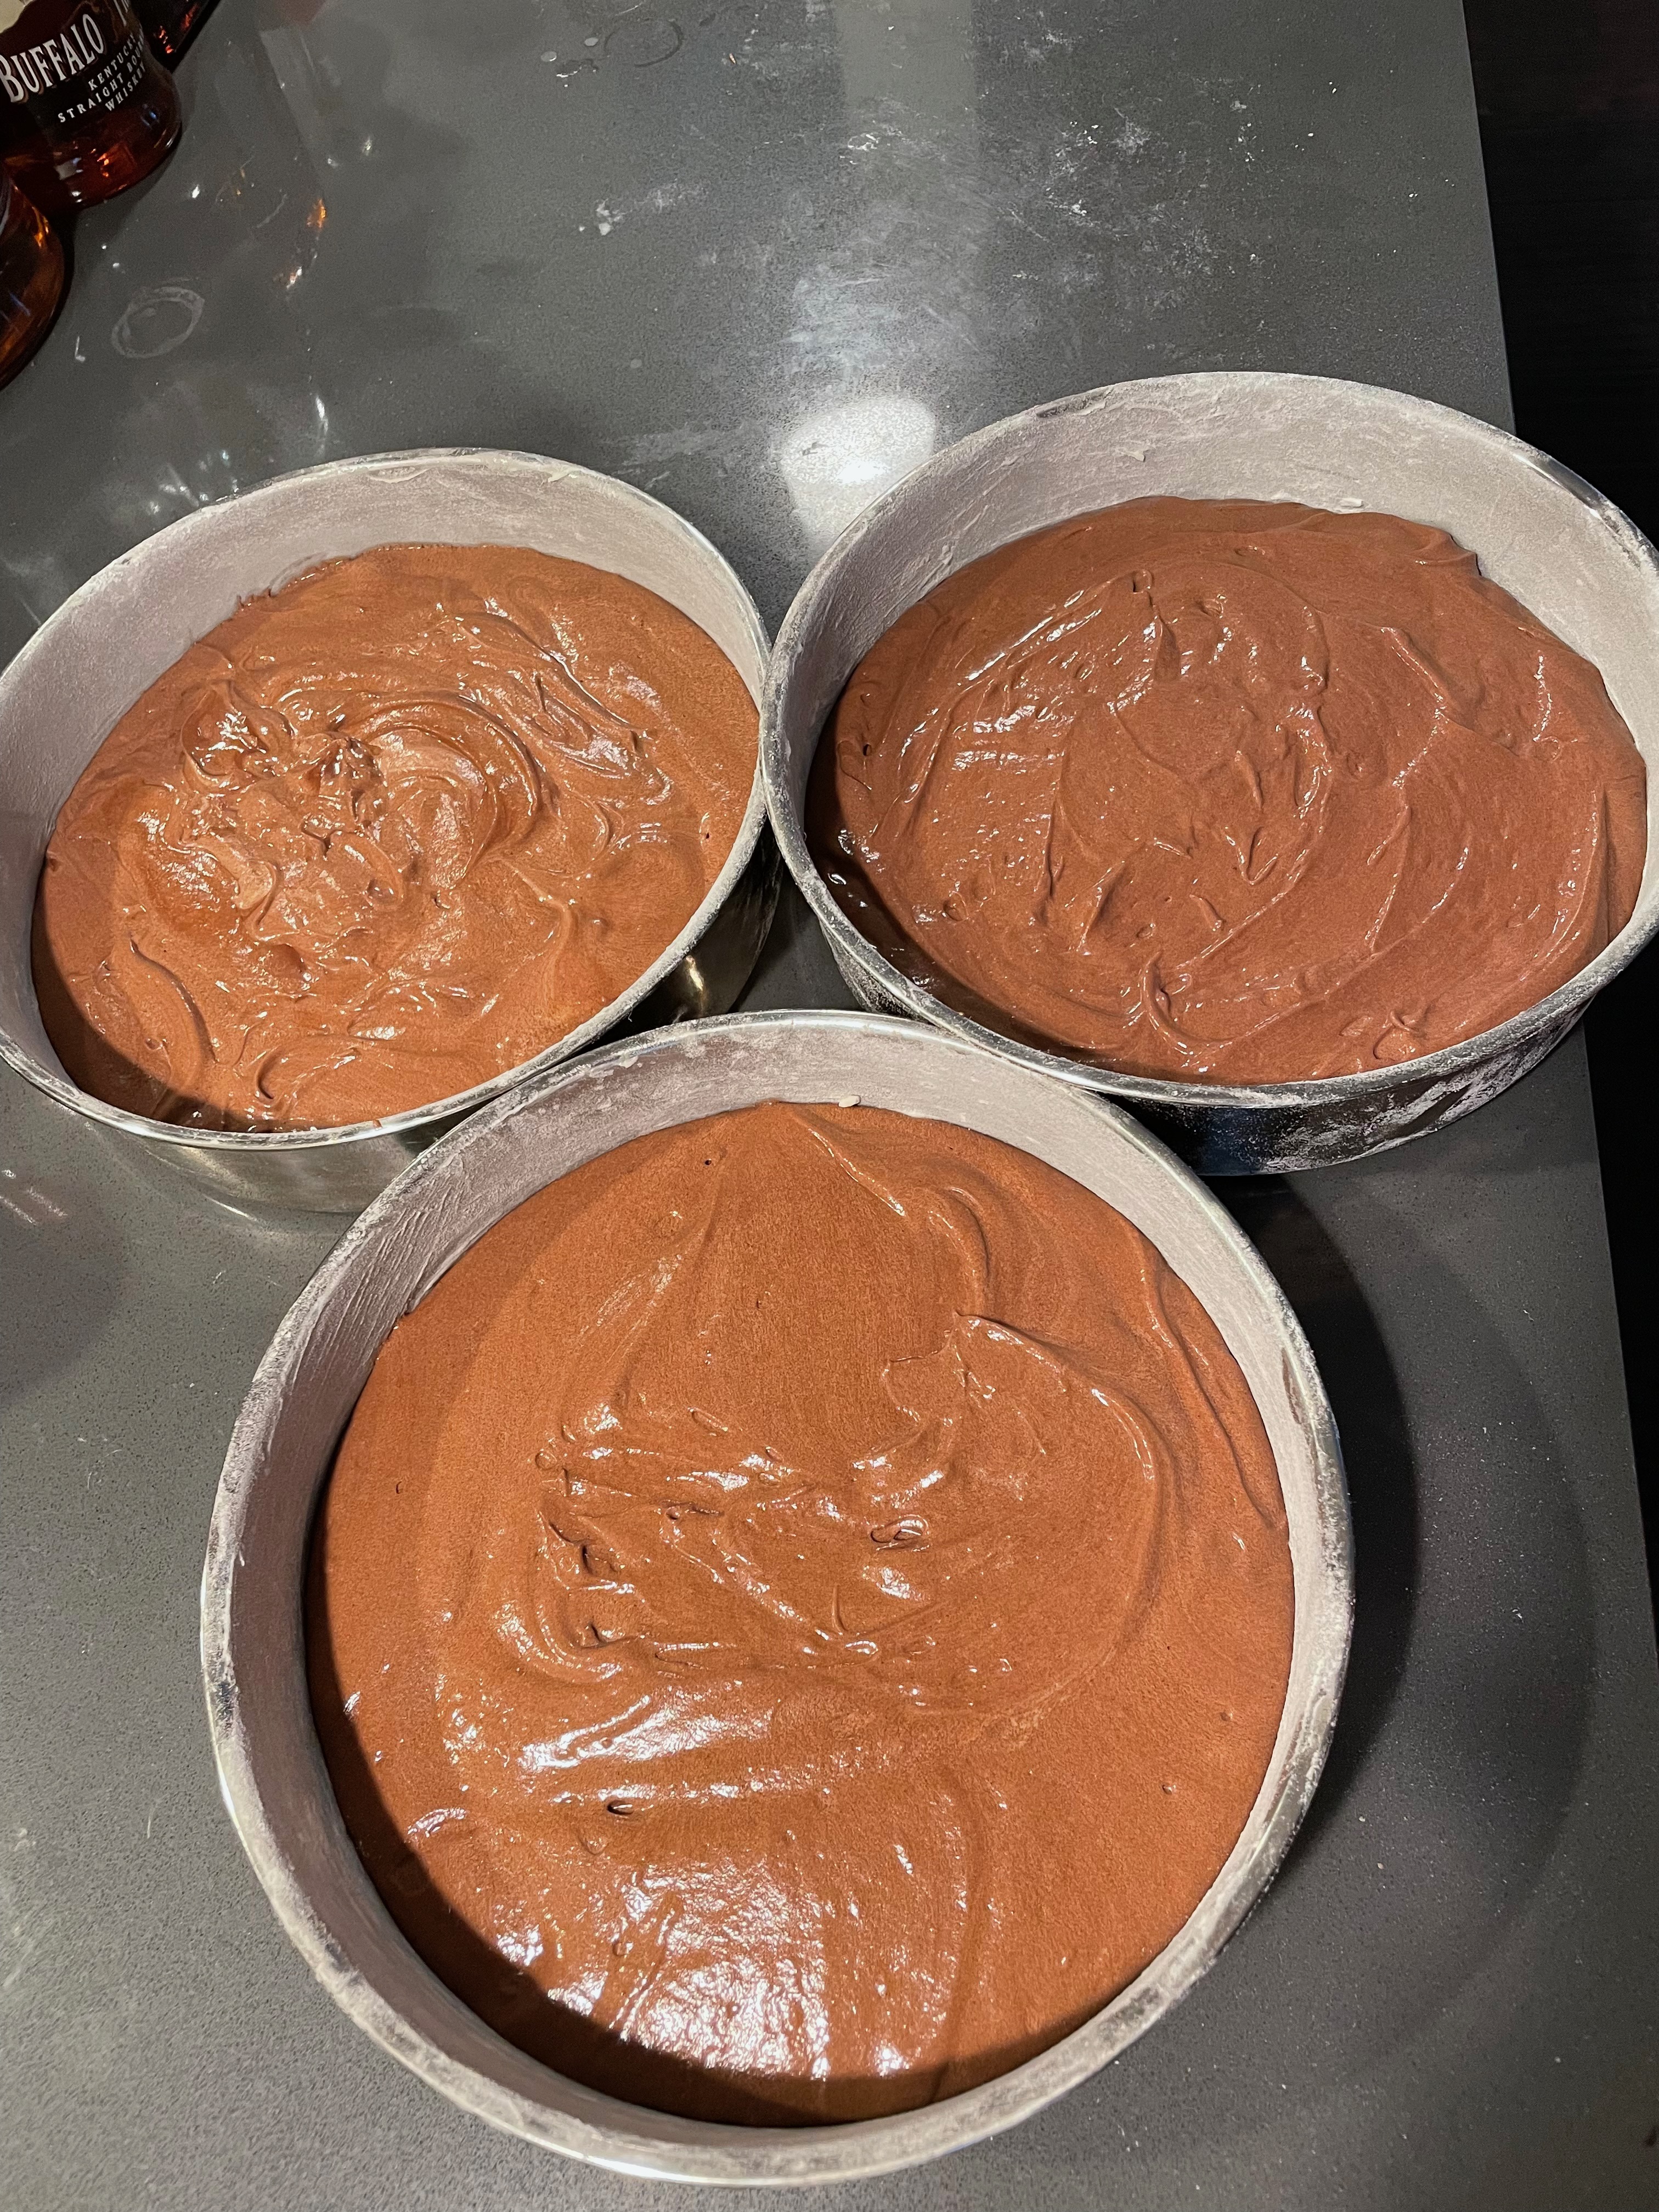
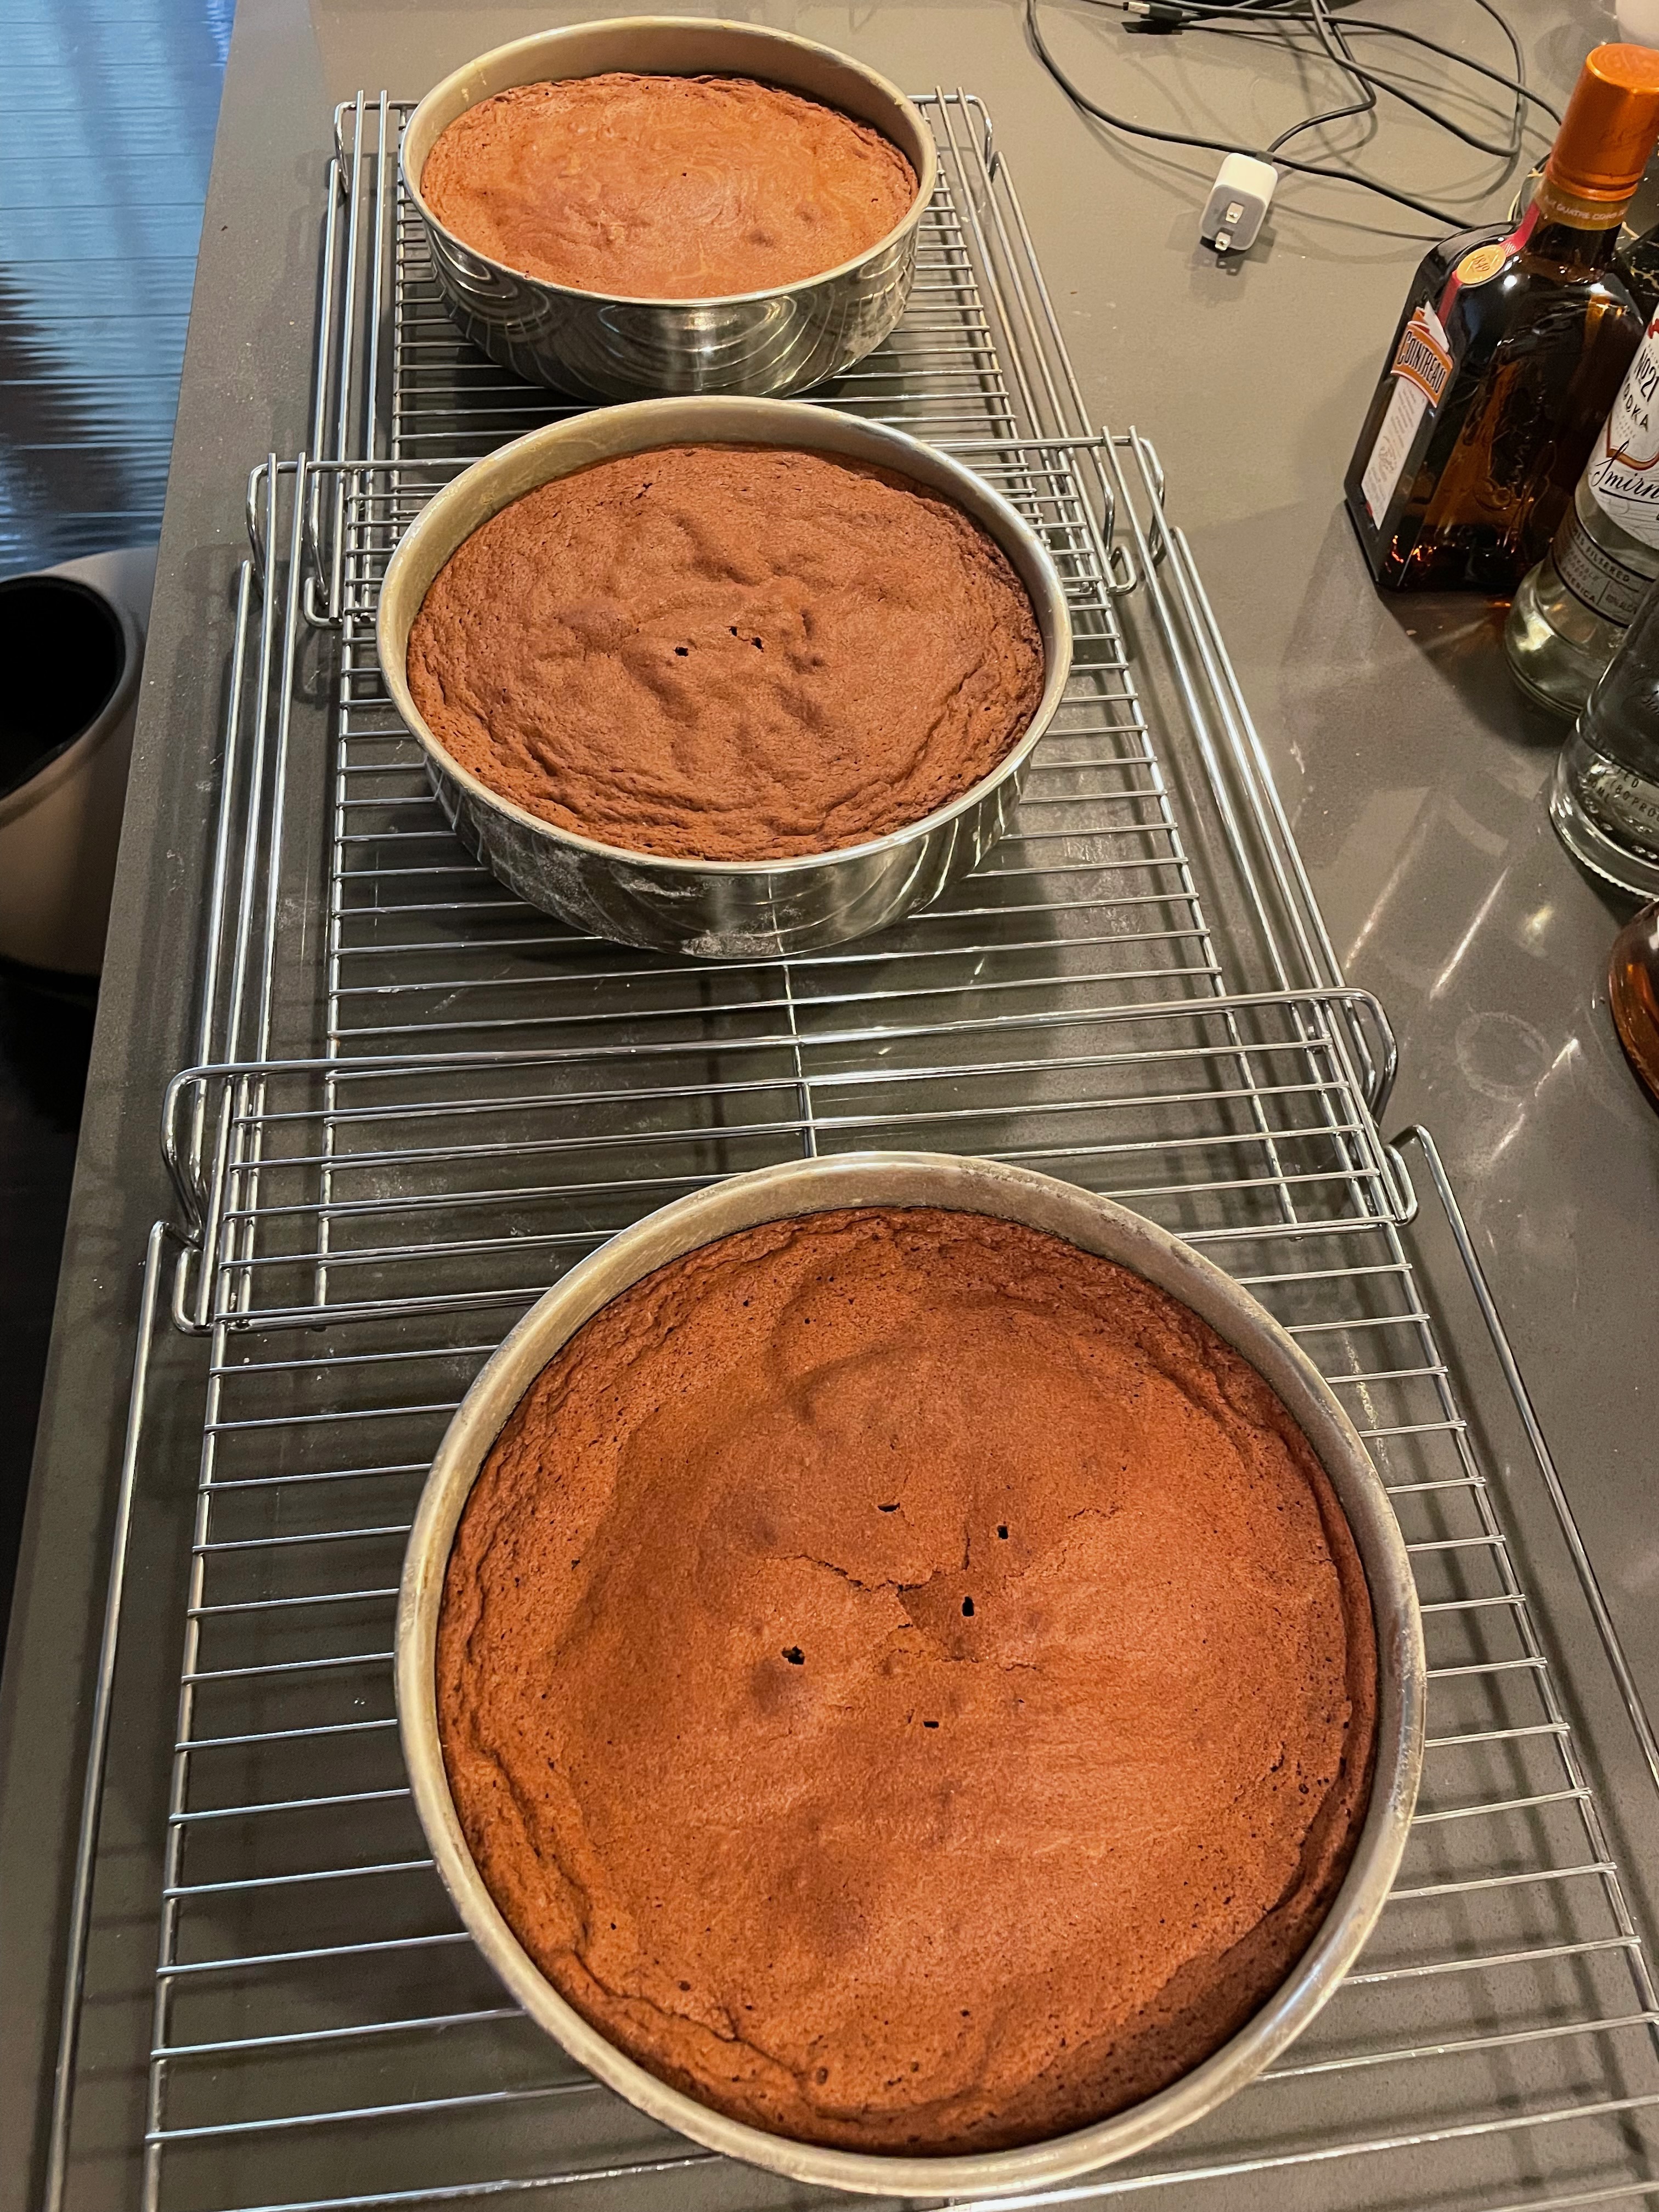
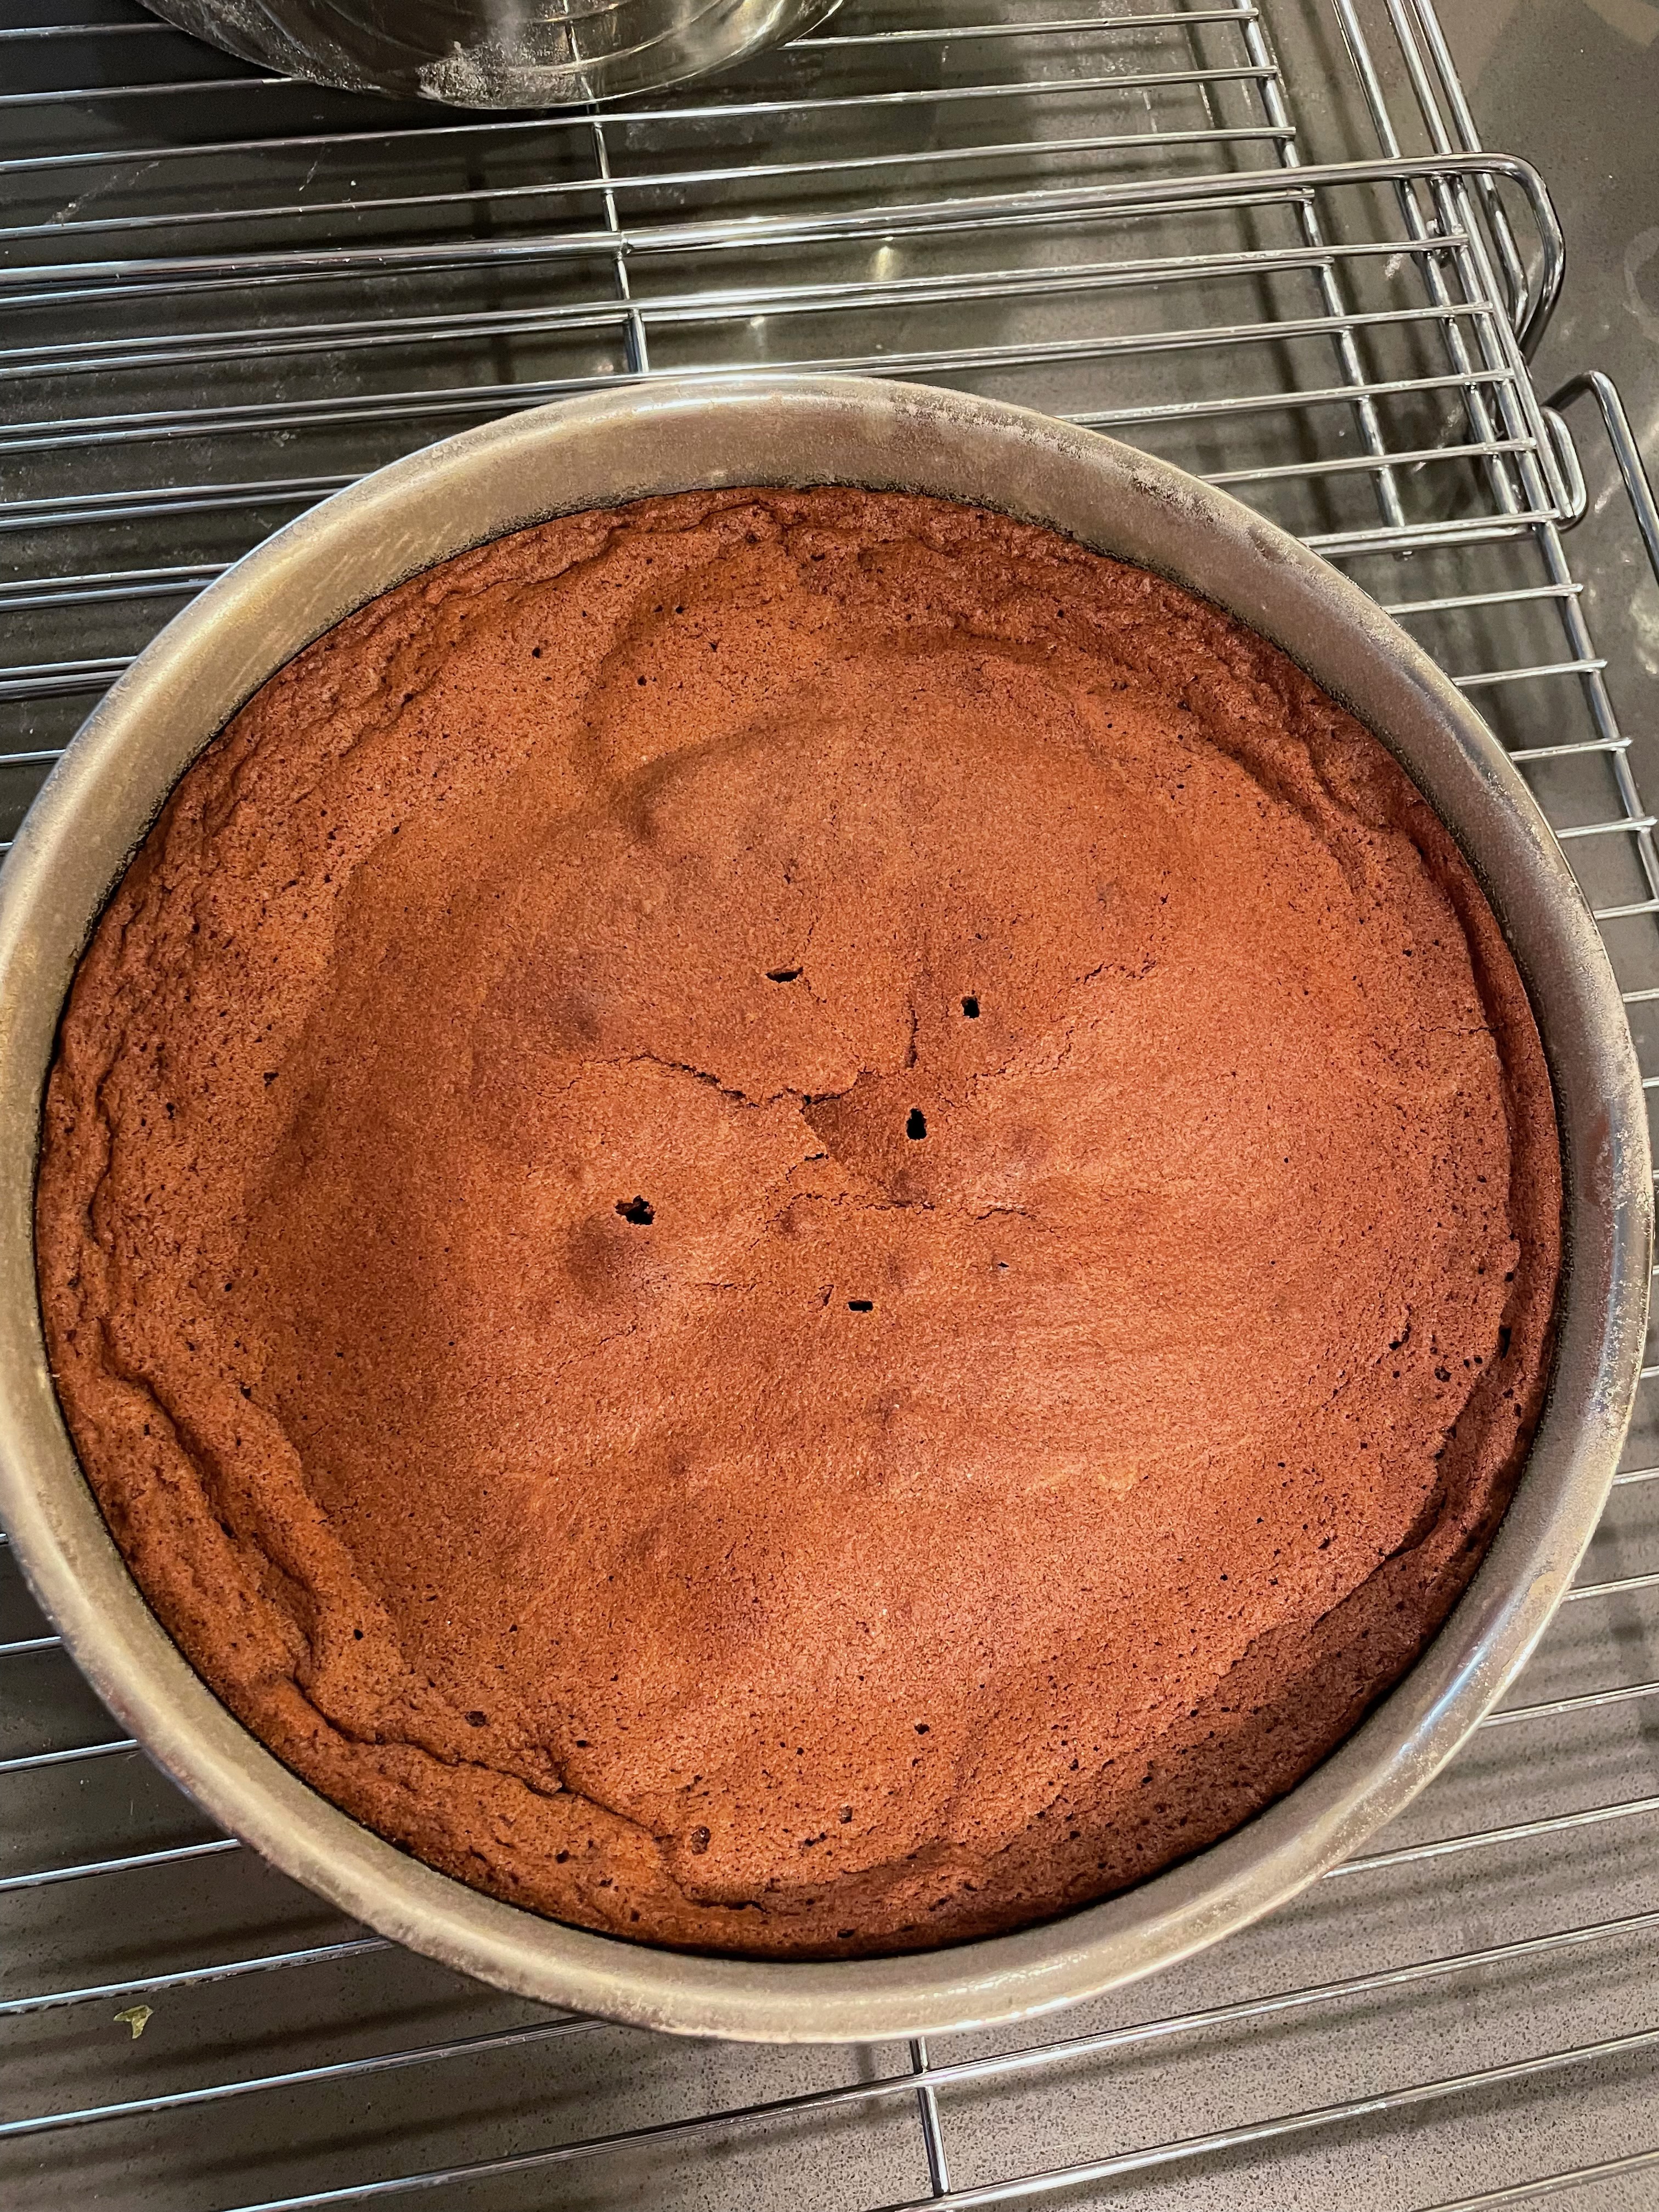
Baking The Cake
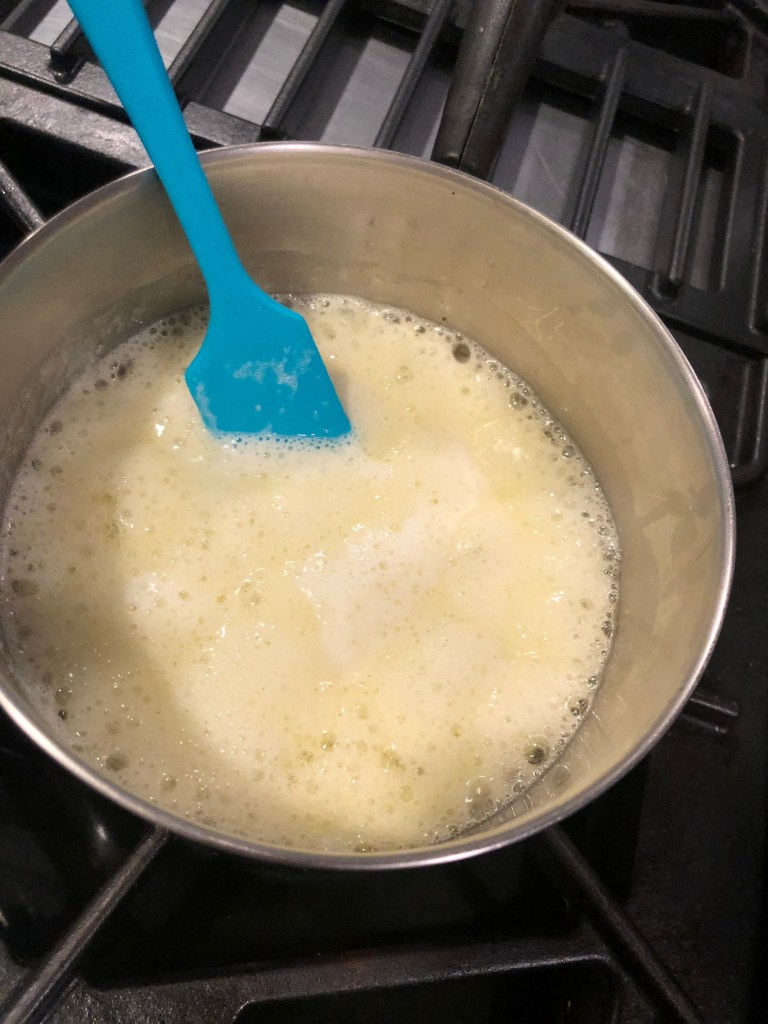
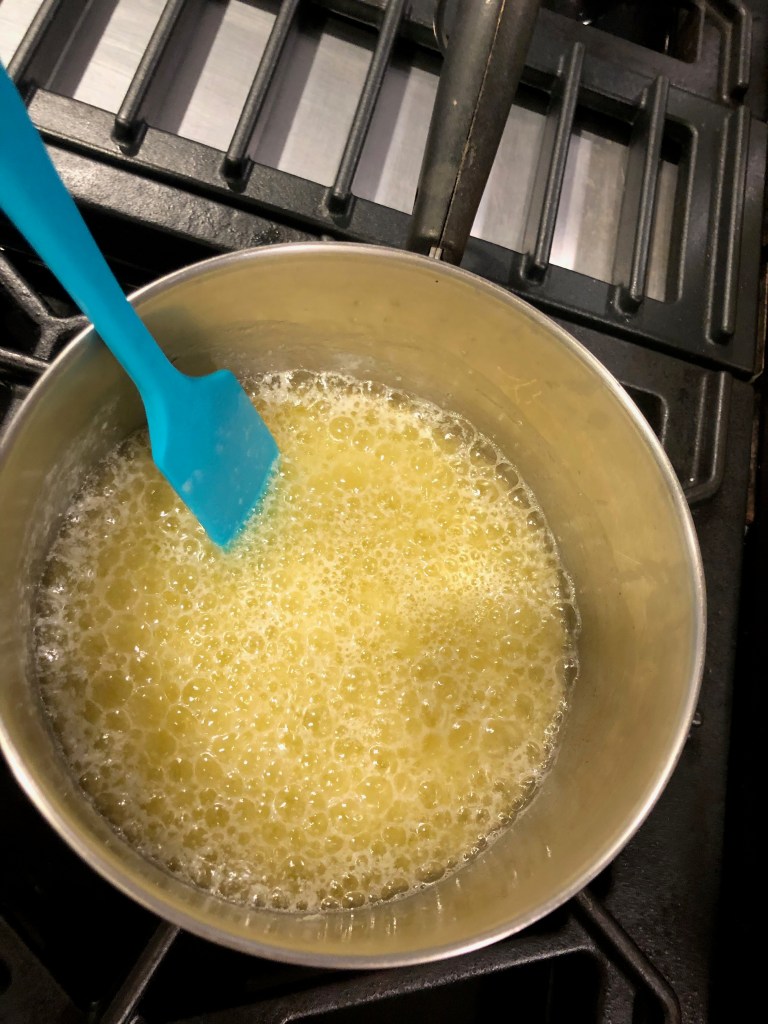
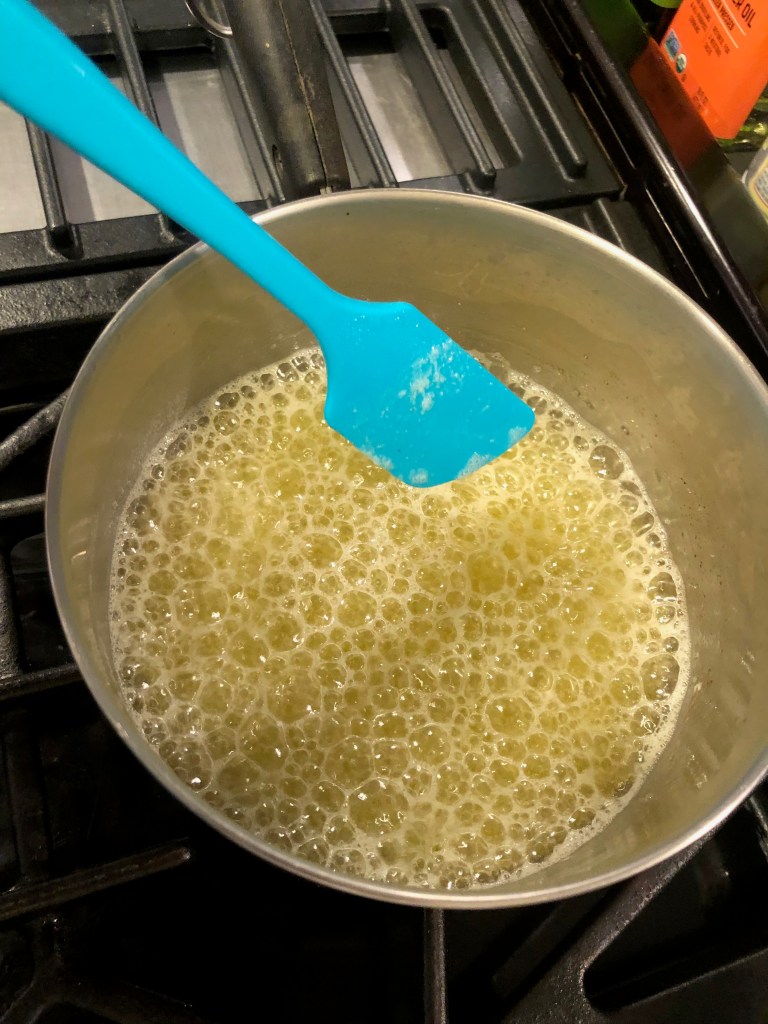
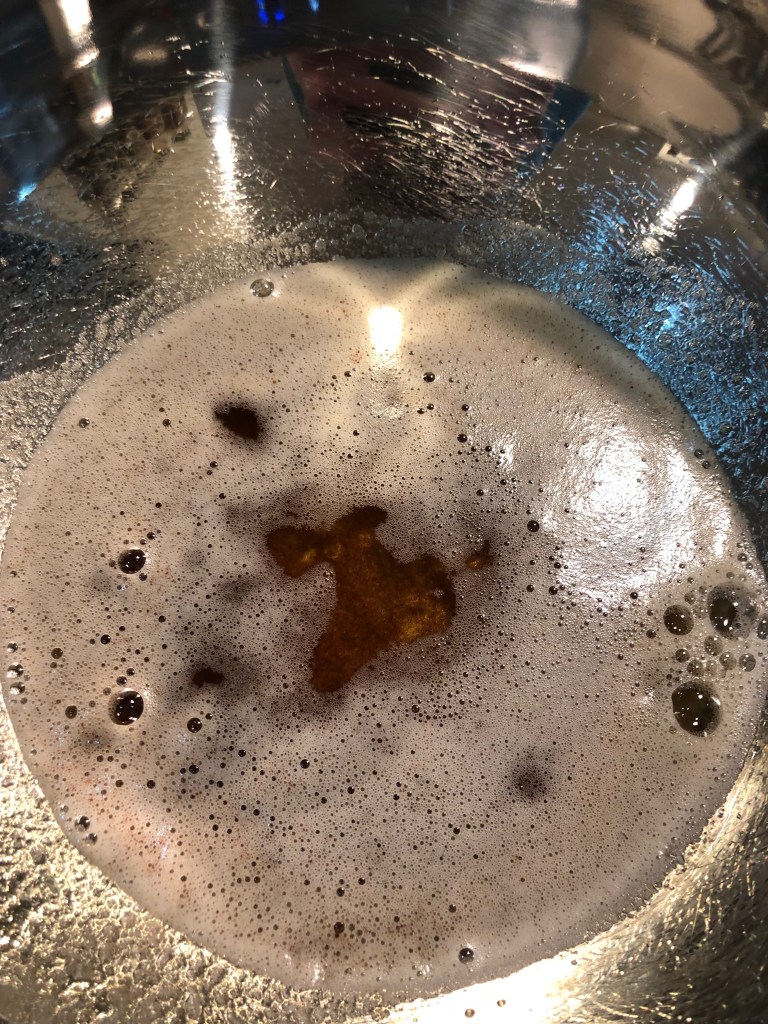
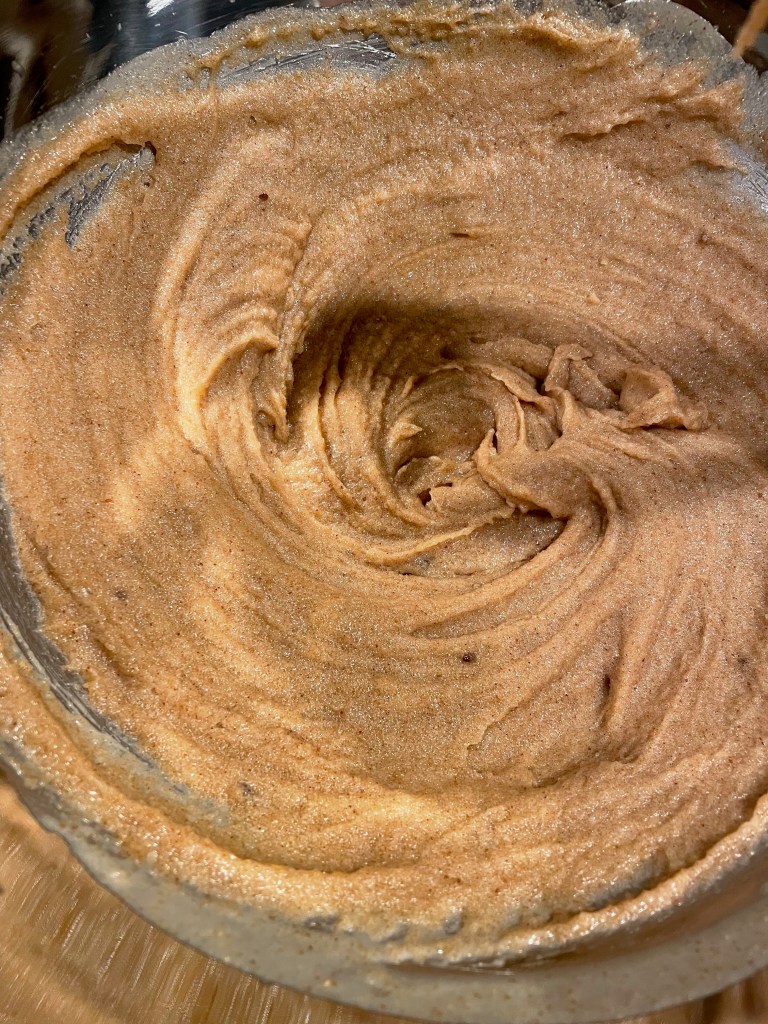
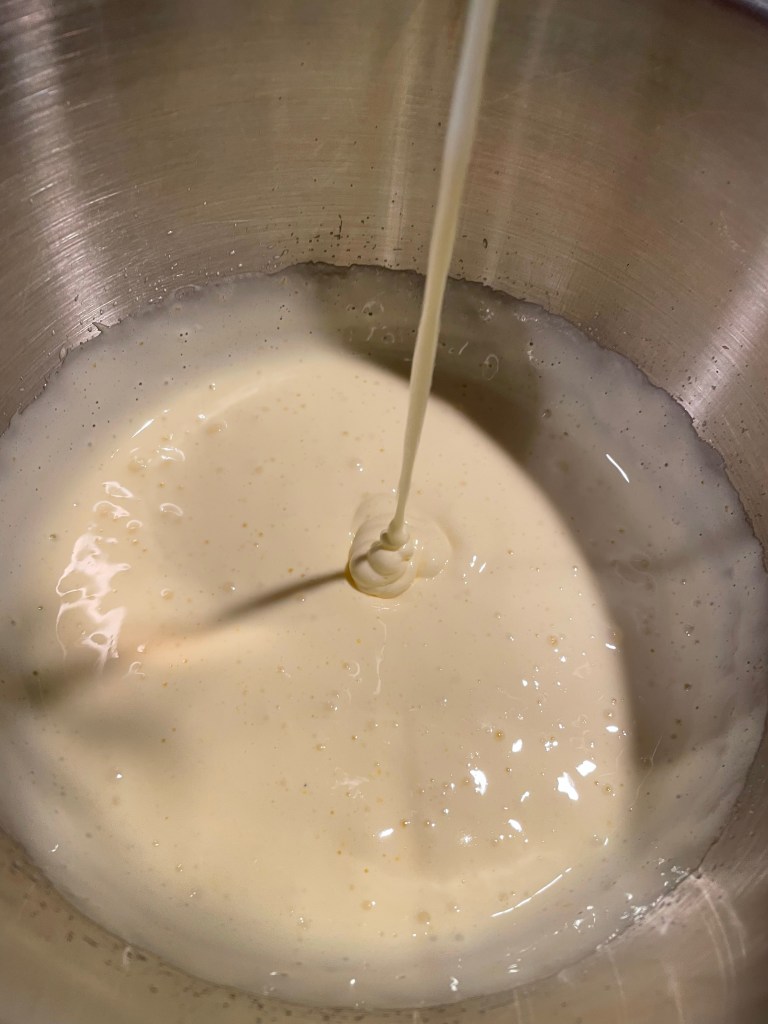
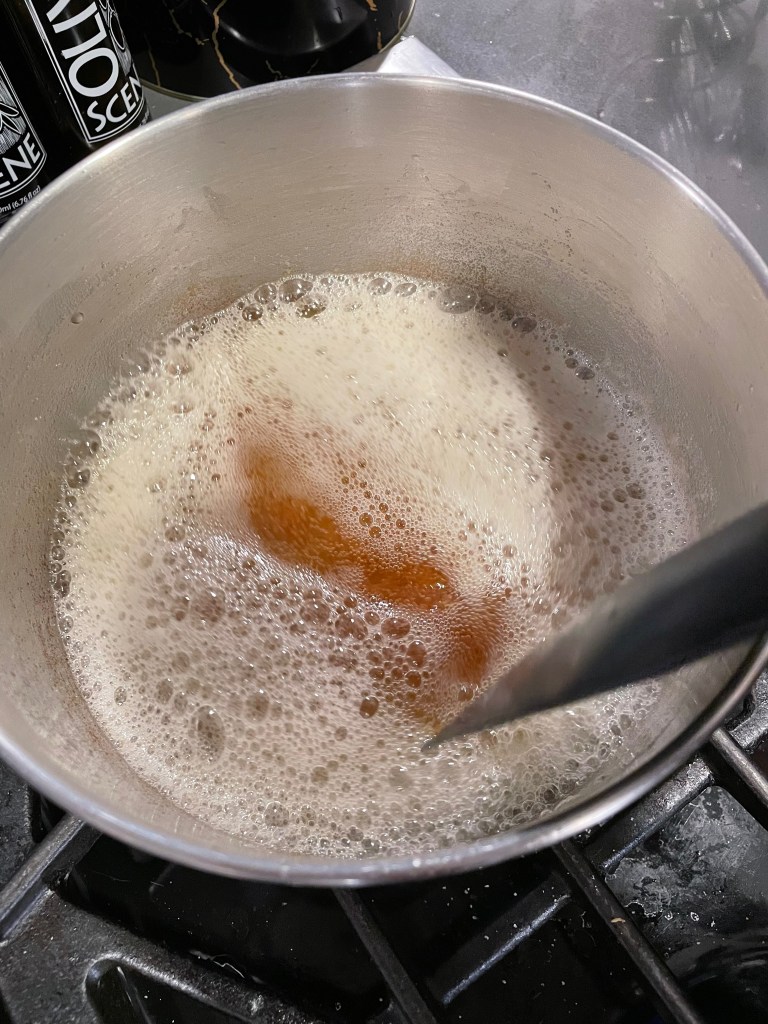
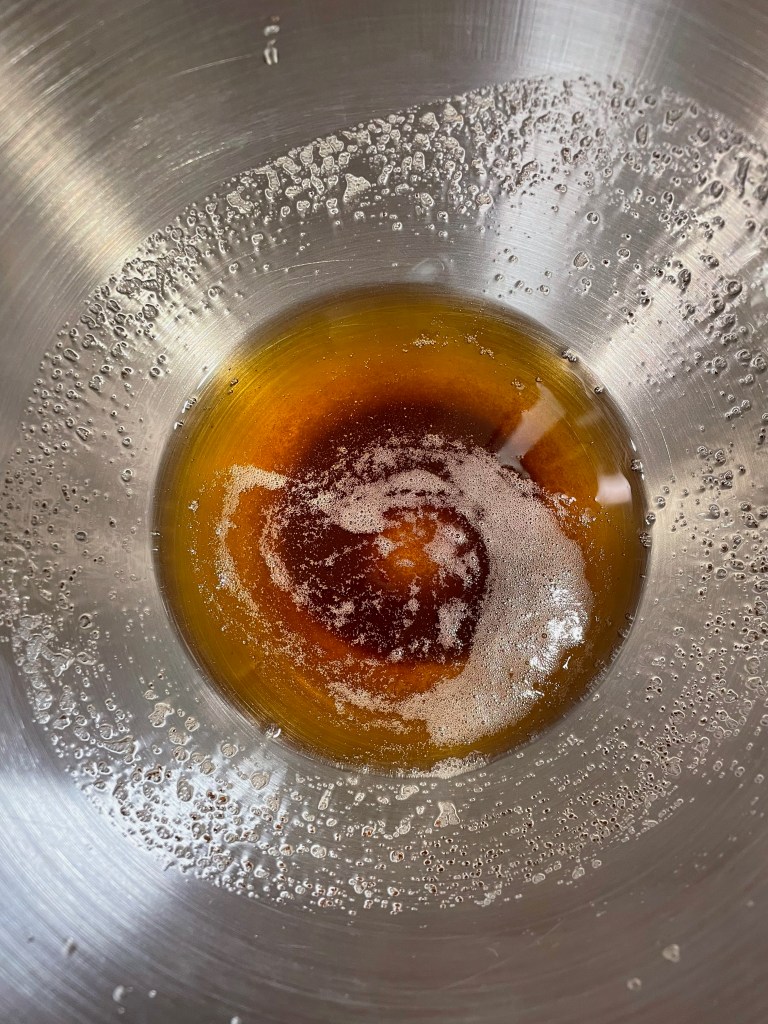
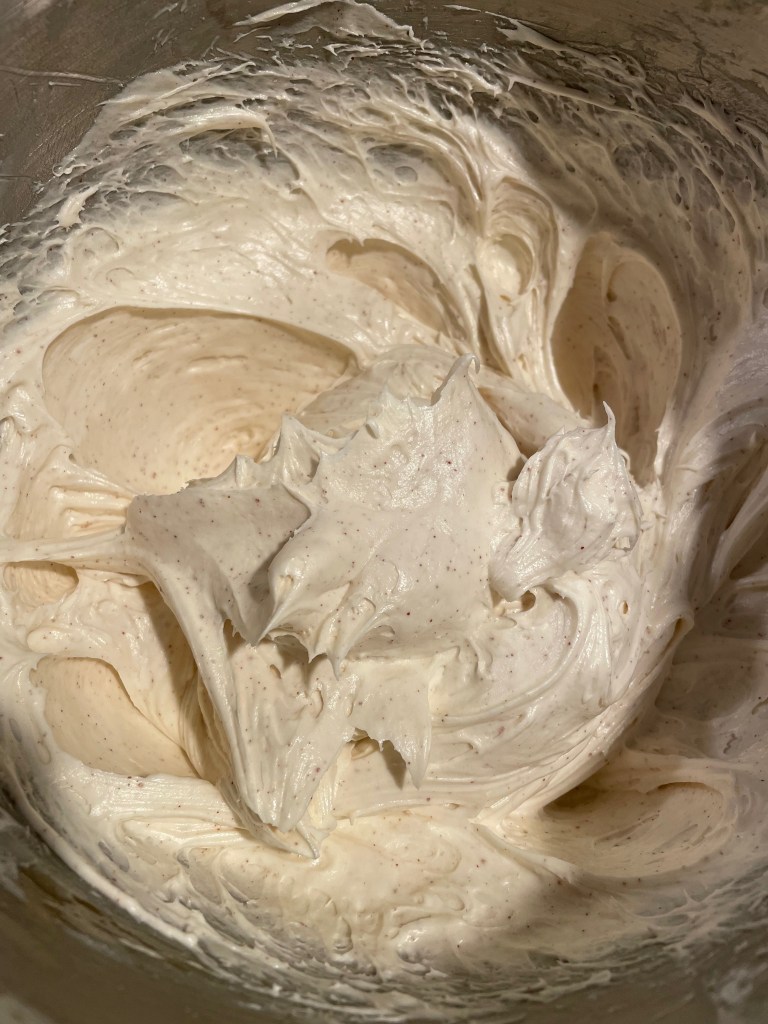
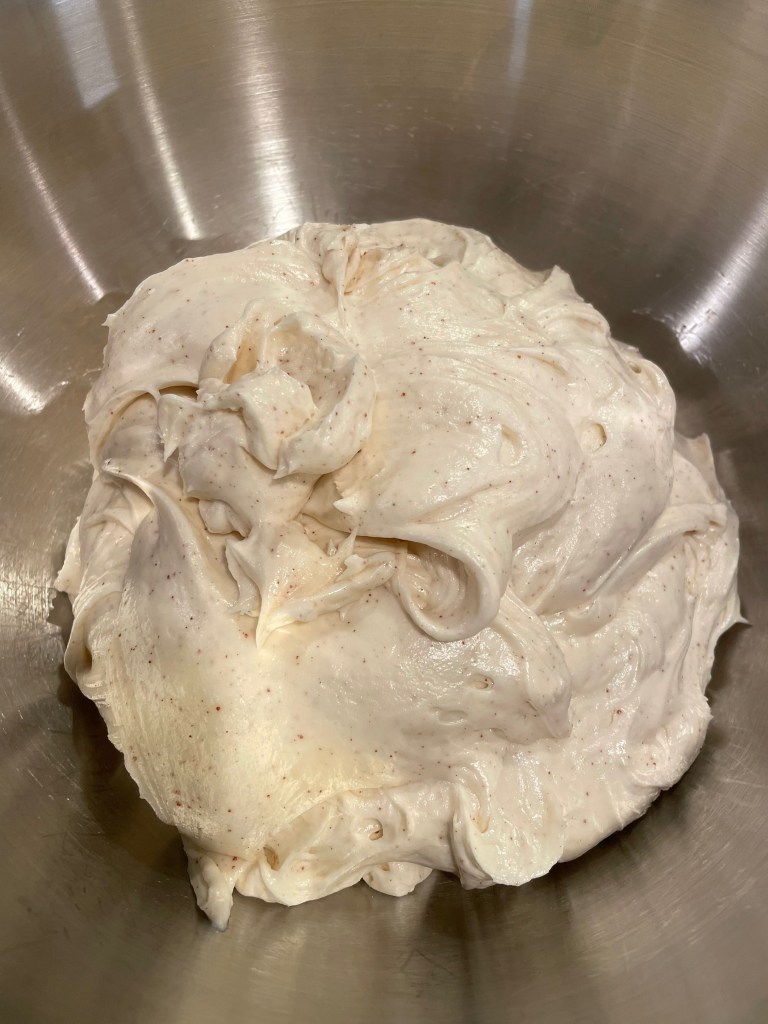
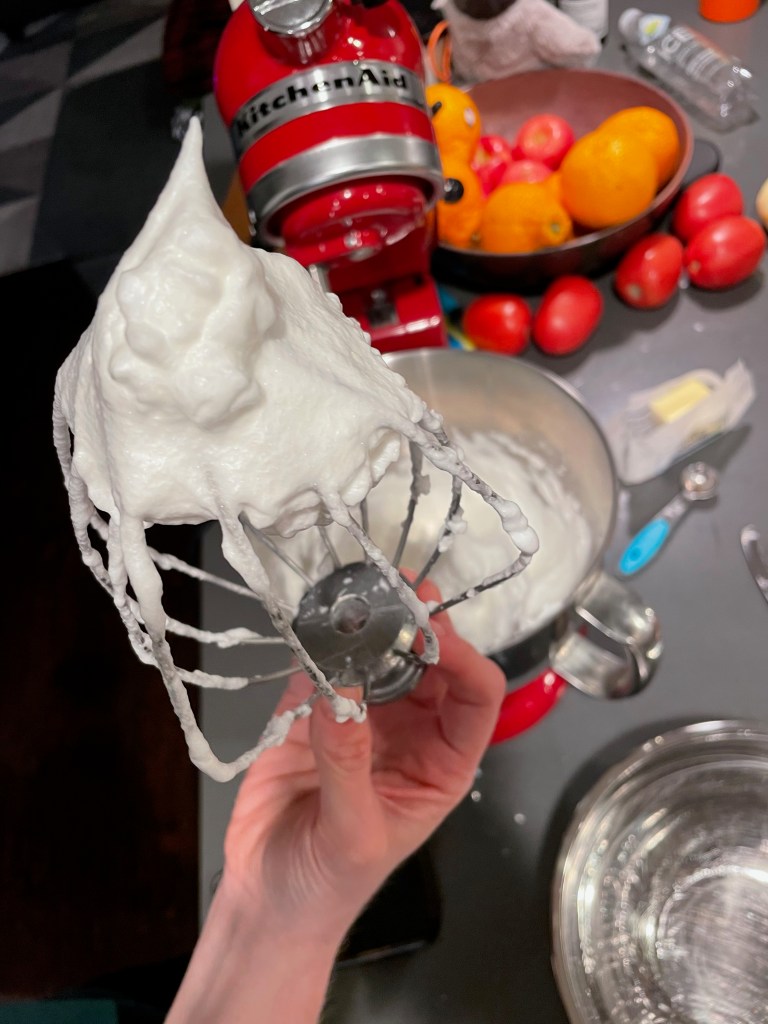
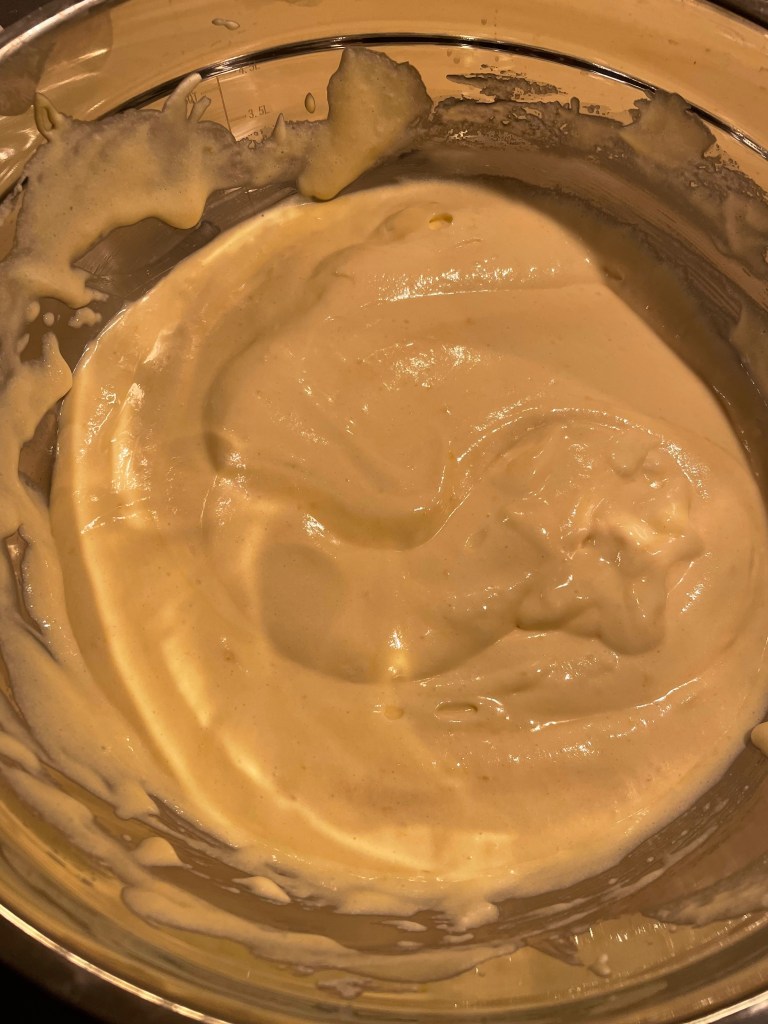
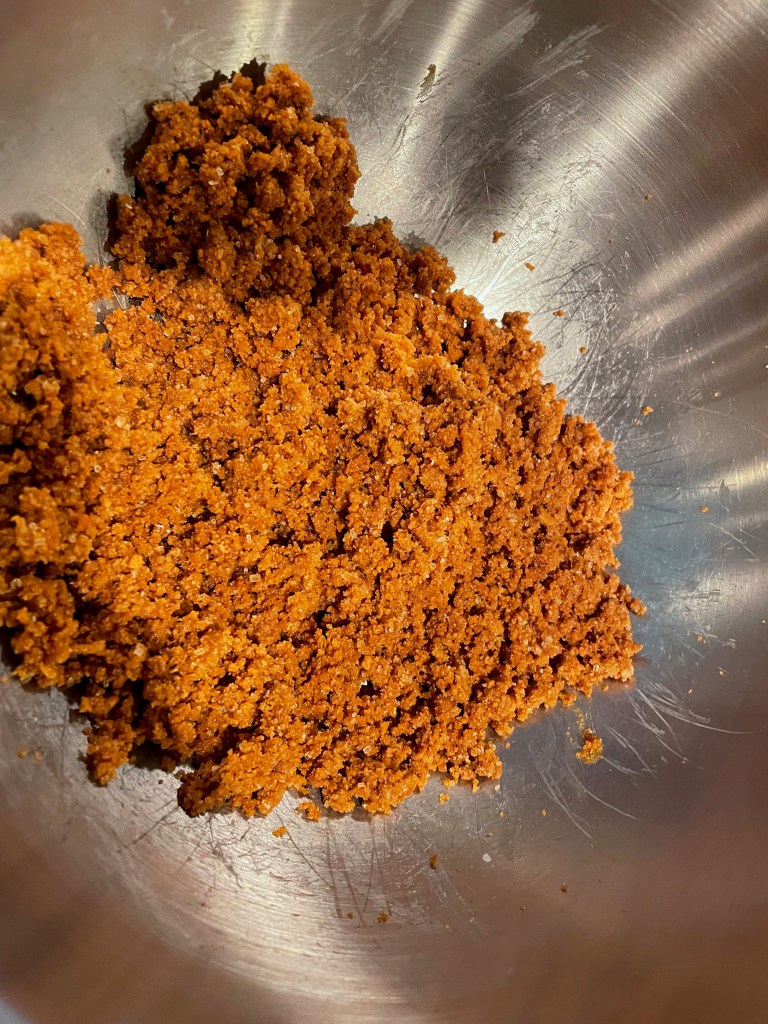
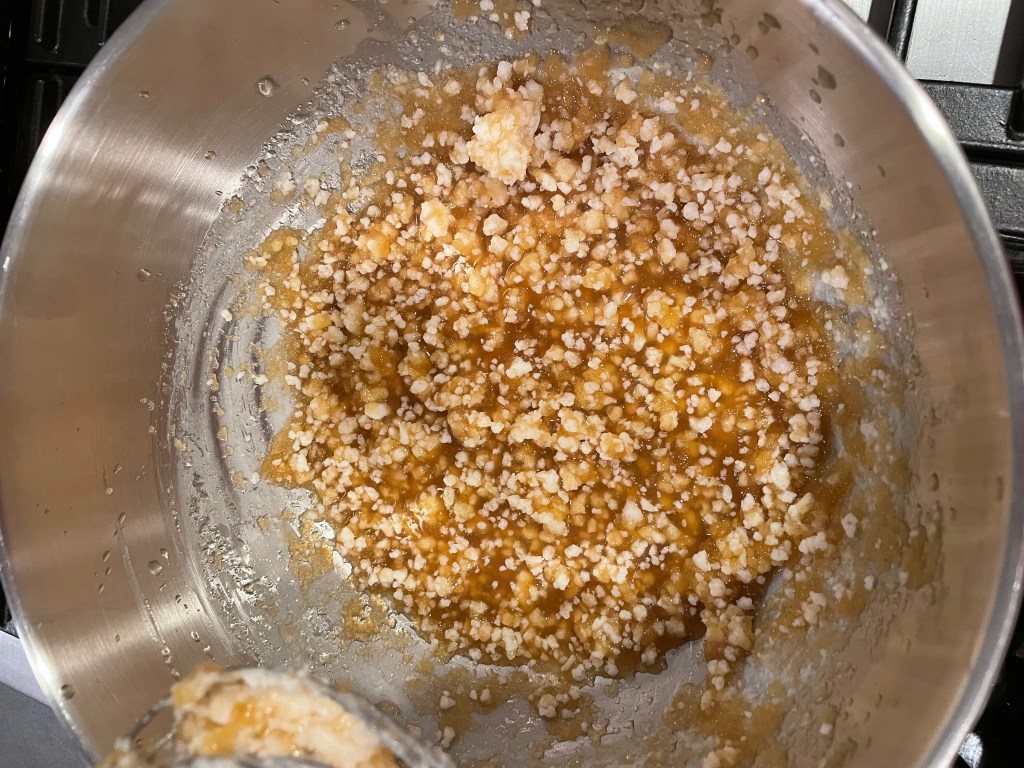
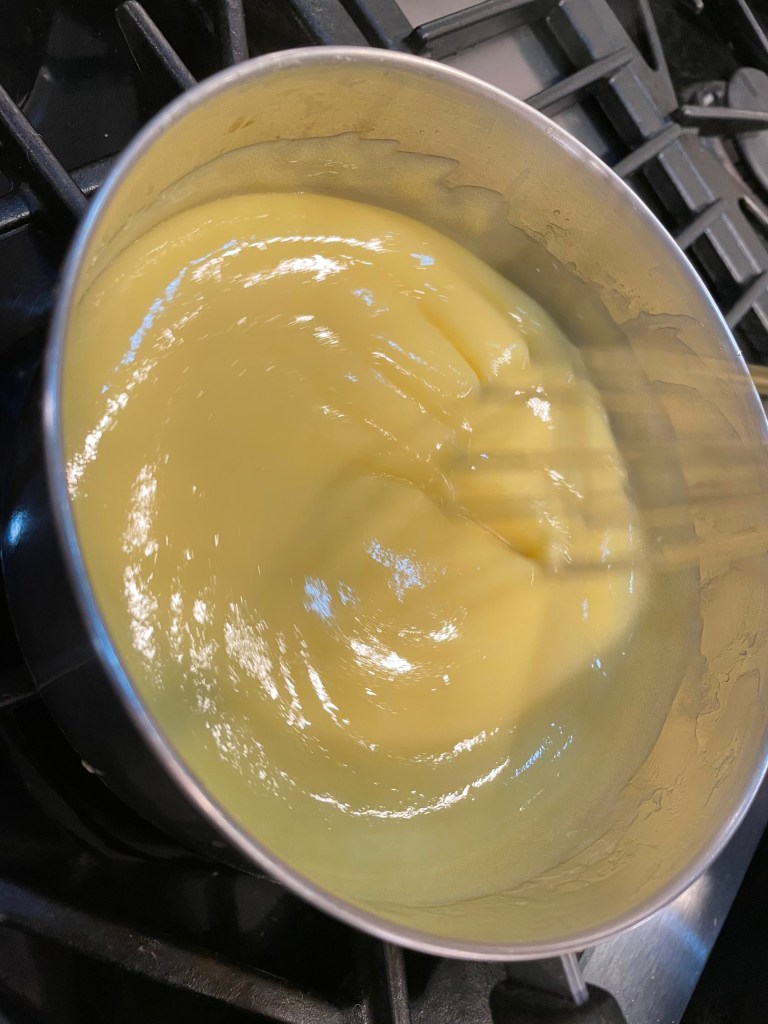
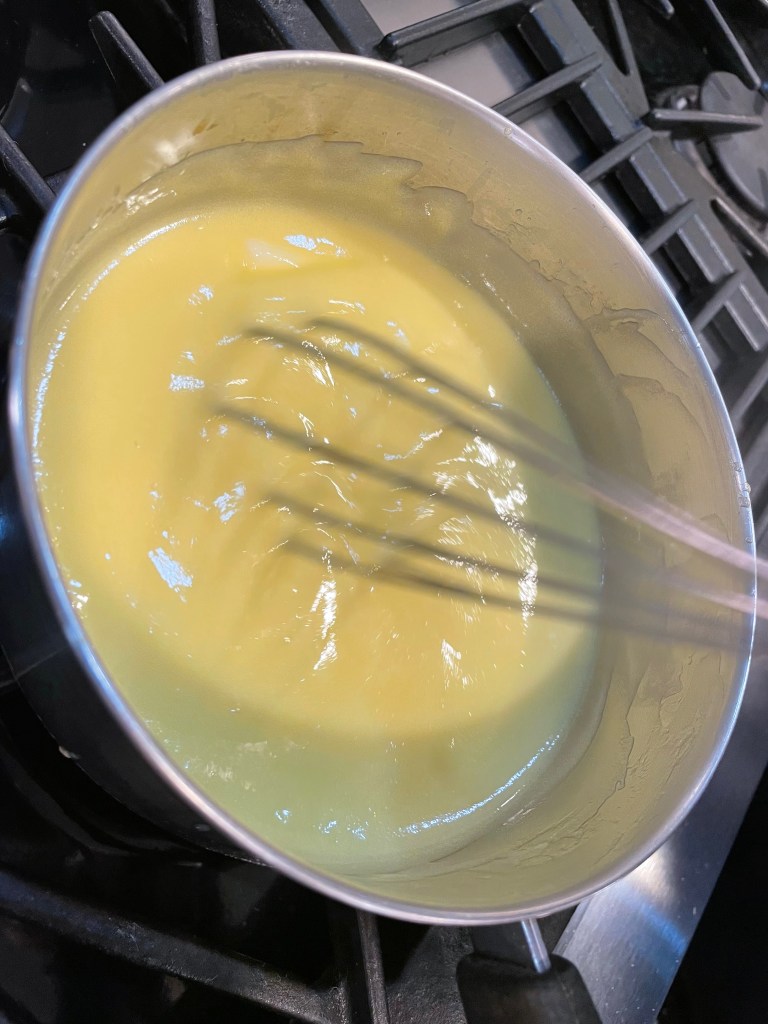
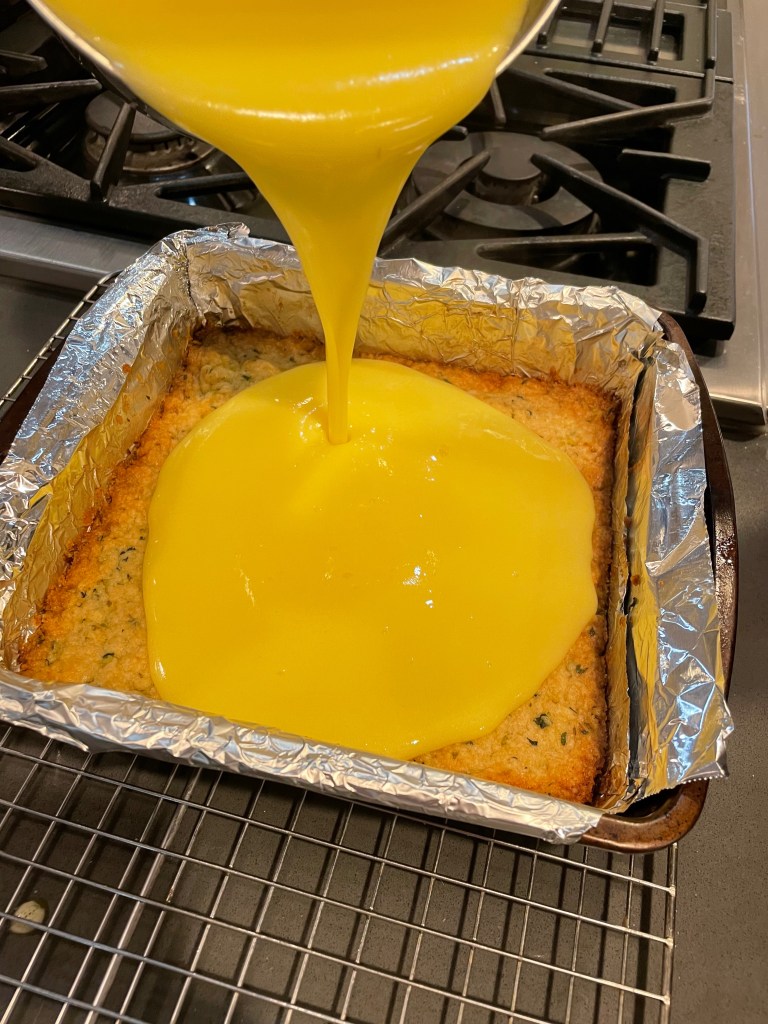
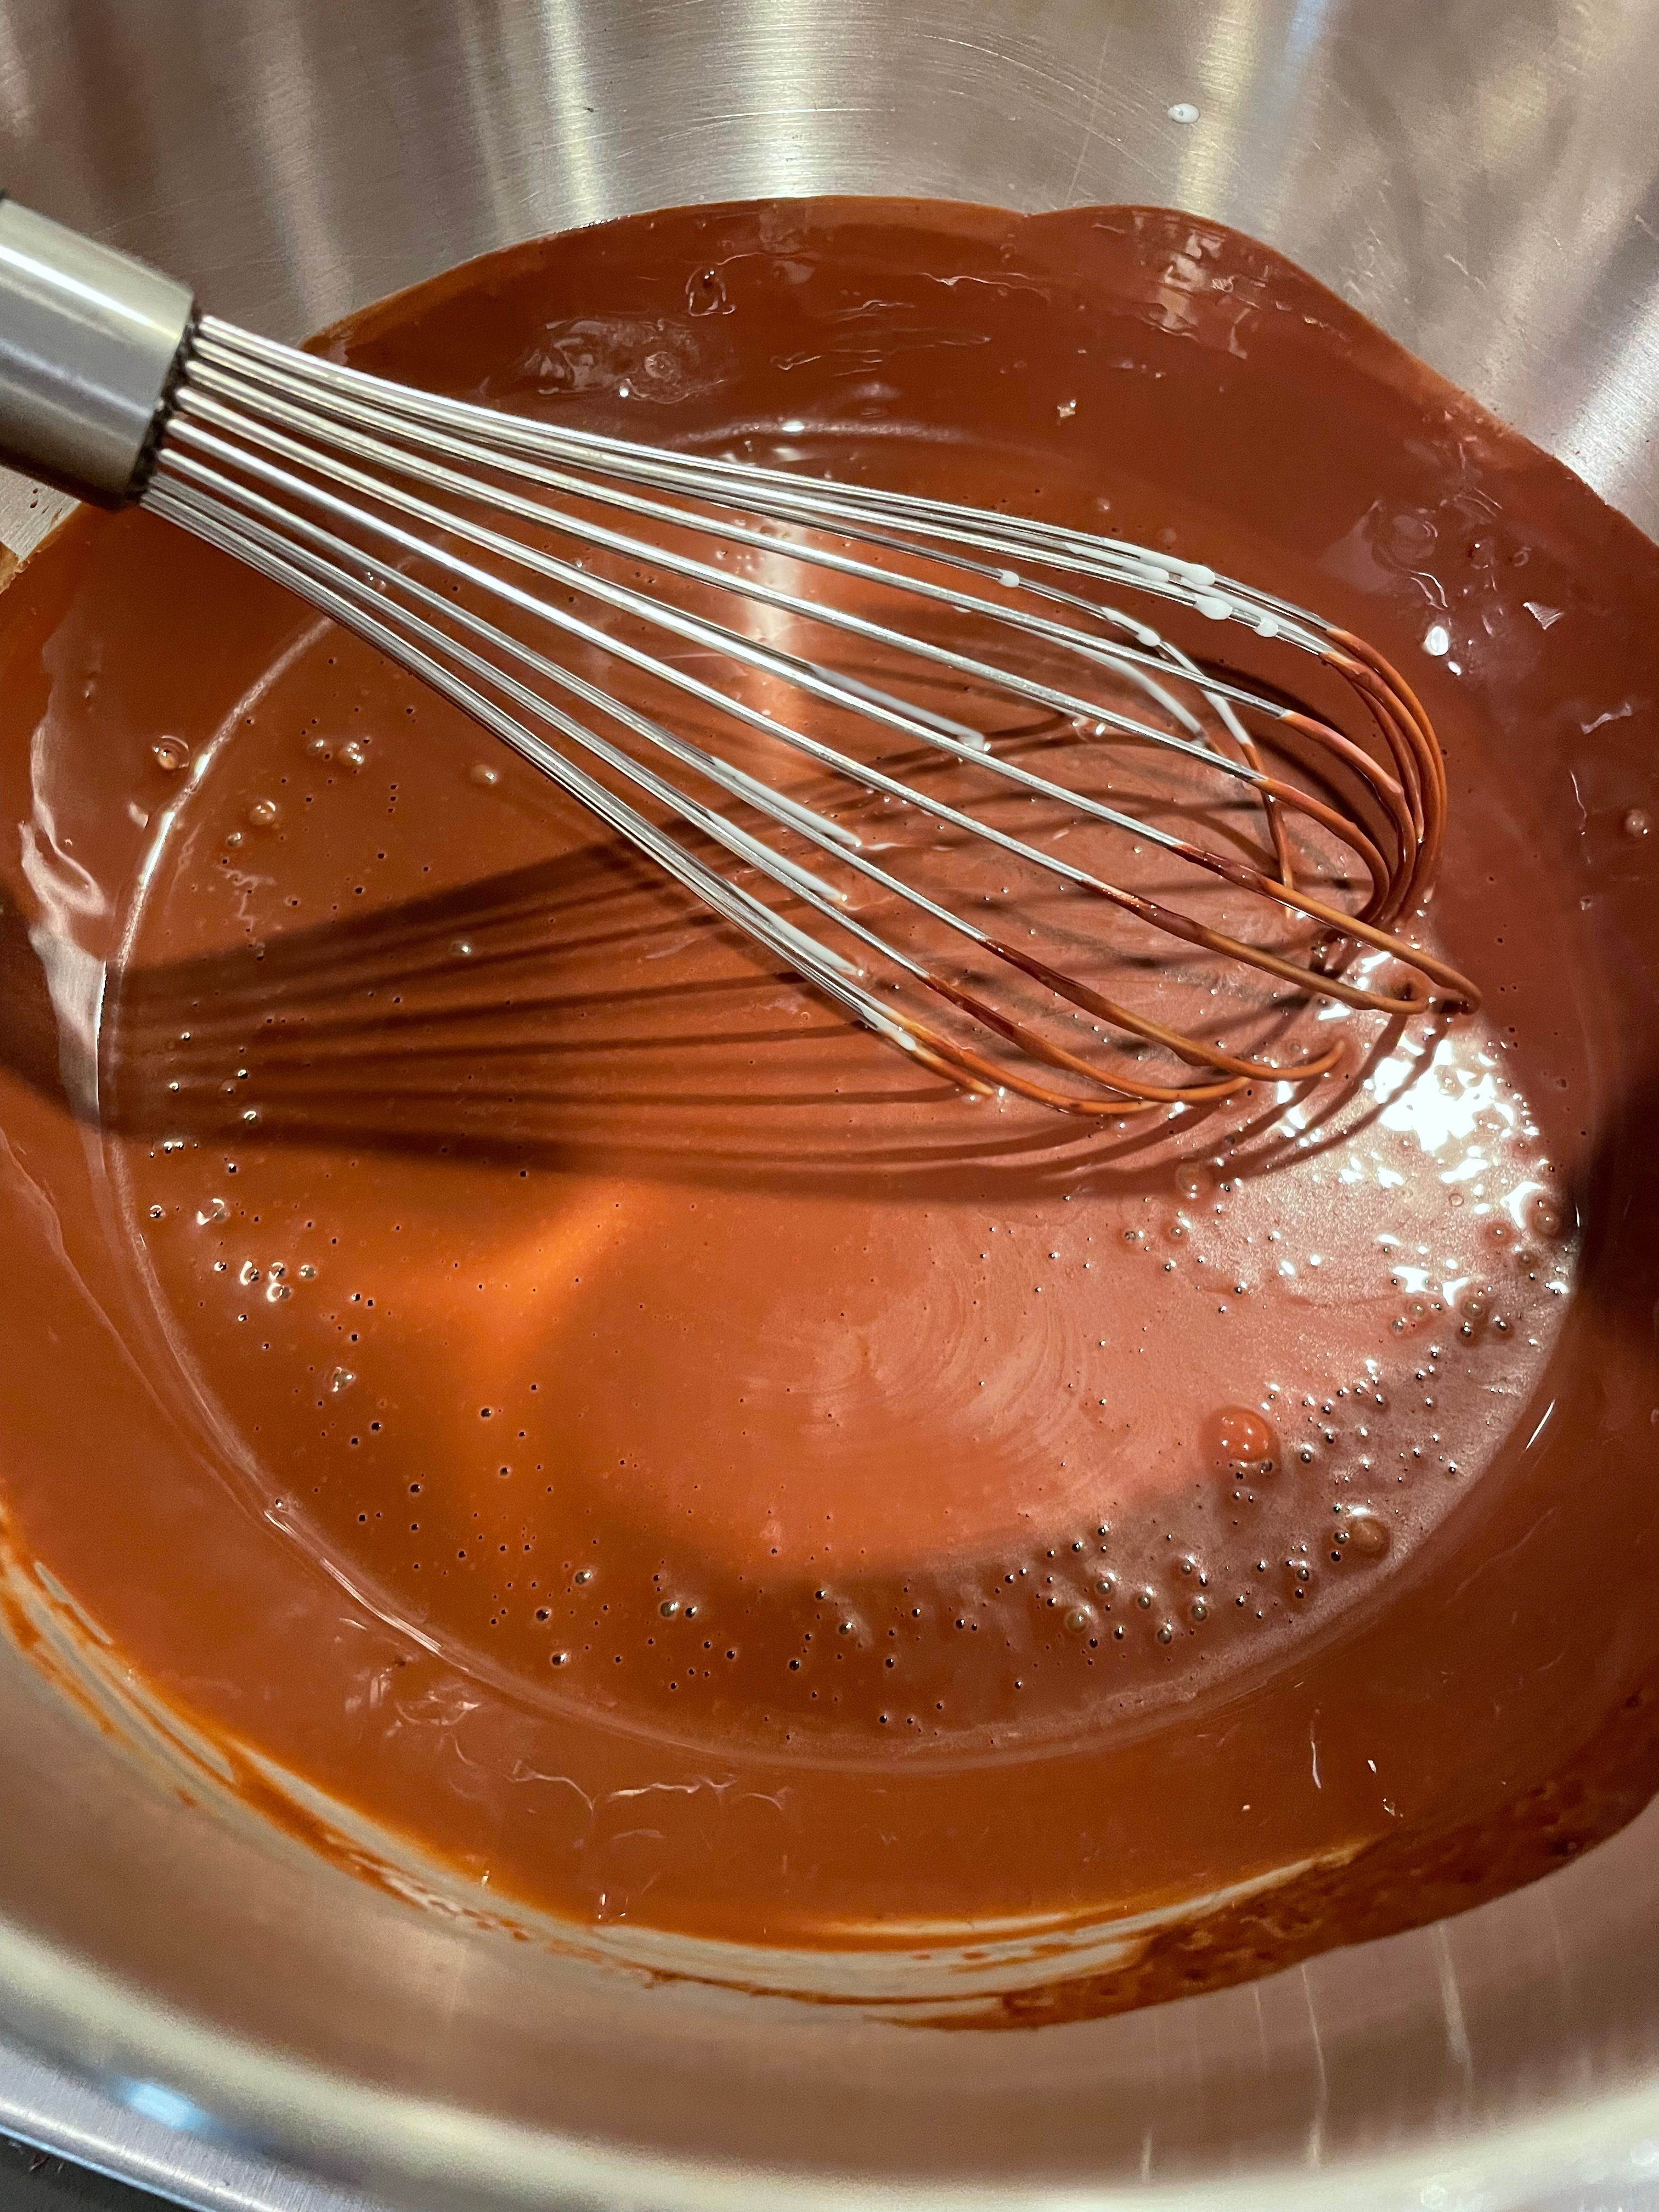
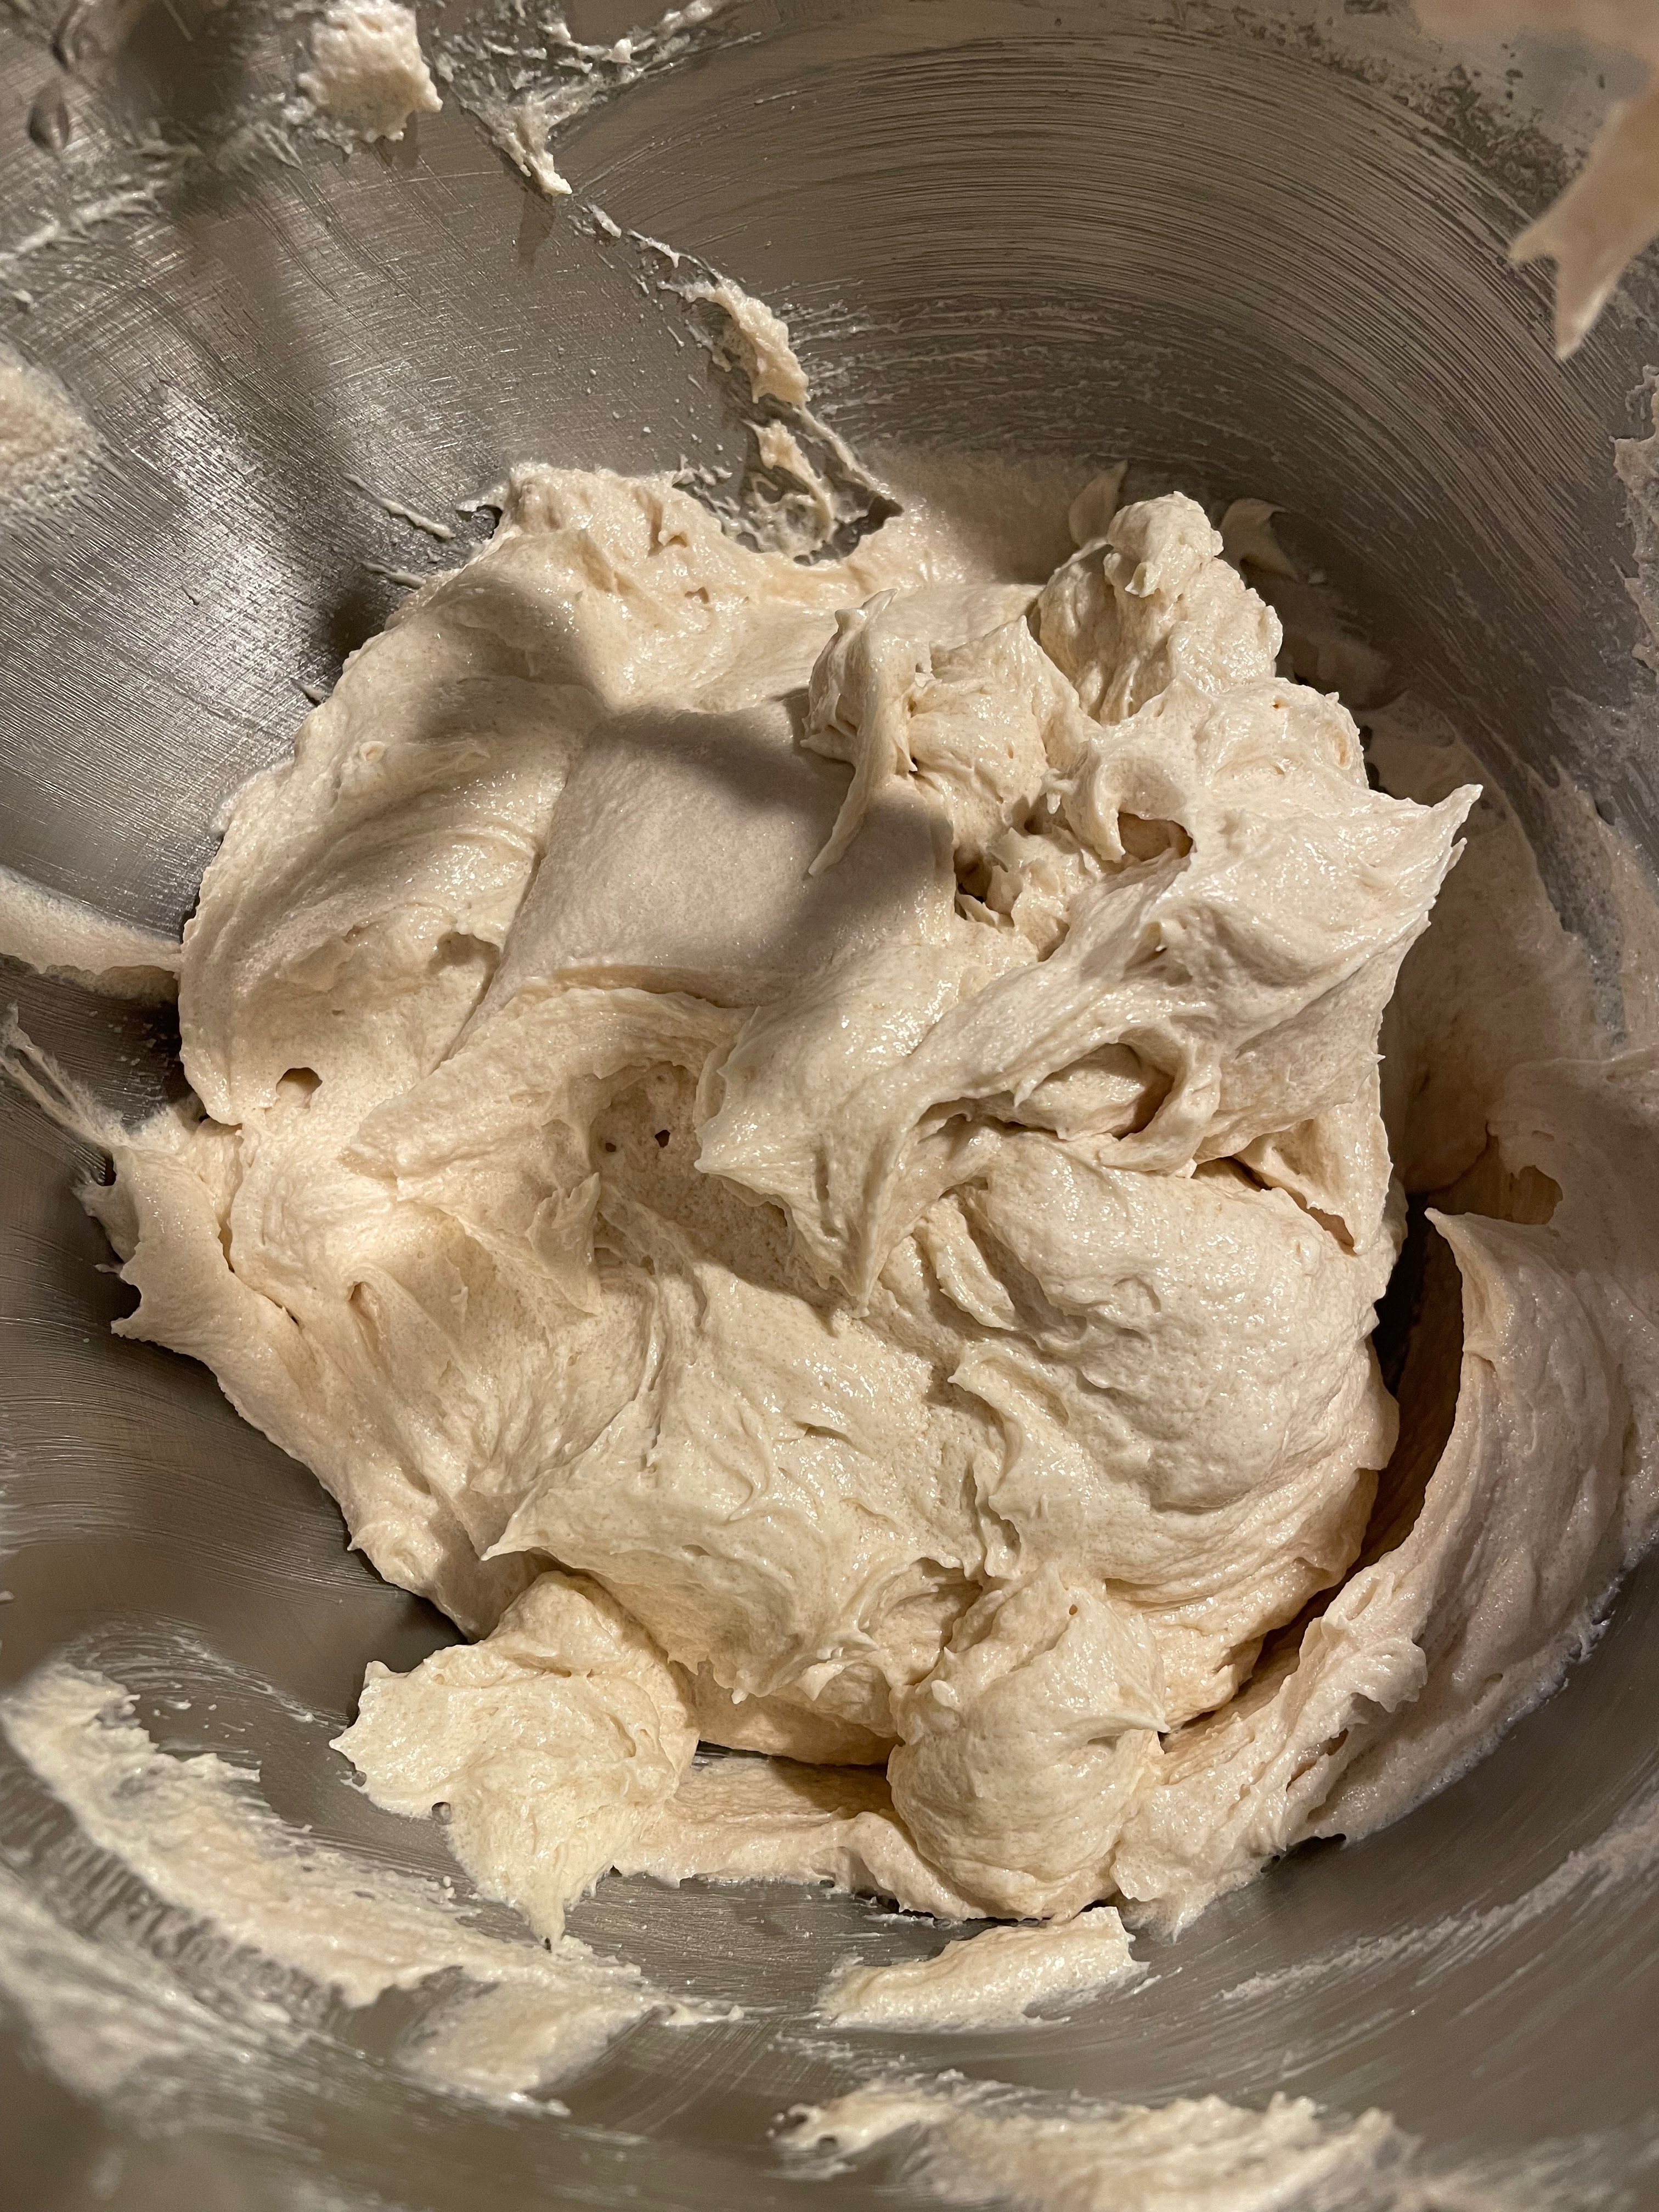
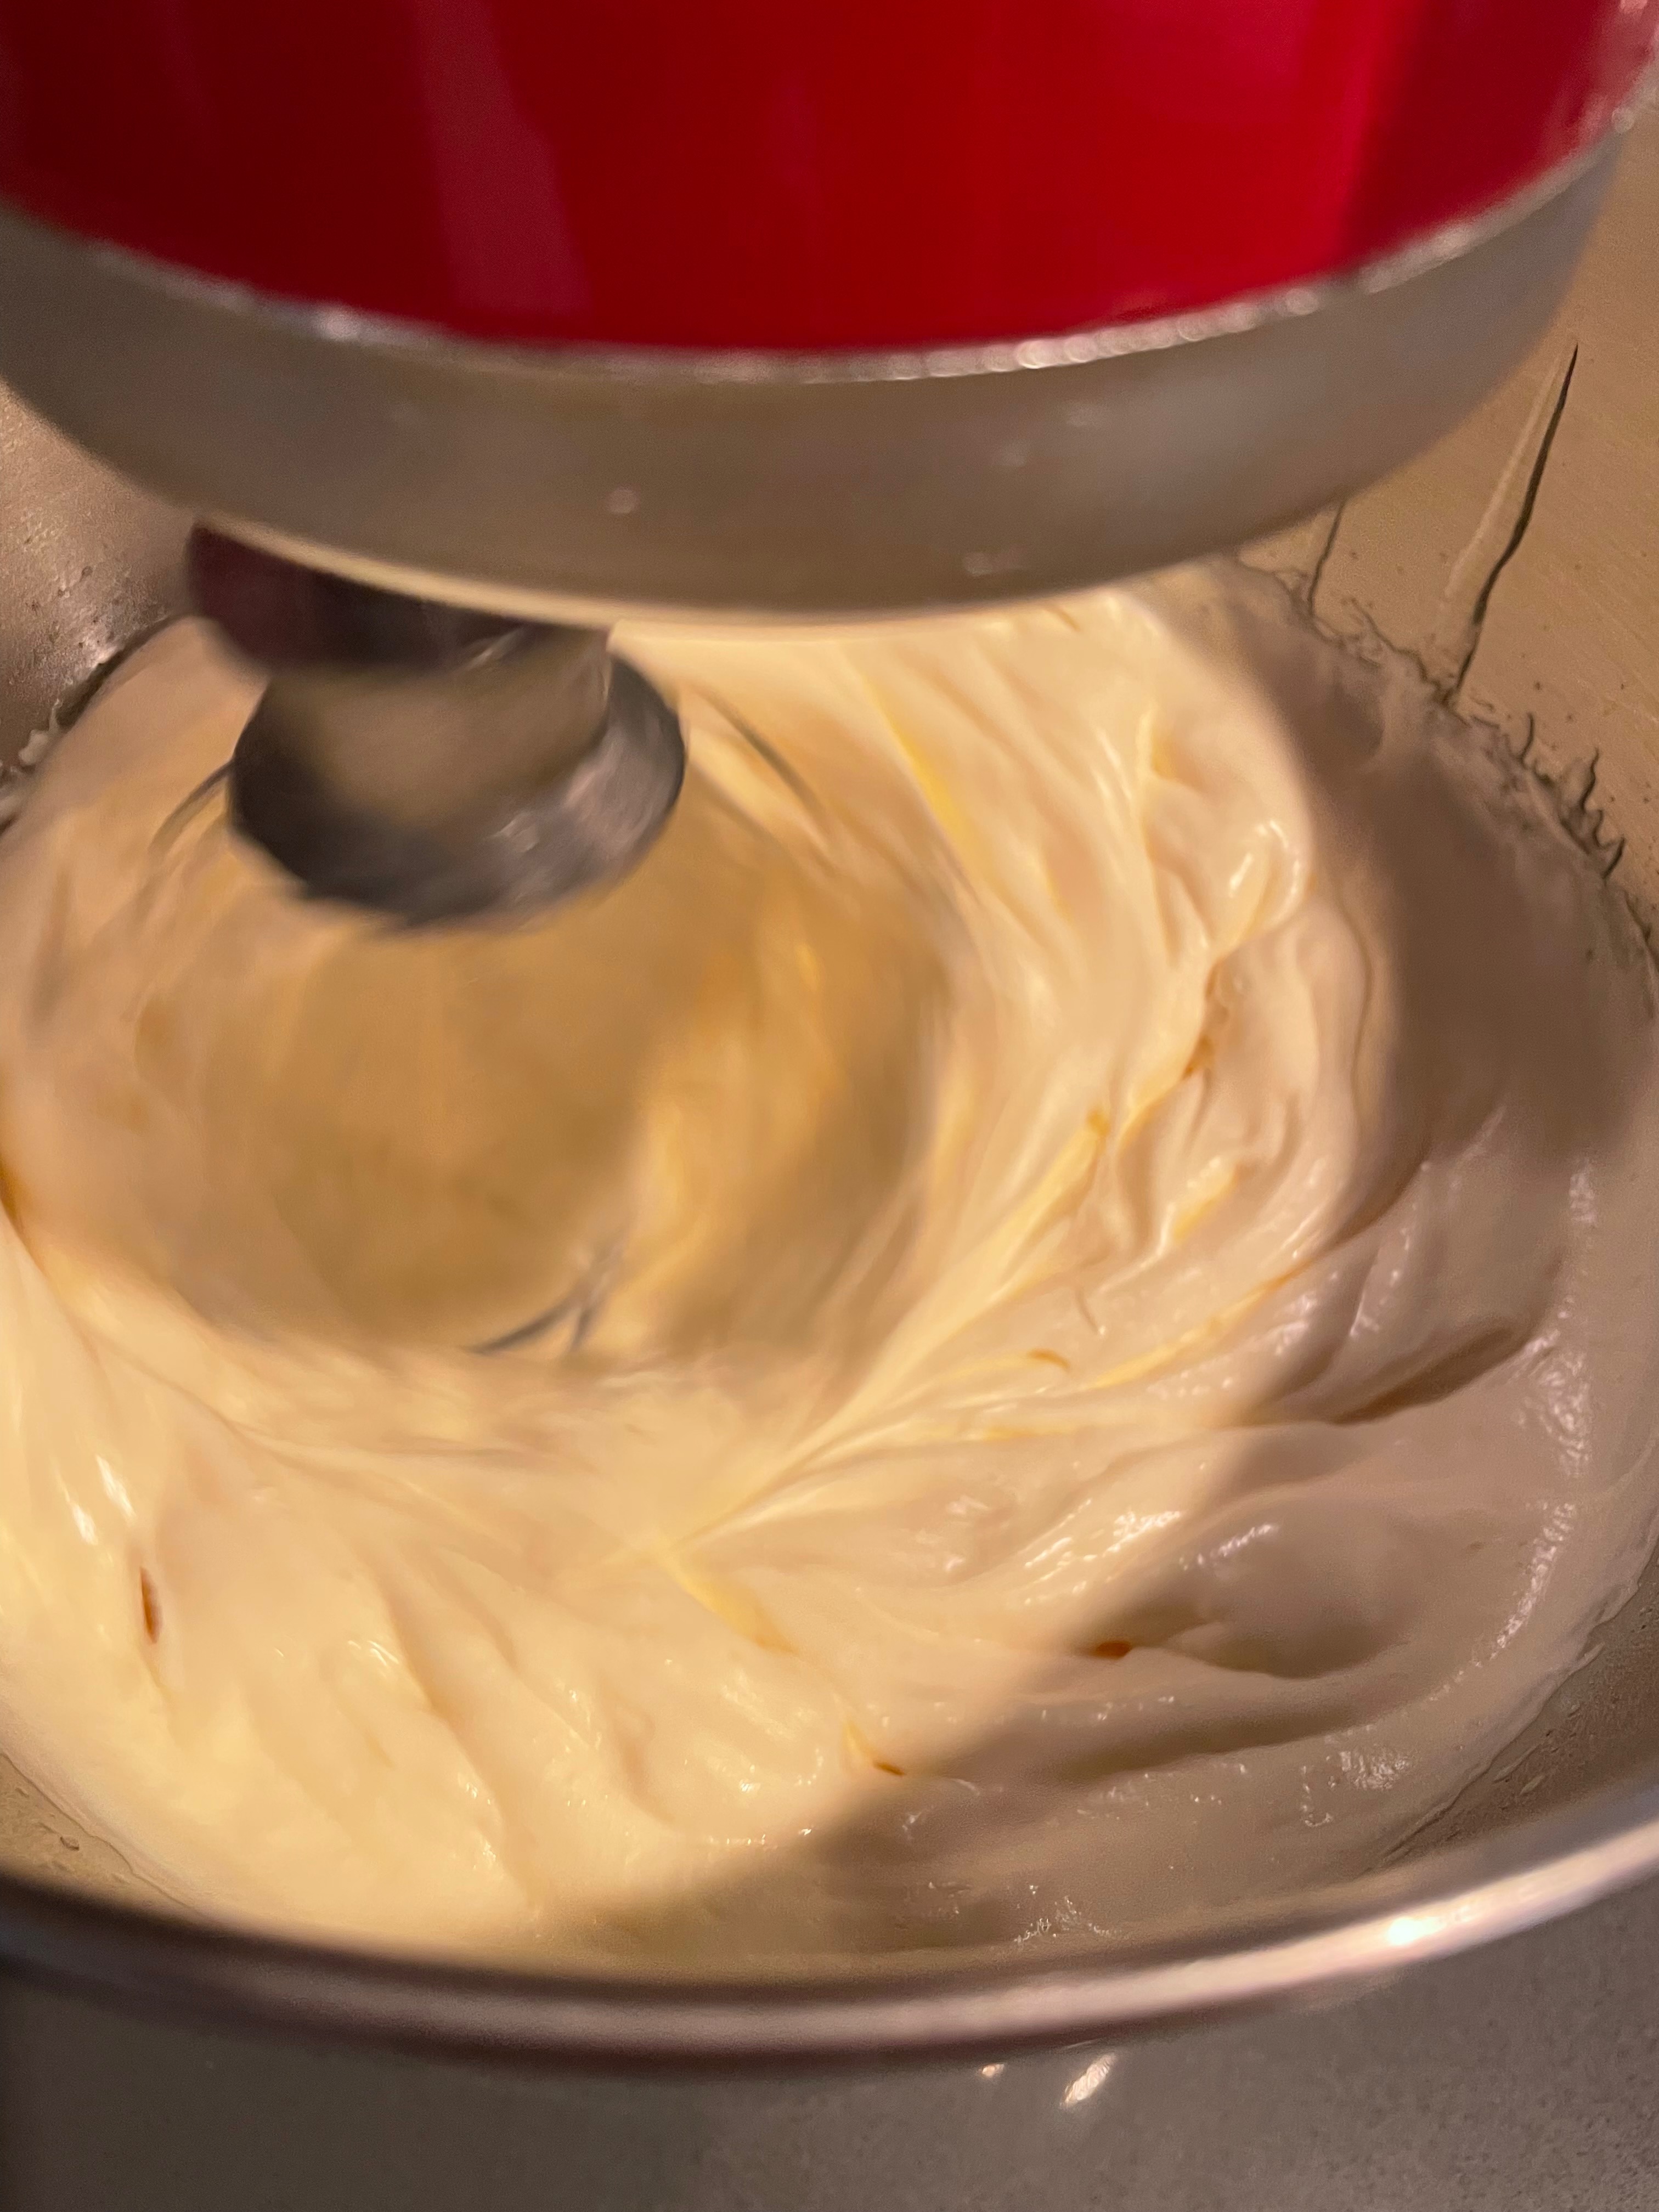
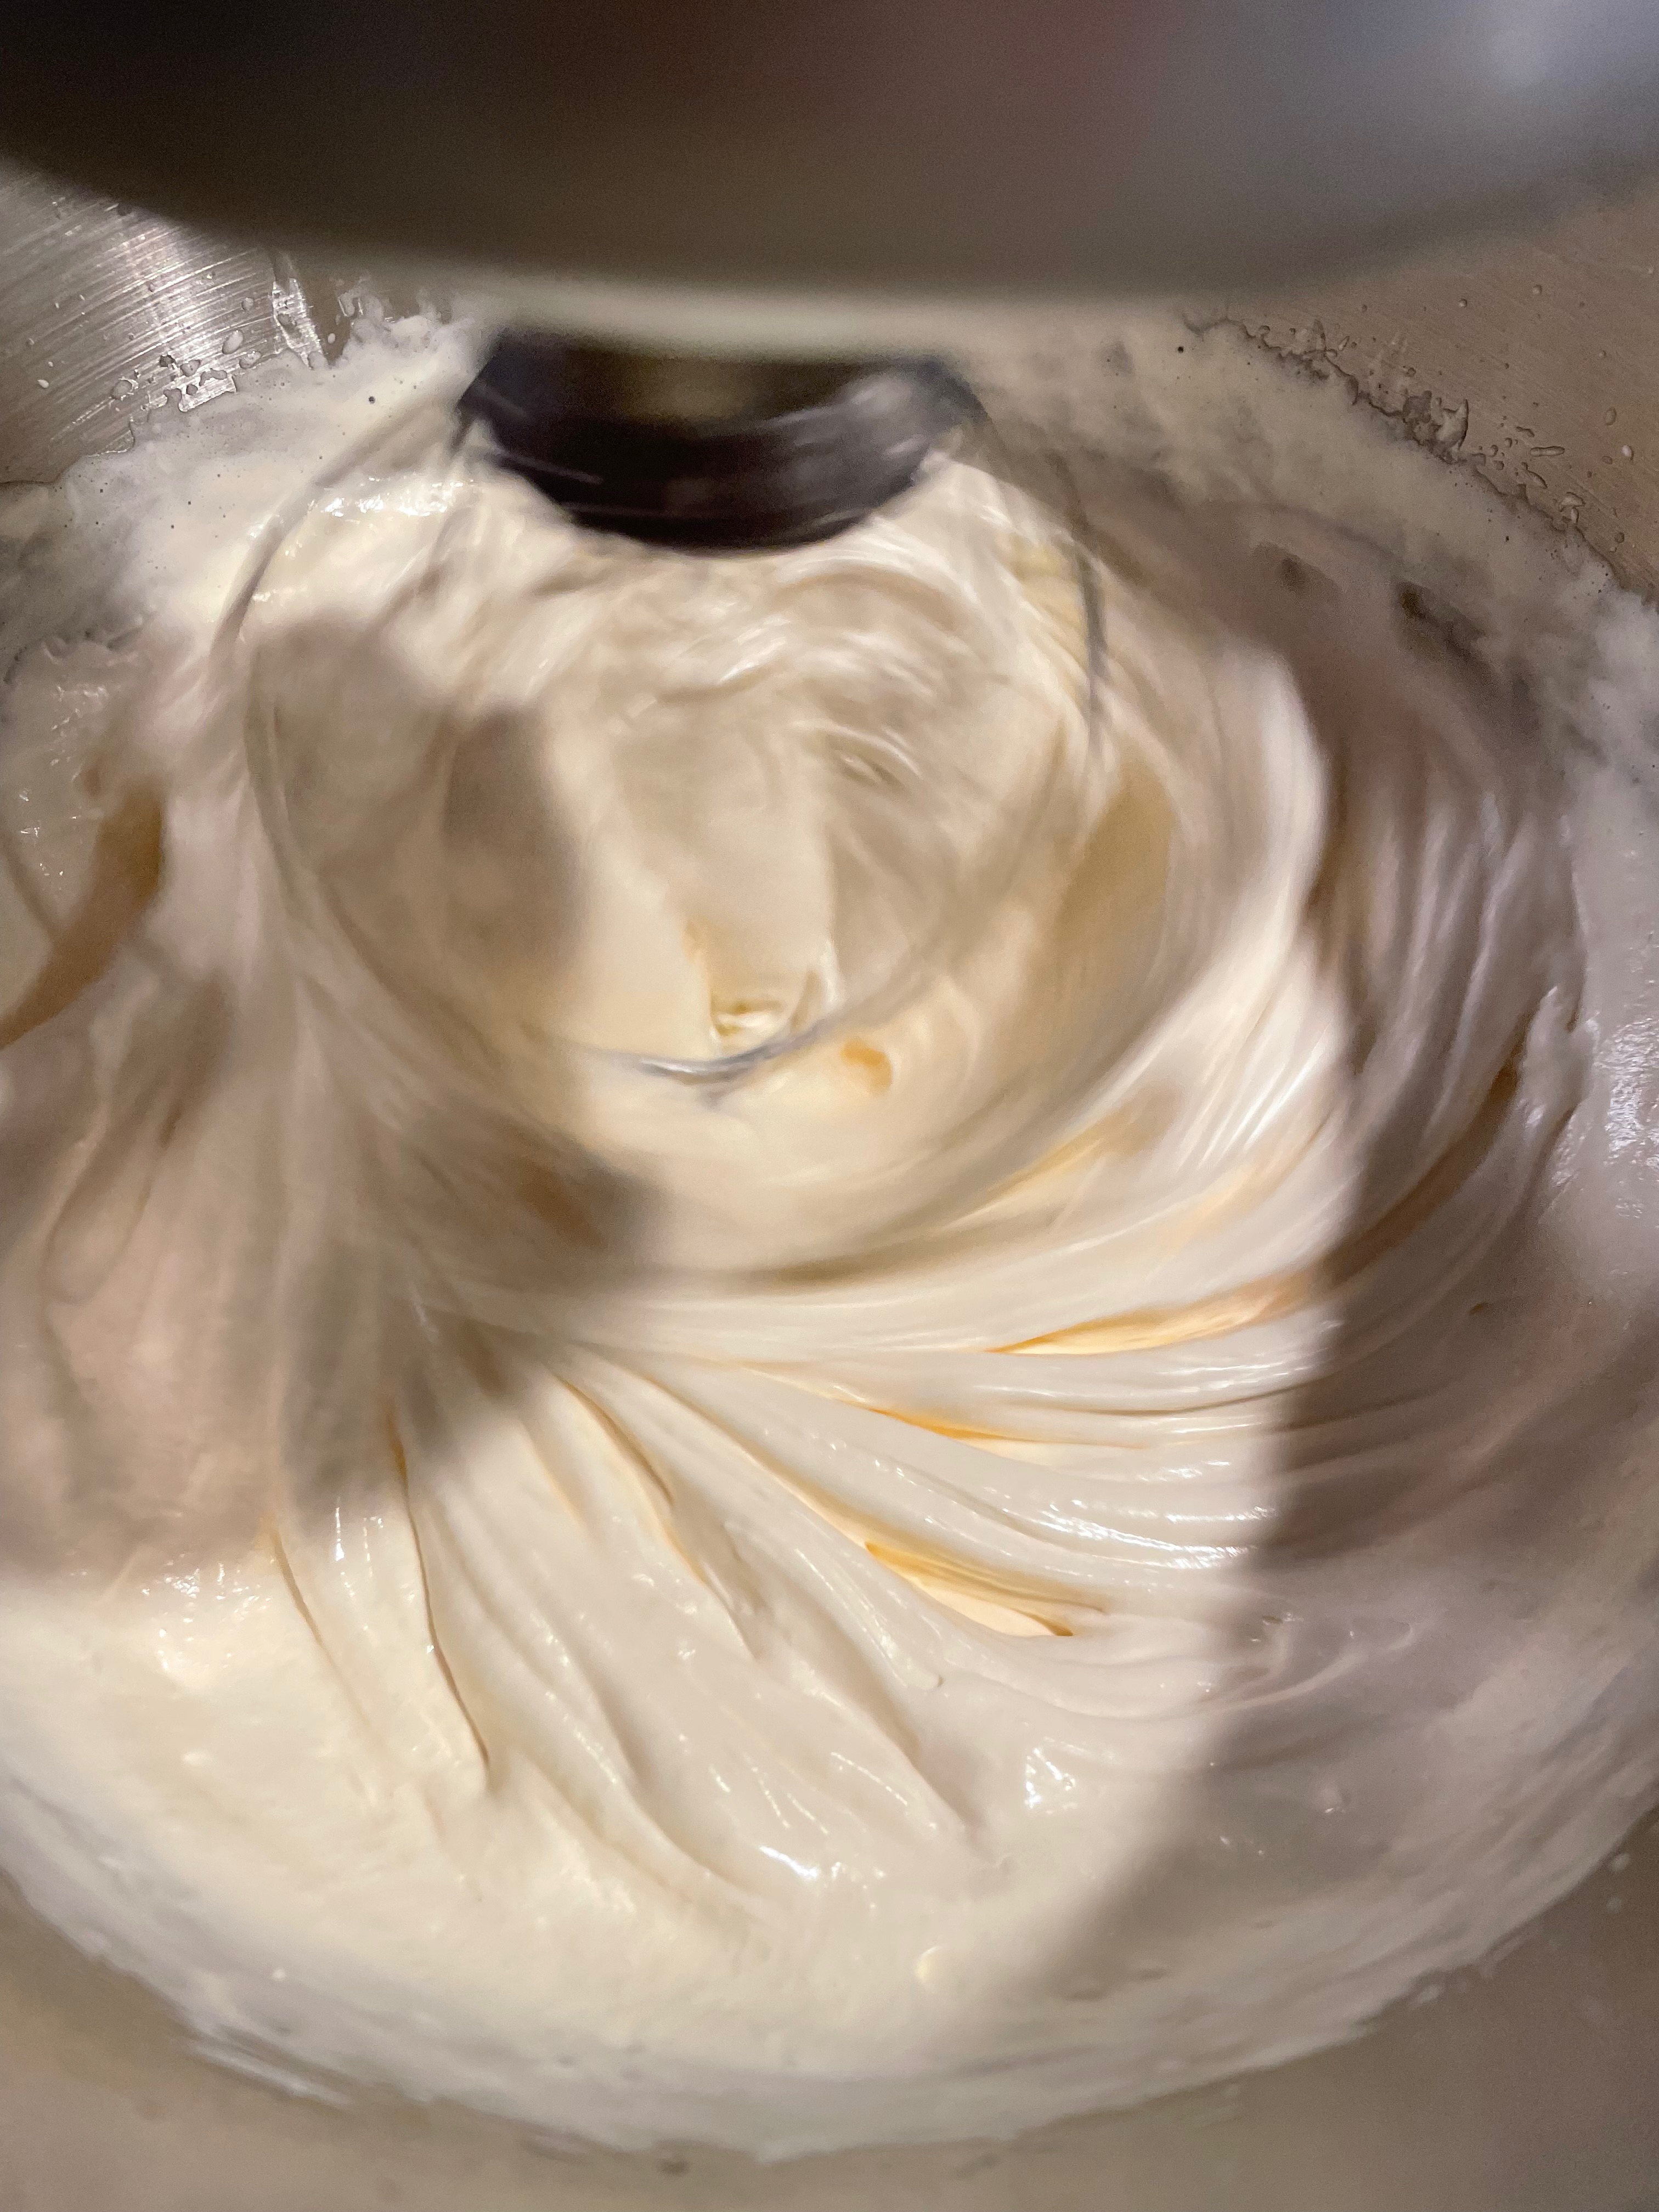
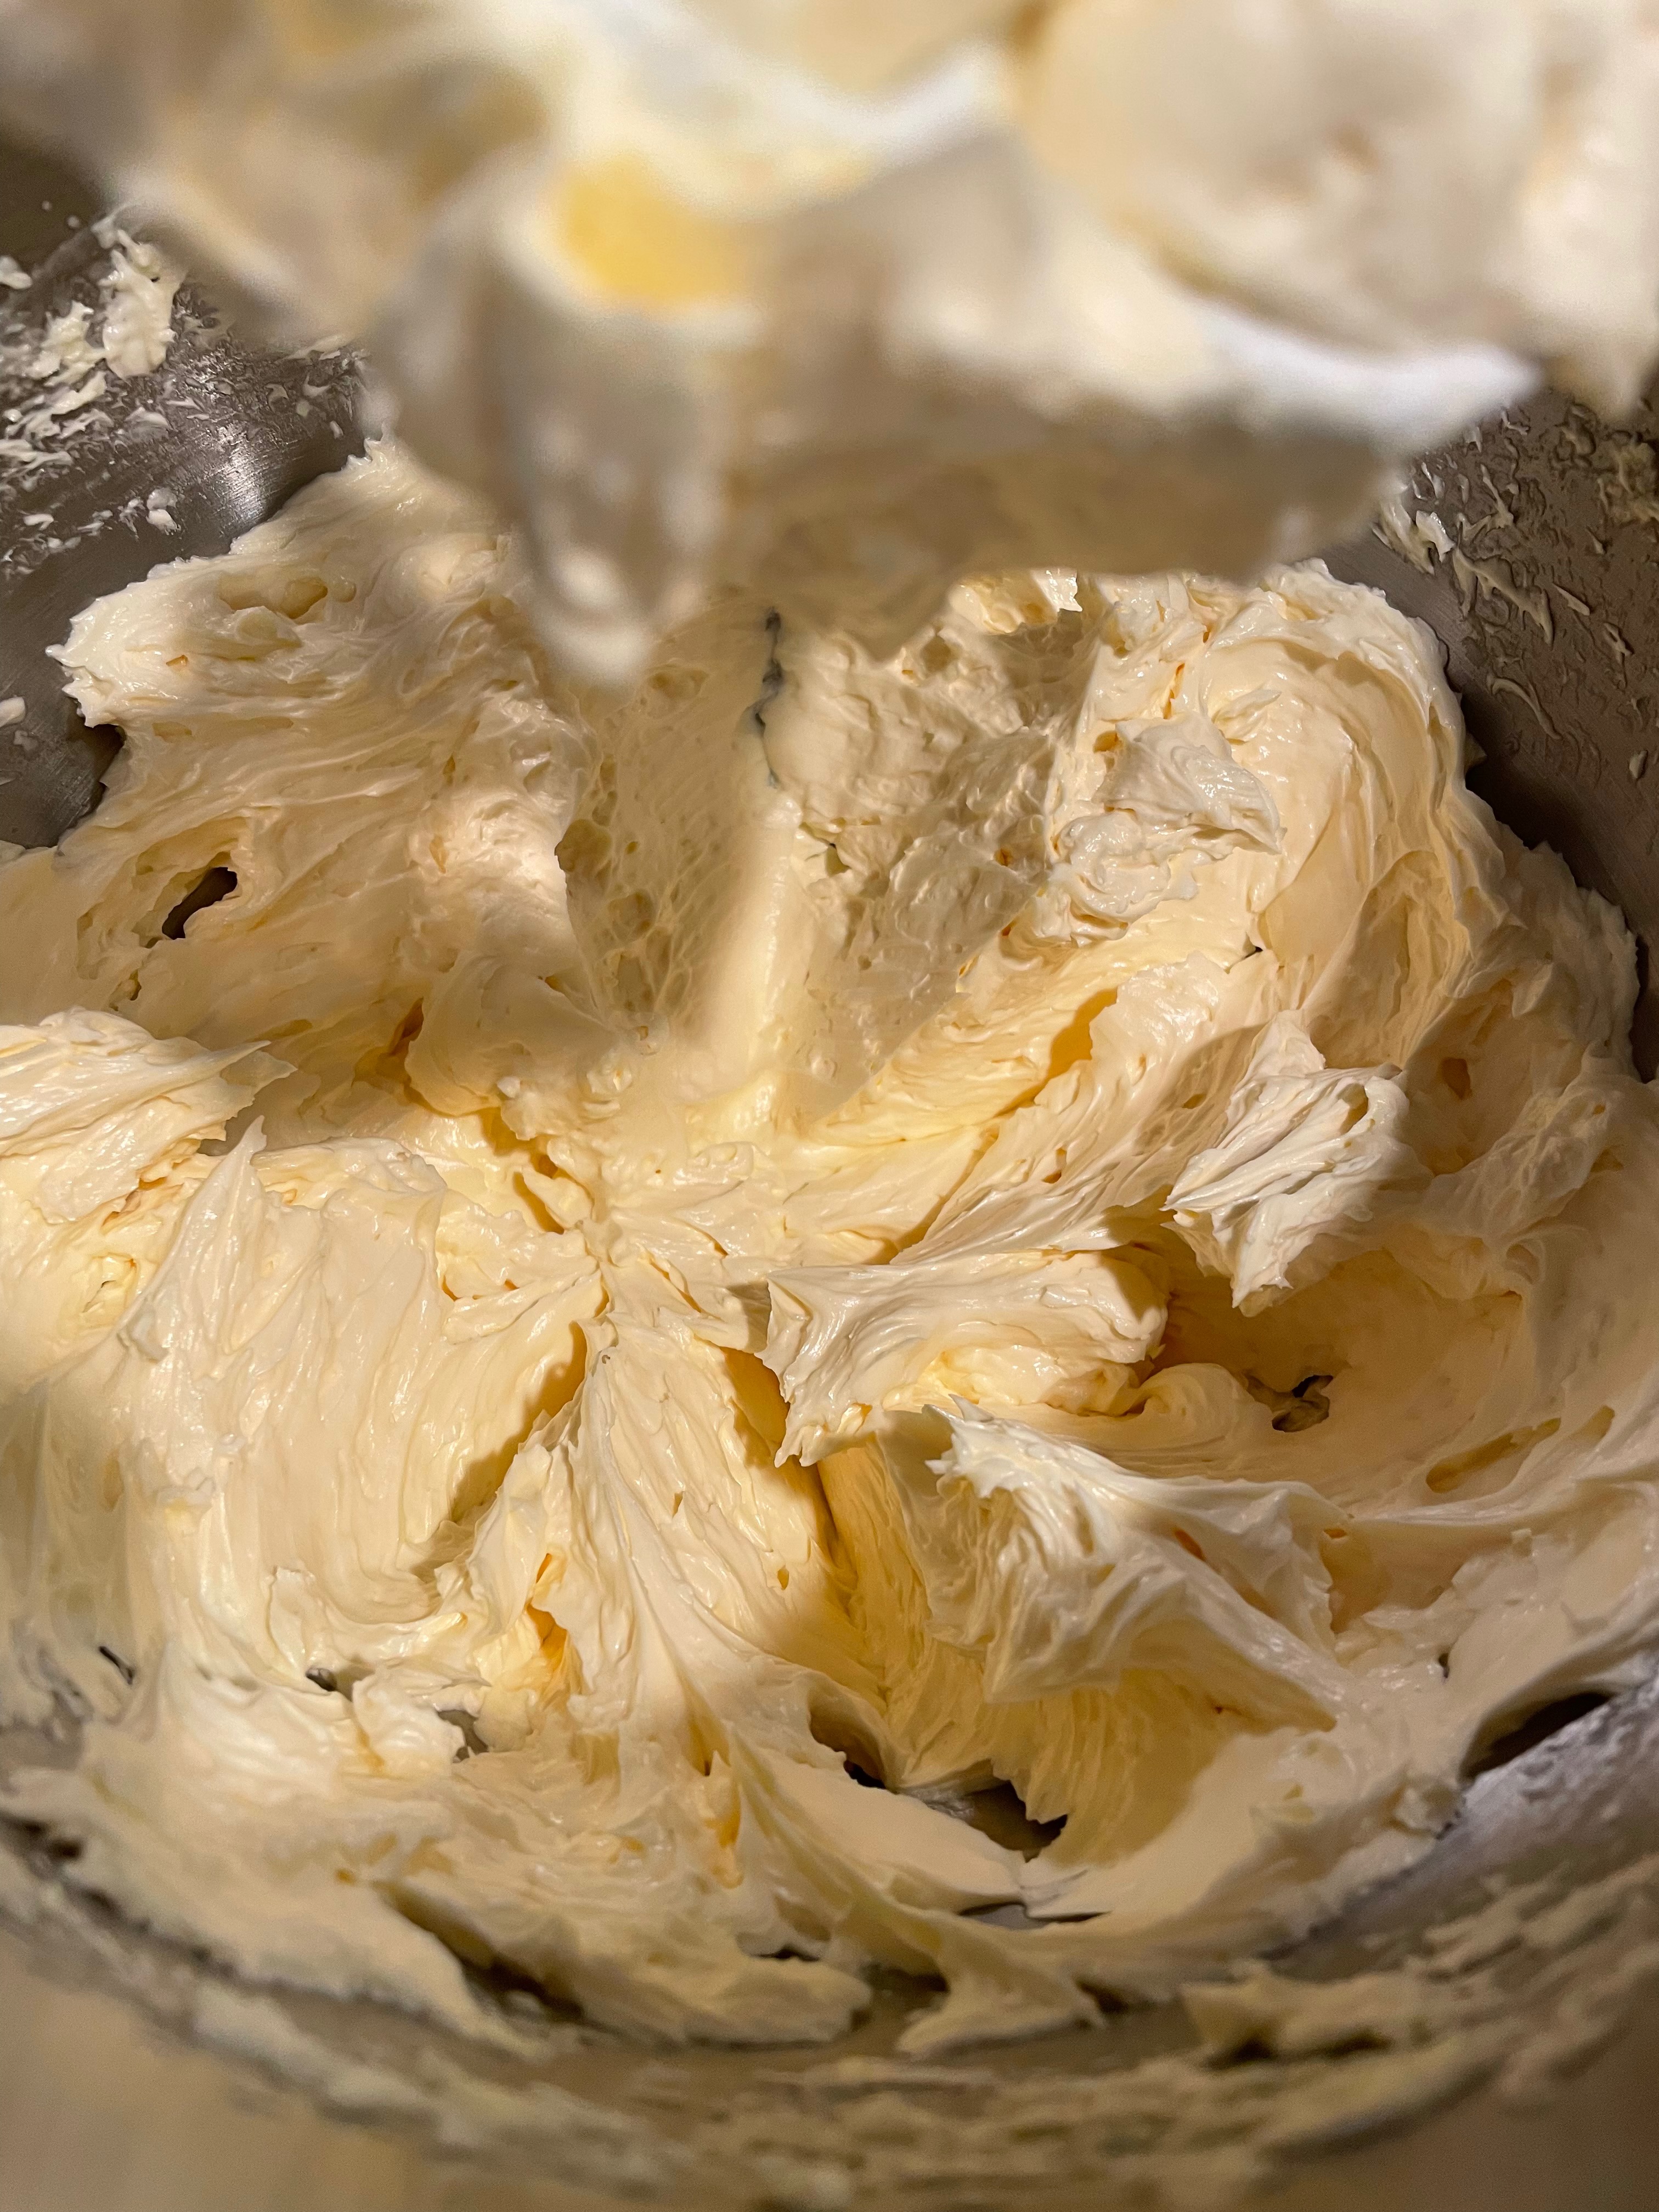
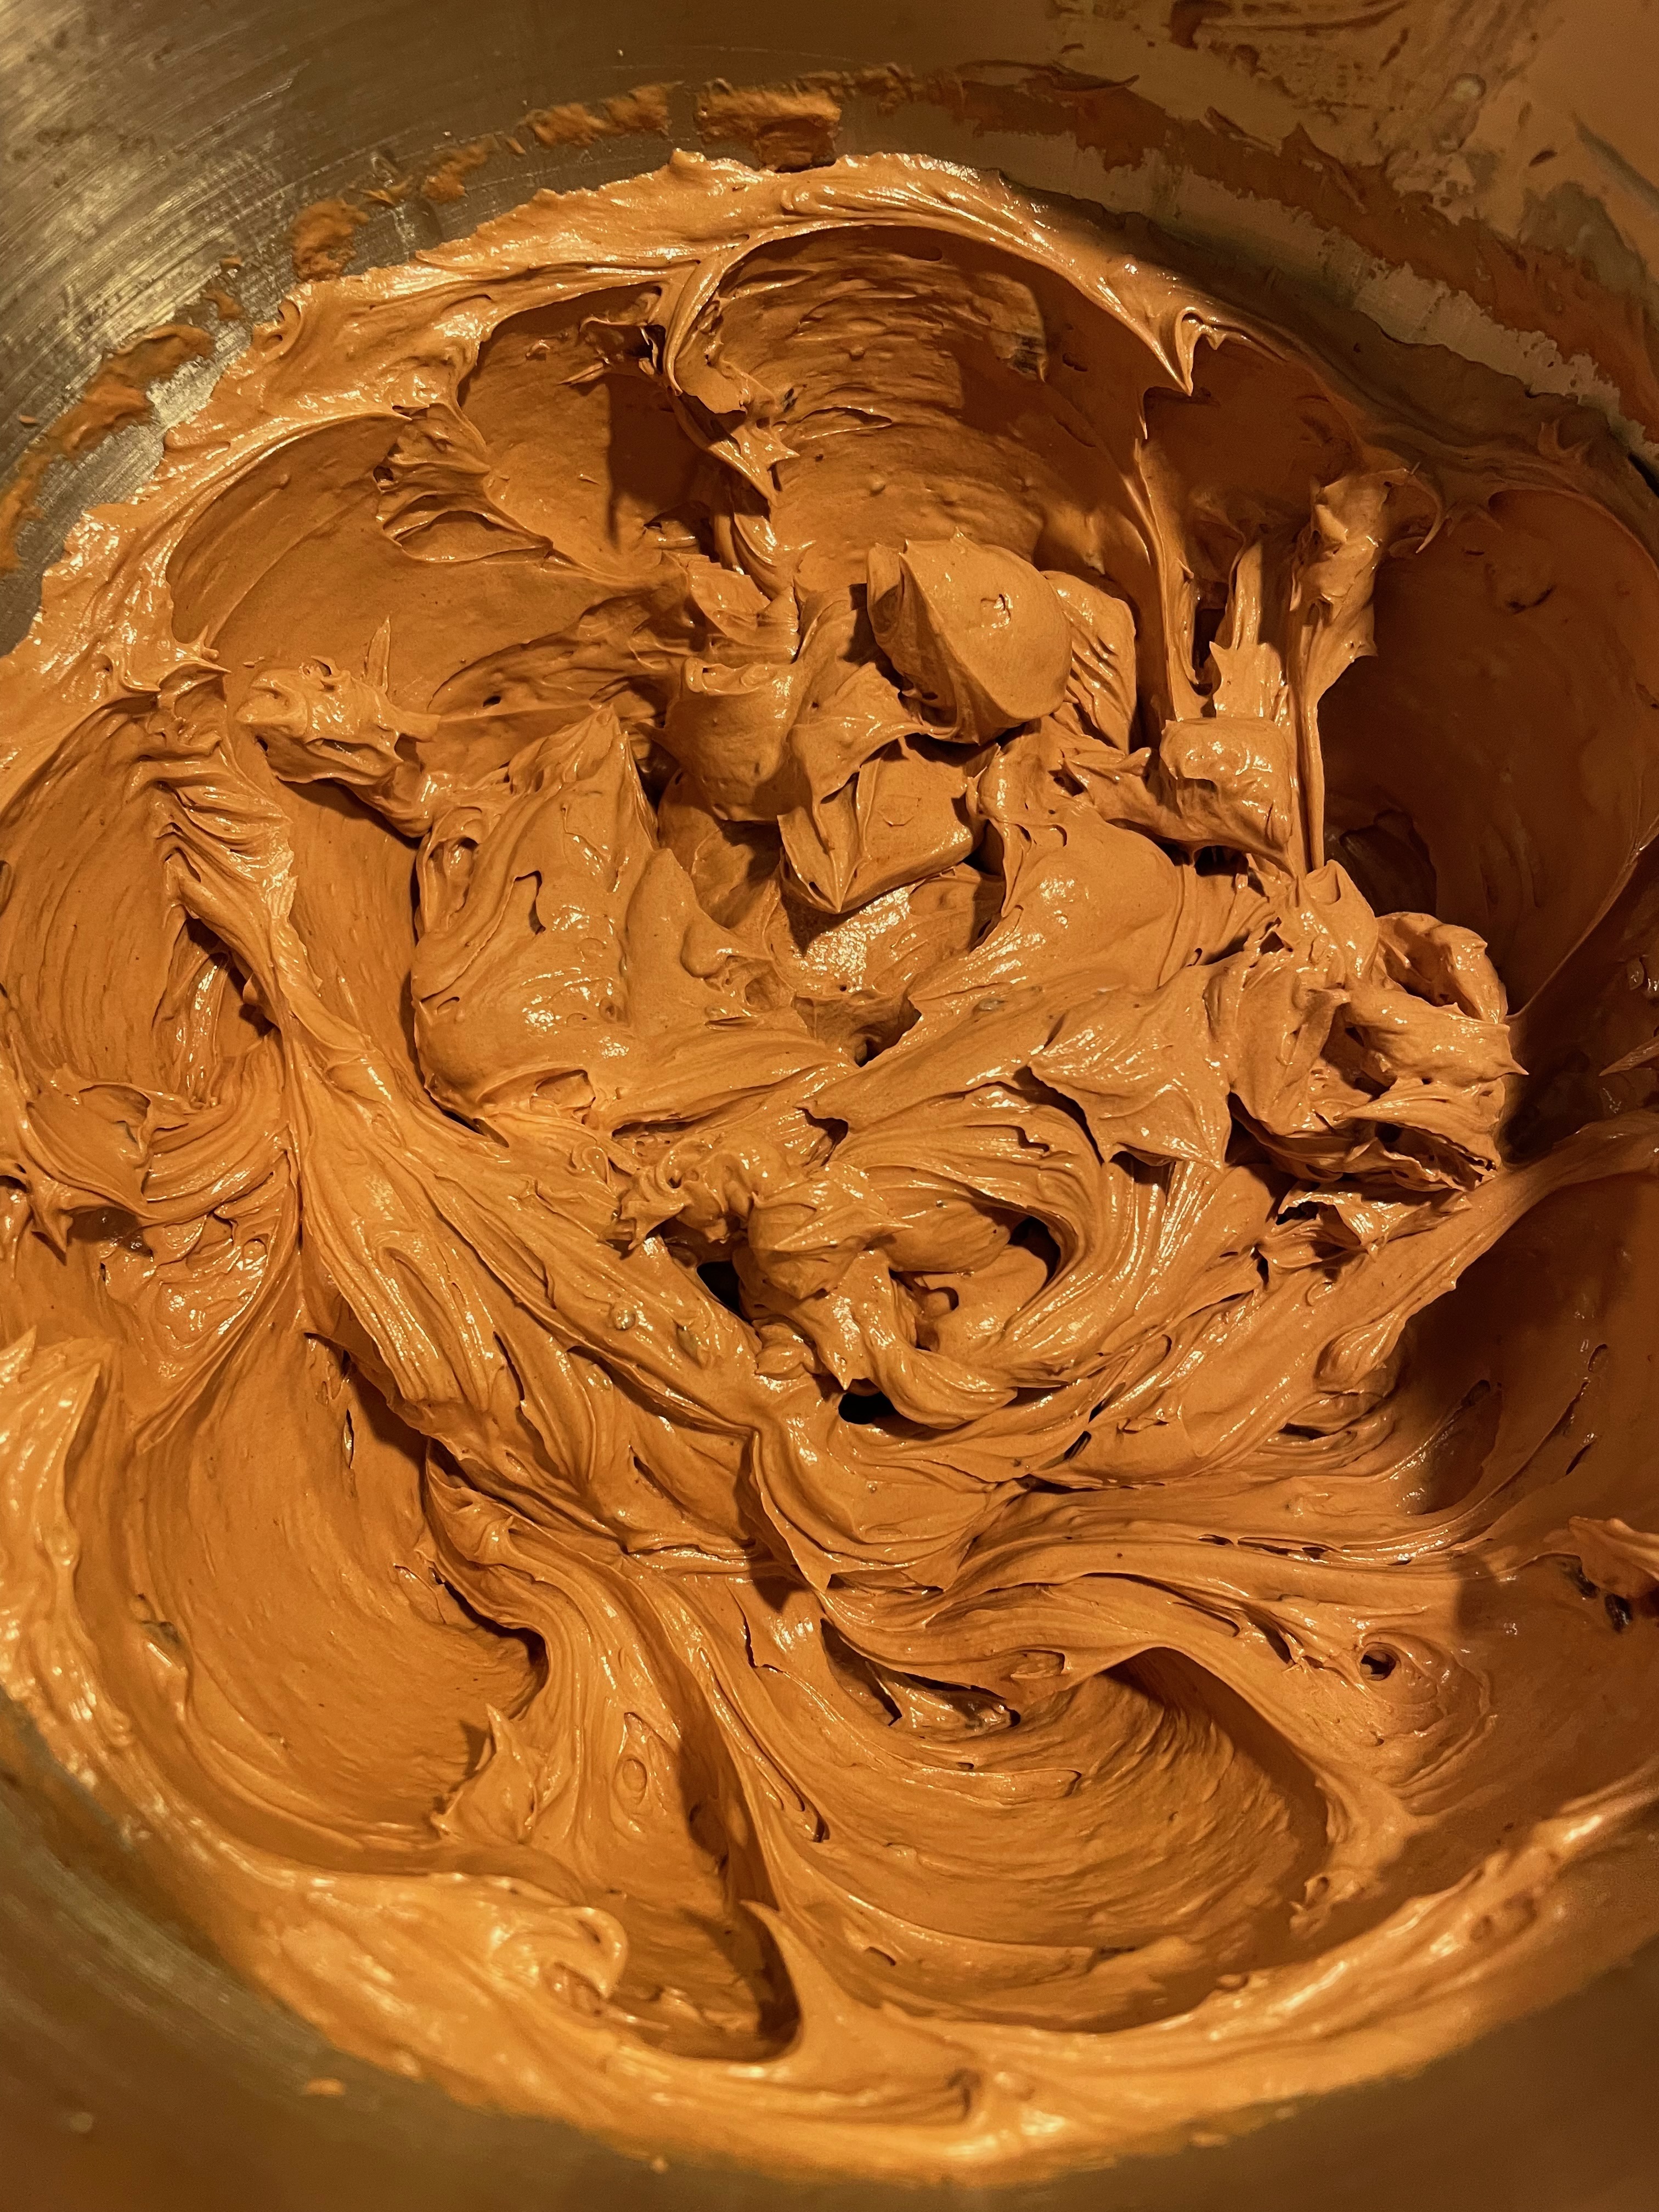
Making The Frosting
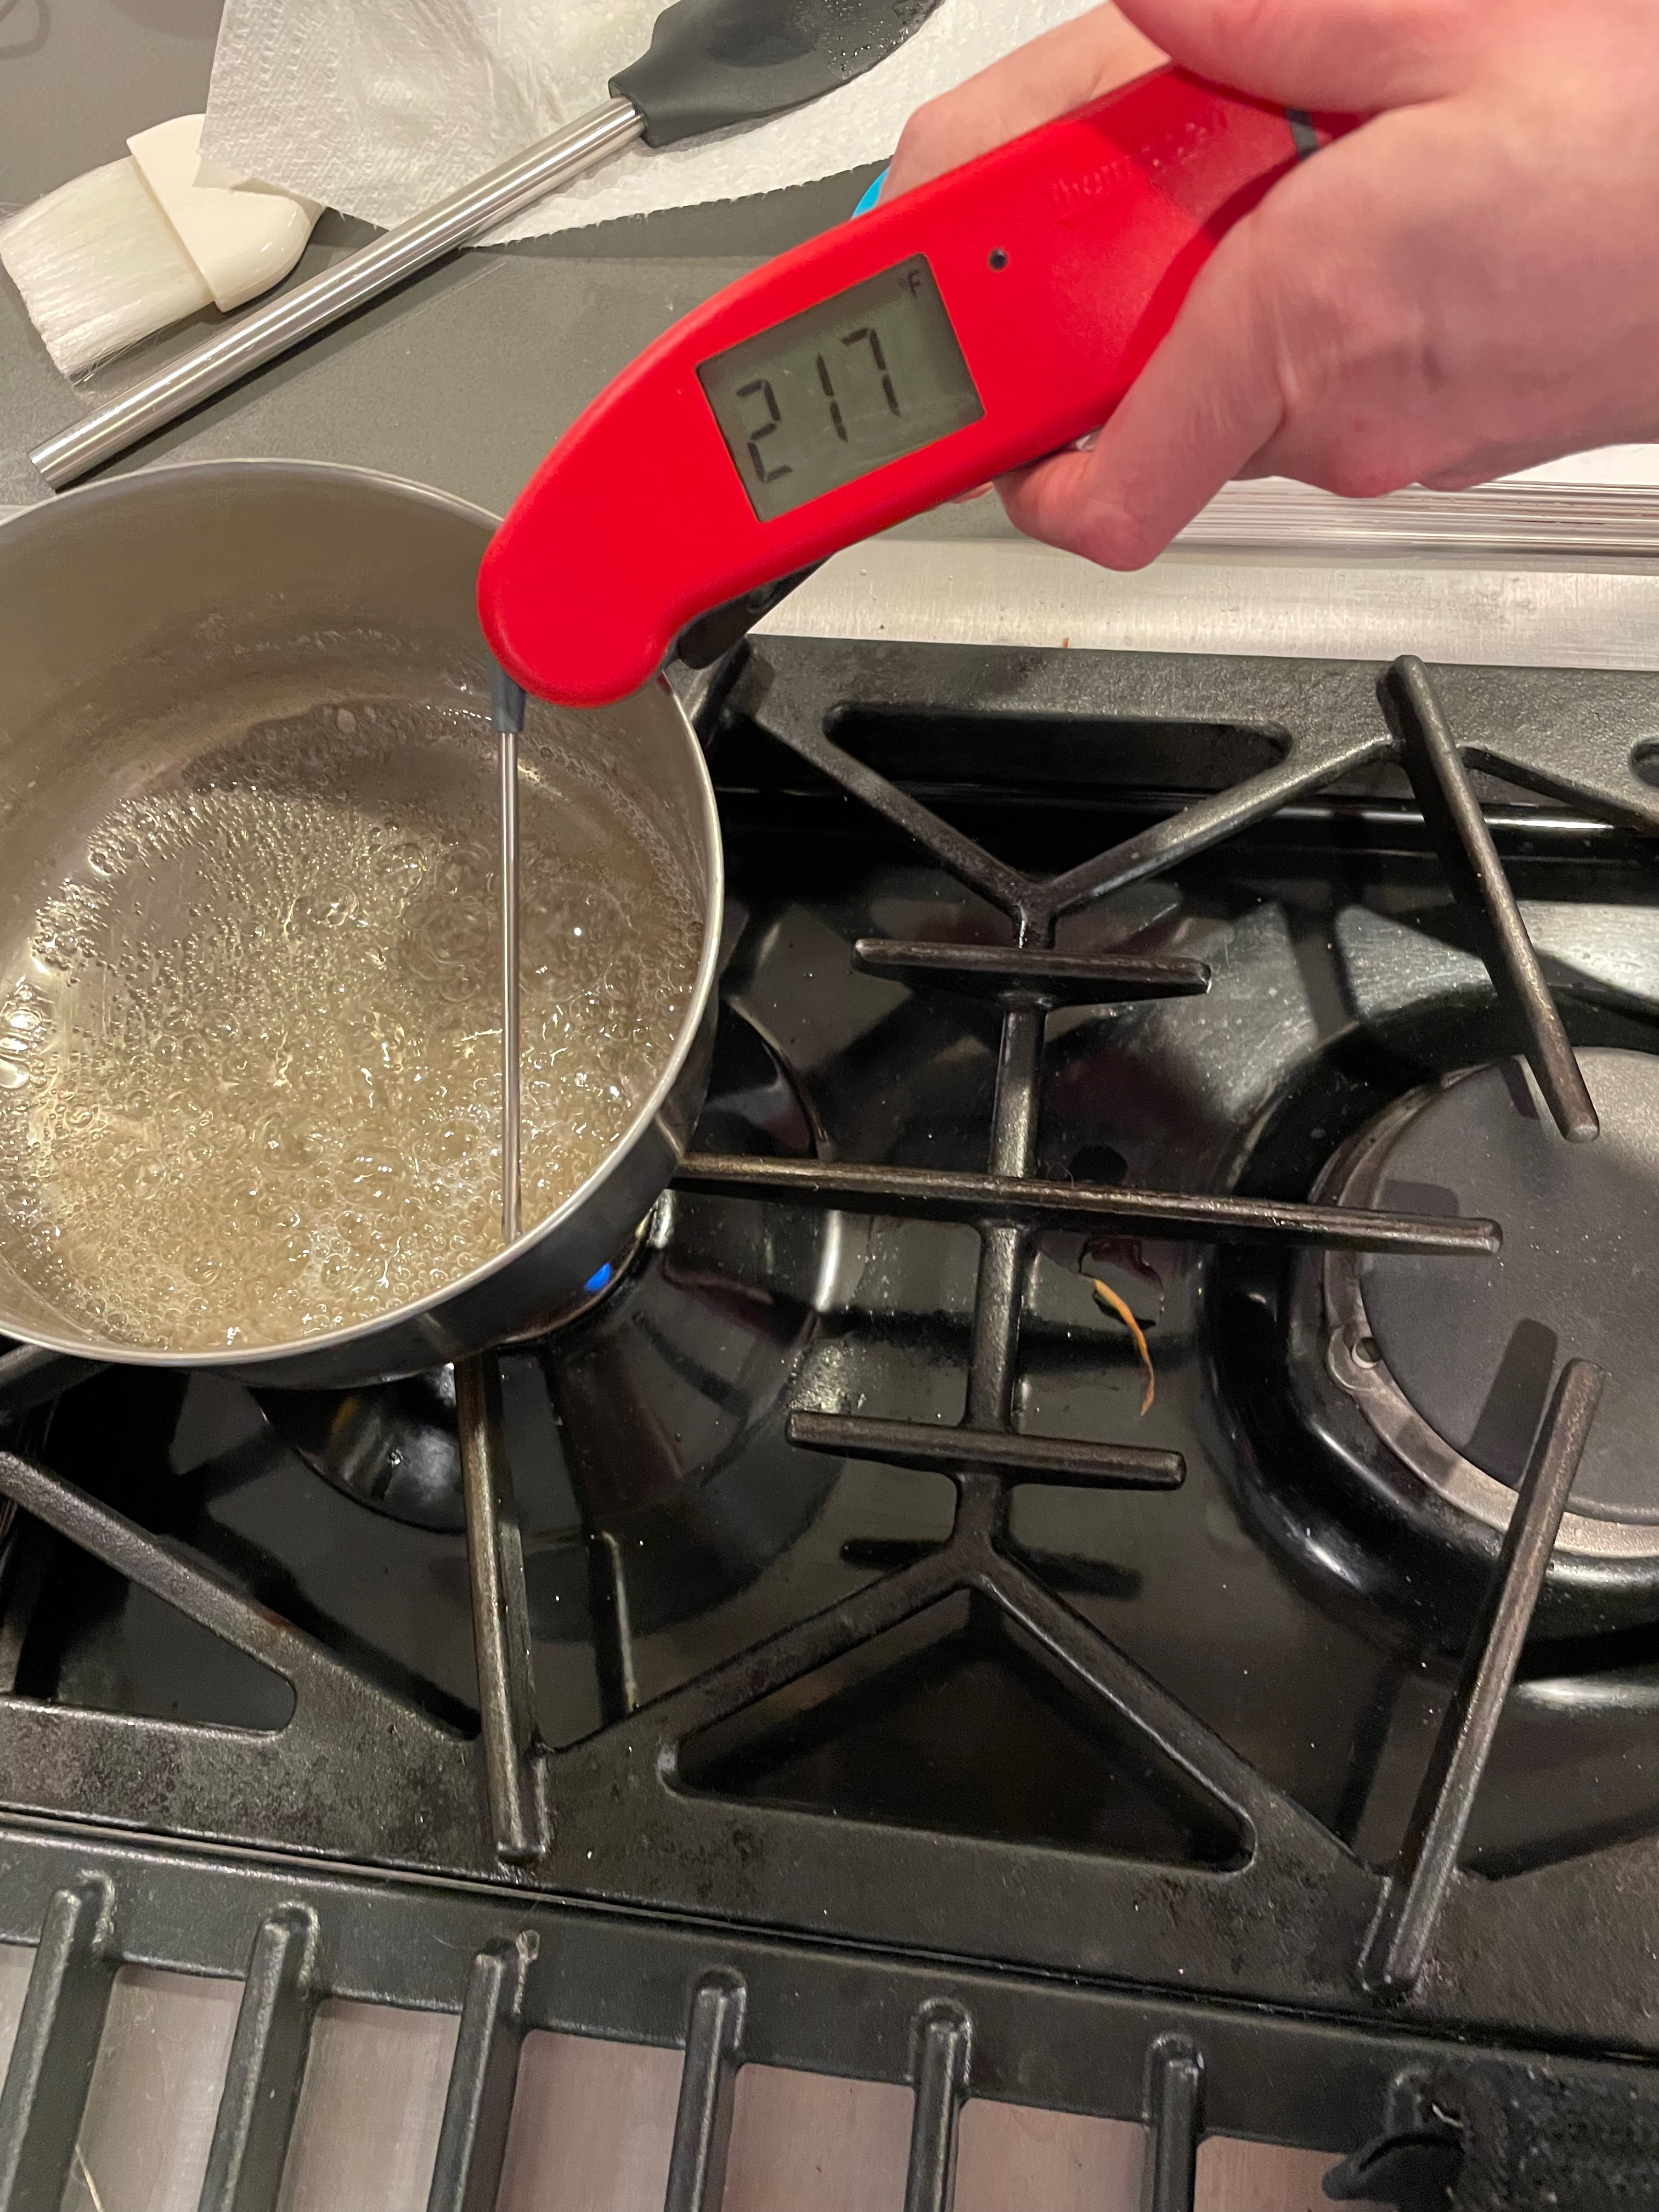

Tip 1: Start heating the sugar mixture at the same time you start beating the eggs. Turn down the heat to low if your mixture is heating too fast (before the eggs have been beaten for at least 5 minutes). Start keeping a close eye on the temperature by 215° otherwise it’ll be too late to stop it from going well over 230°.
Tip 2: In the video it’s recommended to switch to the paddle attachment after the first 5 tablespoons or so of butter, but it is not mentioned in the book. We followed this recommendation and it turned out well.
Tip 3: Take your time between adding each piece of butter. Watch the video and use it as a reference. It may seem like it won’t come together, but just keep going. It magically transforms as the final few tablespoons of butter are being added.
Tip 4: Melt the chocolate using the double-boiler method. It can be made right before you start and cool while you make the rest of the frosting and it should cool in time. Do keep an eye on it and make sure it doesn’t solidify. If it starts to solidify you can re-melt it using the same method, although preferably just keep it near something warm (like above an oven – though don’t let it get too hot) if you notice it starting to harden and periodically stir it.
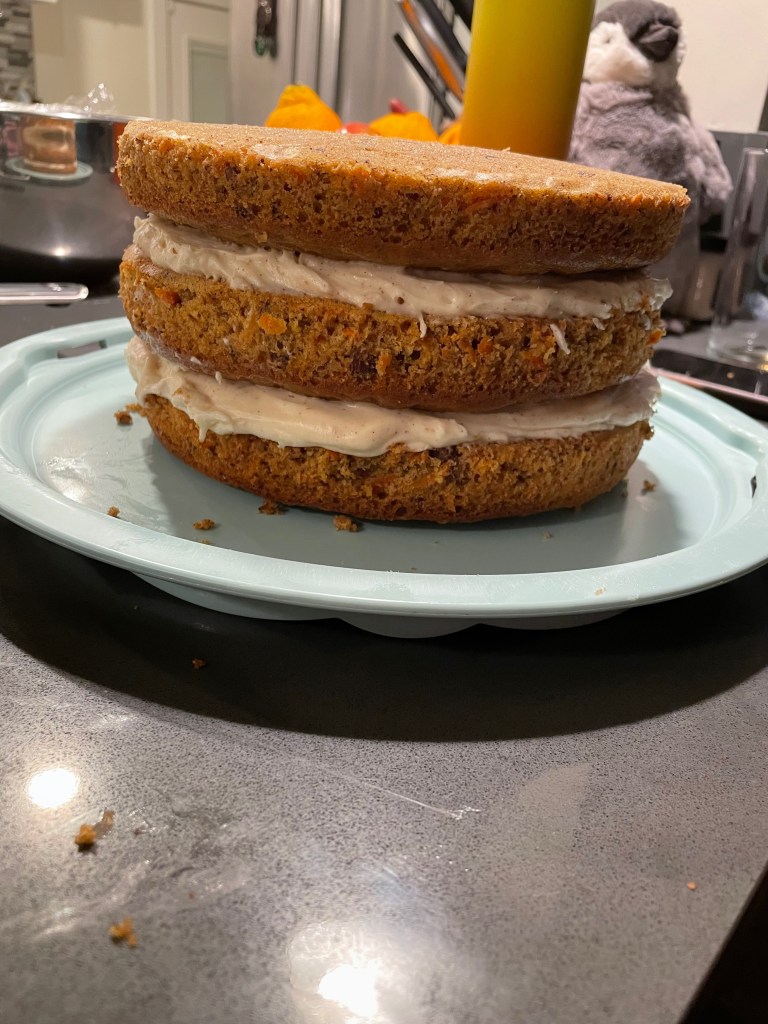
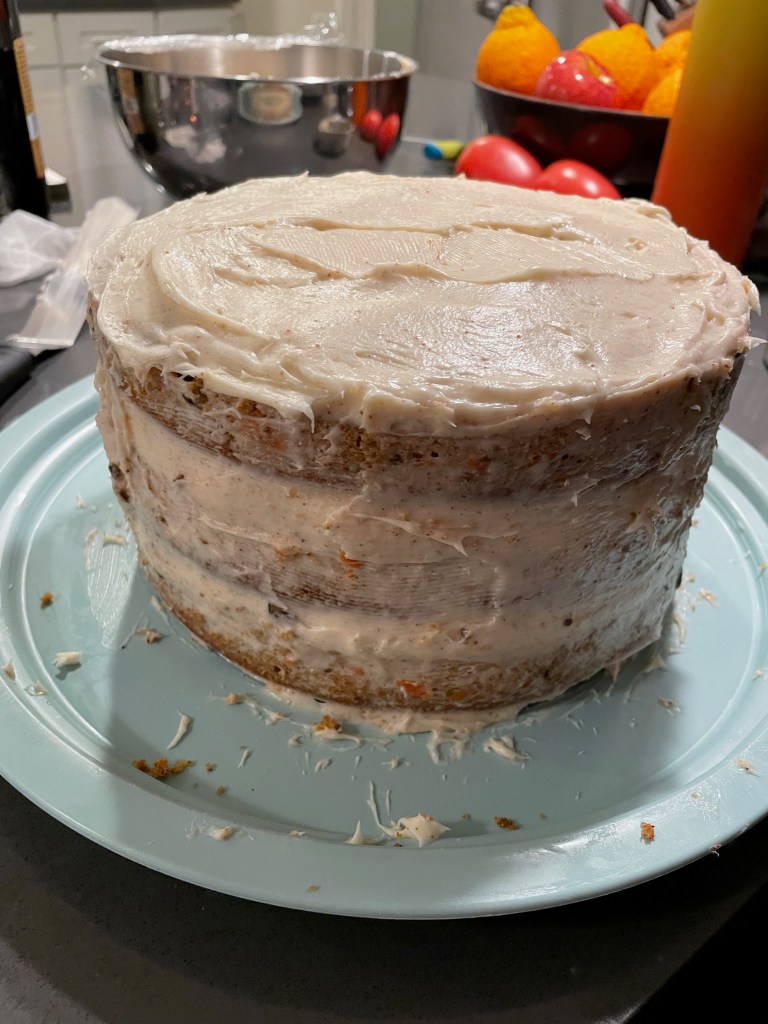
Tip 5: Use multiple “blobs” when frosting the cake for a more even distribution. The longer you refrigerate after applying the crumb coat, the easier it will be.
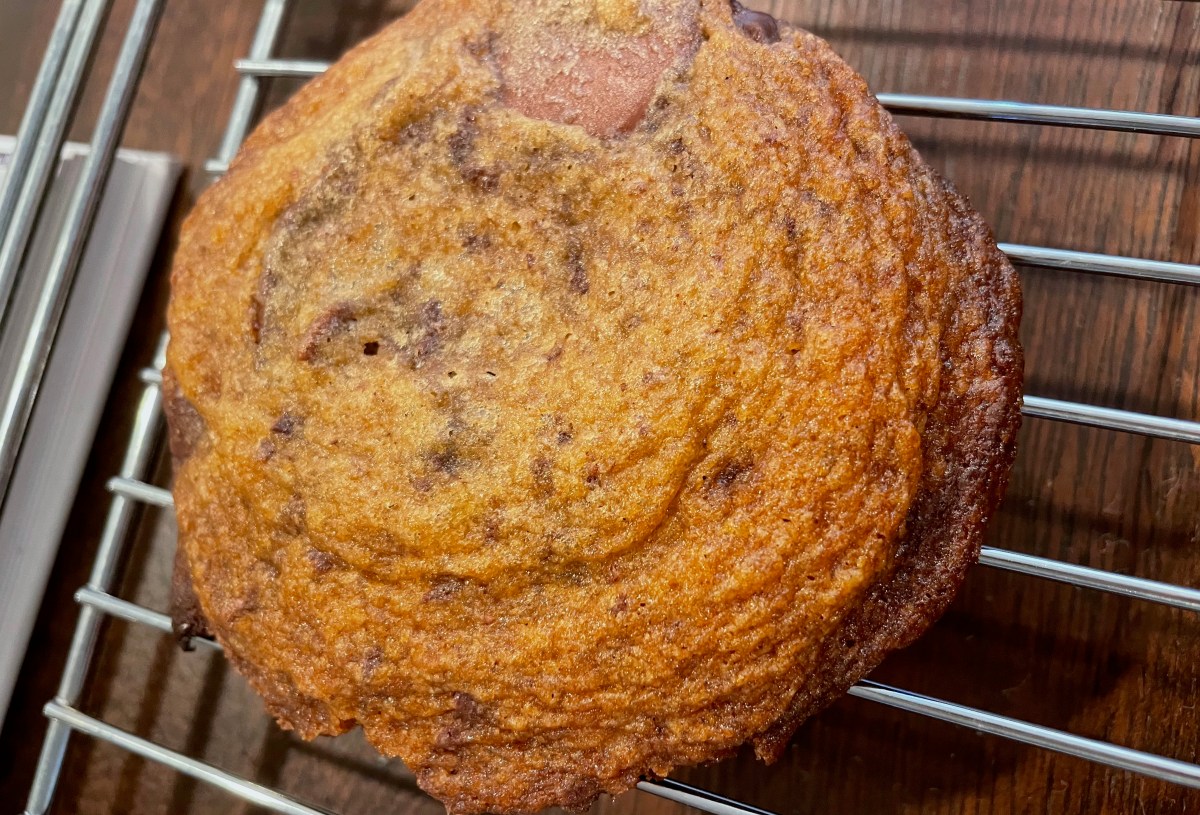
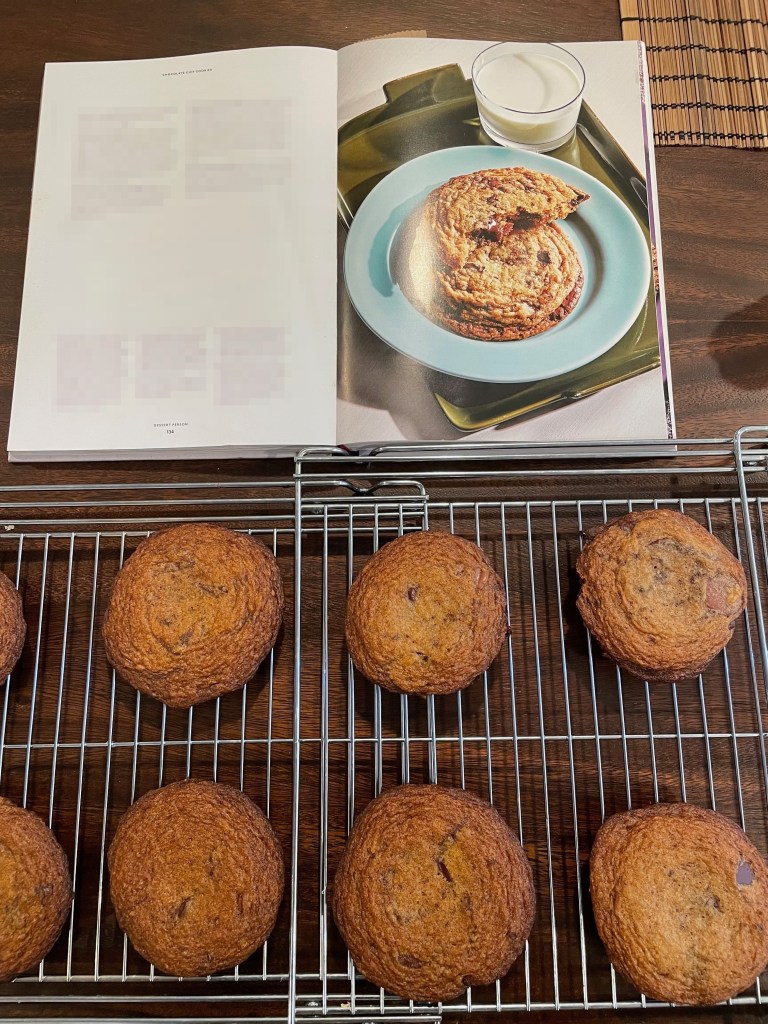
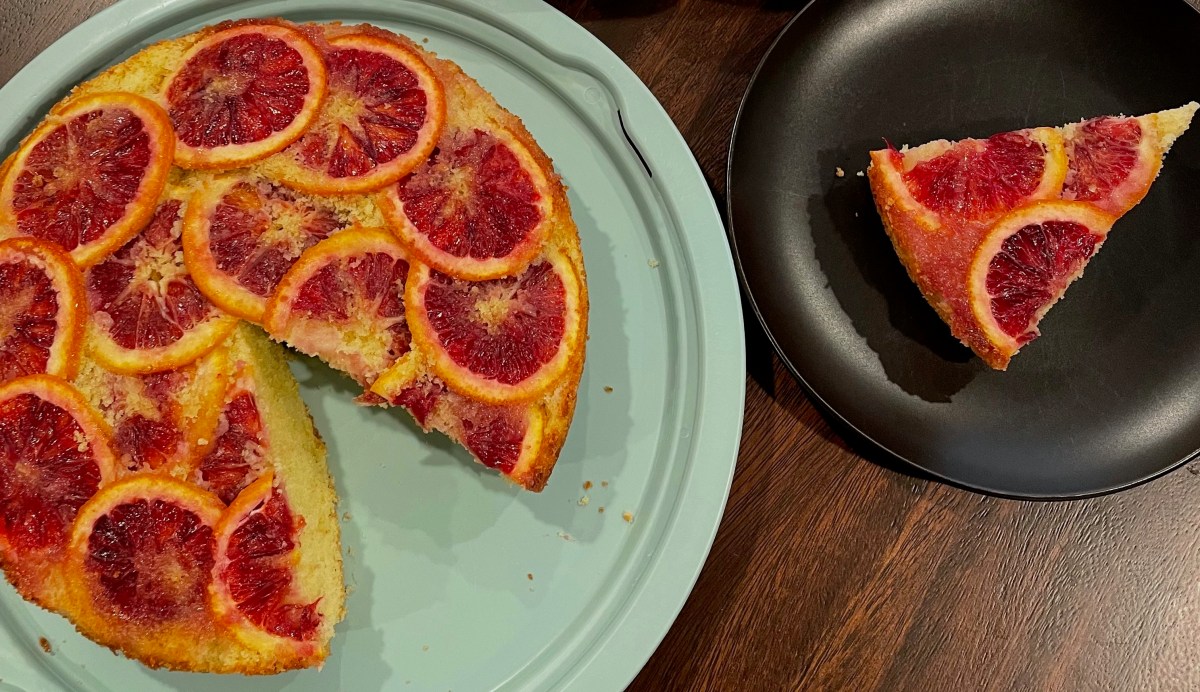
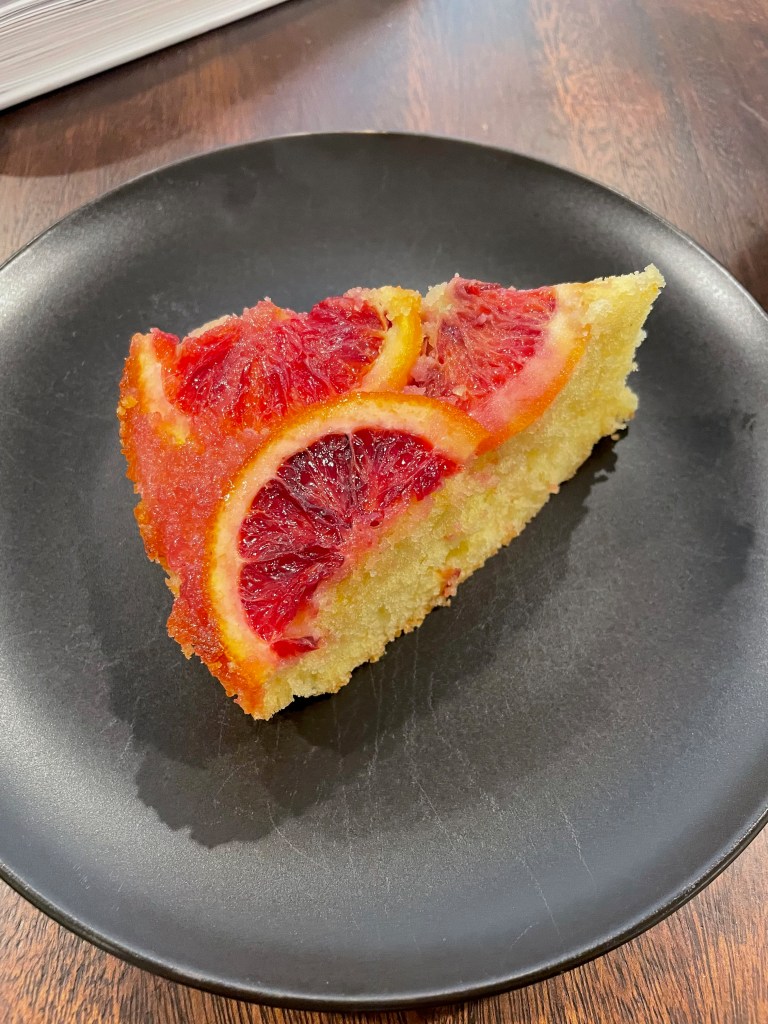
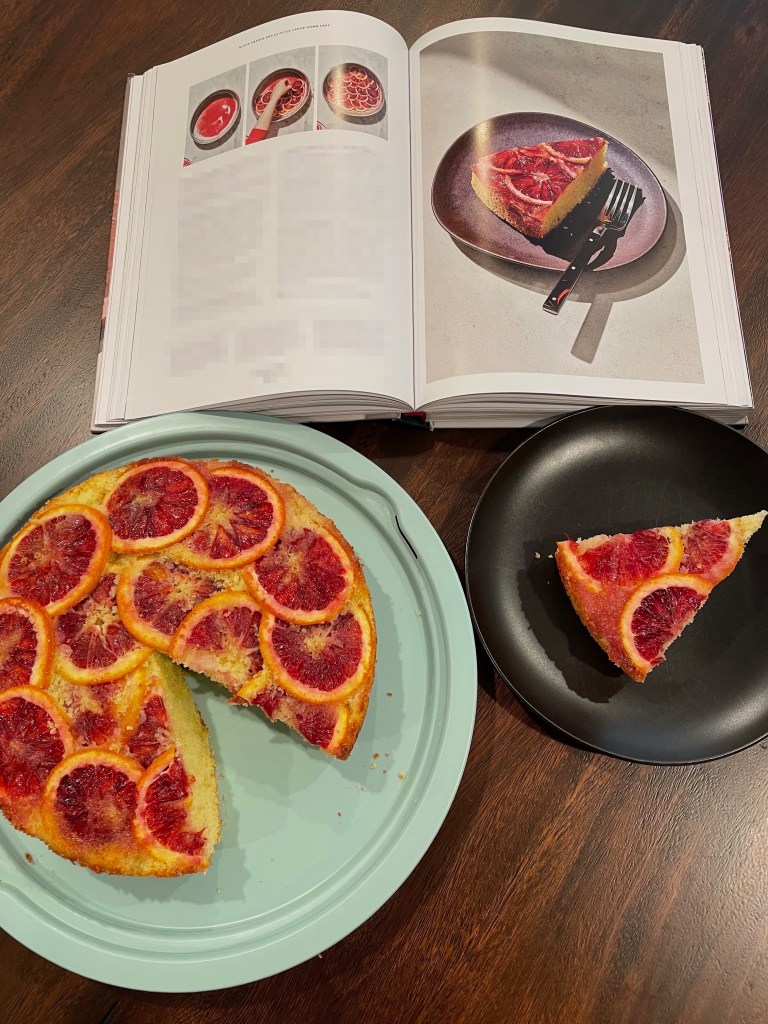
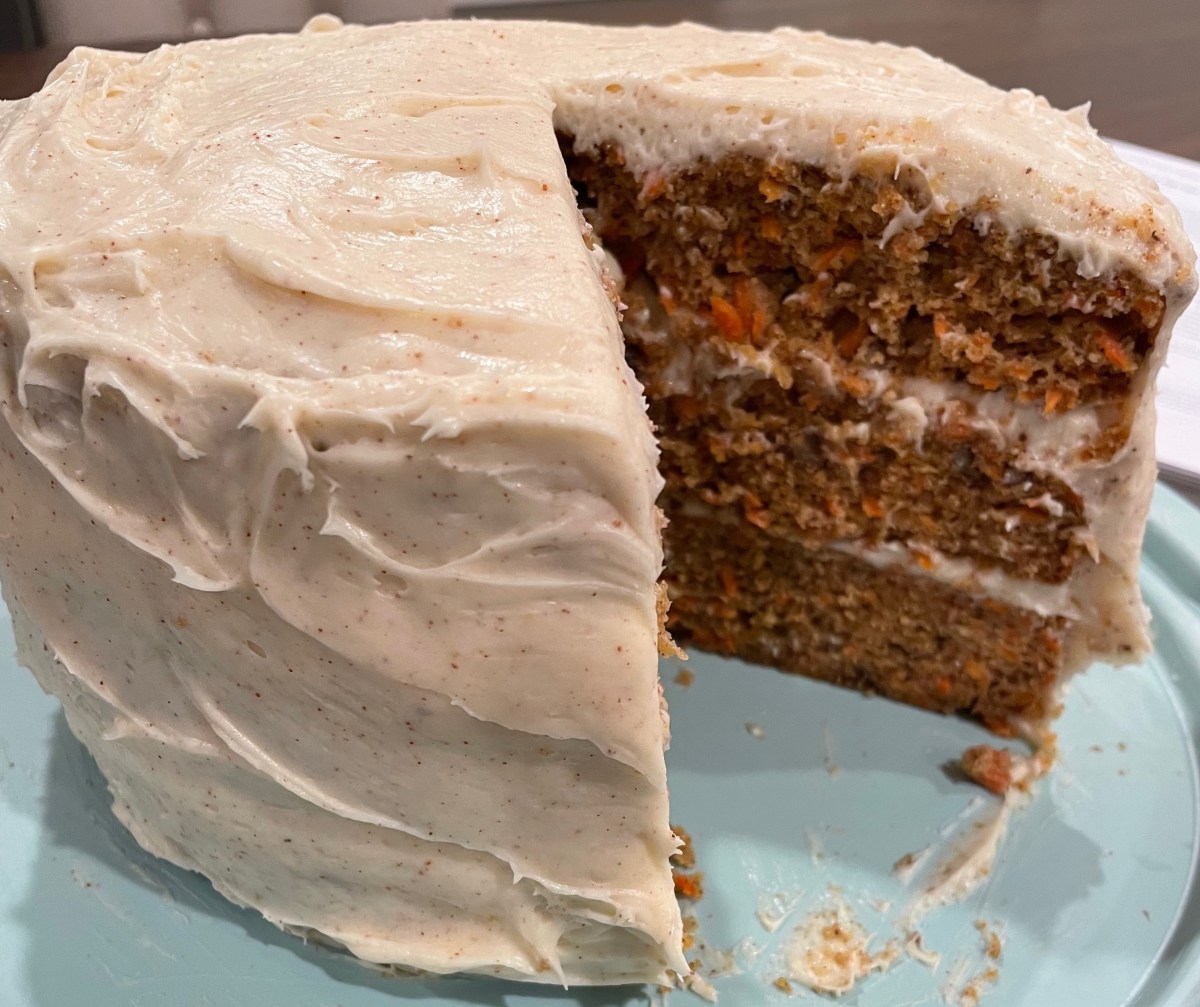
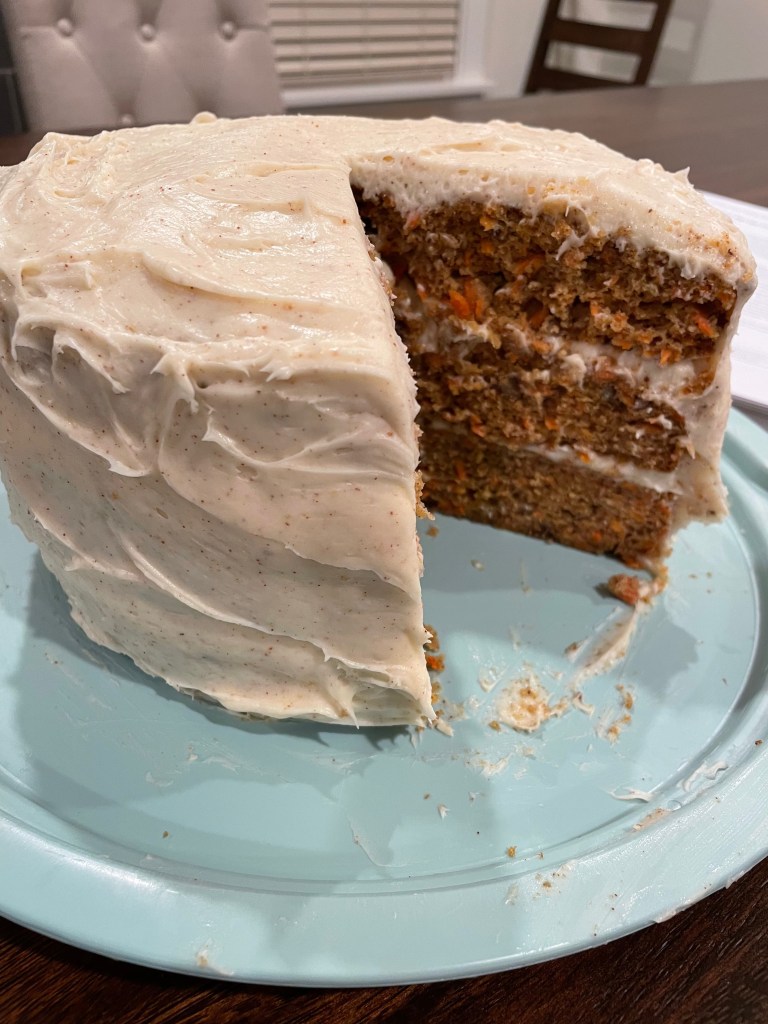
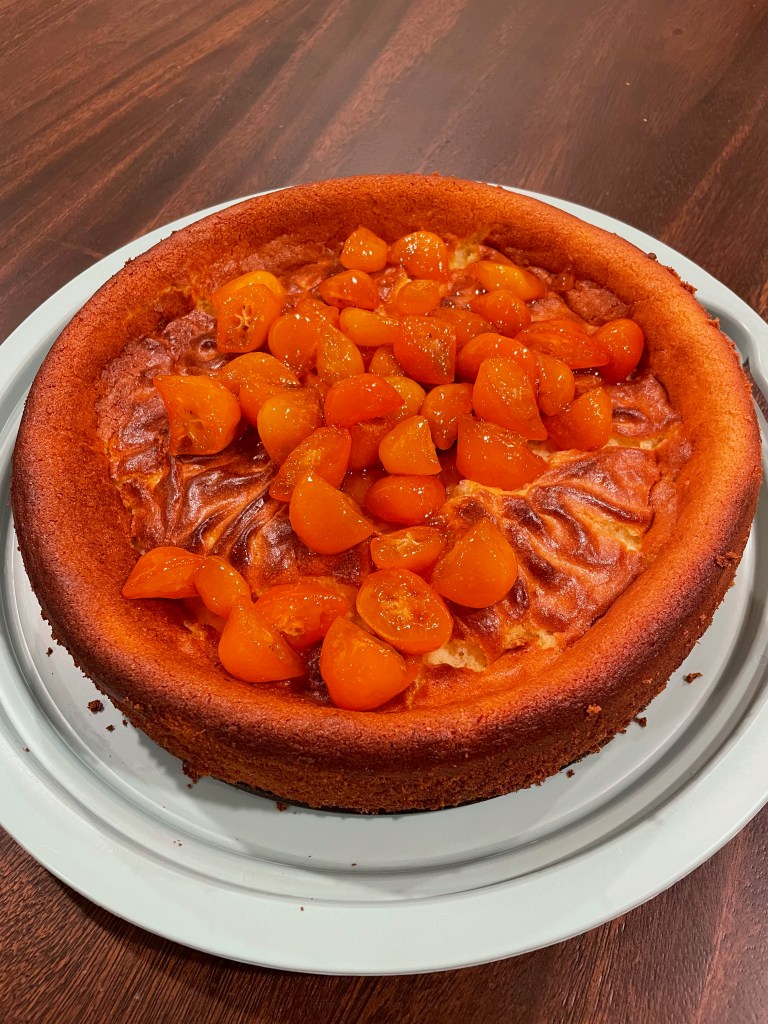
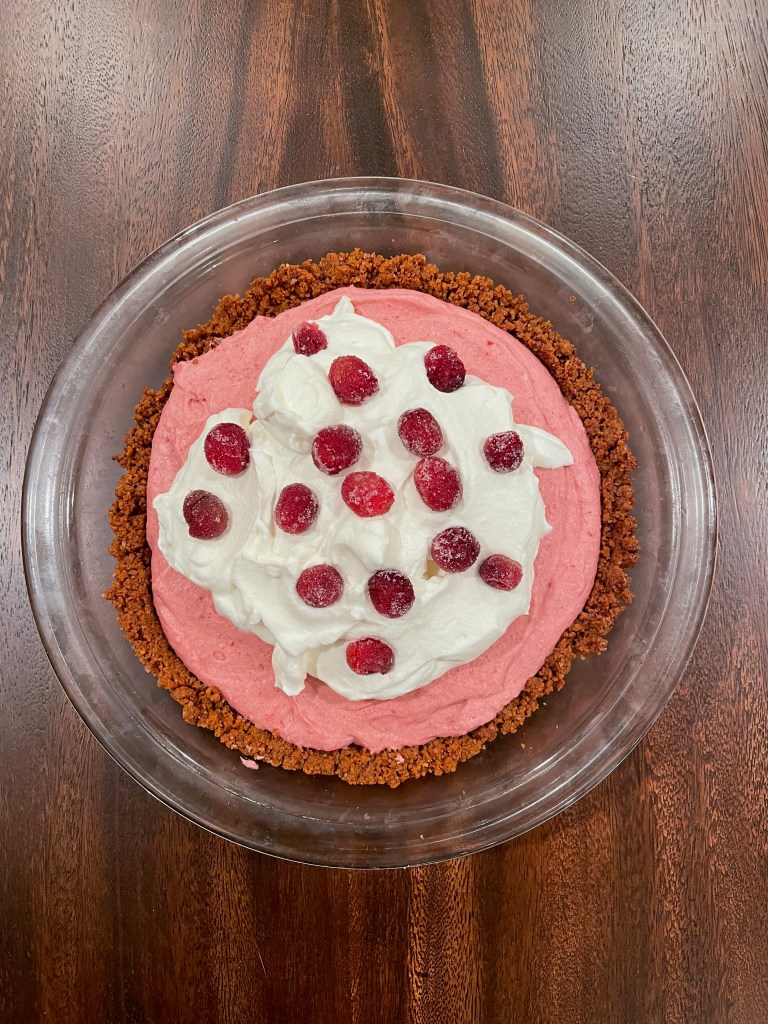
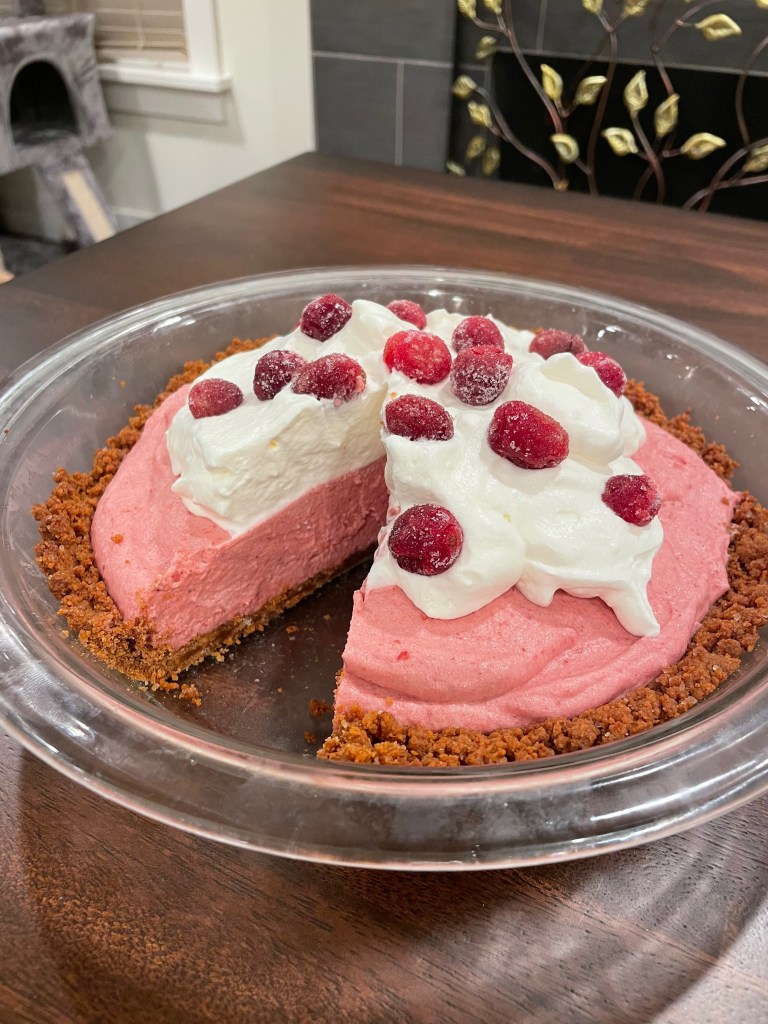
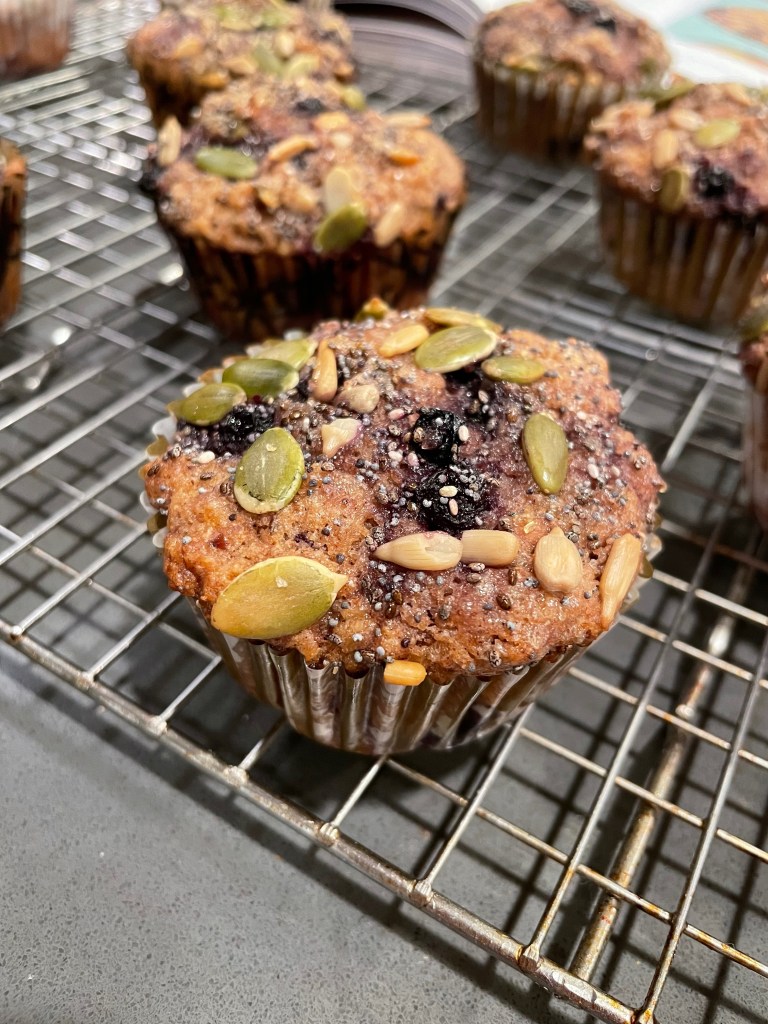
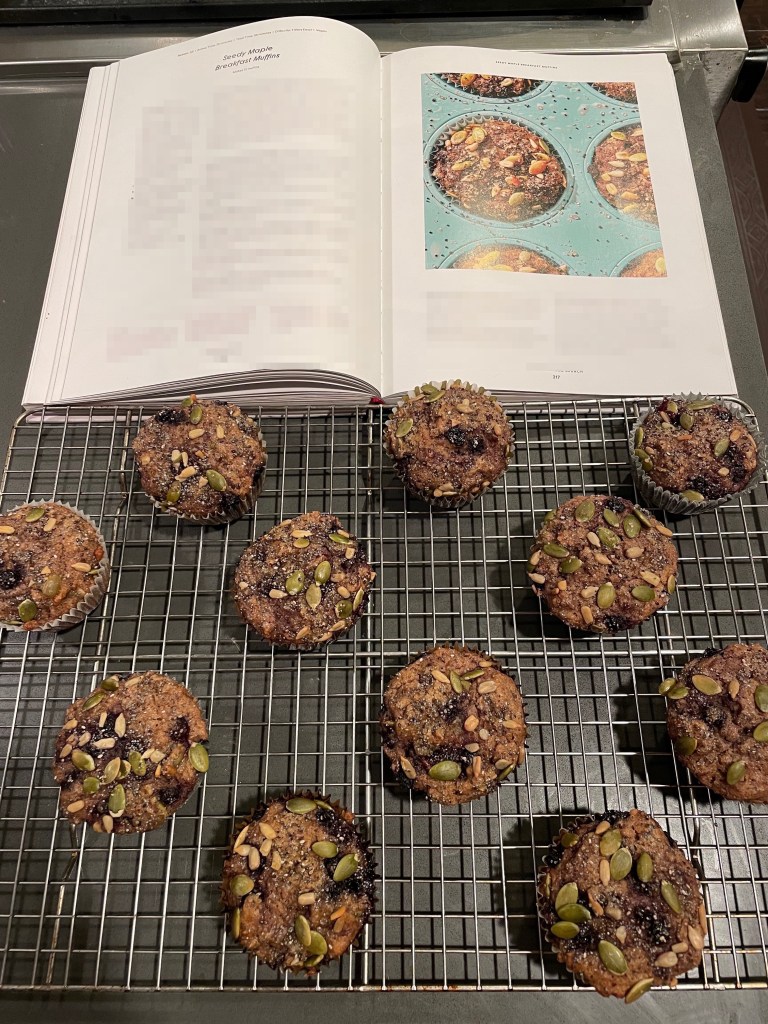
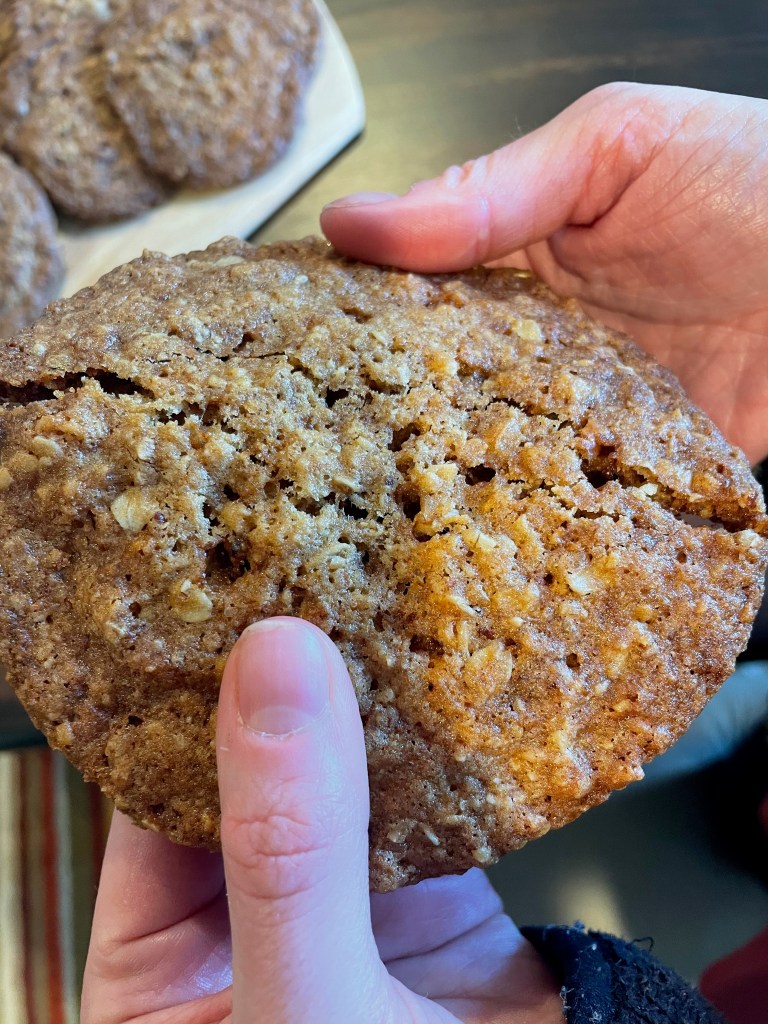
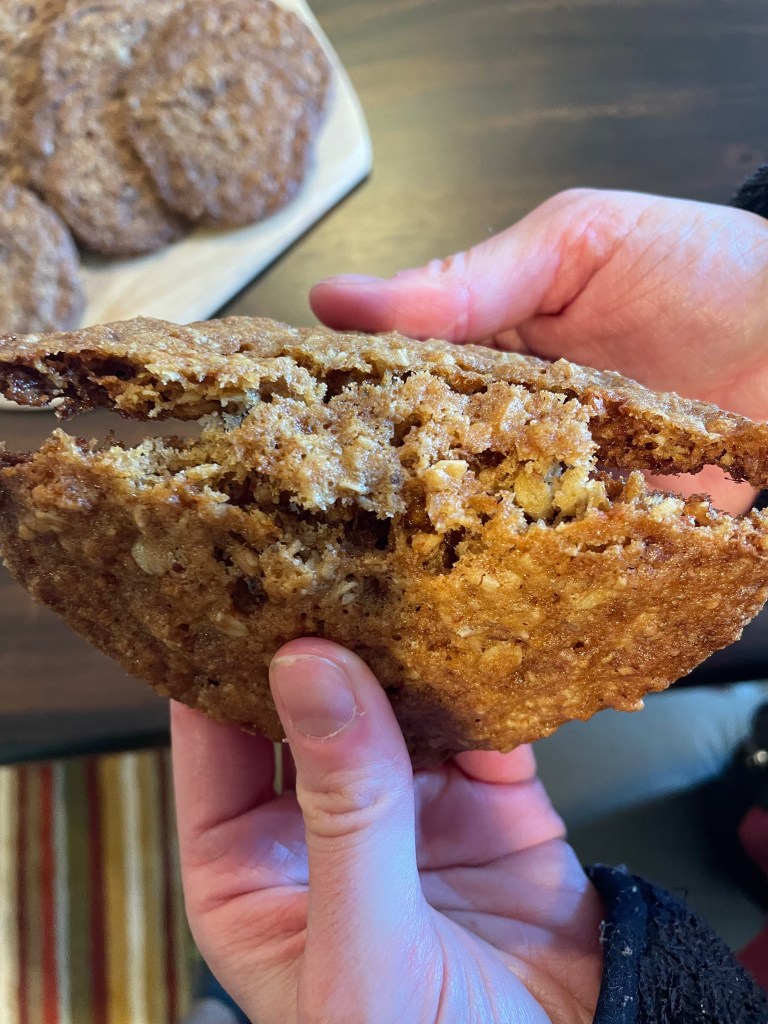
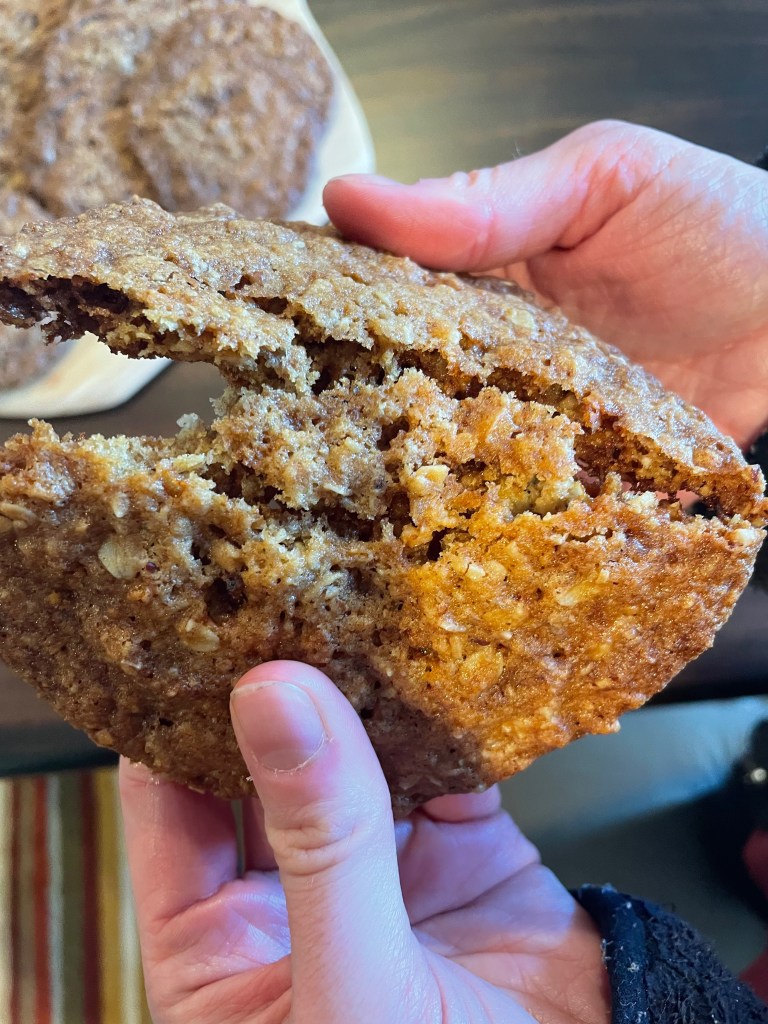
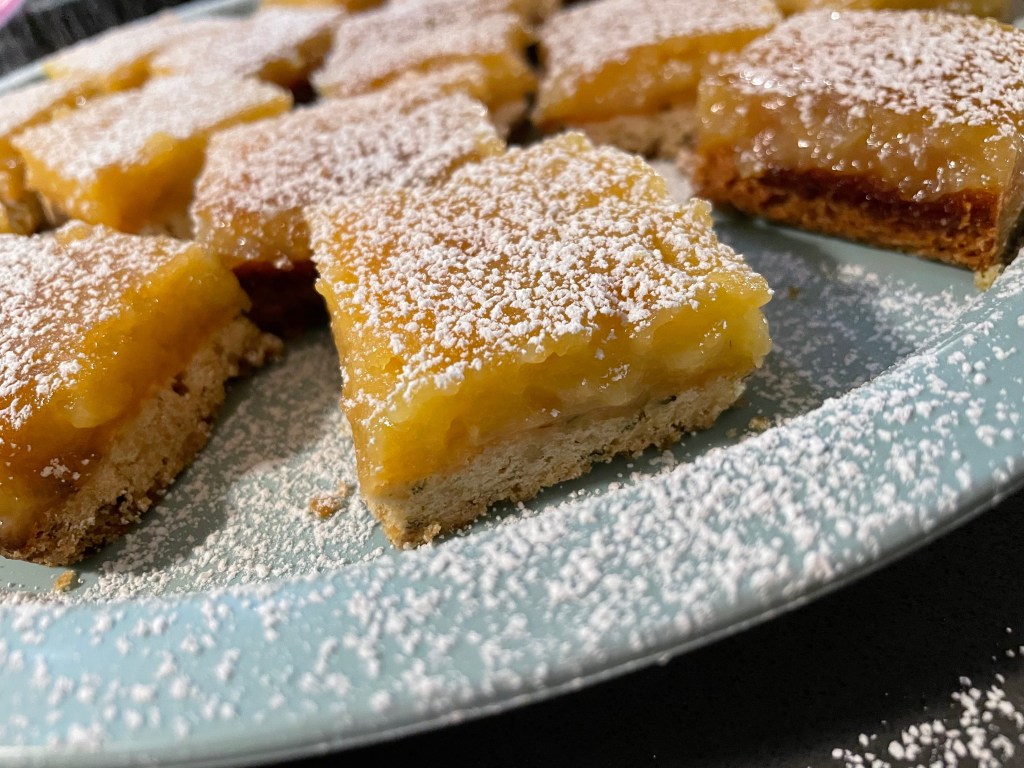
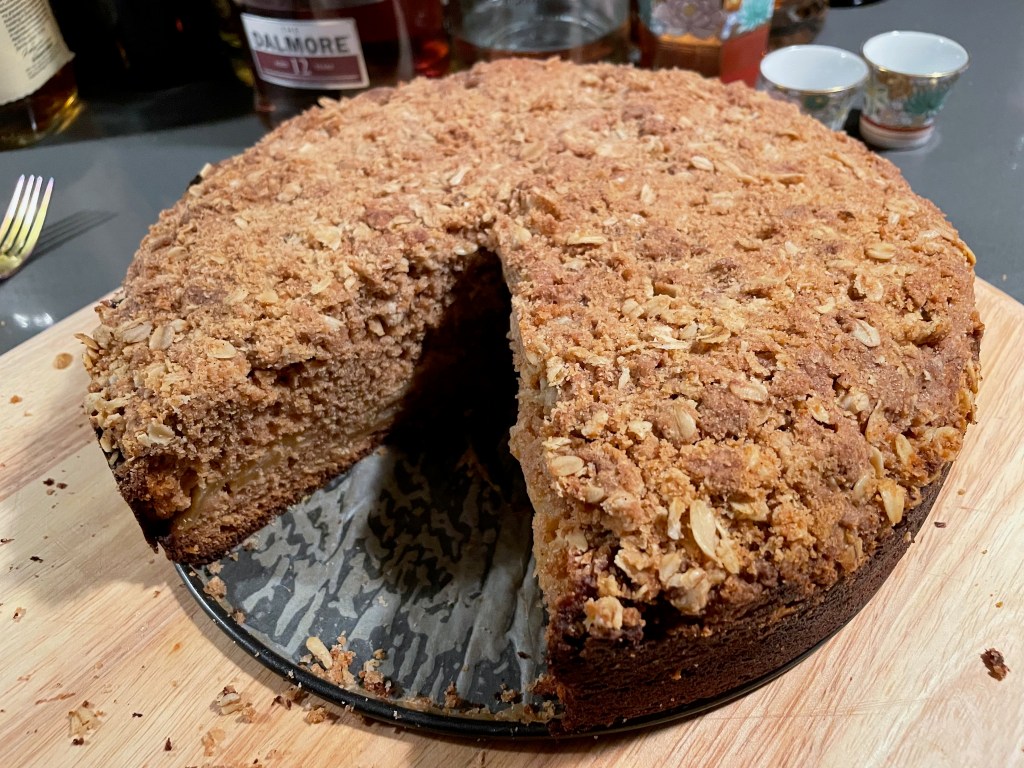
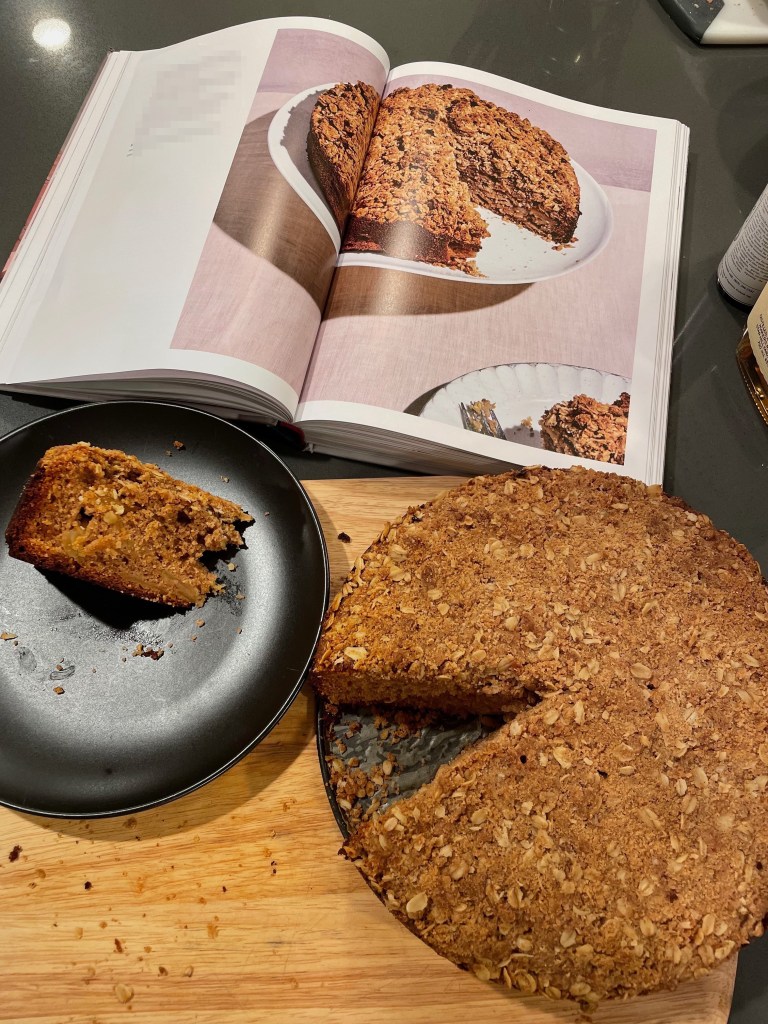
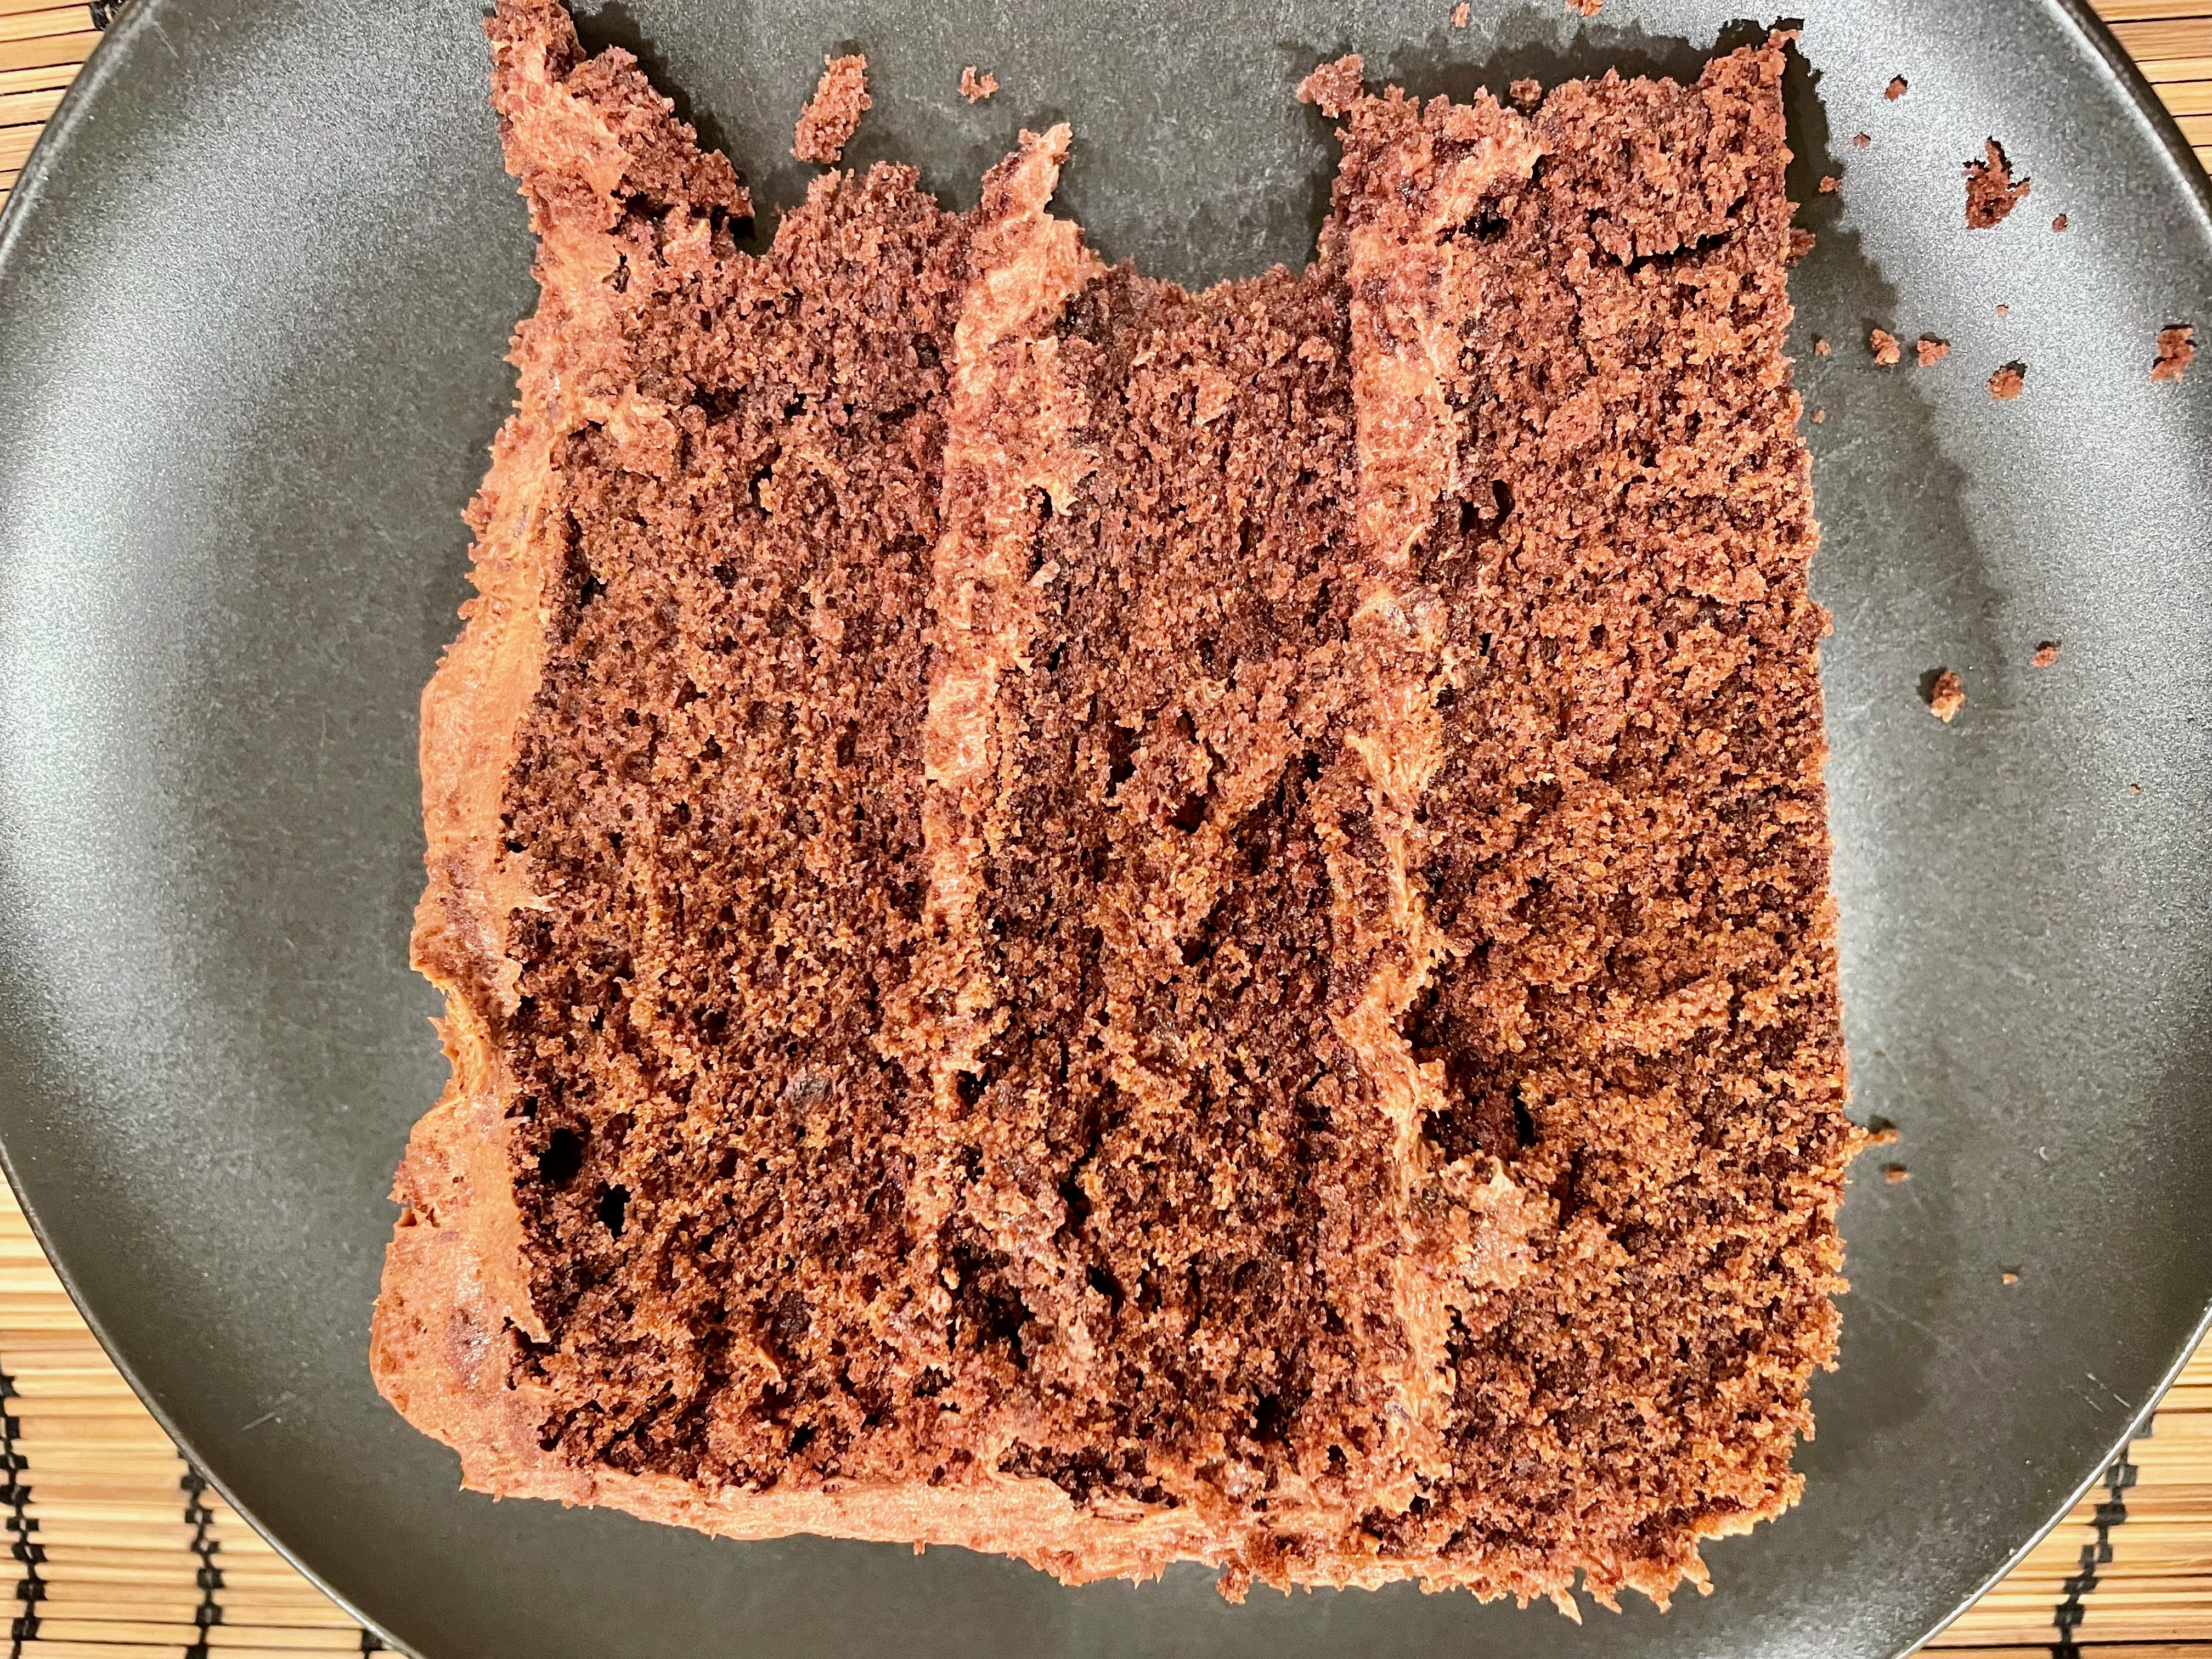
Final Product
Key Takeaways
- Making the cake is easy; making the frosting is hard.
- The frosting can be done with one person, but is much easier with two.
- The frosting and cake can be made in any order, but the quickest way is to do the cake and then make the frosting while the cake cools.
- Make sure to let everything come to room temperature as instructed. This is particularly important for this recipe.
- Final Score: 4/5 – This is a great chocolate cake and fantastic frosting. The instructions (and video) for the frosting are particularly detailed and helpful. The entire cake can be completed within 3 hours, but you’ll be busy the entire time.