Introduction
This is quite a fun recipe. It’s a bit complicated and is probably best to attempt after you’ve made brioche once or twice first. Once you’ve gotten brioche down though, definitely give this a try. The recipe is fairly plain in that it’s all milk, flour, sugar, butter, and egg. But the end result is surprisingly rich and delicious. Highly recommended!
Recipe Outline
| Recipe: Tarte Tropézienne | Special Equipment: Stand Mixer |
| Source: Dessert Person | Time: 2 day |
| Author: Claire Saffitz | Difficulty: 3/5 |
| Type: Dessert (Baking) | Score: ★★★★☆ |
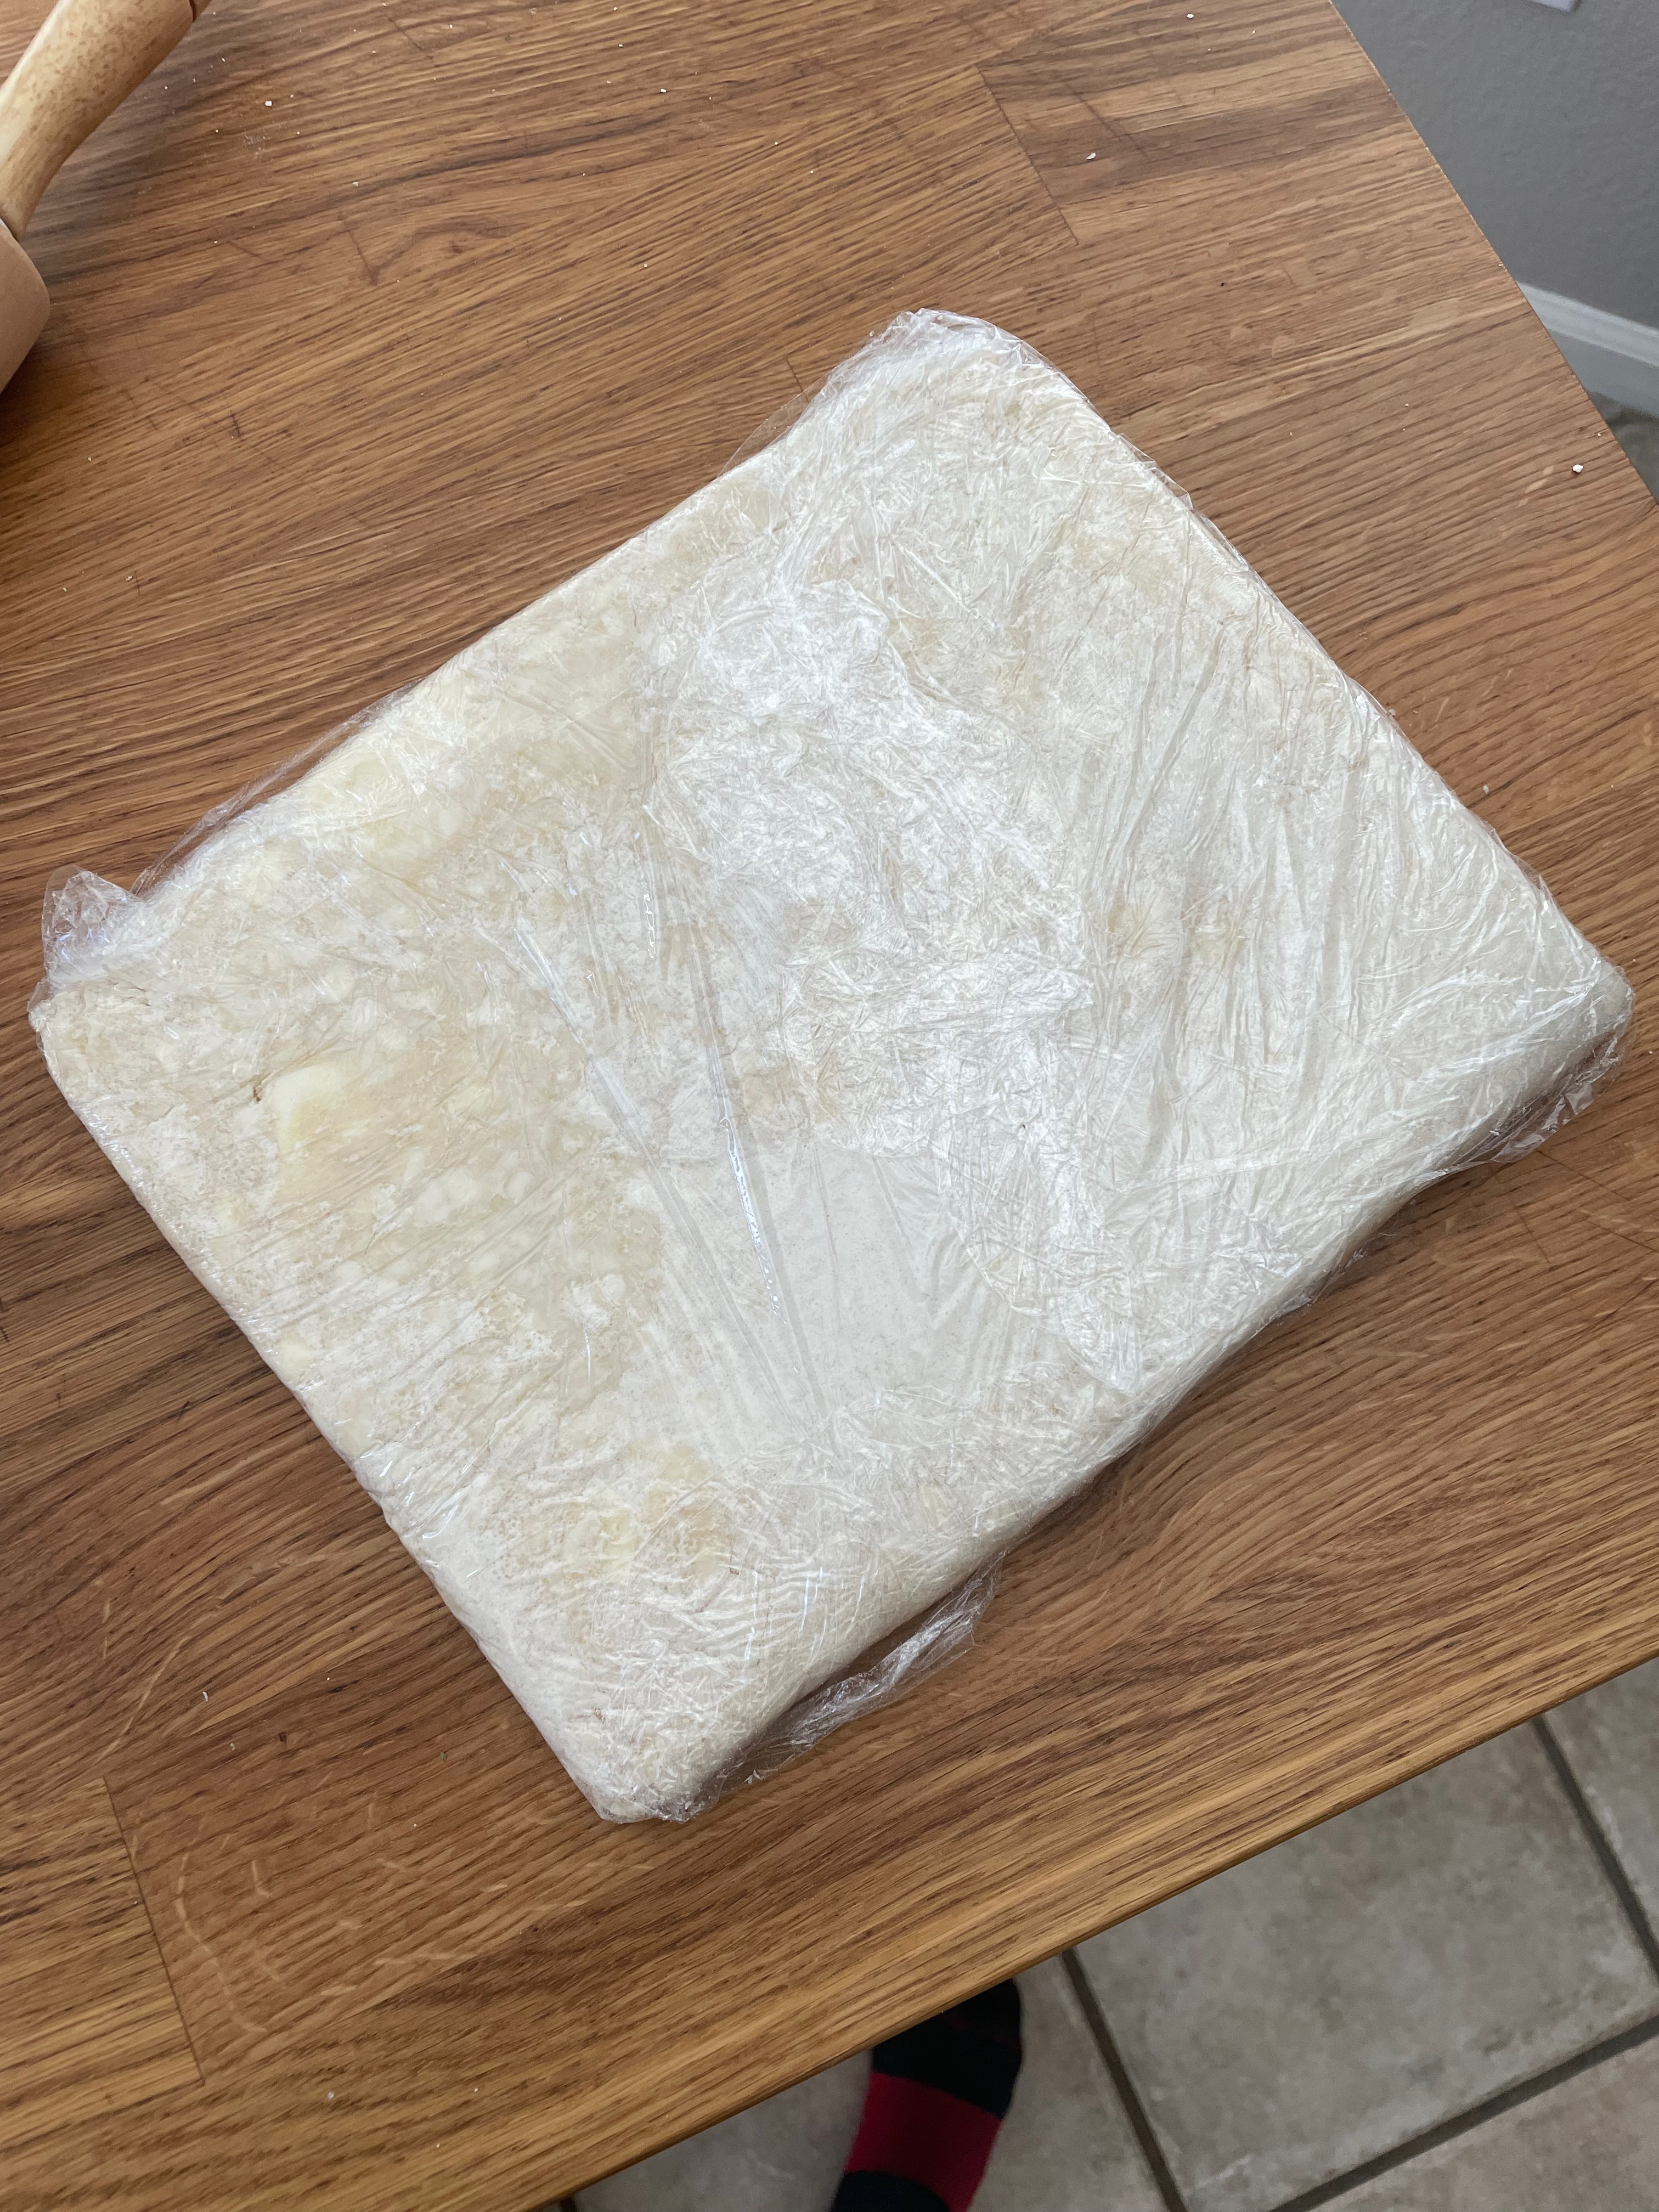
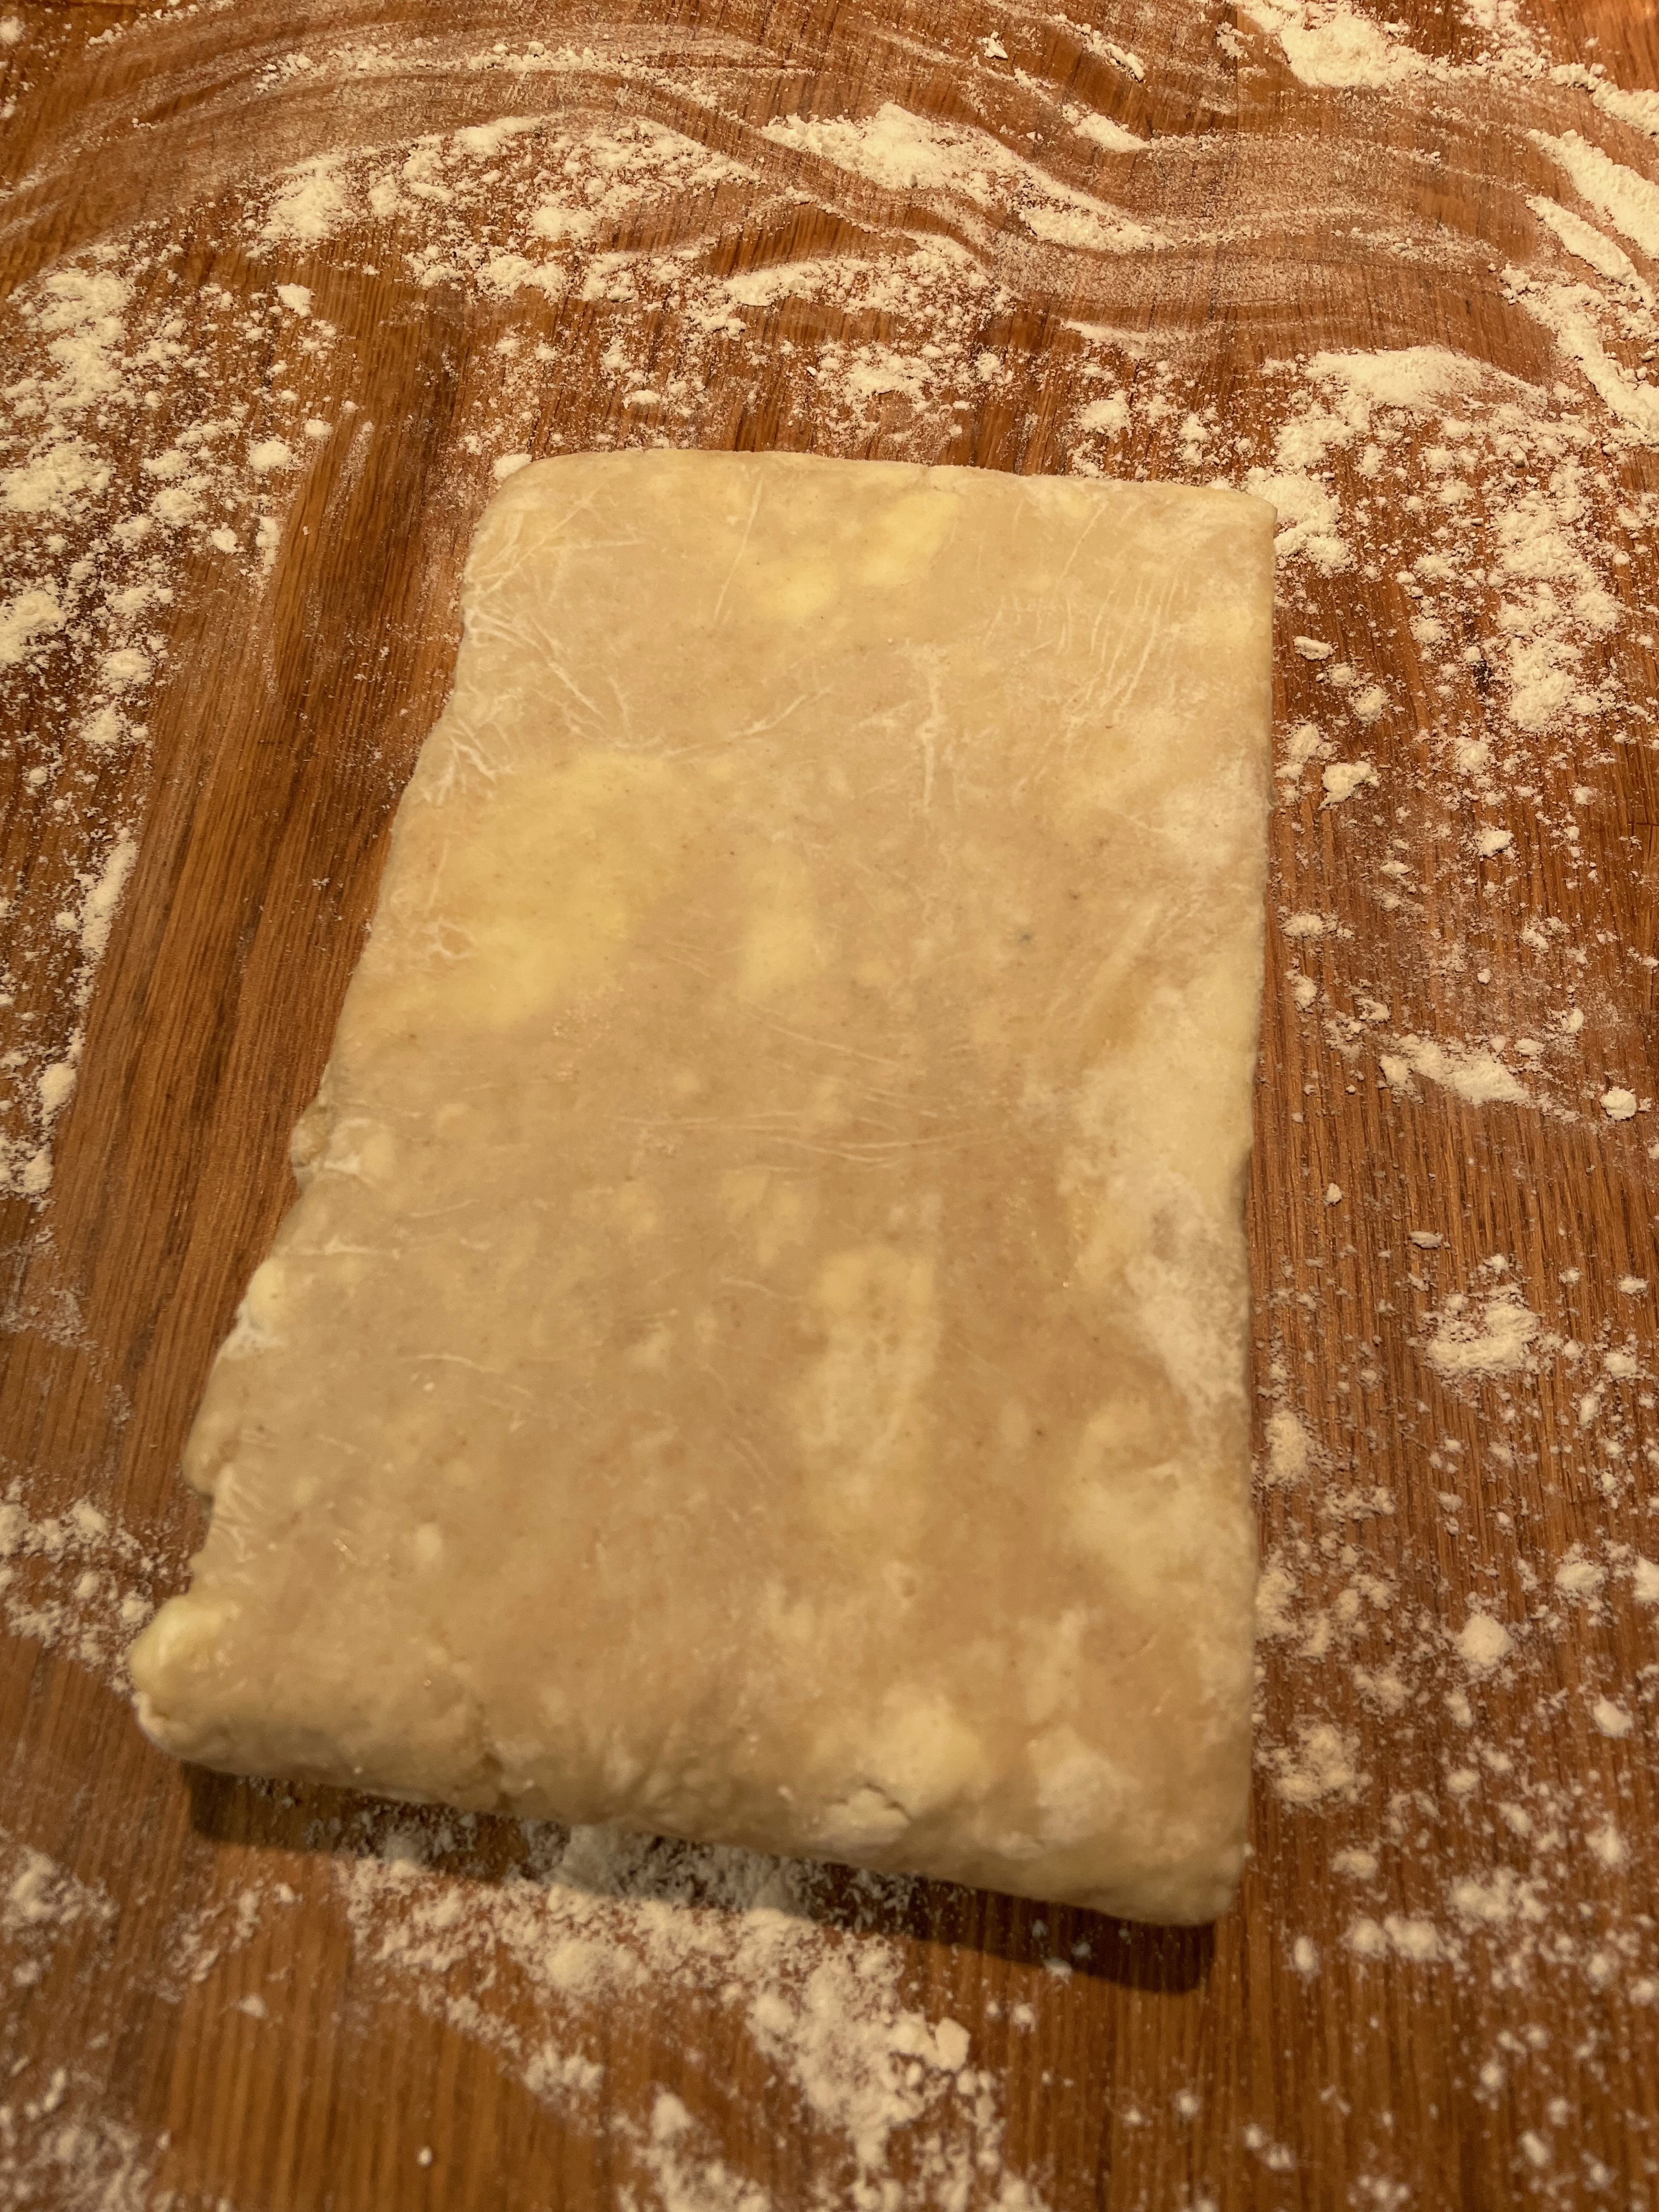
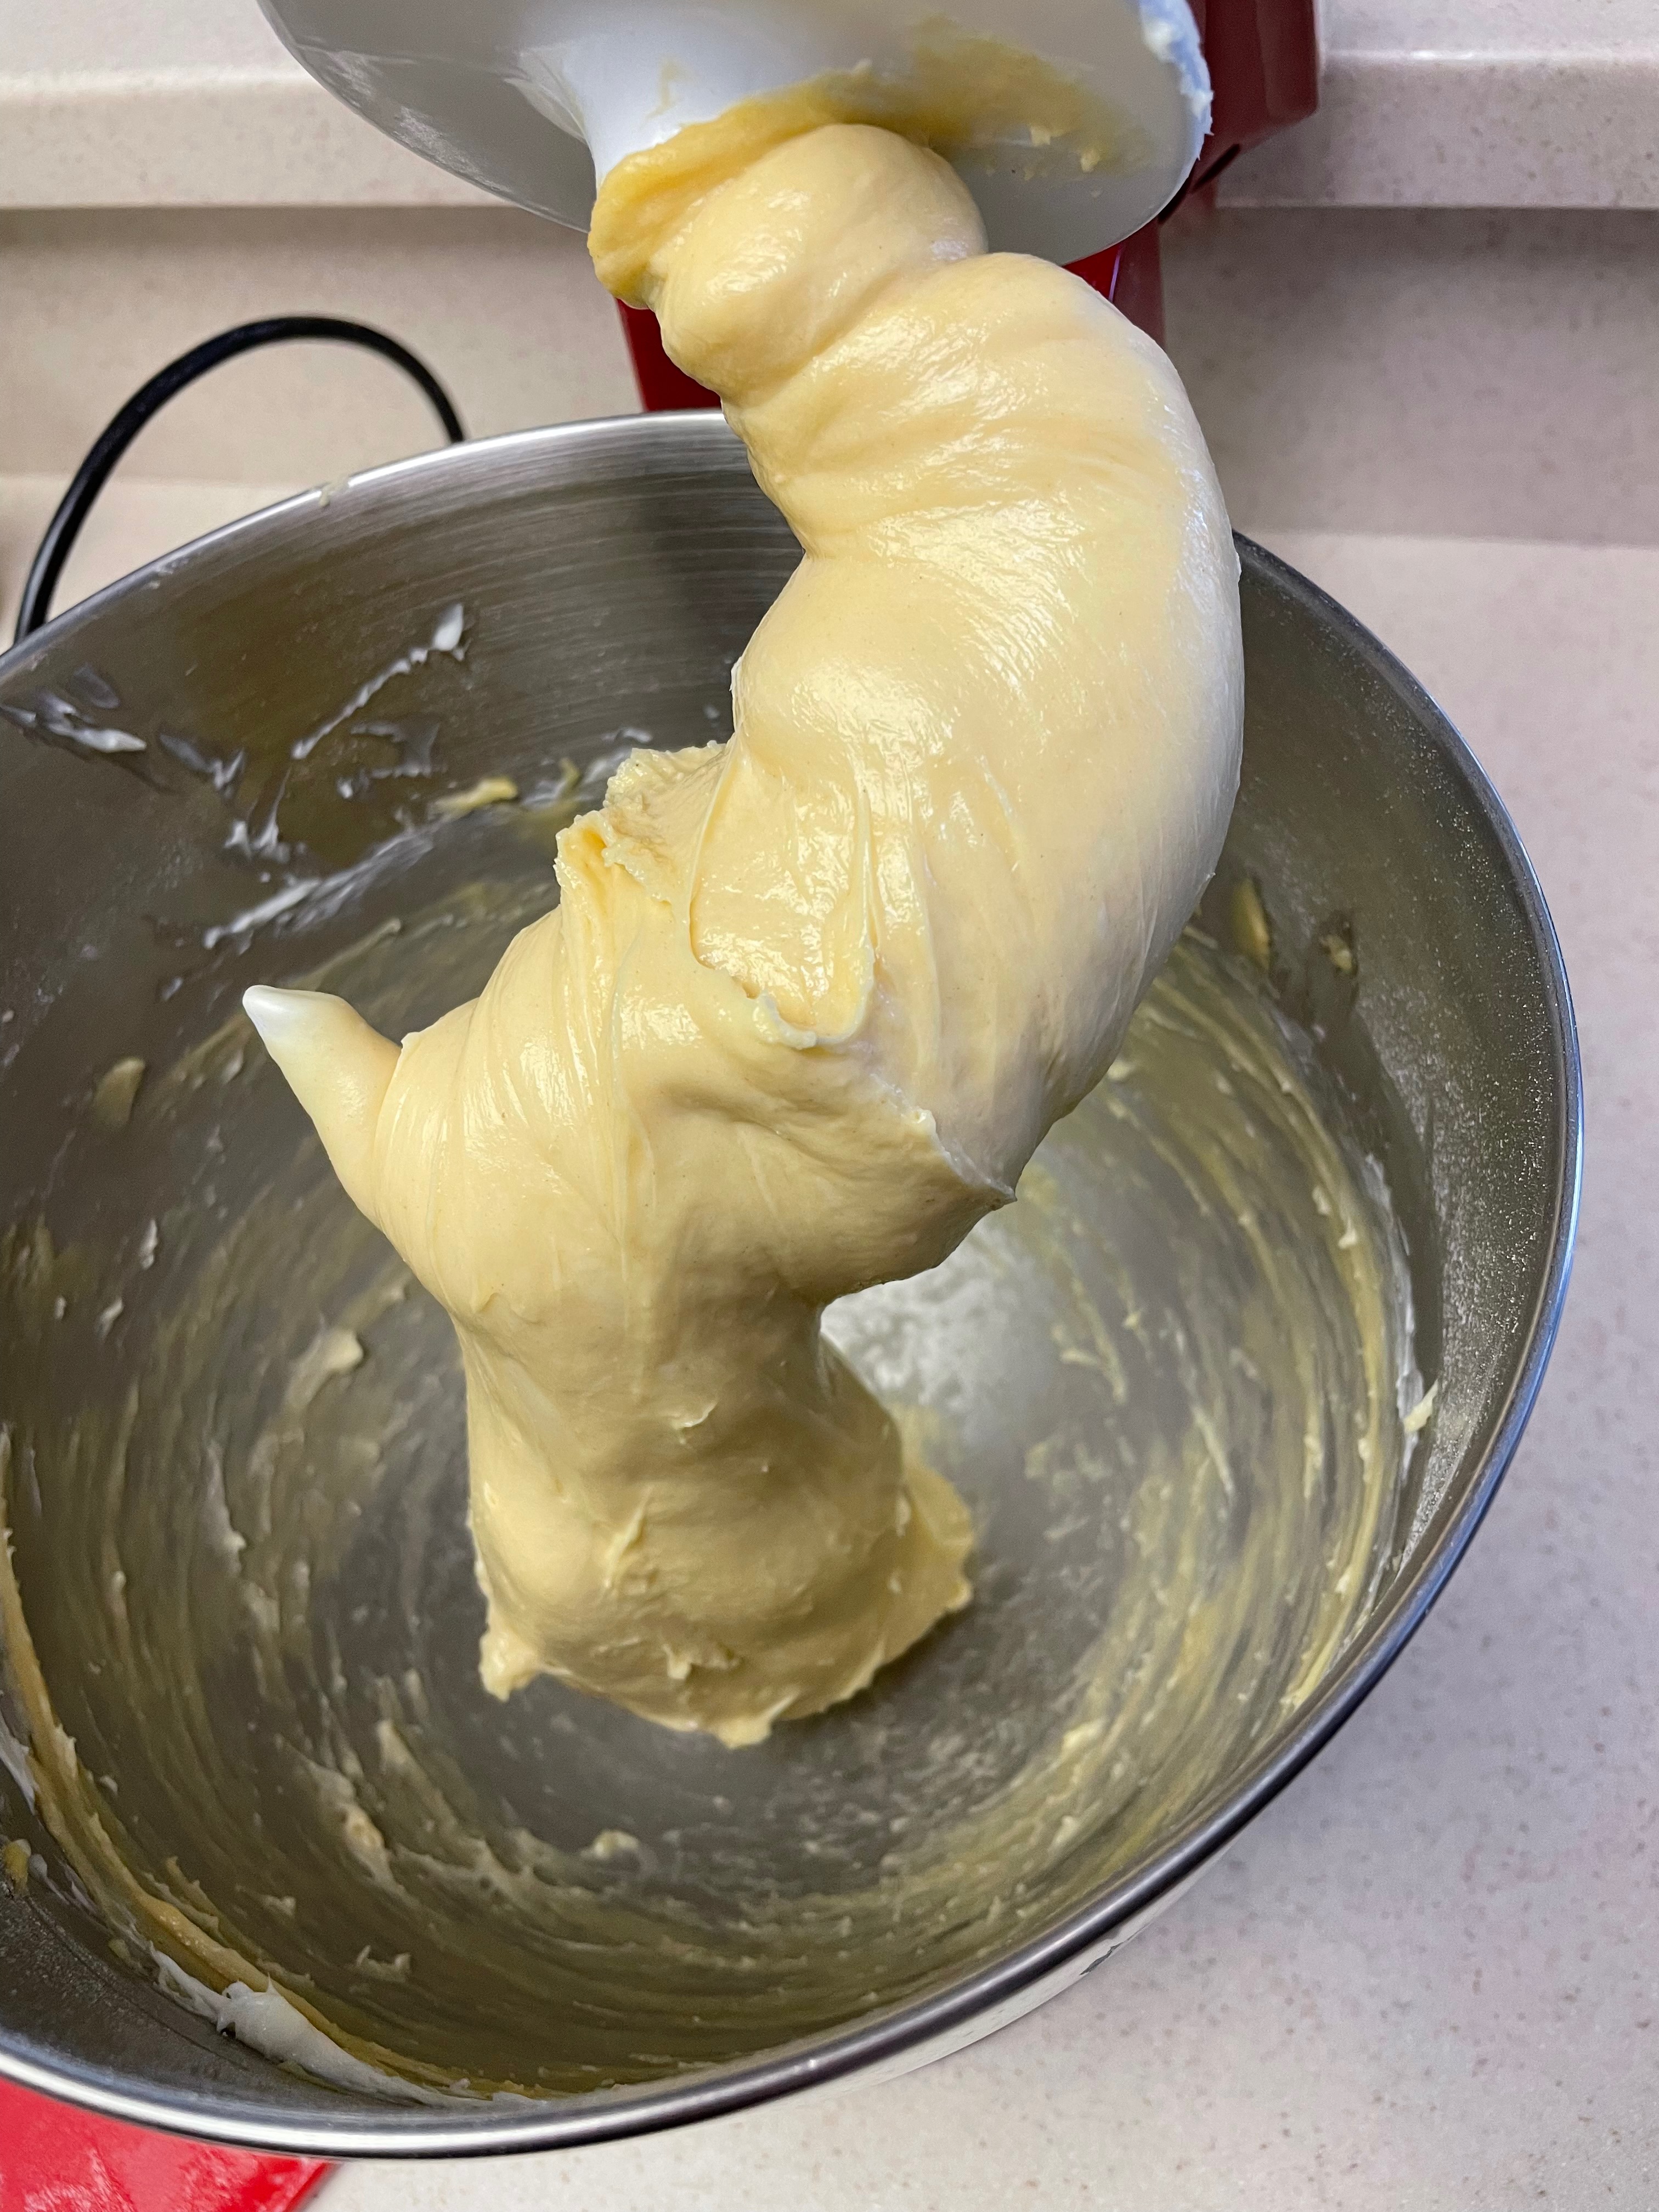
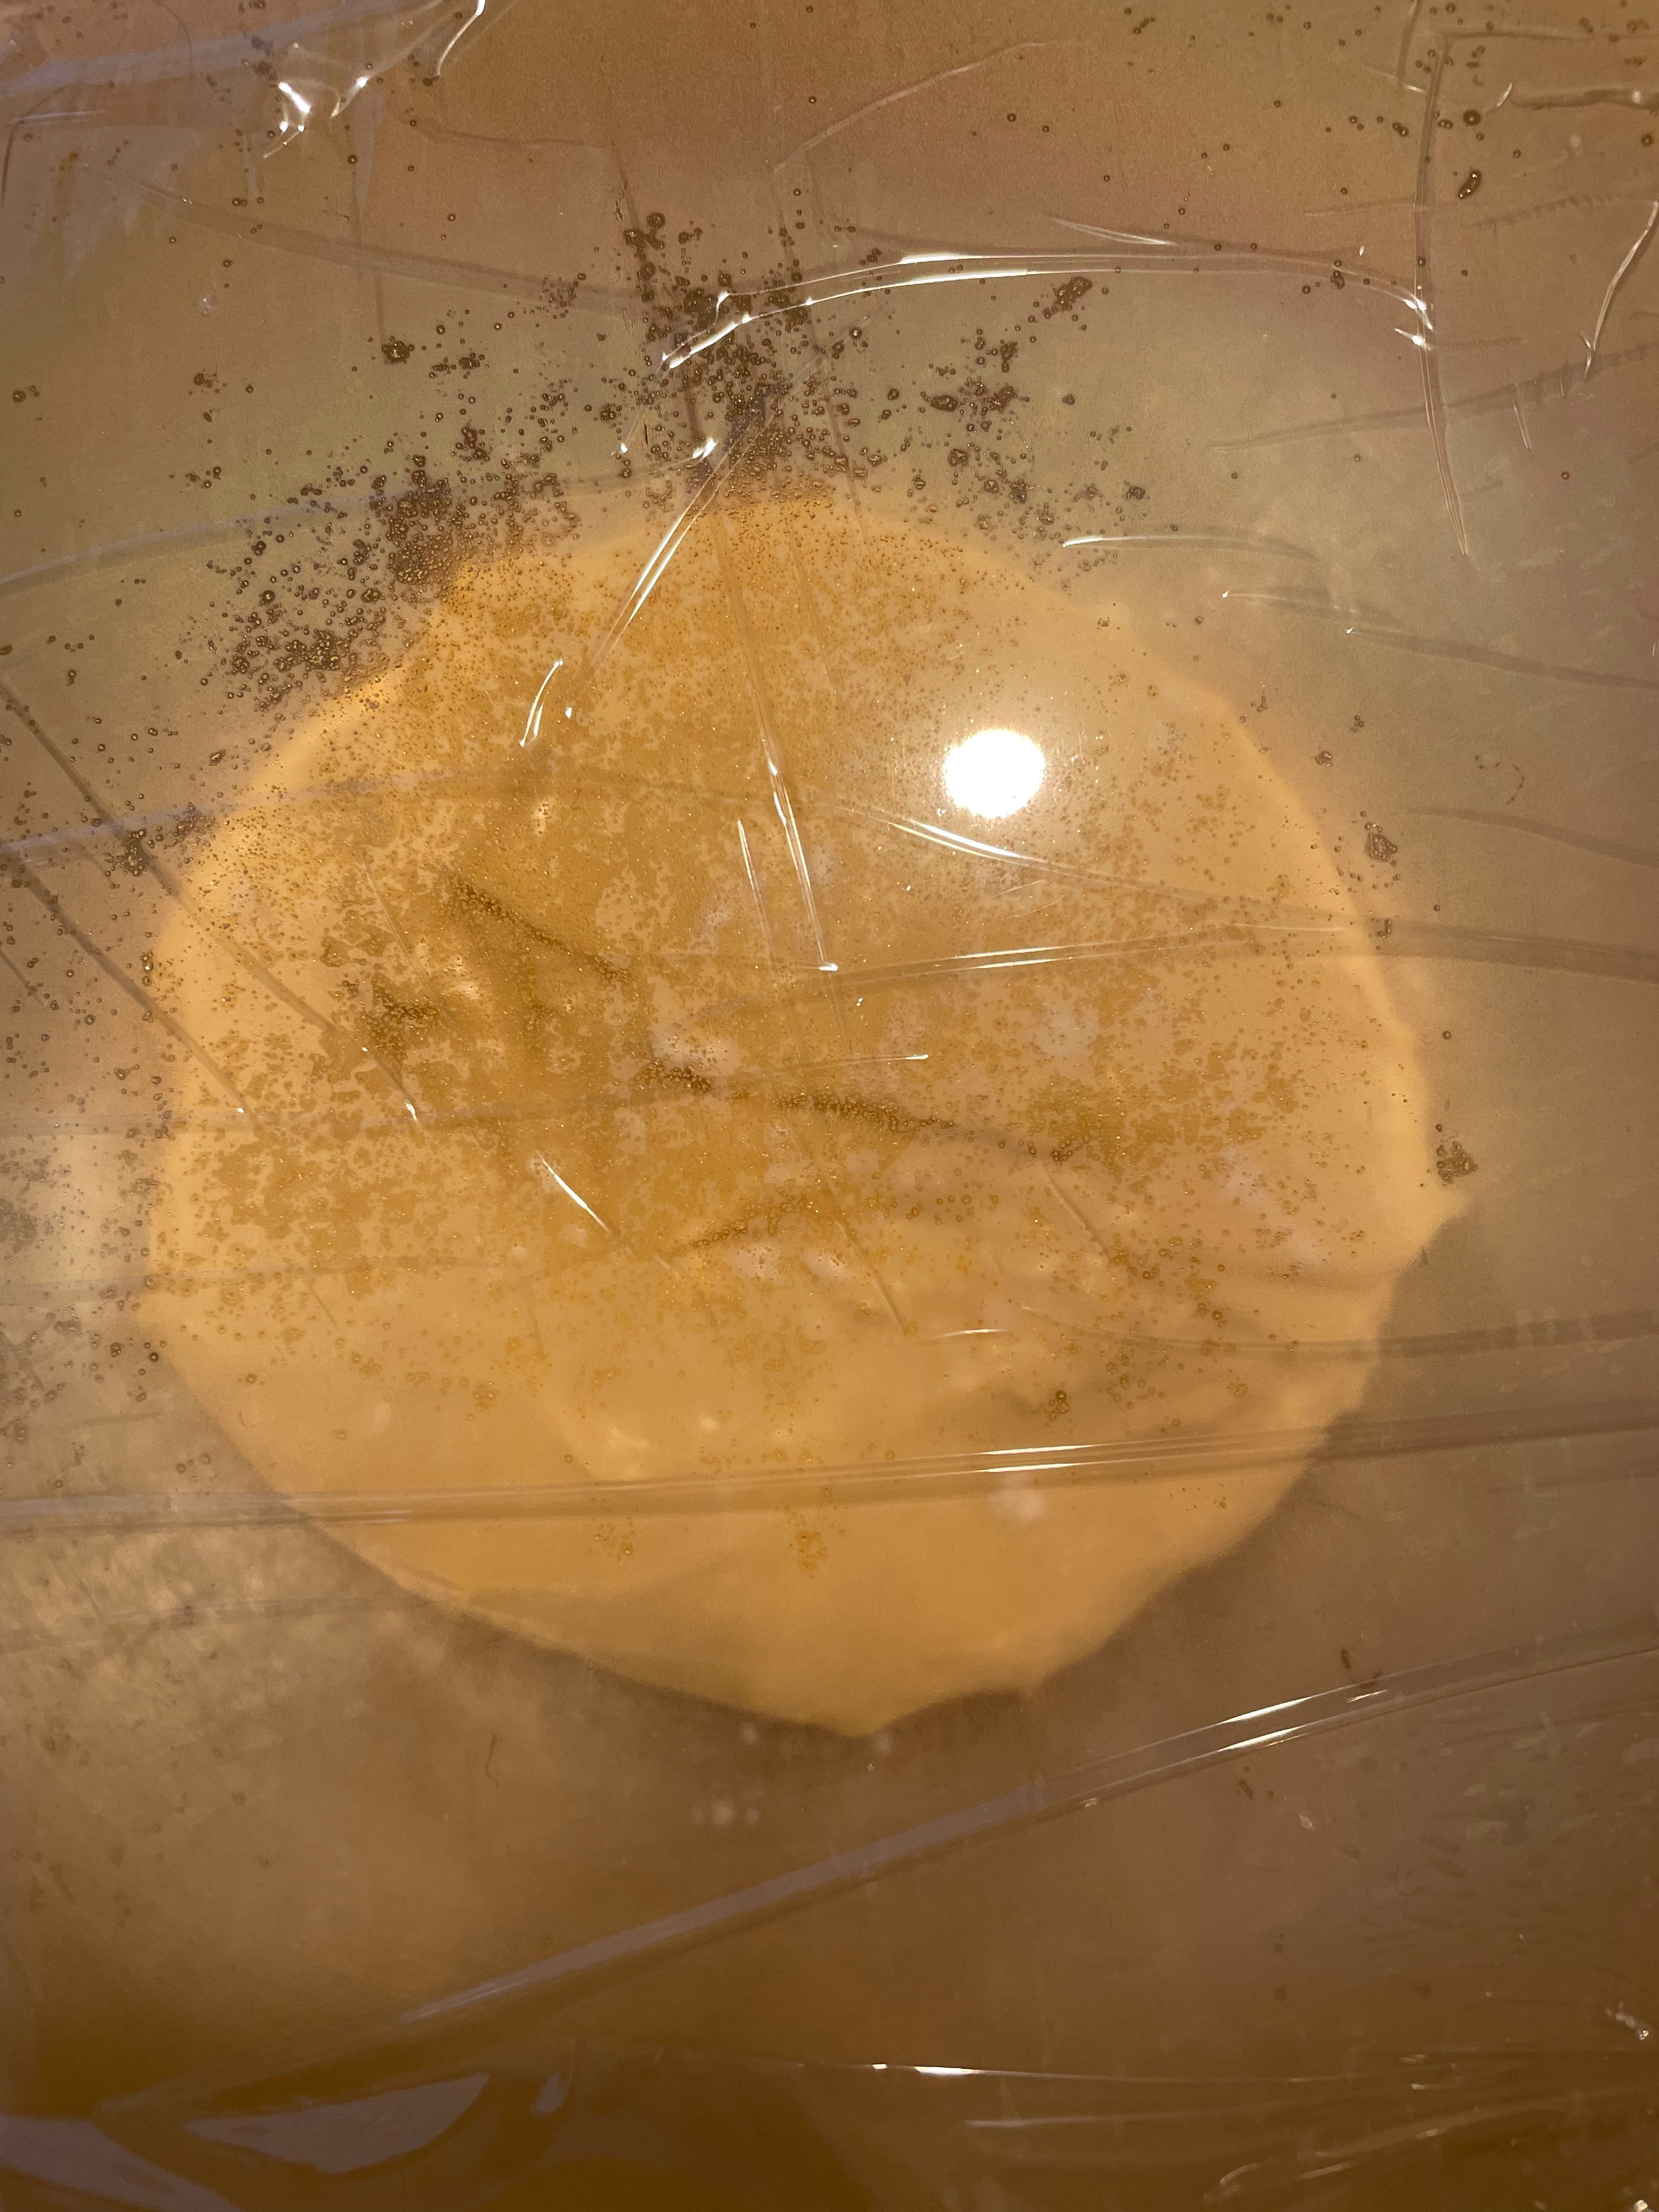
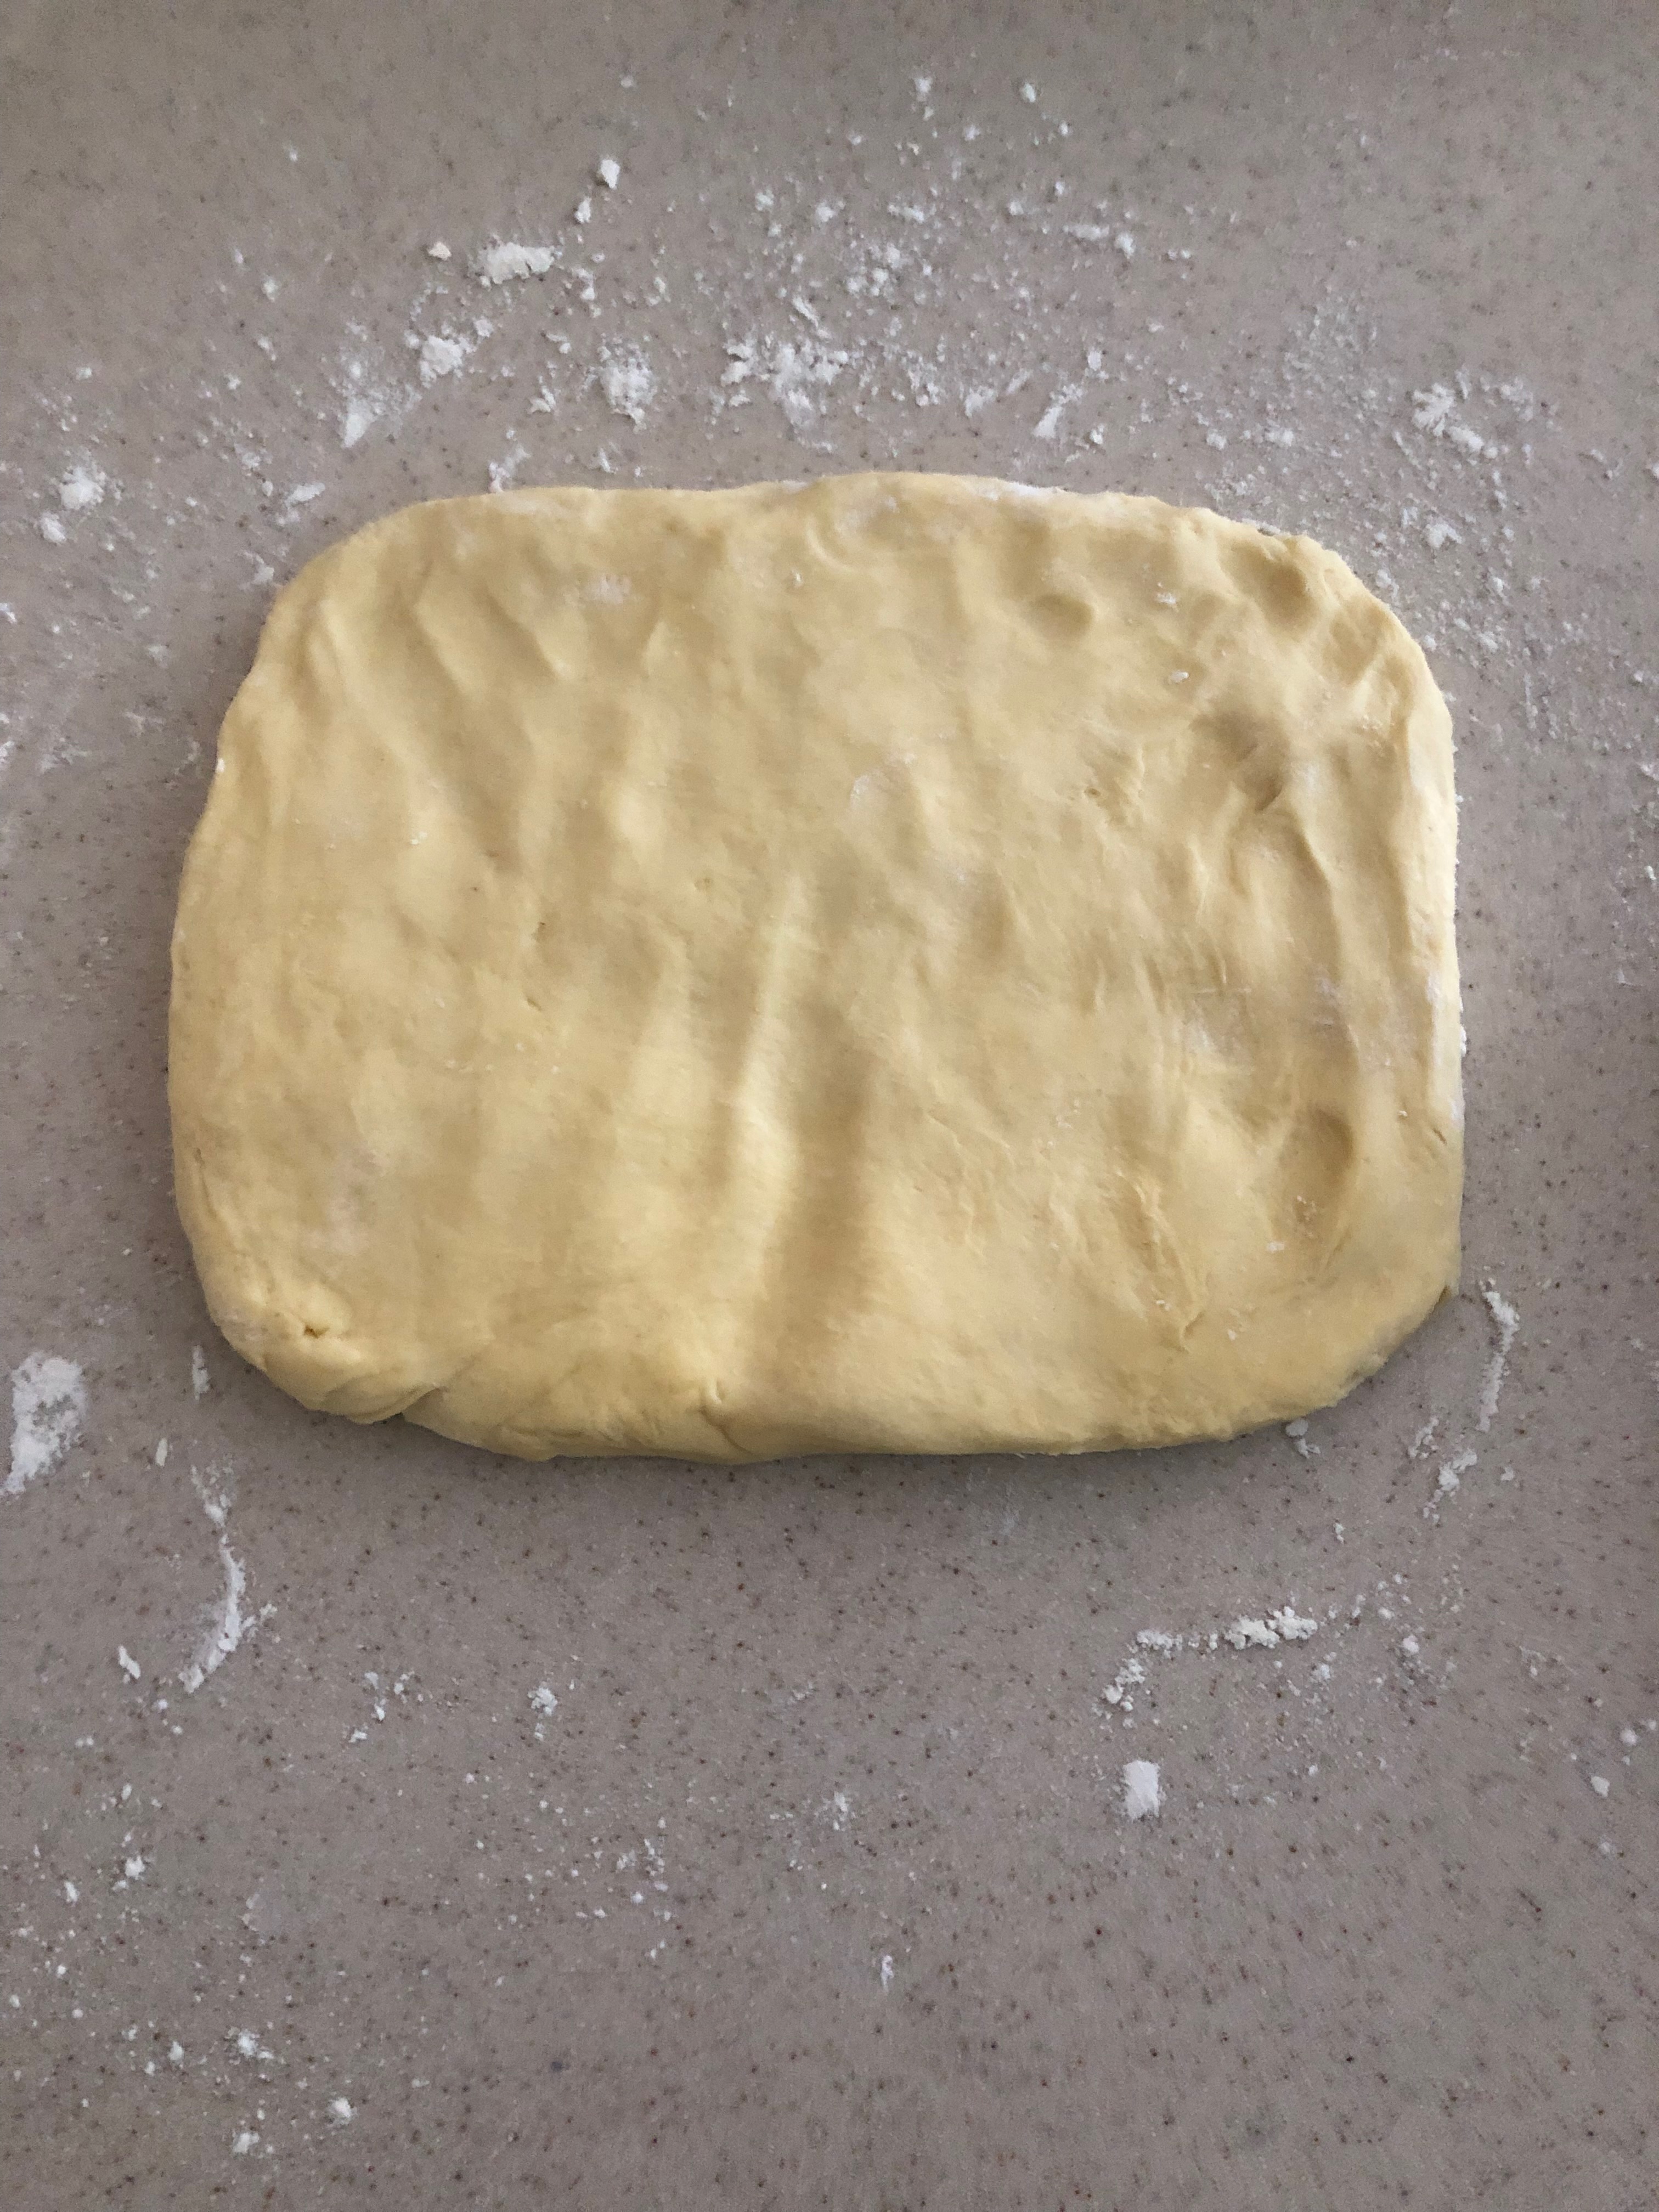
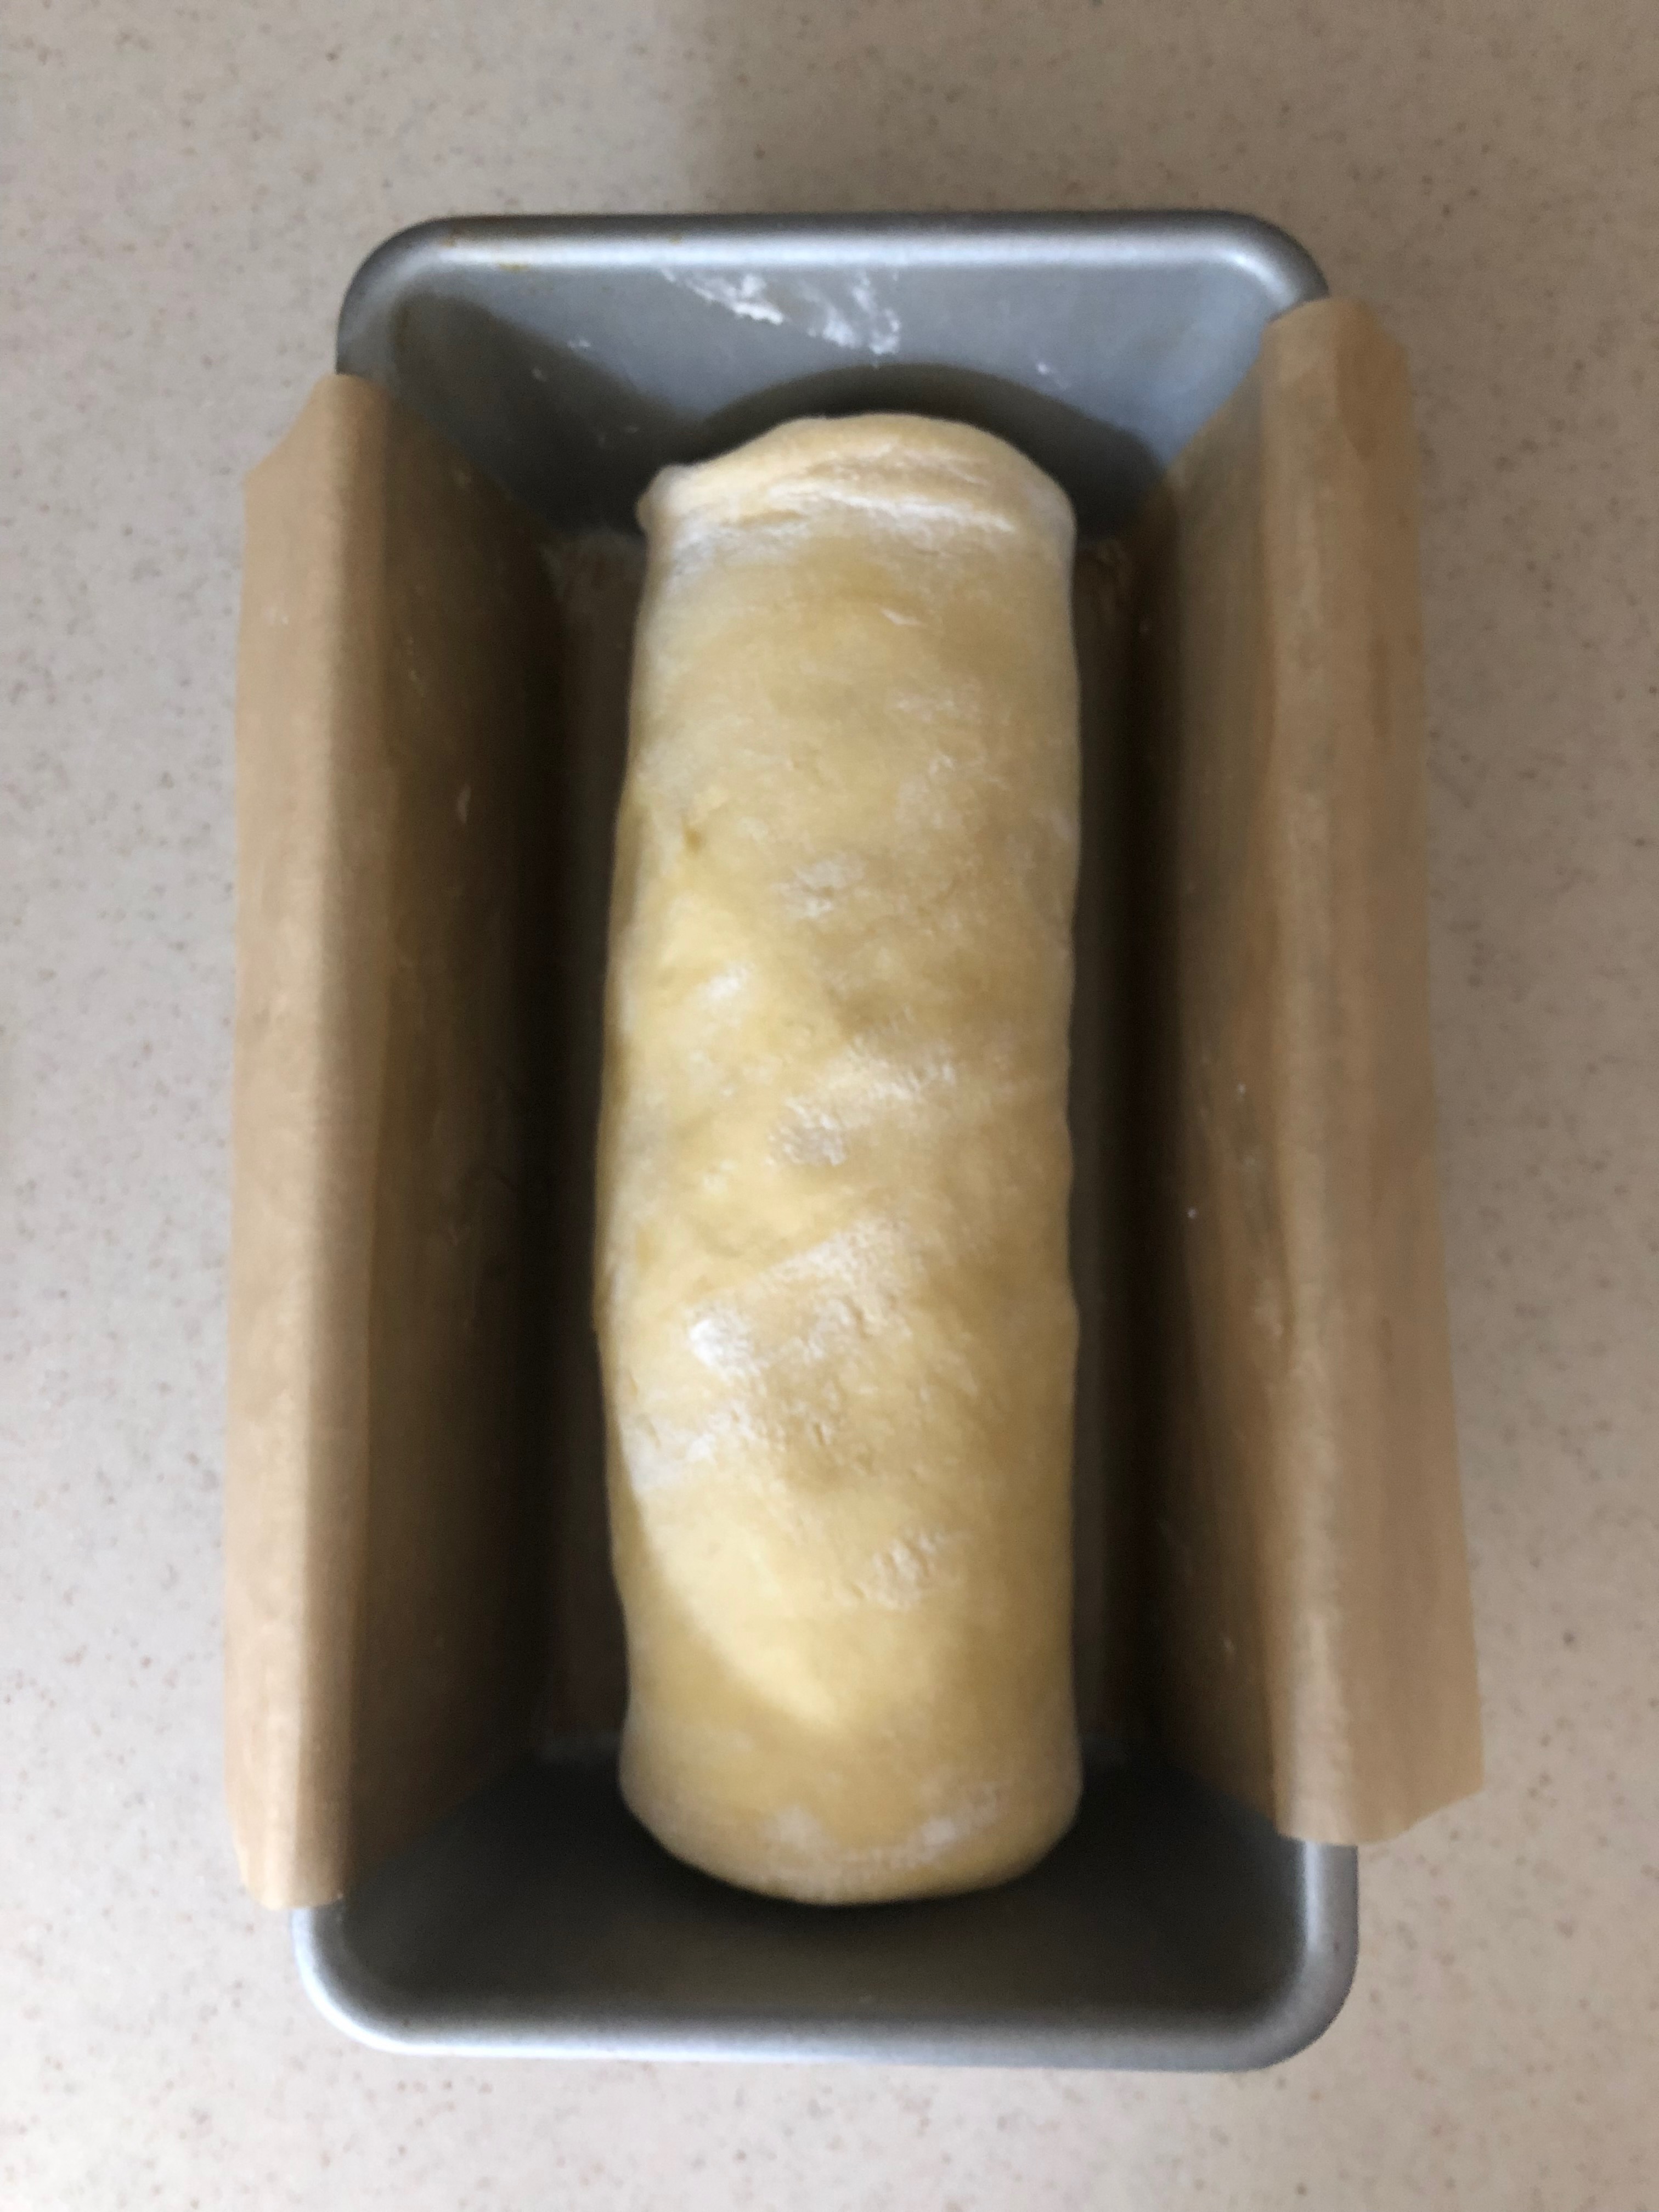
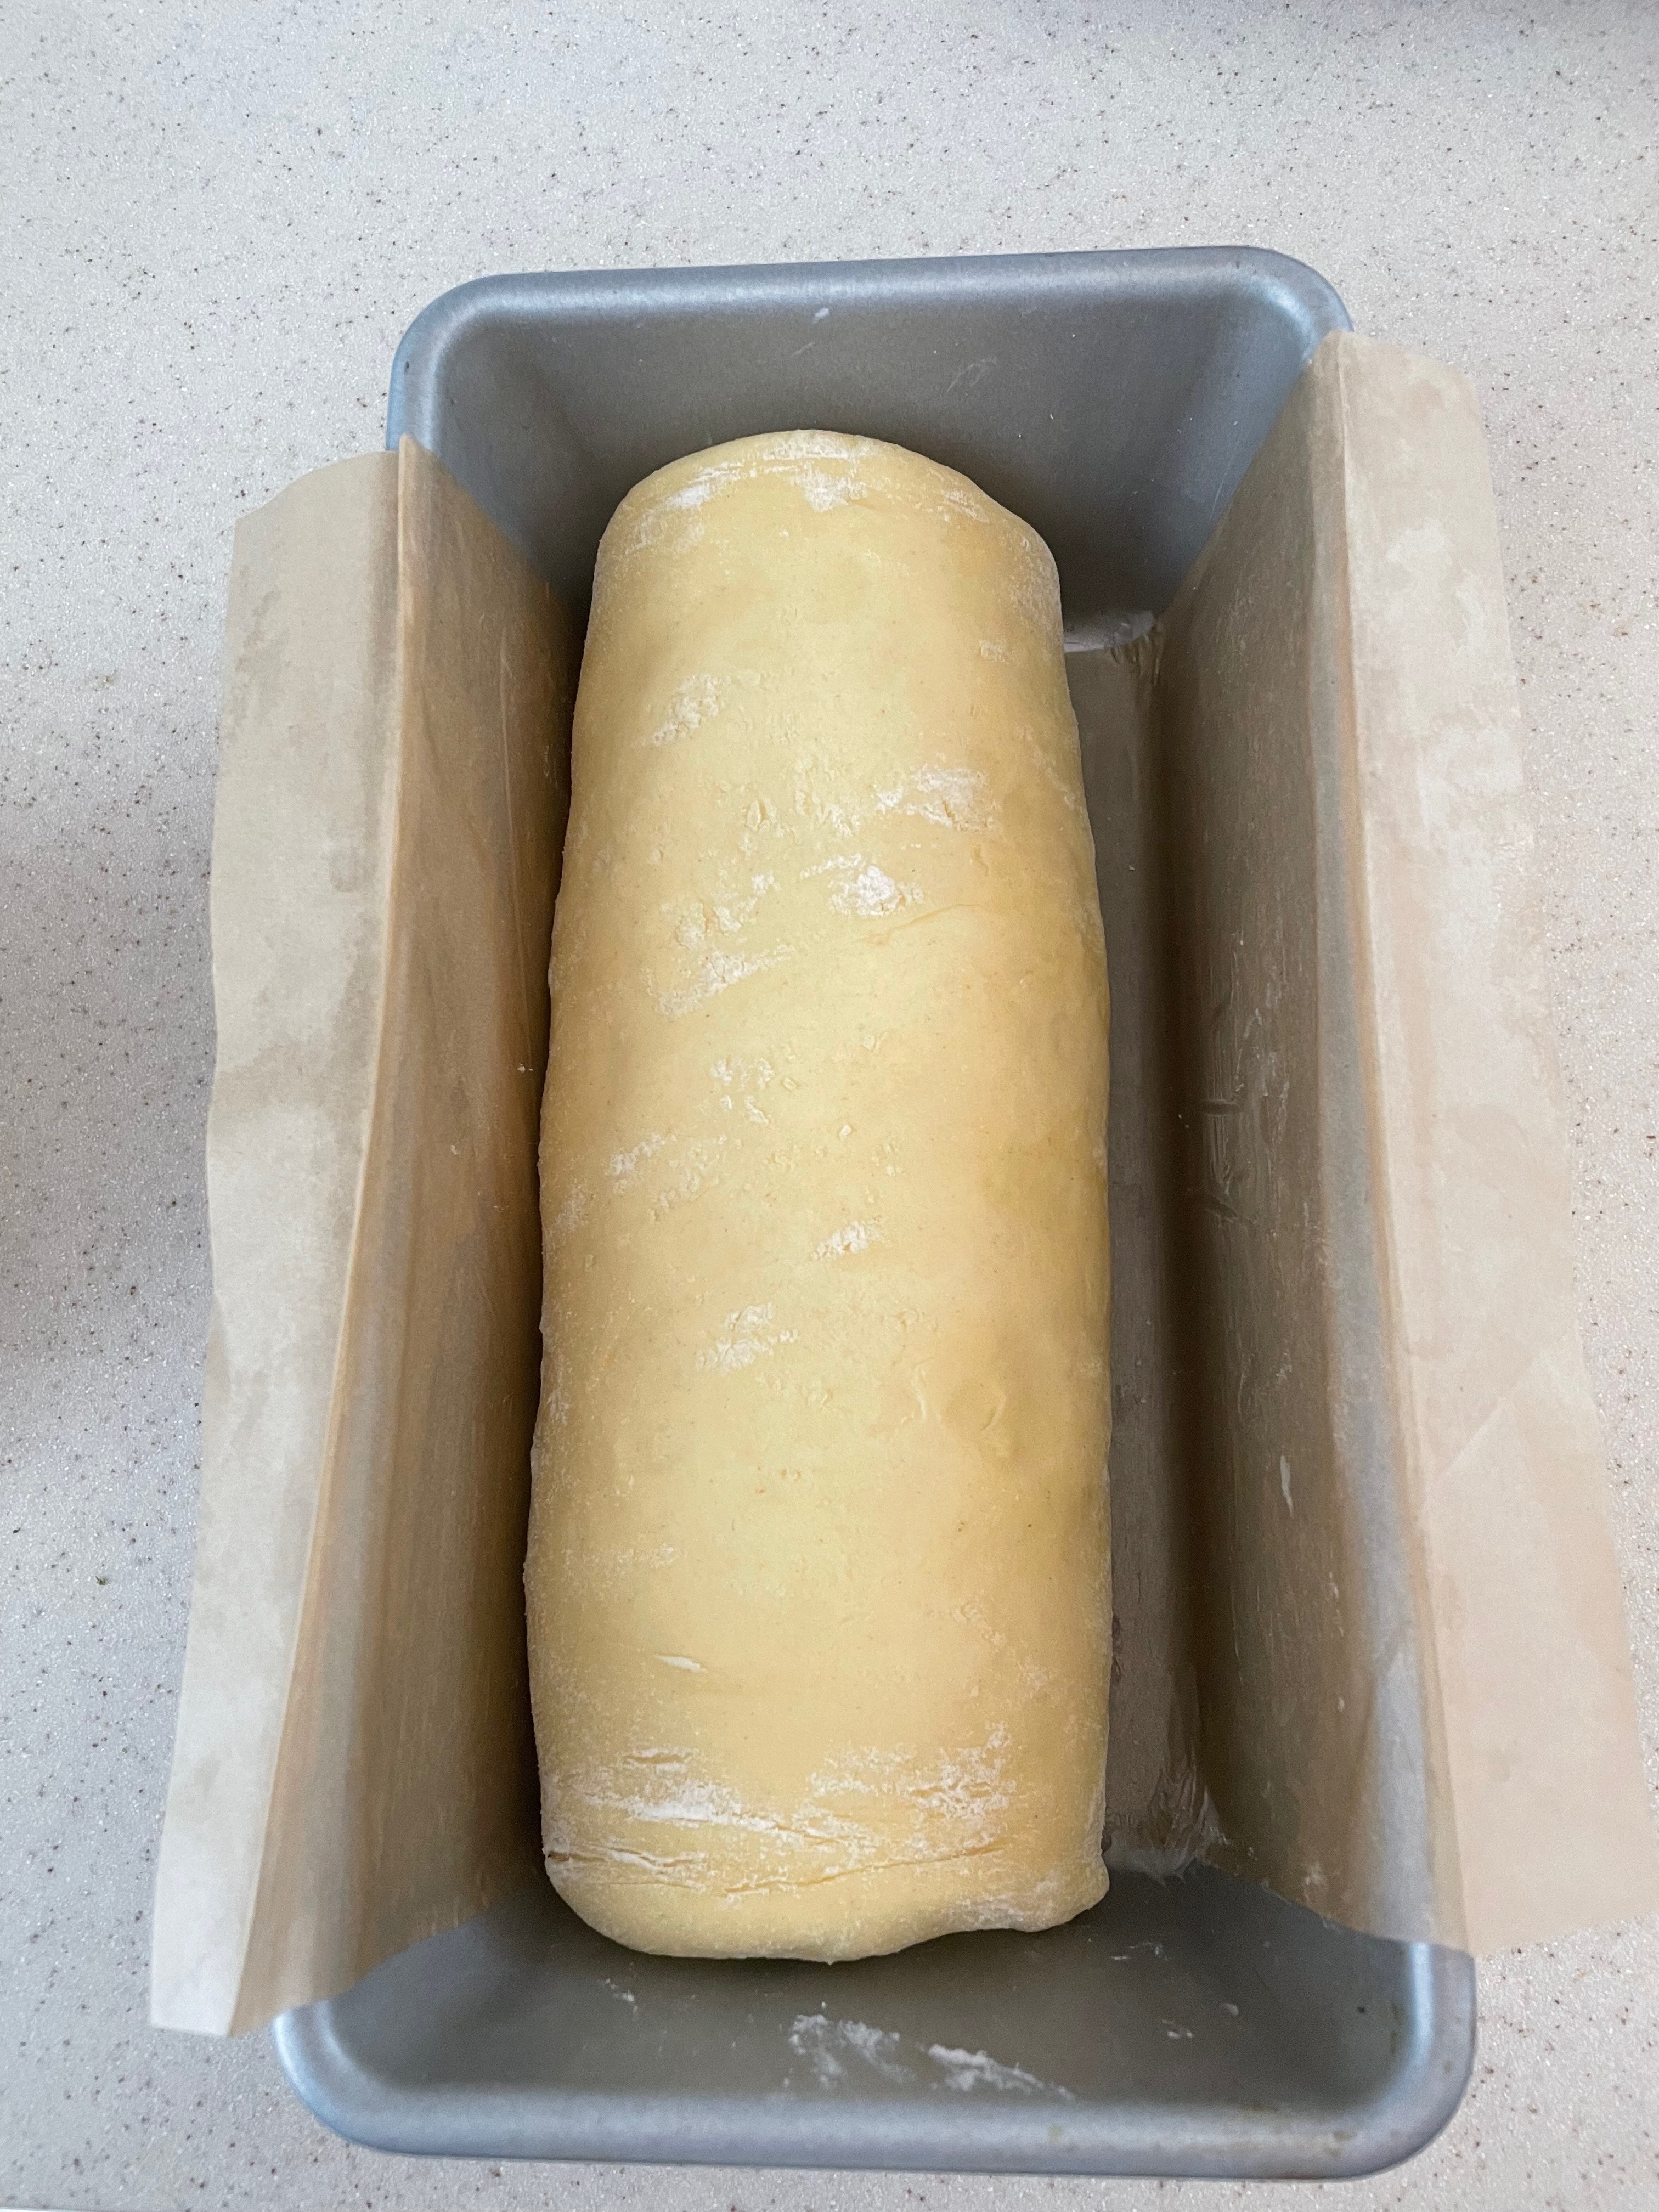
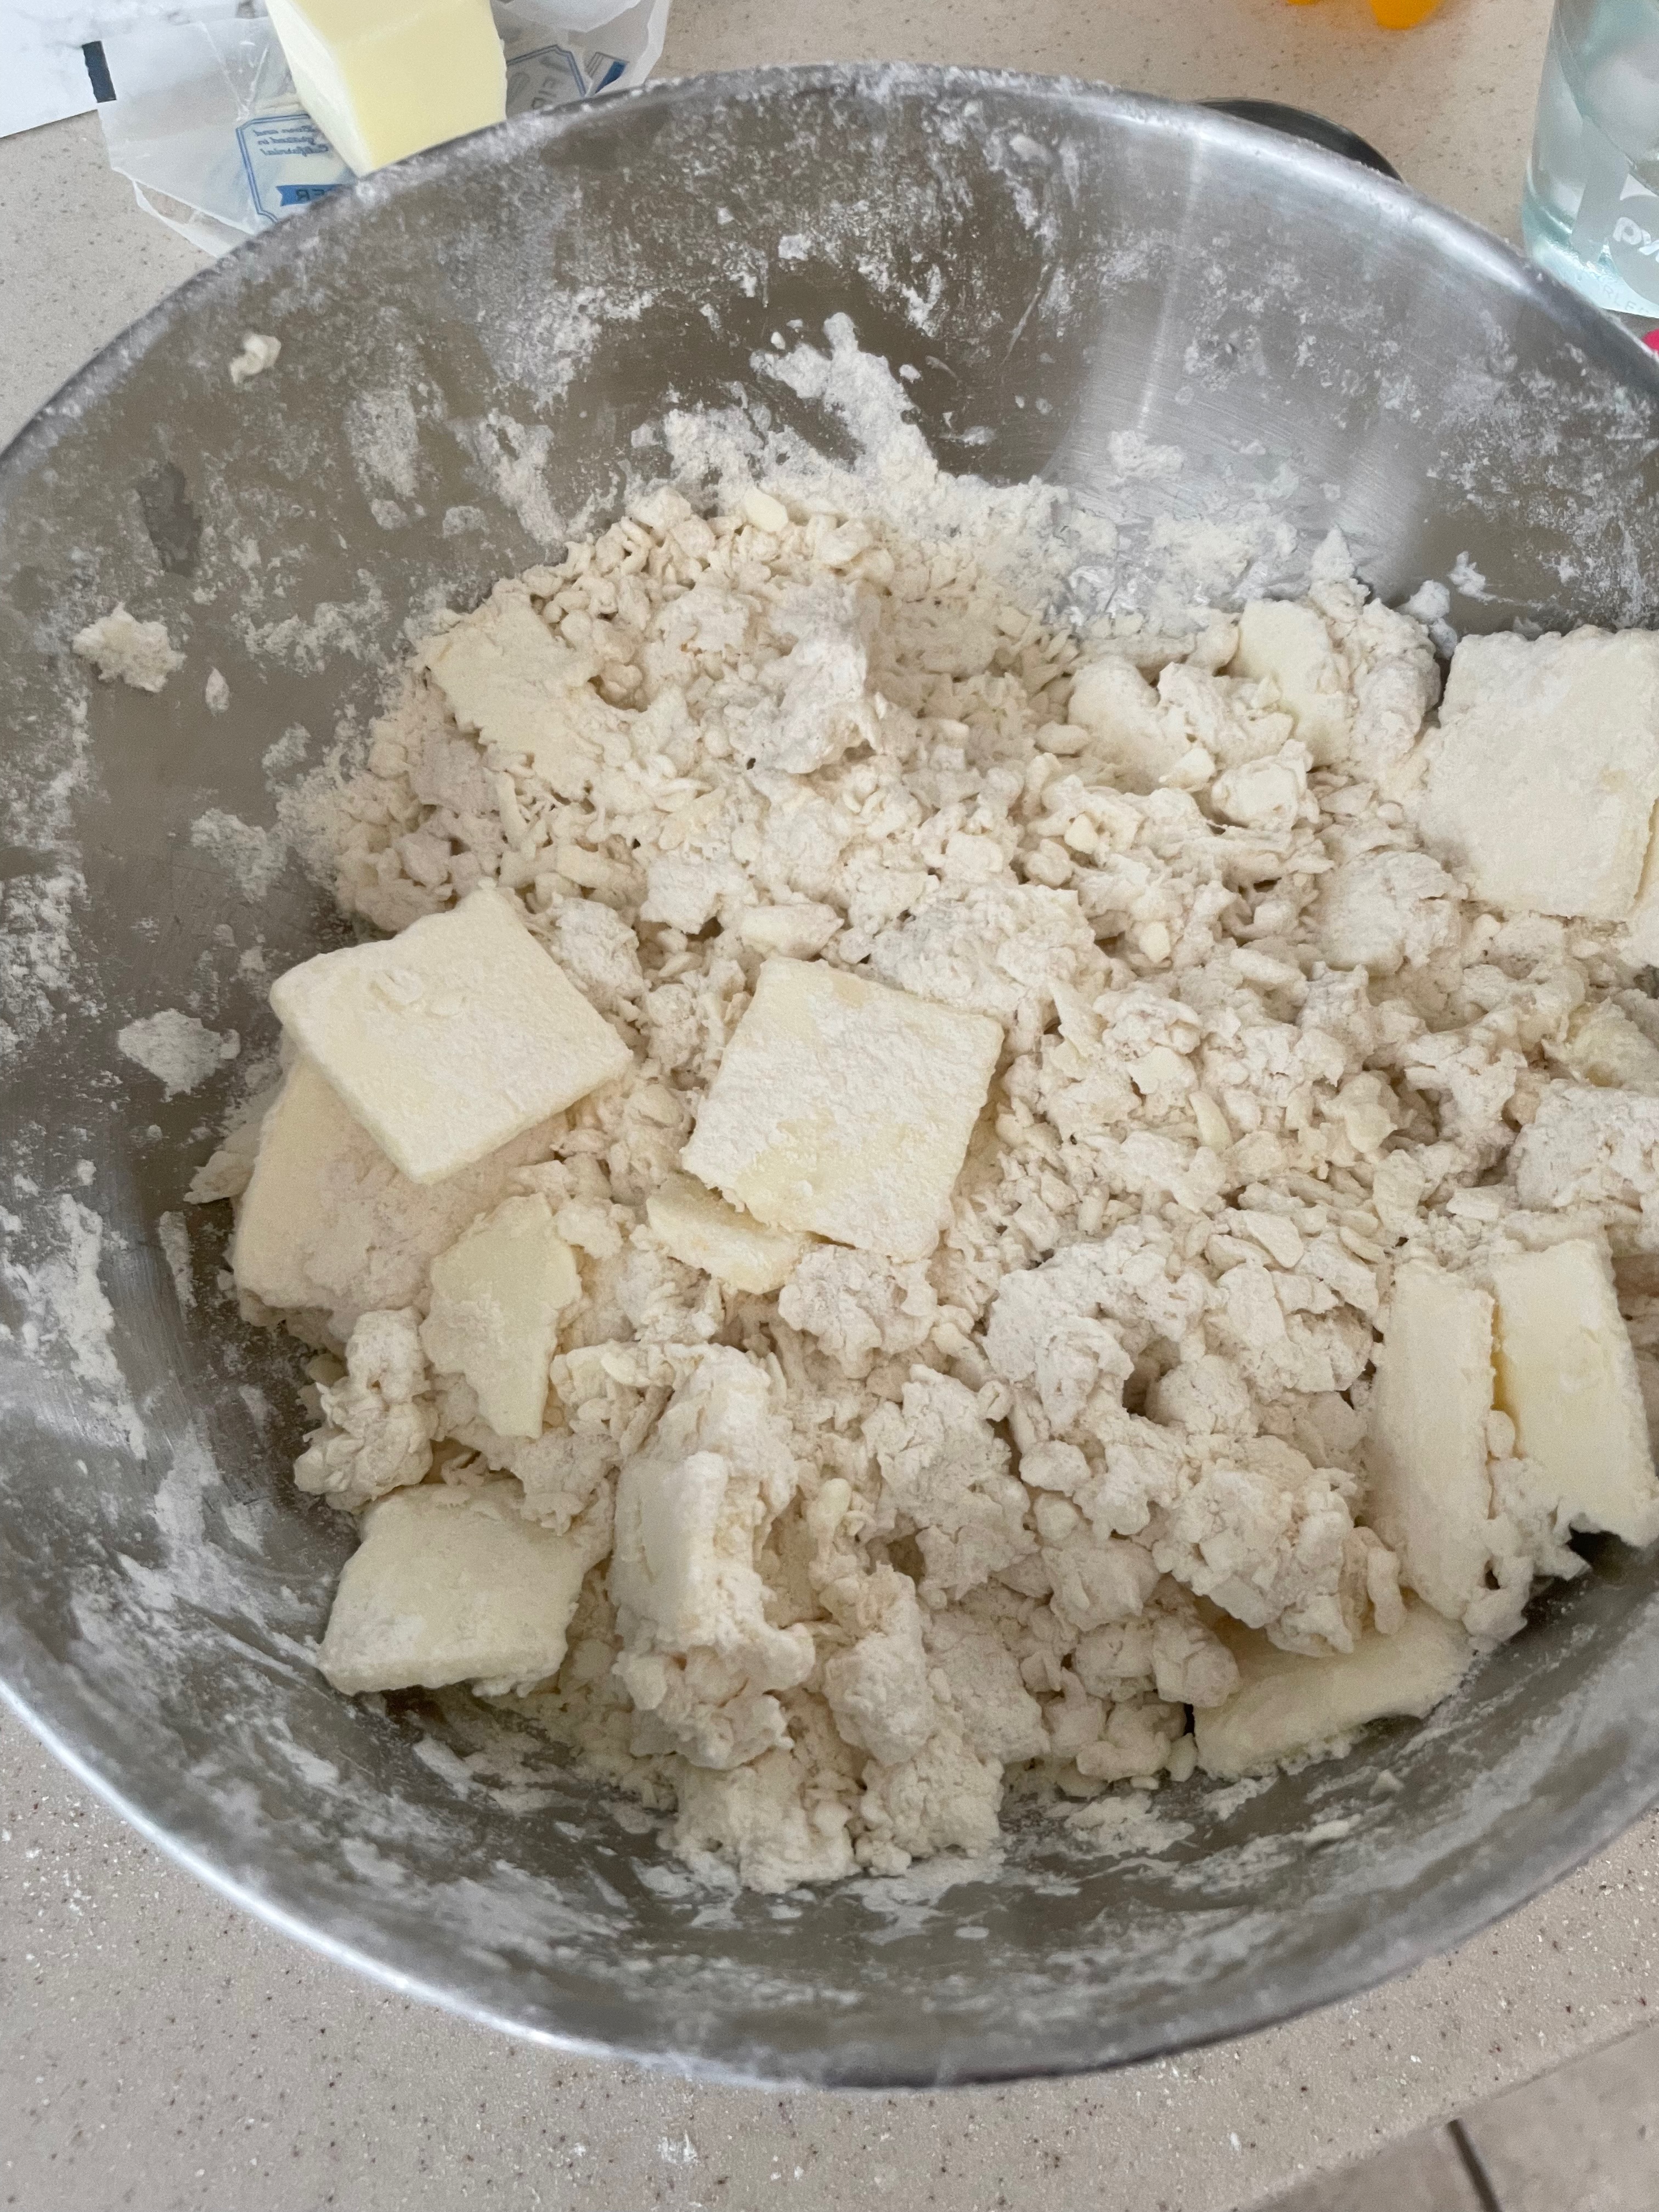
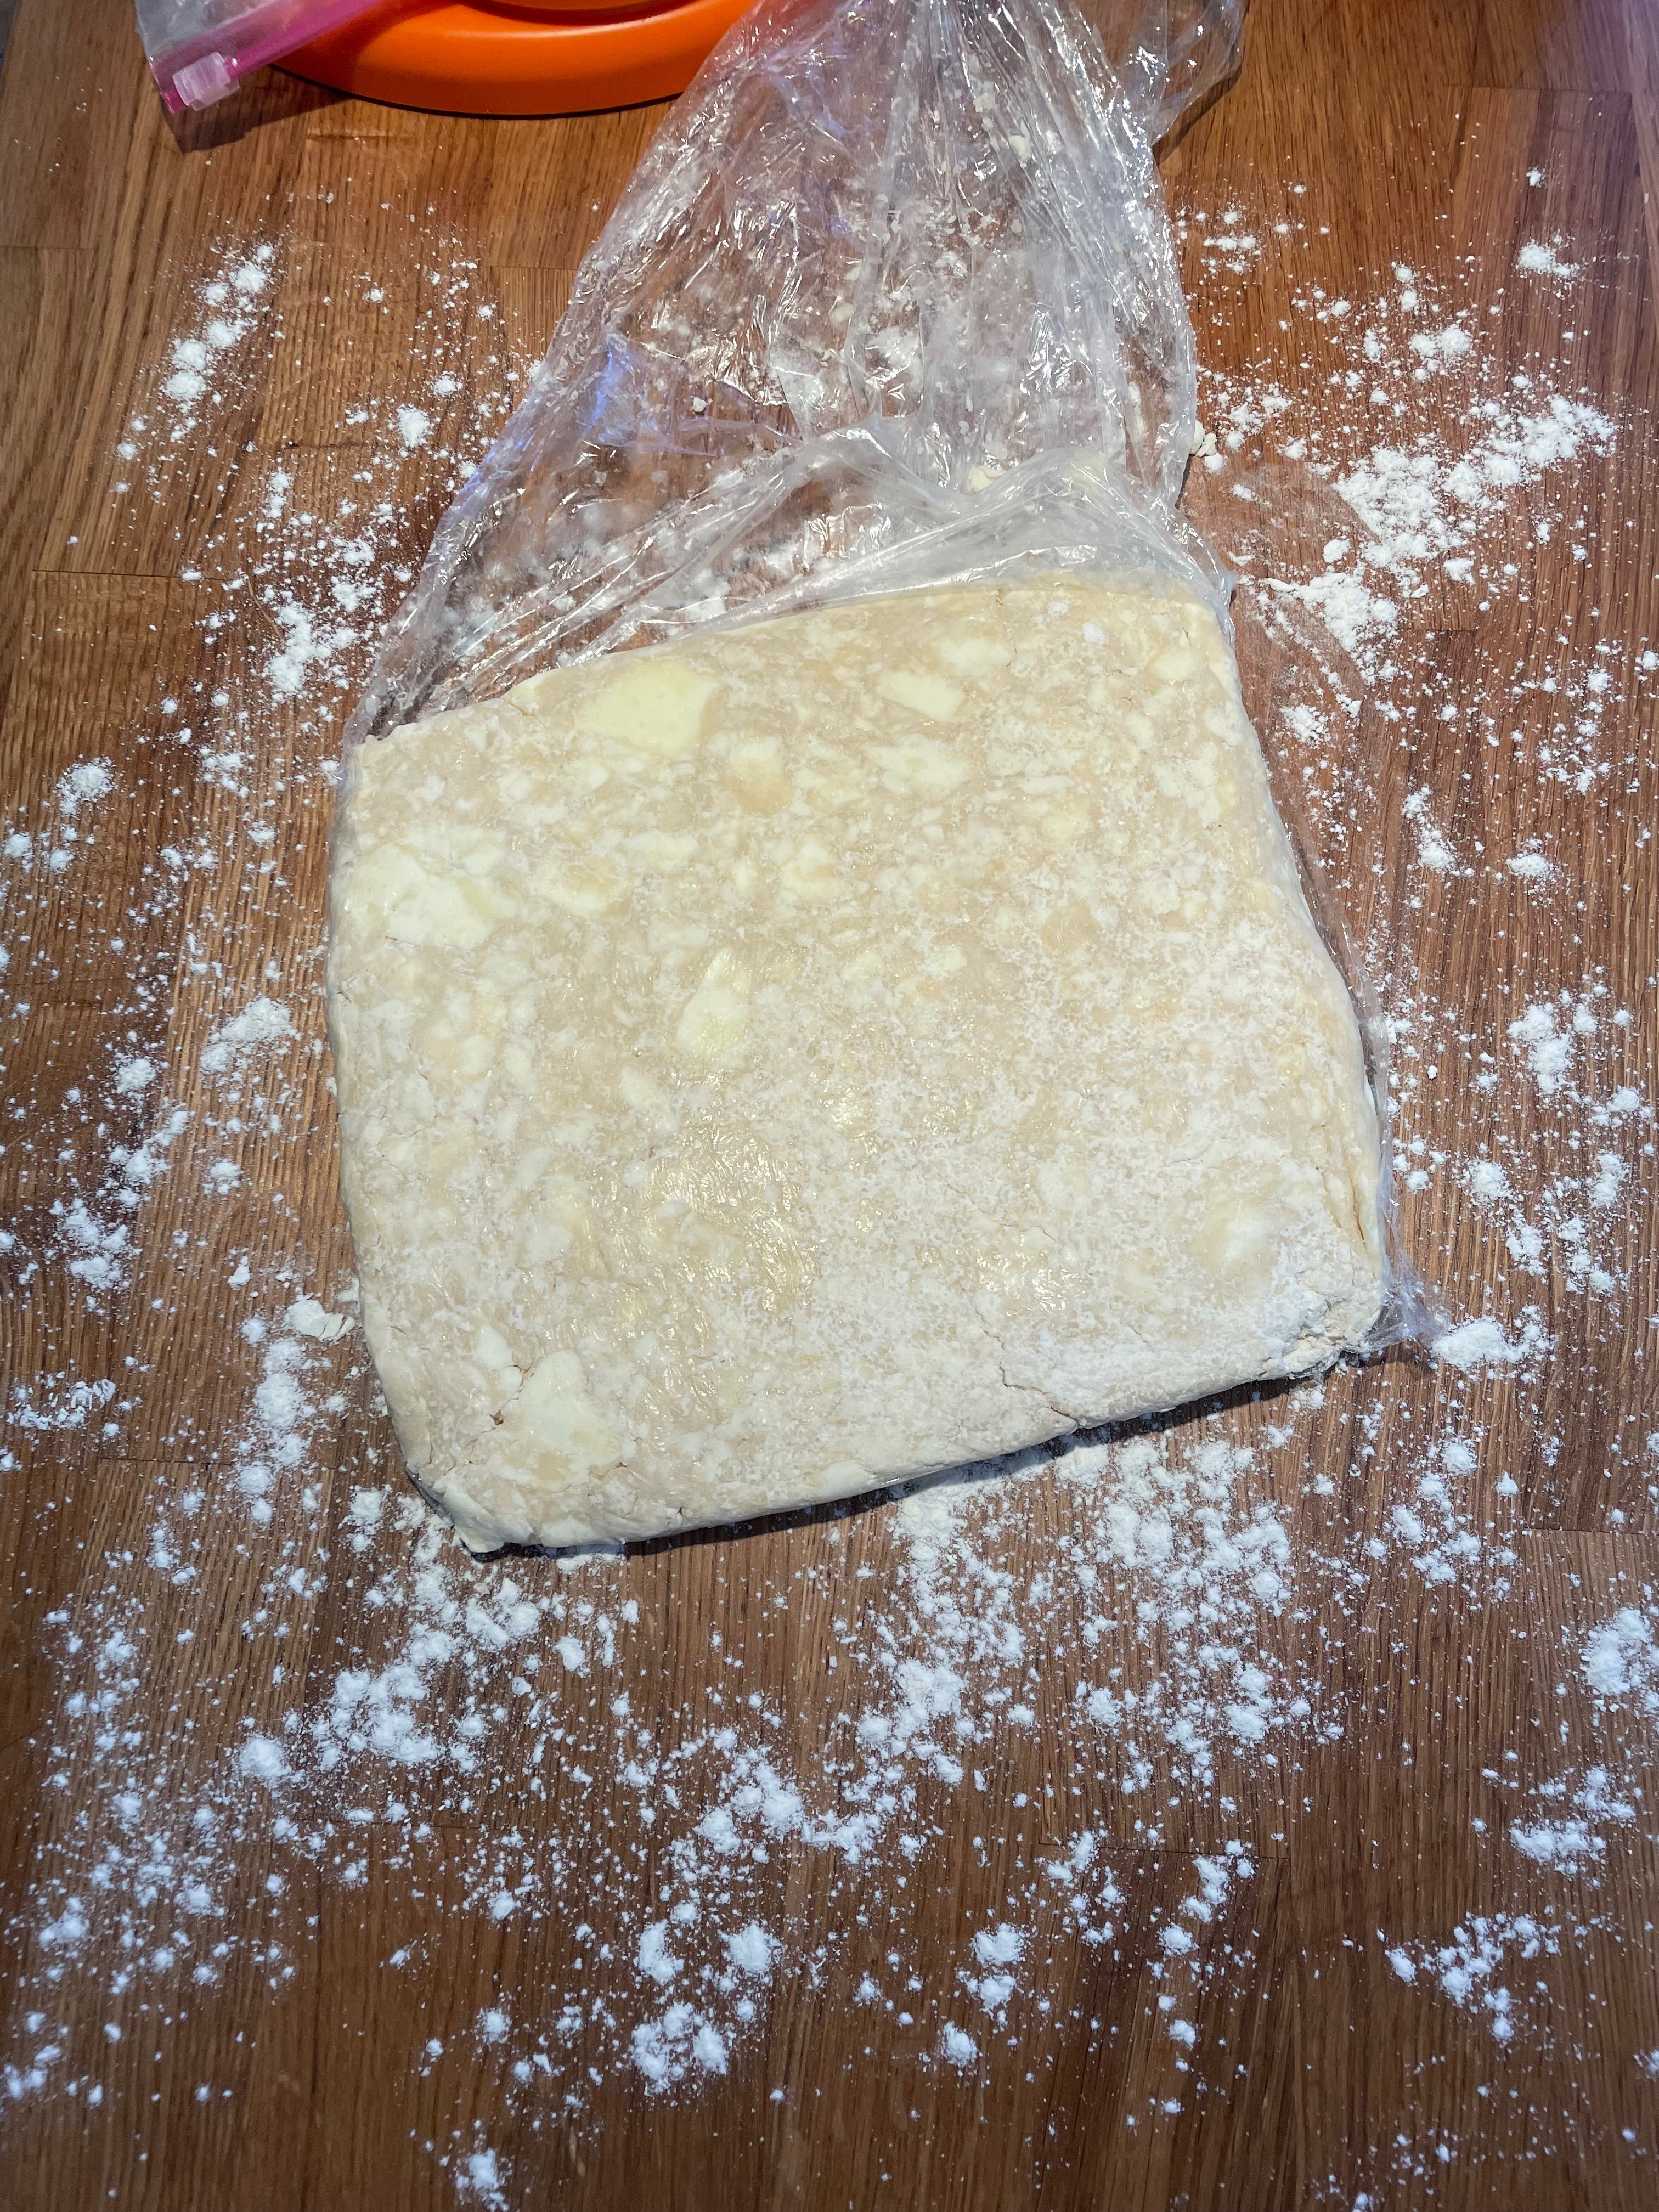
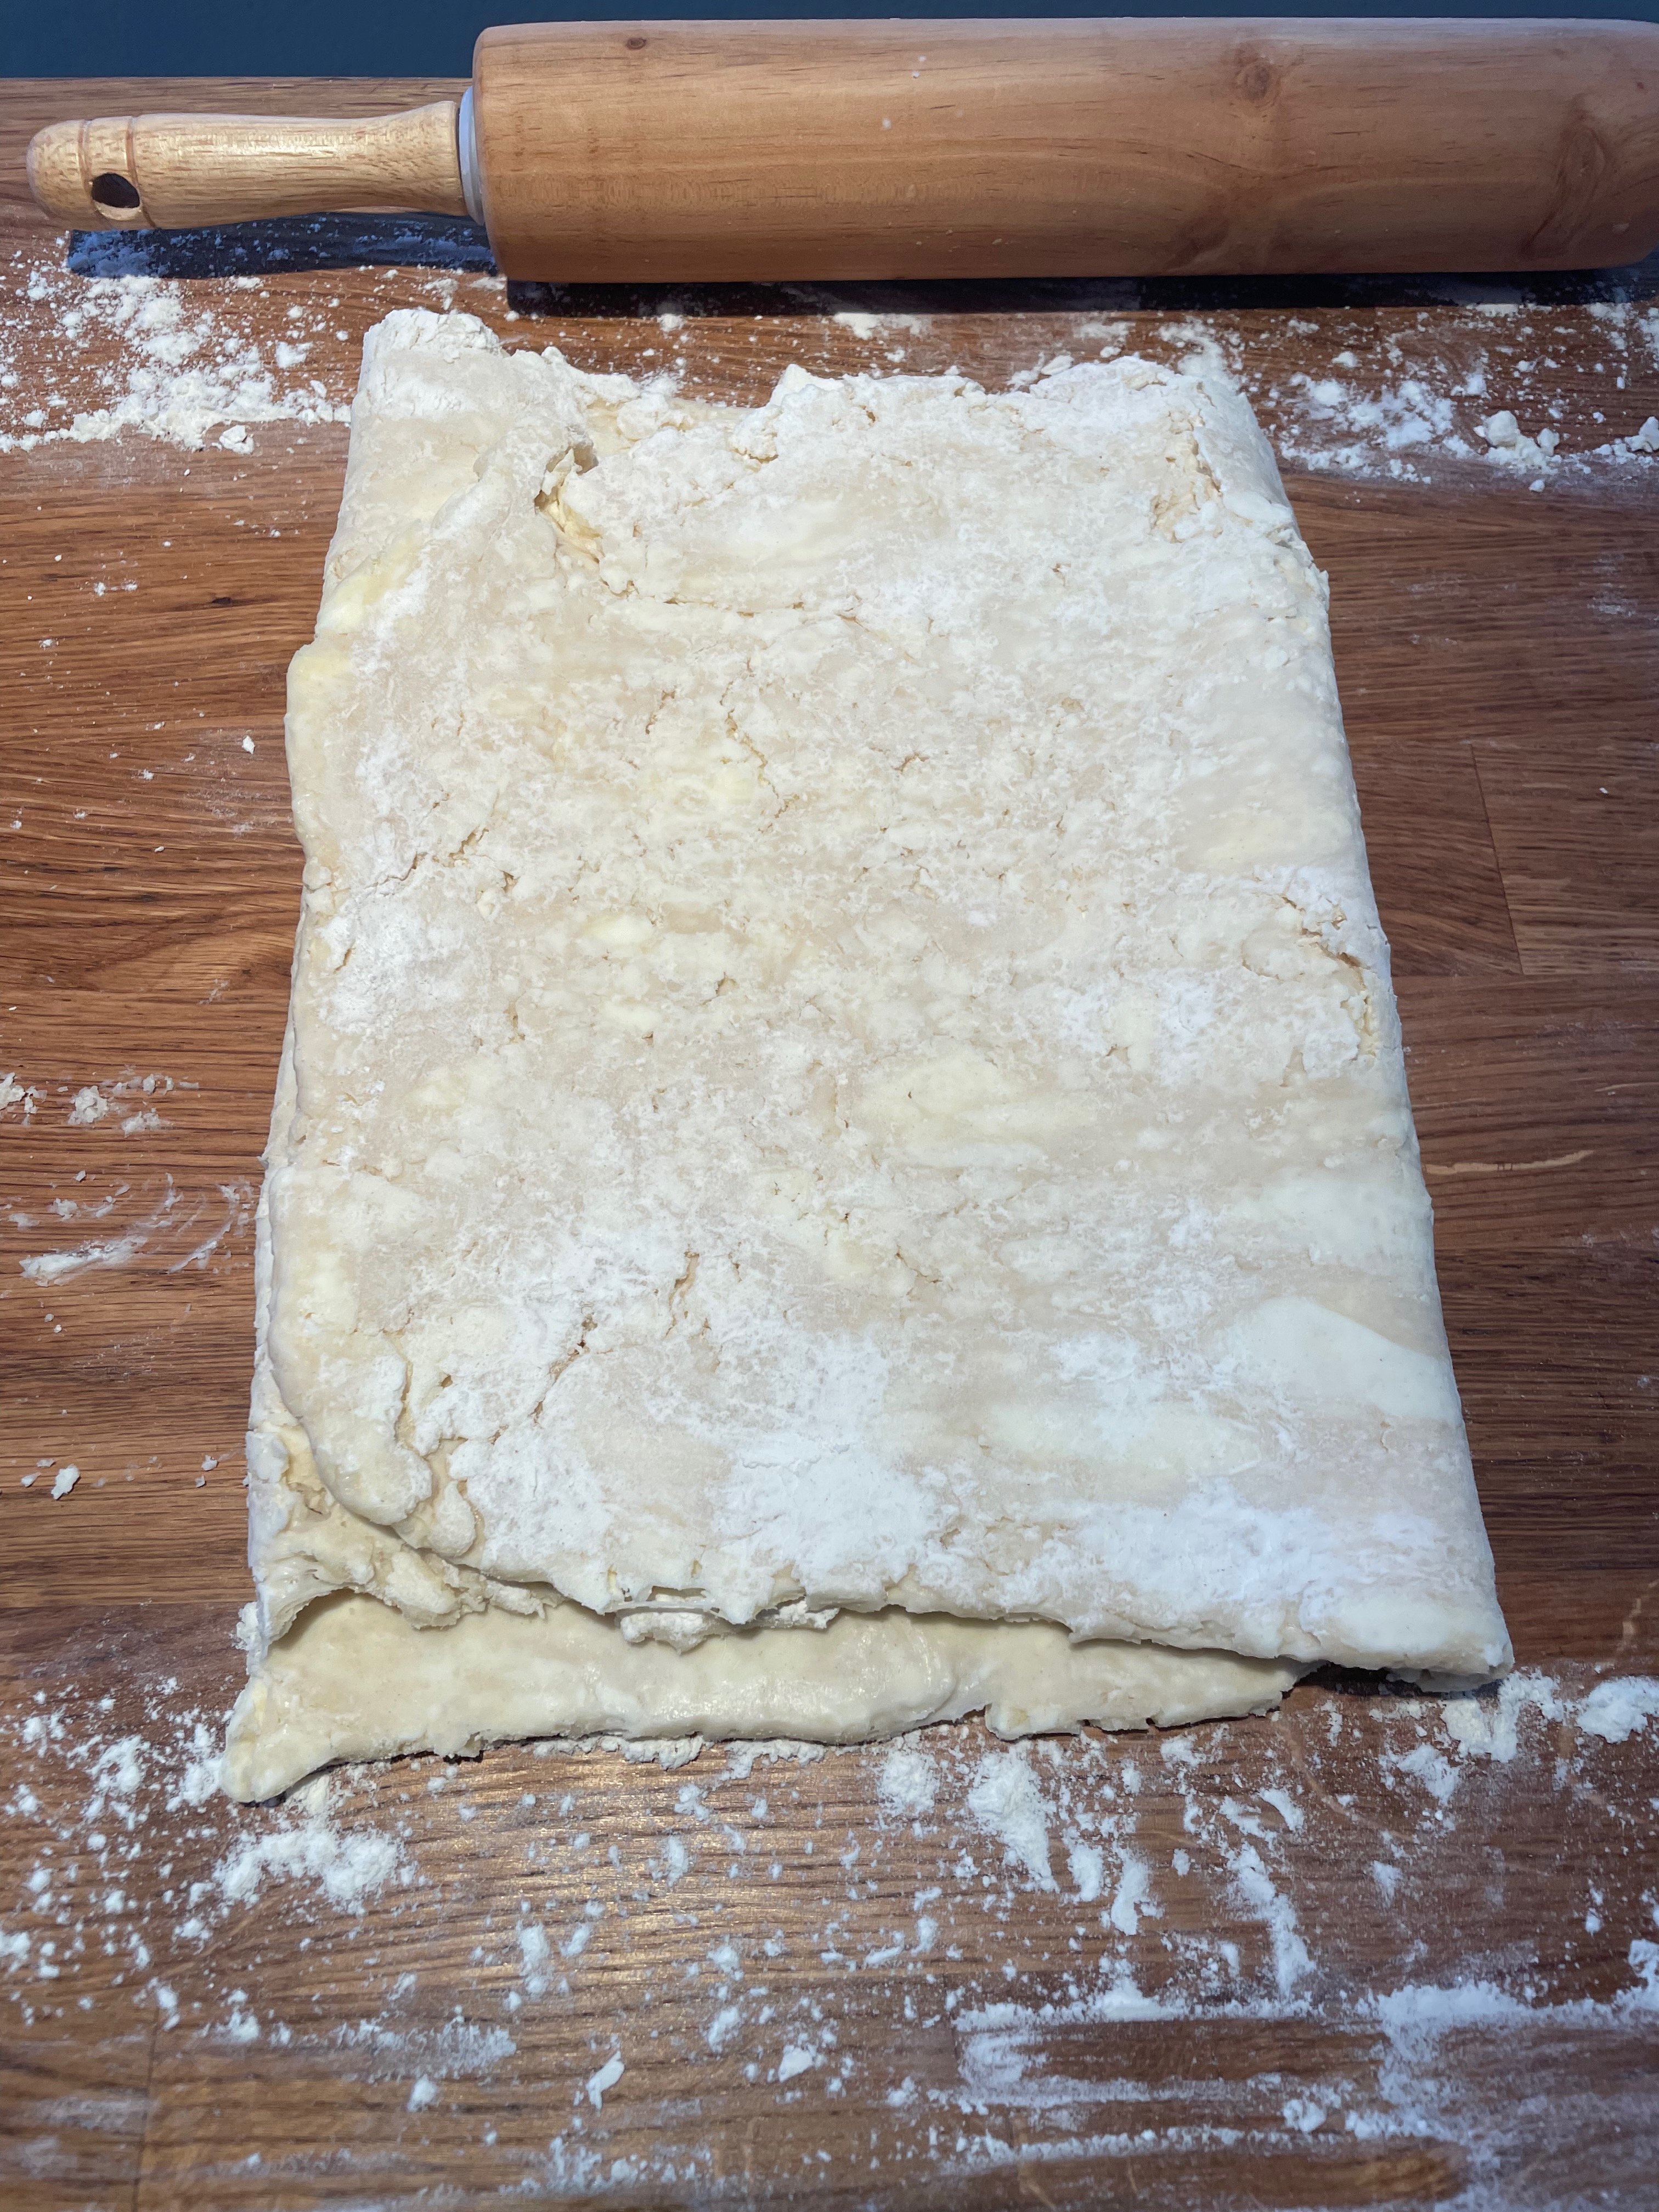
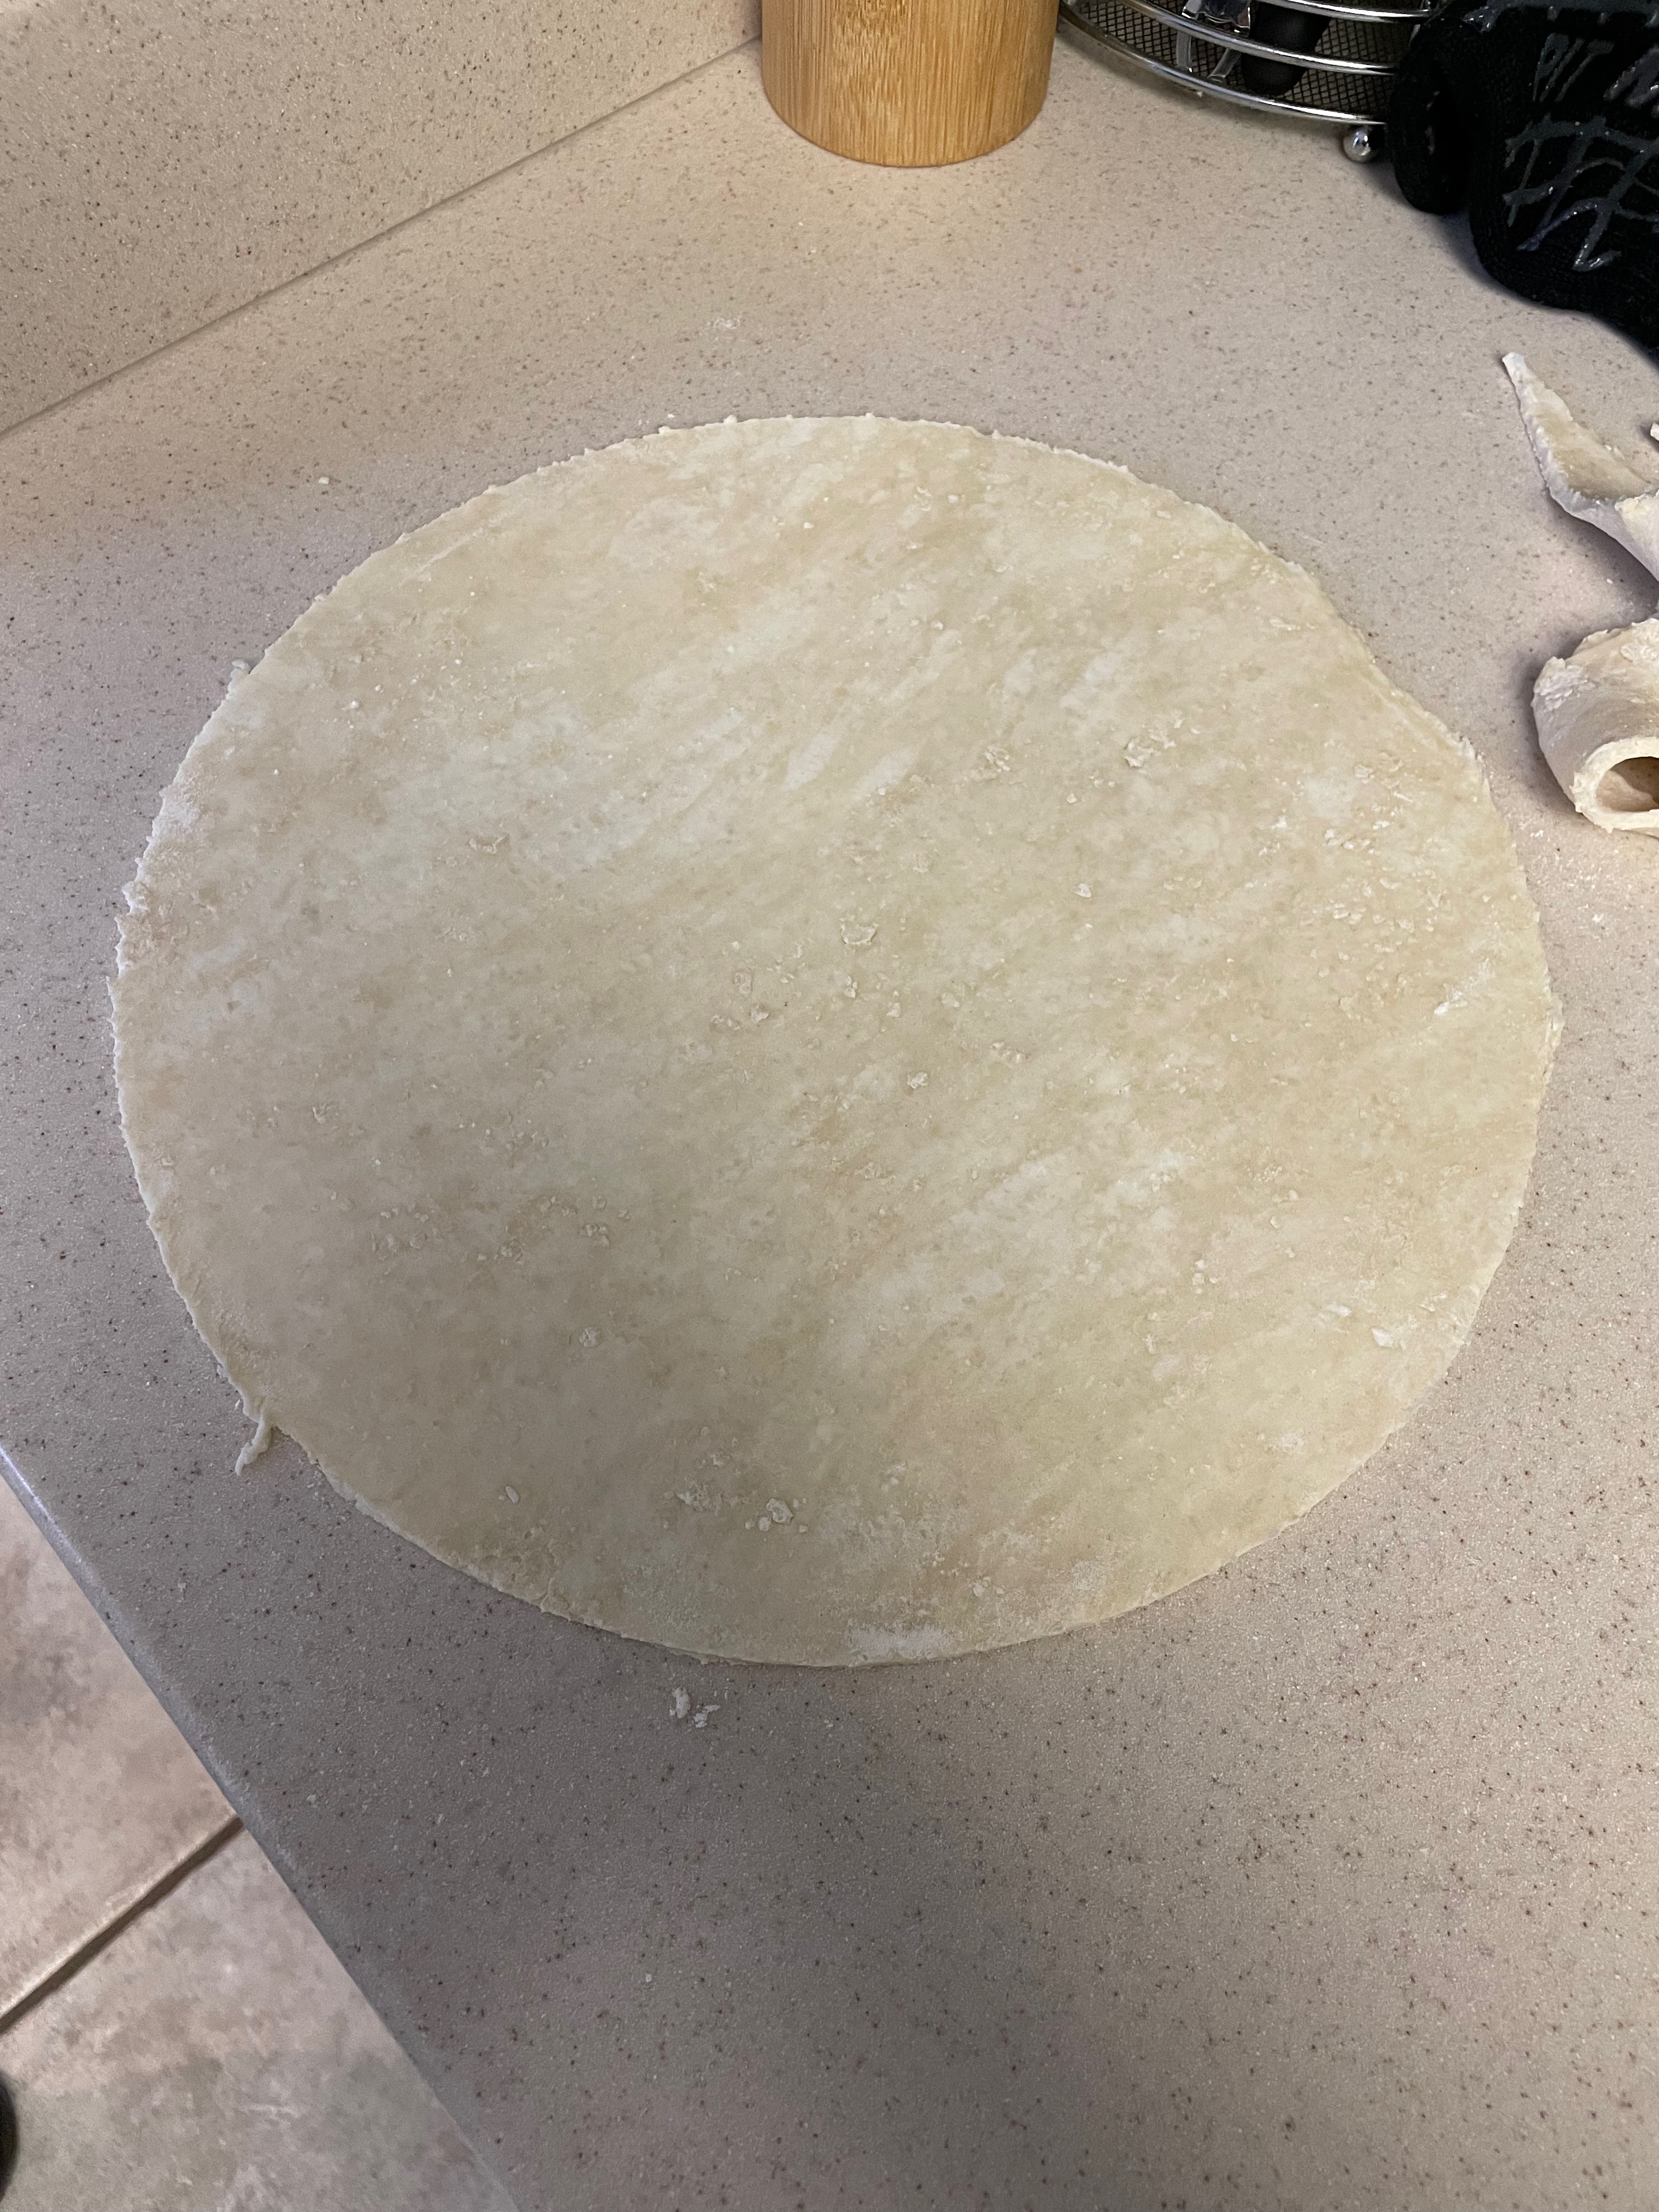
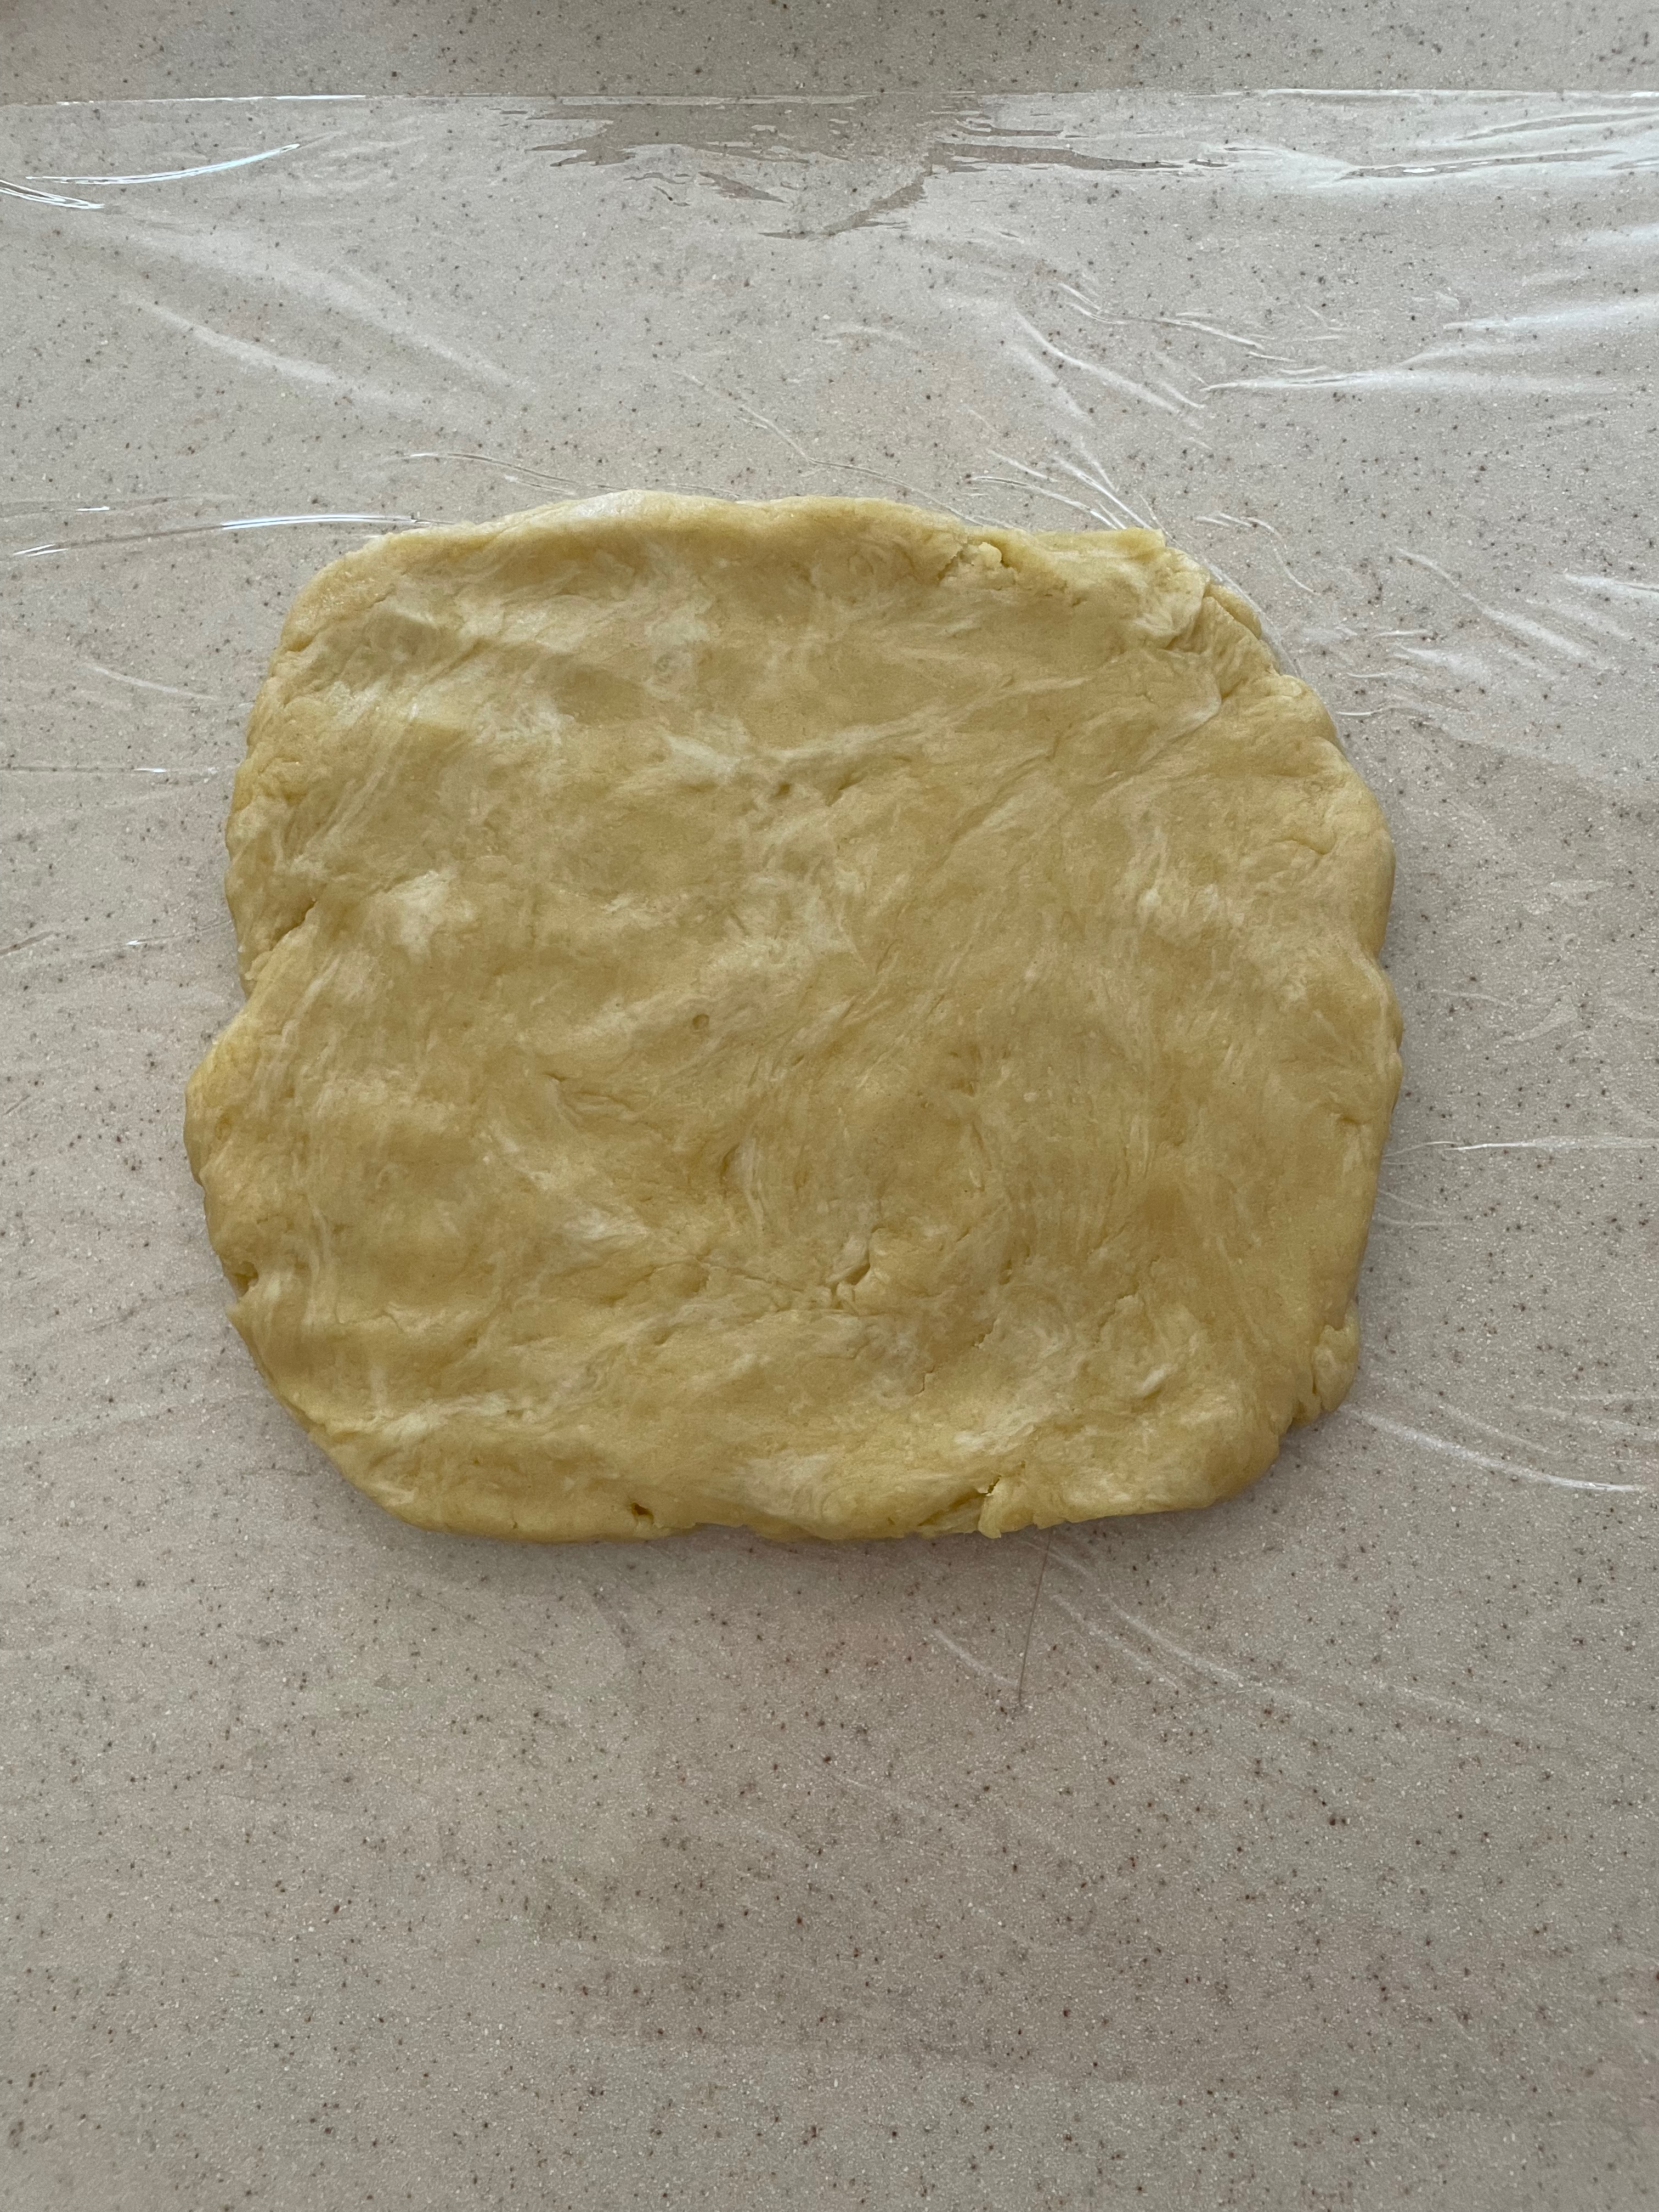
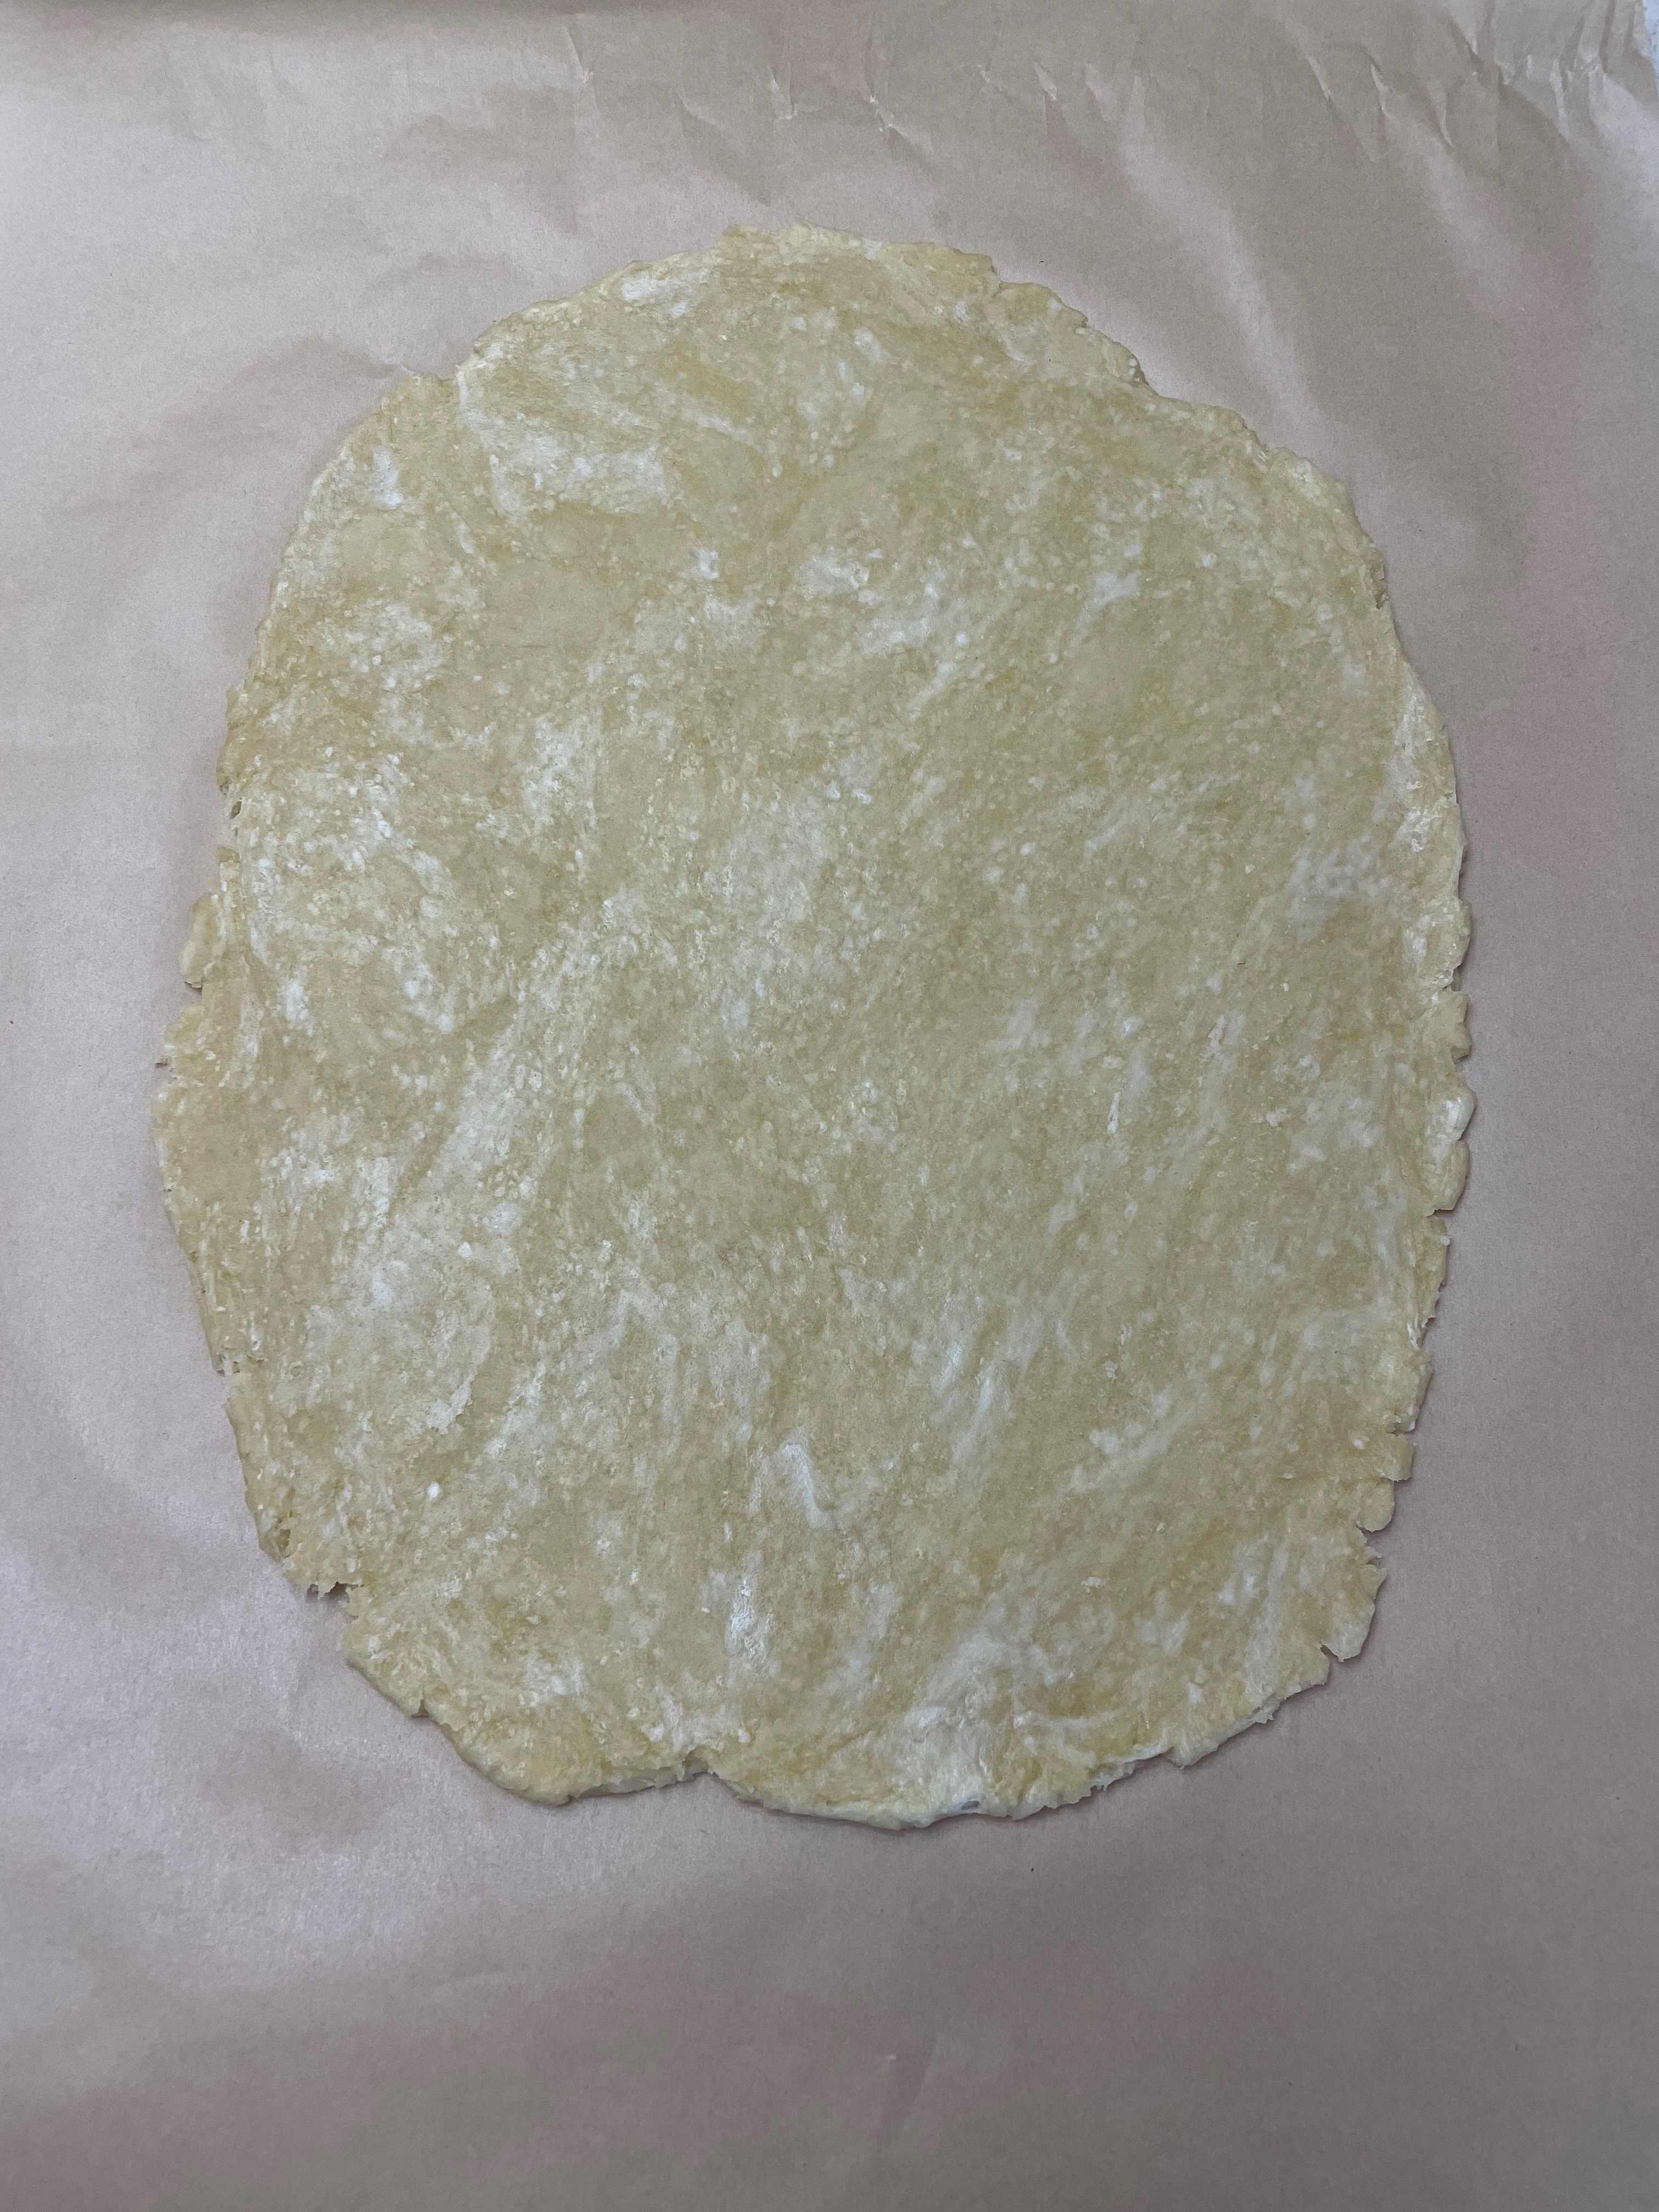
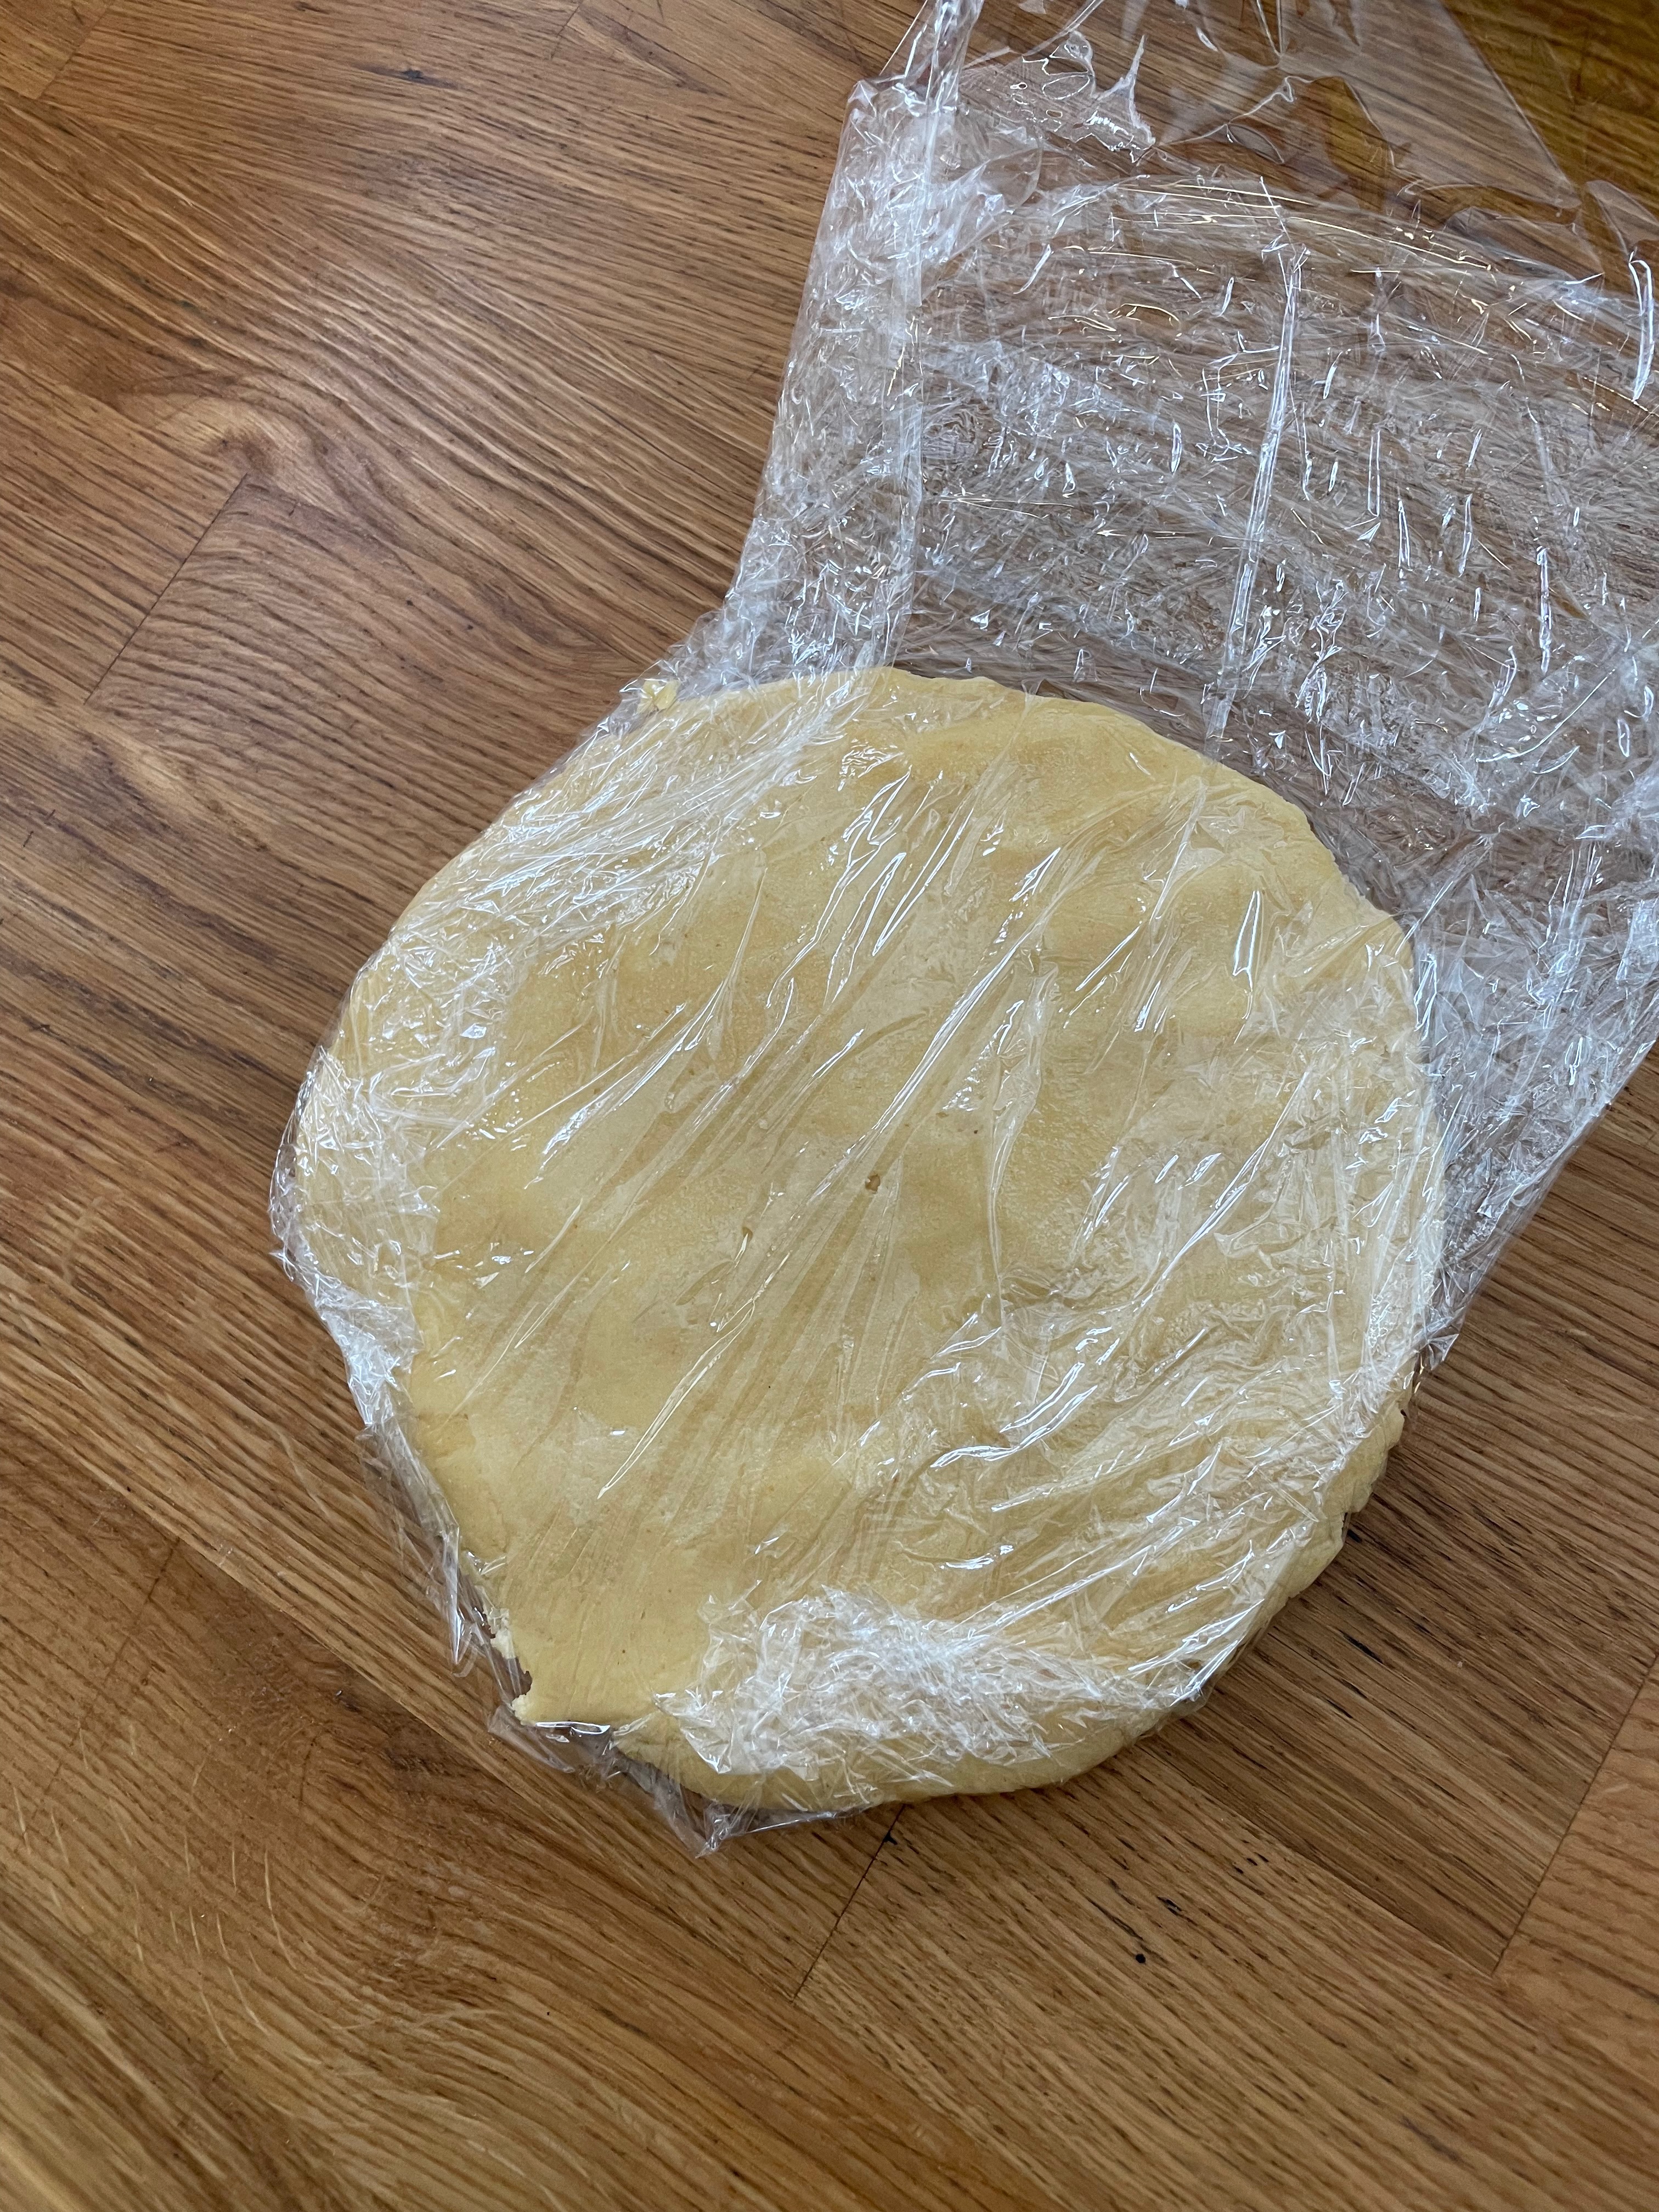
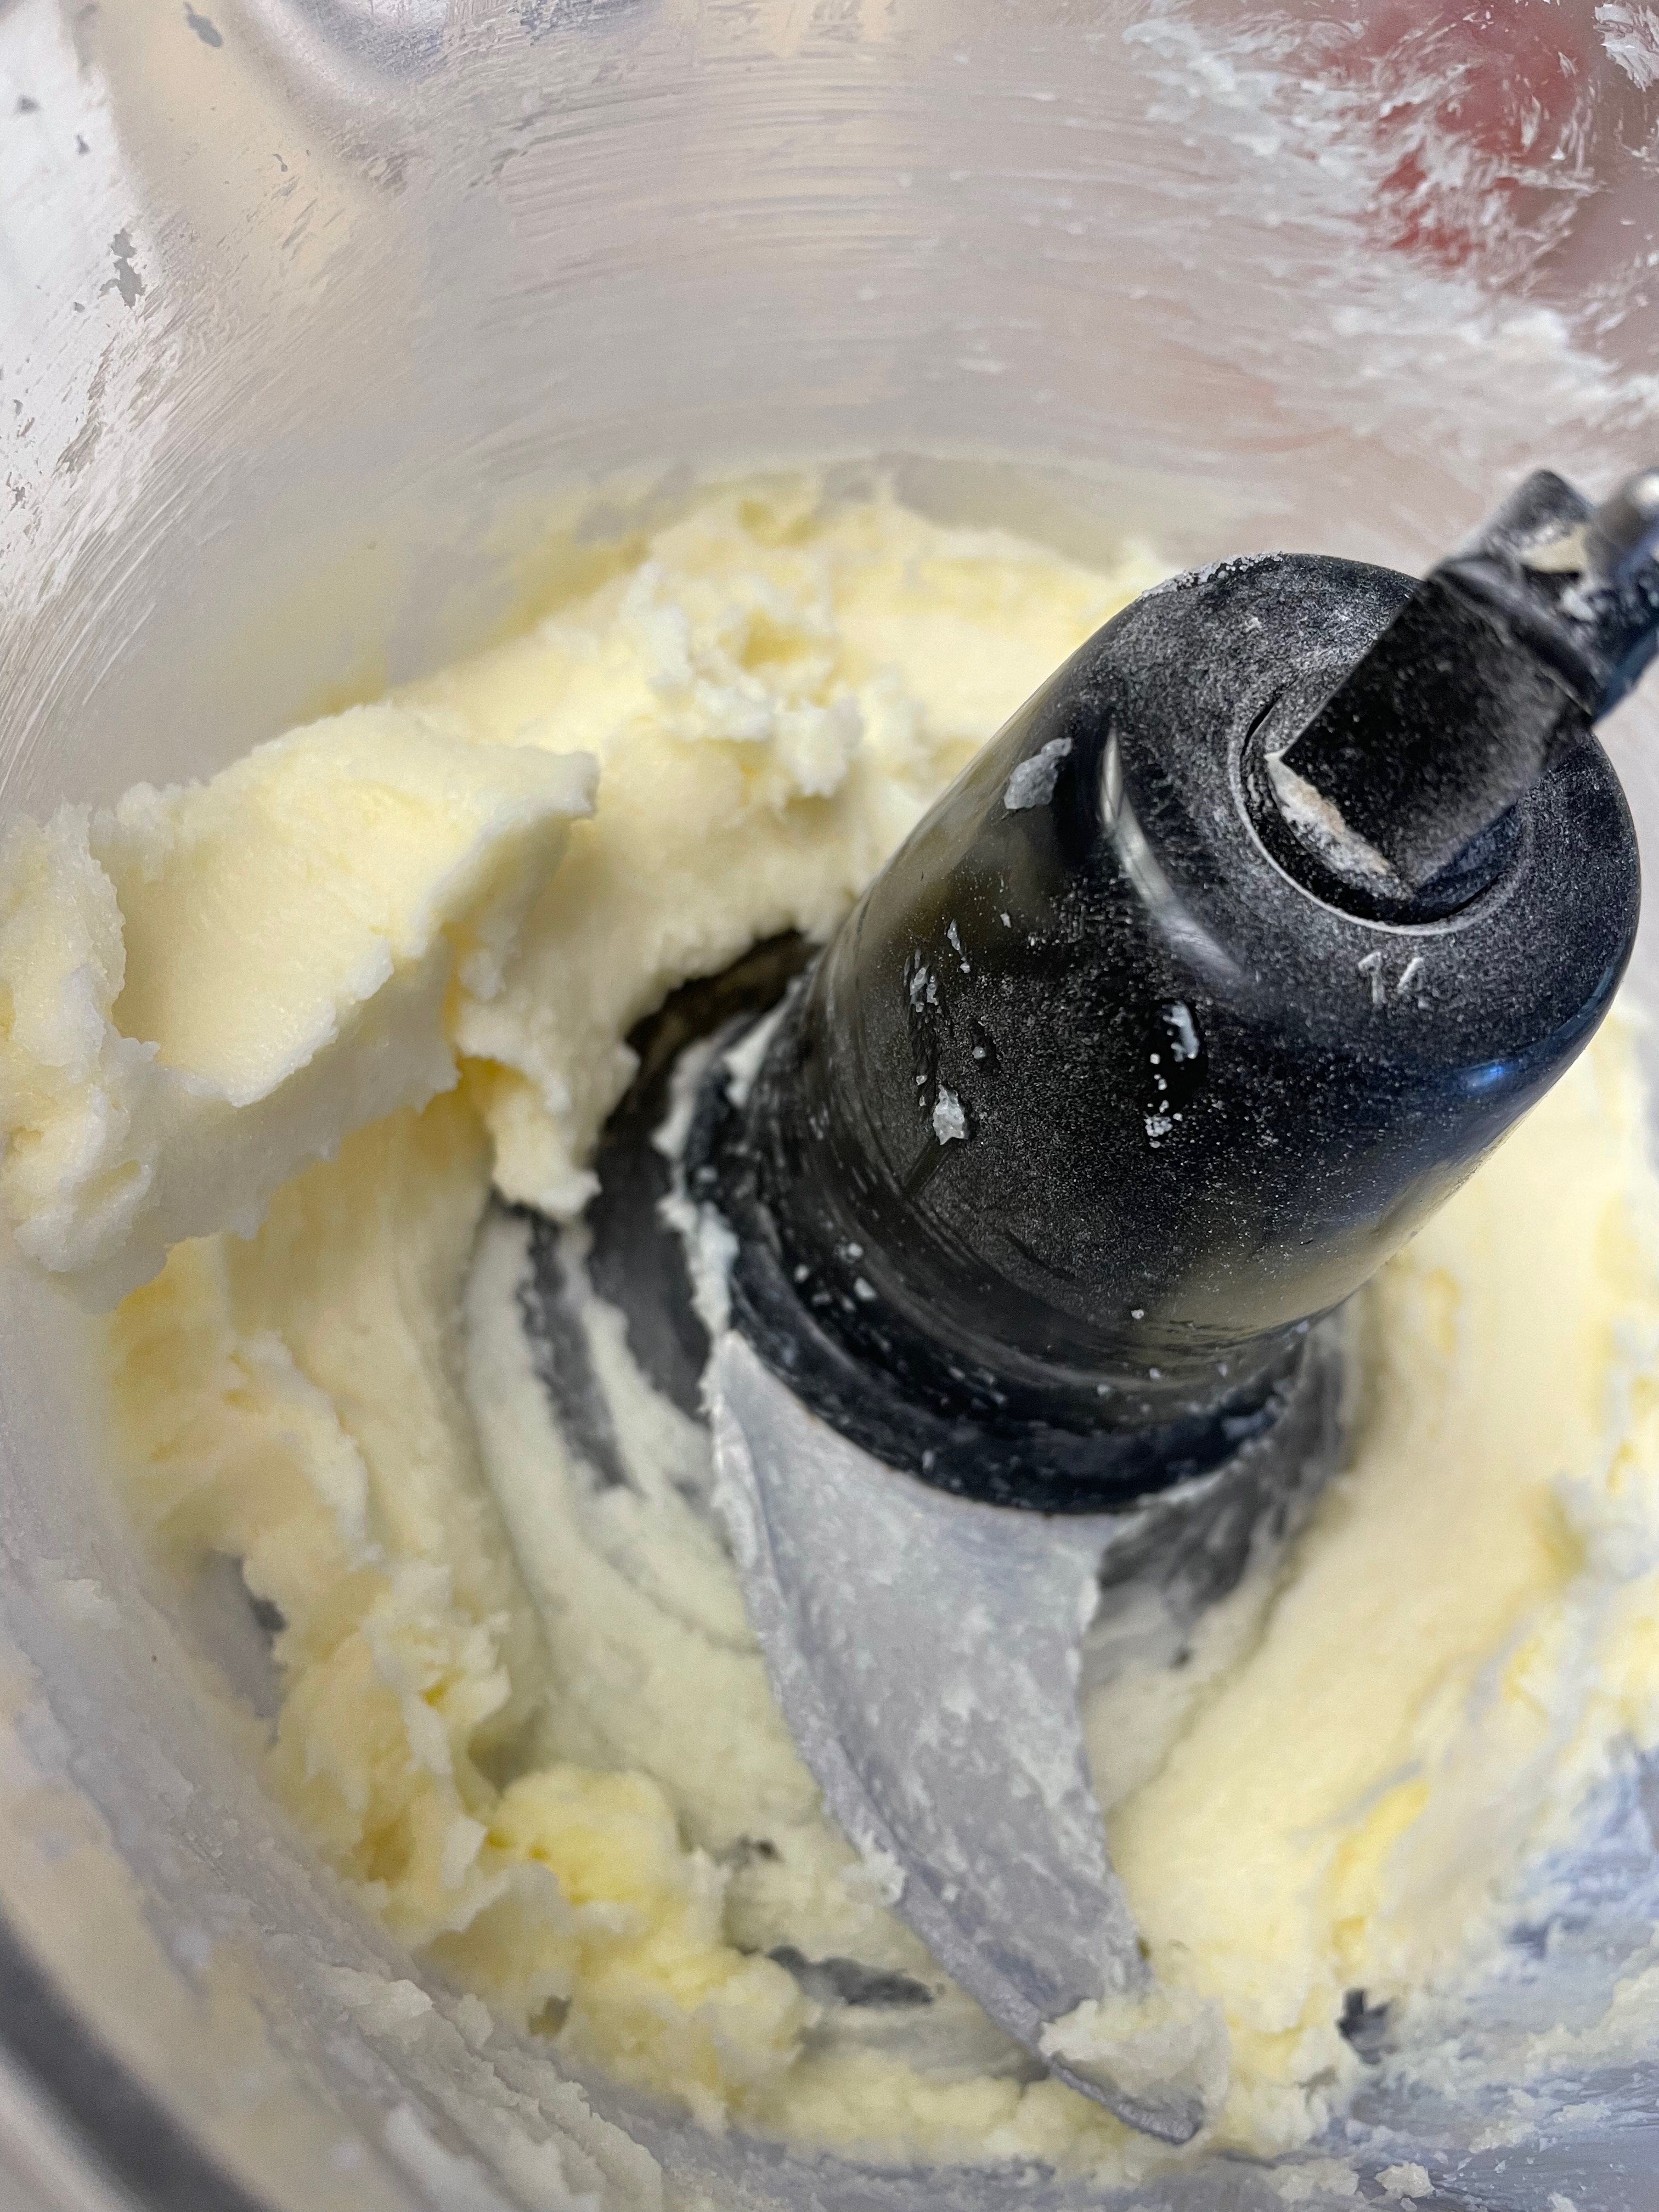
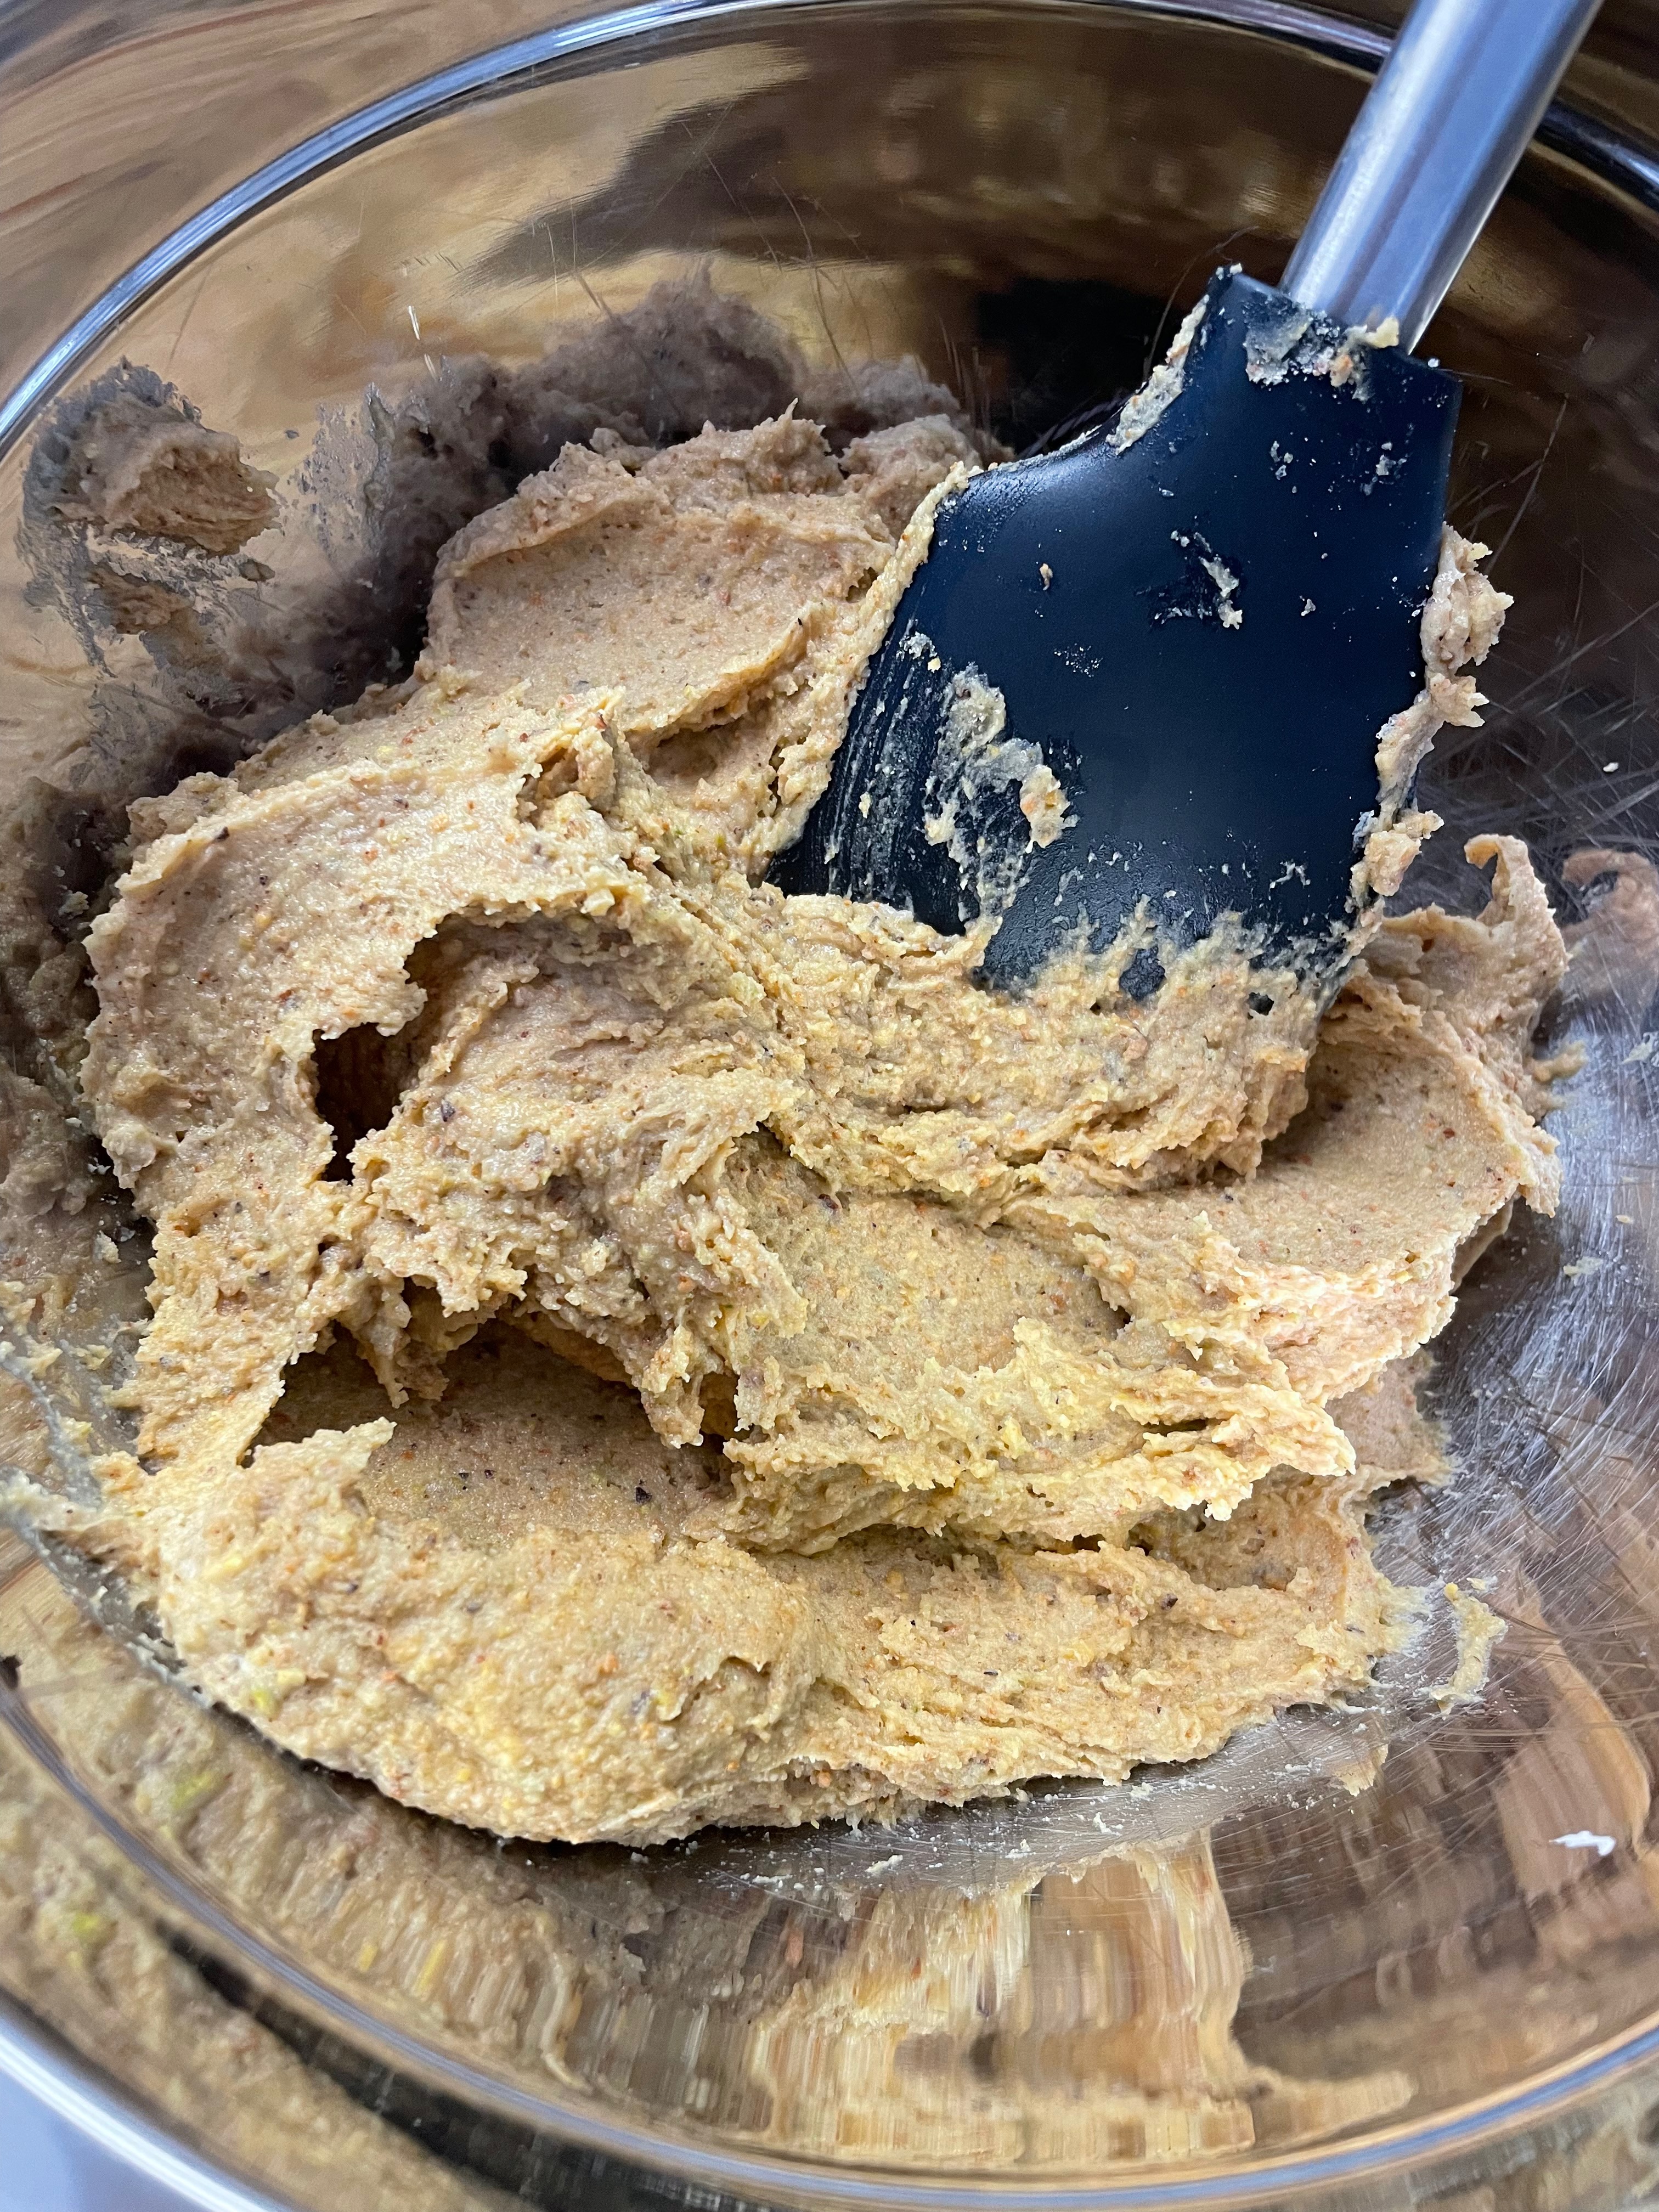
Making The Brioche Dough

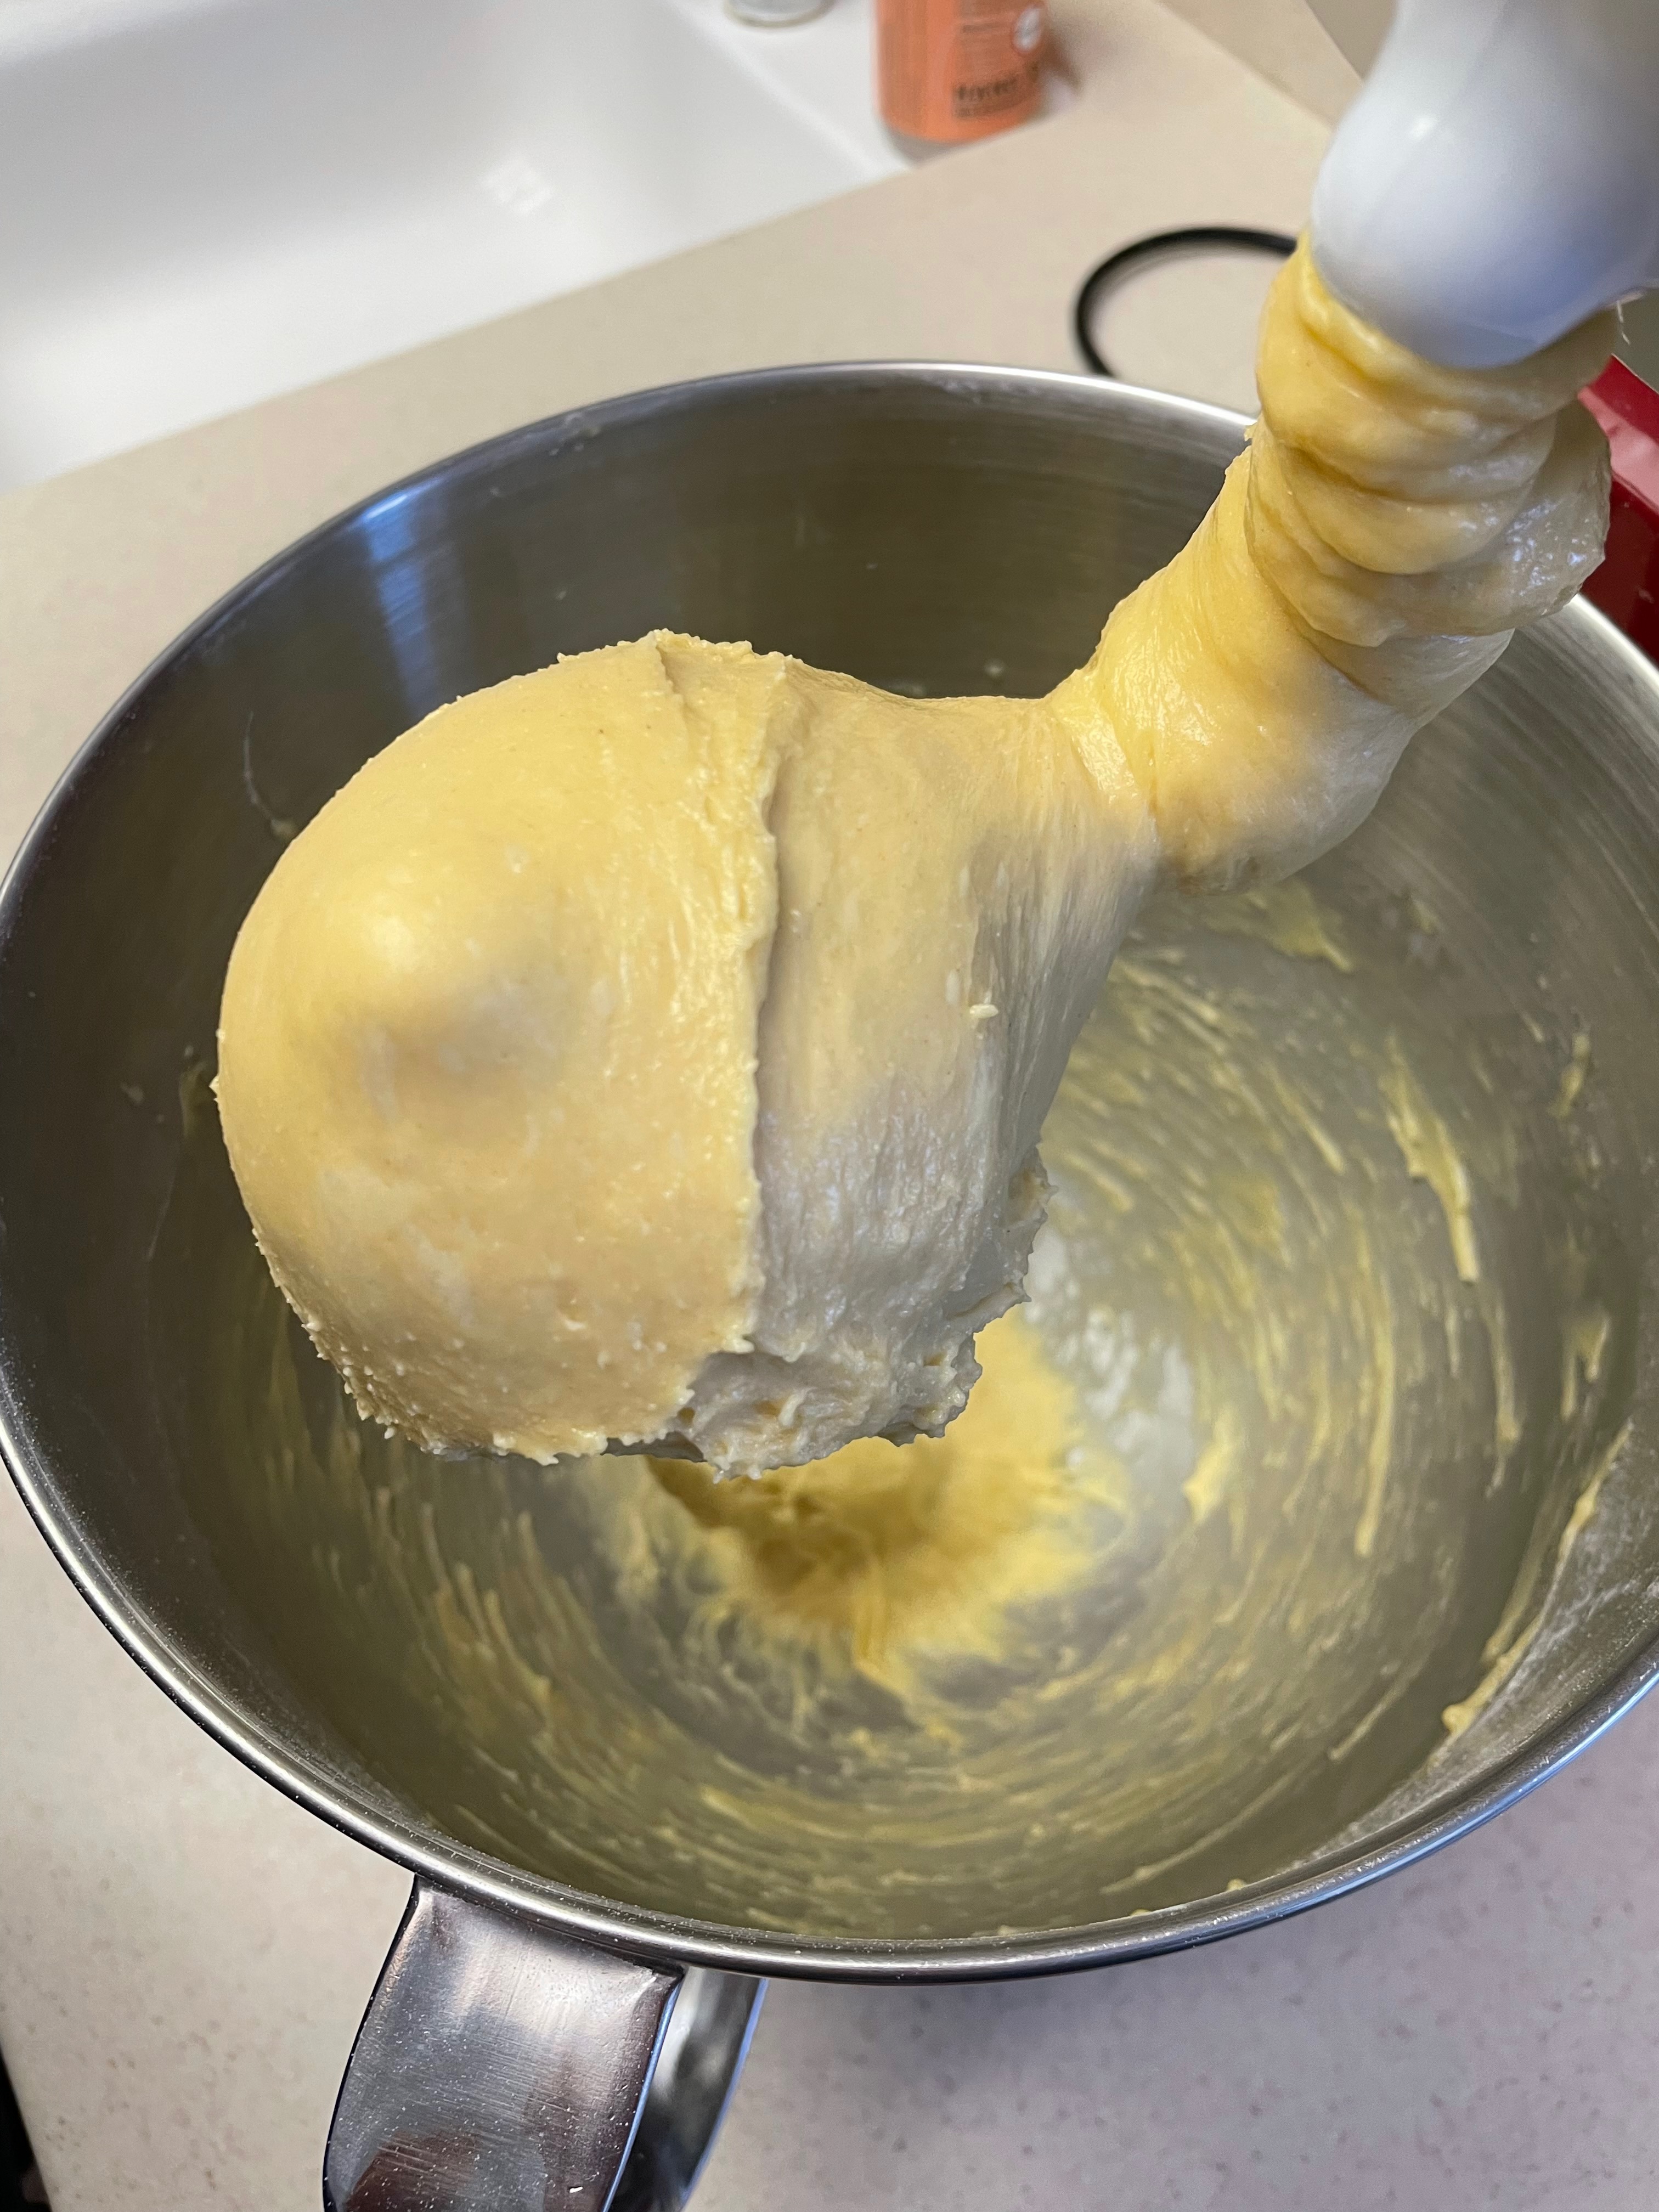

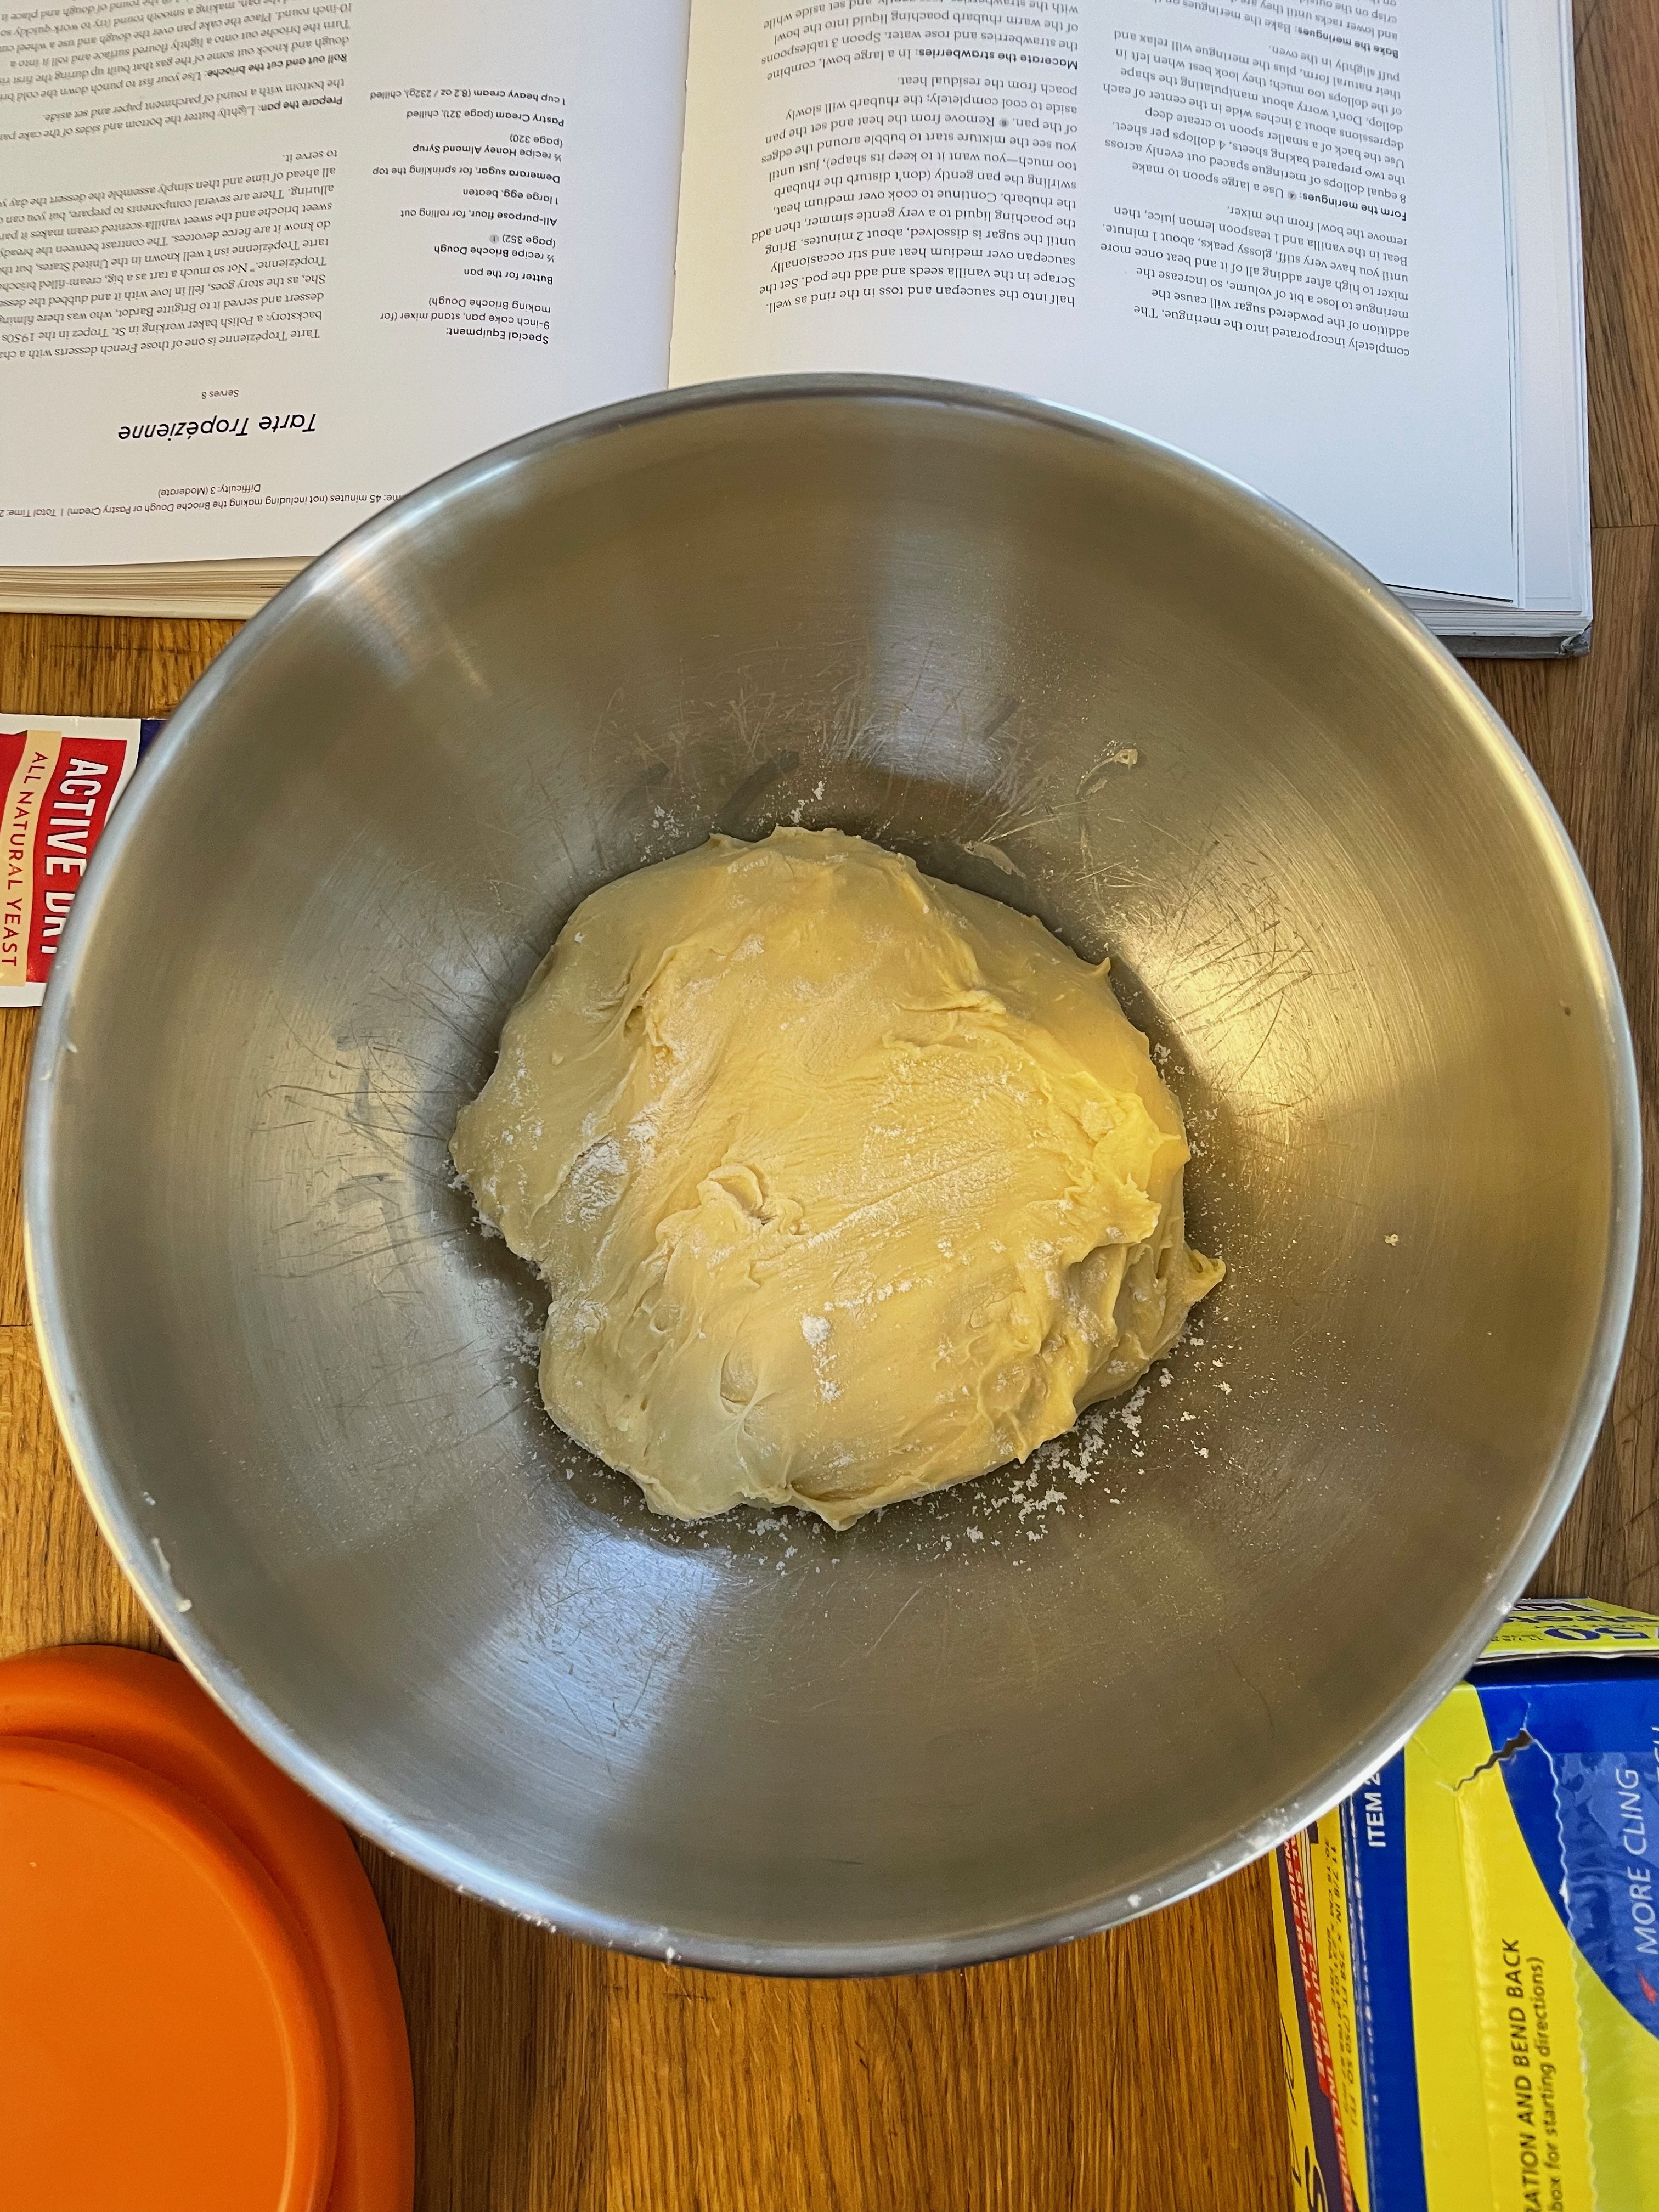

Tip 1: Making a half recipe is much easier if using a typical artisan stand mixer. The professional version is better for a full recipe.
Tip 2: See here for more tips.
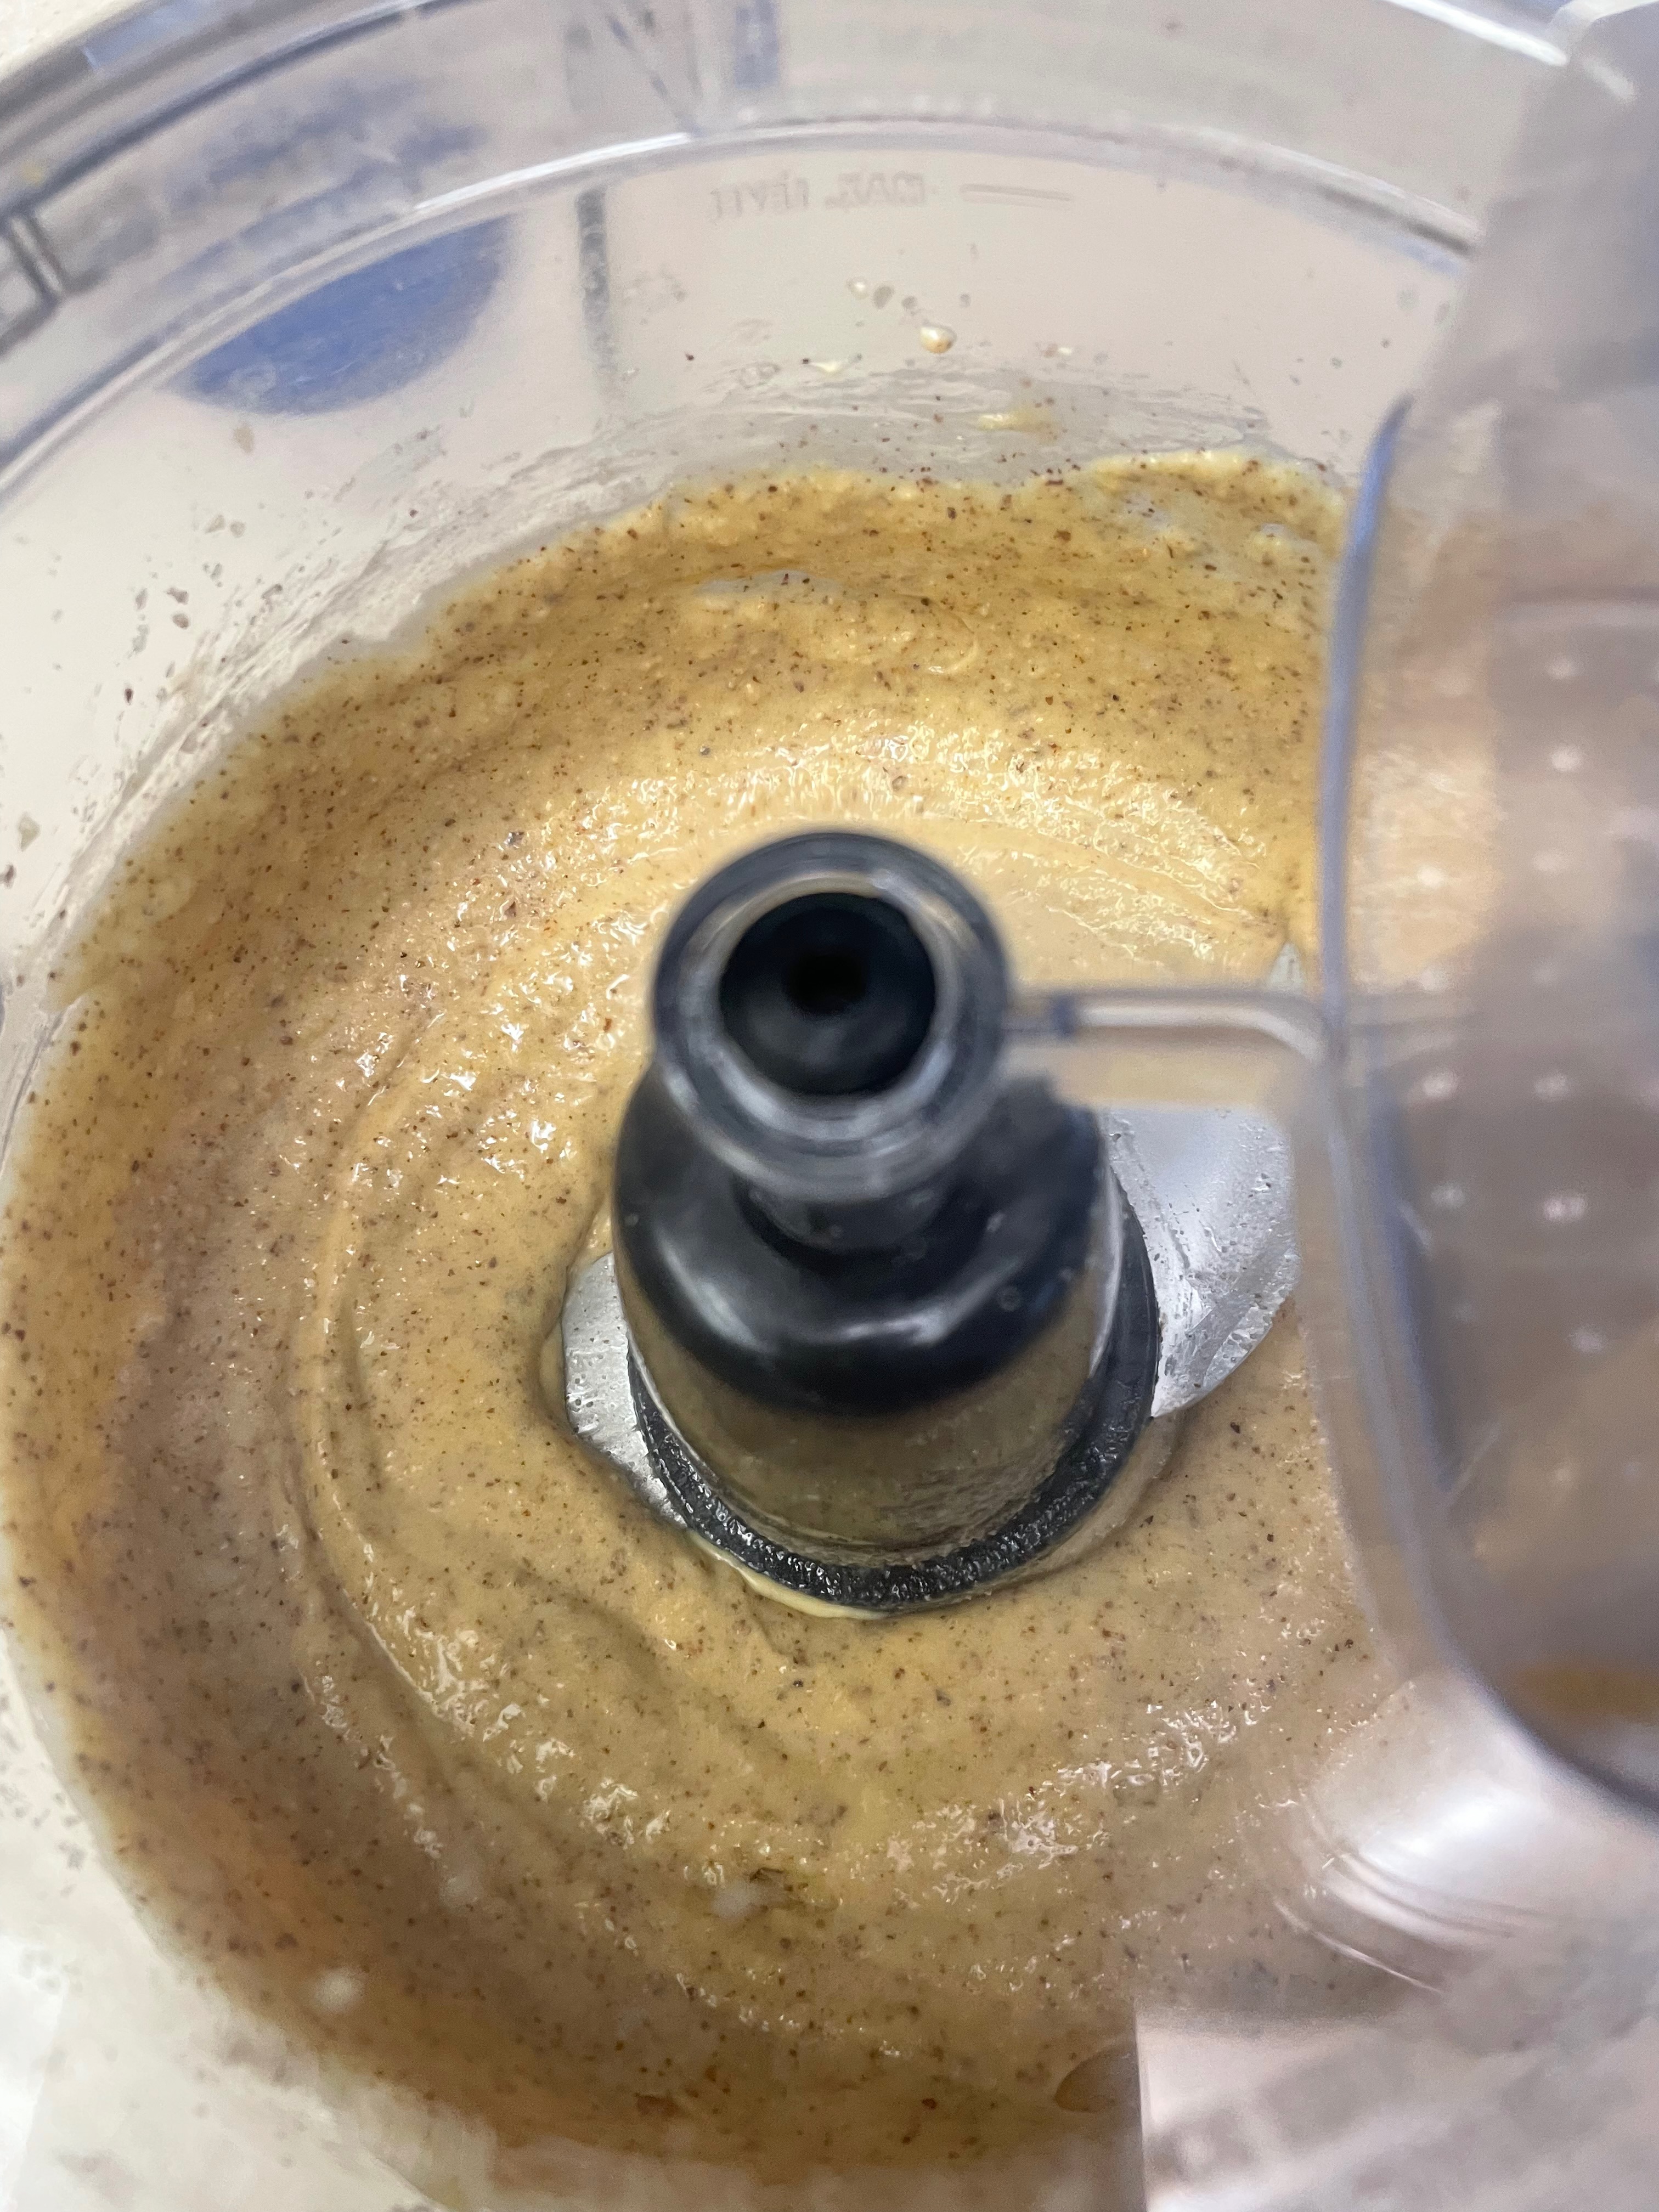
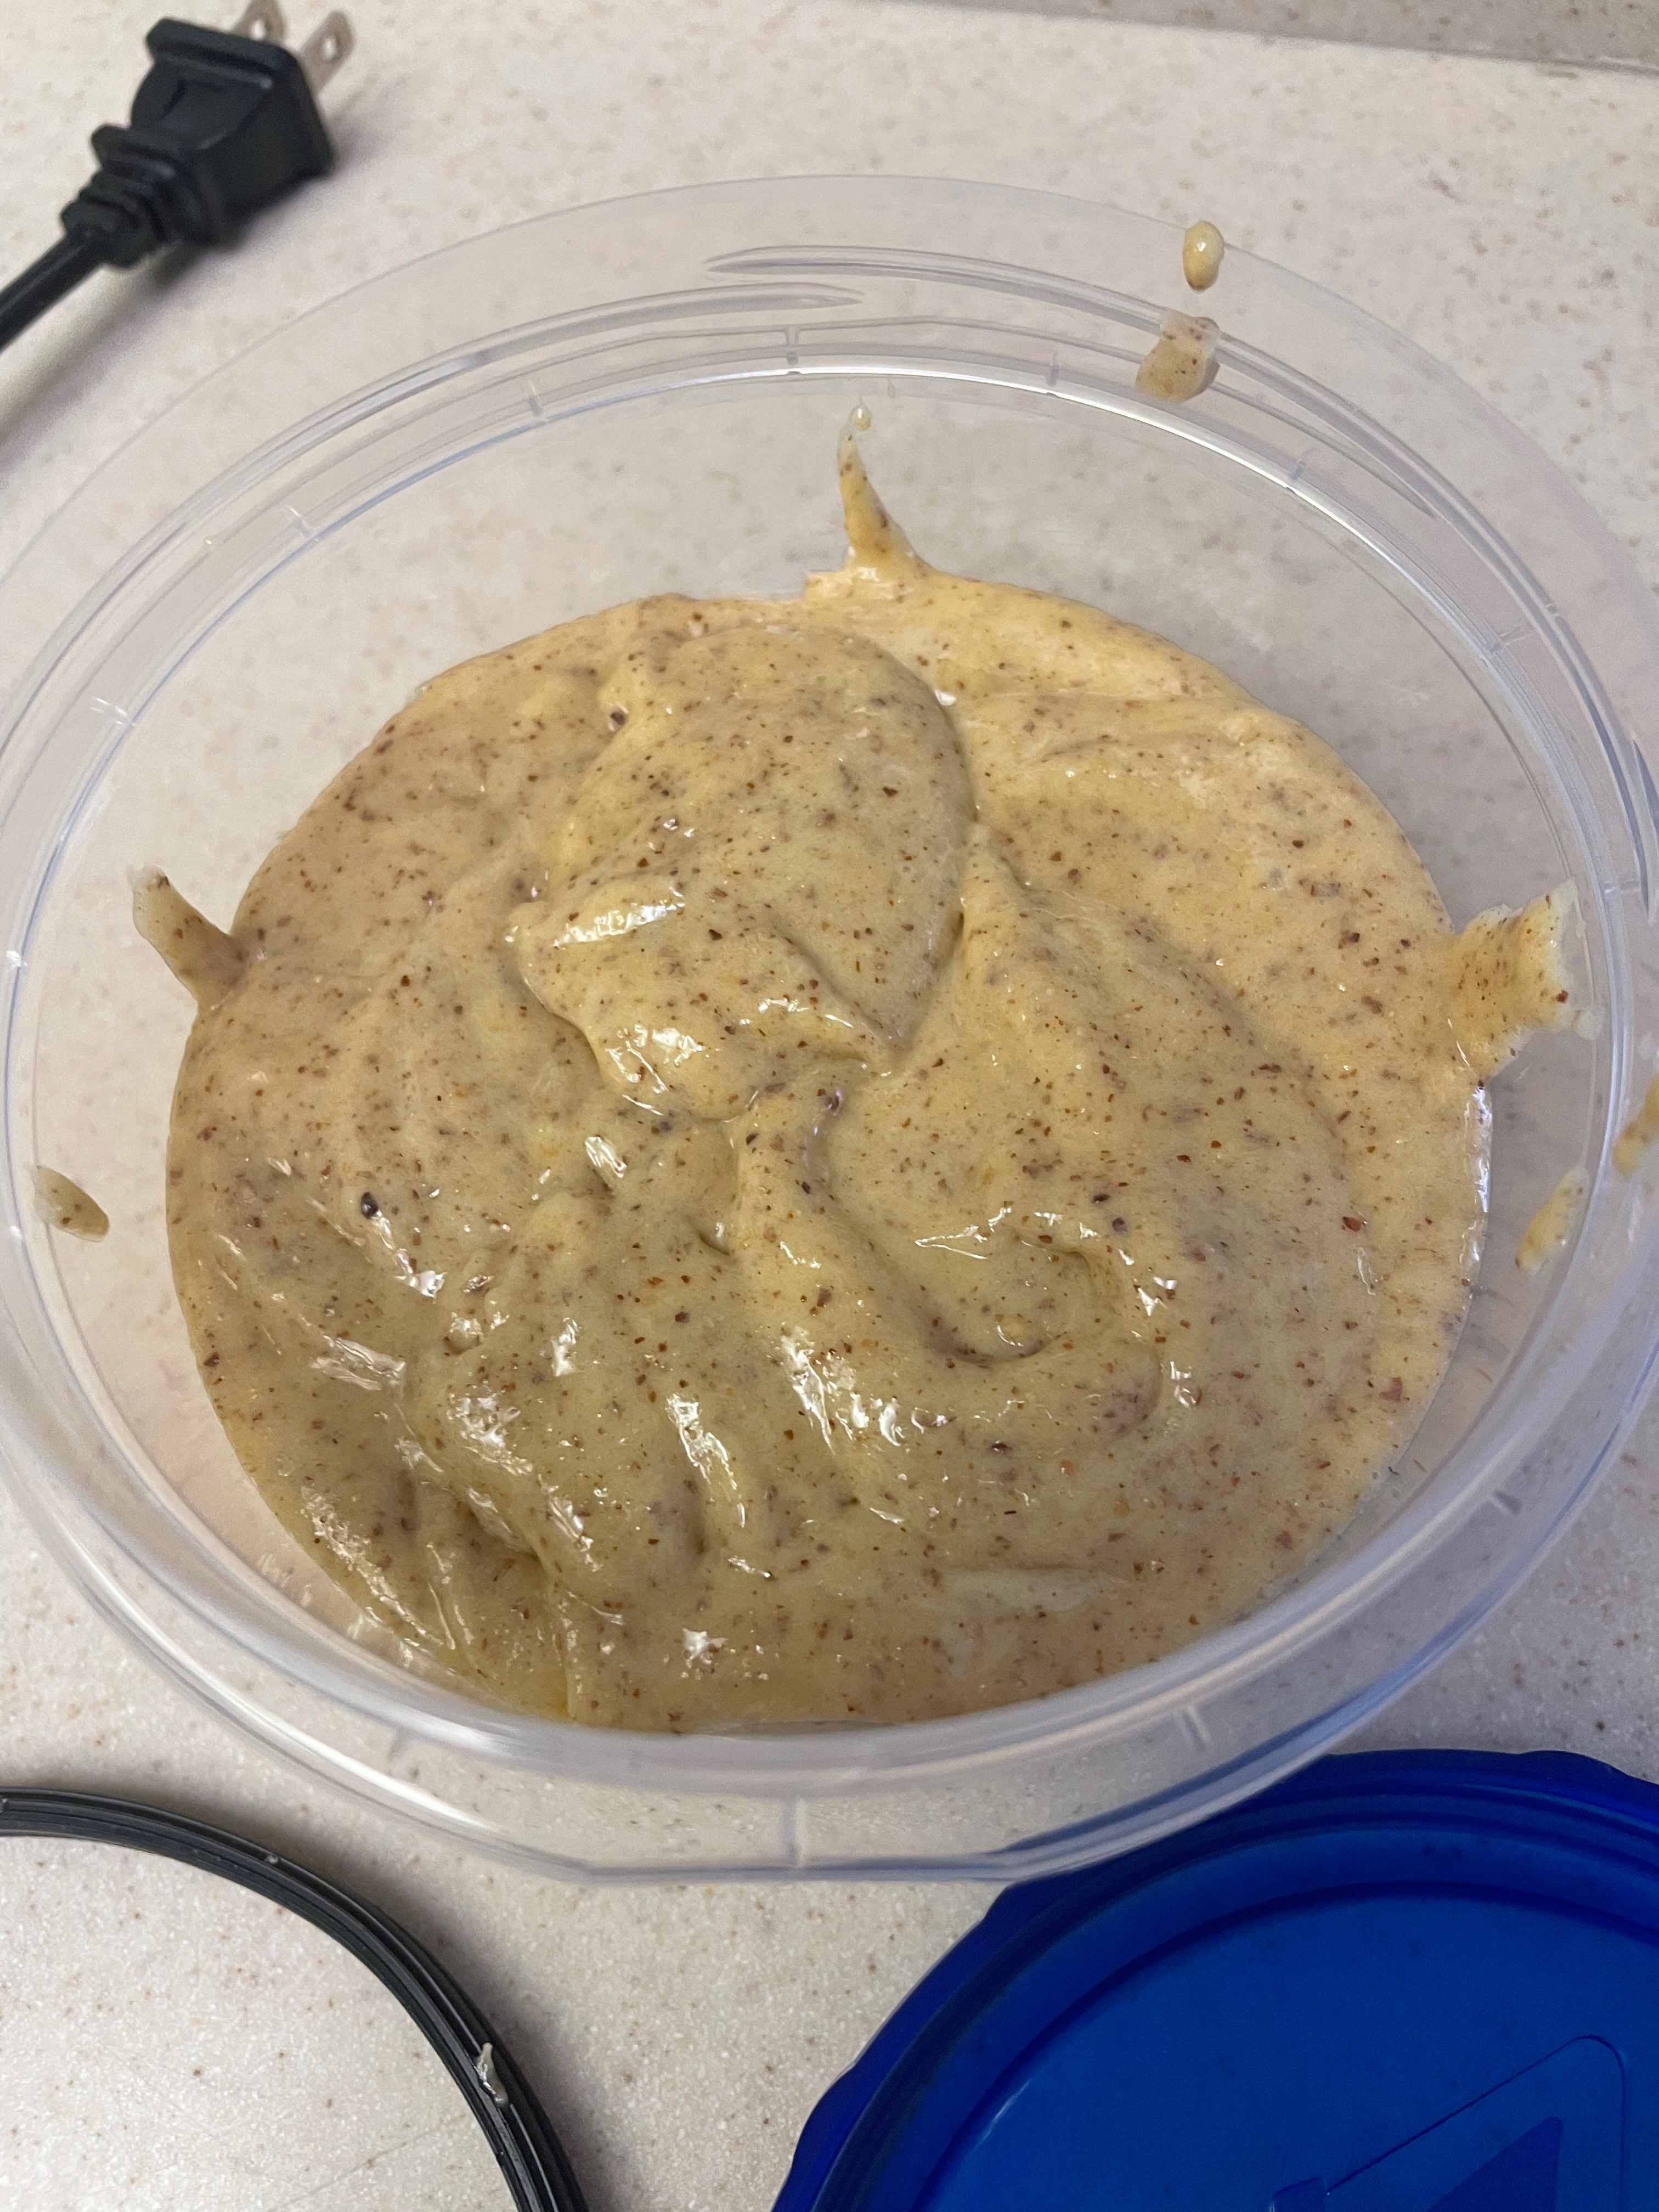
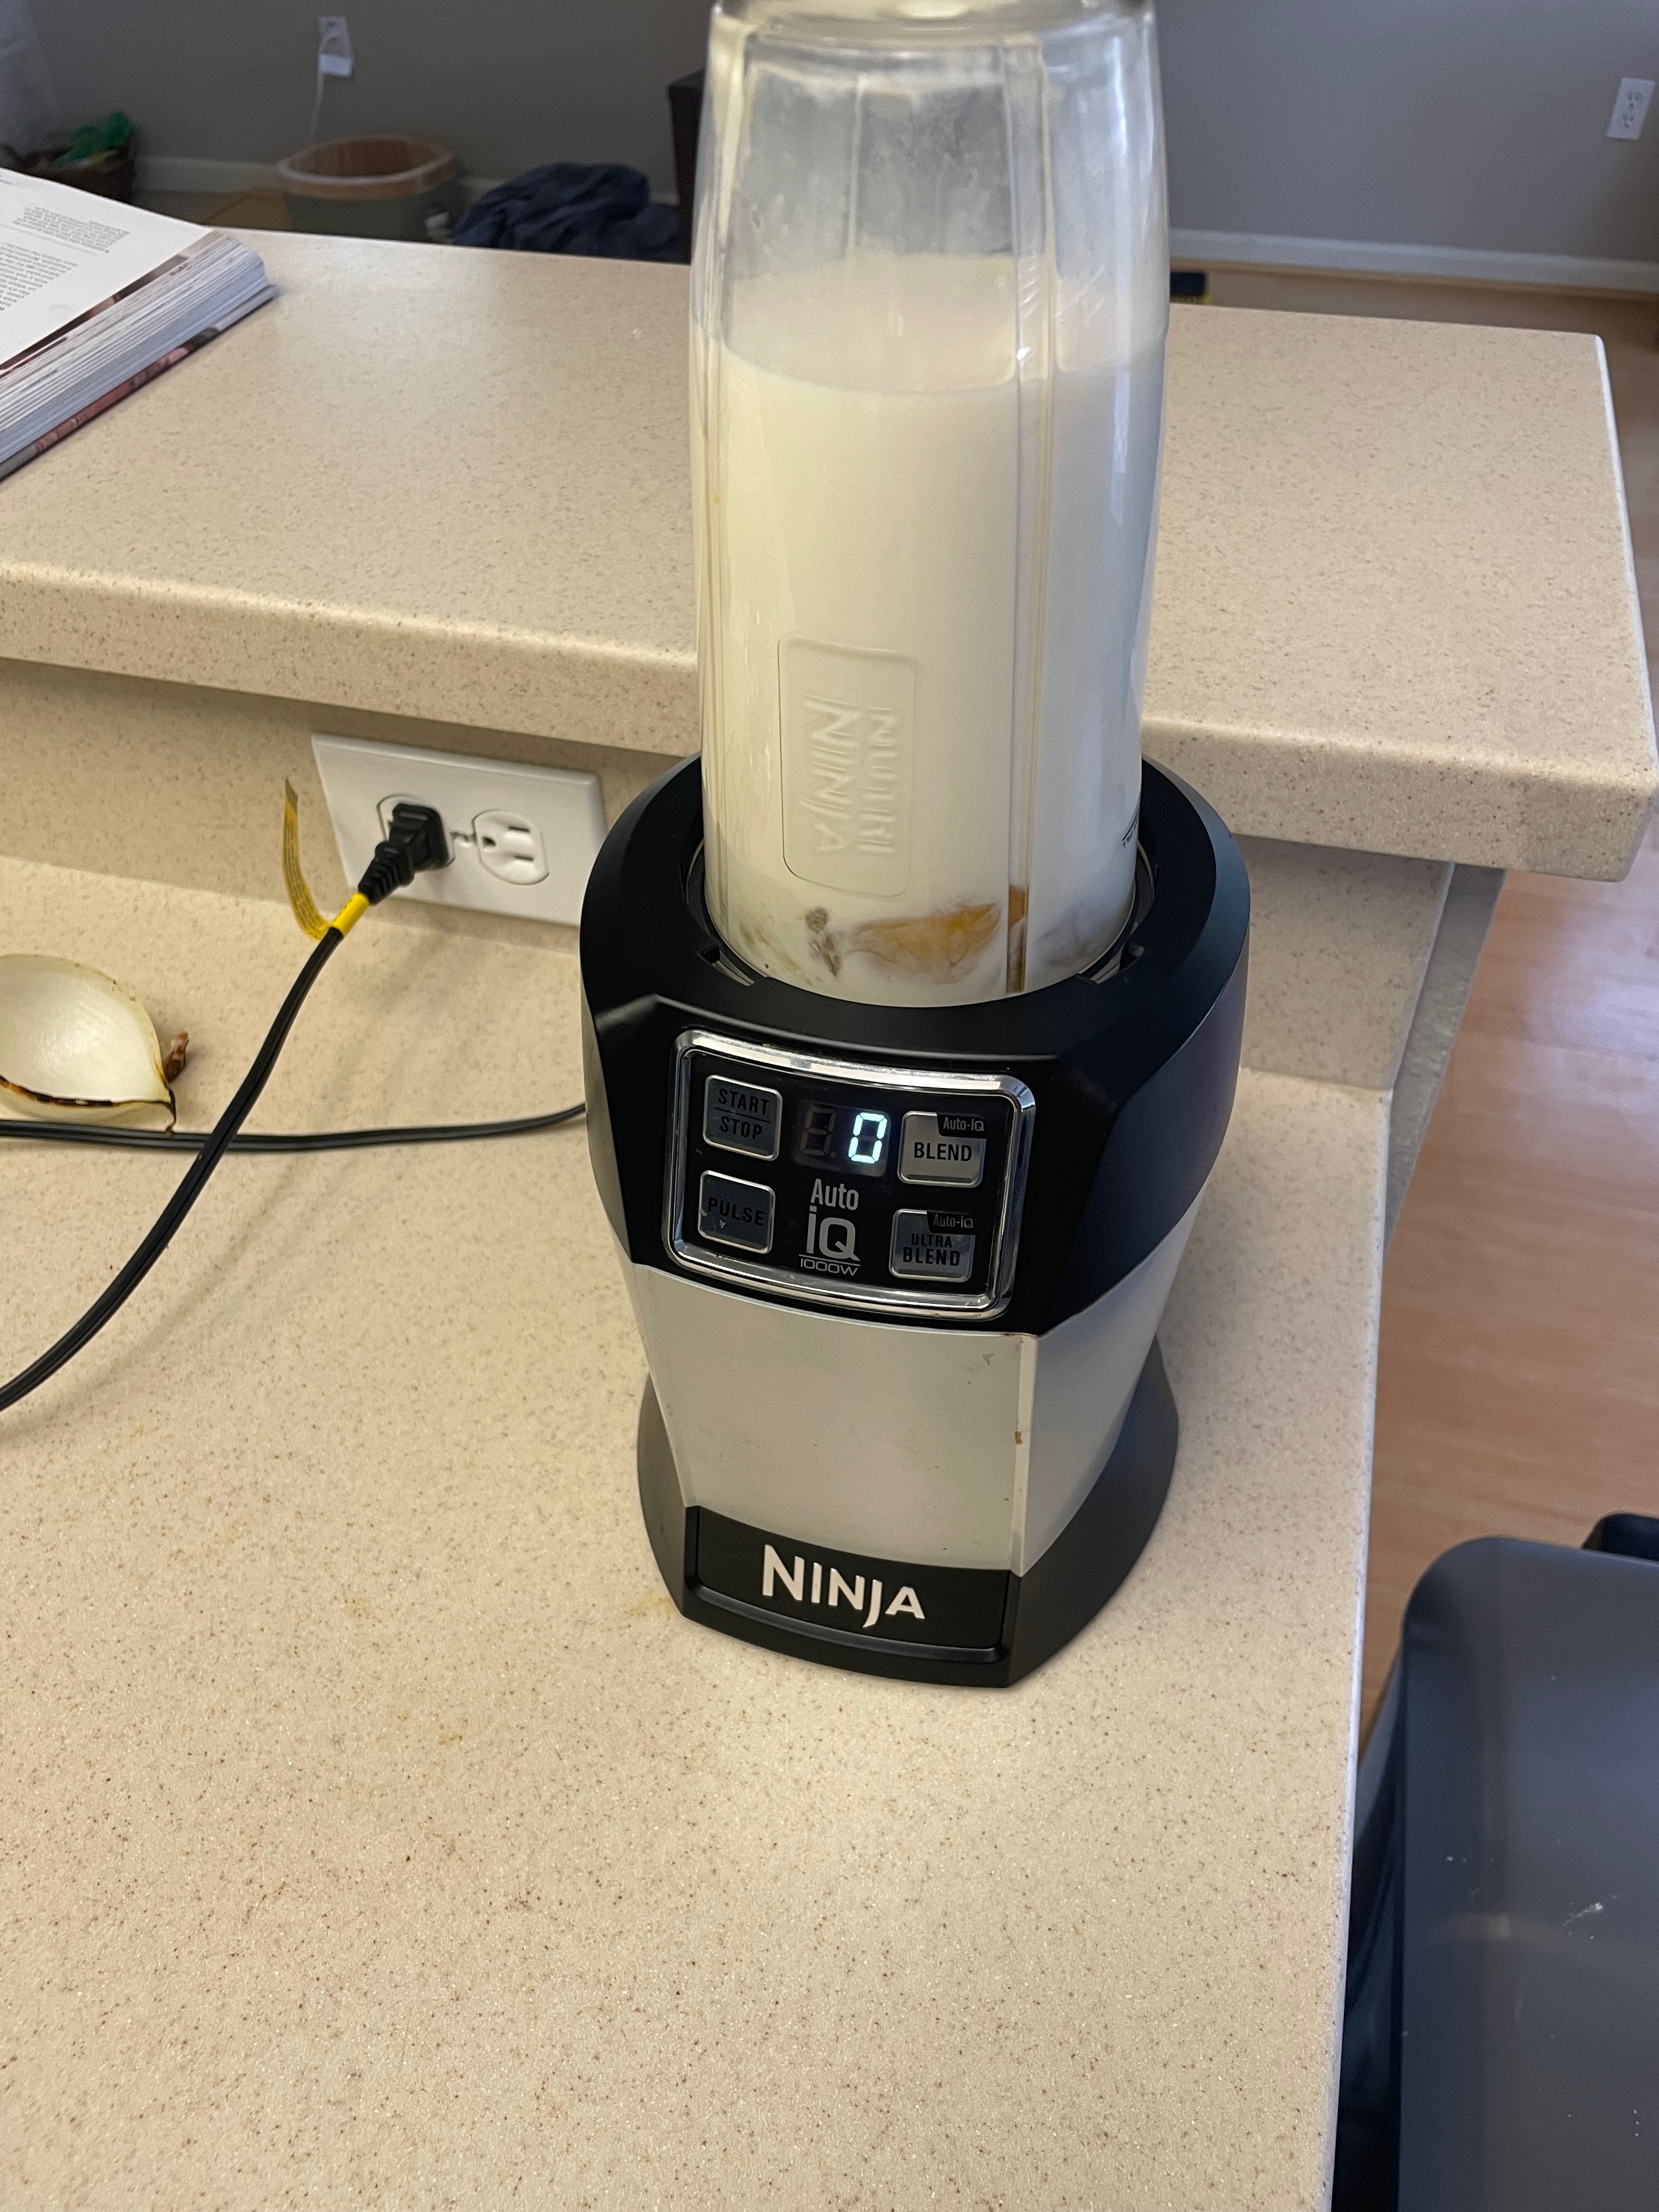
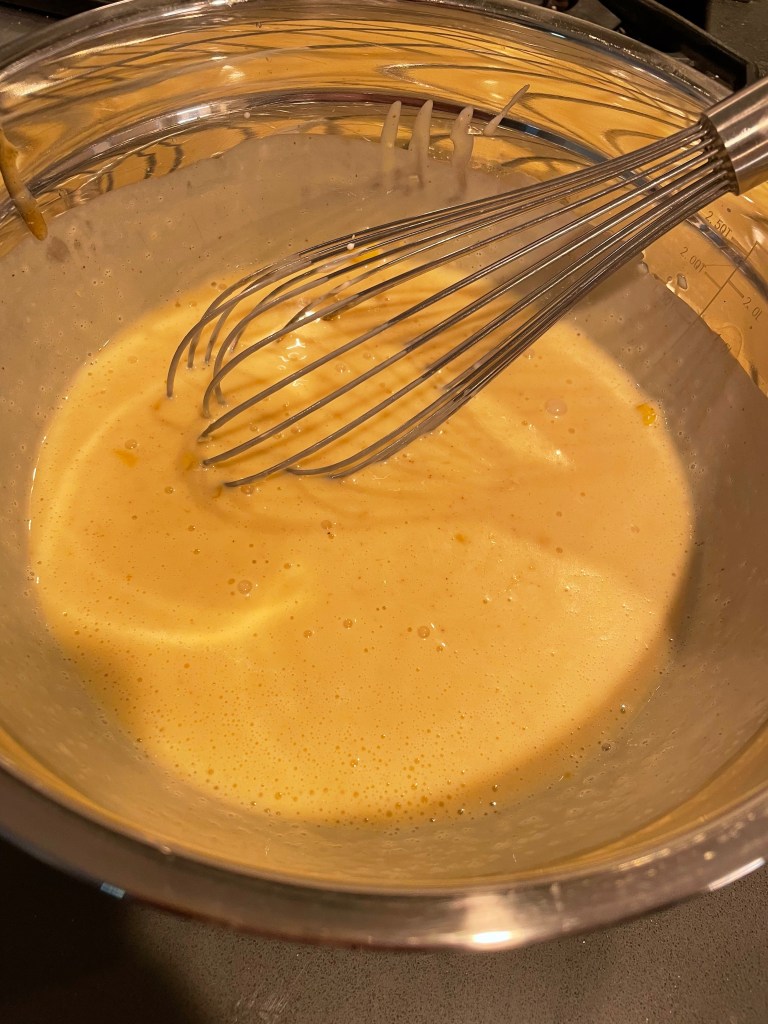
Making The Pastry Cream


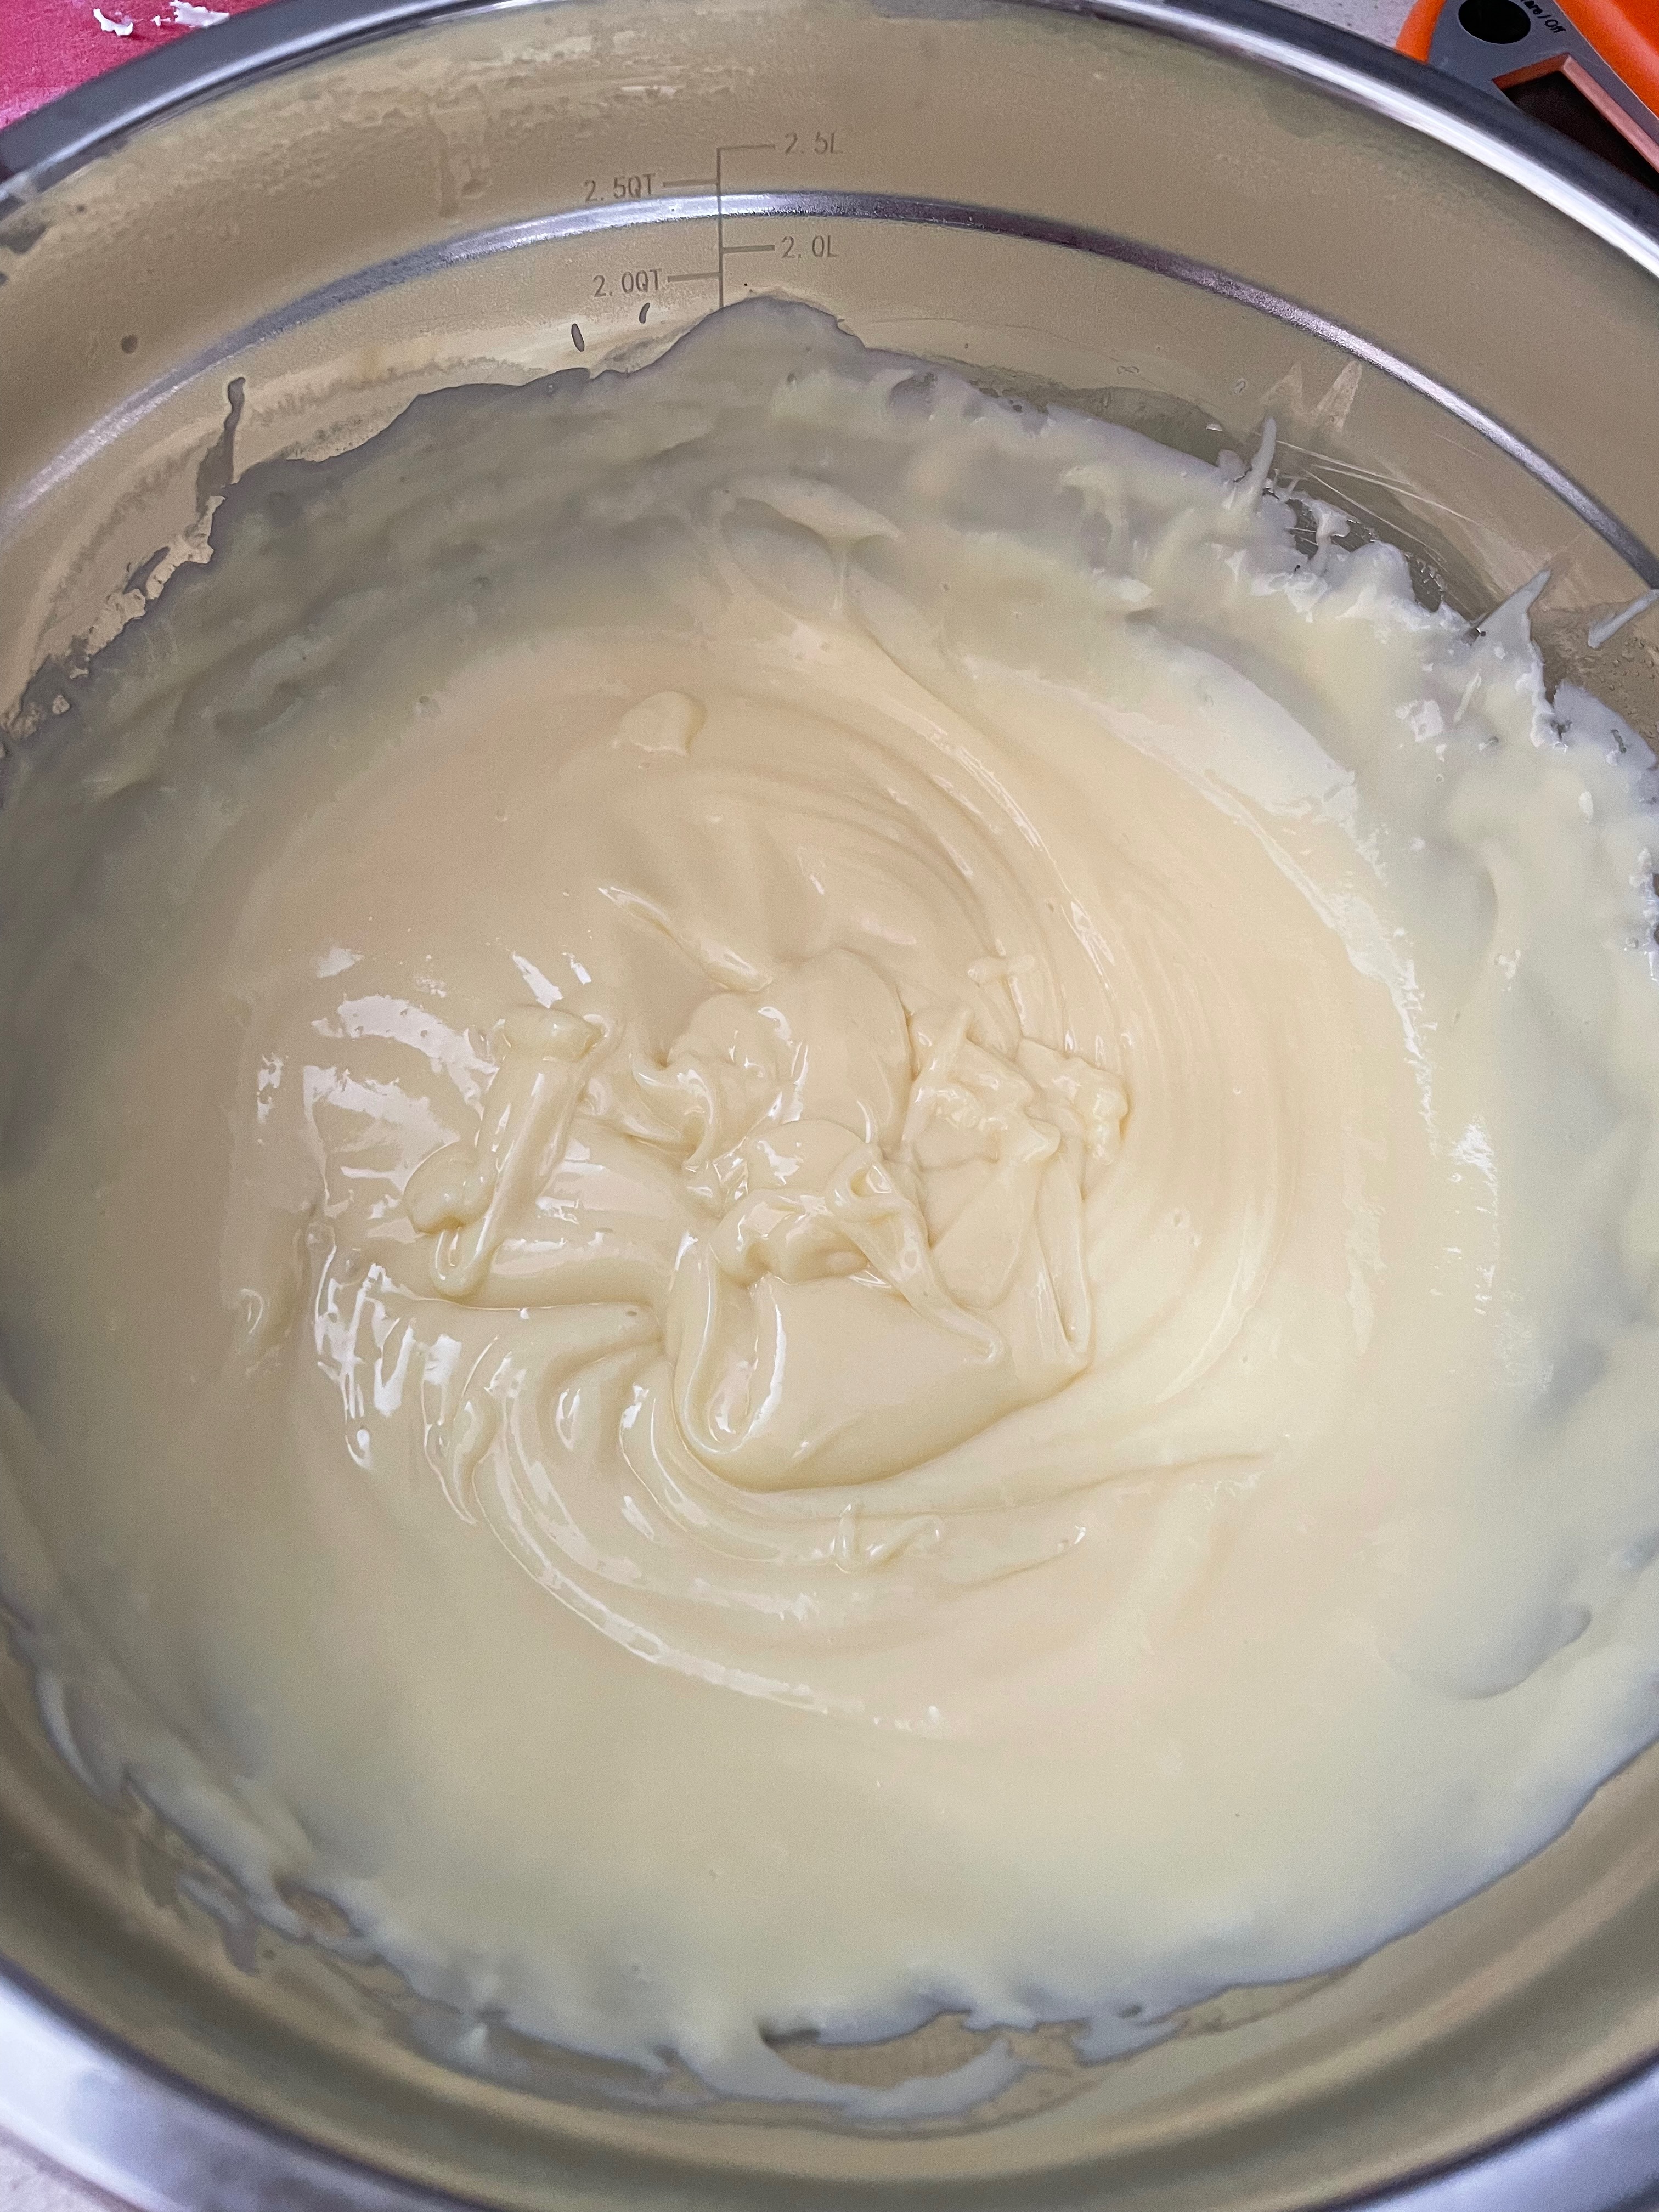

Tip: Make sure to have everything planned out in advance! Memorize the steps ahead of time.
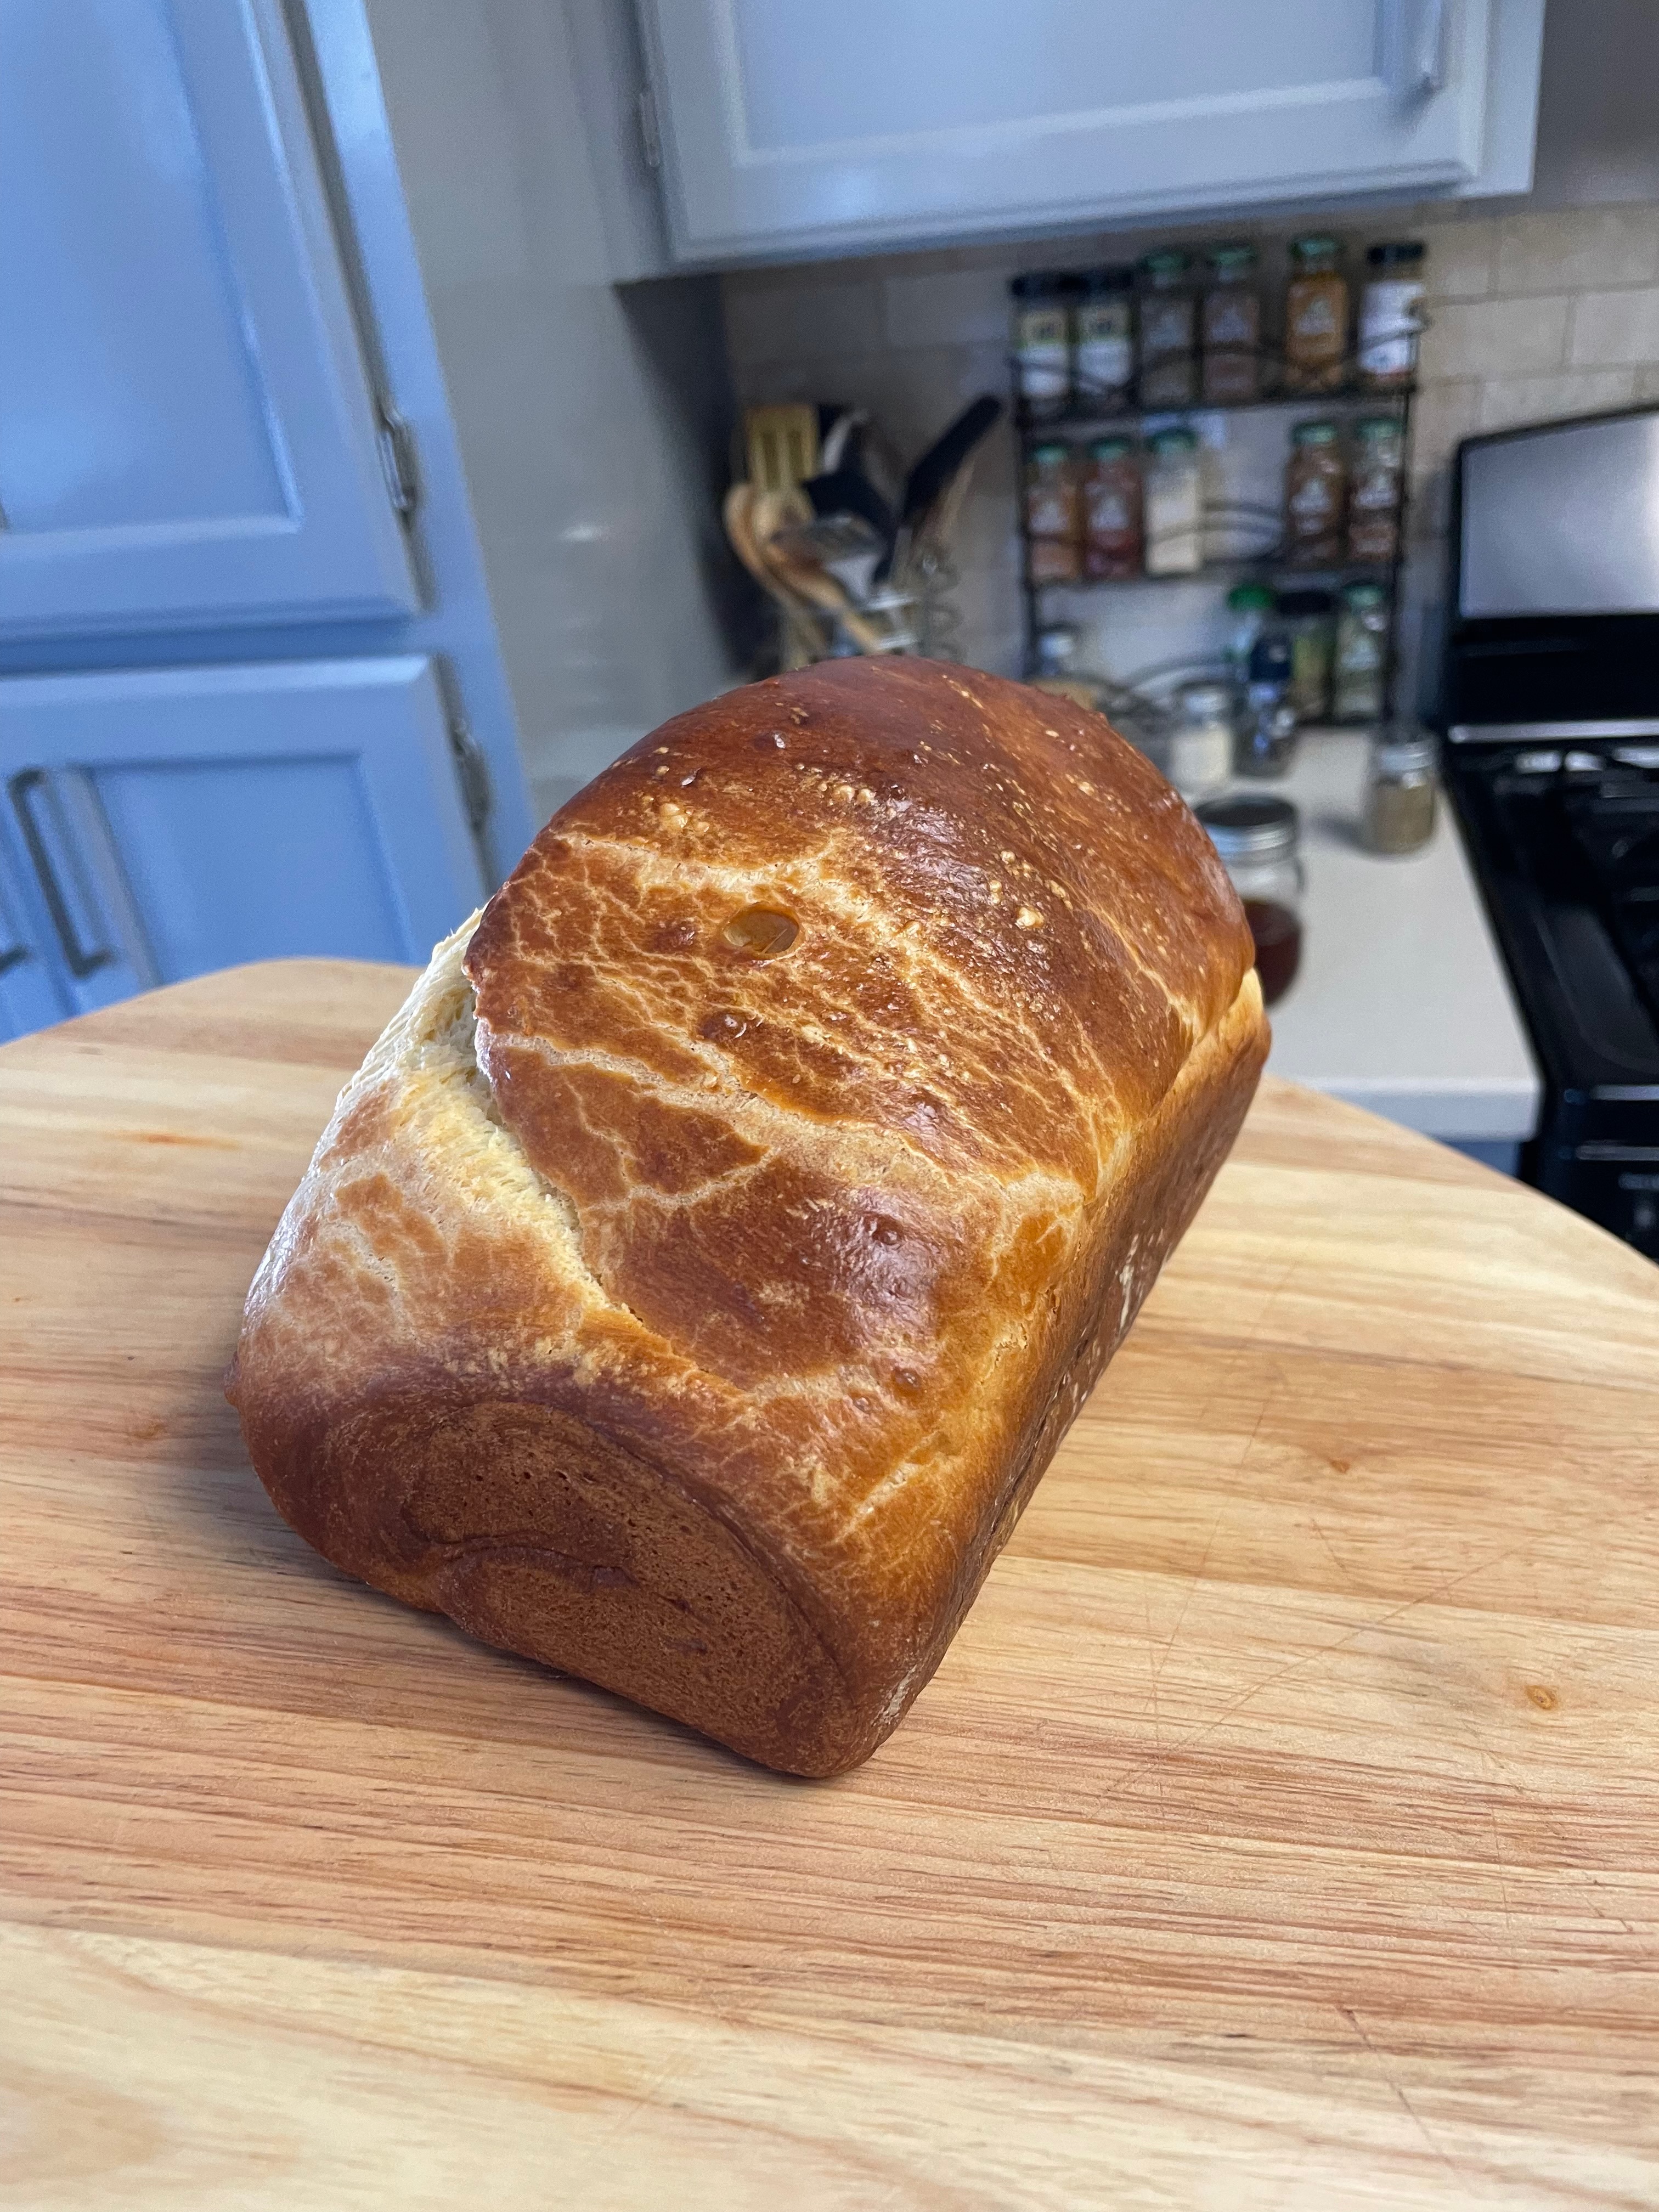
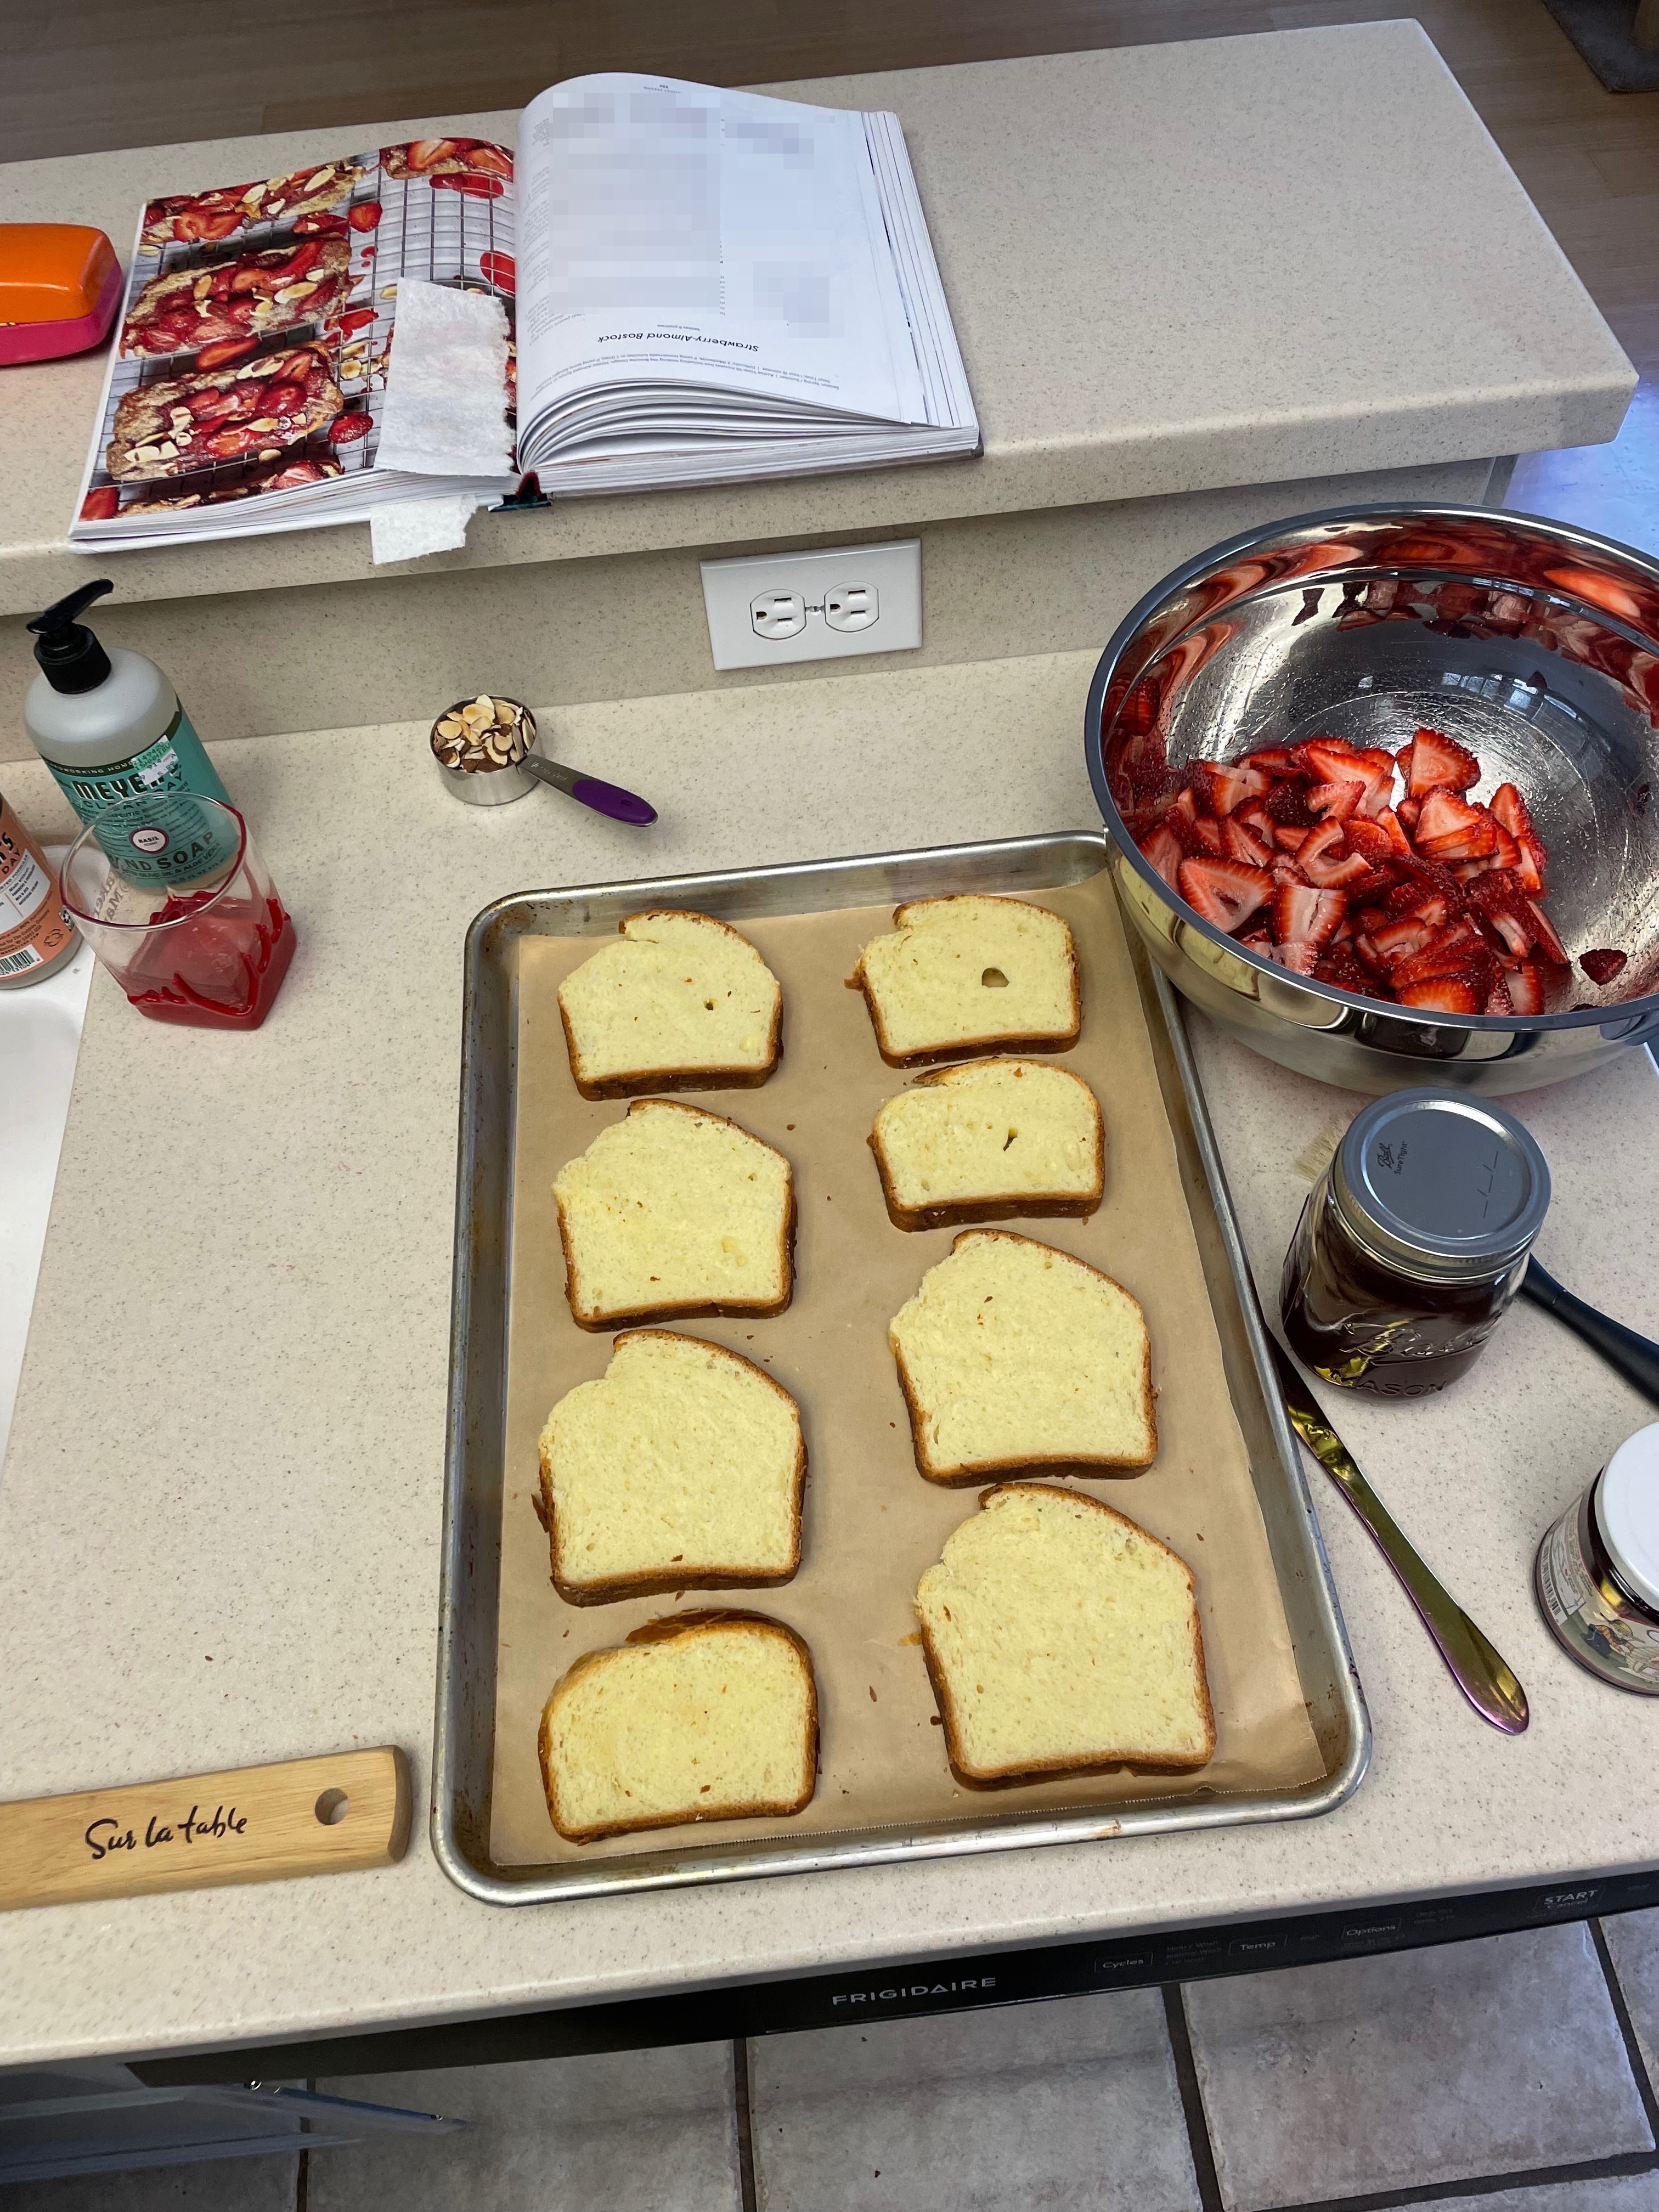
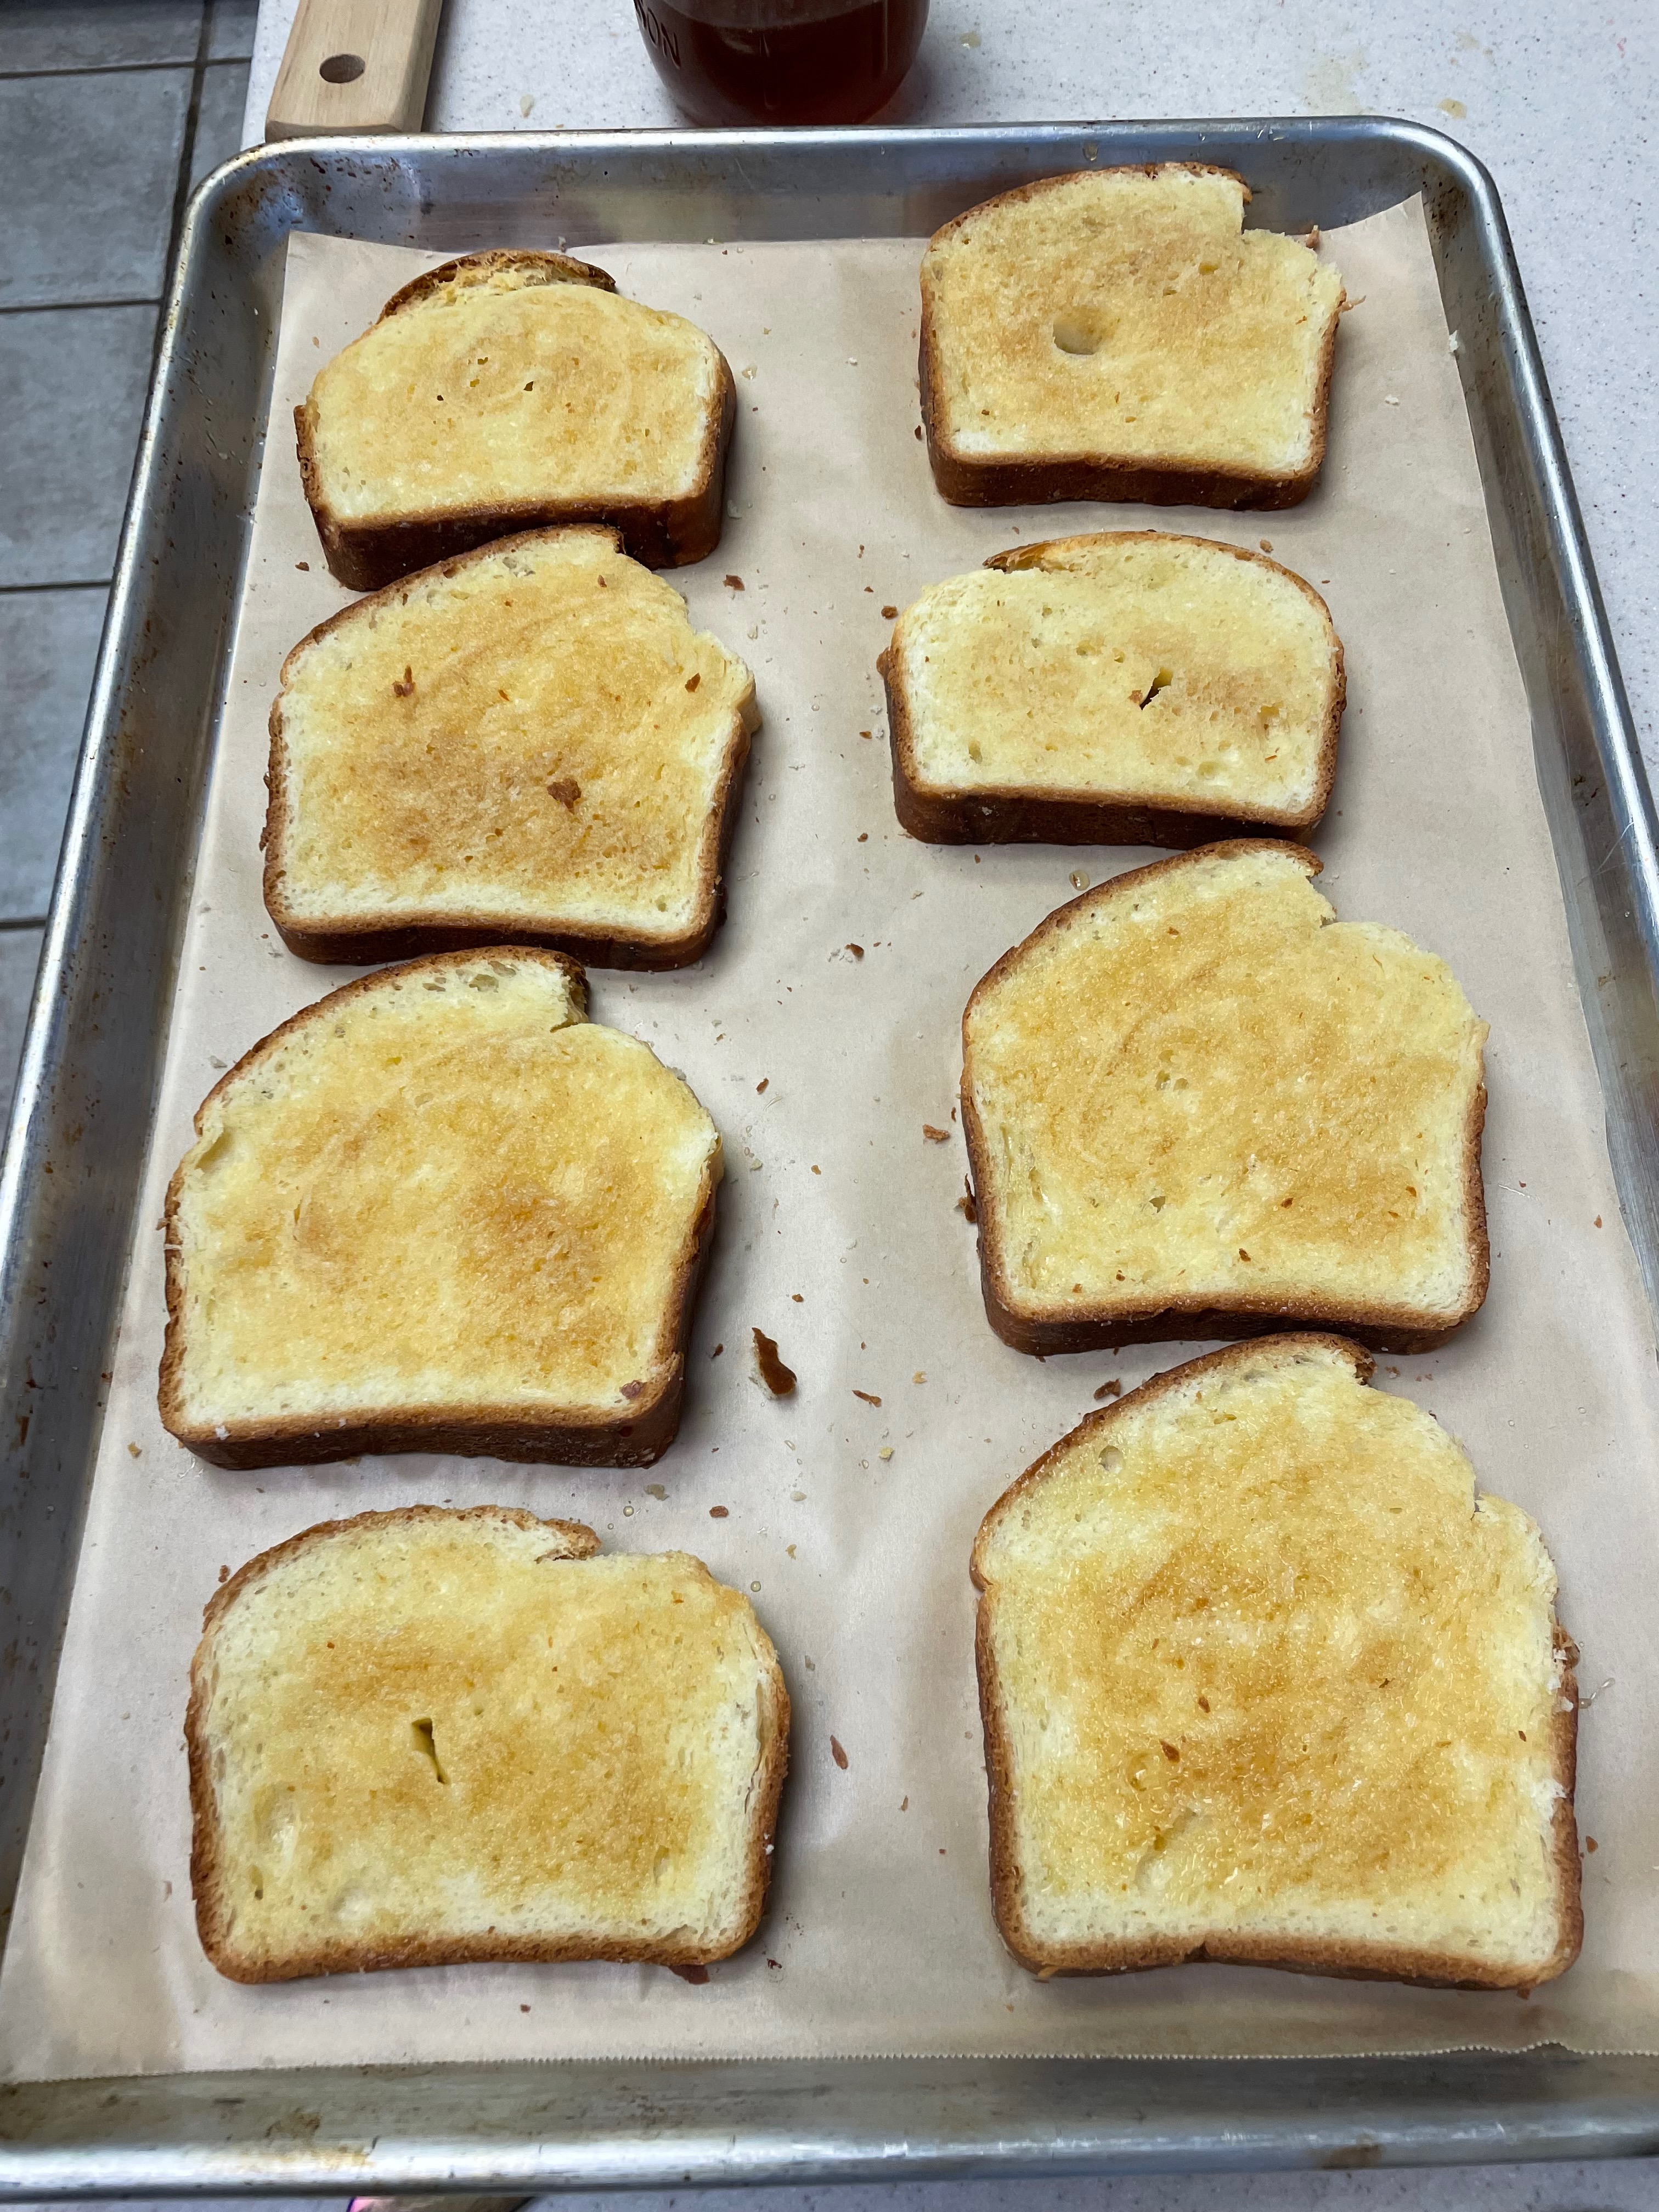
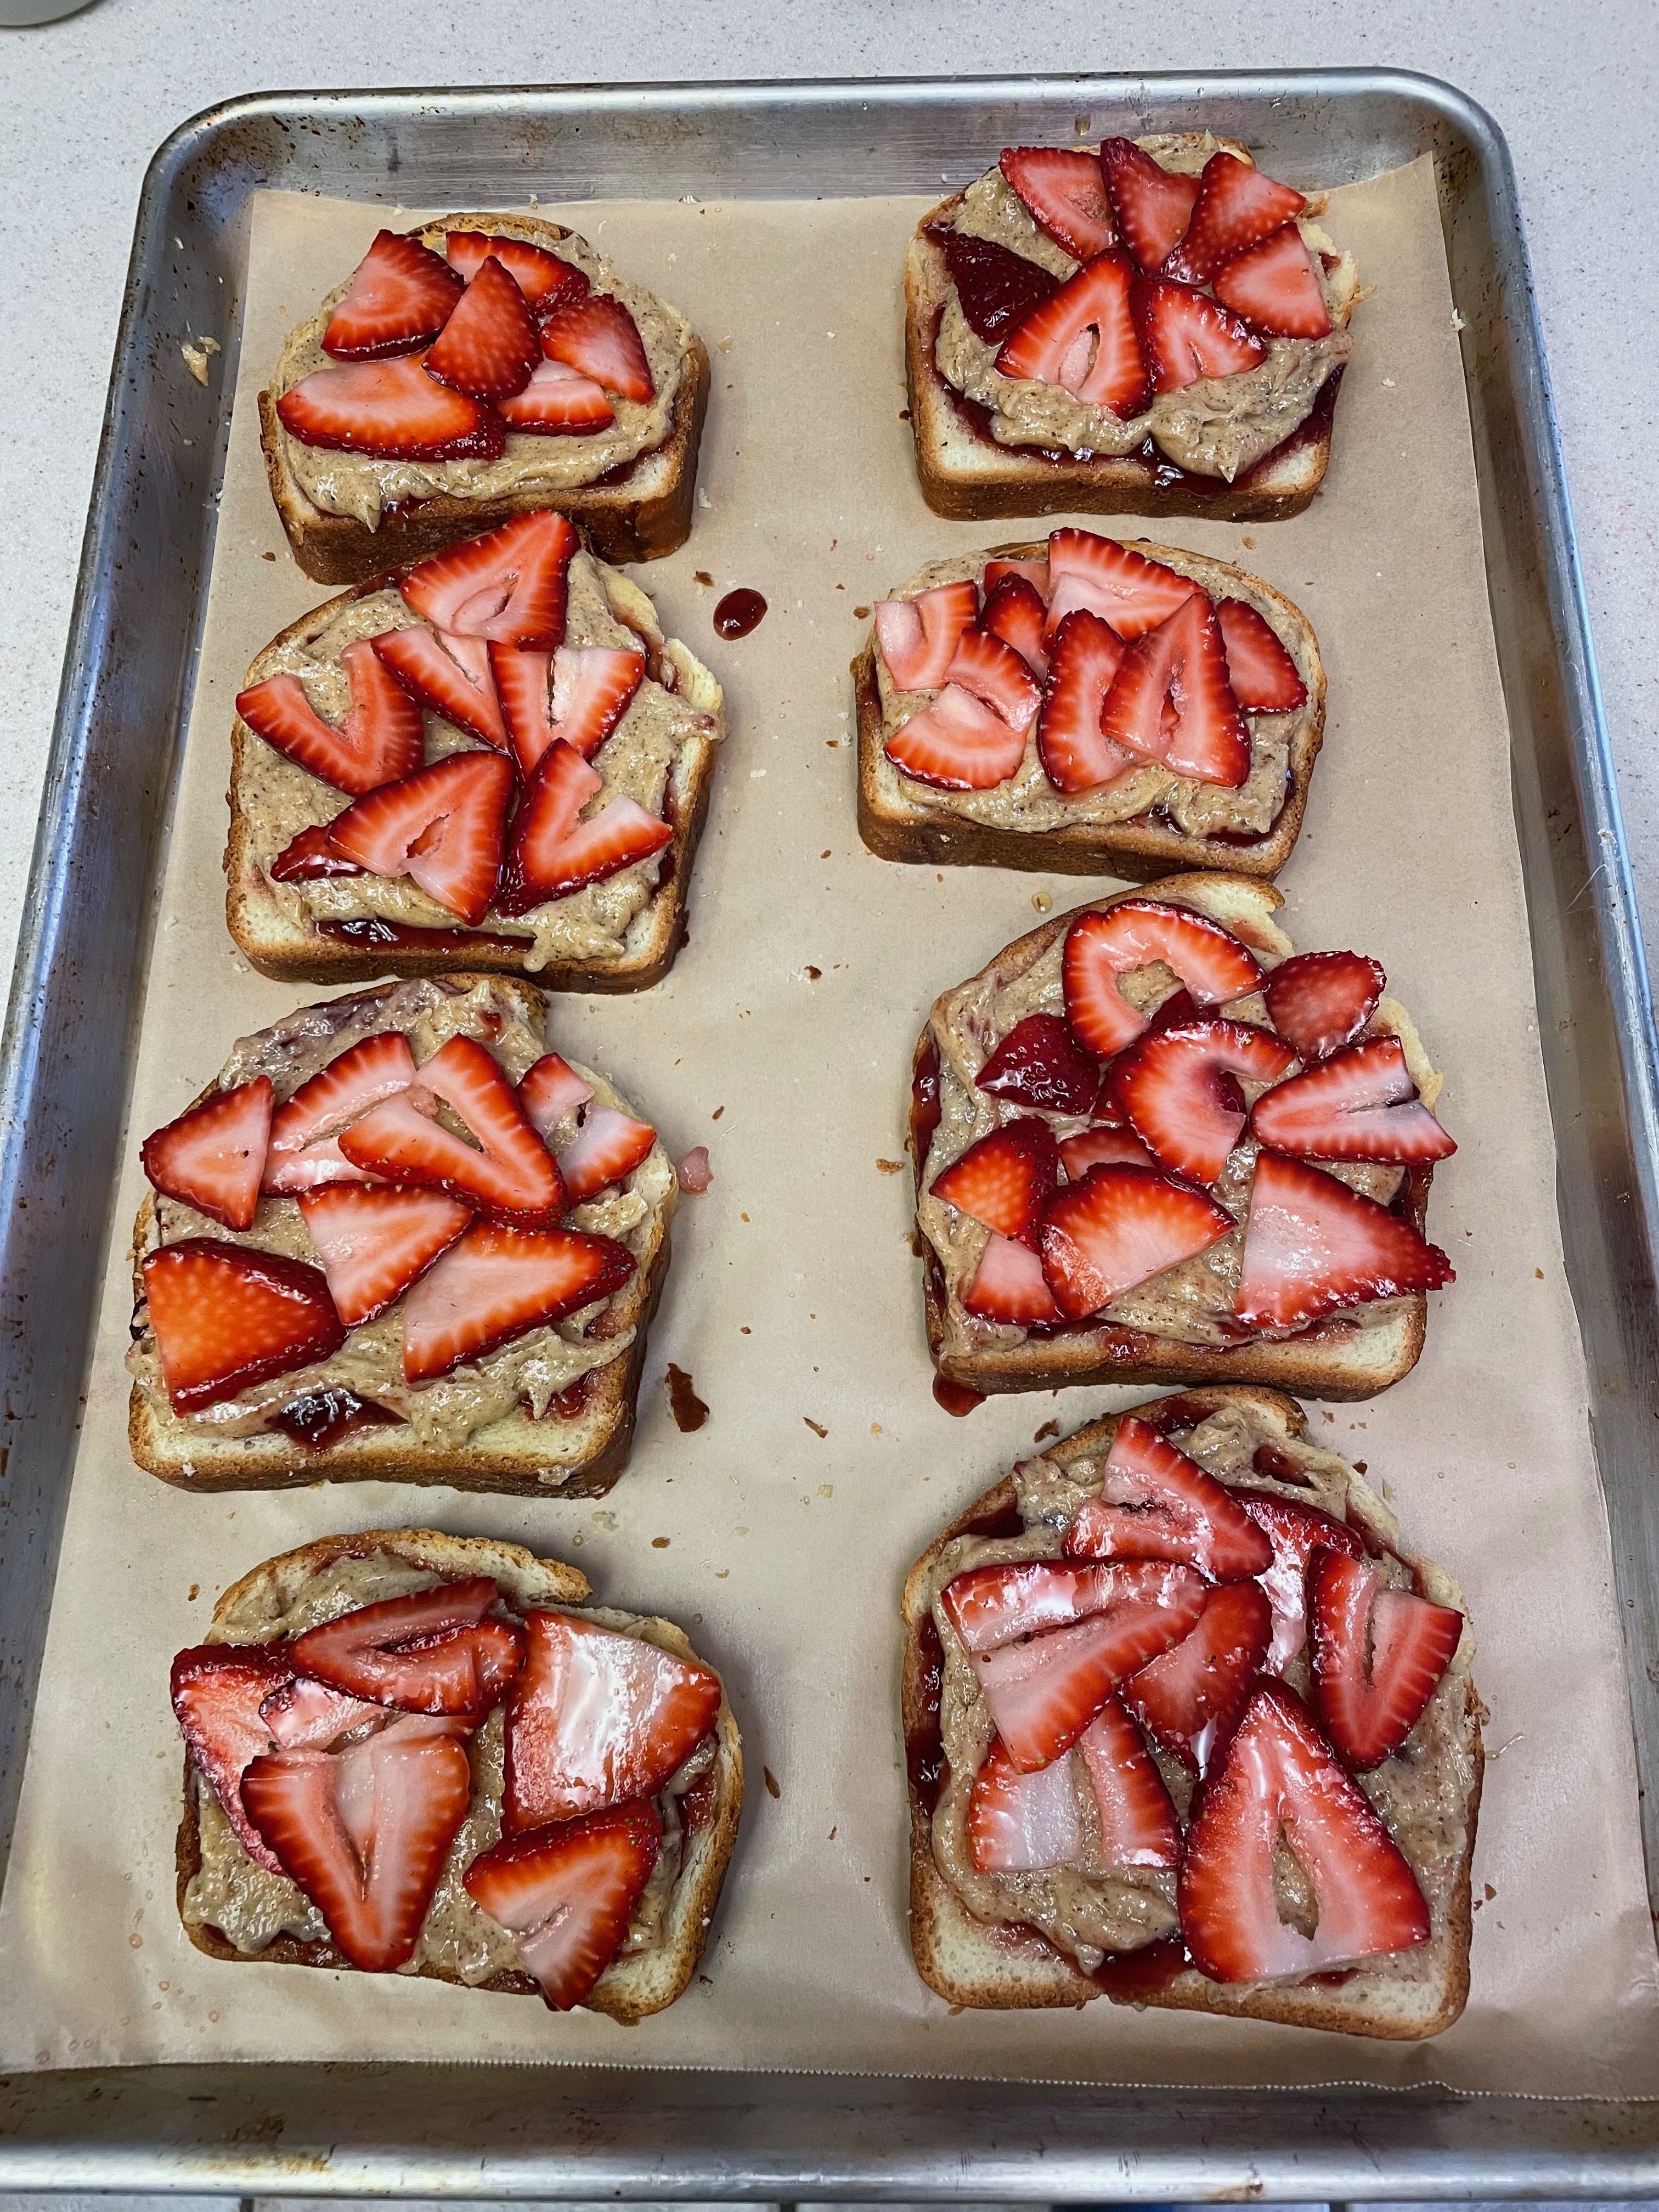
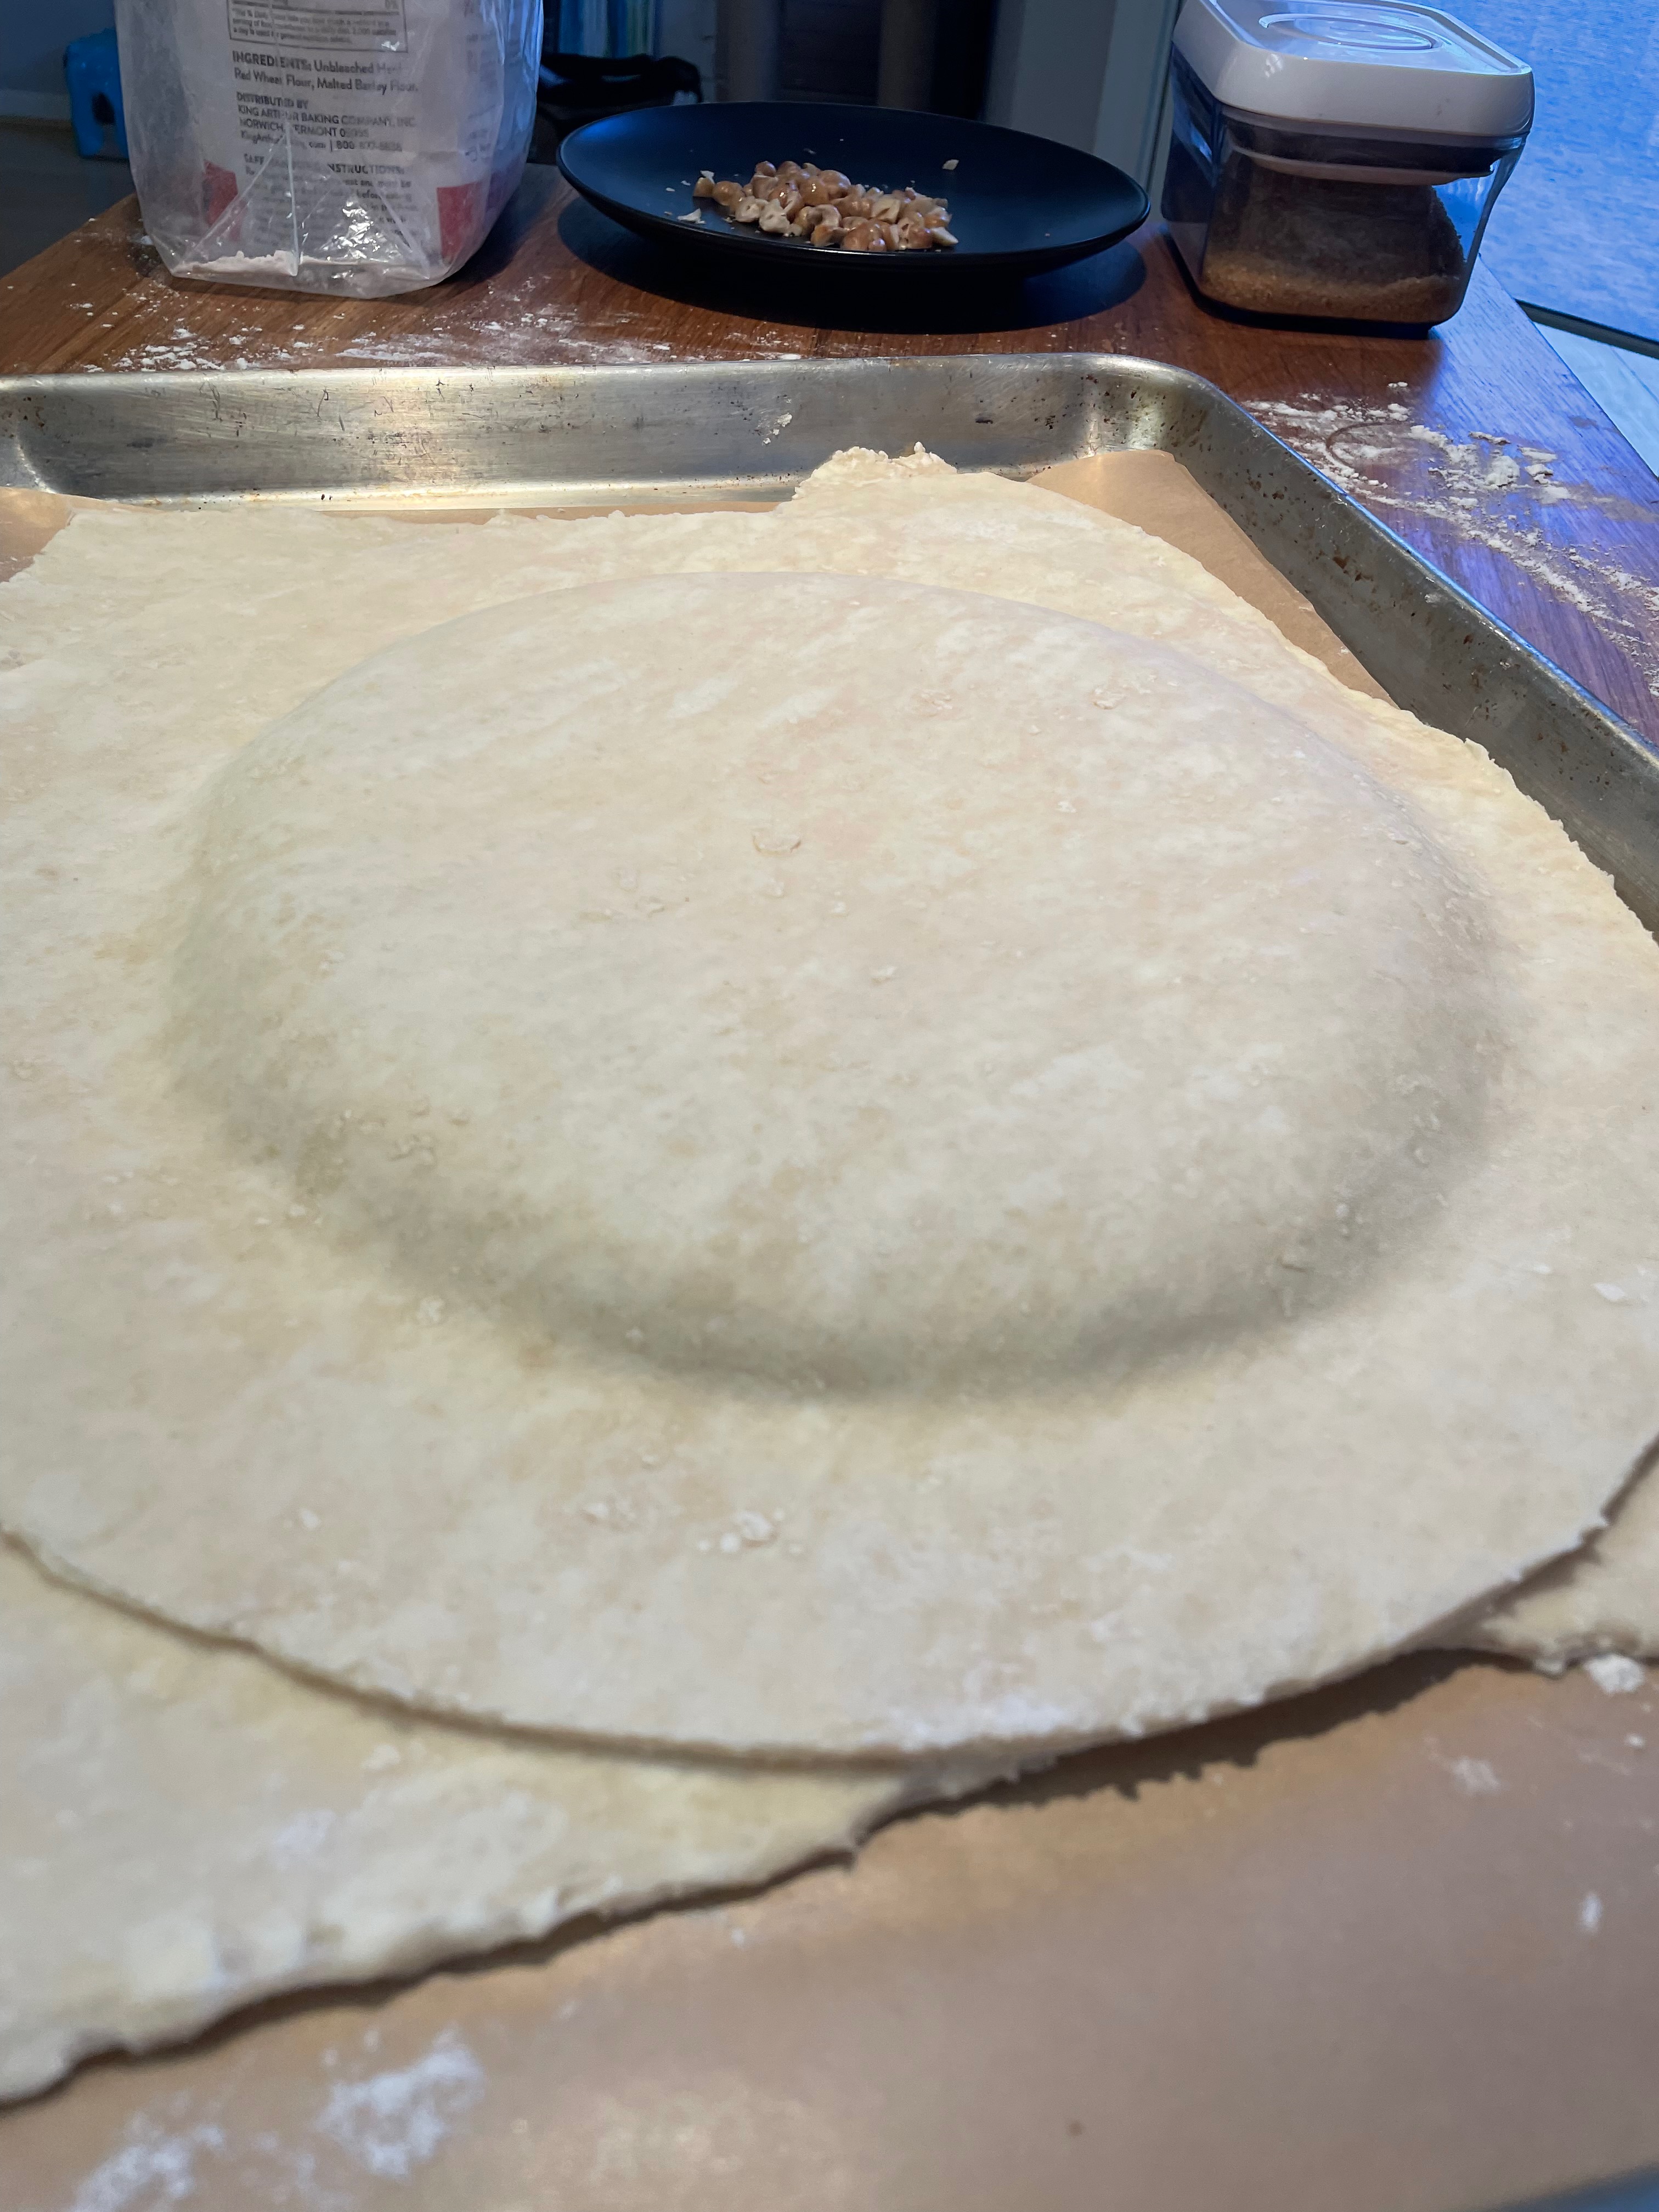
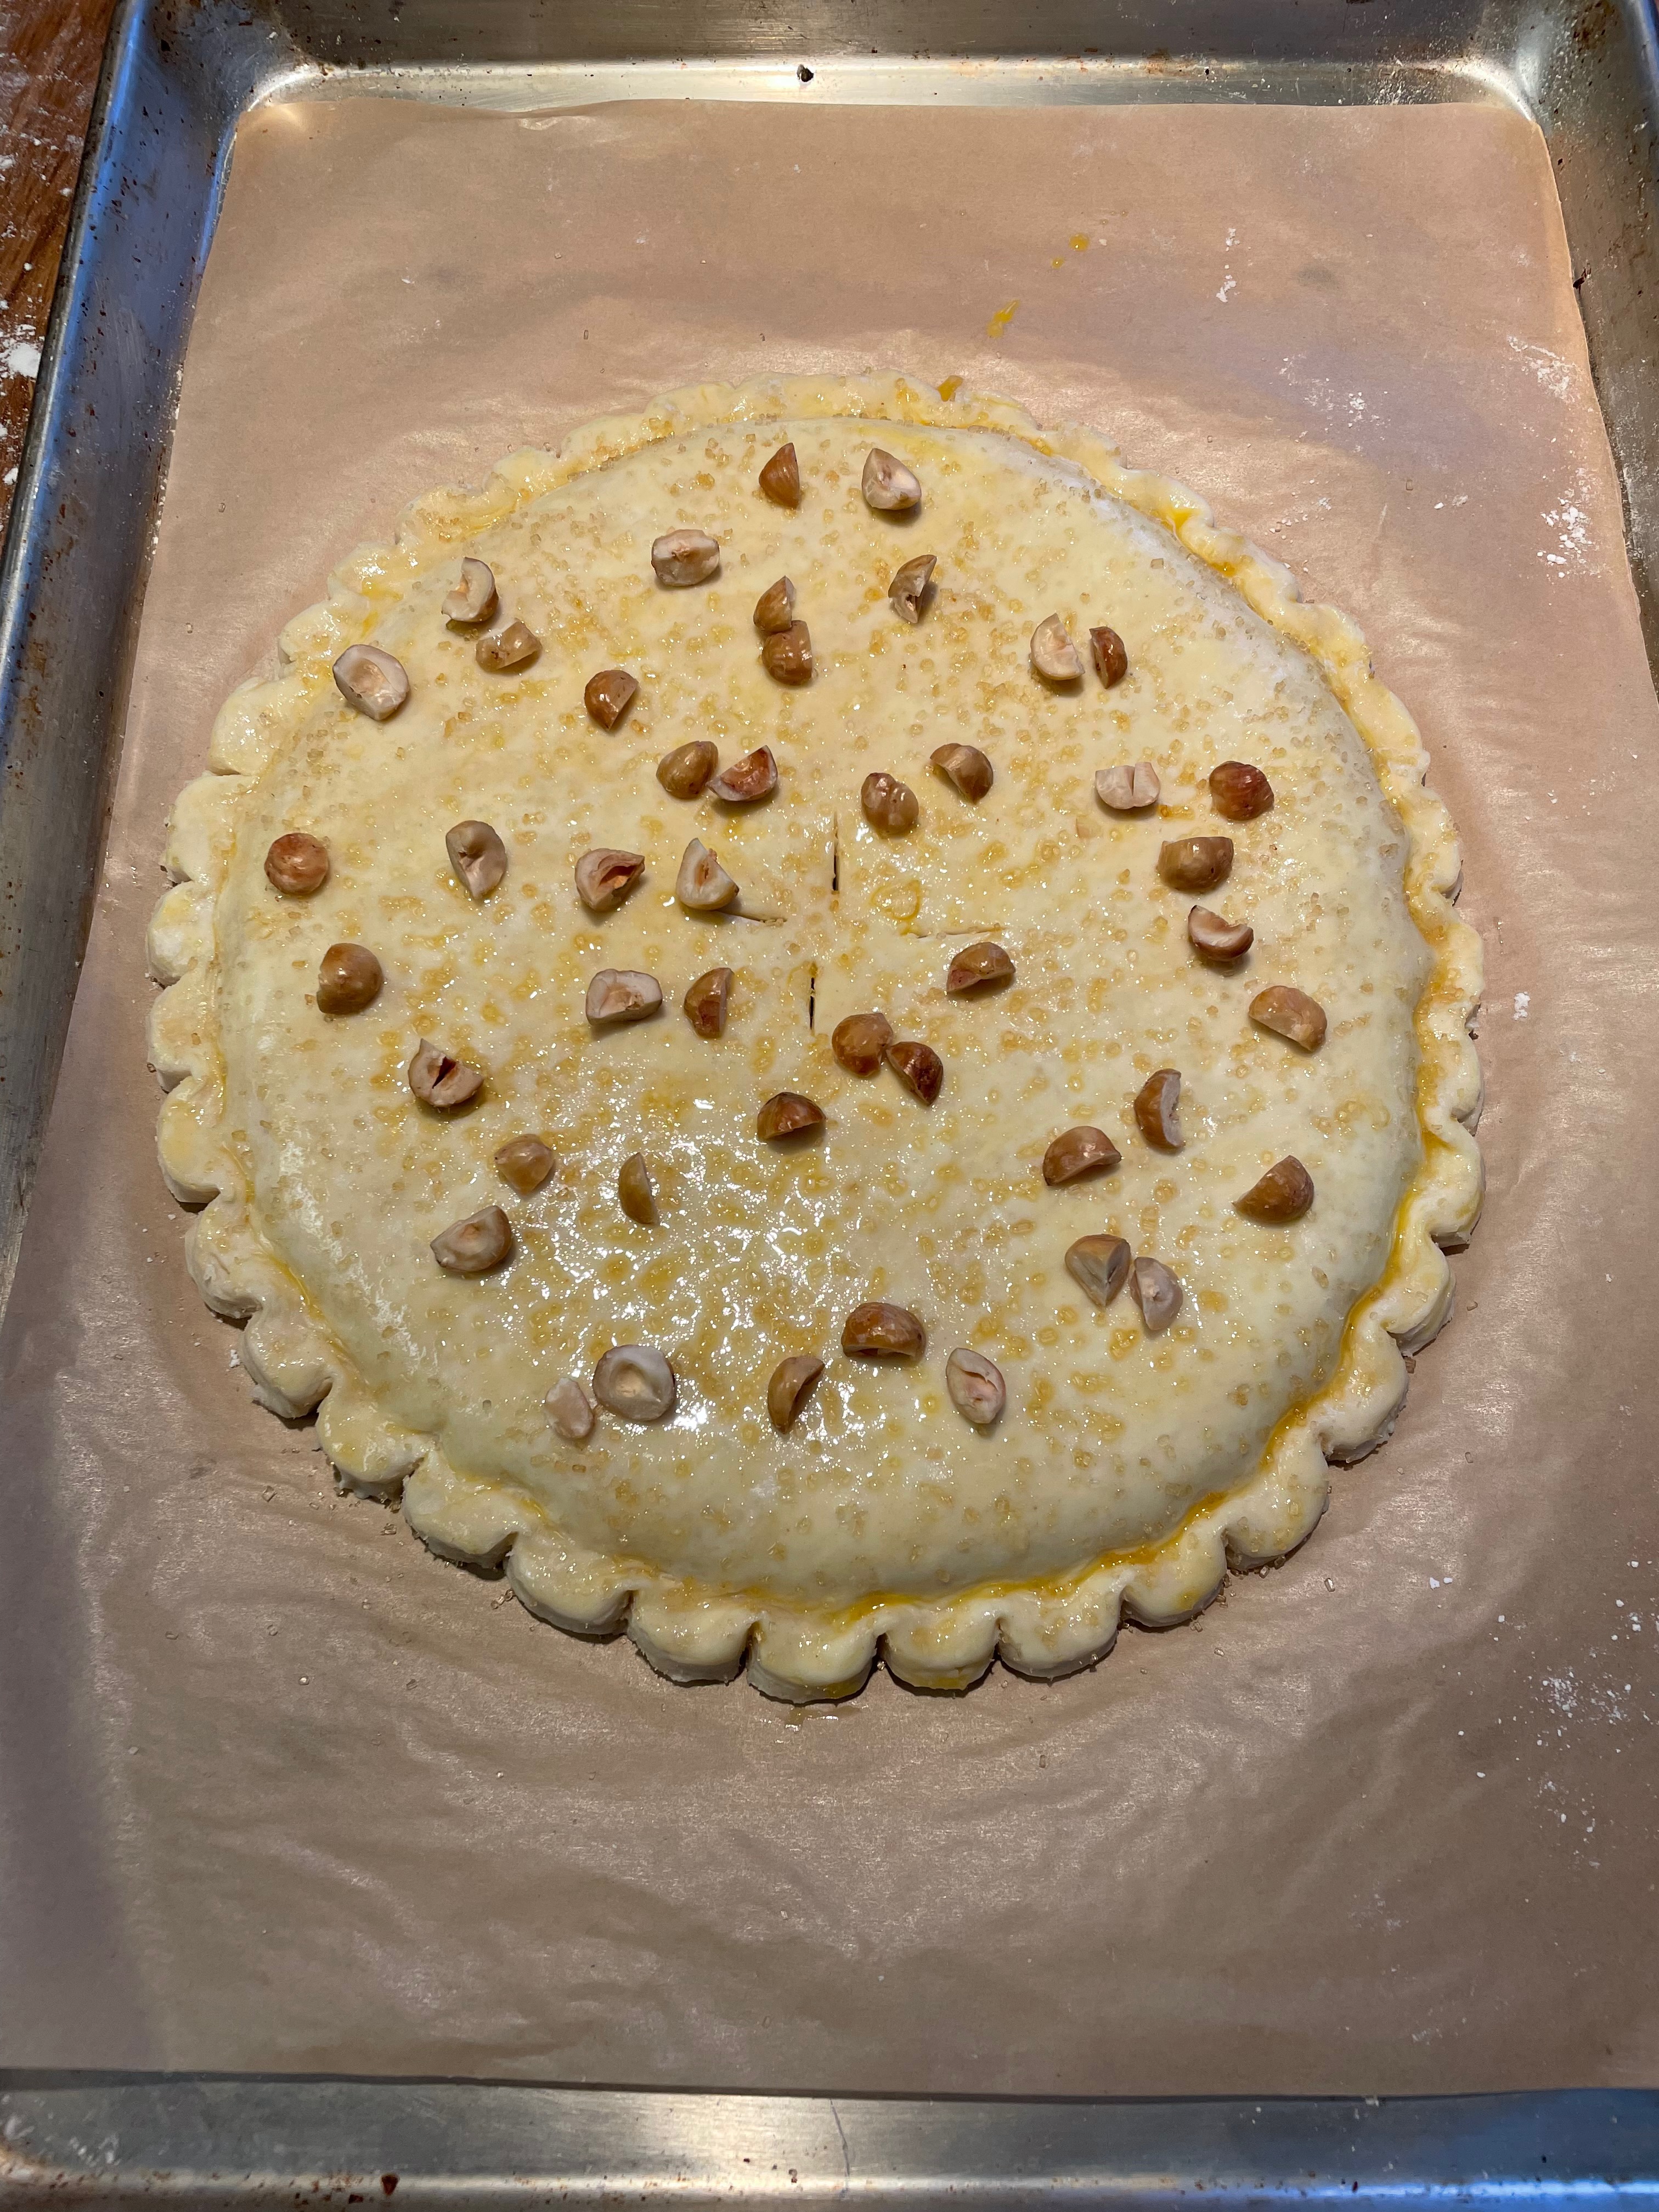
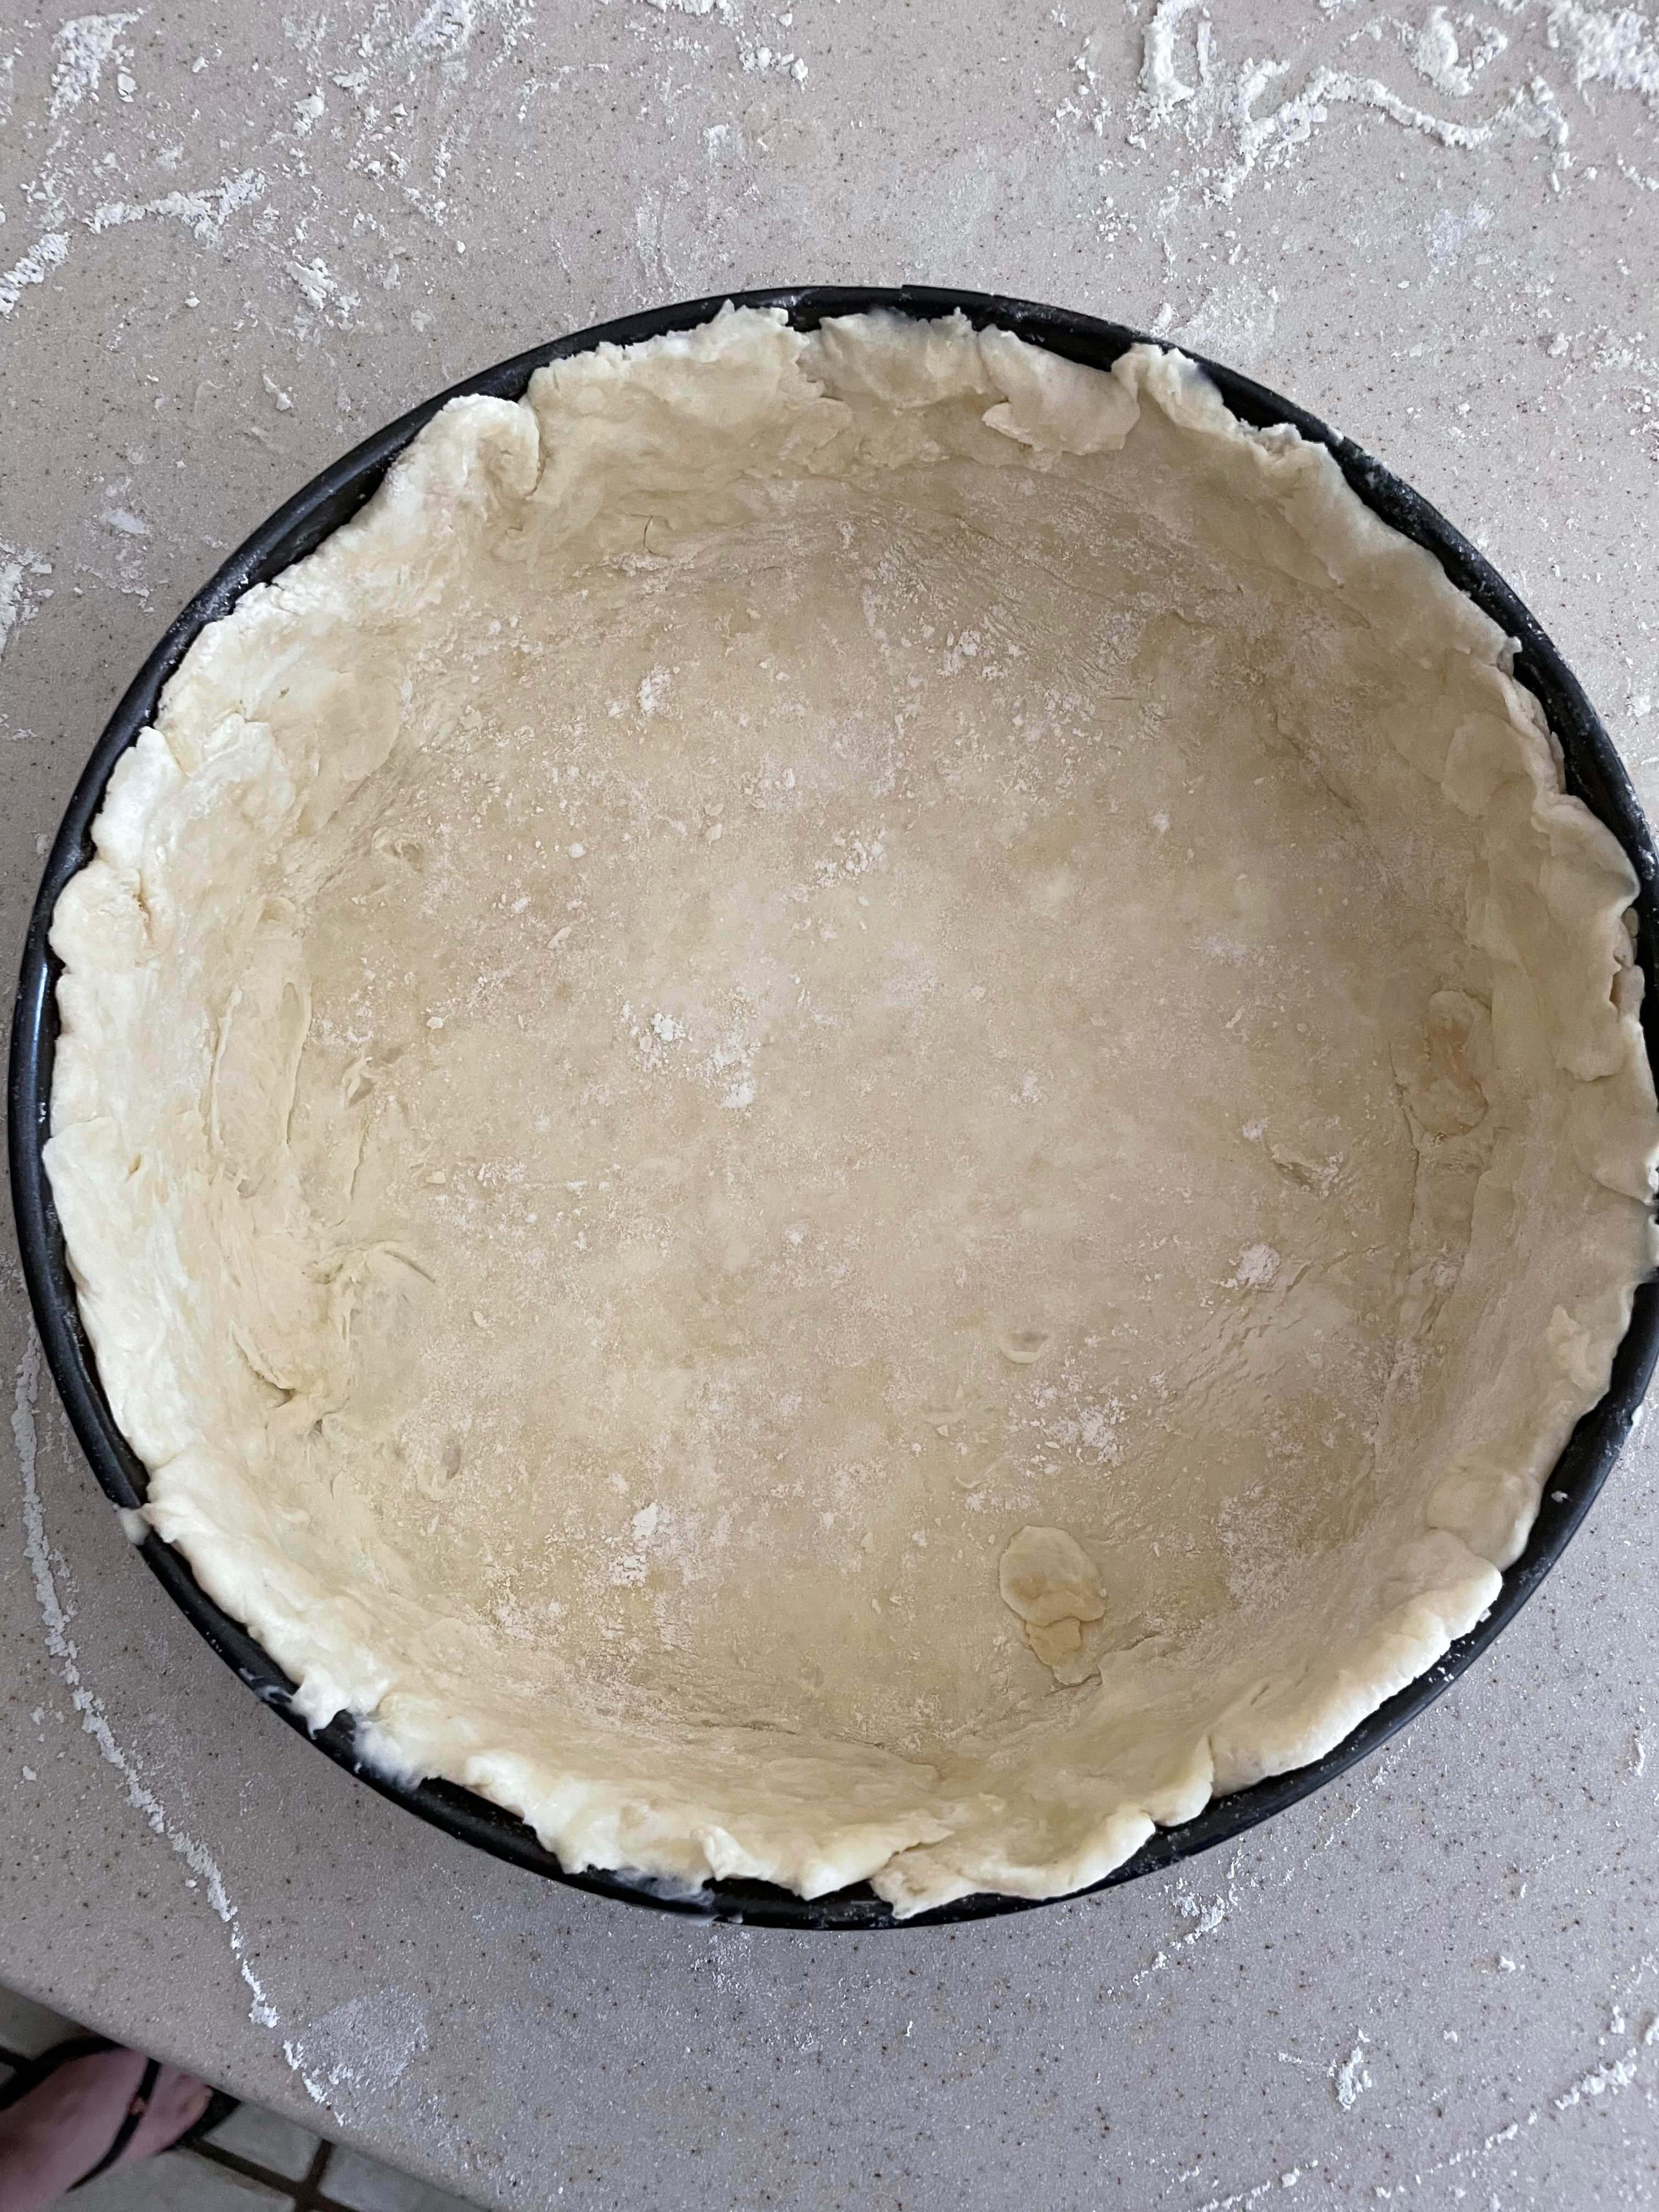
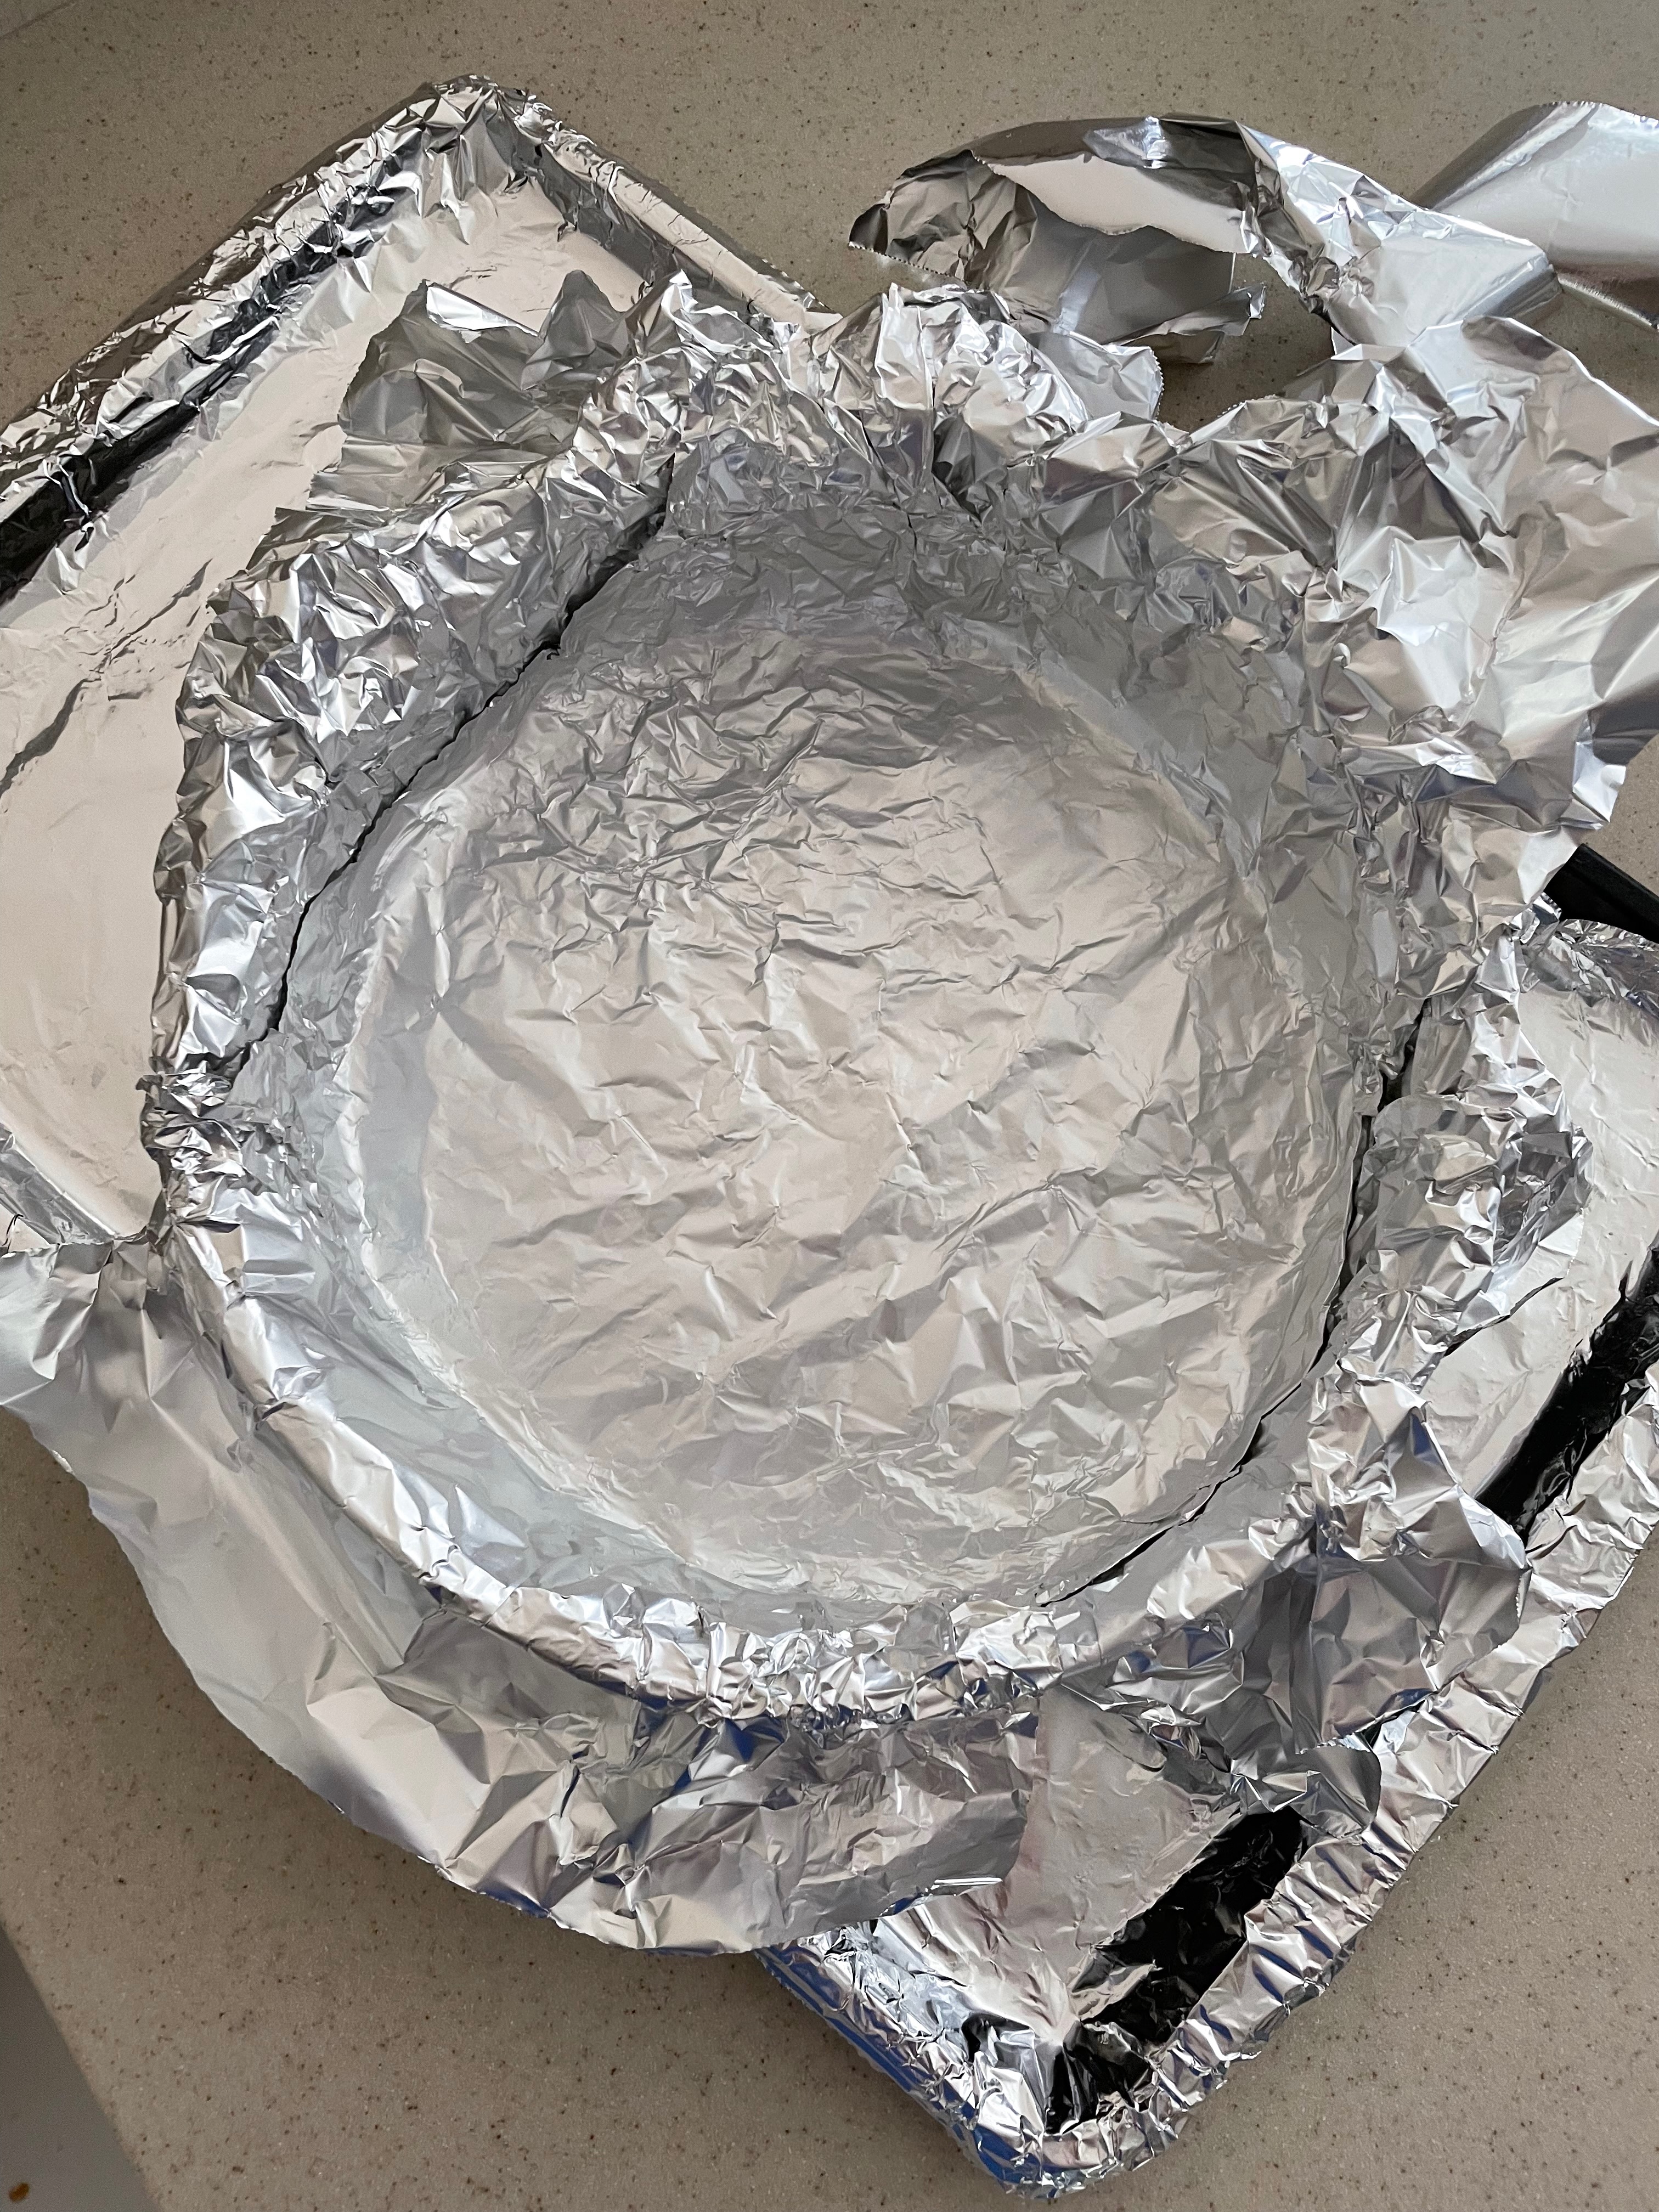
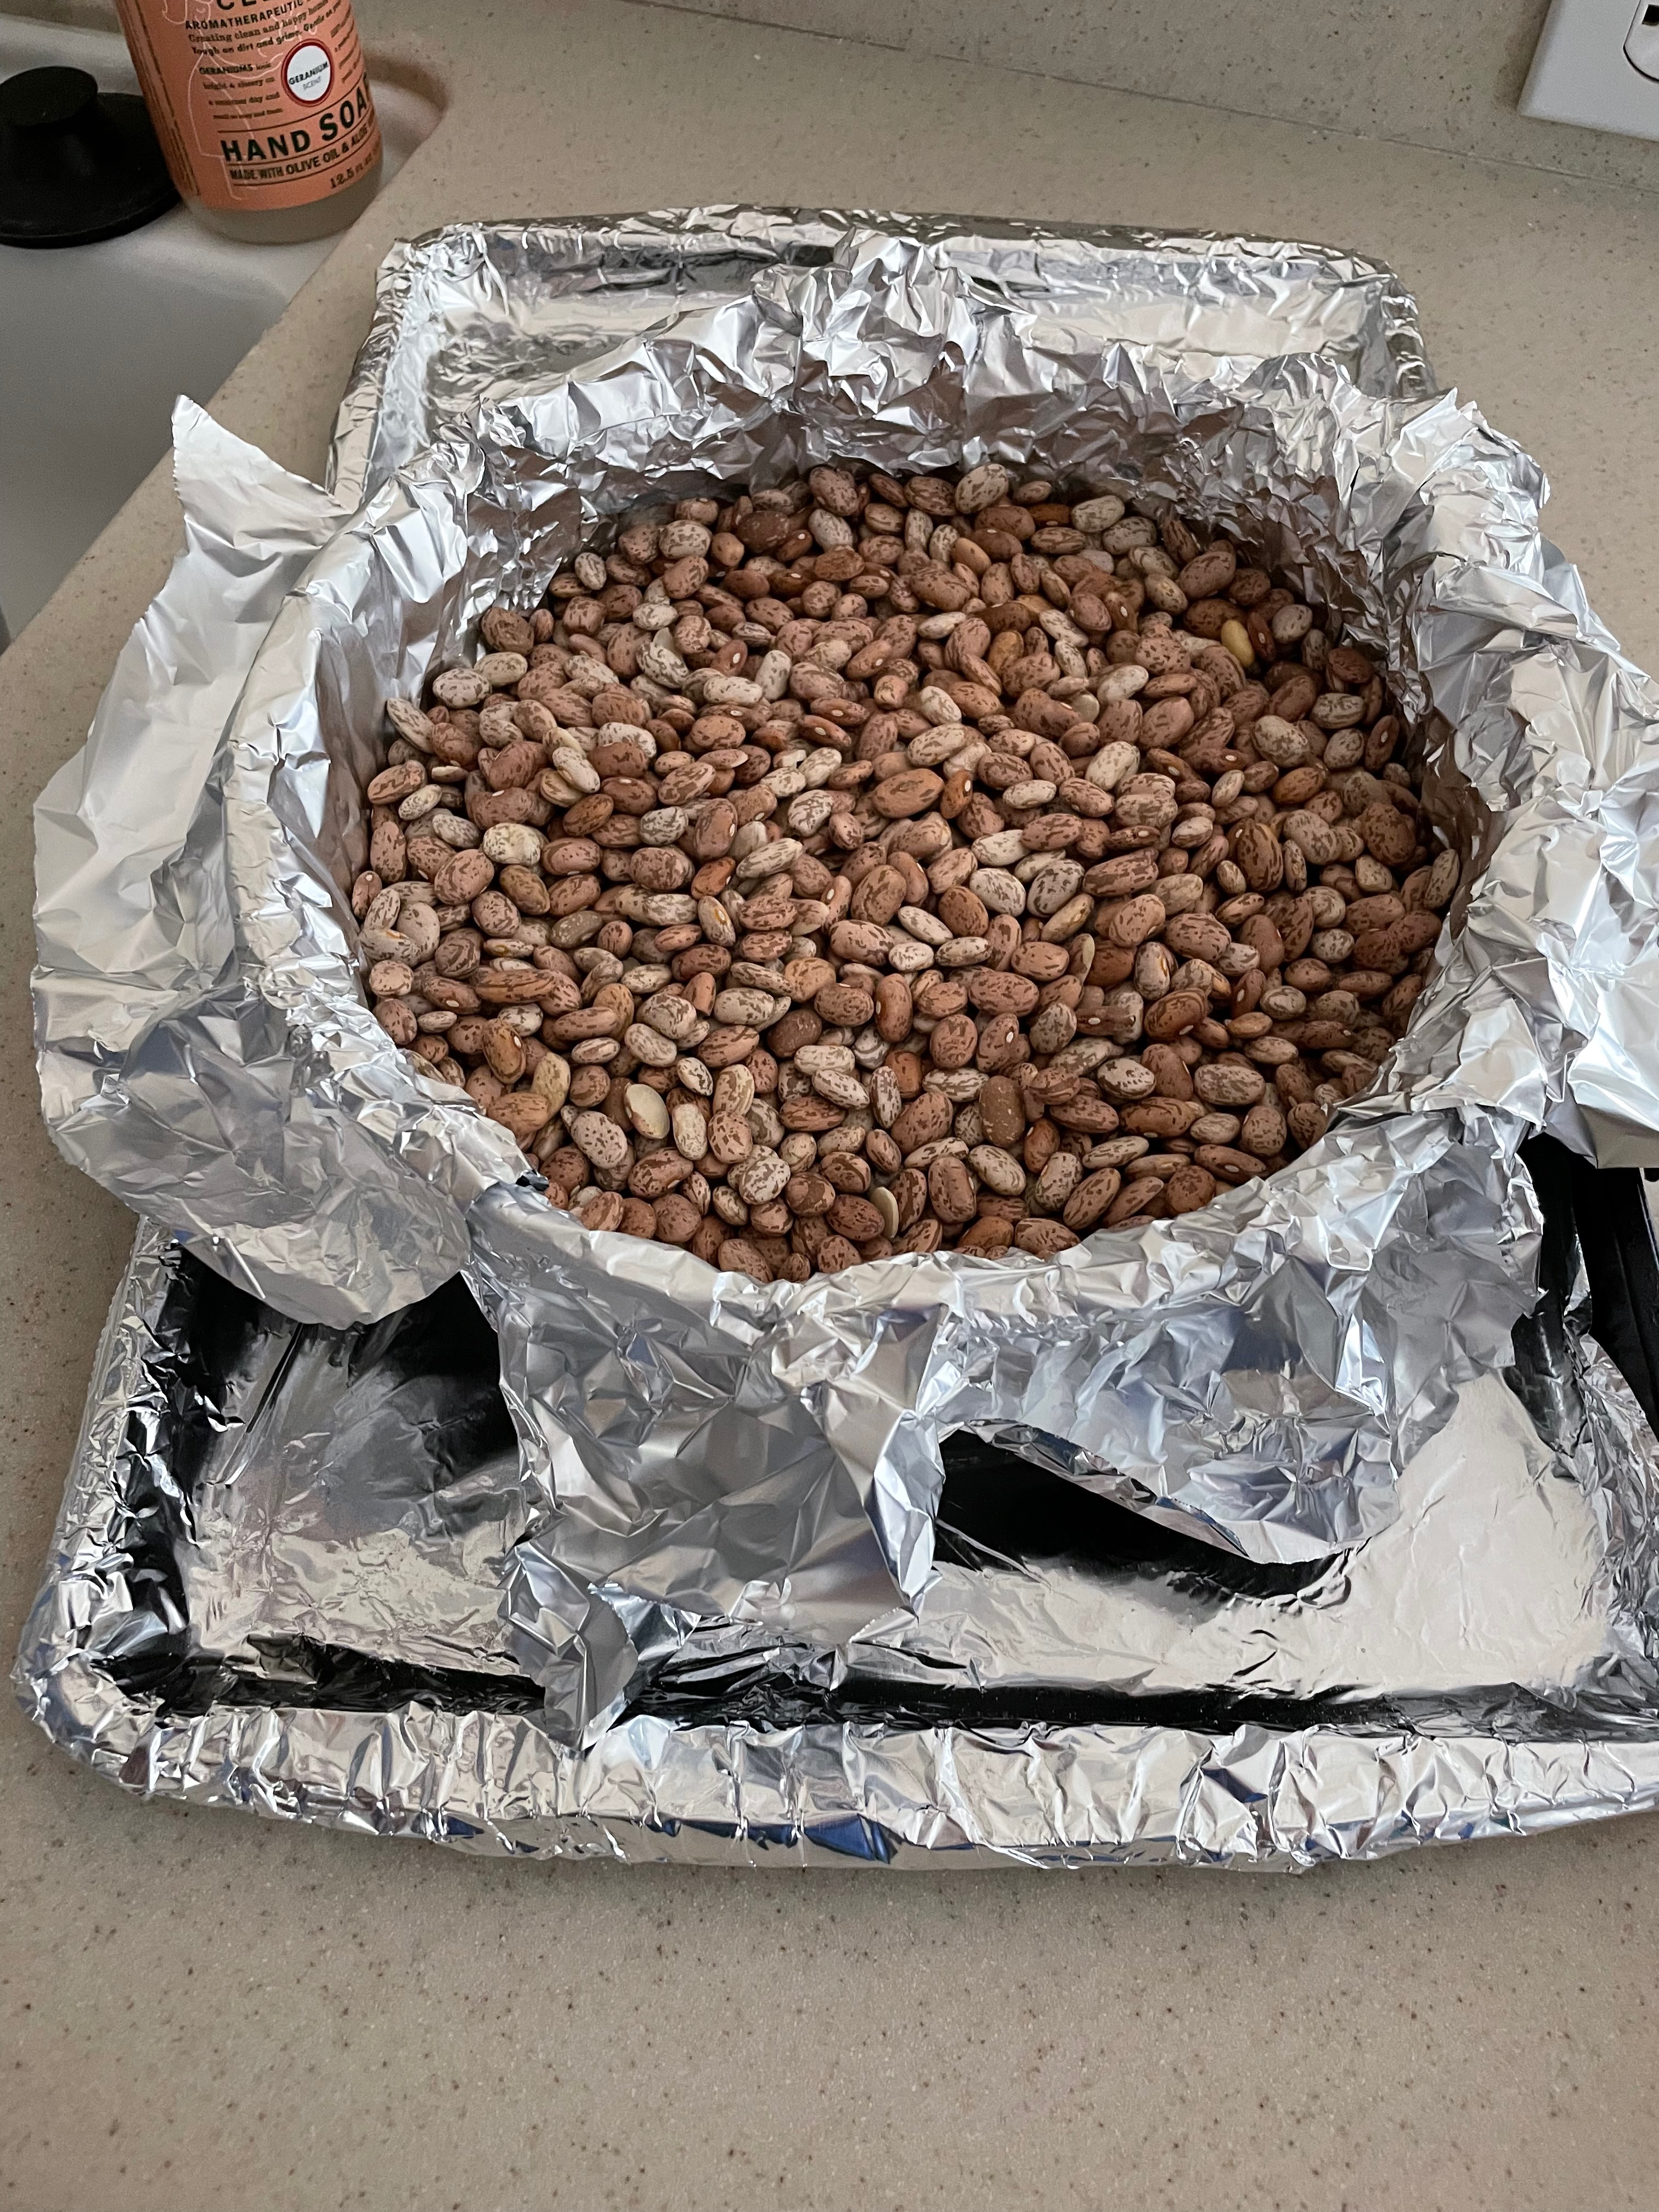
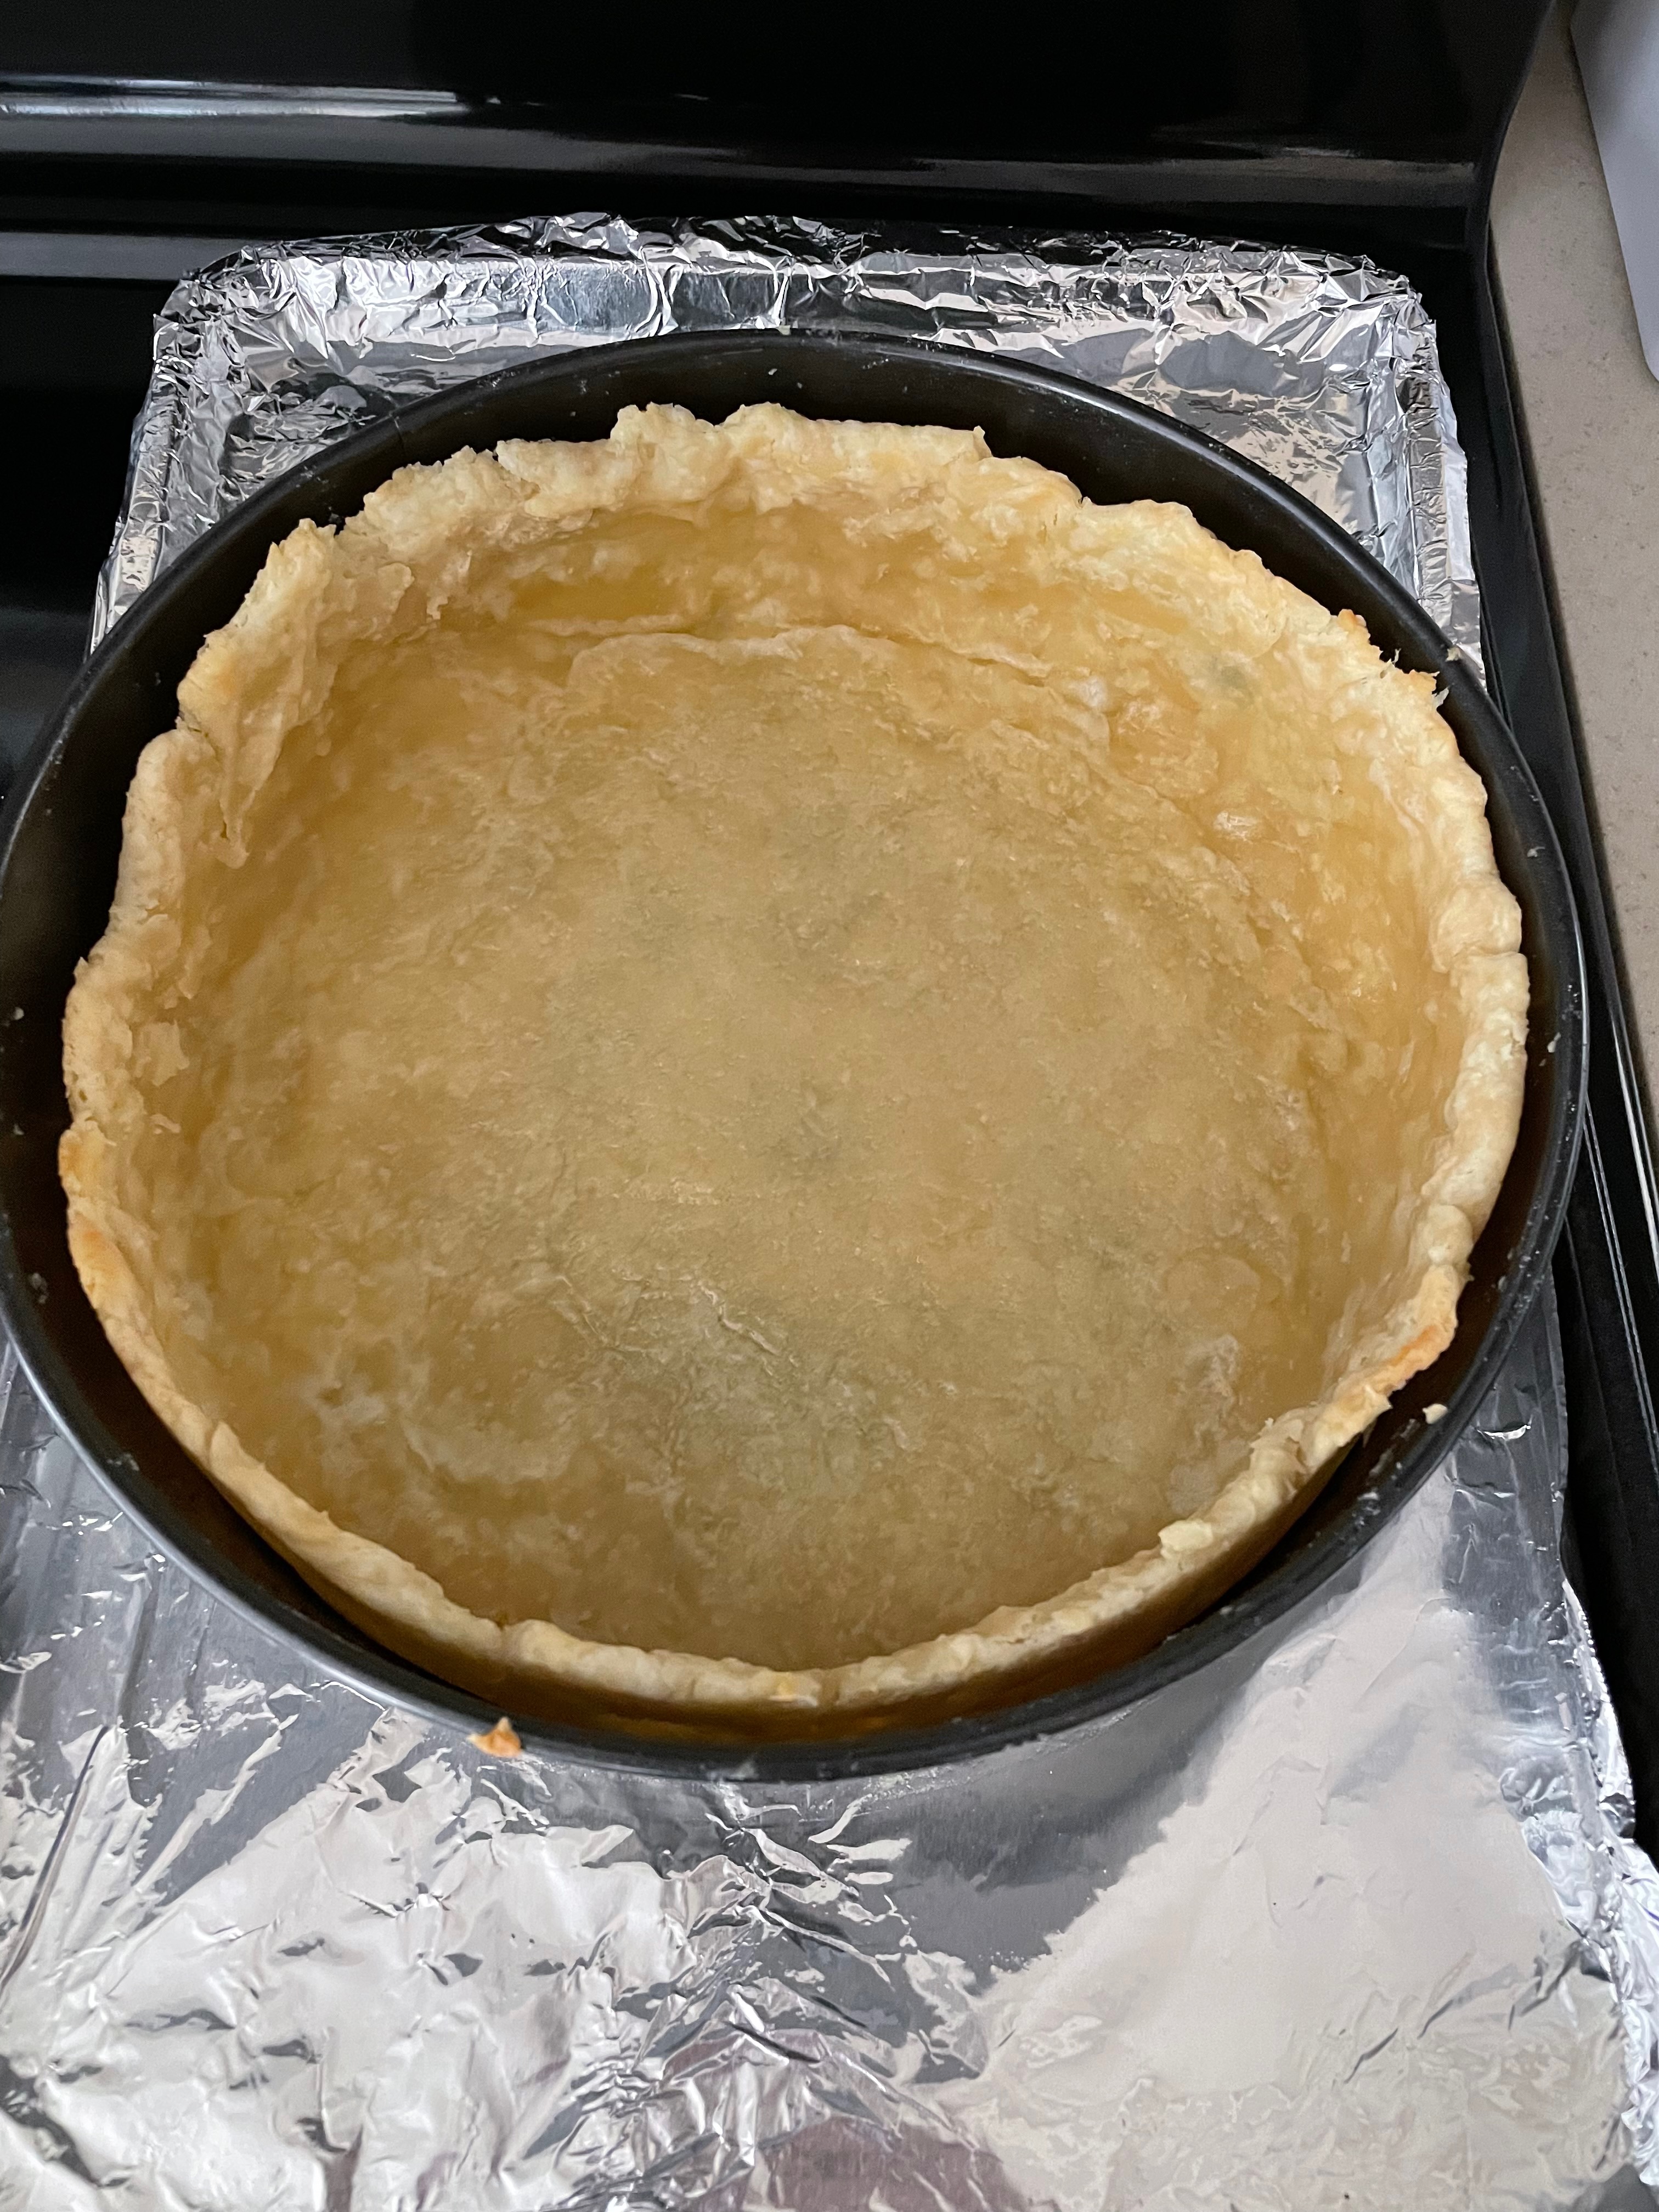
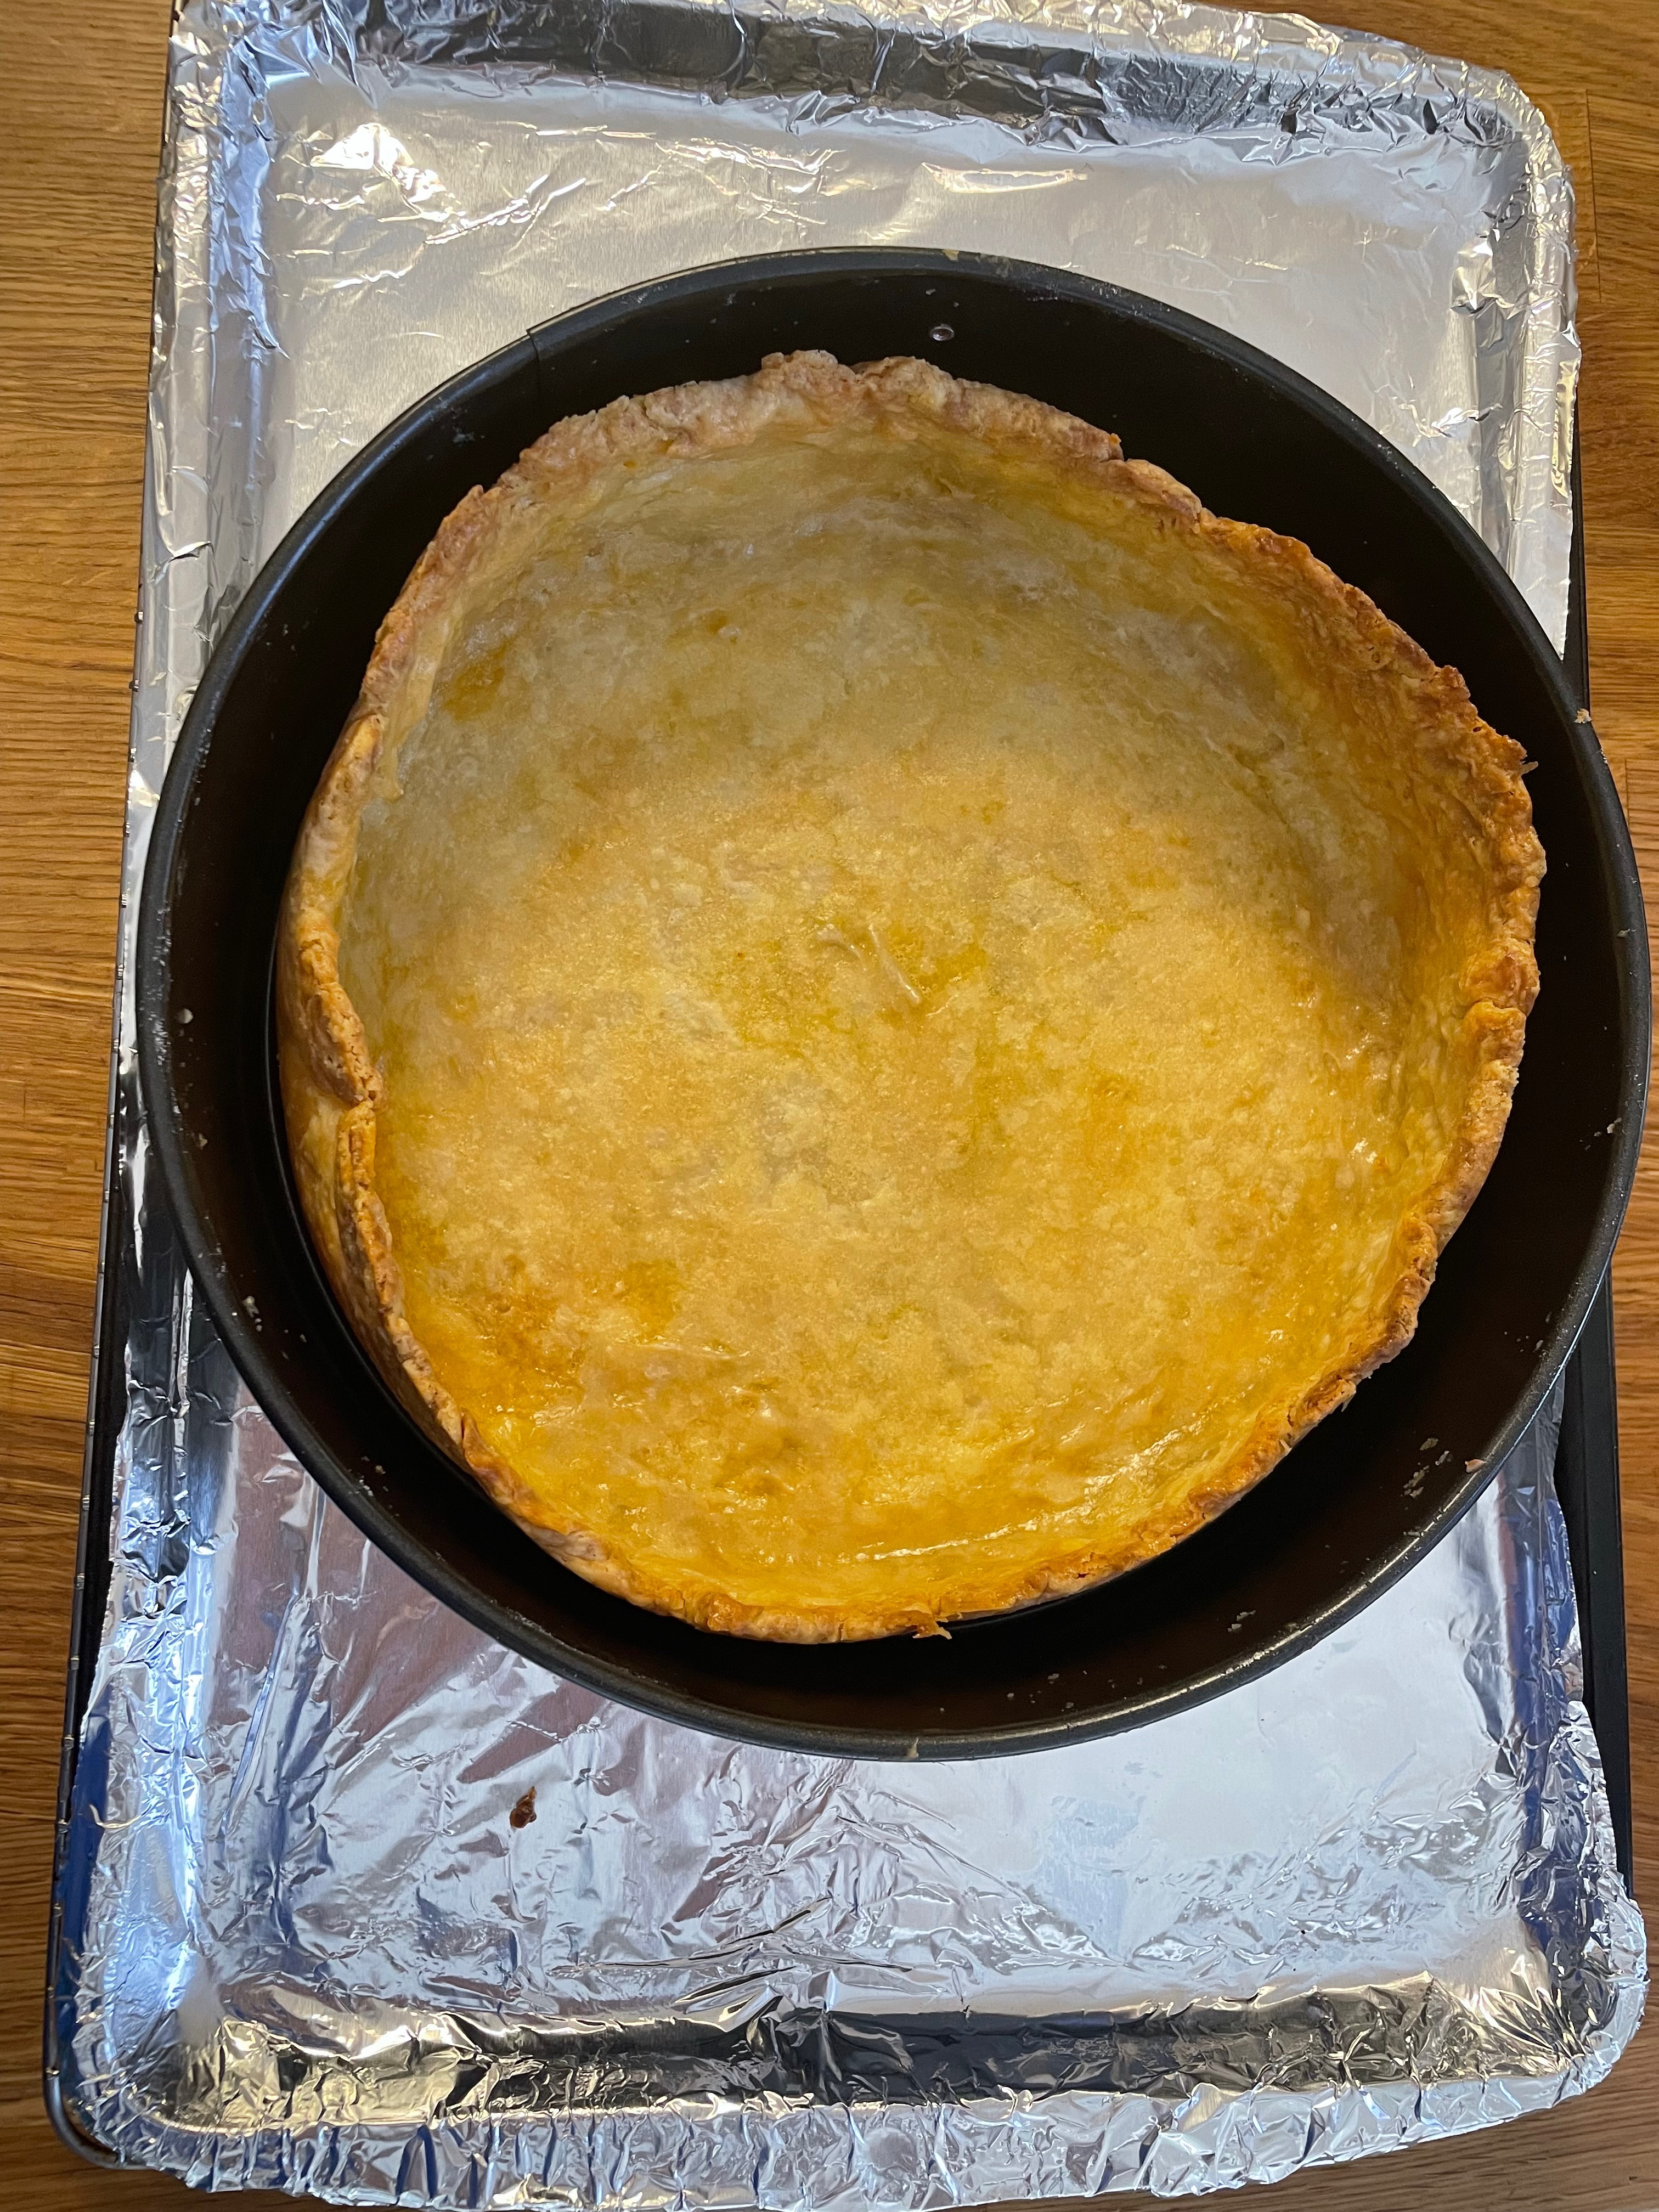
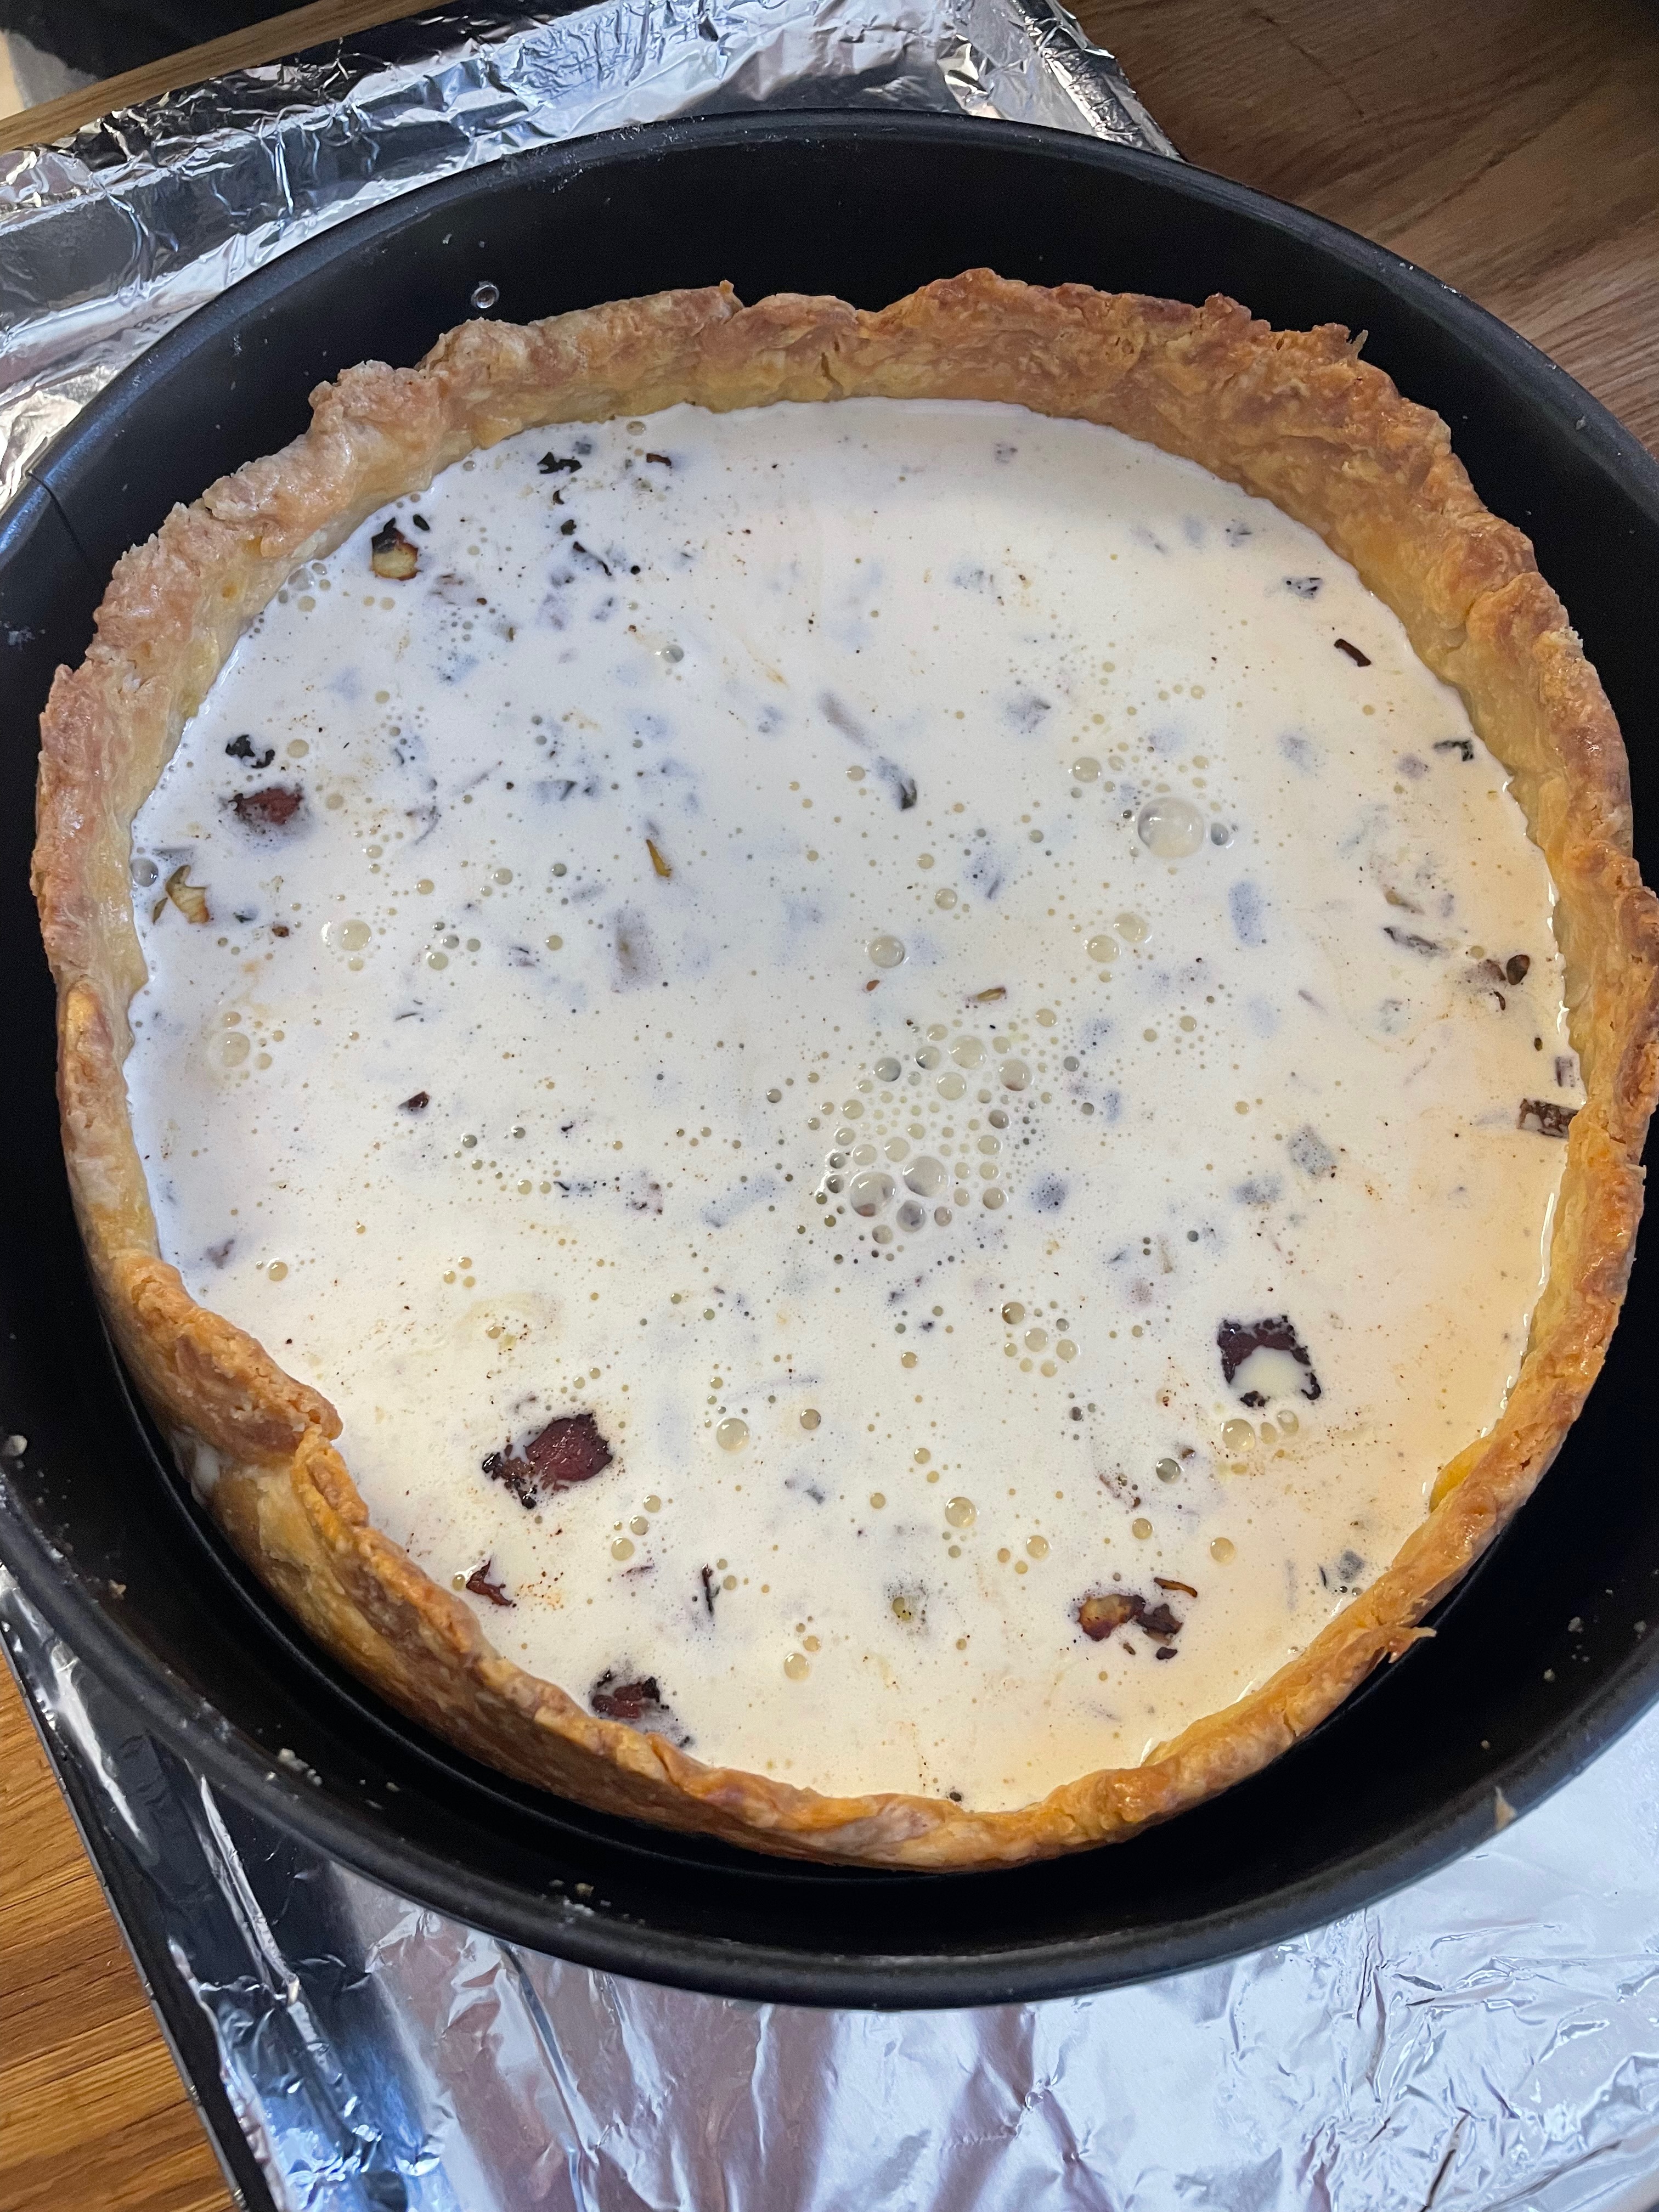
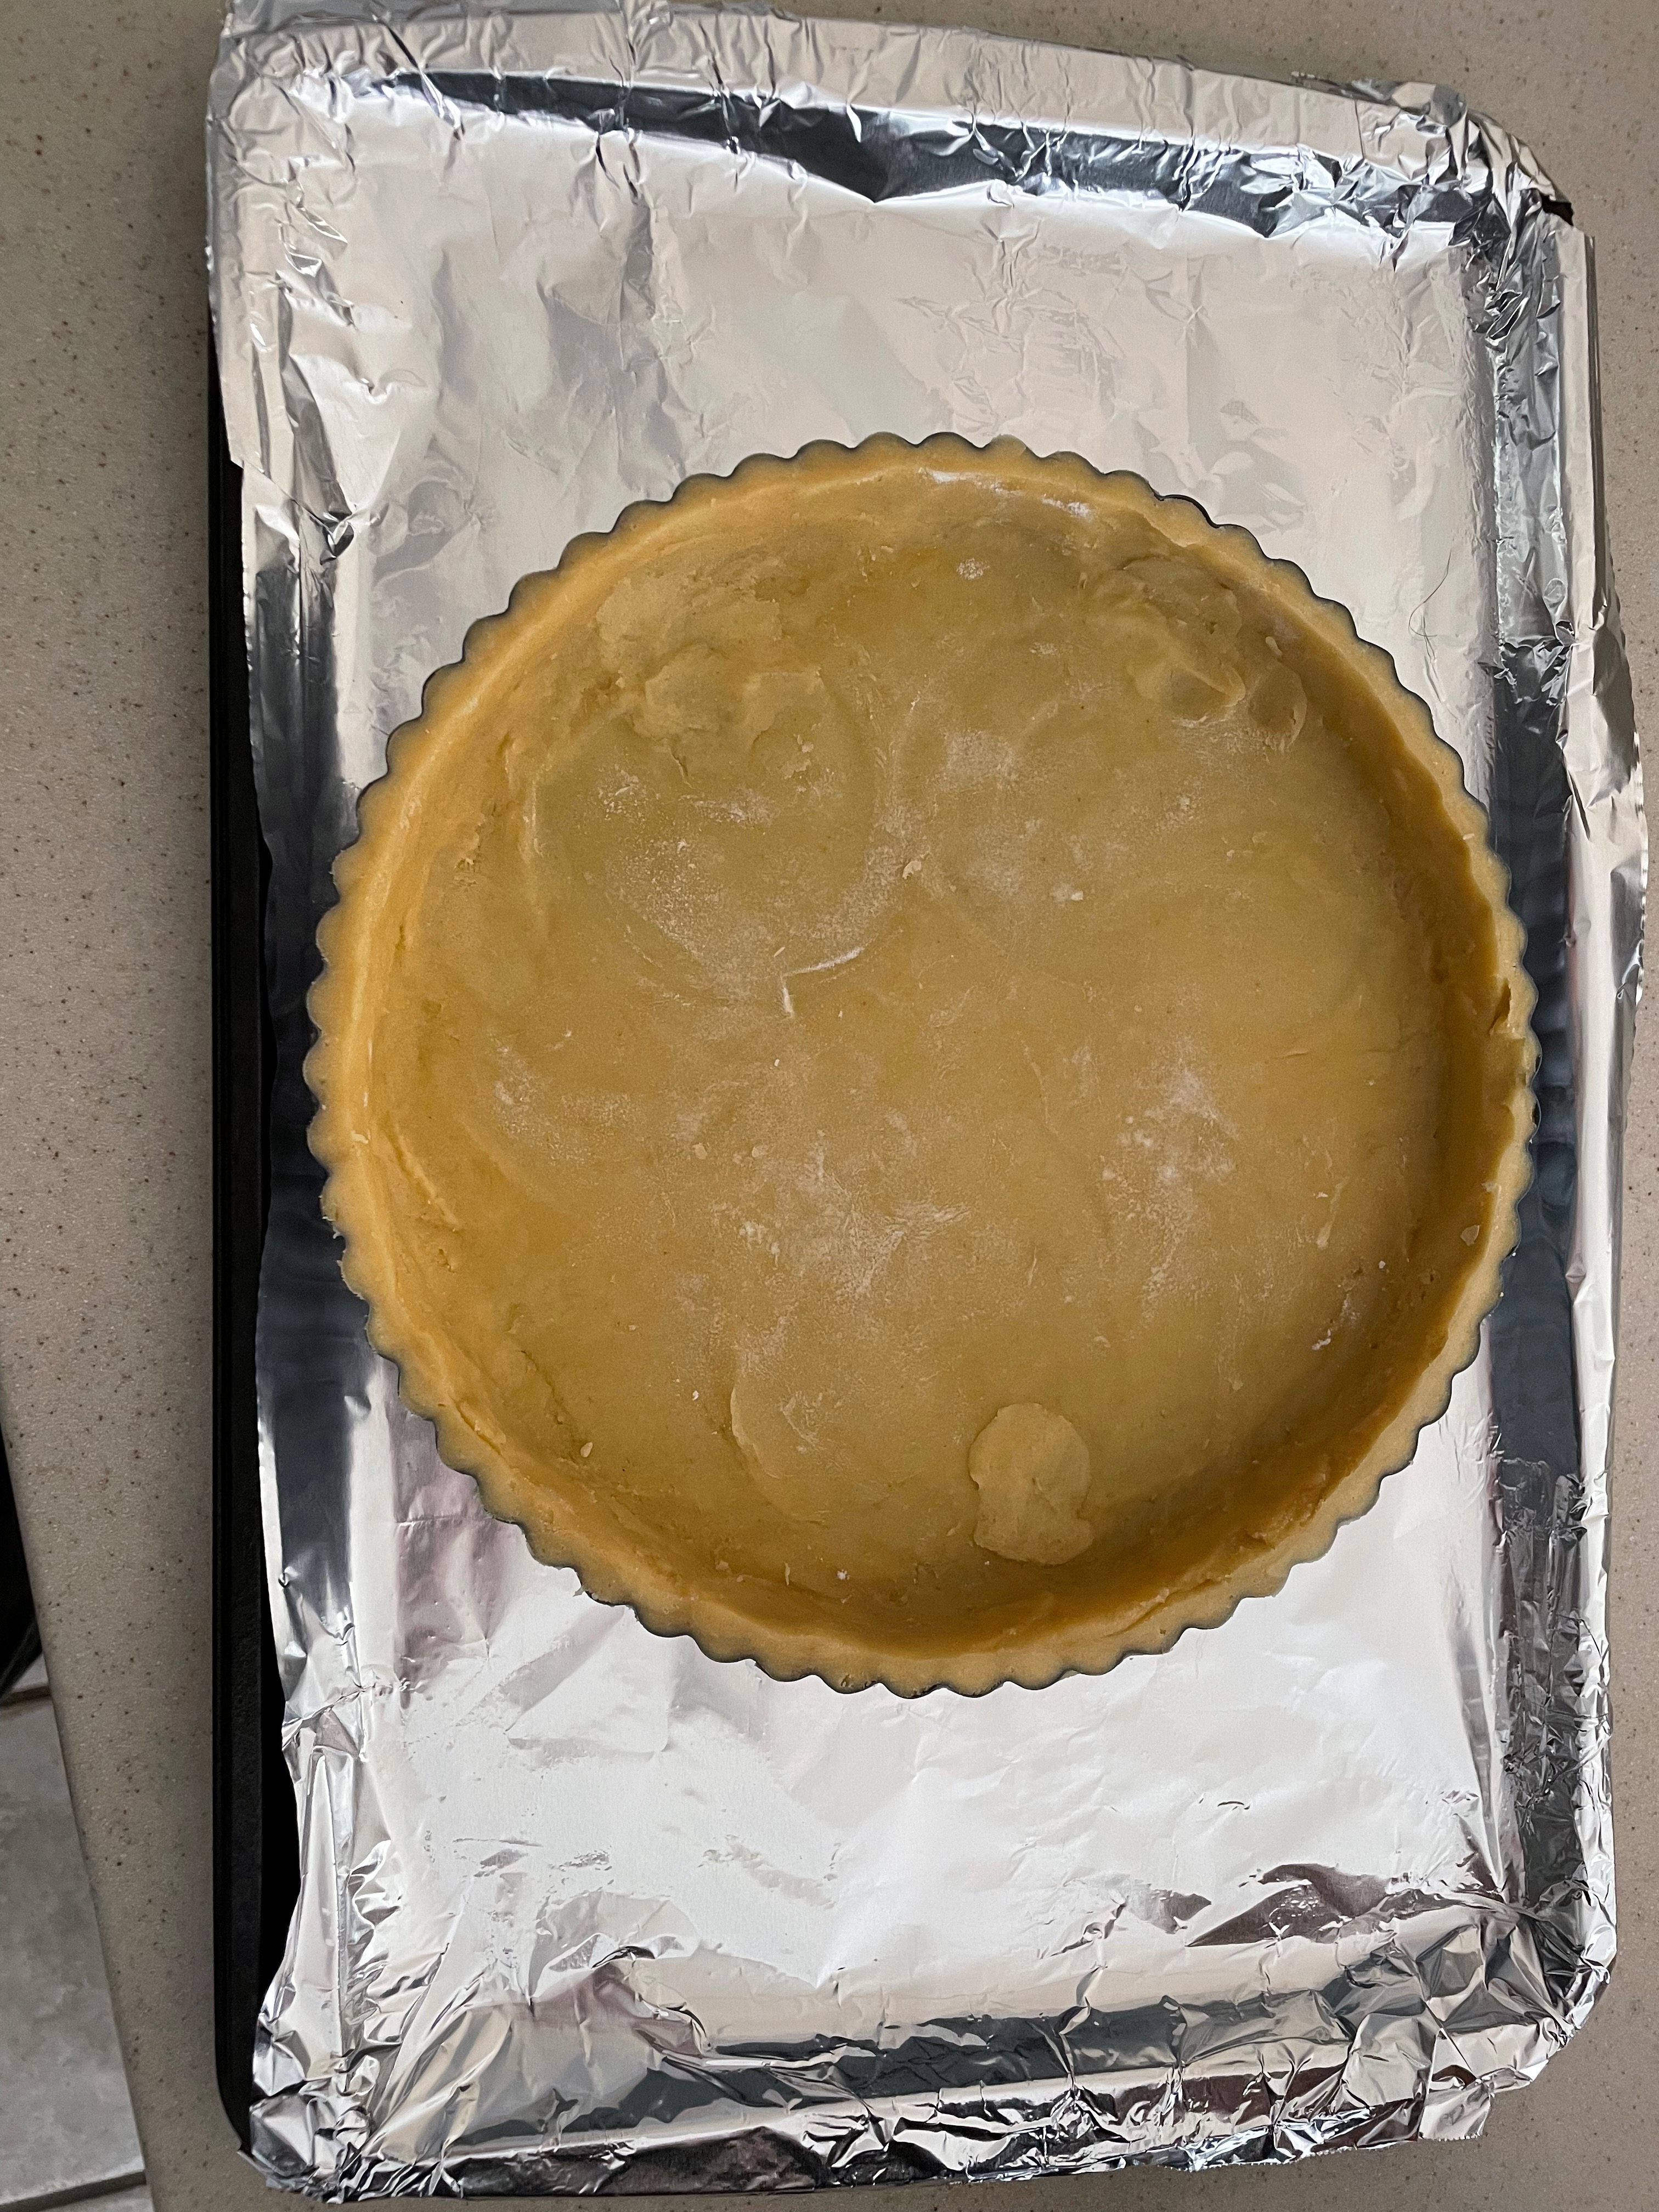
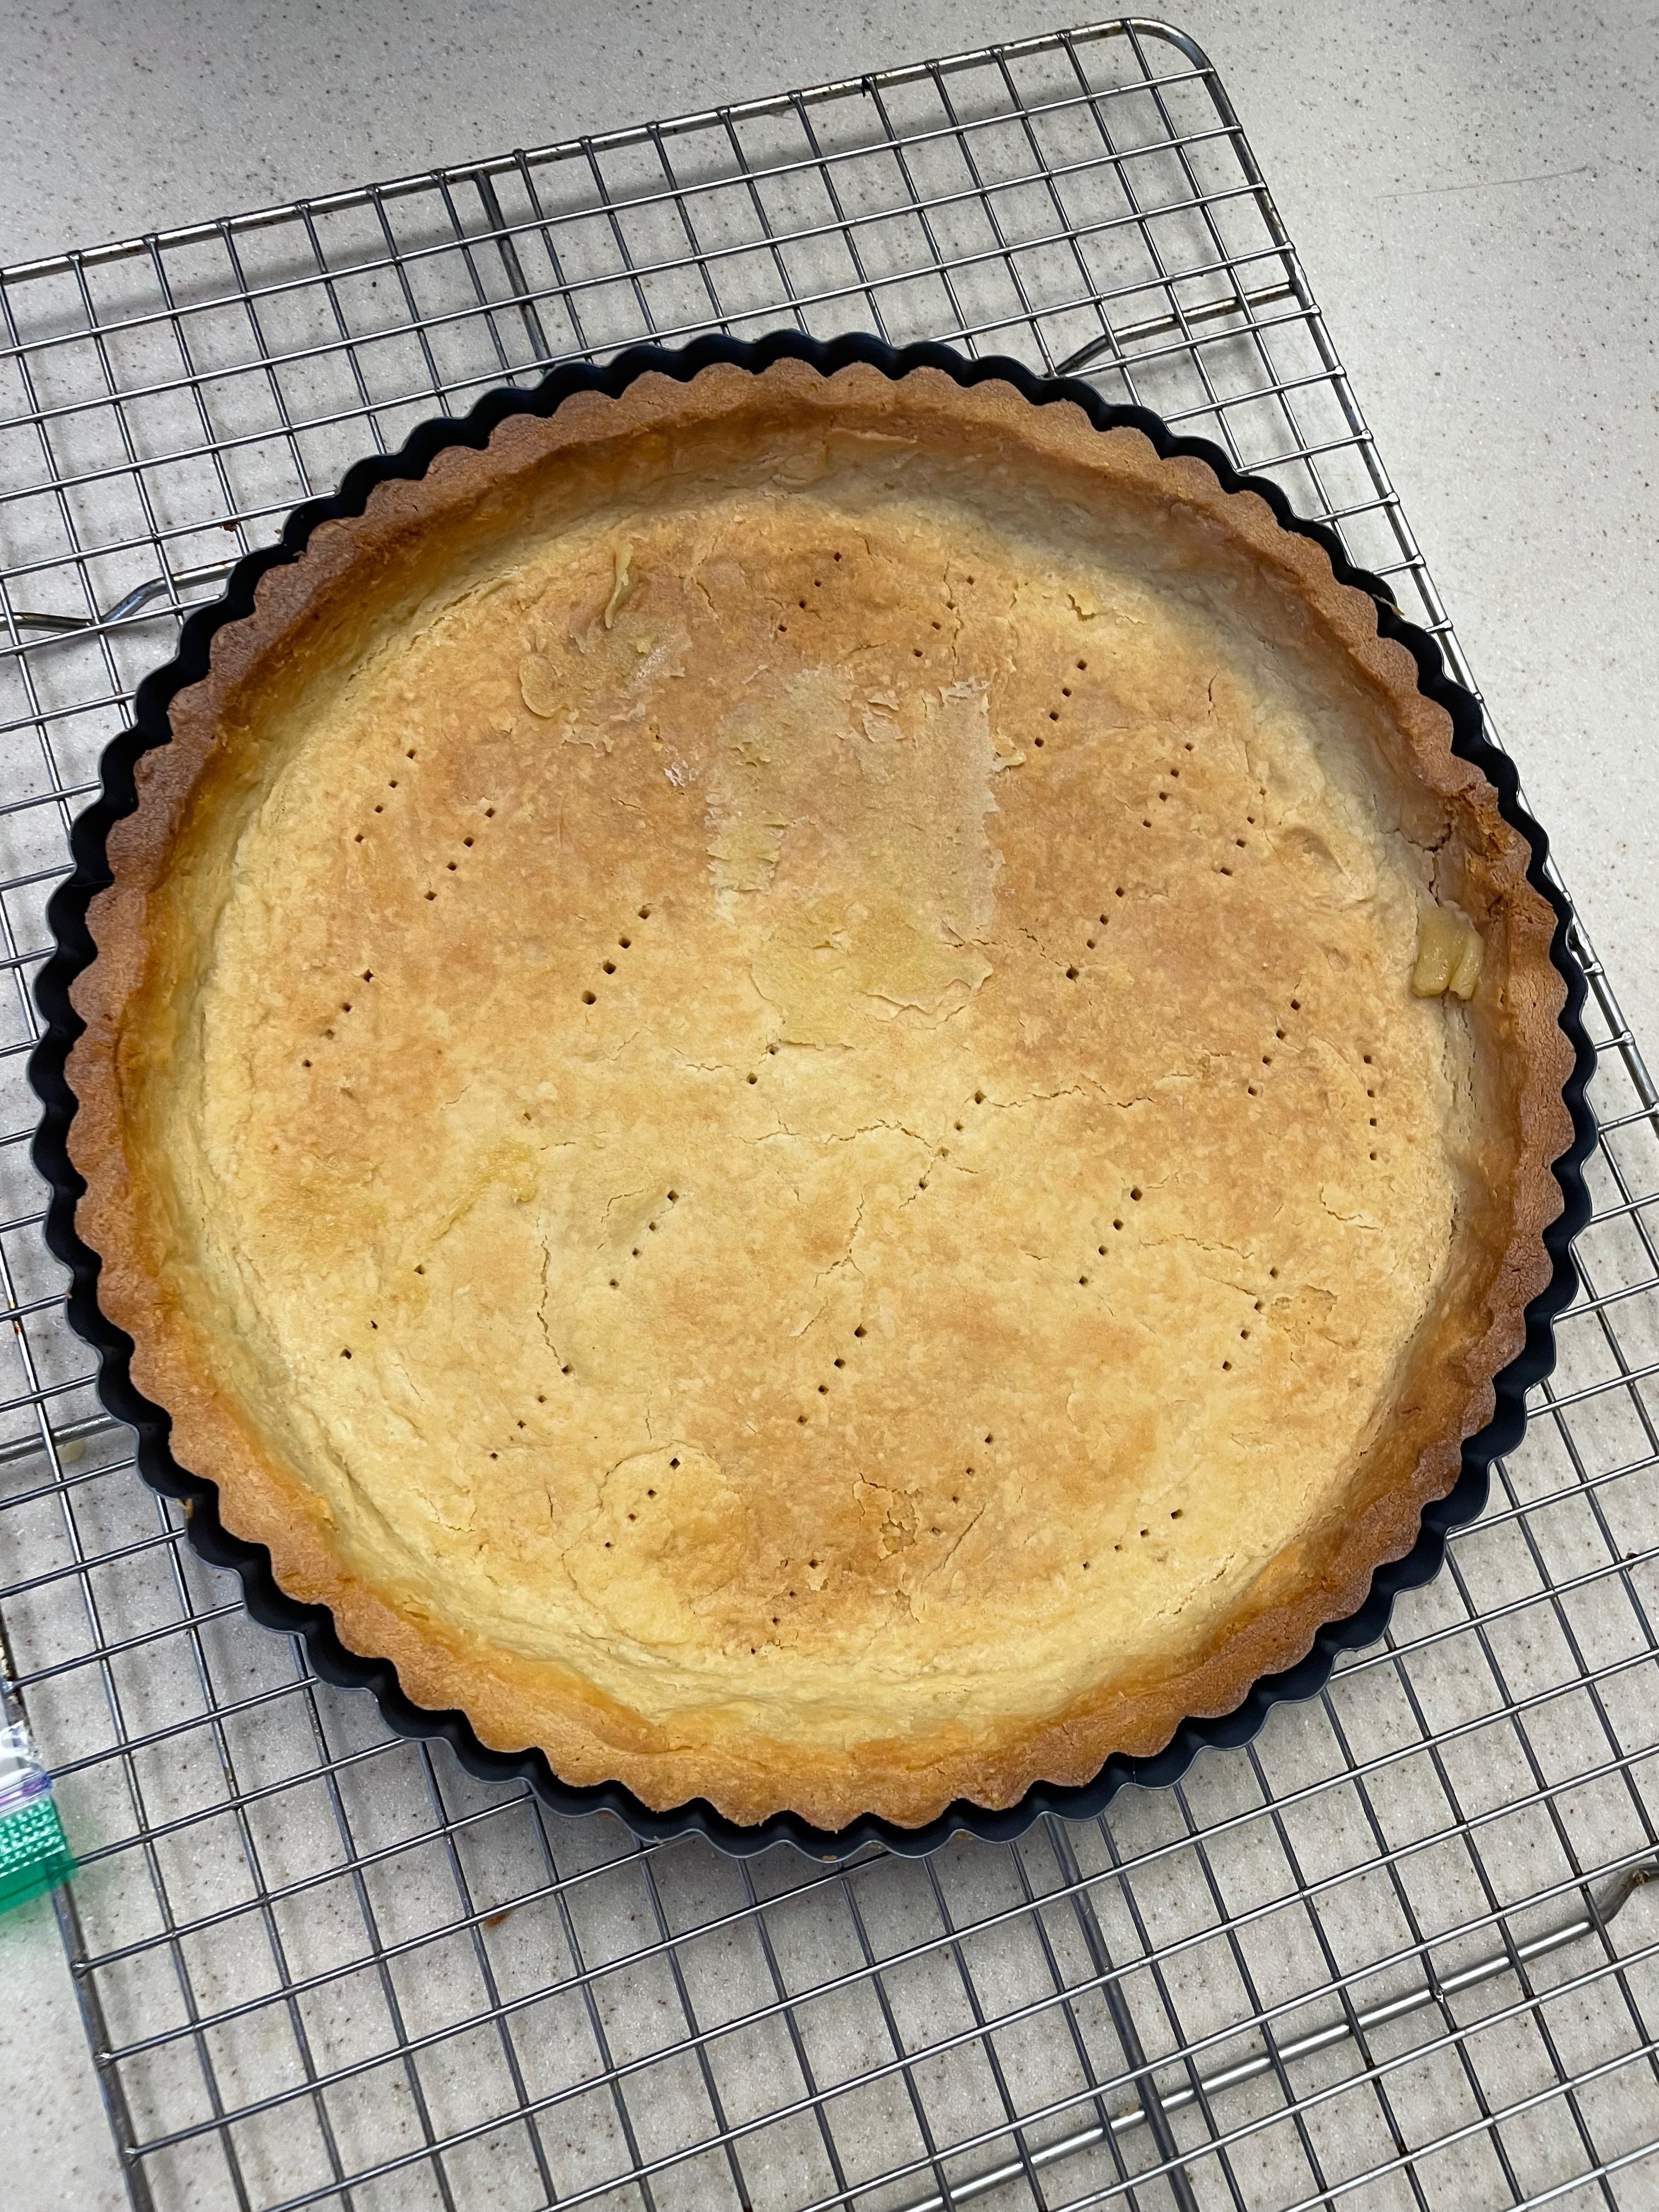
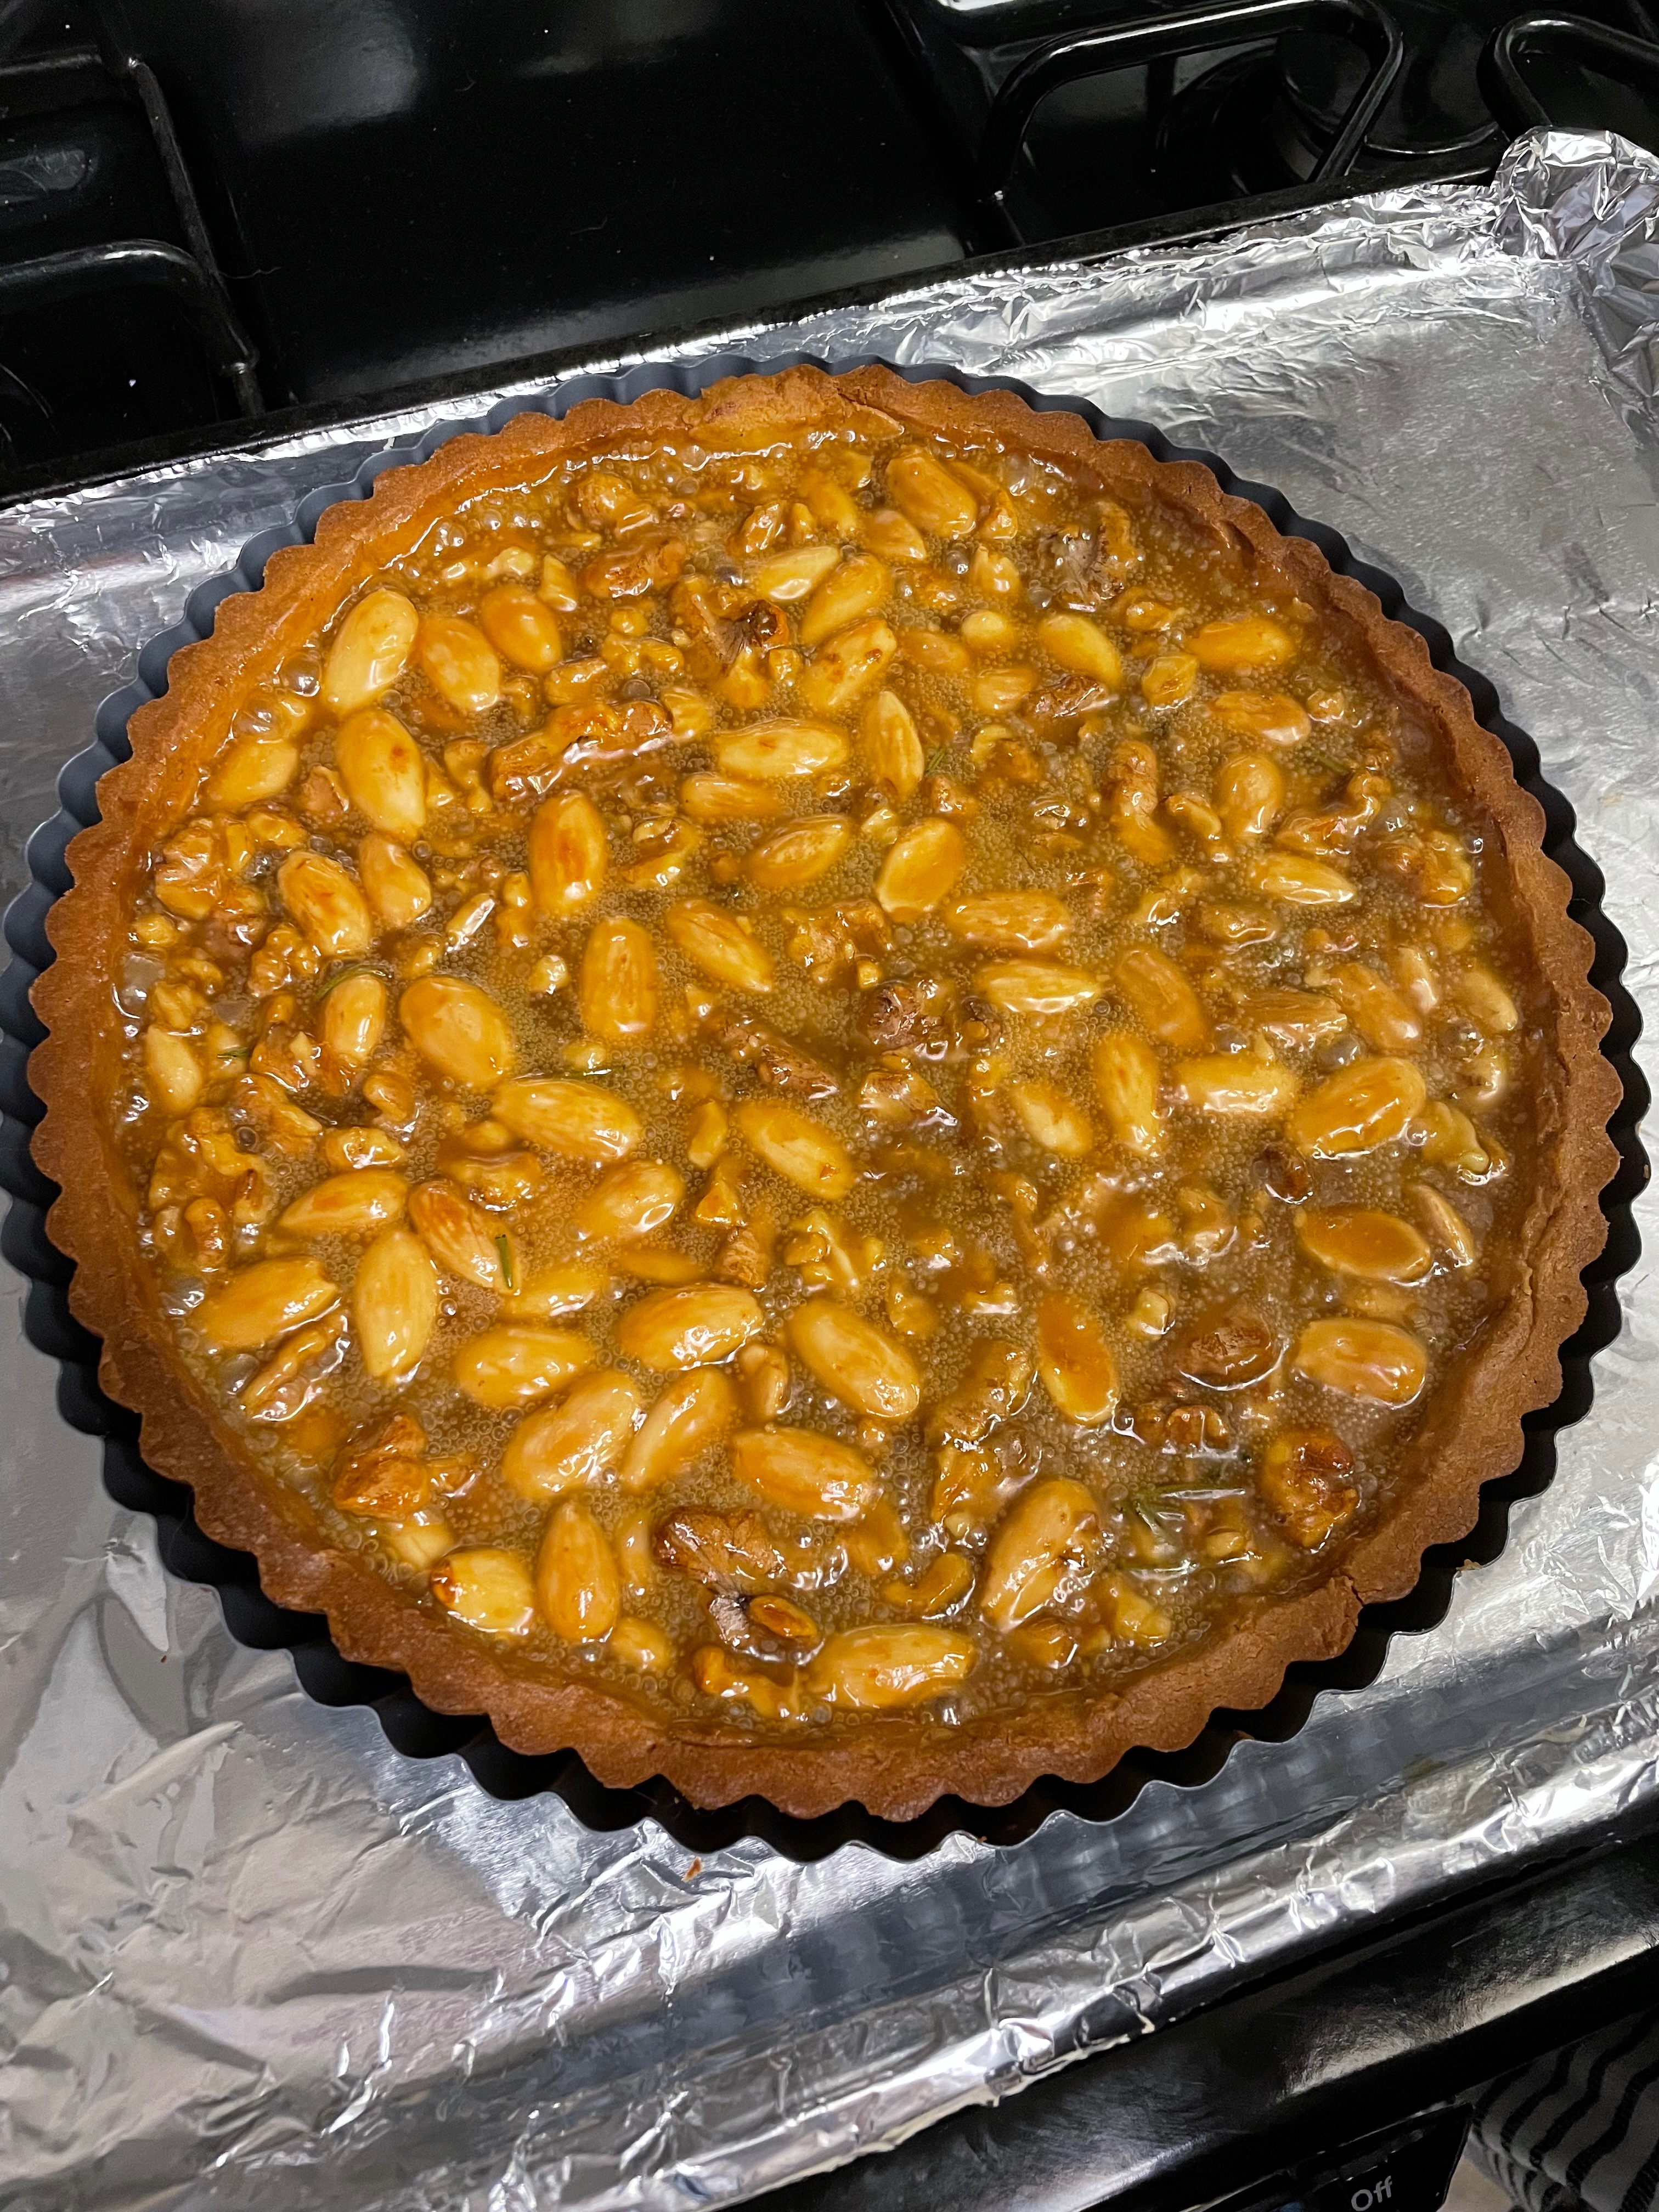
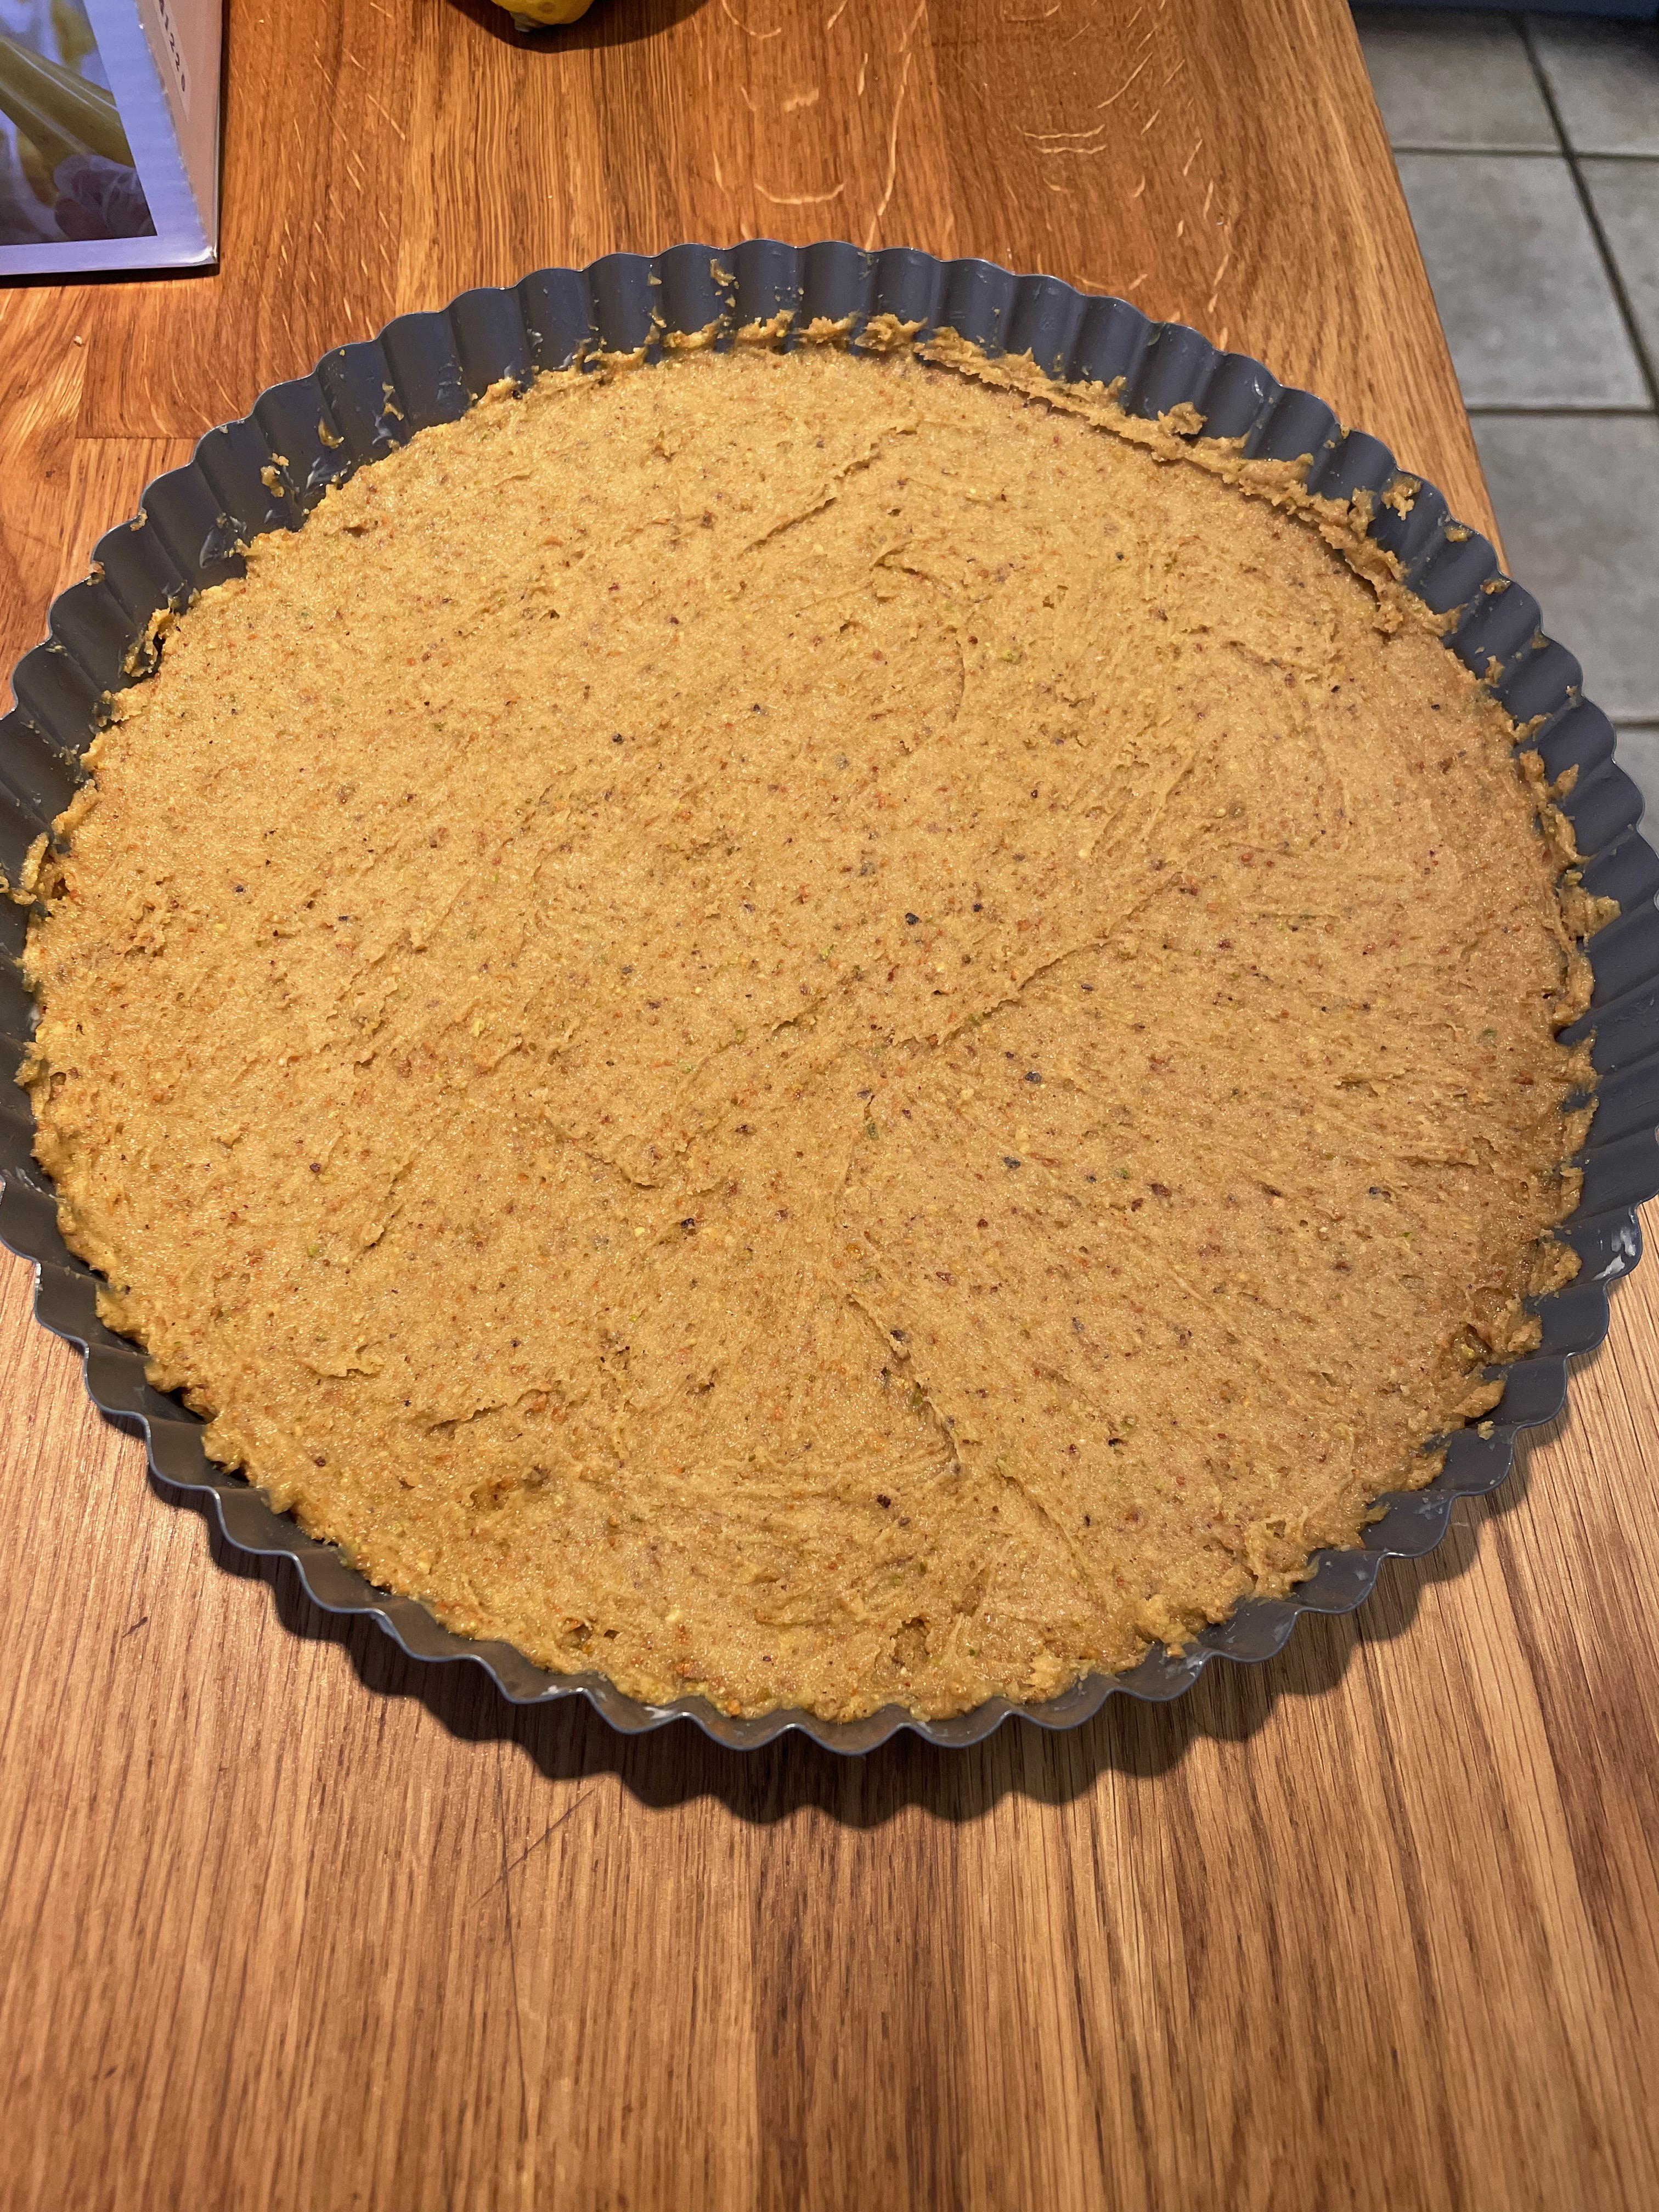
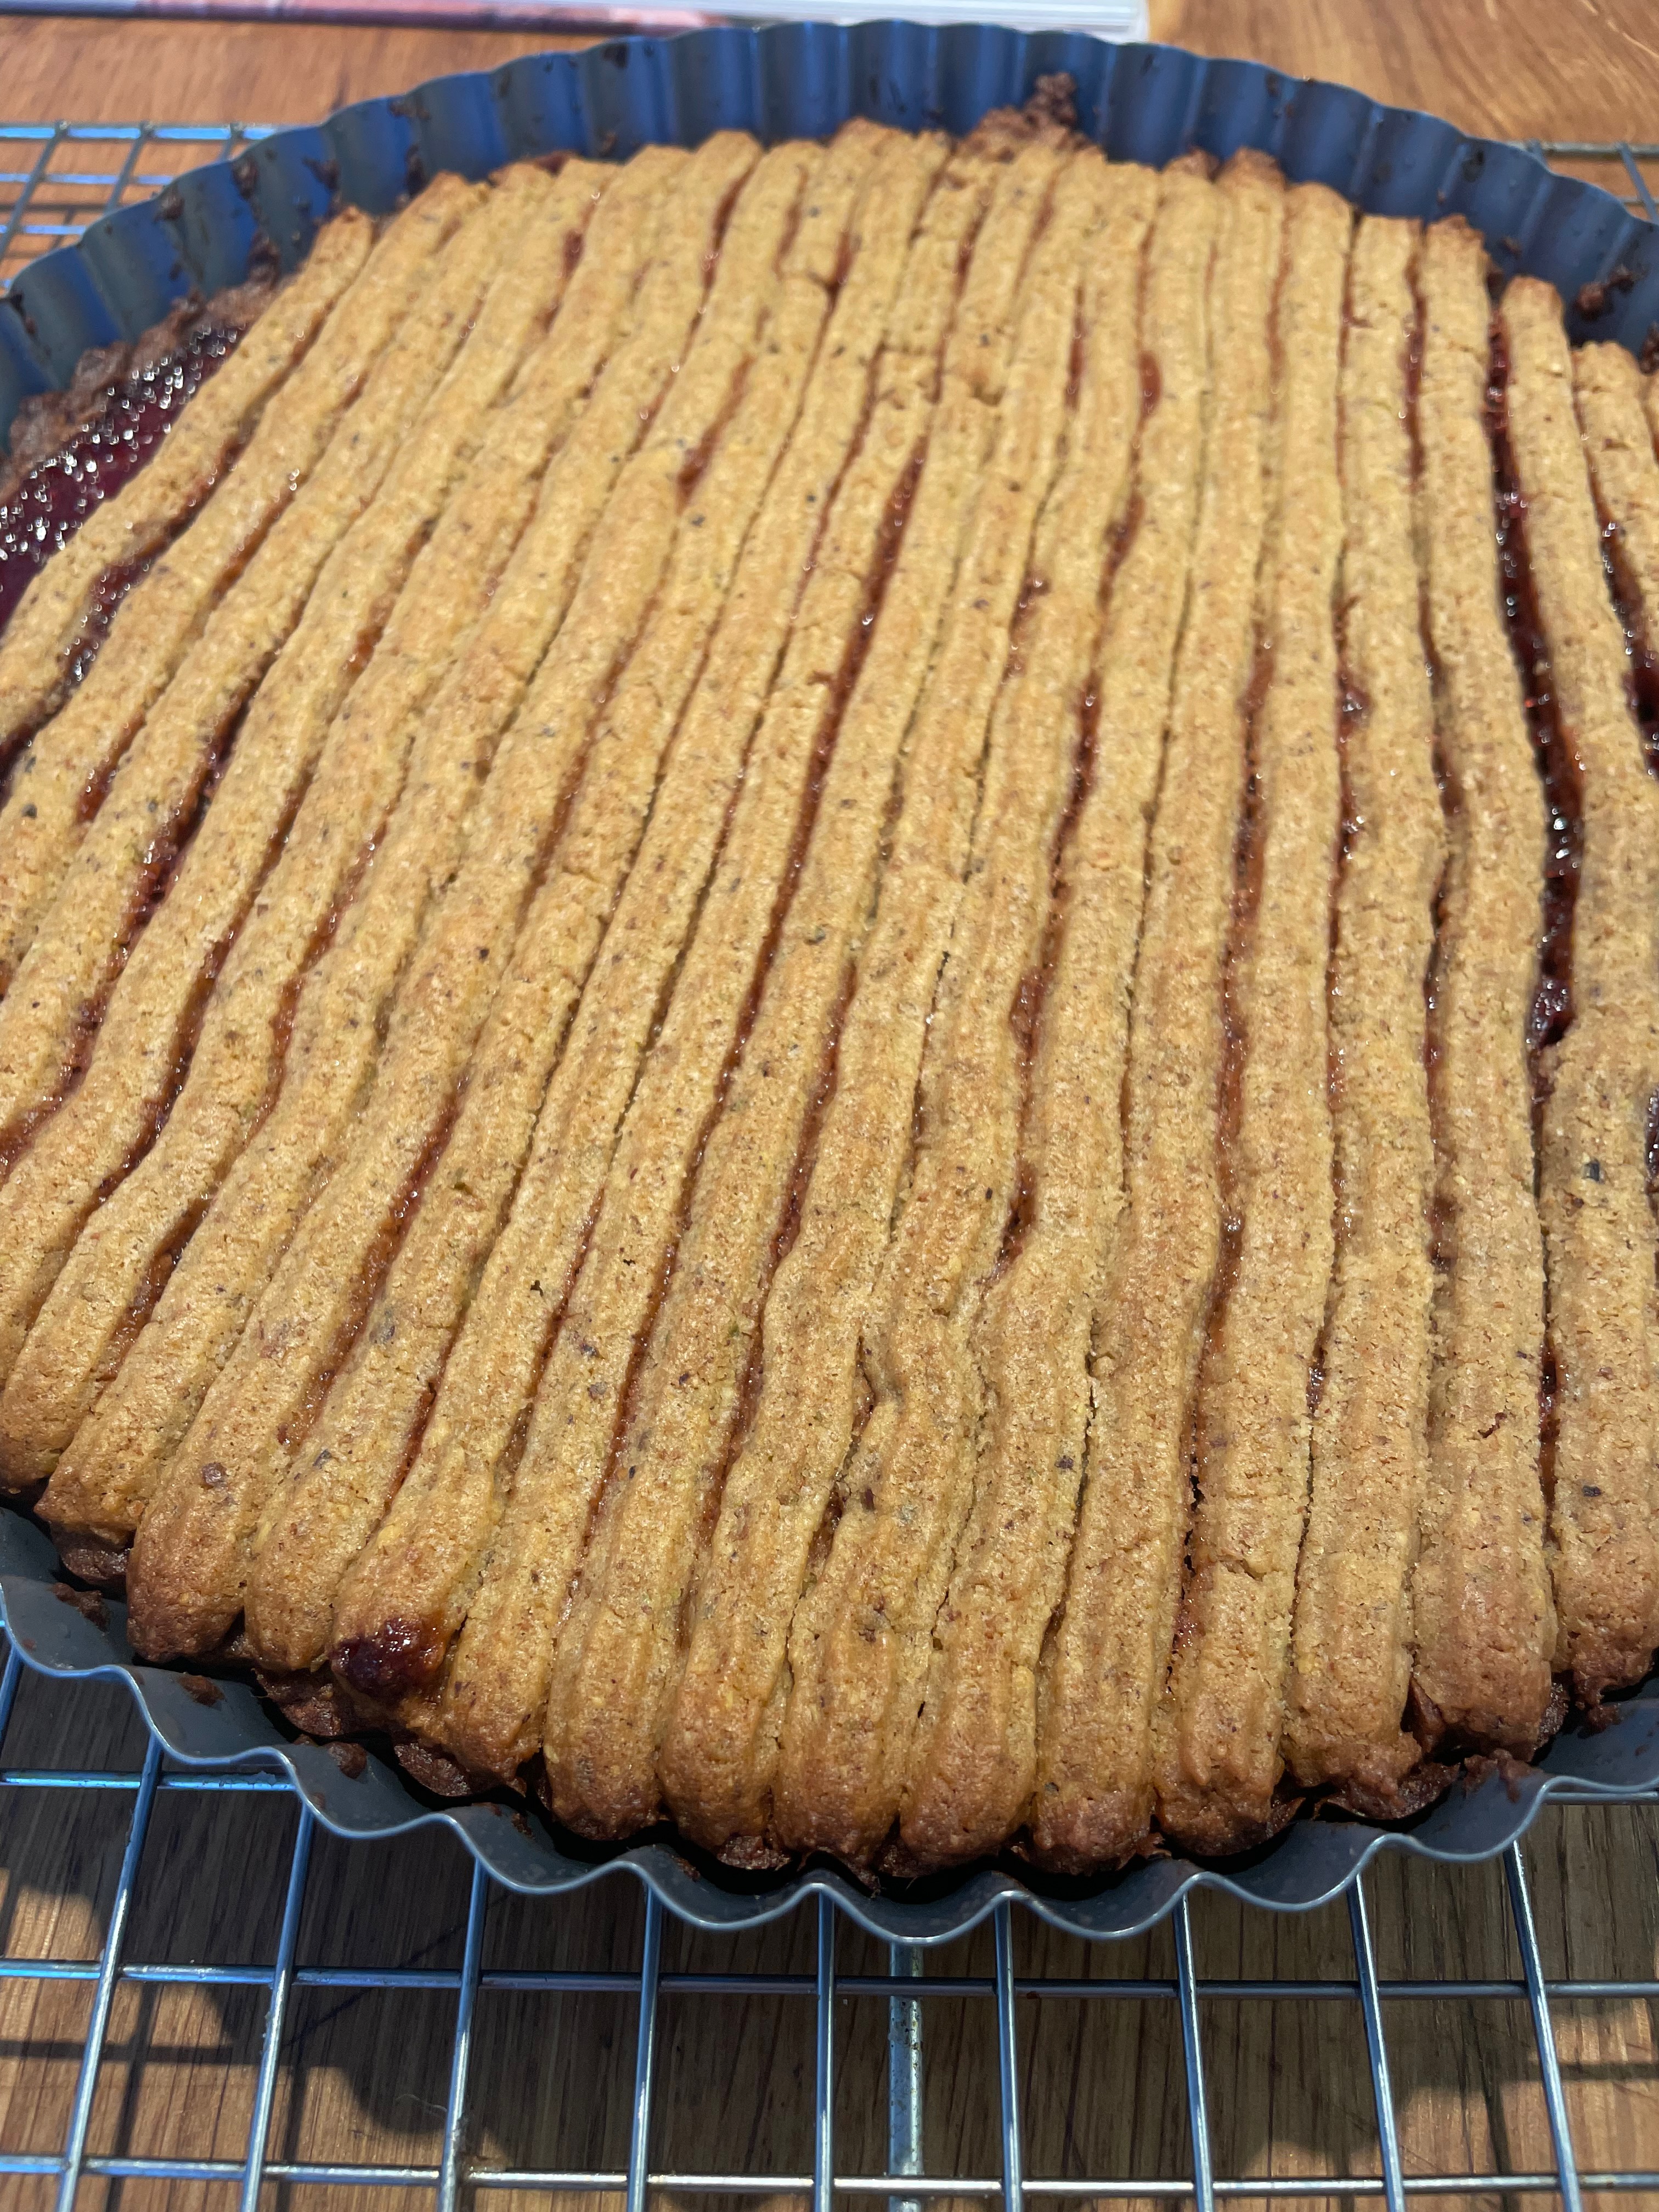
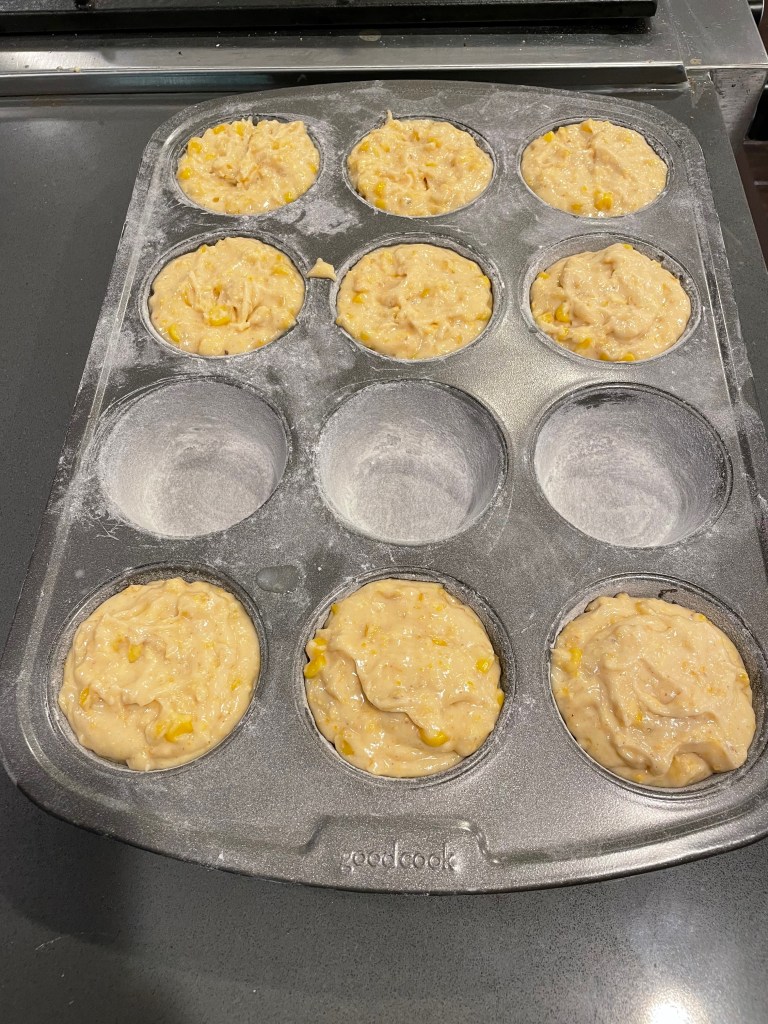
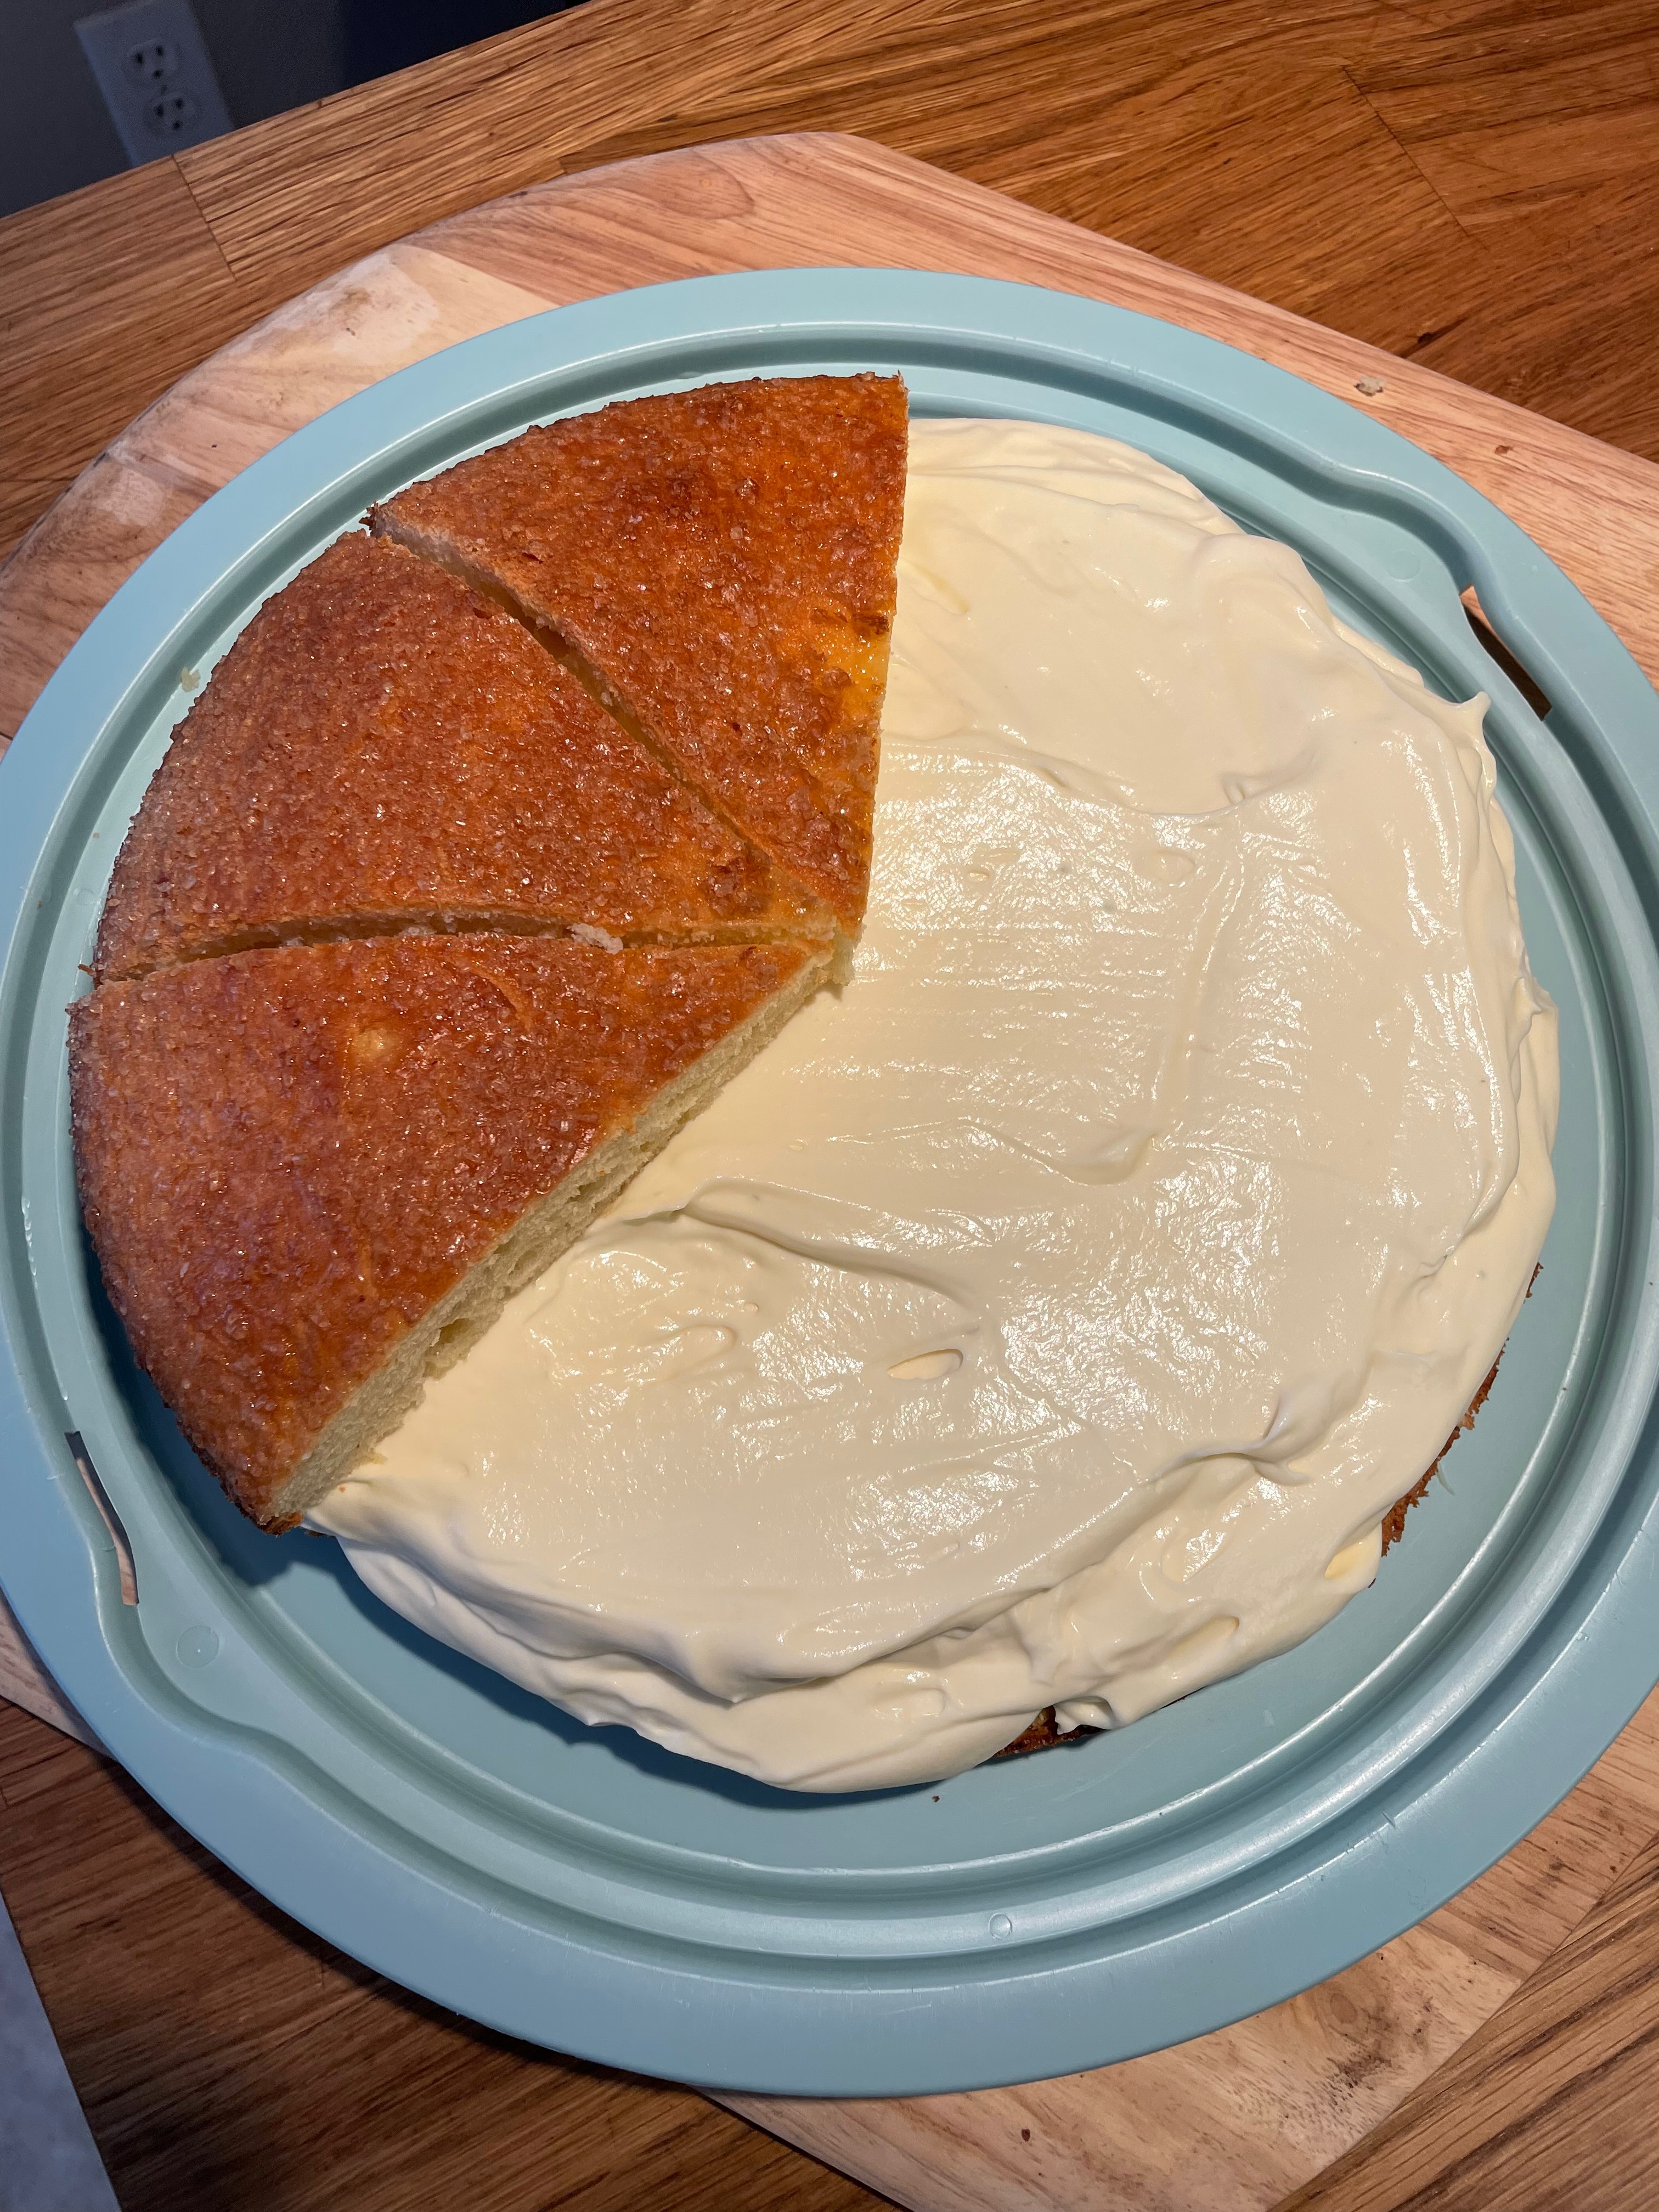
Baking The Cake


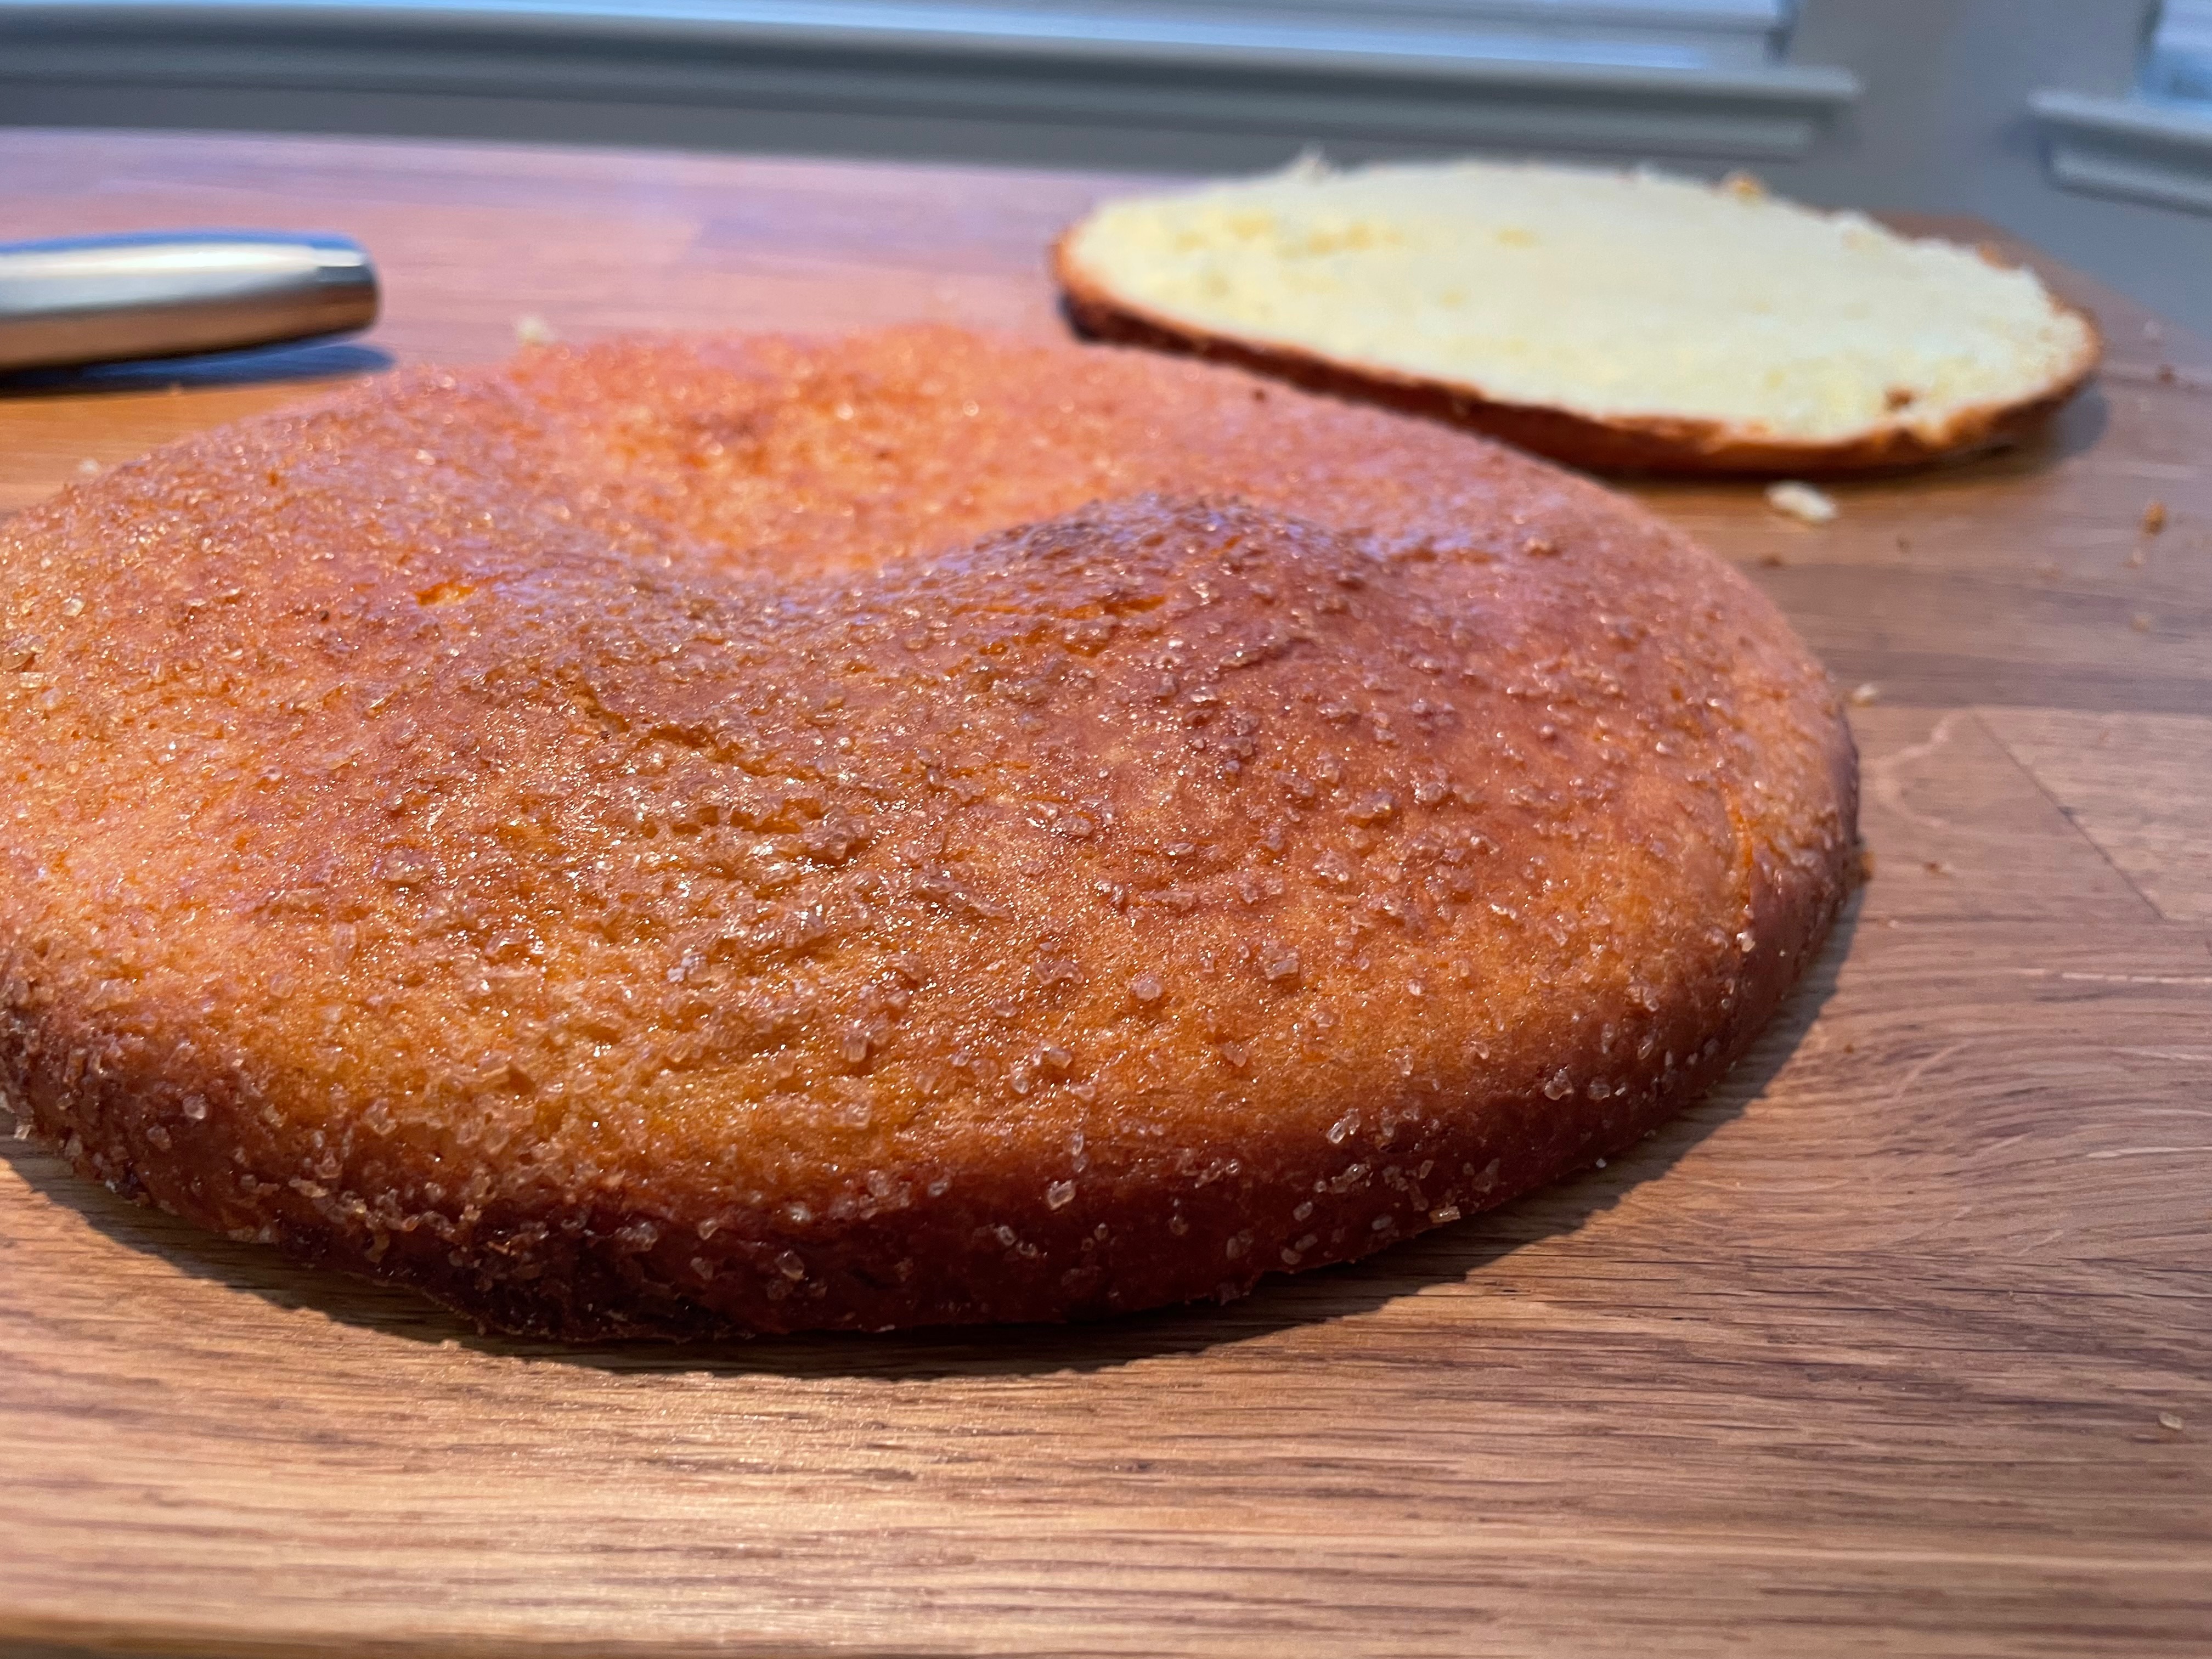
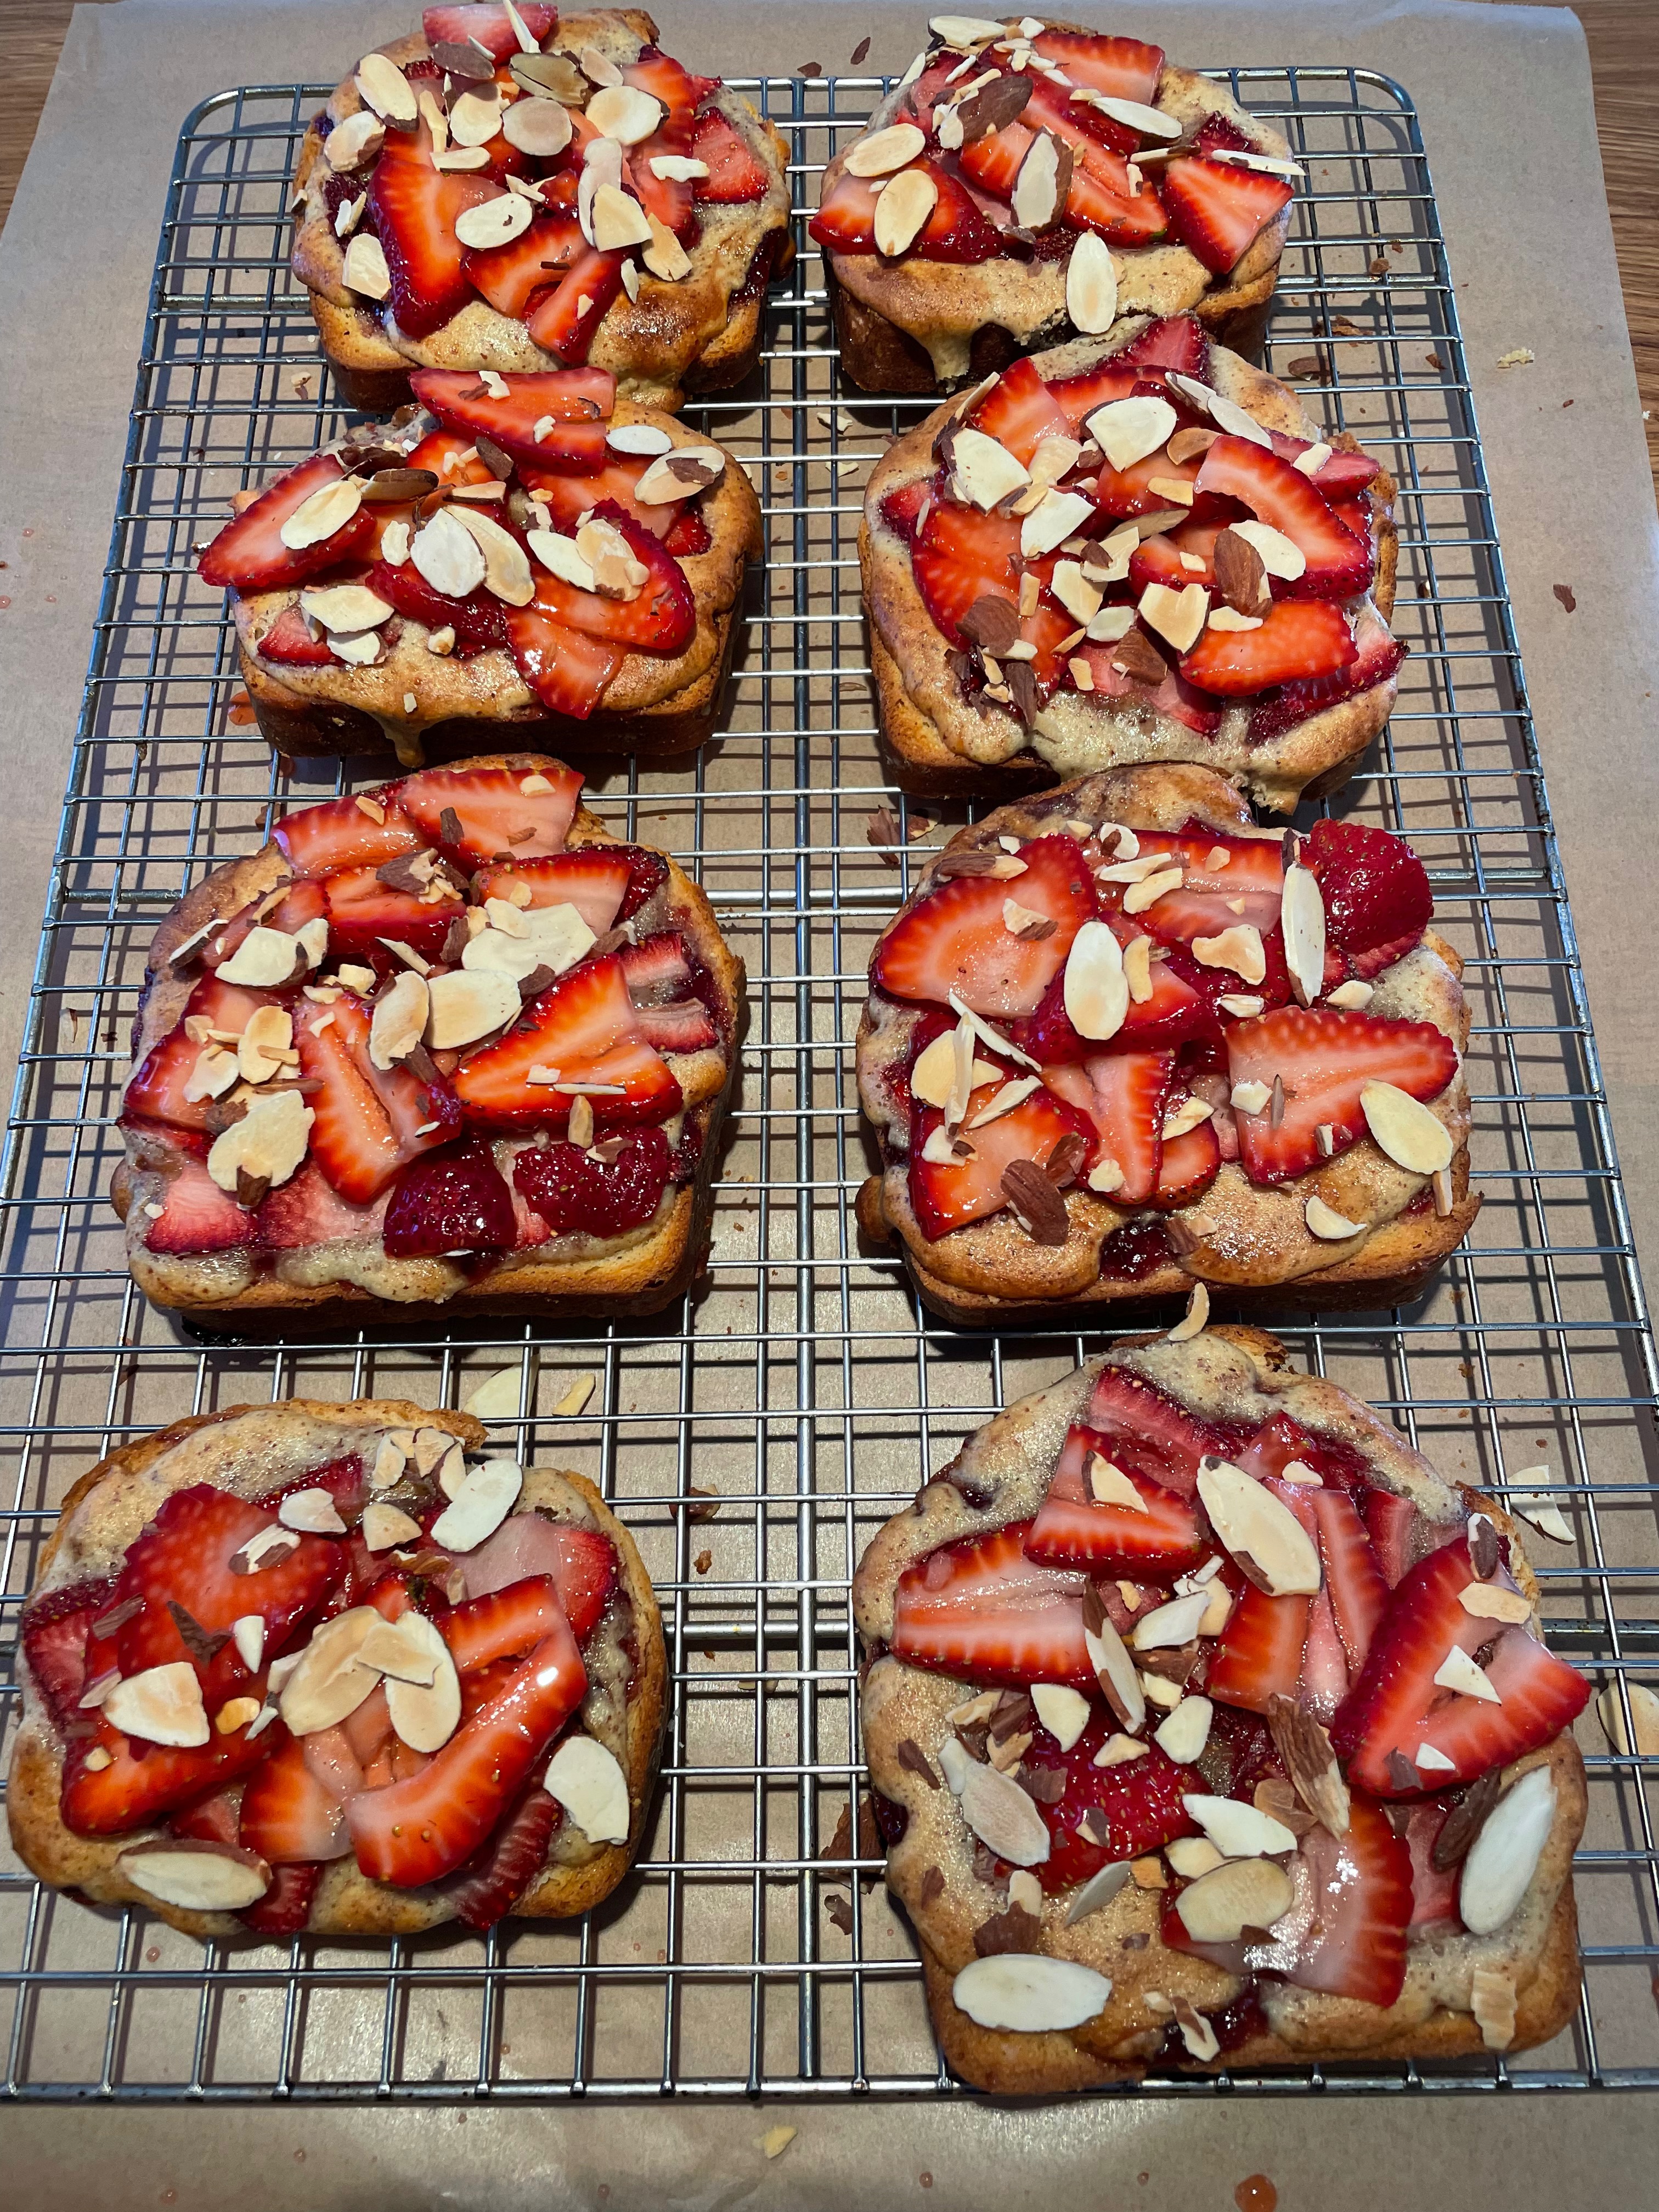
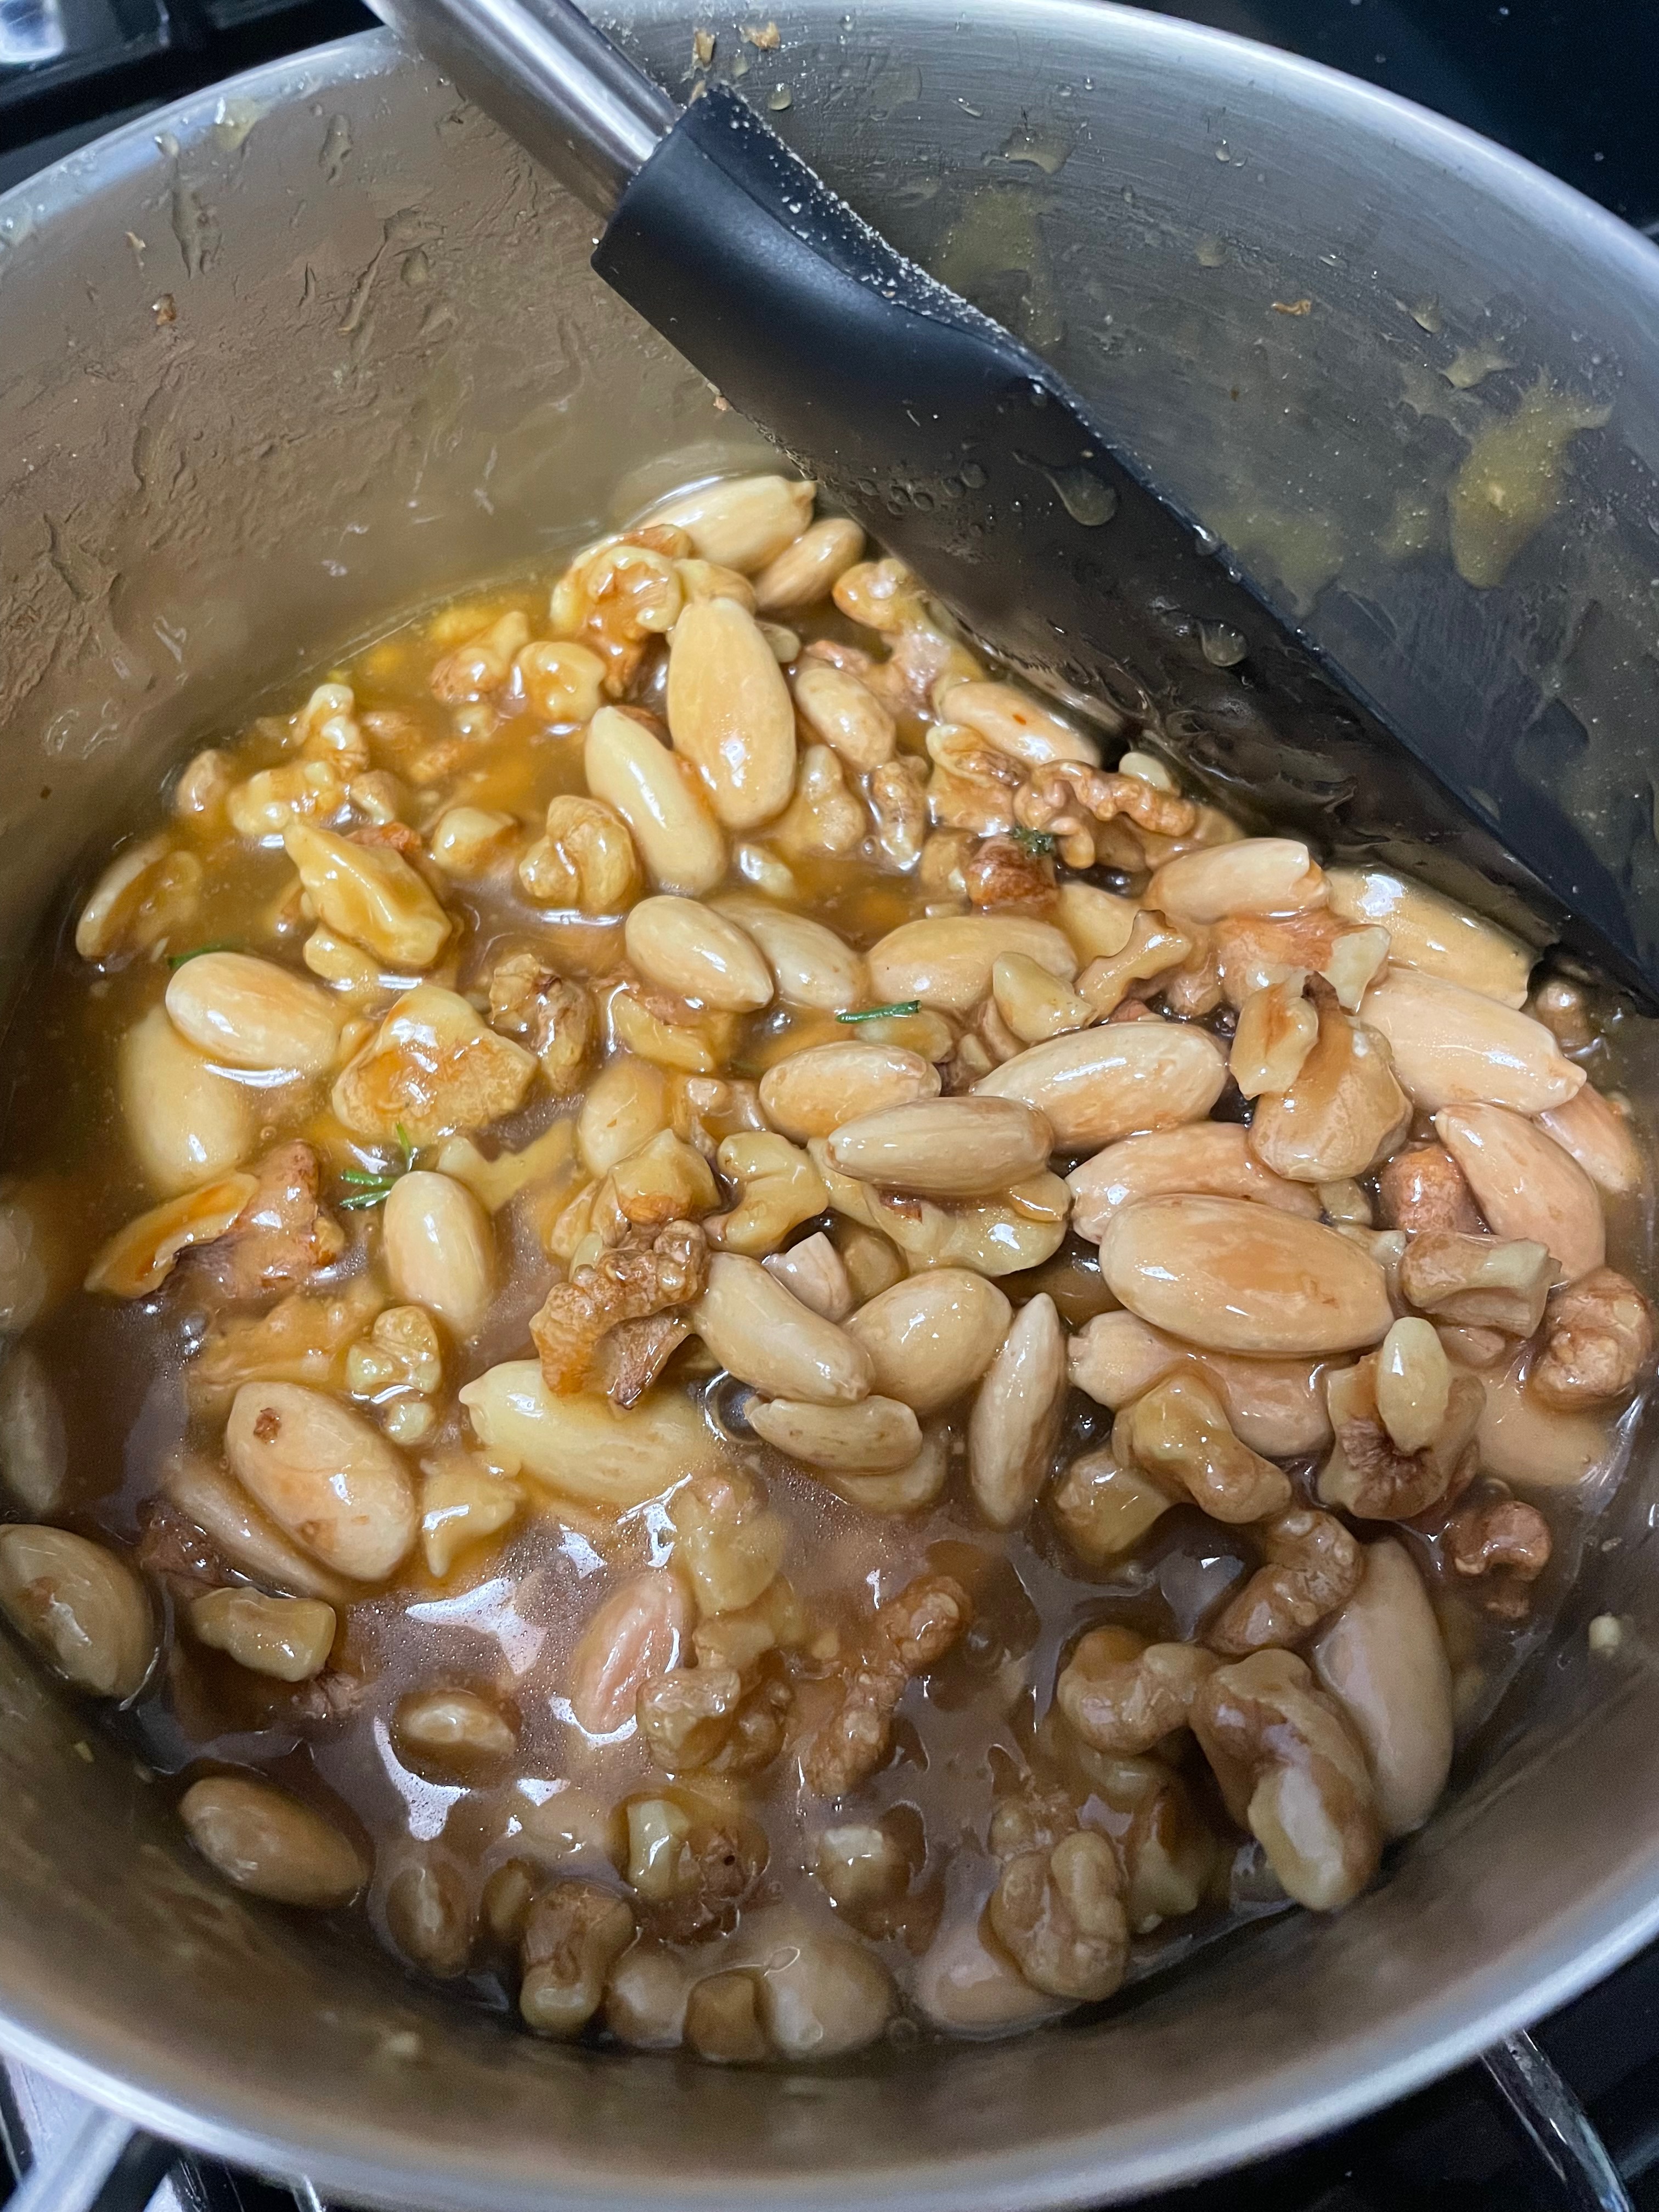
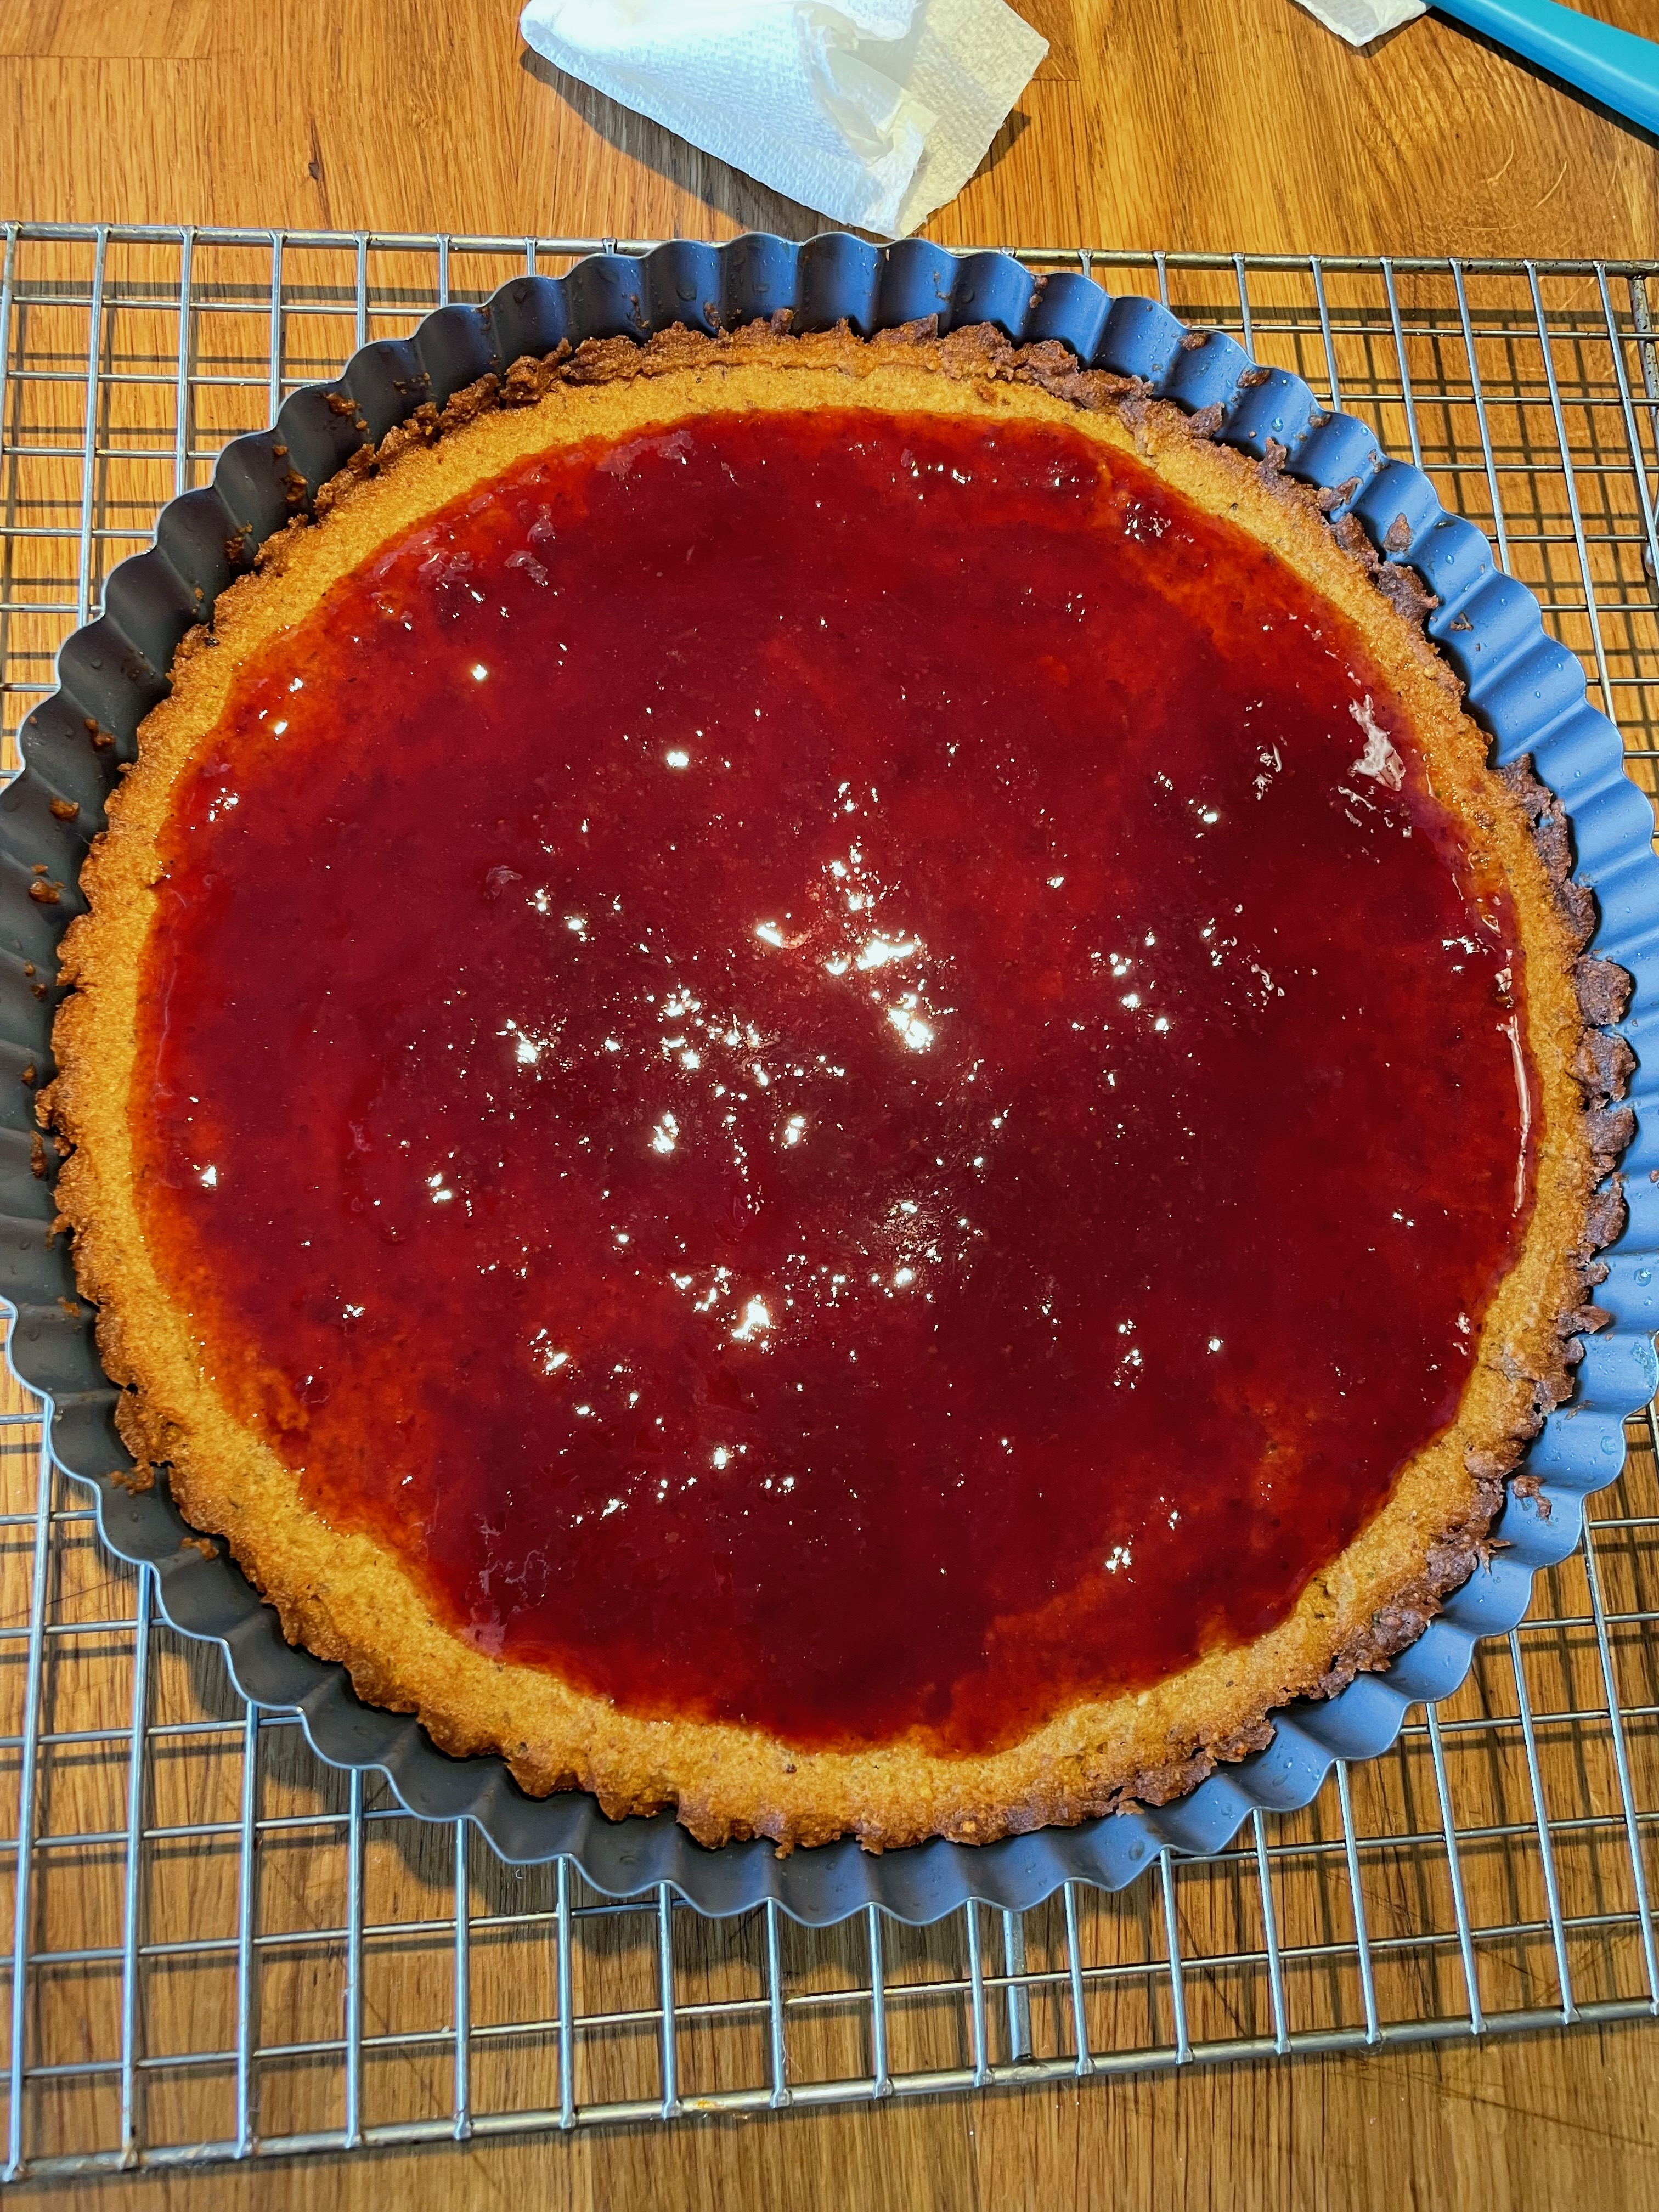
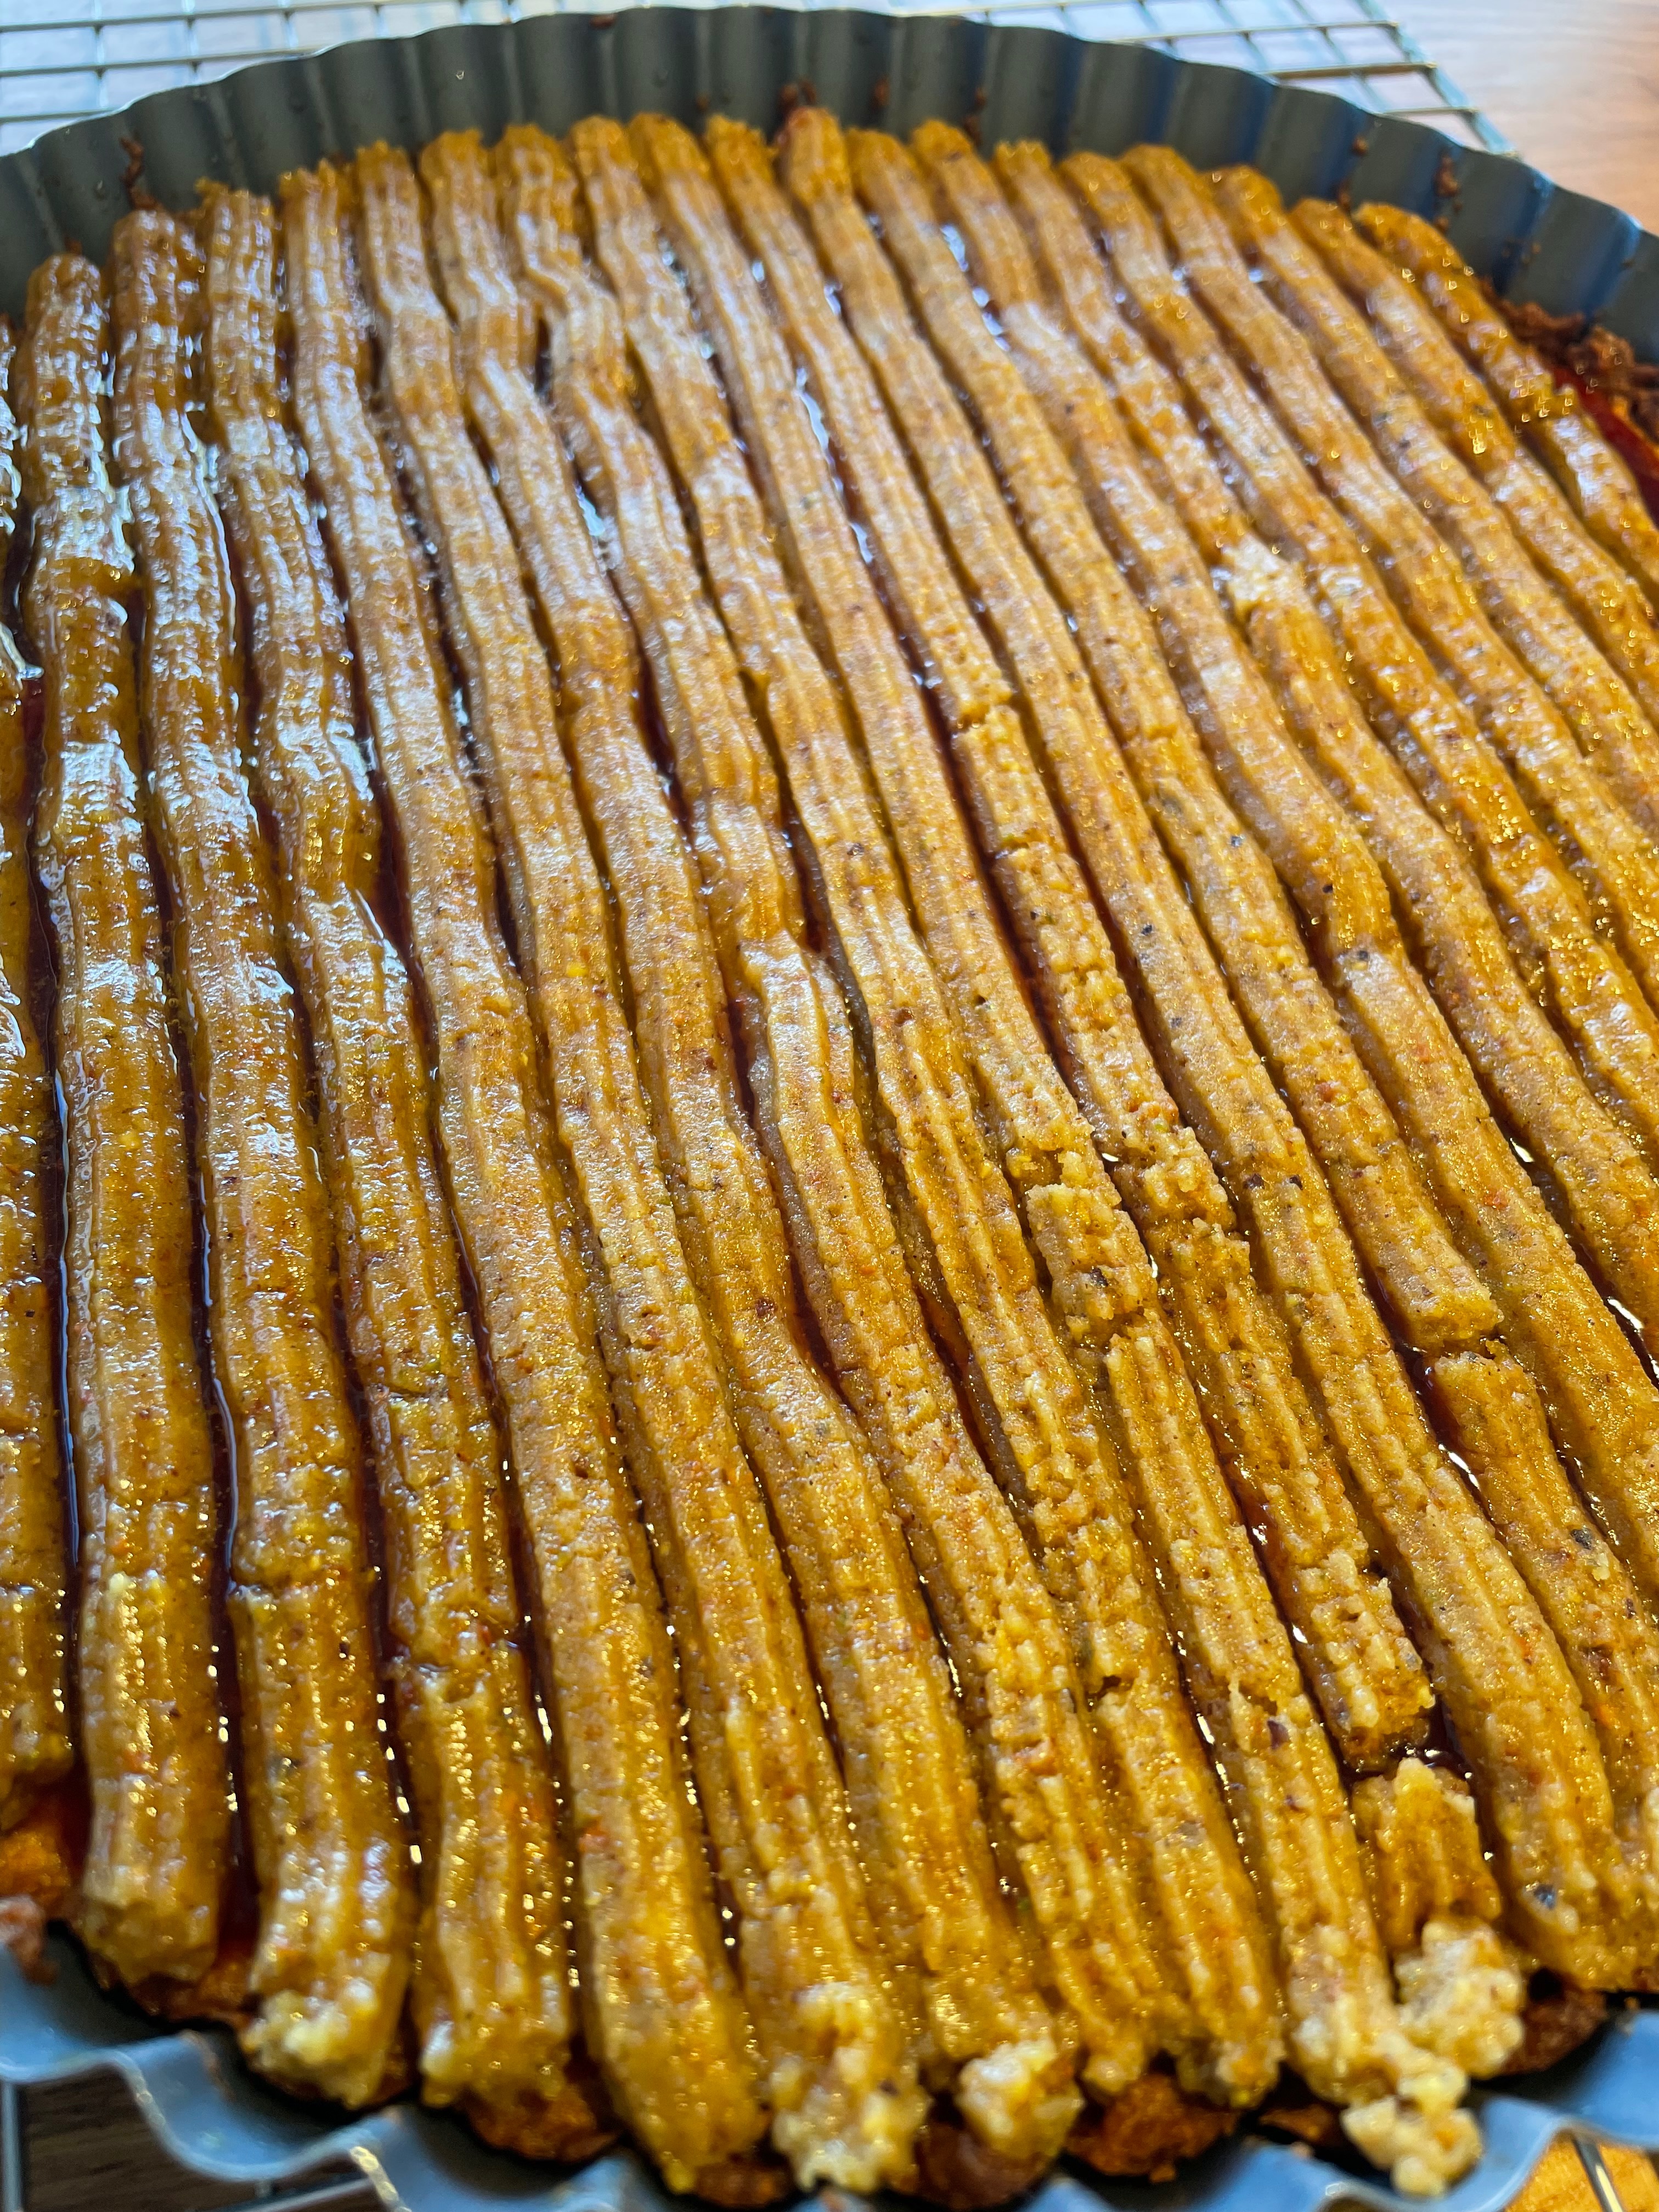
Assembling The Cake


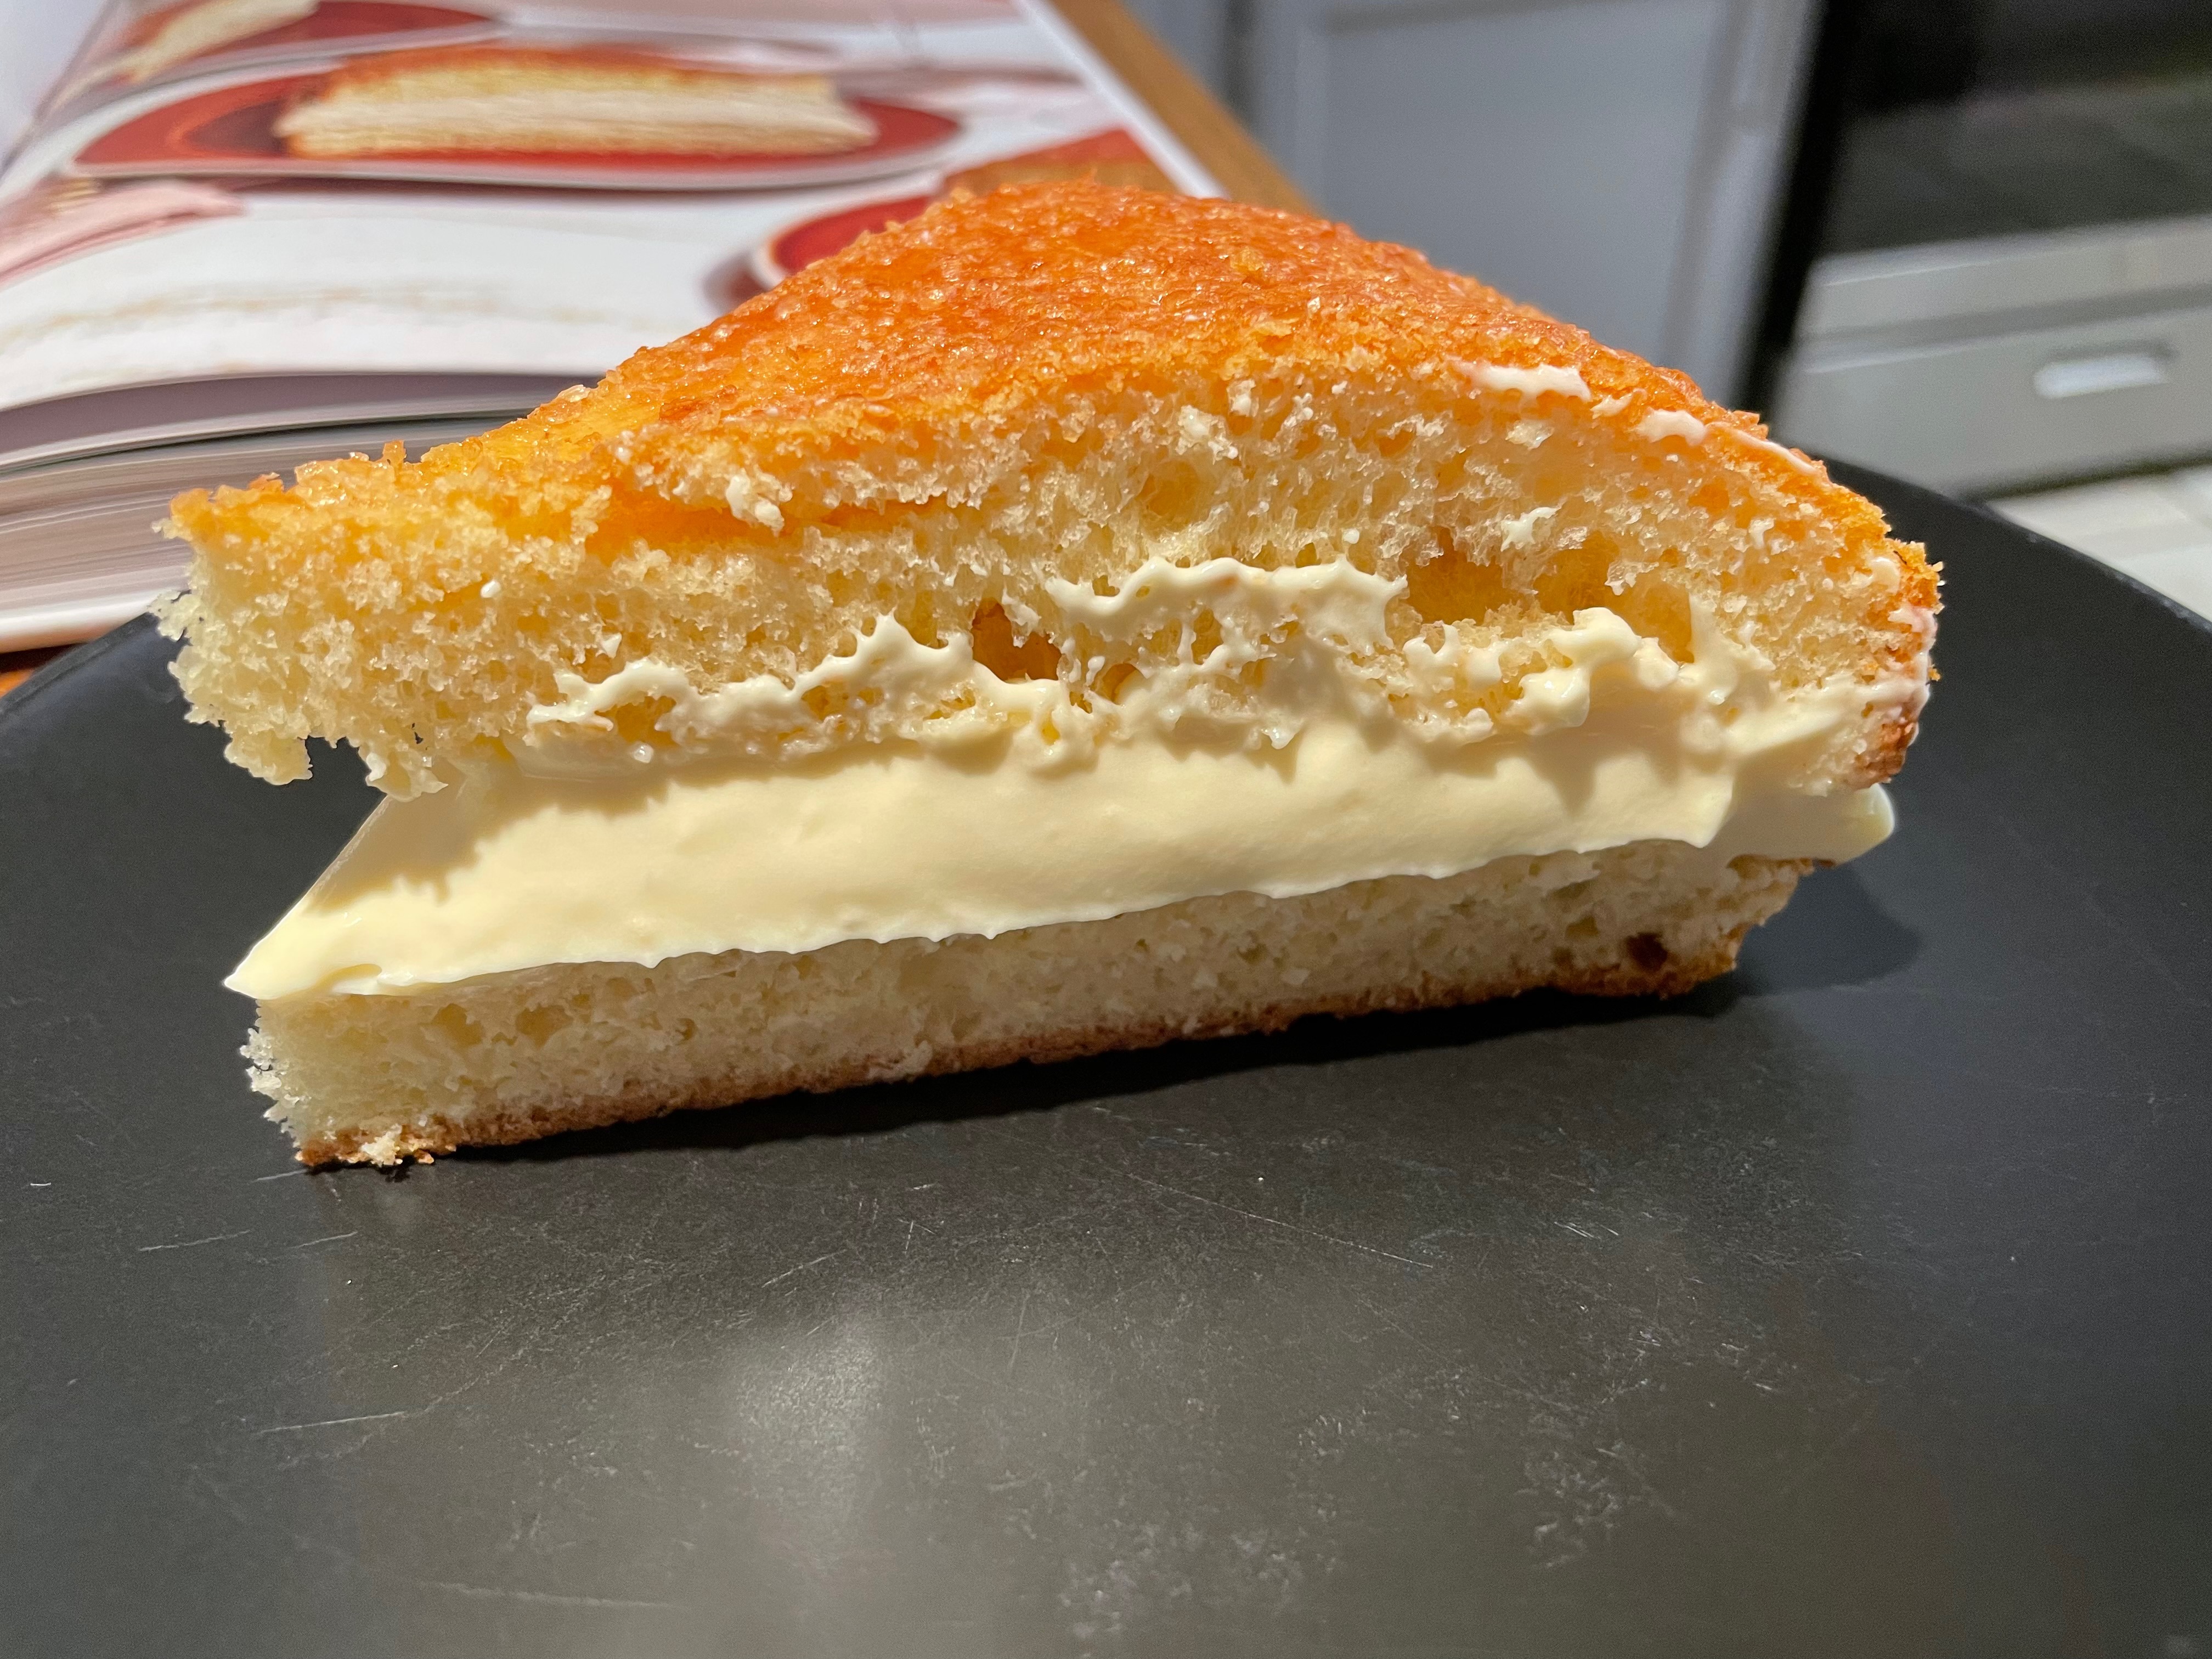
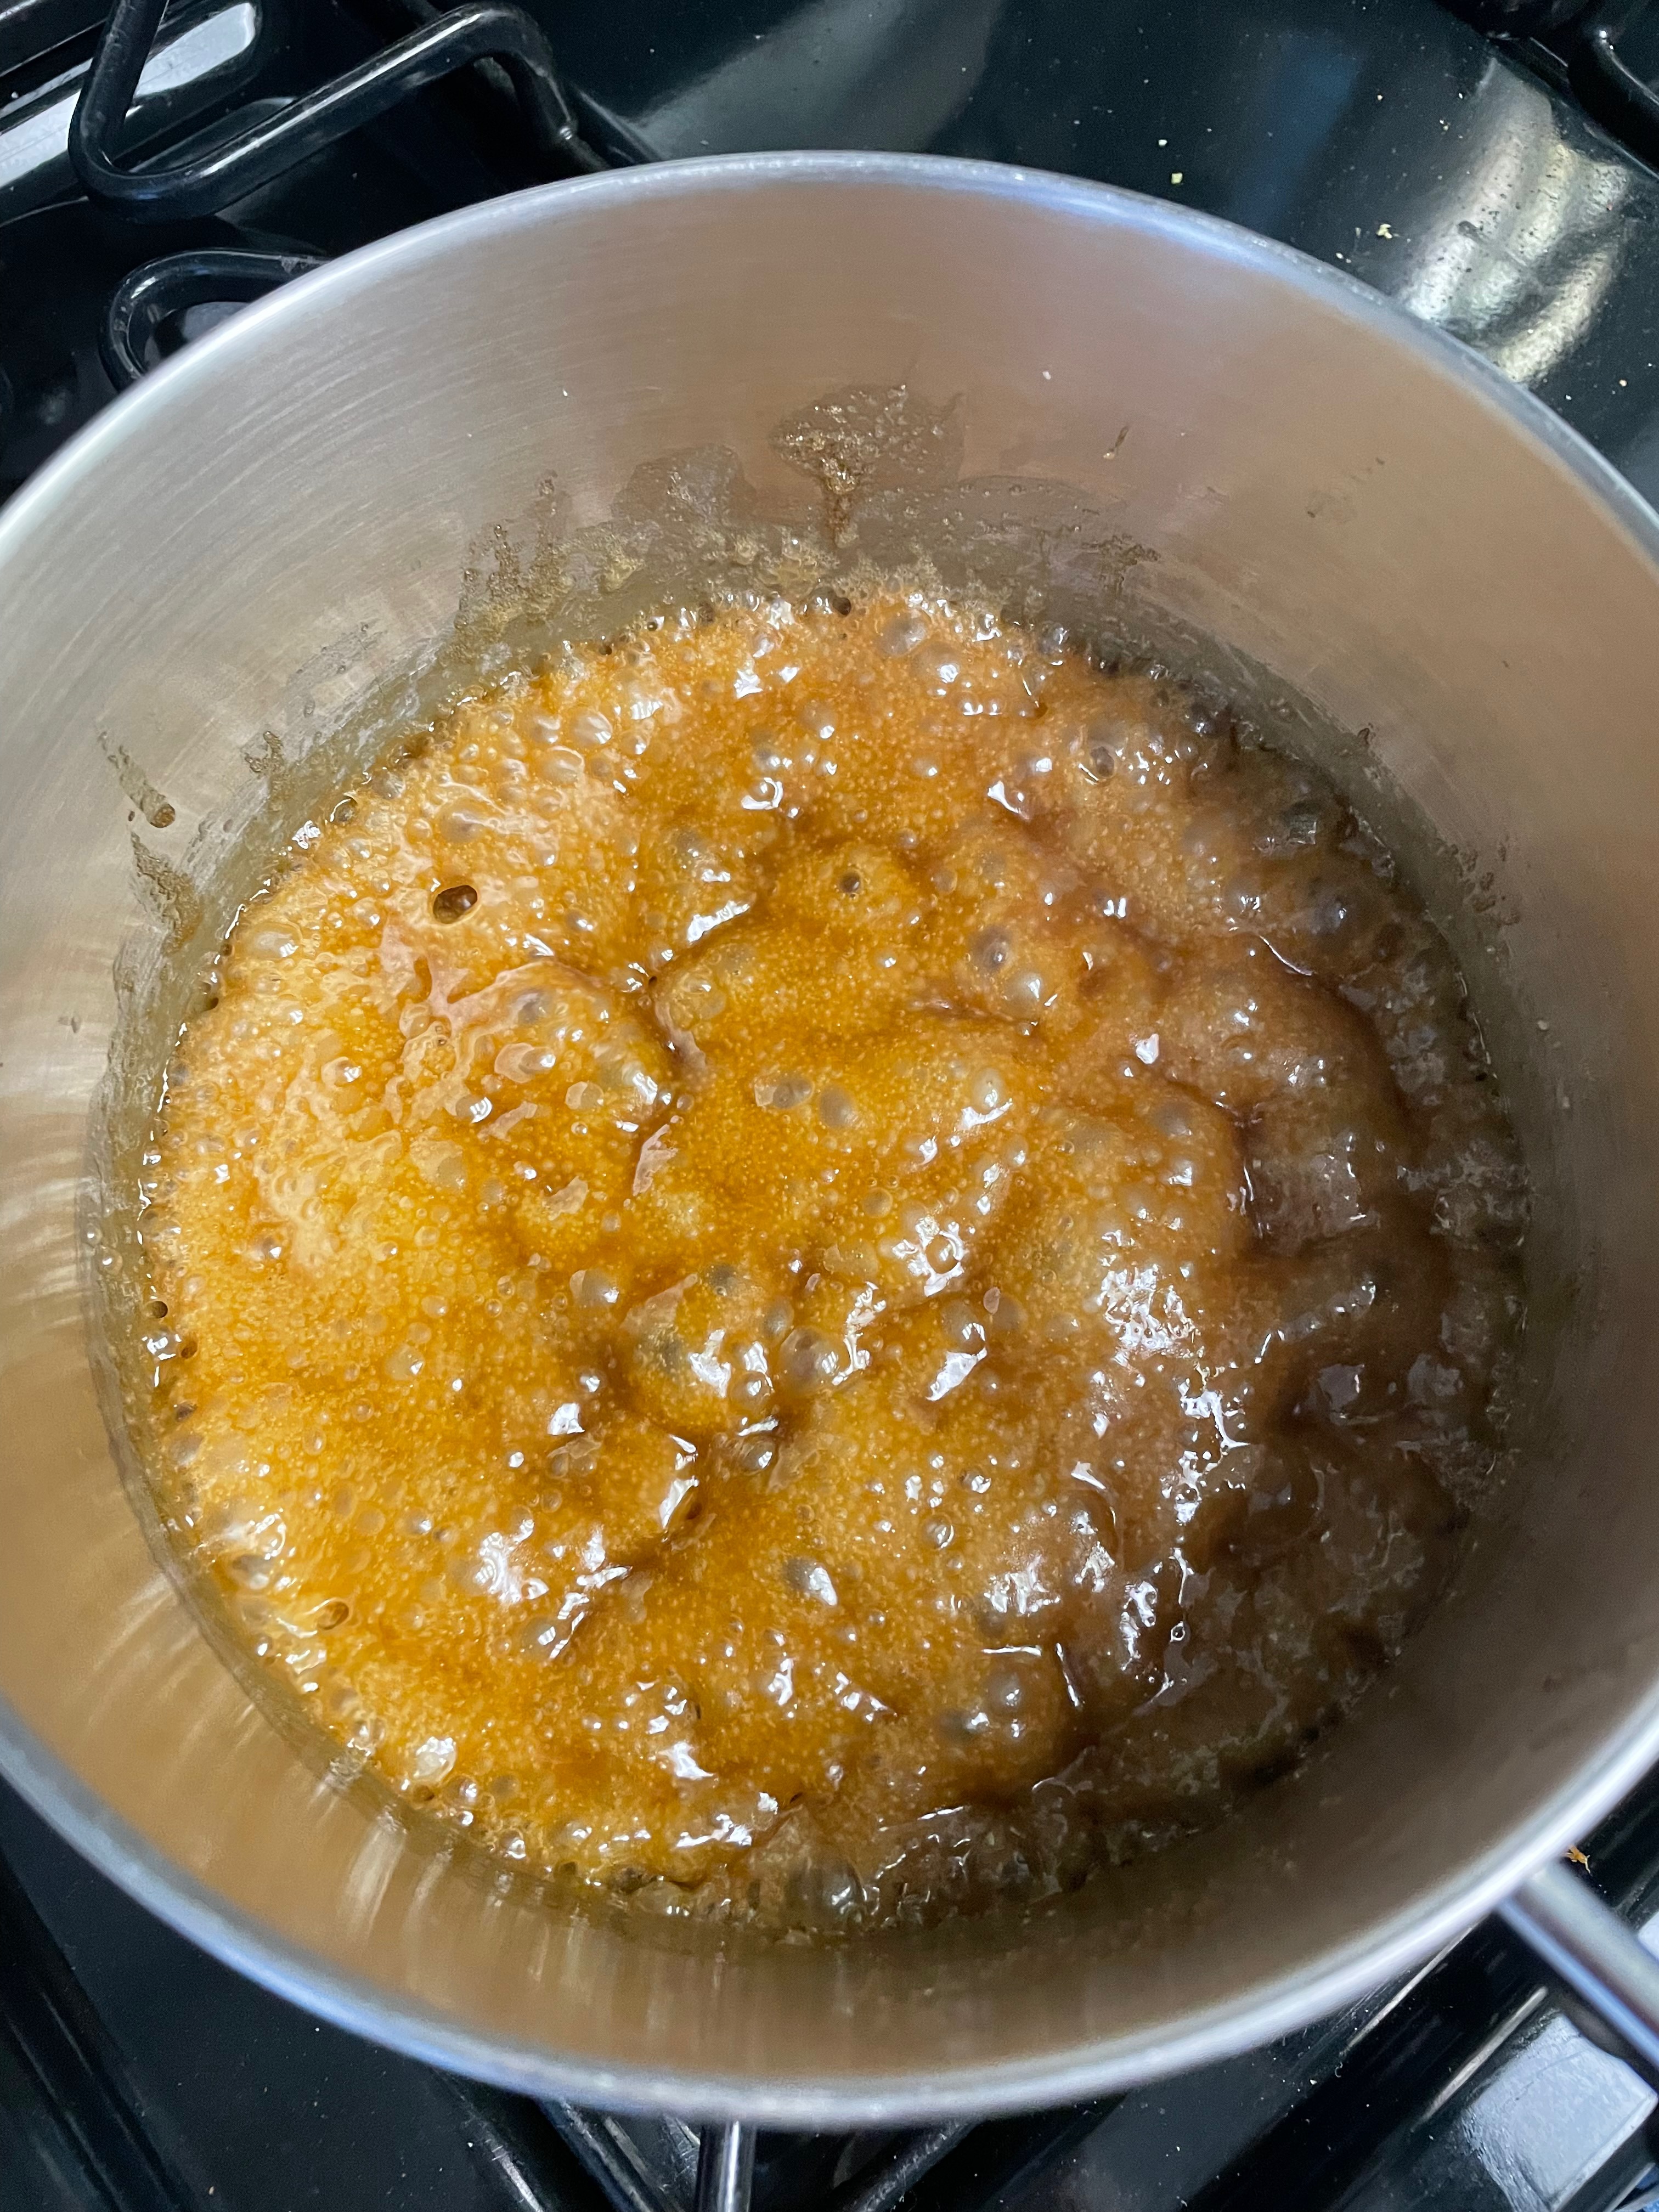
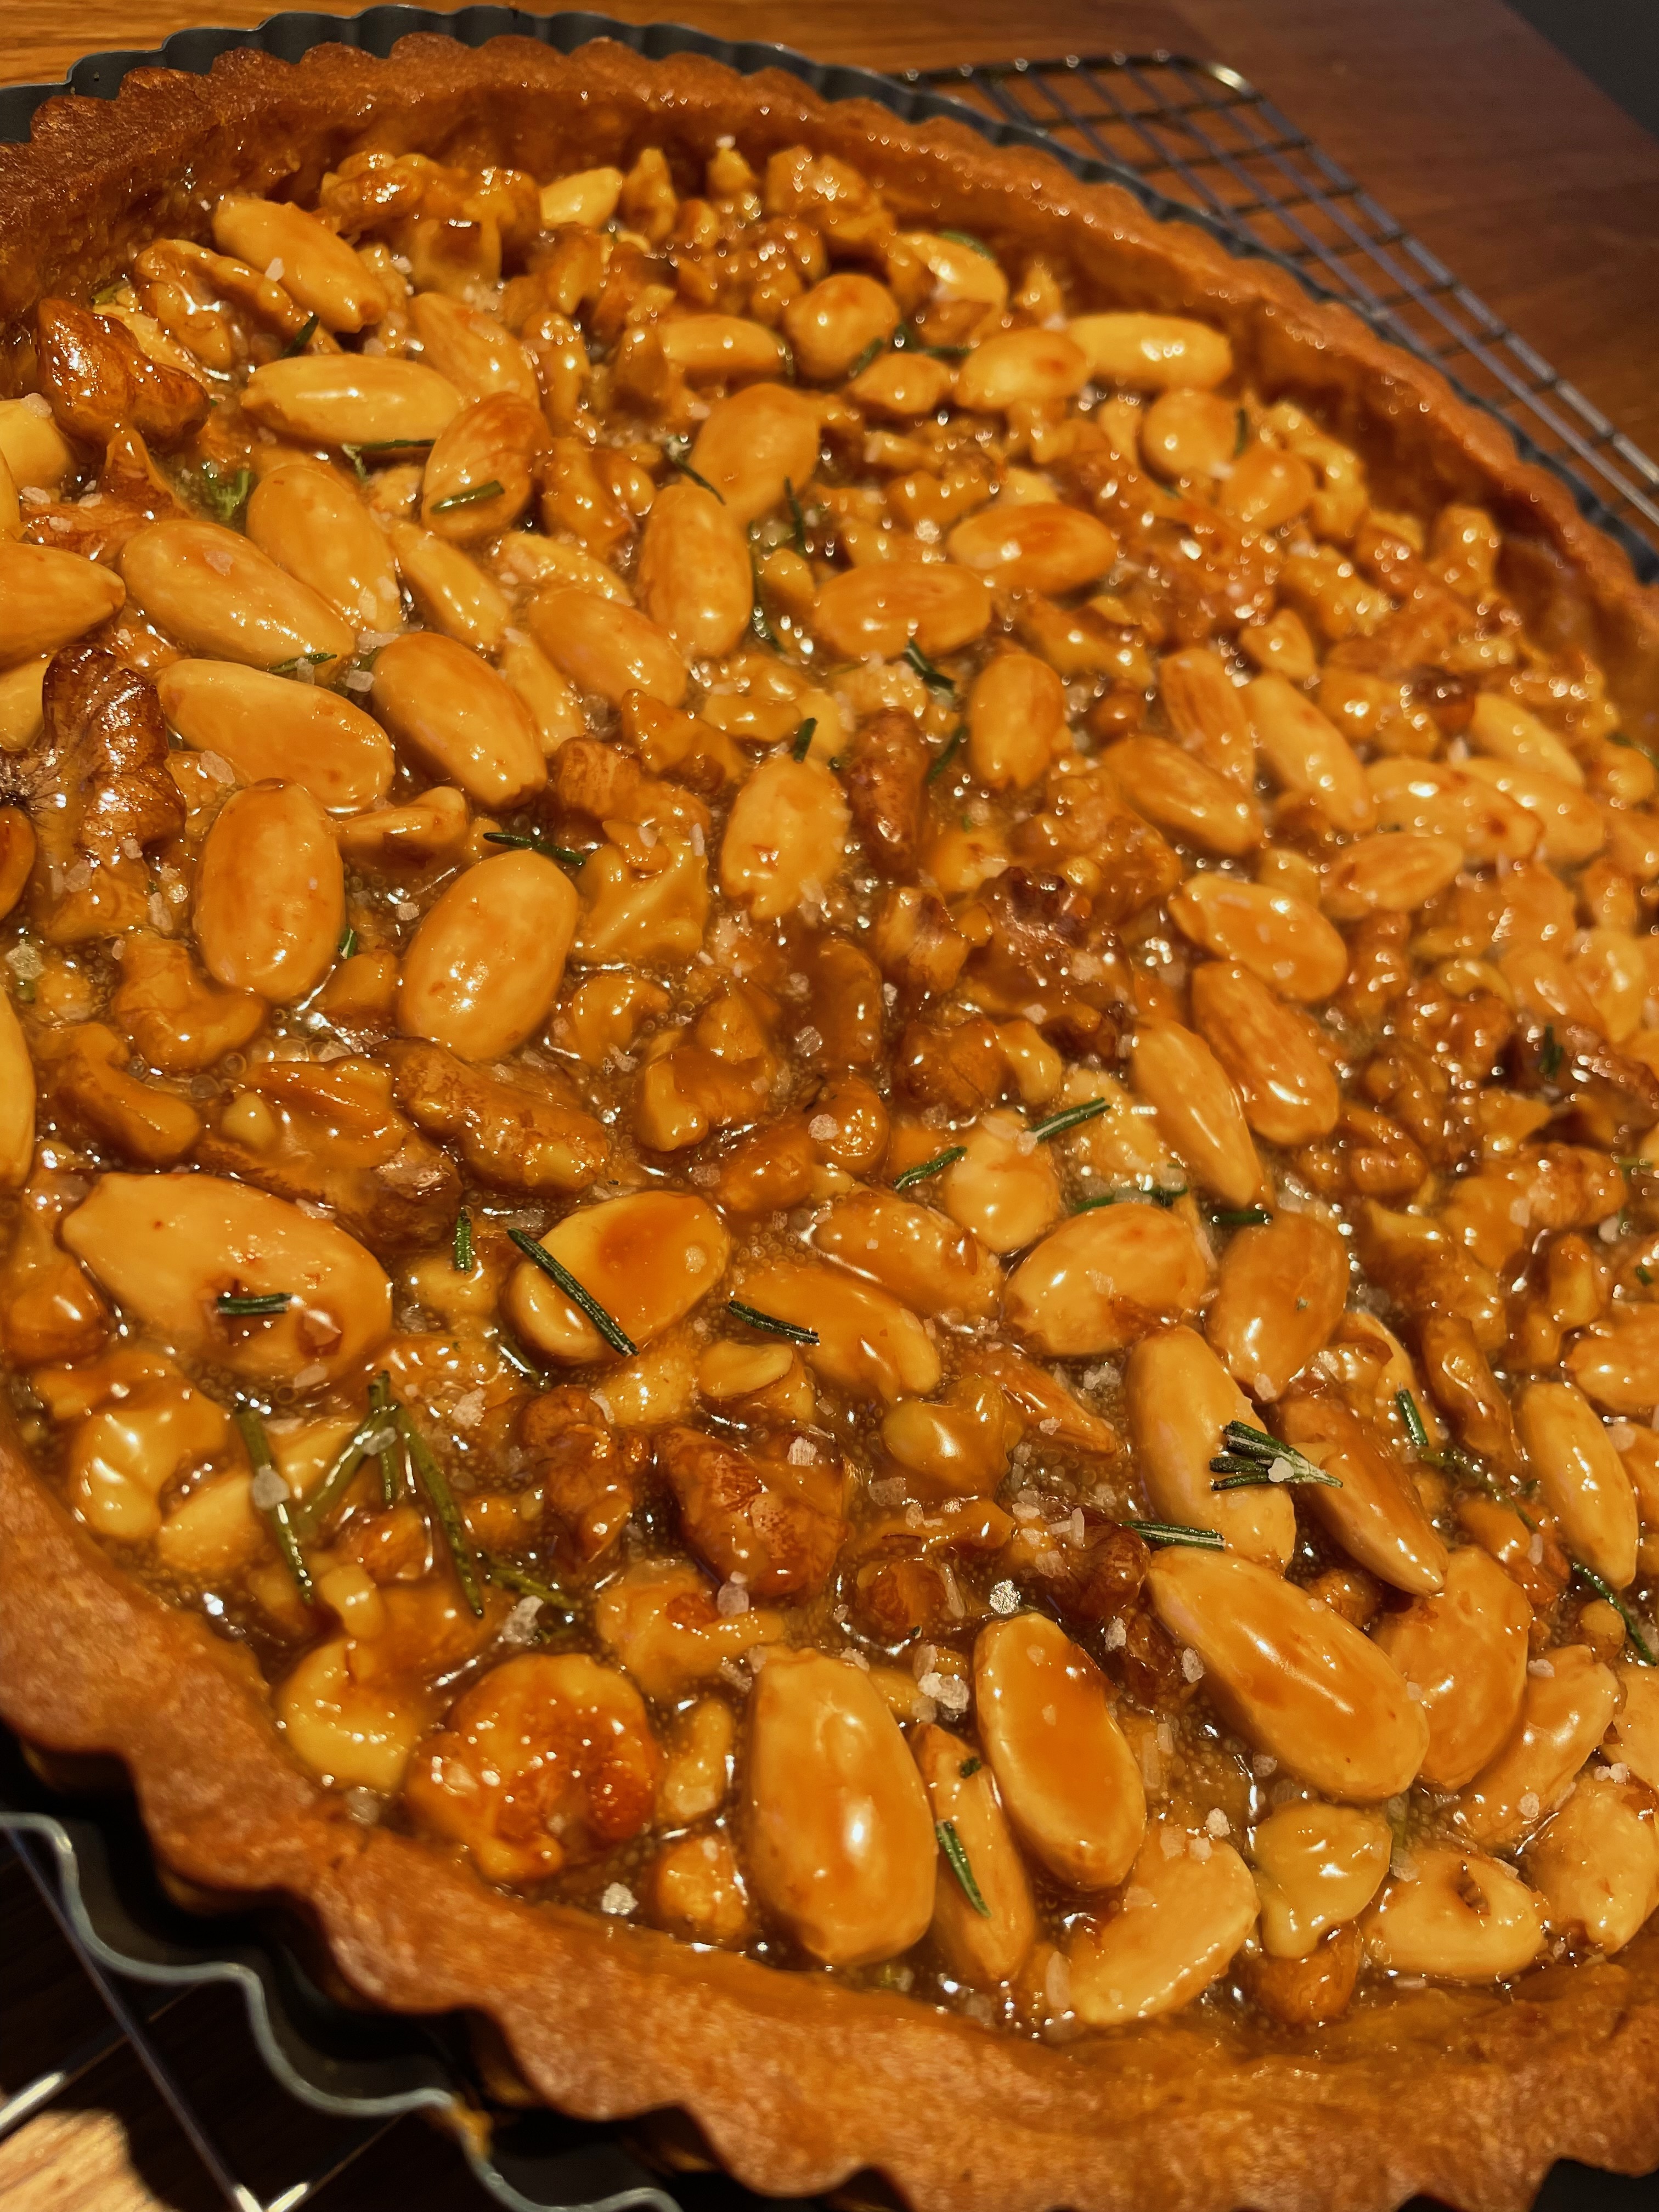
Tip: Make sure to use plenty of honey almond syrup.
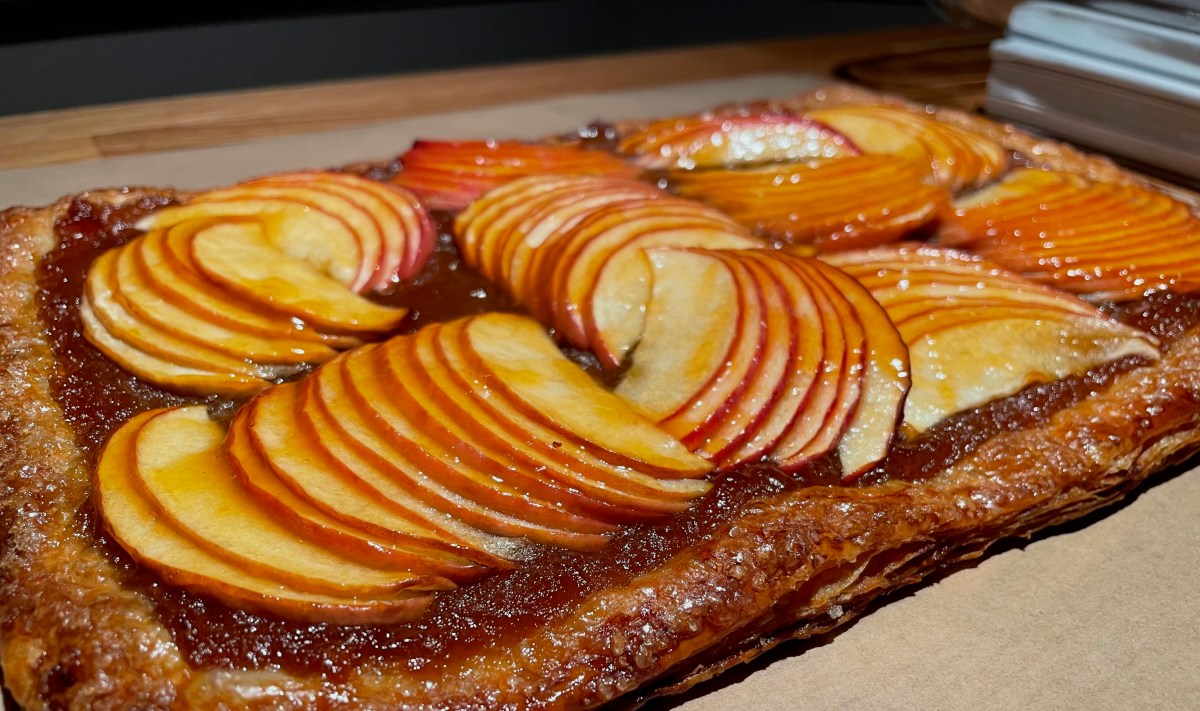
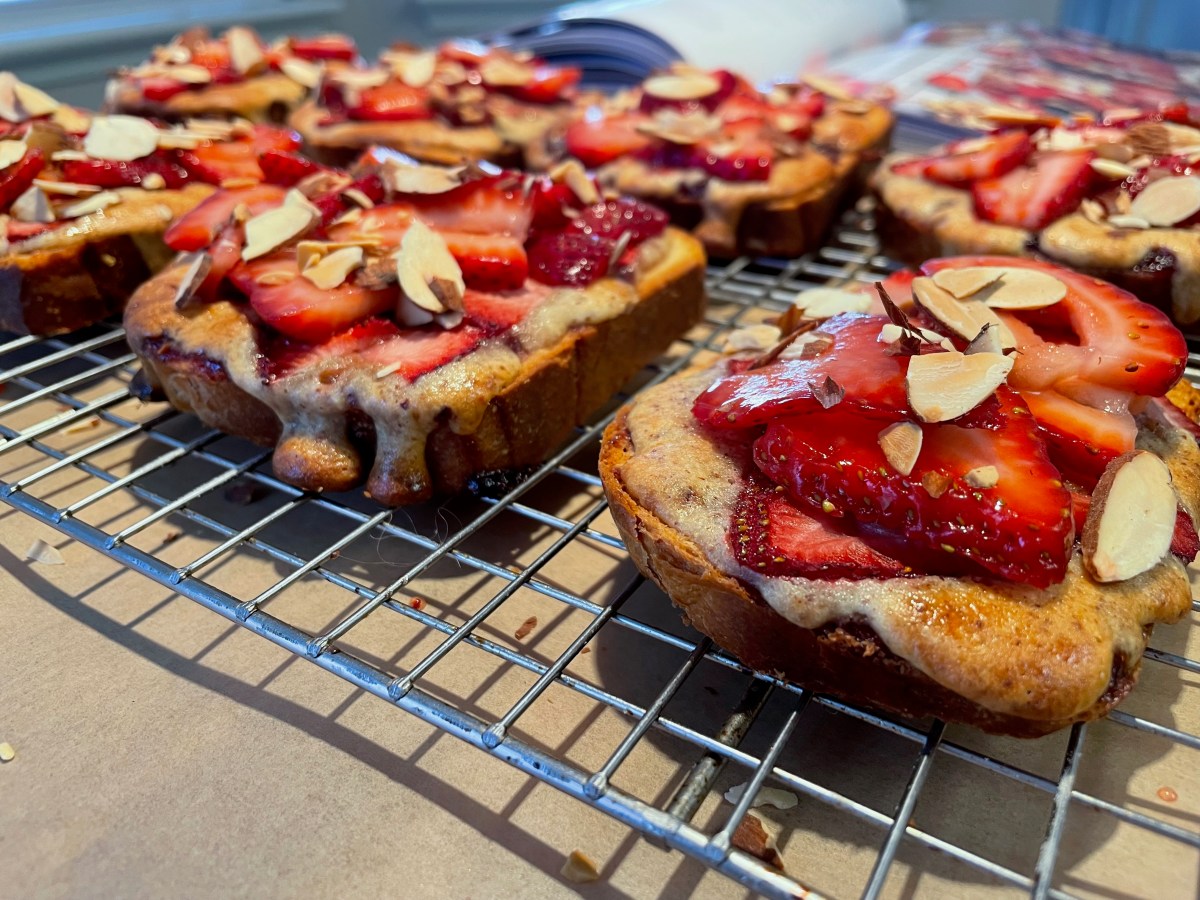
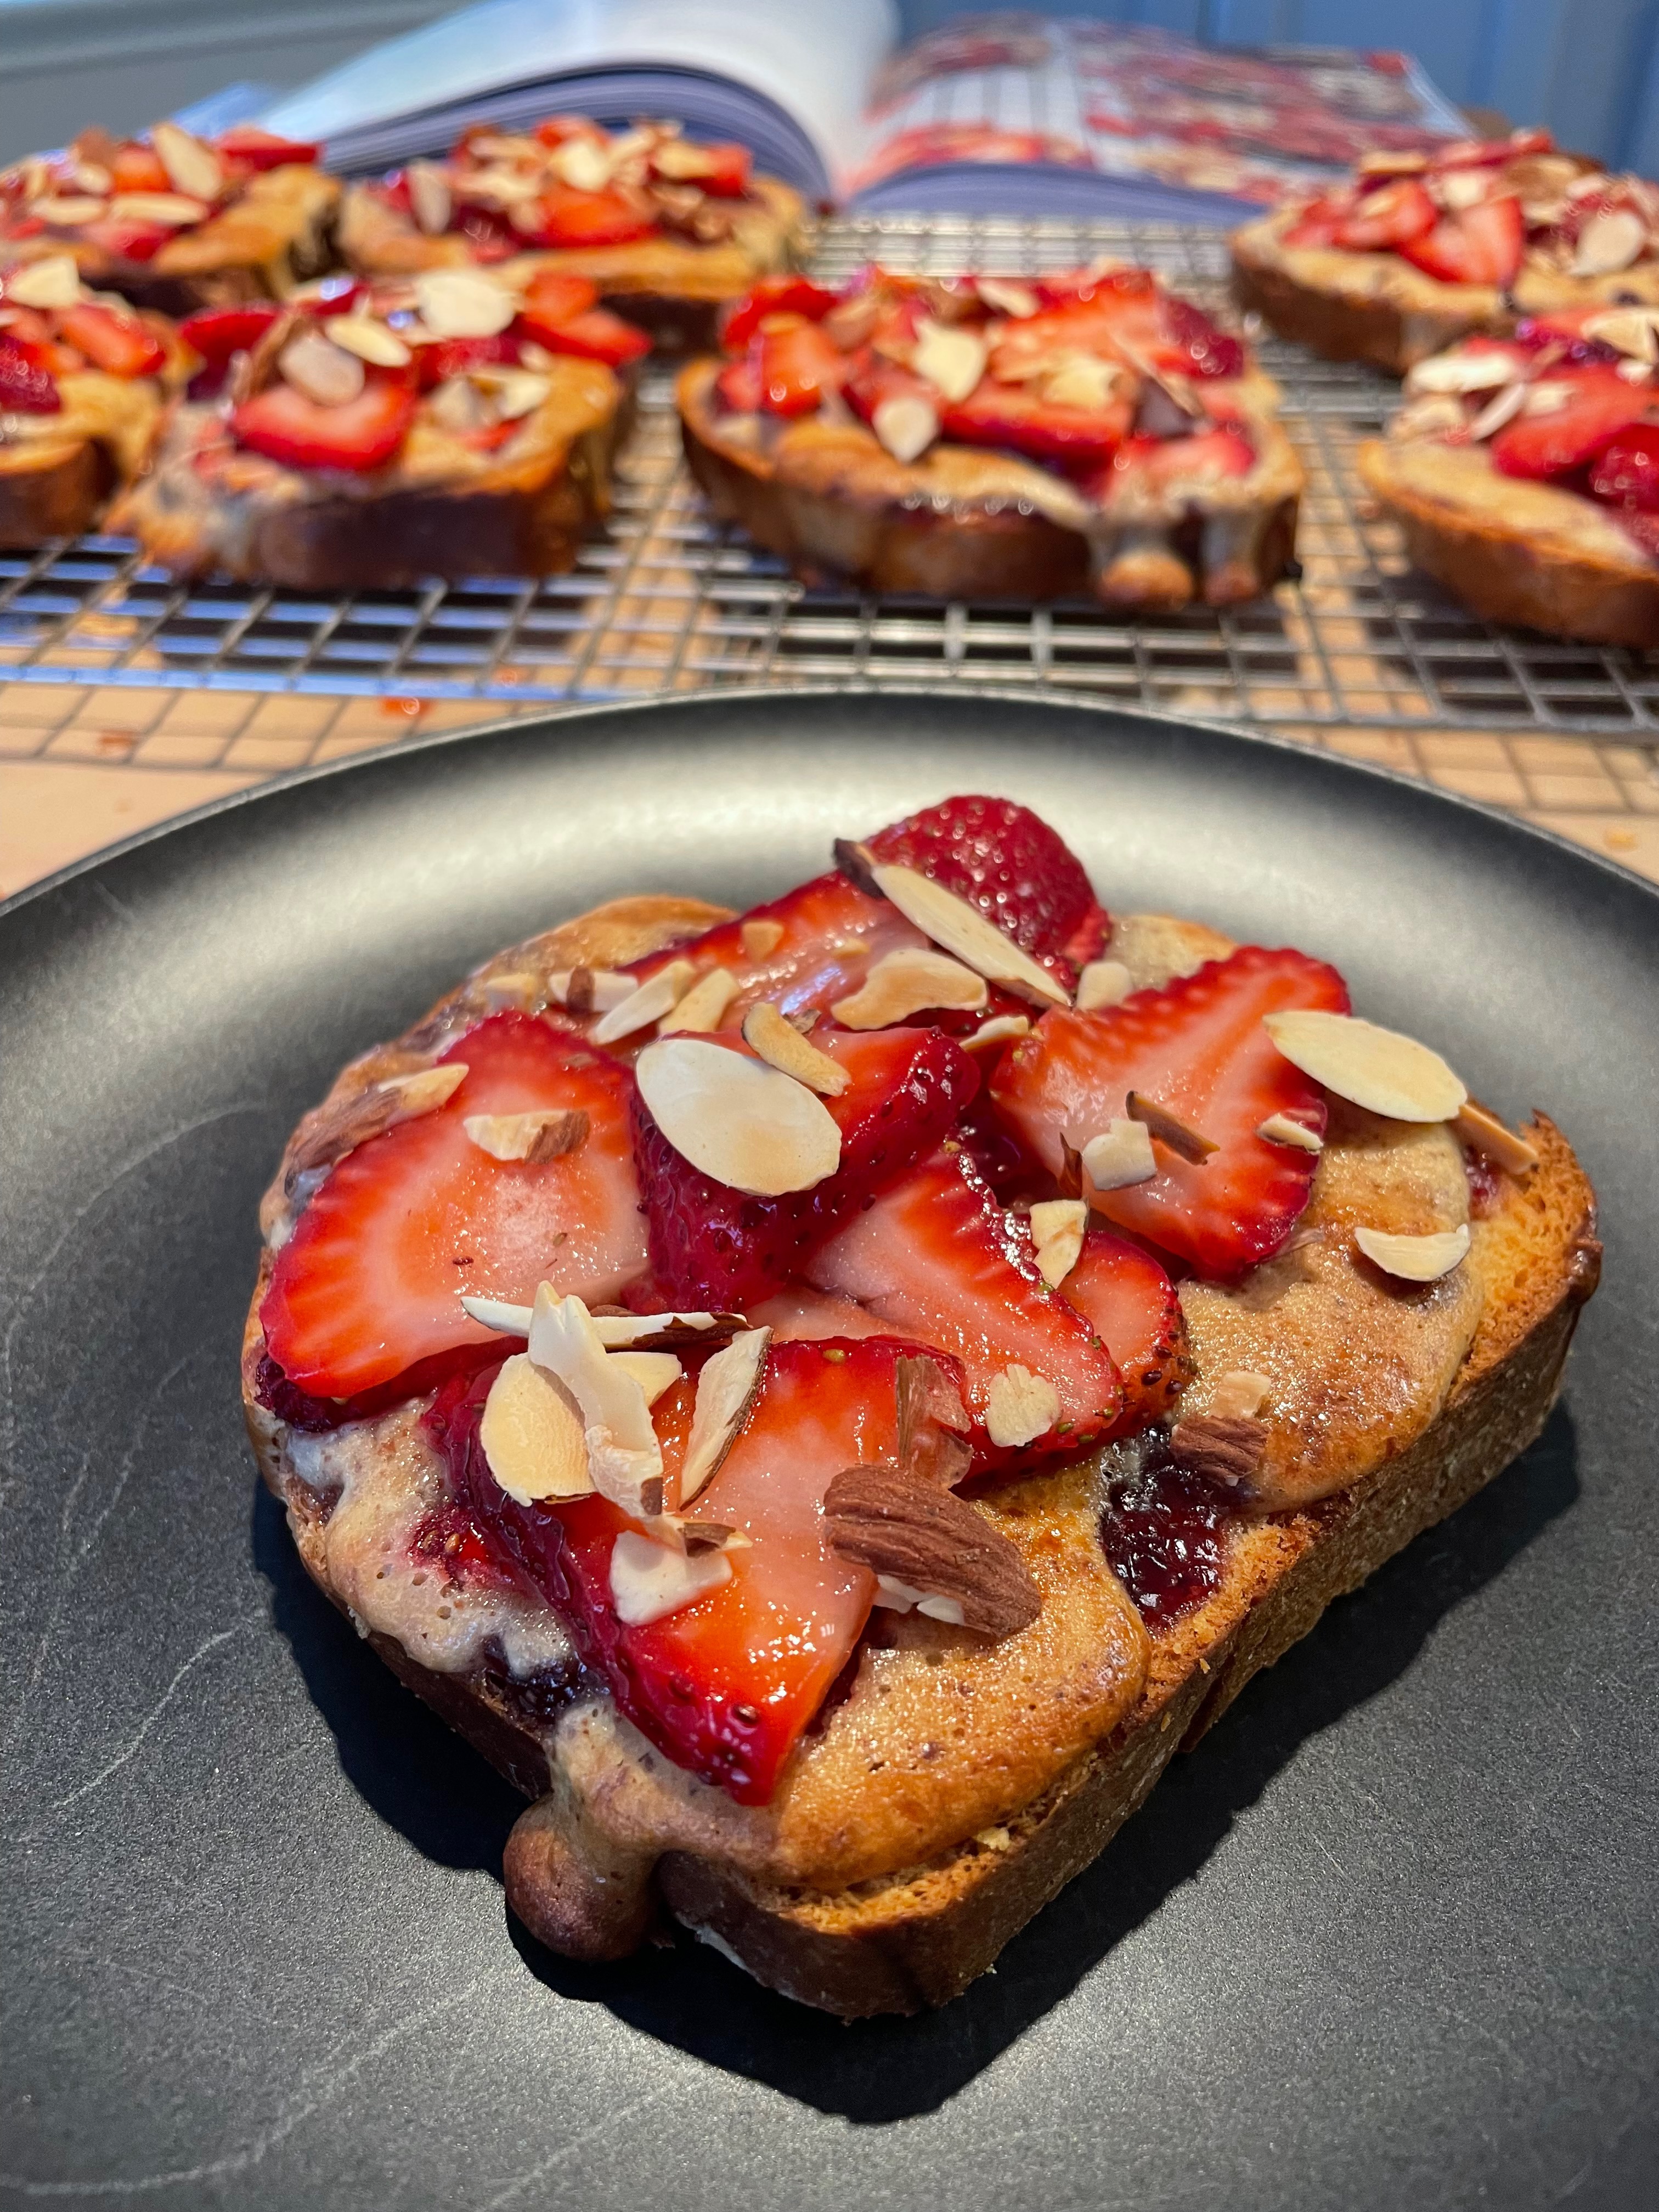
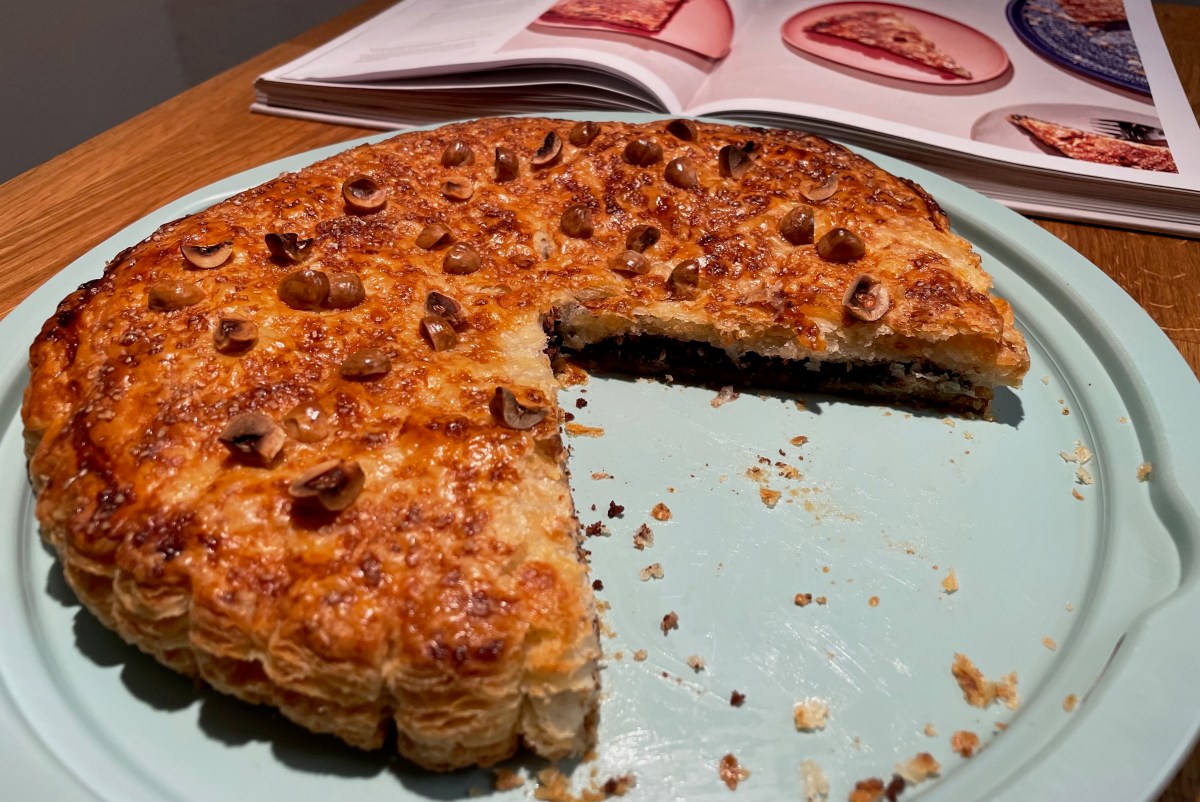
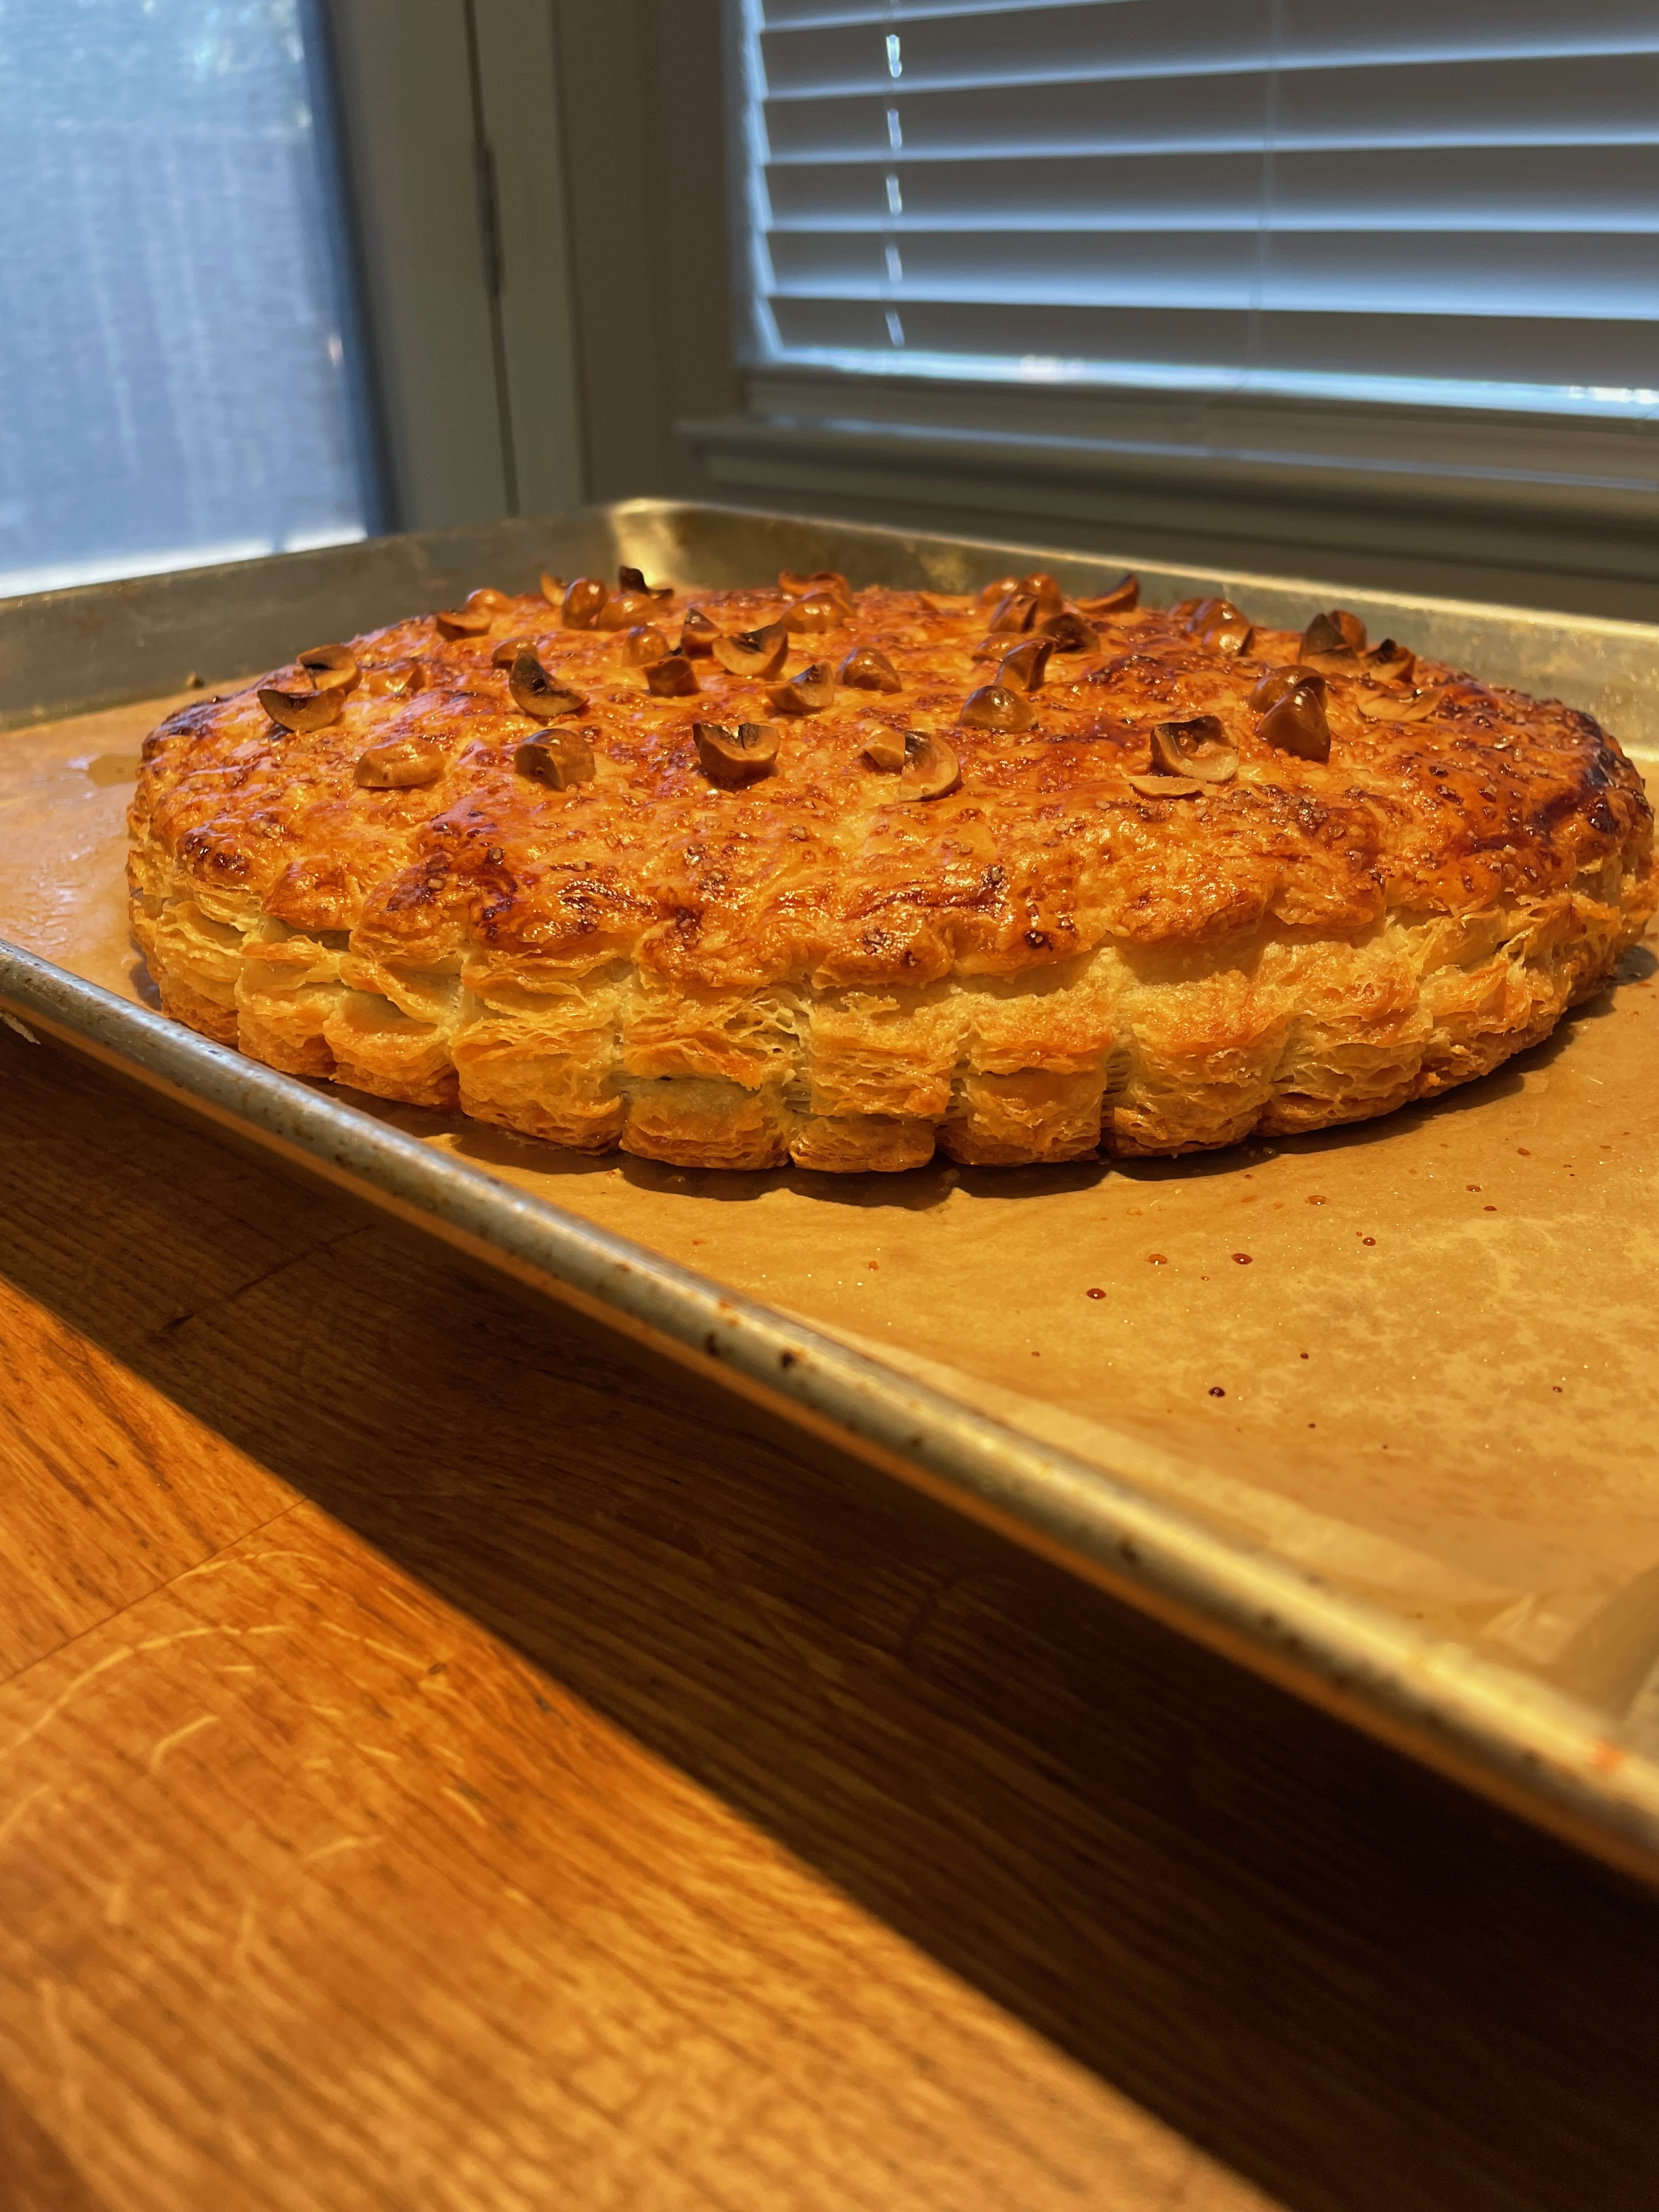
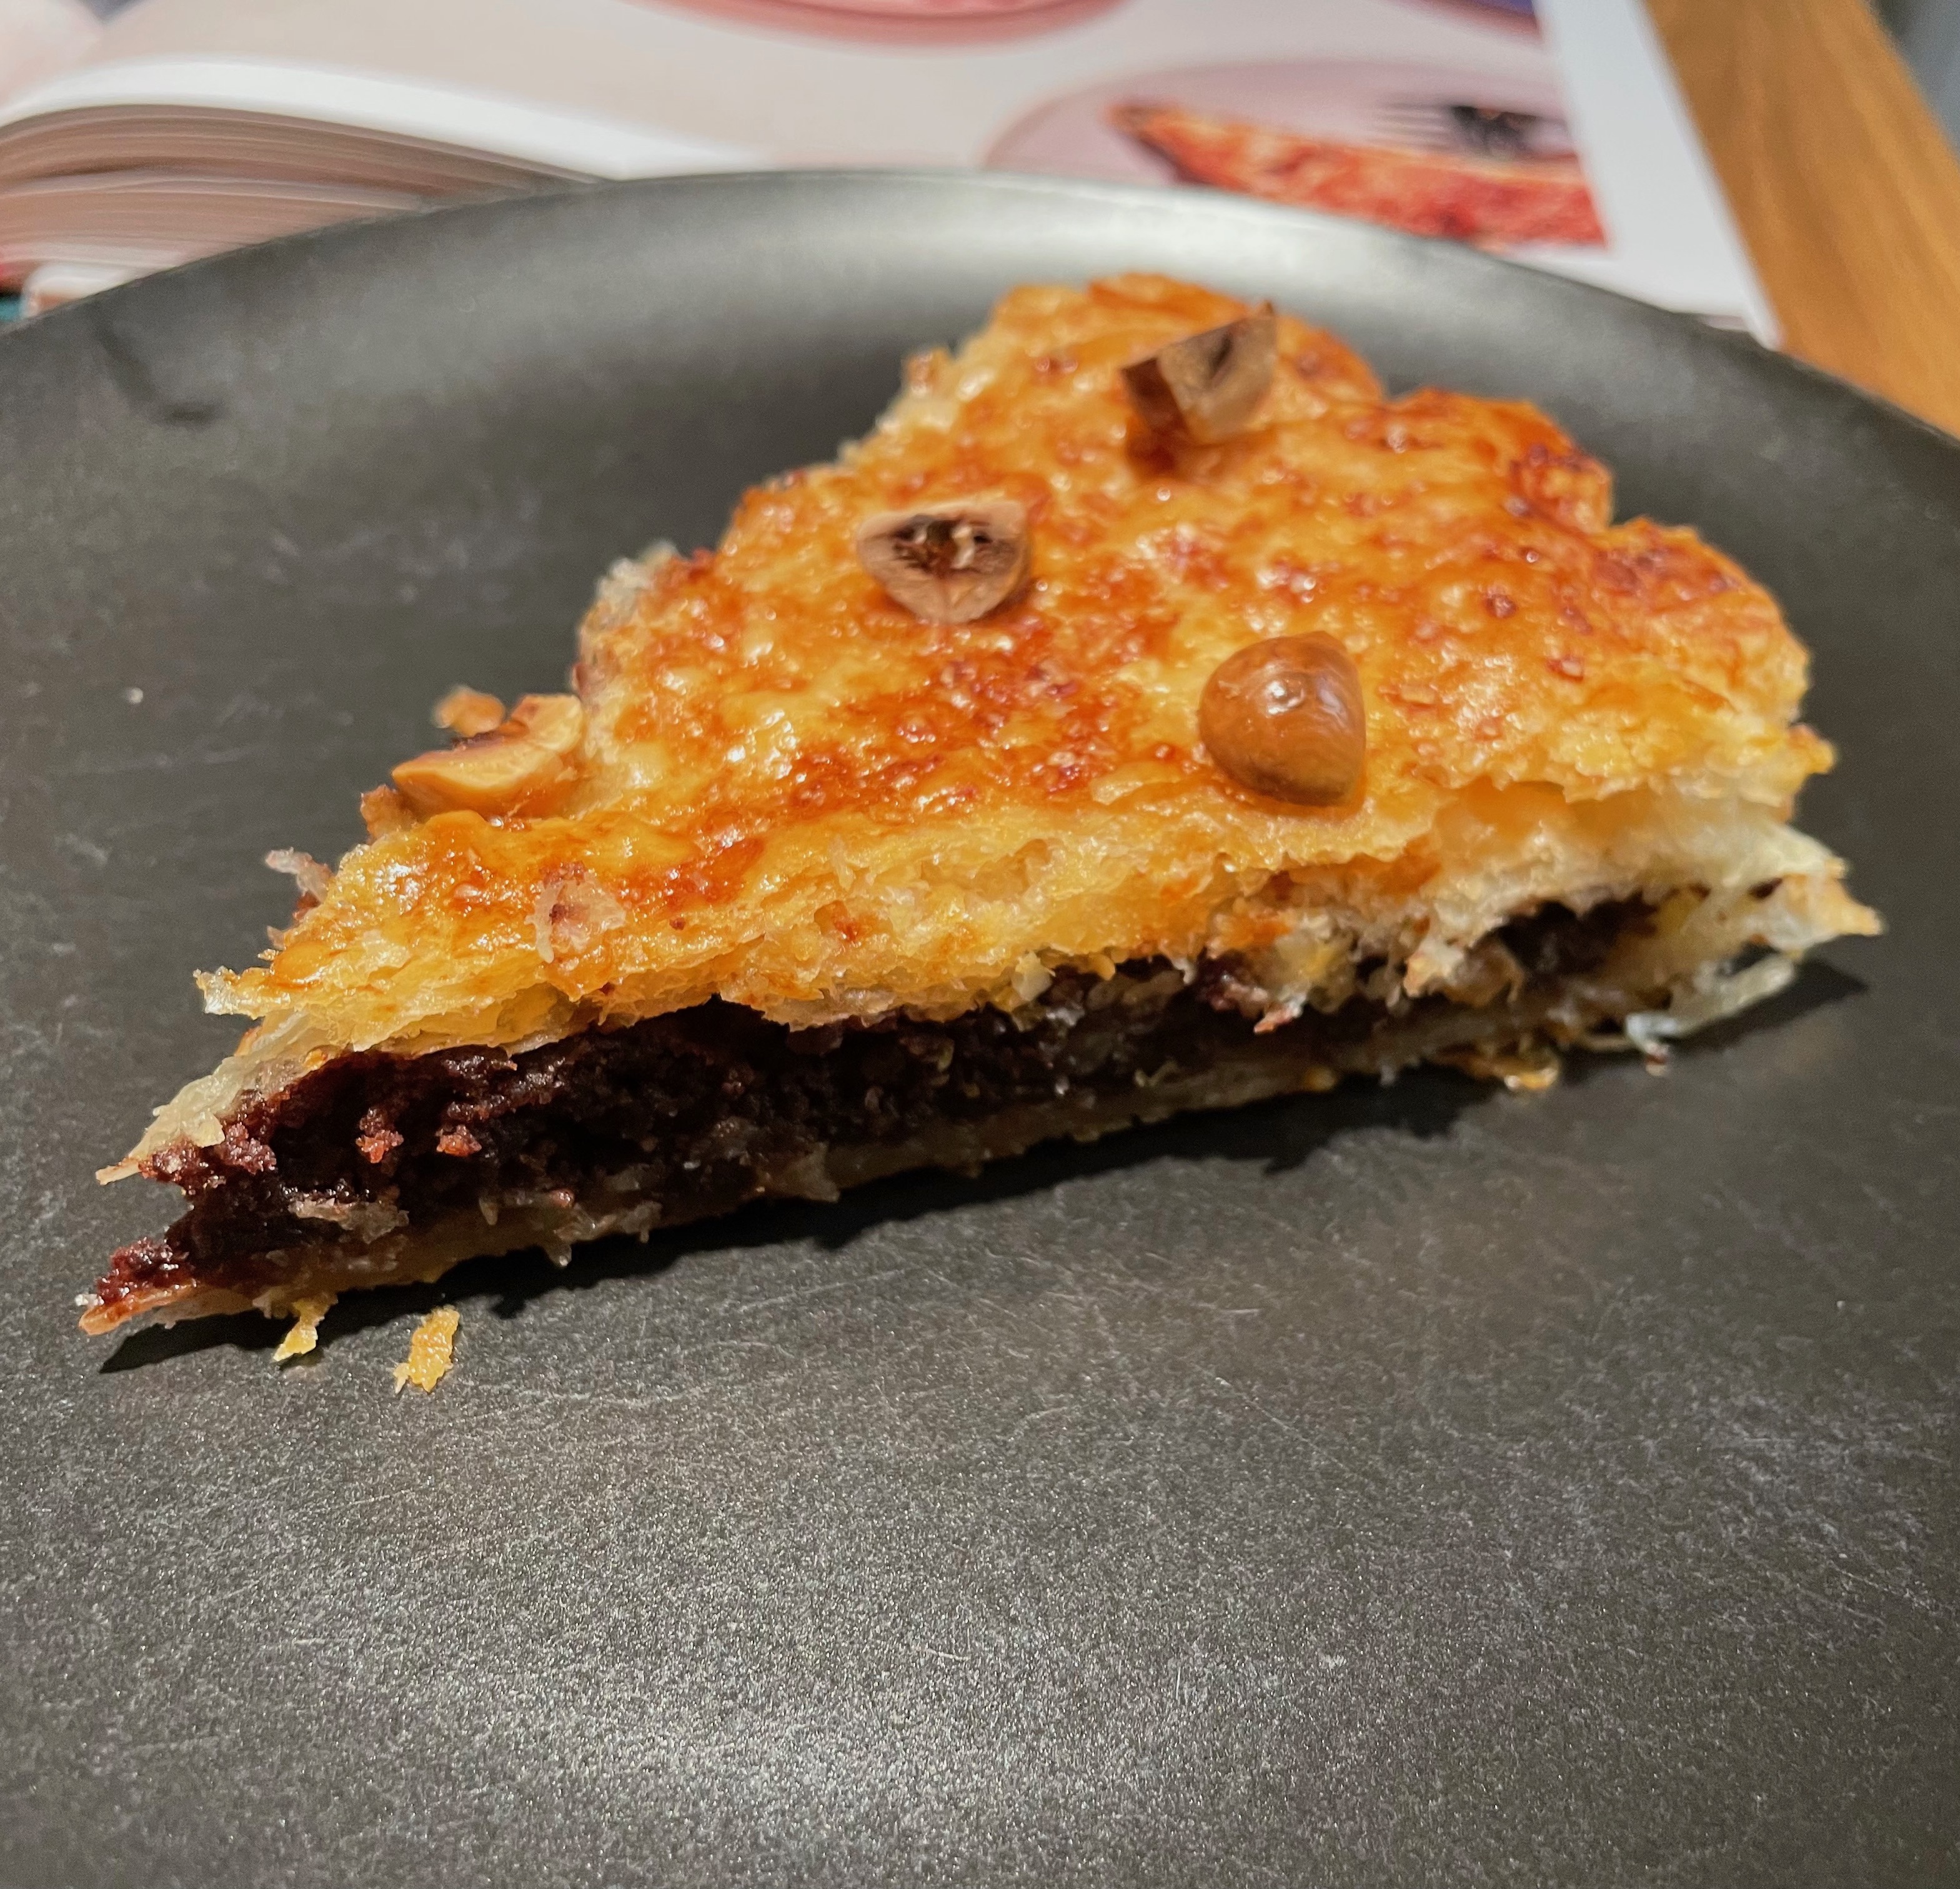
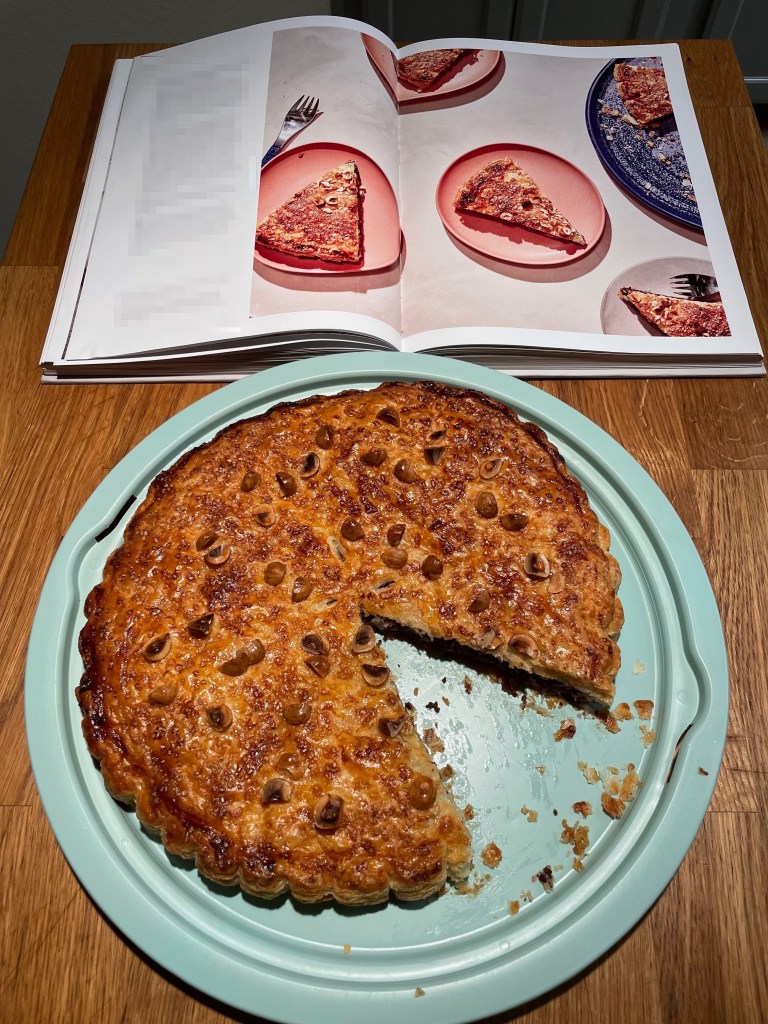
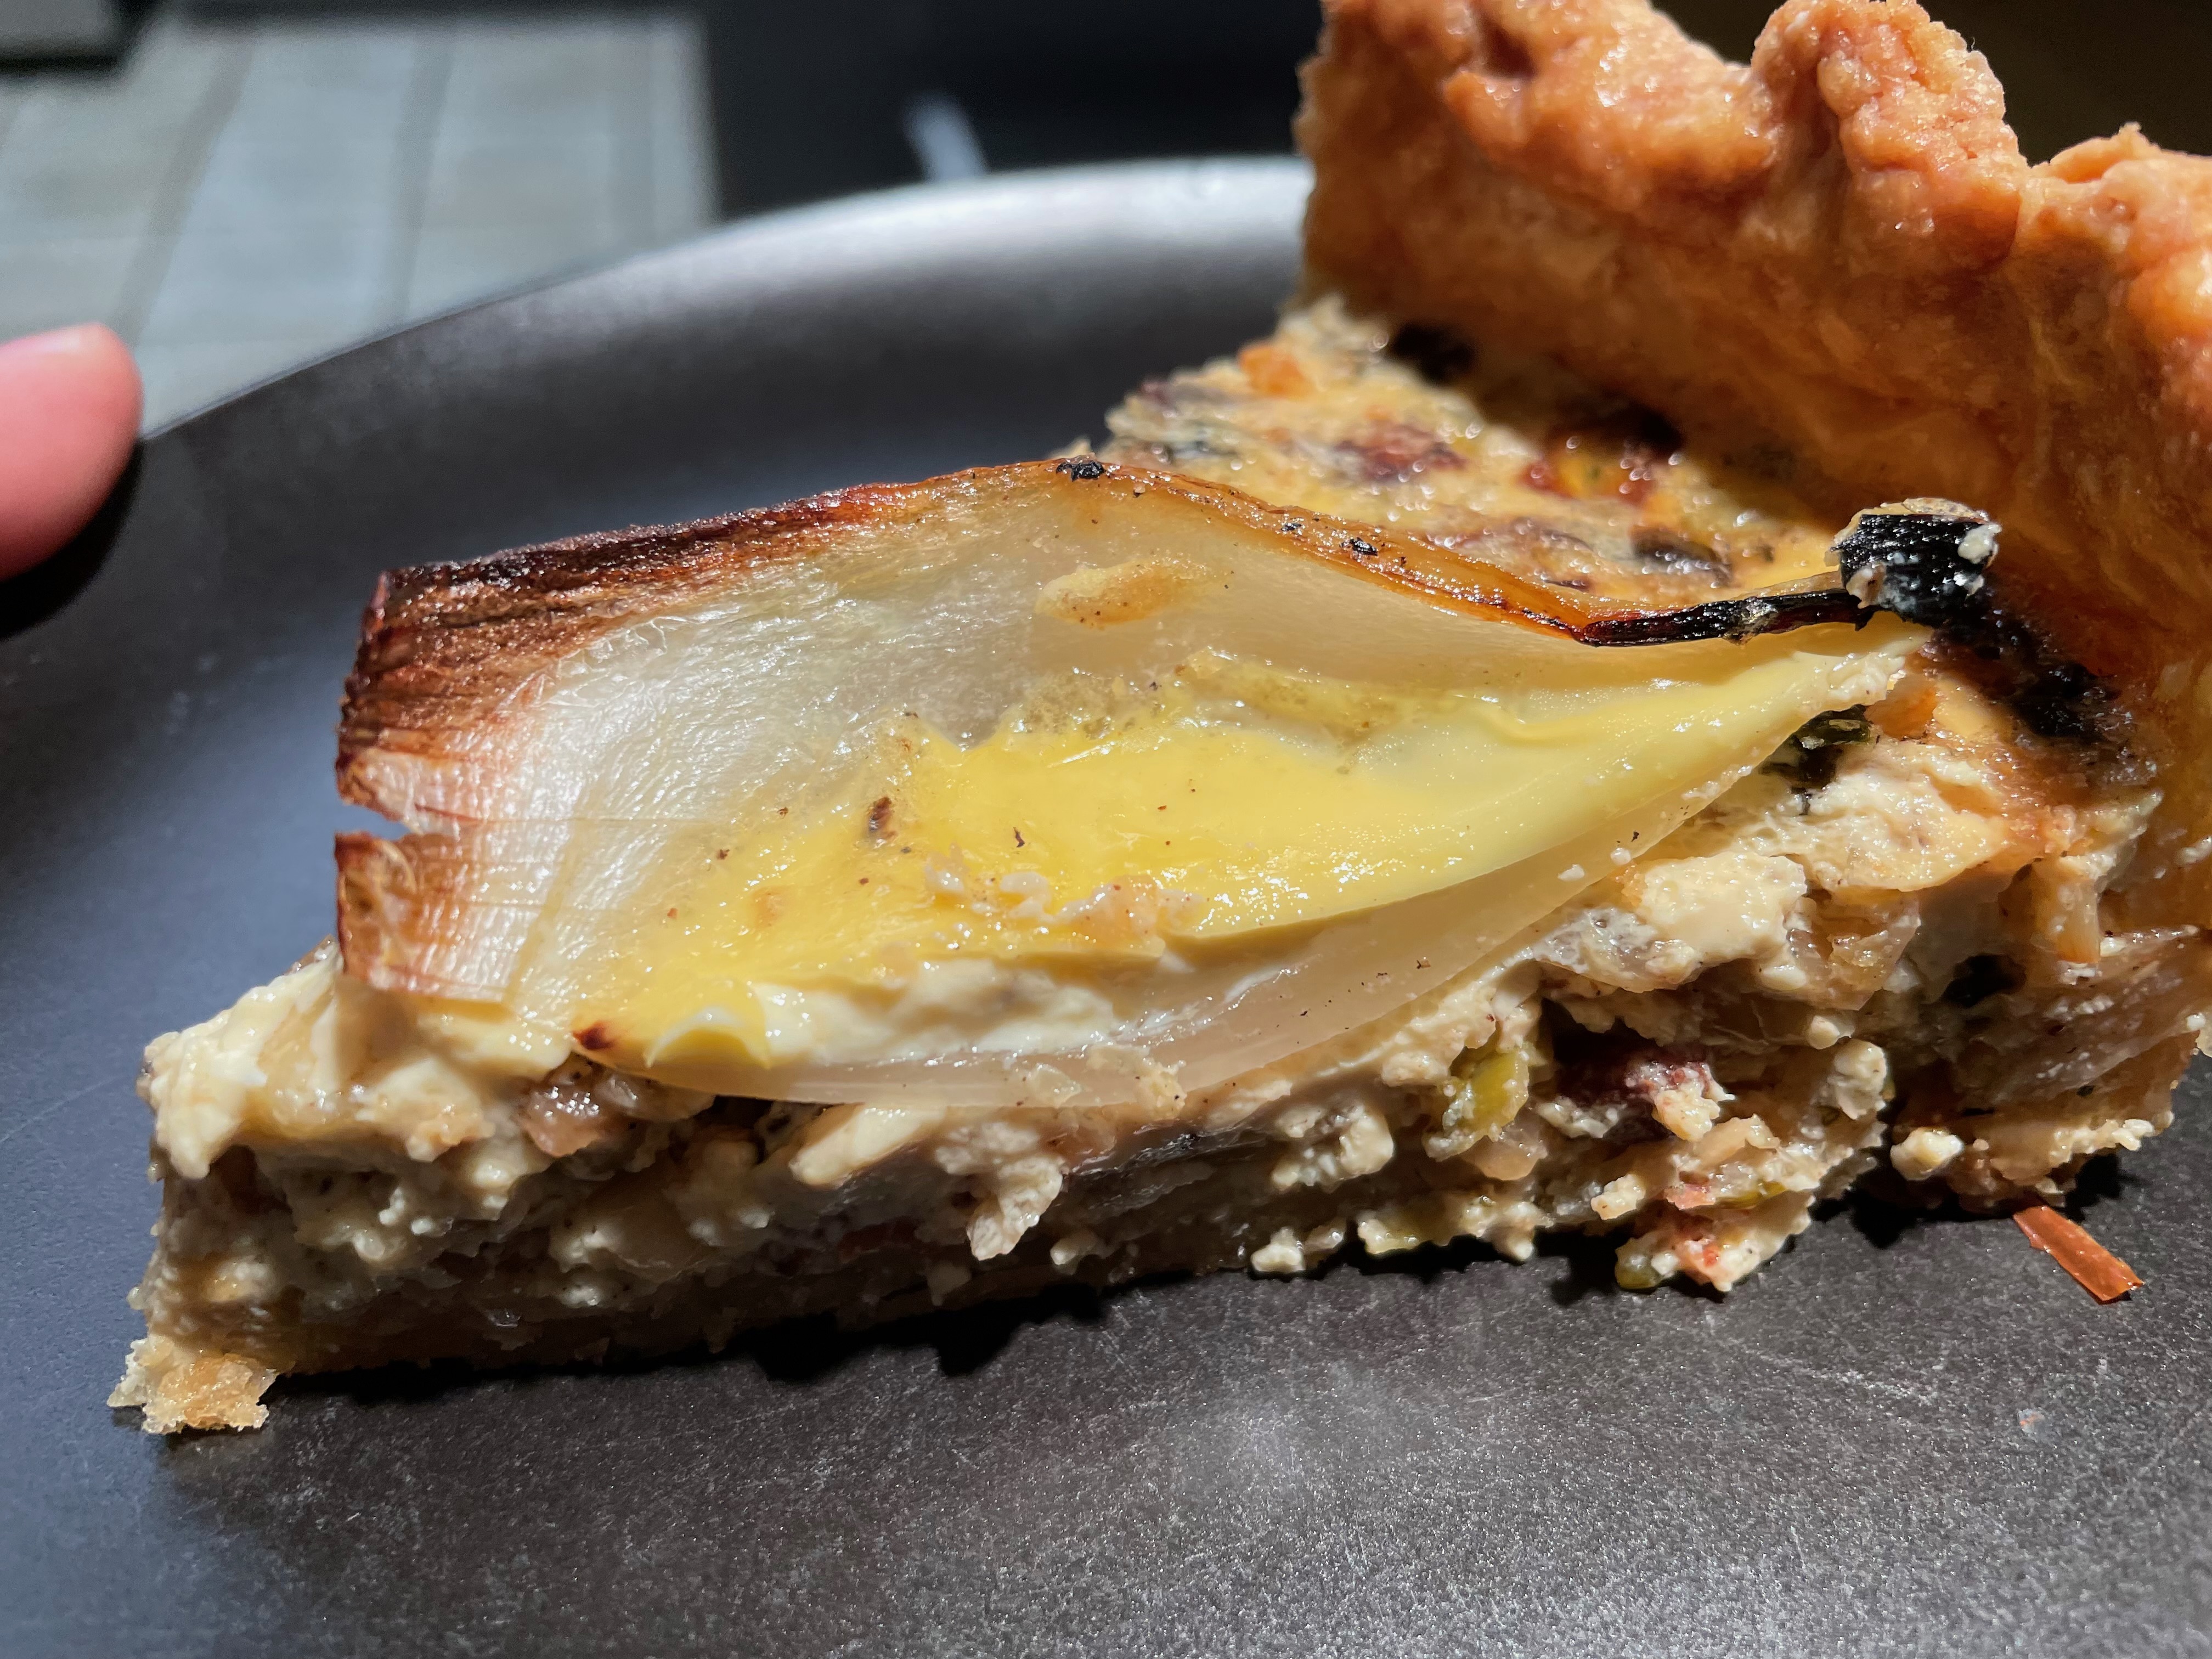
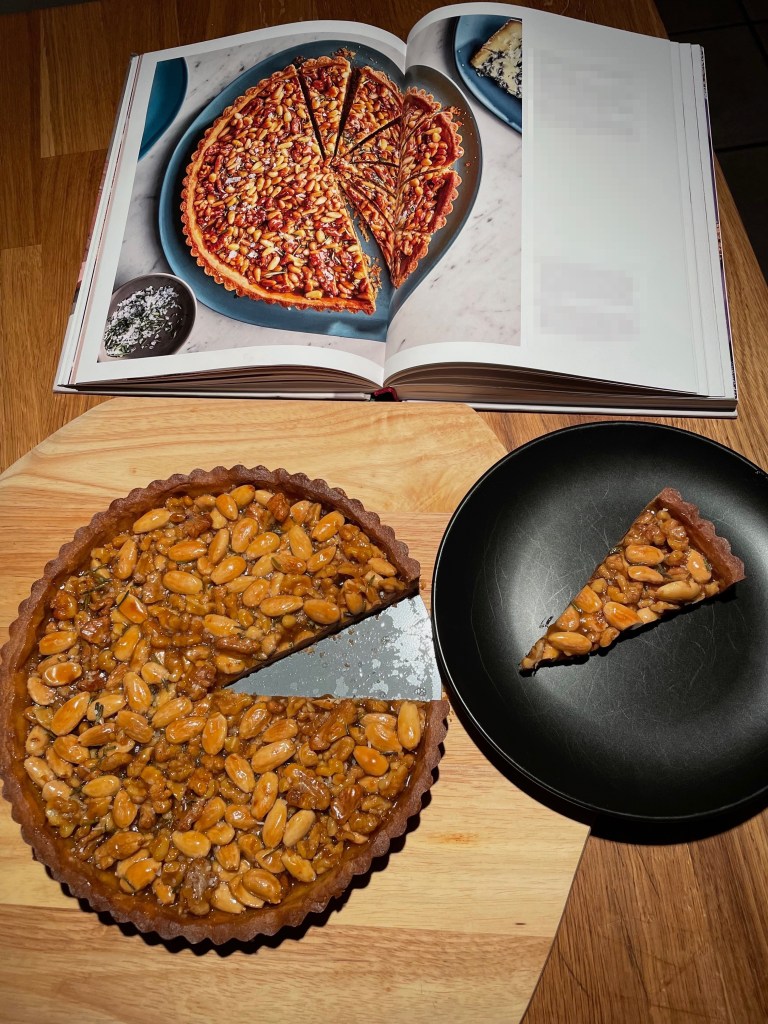
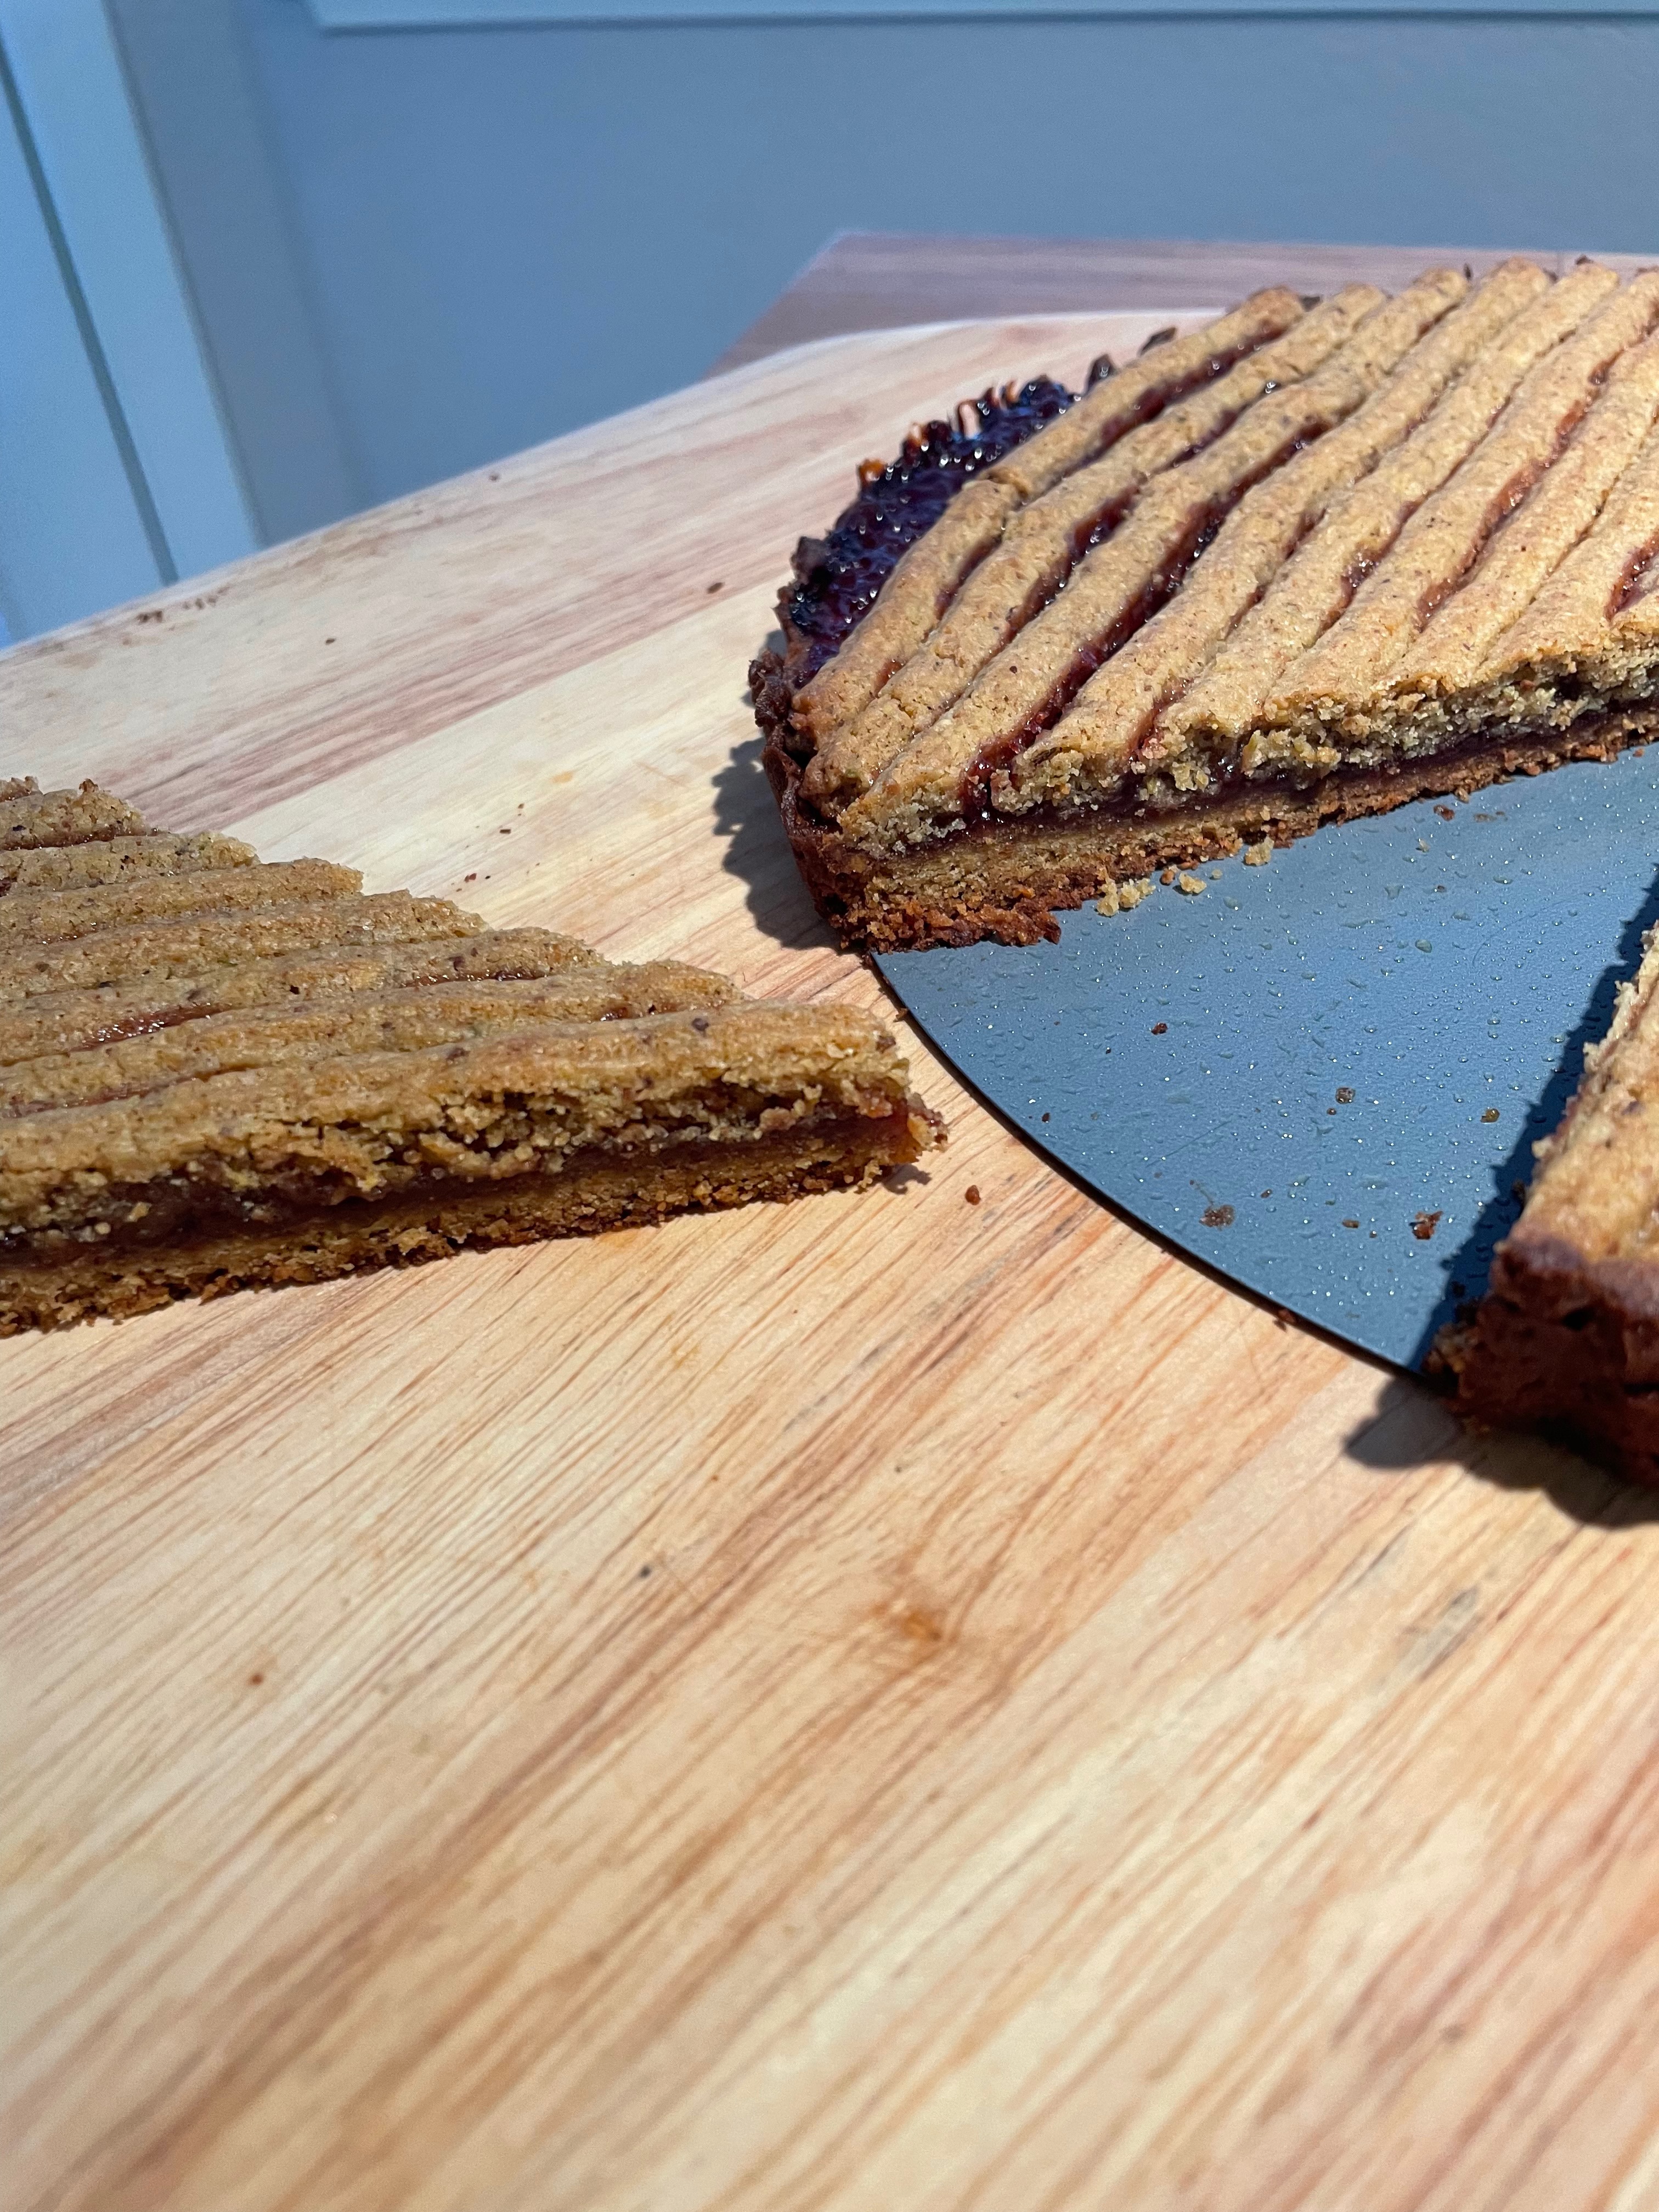
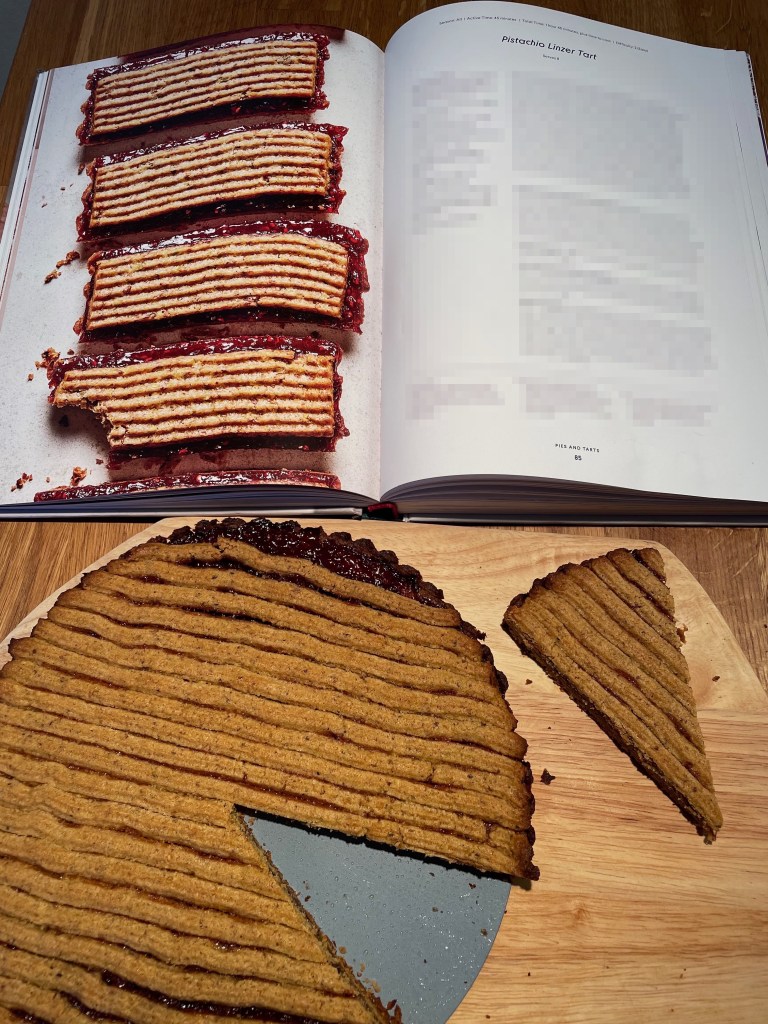
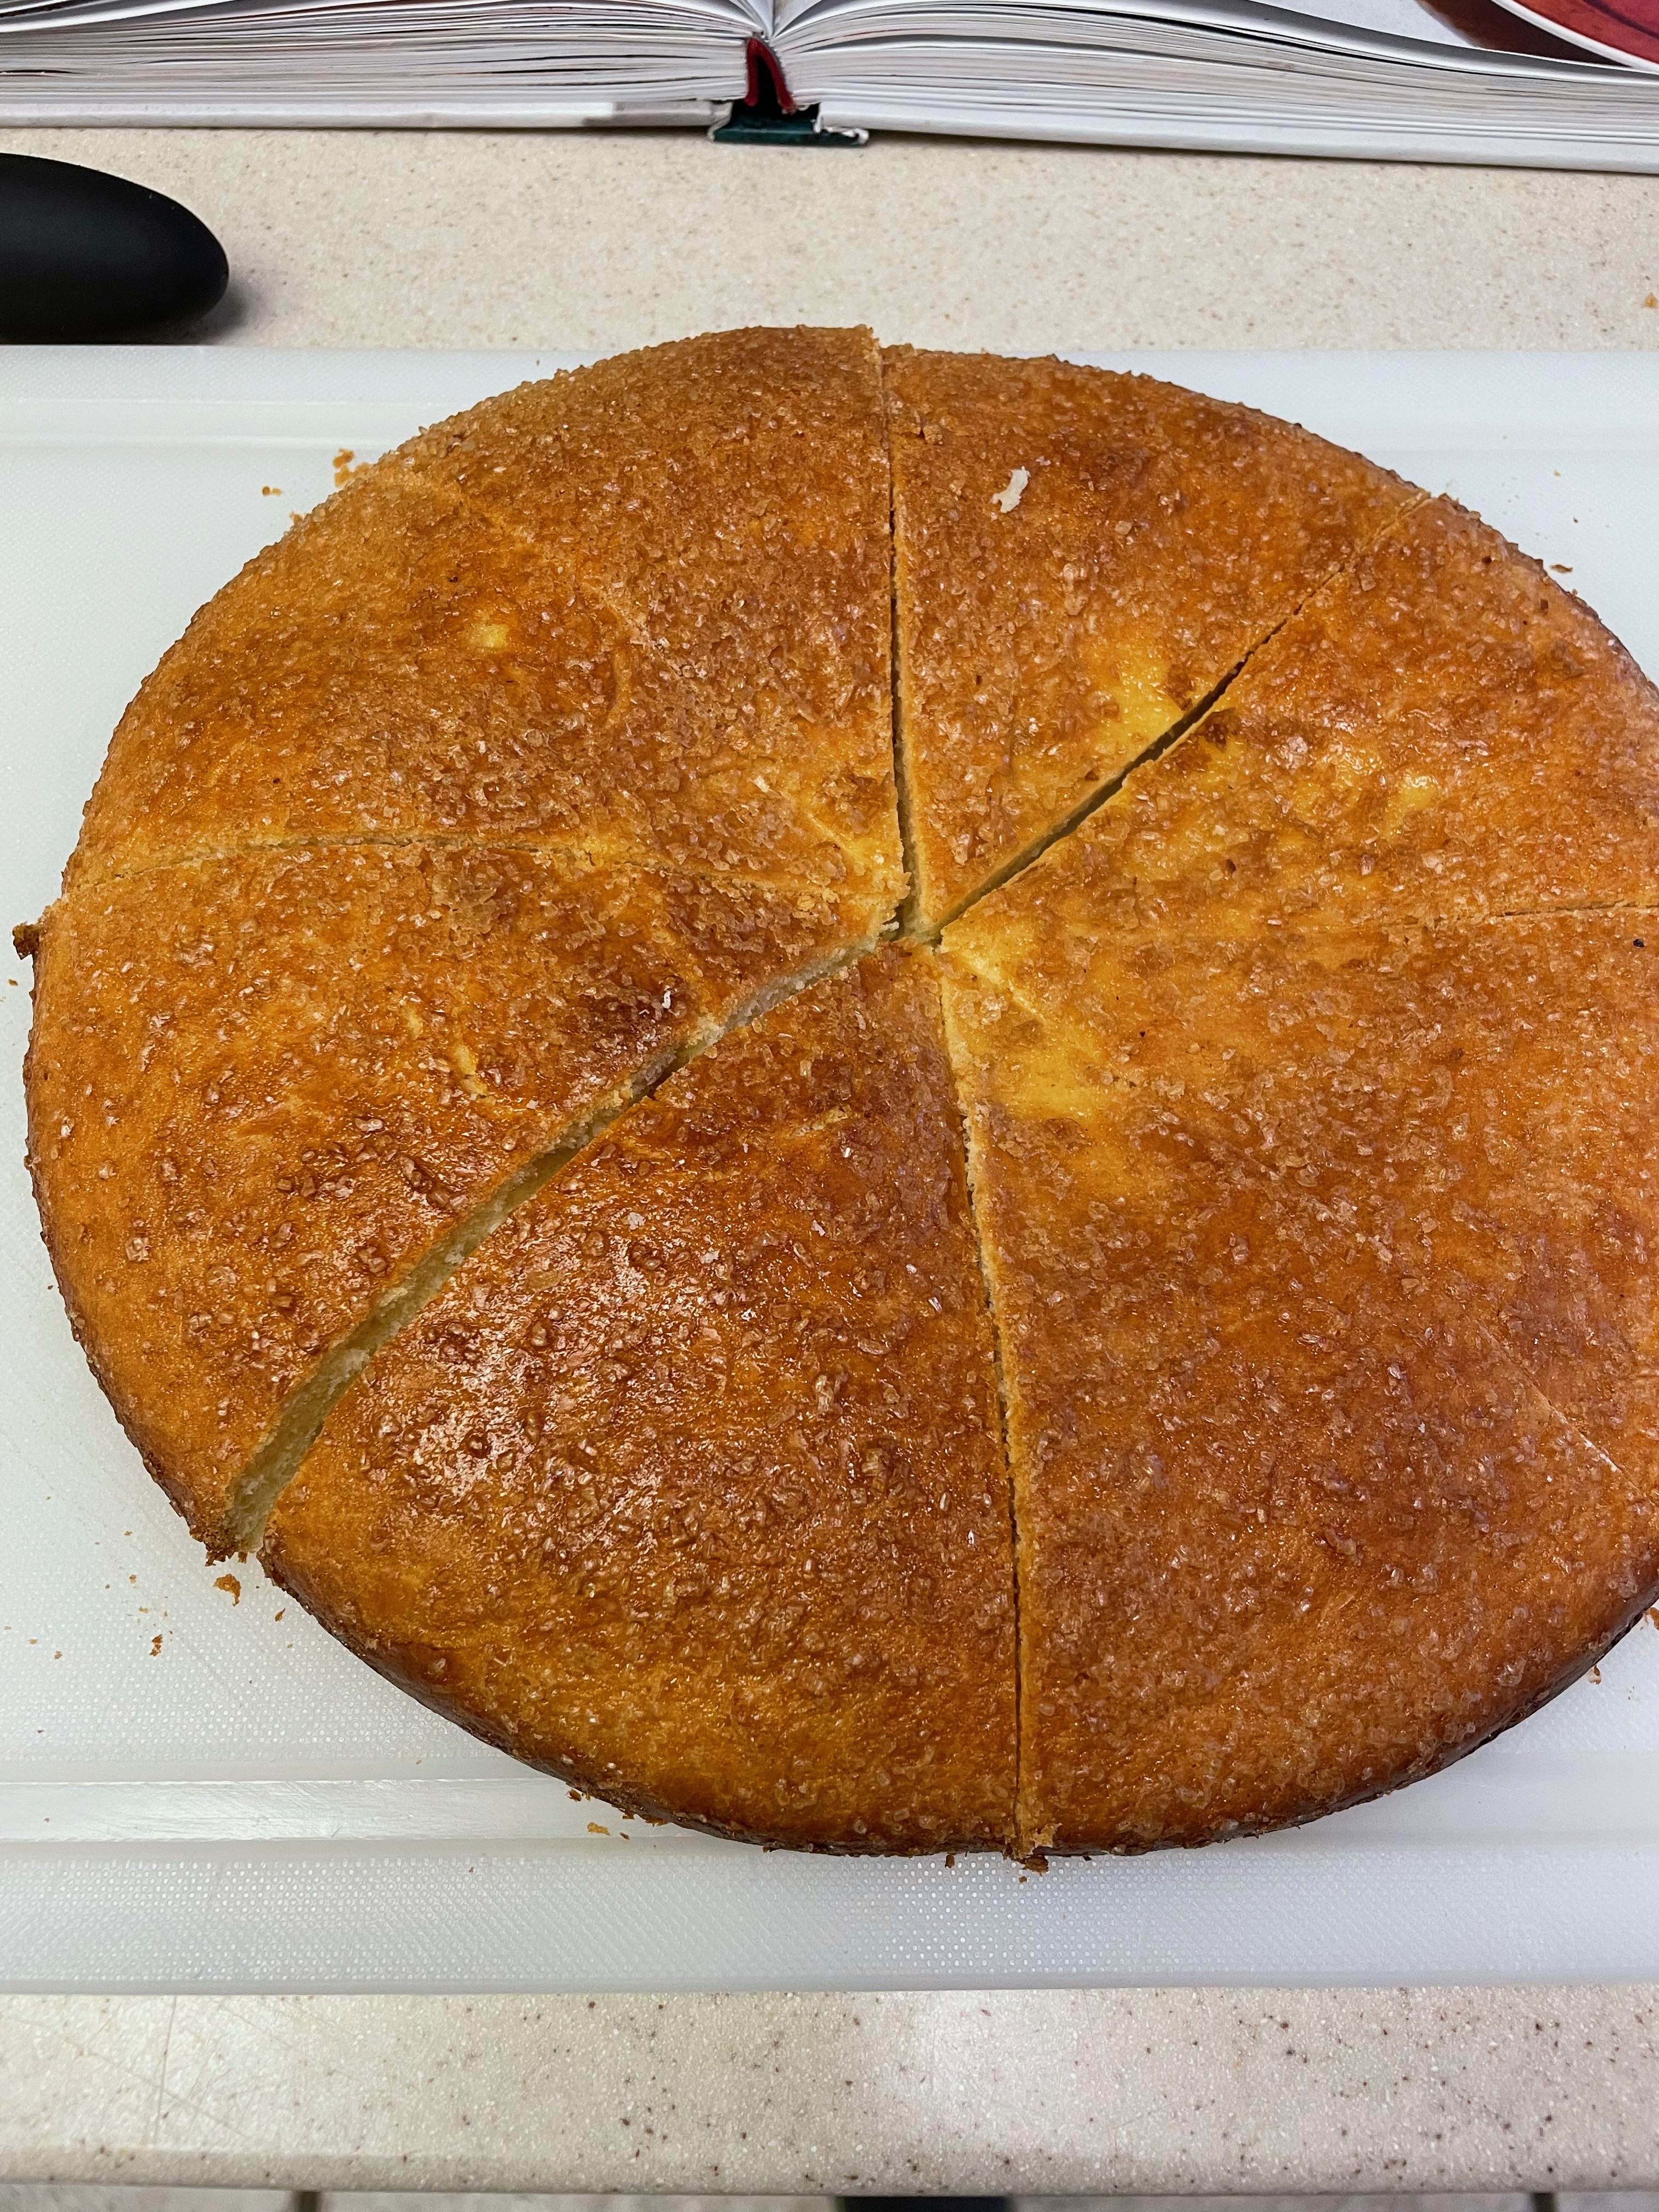
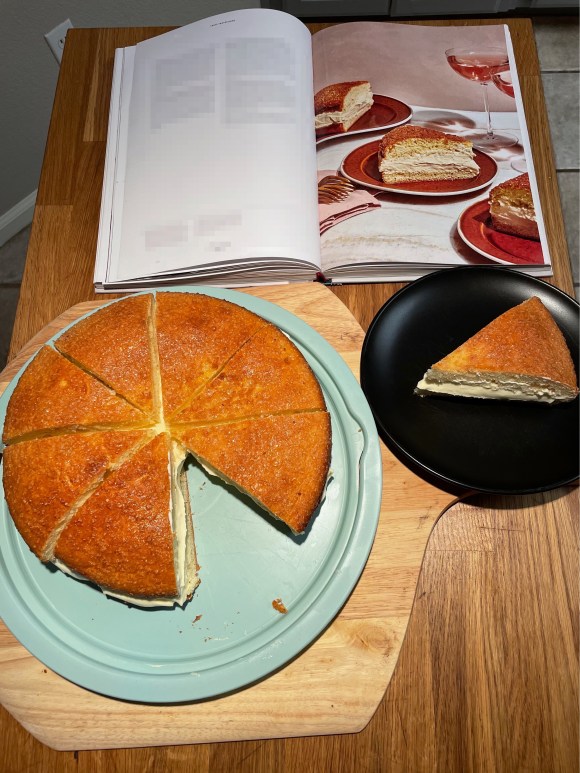
Final Product
Key Takeaways
- Each of the components of this recipe can be made independently, making it easy to assemble over the course of a few days.
- Final Score: 4/5 – This is a fantastic cake. It’s not the easiest, but worth a try once you’ve gotten brioche down. It’s amazing what you can do with just a few simple ingredients.