Introduction
This is a great summer tart when you have fresh, ripe peaches. This is a rather complicated recipe though and the peaches can be finicky to work with. Luckily, the recipe is executed in steps – the tart, cream, and peaches are all made separately. So if you have any trouble with one step, you can try again. The end result is a light, flavorful tart that tastes like summer.
Recipe Outline
| Recipe: Peach Melba Tart | Special Equipment: Large Baking Sheet, Large Dutch Oven |
| Source: Dessert Person | Time: 1 Day |
| Author: Claire Saffitz | Difficulty: 4/5 |
| Type: Dessert (Baking) | Score: ★★★★☆ |
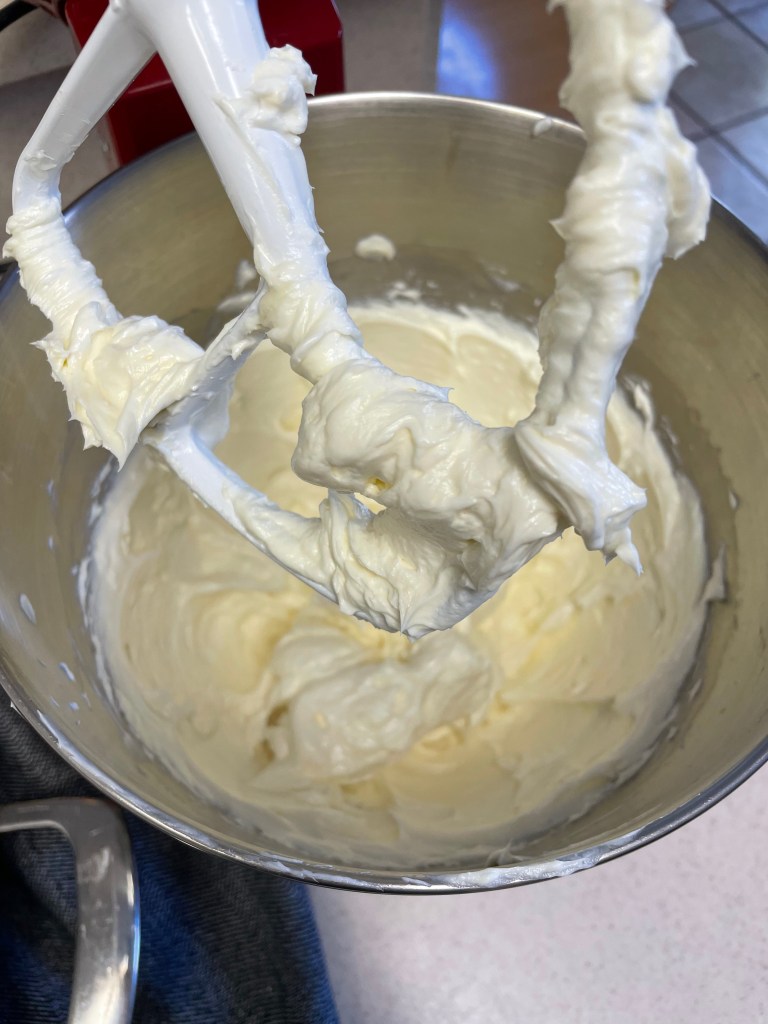
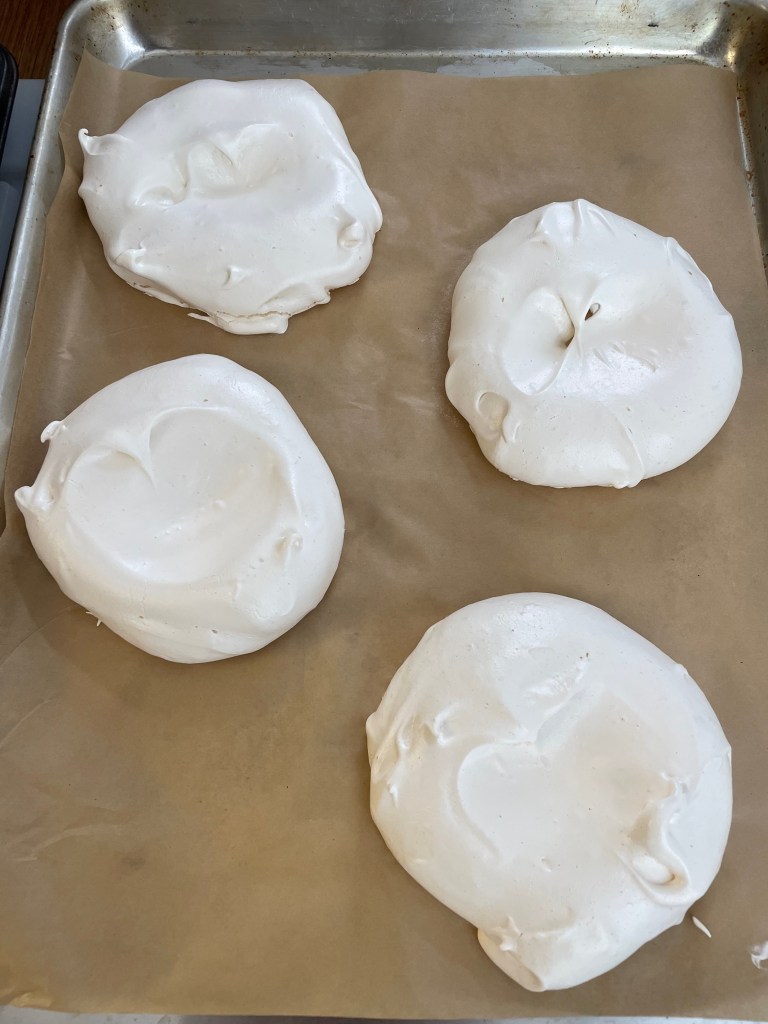
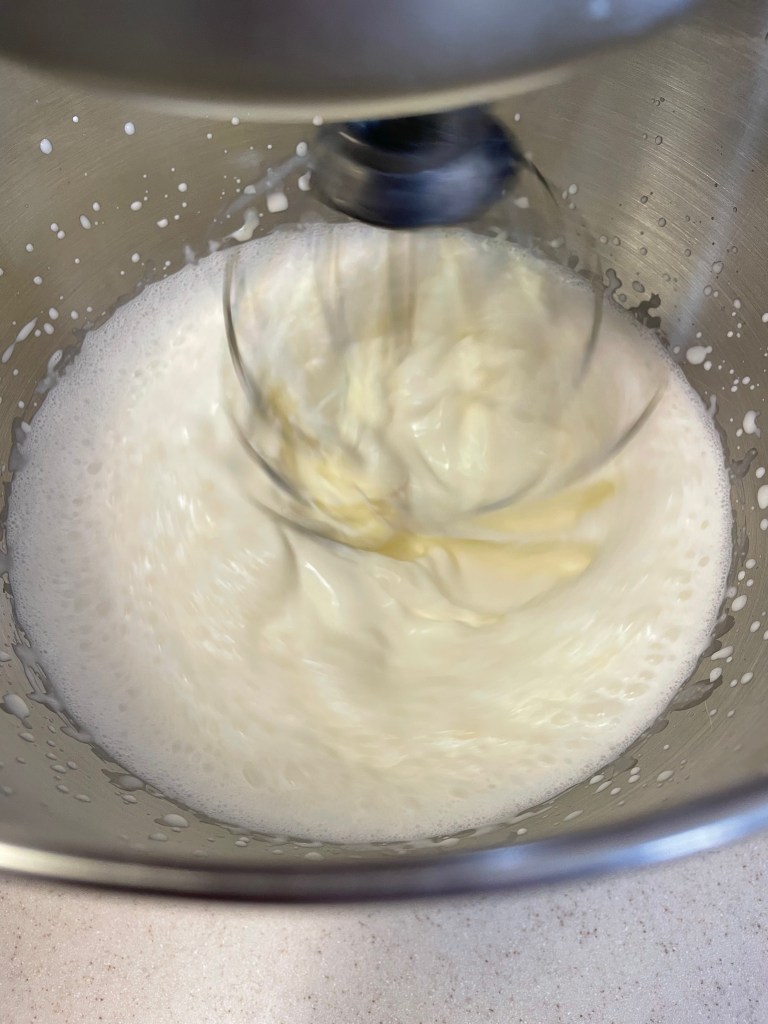
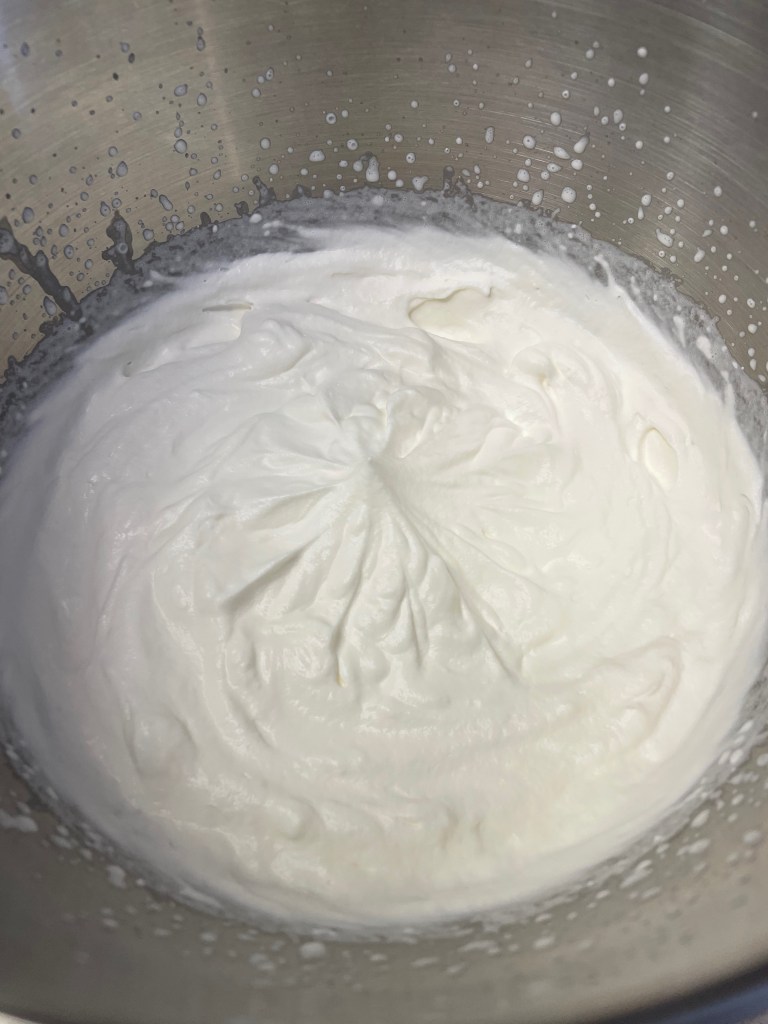
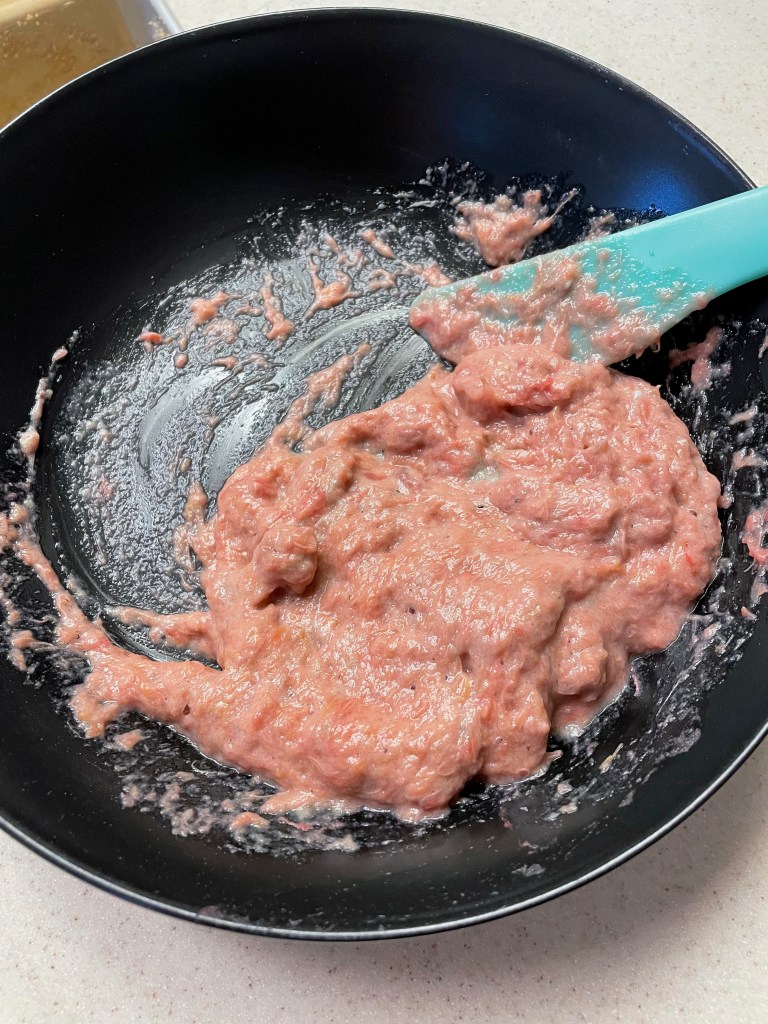
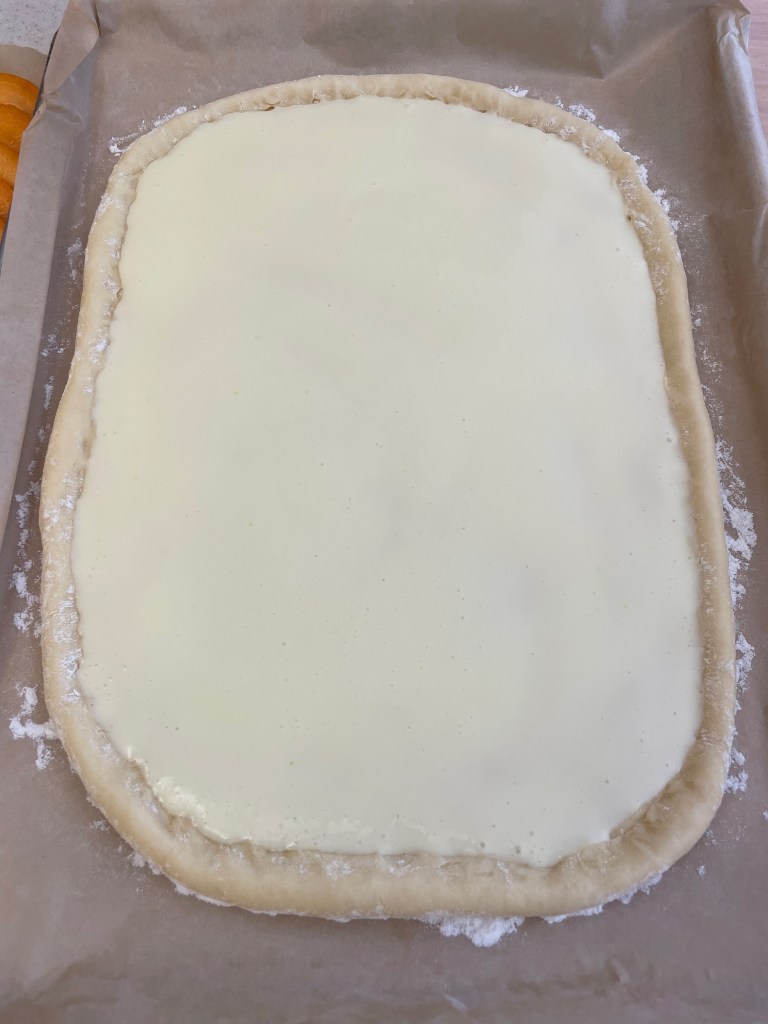
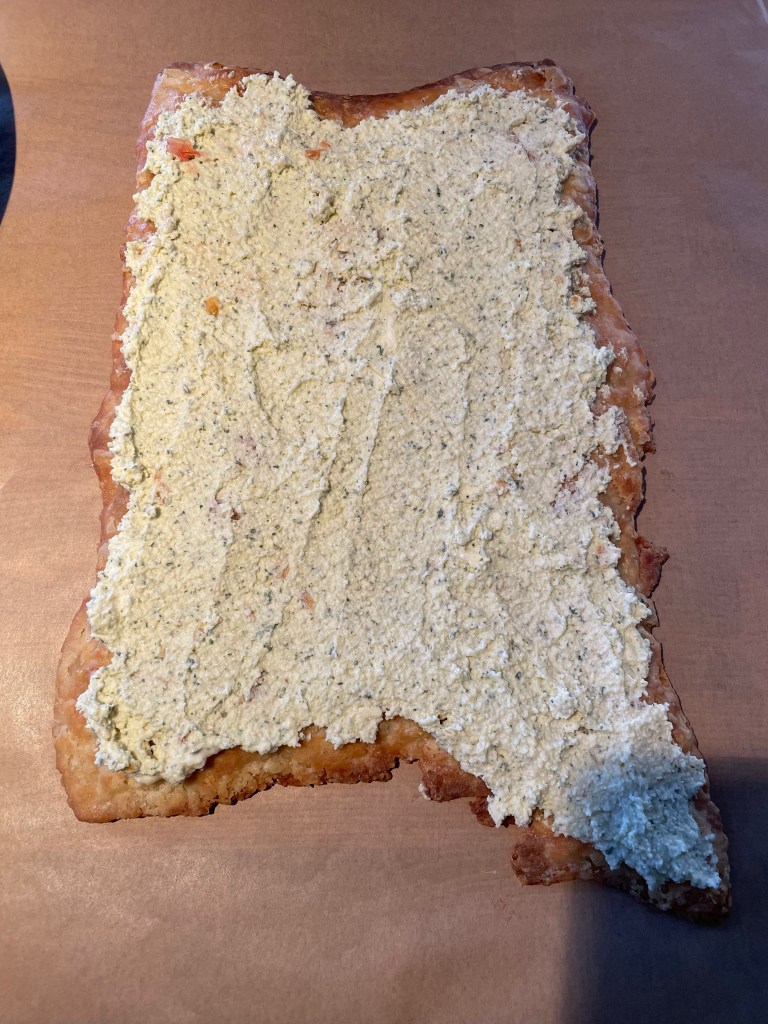
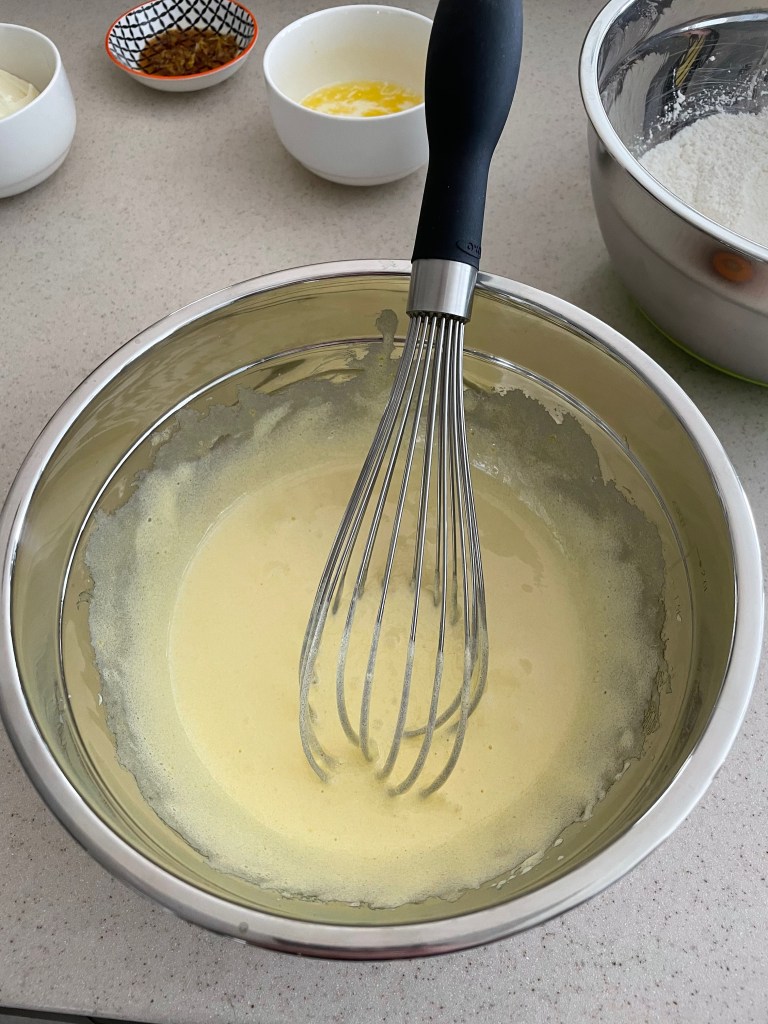
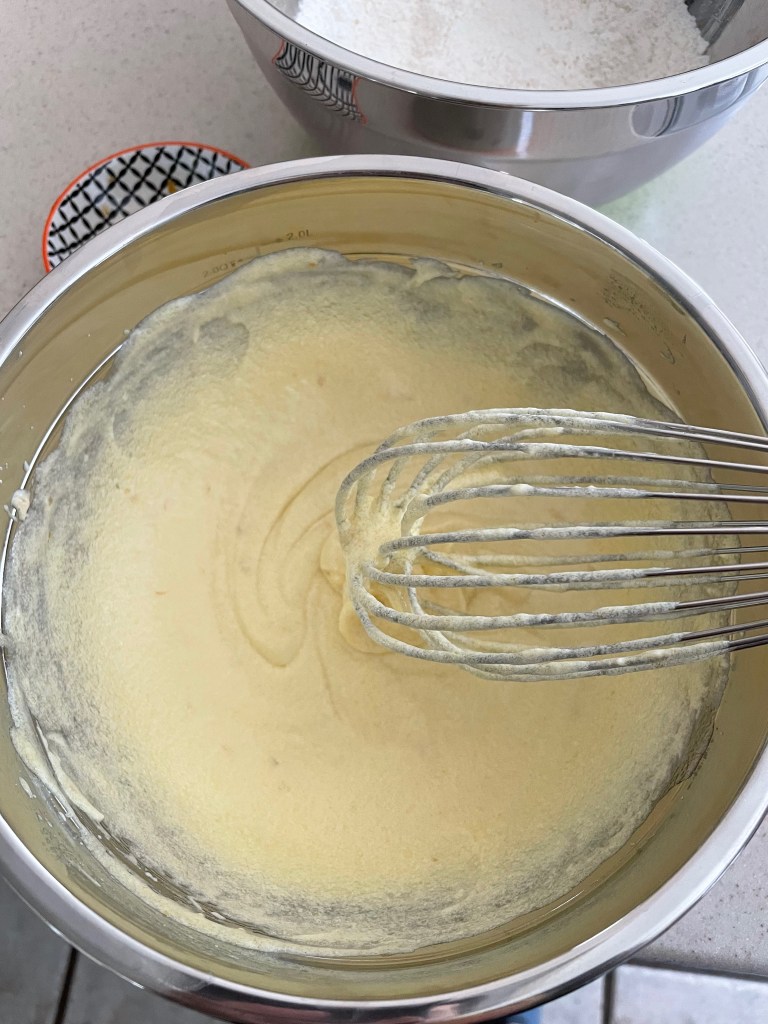
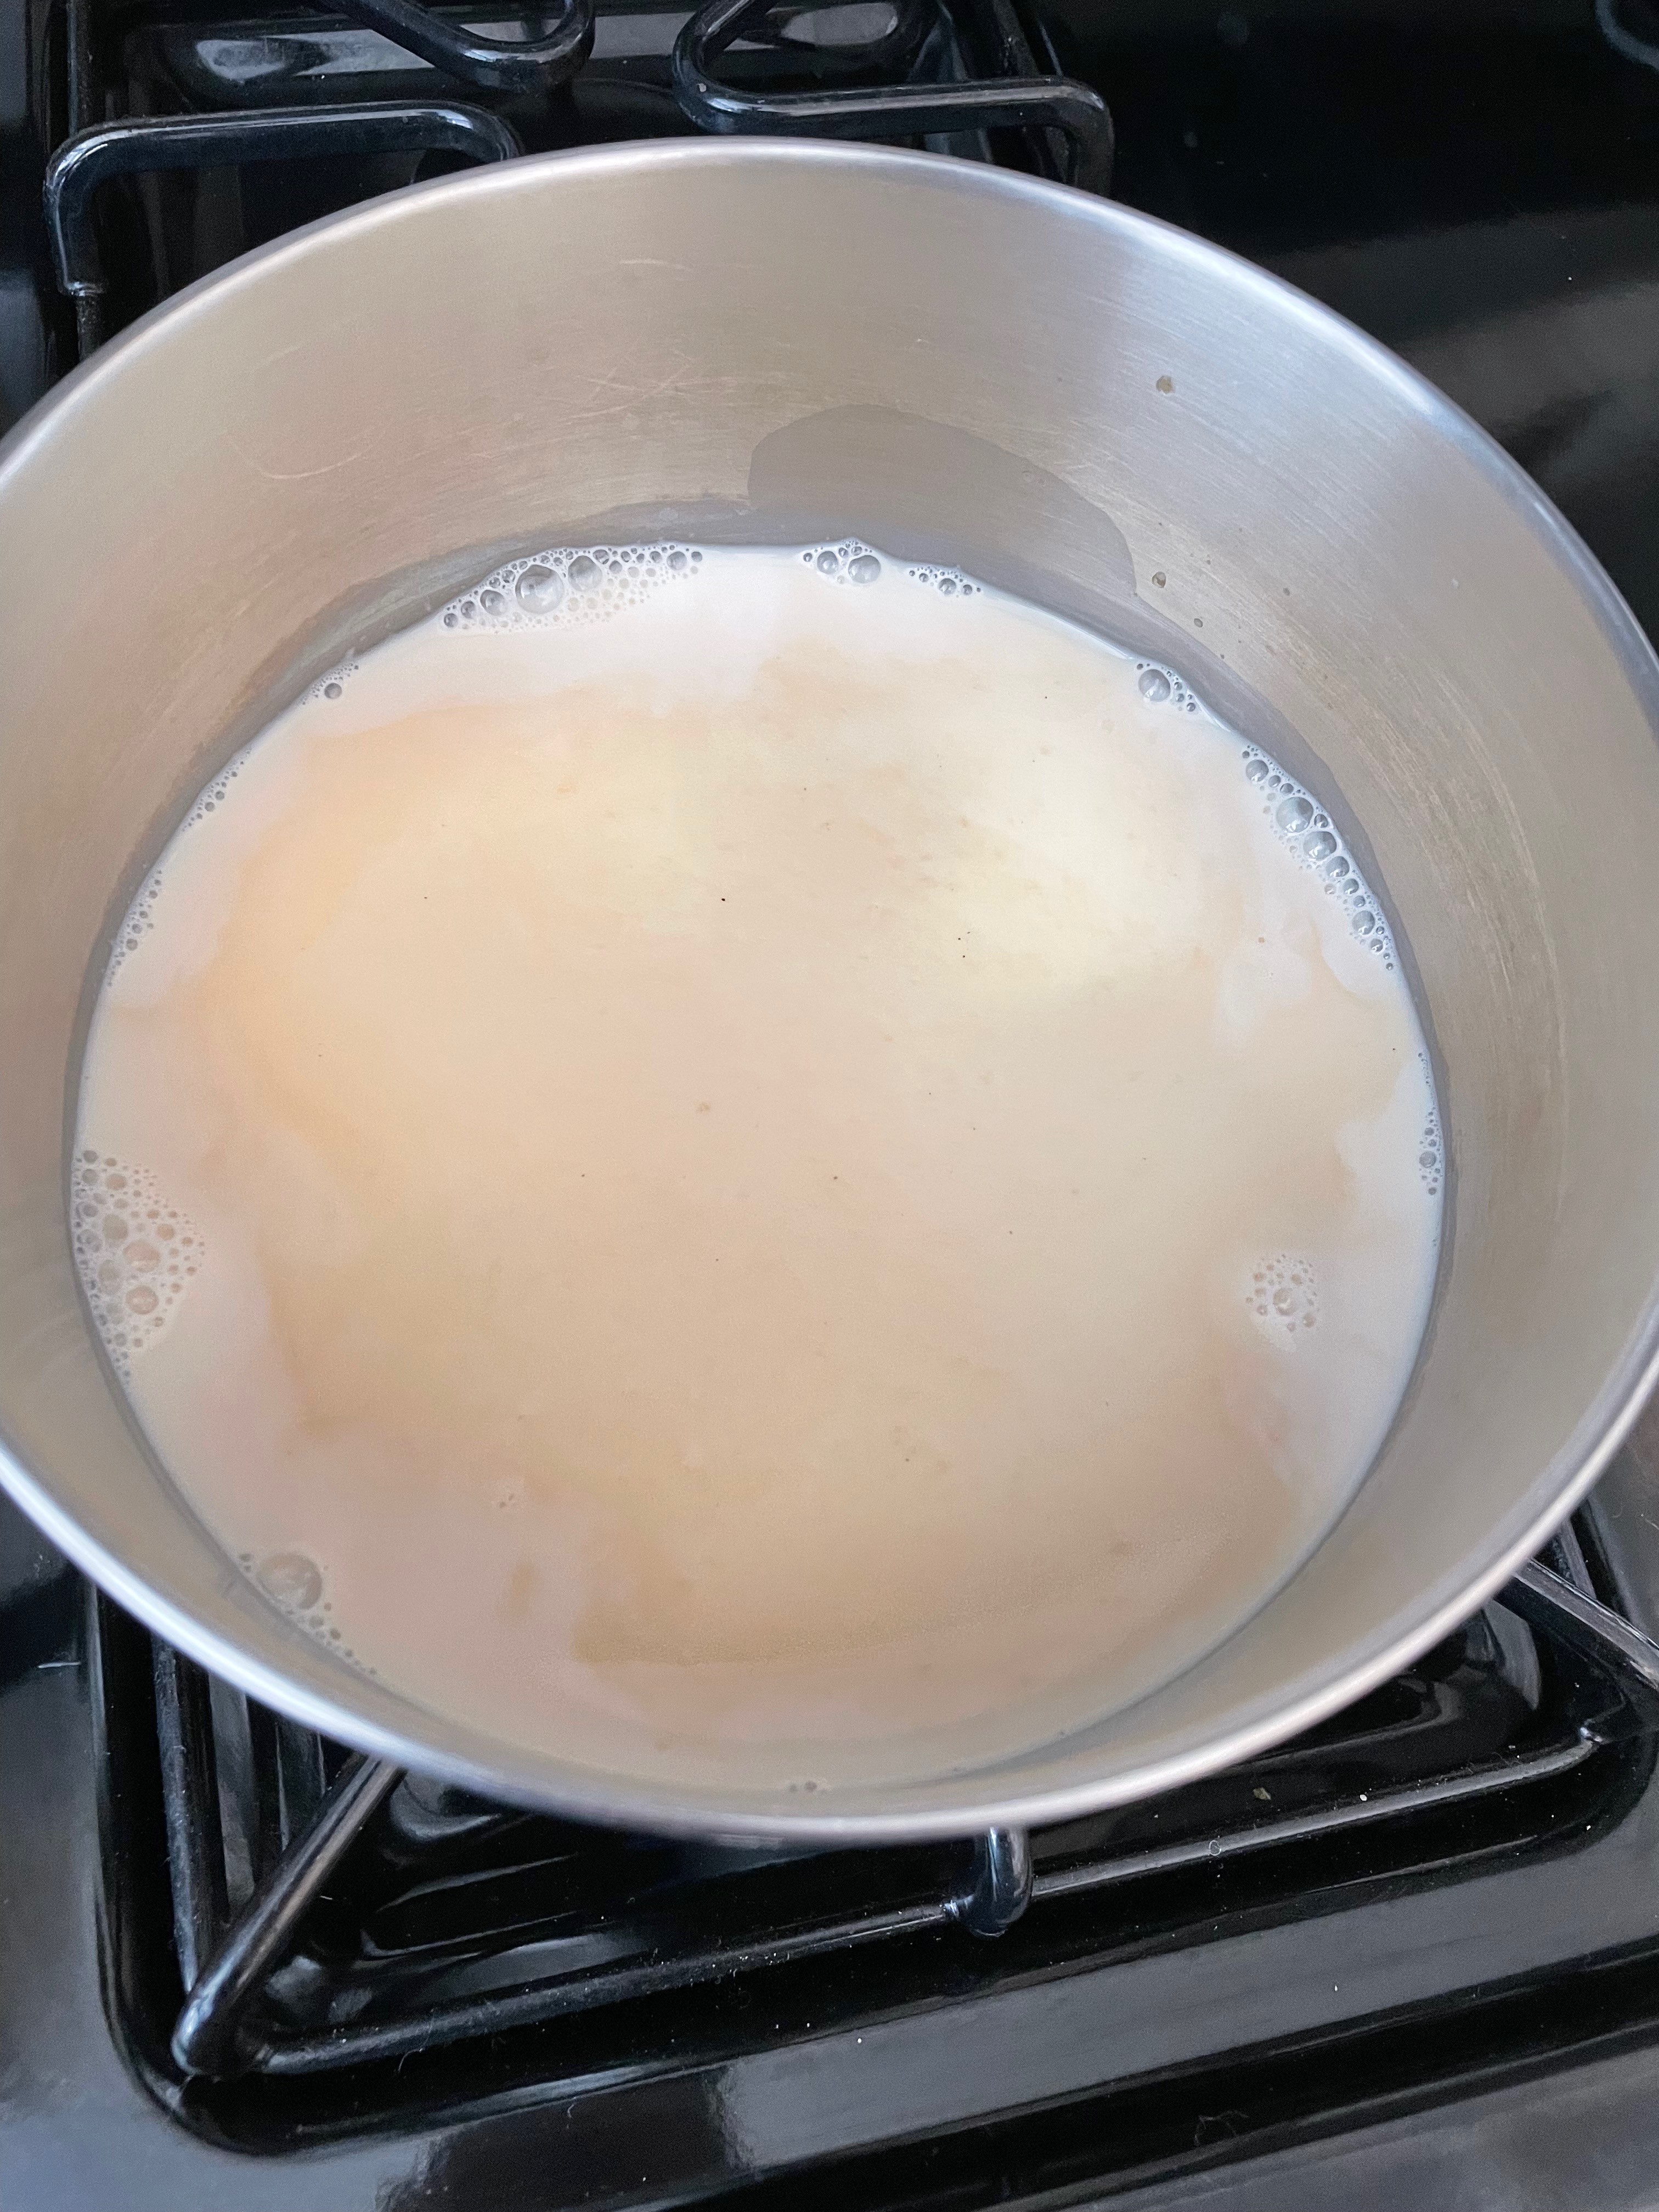
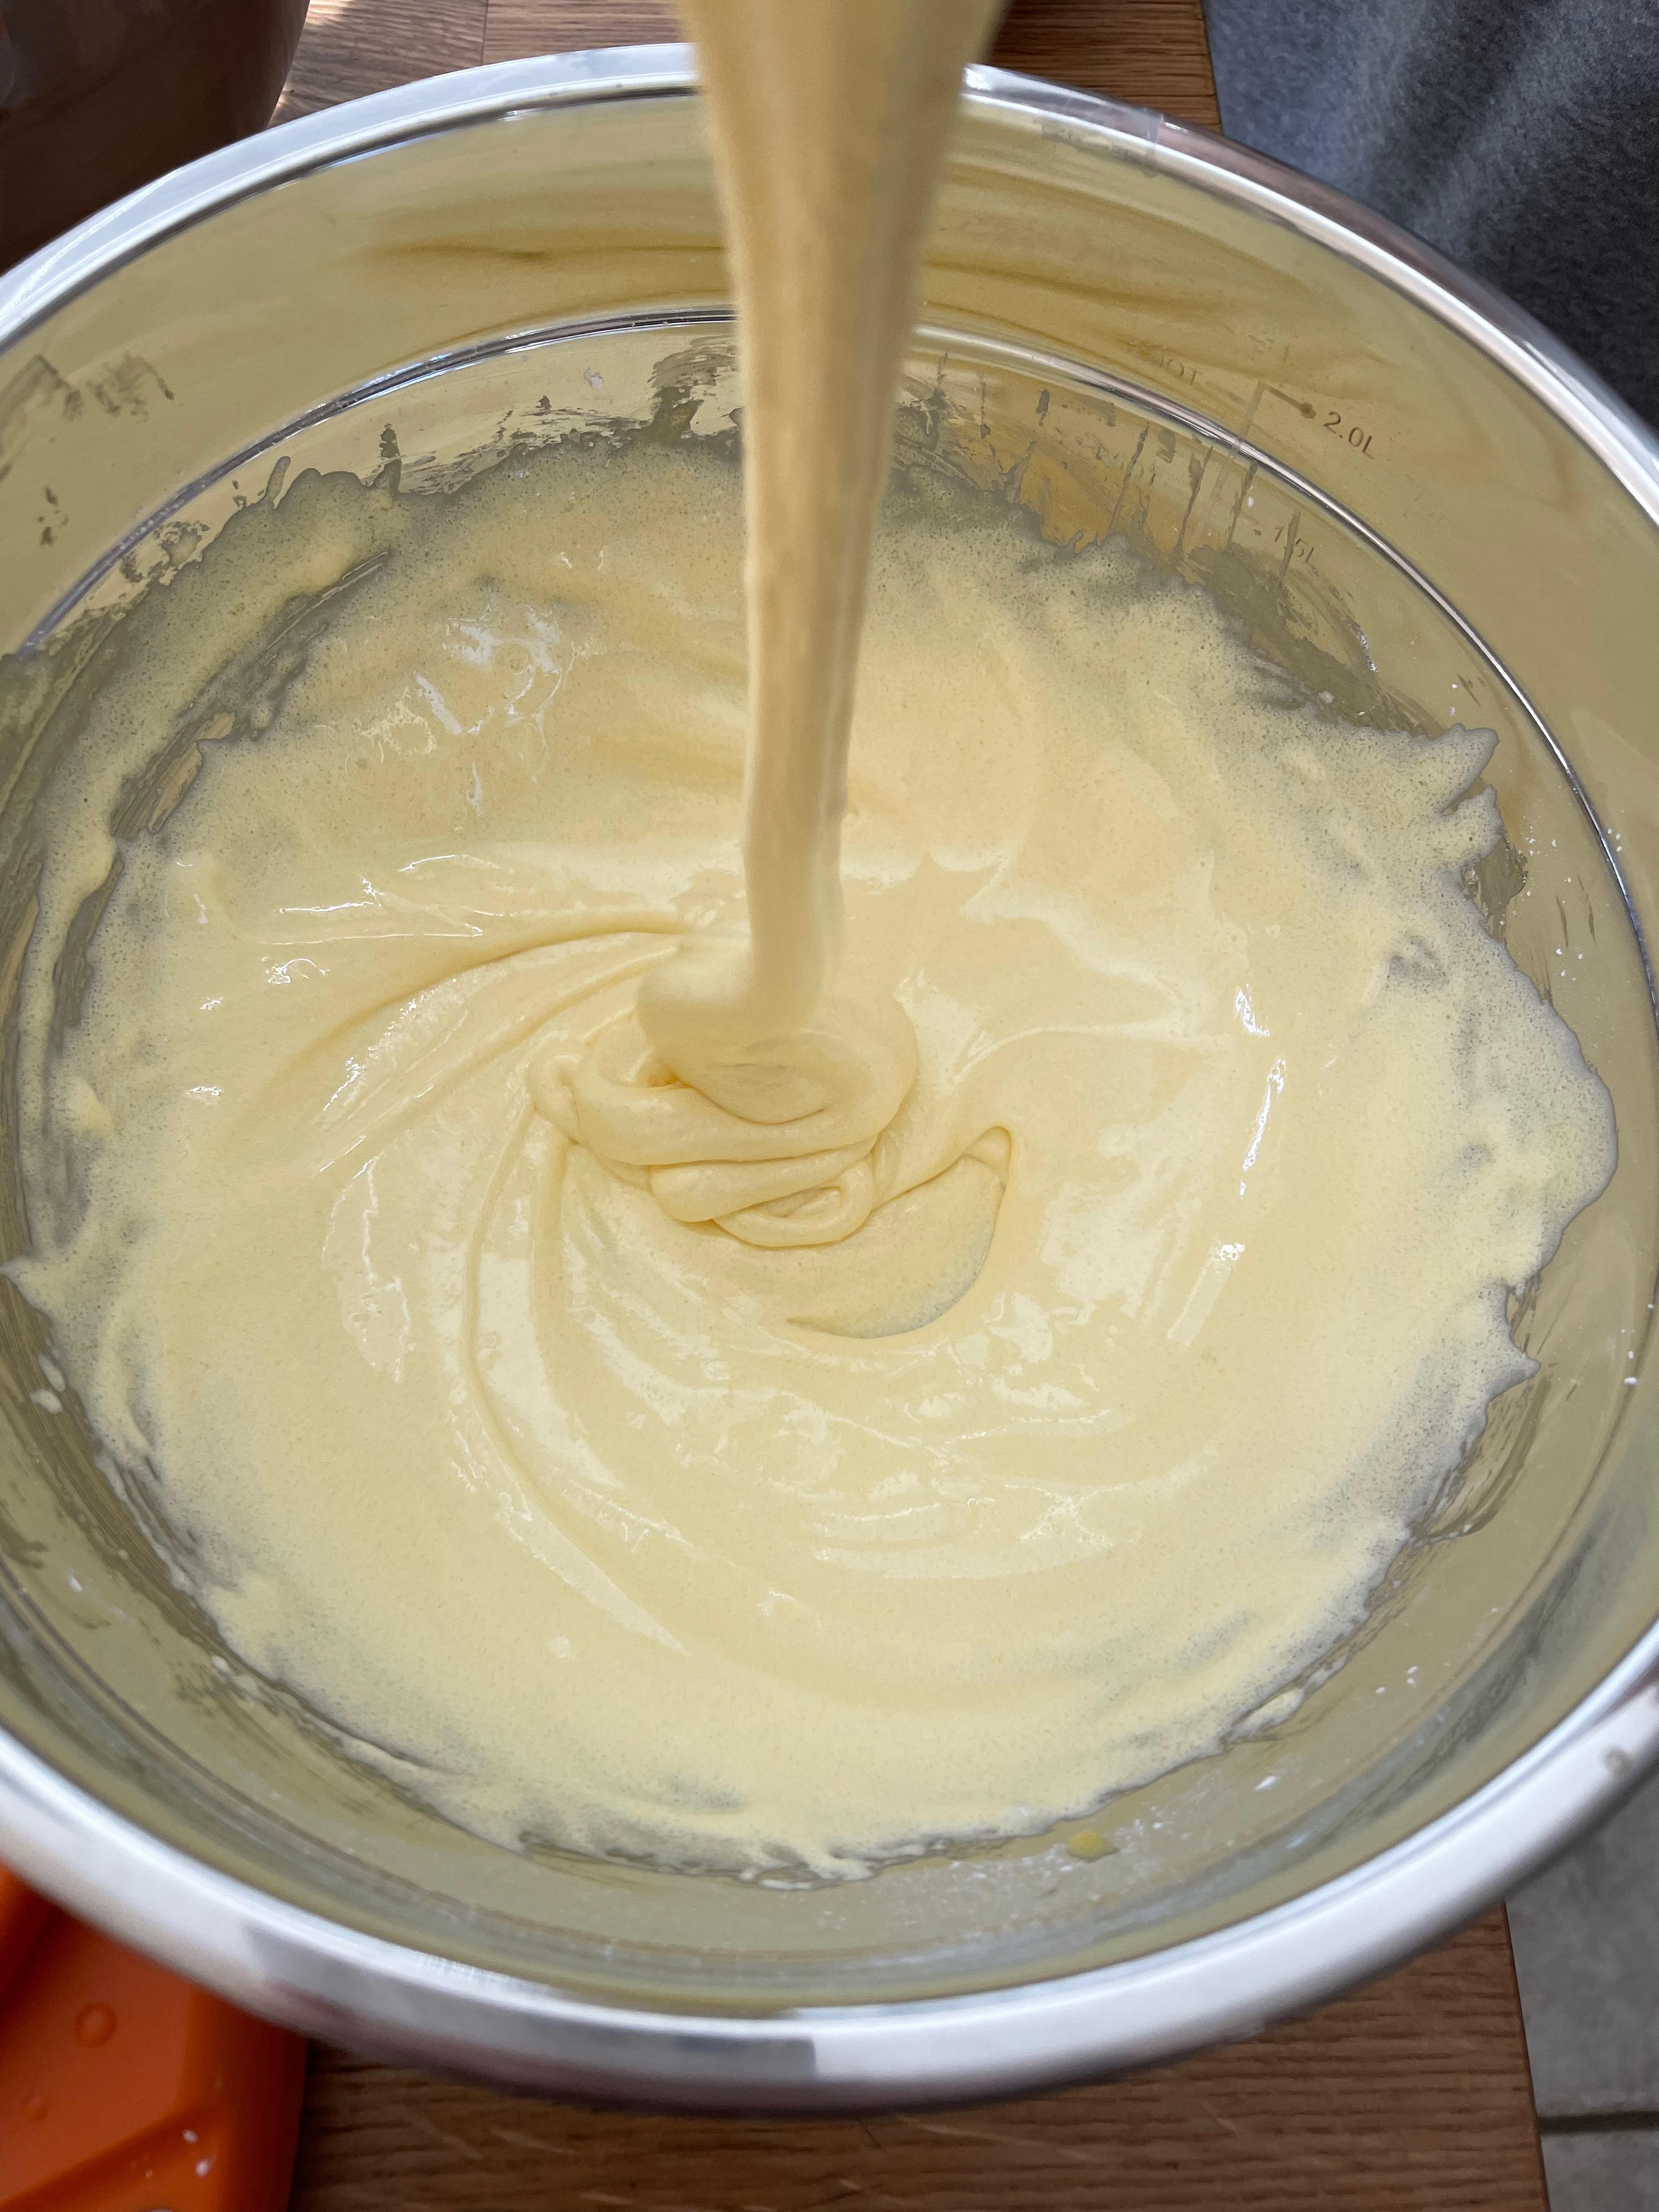
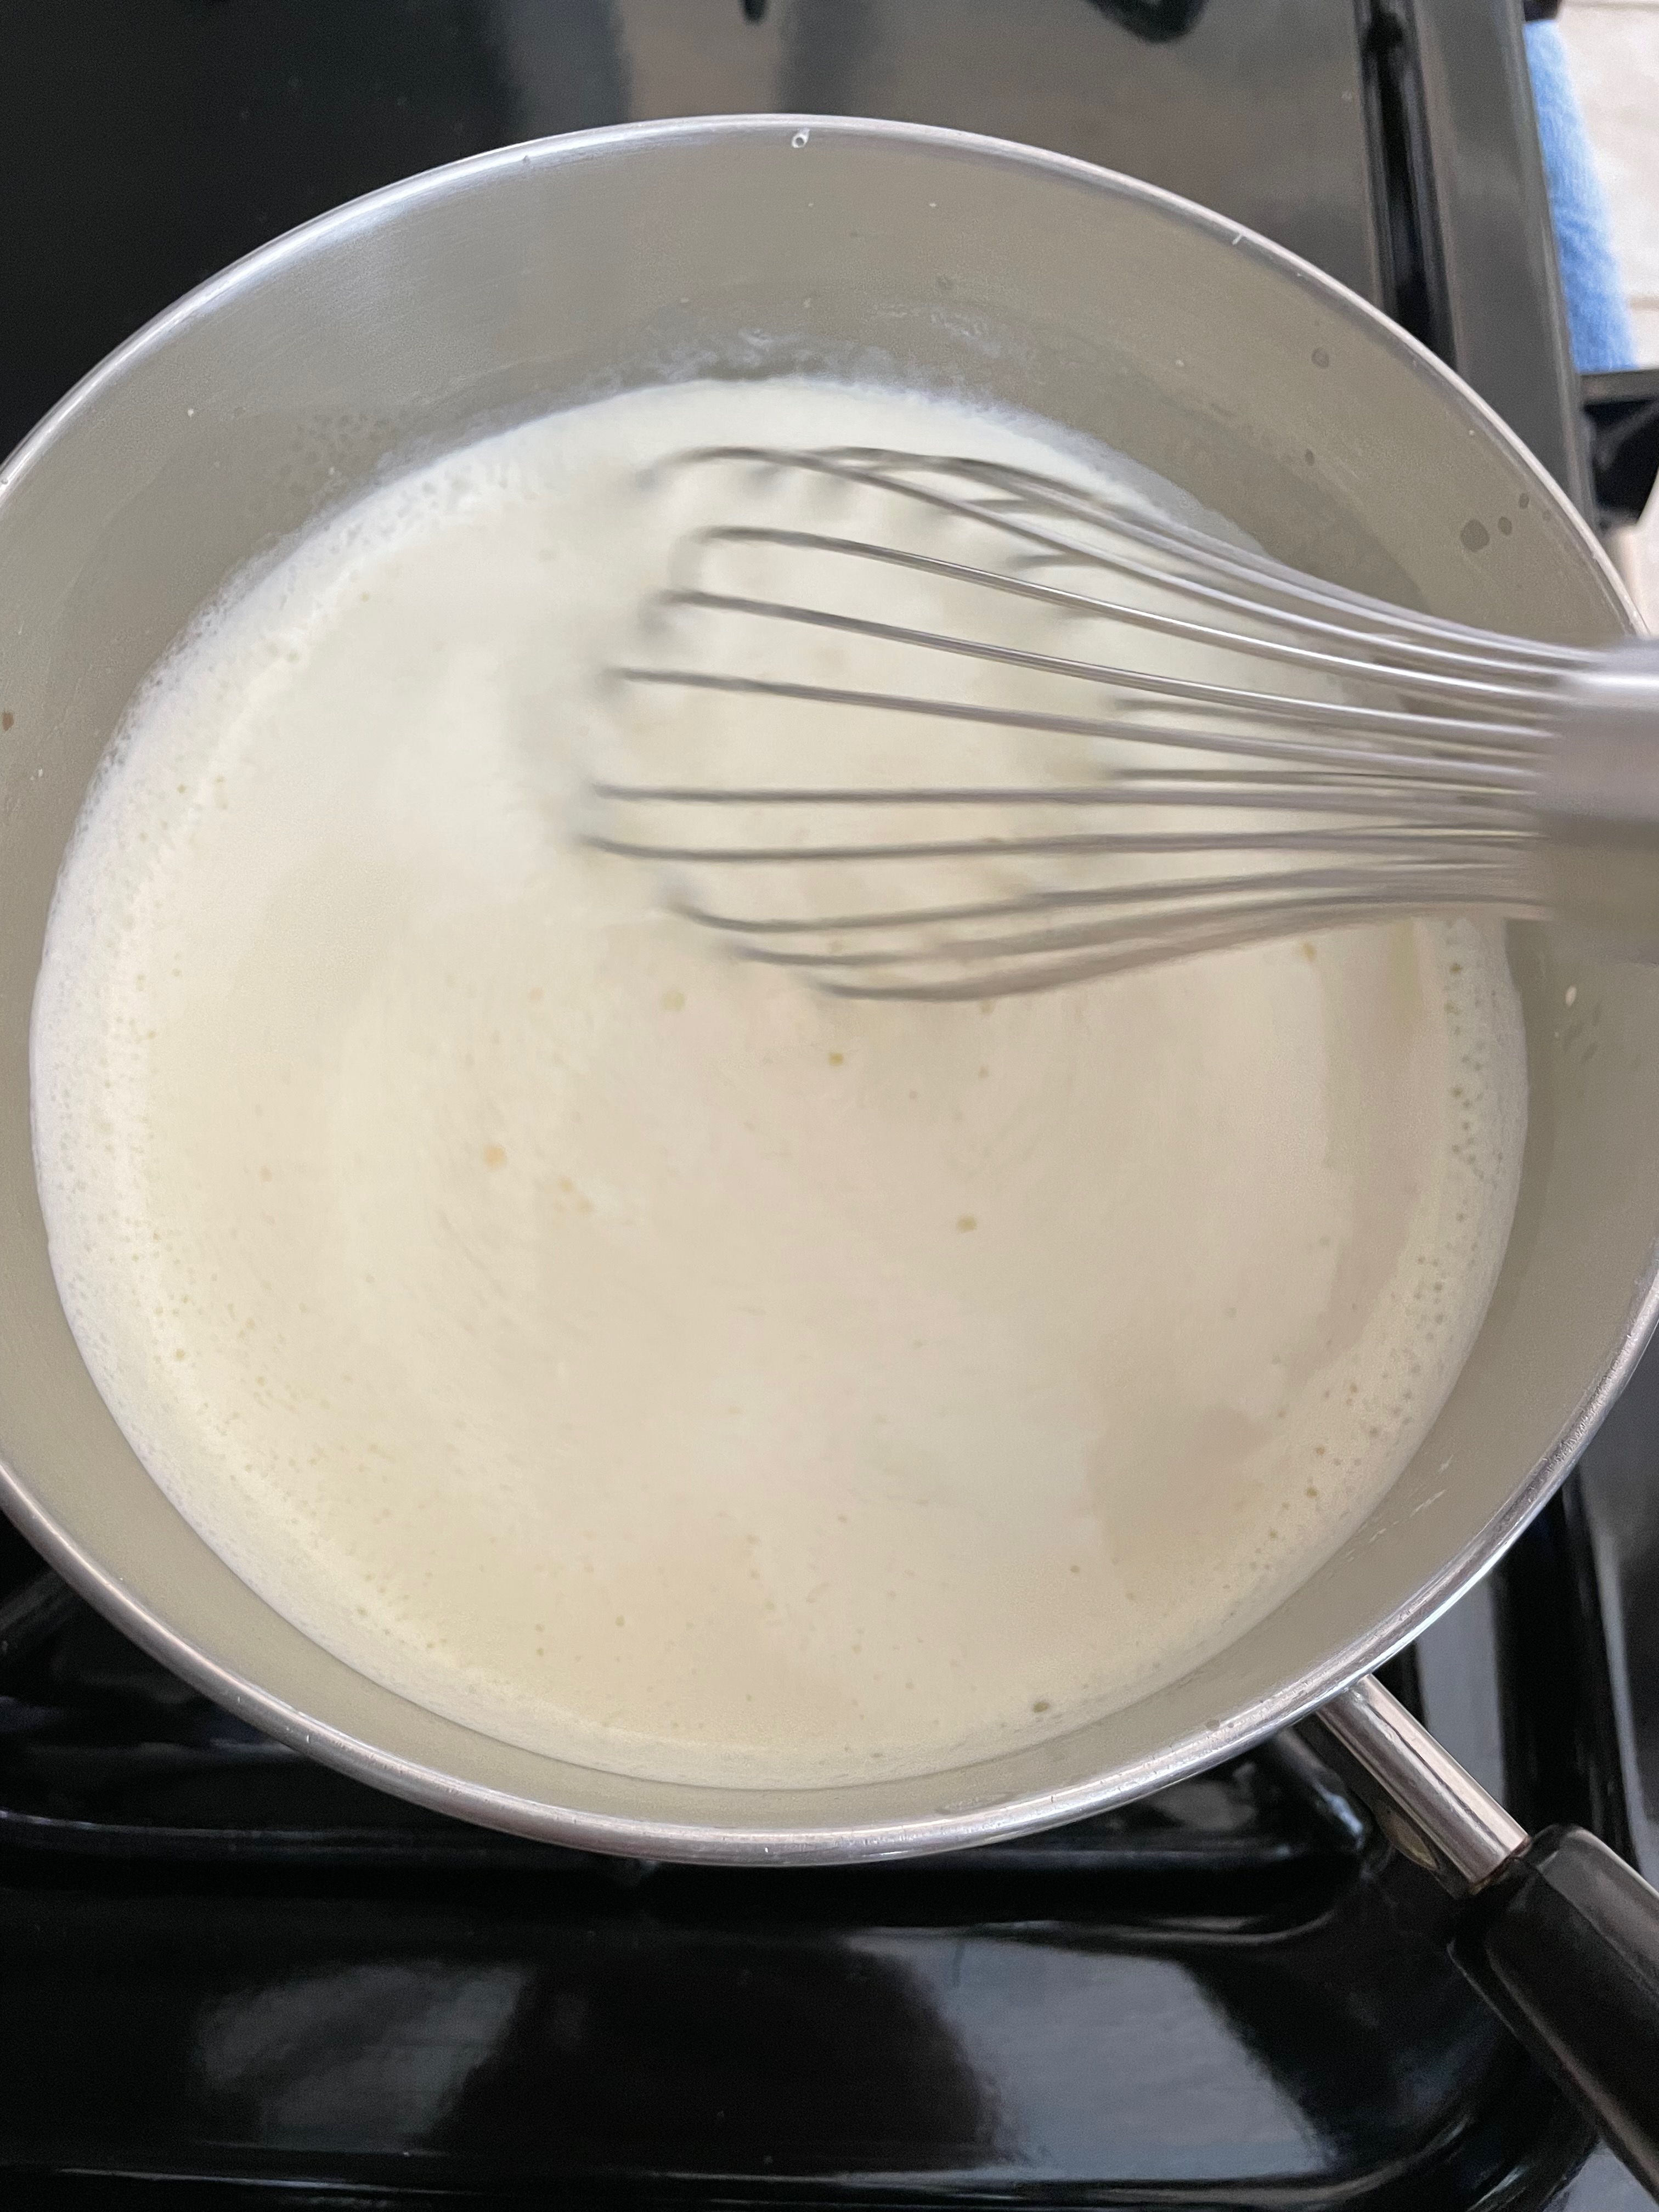
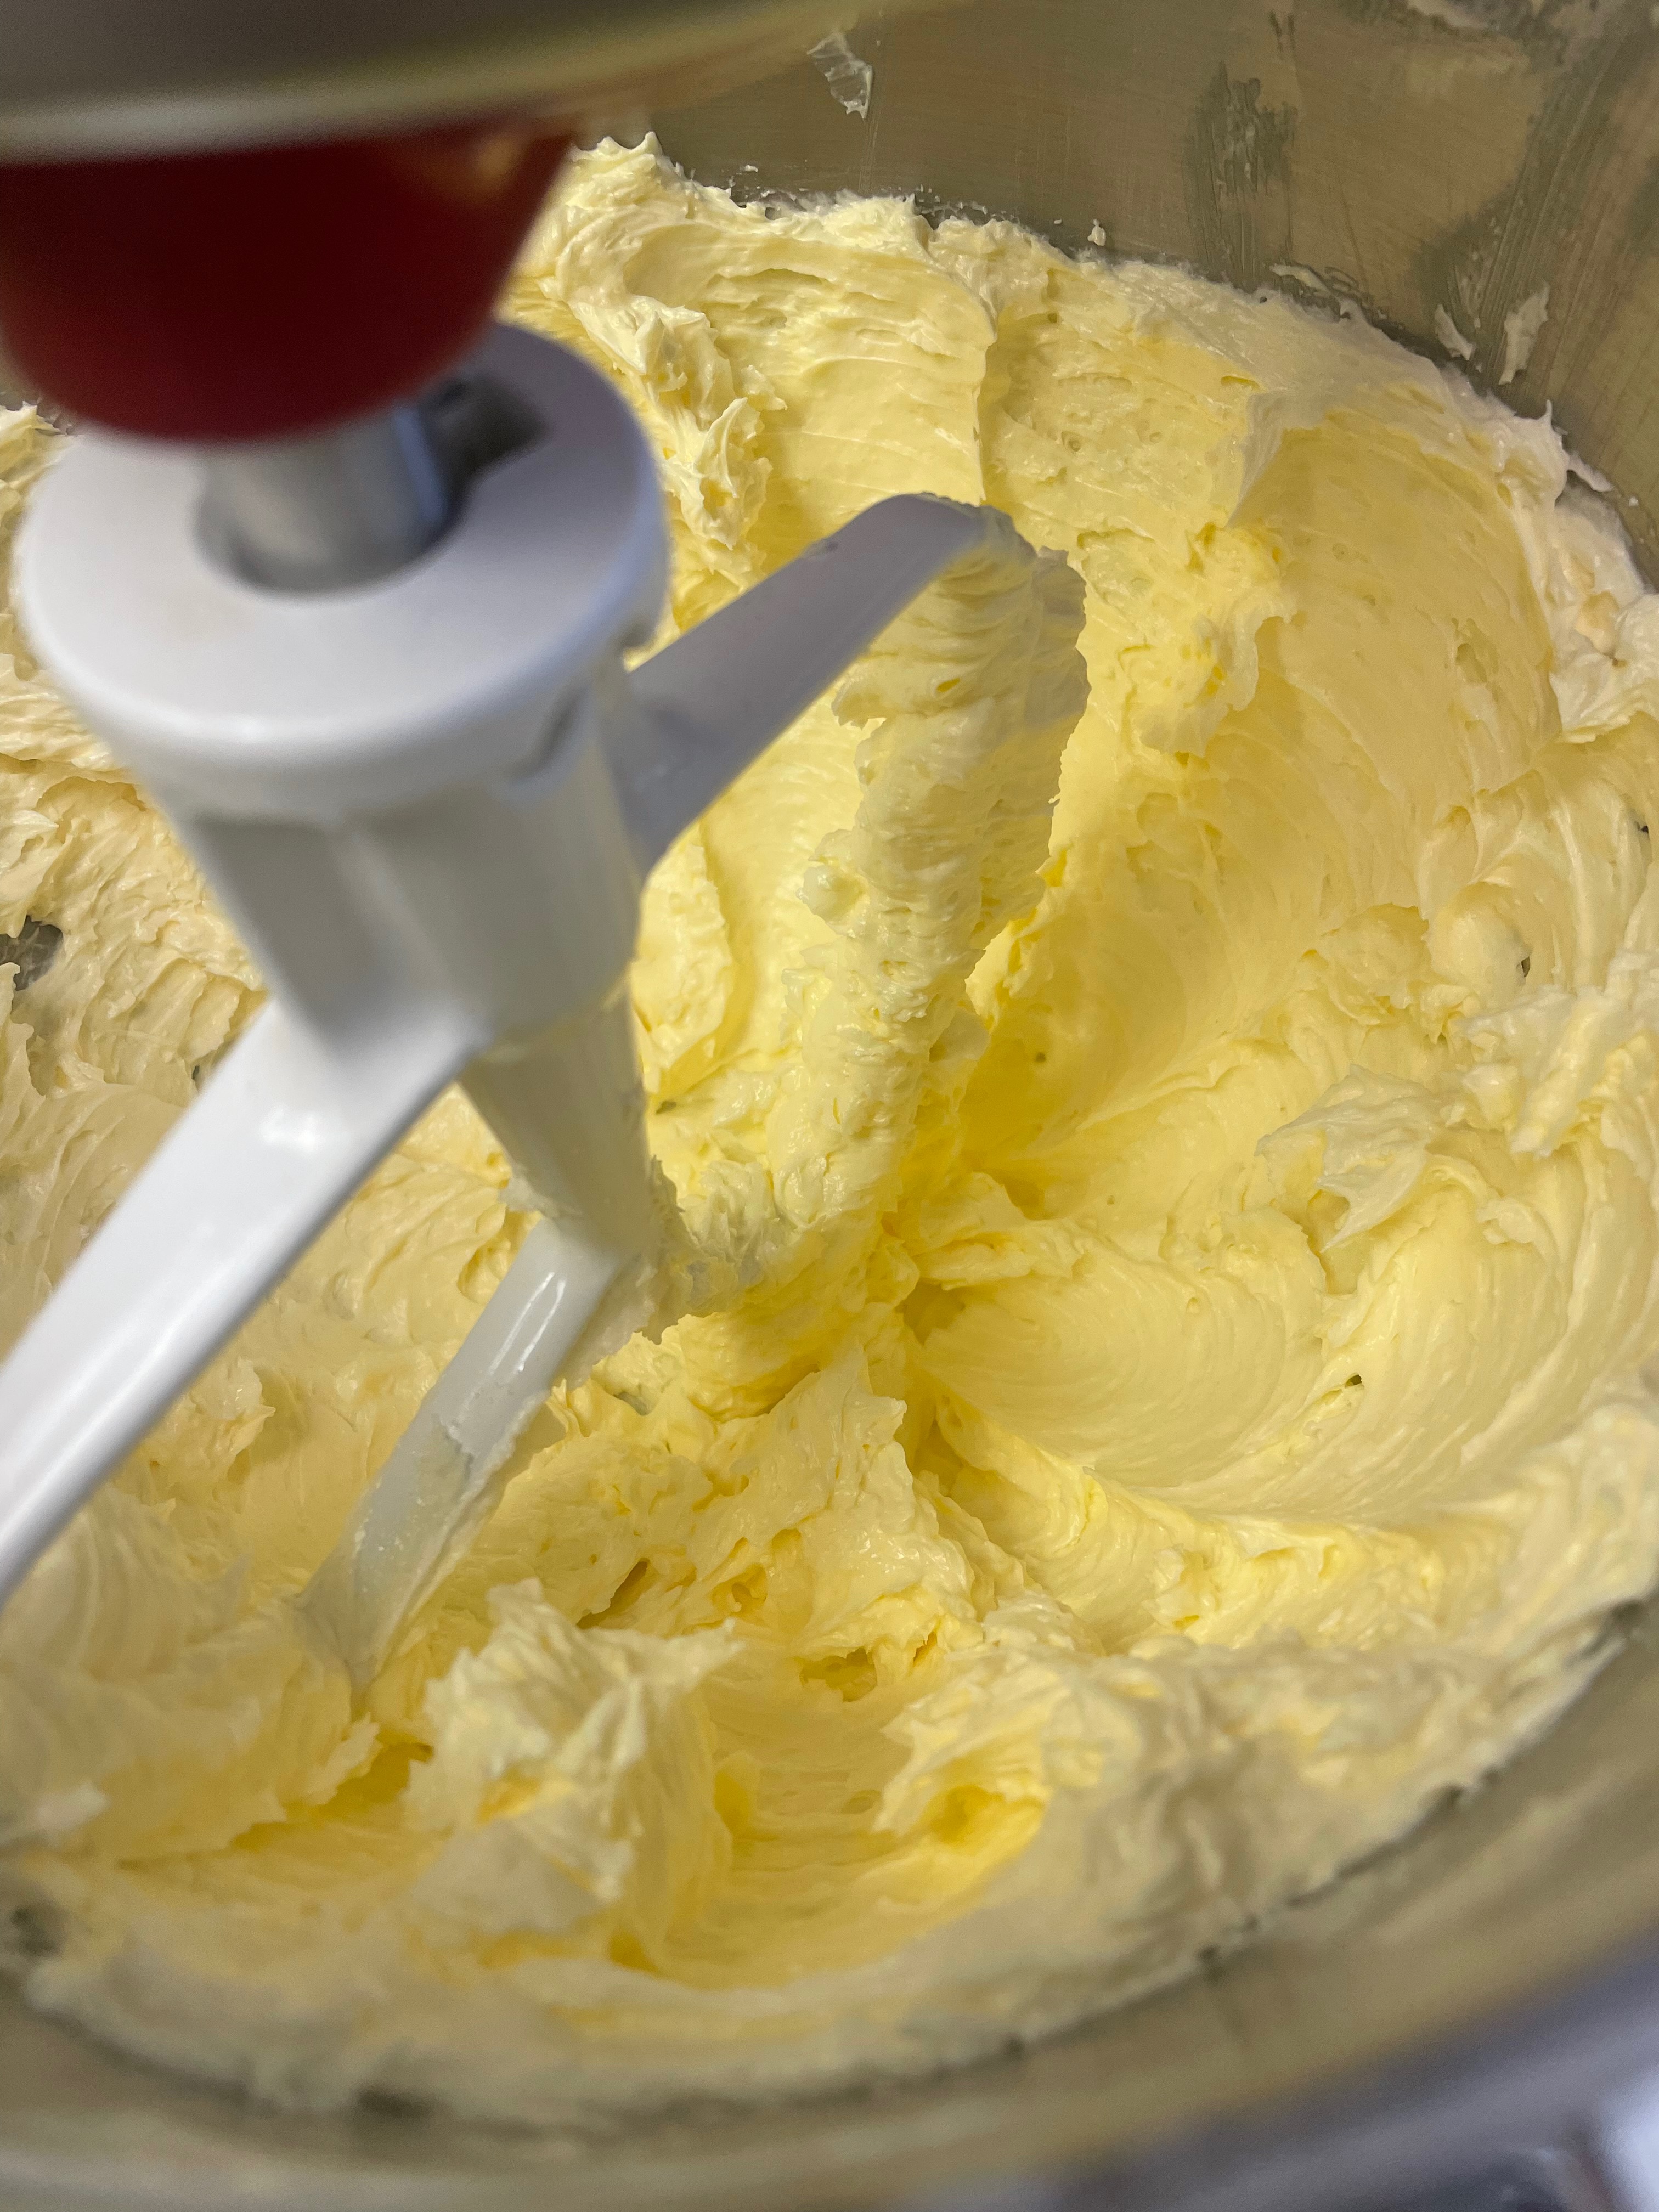
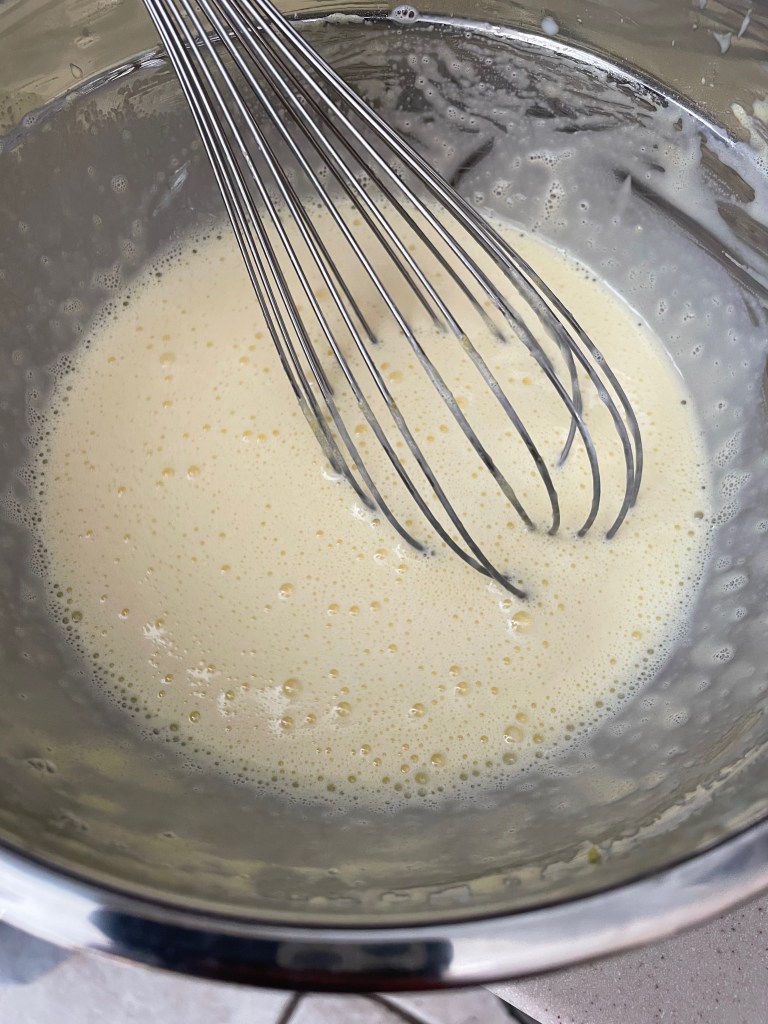
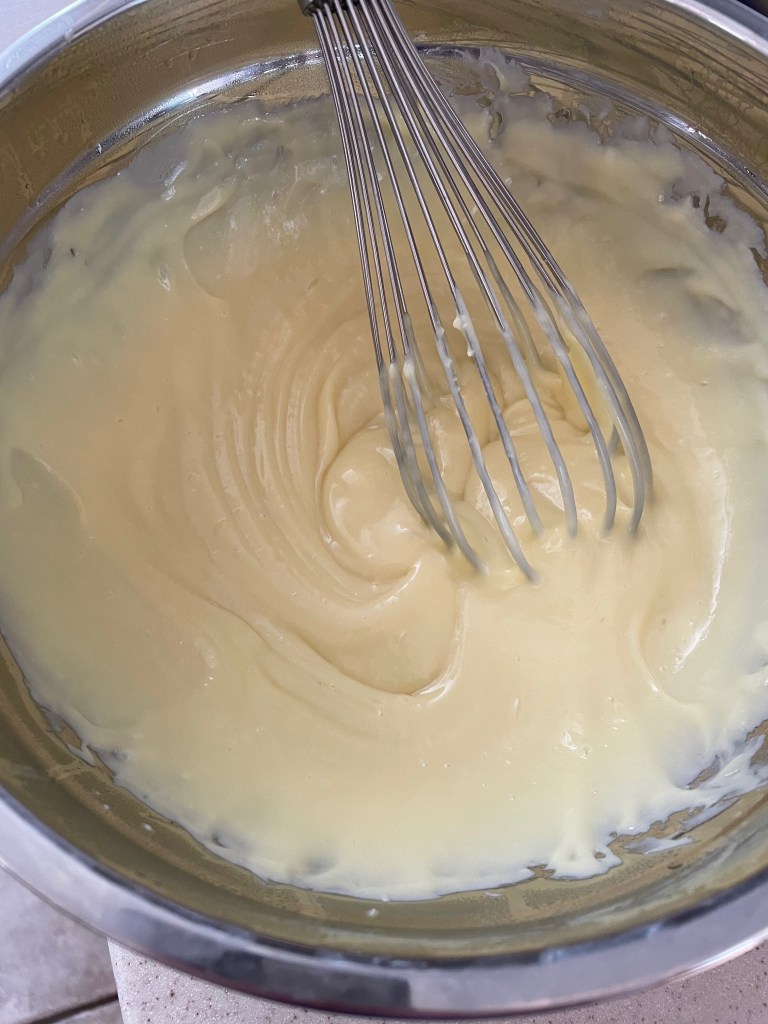
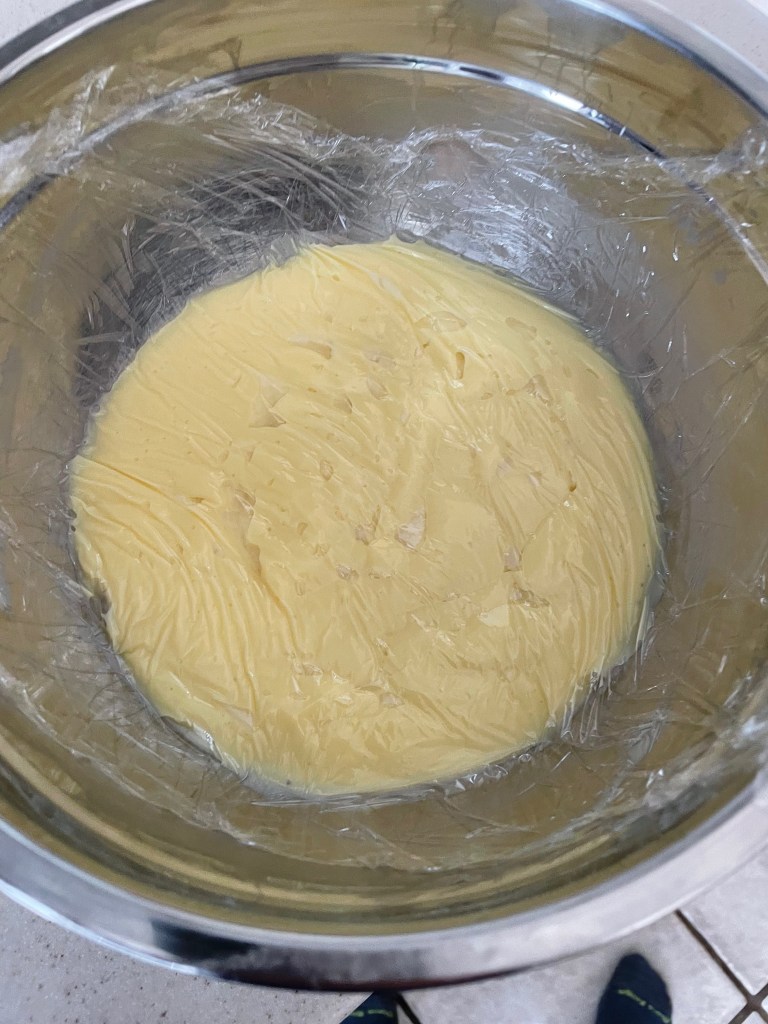
Making The Pastry Cream


Tip: Have all of the steps memorized before you start – you won’t have time to look or double check.
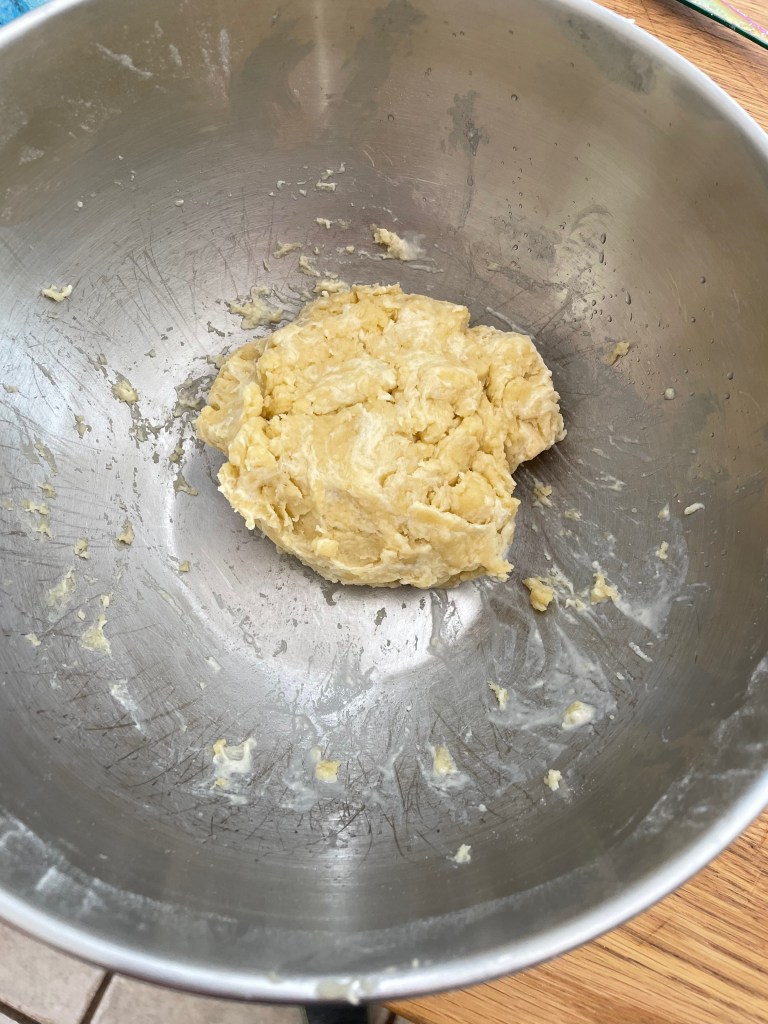
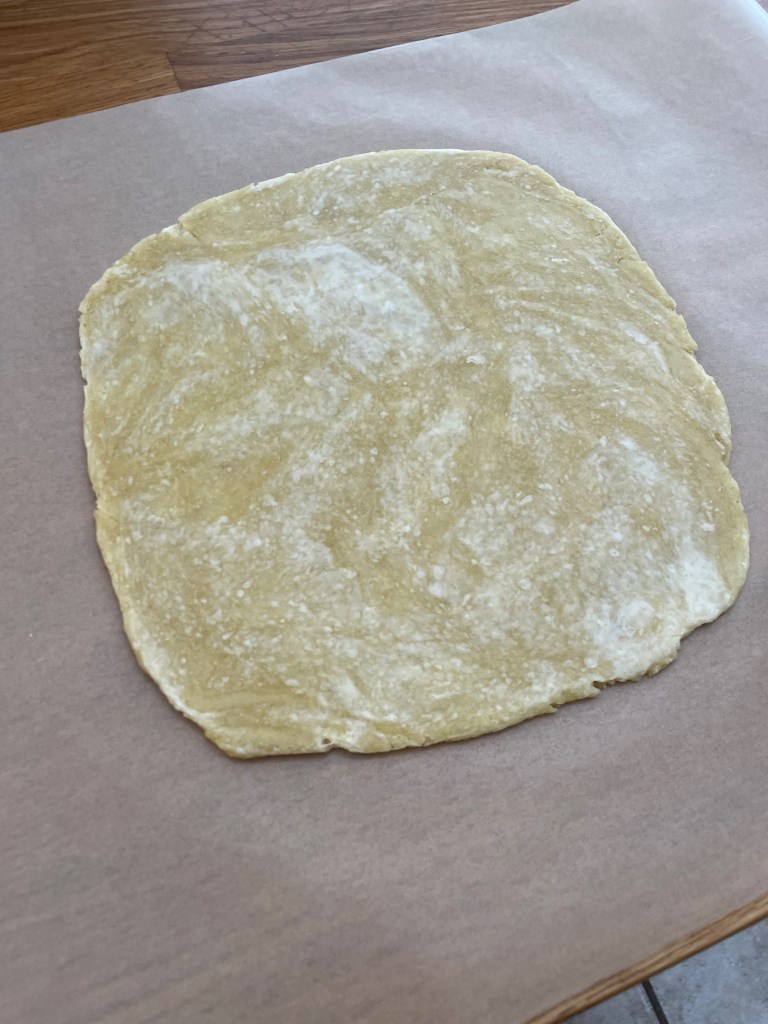
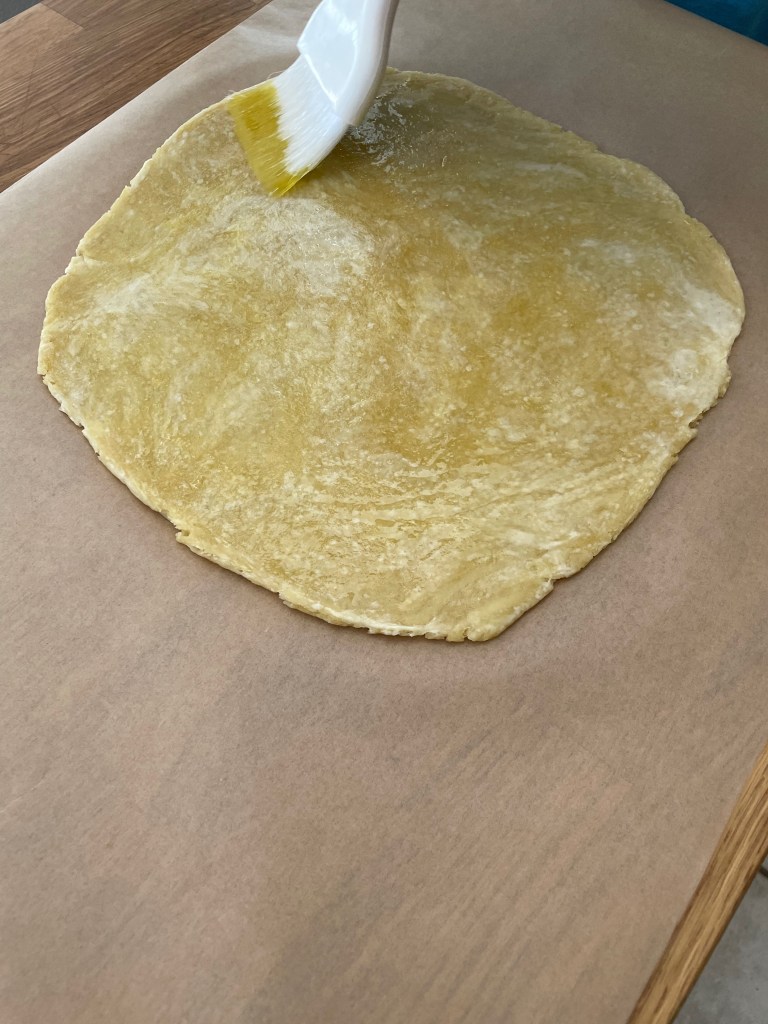
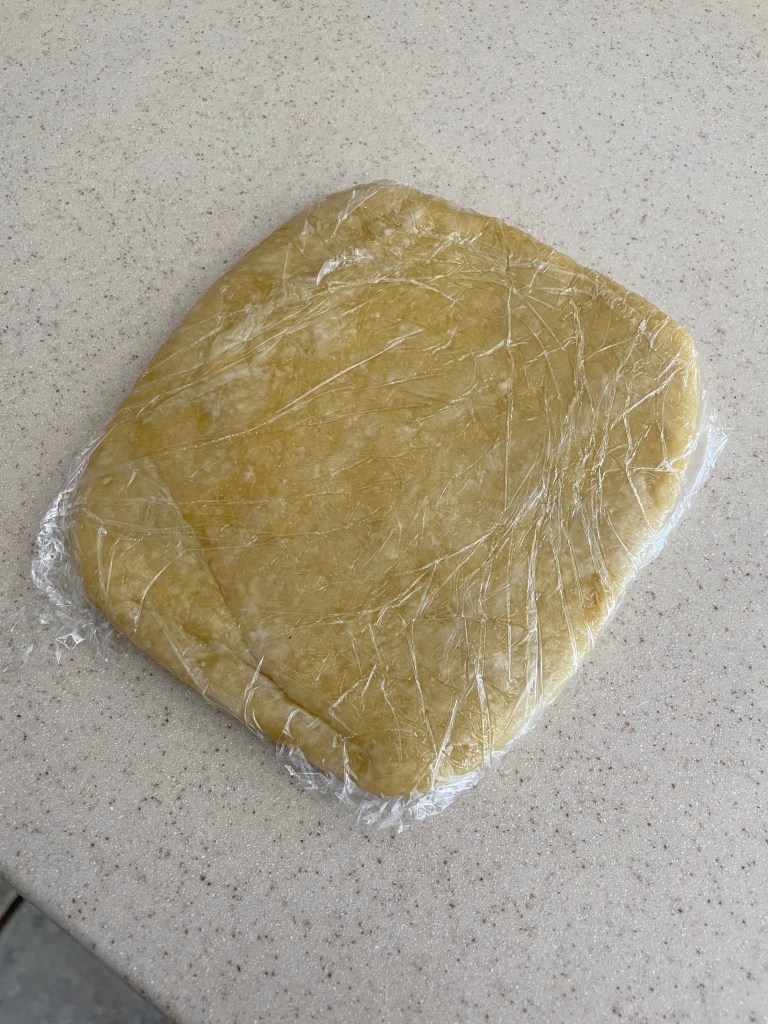
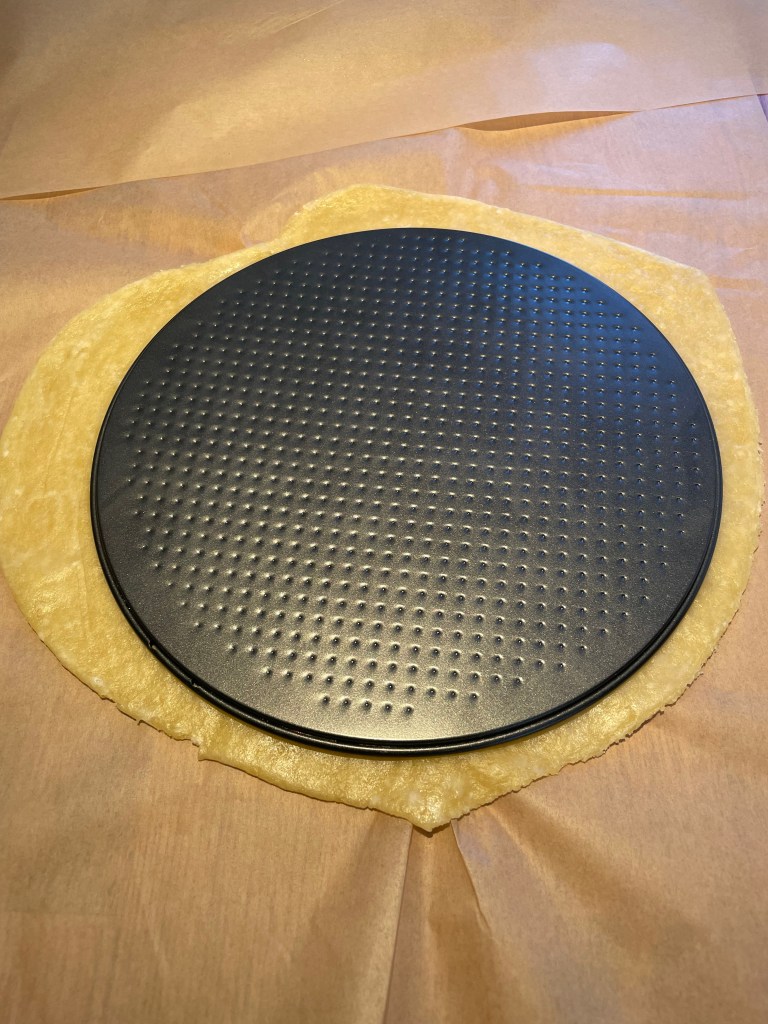
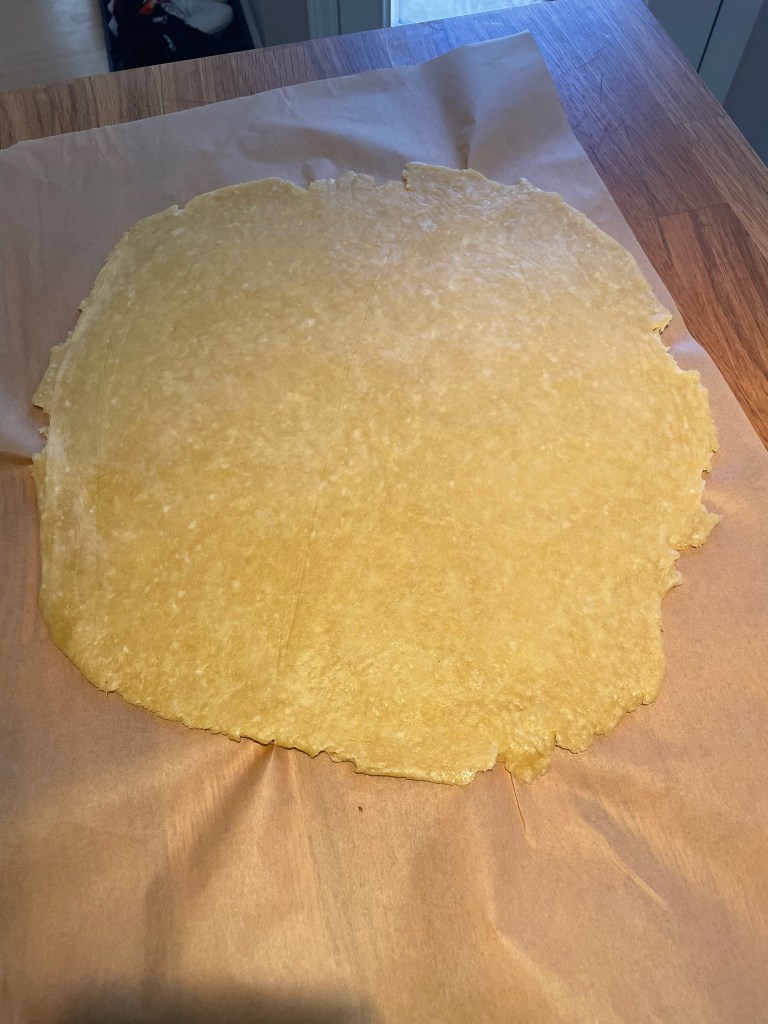
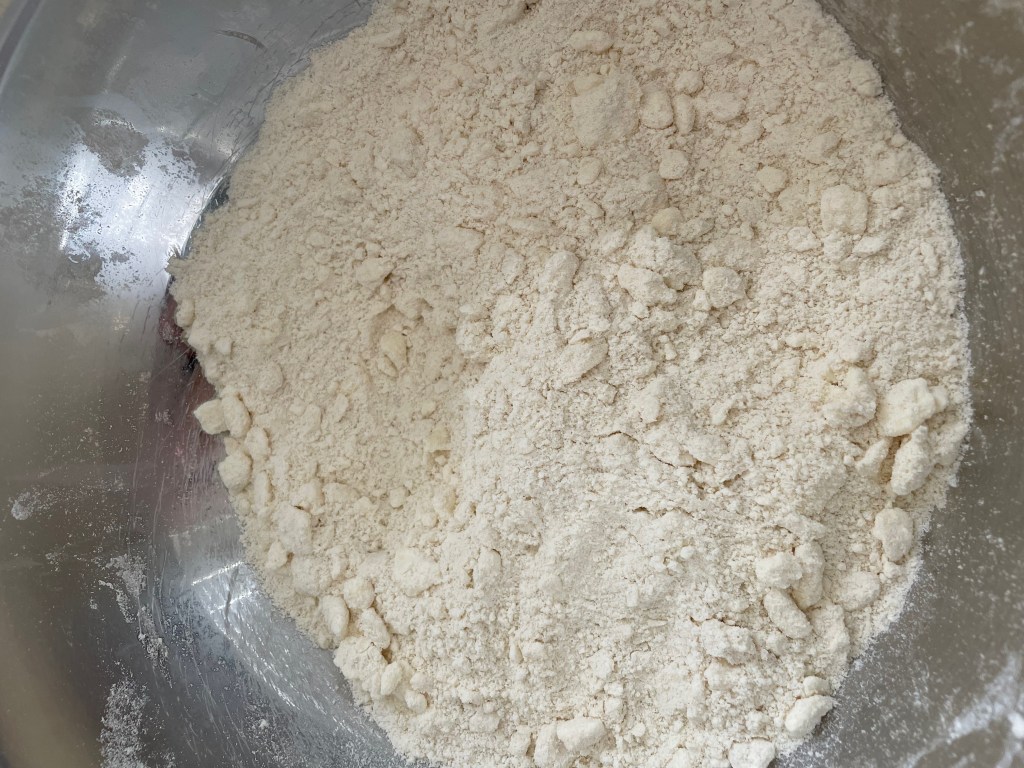
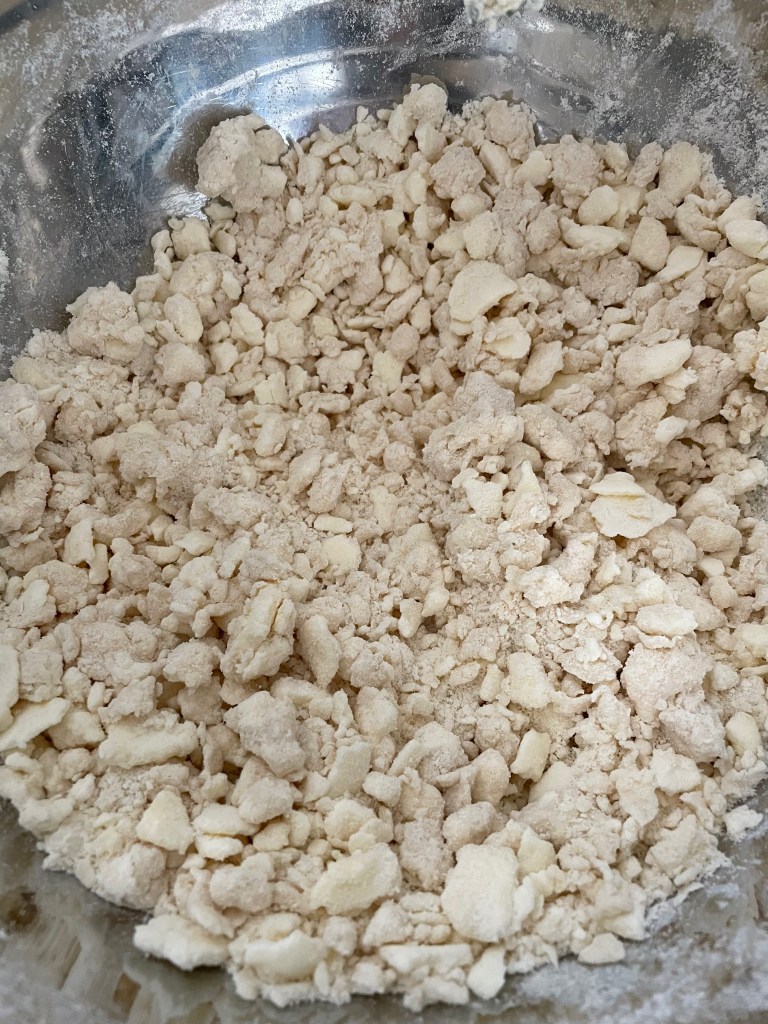
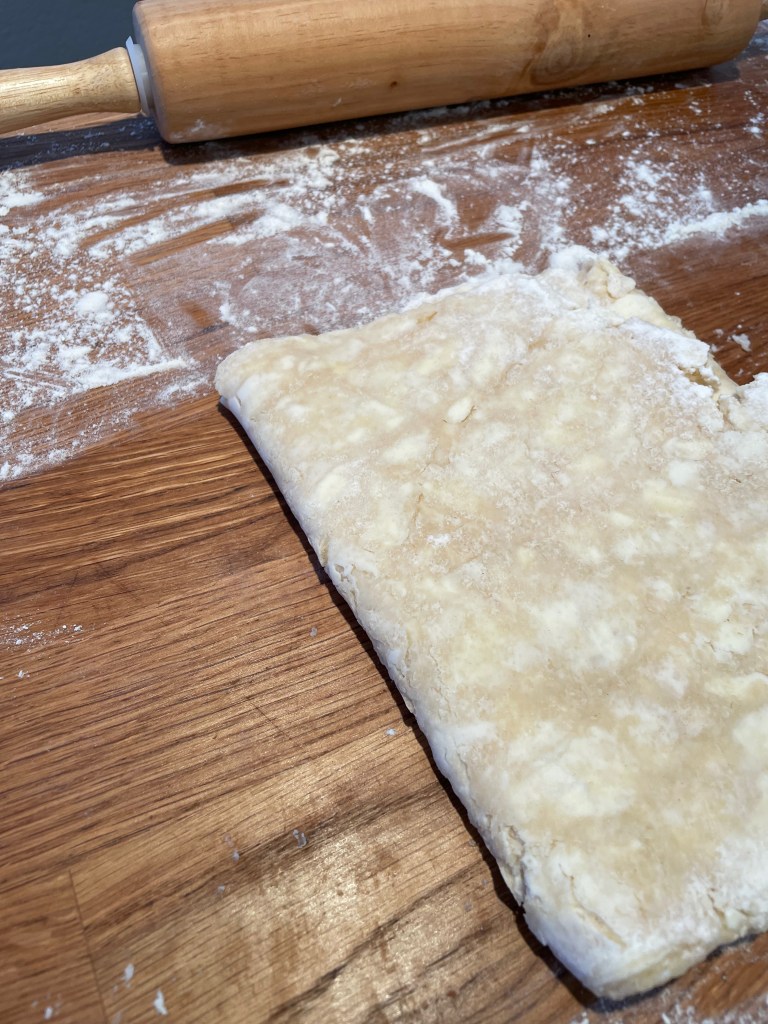
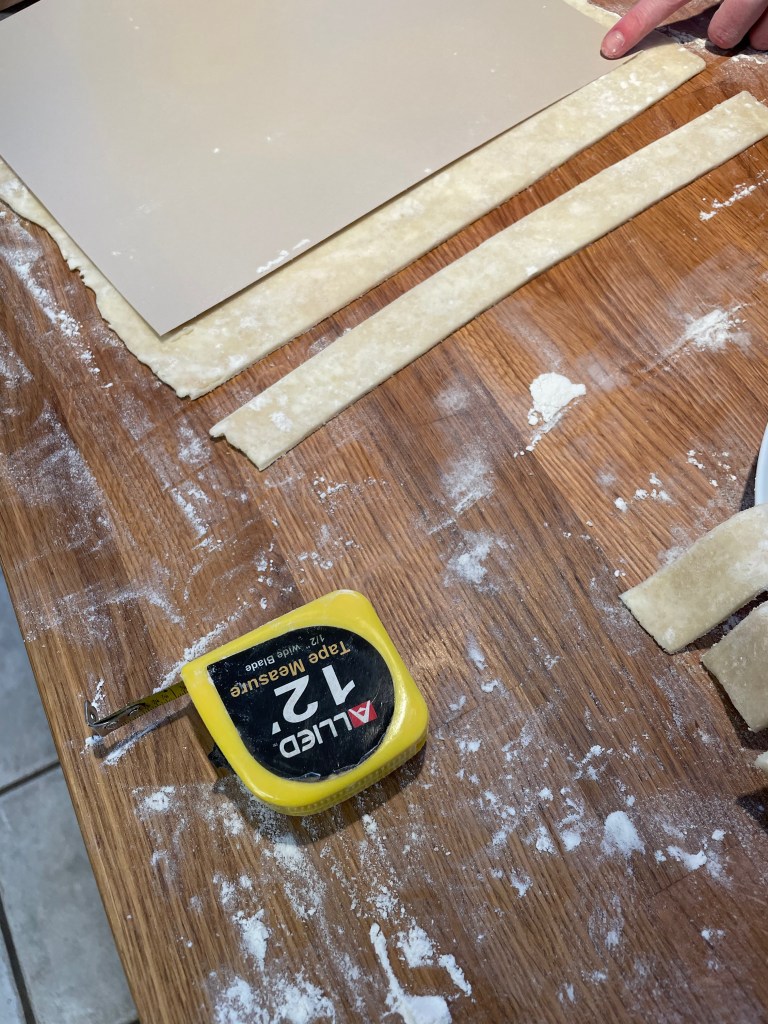
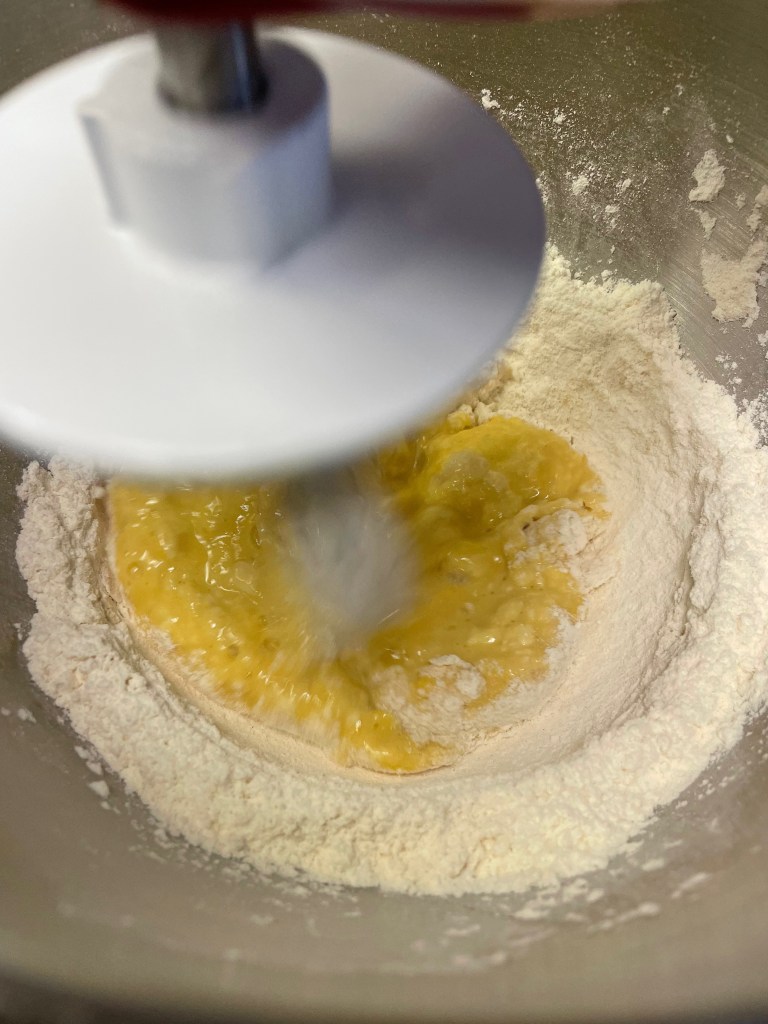
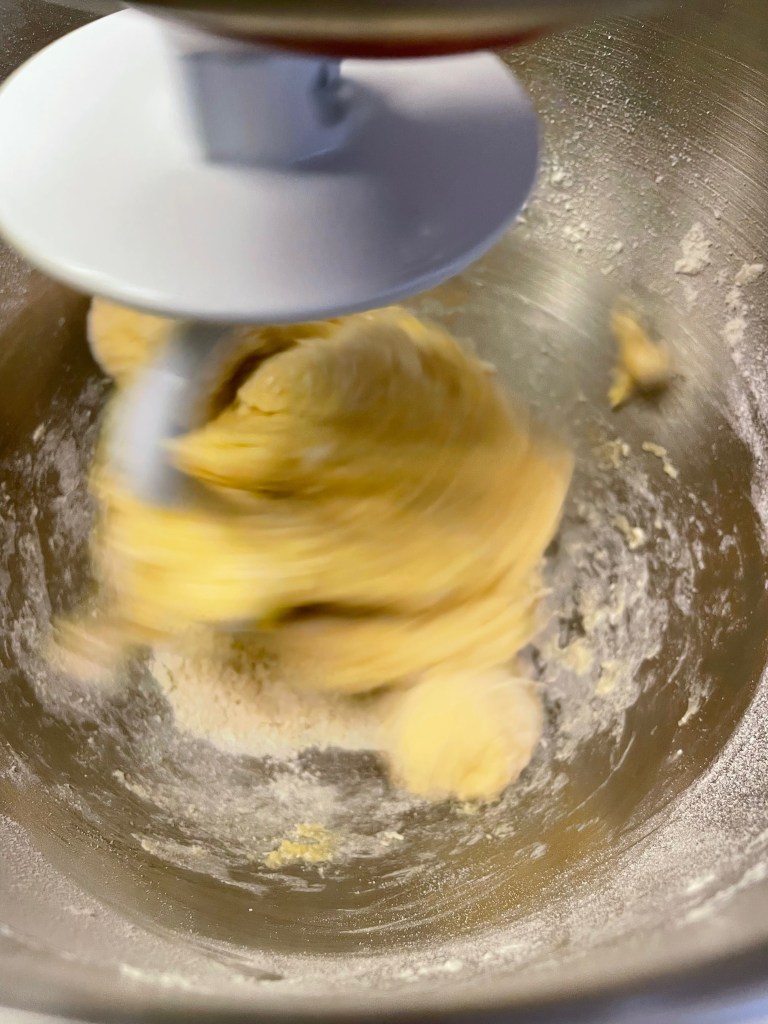
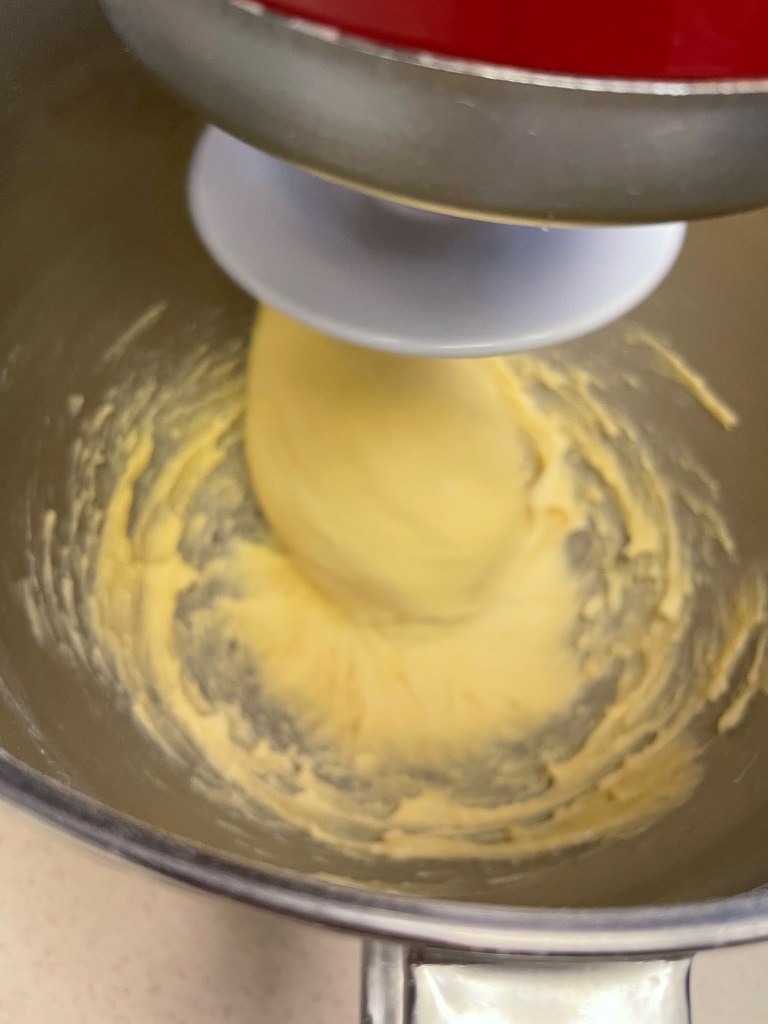
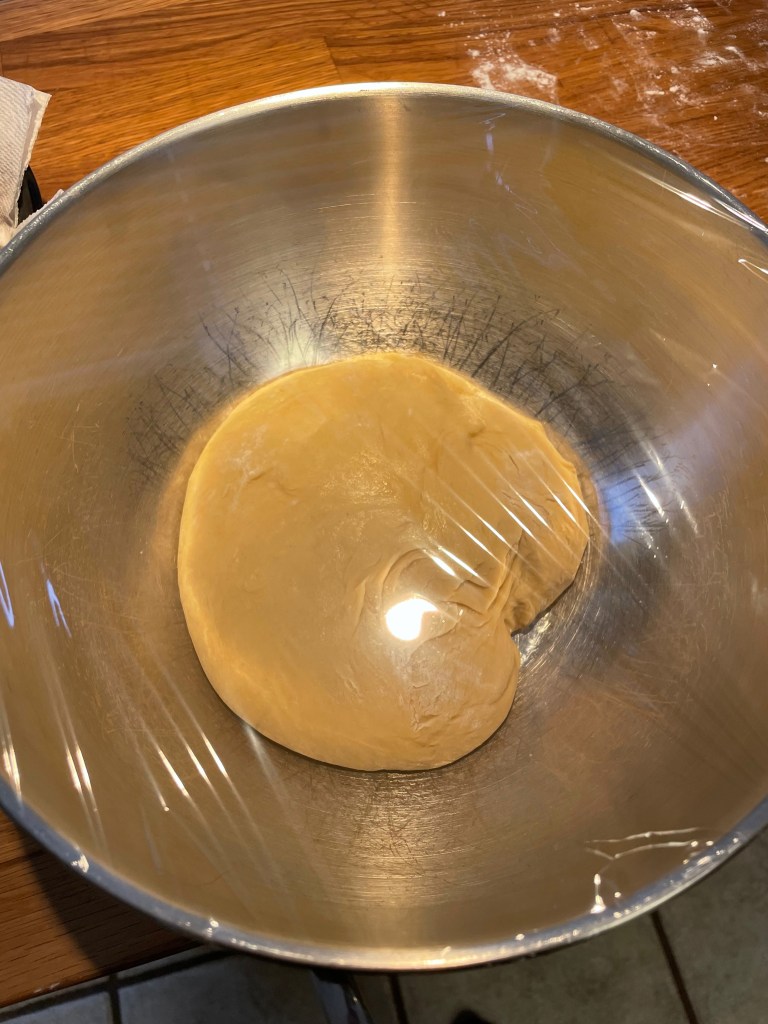
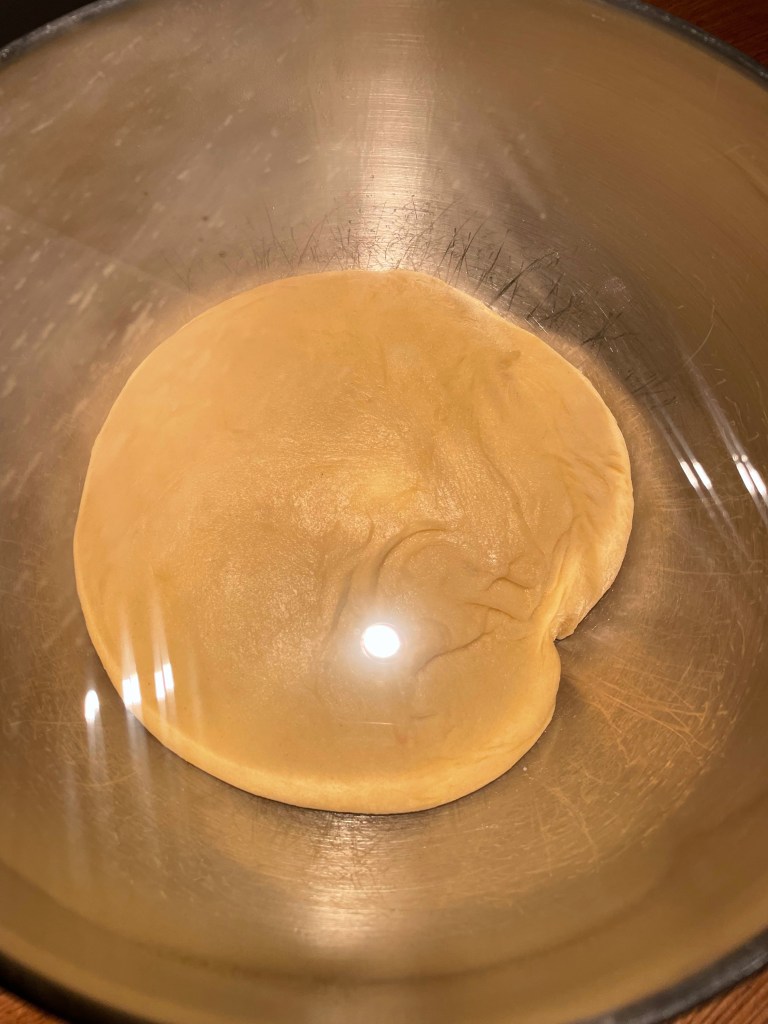
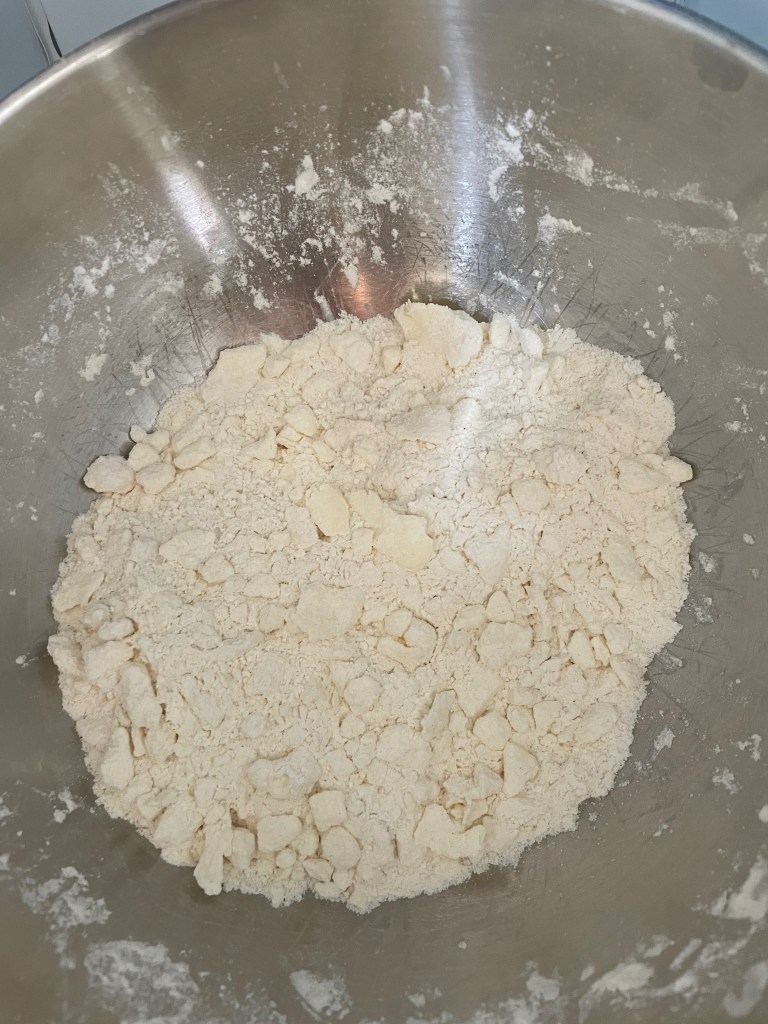
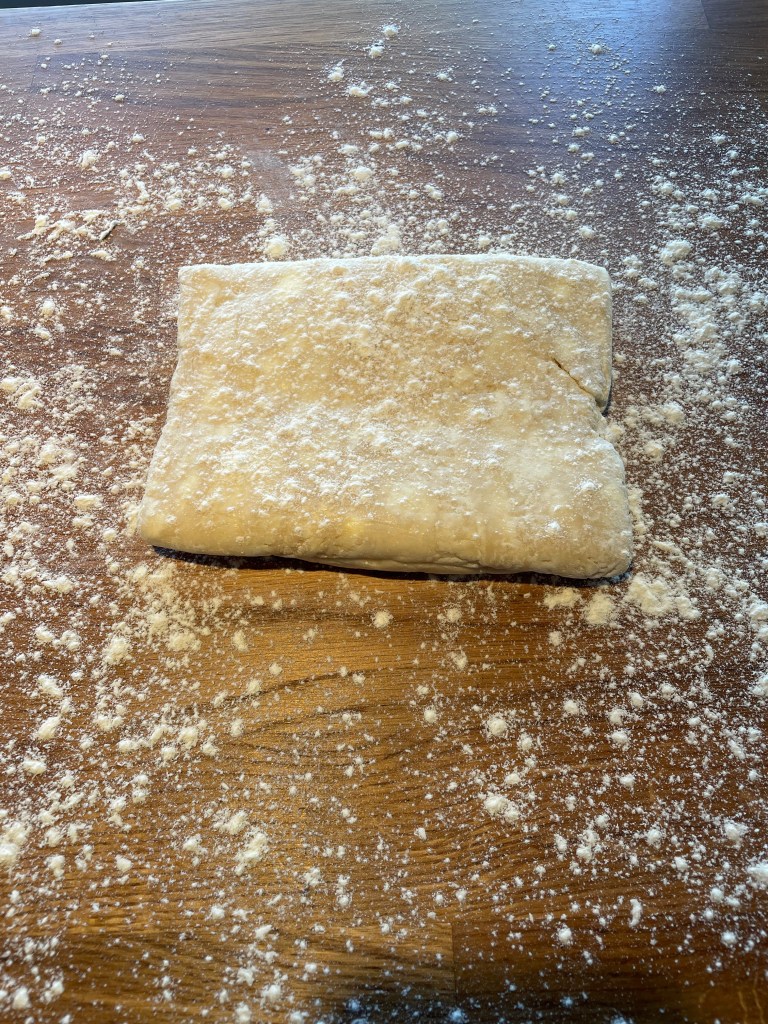
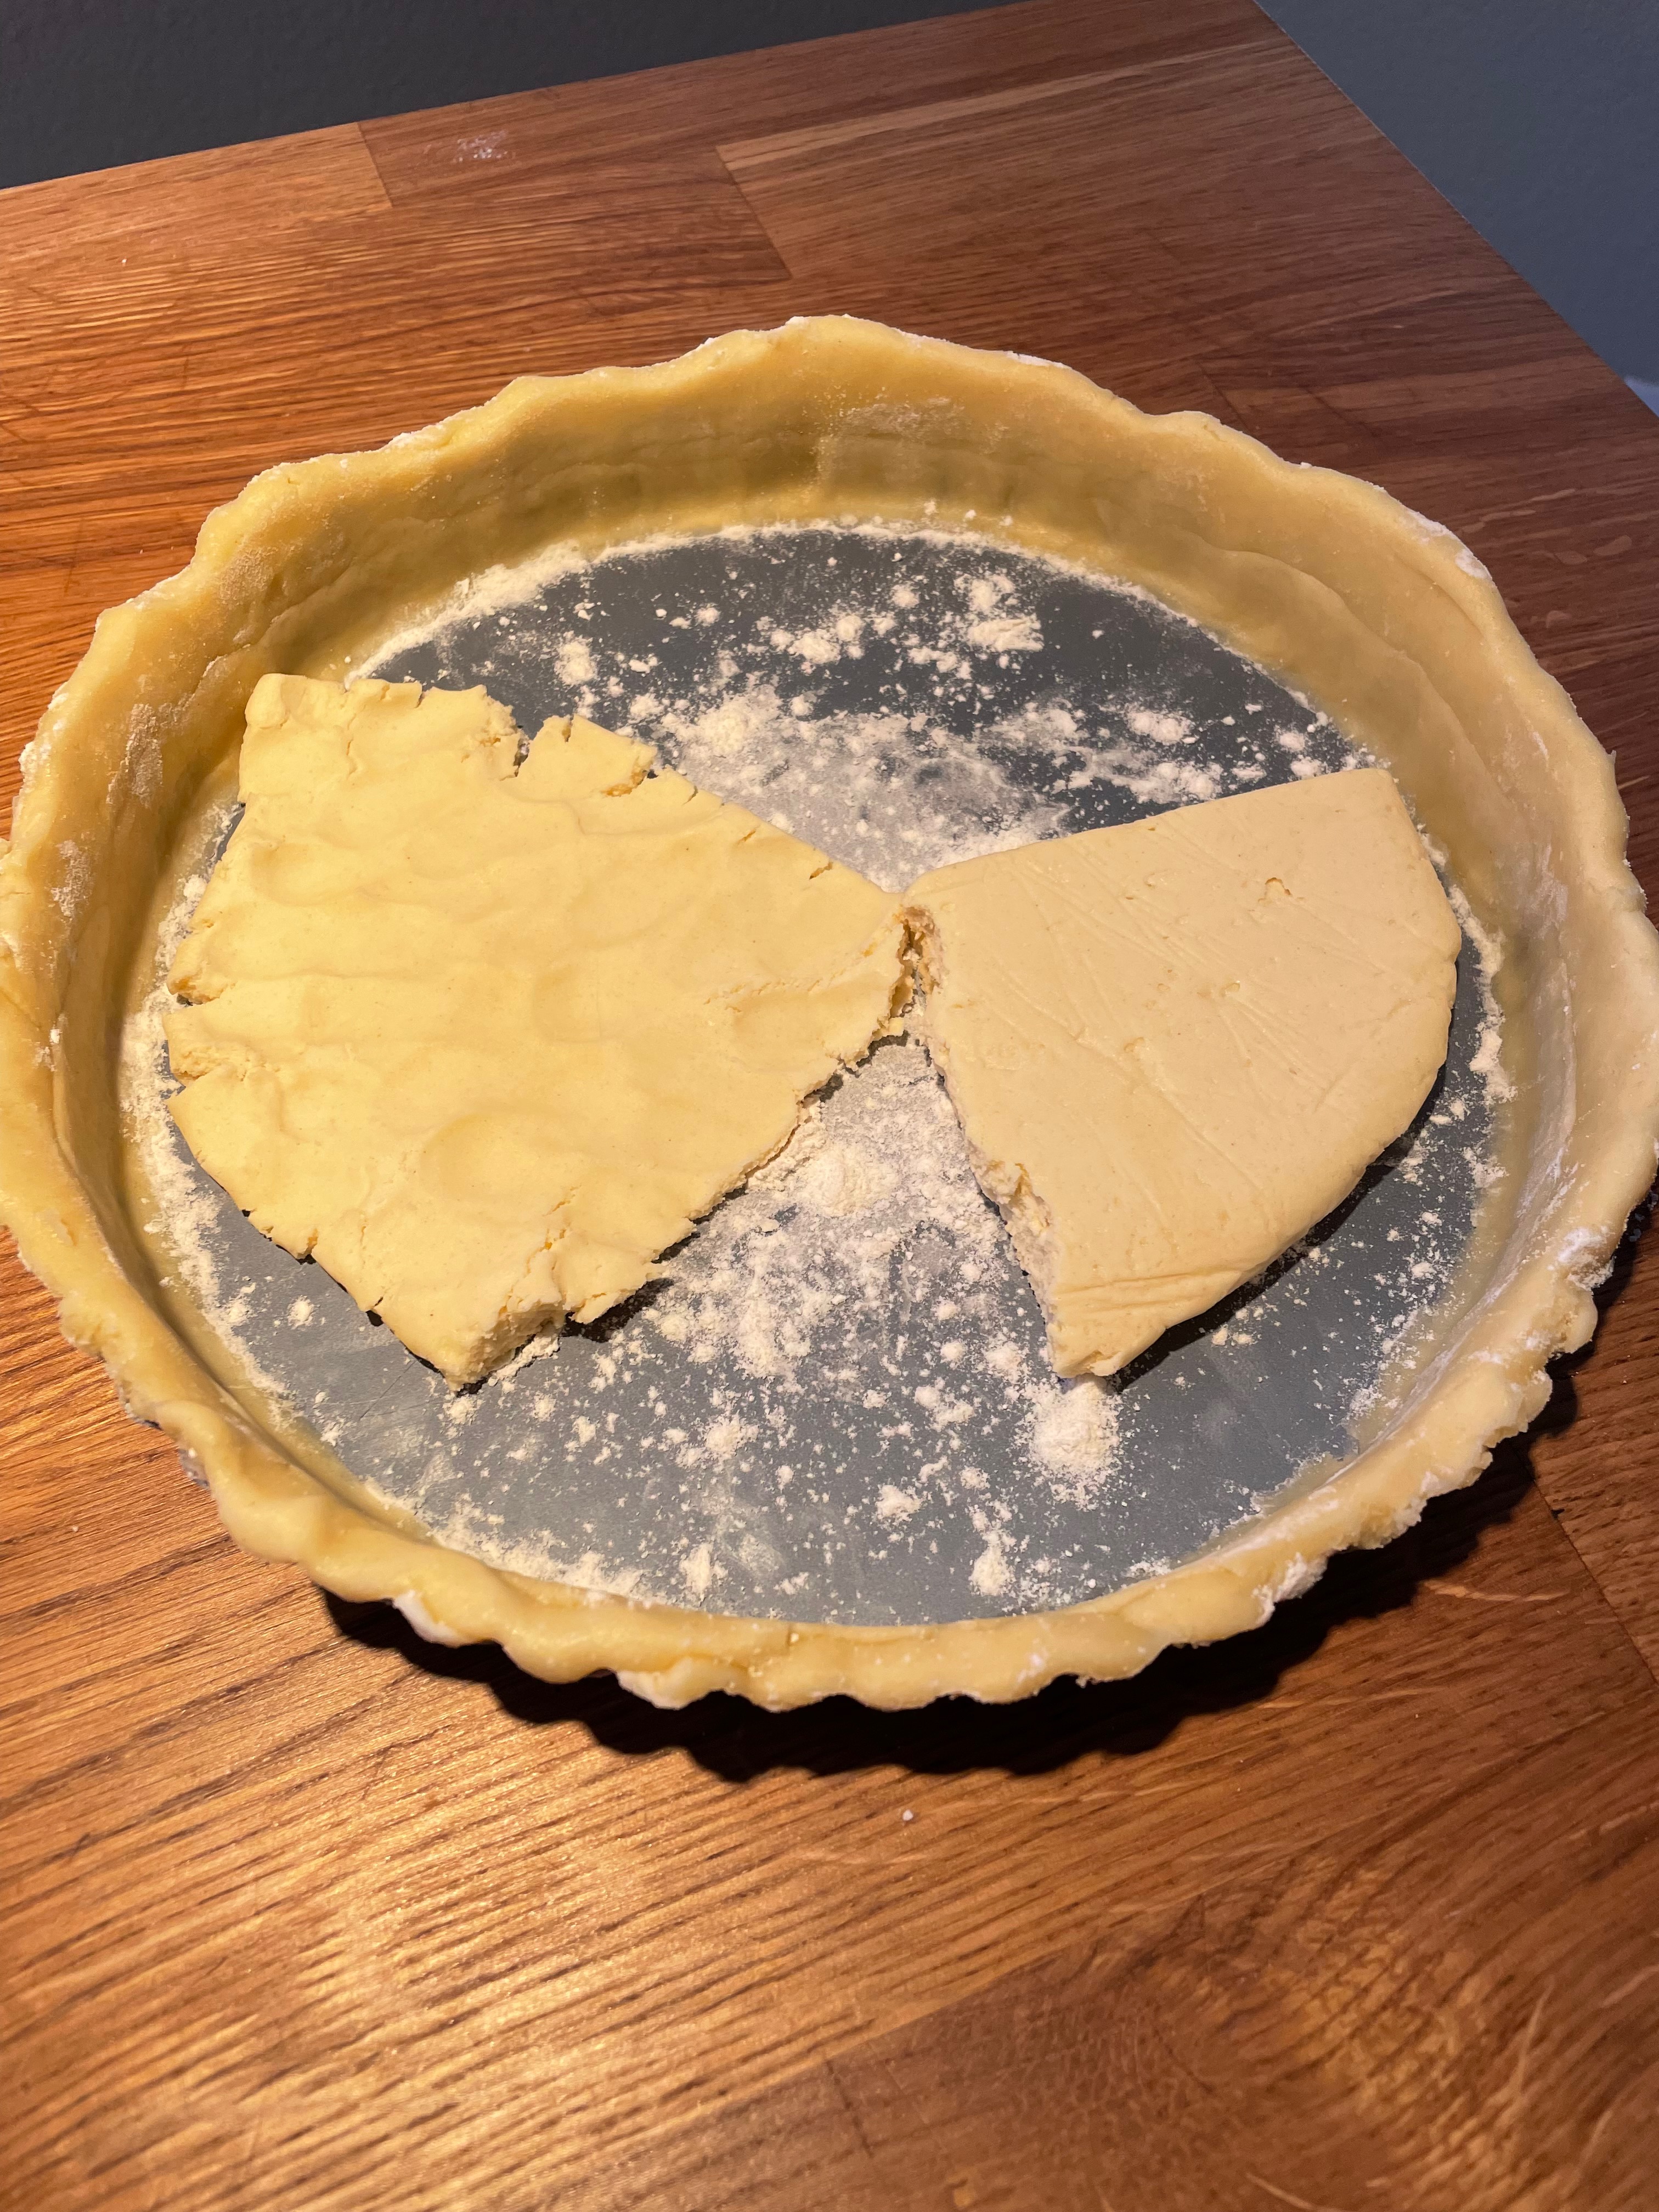
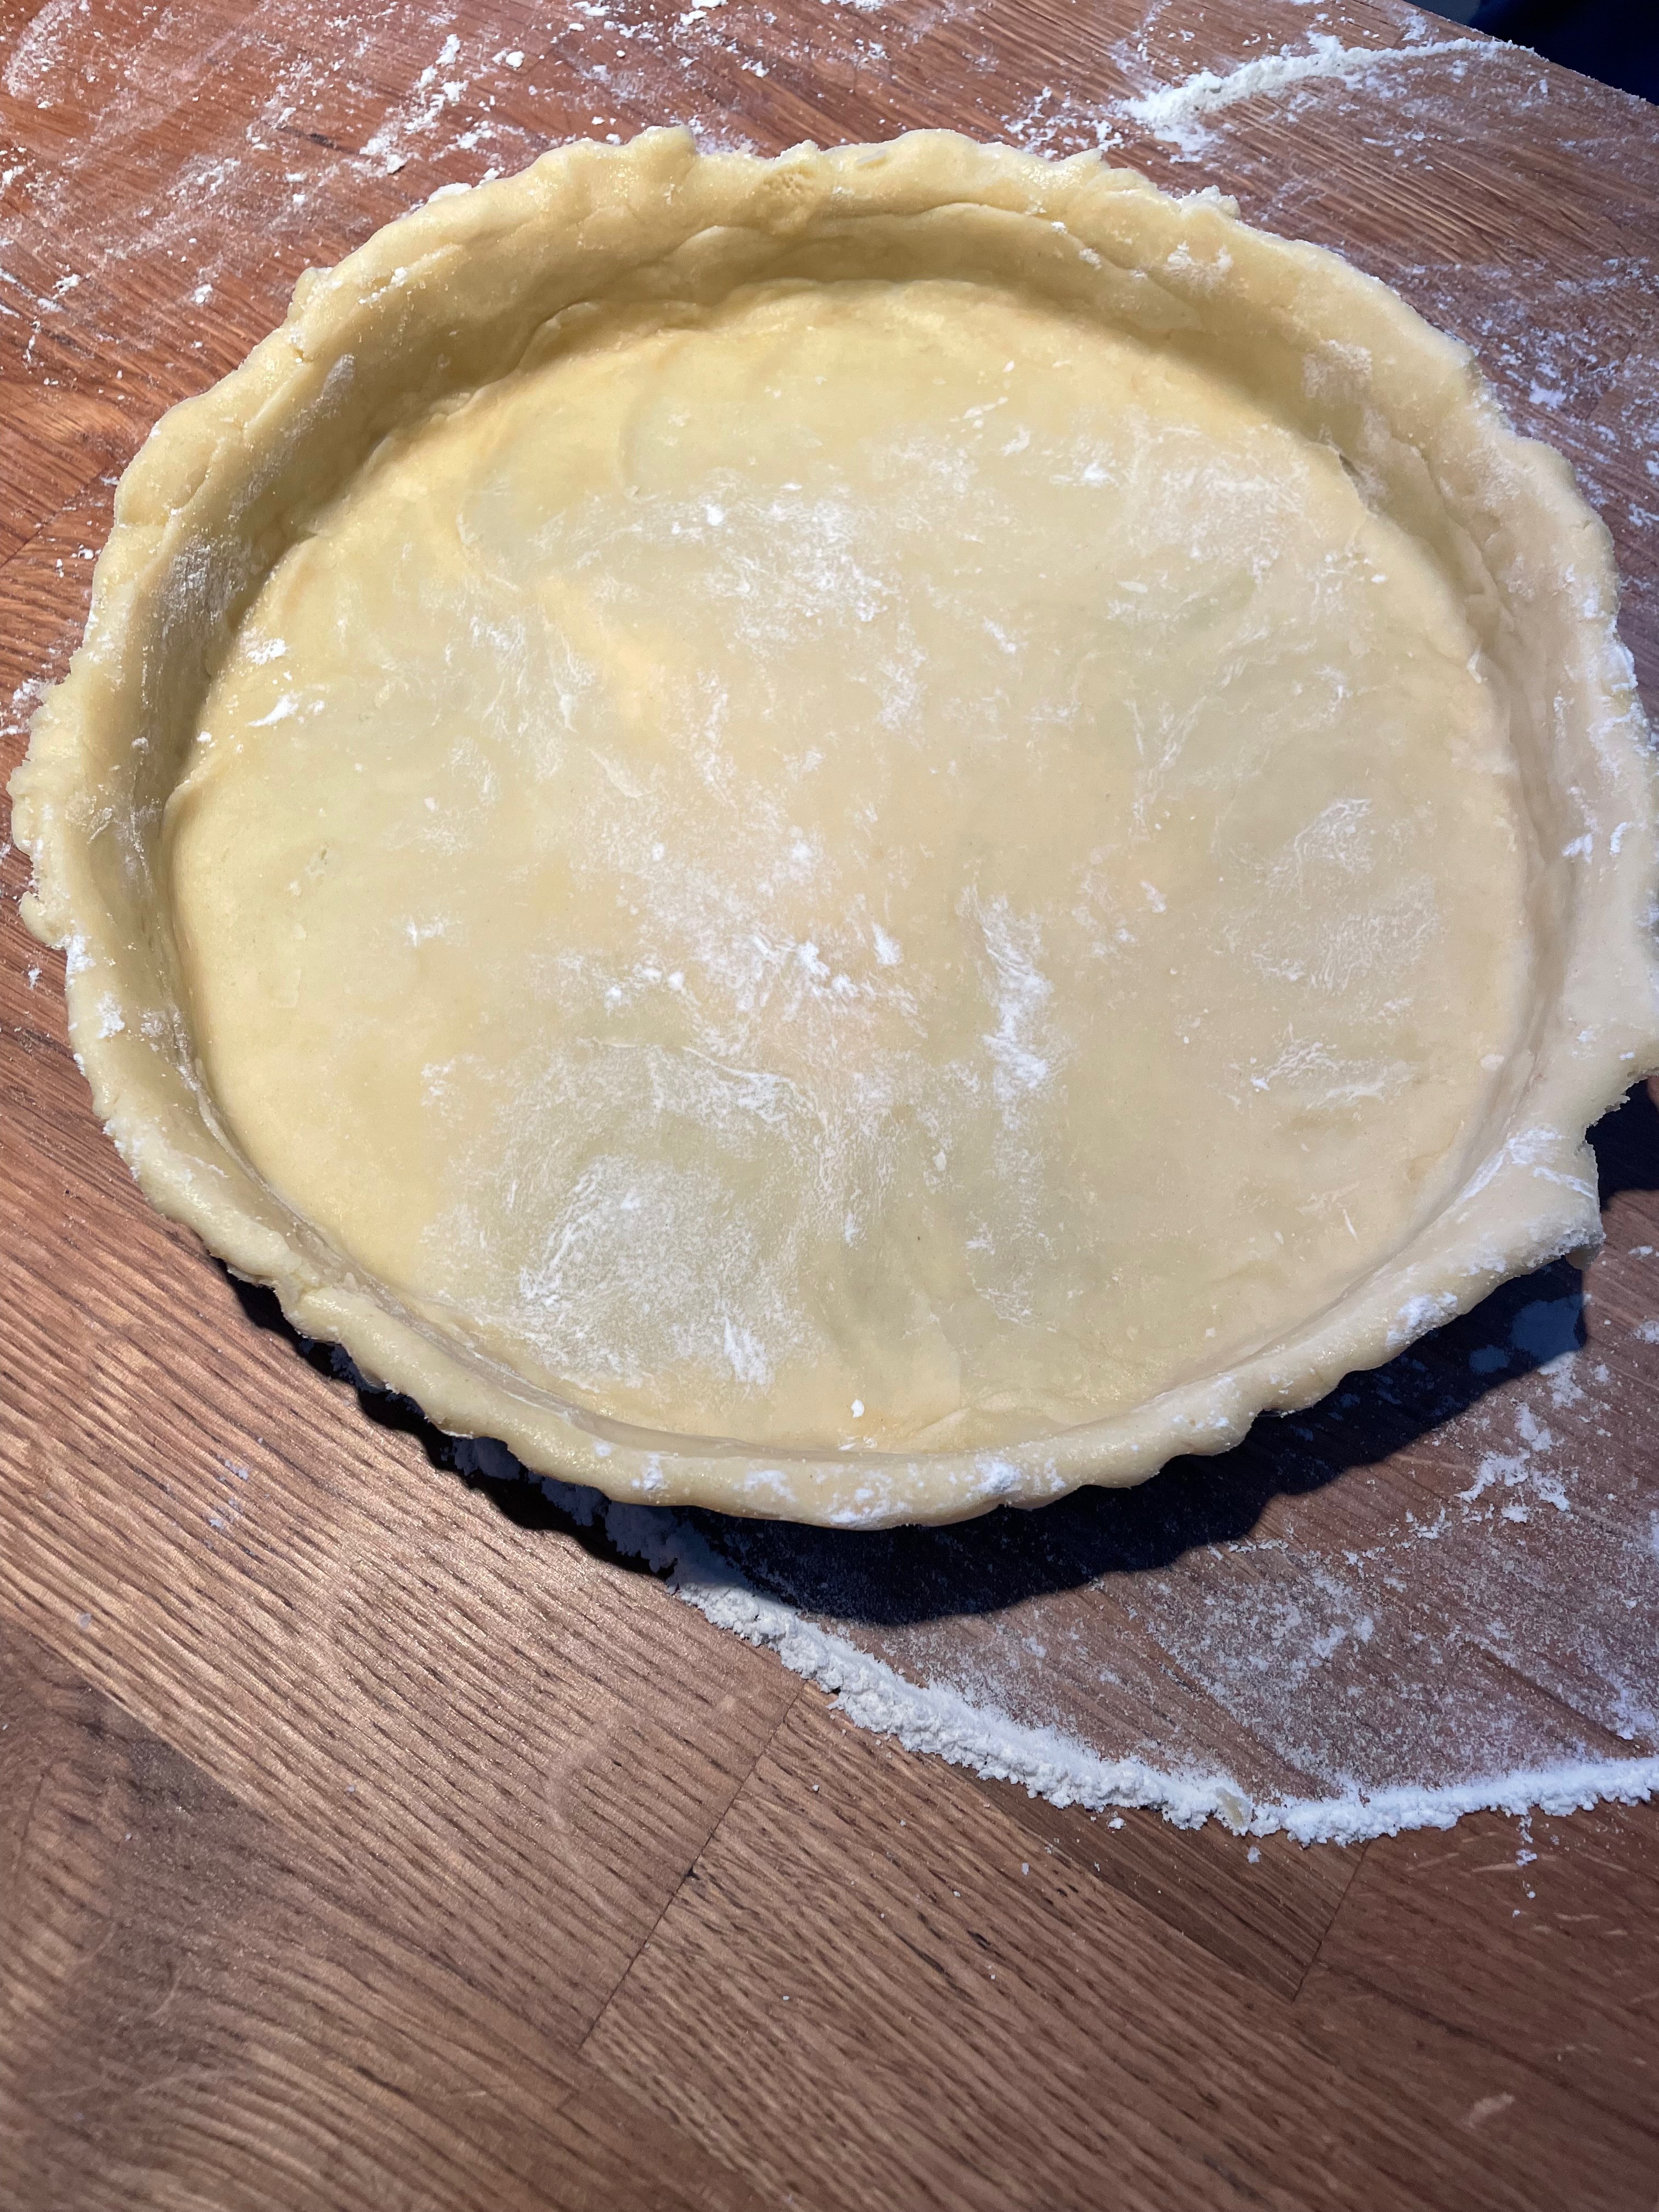
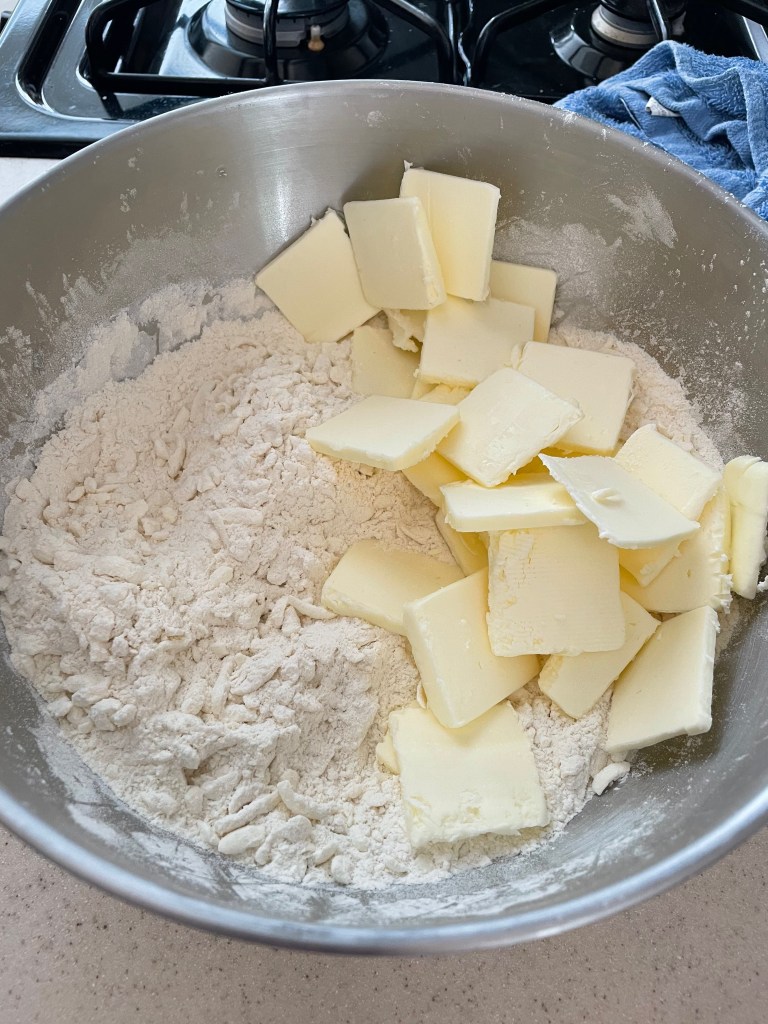
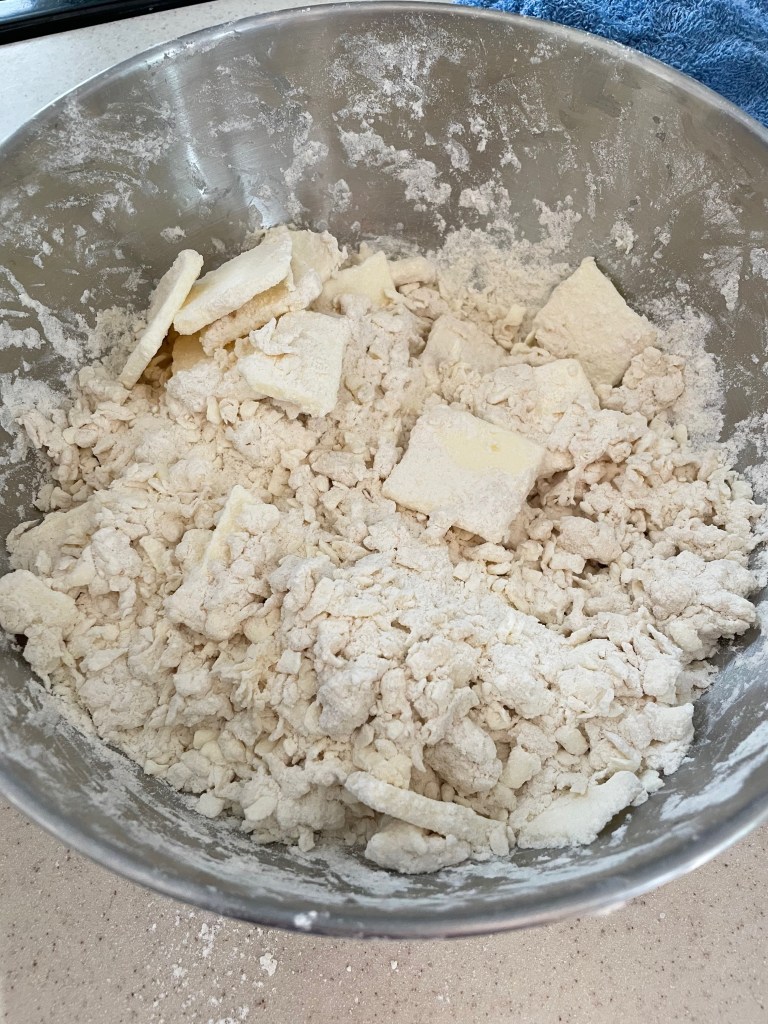
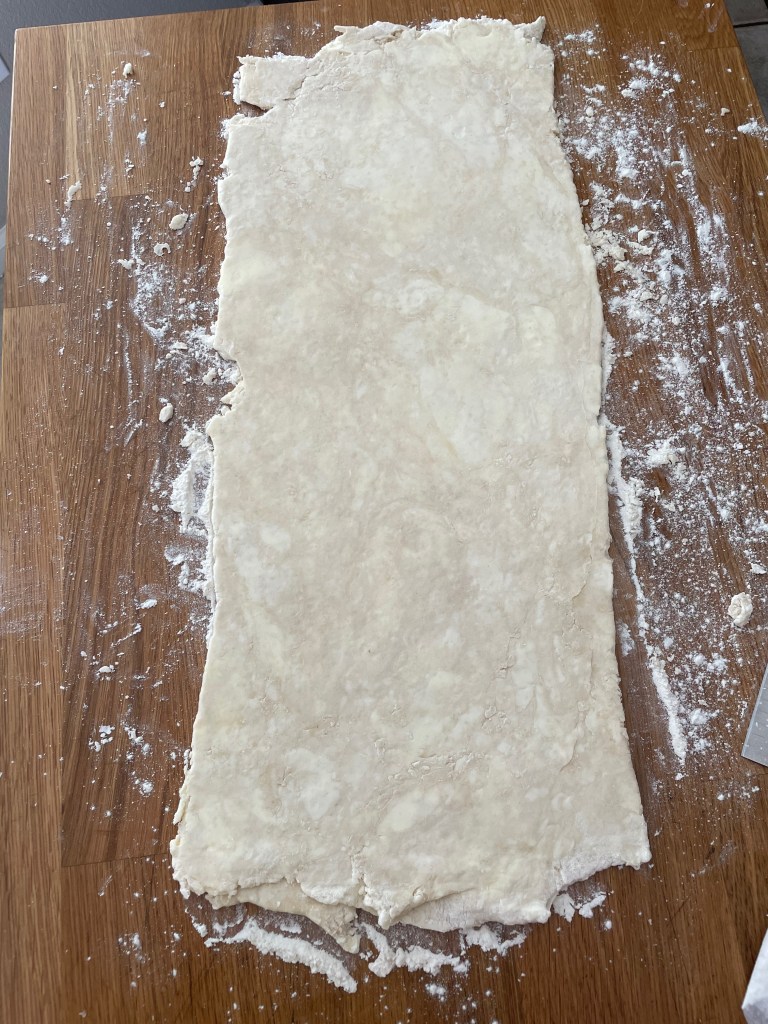
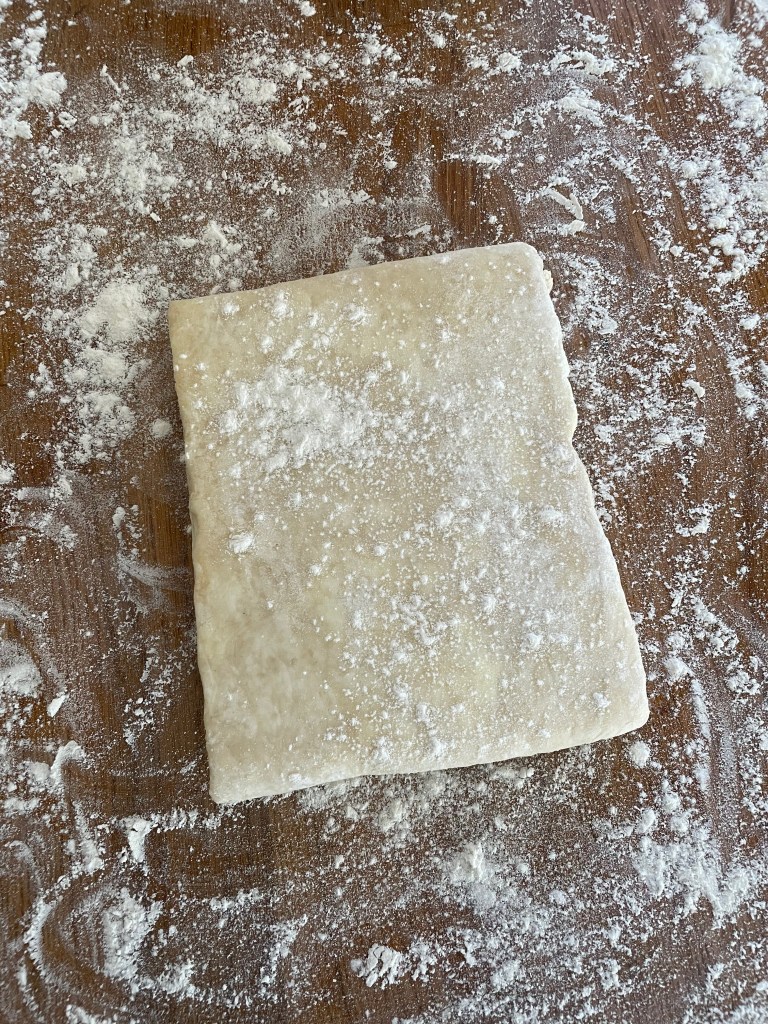
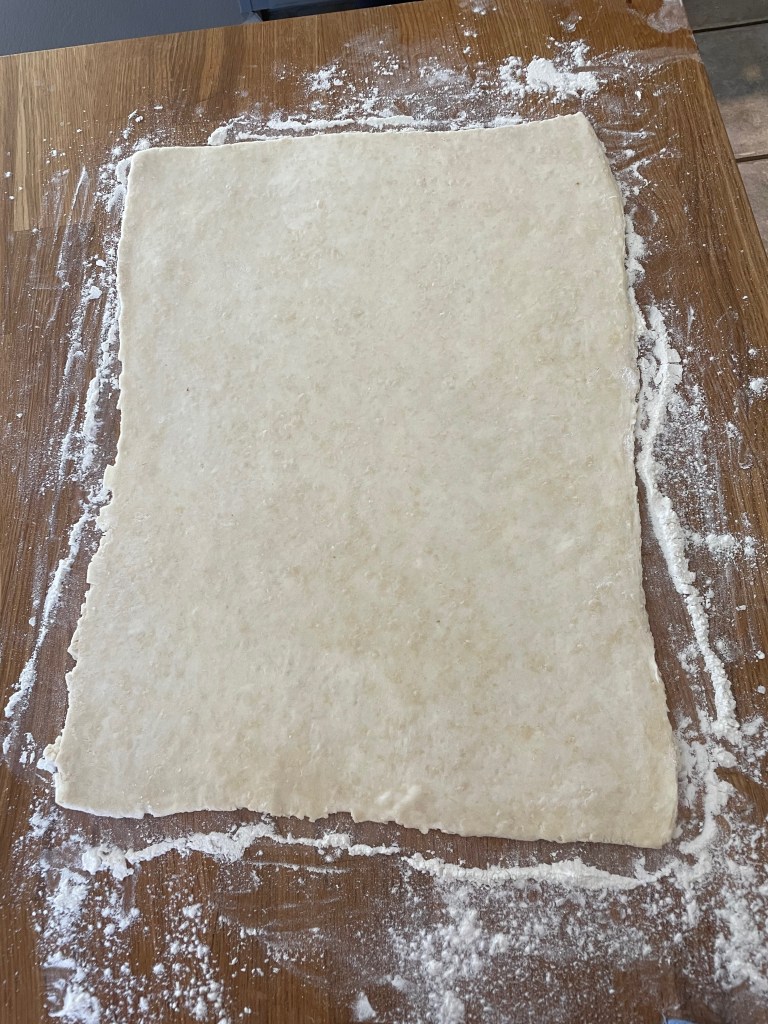
Making The Dough
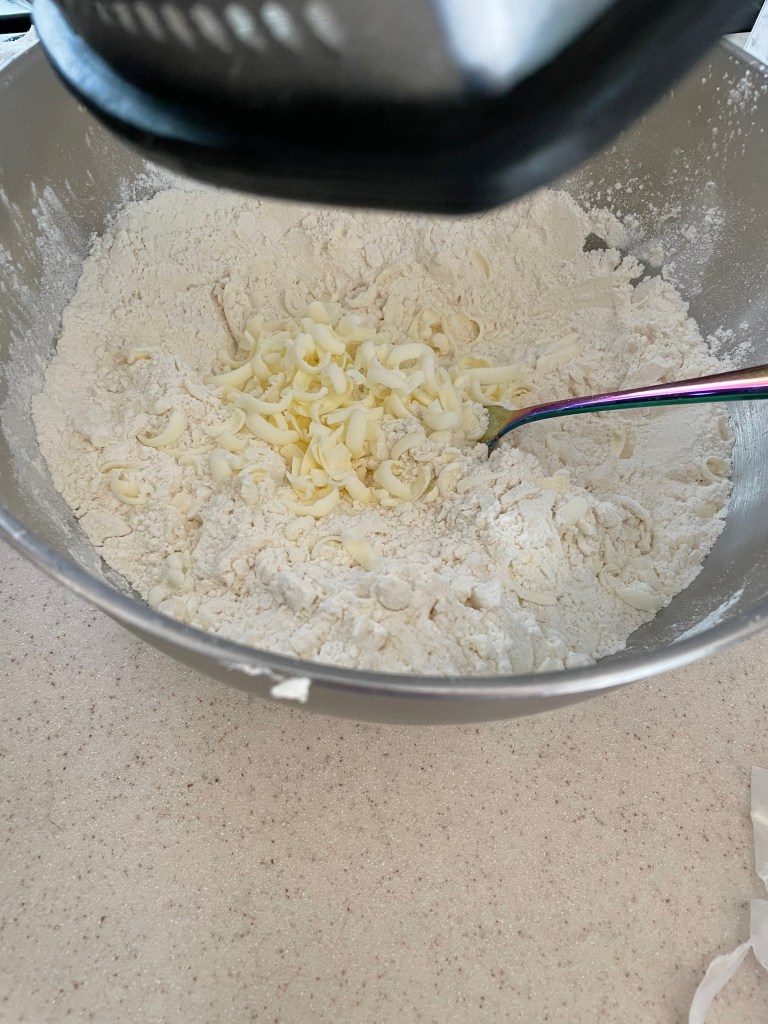


Tip 1: Keeping things chilled by putting the bowl back in the freezer for a bit between each step. Consider putting the box grater and rolling pin in the freezer first as well.
Tip 2: If the dough isn’t forming and it’s too dry then consider adding up to an extra 1/4 cup of water.
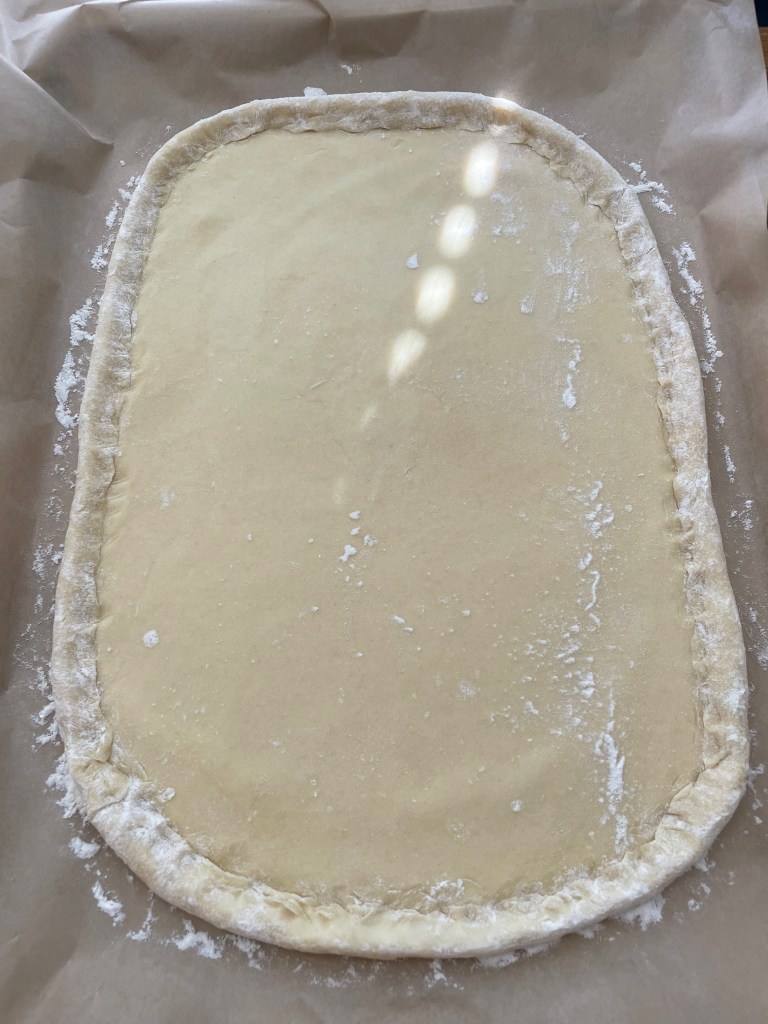
Tip 3: It can be hard to roll out the puff pastry after the first refrigeration as it tends to be loose and break apart. You can help combat this by rolling the dough out in small sections, going rapidly back and forth over each small section before moving onto the next section. That is, roll back and forth over a 3-4 inch segment of the dough, before moving to the next 3-4 inch segment. This helps compact and tighten the dough, preventing it from breaking apart. If you do long rolls across the entire dough it’s more prone to break apart due to how the stress is applied.
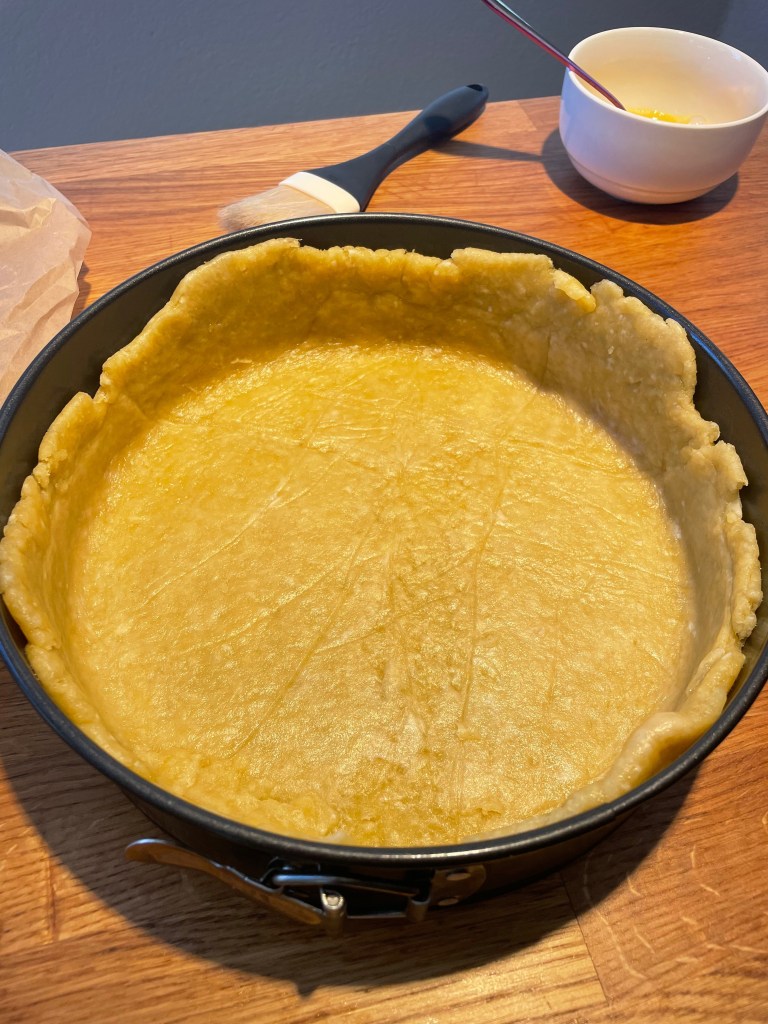
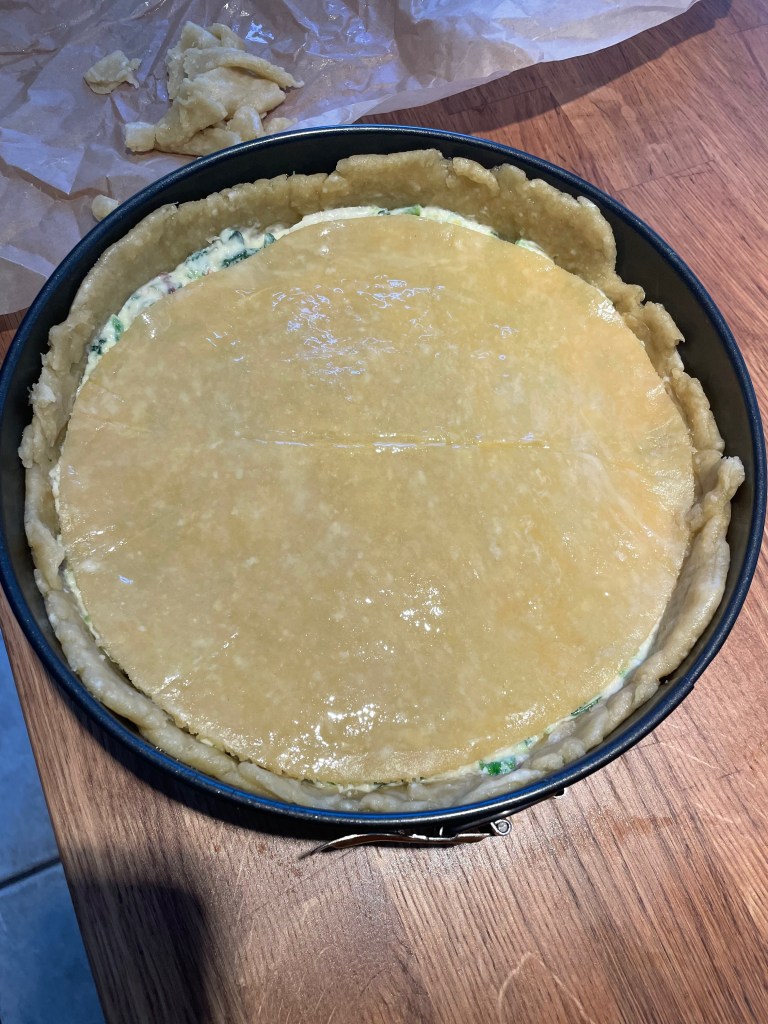
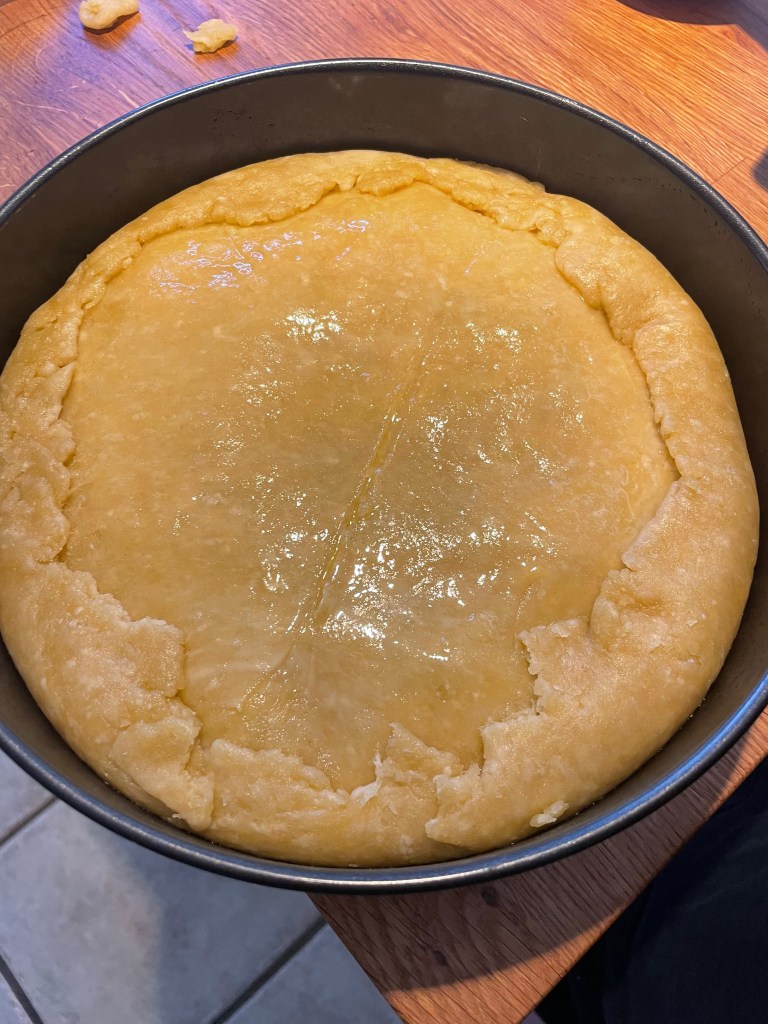
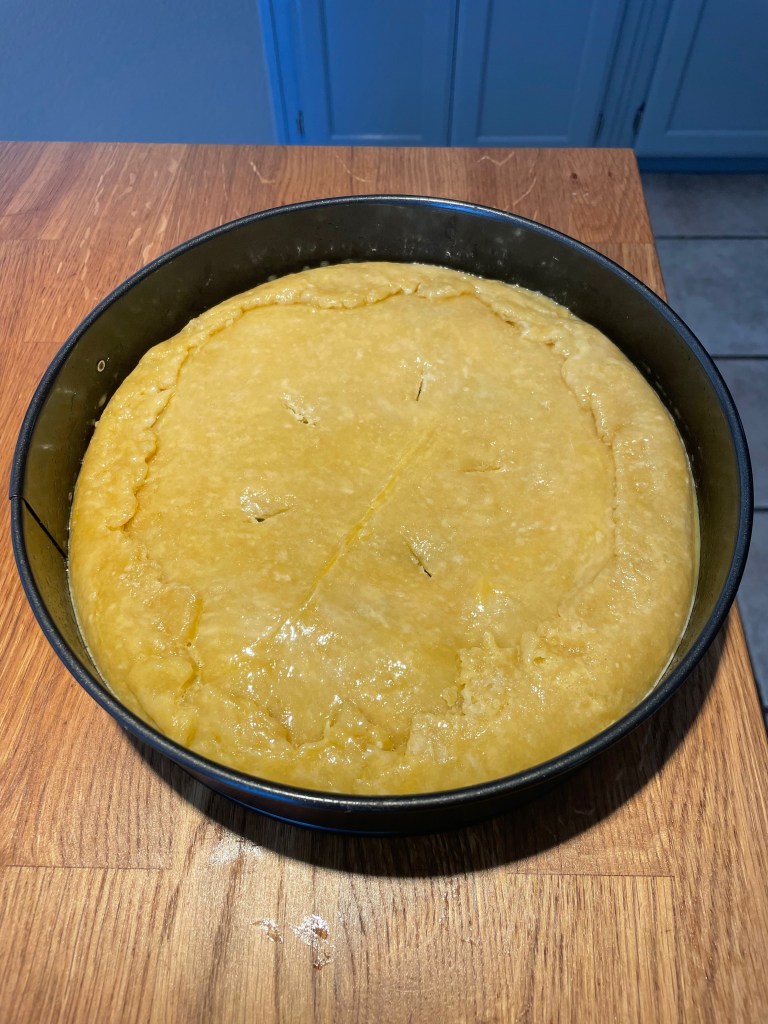
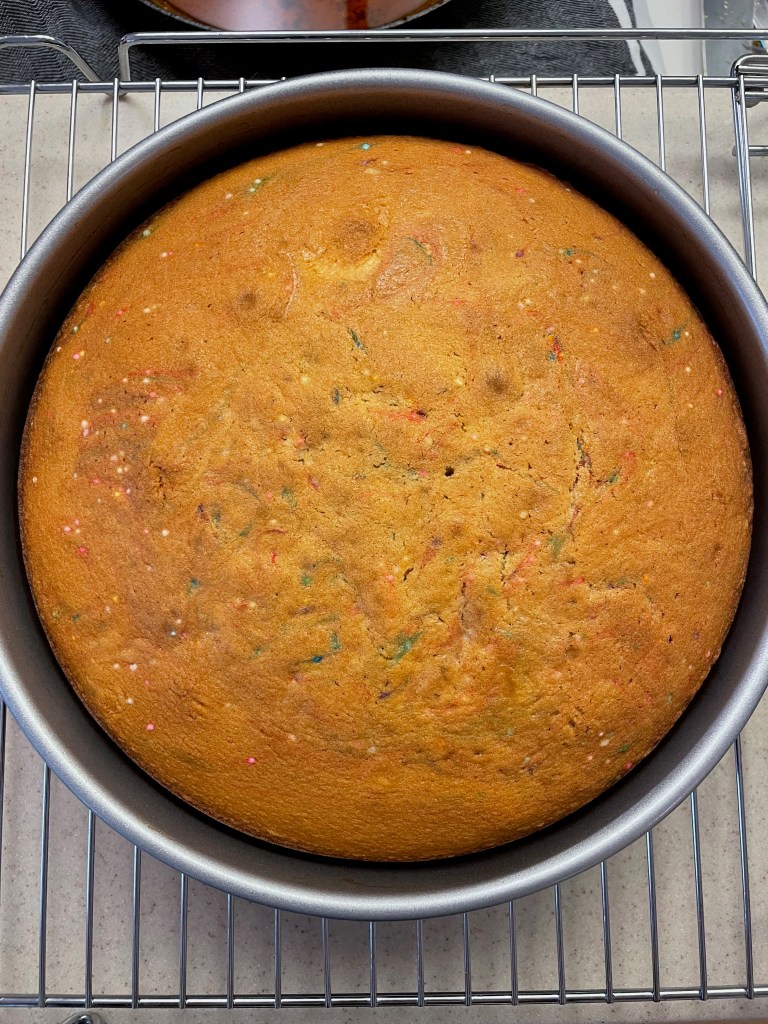
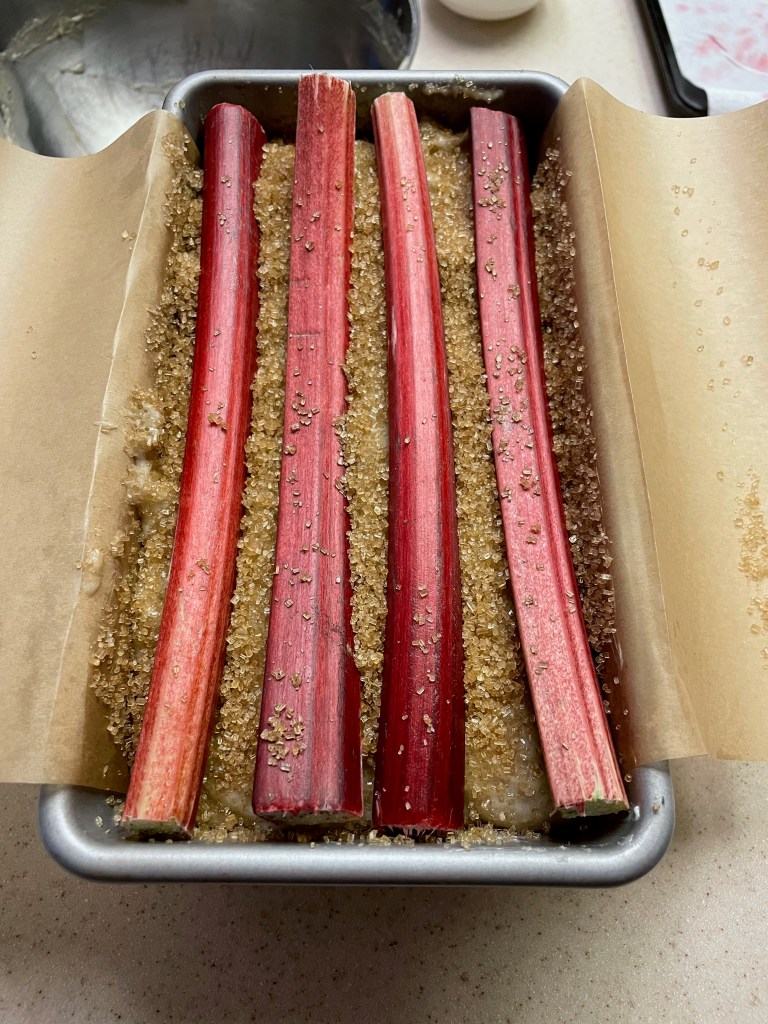
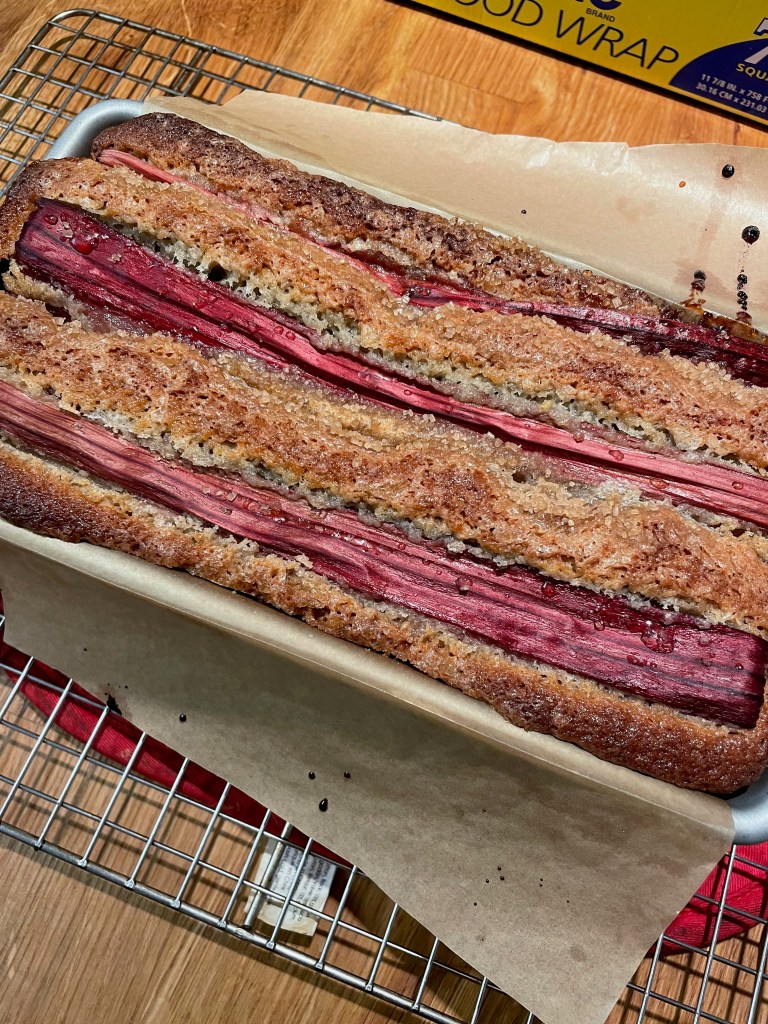
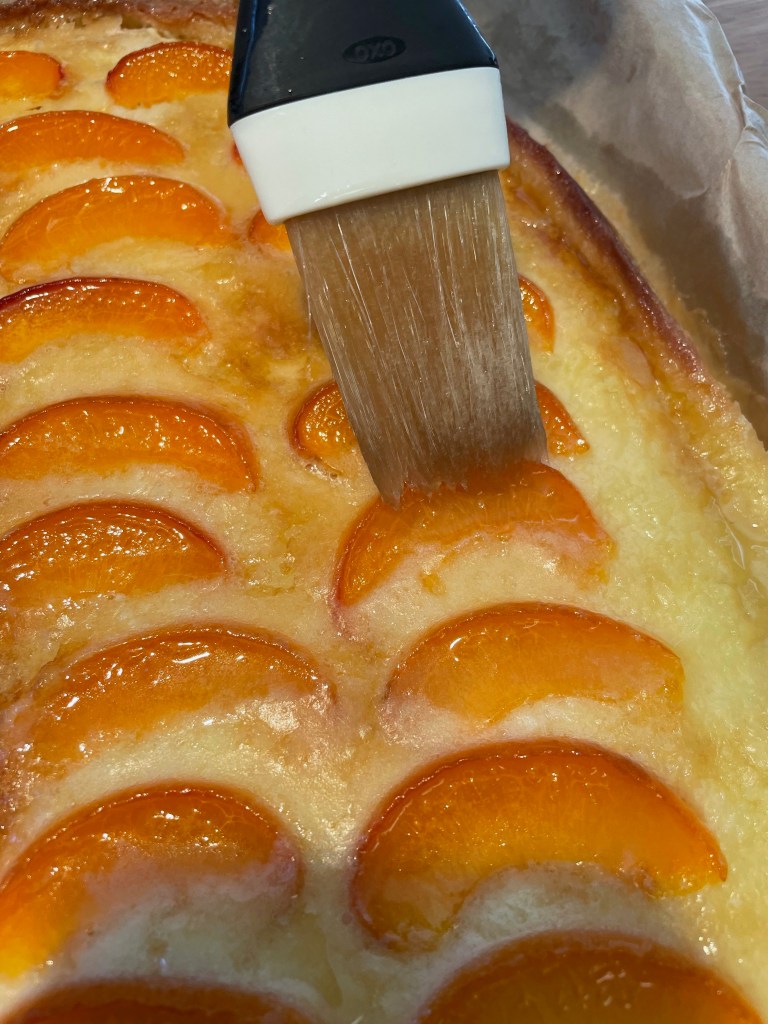
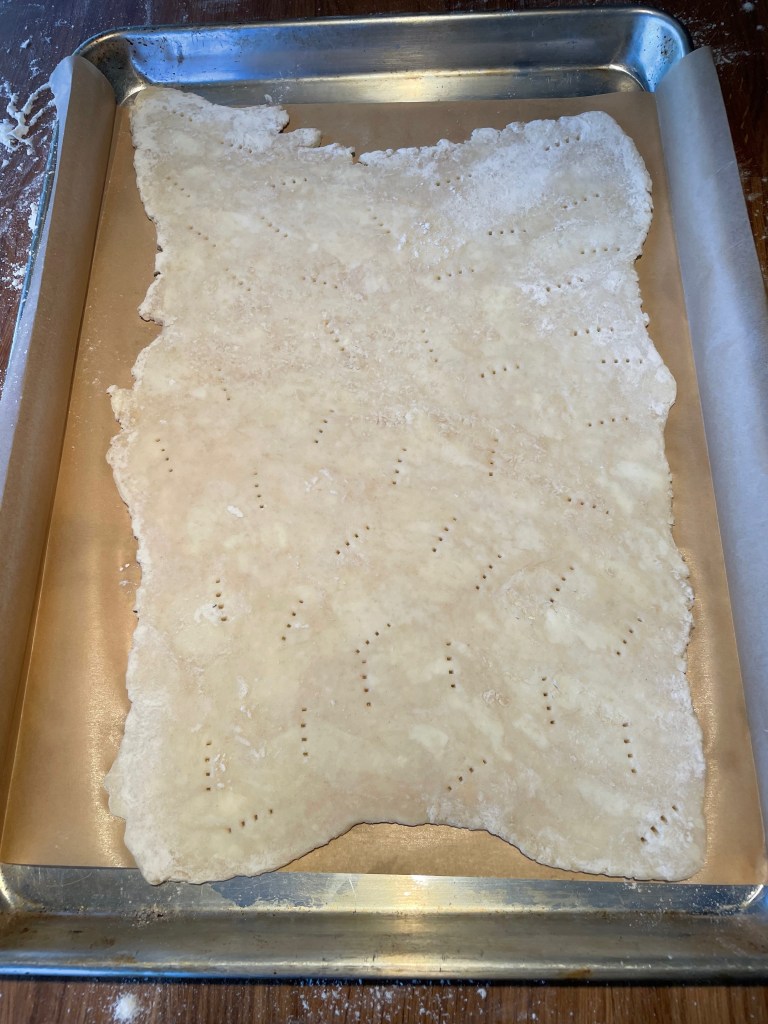
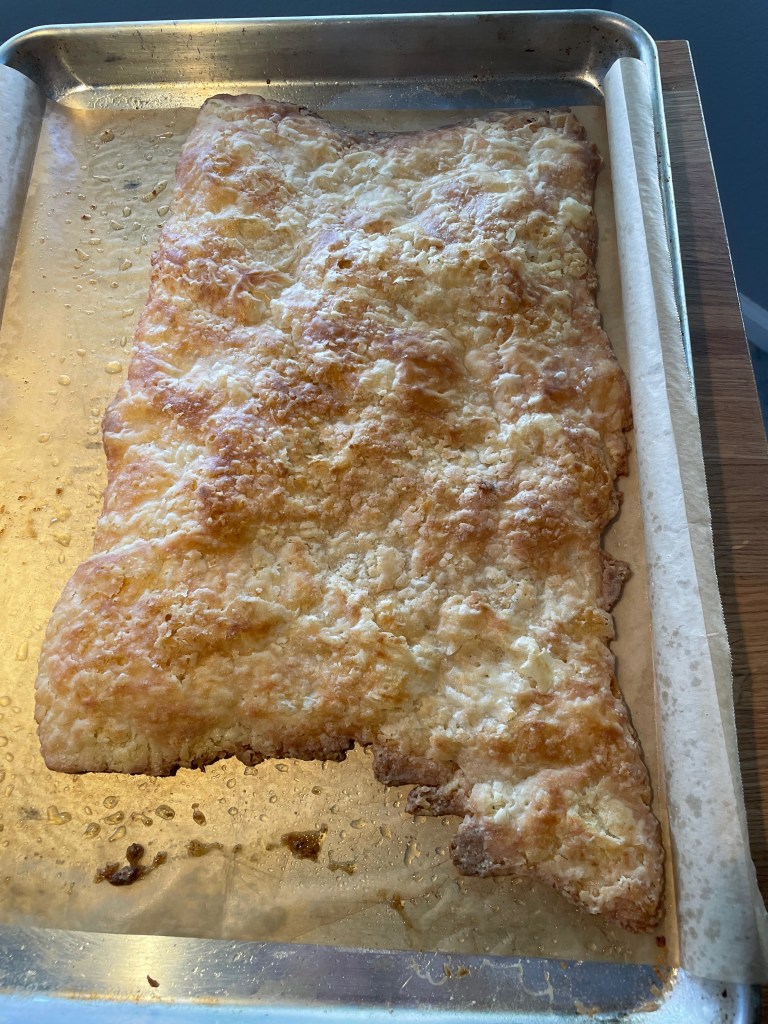
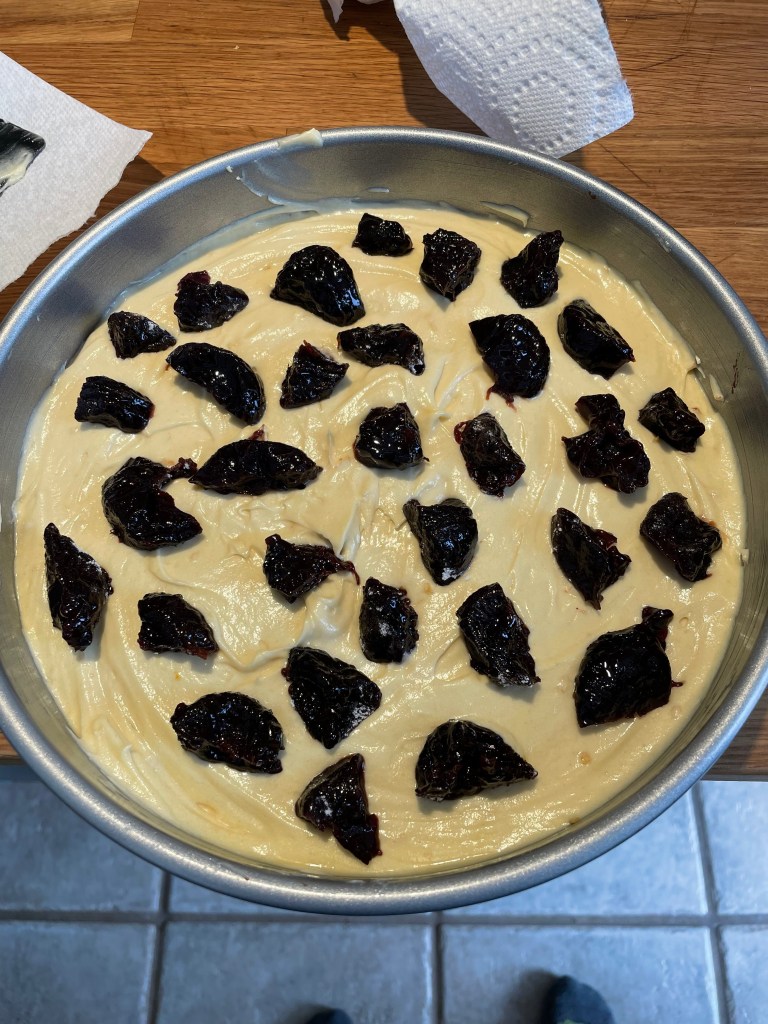
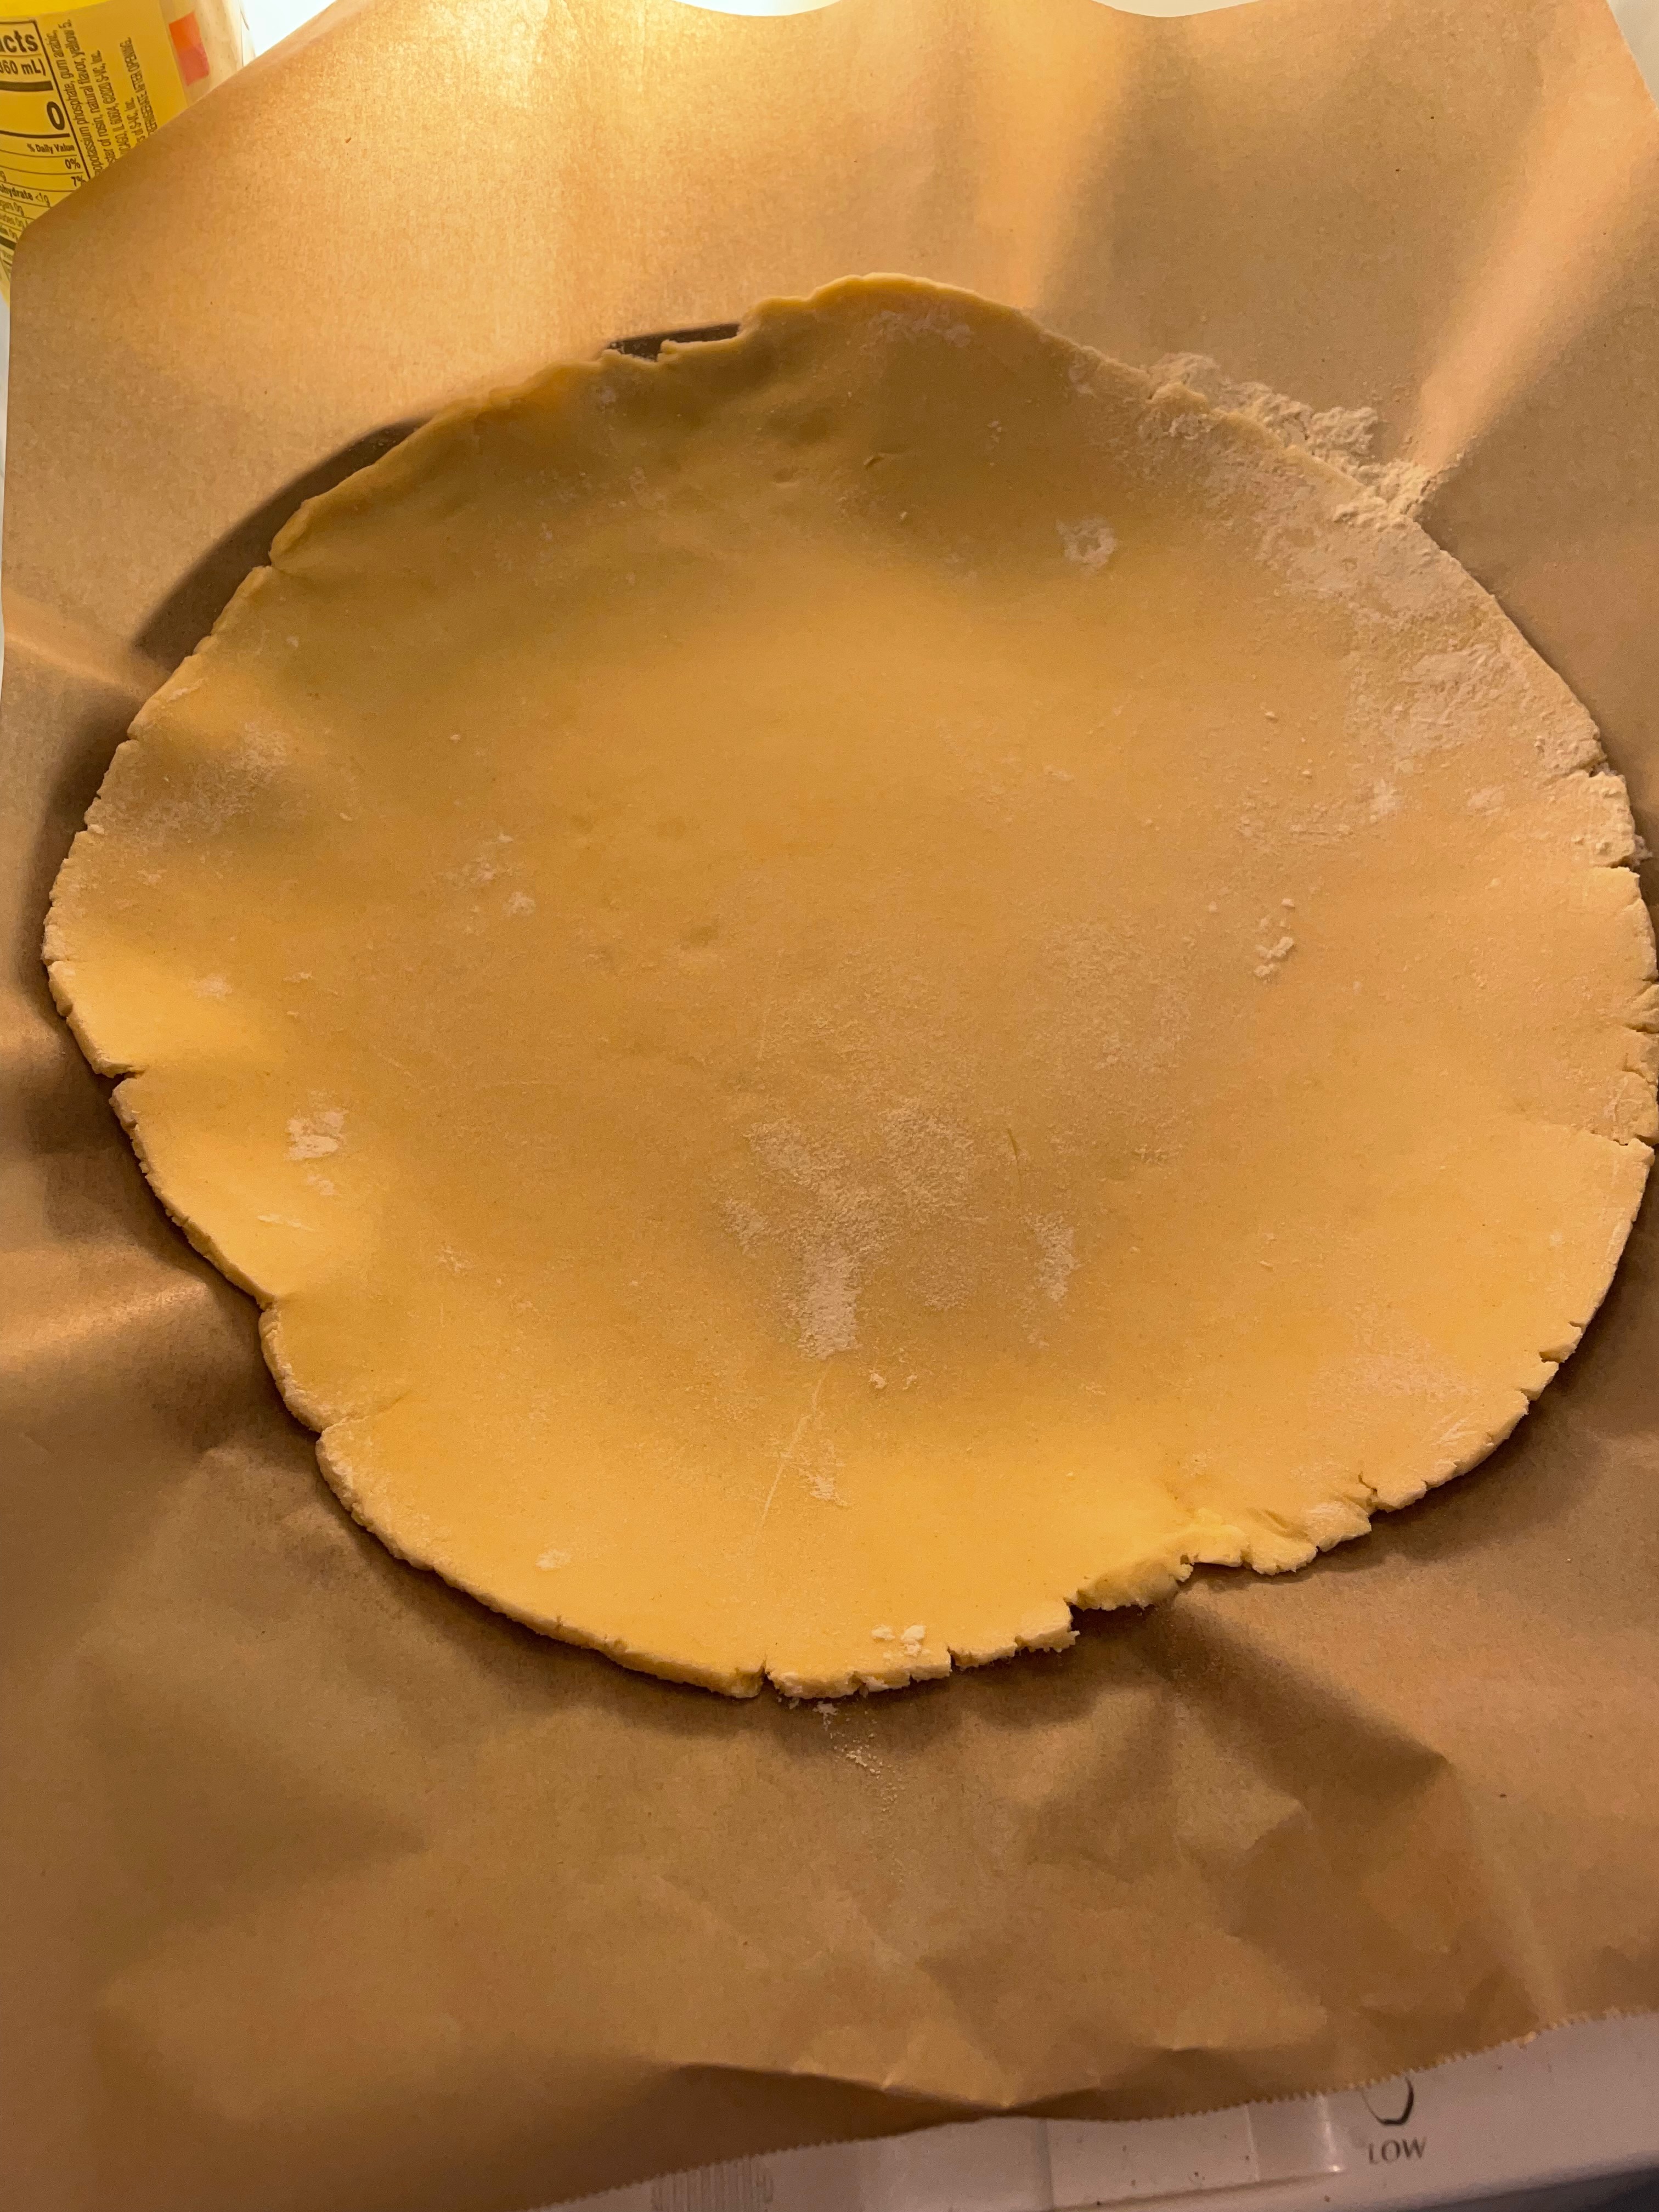
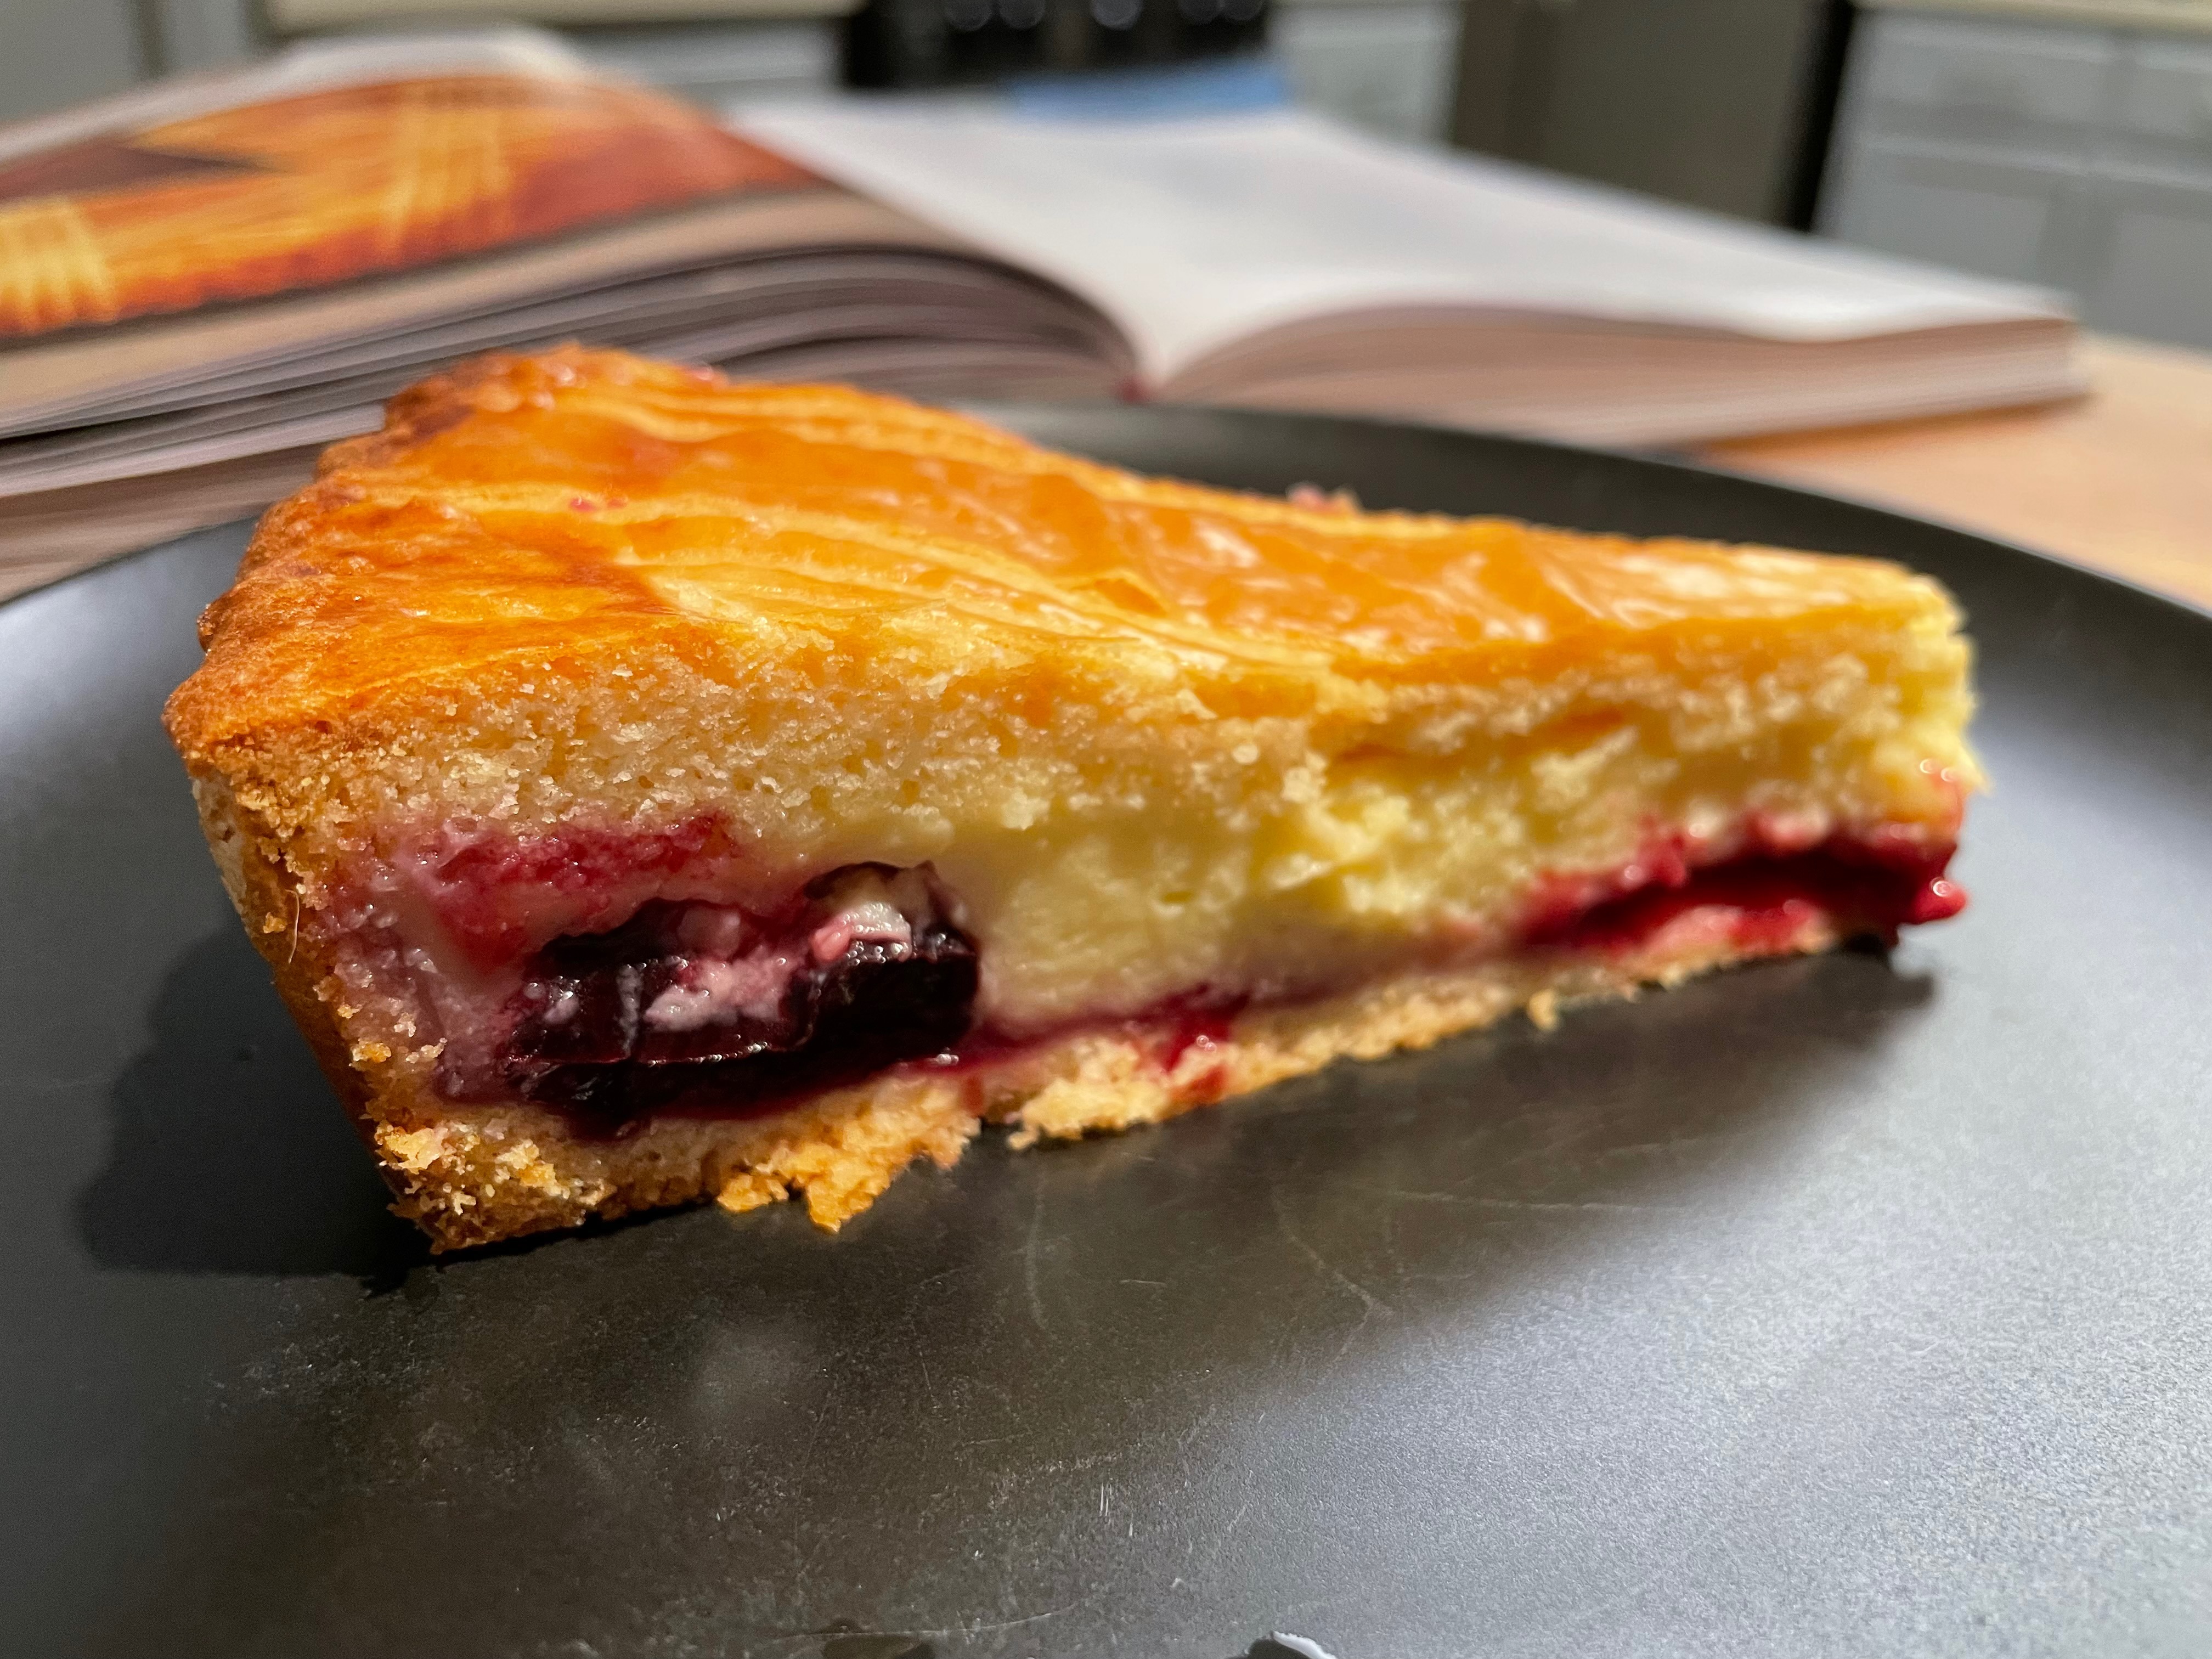
Baking The Tart
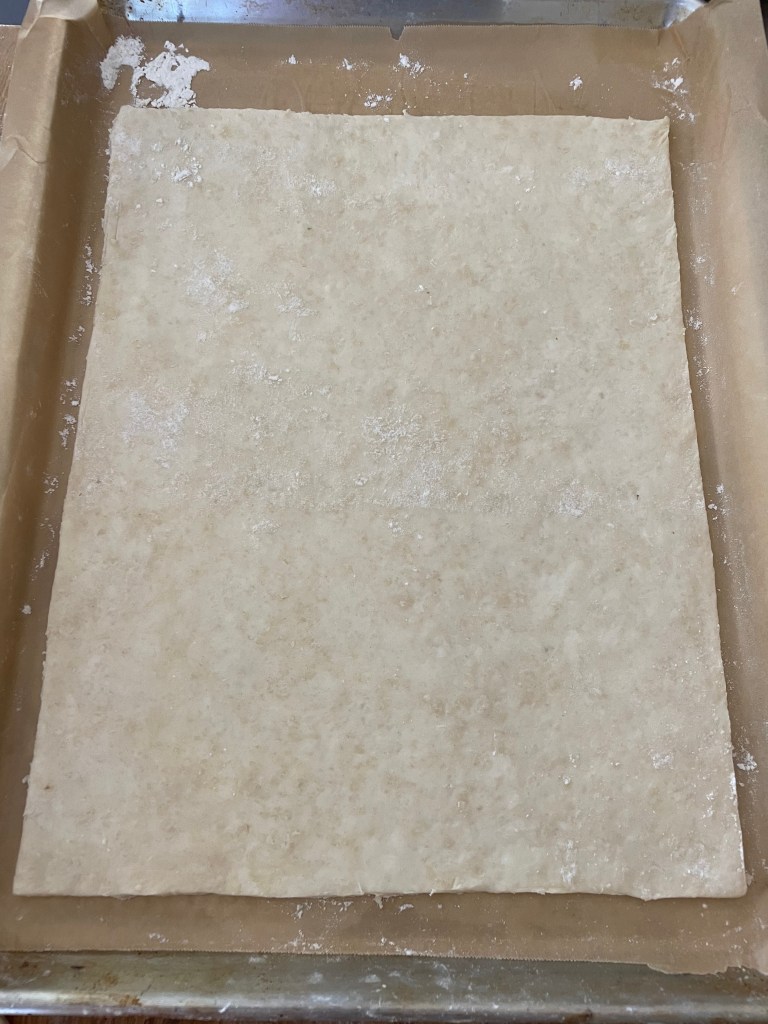


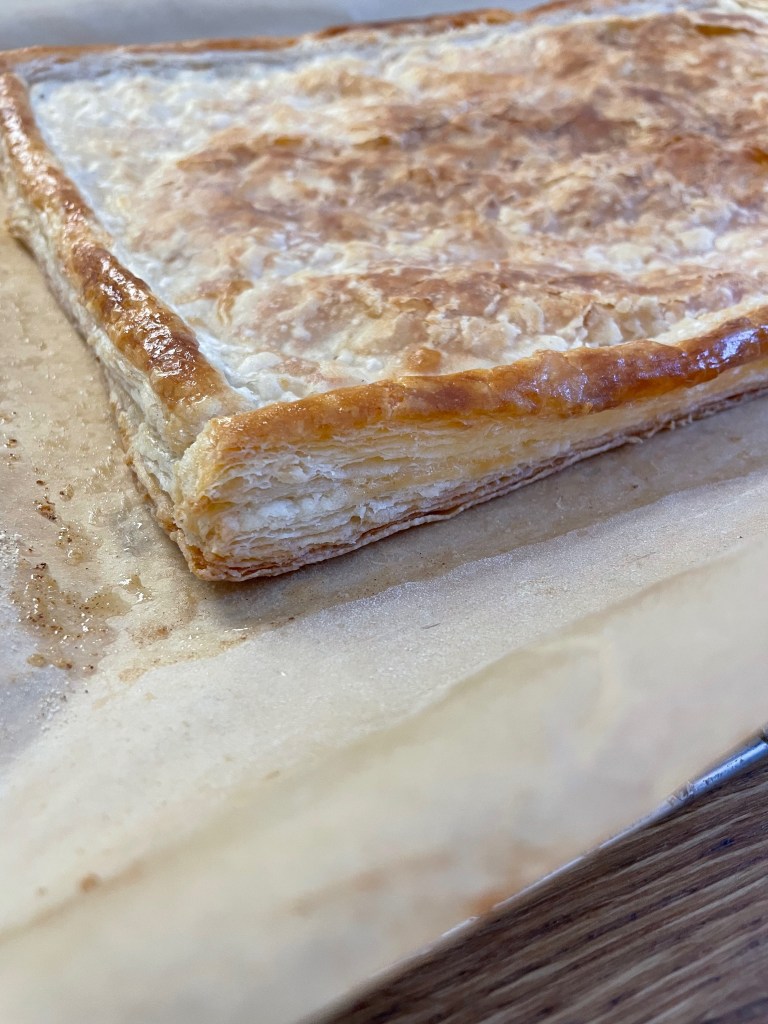
Tip: The dough looks far darker in the picture above than it actually was.
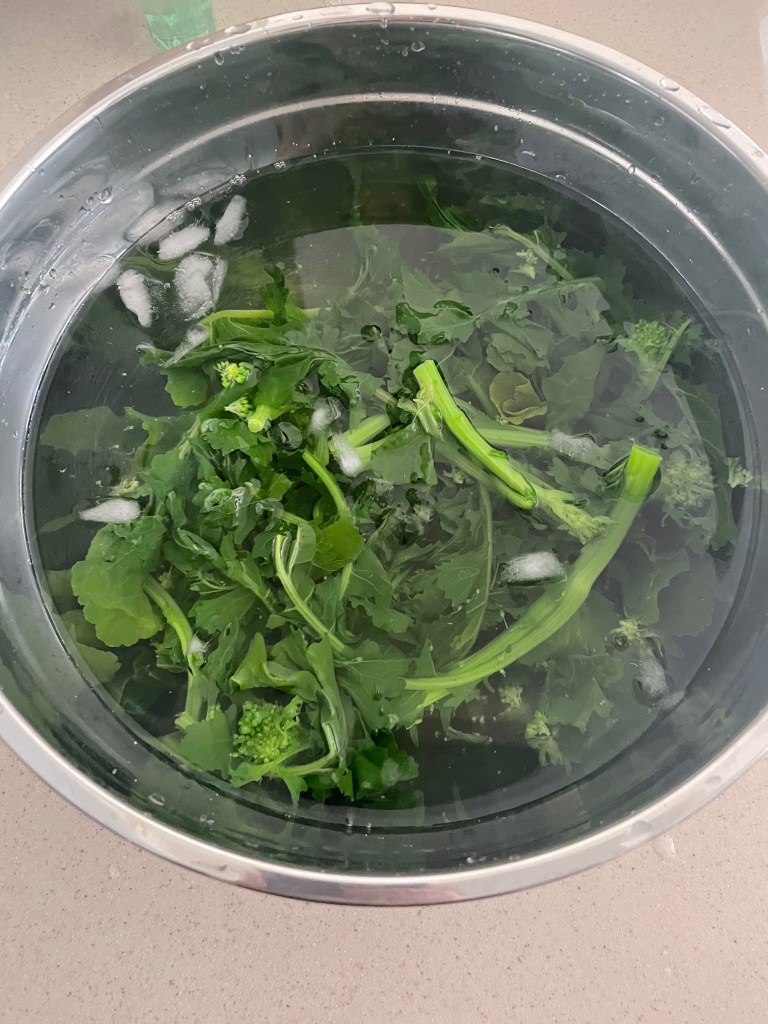
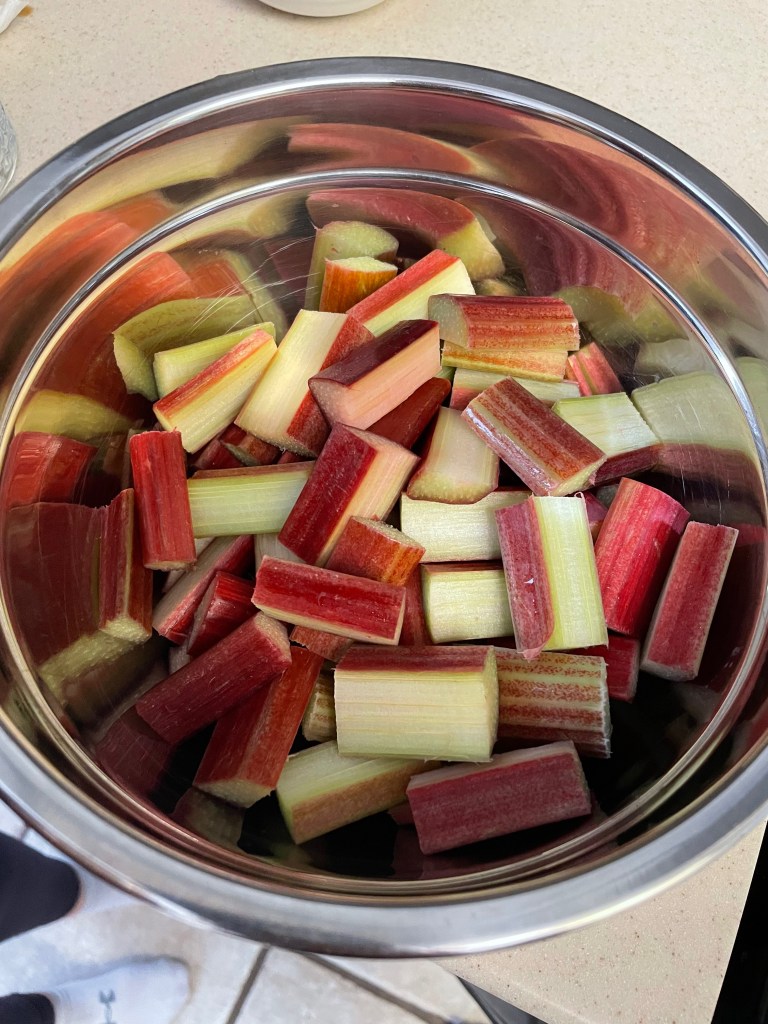
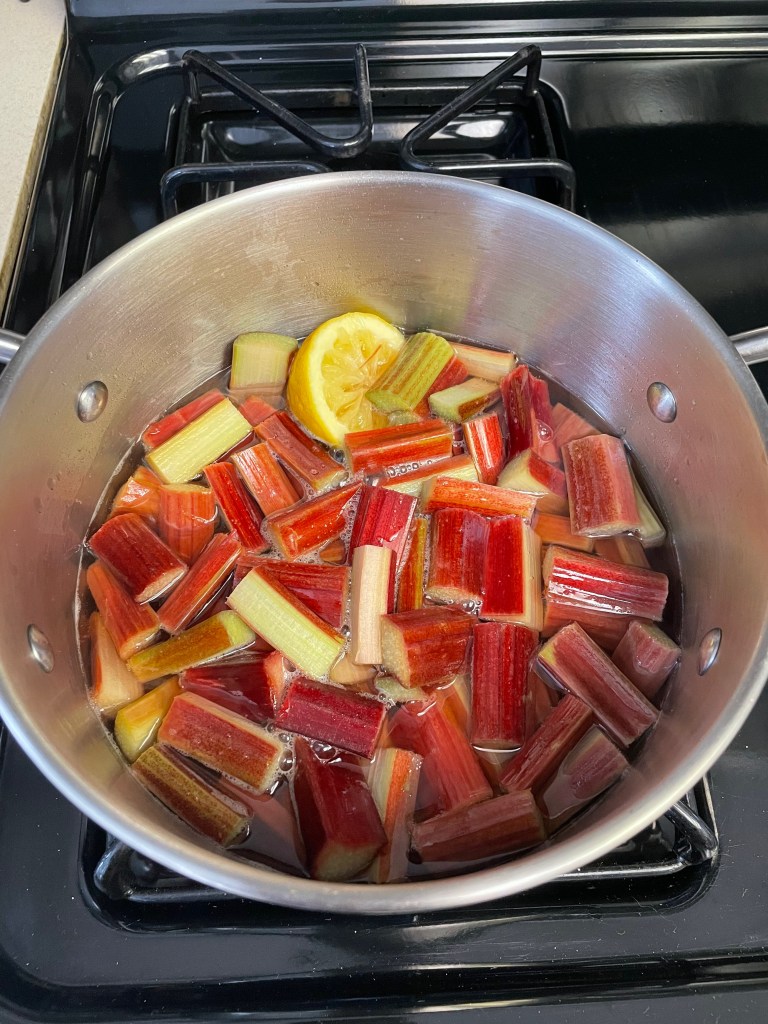
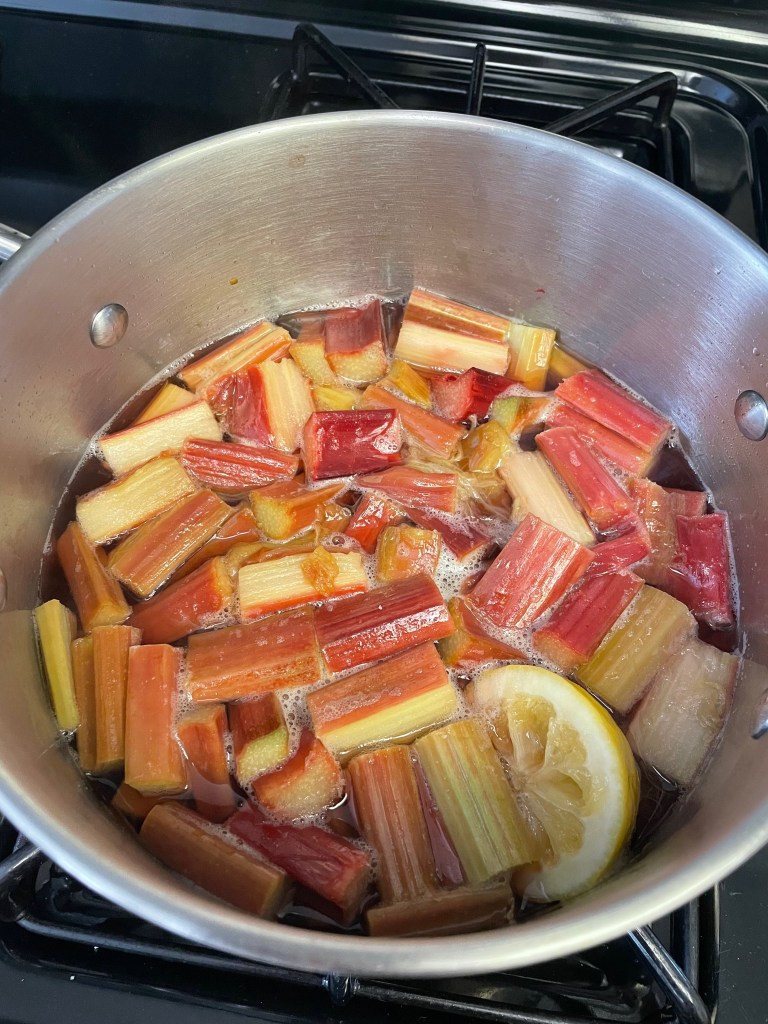
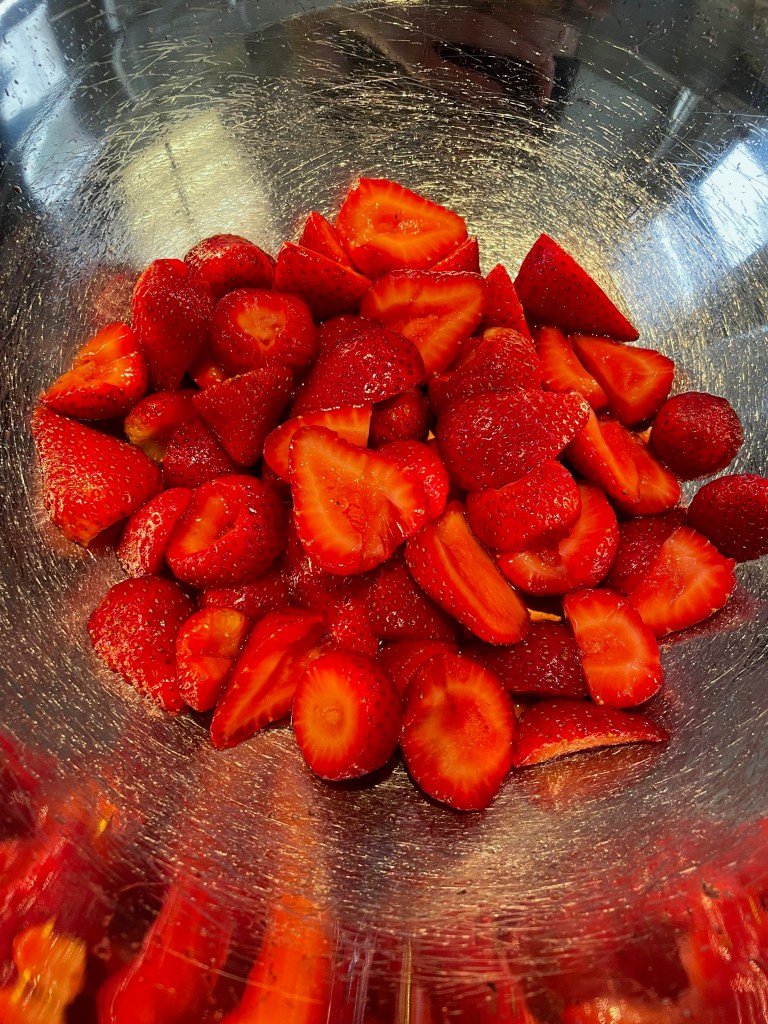
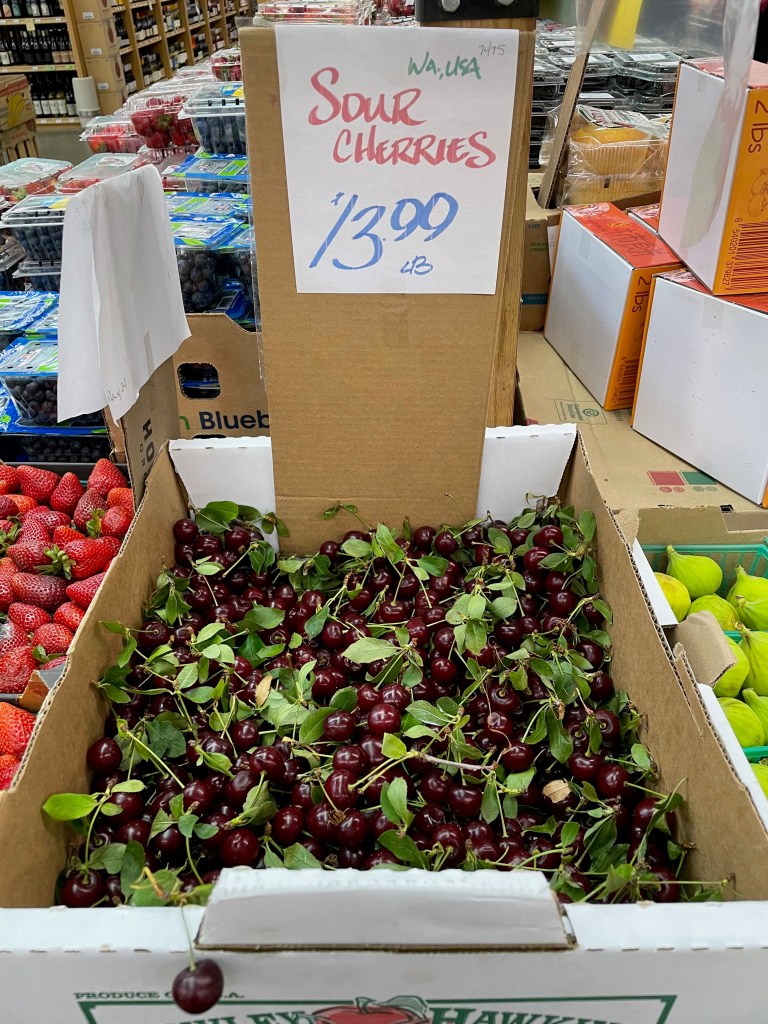
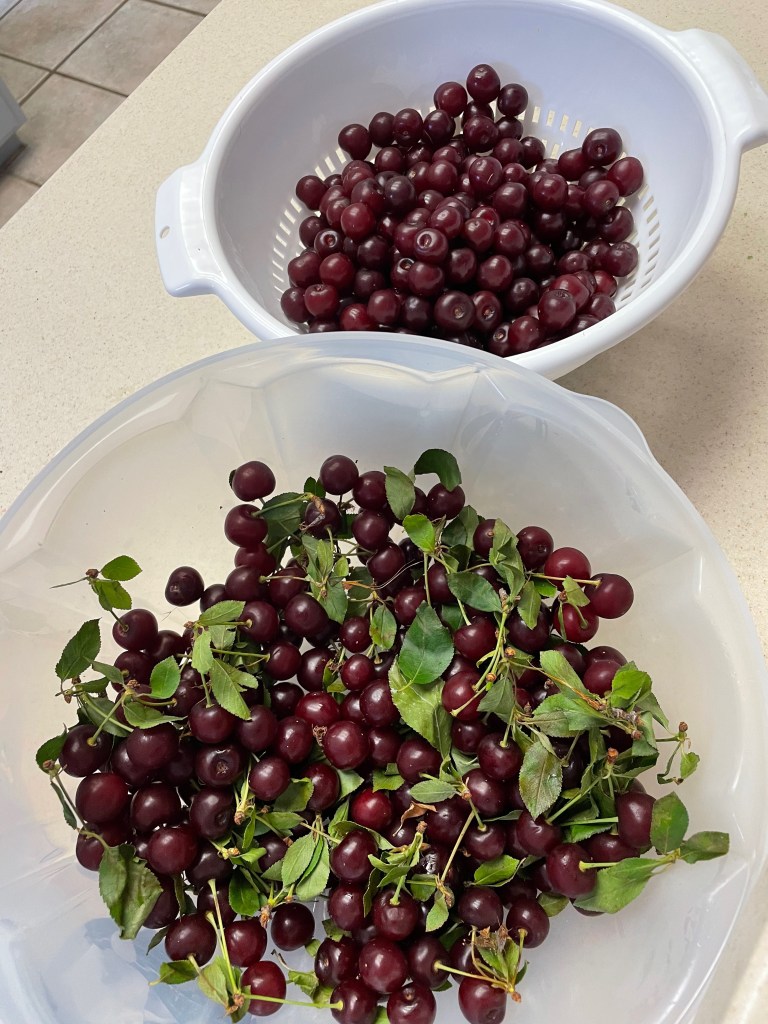
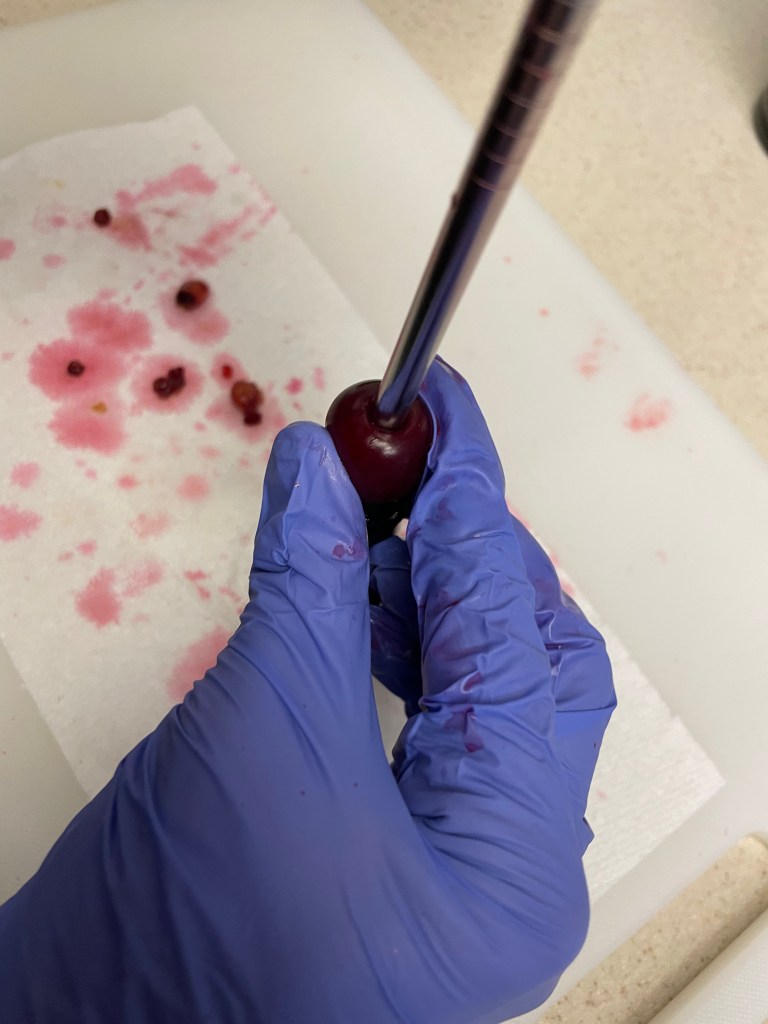
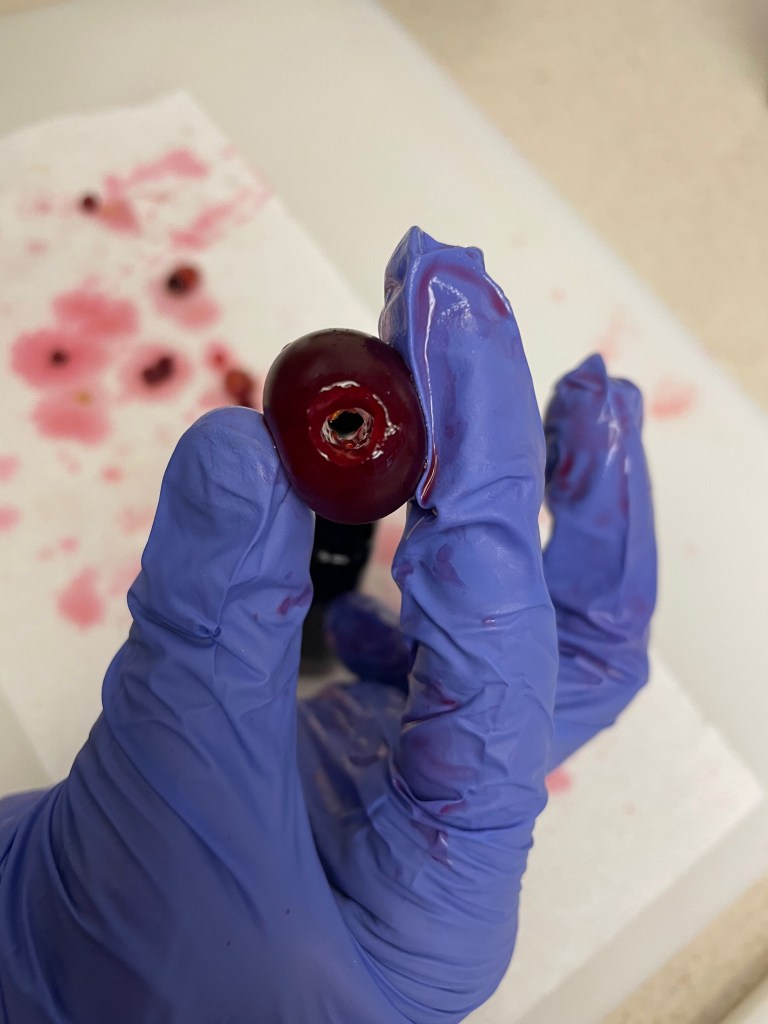
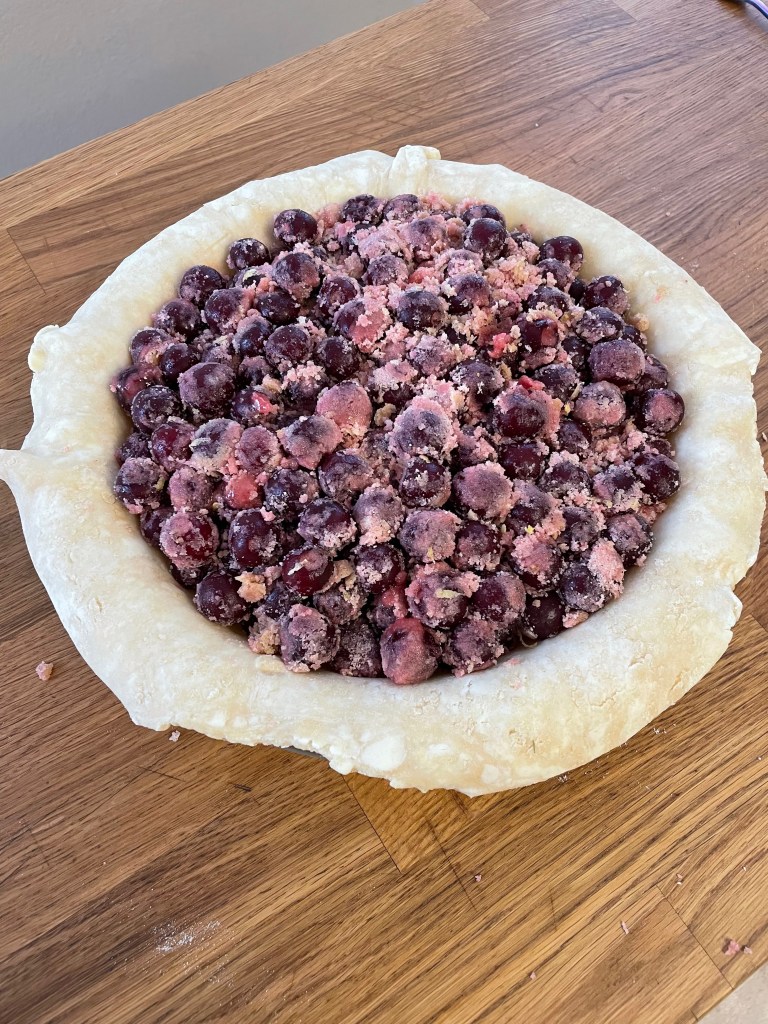
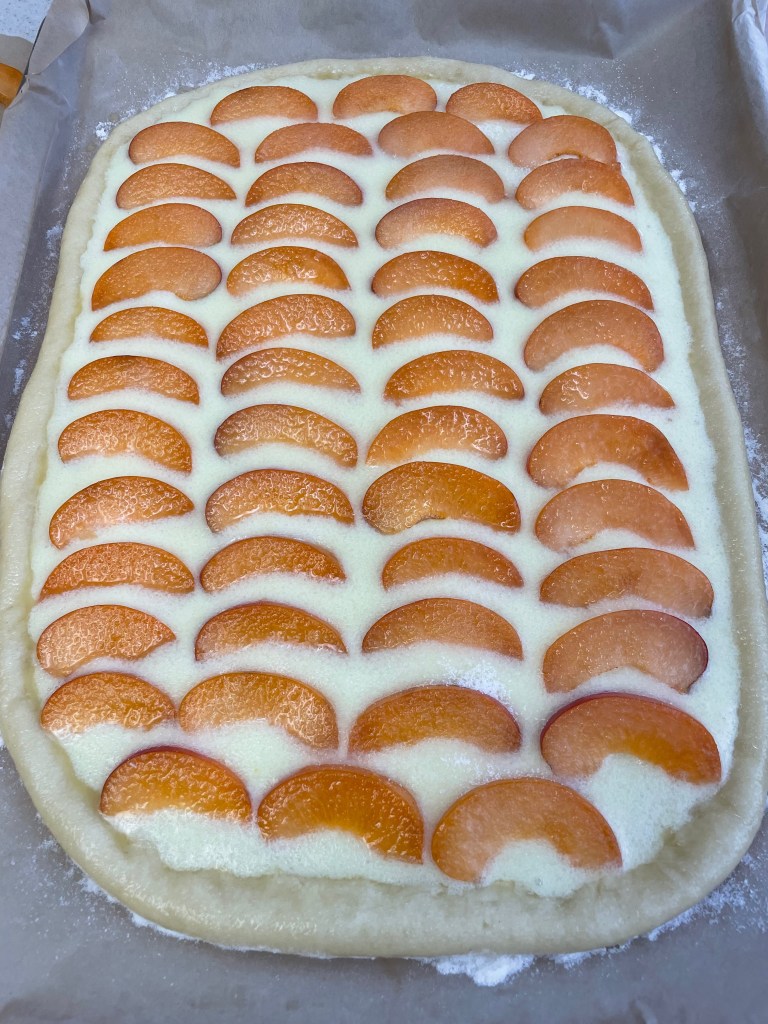
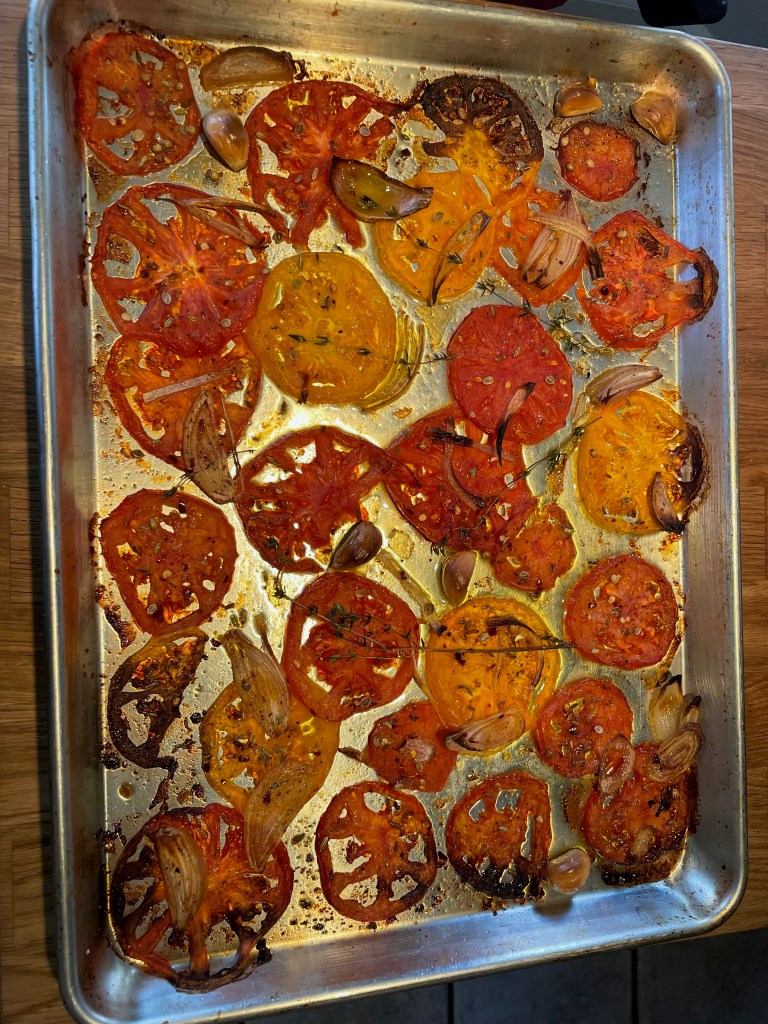
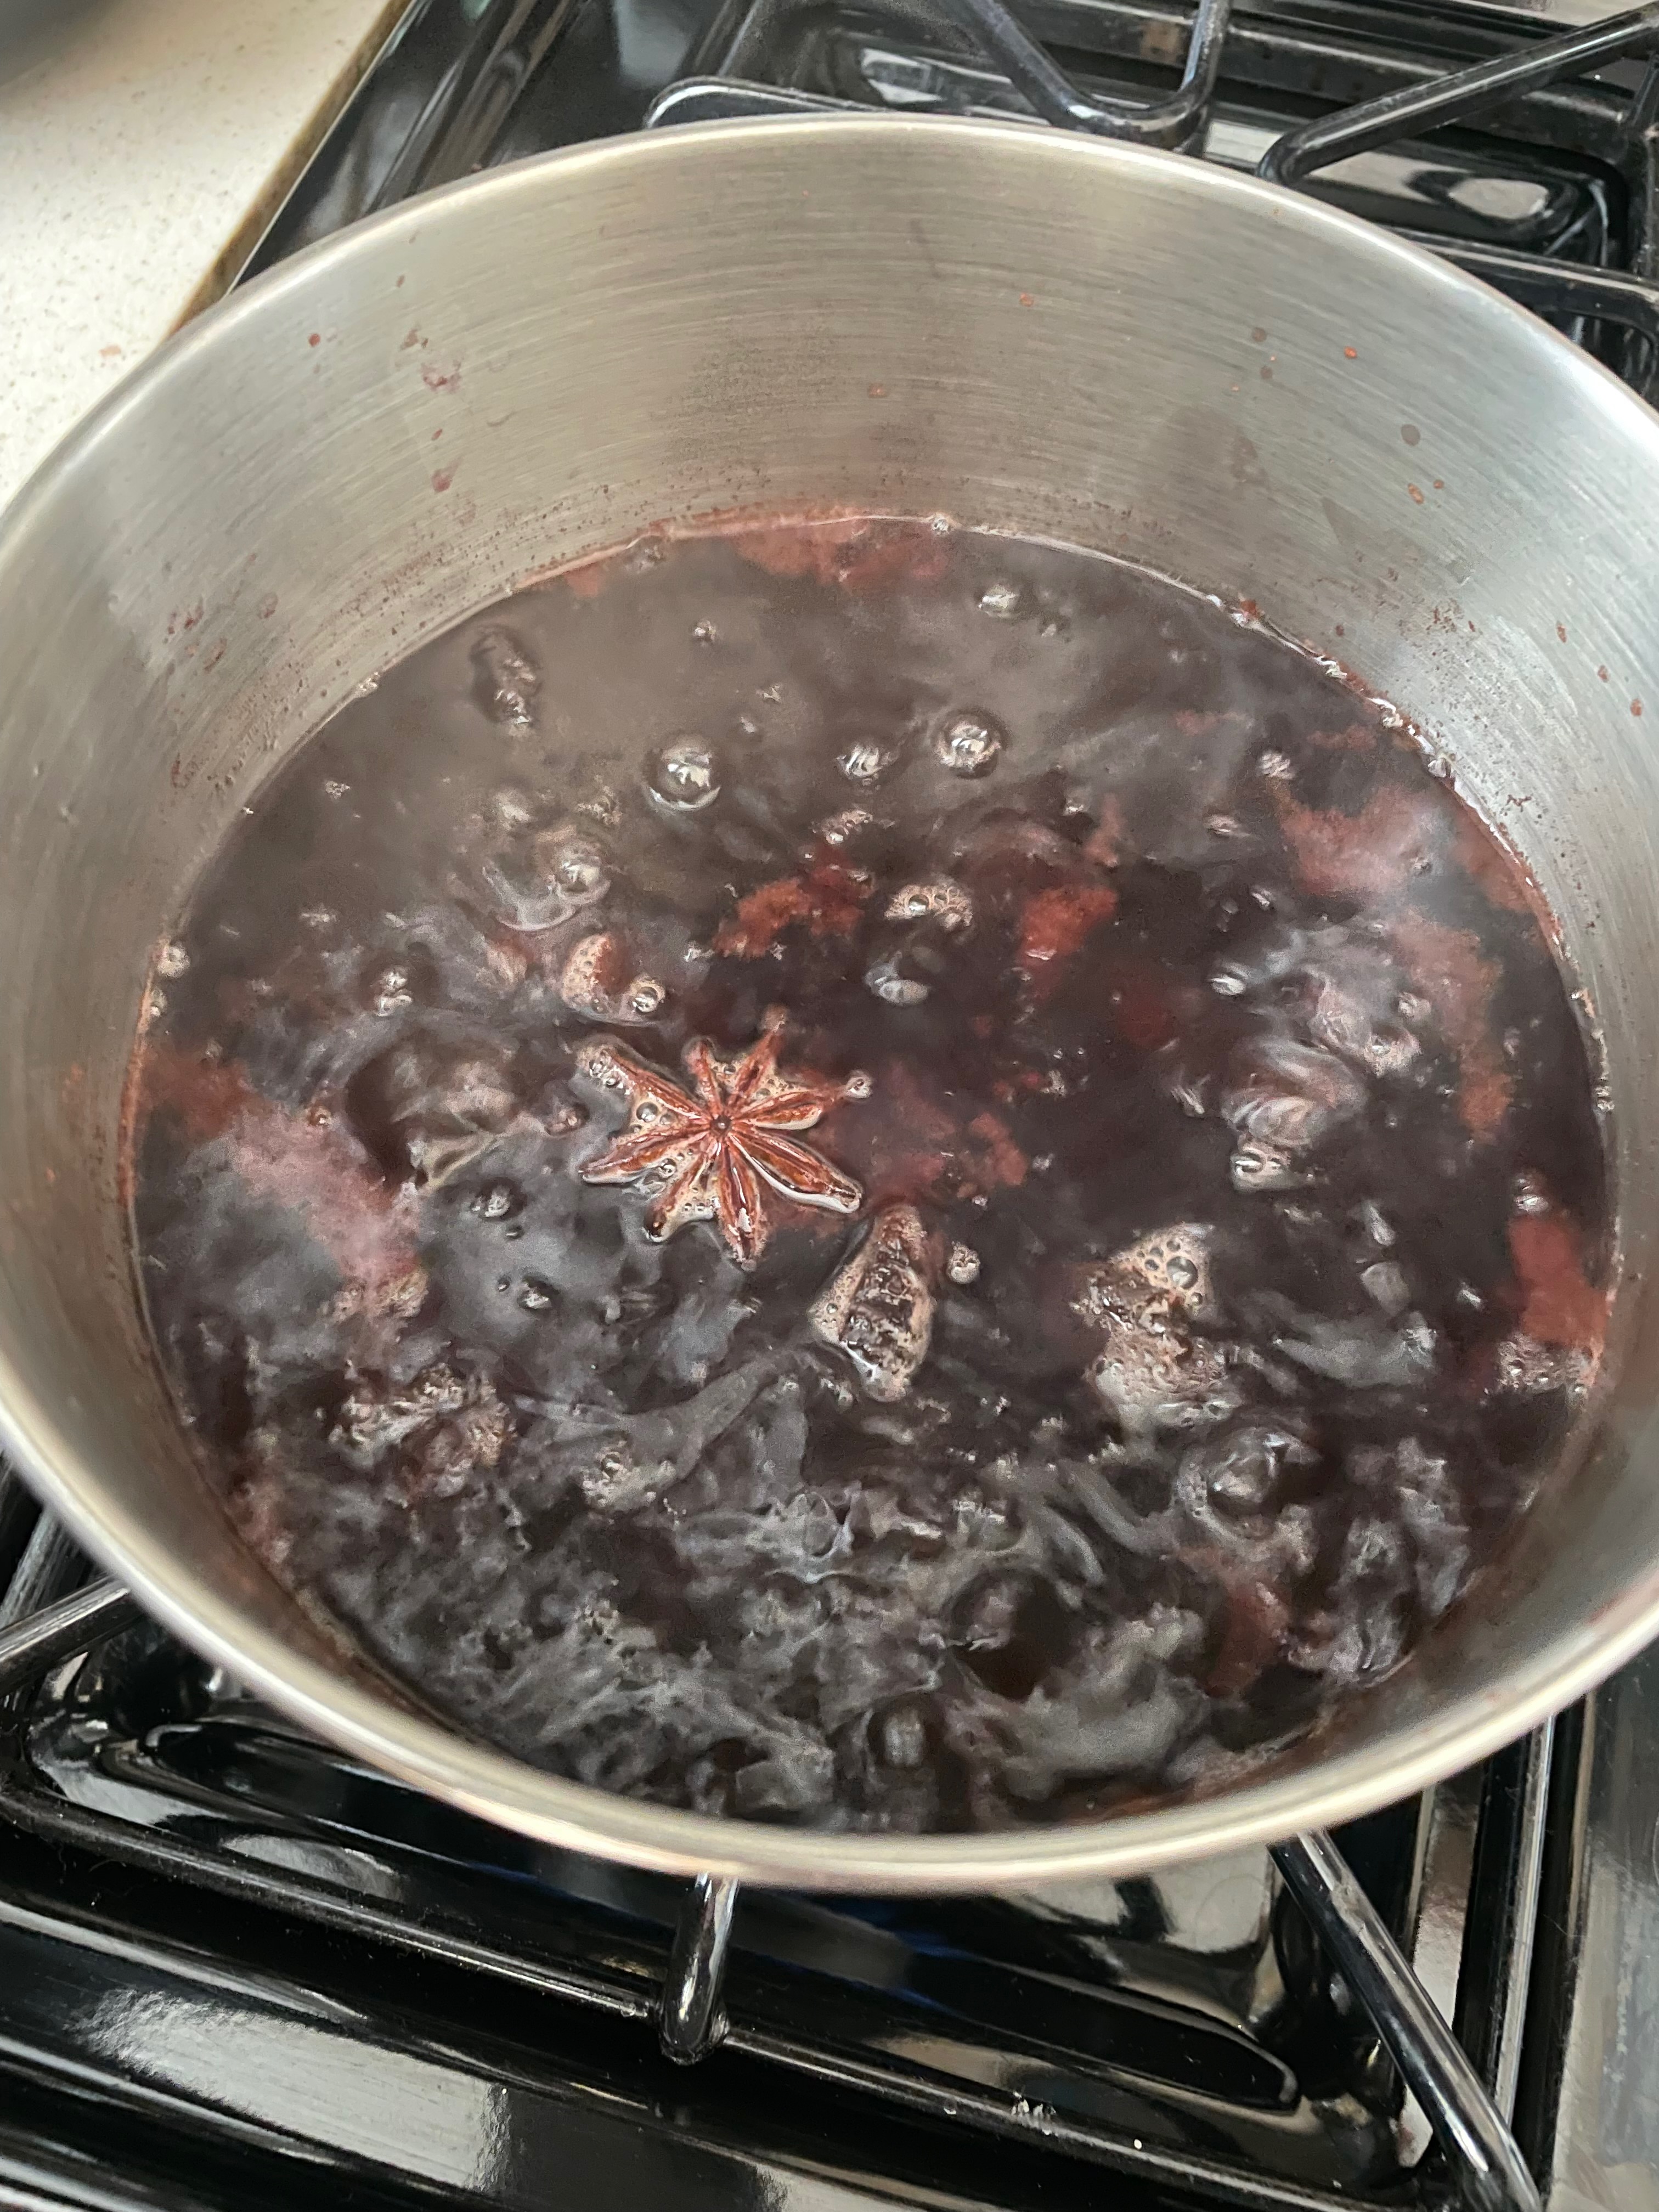
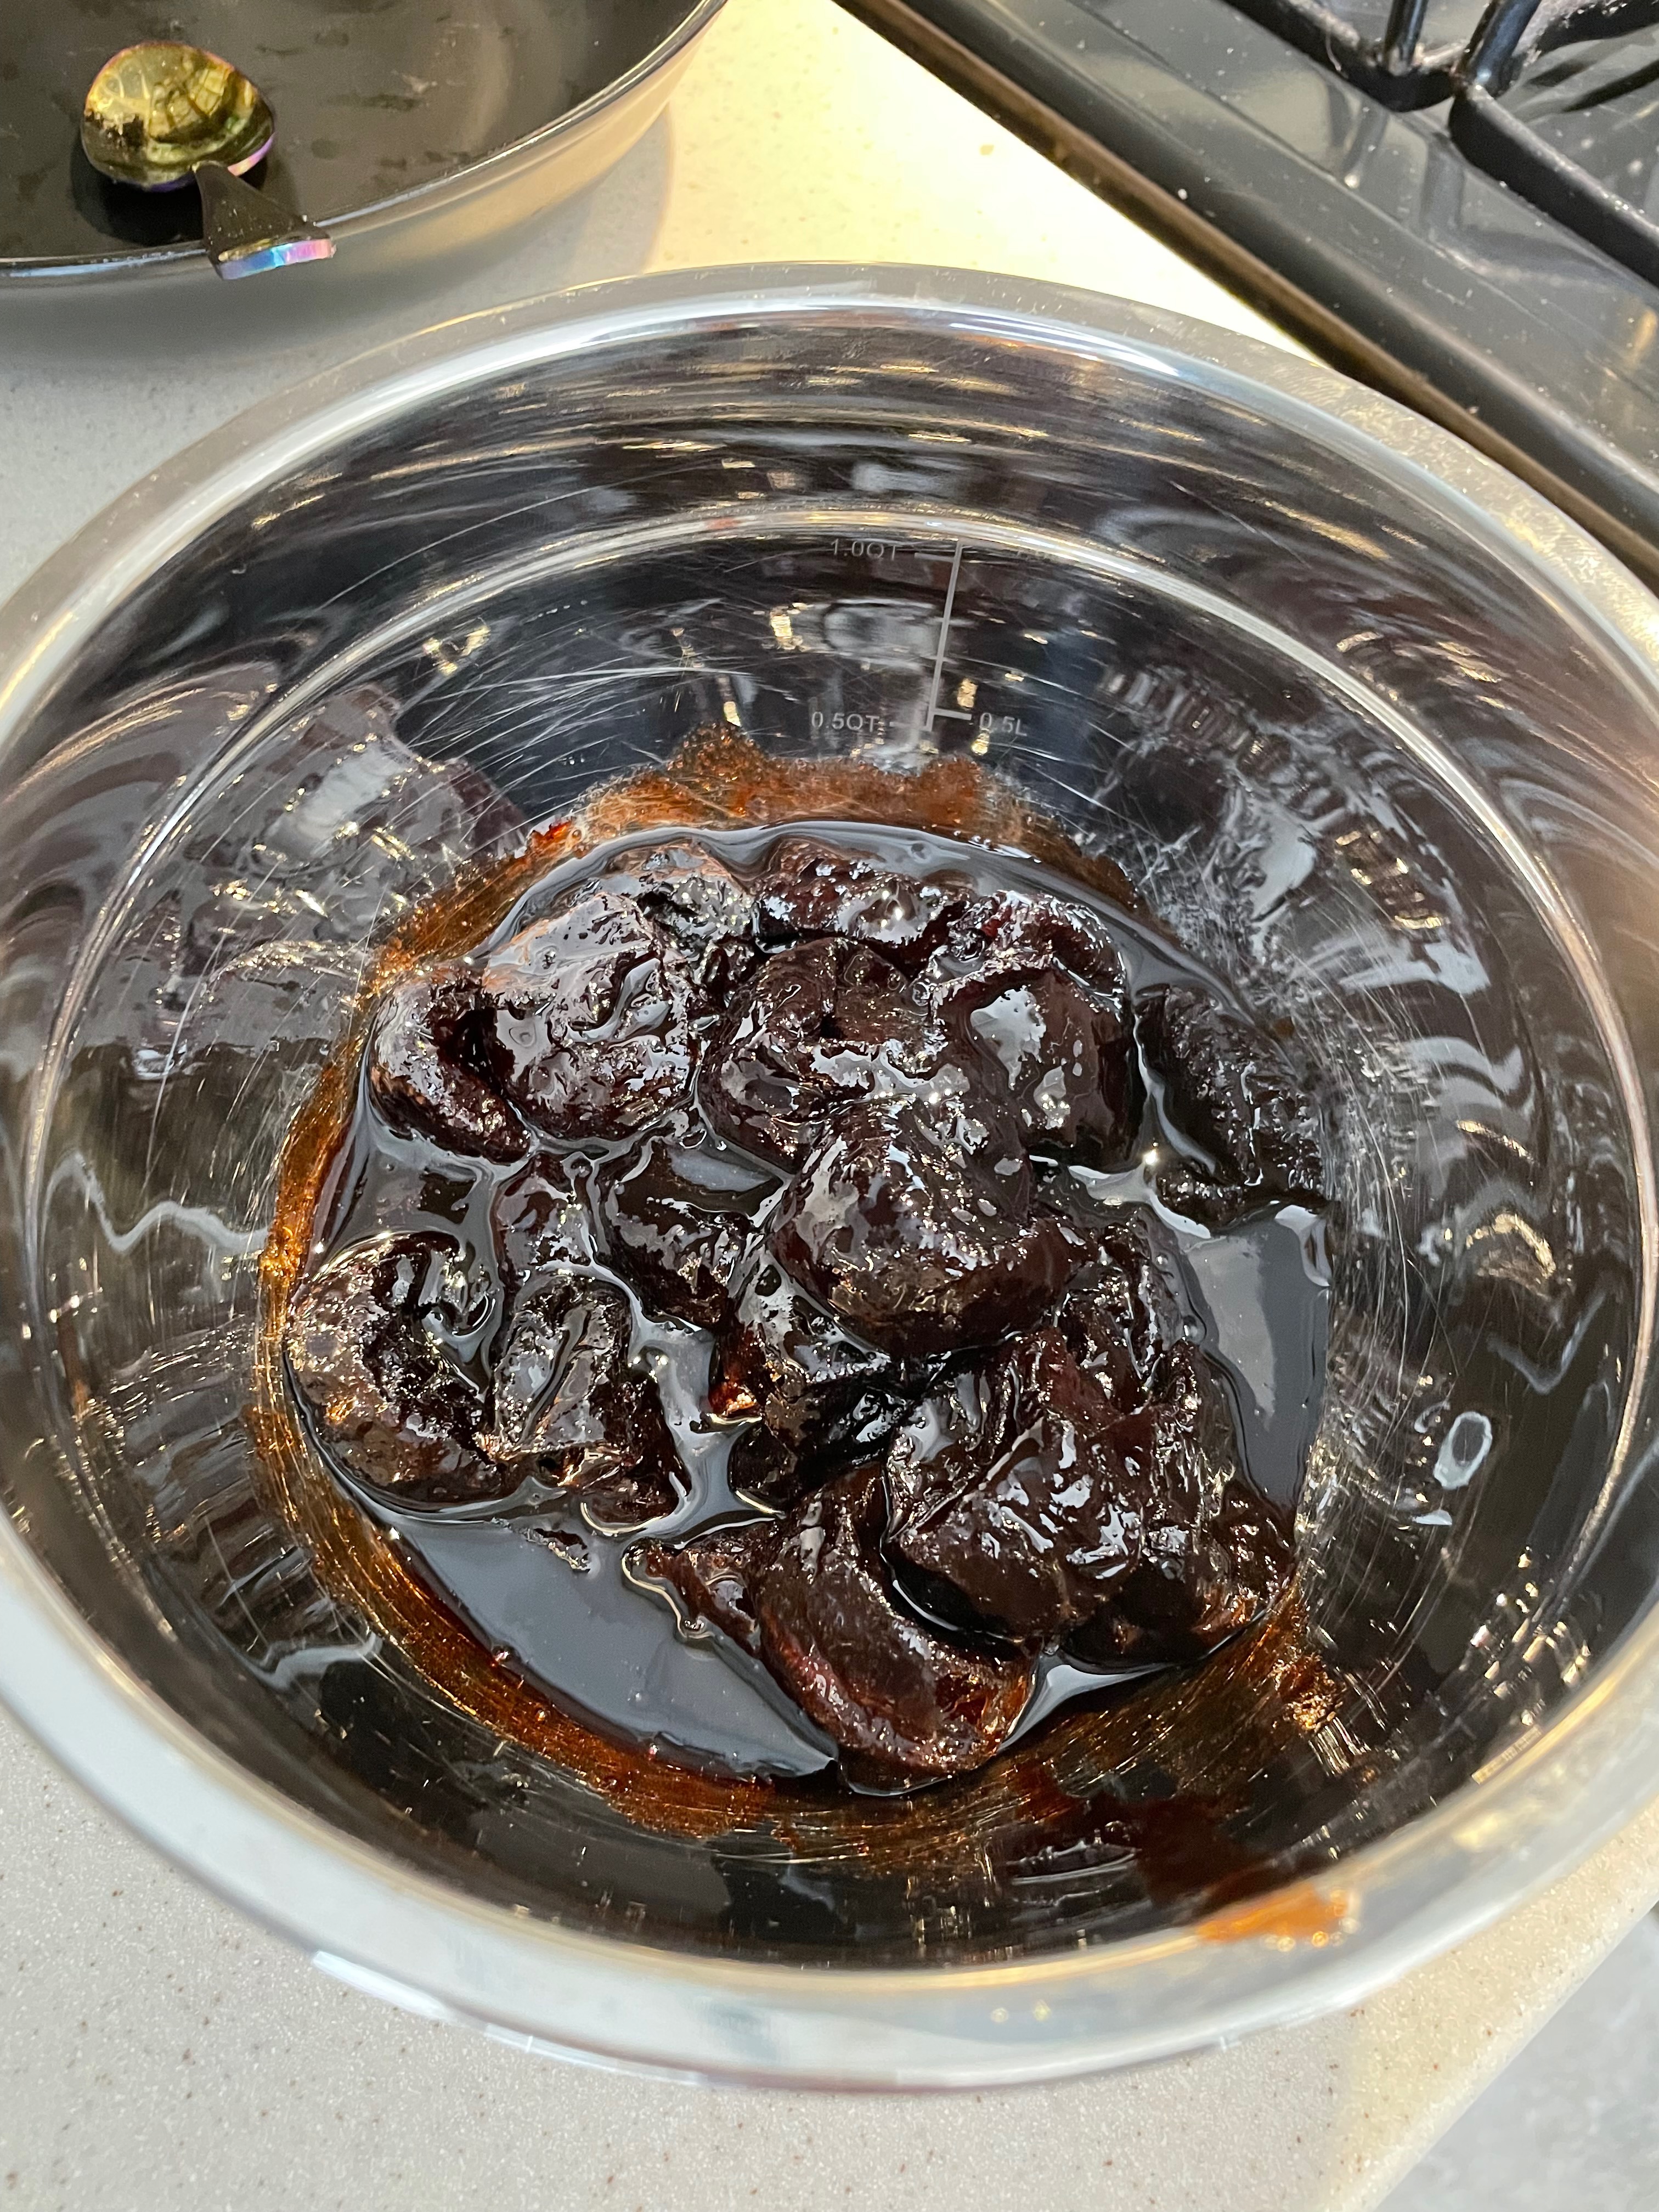
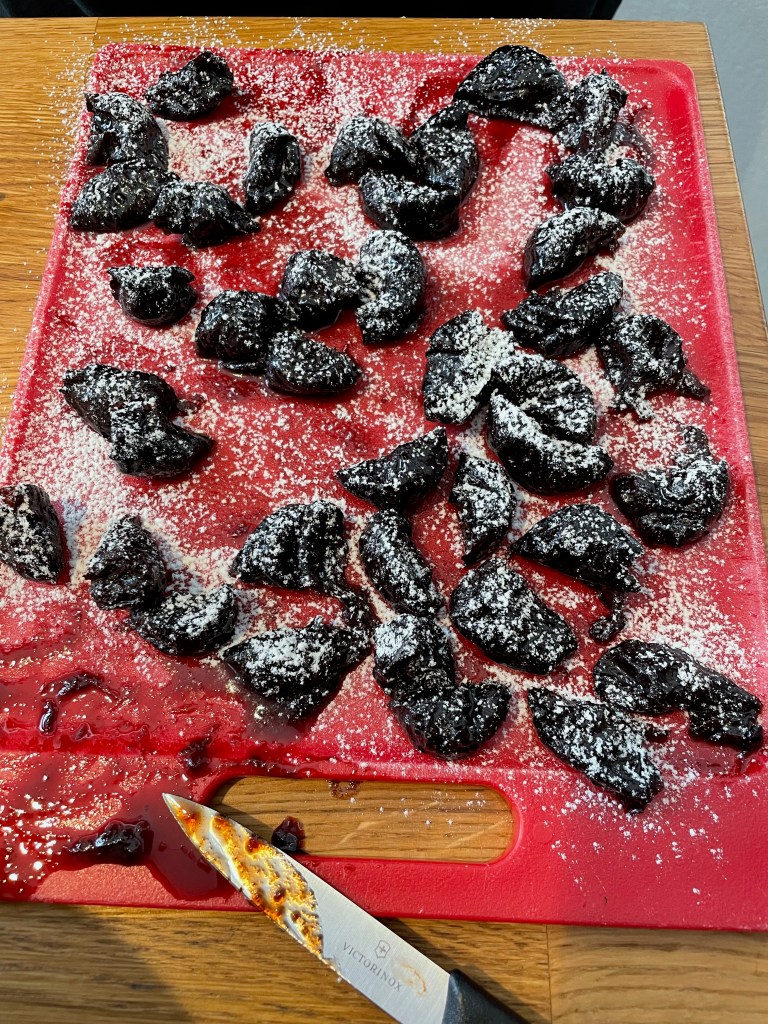
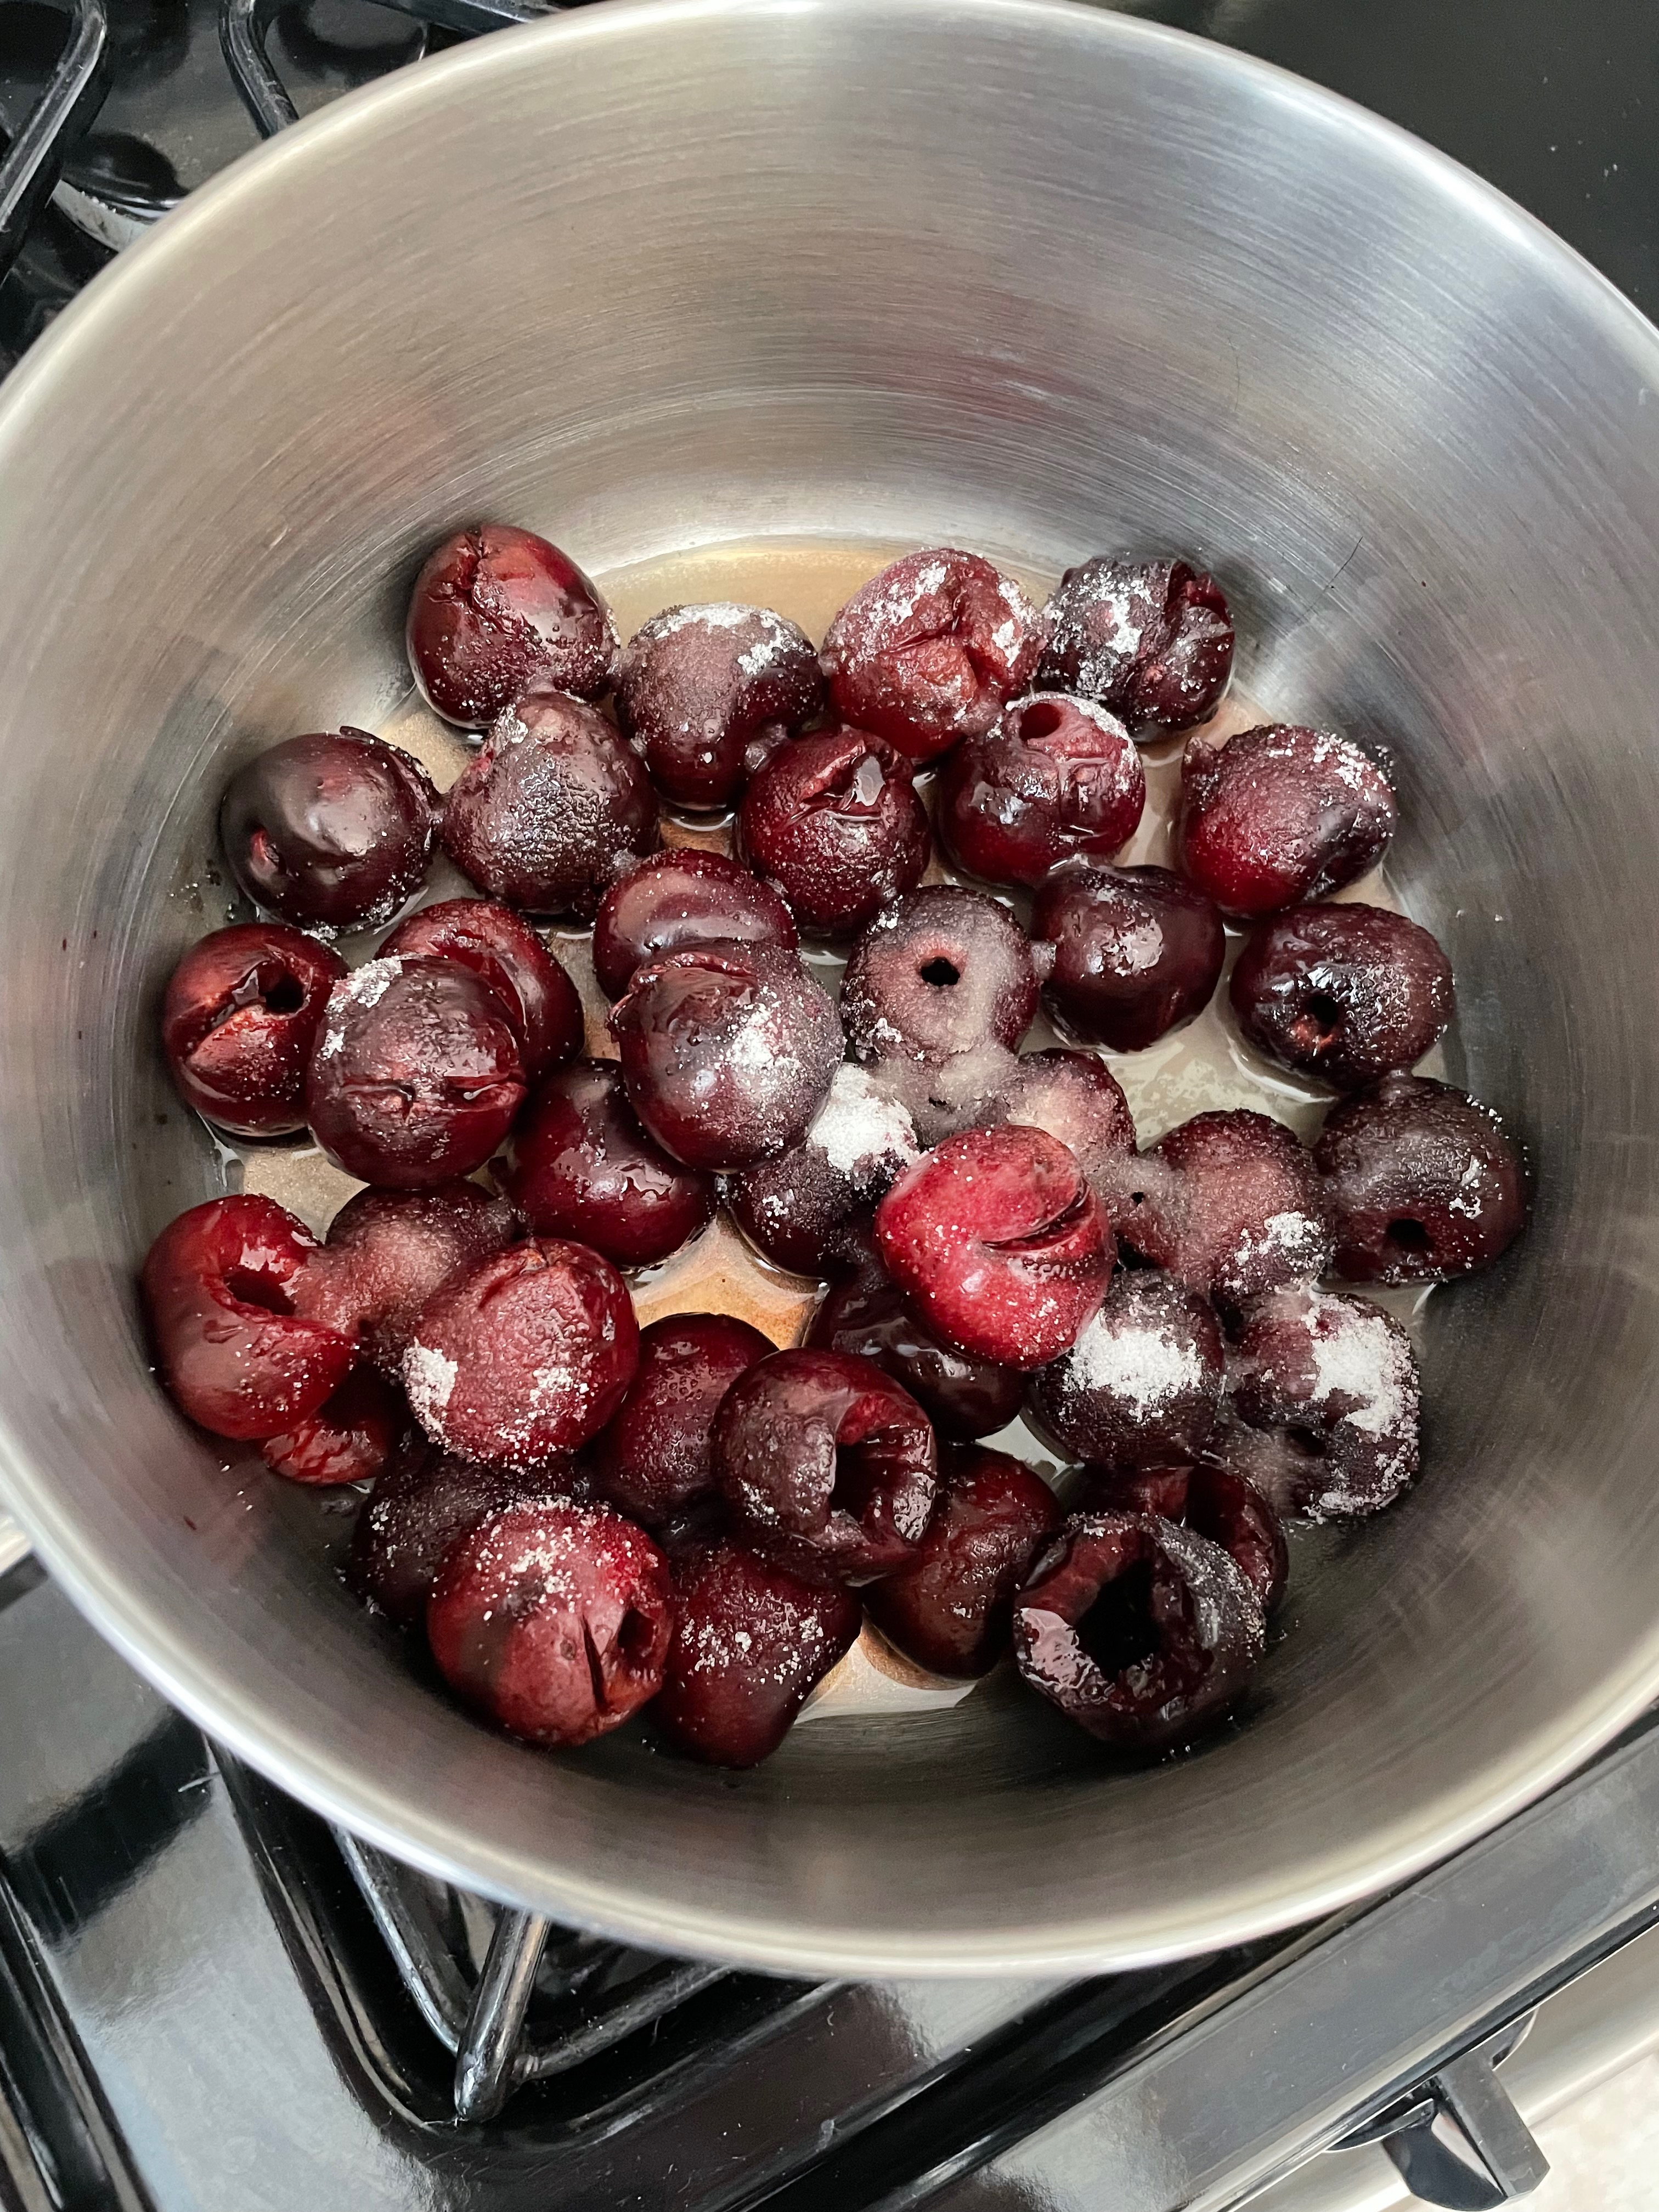
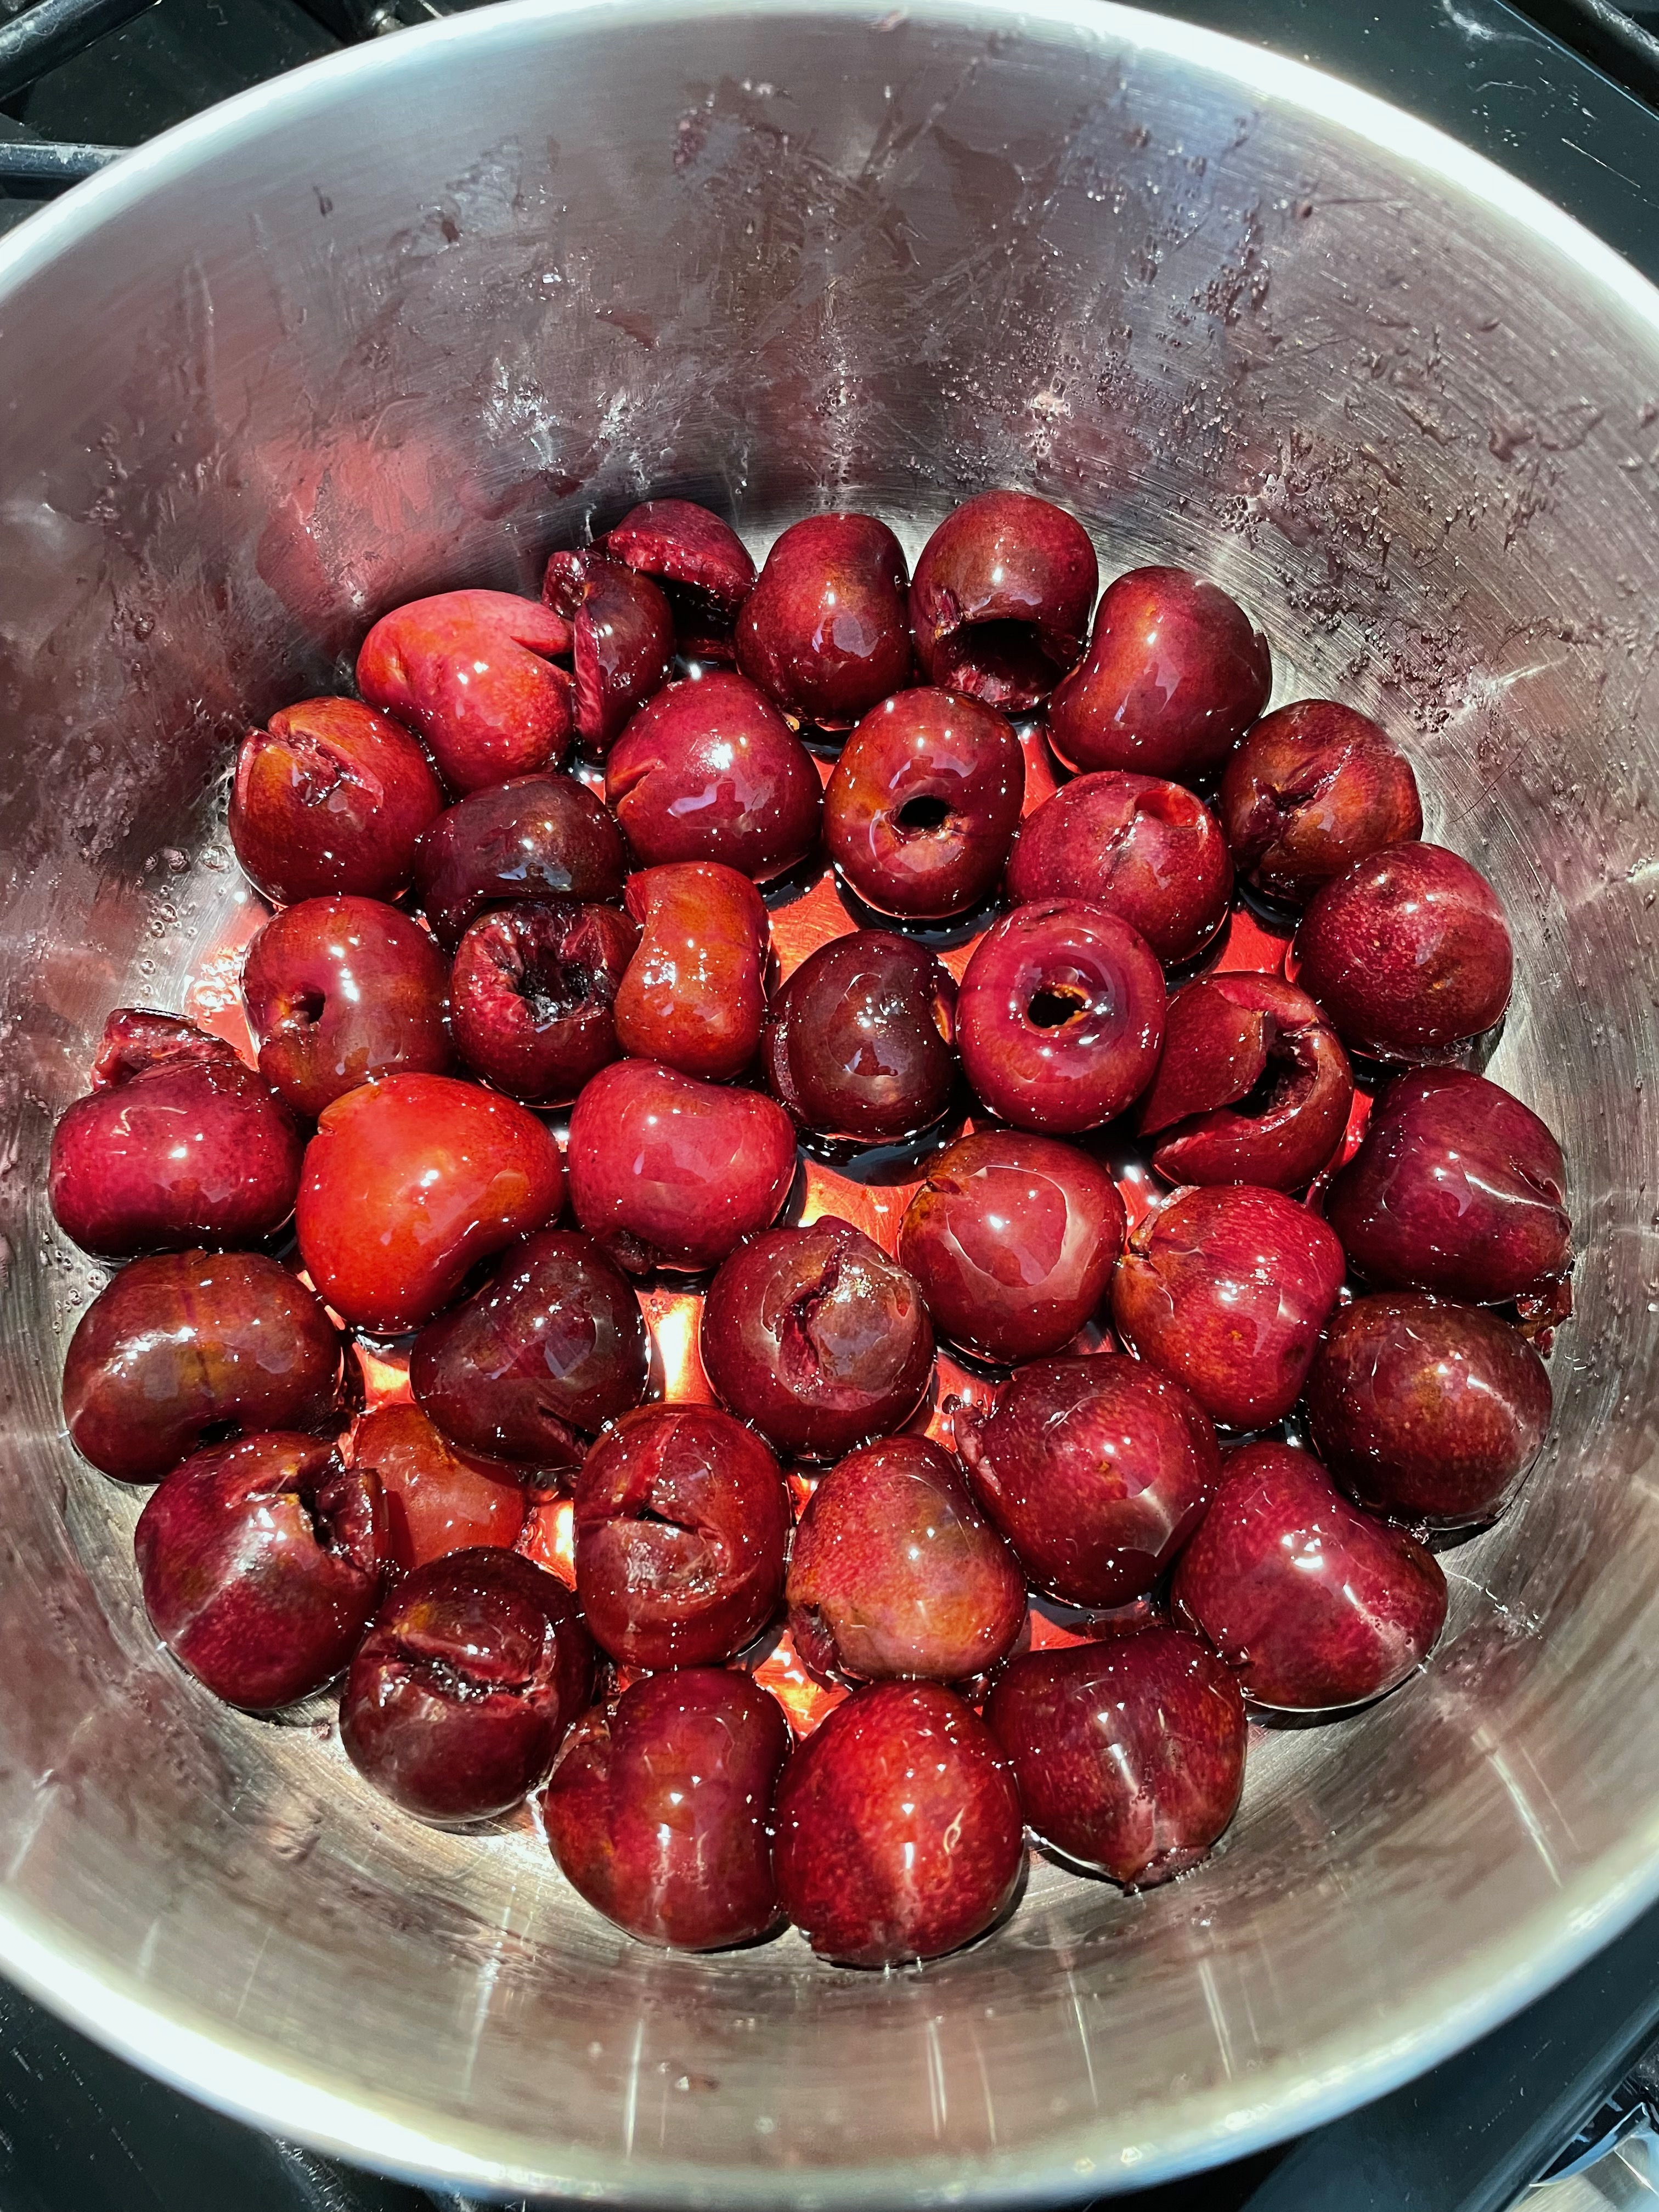
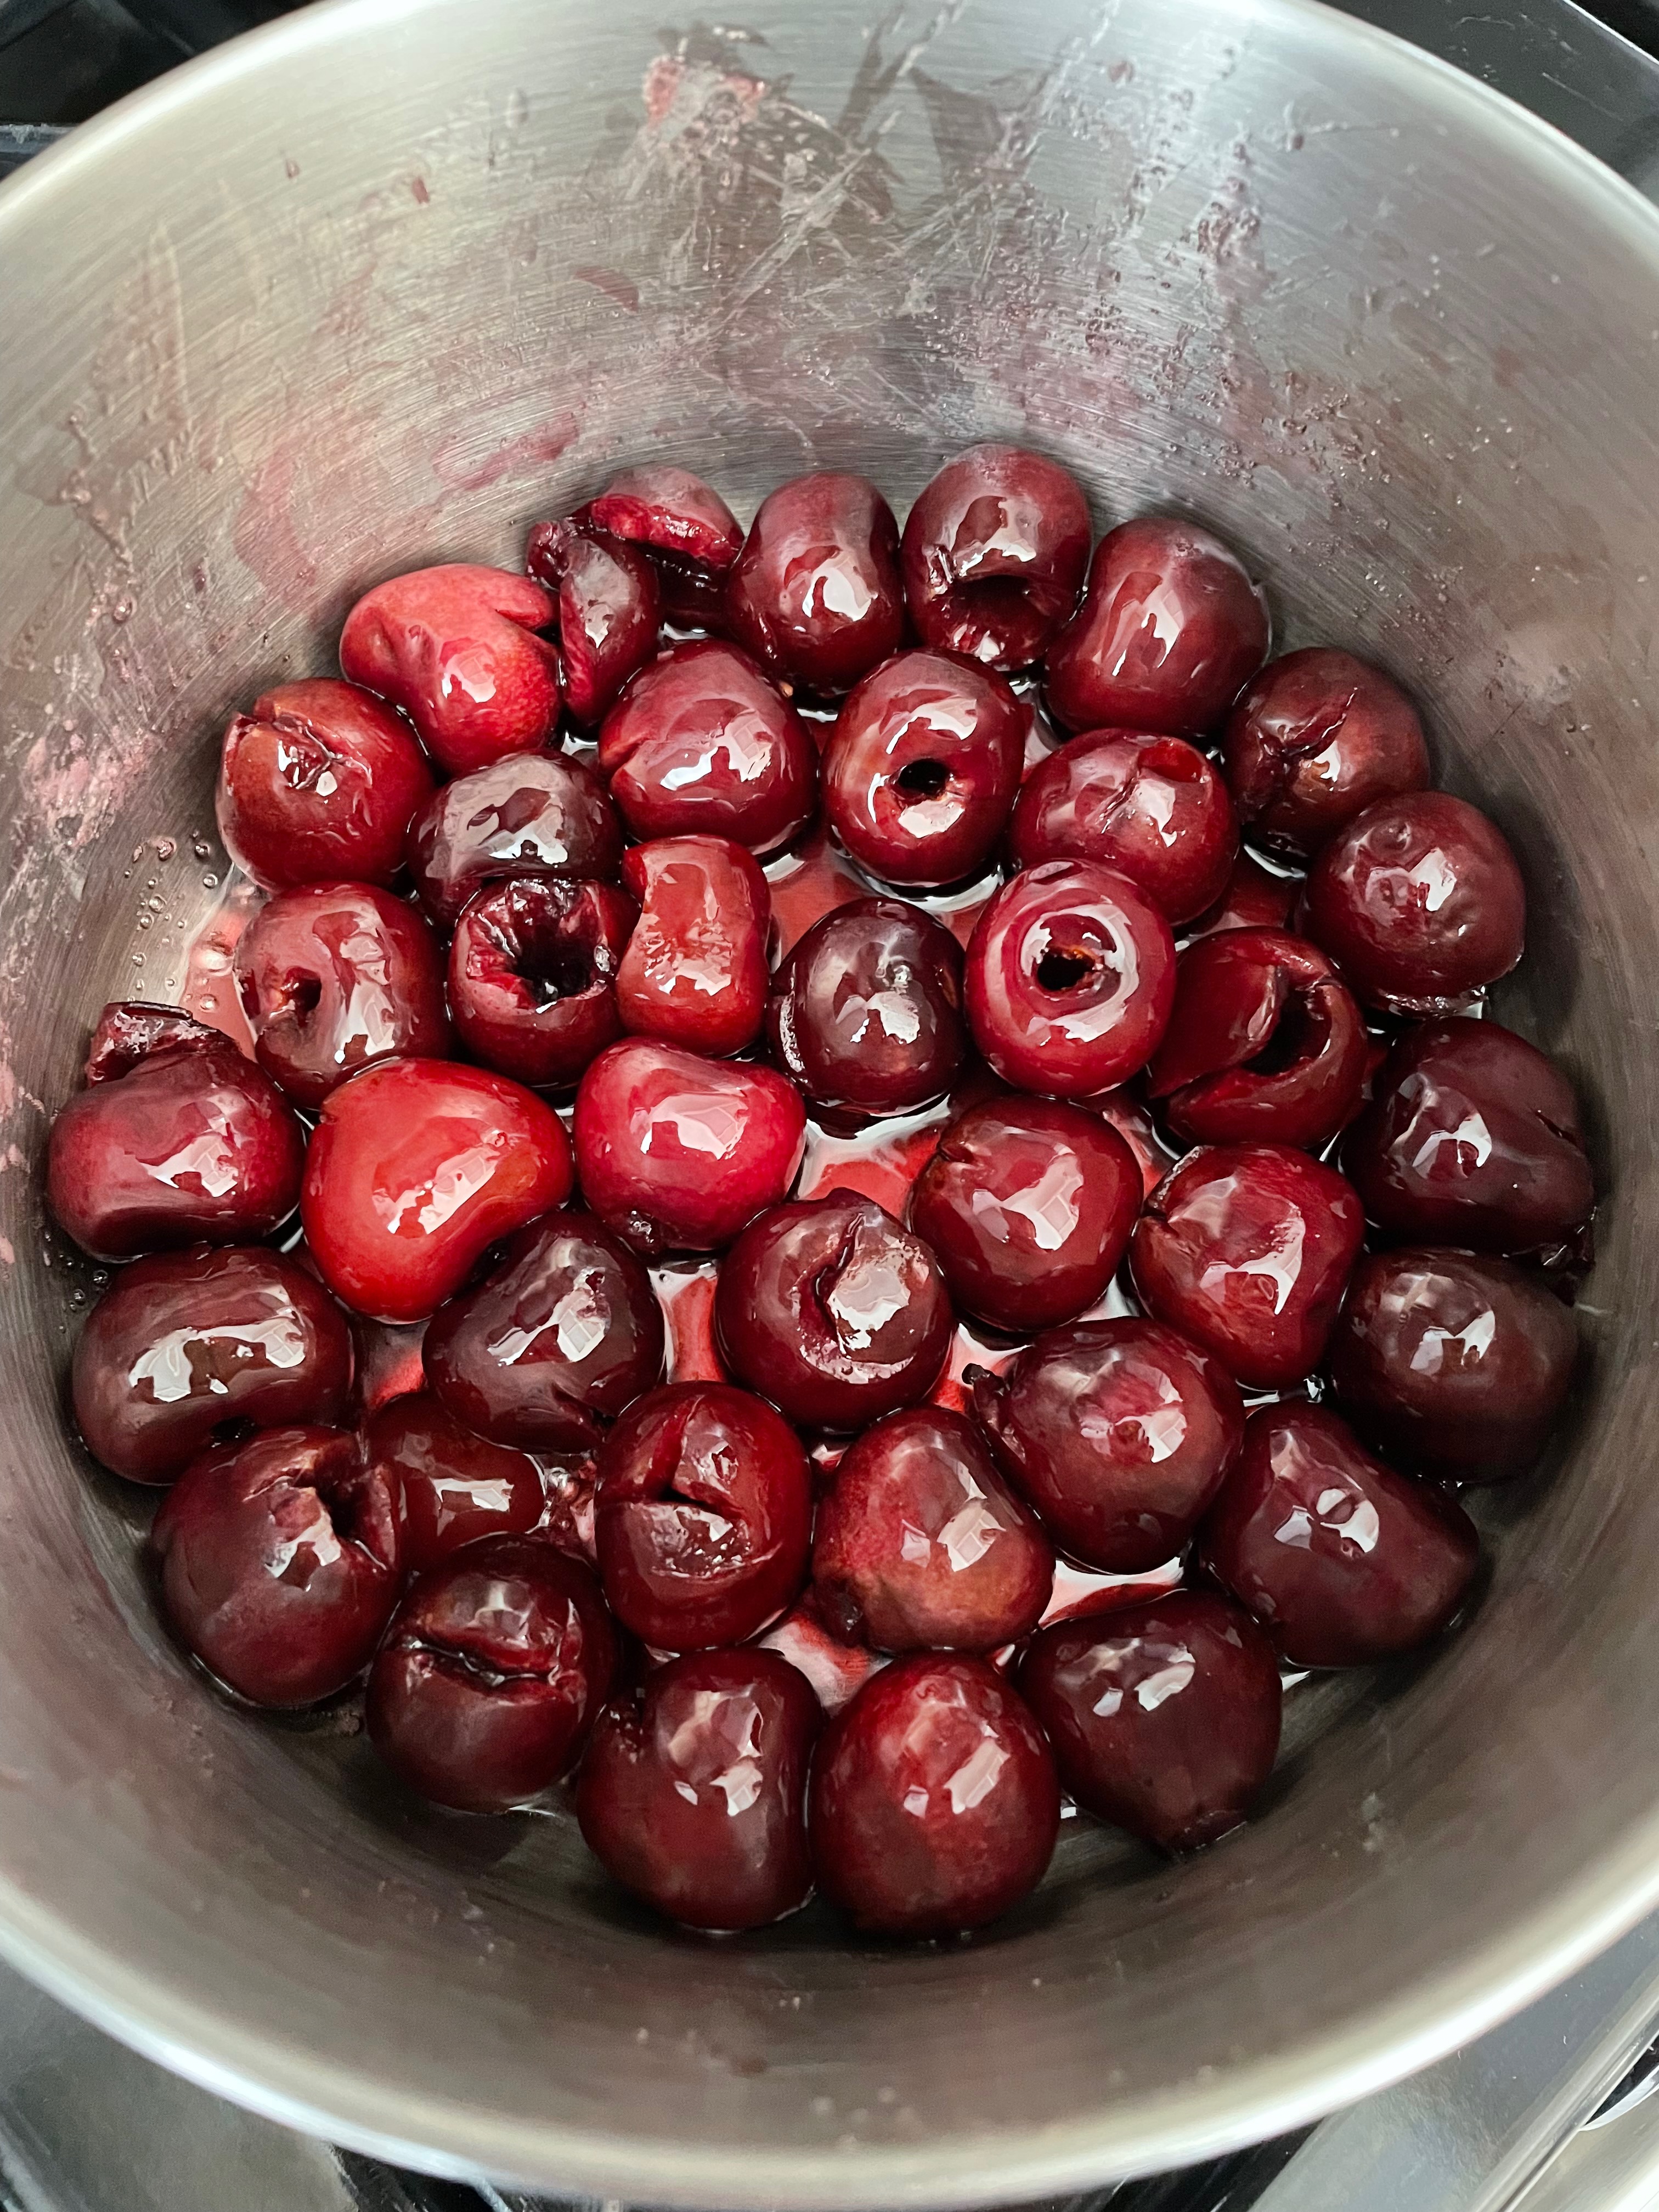
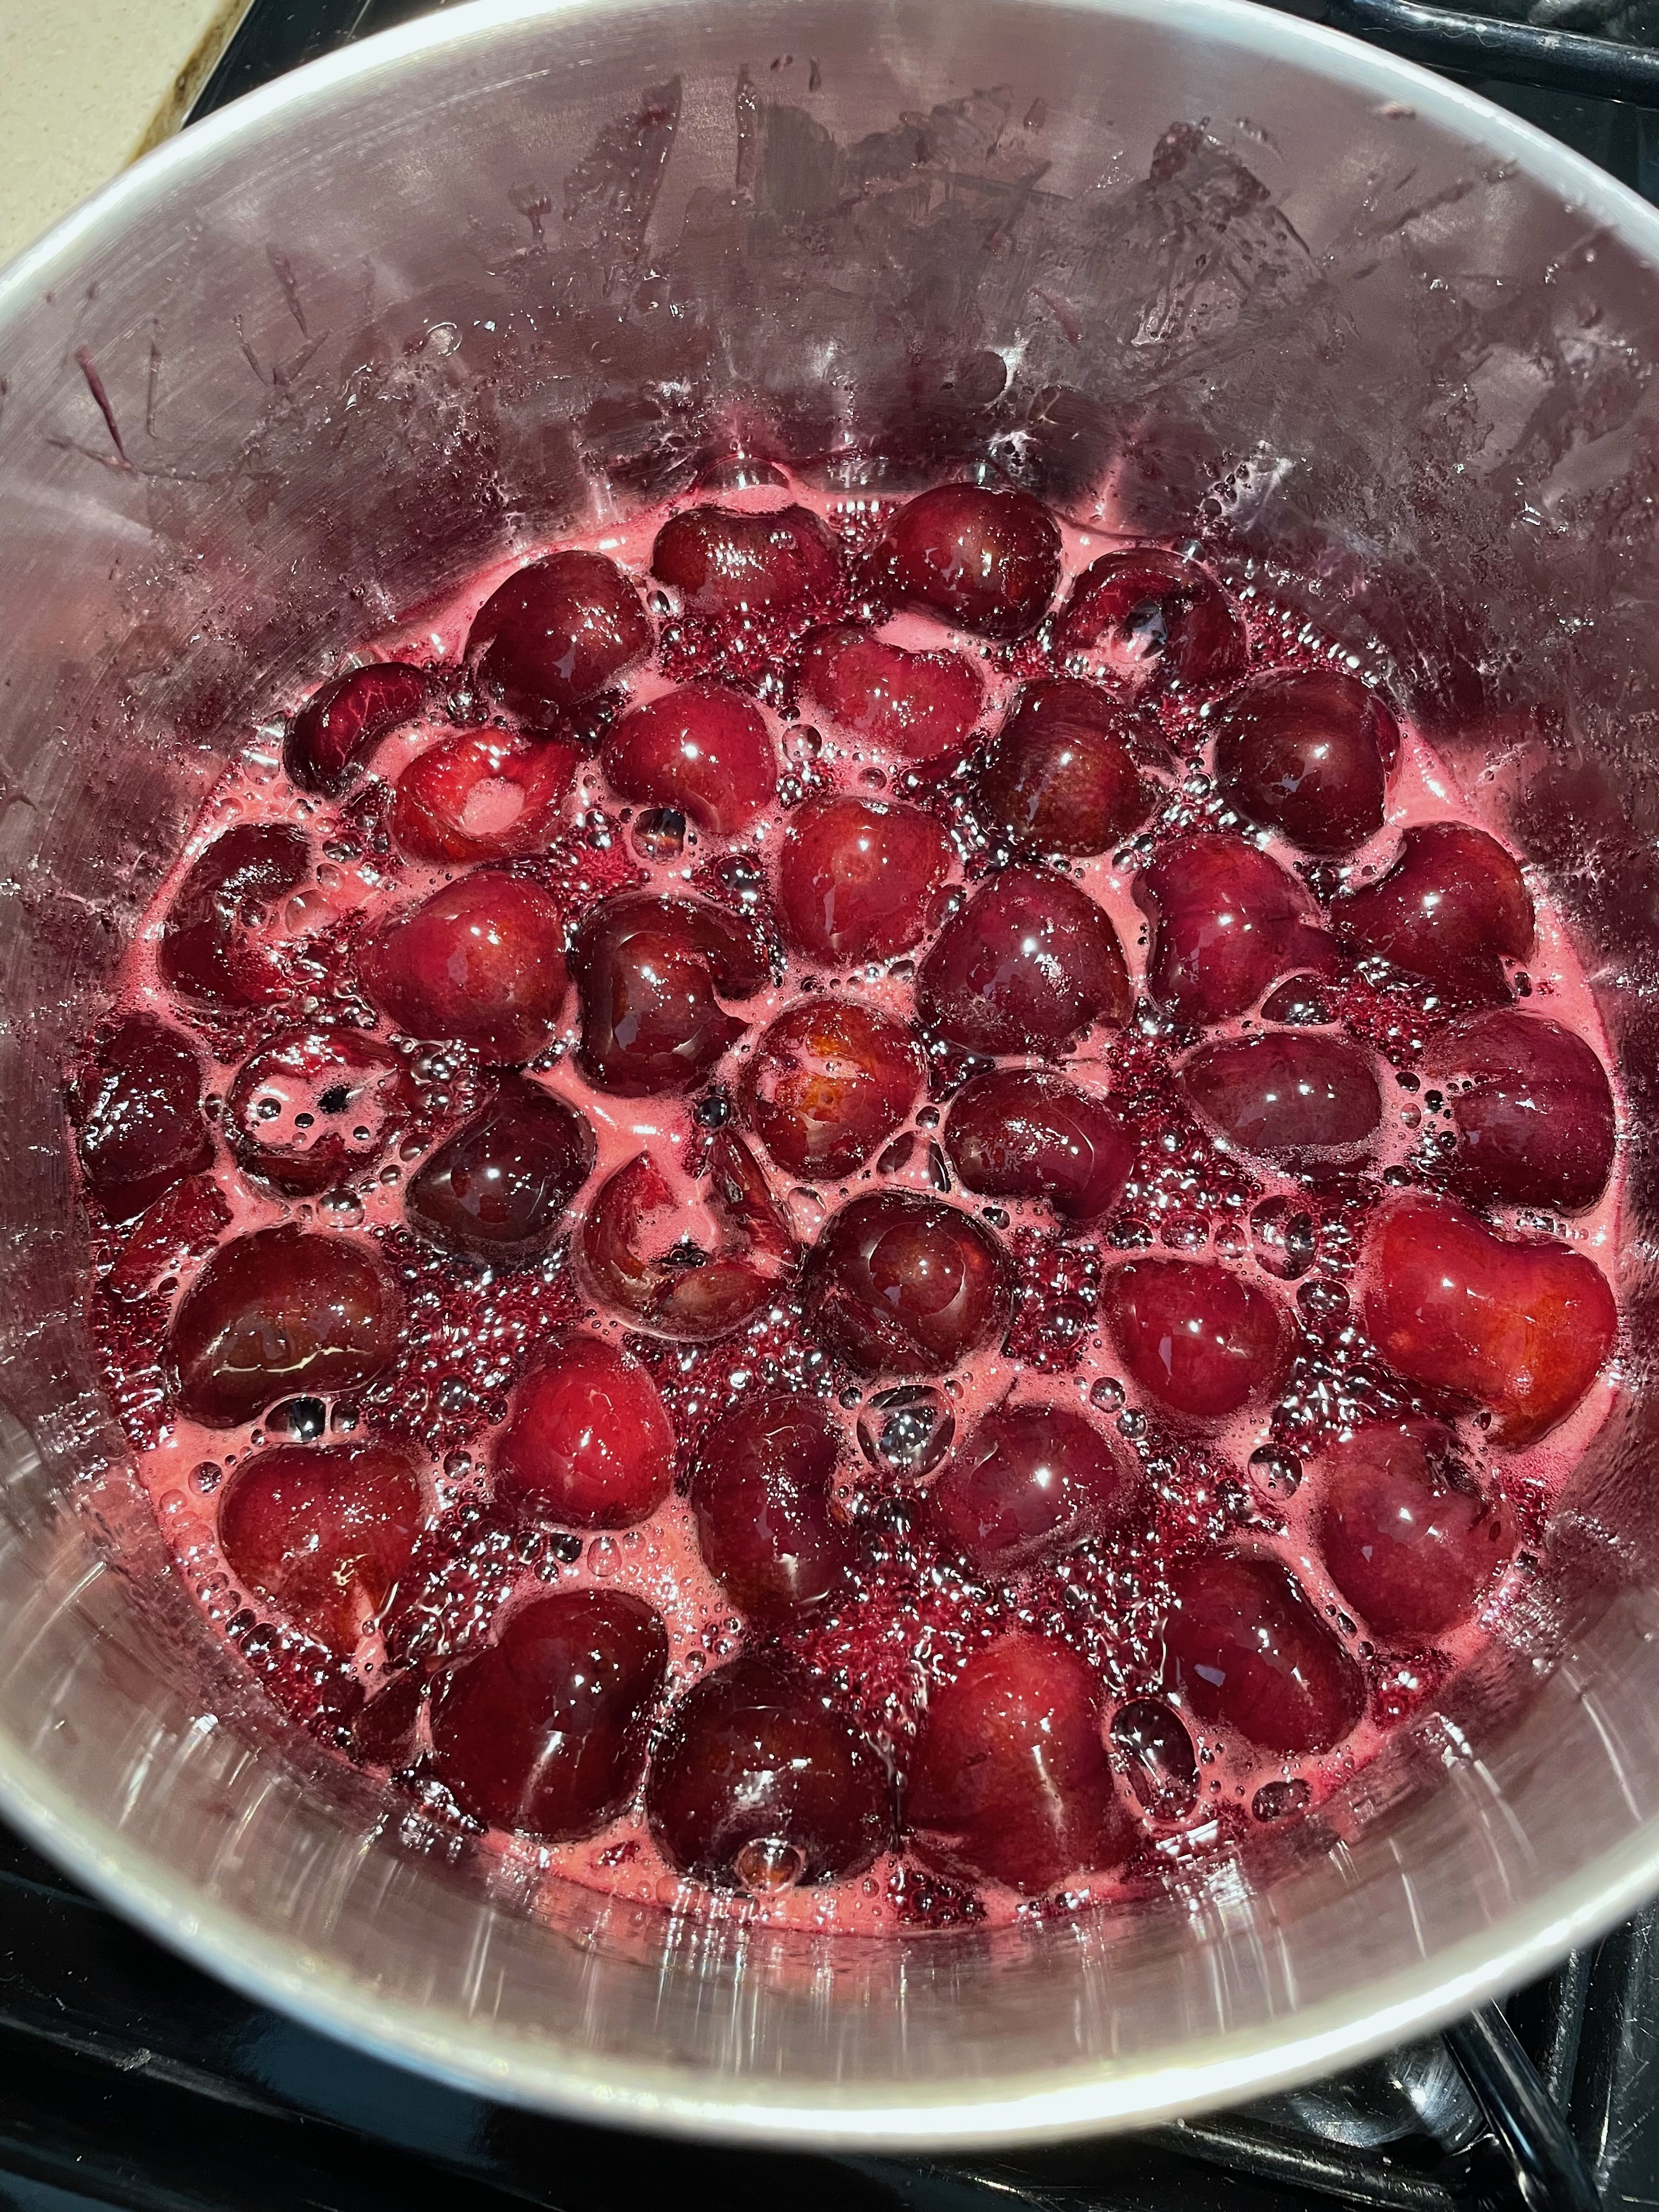
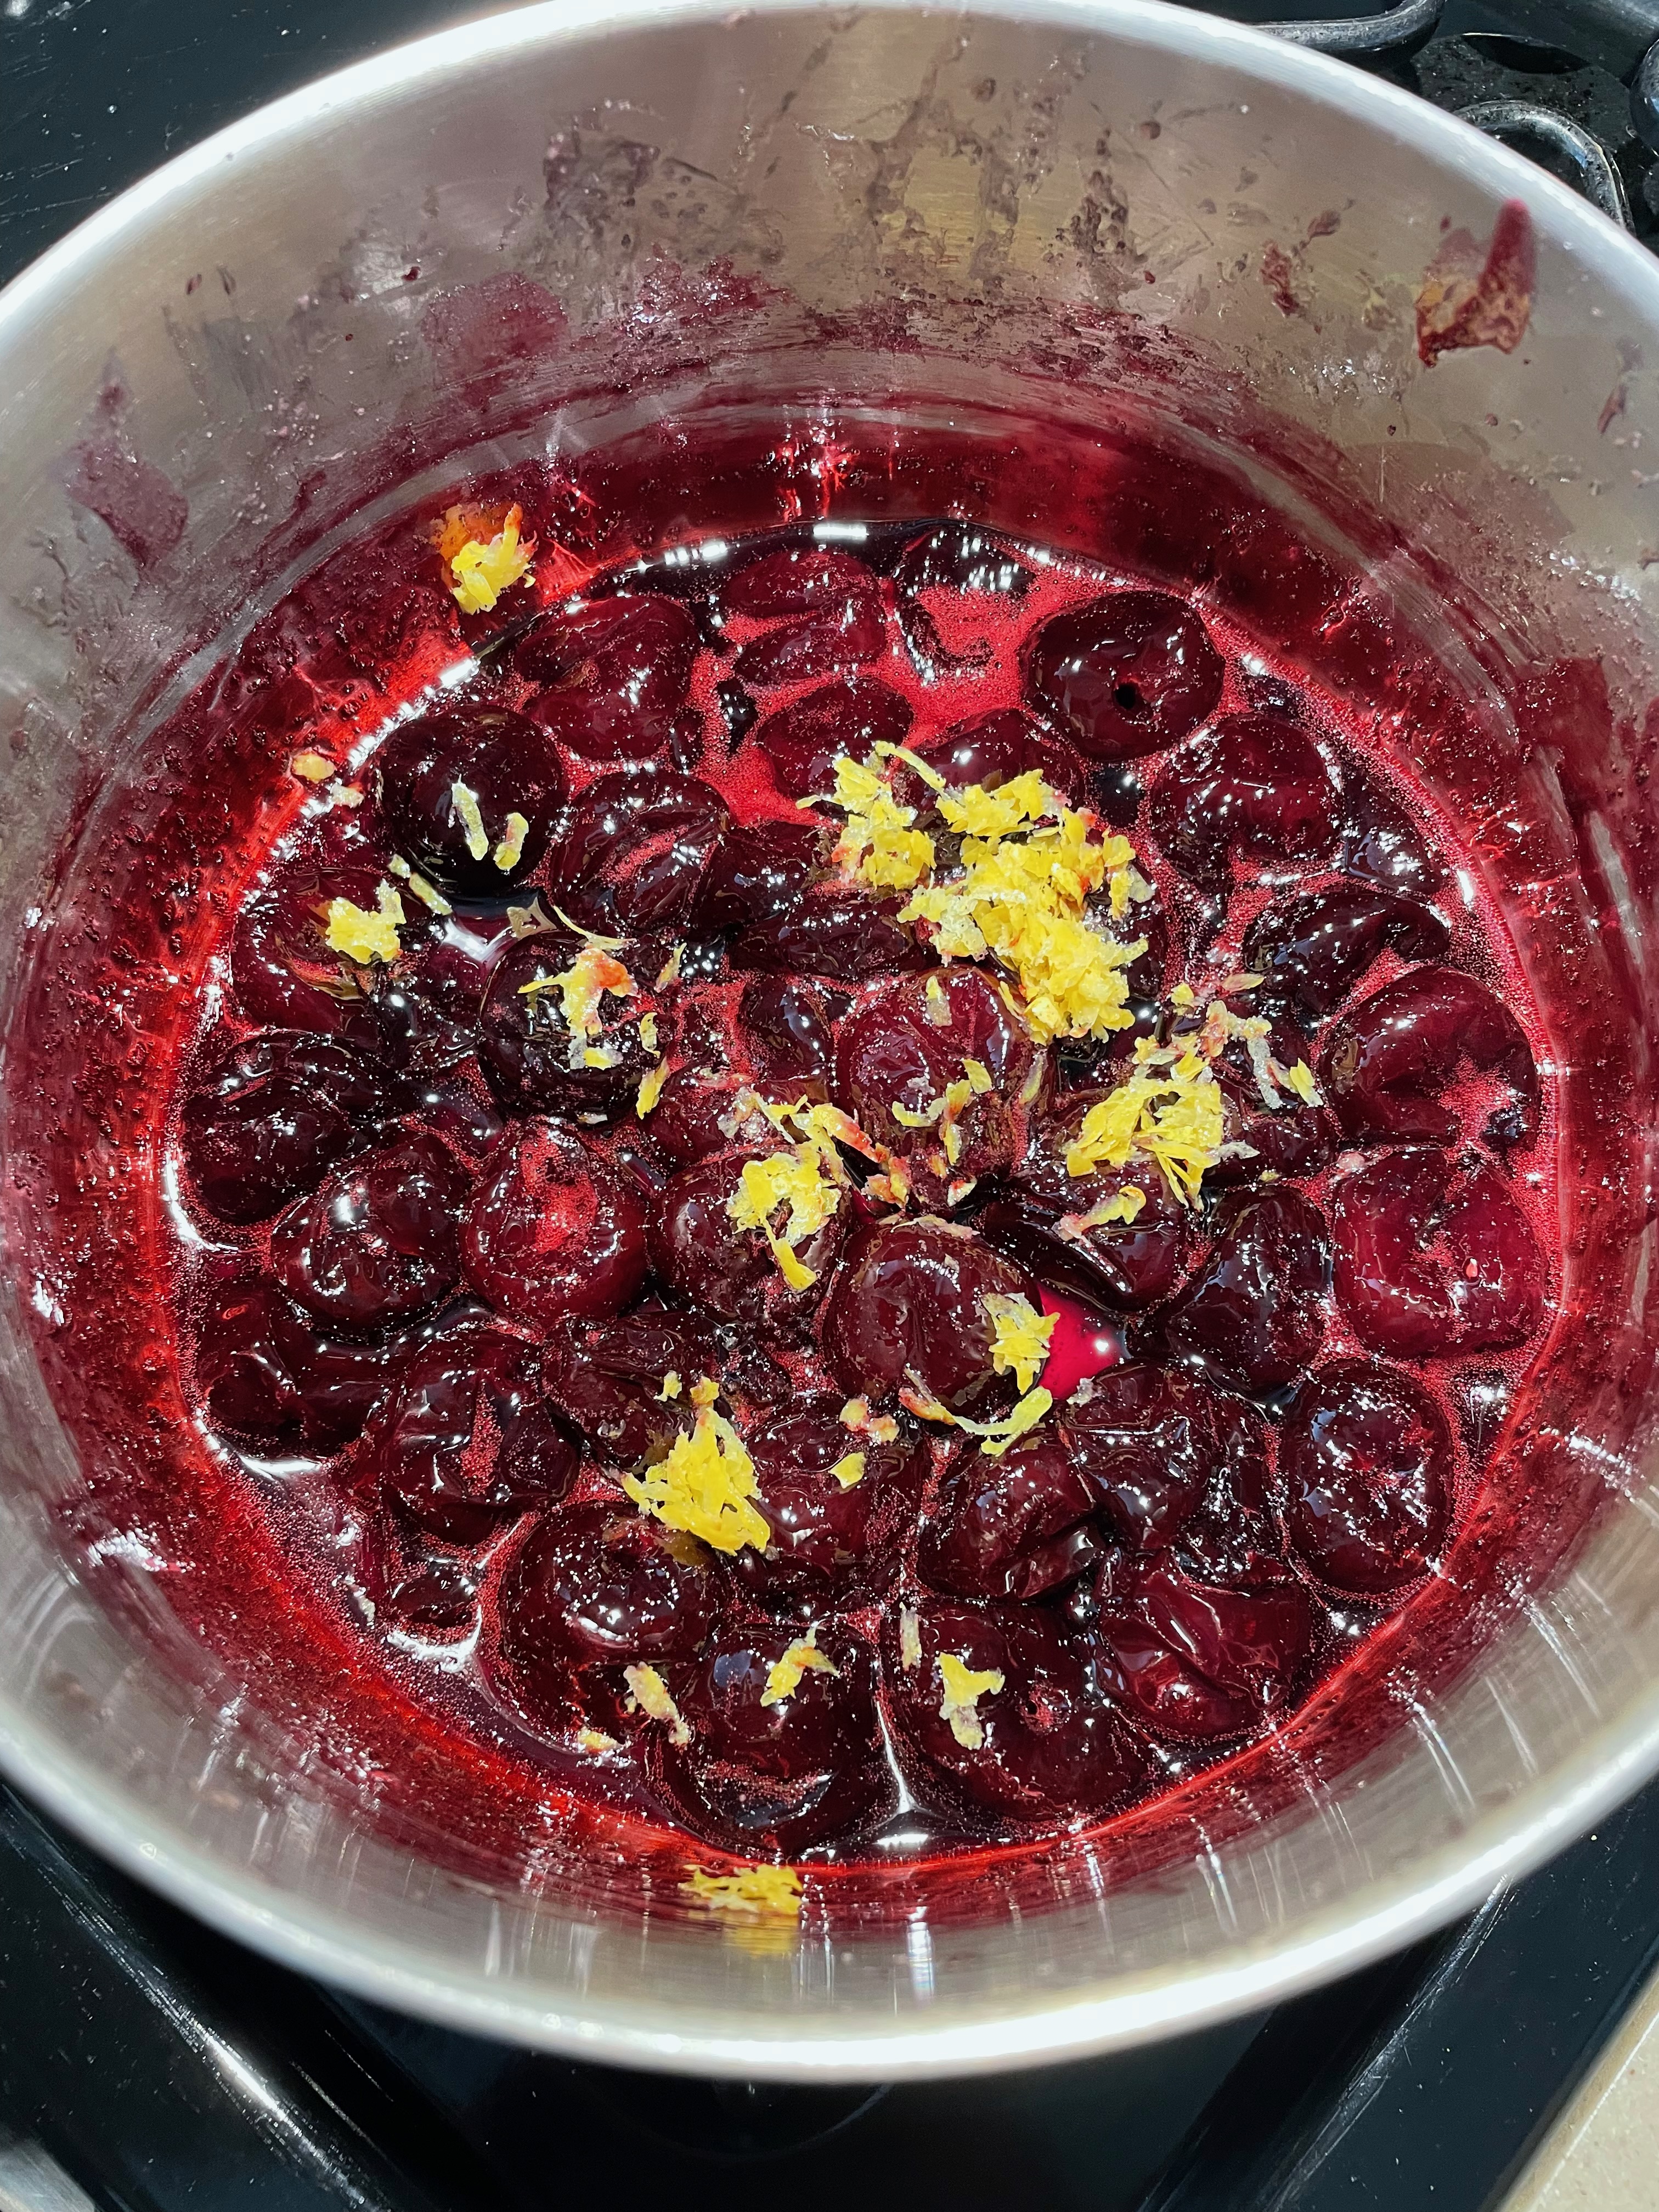
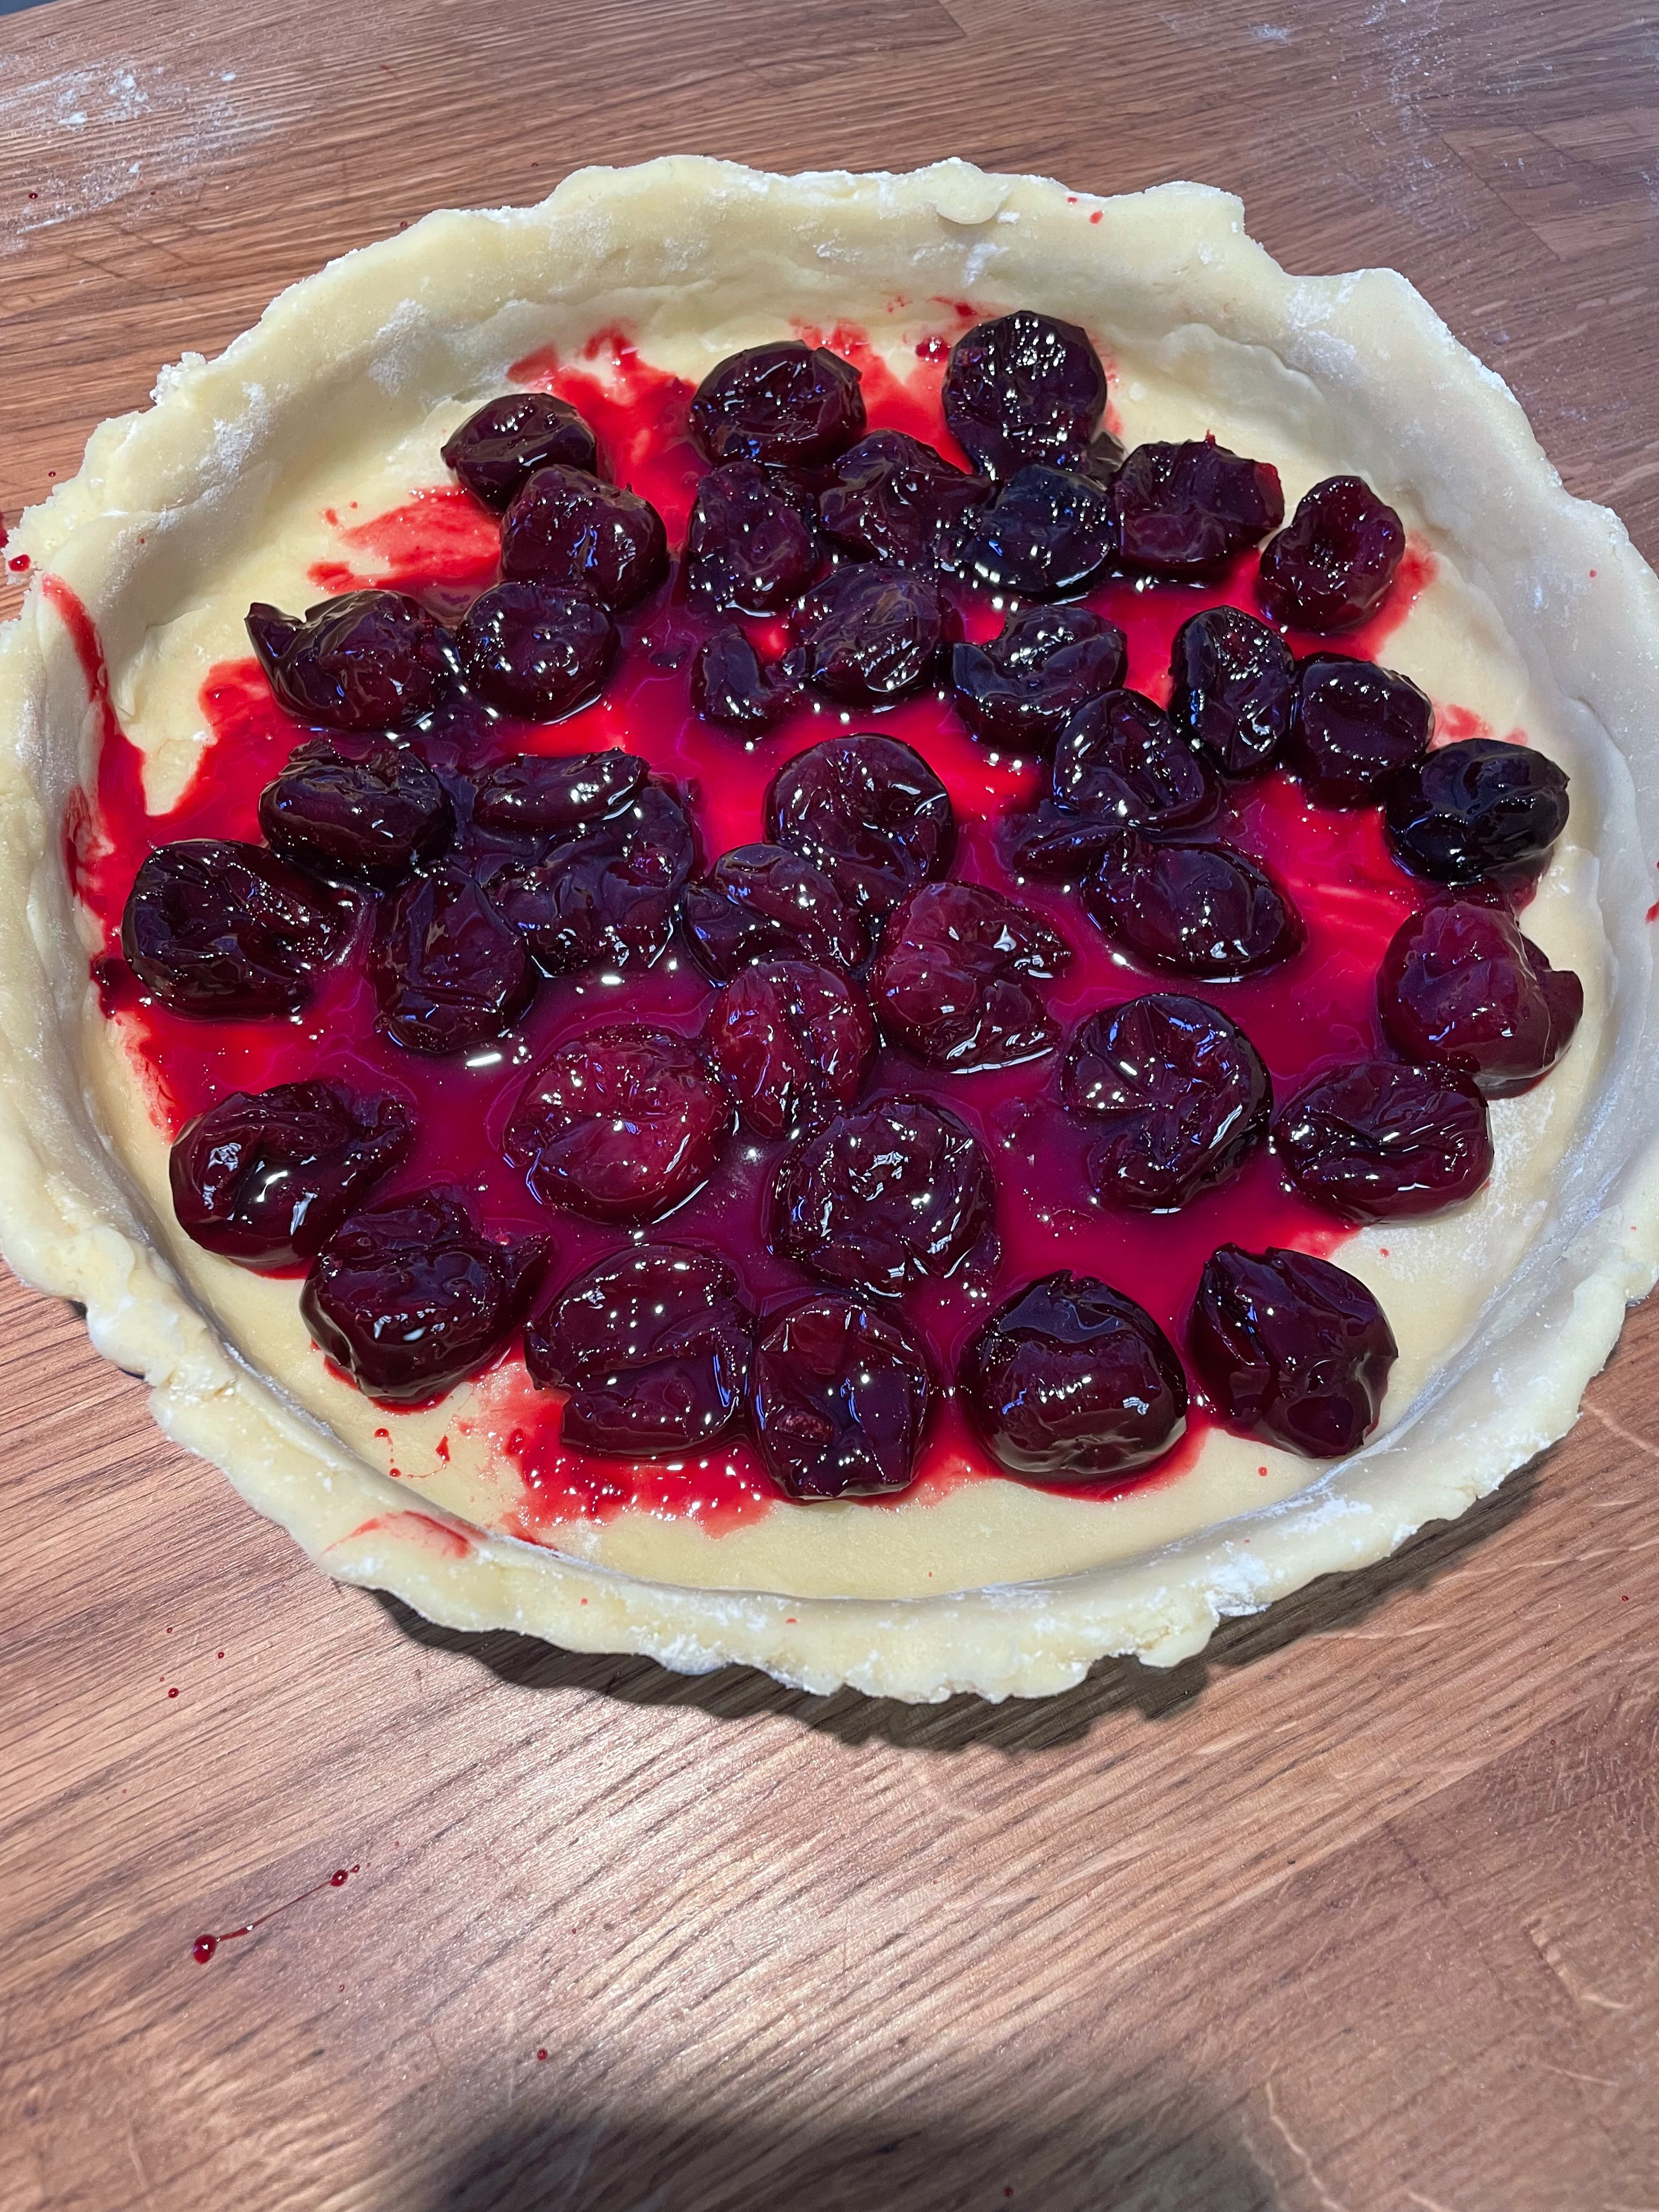
Making The Peaches
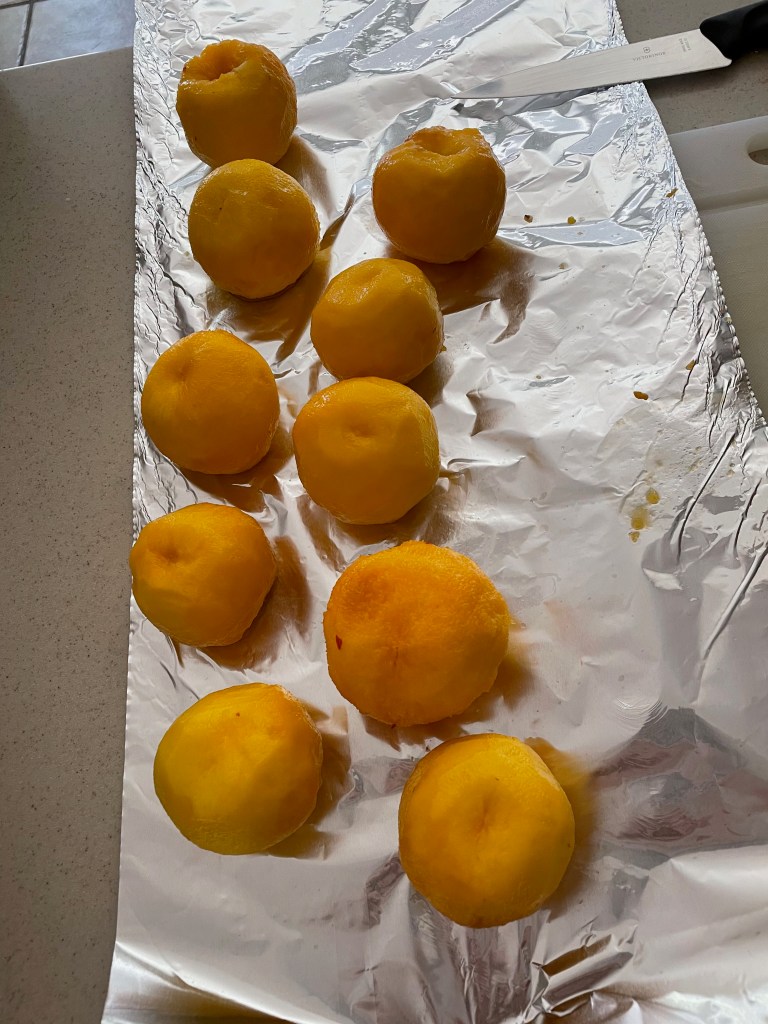

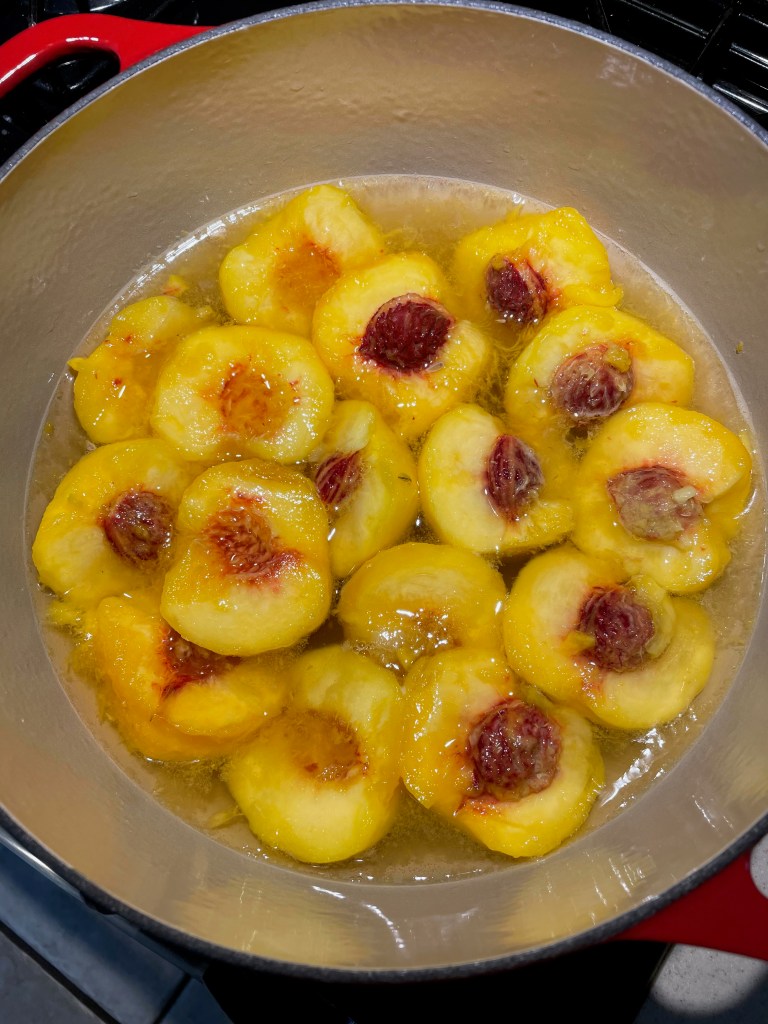
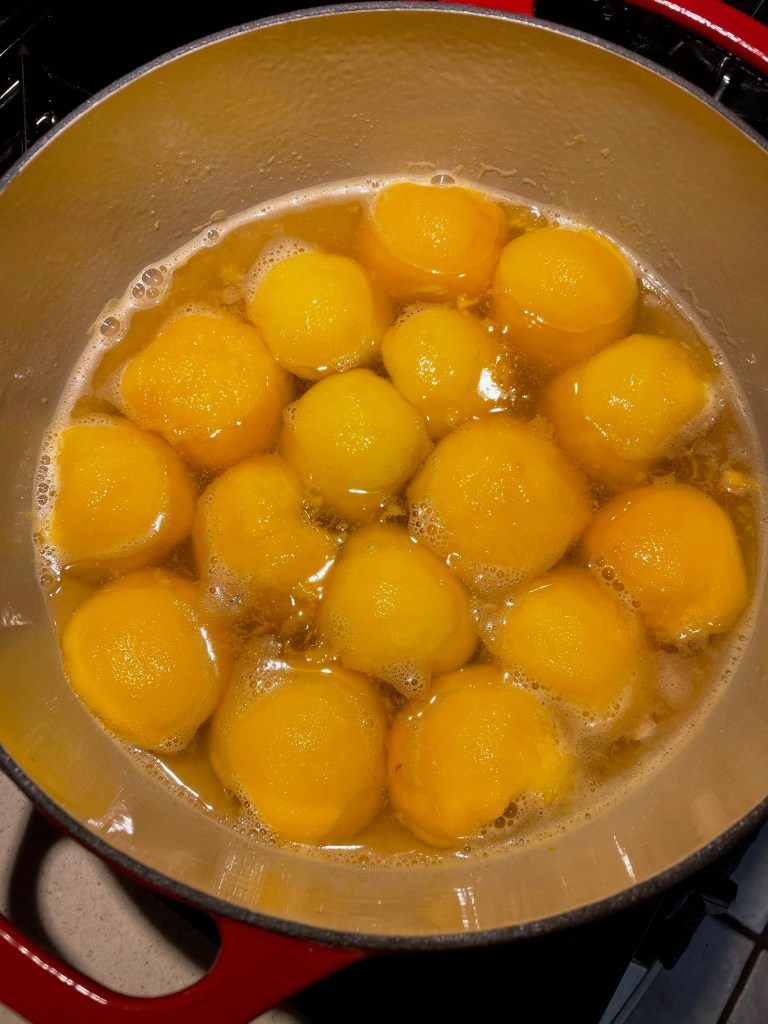
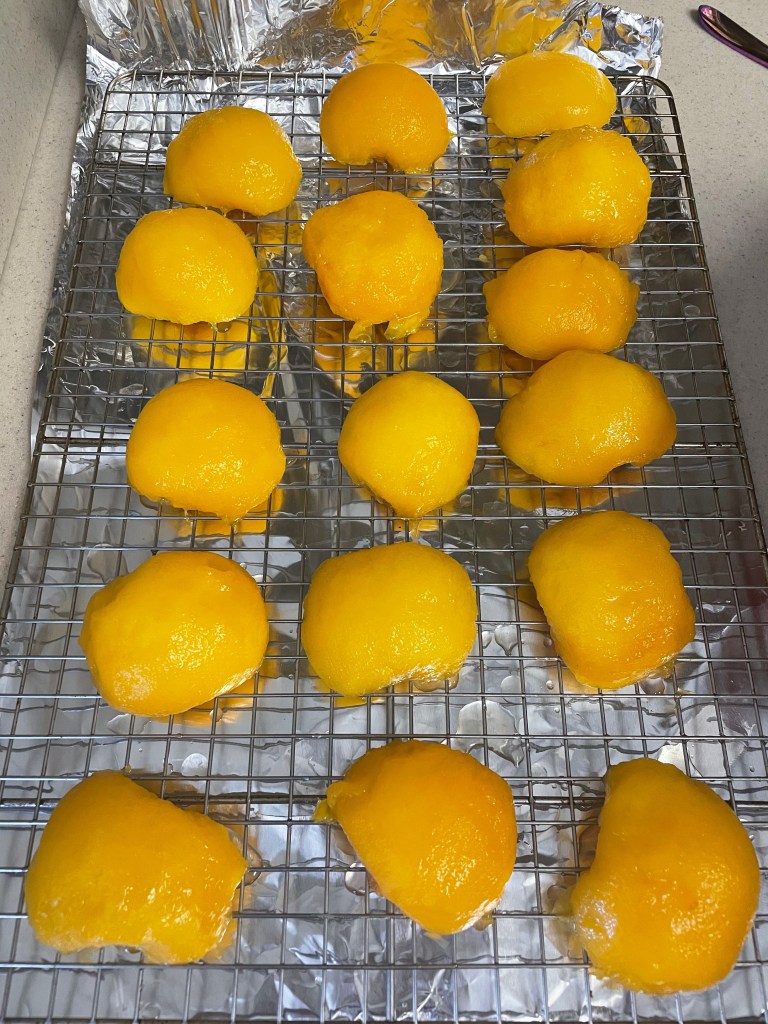

Tip 1: We found it easier to peel the peaches prior to poaching with a combination of a peeler and paring knife. Consider cutting the peaches in half prior to peeling.
Tip 2: Use small-medium peaches.
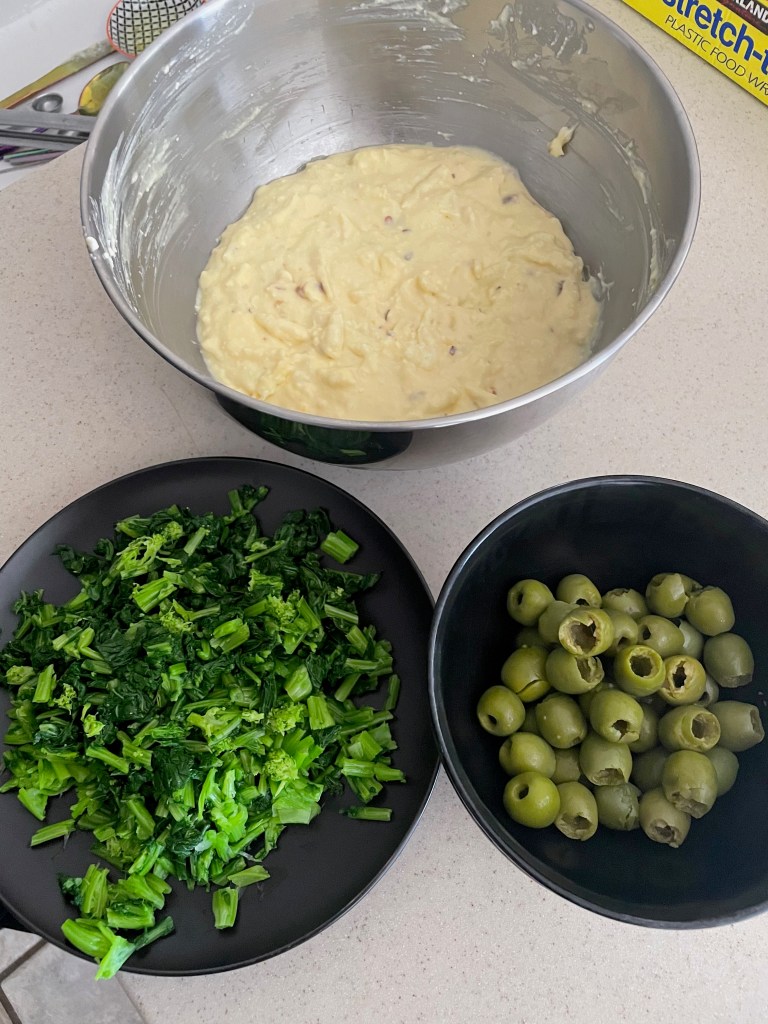
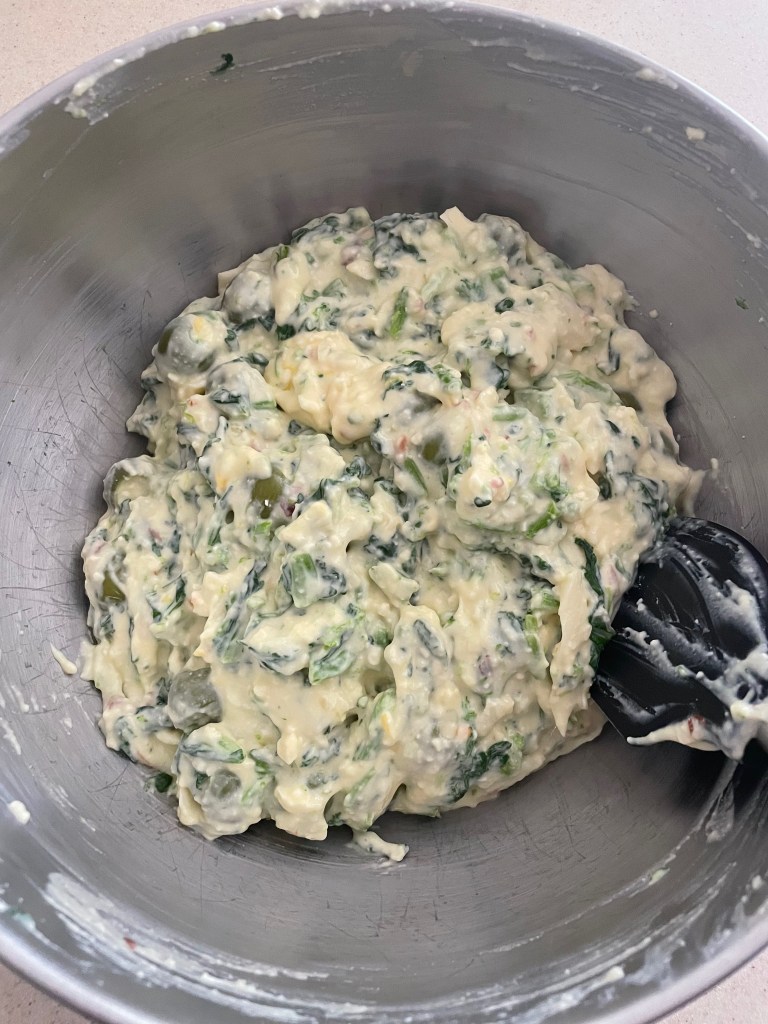
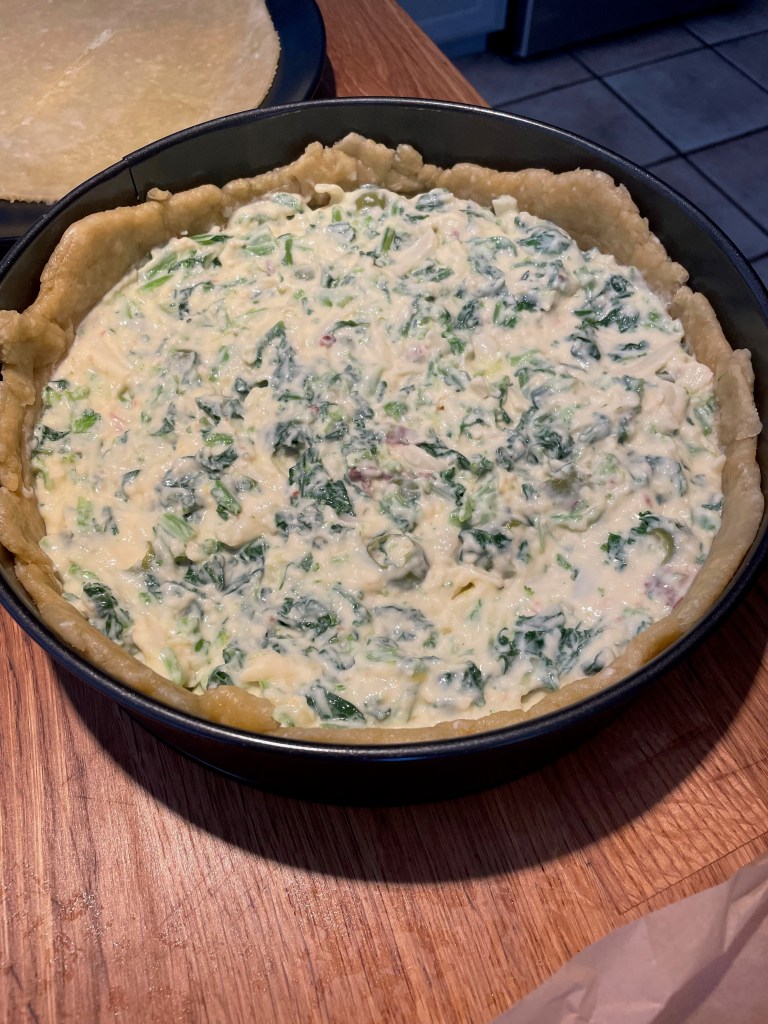
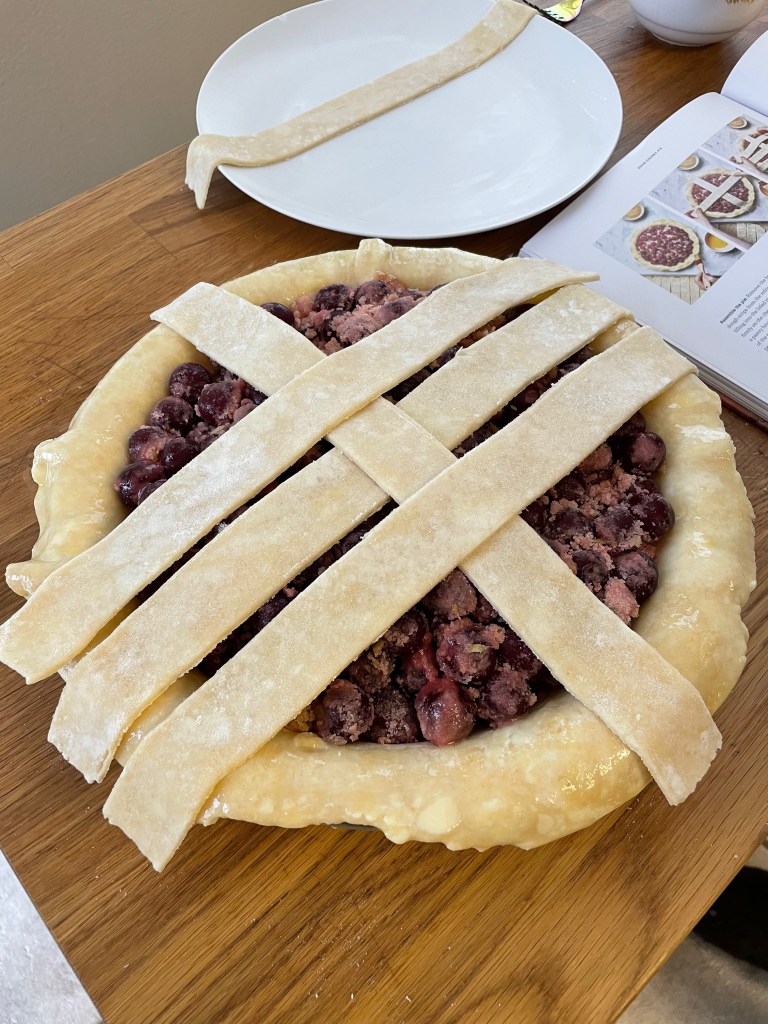
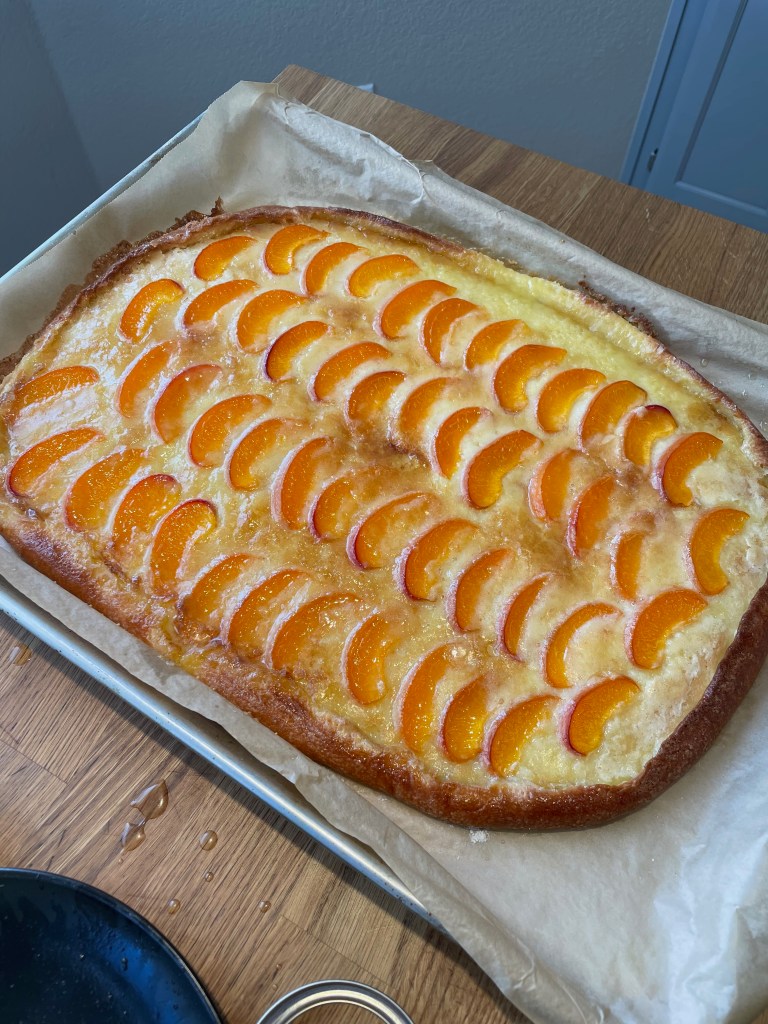
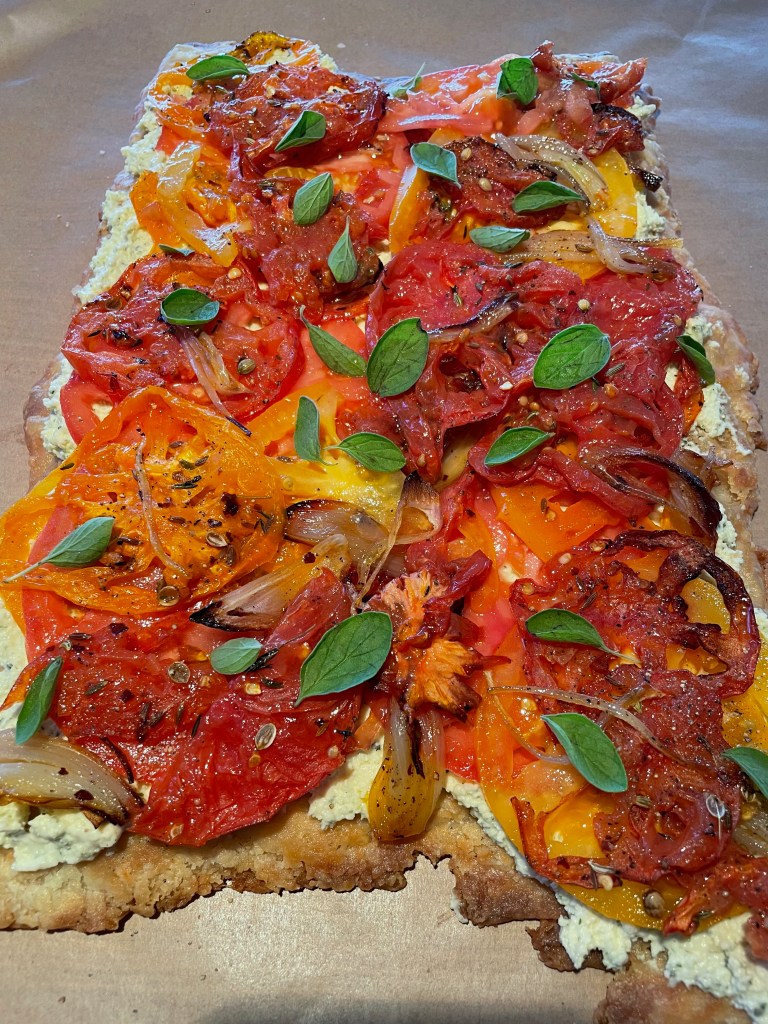
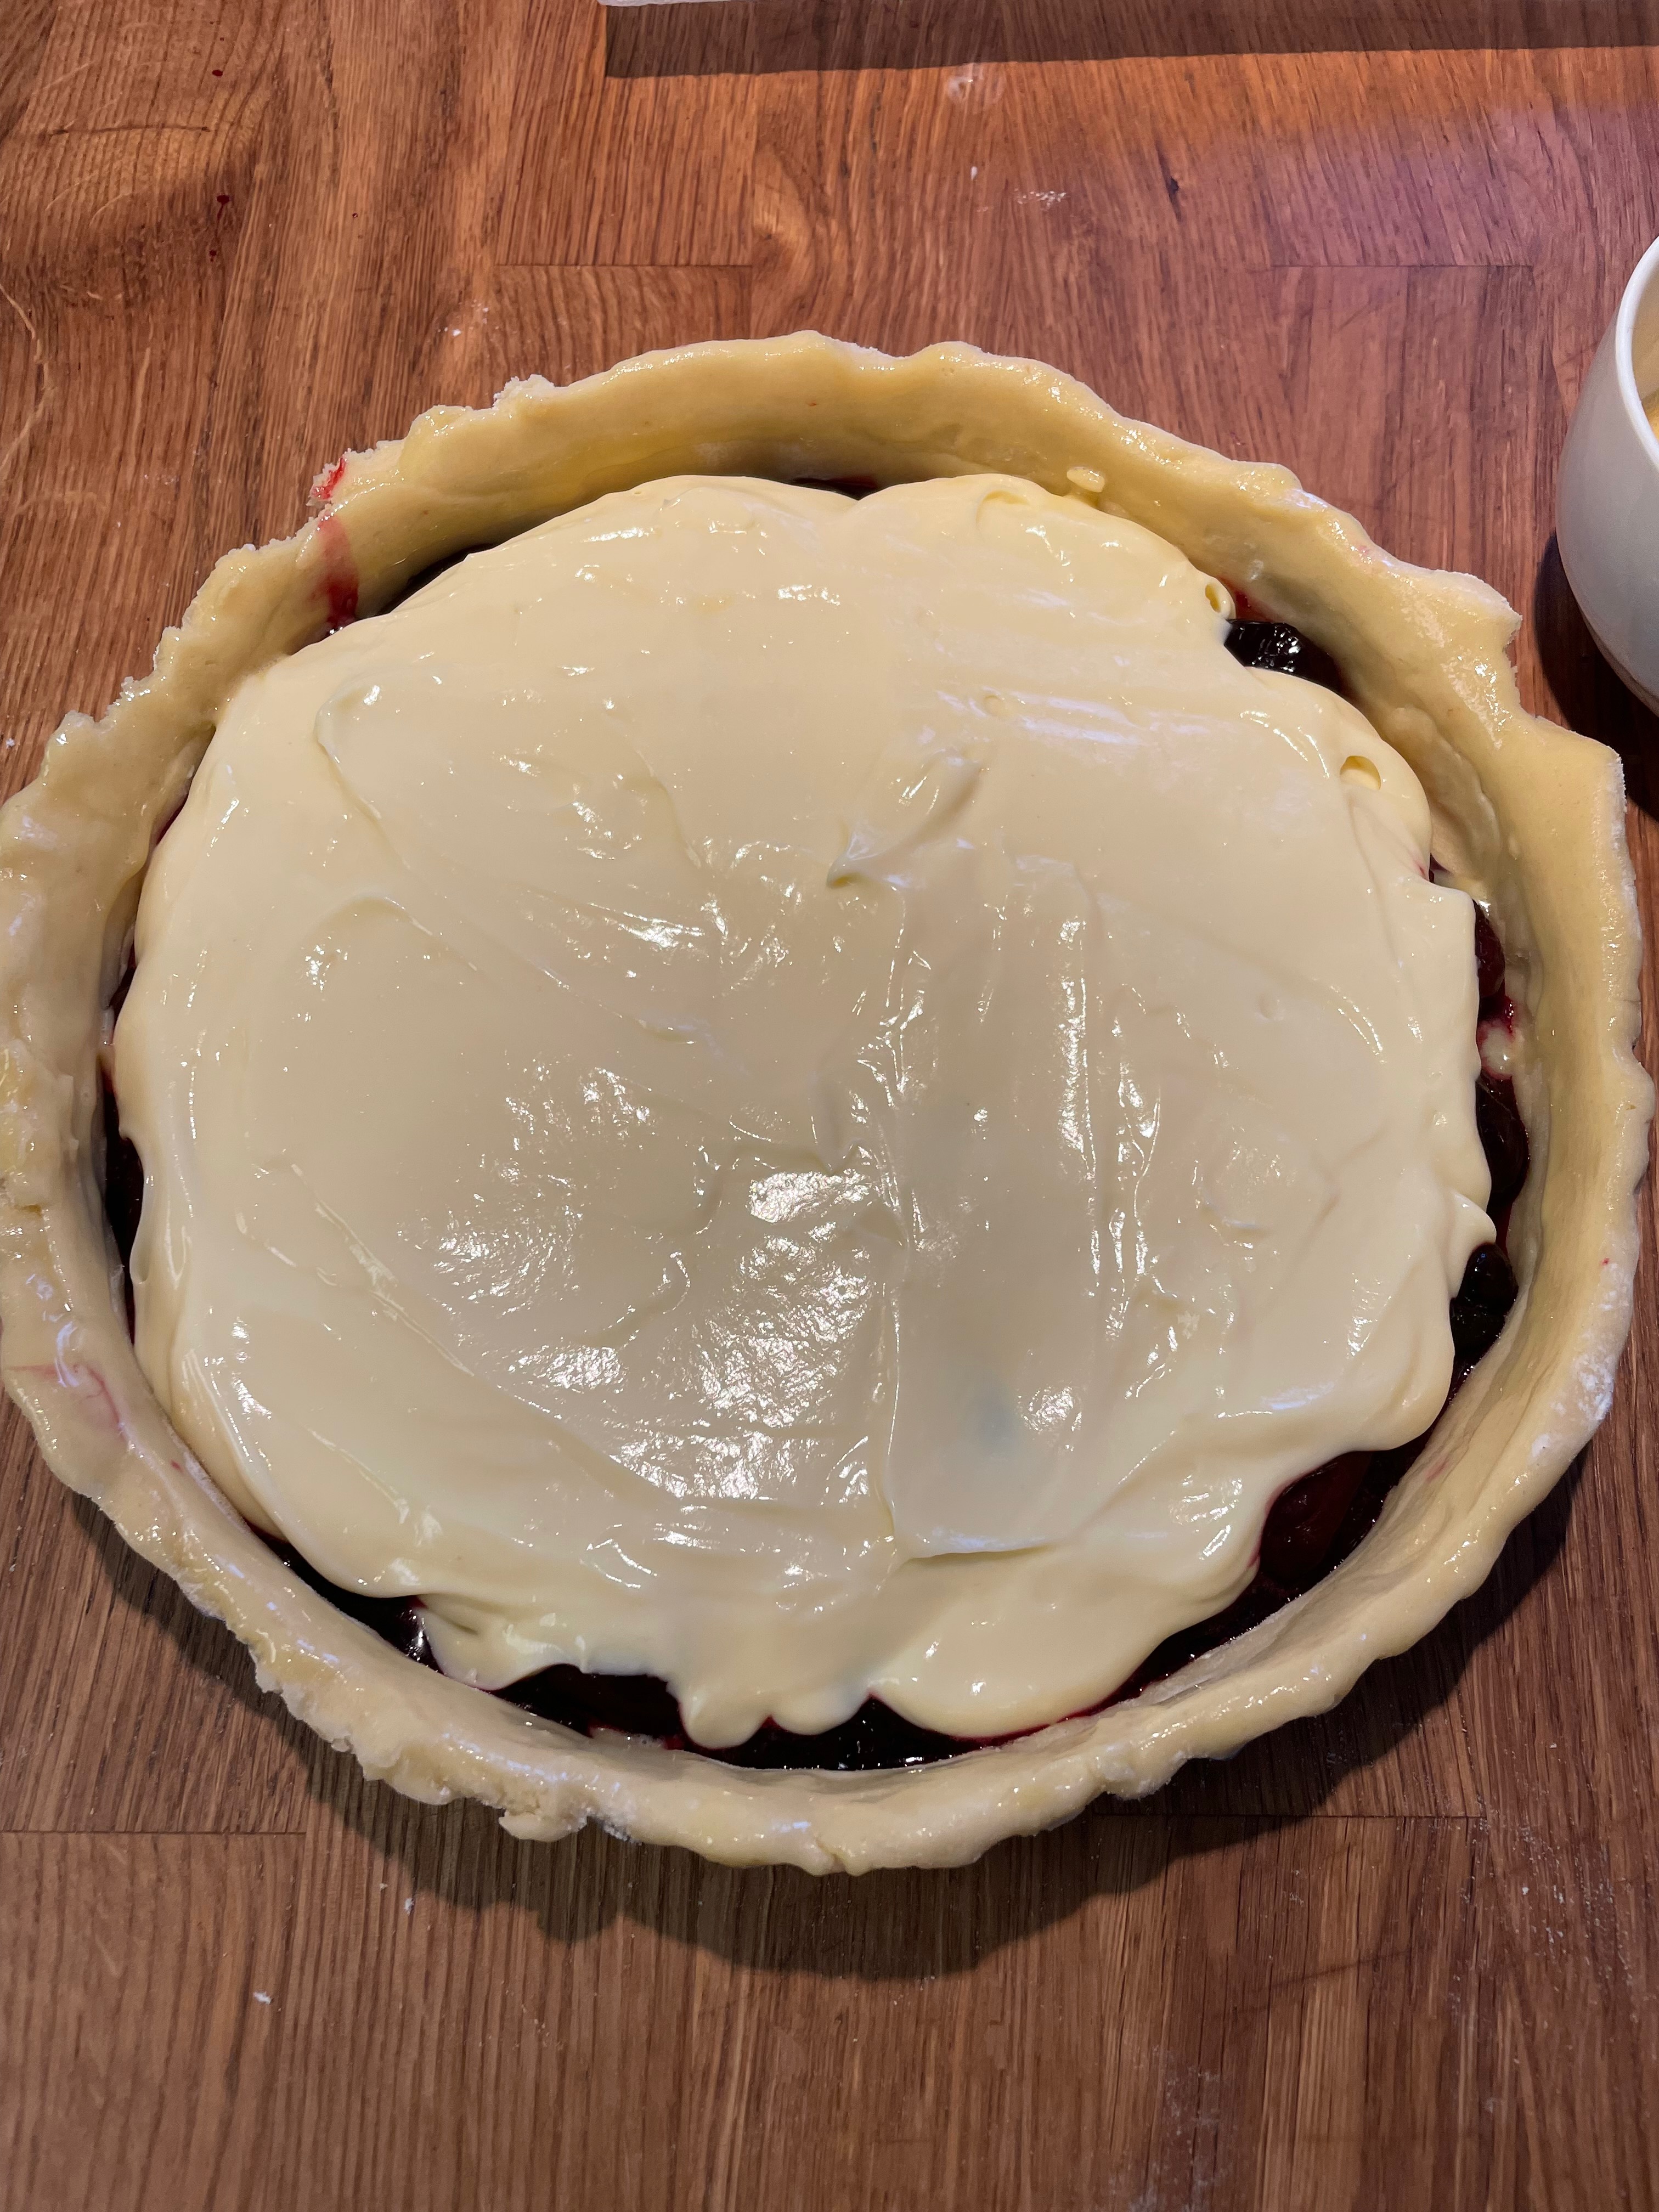
Assembling The Tart


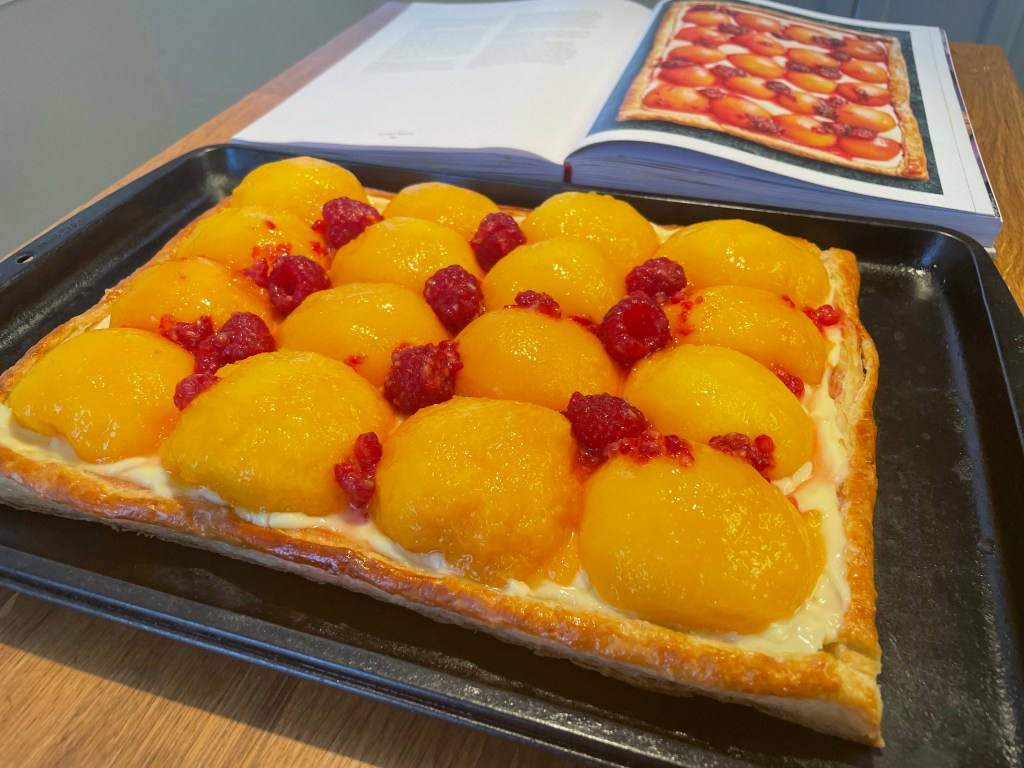

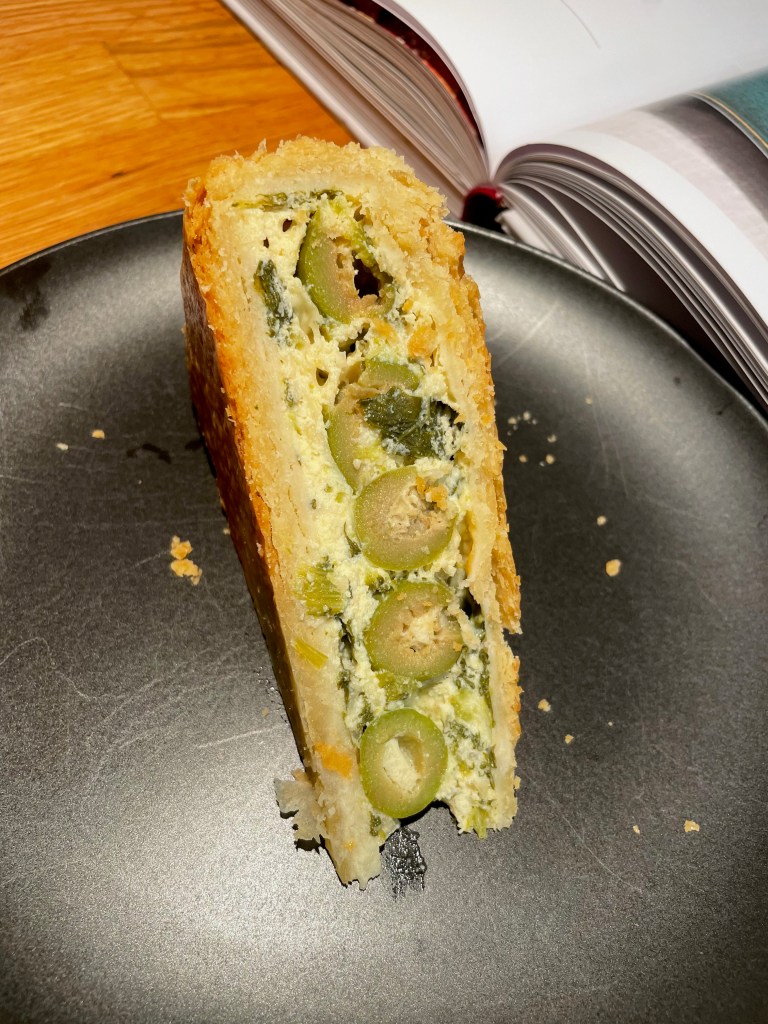
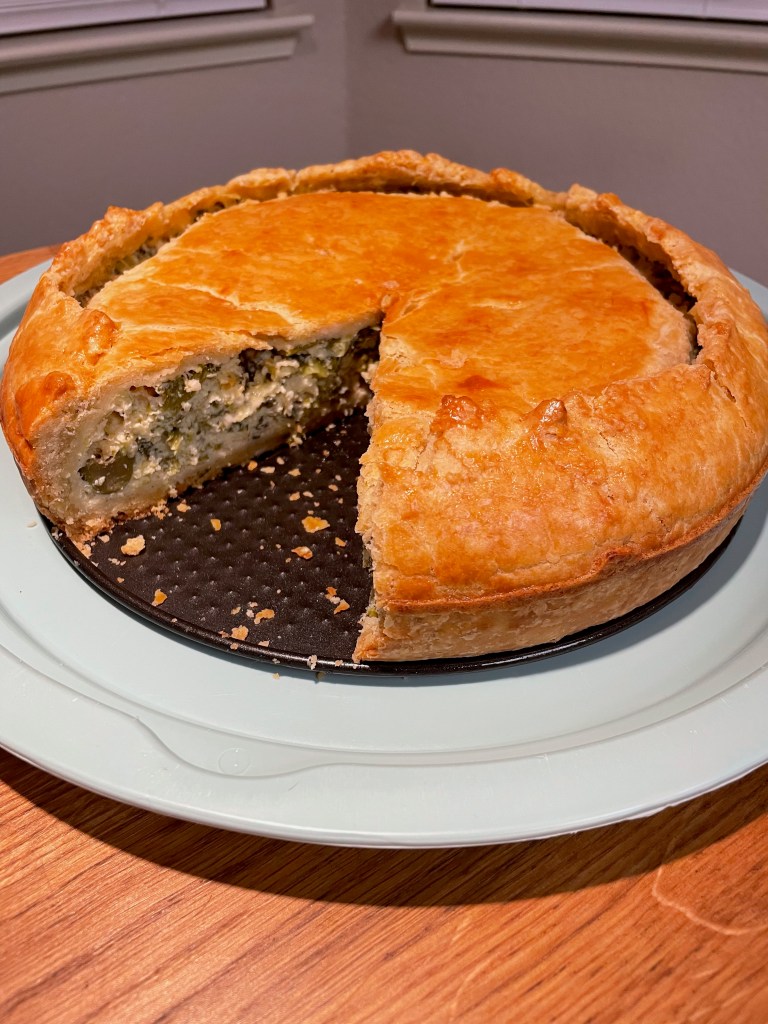
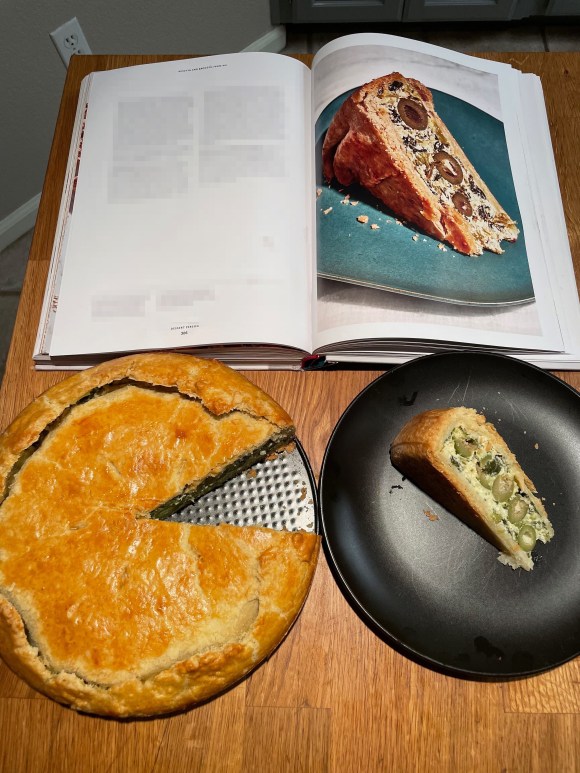
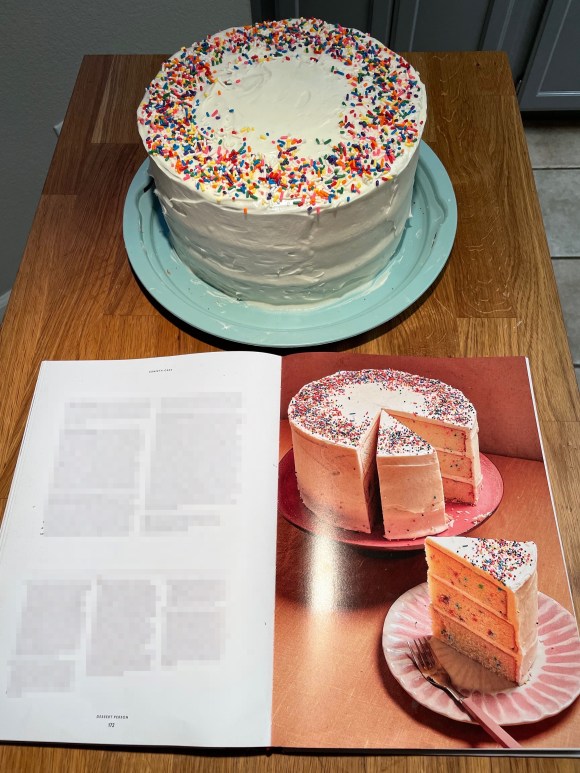
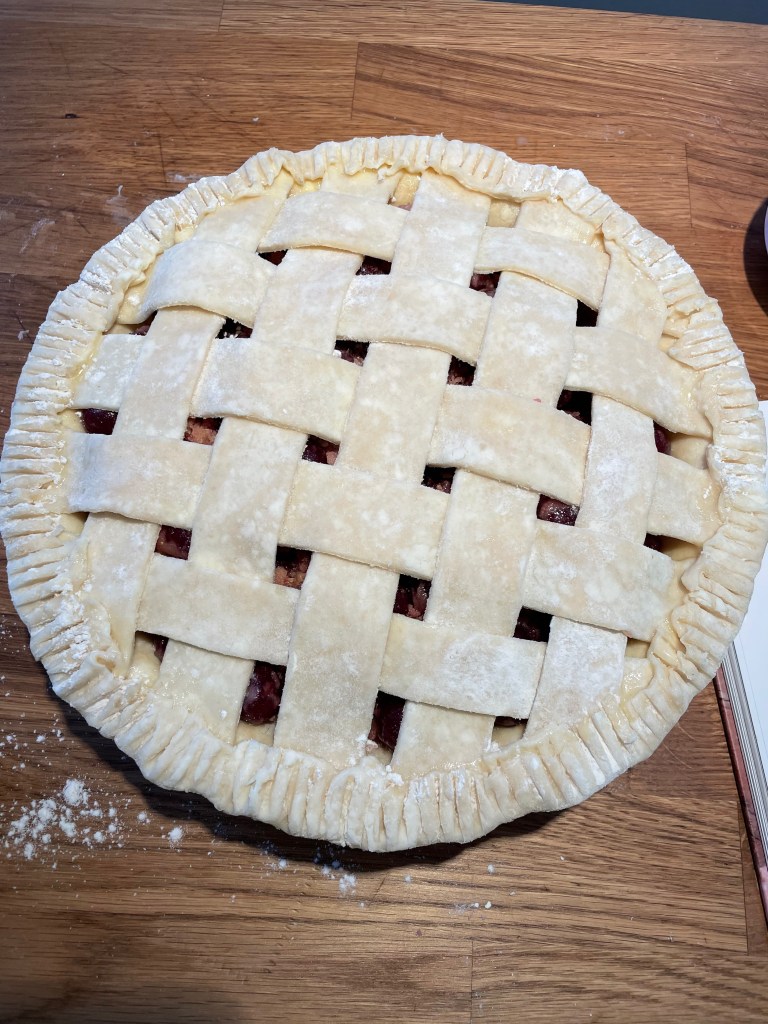
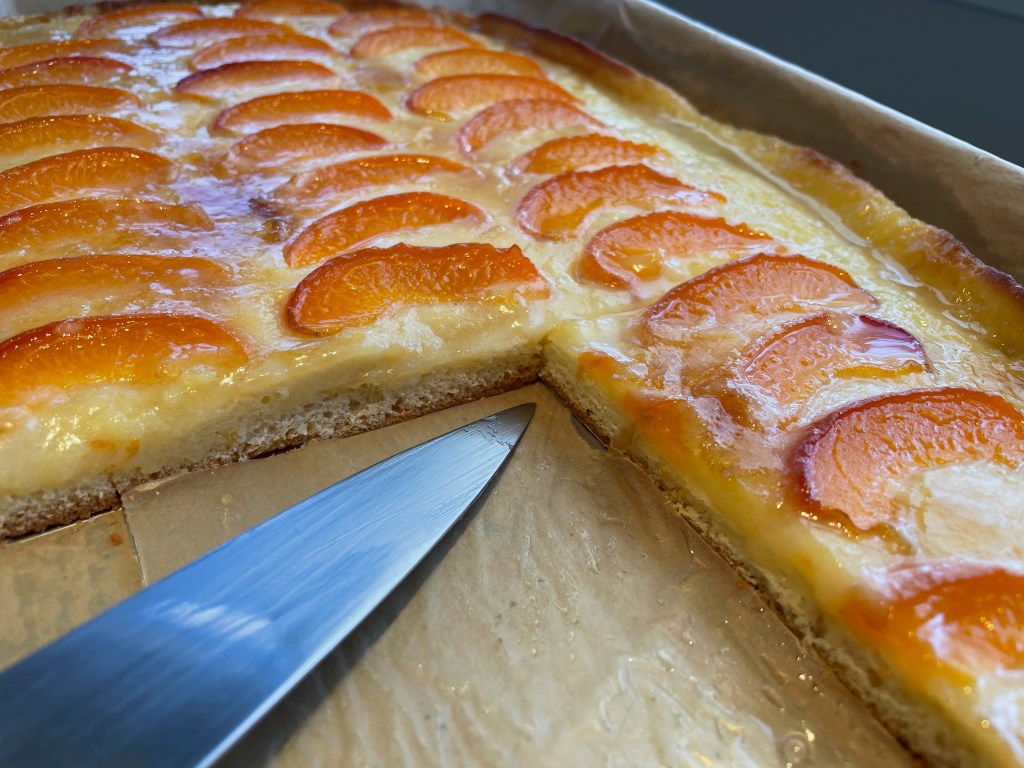
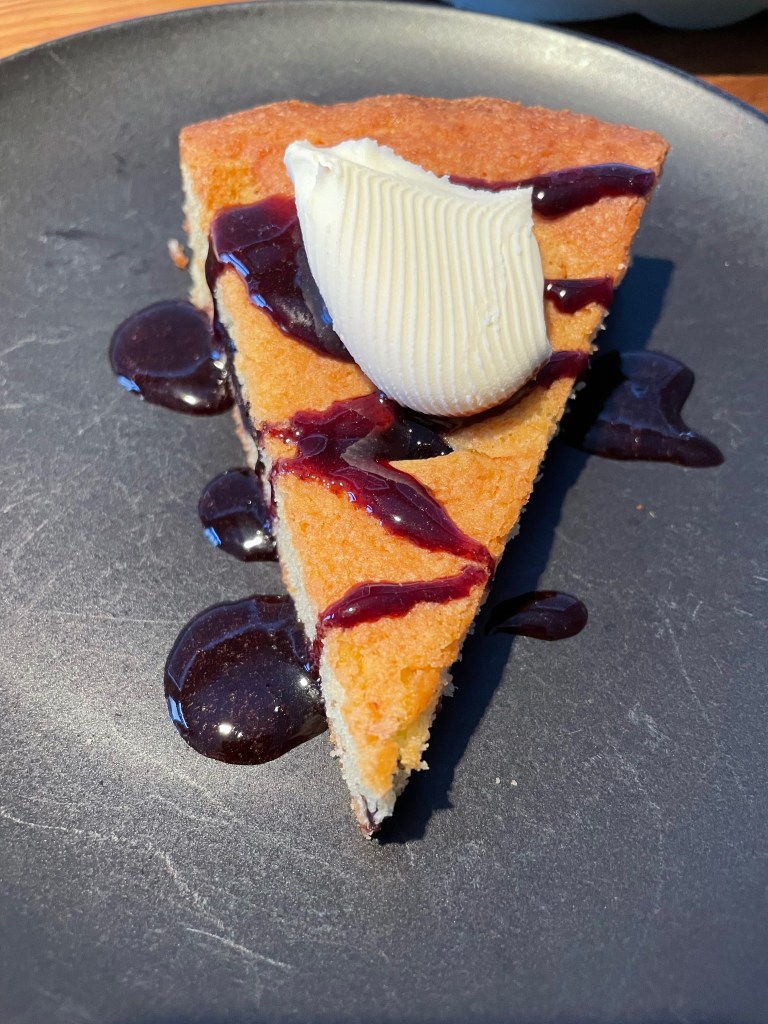
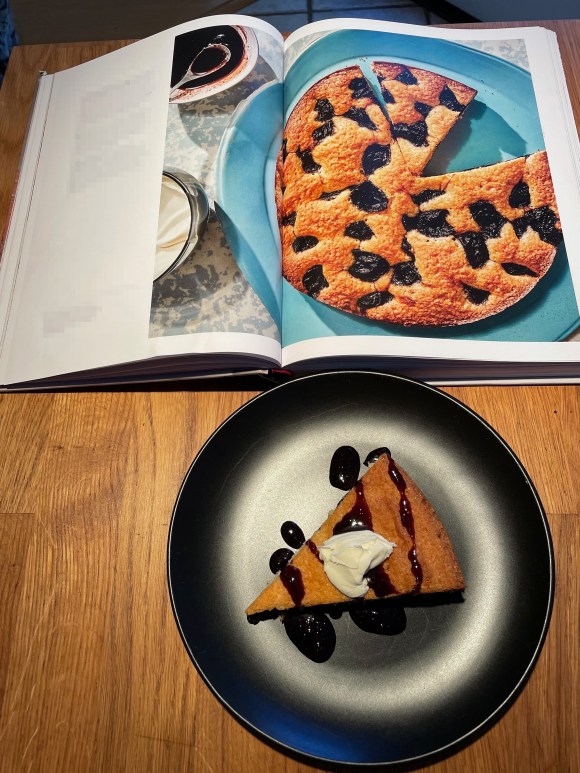
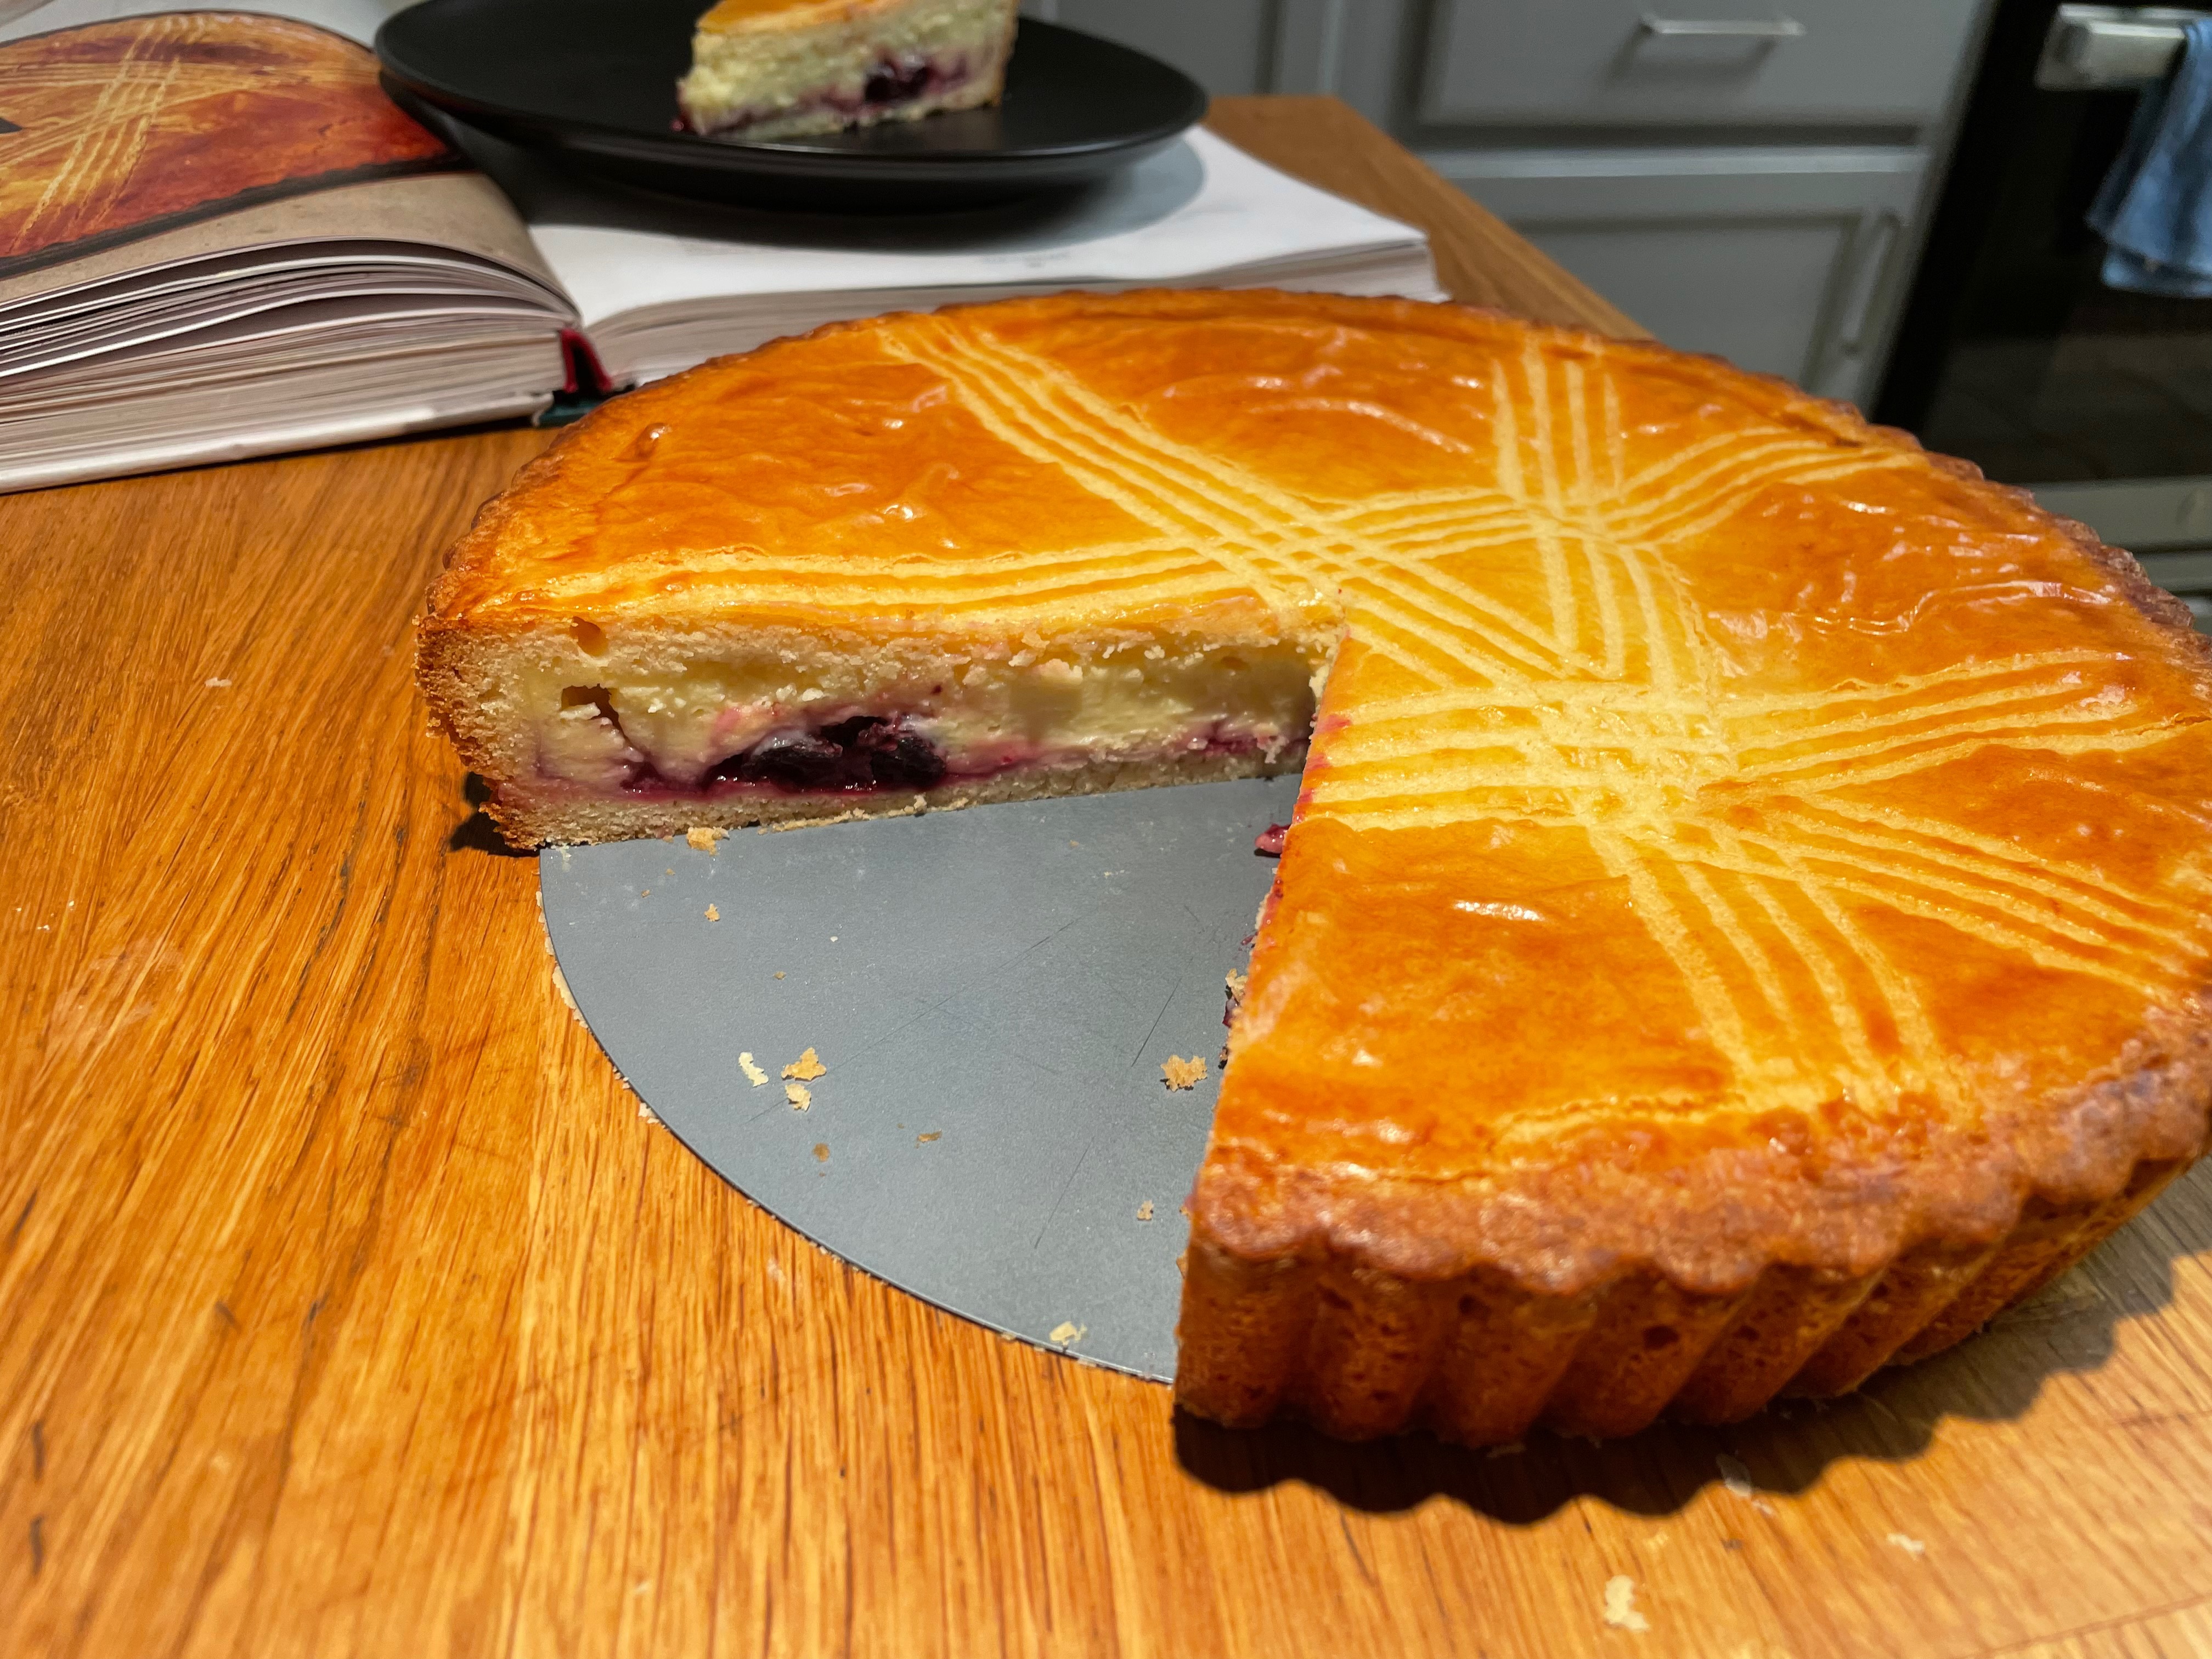
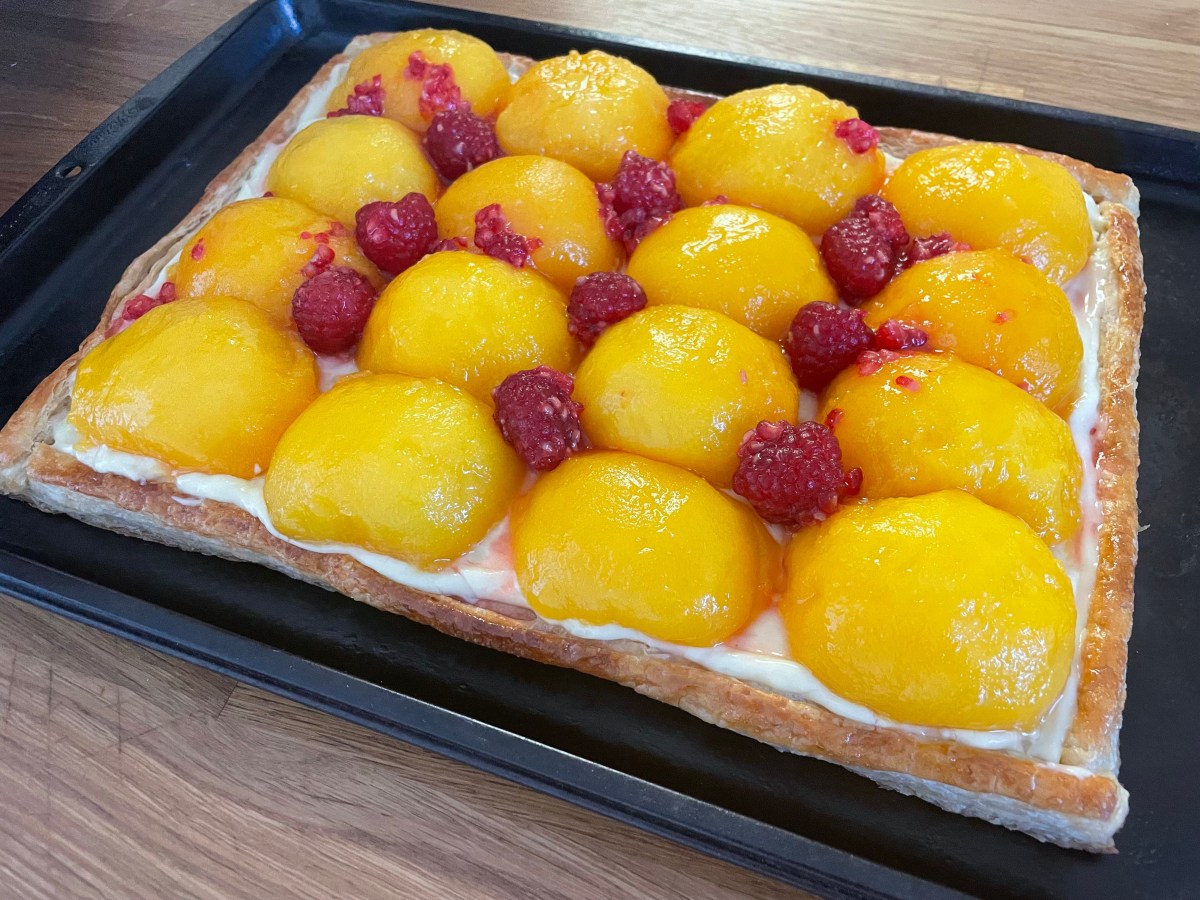
Final Product

Key Takeaways
- Only attempt this with fresh peaches.
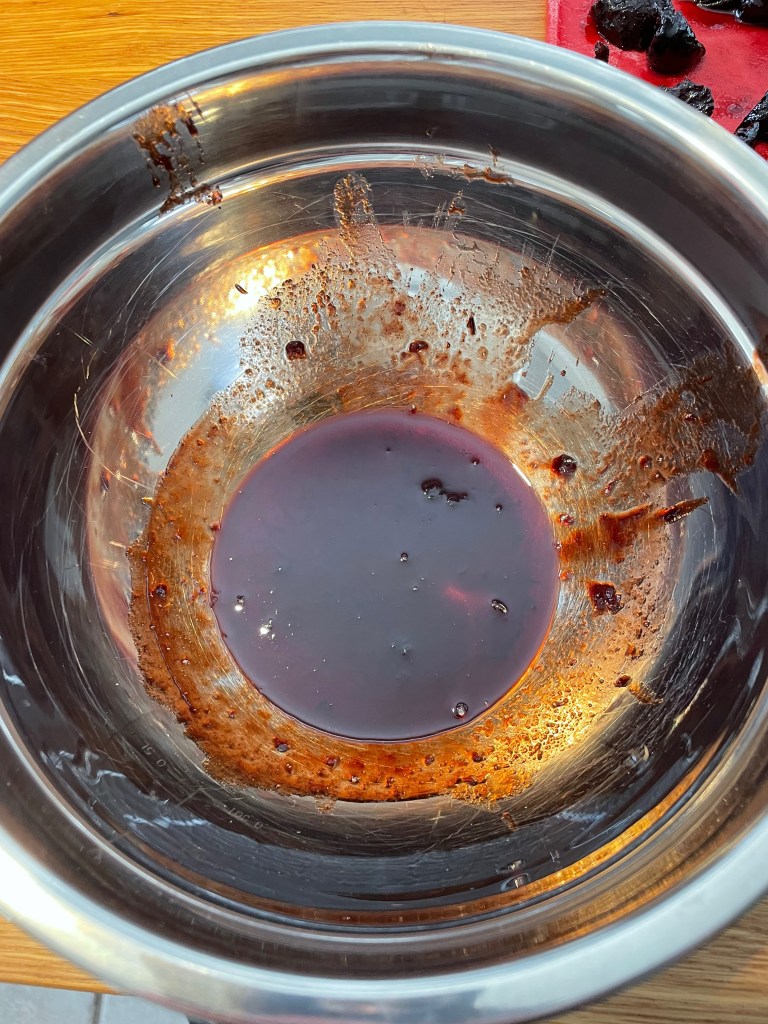
- Save the poaching liquid for other uses – it tastes incredible.
- Final Score: 4/5 – This is a rewarding summer tart to make. It’s a full day effort, but the end result is light, fragrant, and delicious. Give this one a try, but only if you have some experience with each of the components first.