Introduction
This is a great croissant recipe that produces incredible results without too much difficulty. Nonetheless it’s difficult enough that it shouldn’t be the first recipe attempted in the book. Keep track of time carefully so that you don’t overproof or underproof and don’t miss a turn. The timing doesn’t need to be exact, but it needs to be “close”.
Recipe Outline
| Recipe: Spelt Croissants | Special Equipment: Stand Mixer |
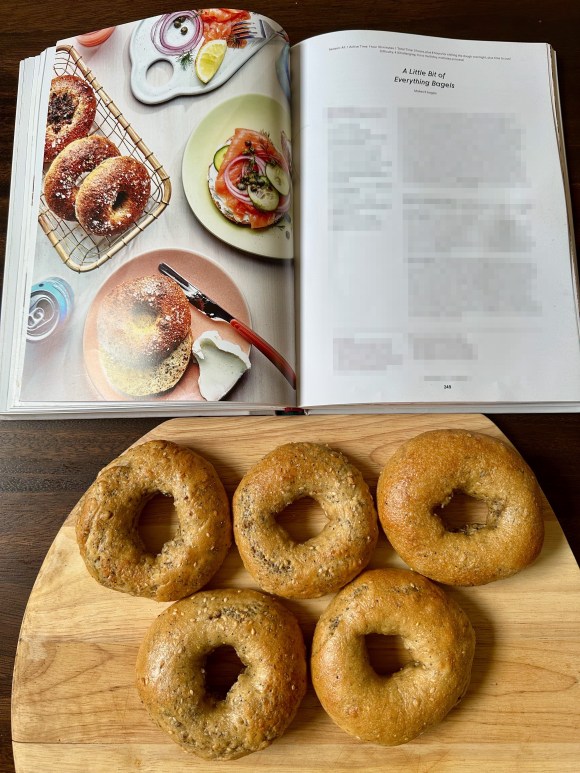
| Source: Dessert Person | Time: 2 Days |
| Author: Claire Saffitz | Difficulty: 5/5 |
| Type: Dessert (Baking) | Score: ★★★★★ |
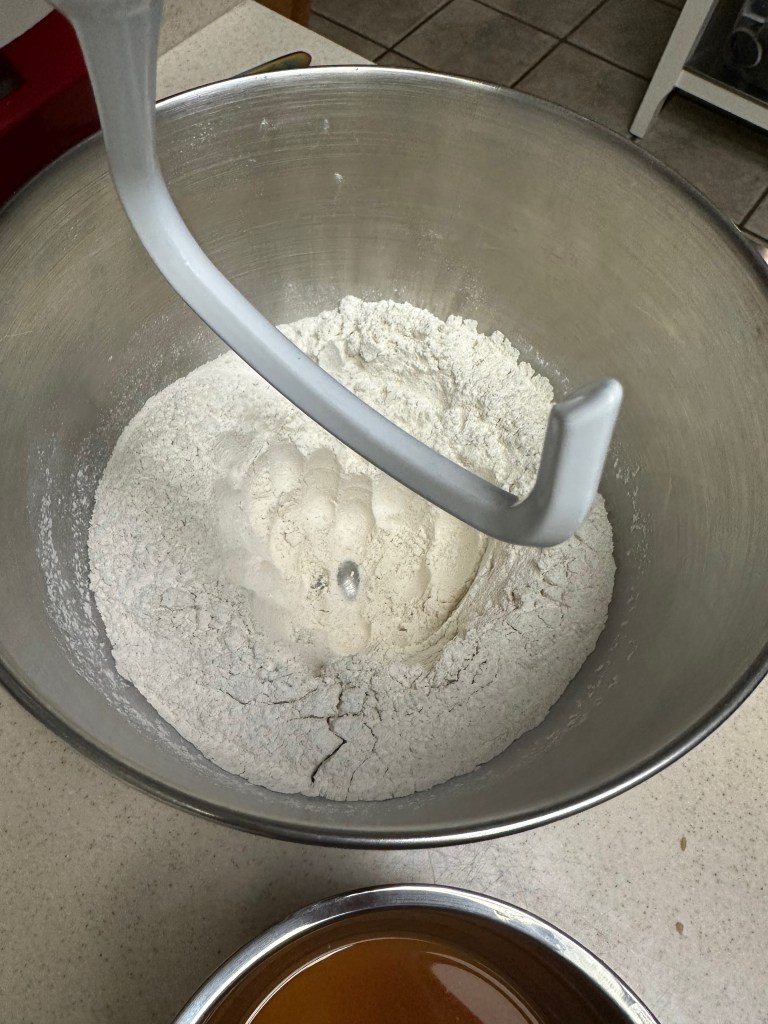
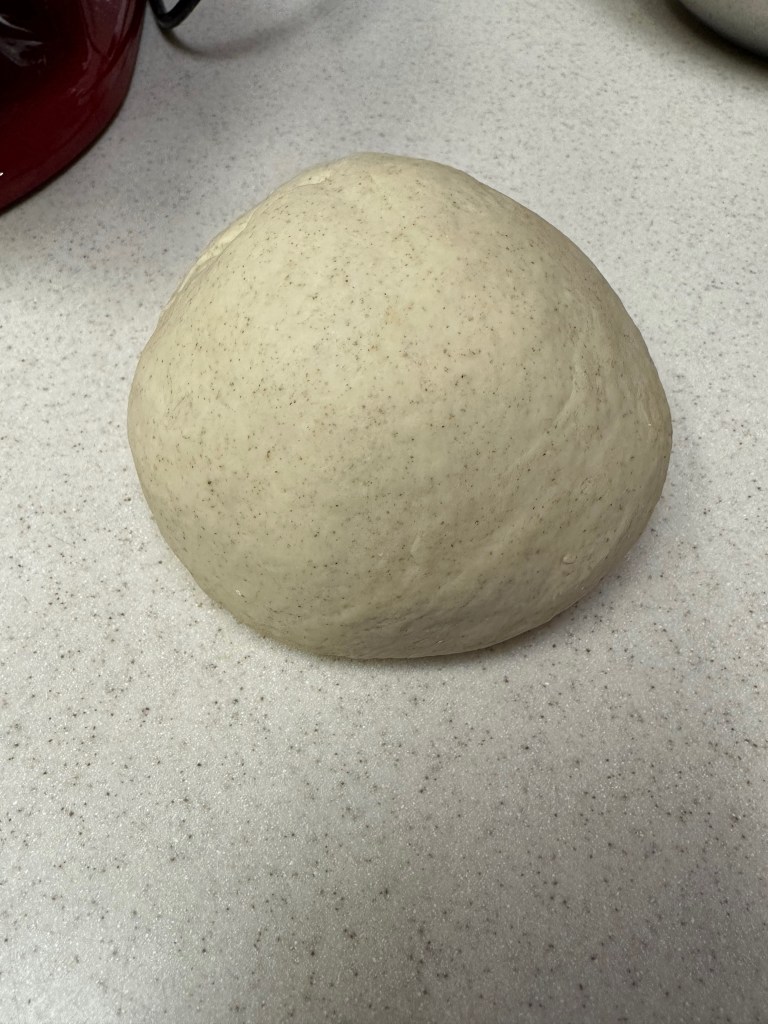
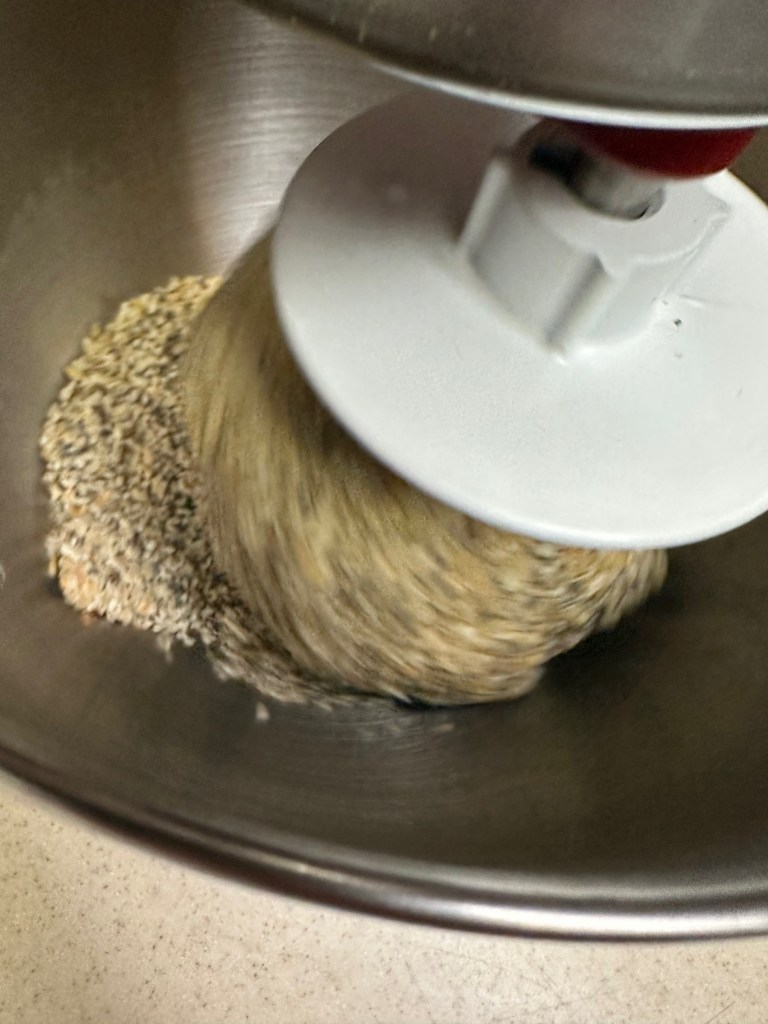
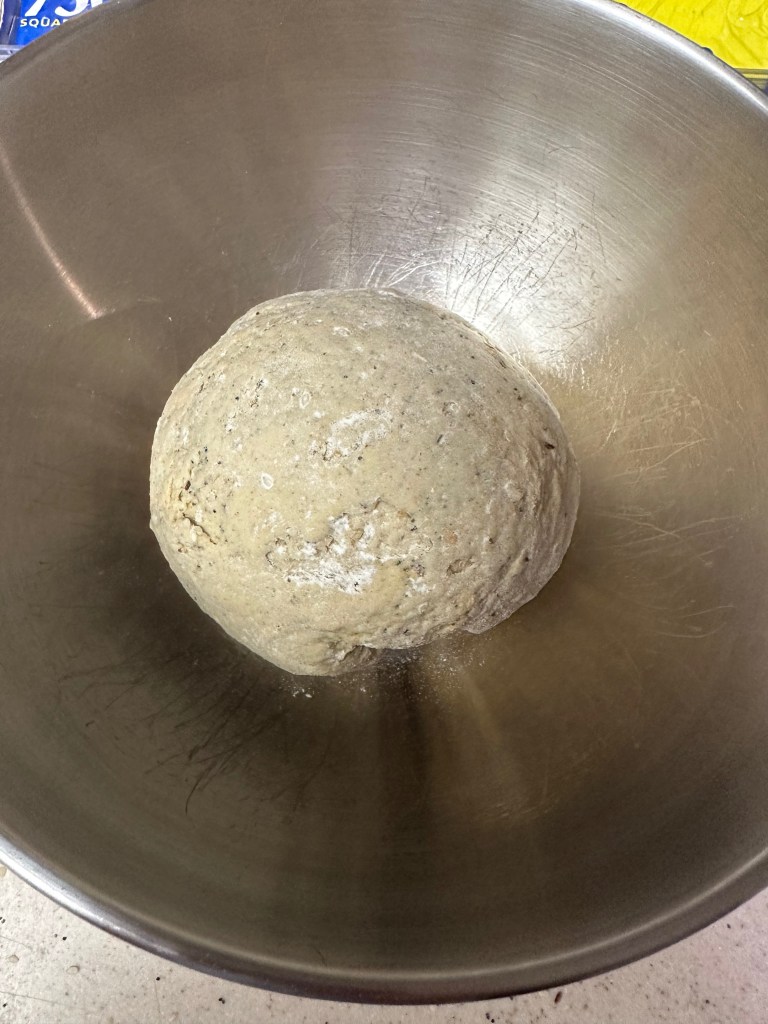
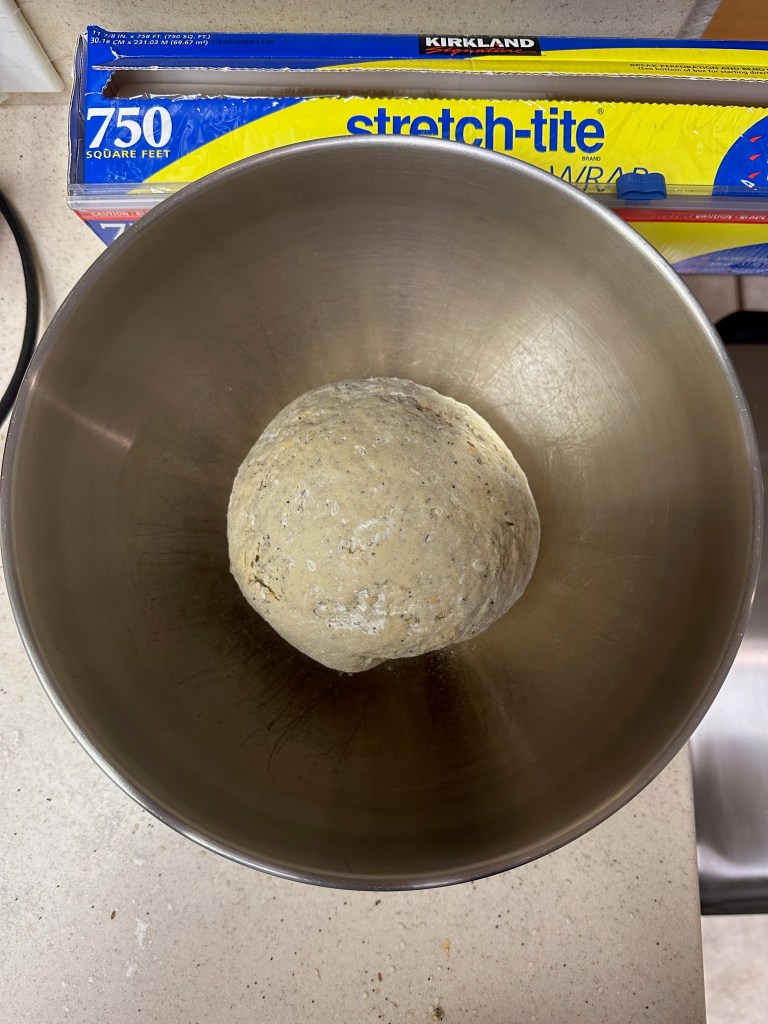
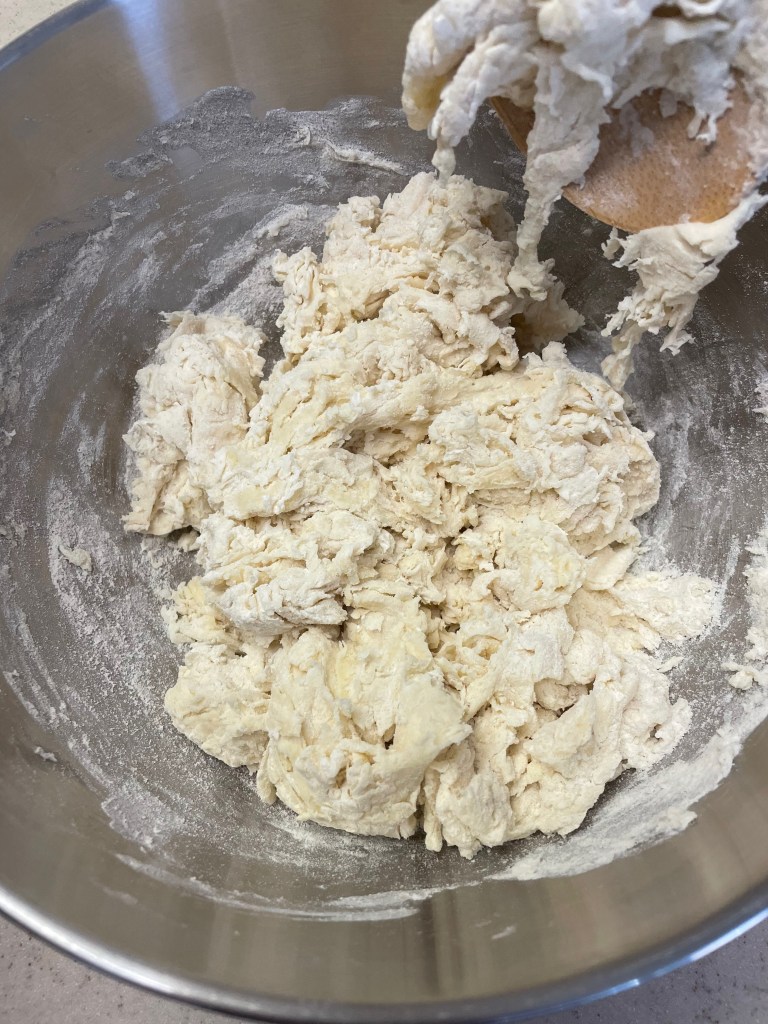
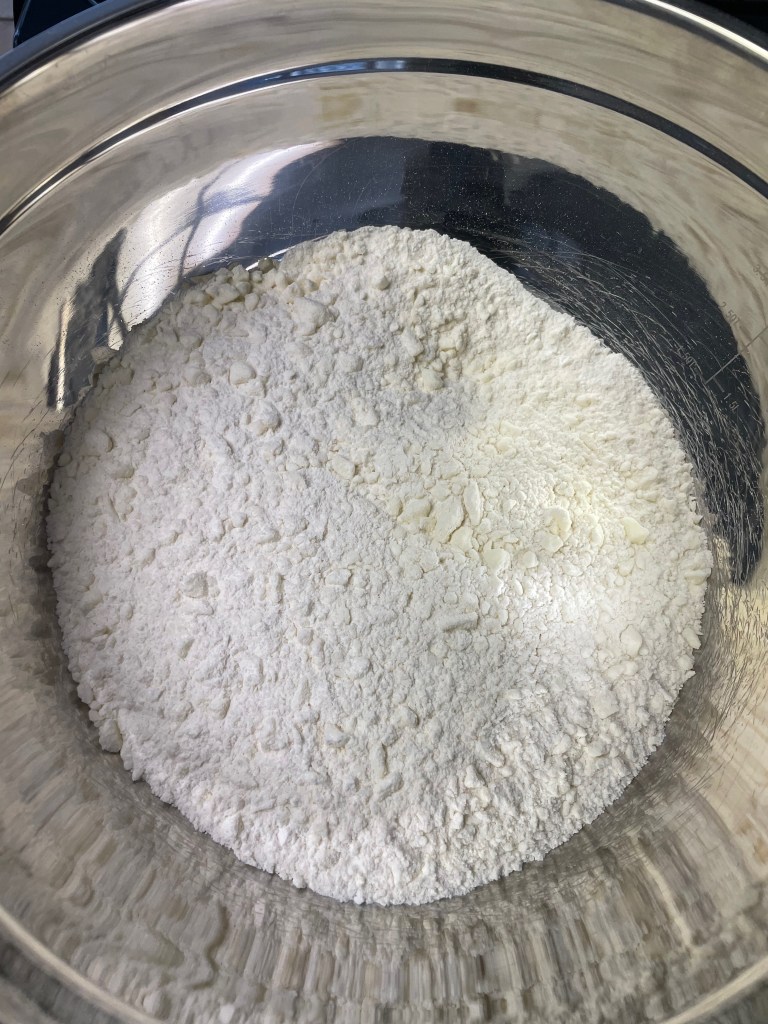
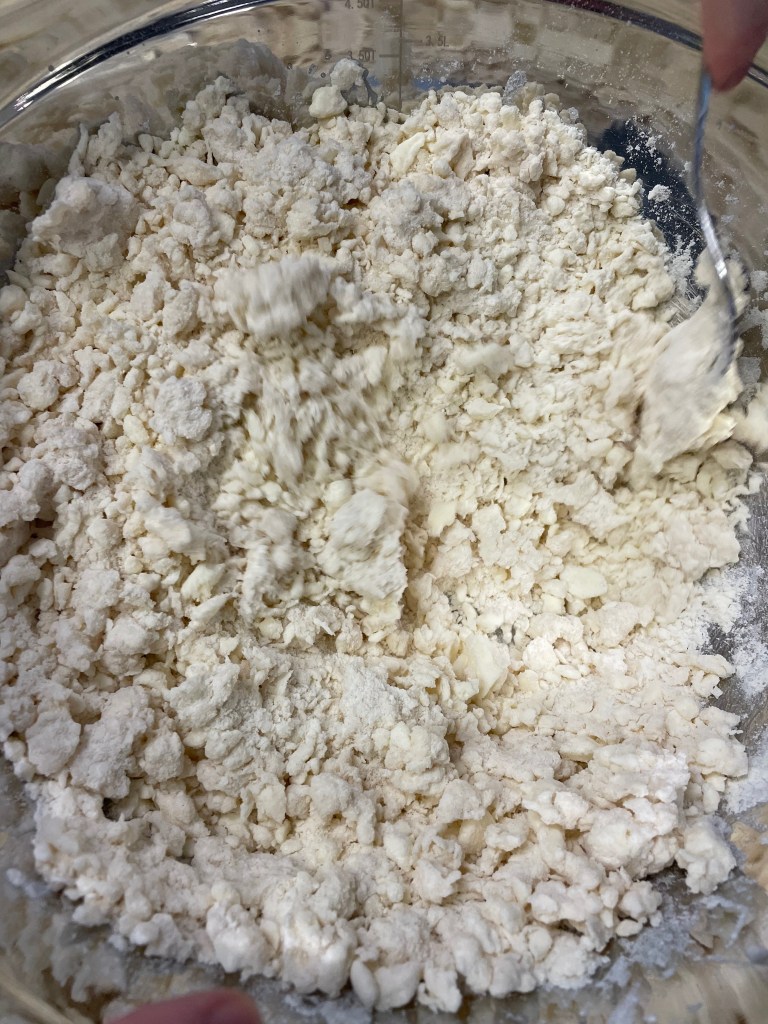
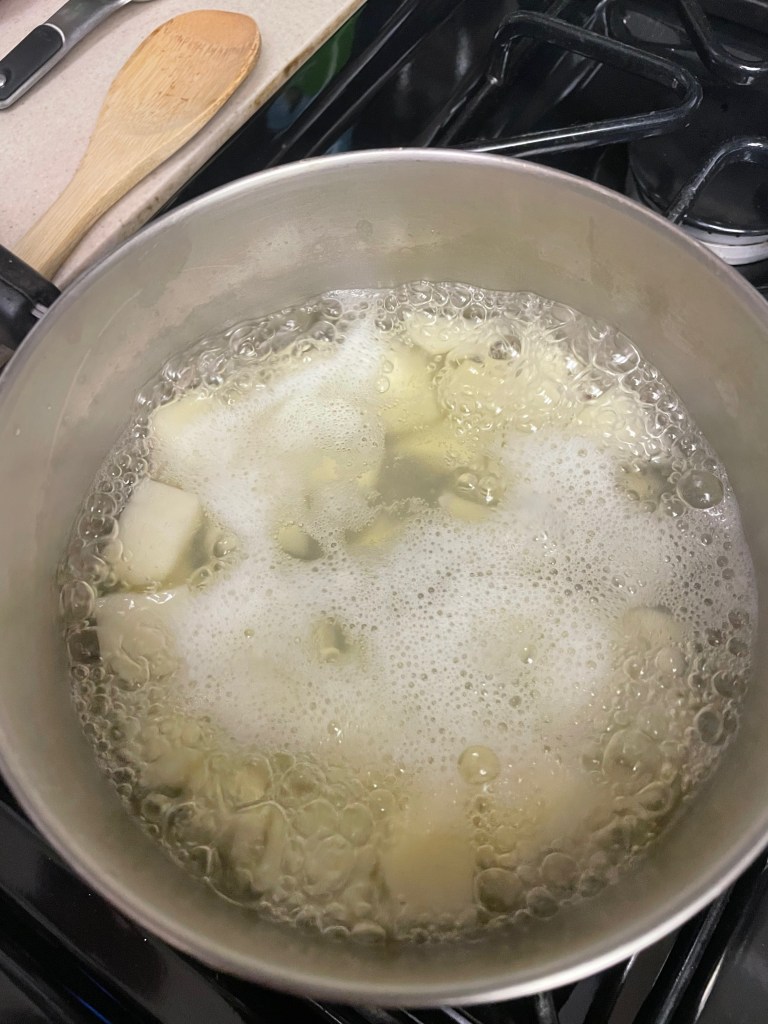
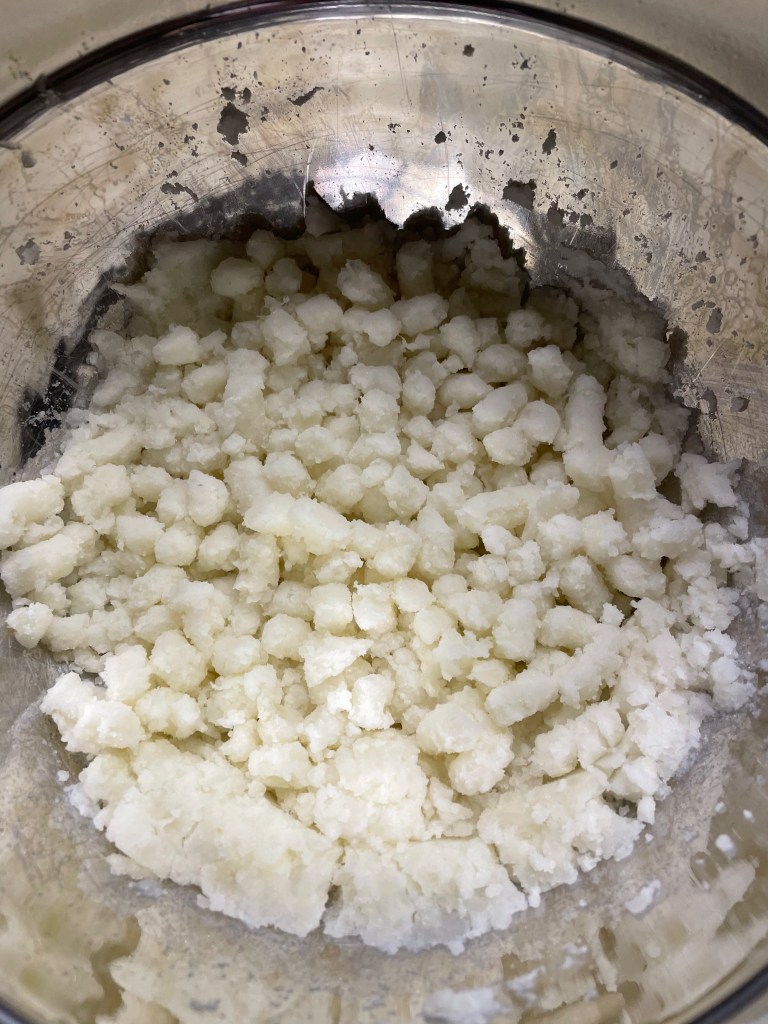
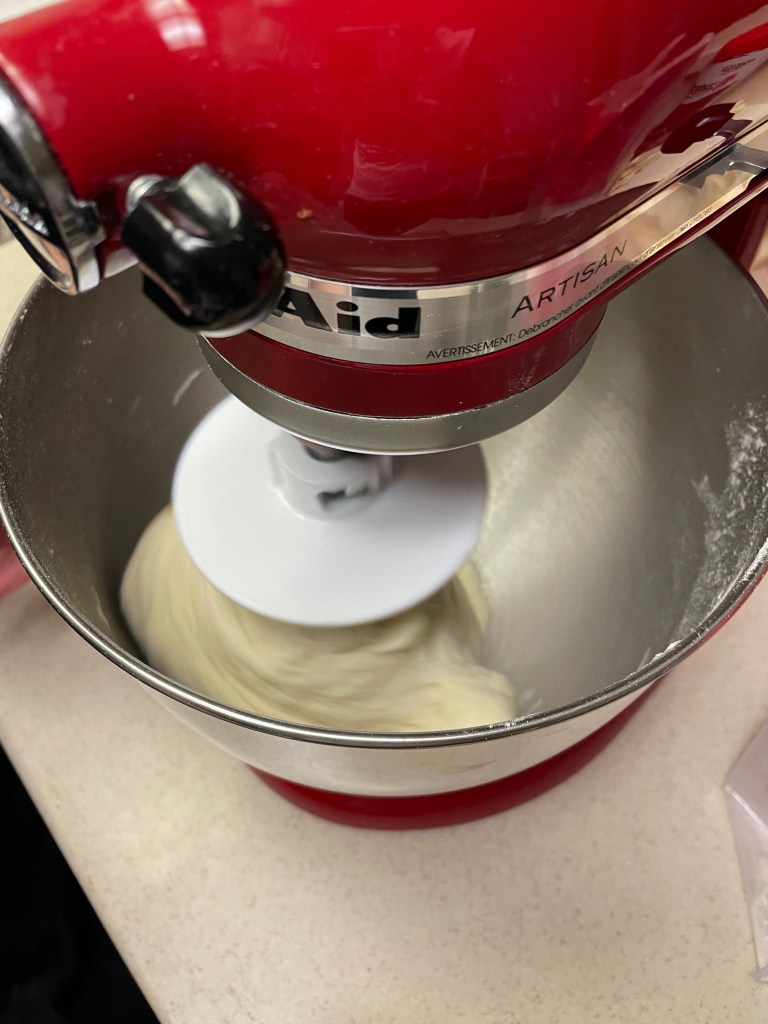
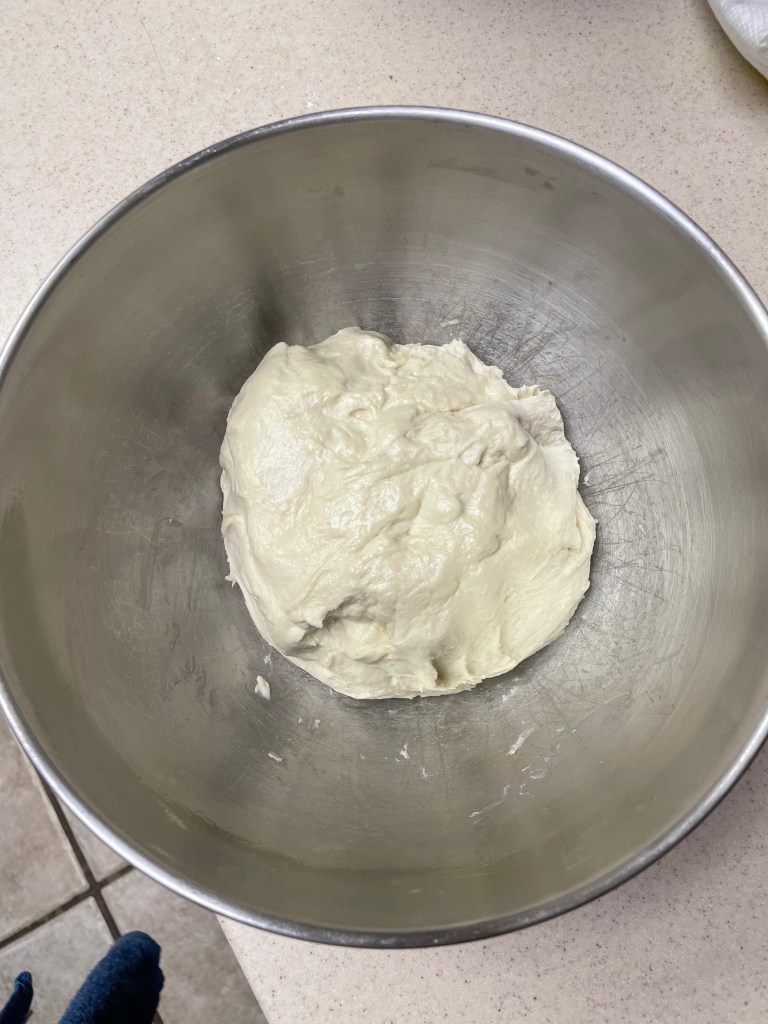
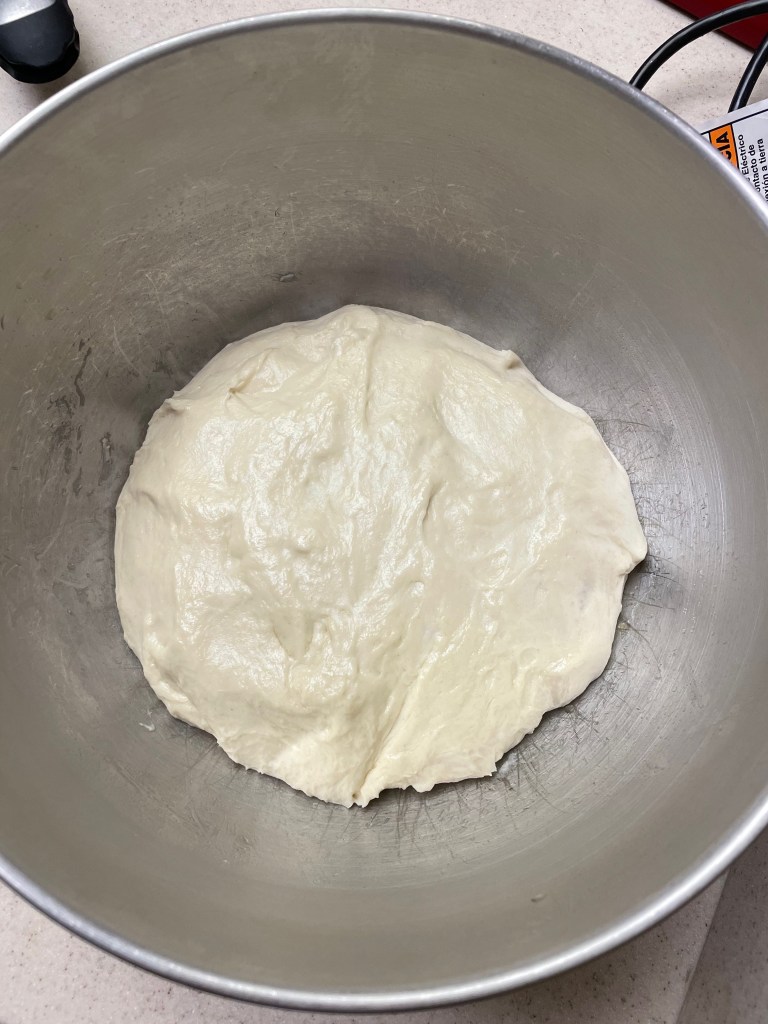
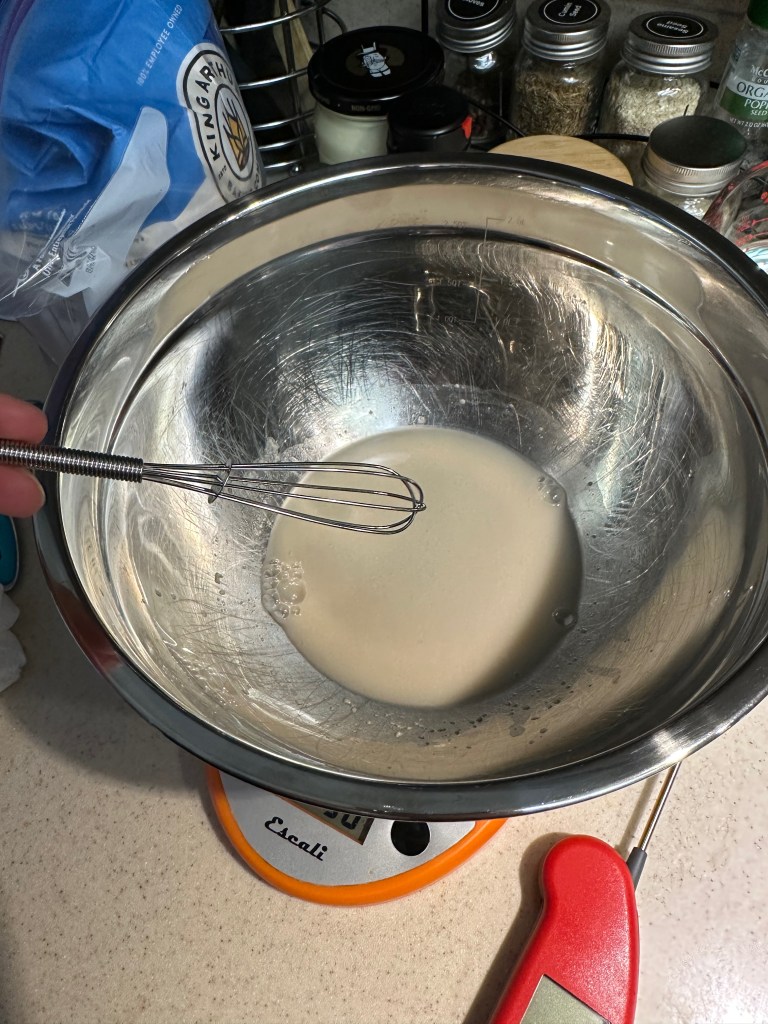
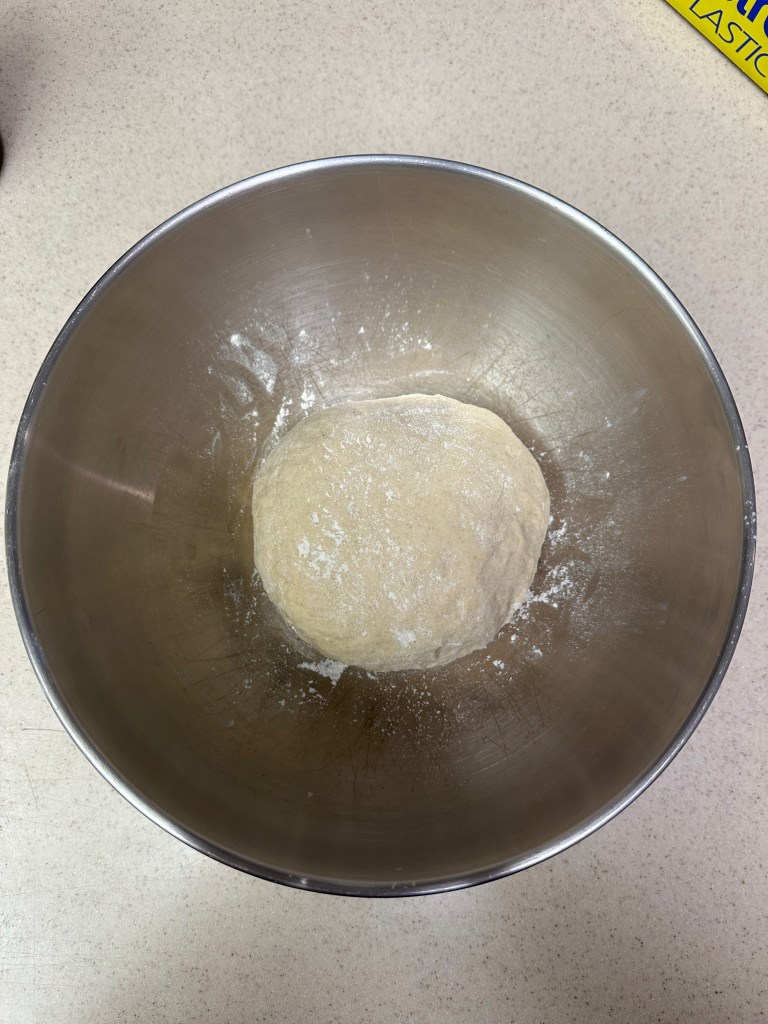
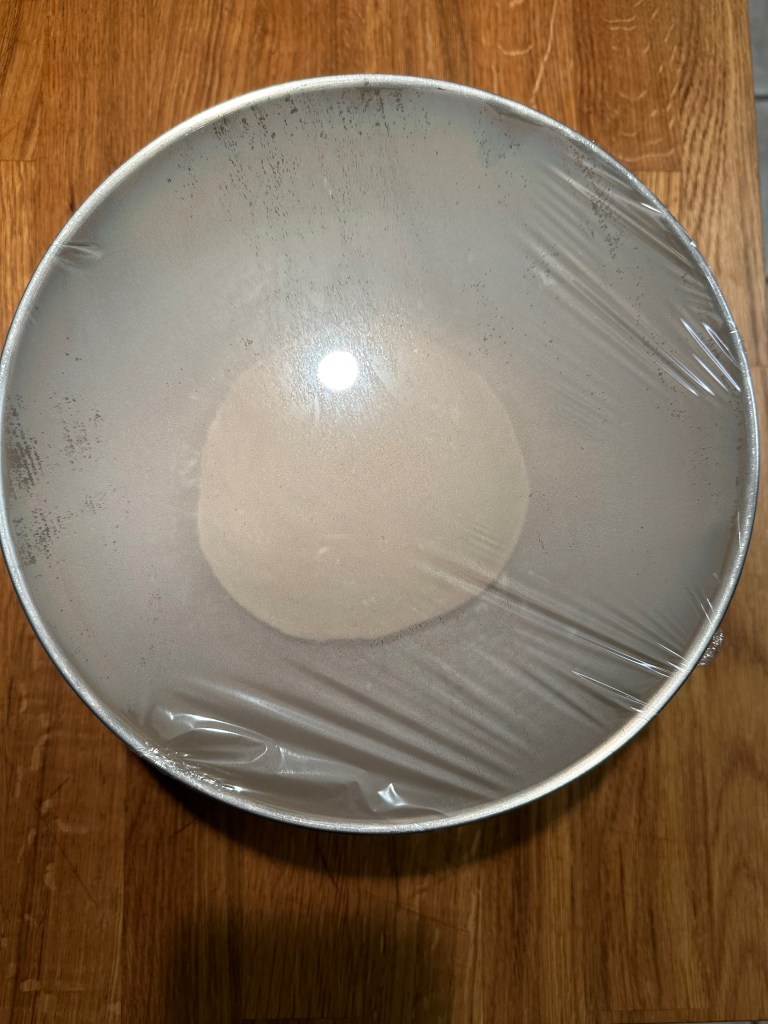
Making The Dough (First Proof)


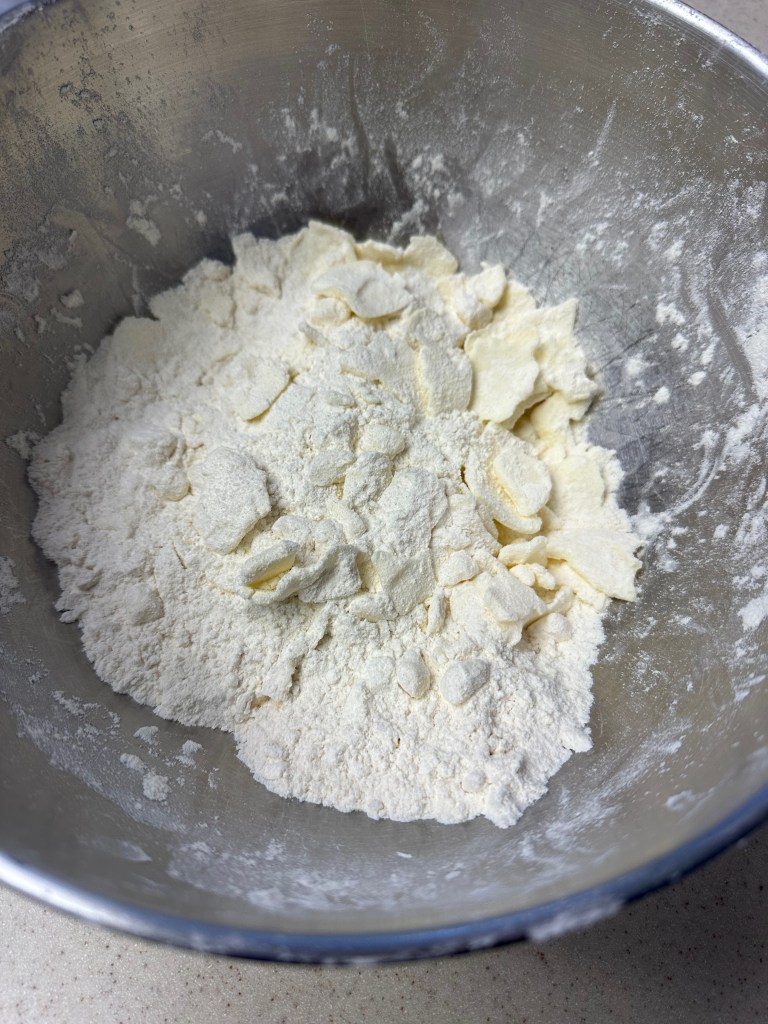
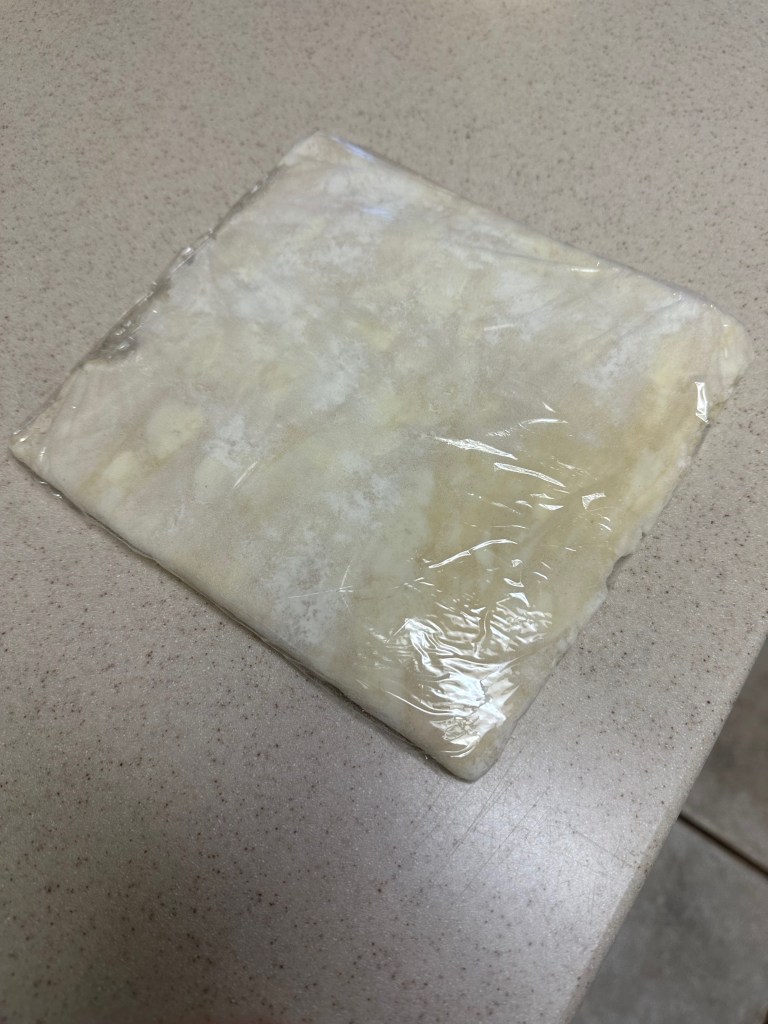
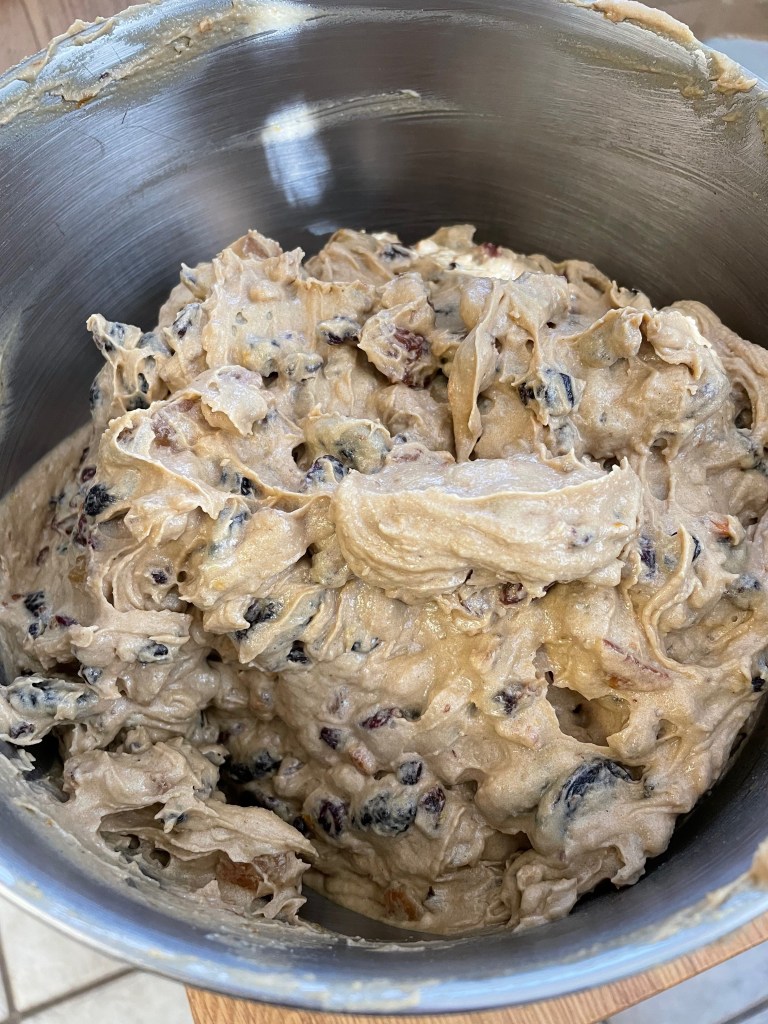
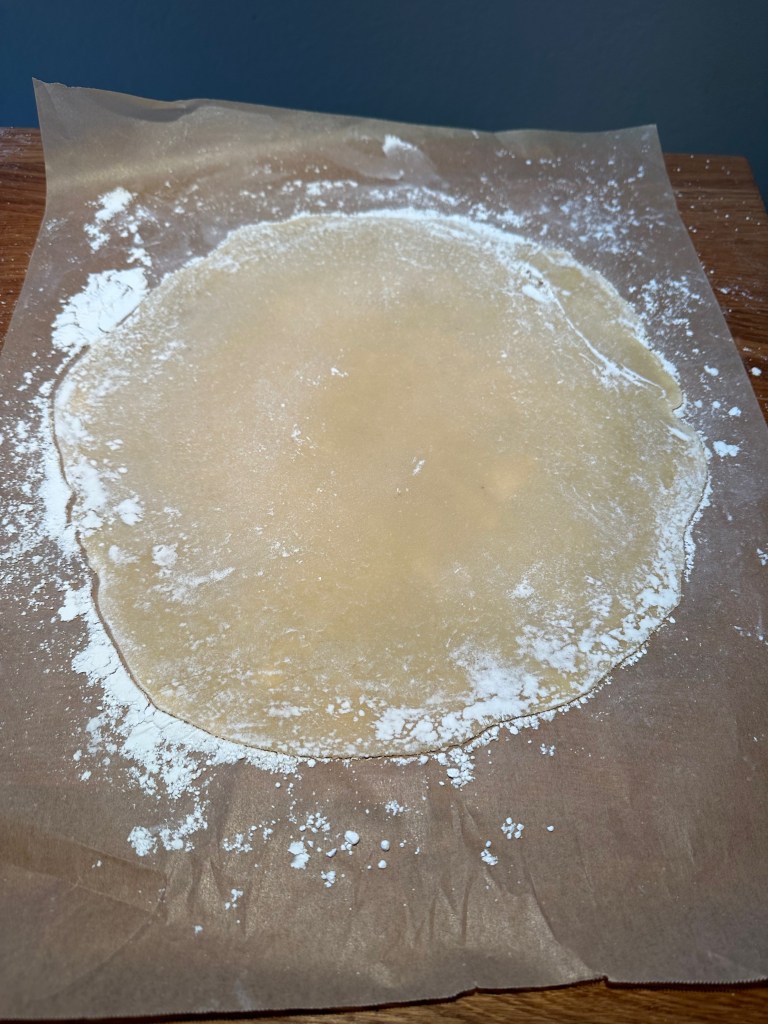
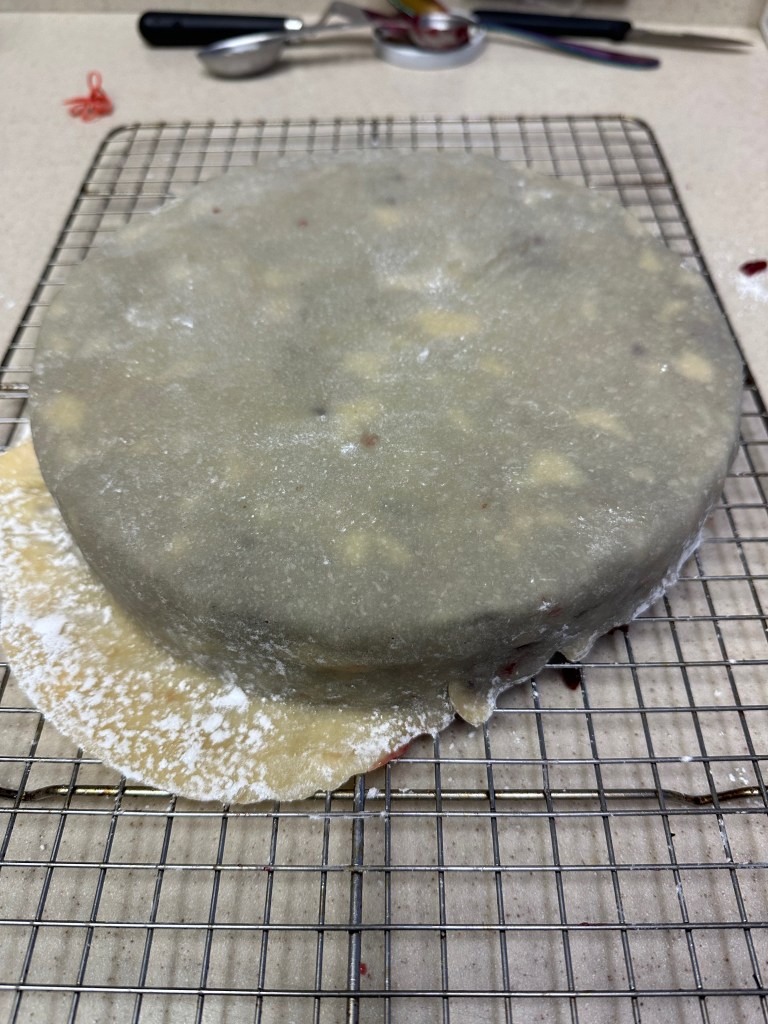
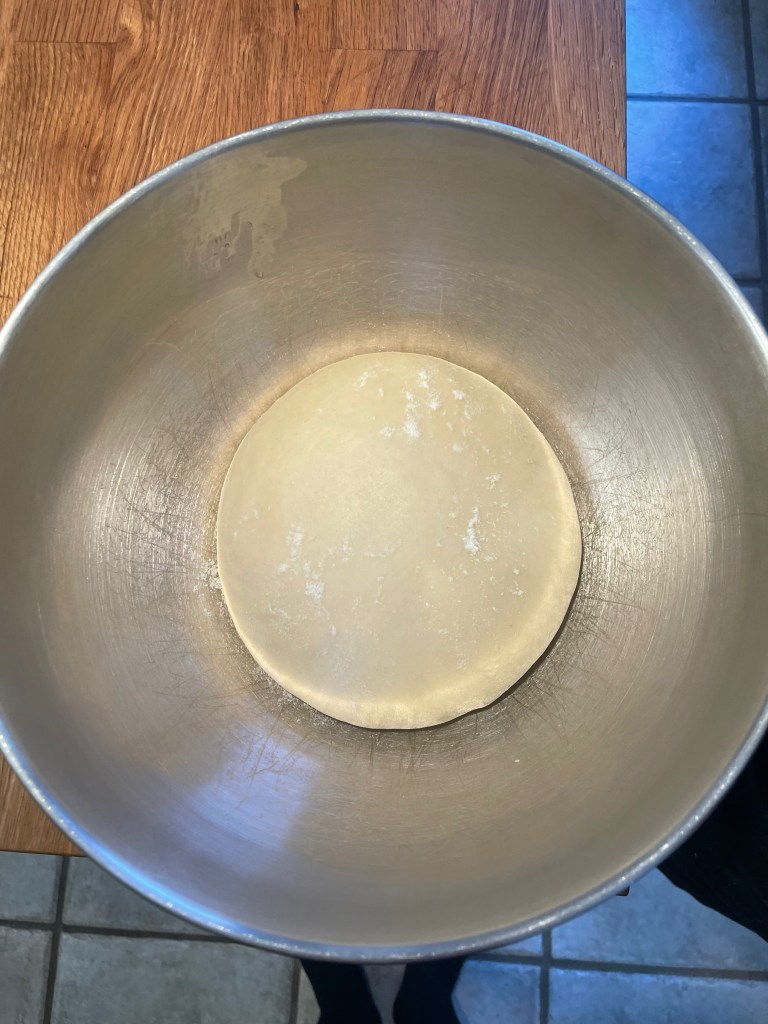
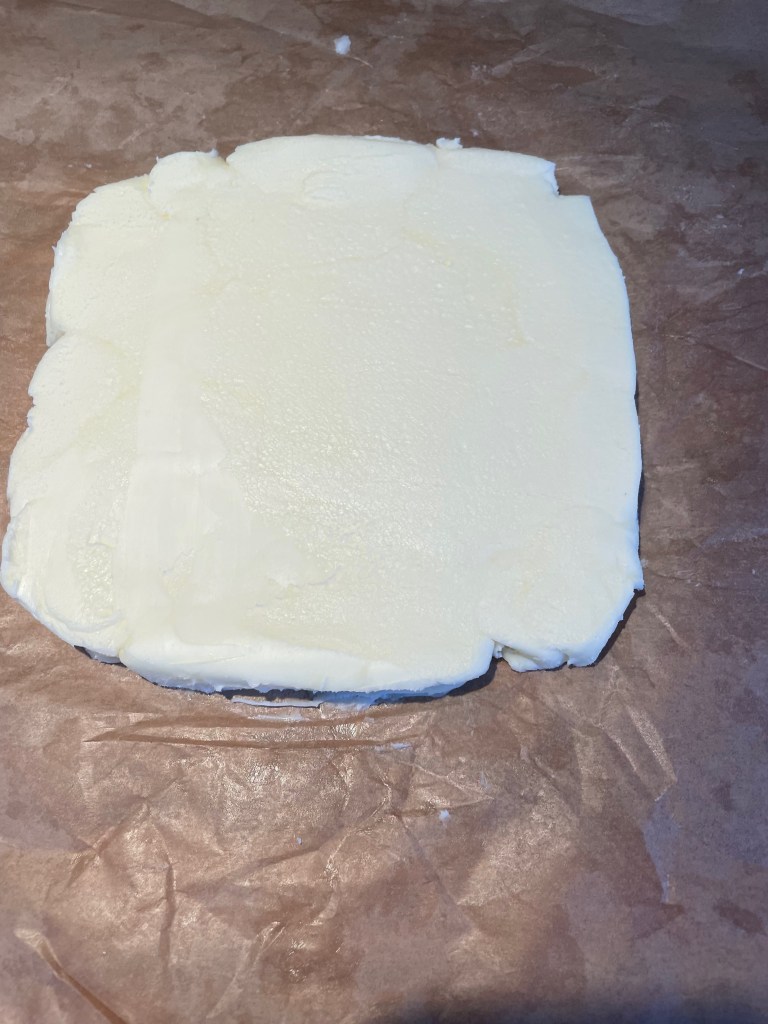
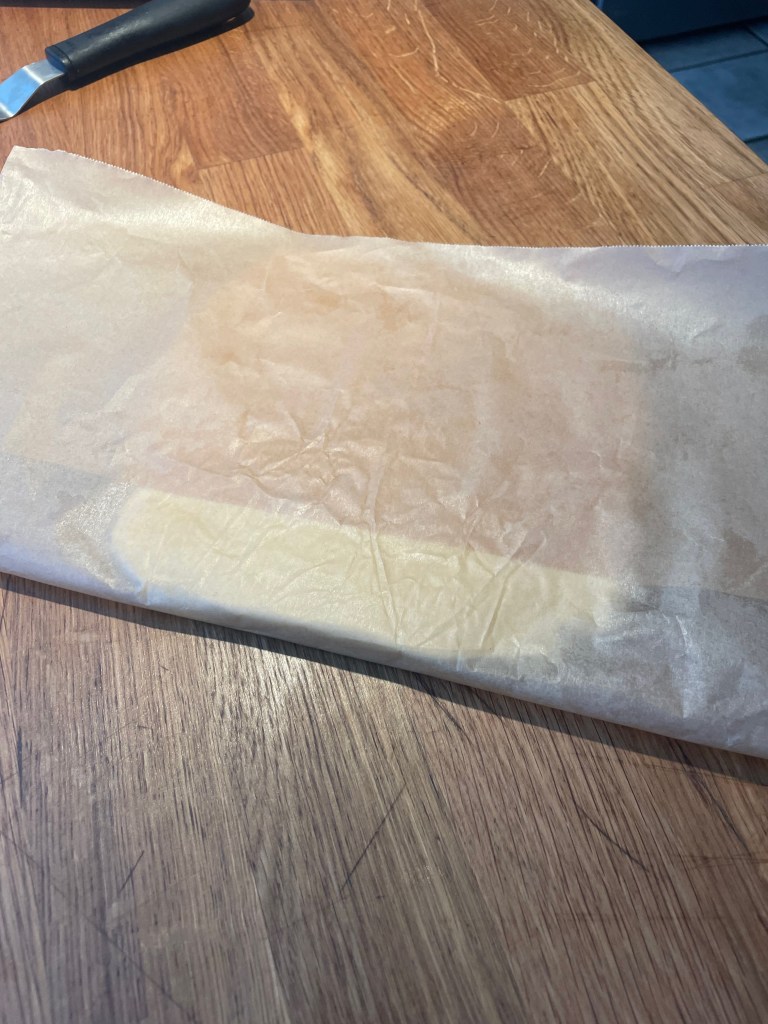
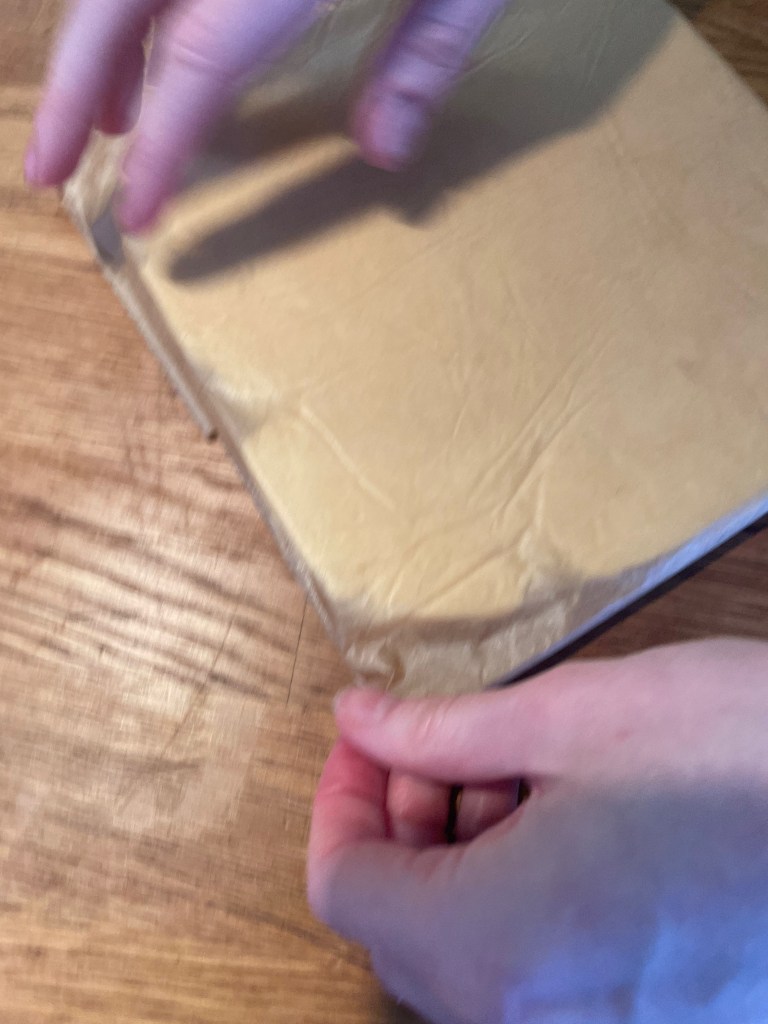
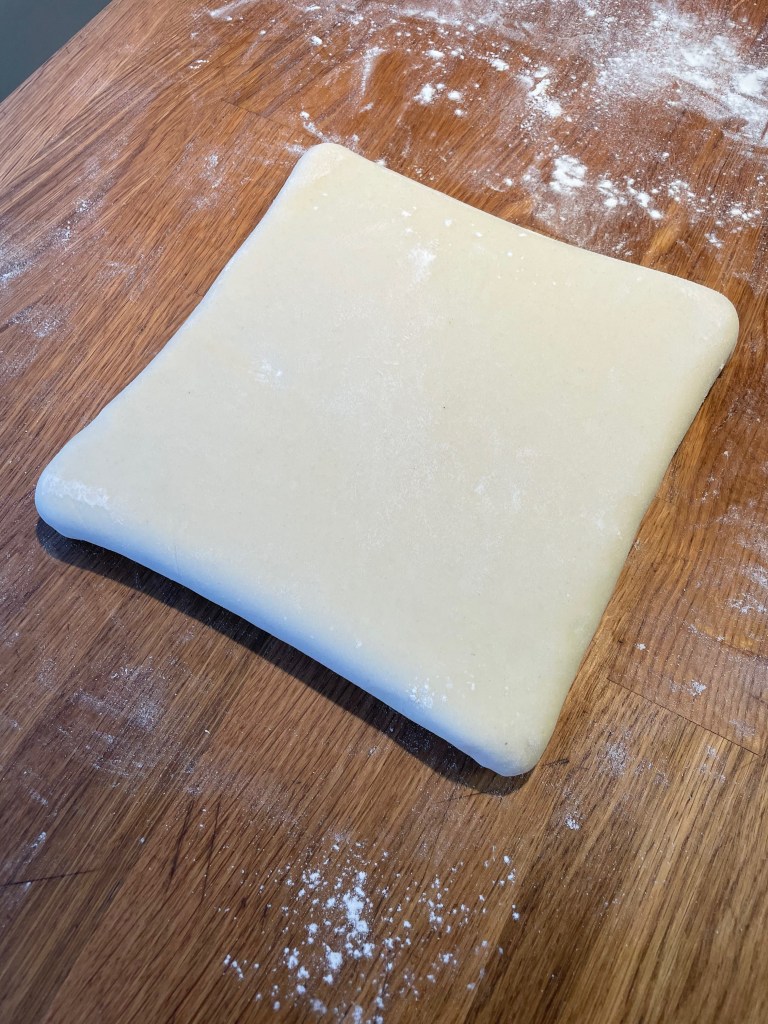
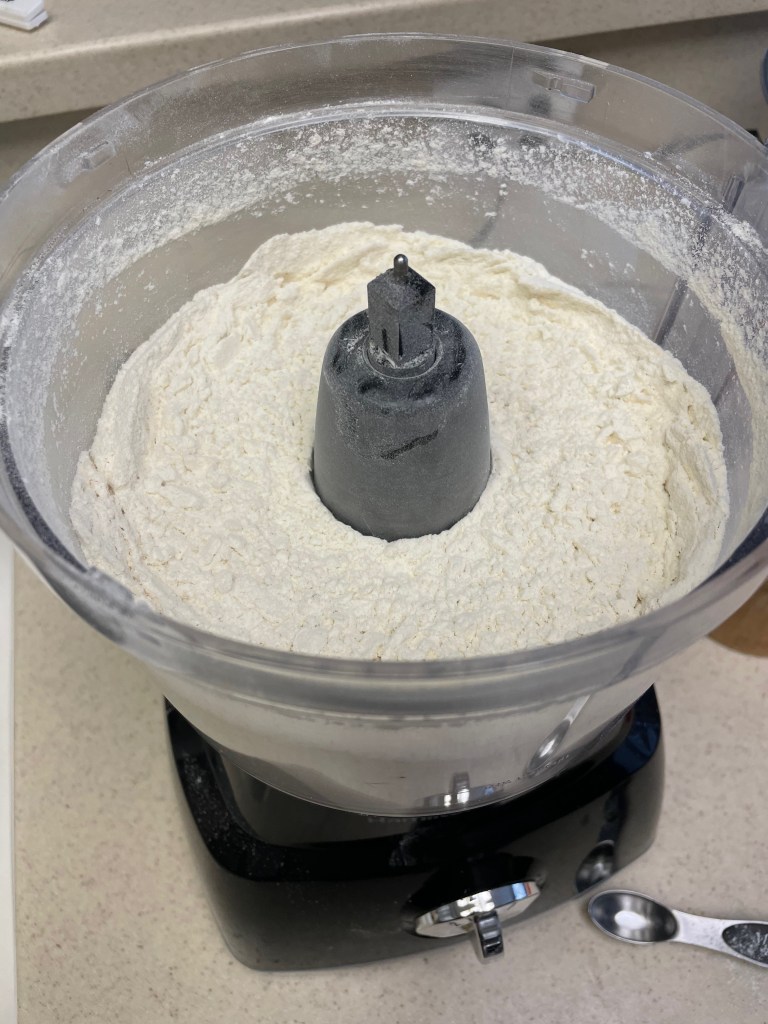
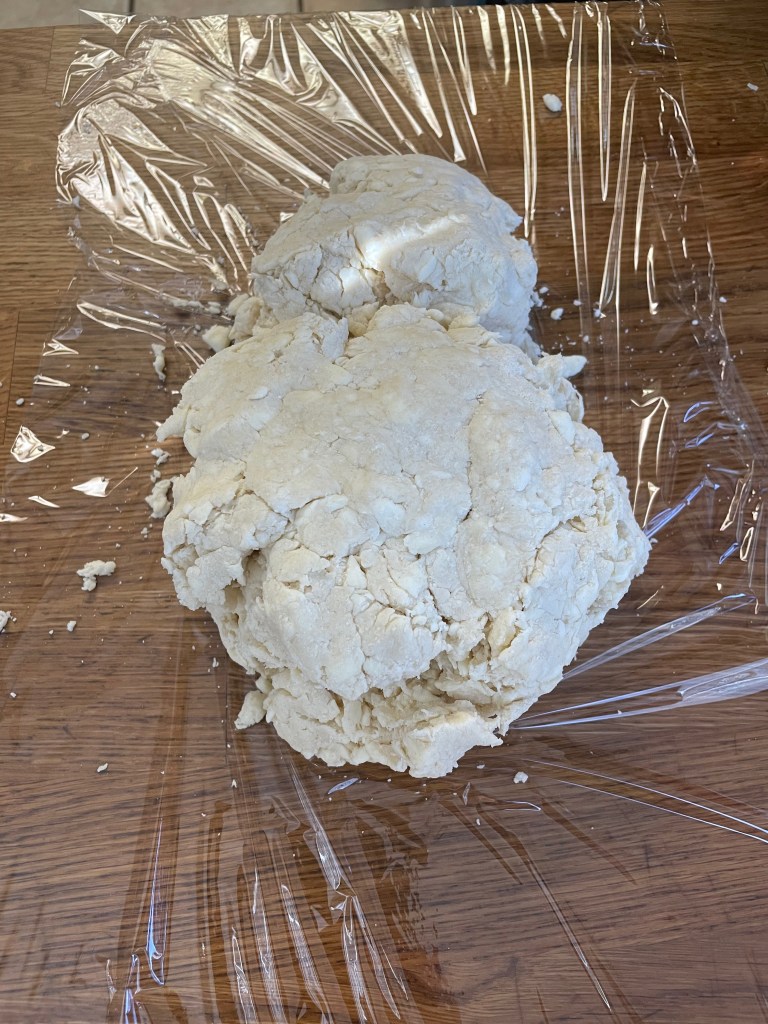
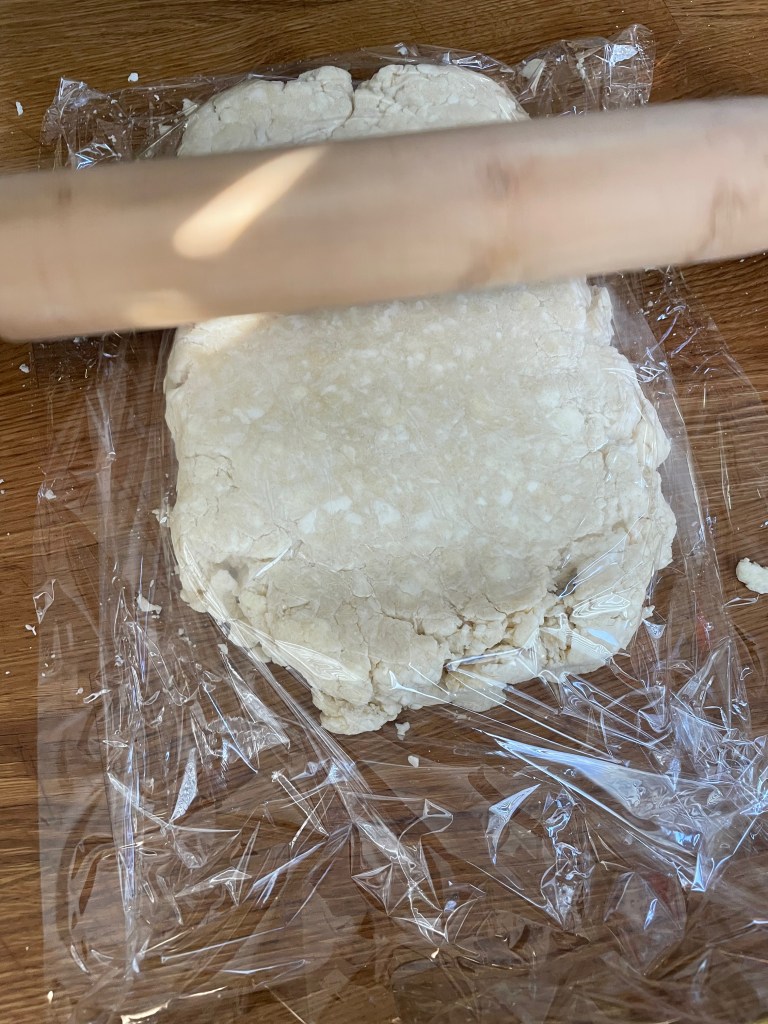
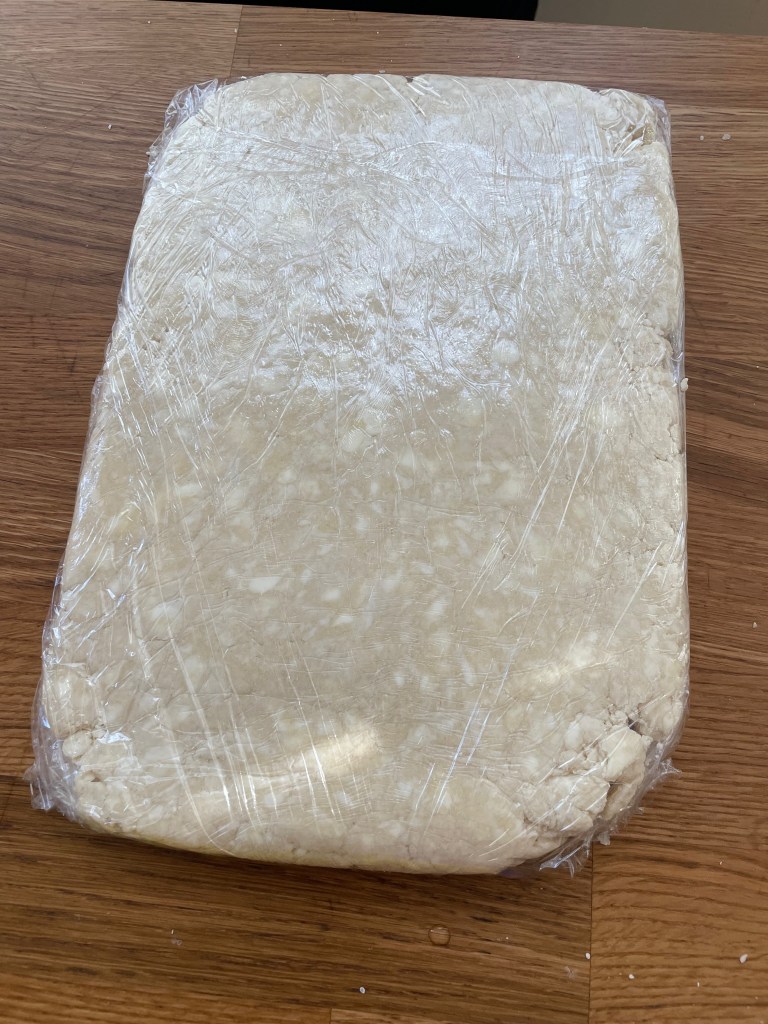
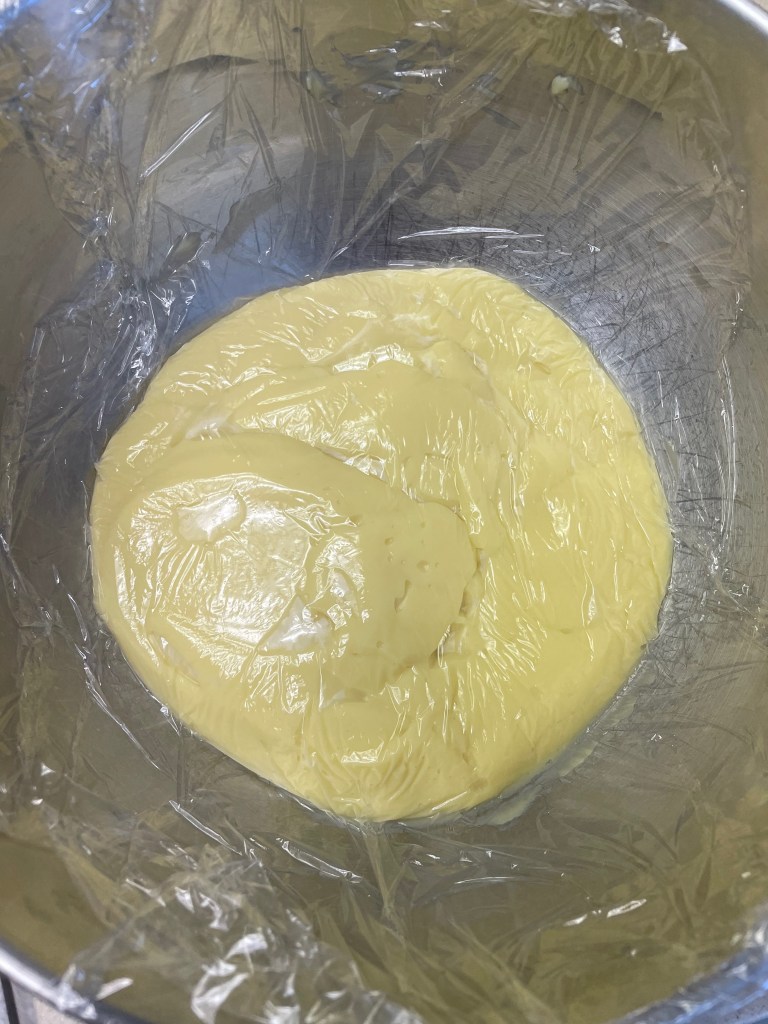
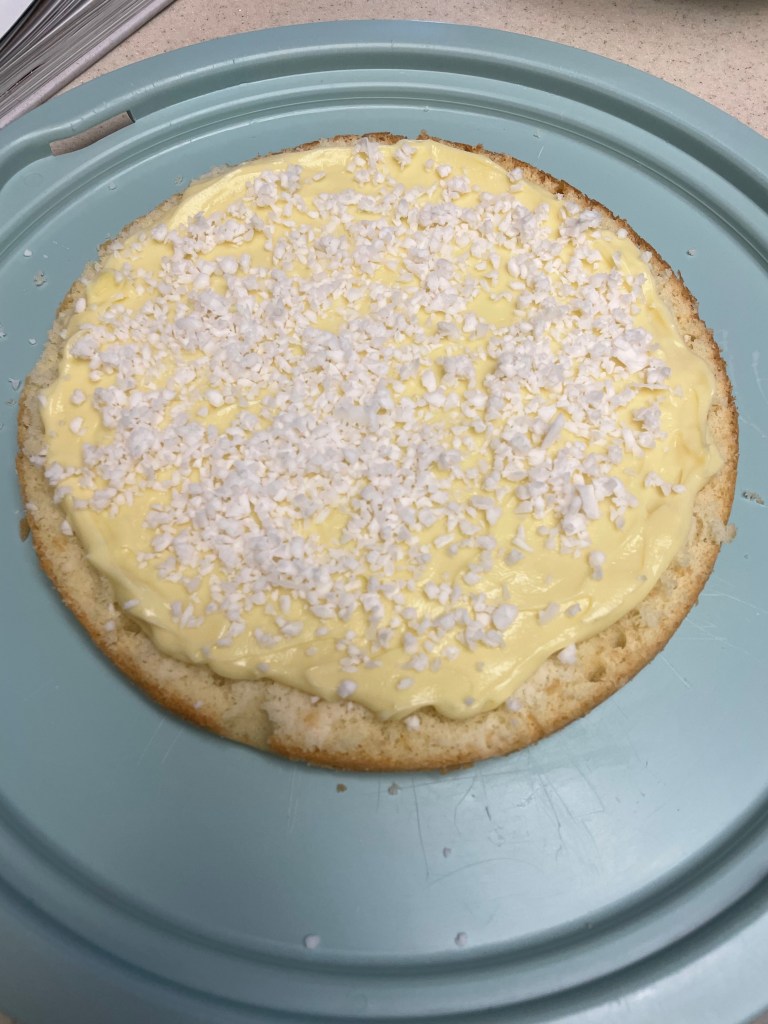
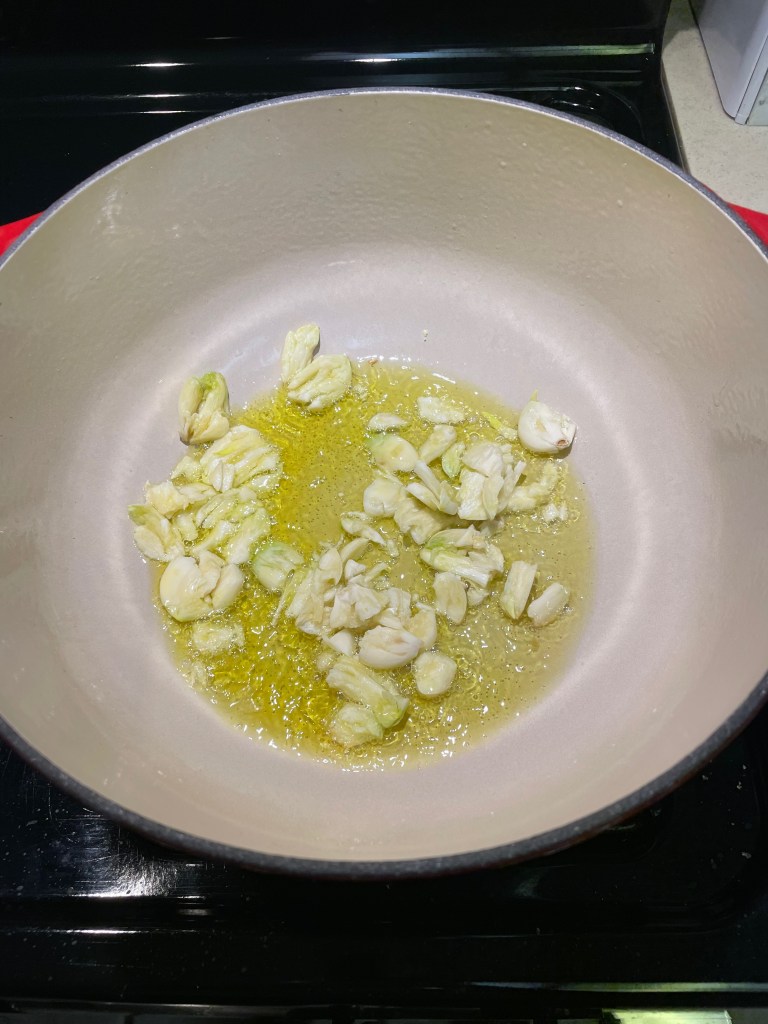
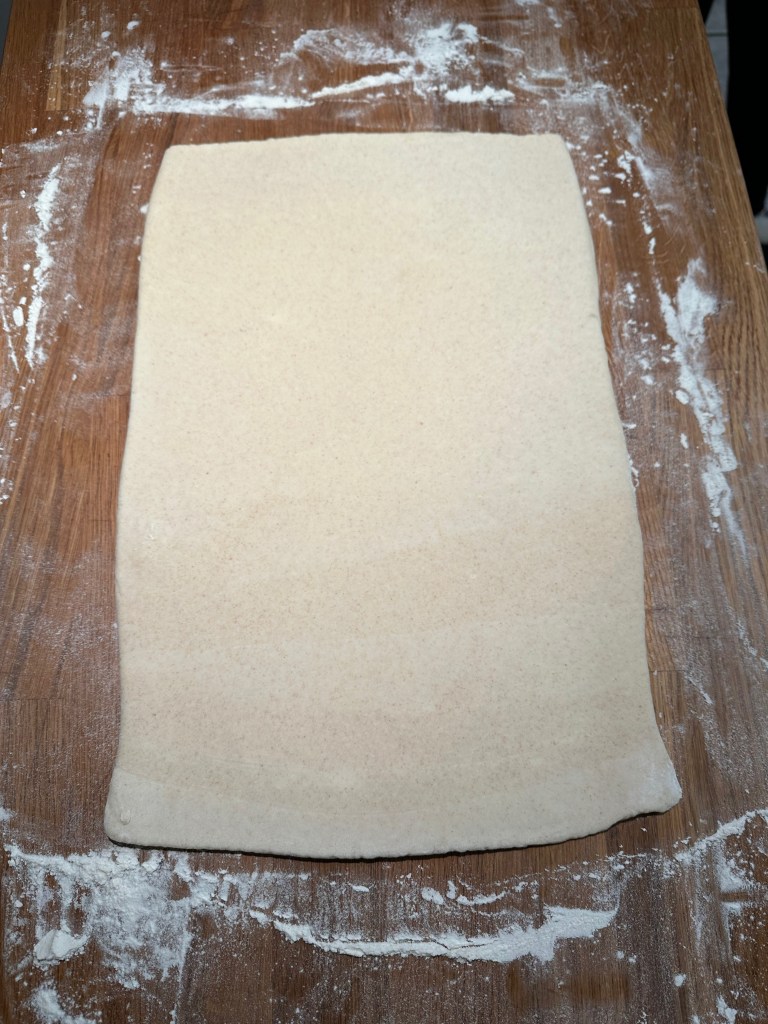
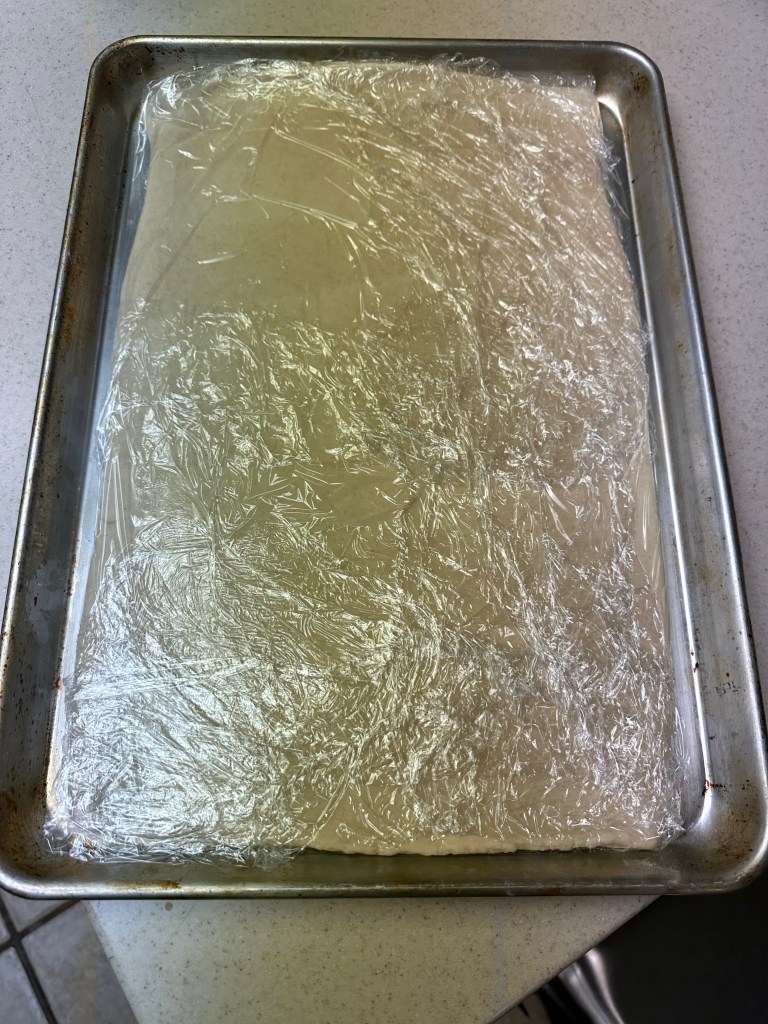
Making The Butter Block And The Dough Rectangle
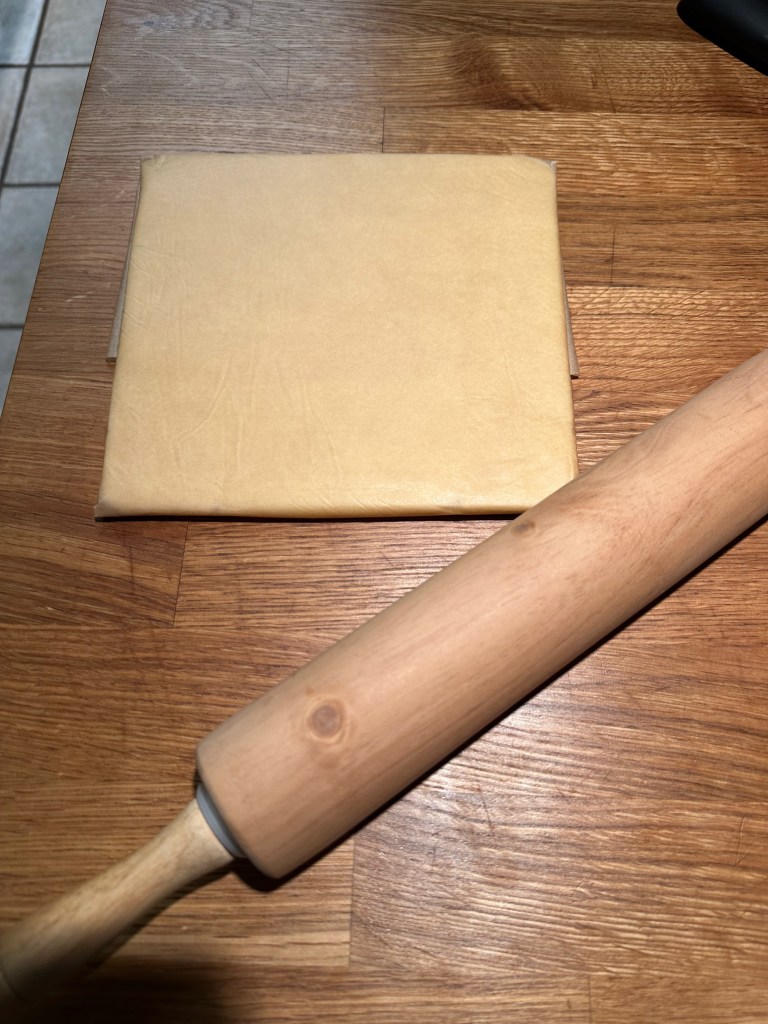

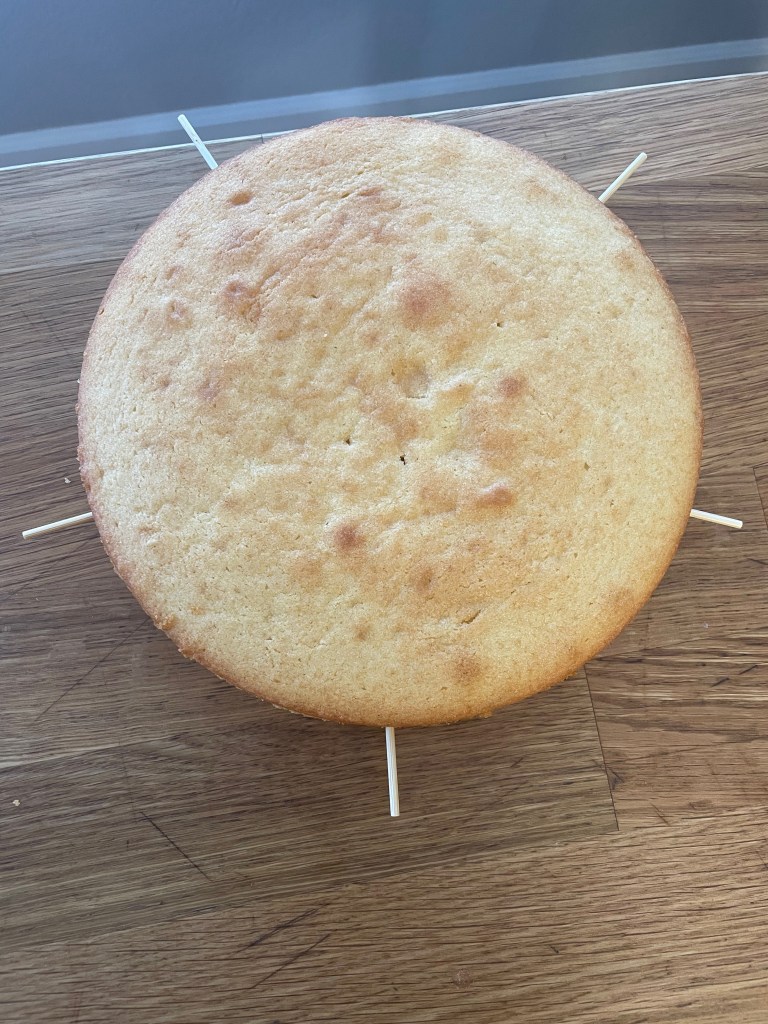
Tip 1: First get the butter into a rough square and then create a package with the parchment paper (tape to seal and flip over). To get it into a perfect square, simply hold one corner and roll into the opposite corner using the rolling pin.
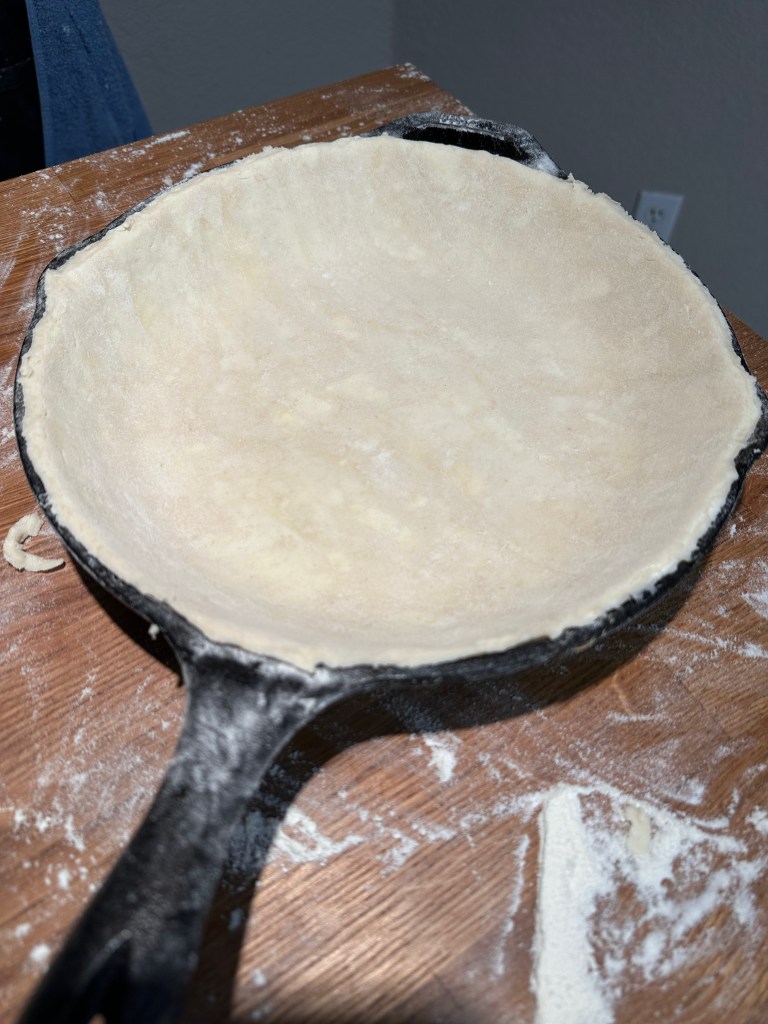
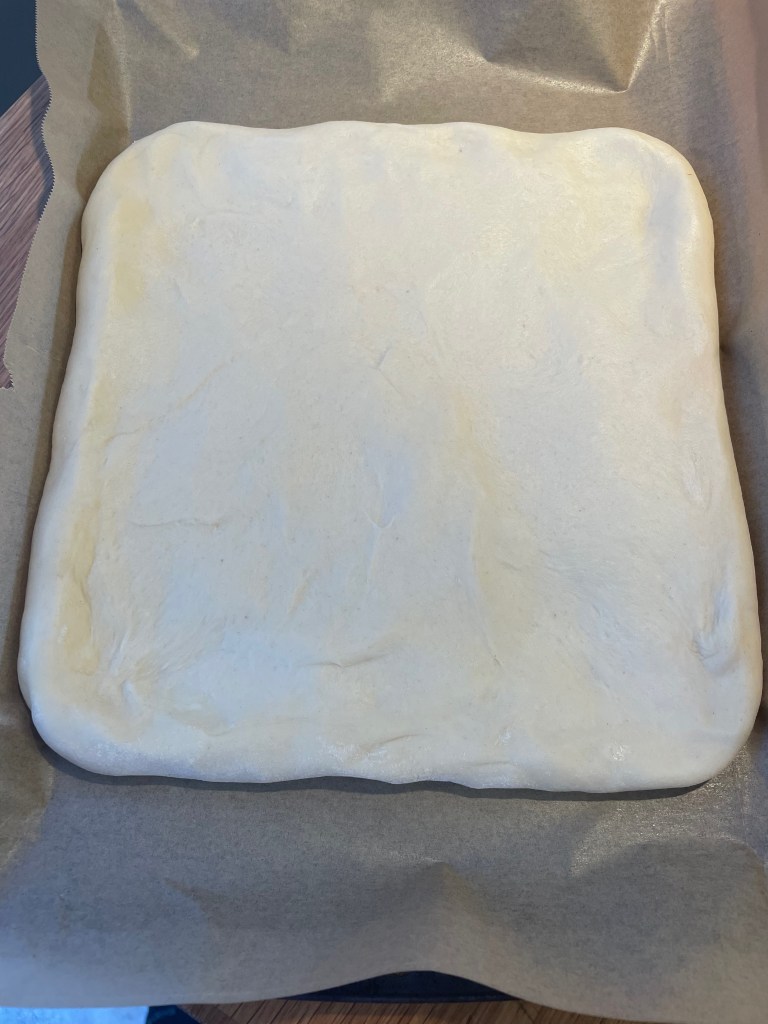
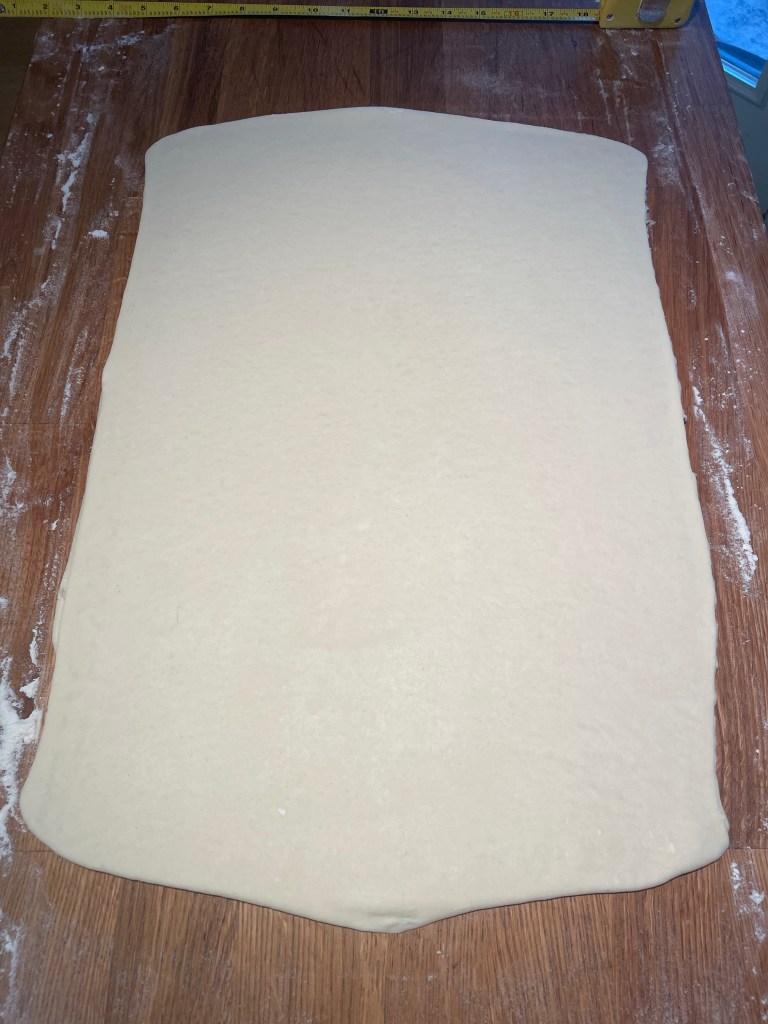
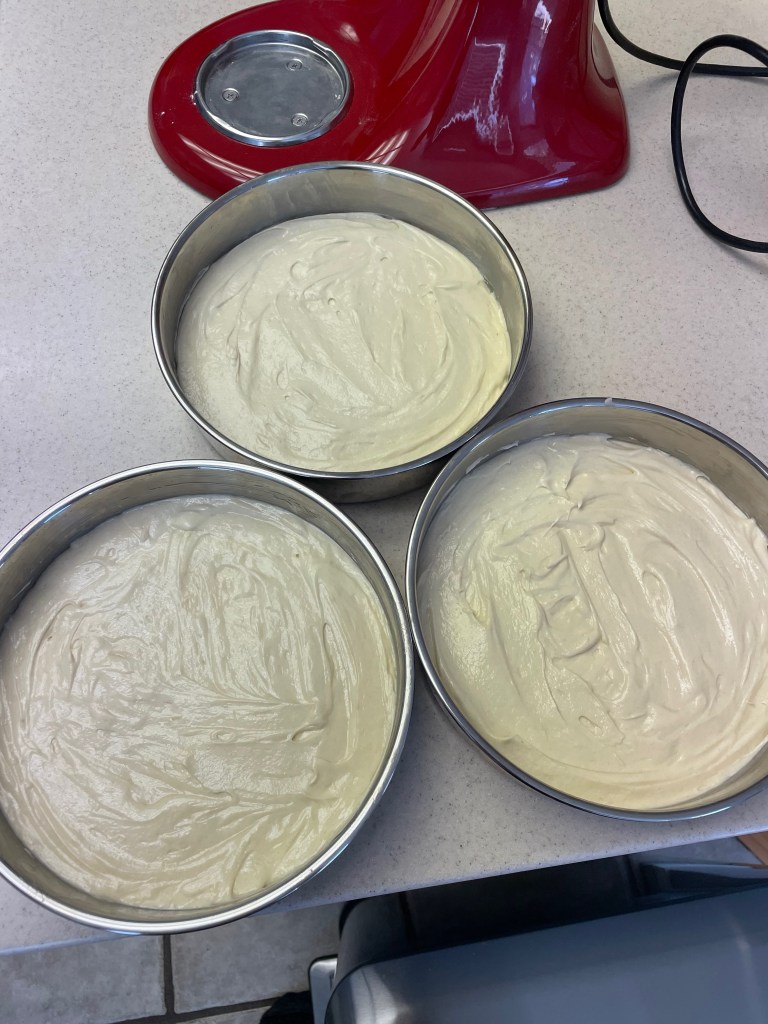
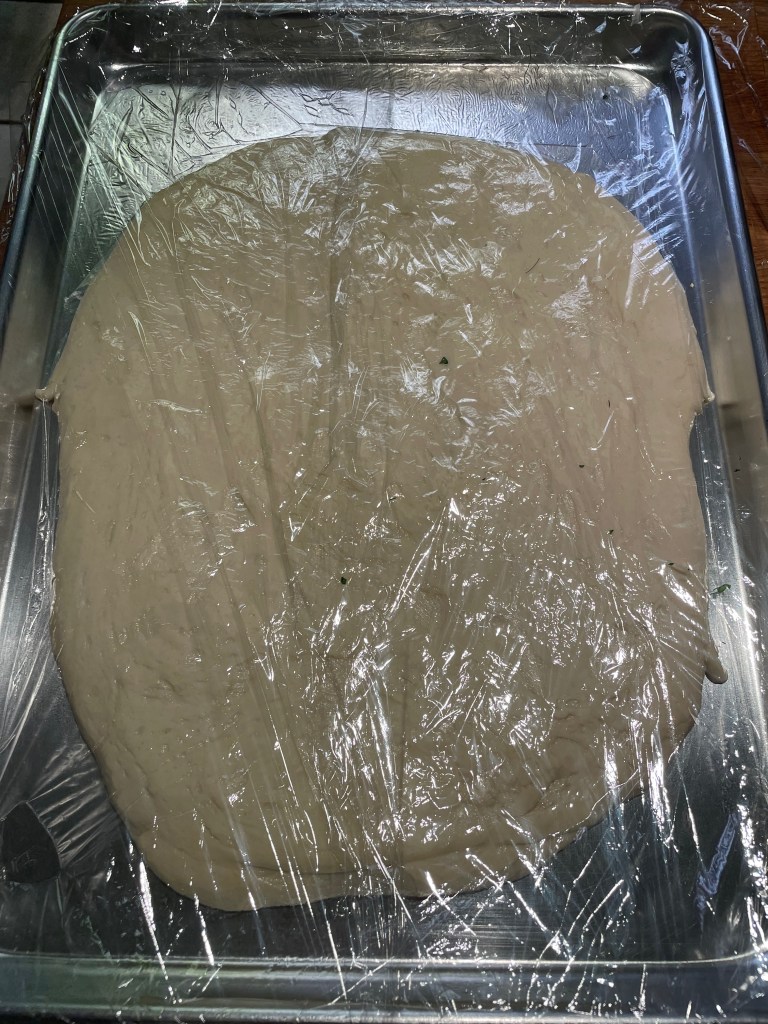
Tip 2: Simply stretch out the dough into the size that will be used using your hands, no need to use a tray.
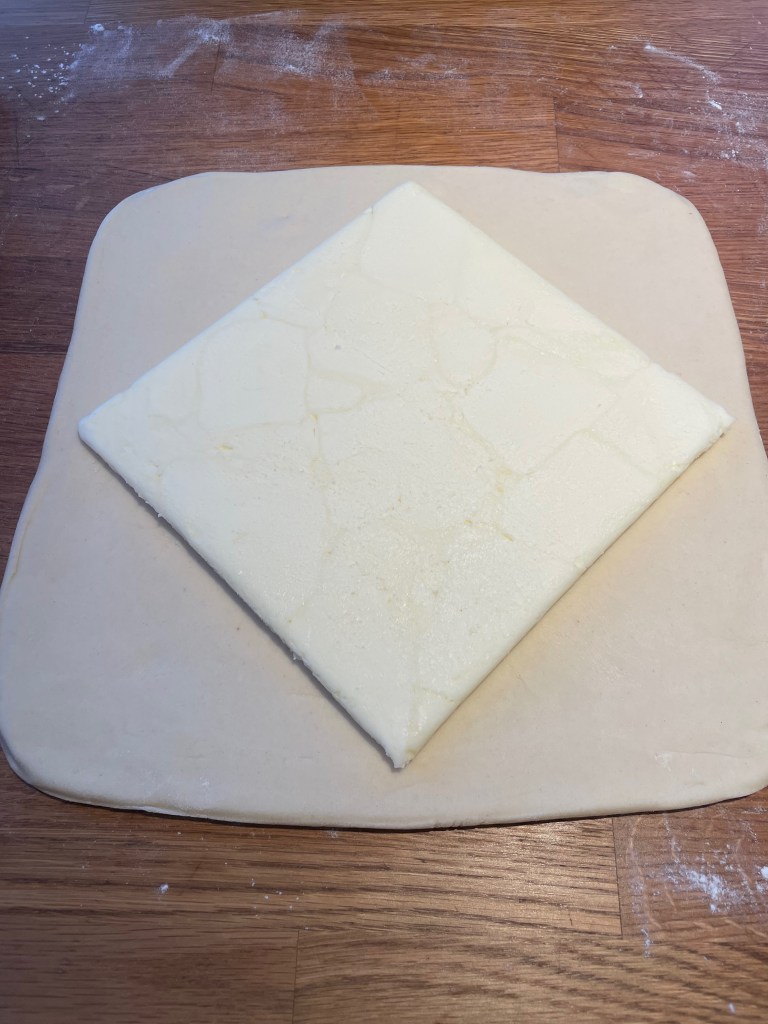
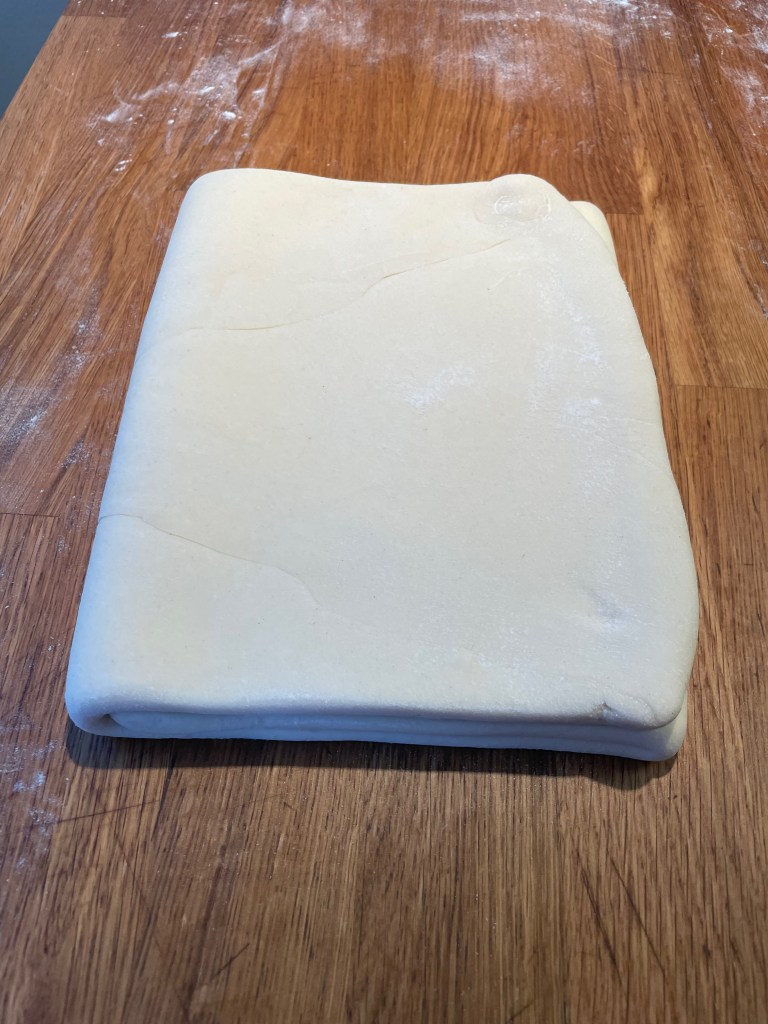
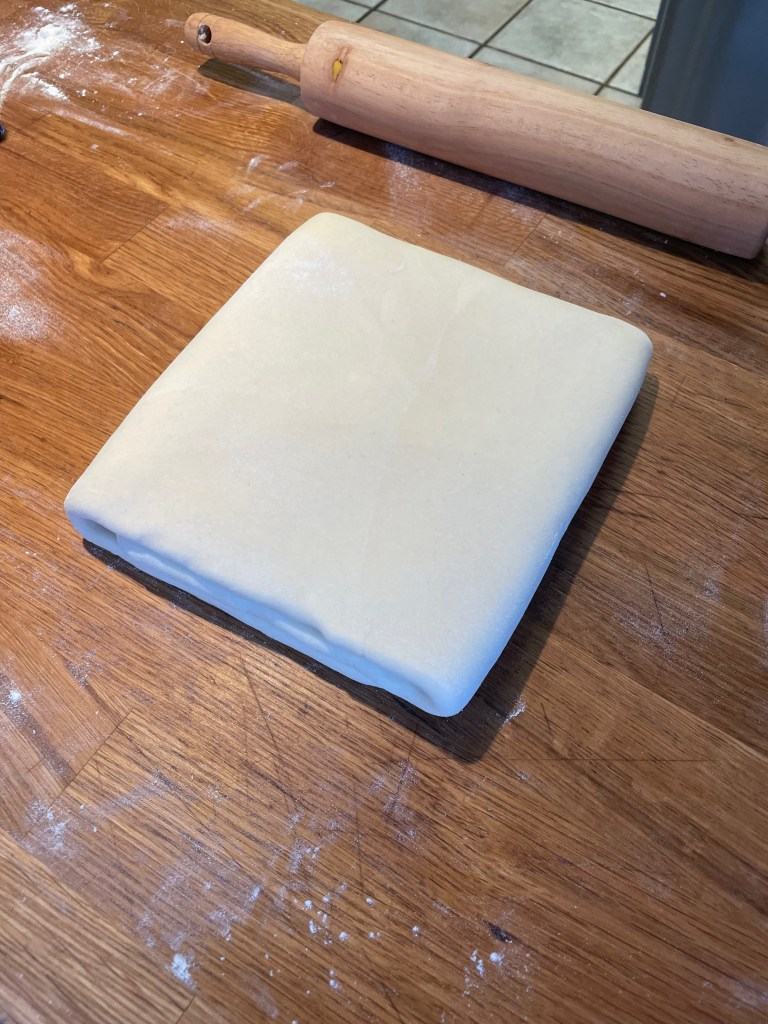
Doing “The Turns”


Tip: Use this video as a helpful guide.
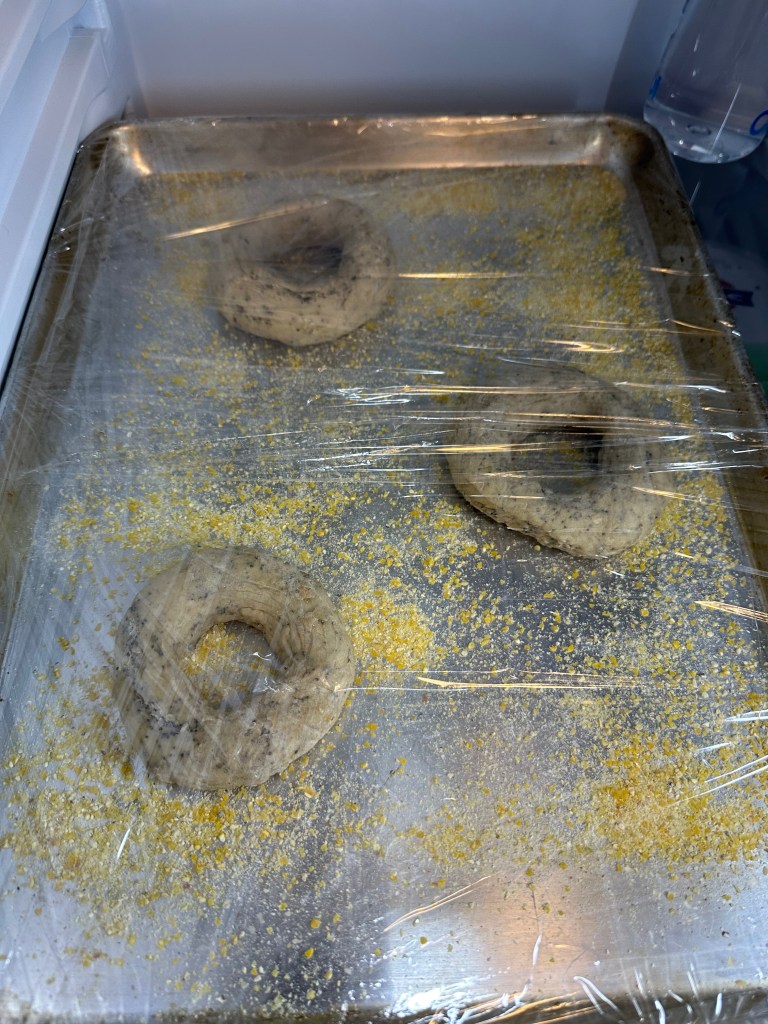
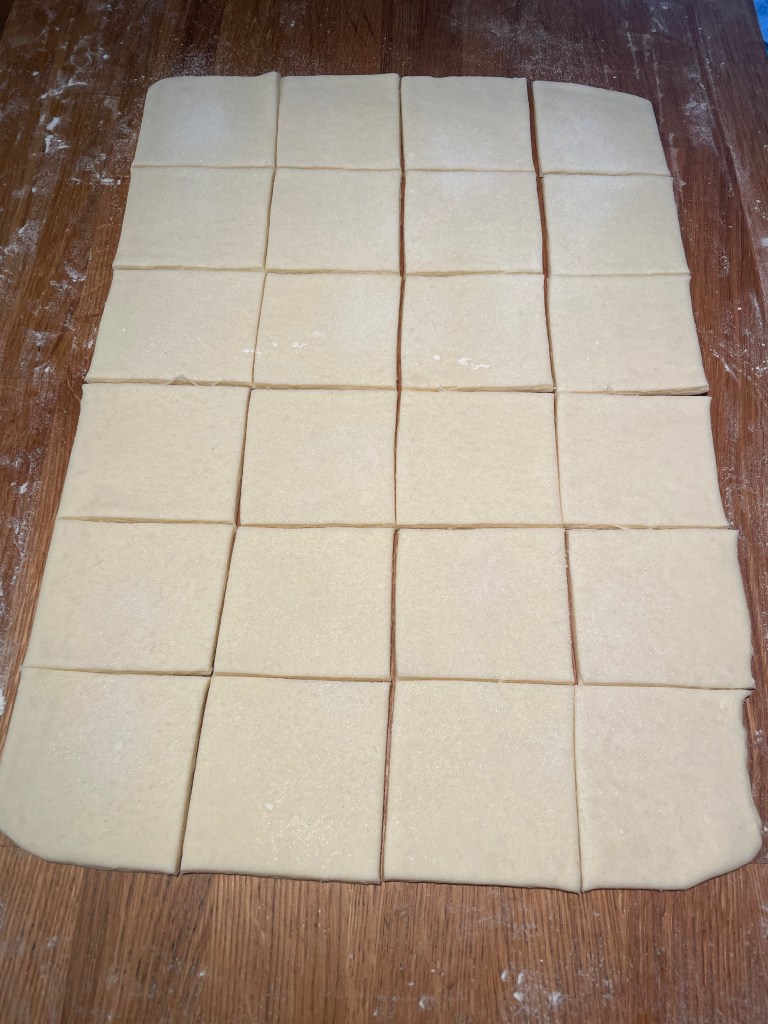
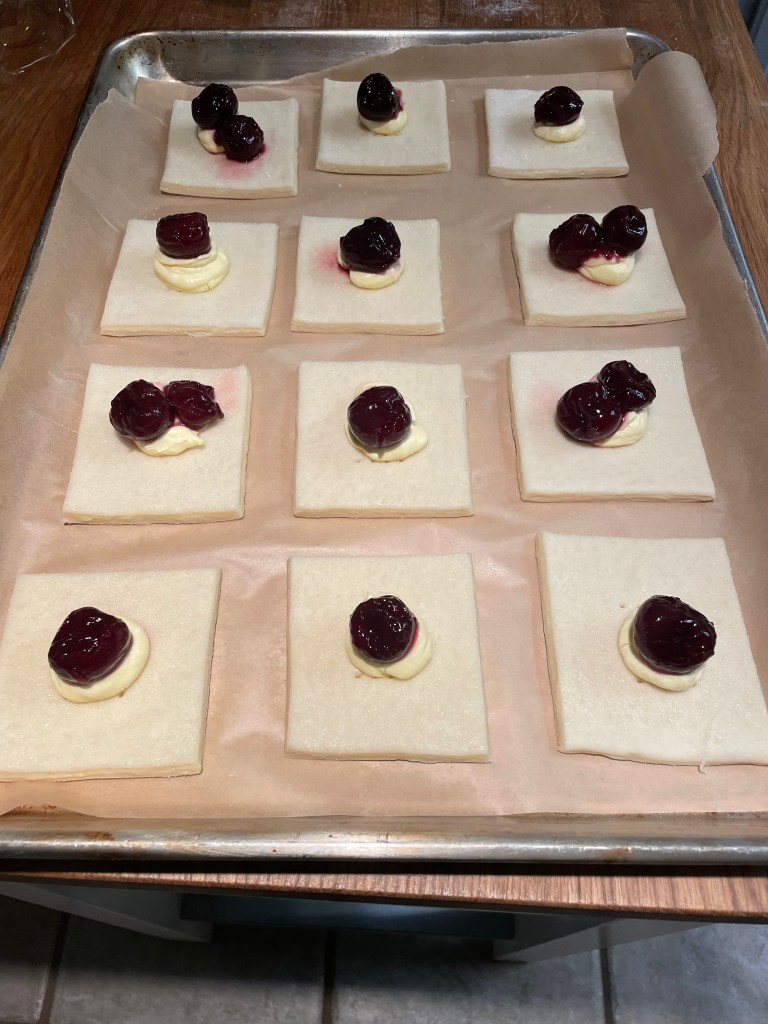
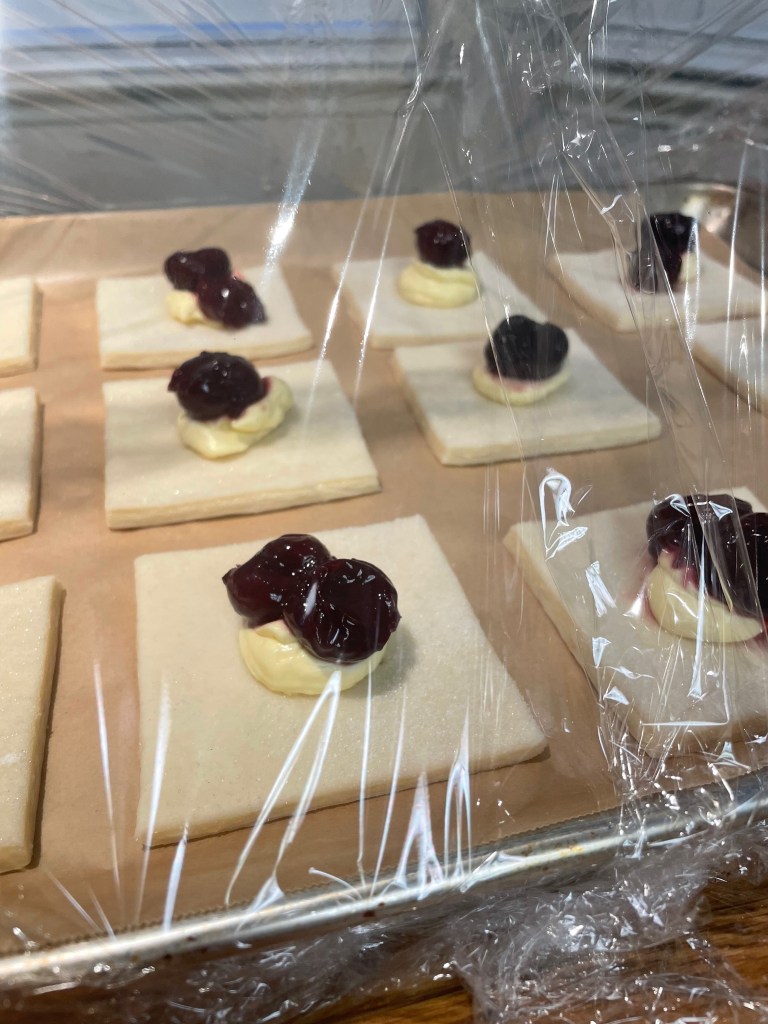
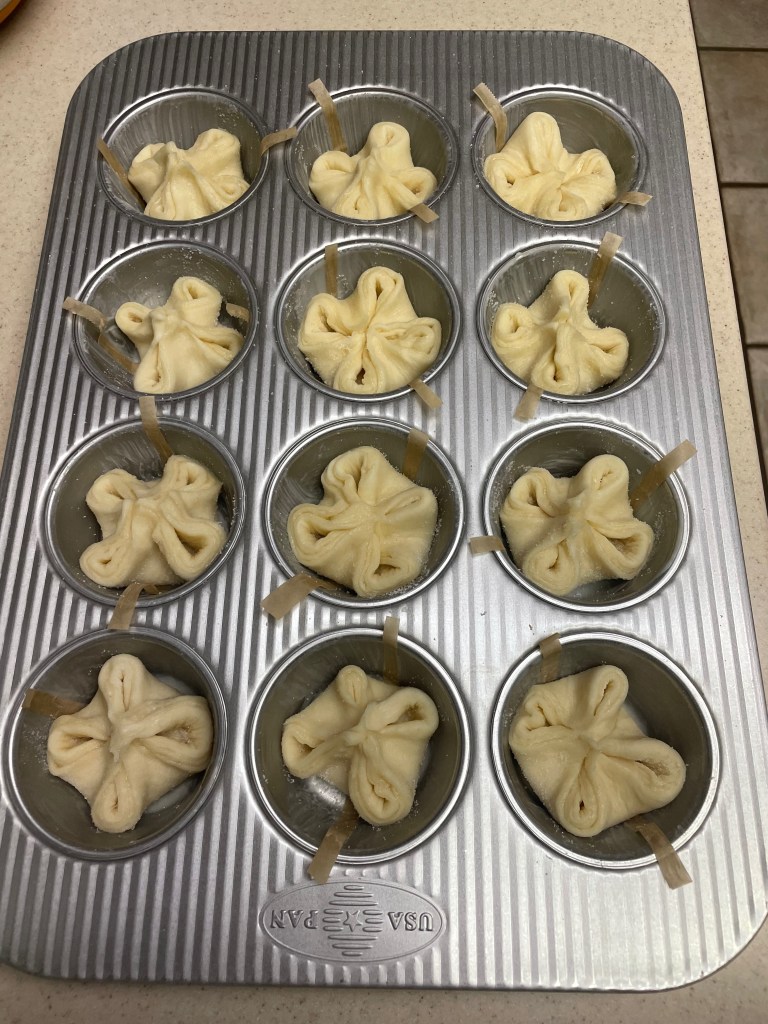
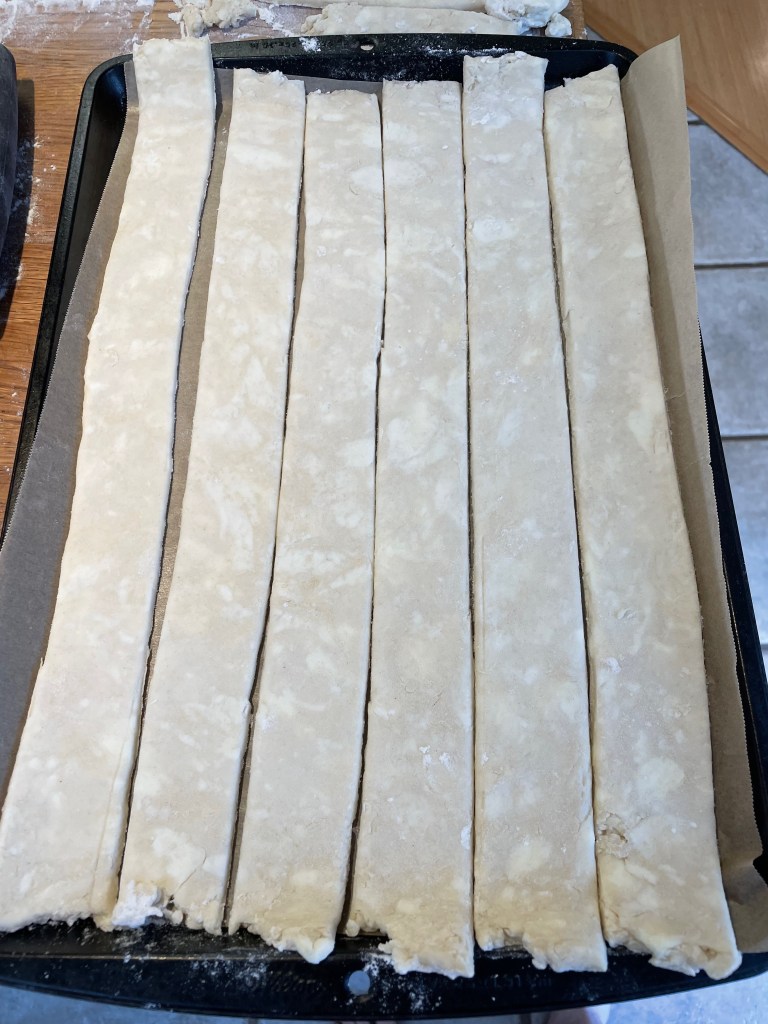
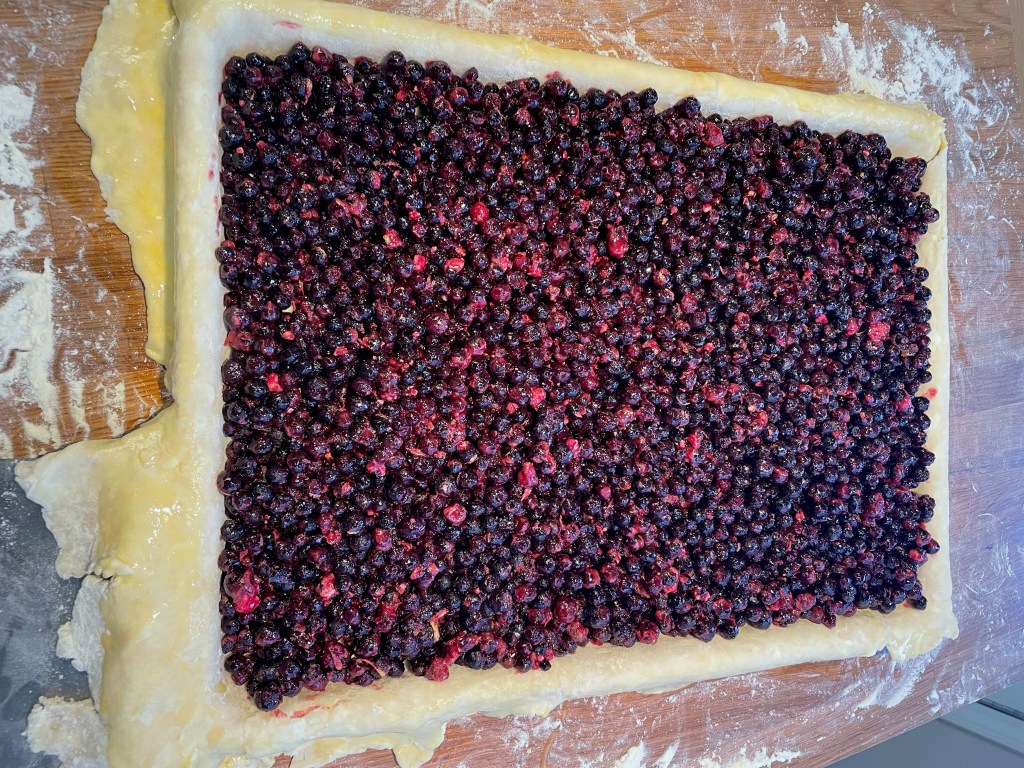
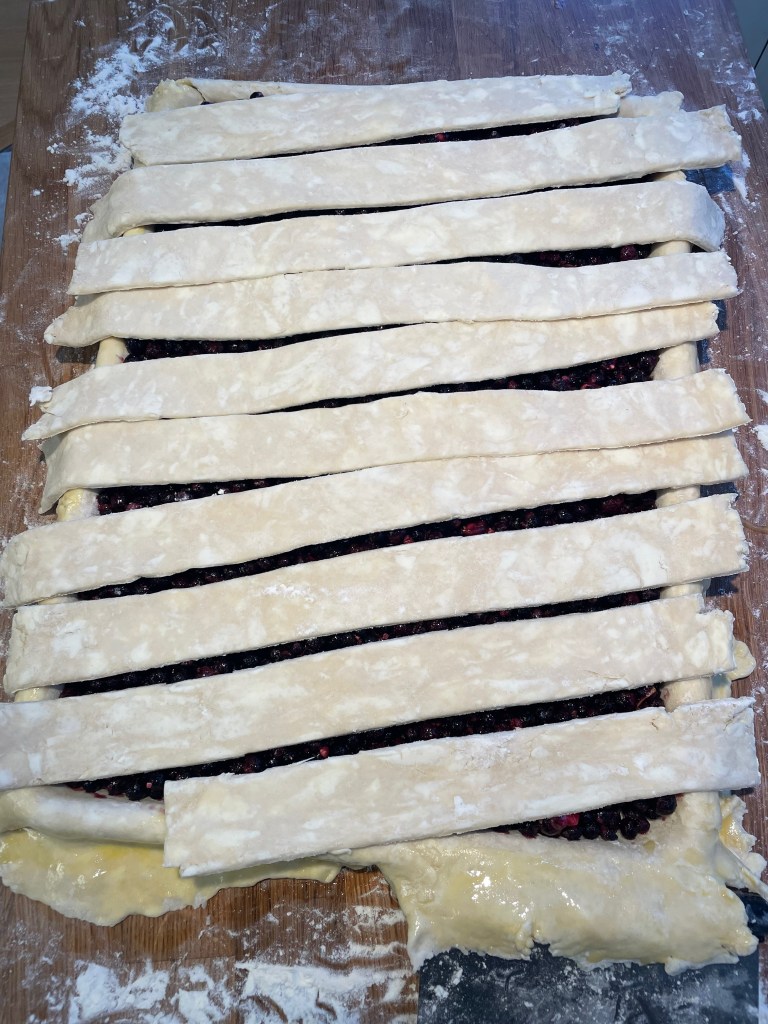
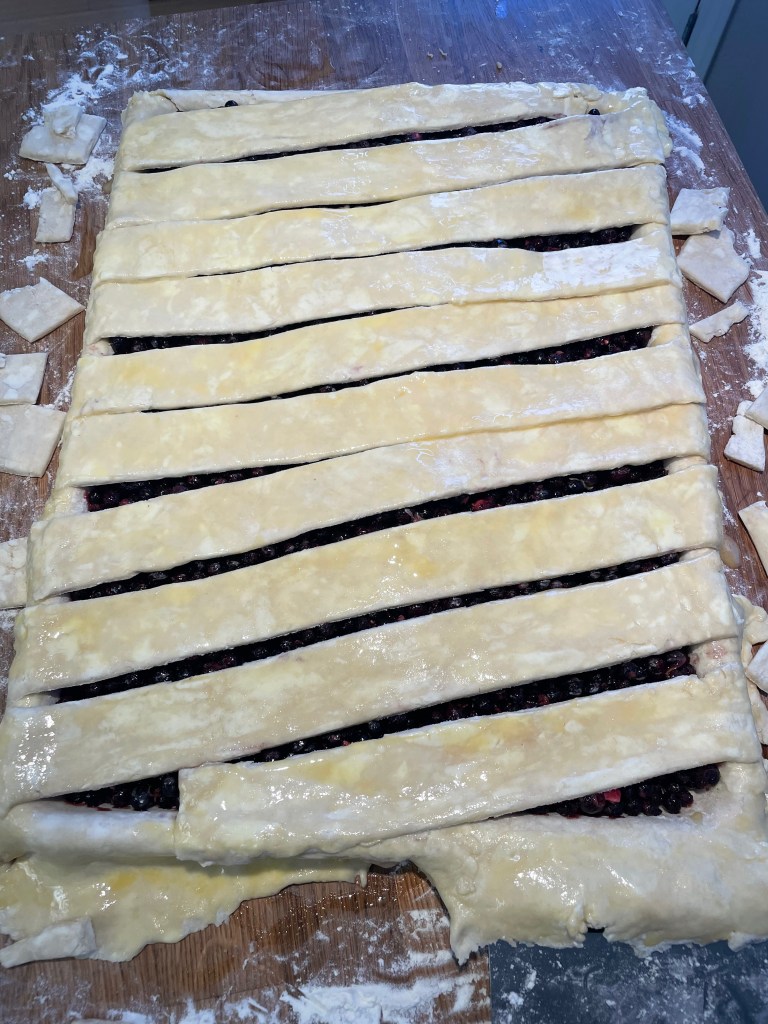
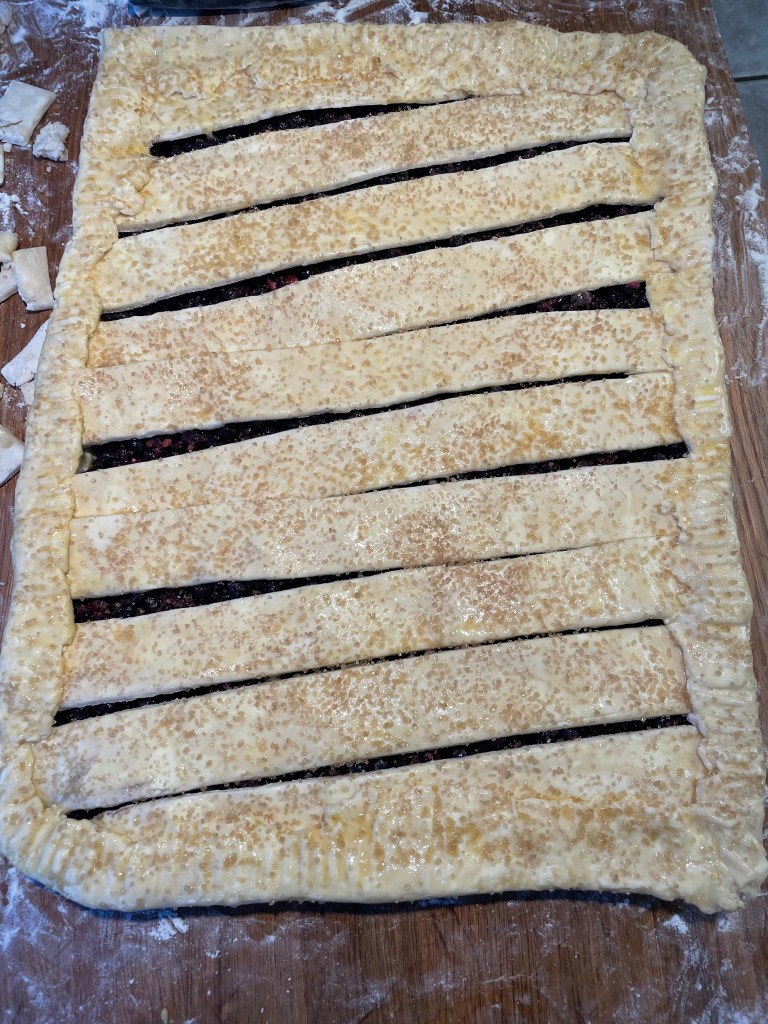
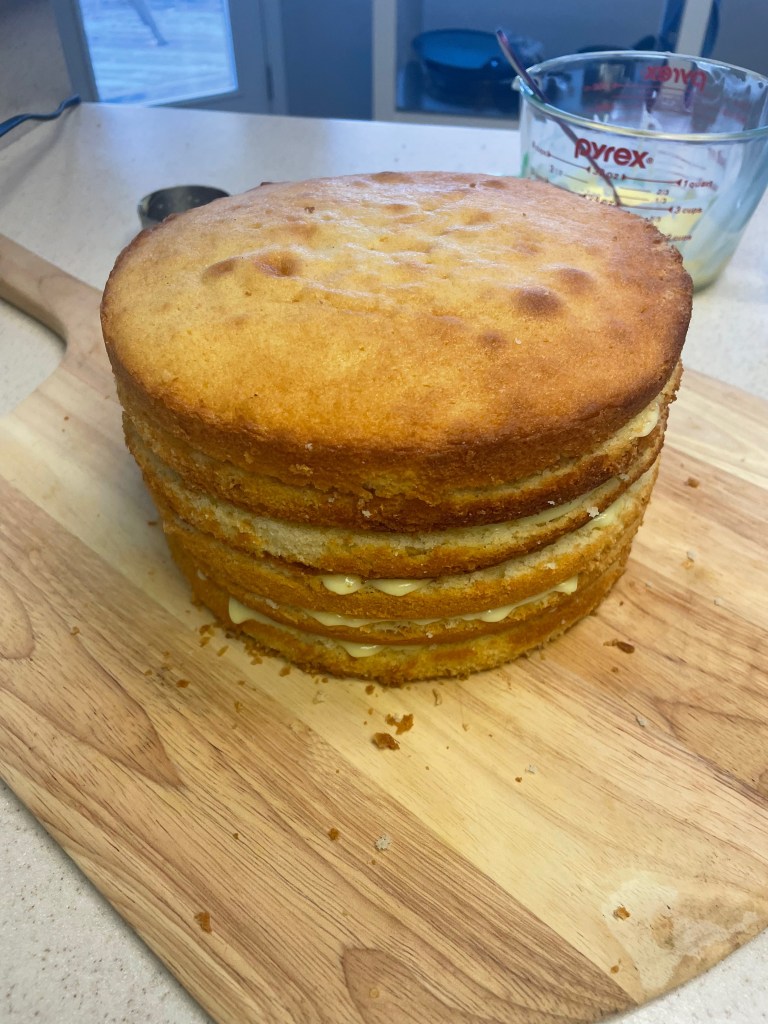
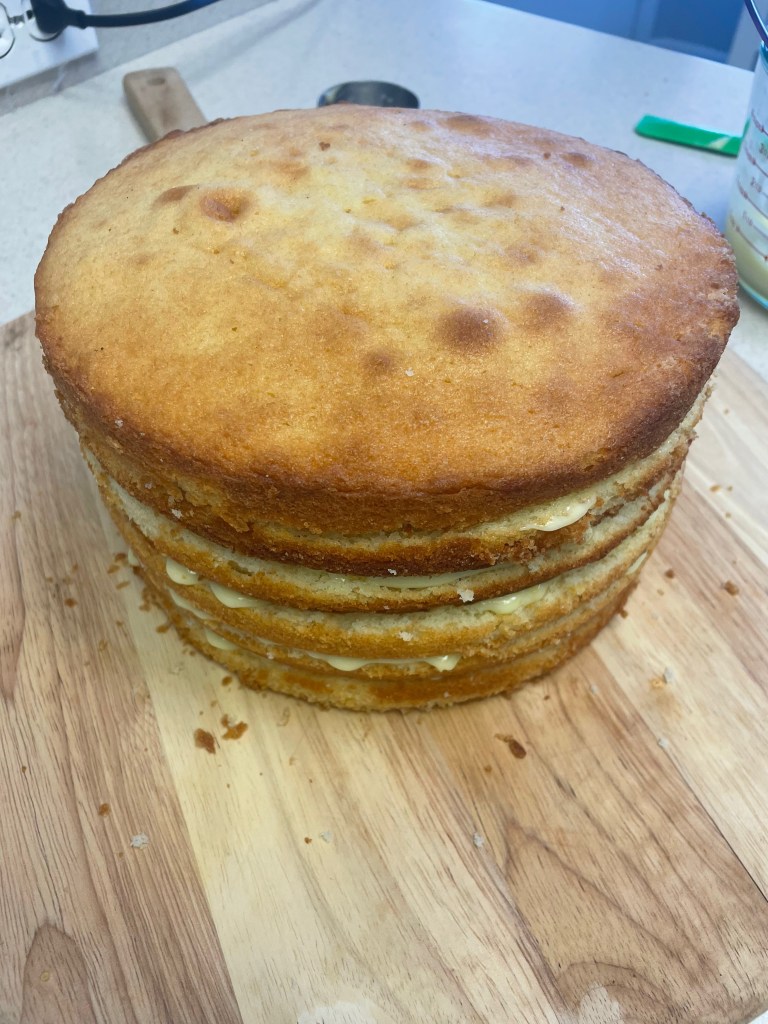
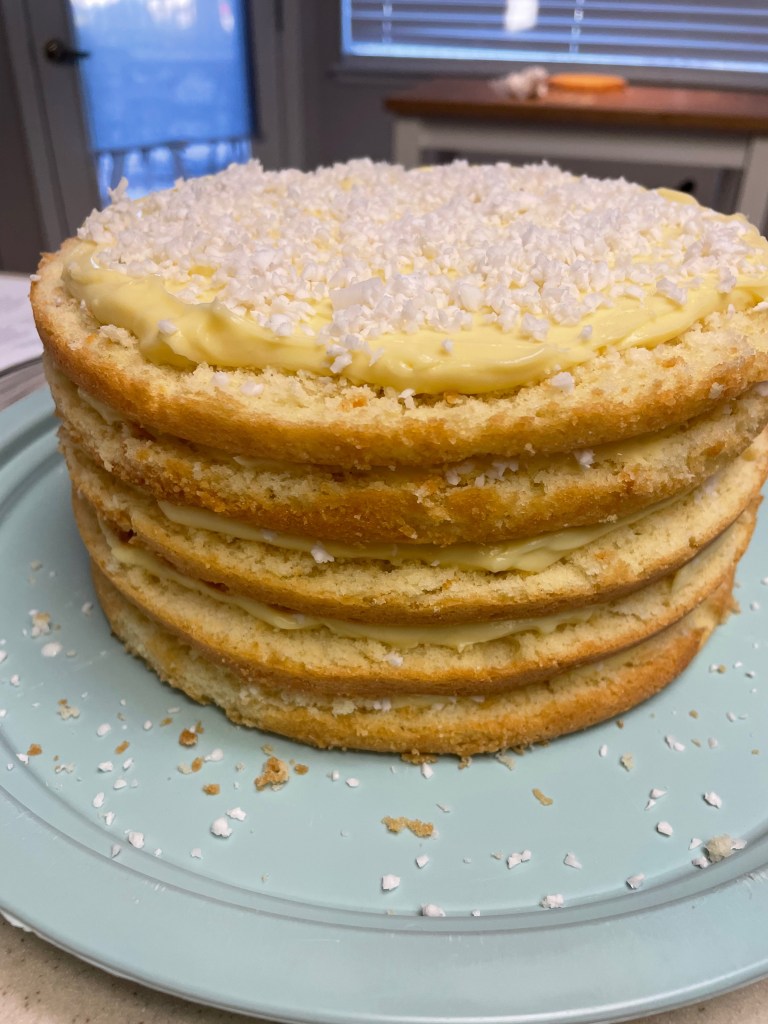
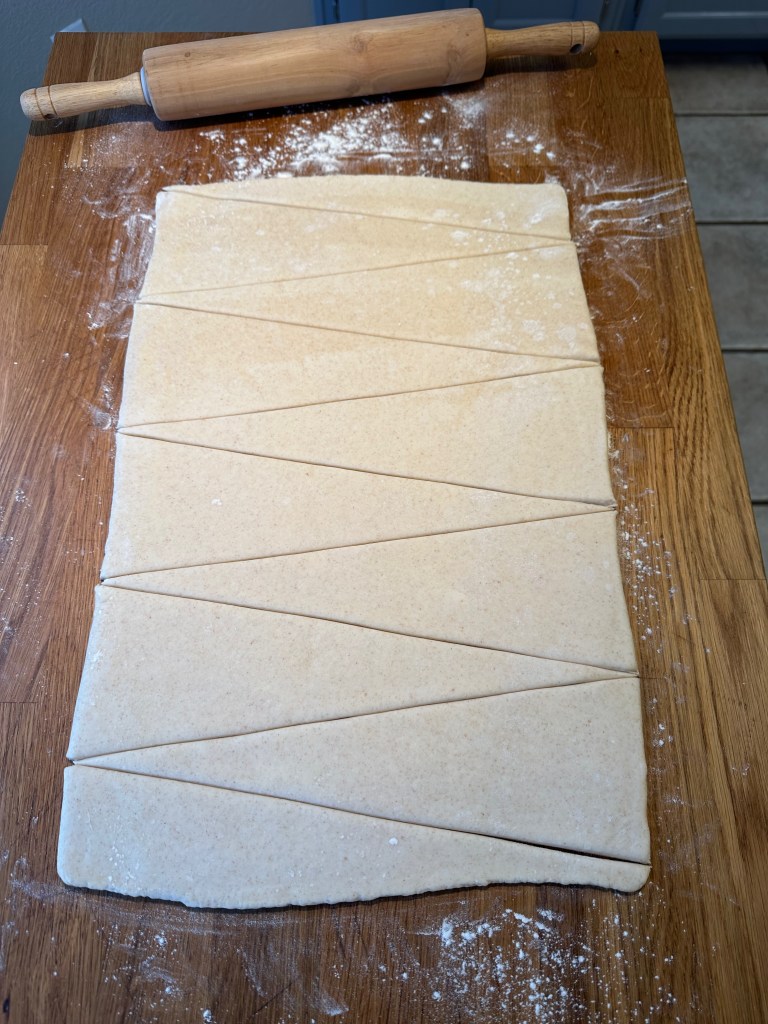
Assembling The Croissants

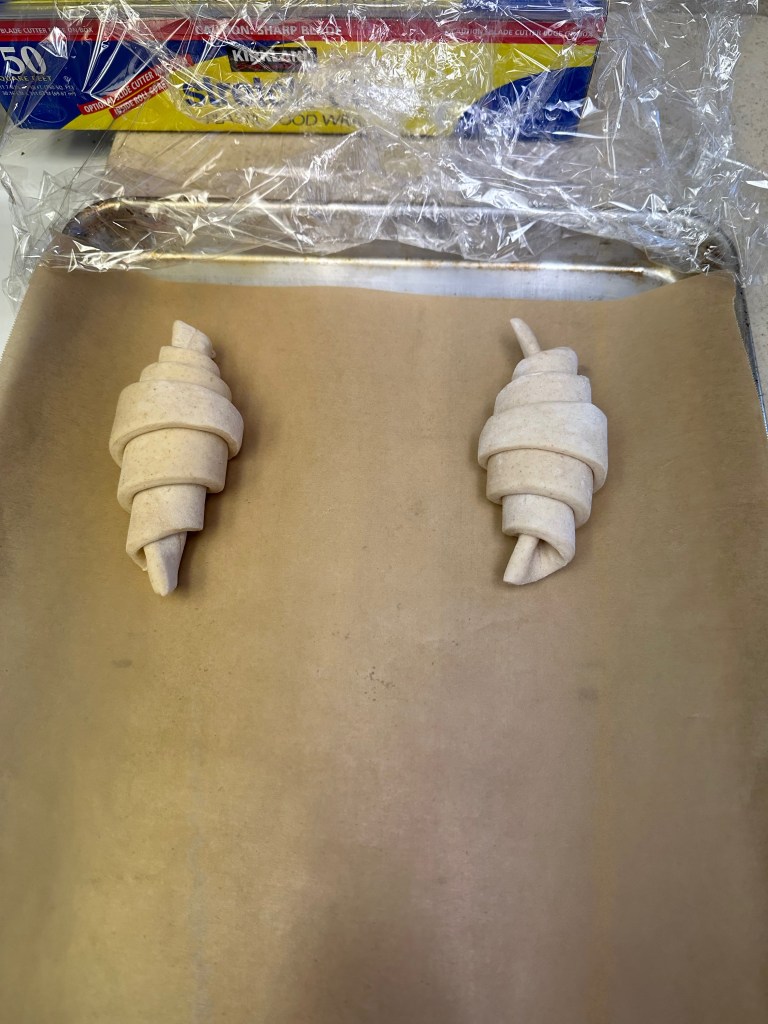


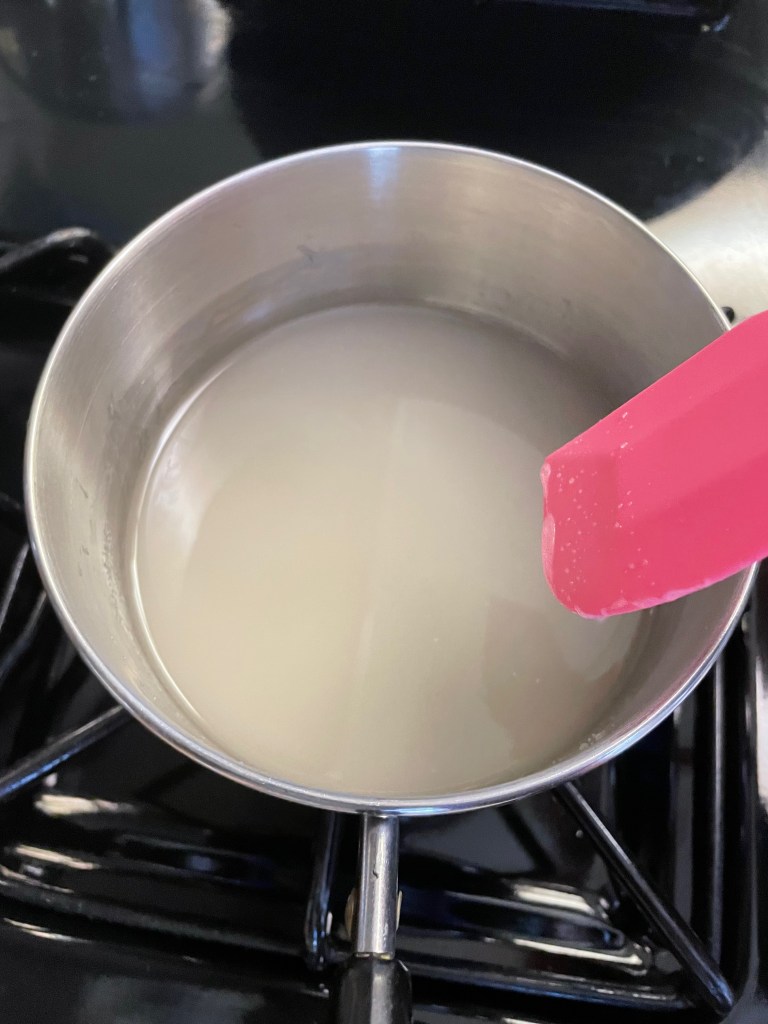
Tip: In colder conditions proofing can take an extra 2-3 hours, in which case more water can be applied.
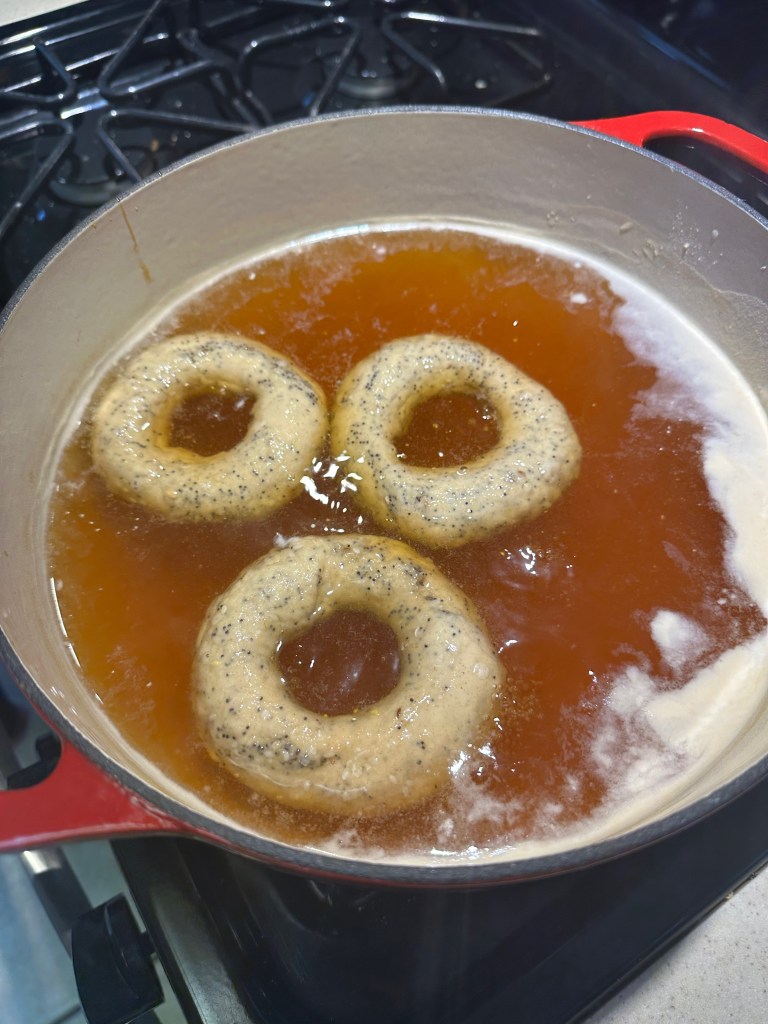
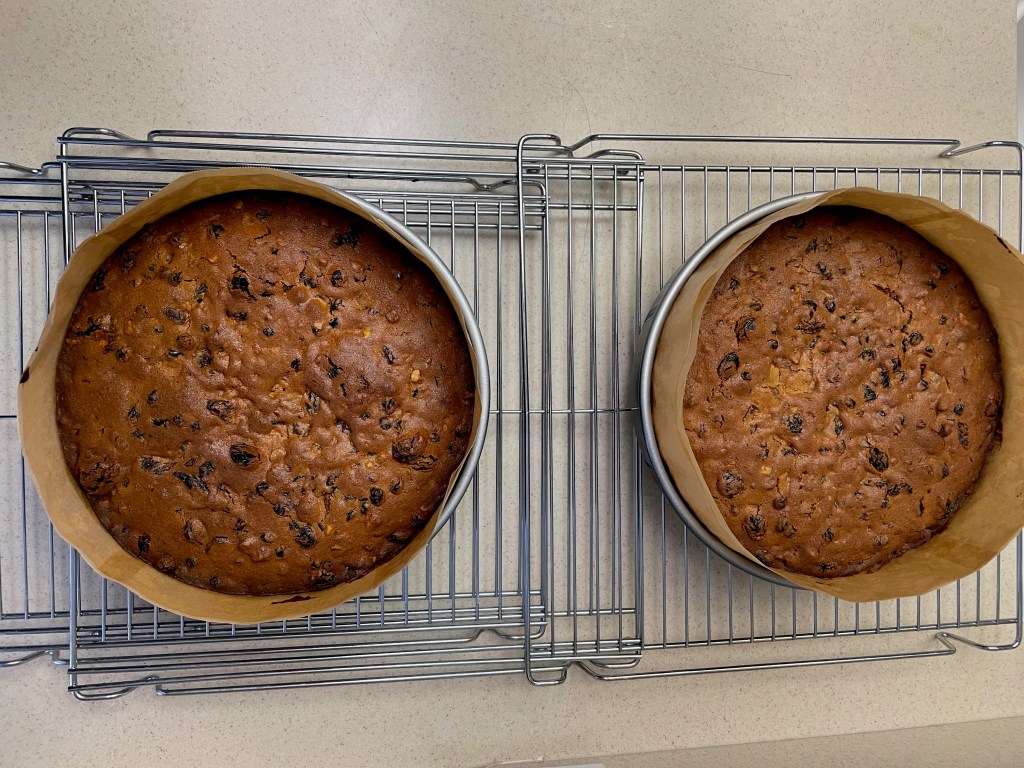
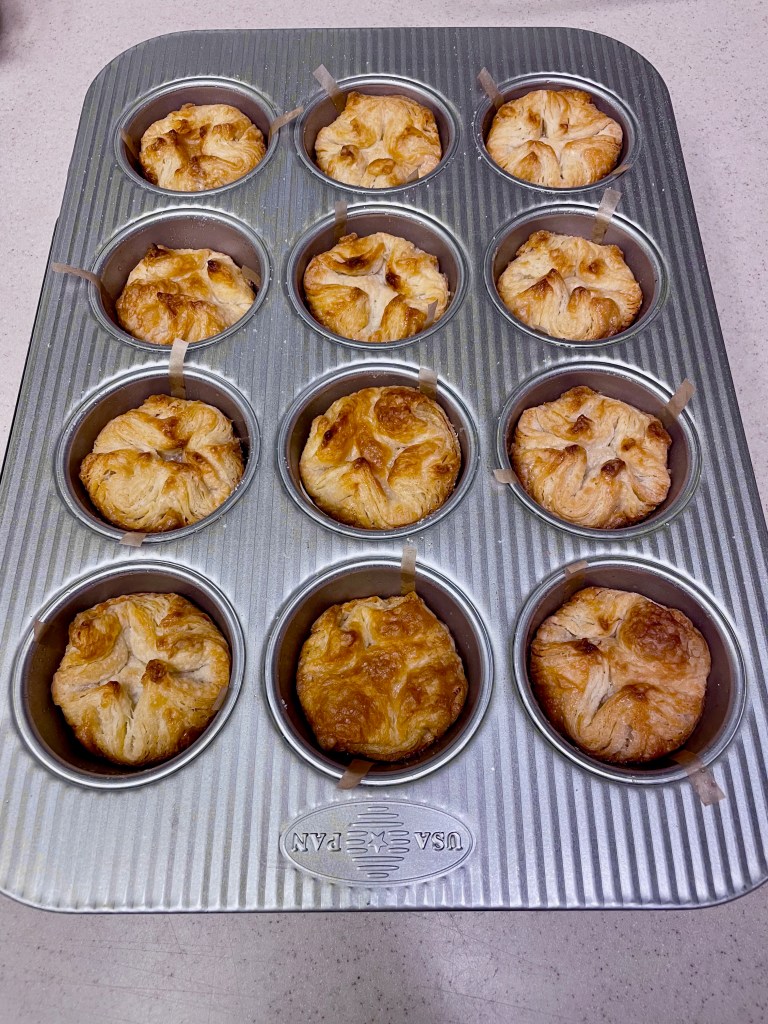
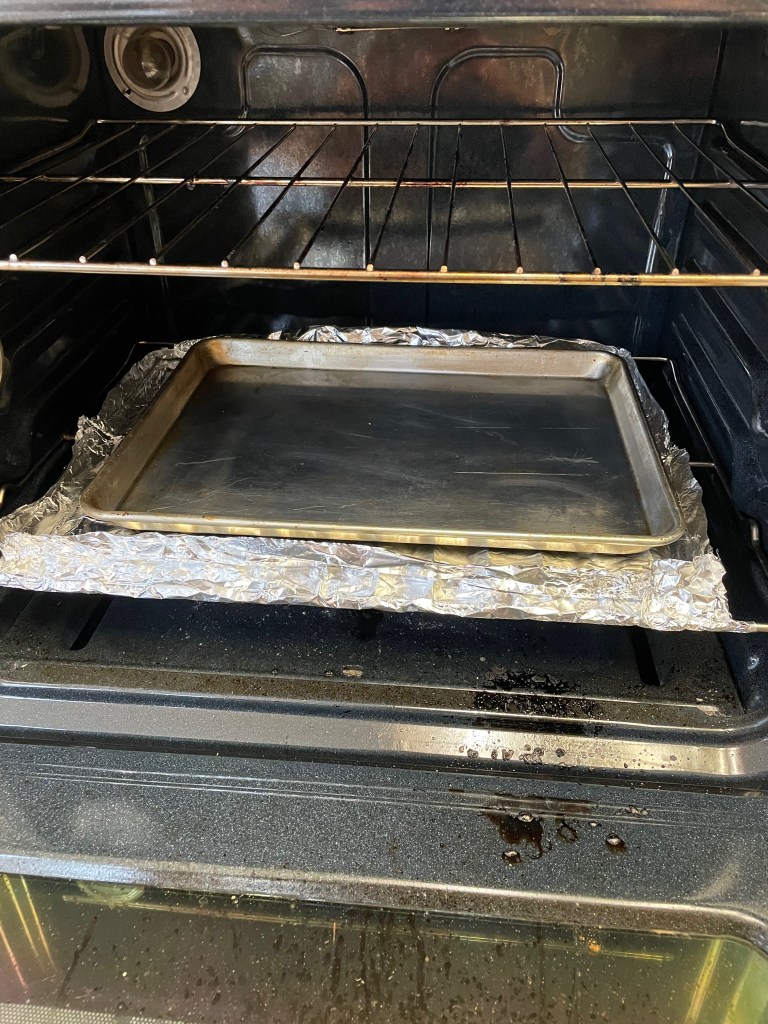
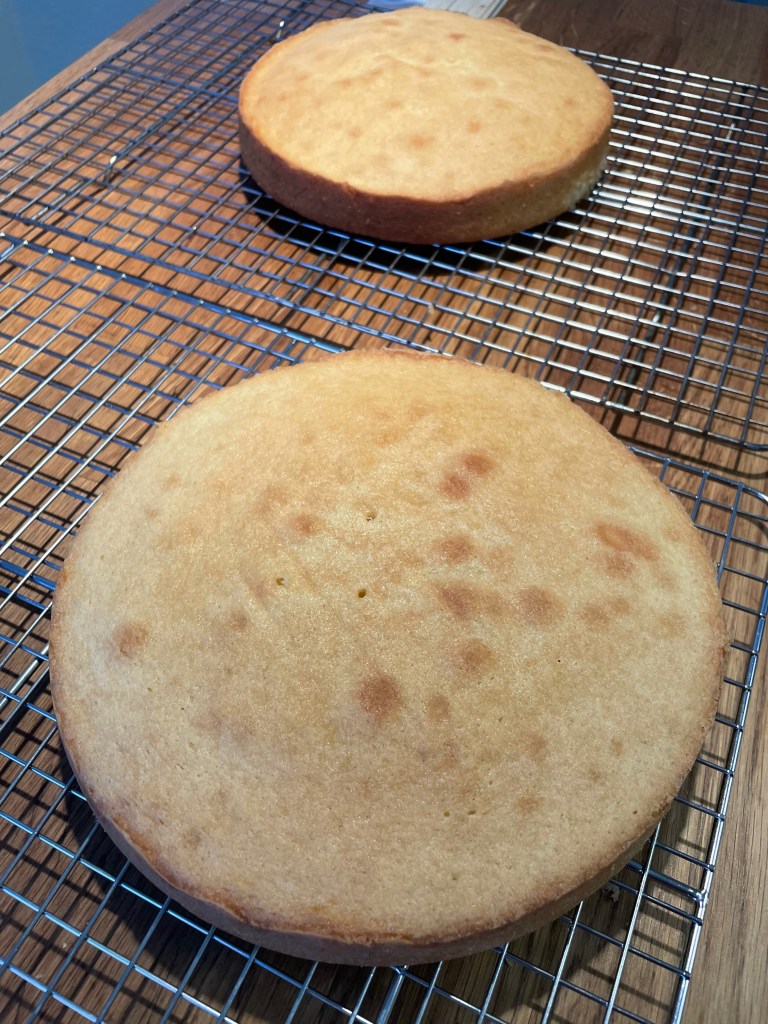
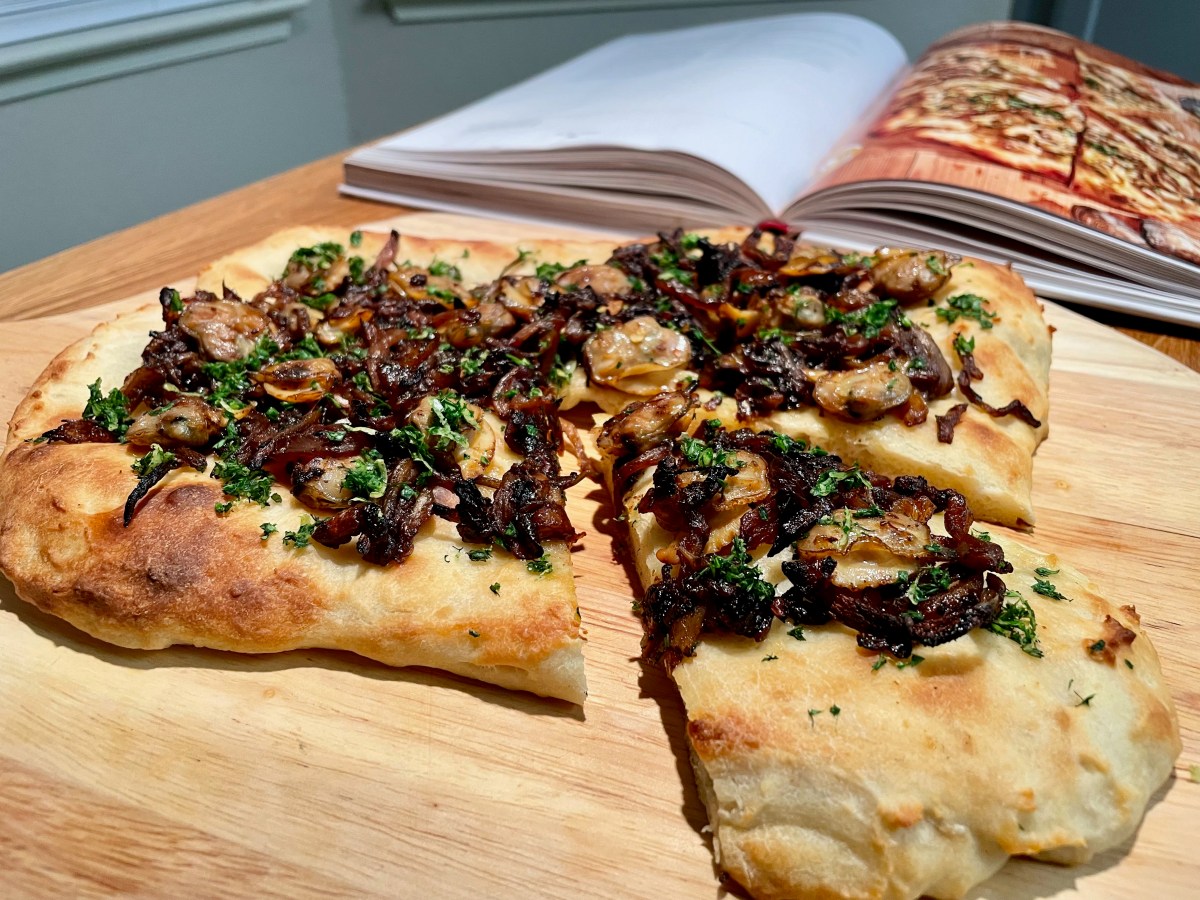
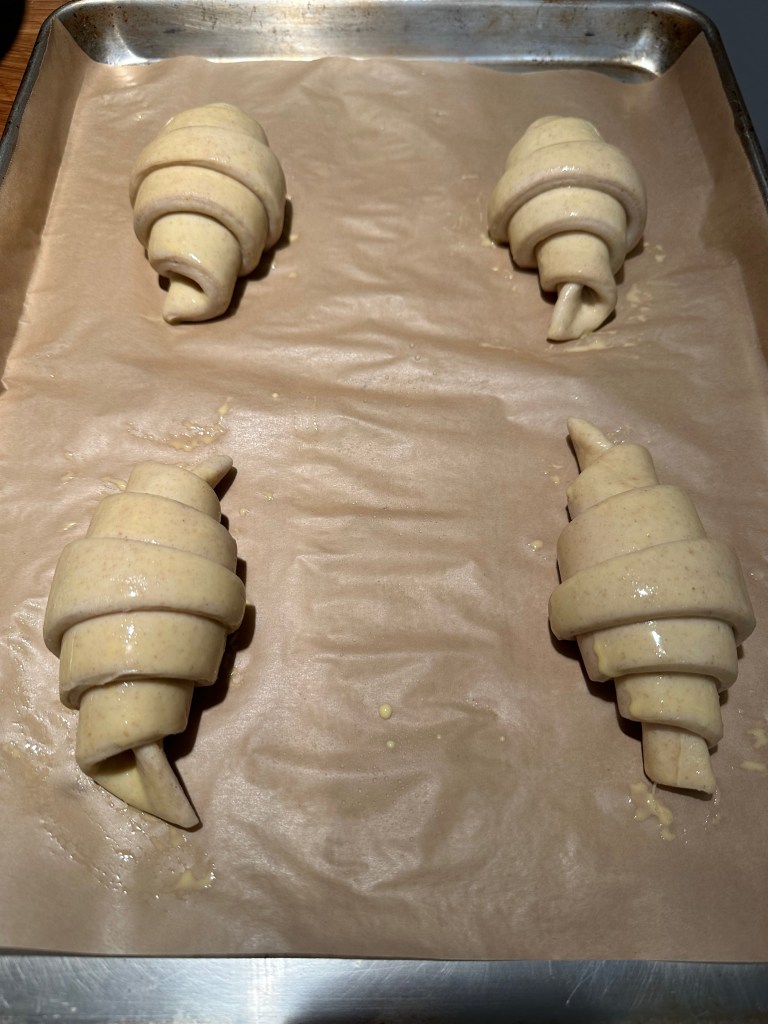
Baking The Croissants


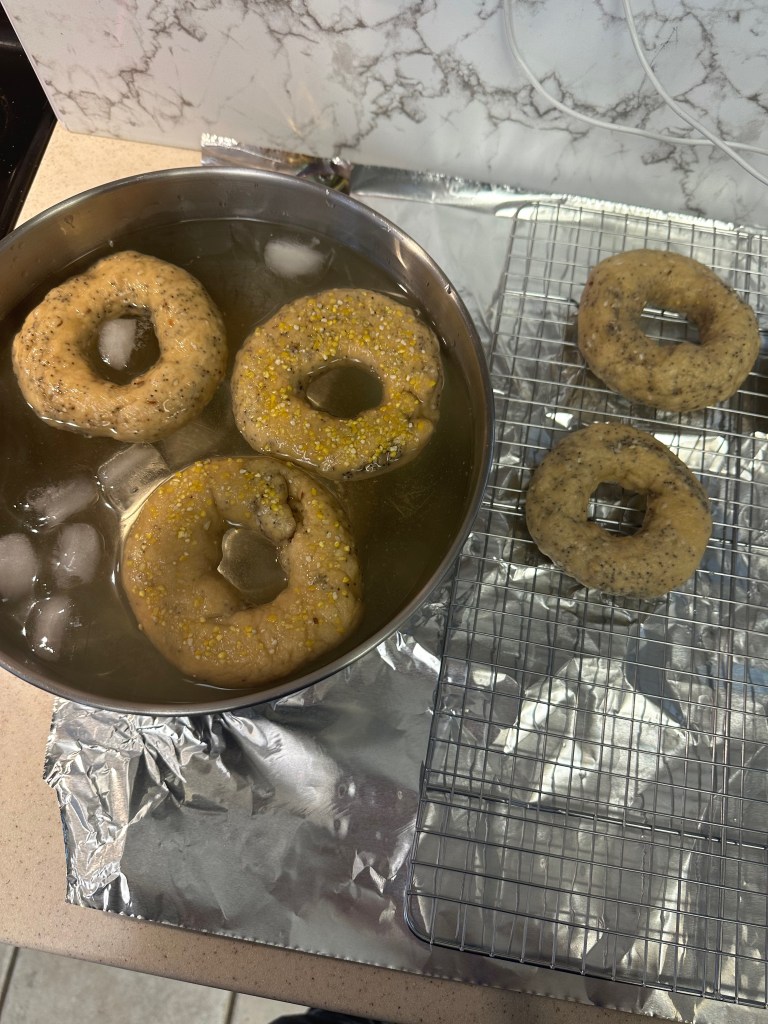
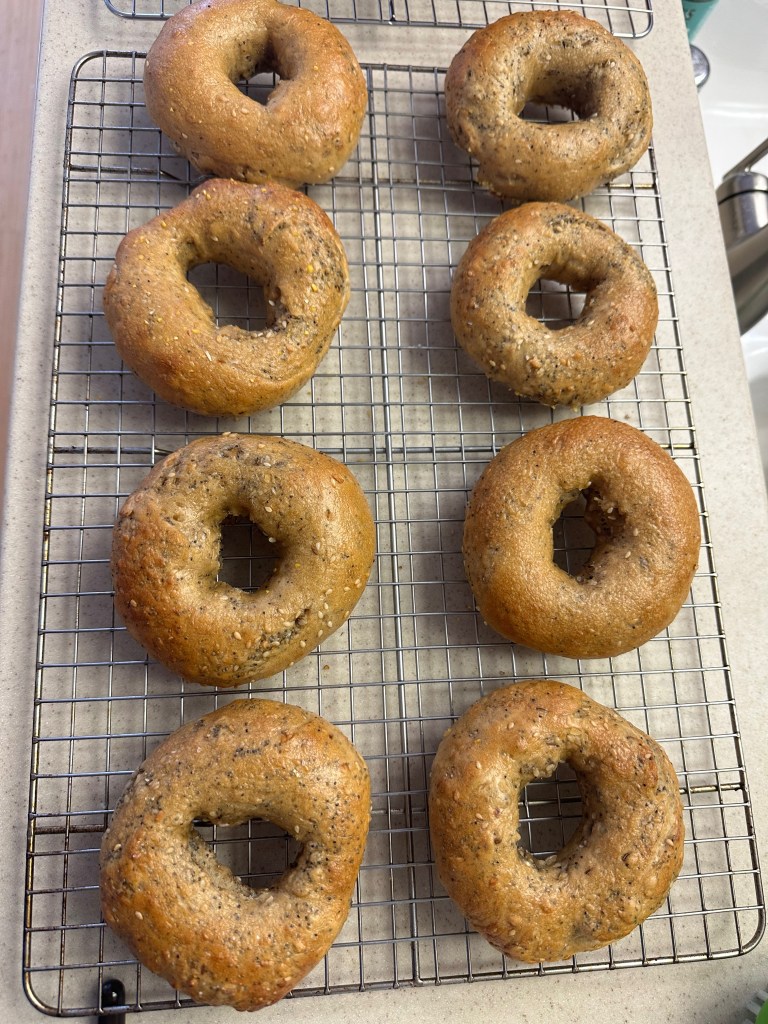
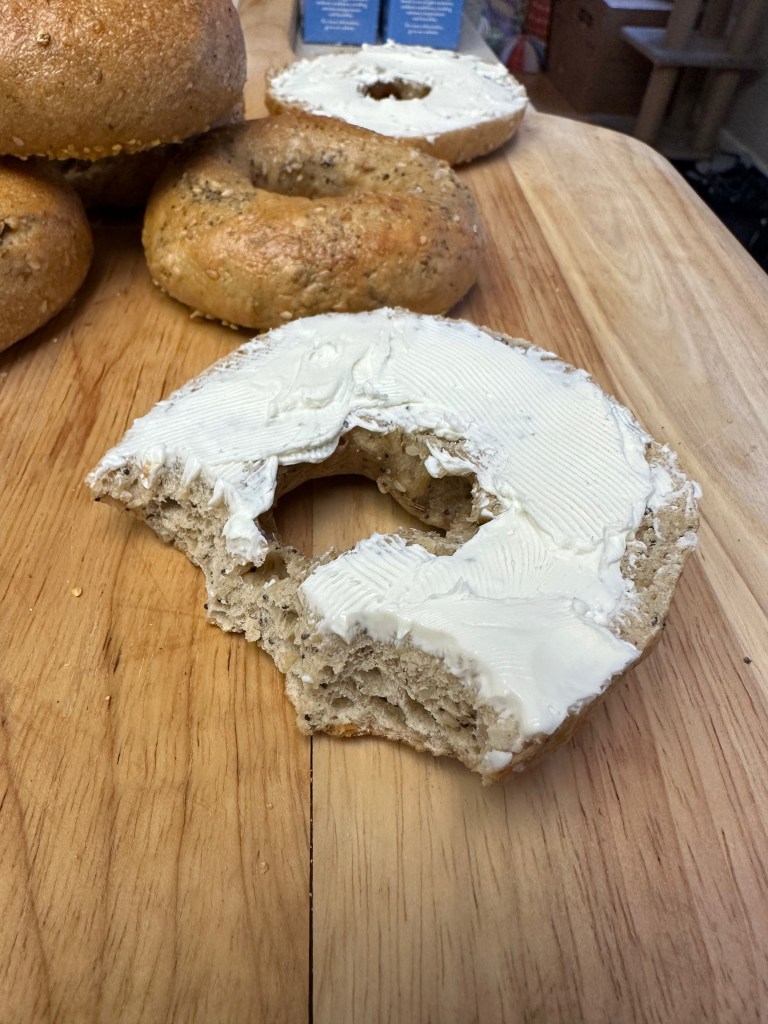
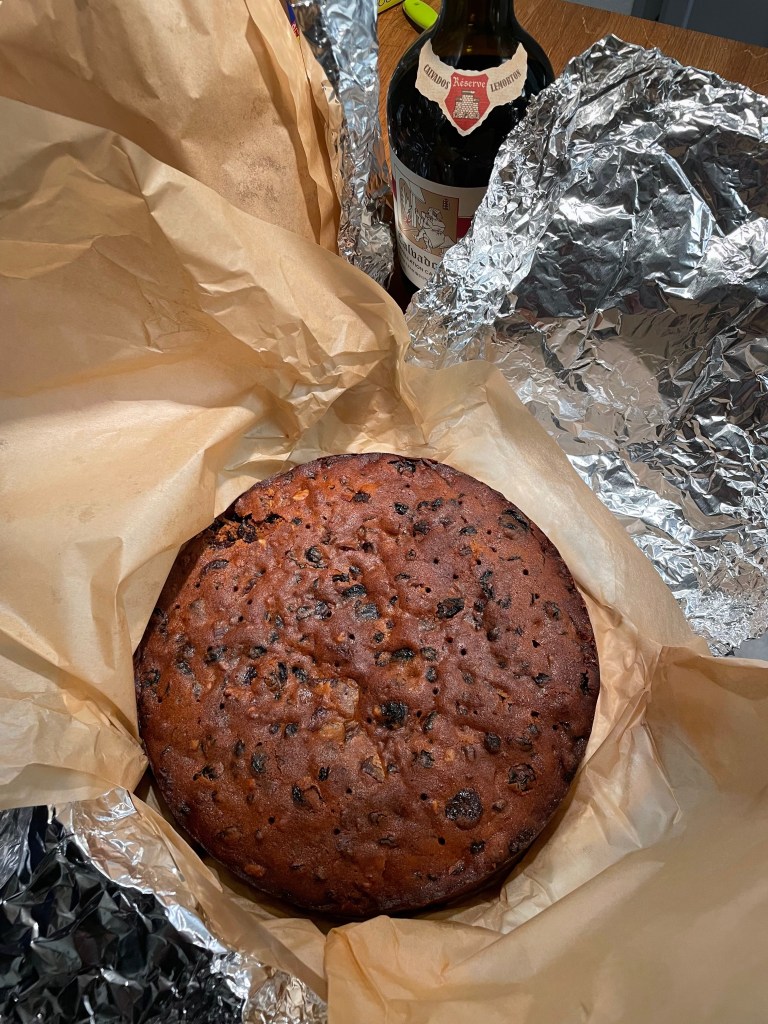
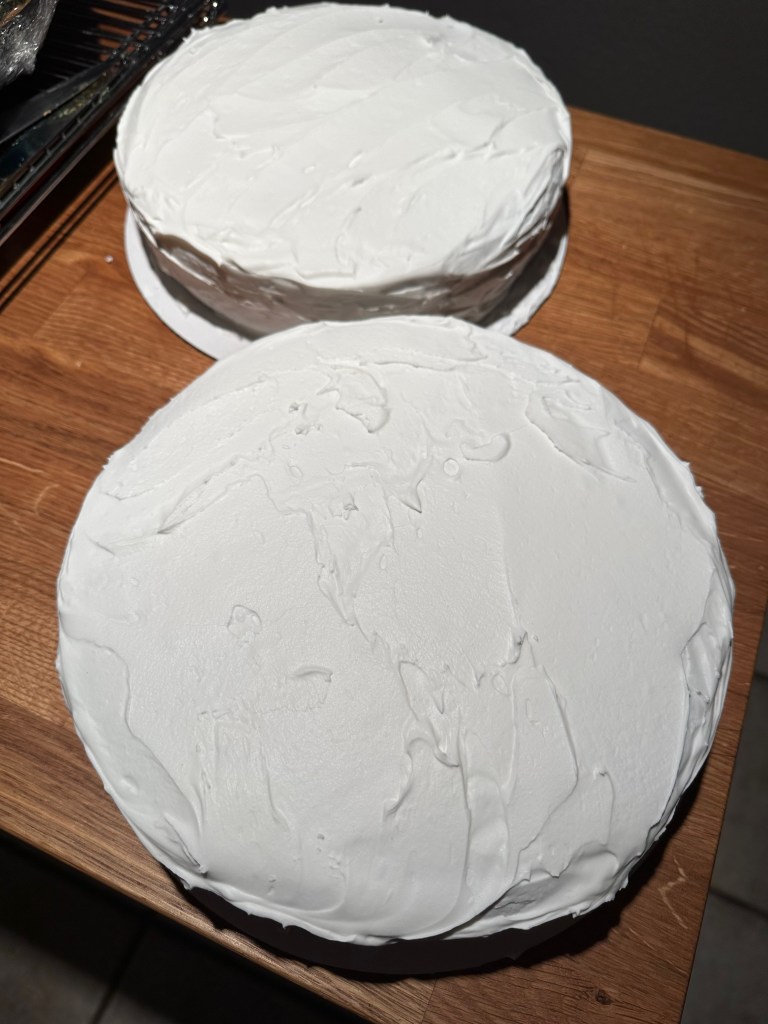
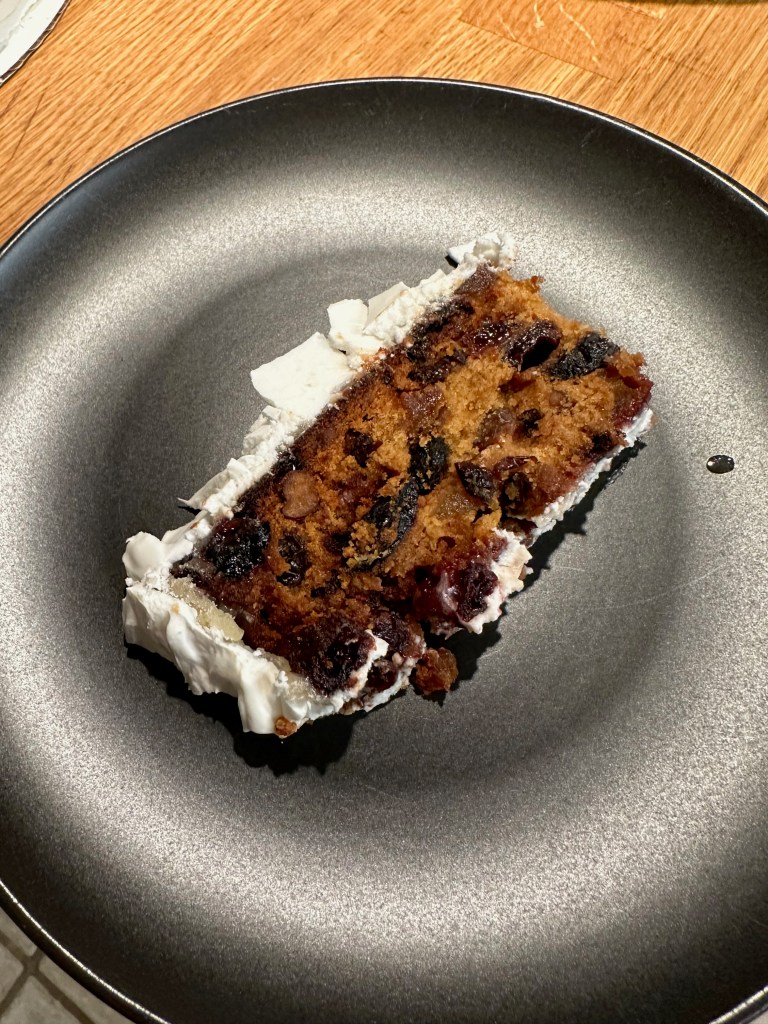
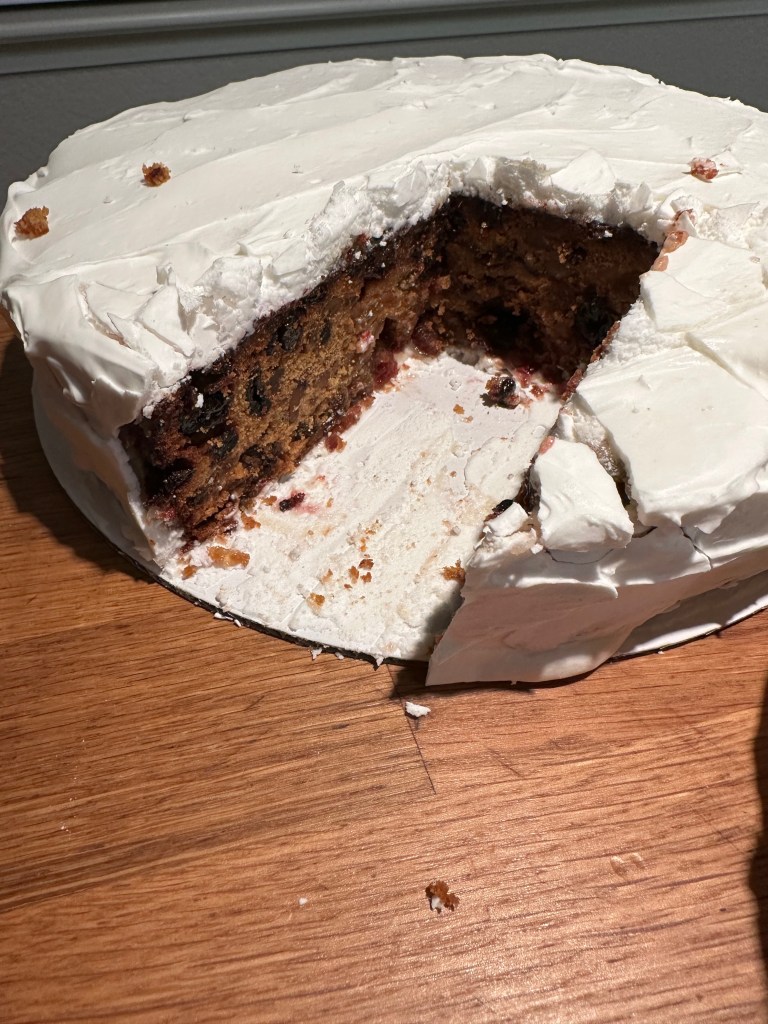
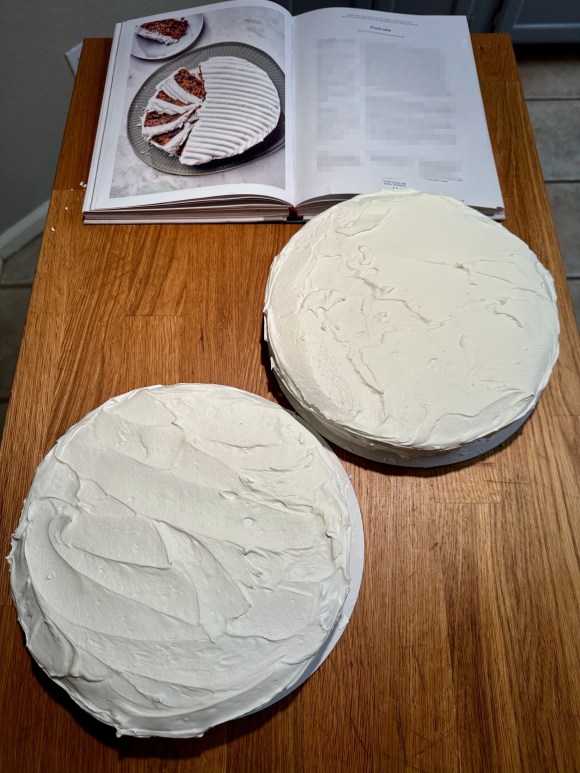
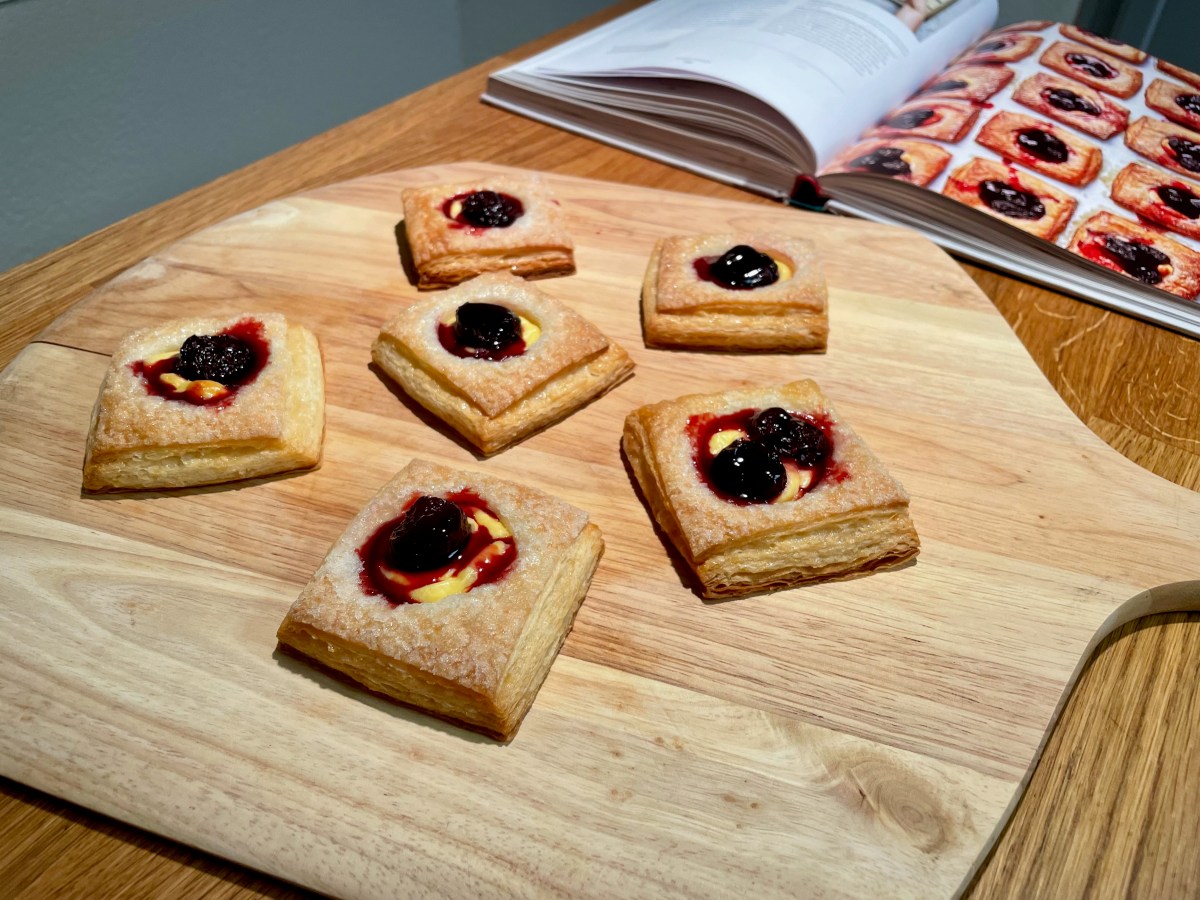
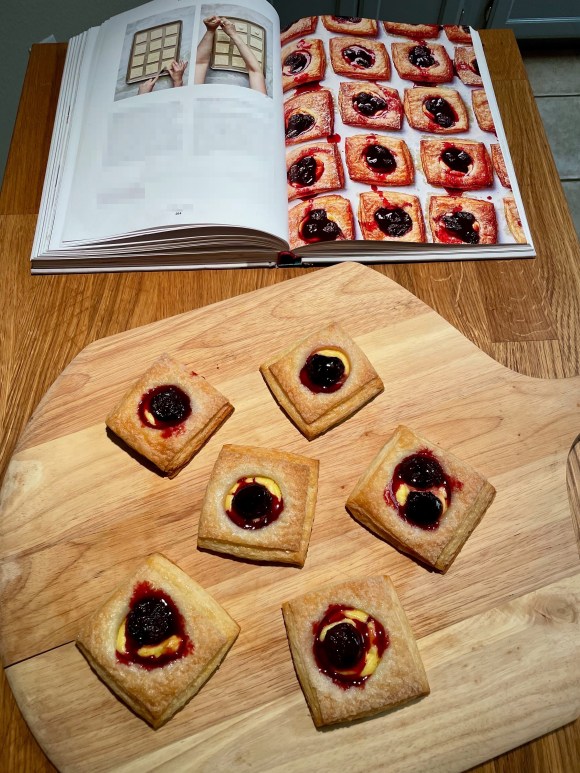
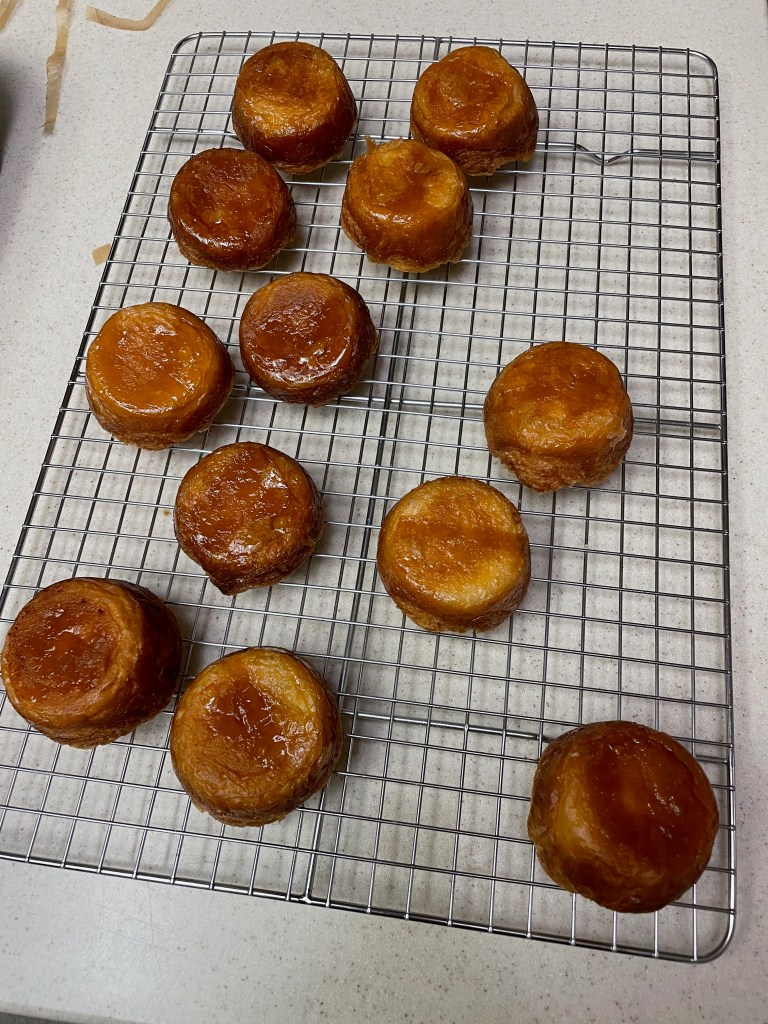
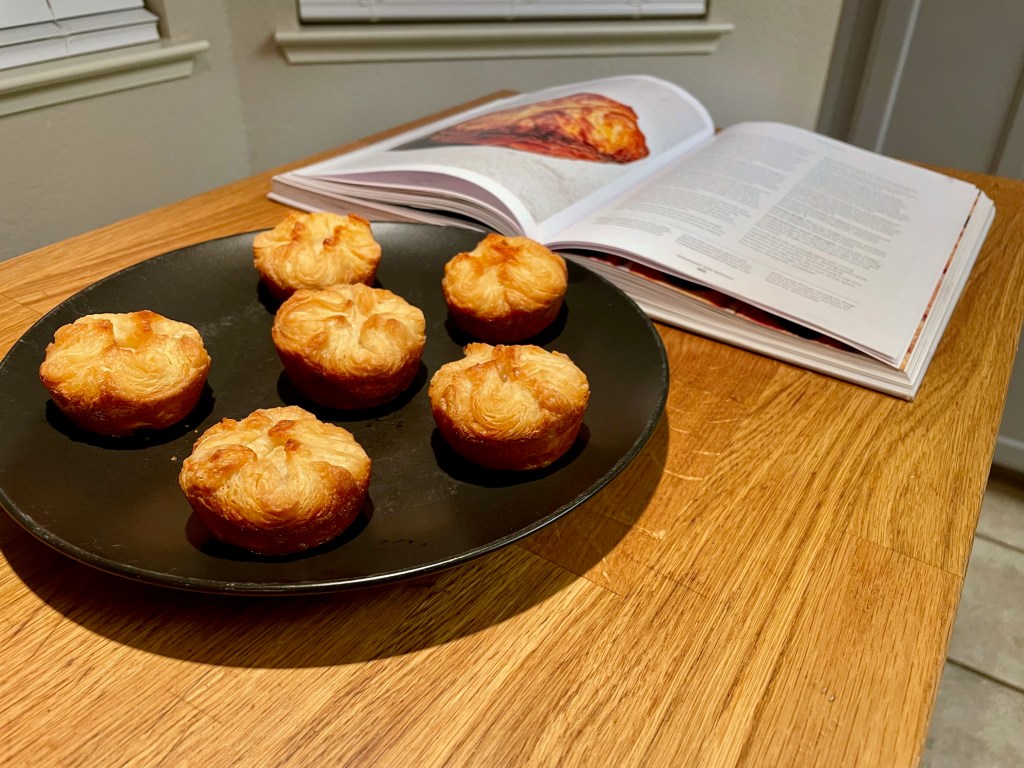
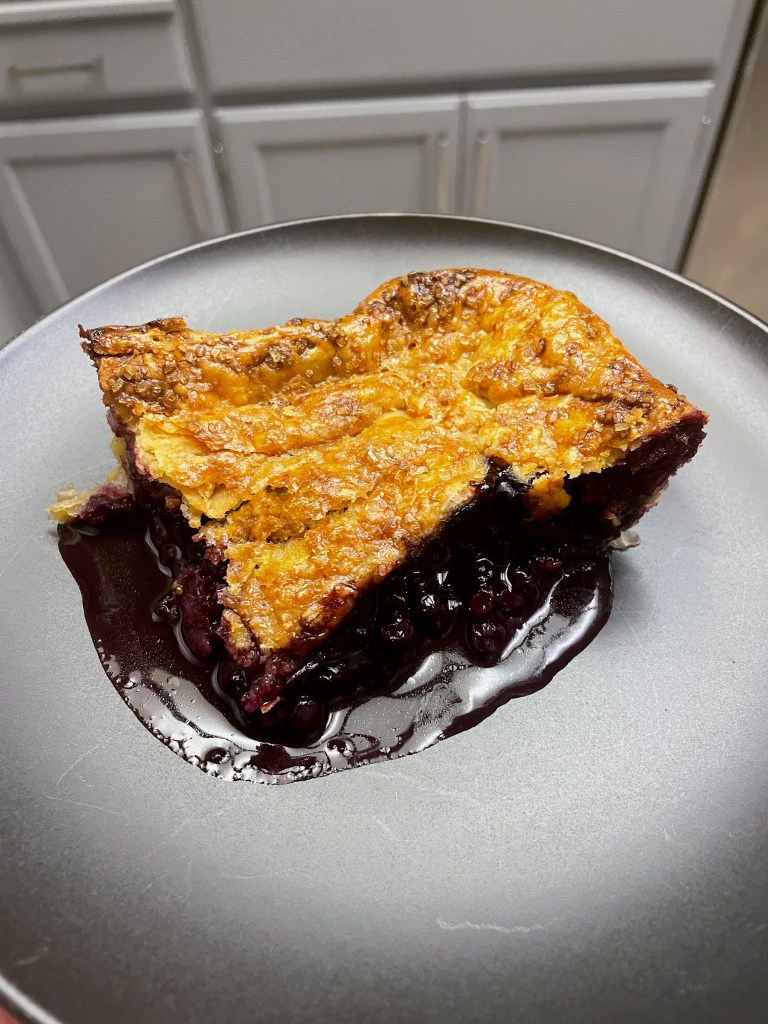
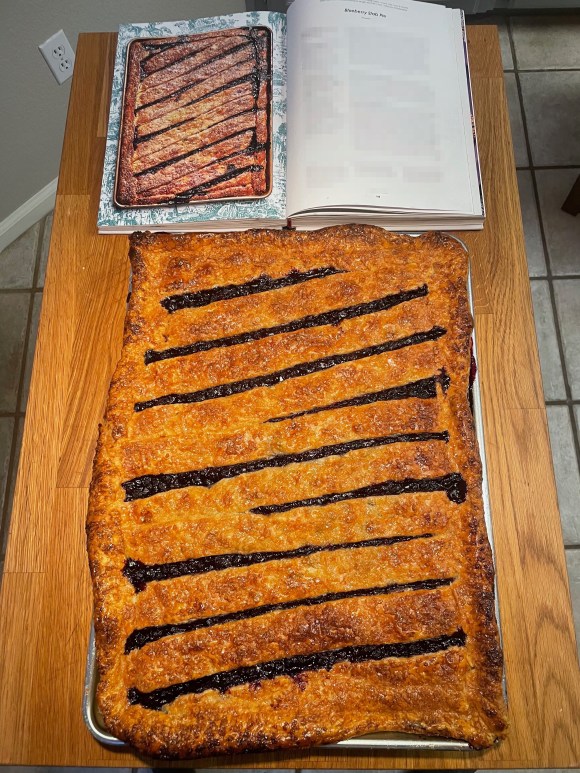
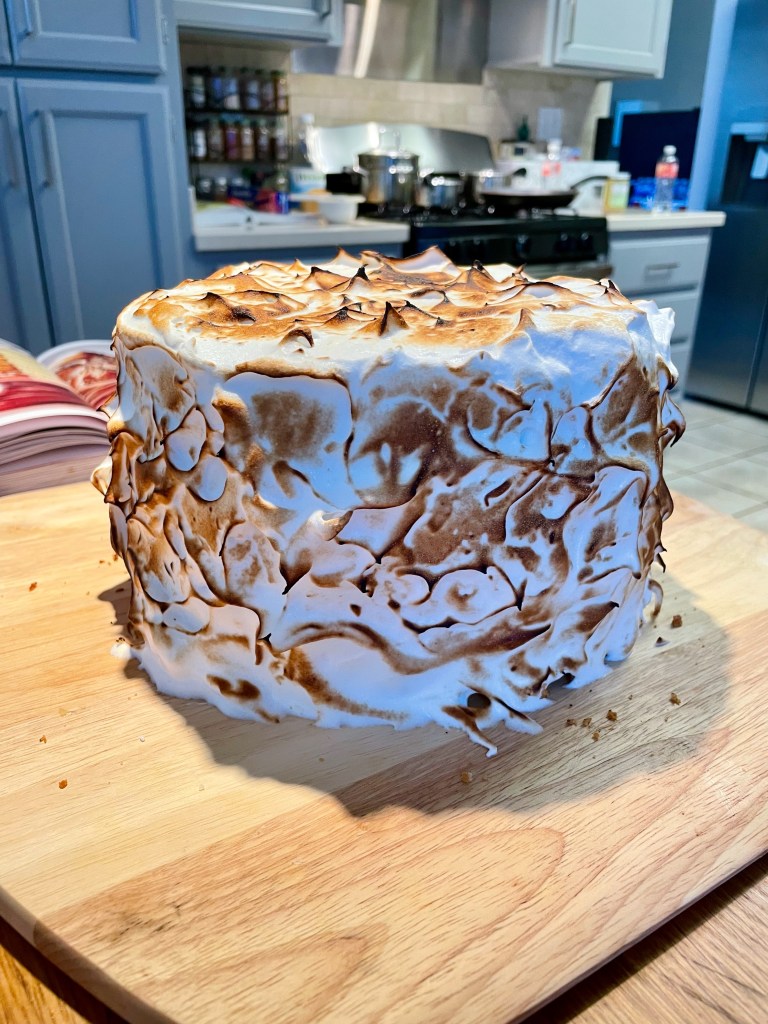
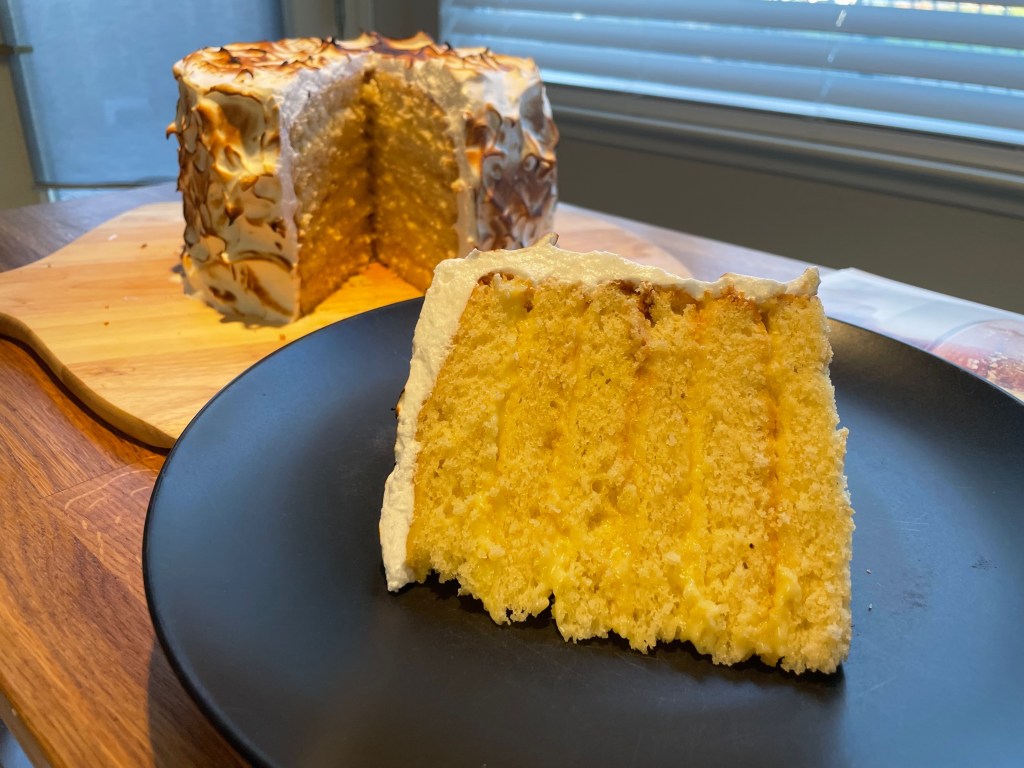
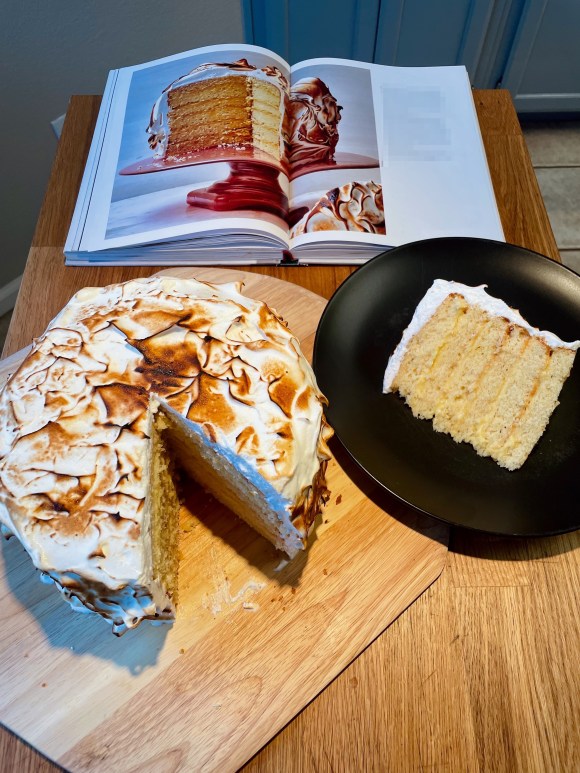
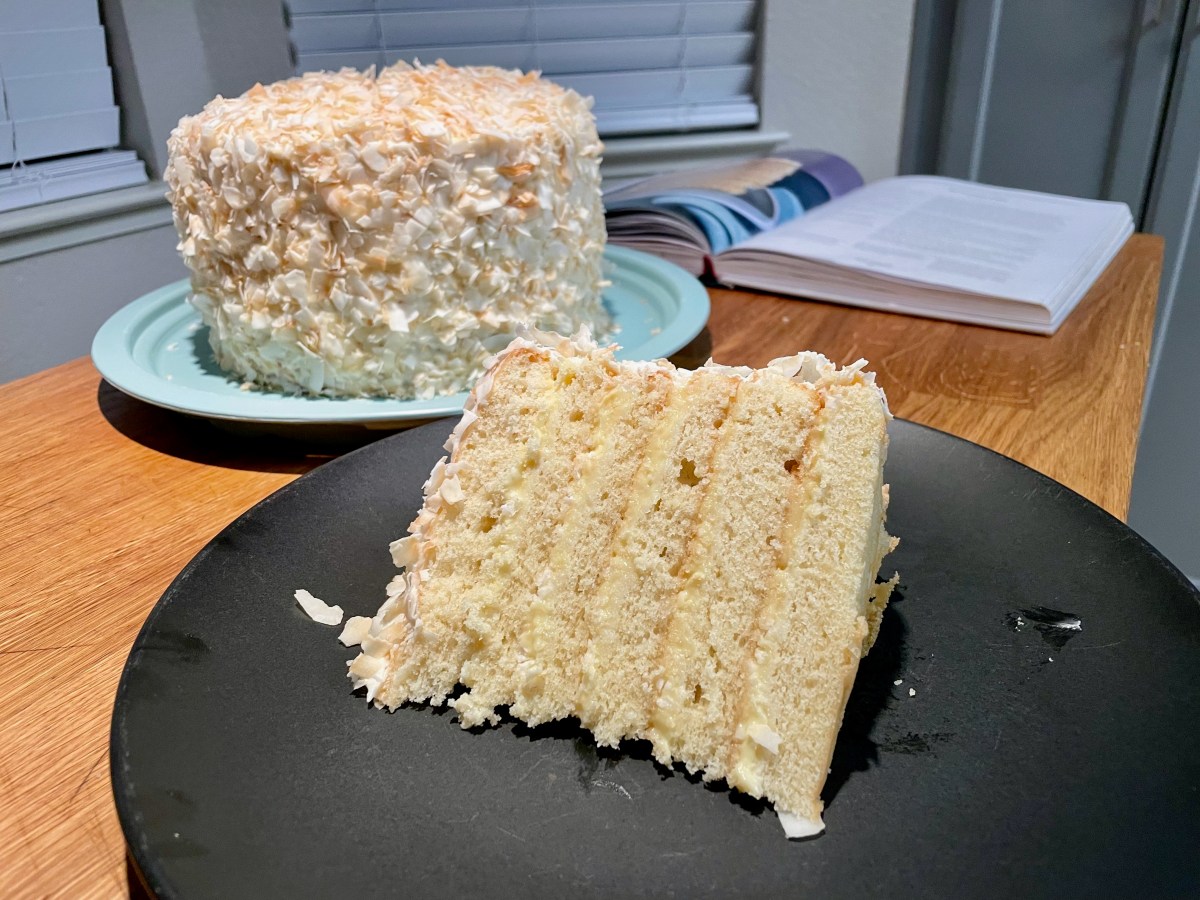
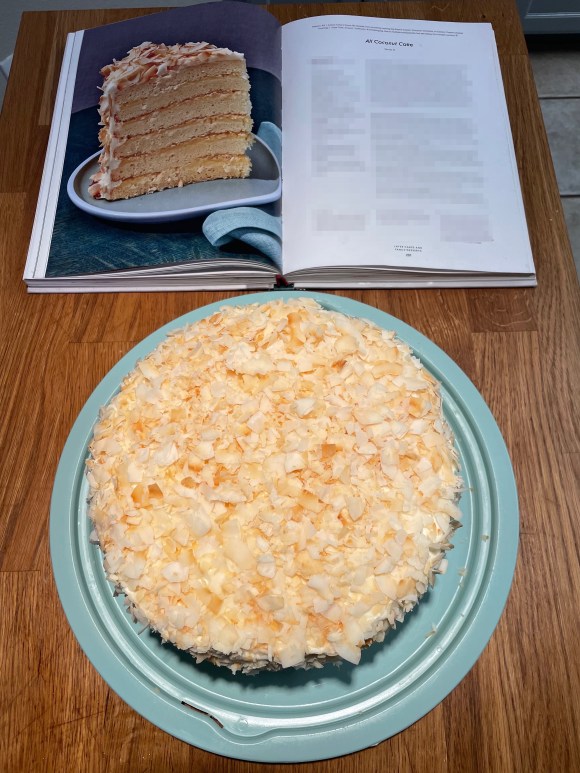
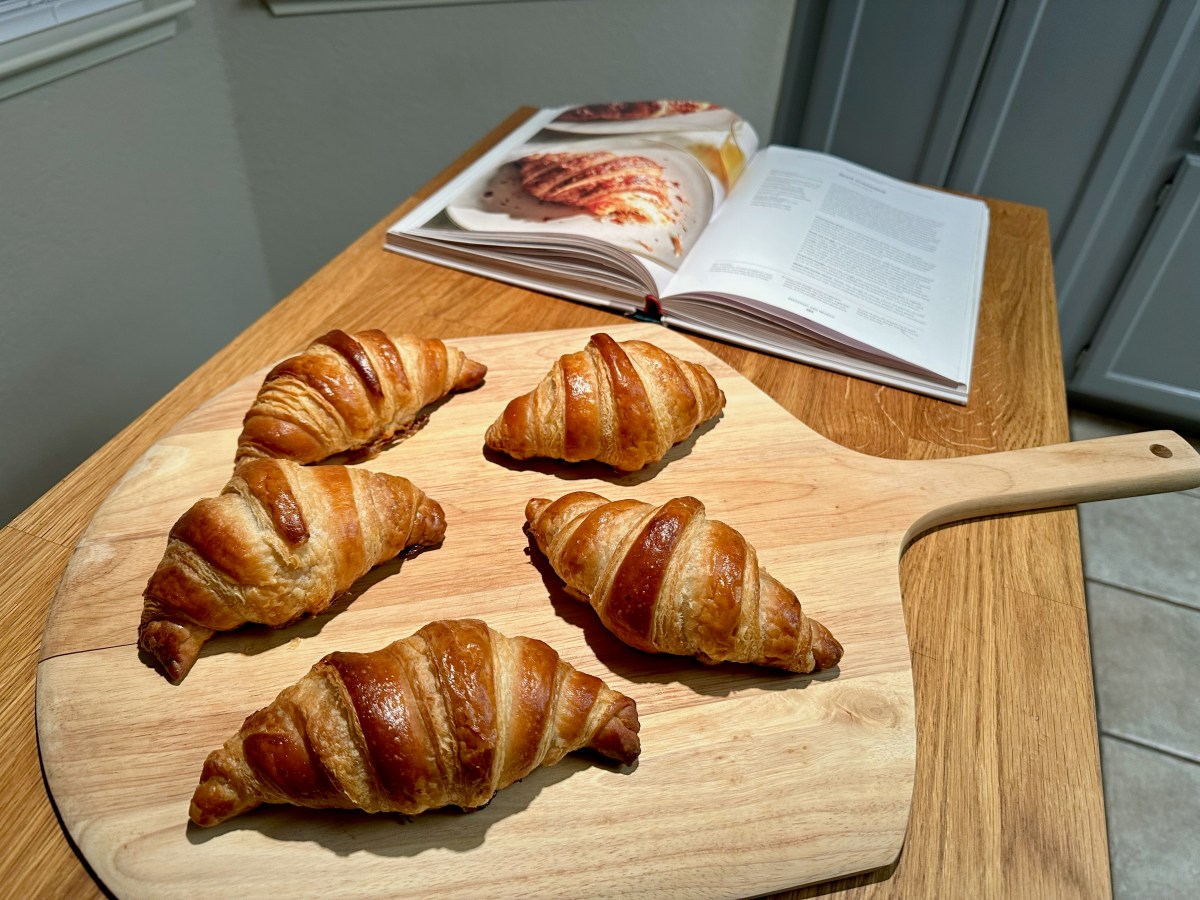
Final Product

Key Takeaways
- Time everything carefully. Create a schedule to keep track and always use timers.
- Final Score: 5/5 – These were absolutely delicious and overall not nearly as hard as the recipe suggested. Some may find these “too buttery”, but it’s all a matter of taste. These definitely don’t need any additional butter. On a related note, this was our final recipe in Dessert Person. We’ve now completed every recipe in the book.