Introduction
This recipe may look simple, but it’s surprisingly intensive and difficult. The dough can be a bit difficult to work with and get right. Likewise the dip takes a while to make. Nonetheless, the recipe comes out delicious and is highly recommended for a few reasons. First, the dip is incredible and arguably even better than the flatbread. Second, stuffing the flatbread with feta is a great twist. Lastly, the recipe is great for learning a variety of techniques.
Recipe Outline
| Recipe: Feta Zaatar Flatbread with Charred Eggplant Dip | Special Equipment: Griddle, Stand Mixer |
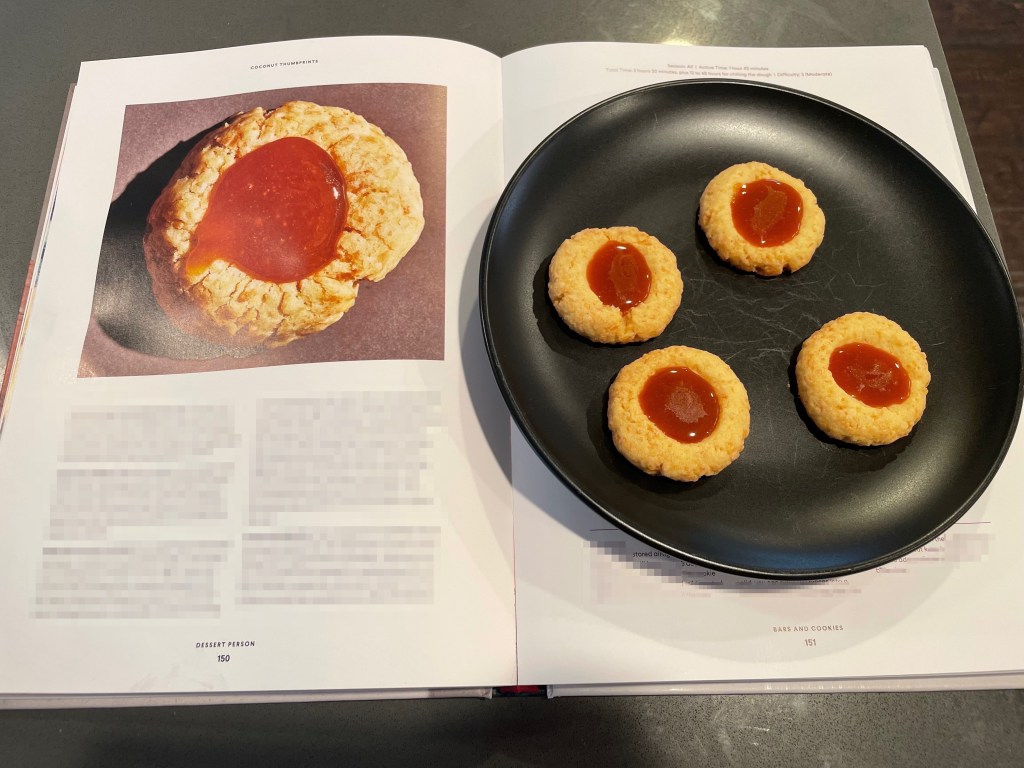
| Source: Dessert Person | Time: 7 Hours |
| Author: Claire Saffitz | Difficulty: 3/5 |
| Type: Dessert (Baking) | Score: ★★★☆☆ |
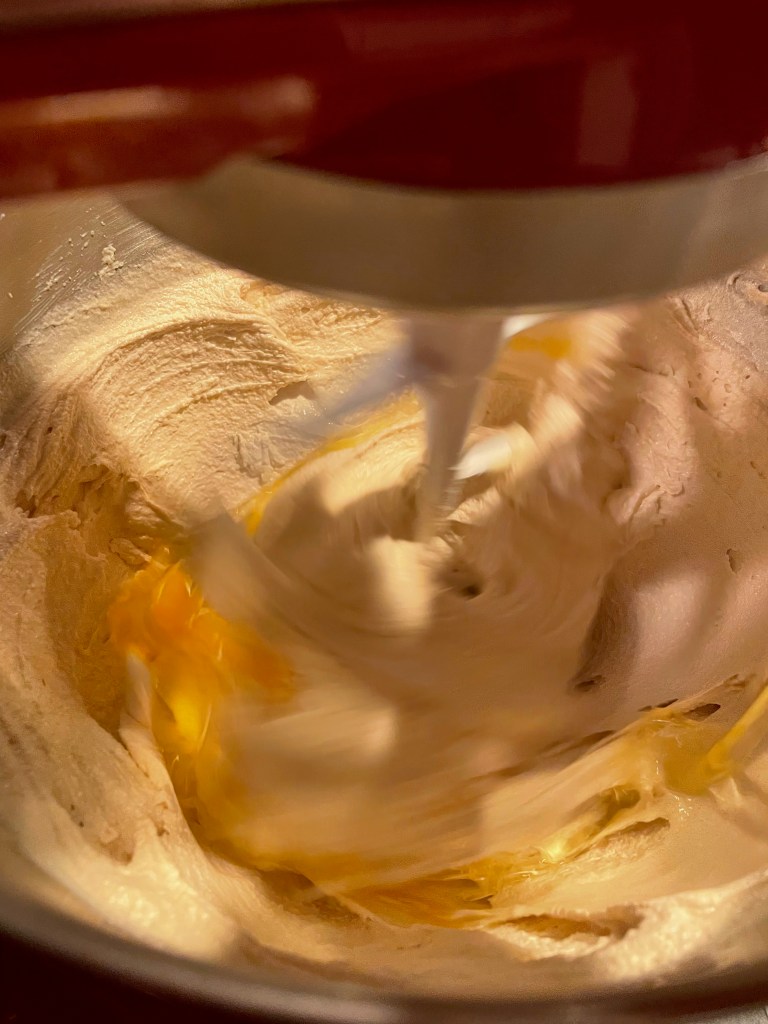
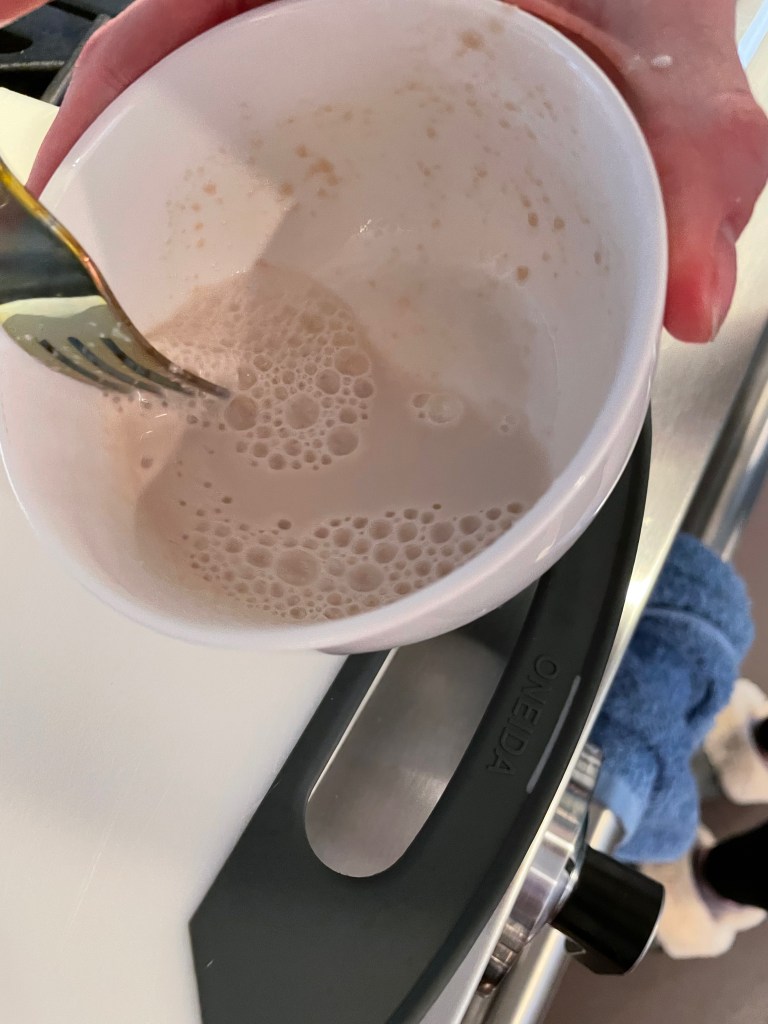
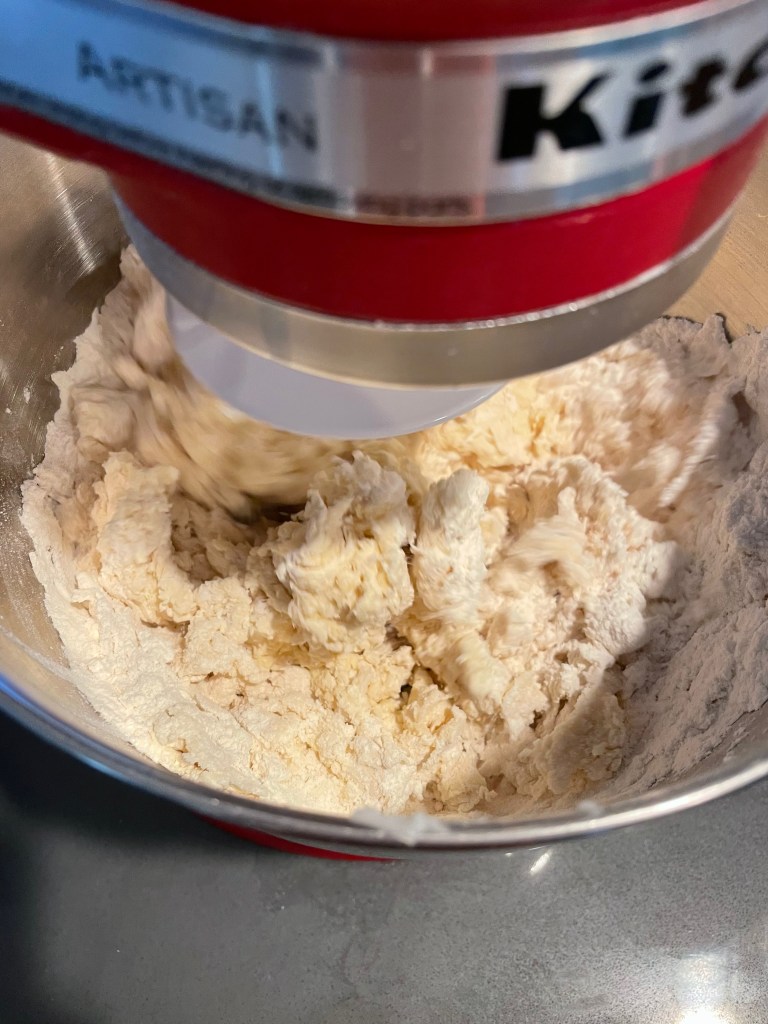
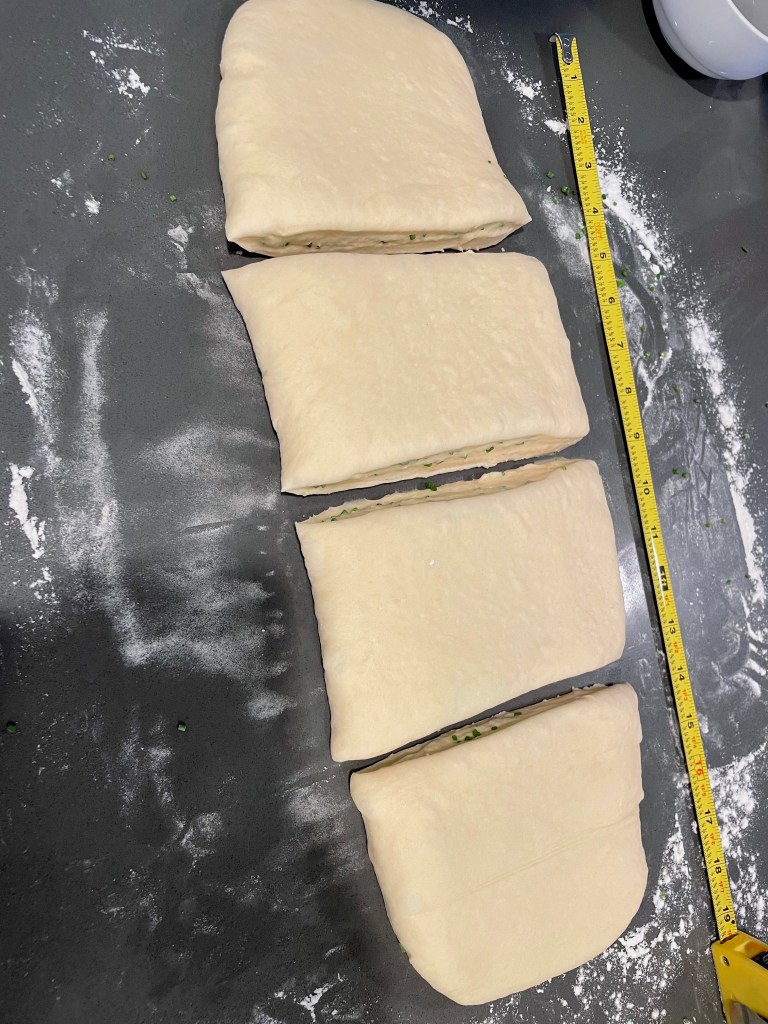
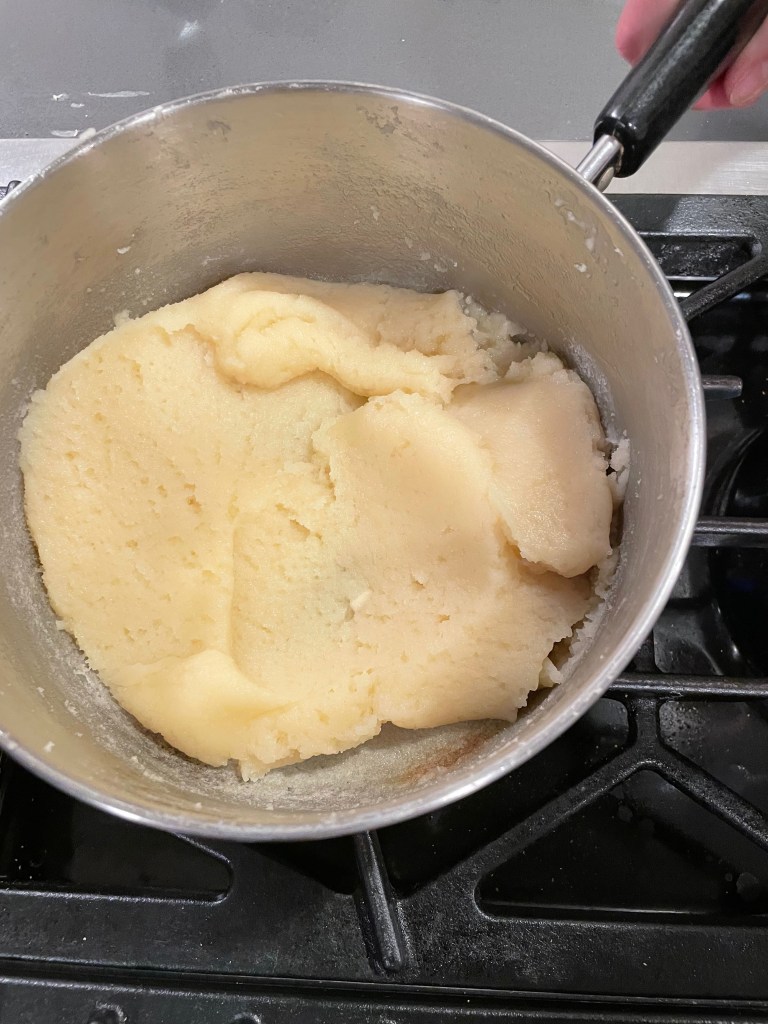
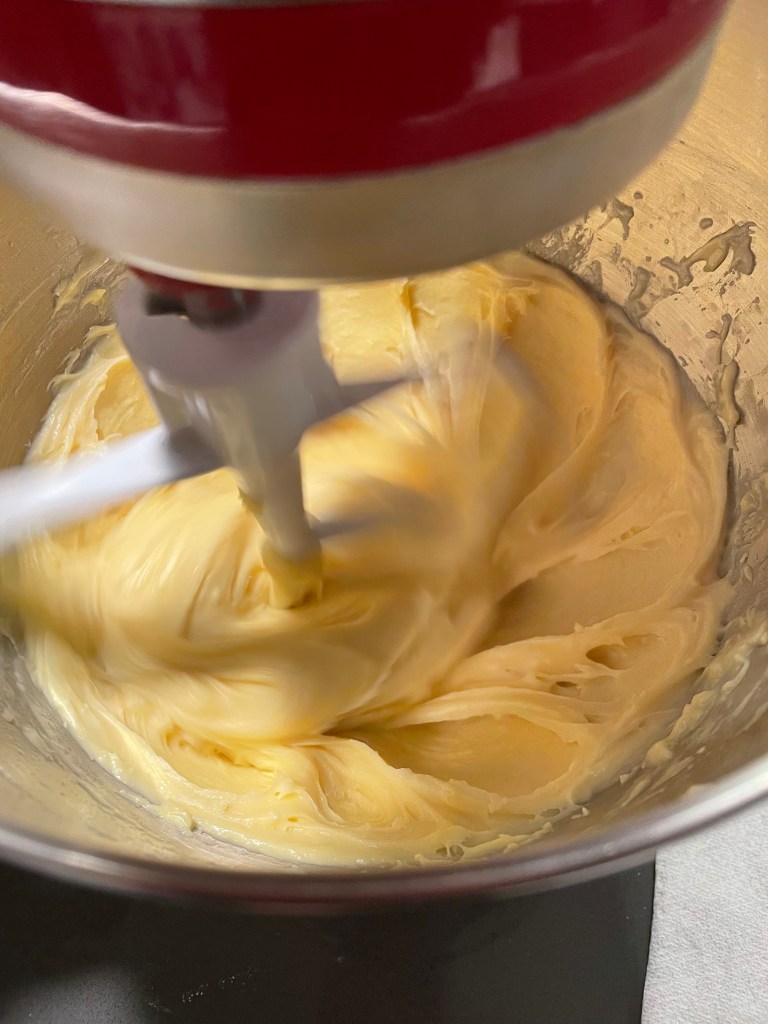
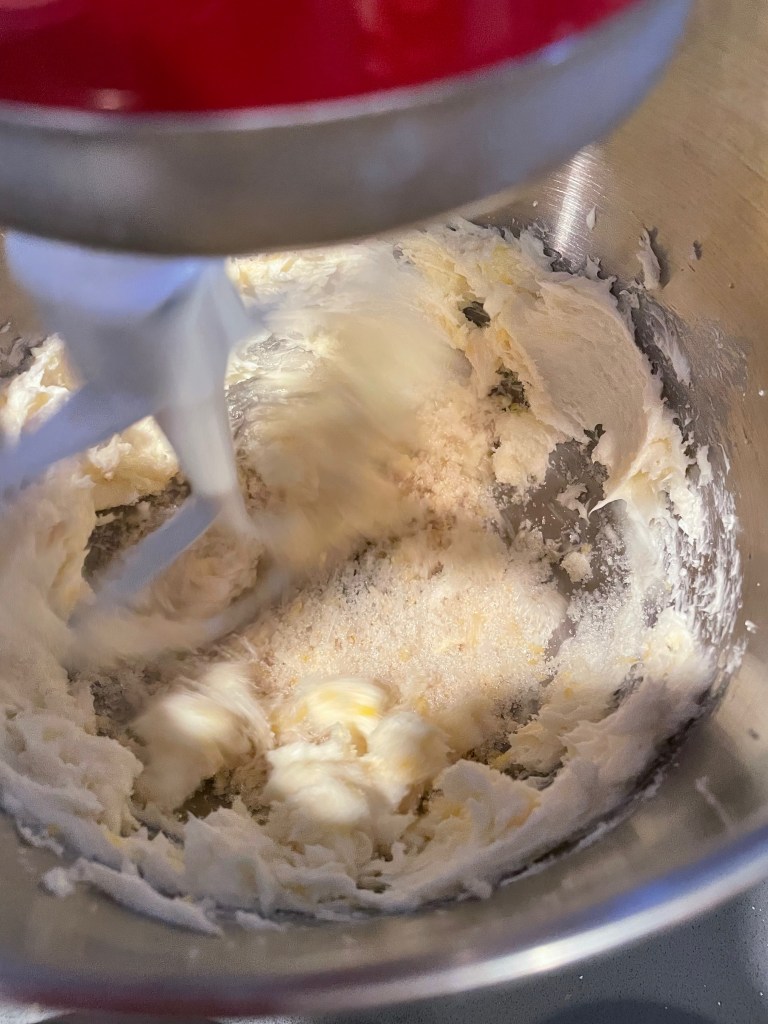
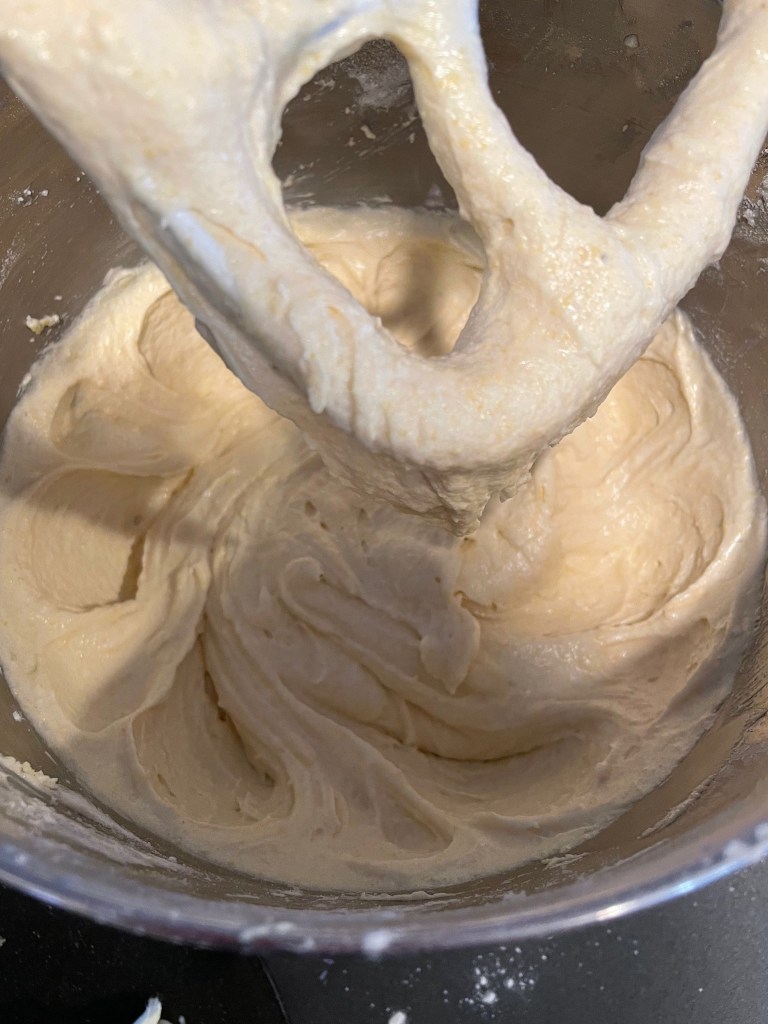
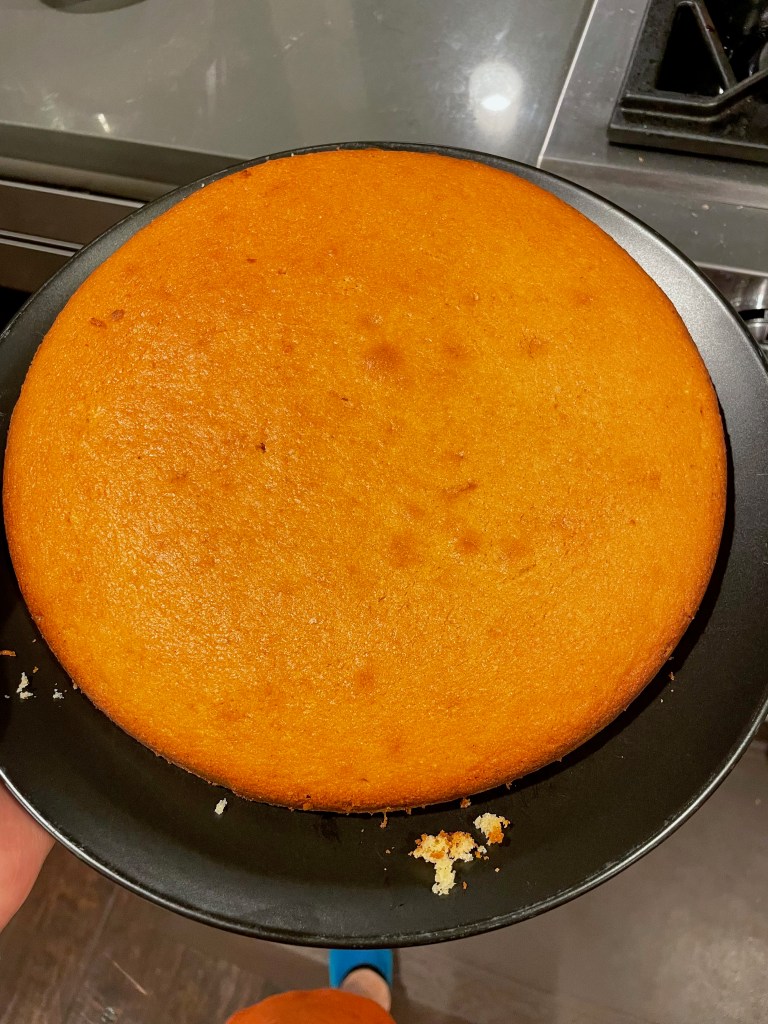
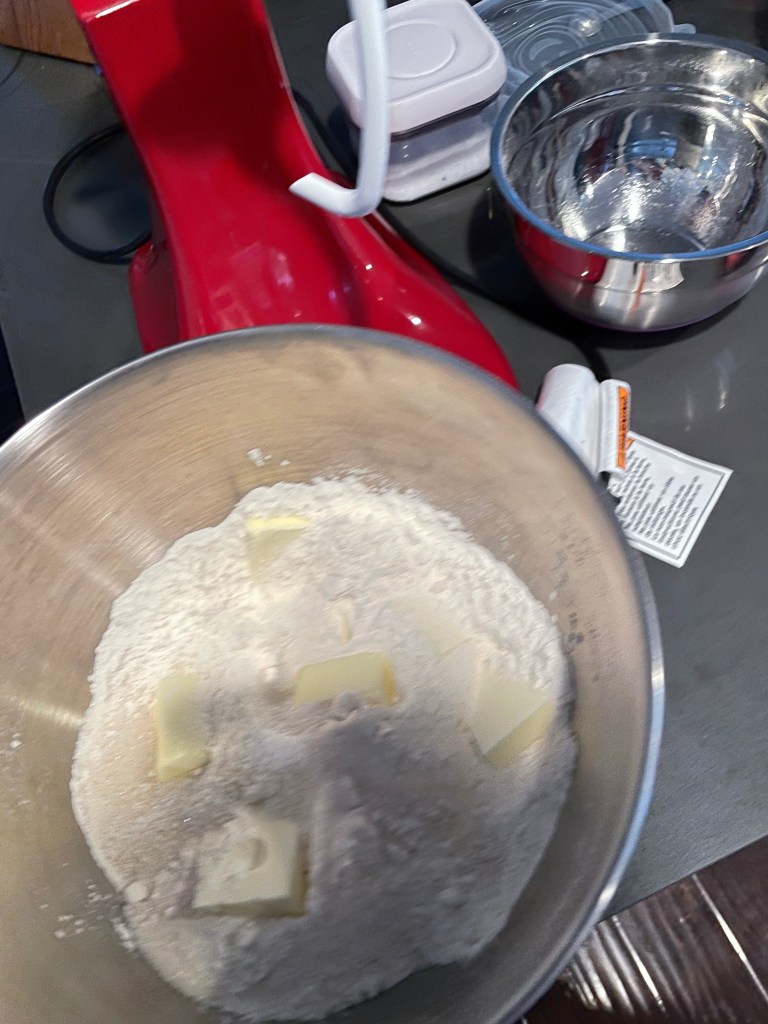
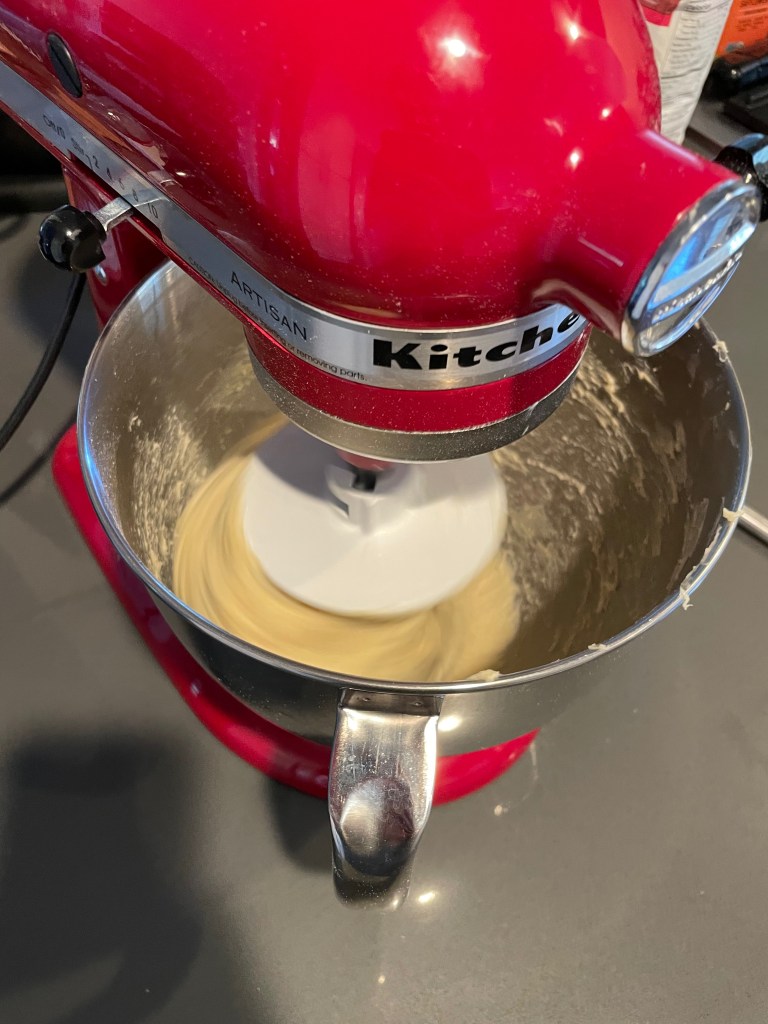
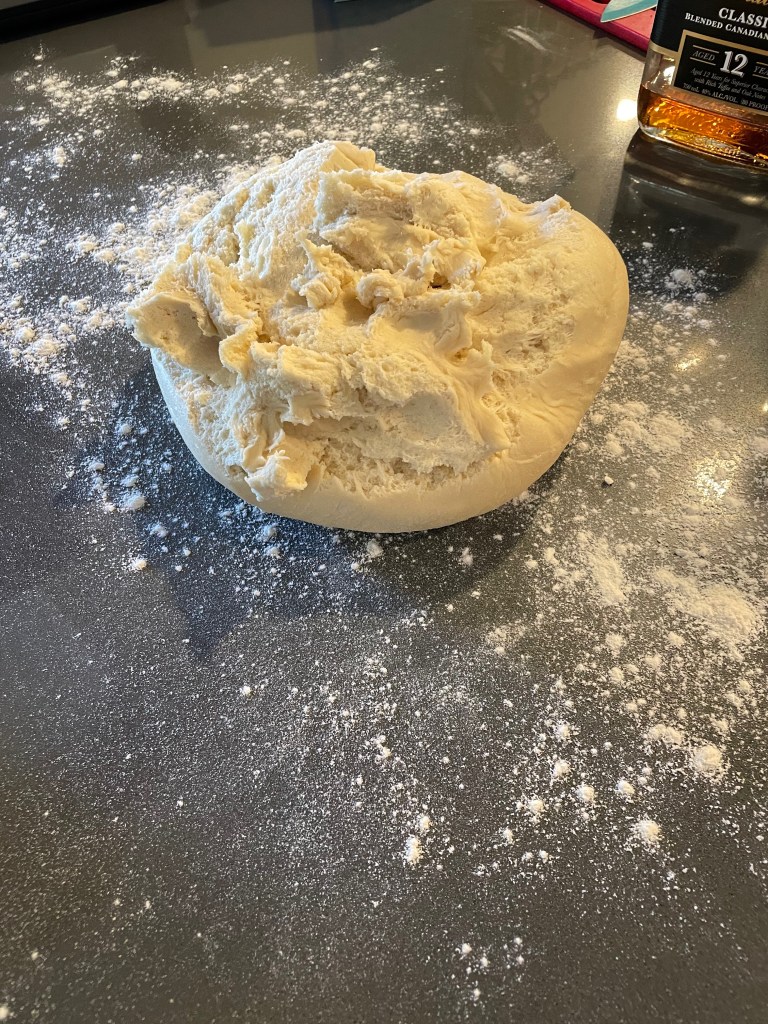
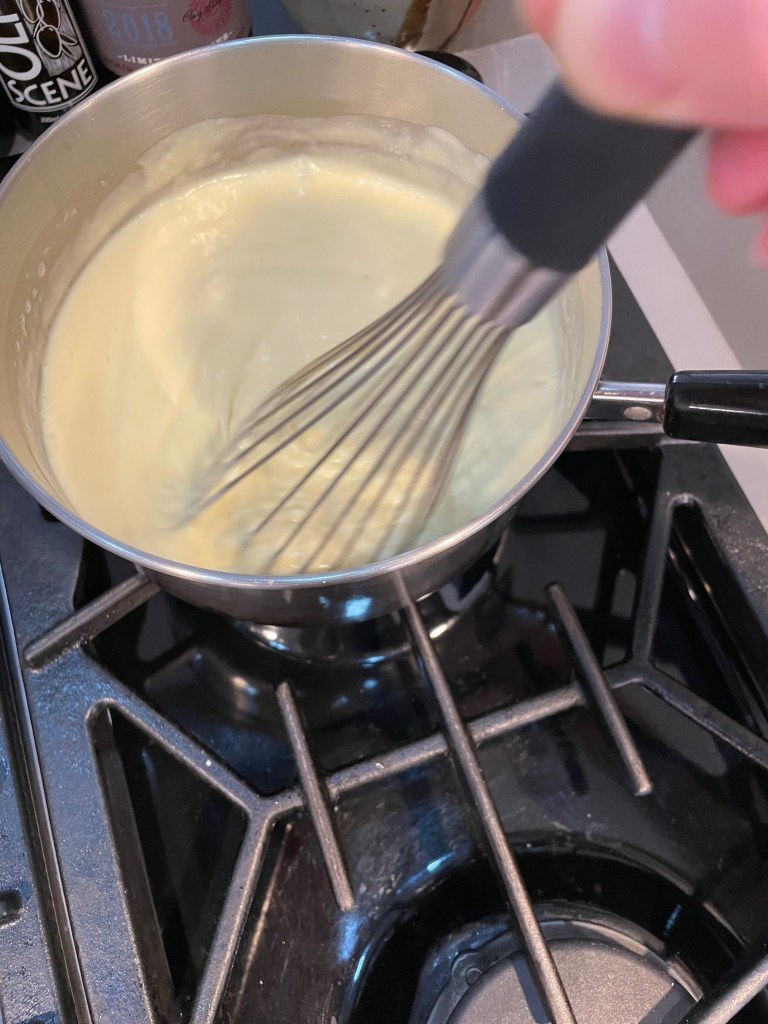
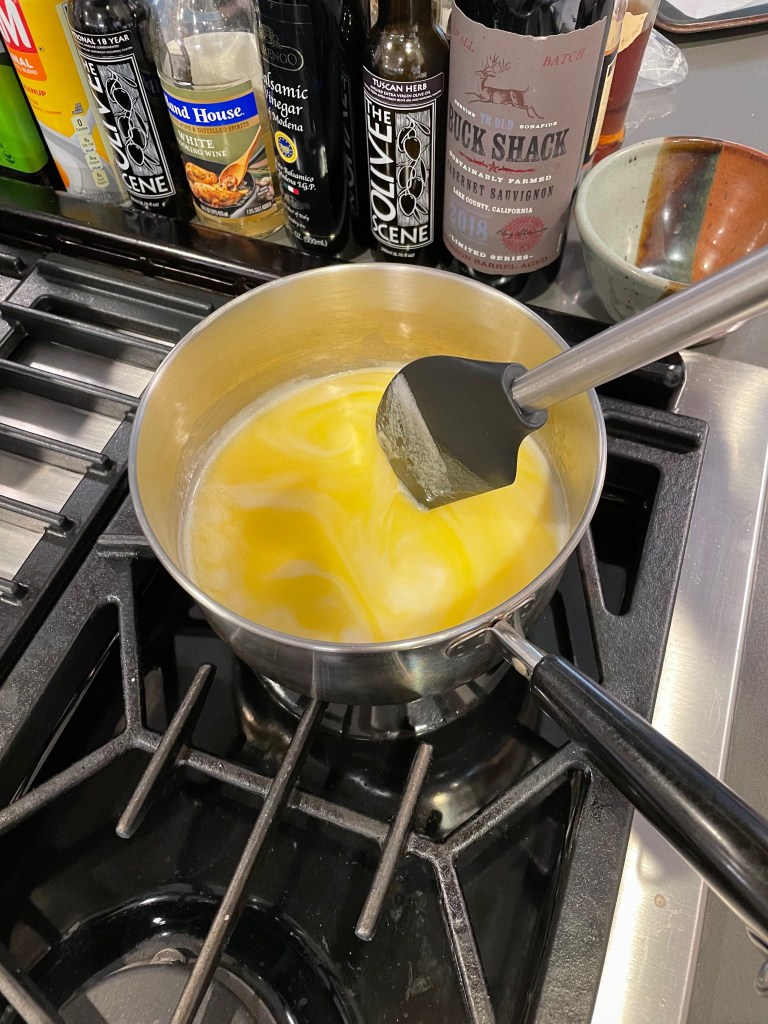
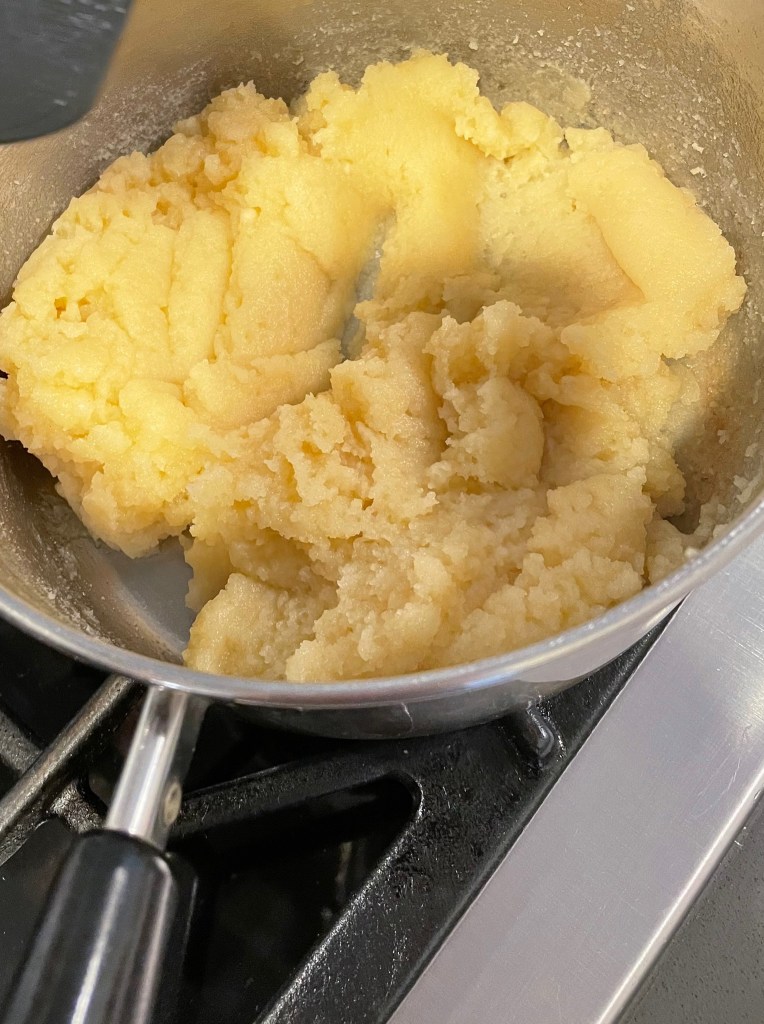
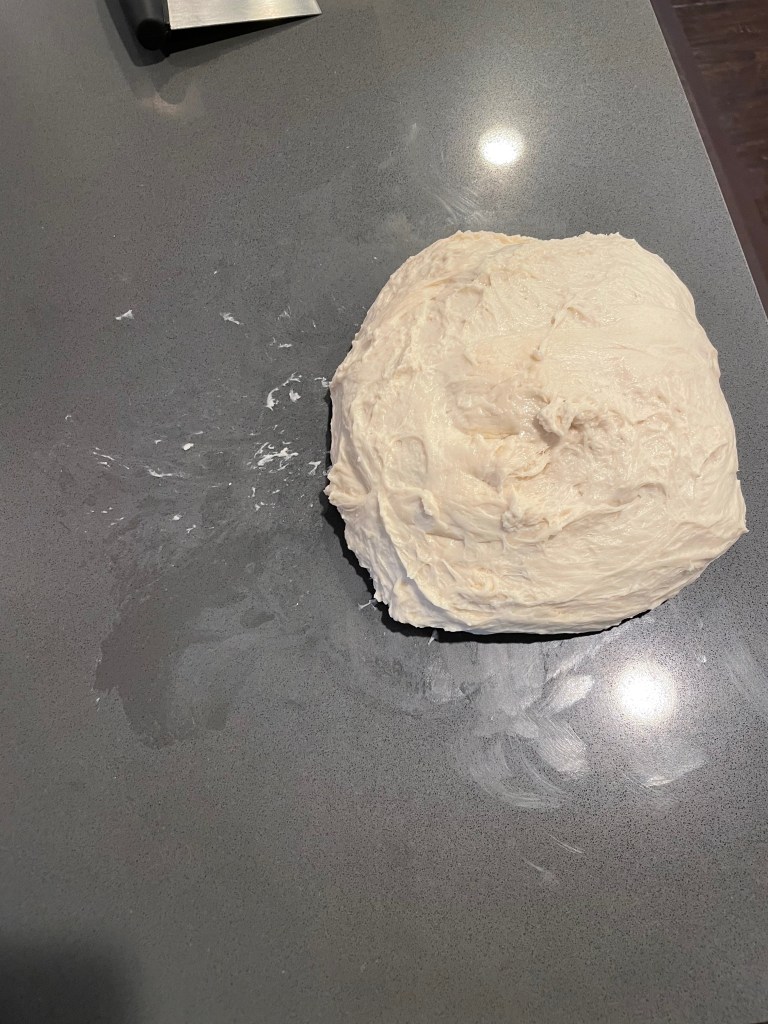
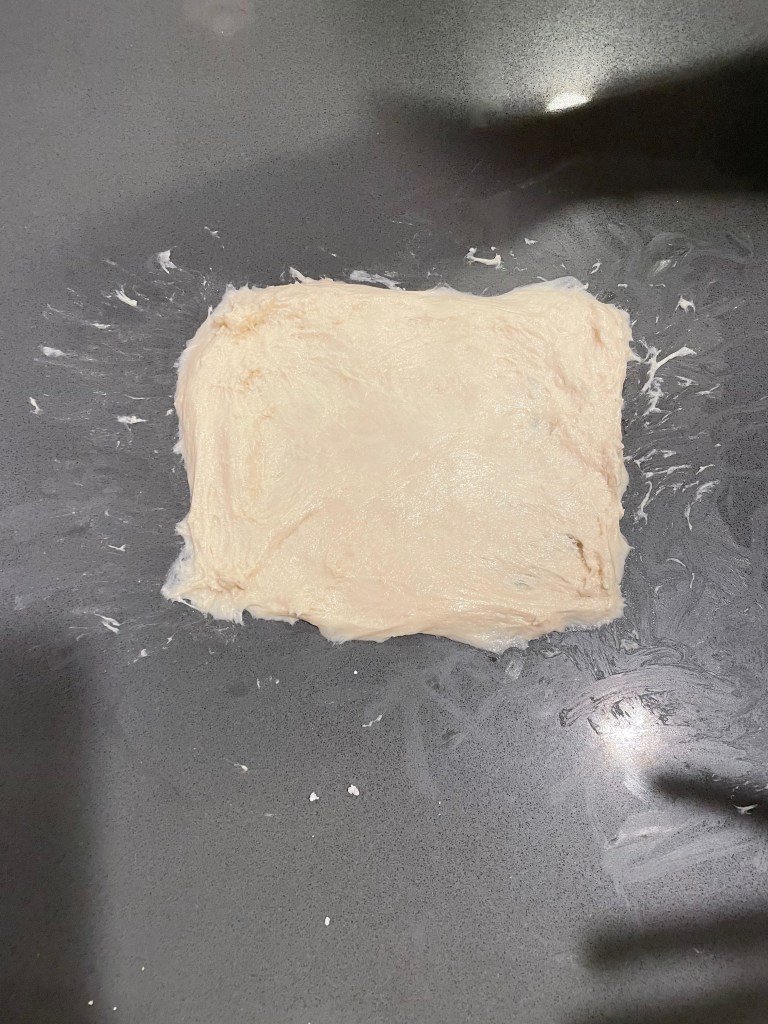
Making The Dough


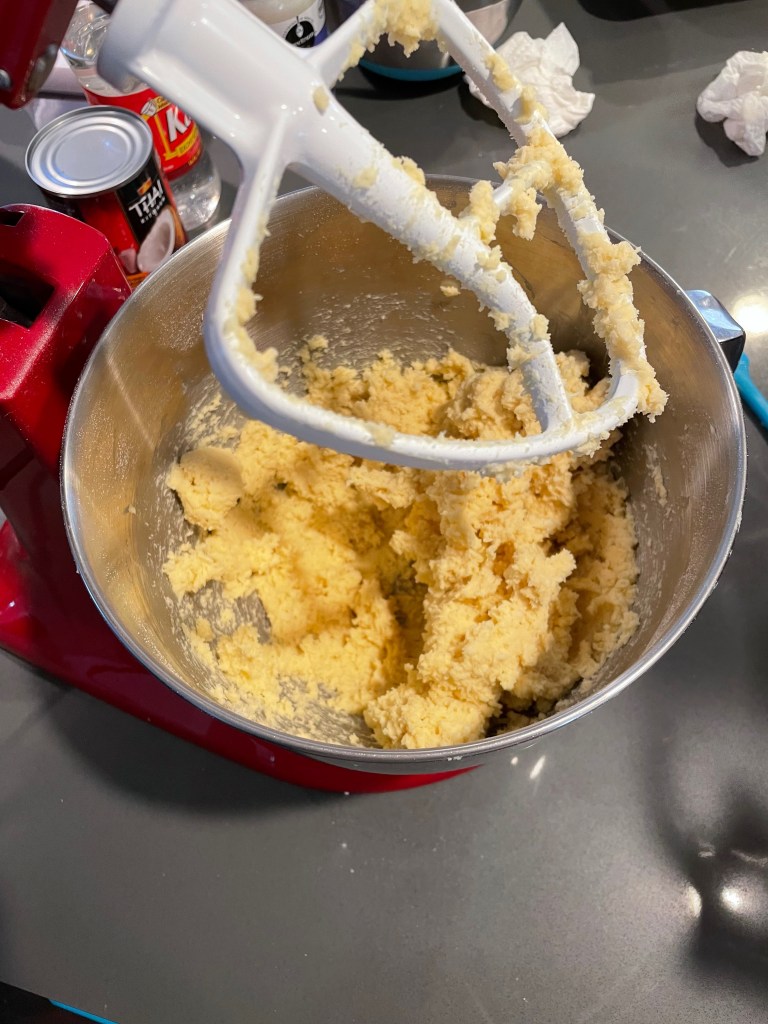
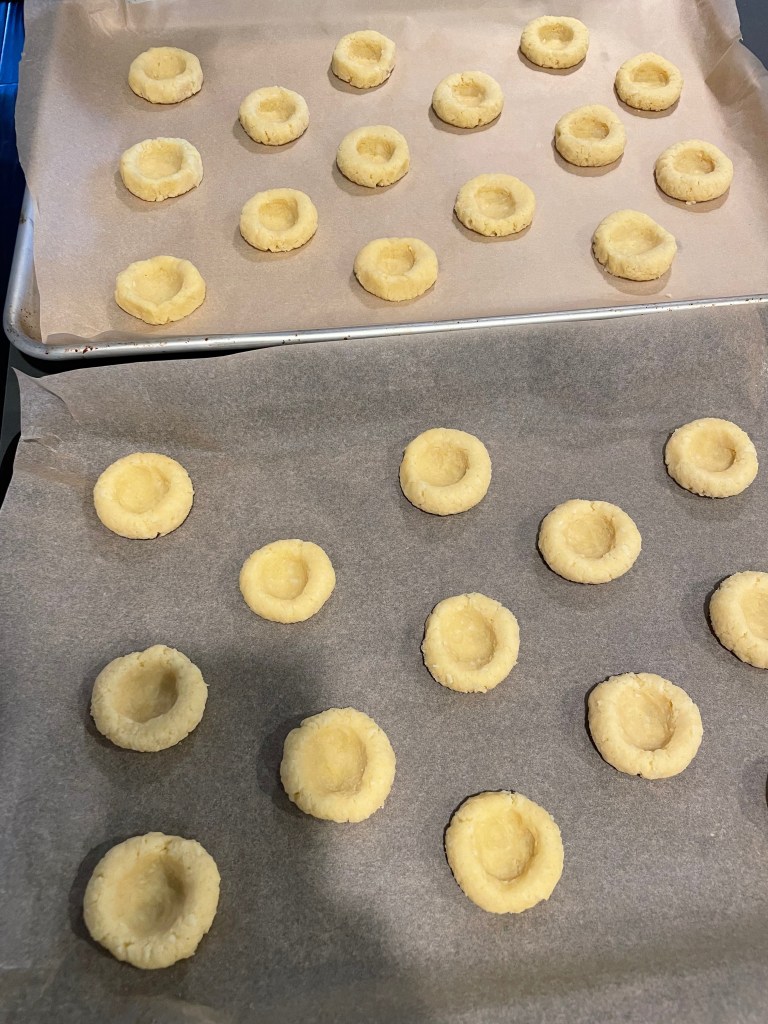
Tip: The dough will likely be quite sticky. If it’s too sticky add some additional flour and continue to mix/knead. Do expect some stickiness though.
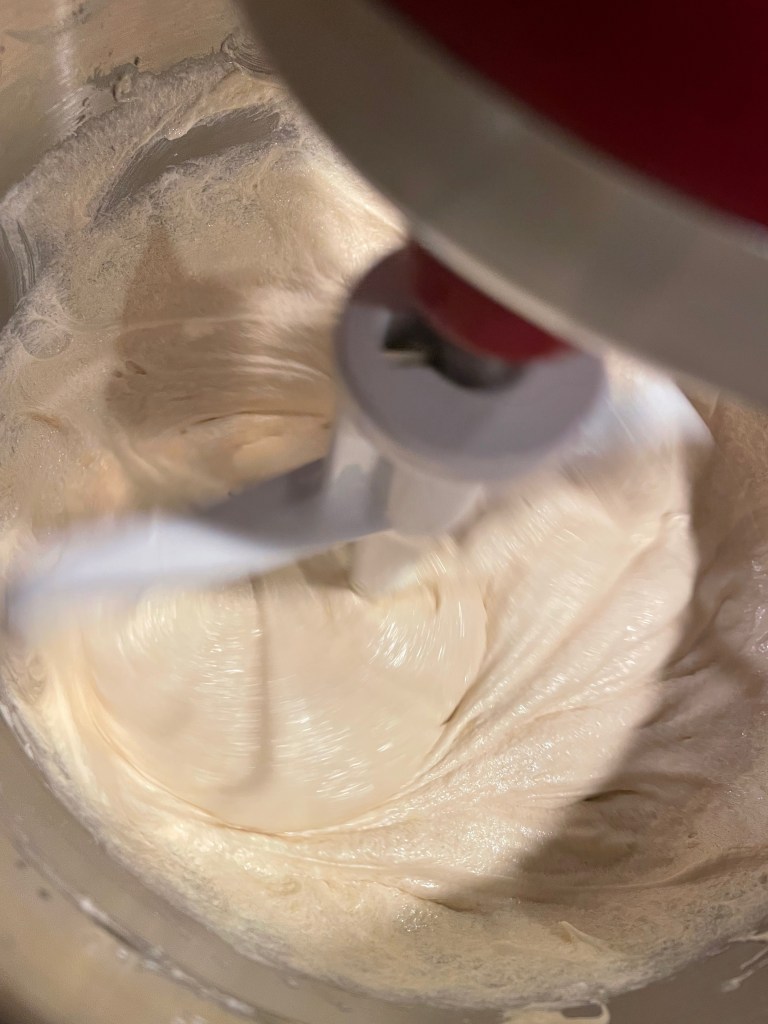
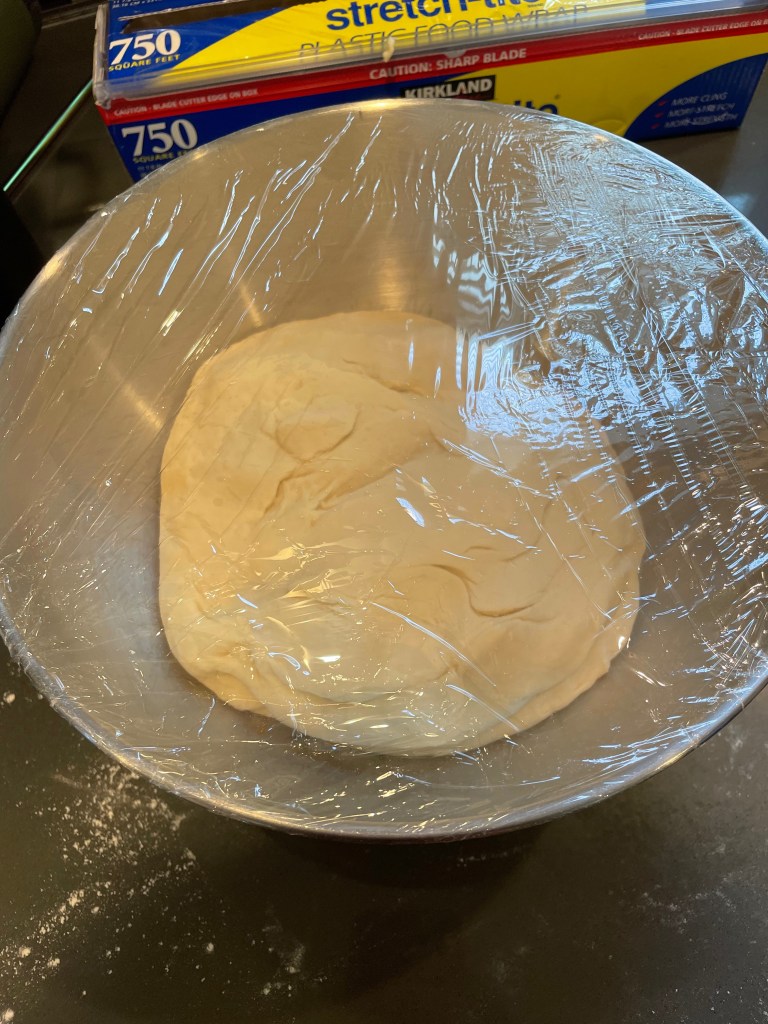
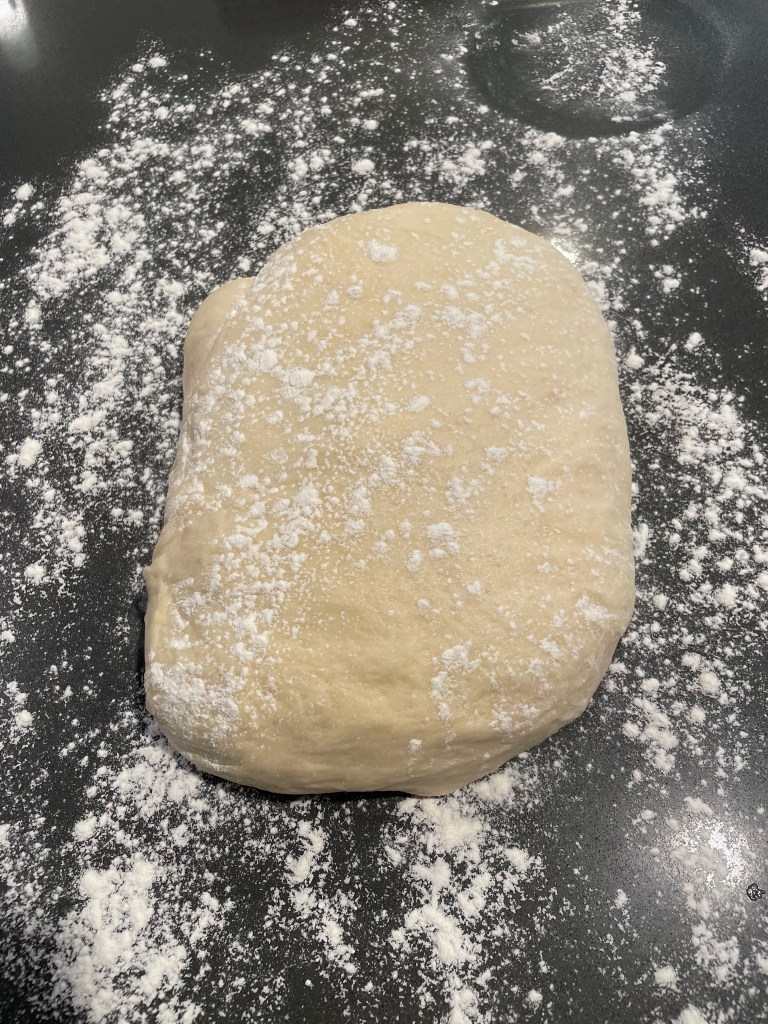
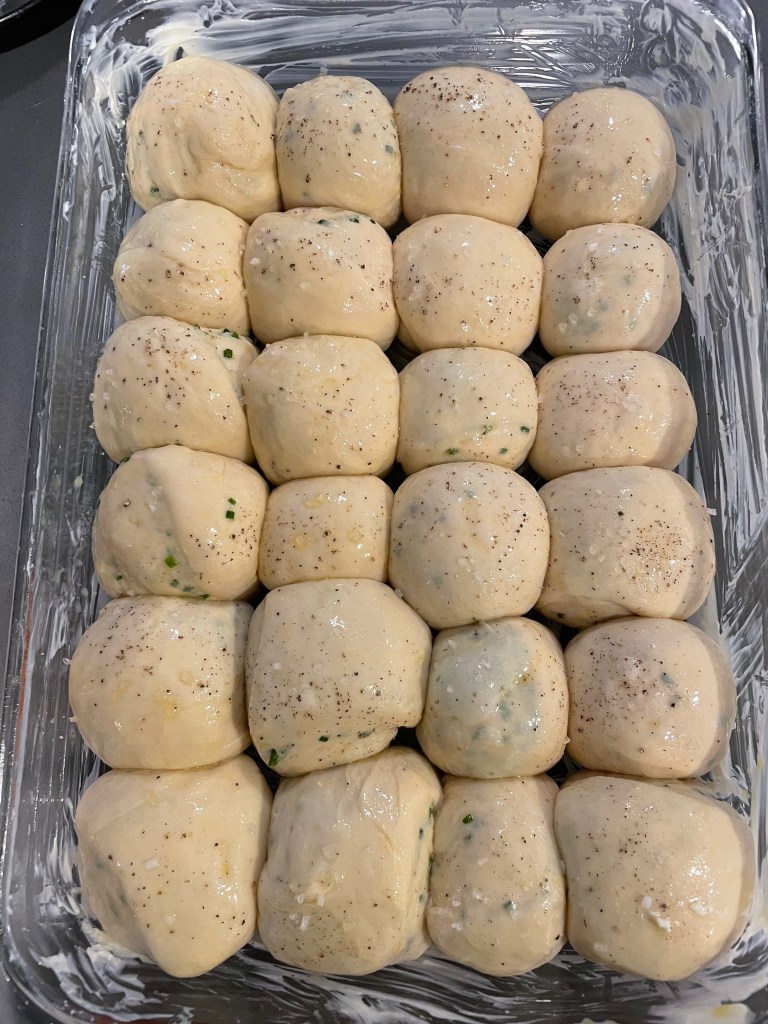
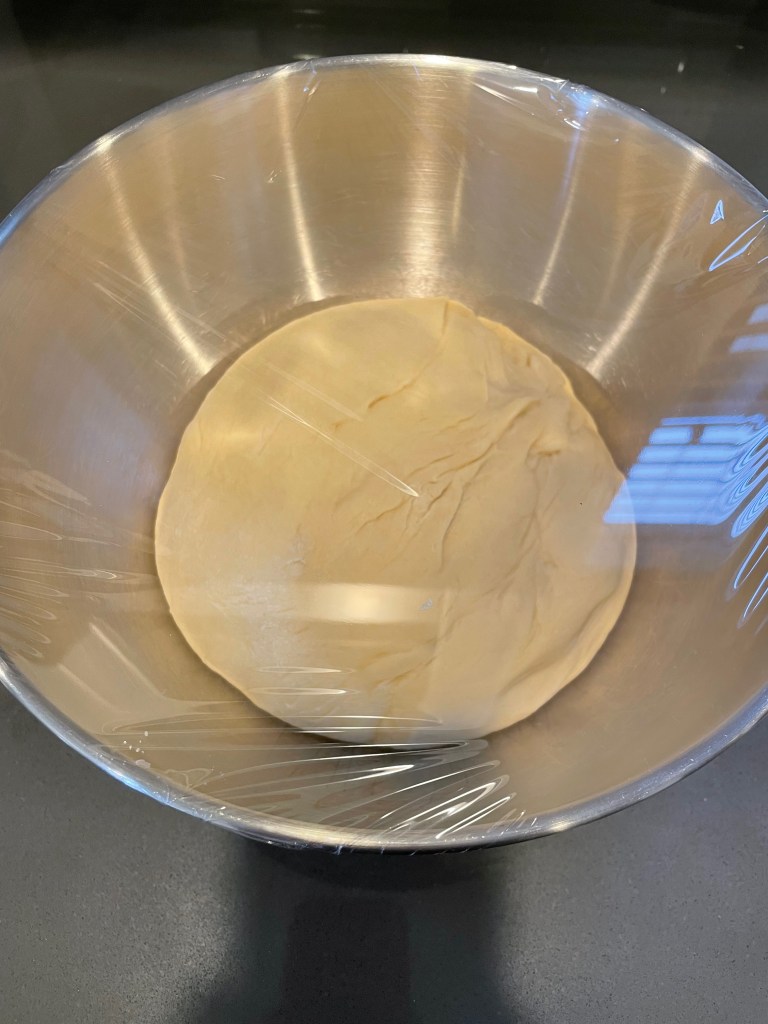
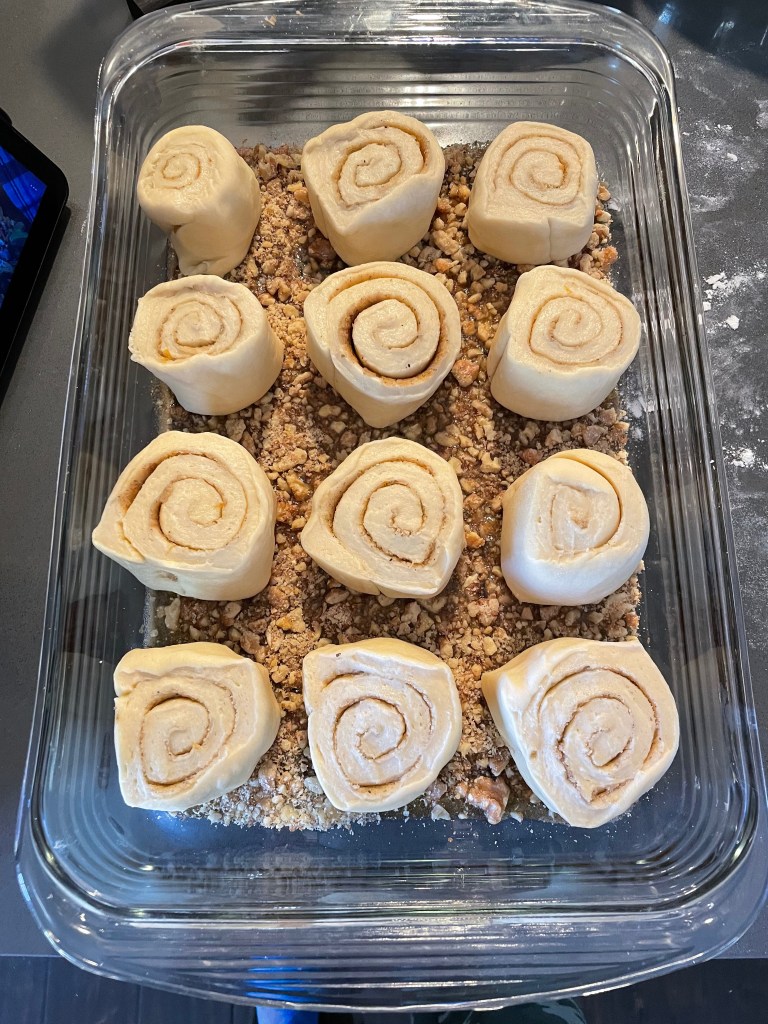
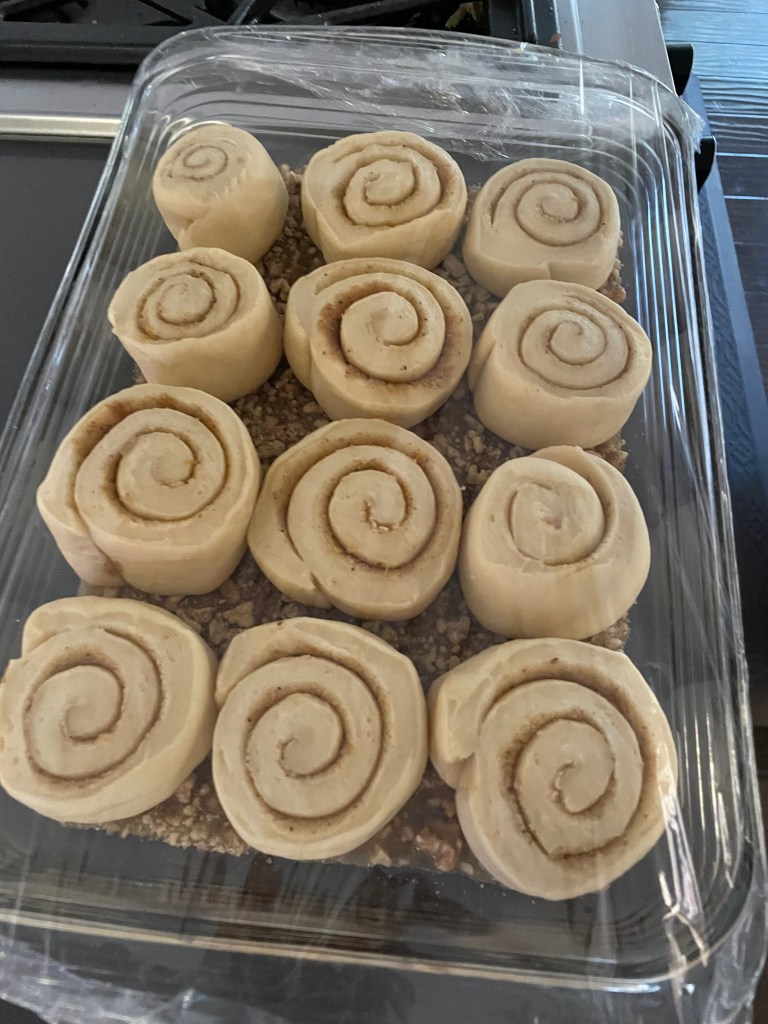
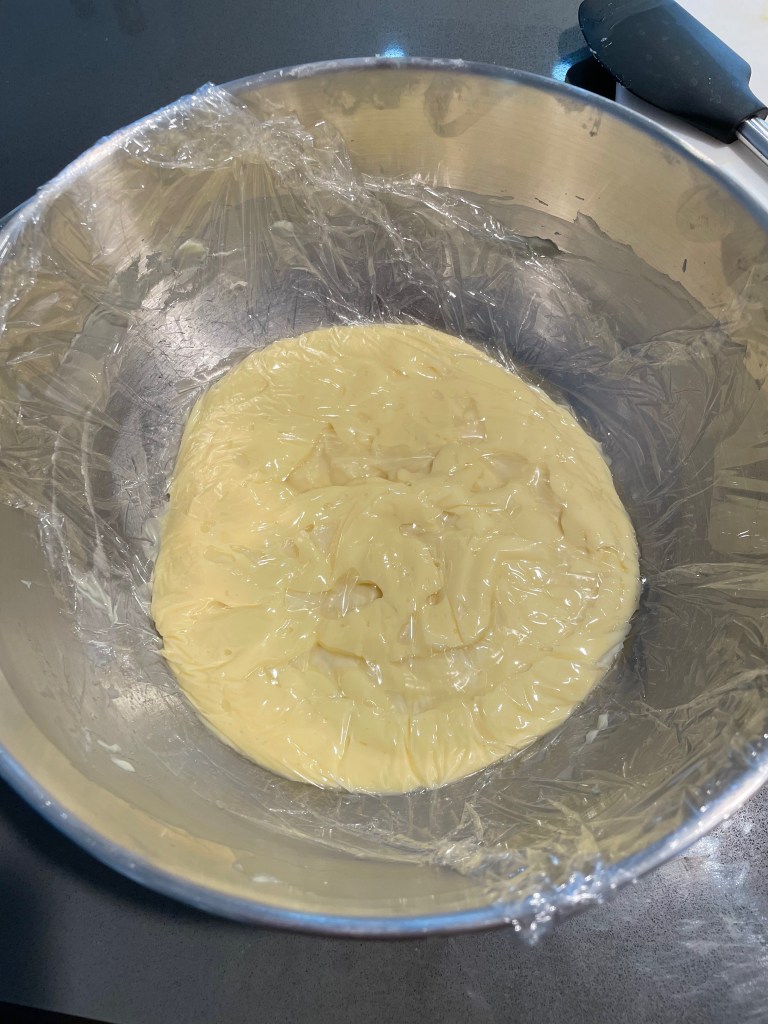
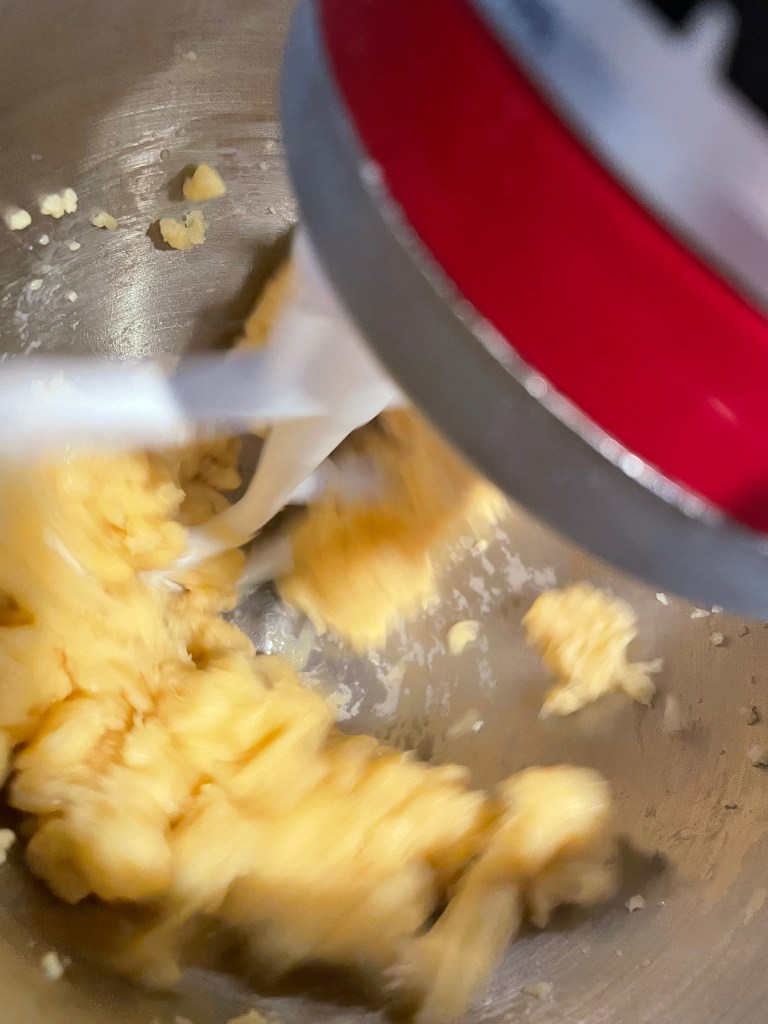
Proof The Dough Again
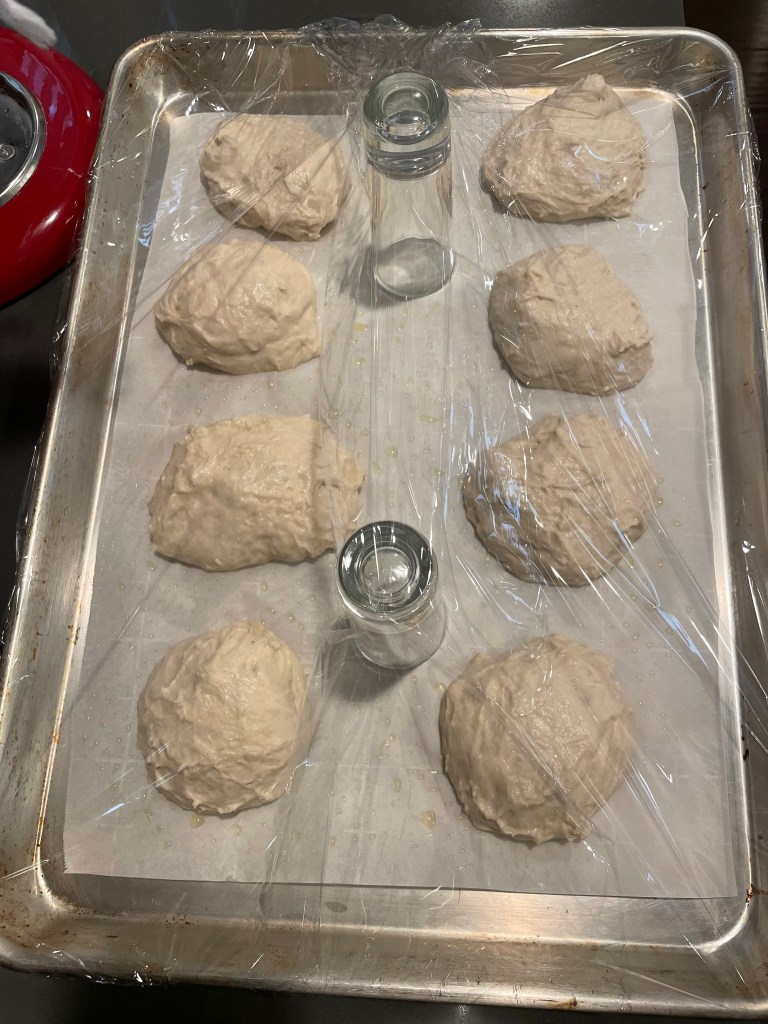
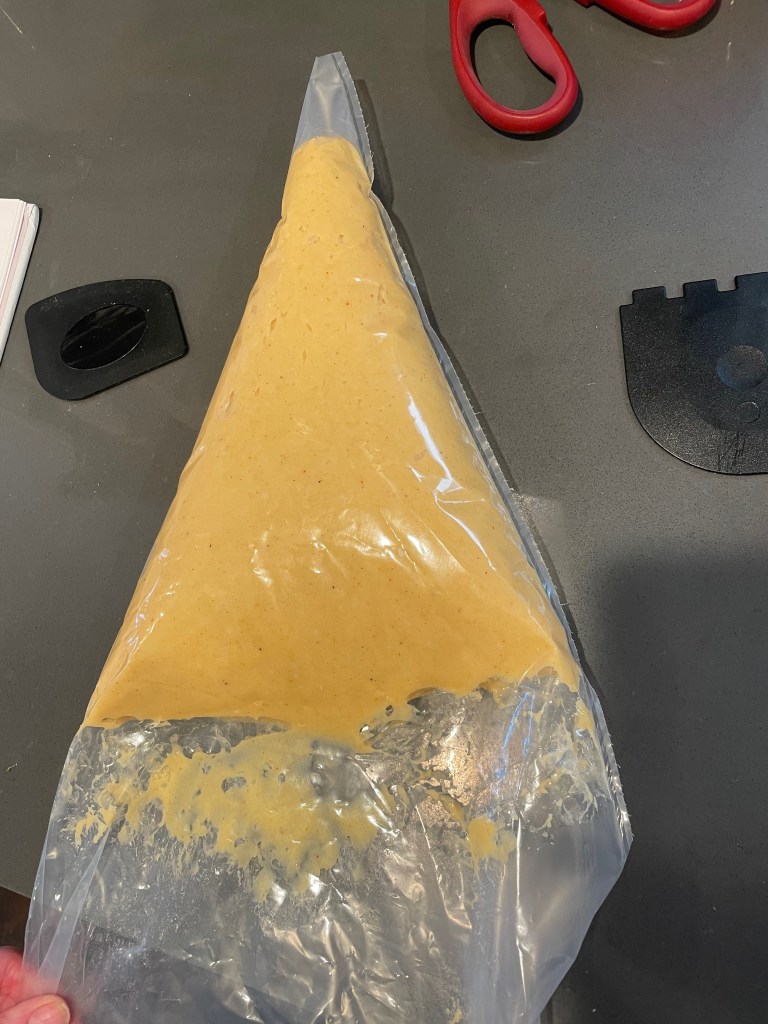
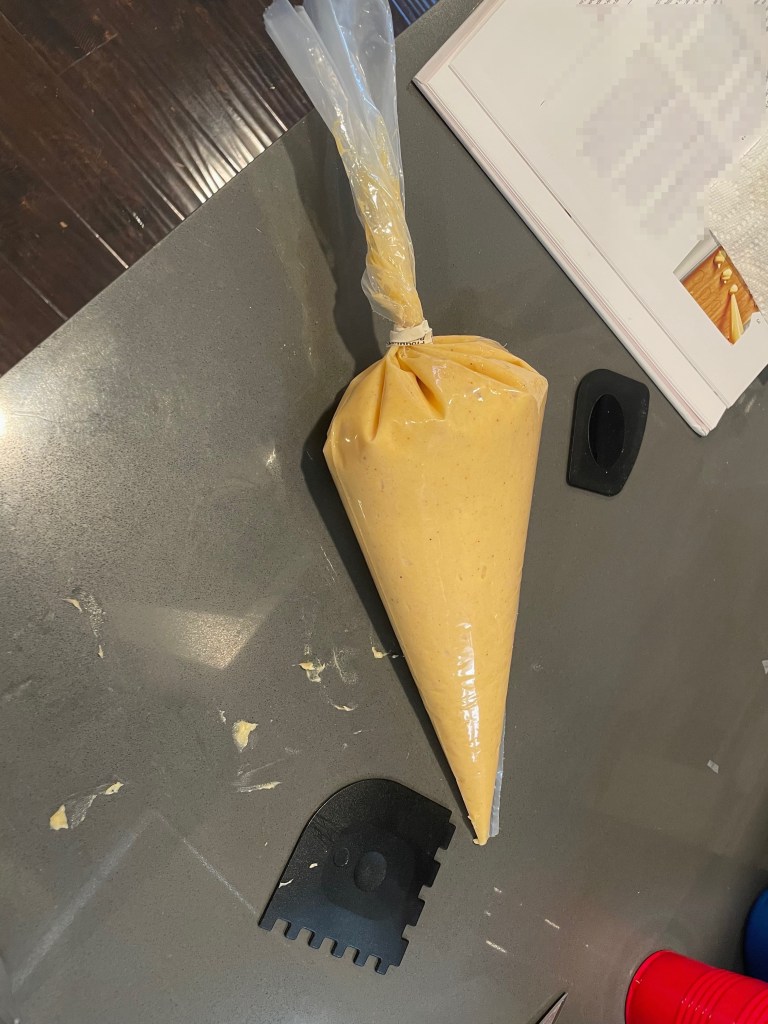
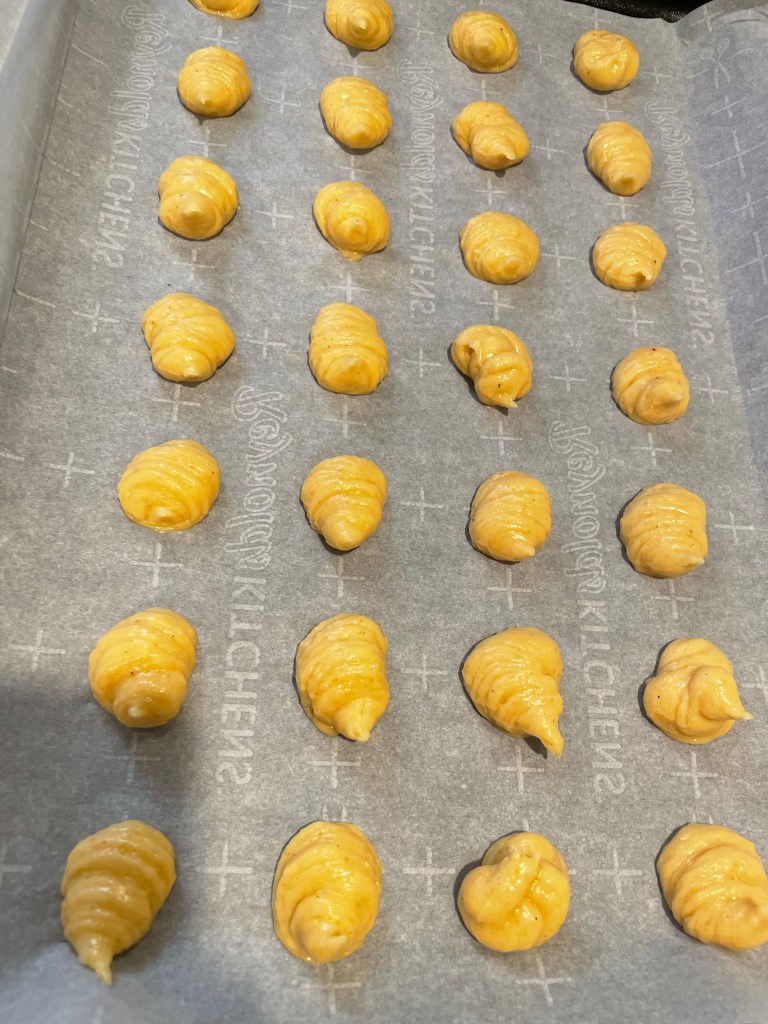
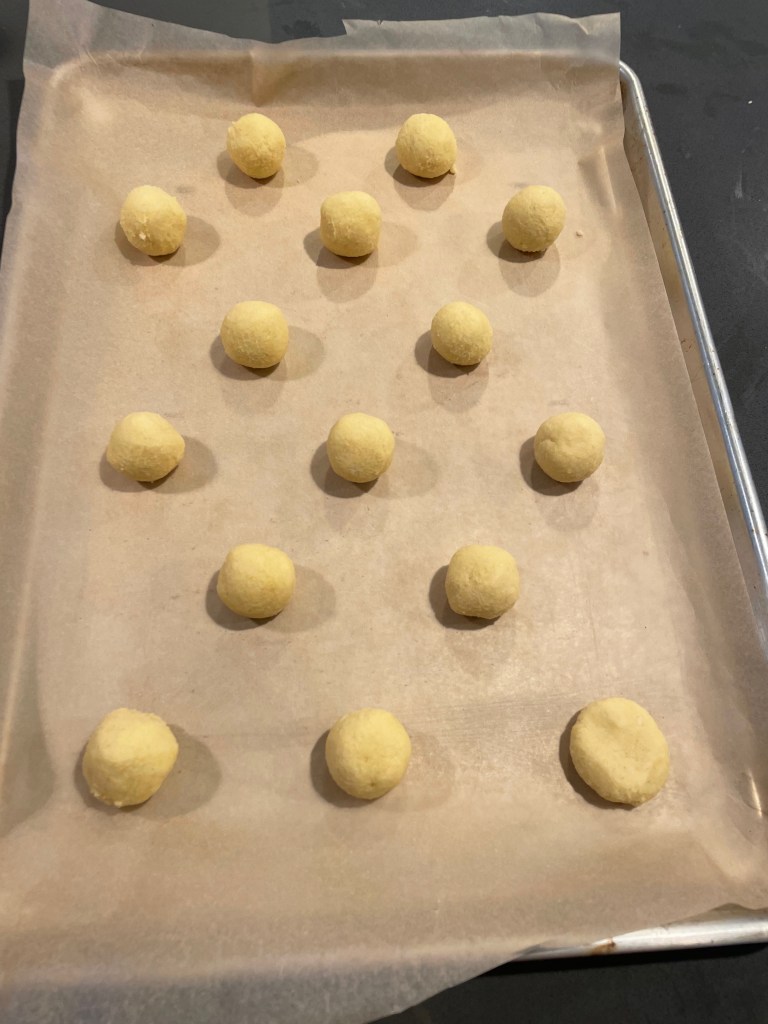
Tip: If your dough is too sticky it can be a bit difficult to maneuver the balls. Slightly oiled hands can help though – but be careful to not overuse the oil while forming the ball, as the friction is key to forming the balls. In the example above, you can see how it might look if your dough is too sticky and would benefit from oil to make a better ‘ball’ (they would end up smooth; as opposed to in the picture).
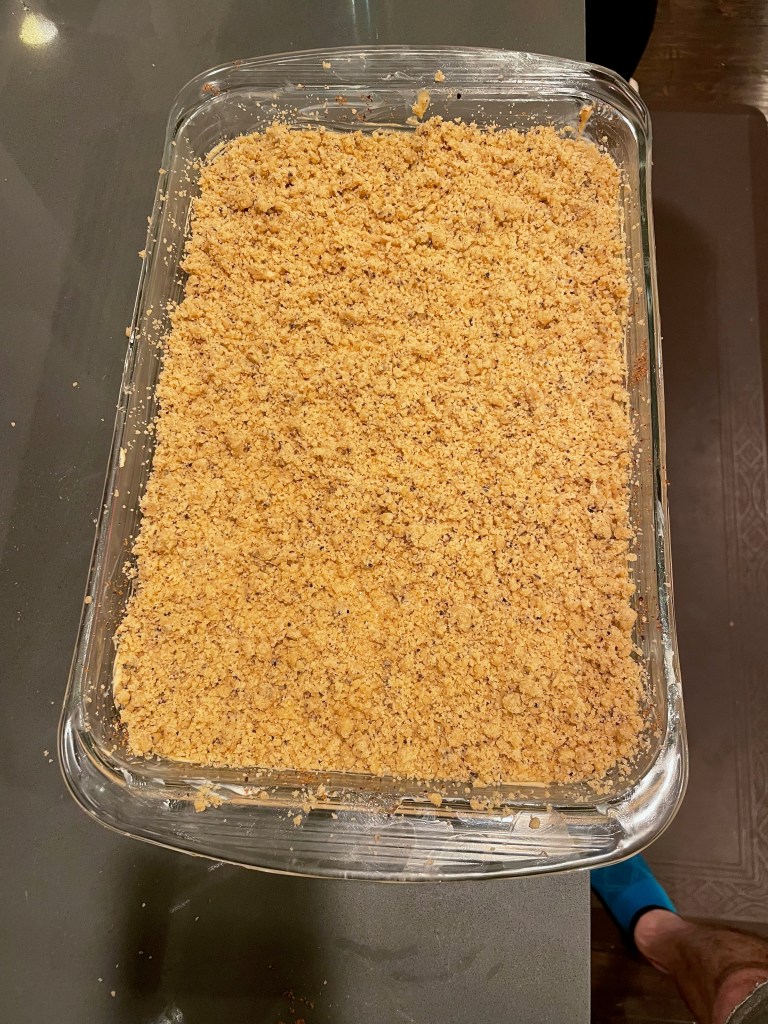
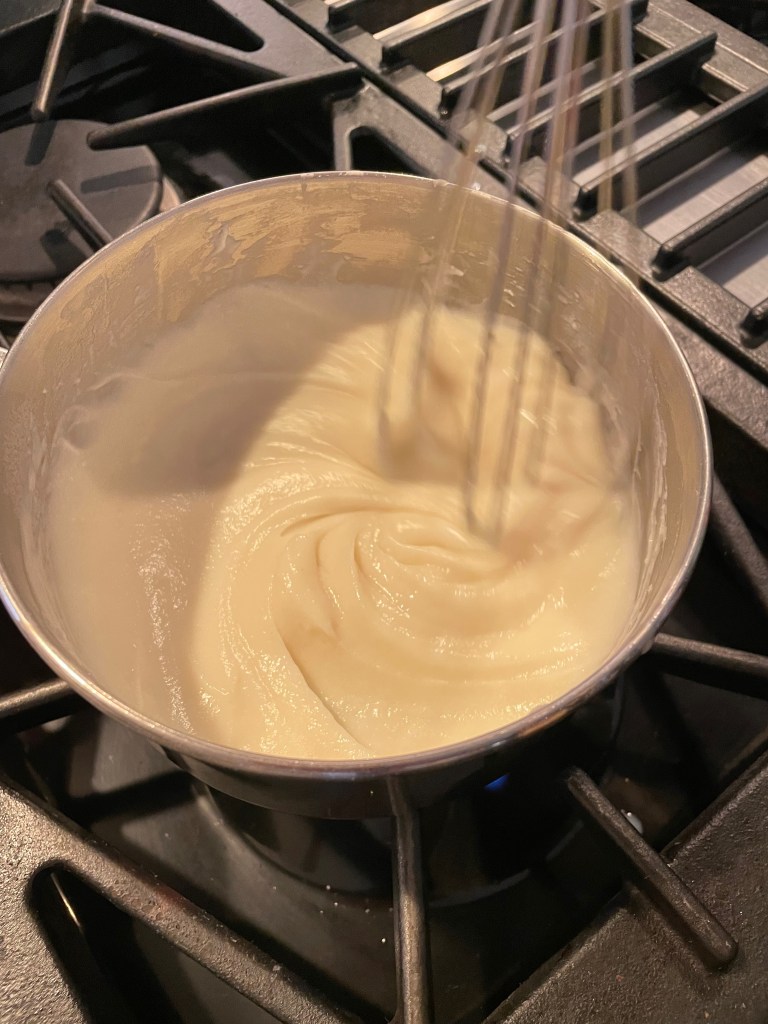
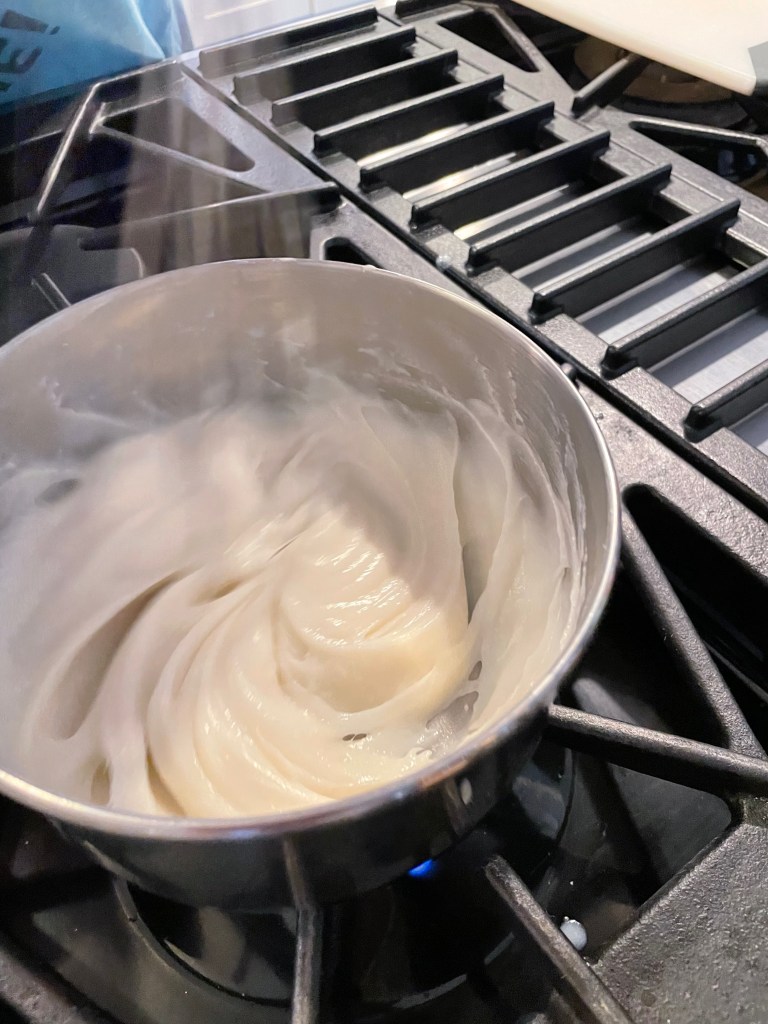
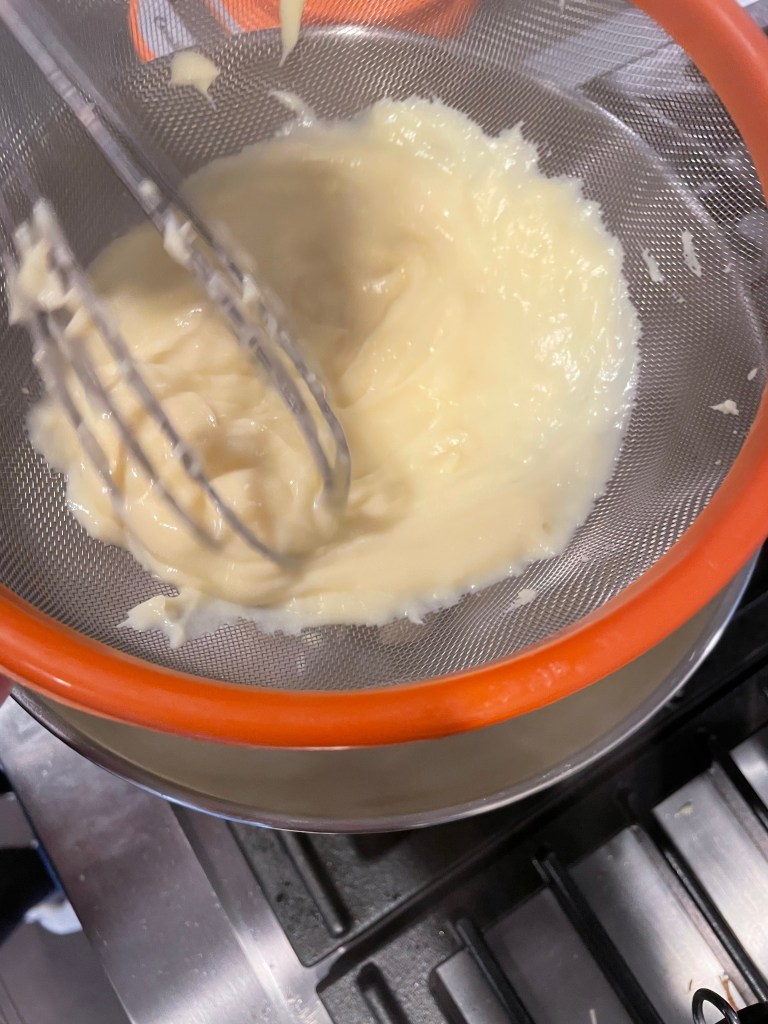
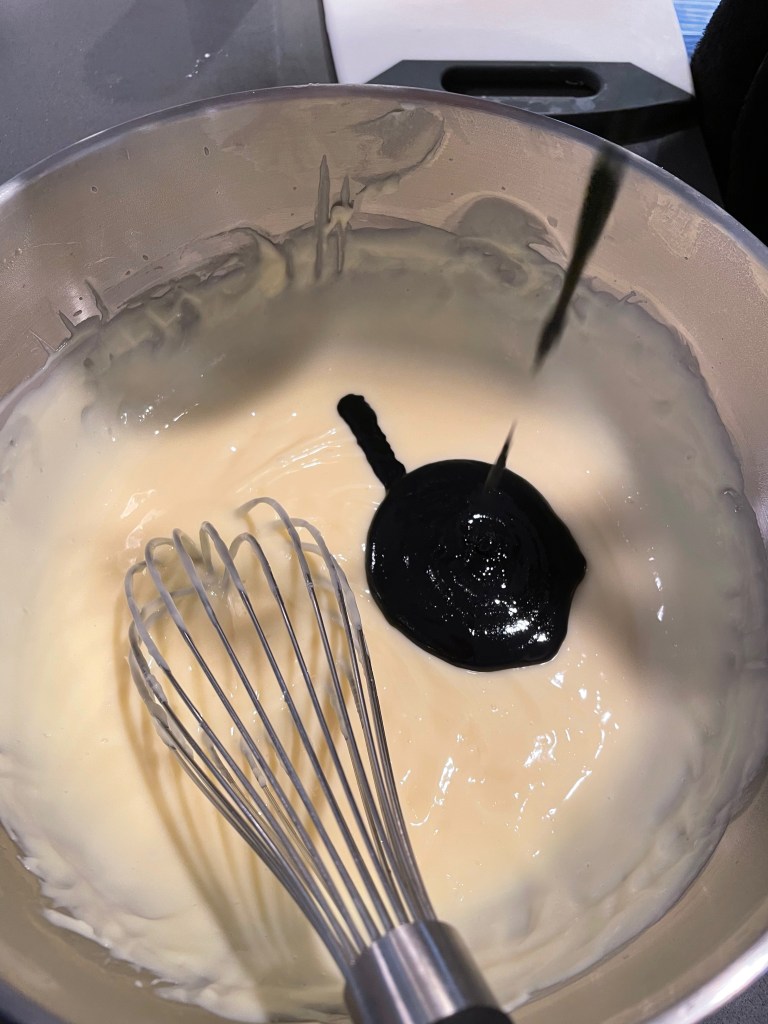
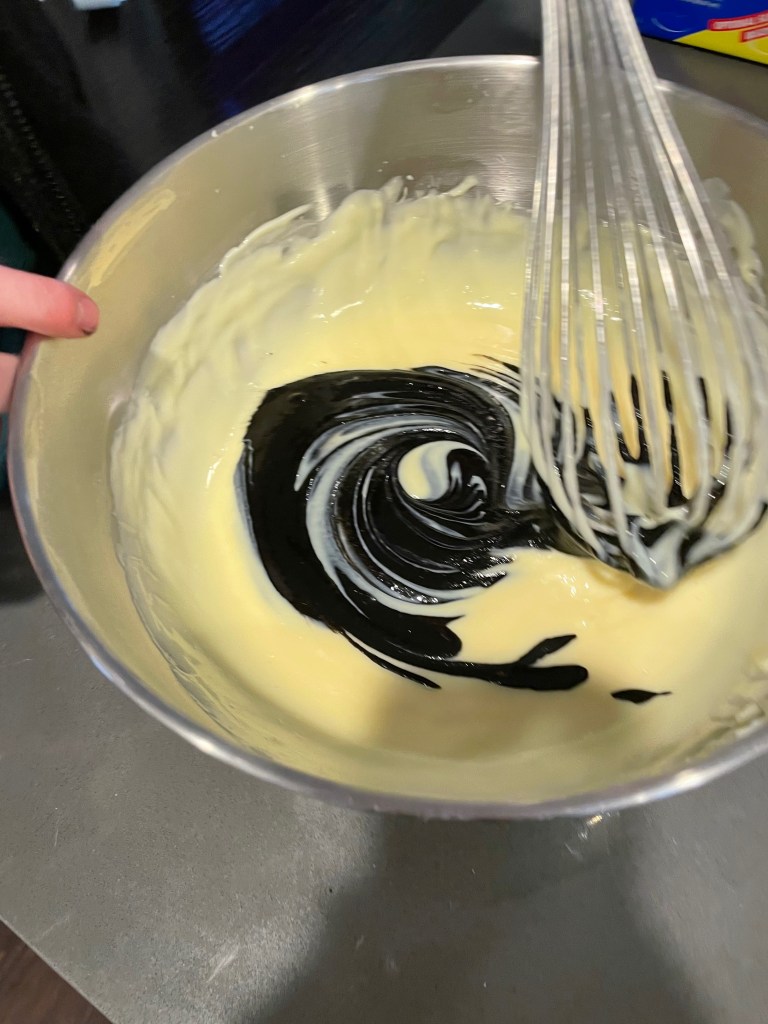
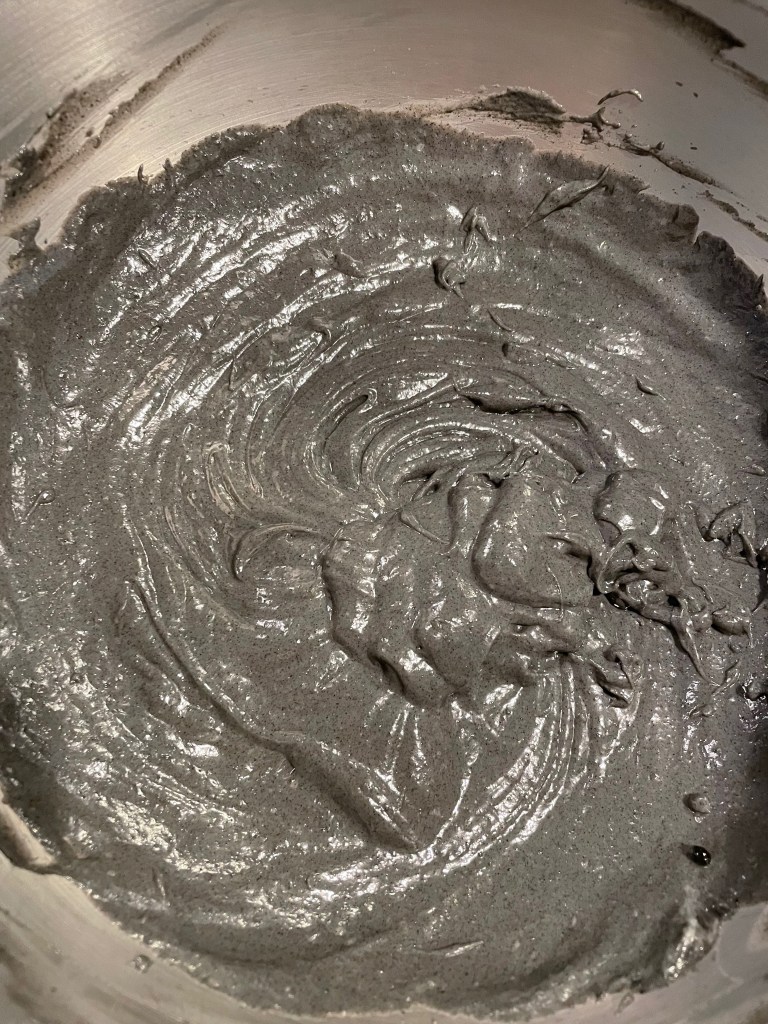
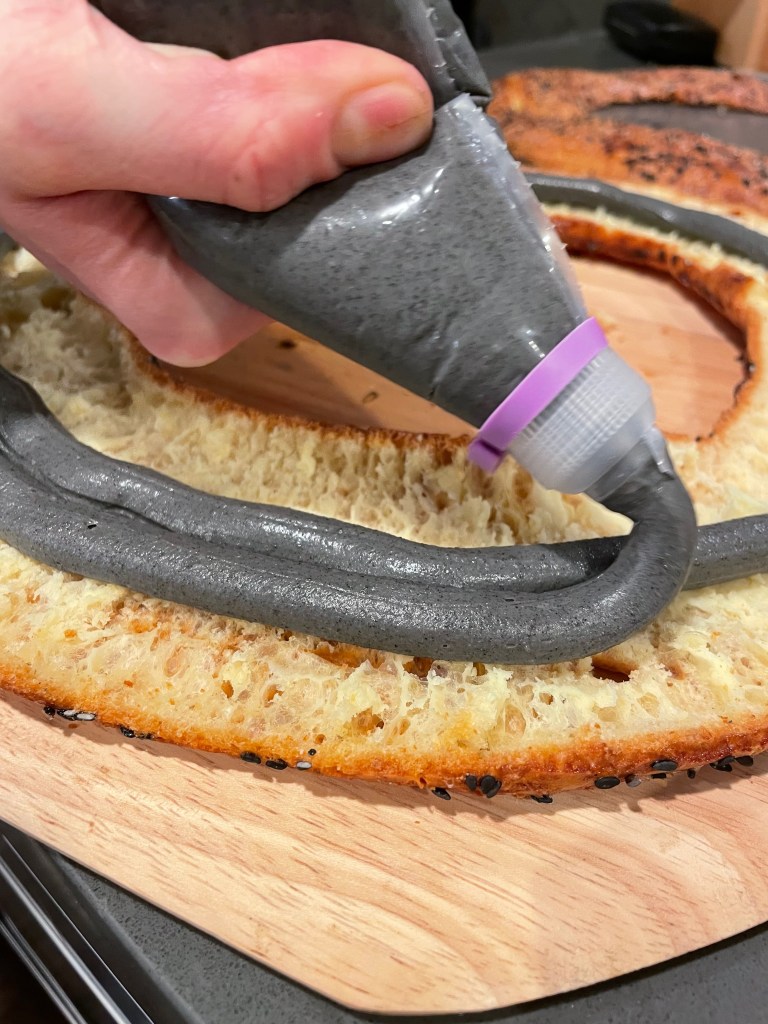
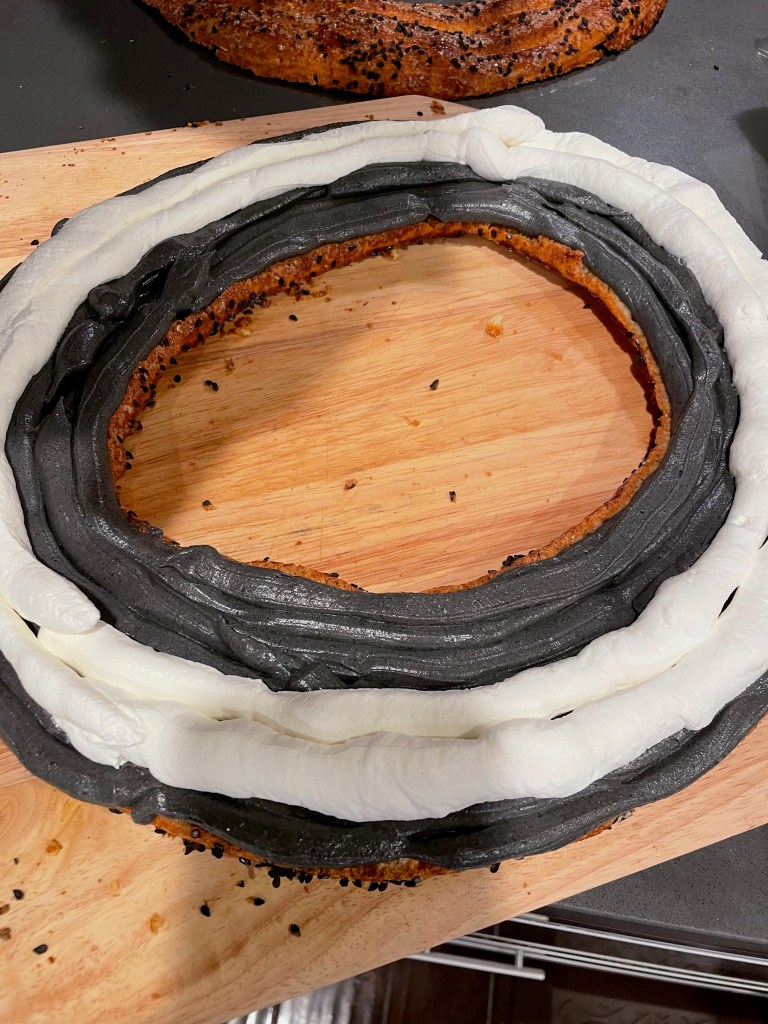
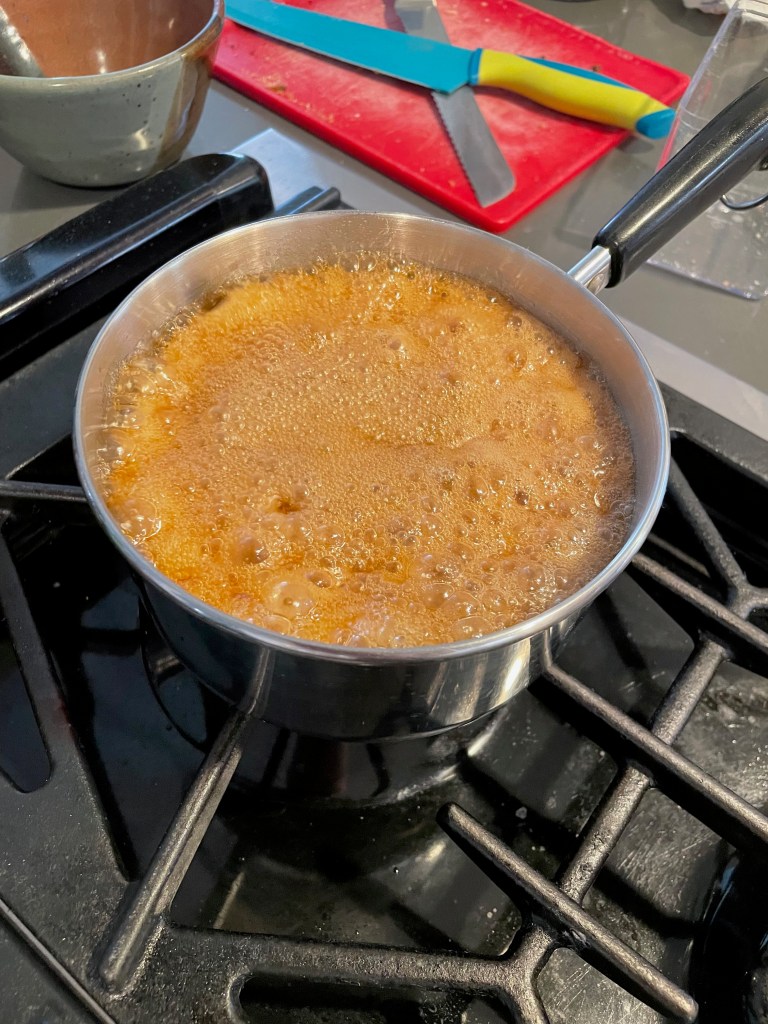
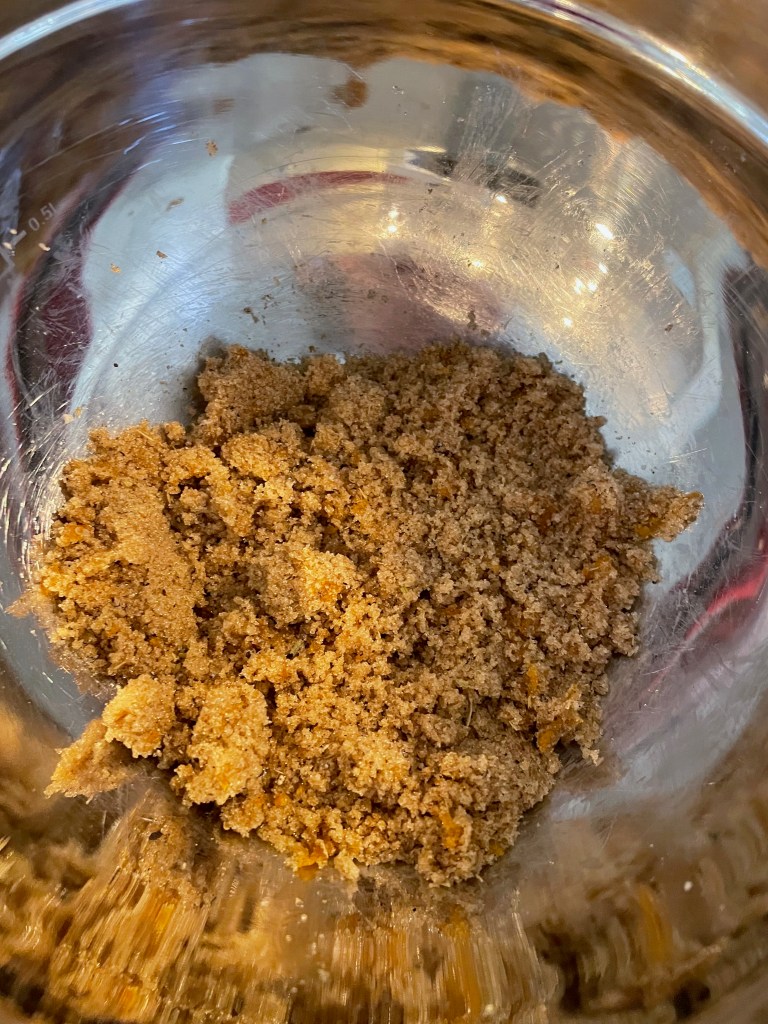
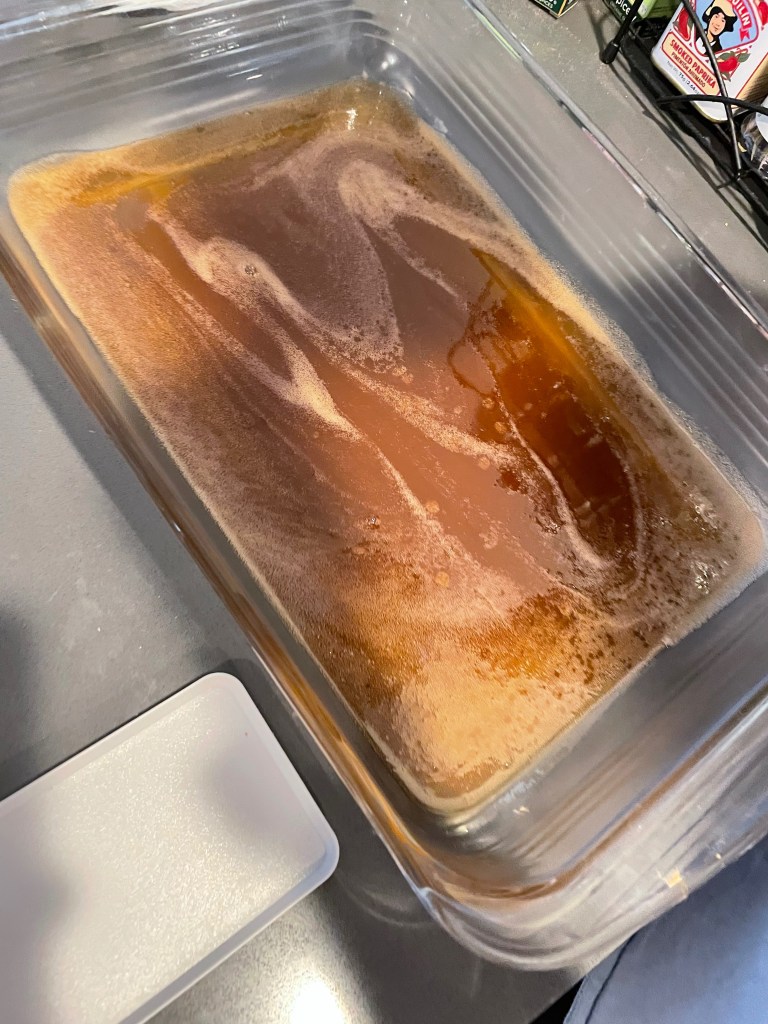
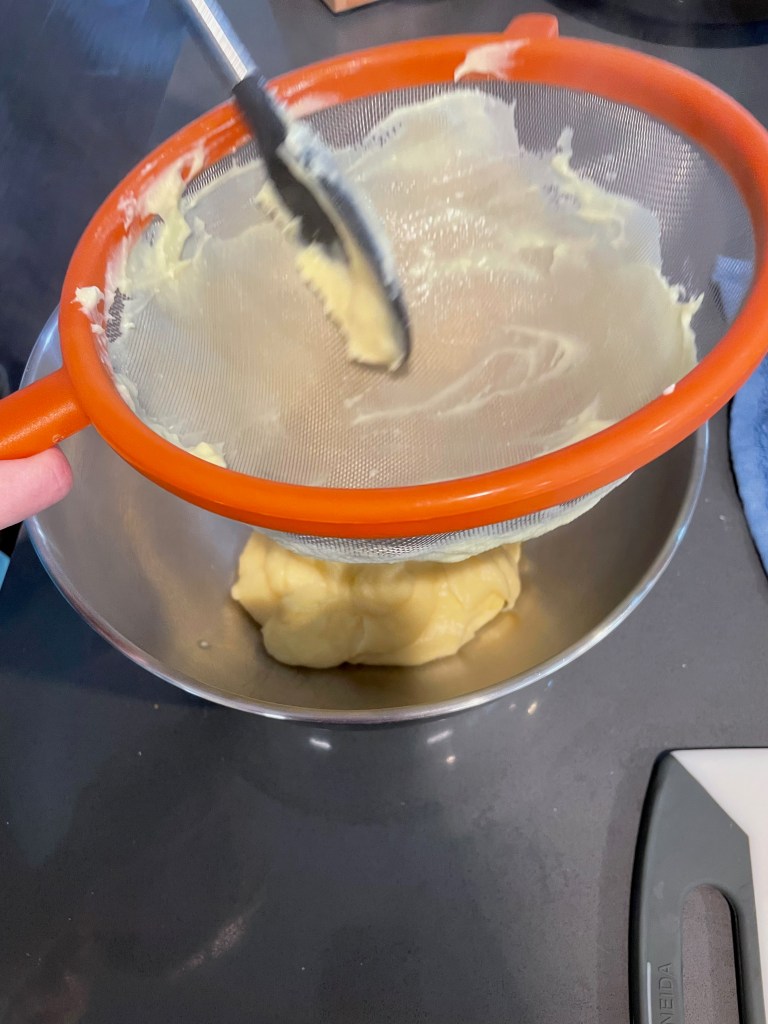
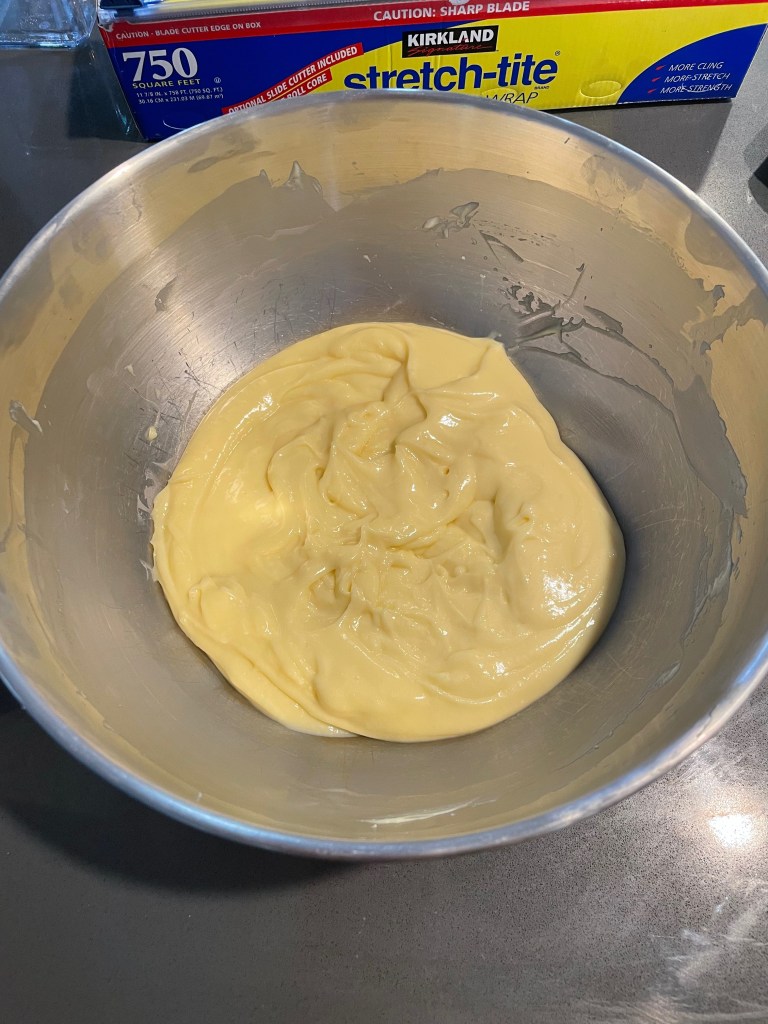
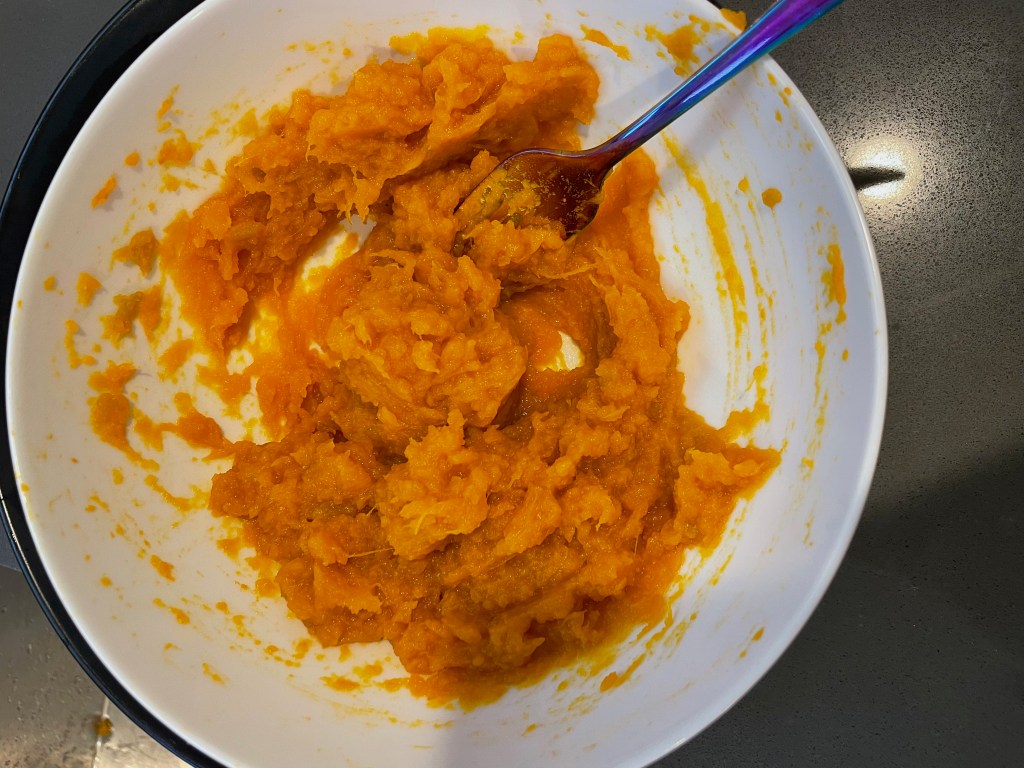
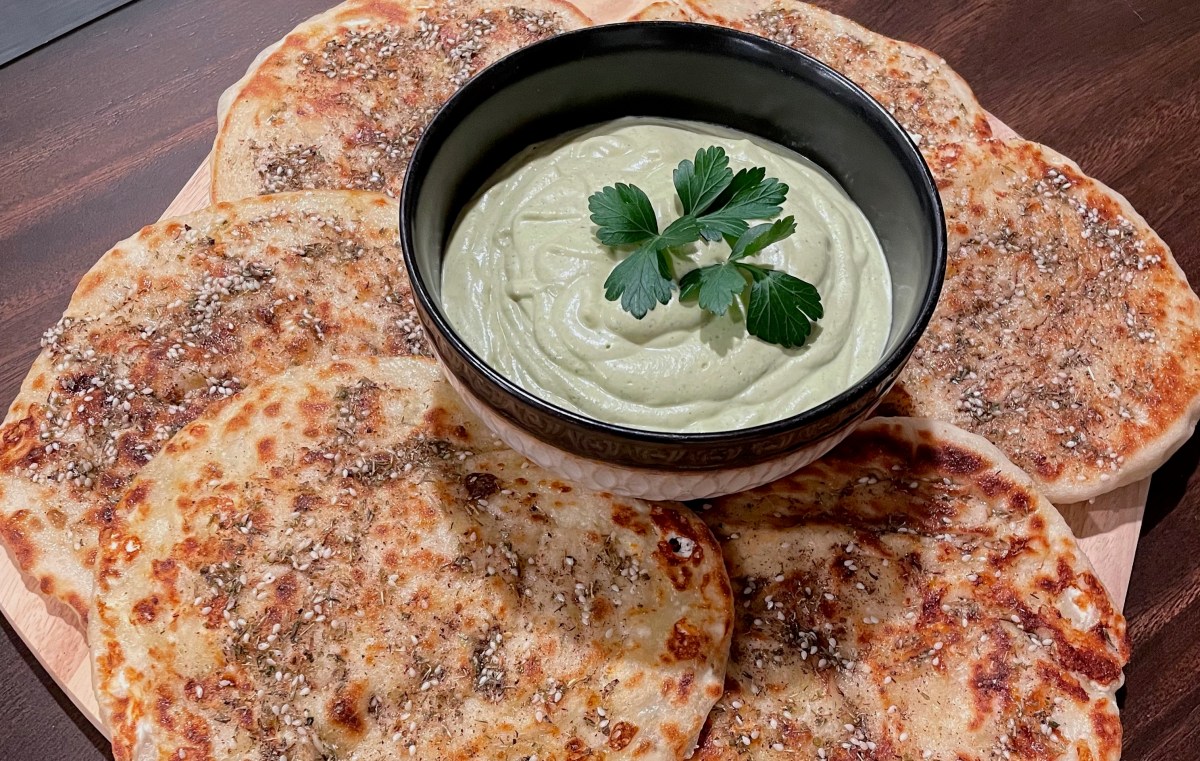
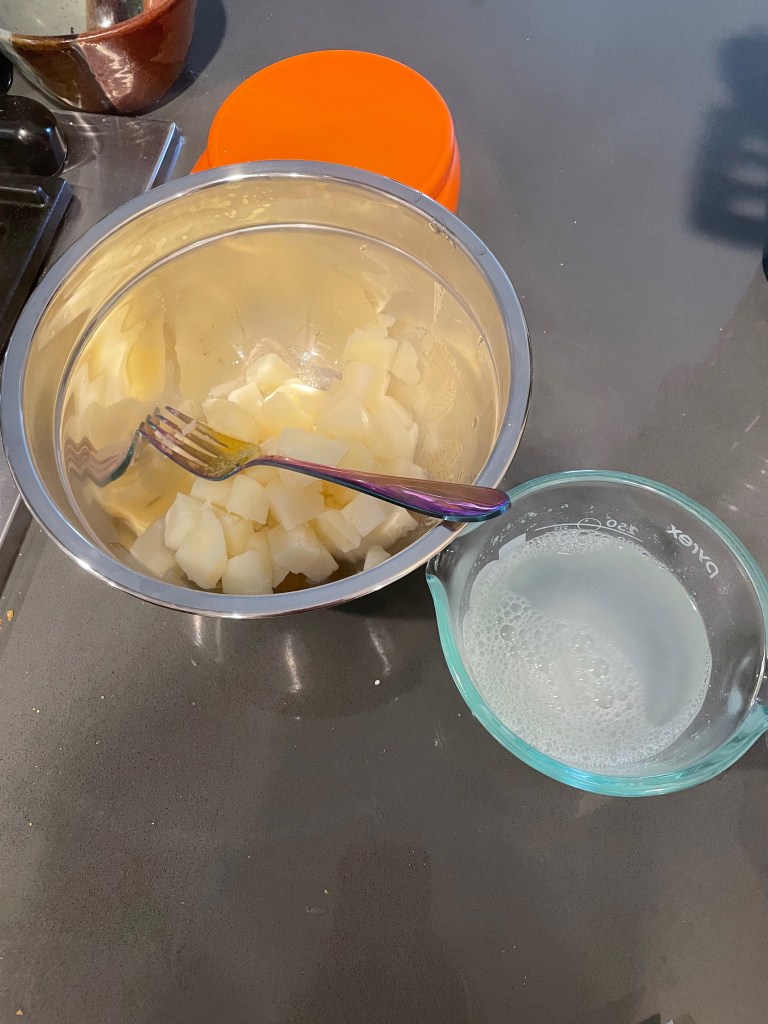
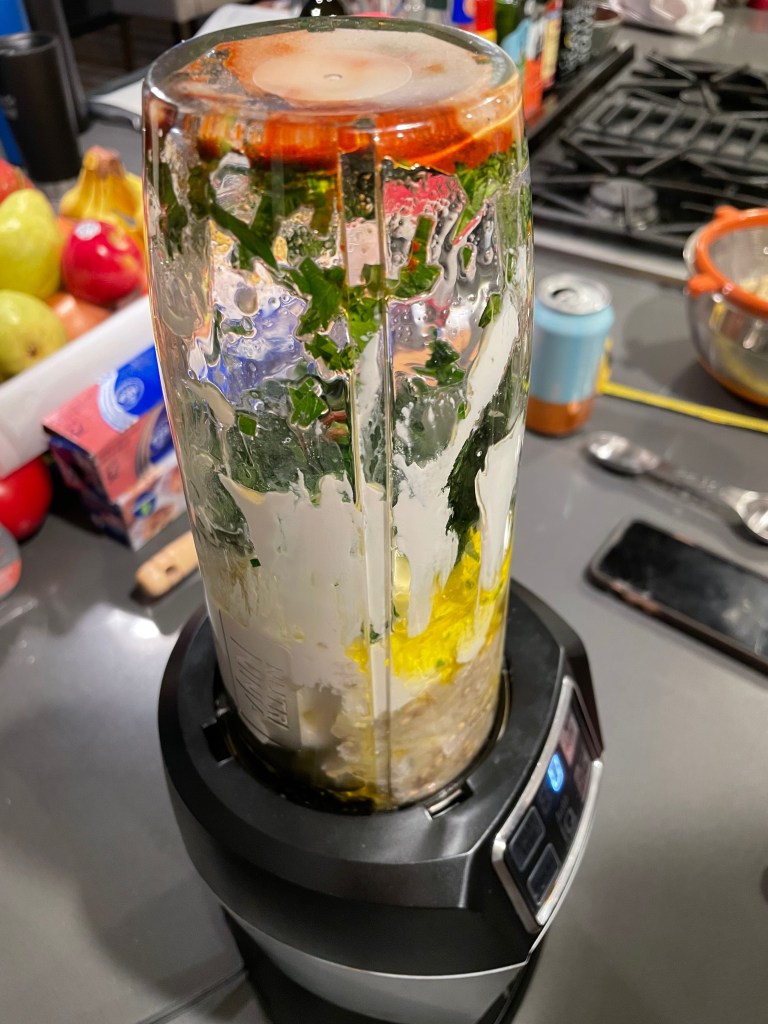
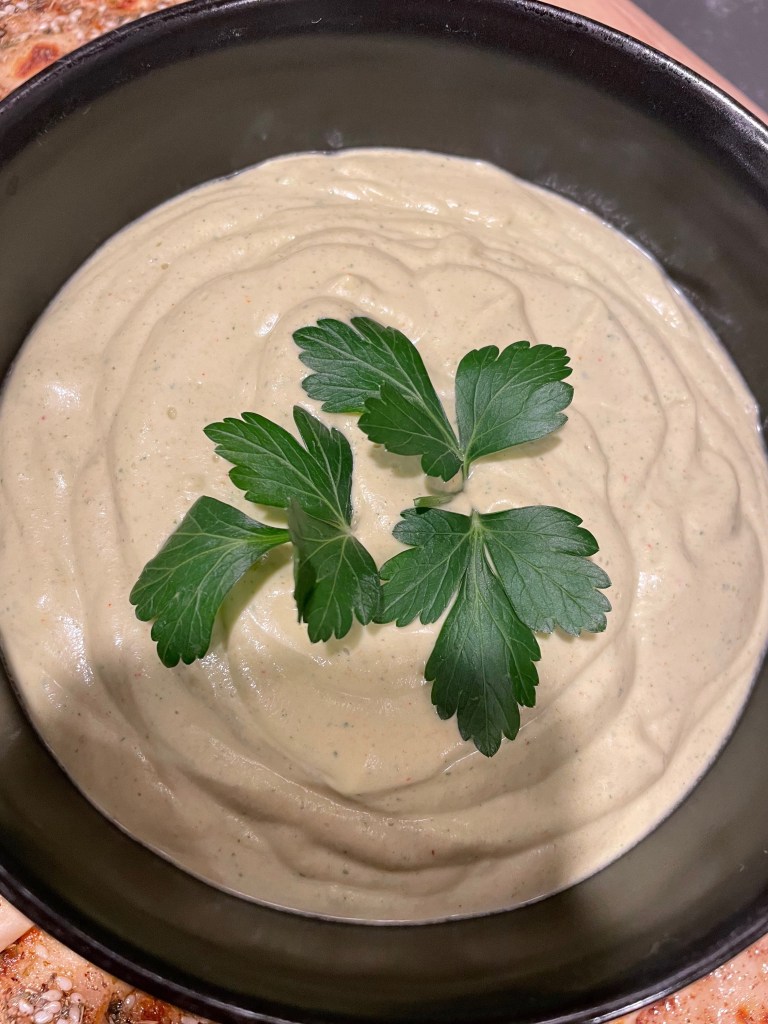
Making The Dip
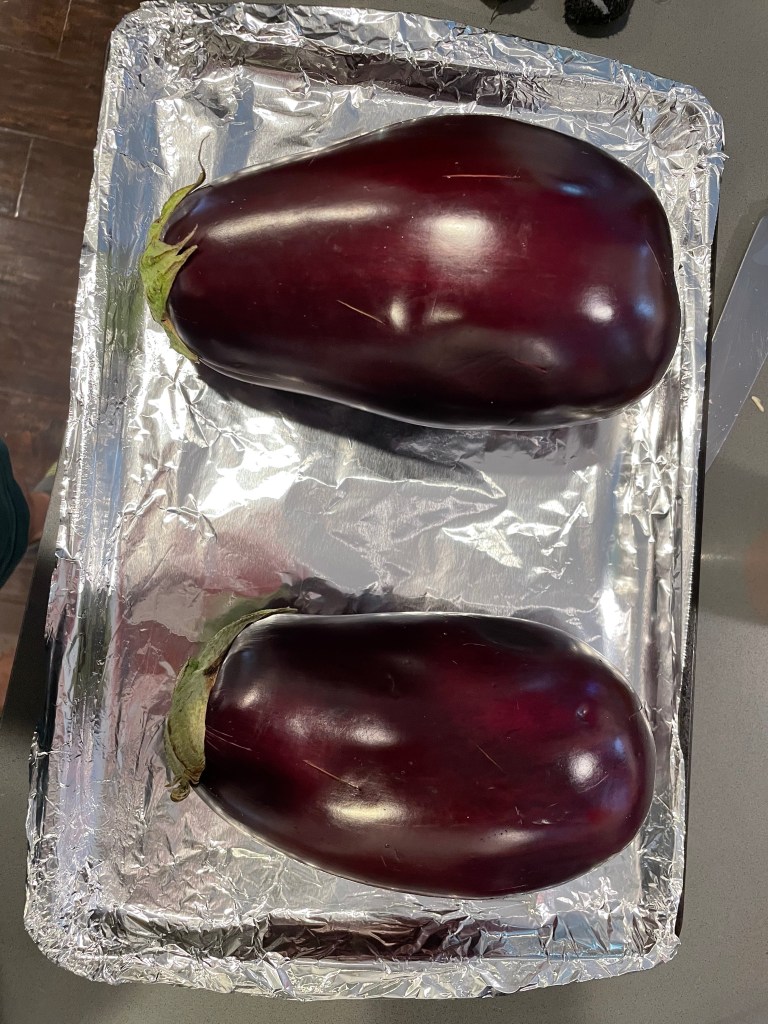
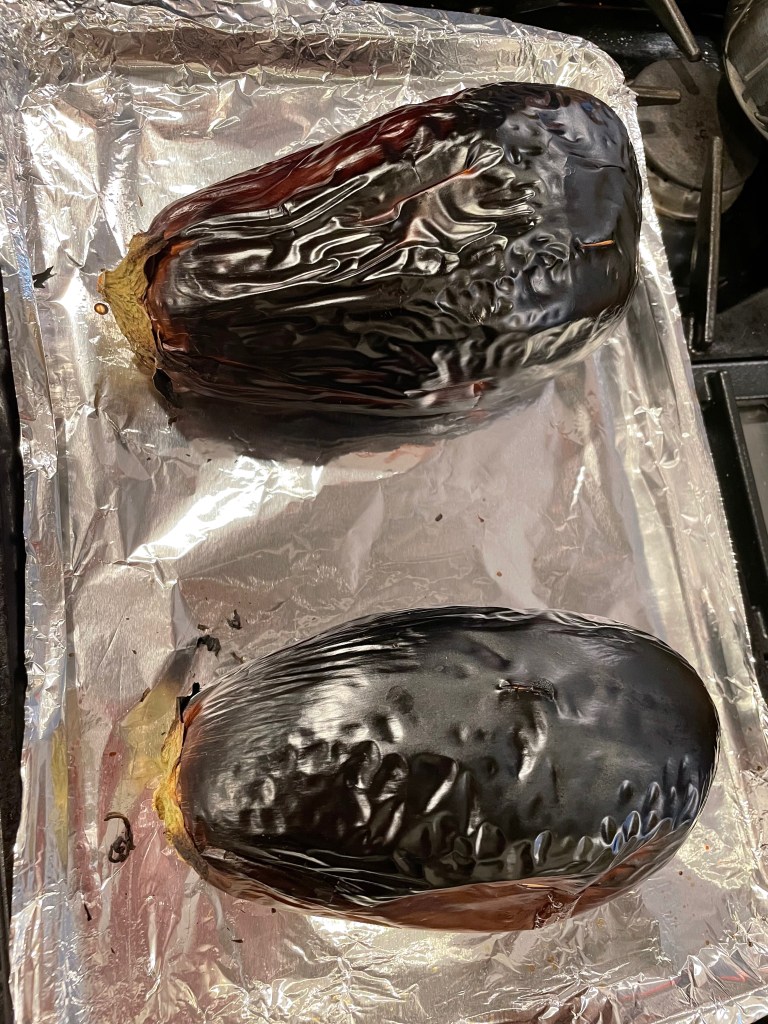

Tip 1: We broiled the eggplant. It can take a while, but go until it is black and charred even if it takes longer than the recommended time.
Tip 2: This dip is incredible and goes great with a variety of mediterranean dishes.
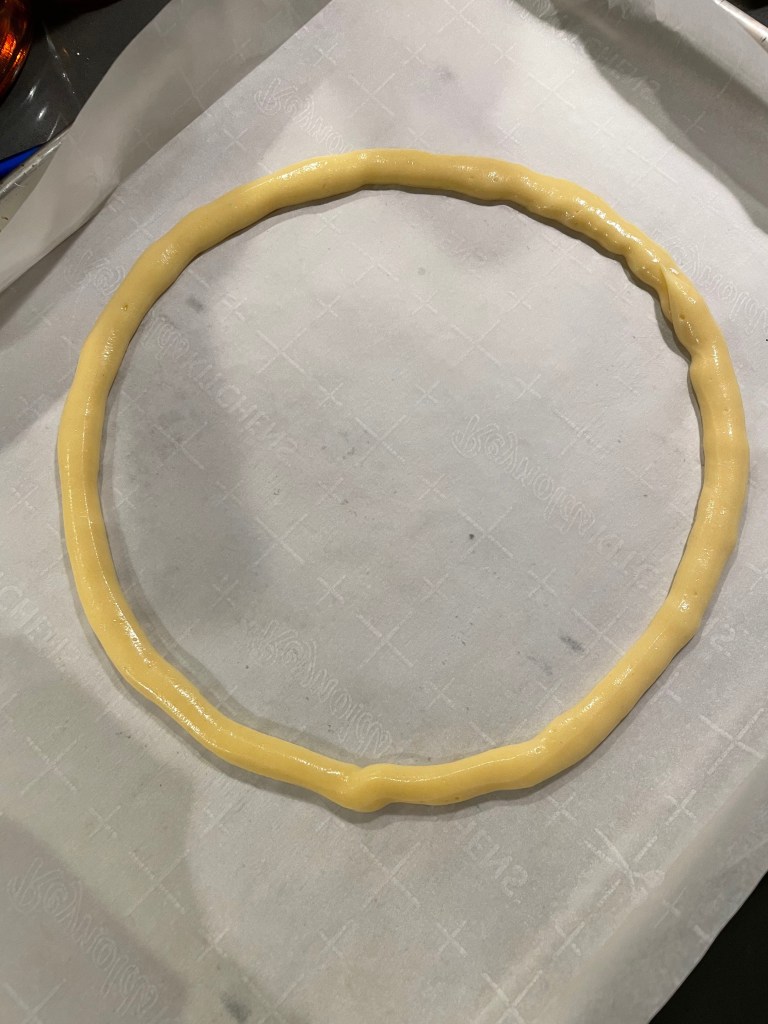
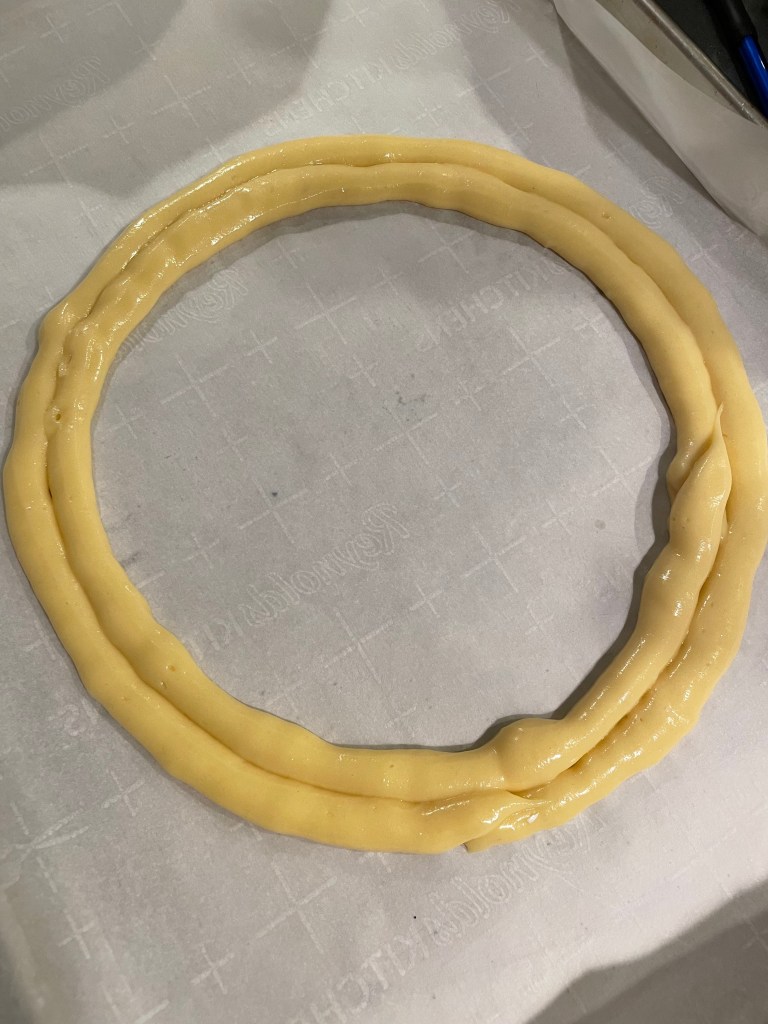
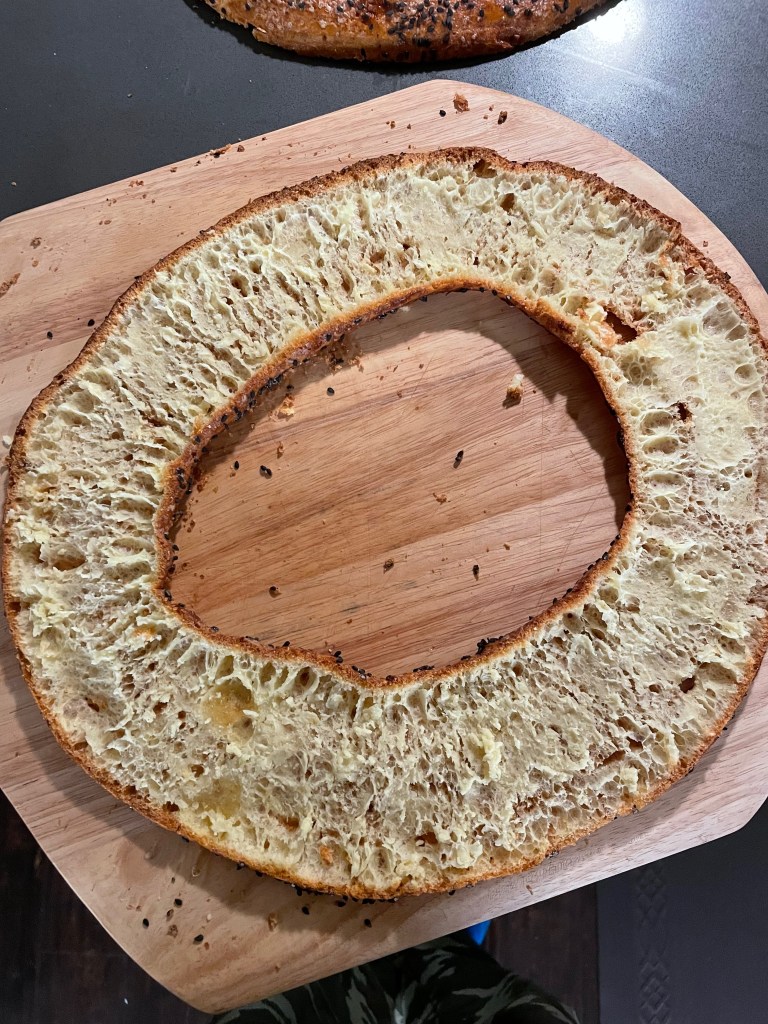
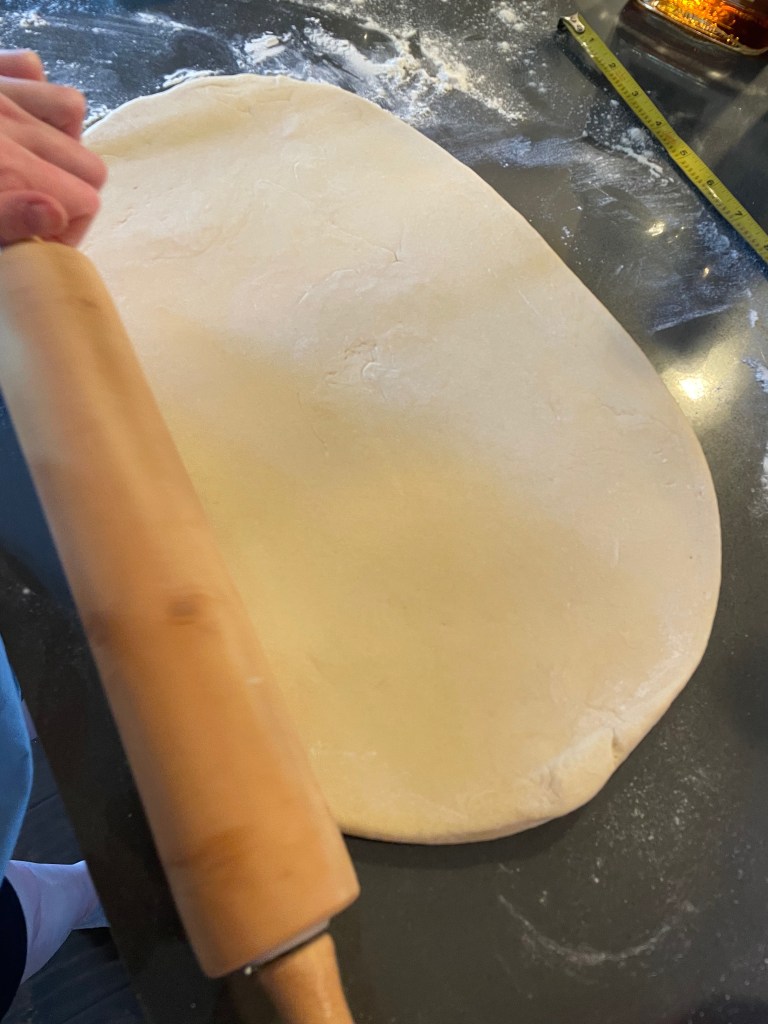
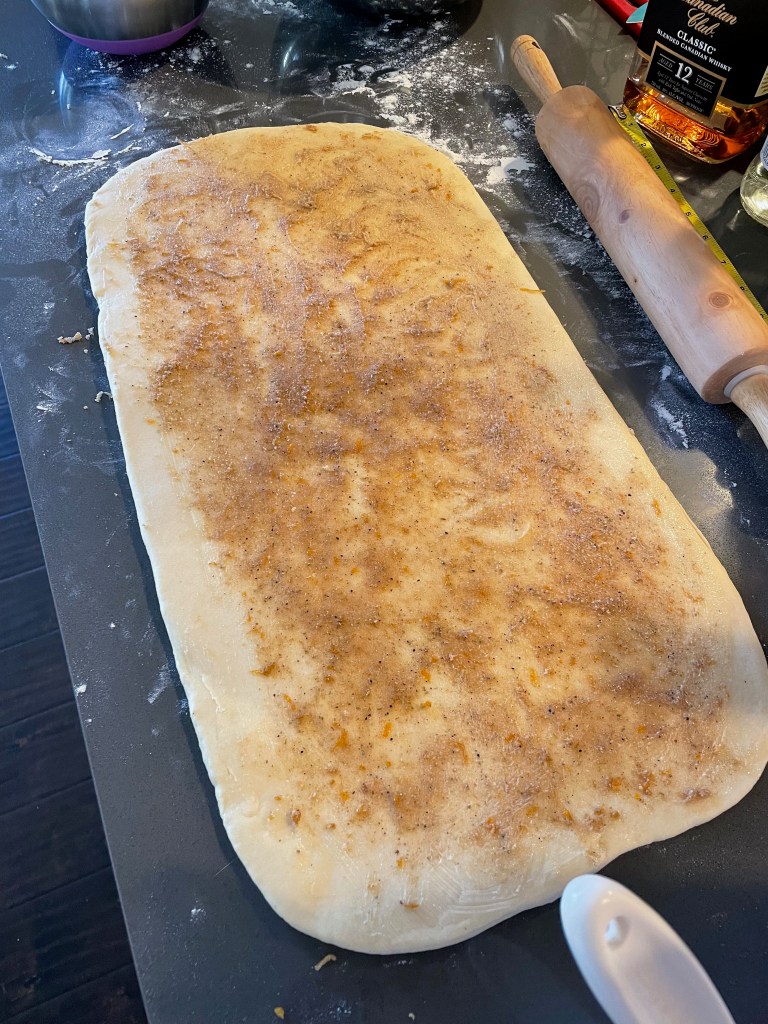
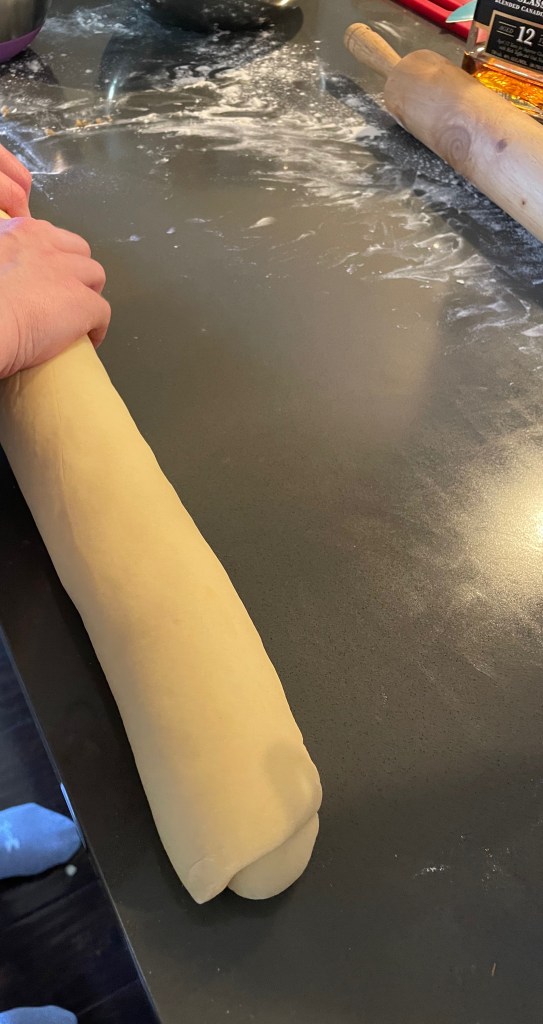
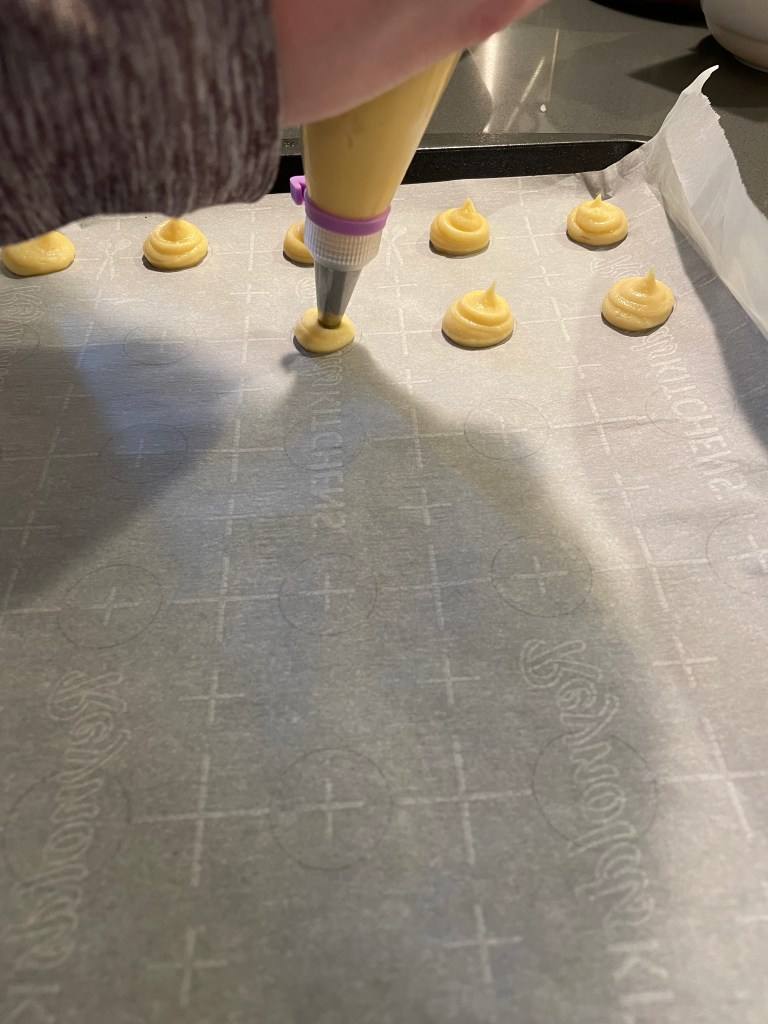
Stuffing And Forming The Flatbread


Tip 1: The roll-and-curl technique works well, but can lead to some of the feta getting distributed unevenly. To avoid this, go lighter on the amount of feta in the middle.
Tip 2: Oil the rolling pin and your hands generously to deal with sticky dough.
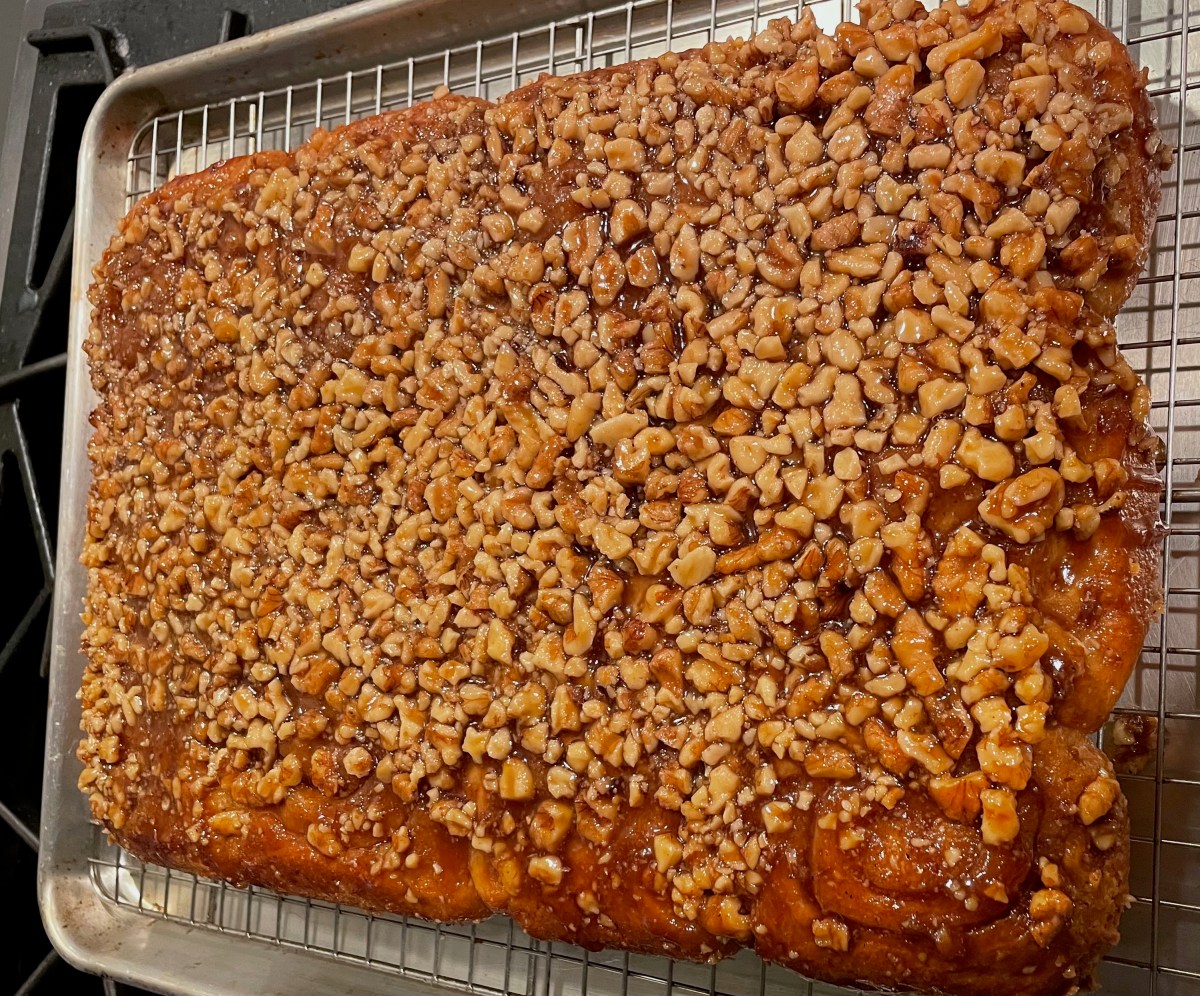
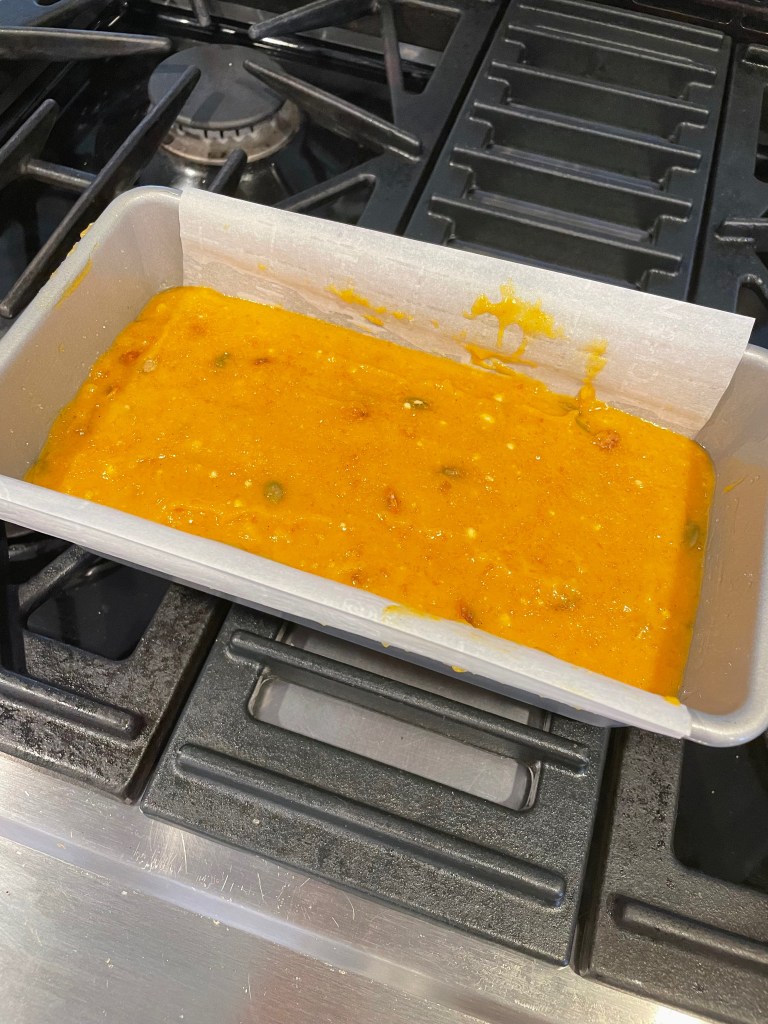
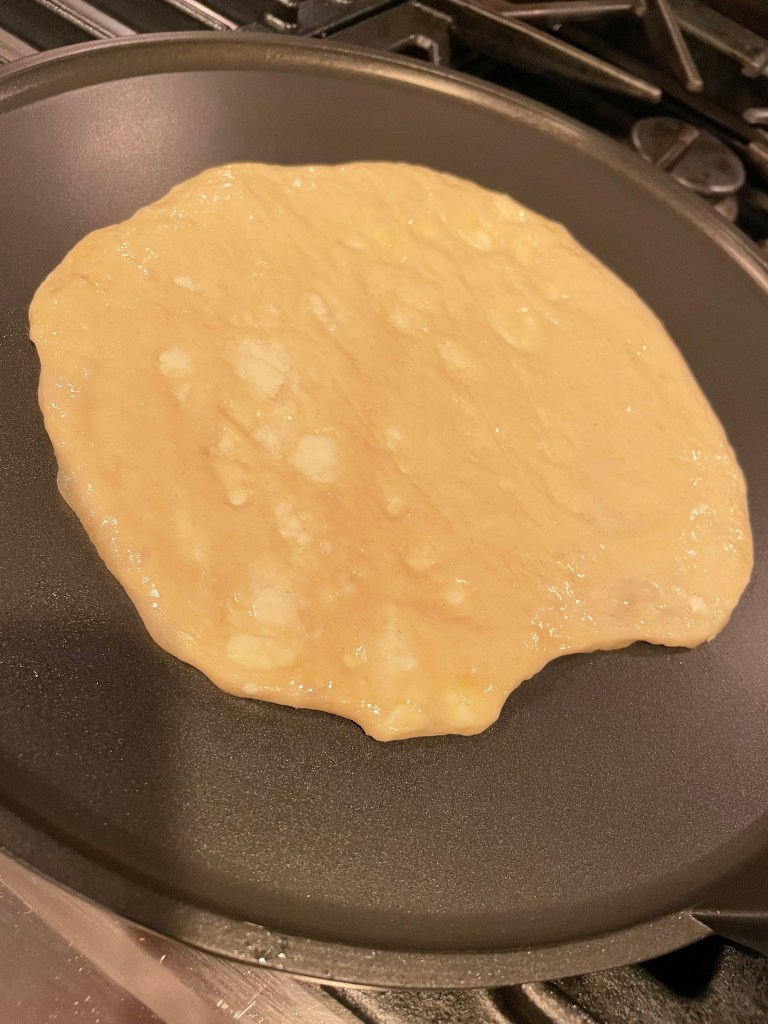
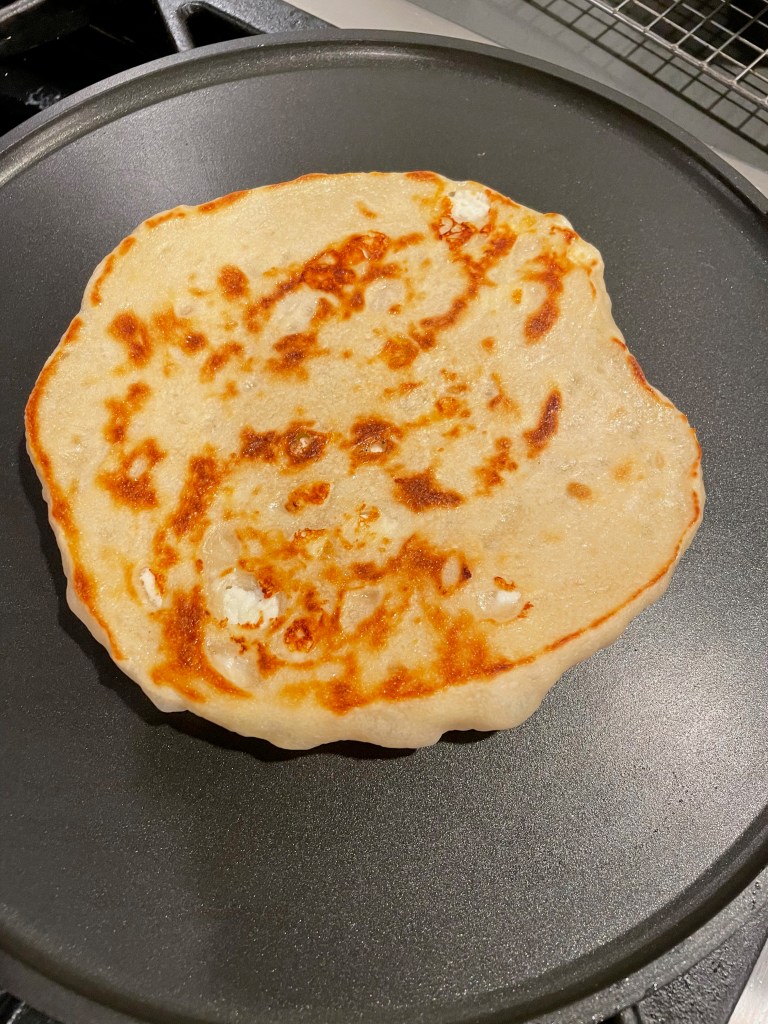
Cooking The Flatbread
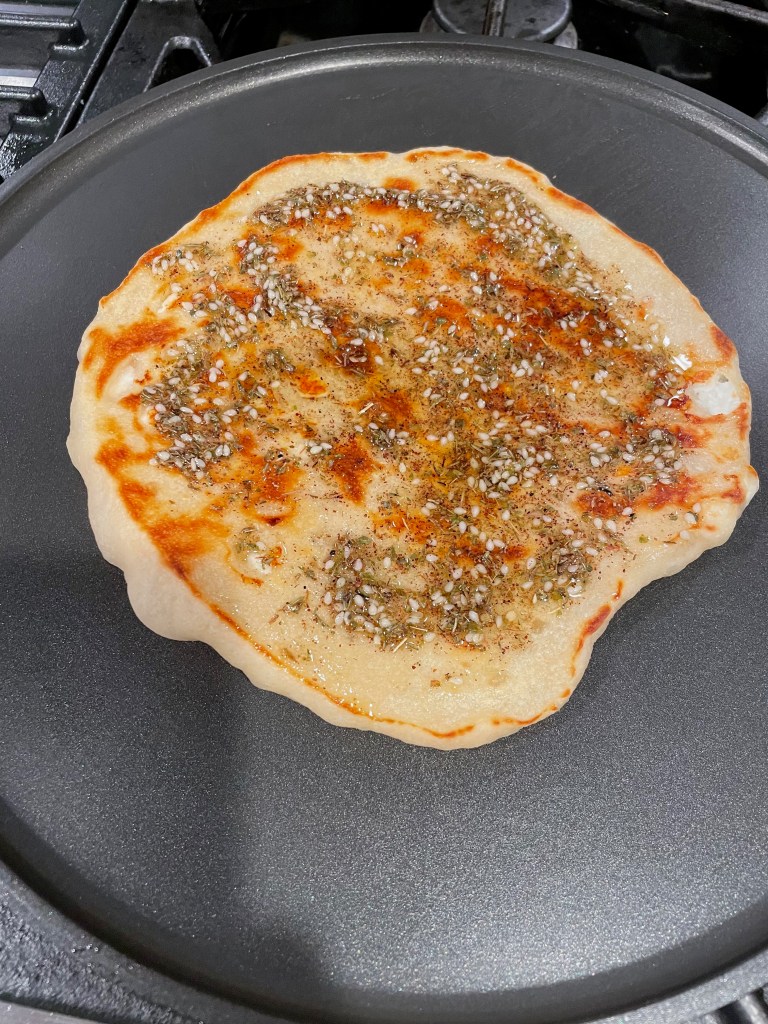
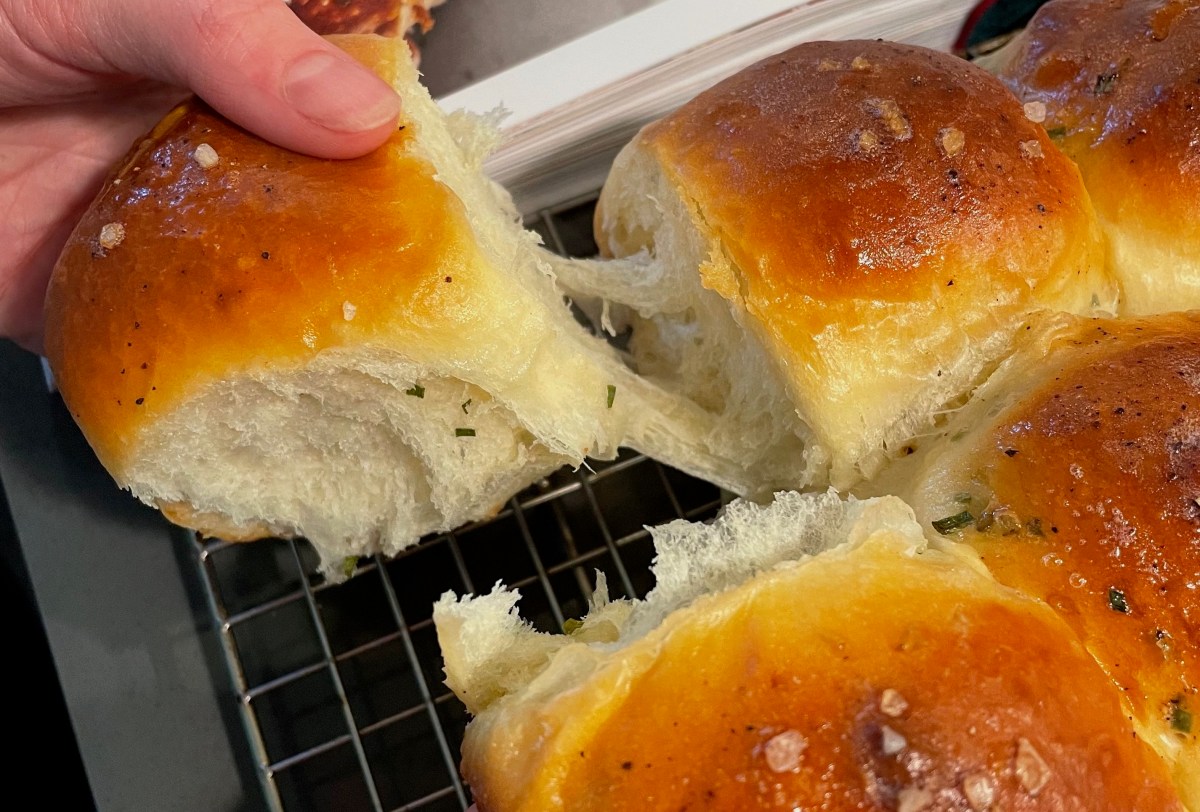
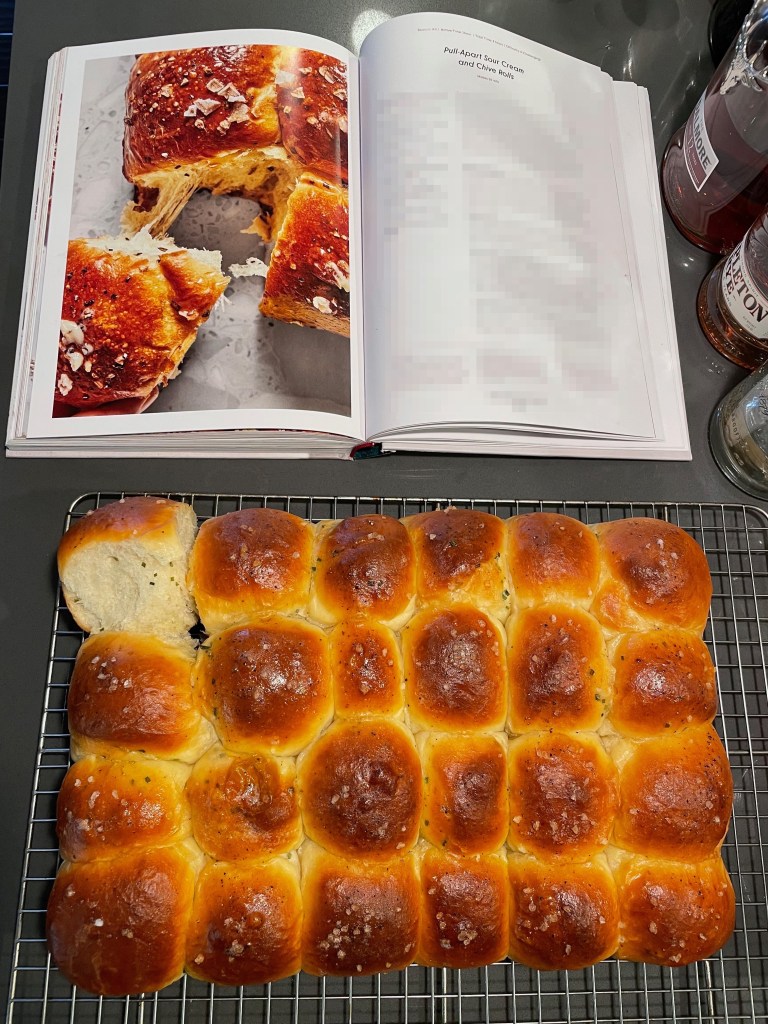
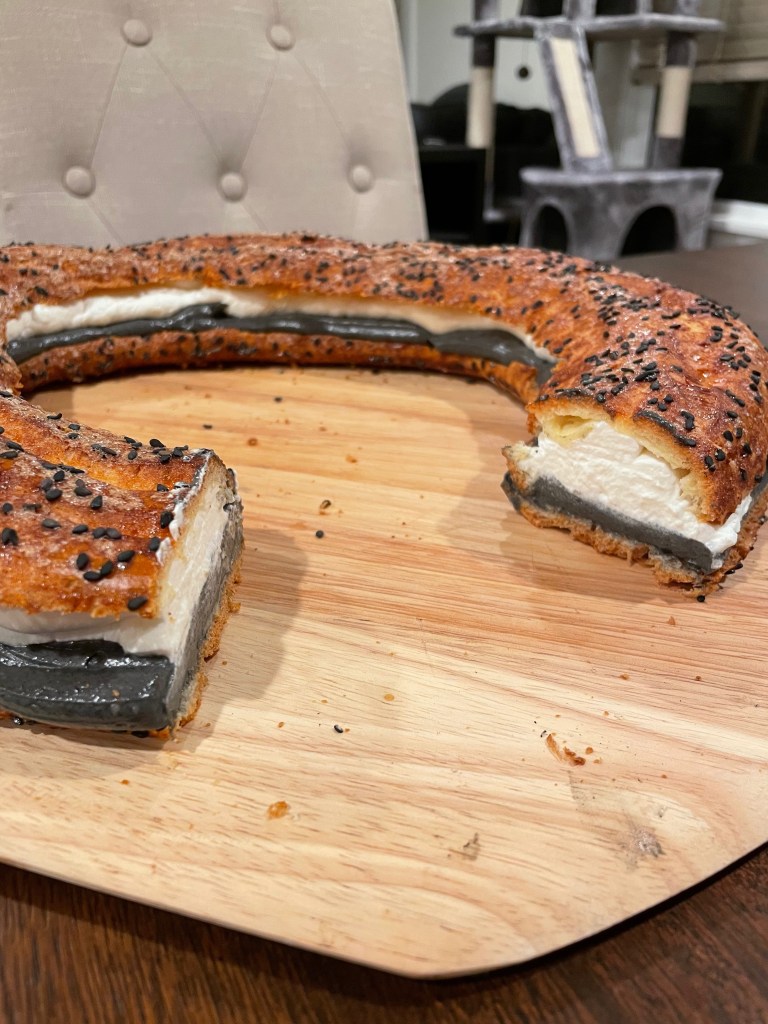
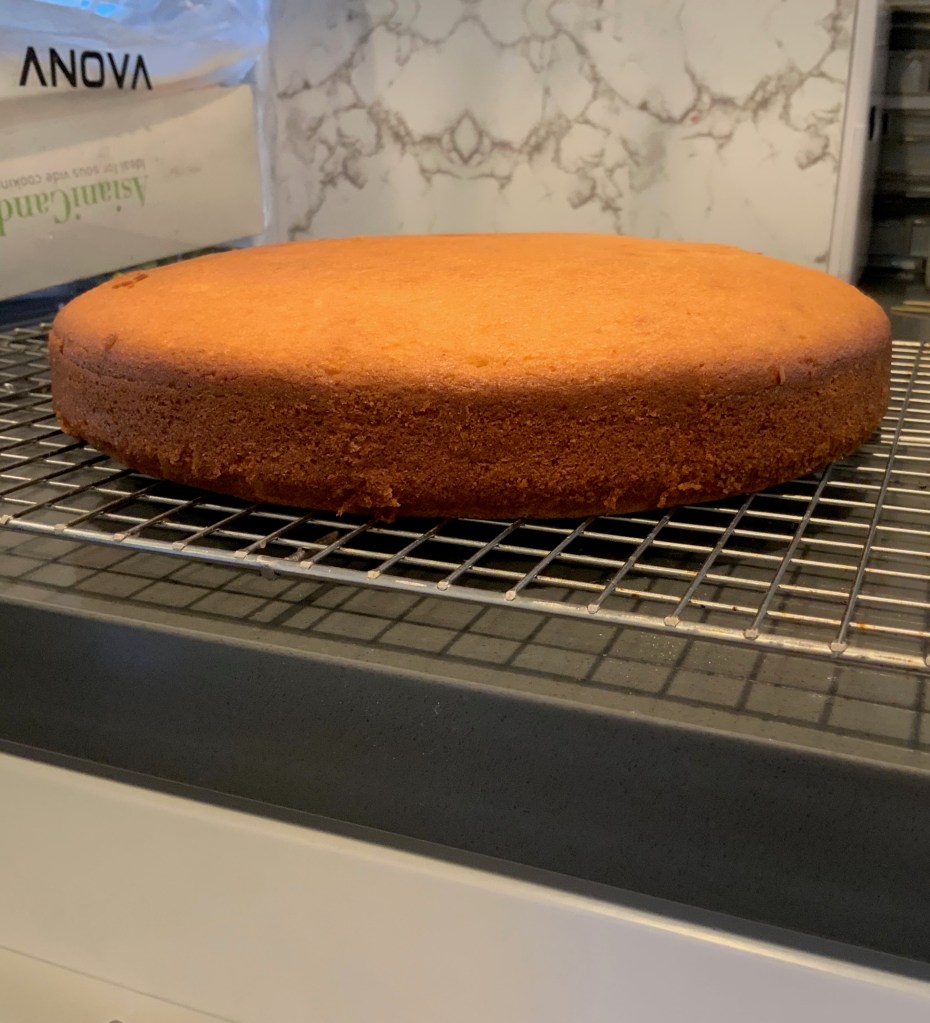
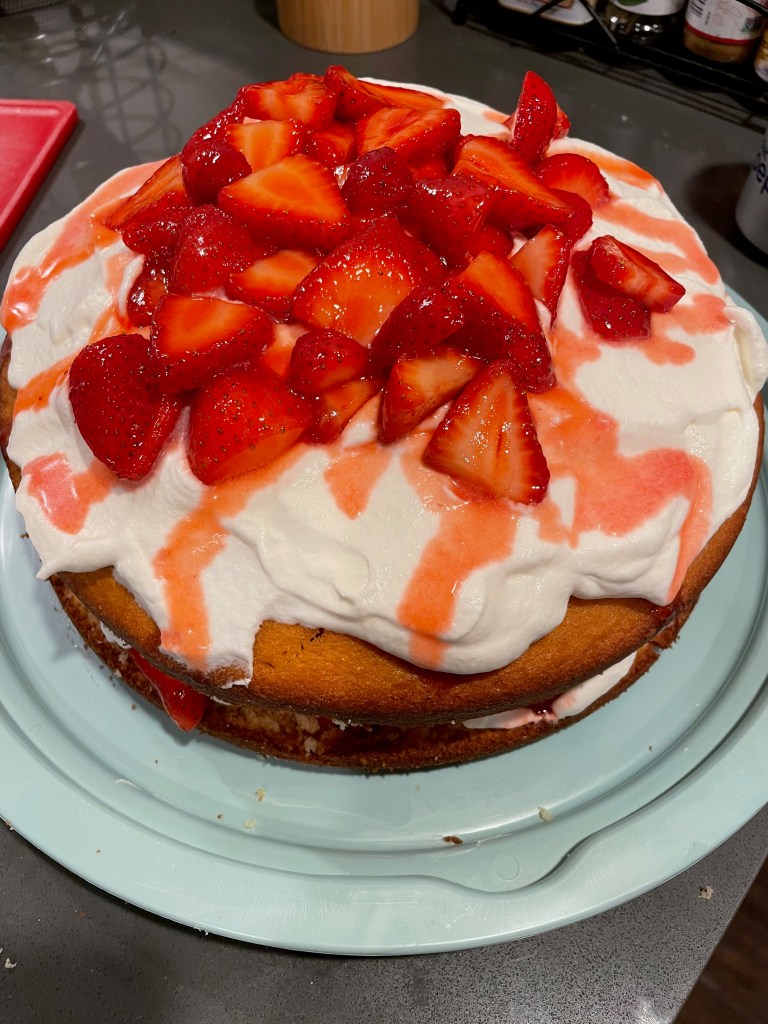
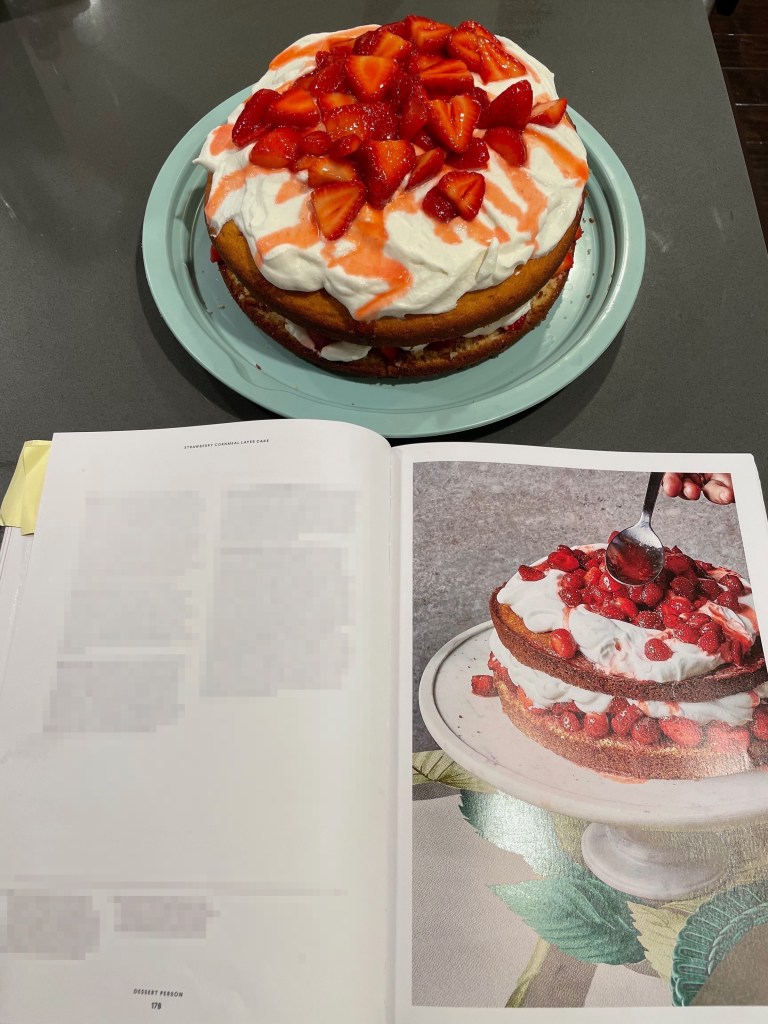
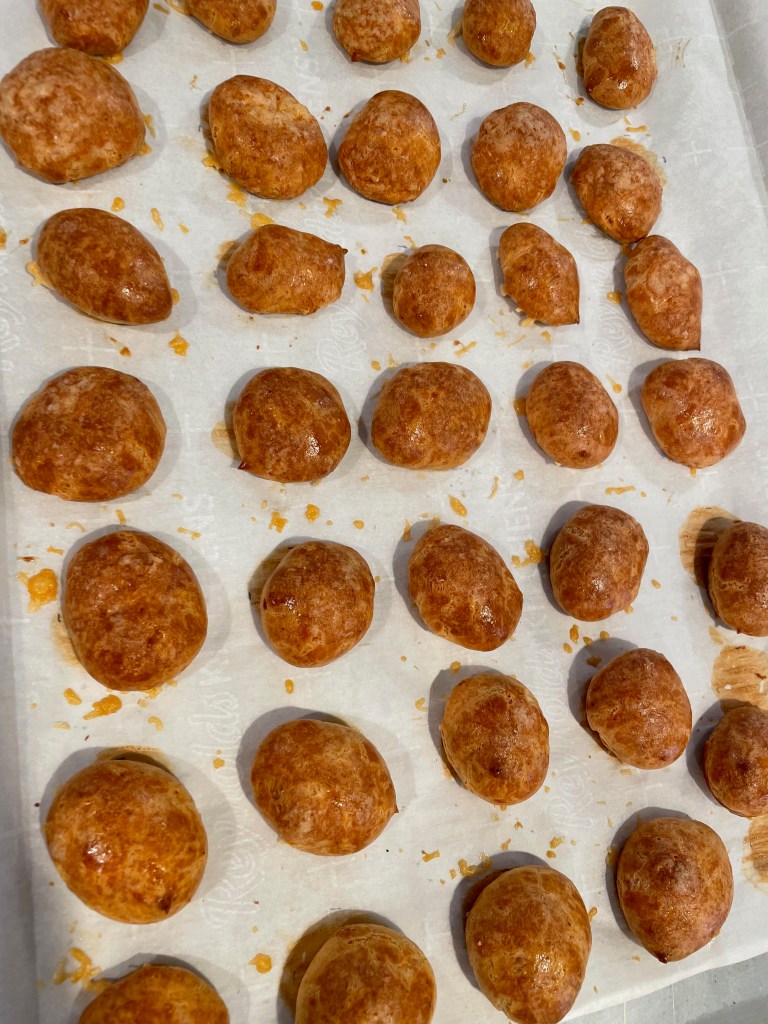
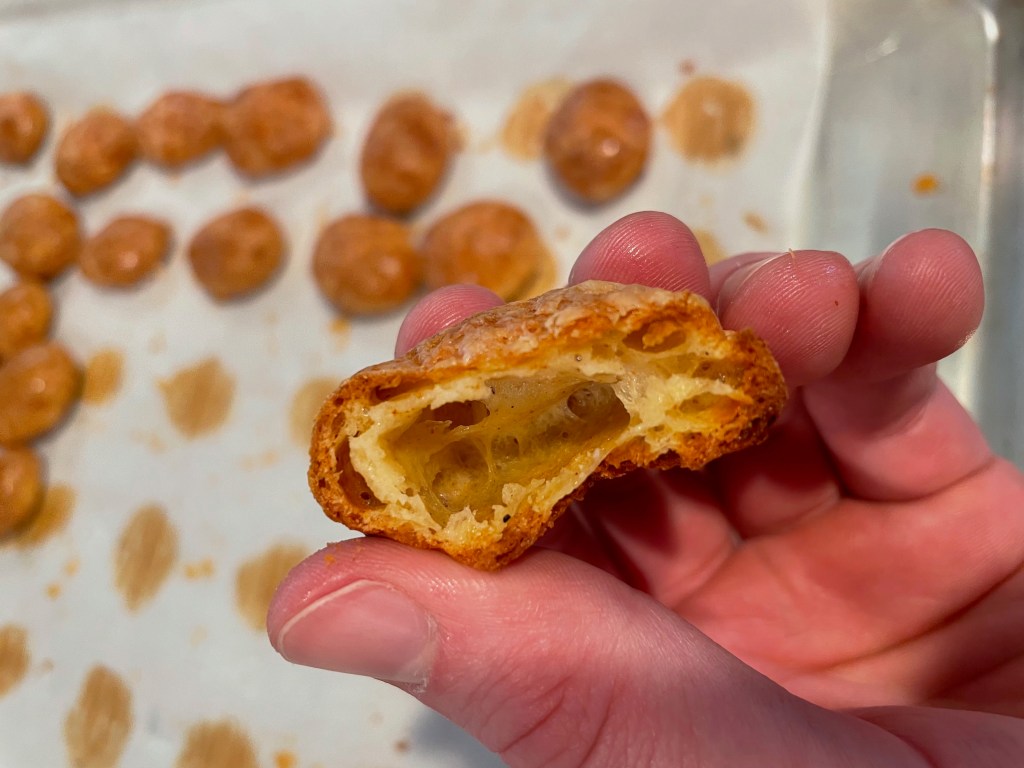
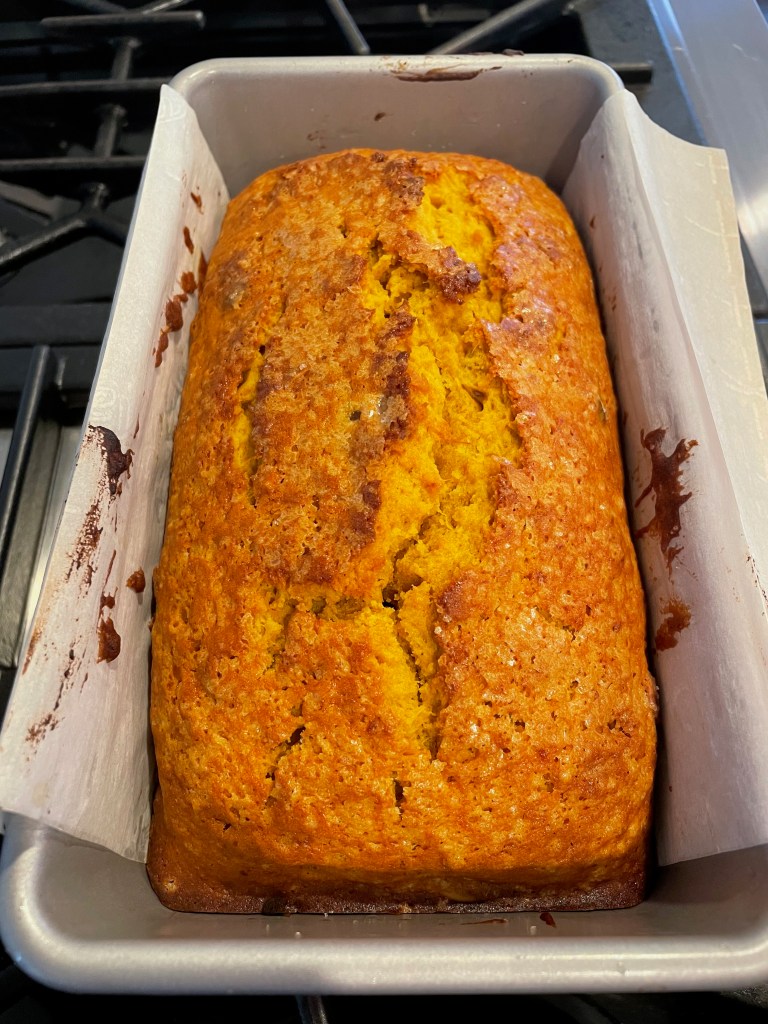
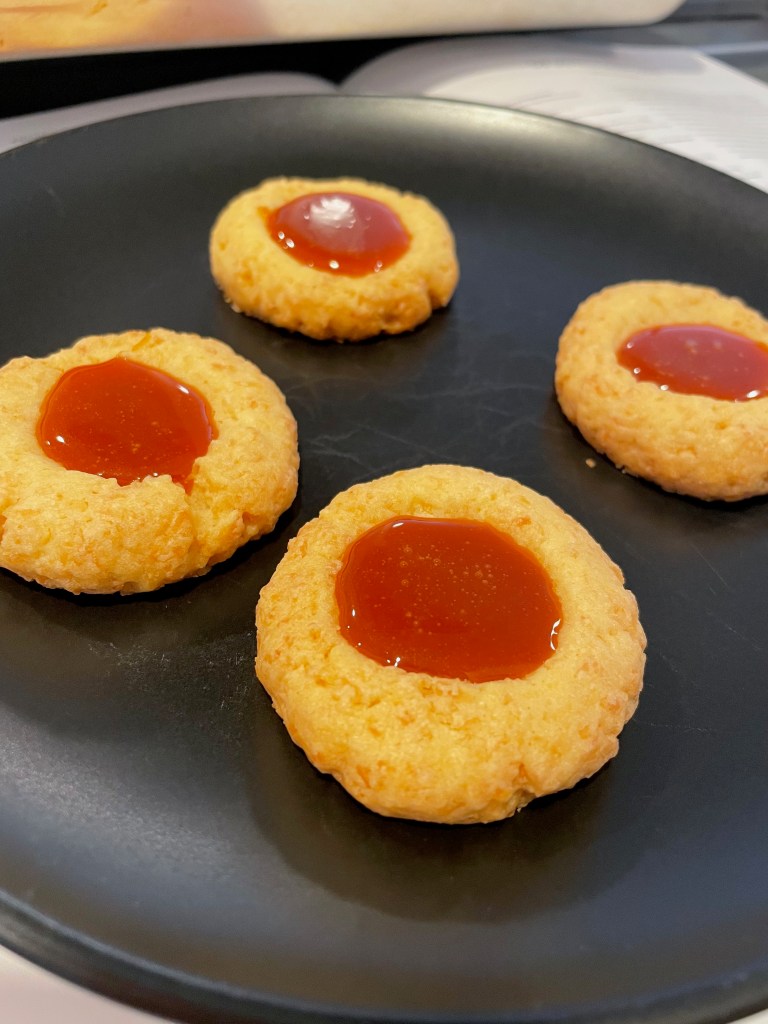
Final Product

Key Takeaways
- Pay close attention to your dough and don’t let it end up too sticky.
- The dip could be a recipe on its own!
- Final Score: 3/5 – The dish is surprisingly complicated, but quite delicious. In the video Claire claims this could be made while doing other things (i.e. at a party/gathering), although chances are this recipe will demand your full attention.