Introduction
This is a fairly unique recipe that is fairly straightforward to make. It’s one of two upside-down cakes in the book (the other being a pineapple one). While both recipes follow the same formula, they stand out in slightly different ways. This one is certainly prettier than the other, however it doesn’t taste quite as good (unless you really like orange)!
Recipe Outline
| Recipe: Blood Orange and Olive Oil Upside-Down Cake | Special Equipment: 10-Inch Springform Pan, Stand Mixer |
| Source: Dessert Person | Time: 2 Hours |
| Author: Claire Saffitz | Difficulty: 3/5 |
| Type: Dessert (Baking) | Score: ★★★☆☆ |
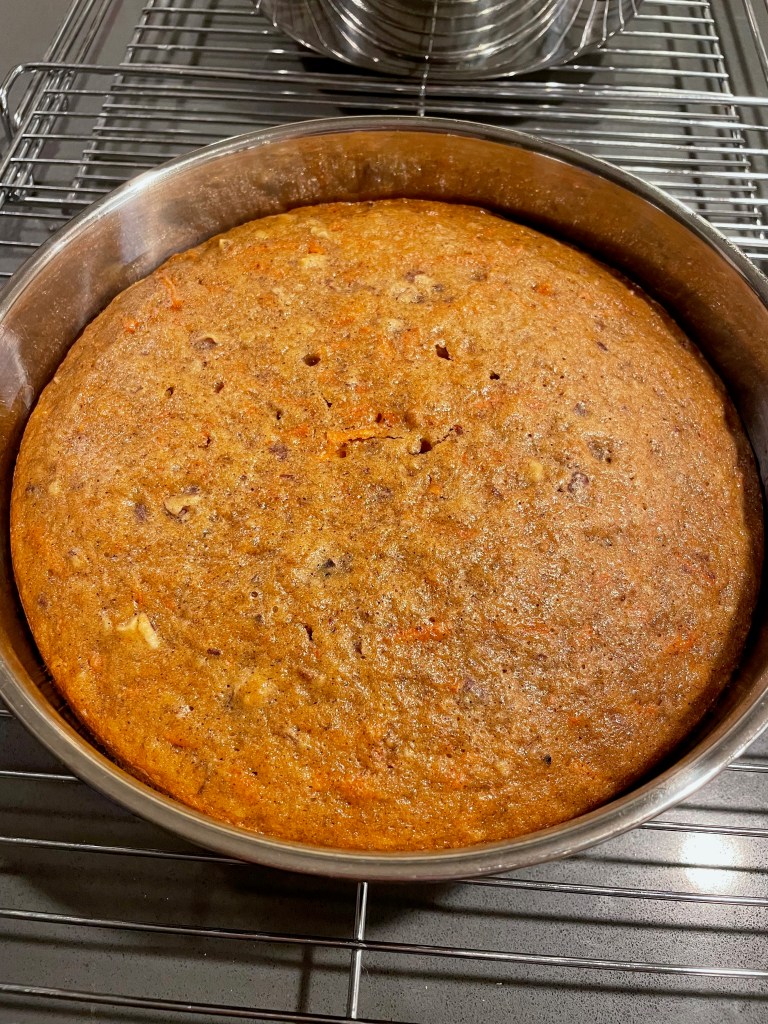
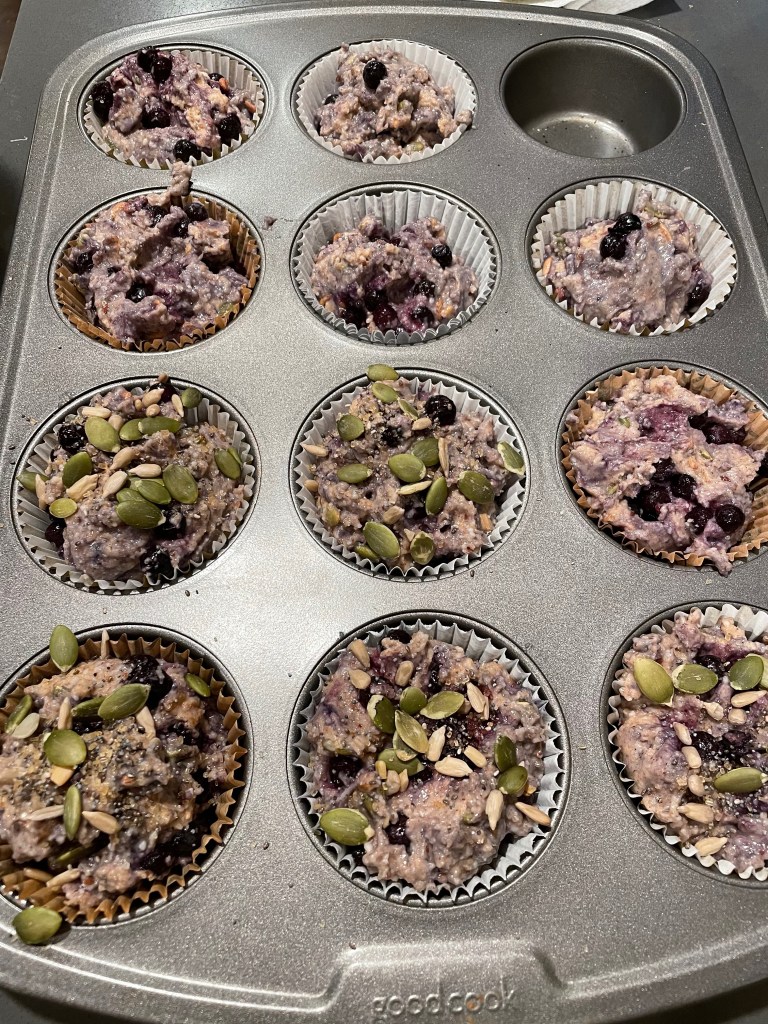
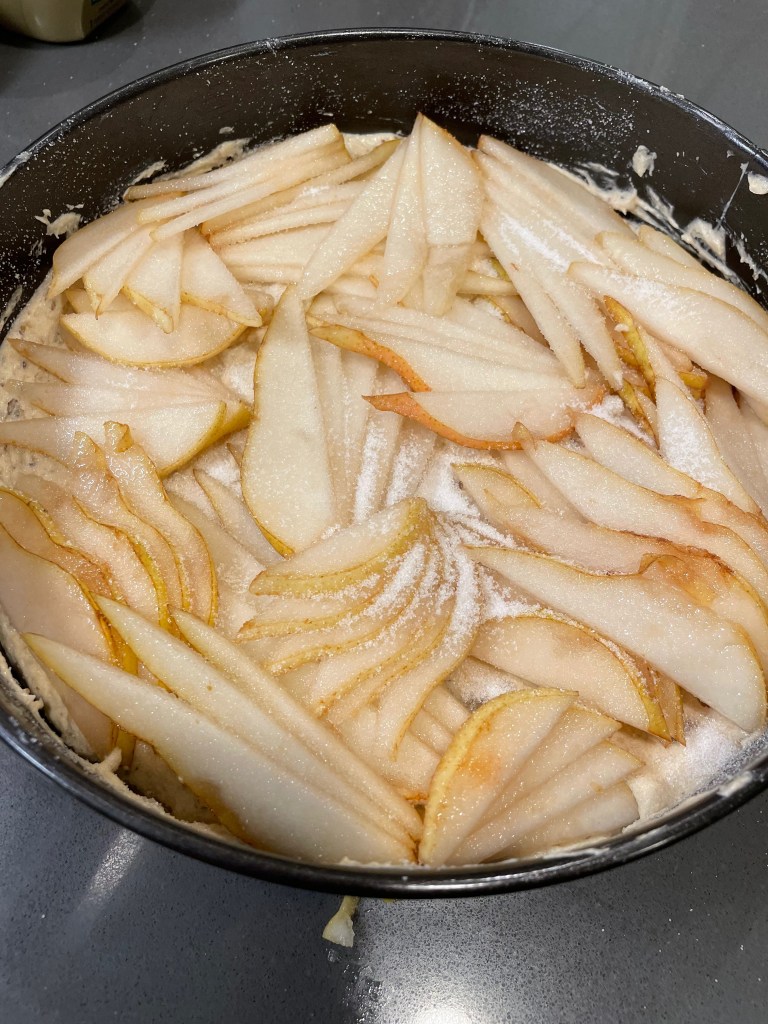
Preparing The Pan

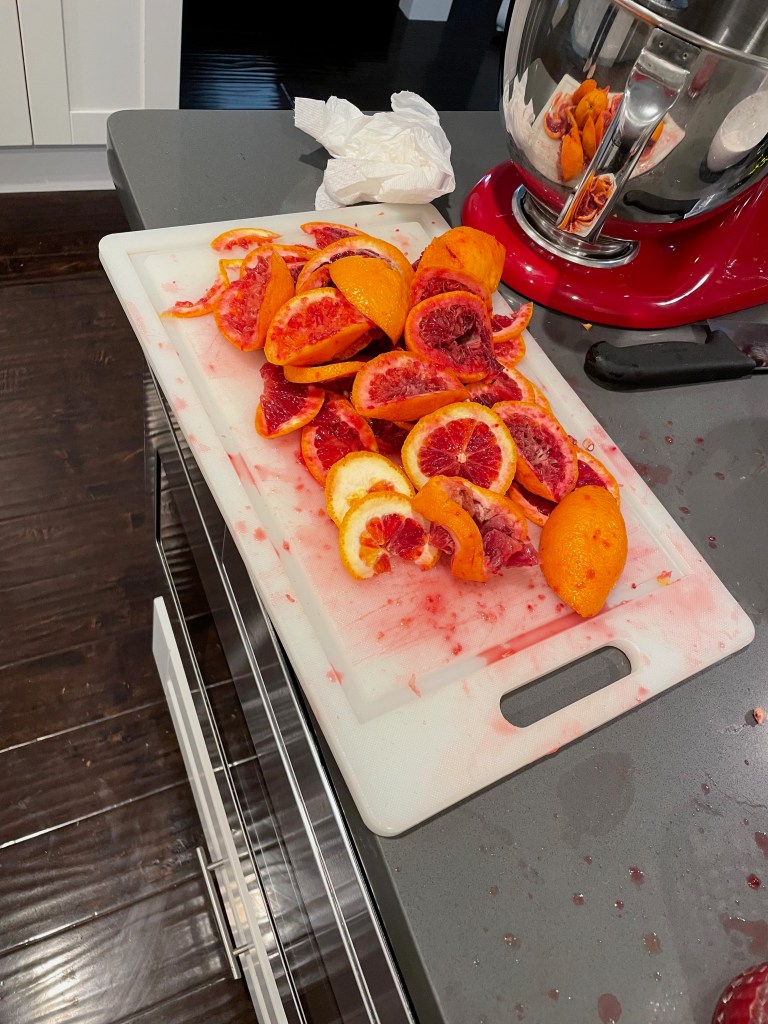
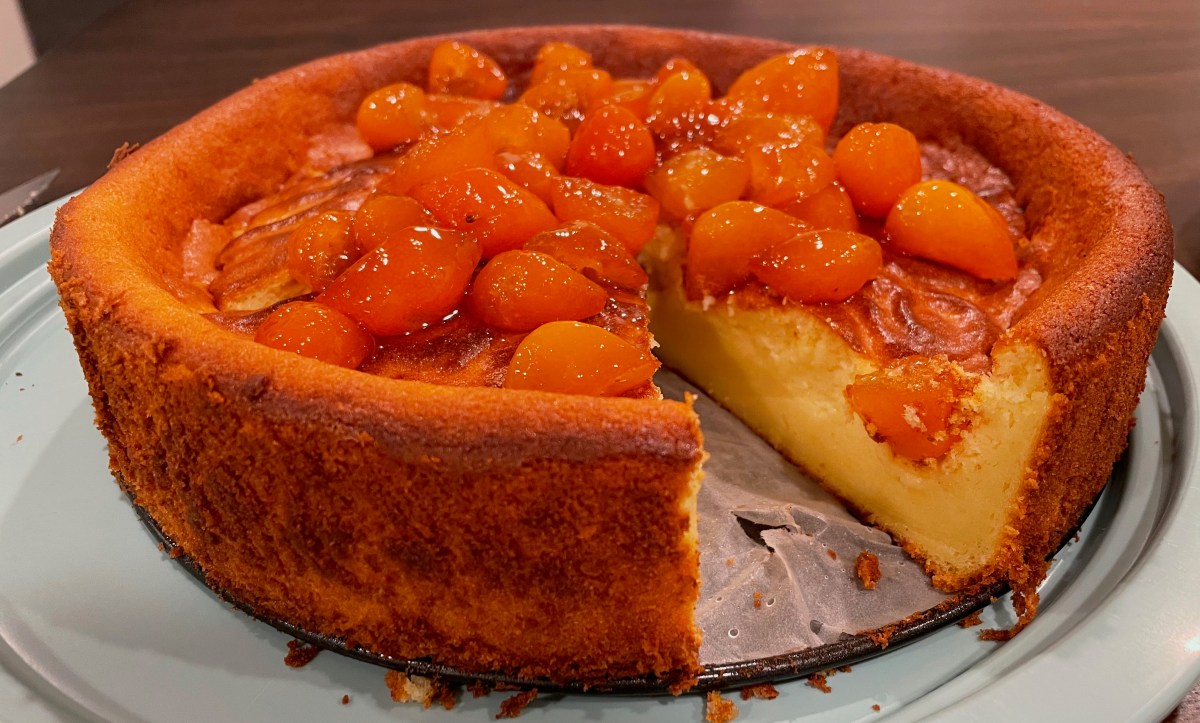
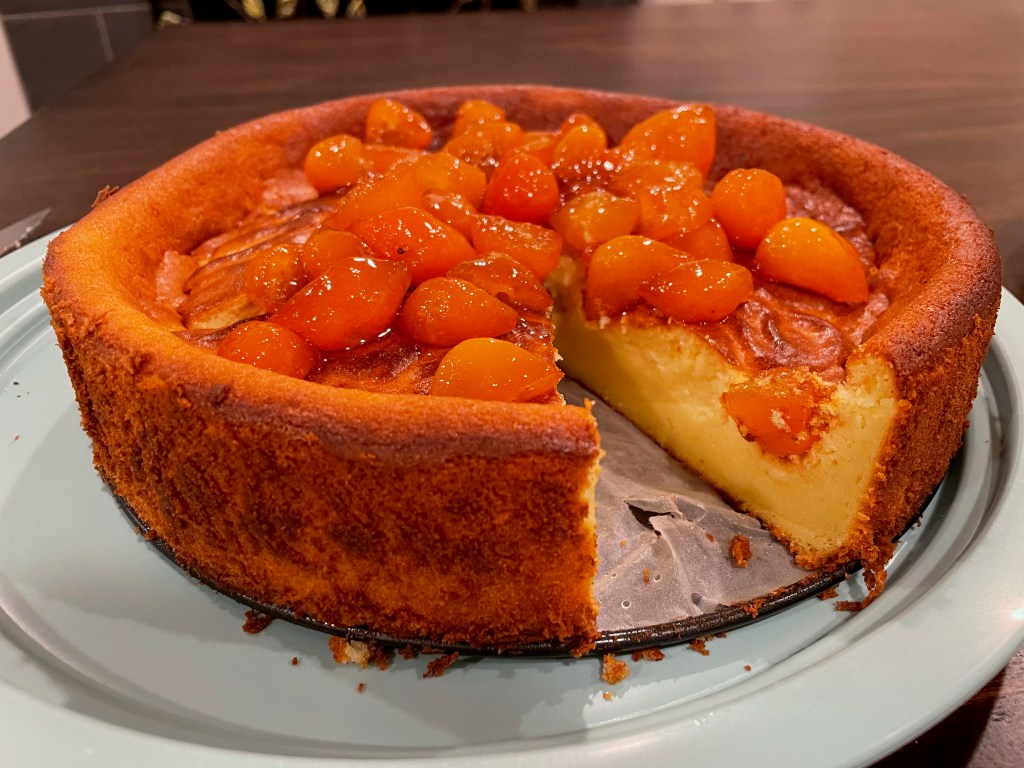
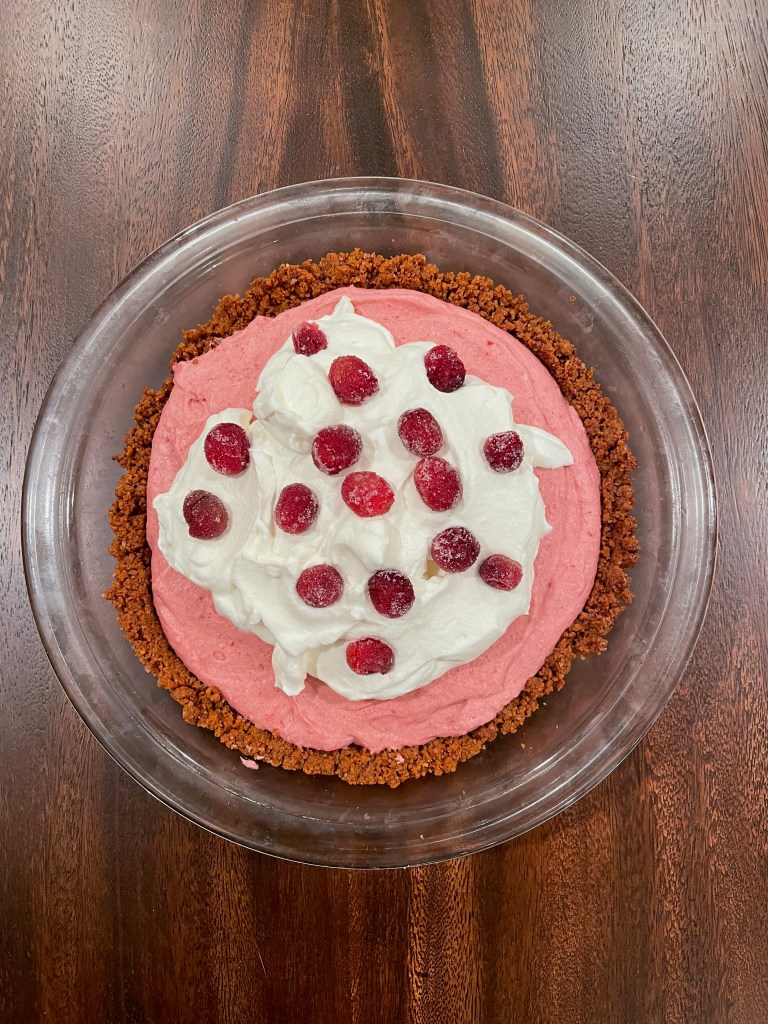
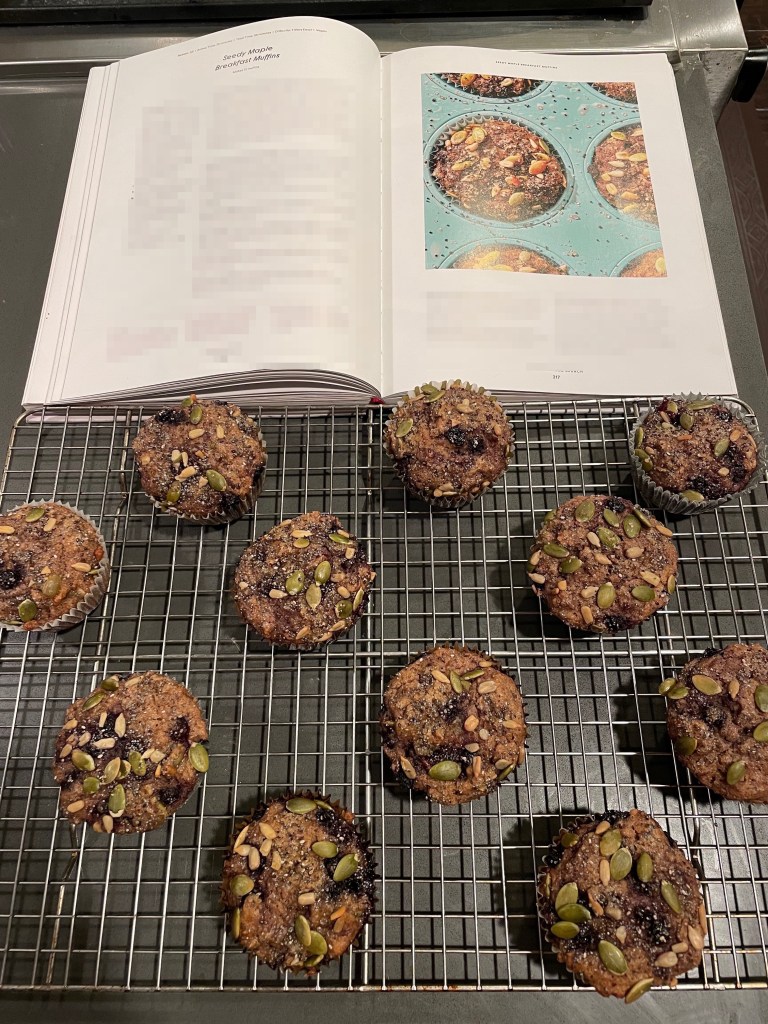
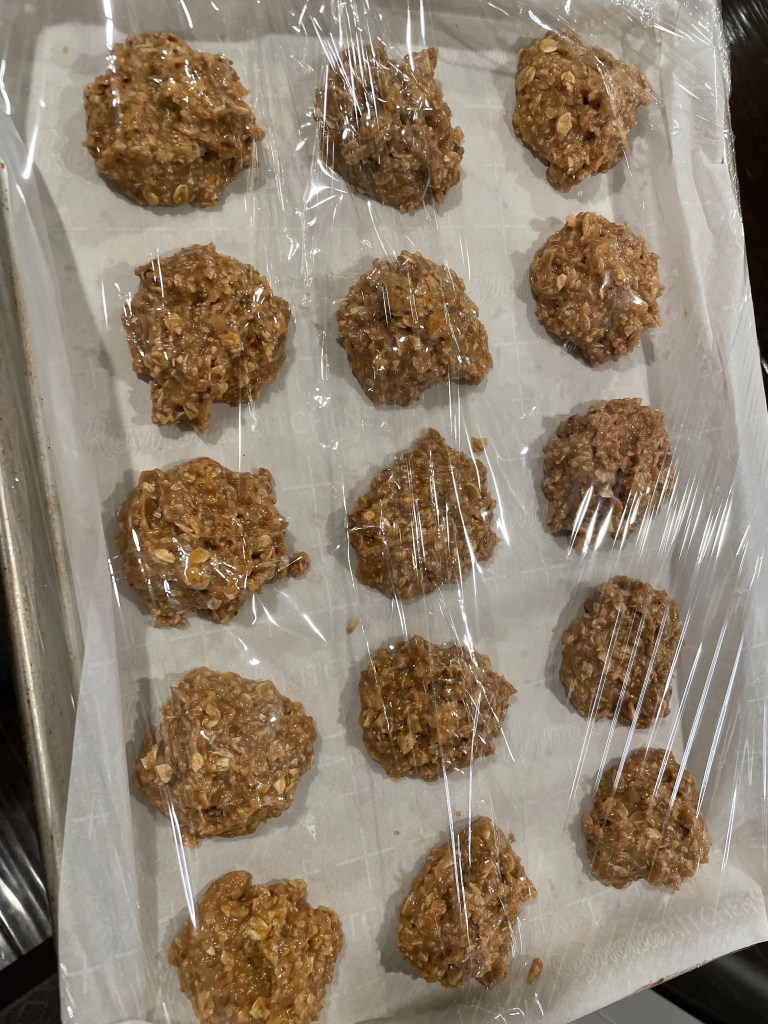
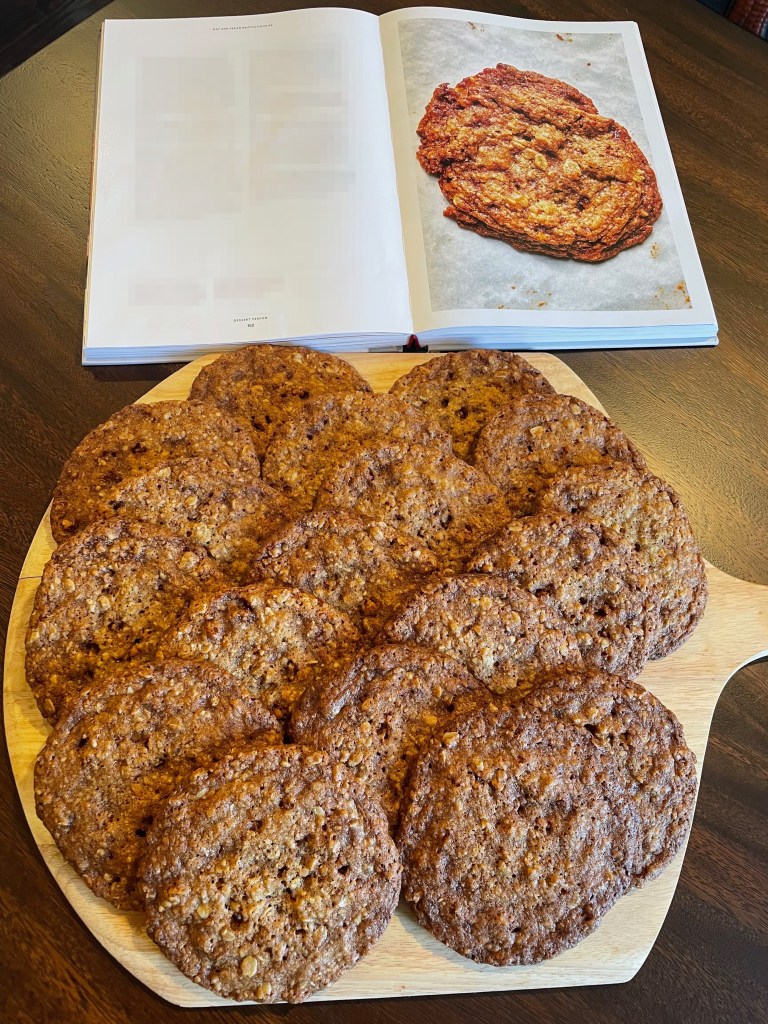
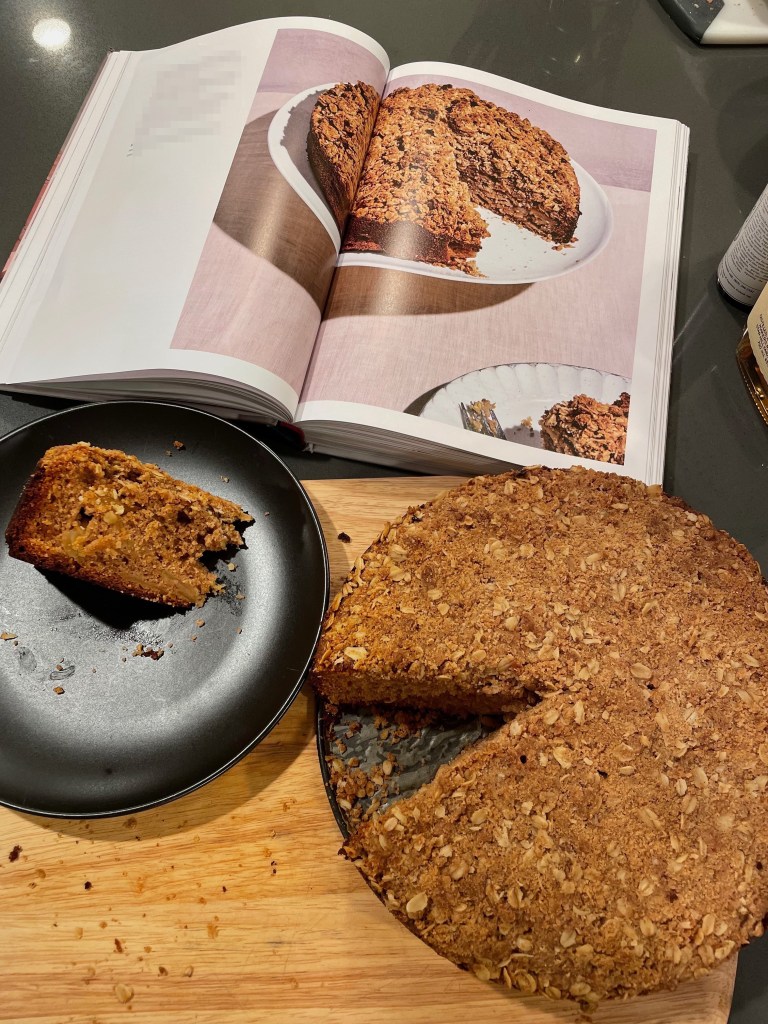
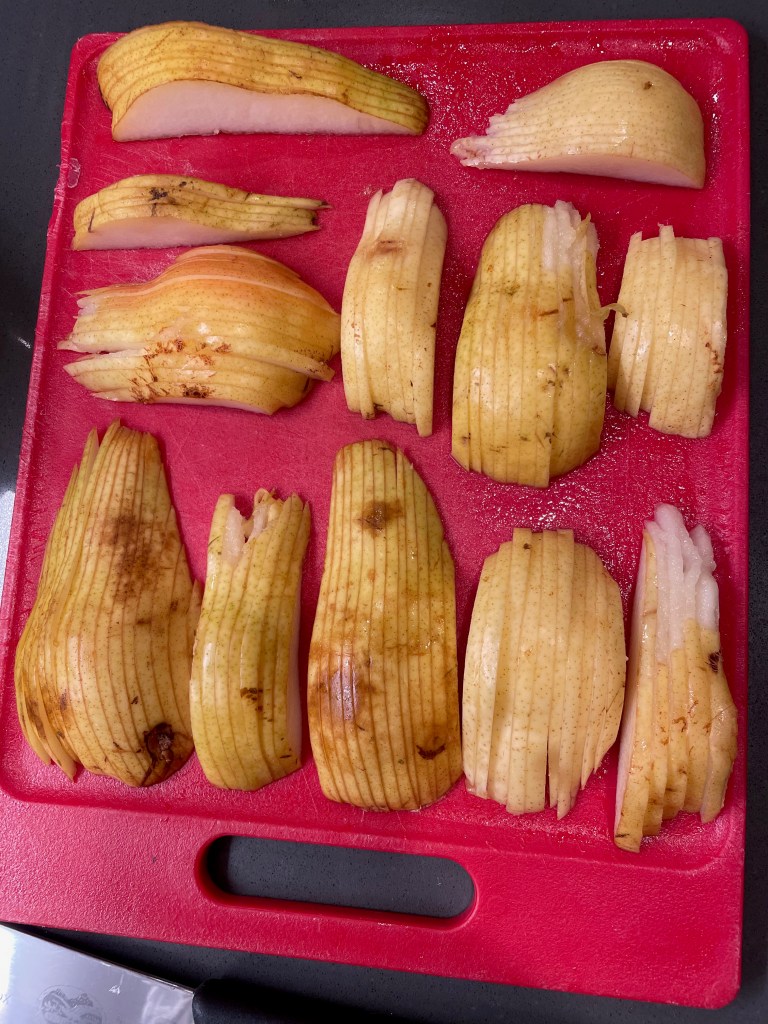
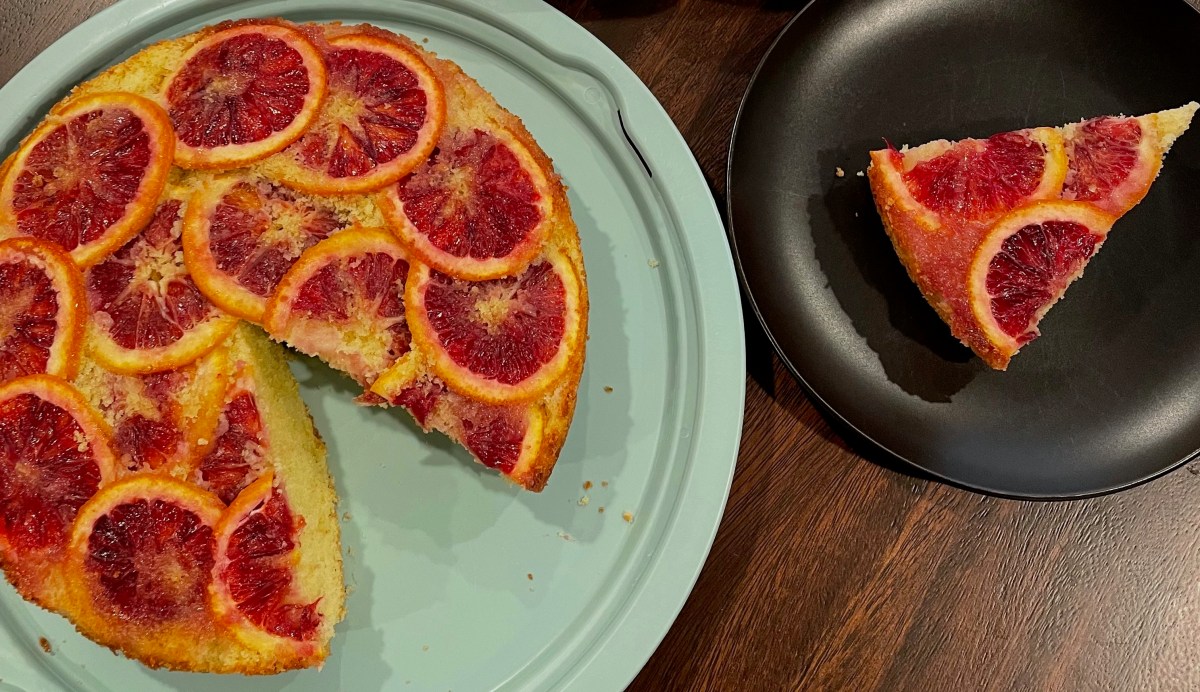
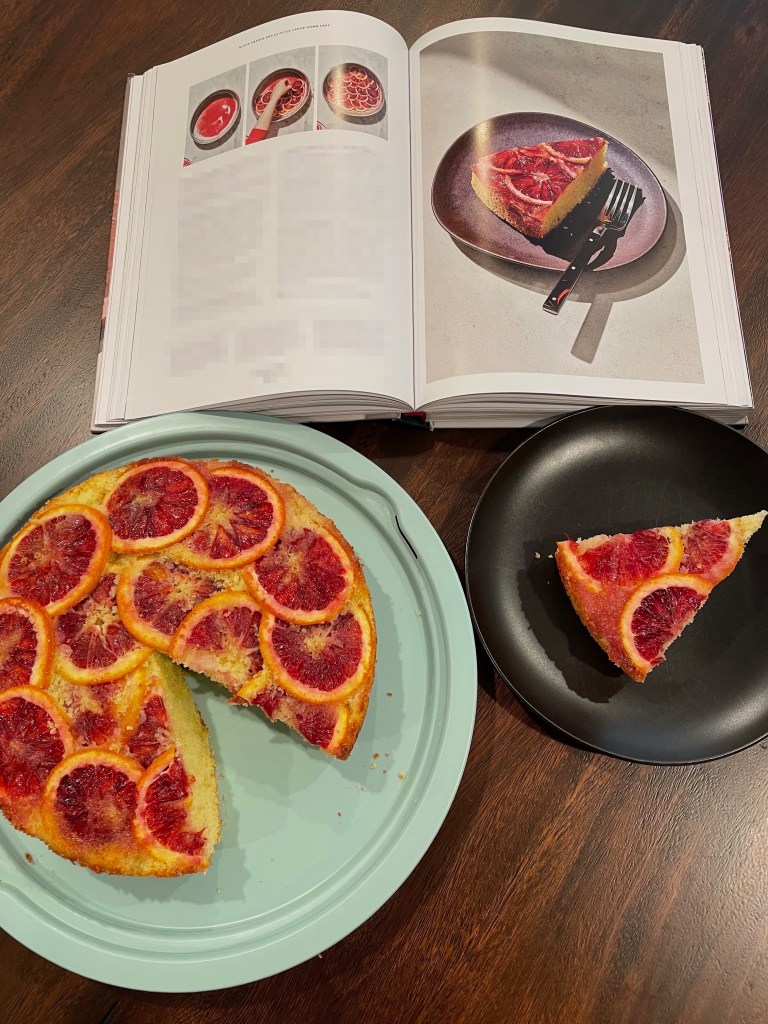
Tip: Unlike in the picture above, don’t layer the center on top of the outside. This will cause the slices on the edge of the cake to stand out and the slices in the middle to sink in. Use the image in the book as reference. Ensure that your slices are very thin. Consider buying extra oranges for practice, as with each successive slice it gets harder to cut properly.
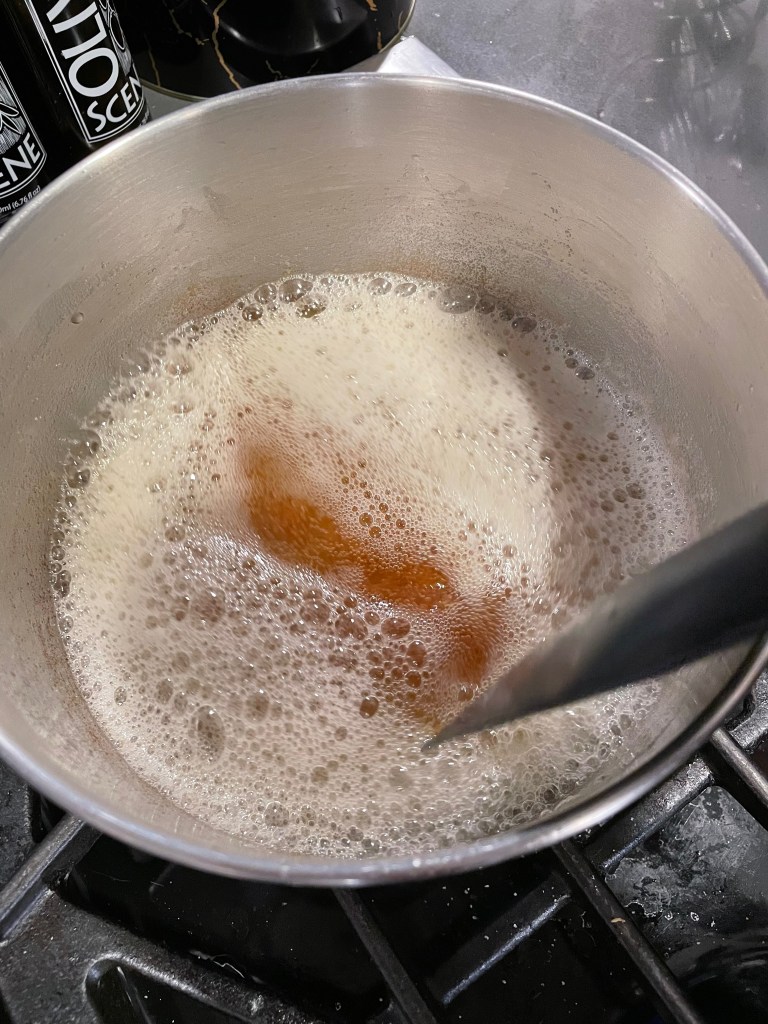
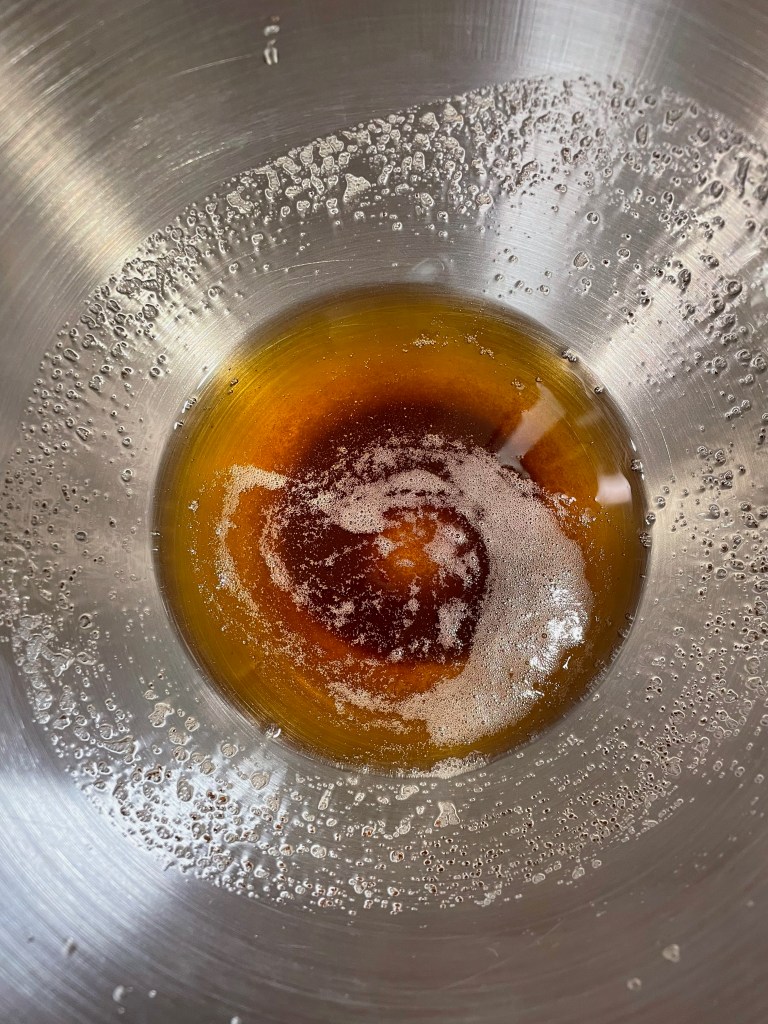
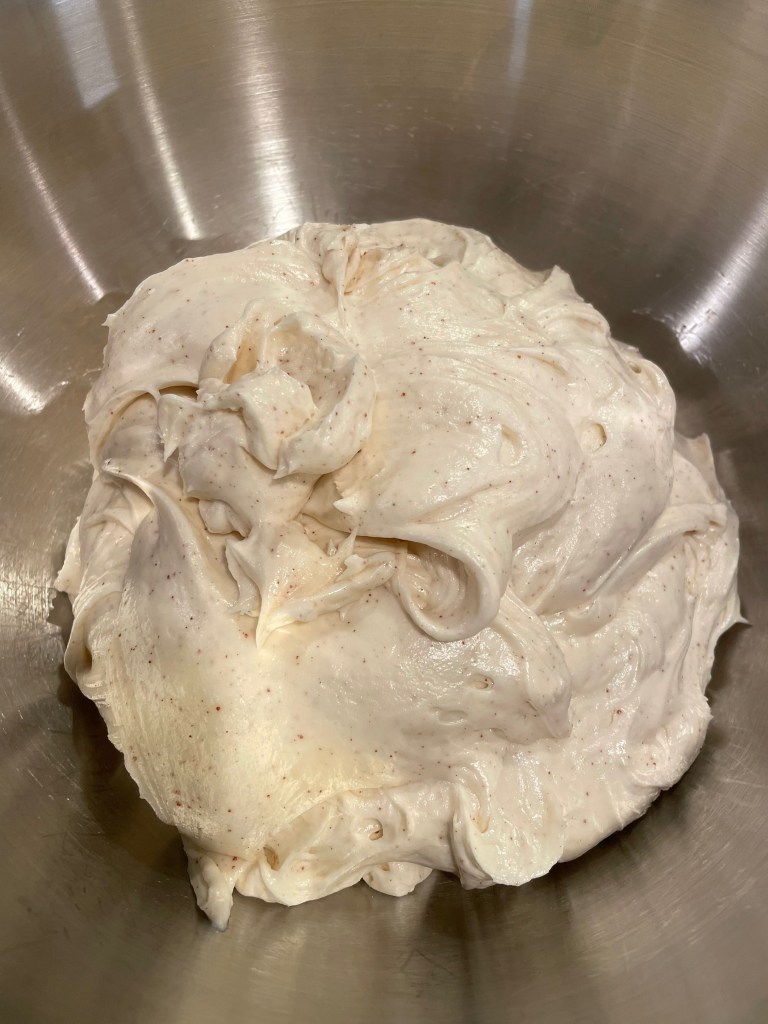
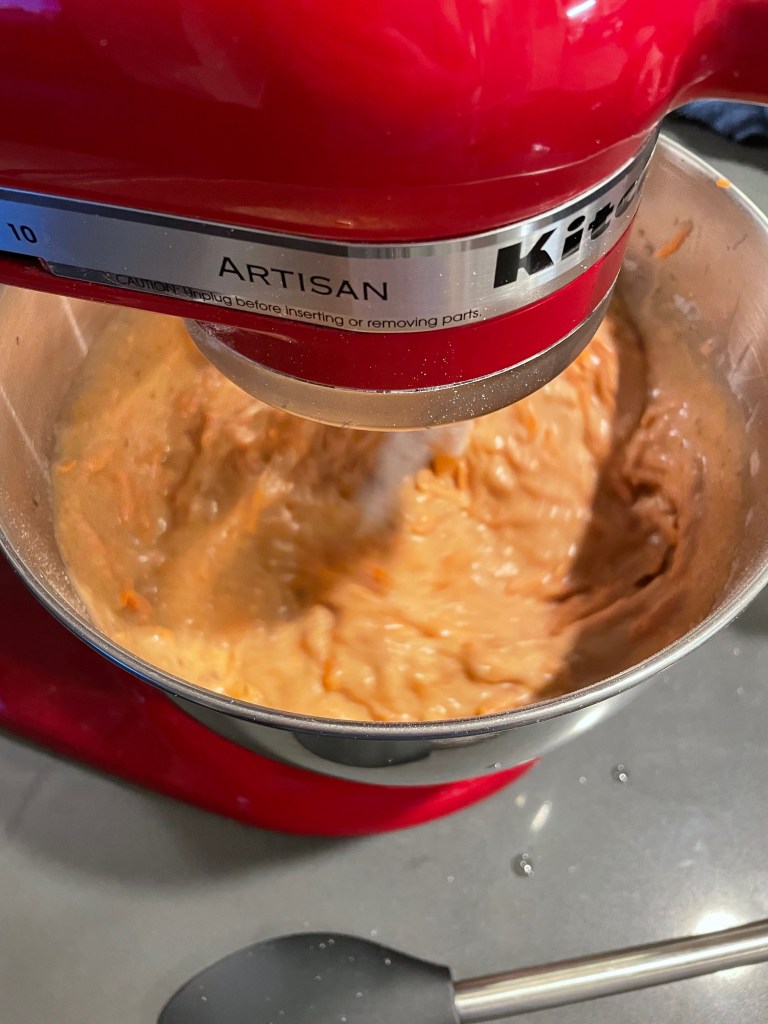
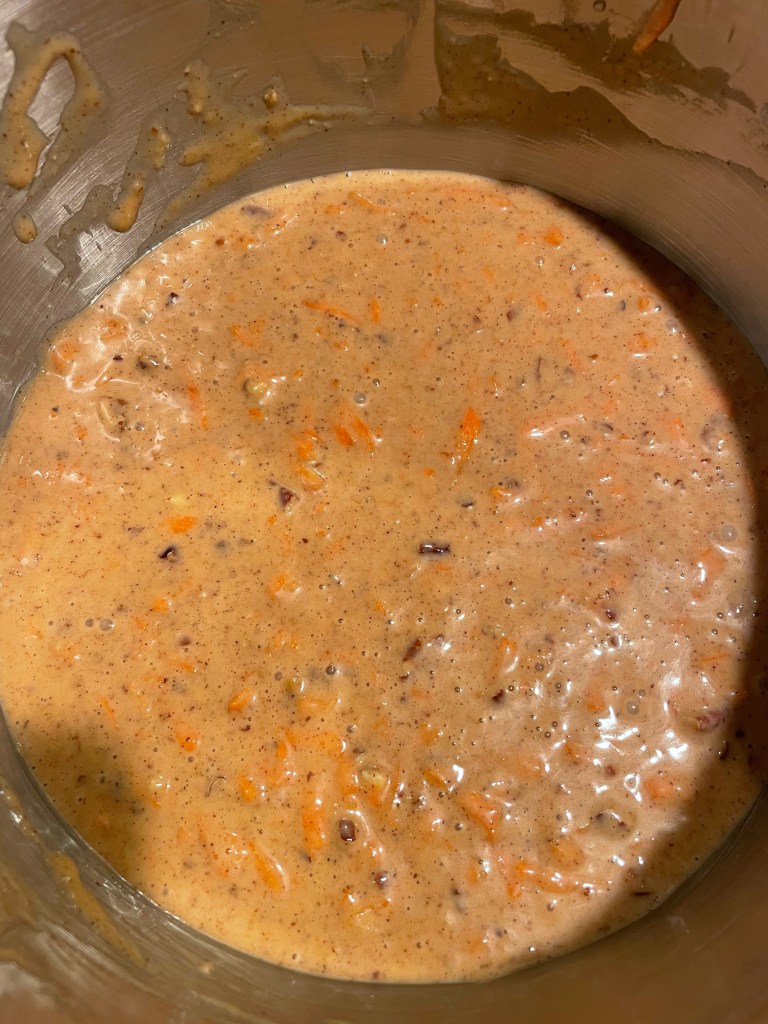
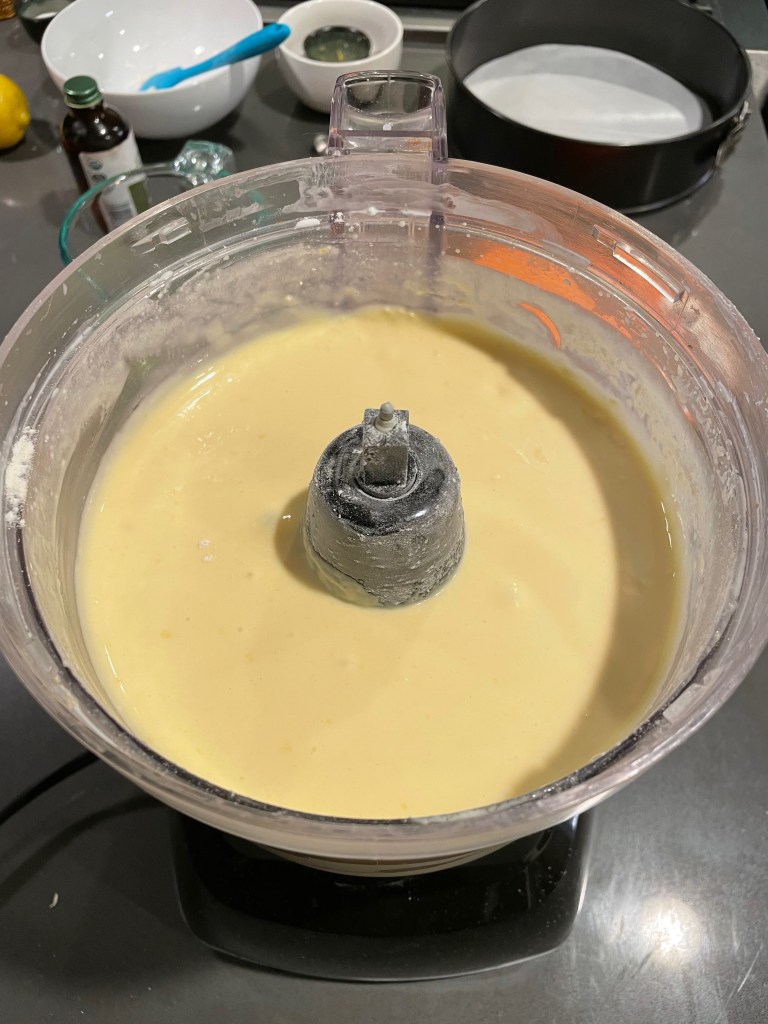
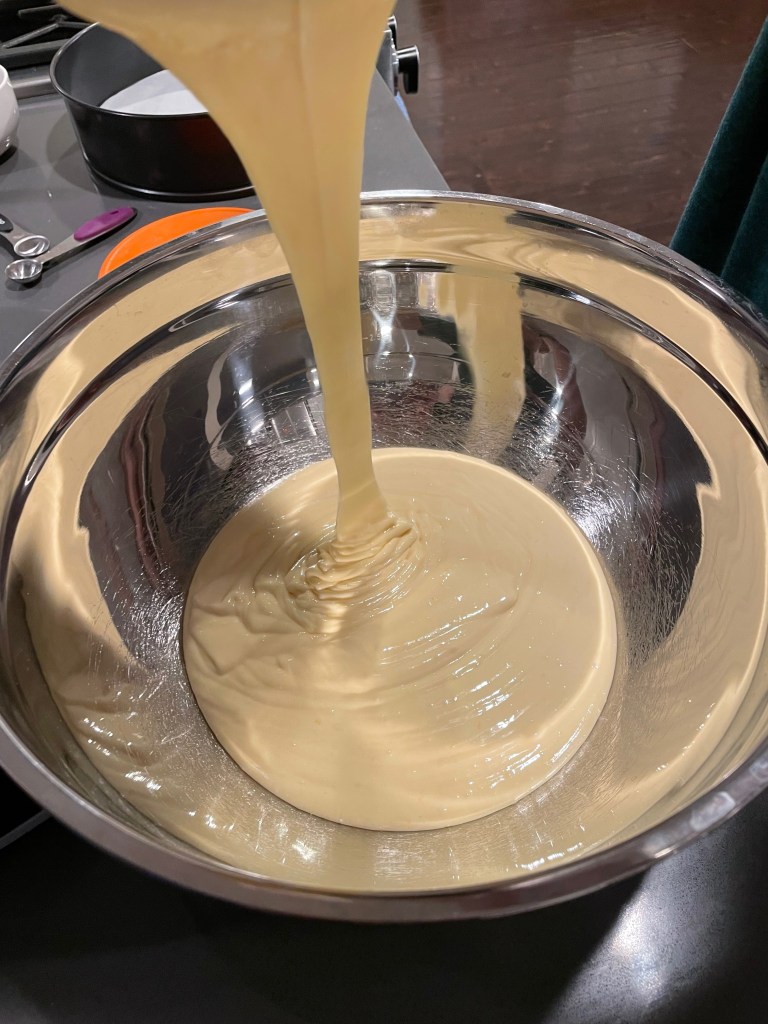
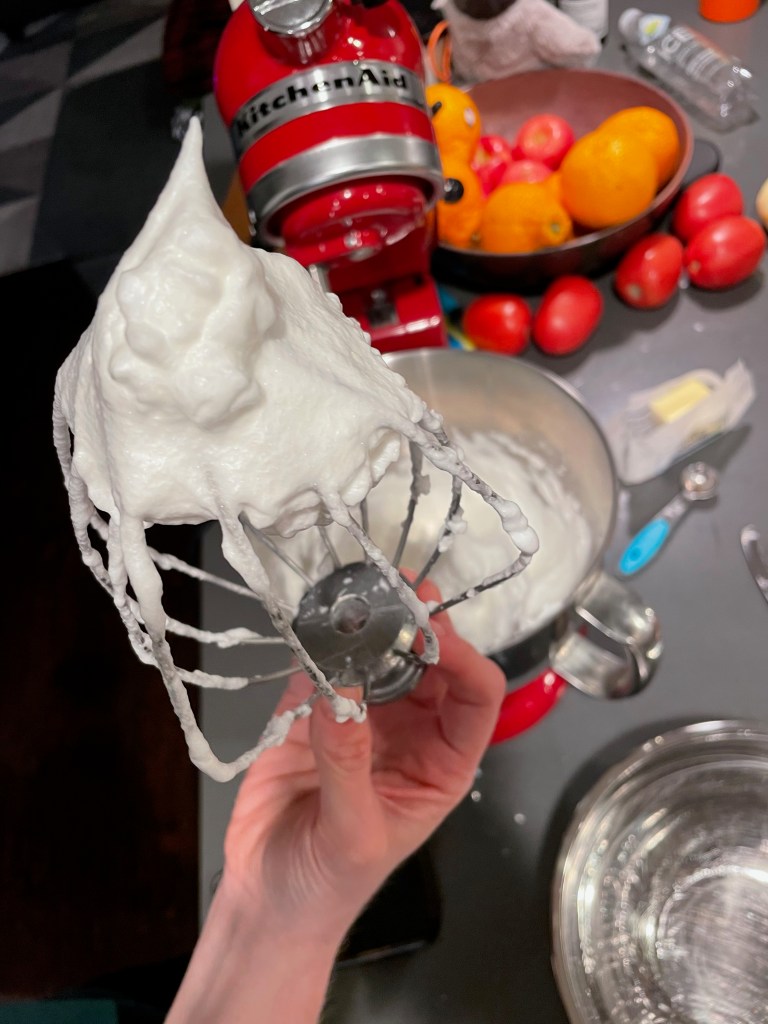
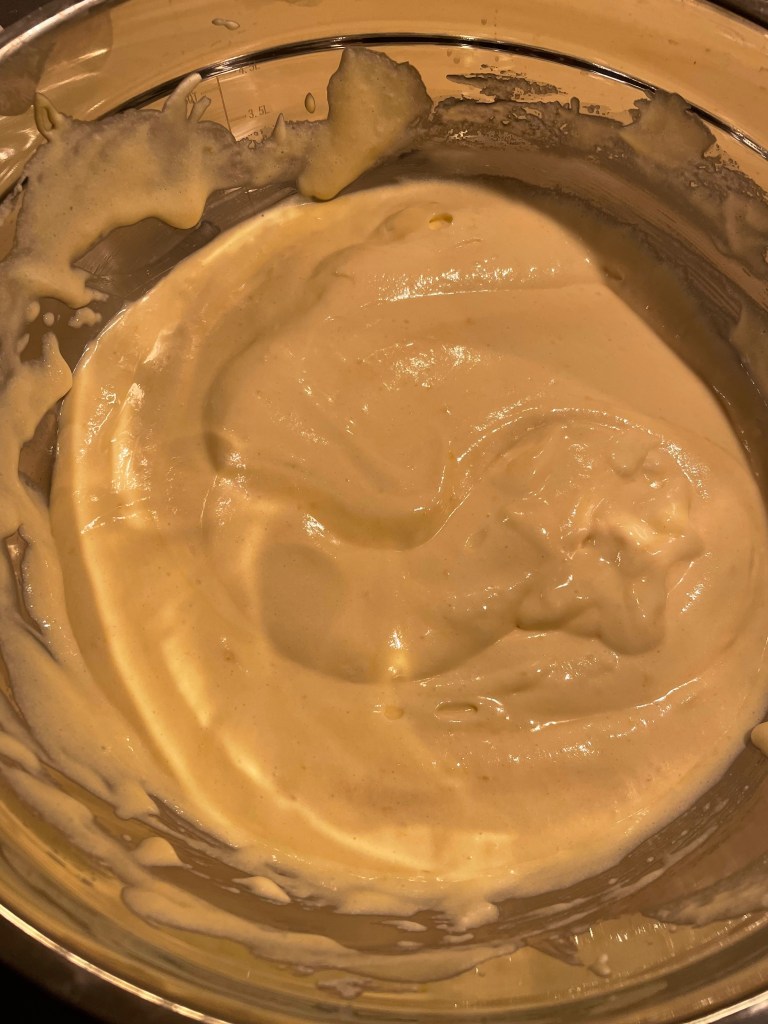
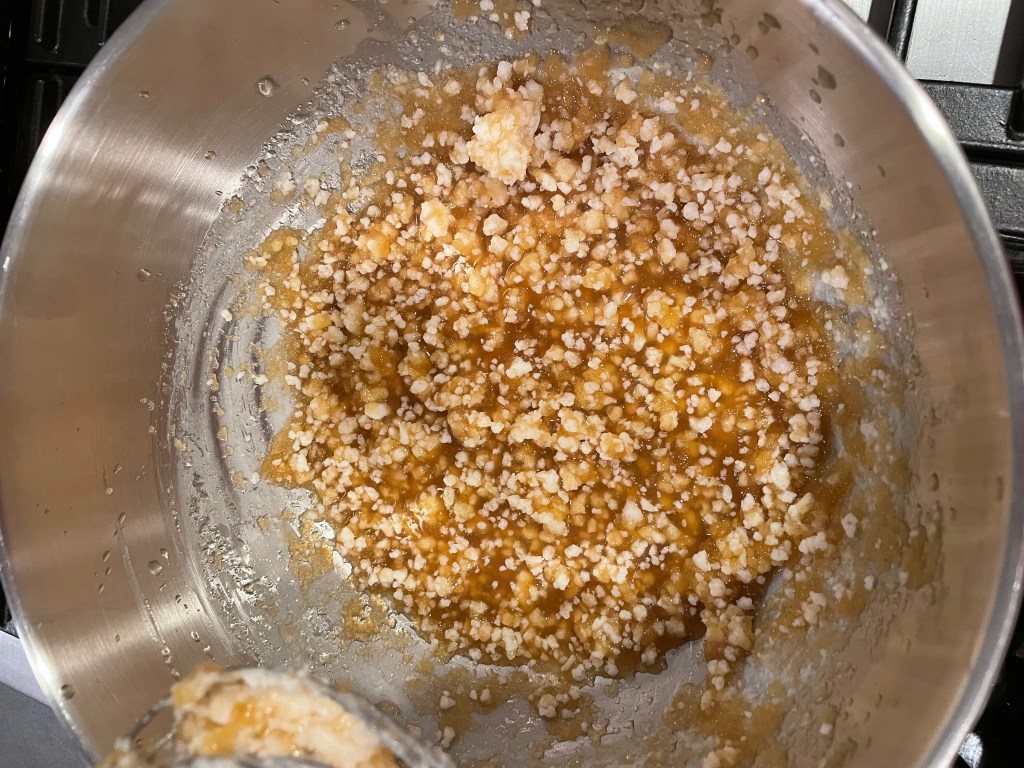
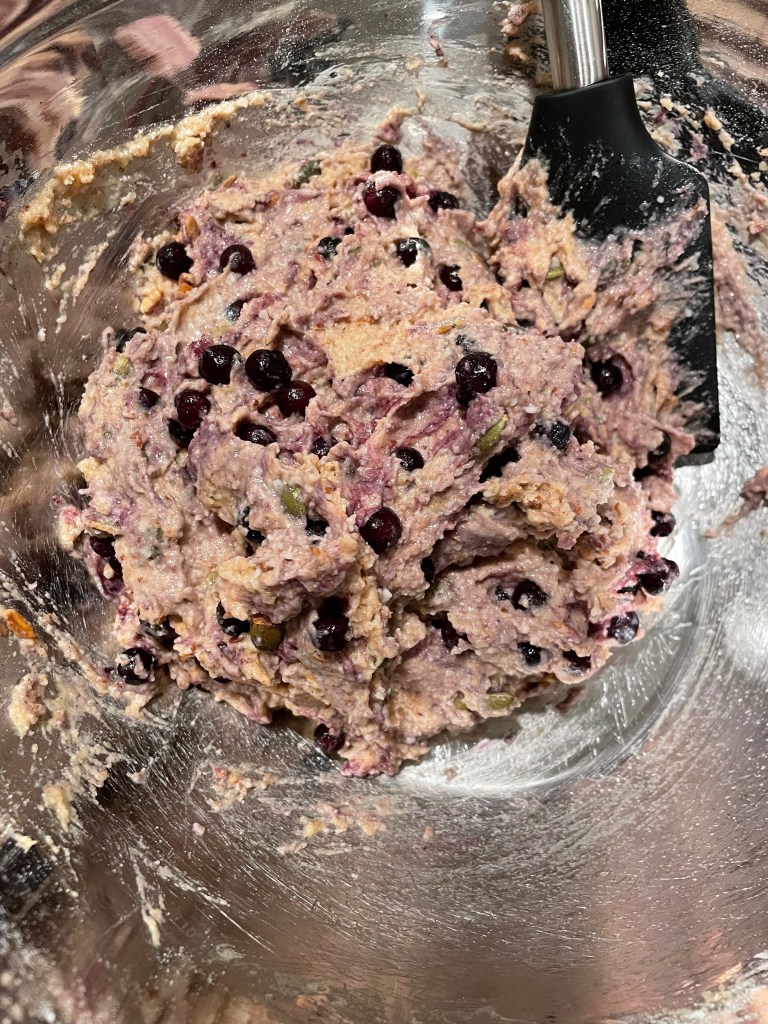
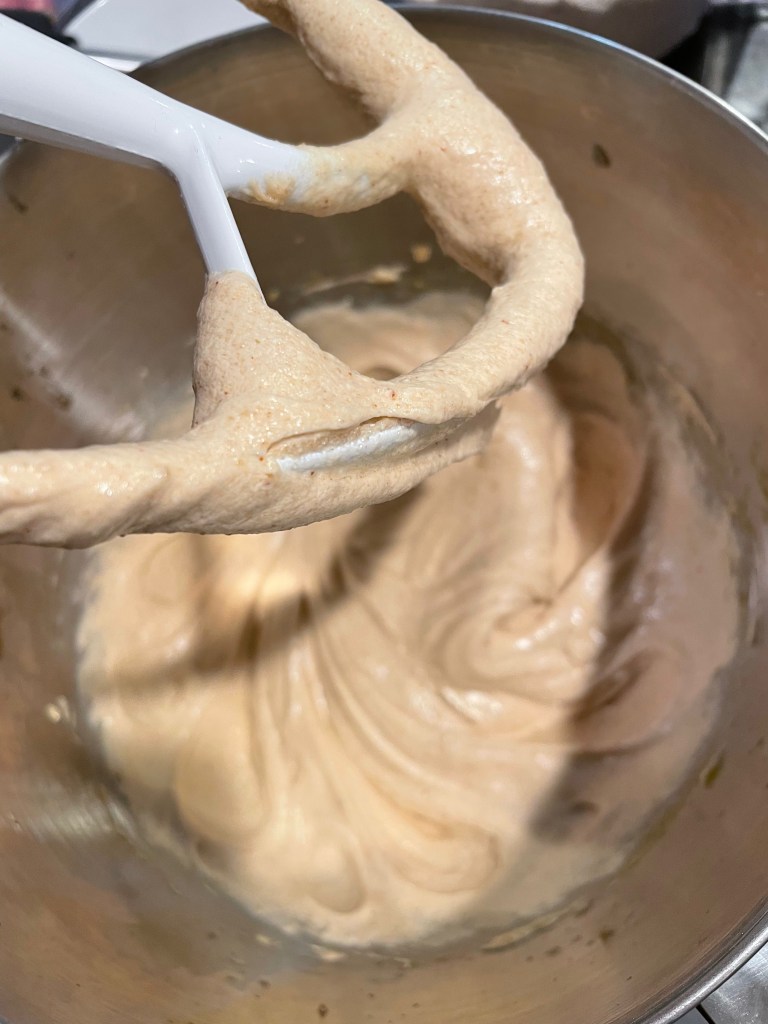
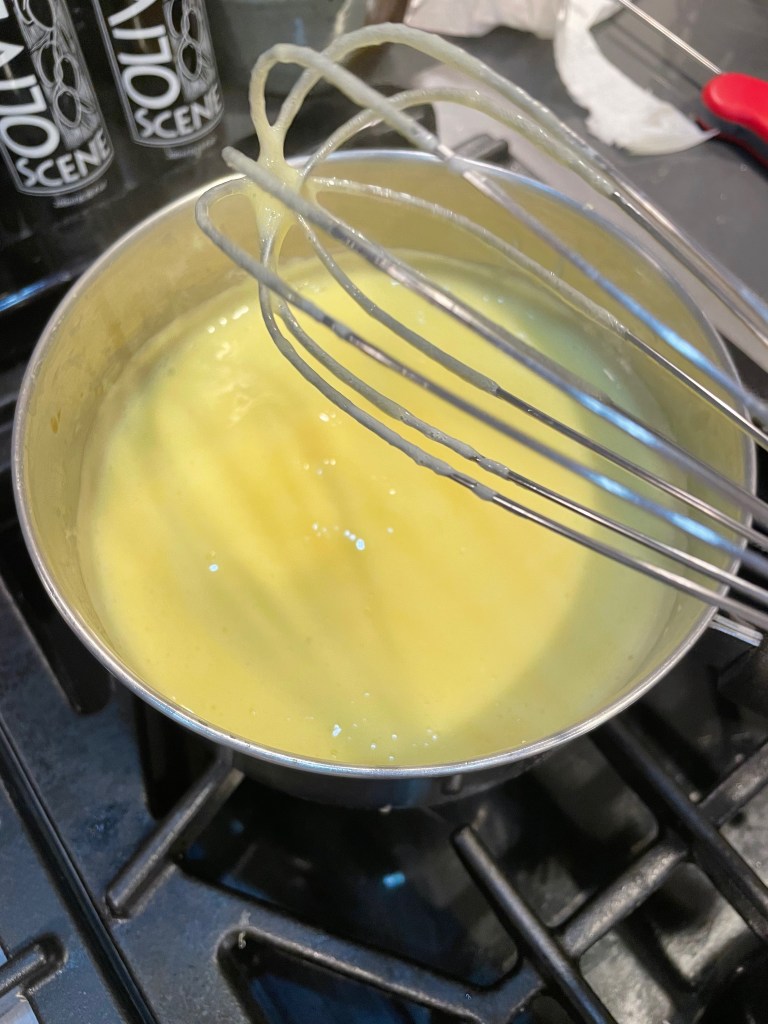
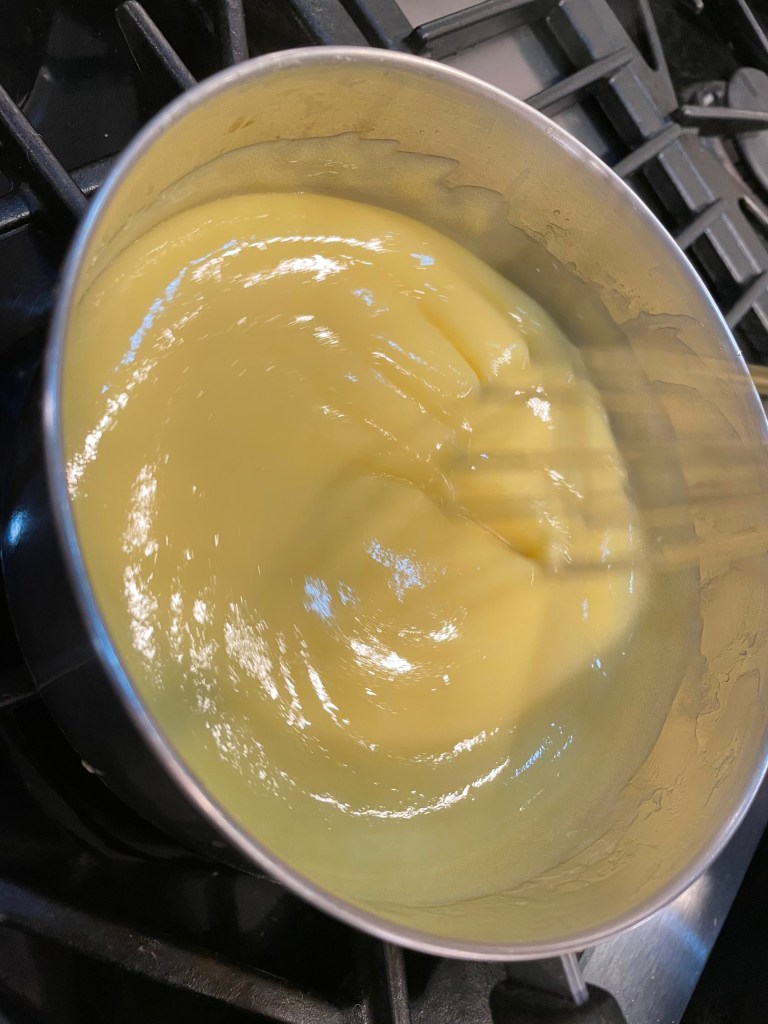
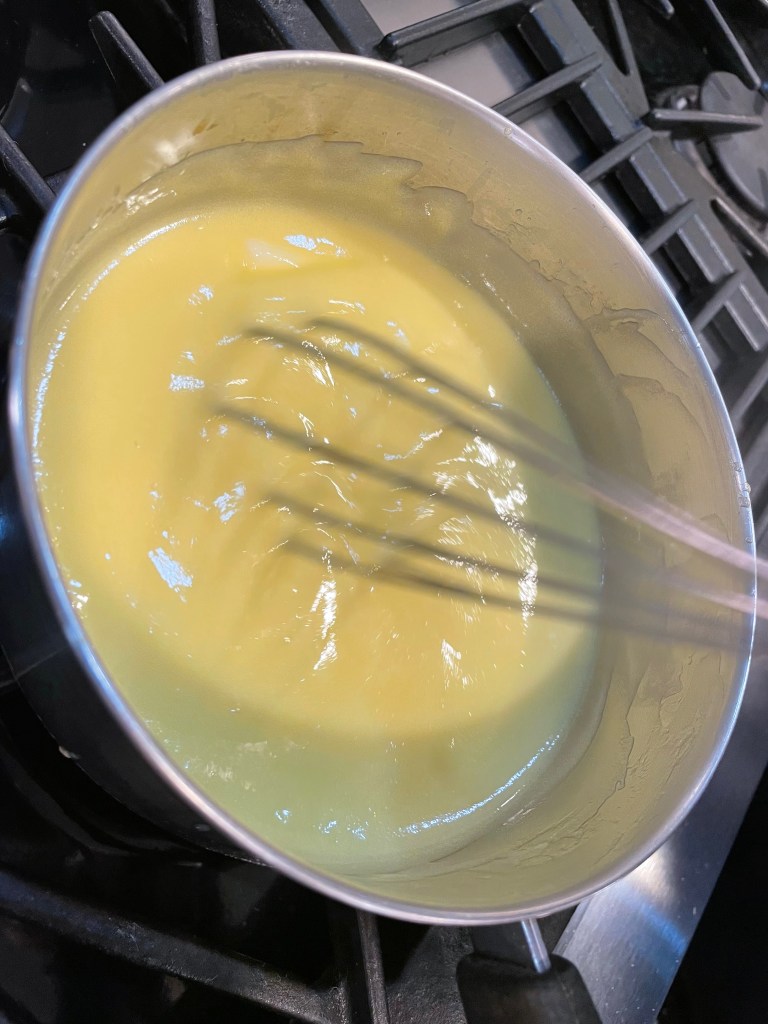
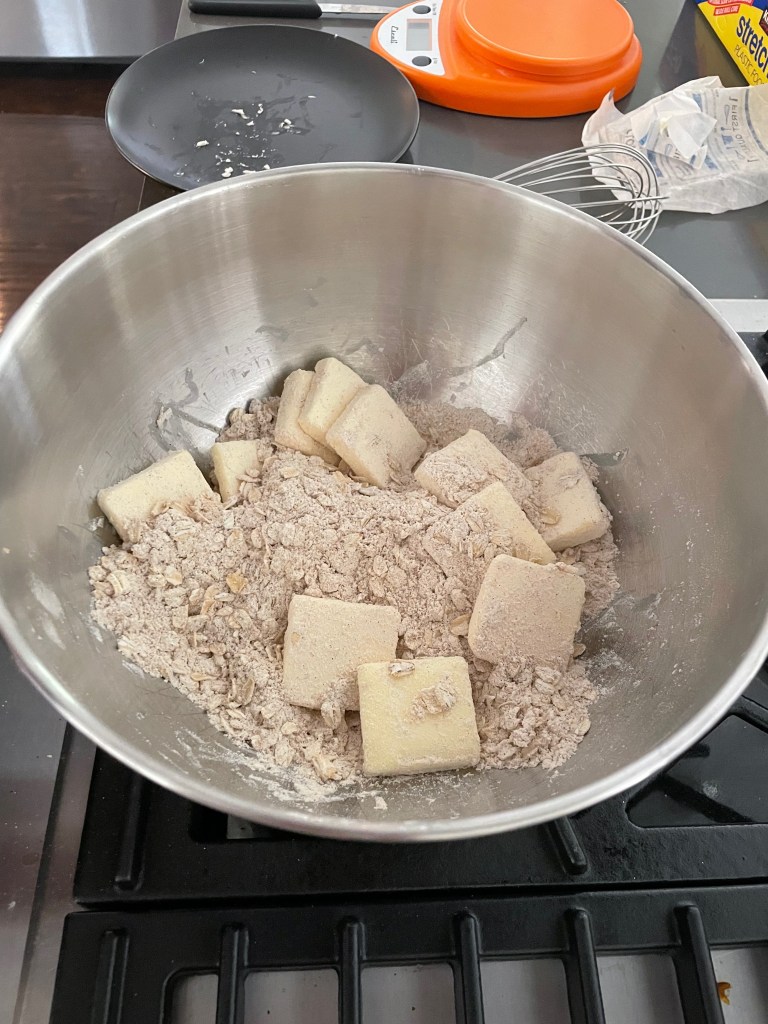
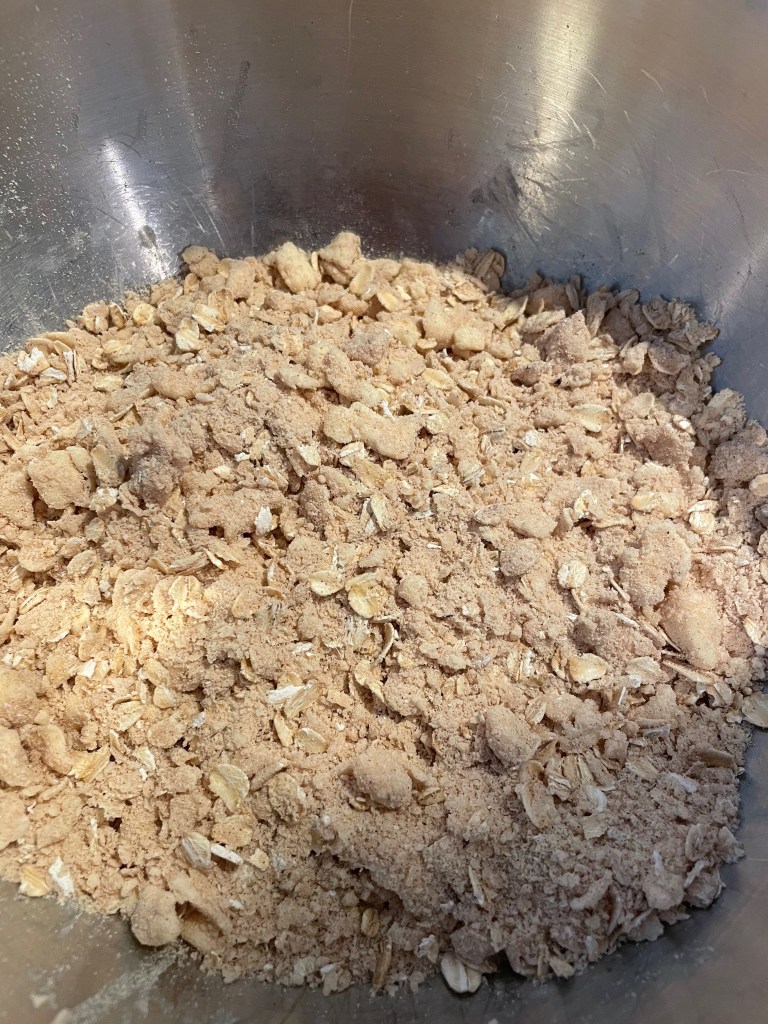
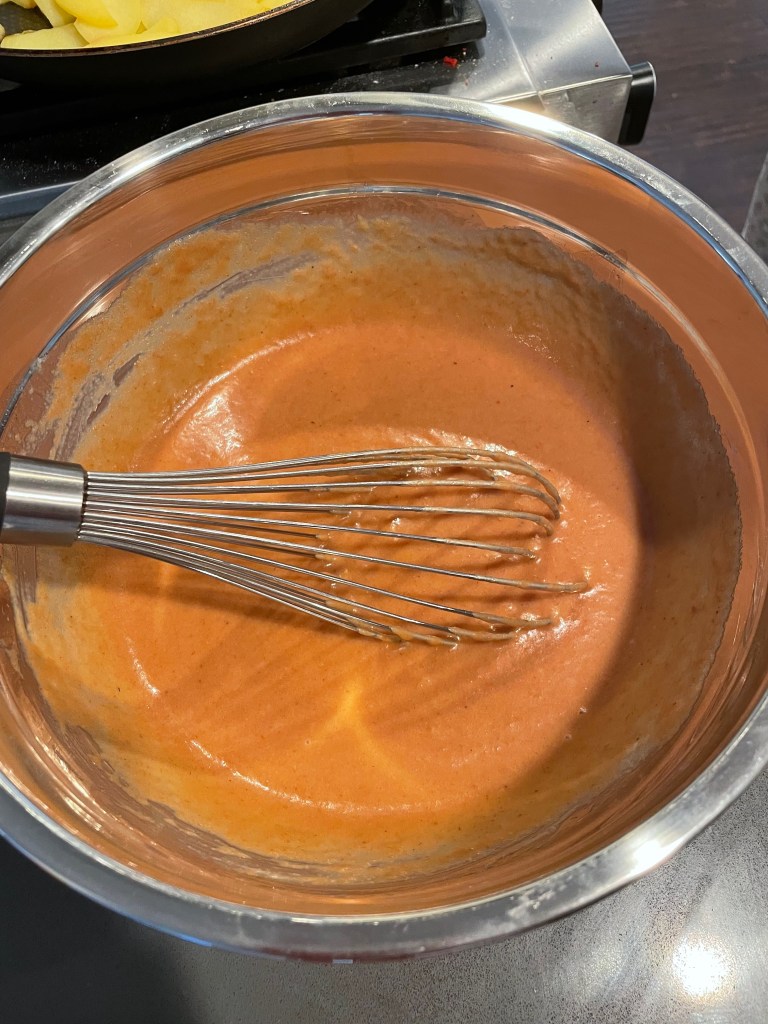
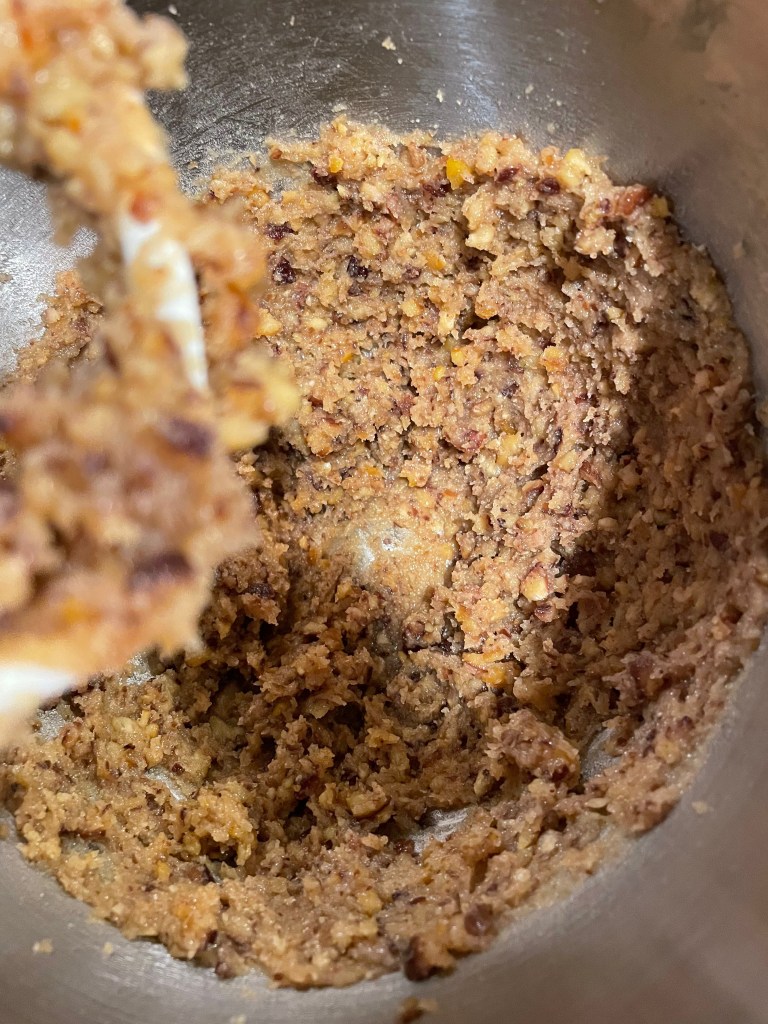
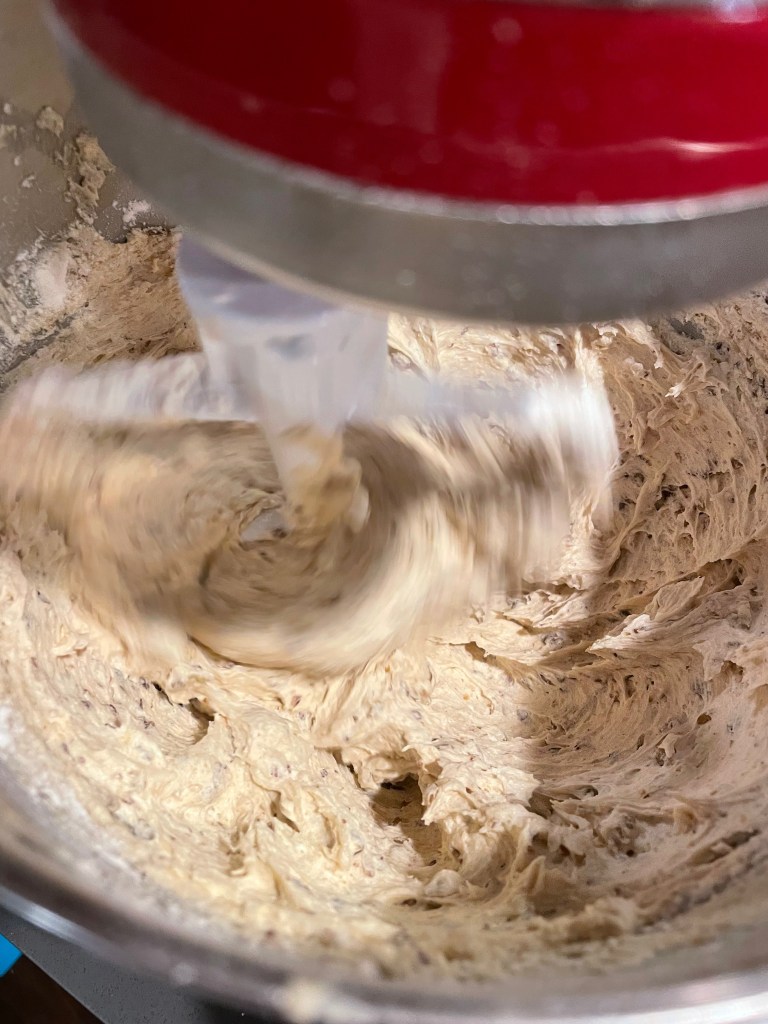
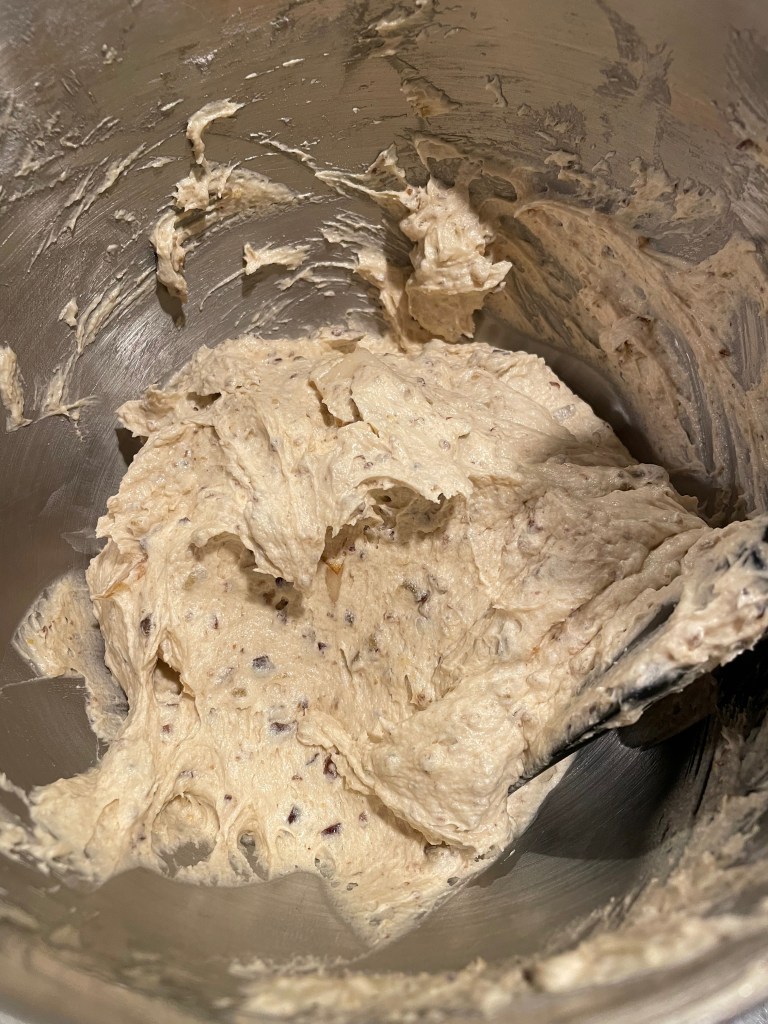
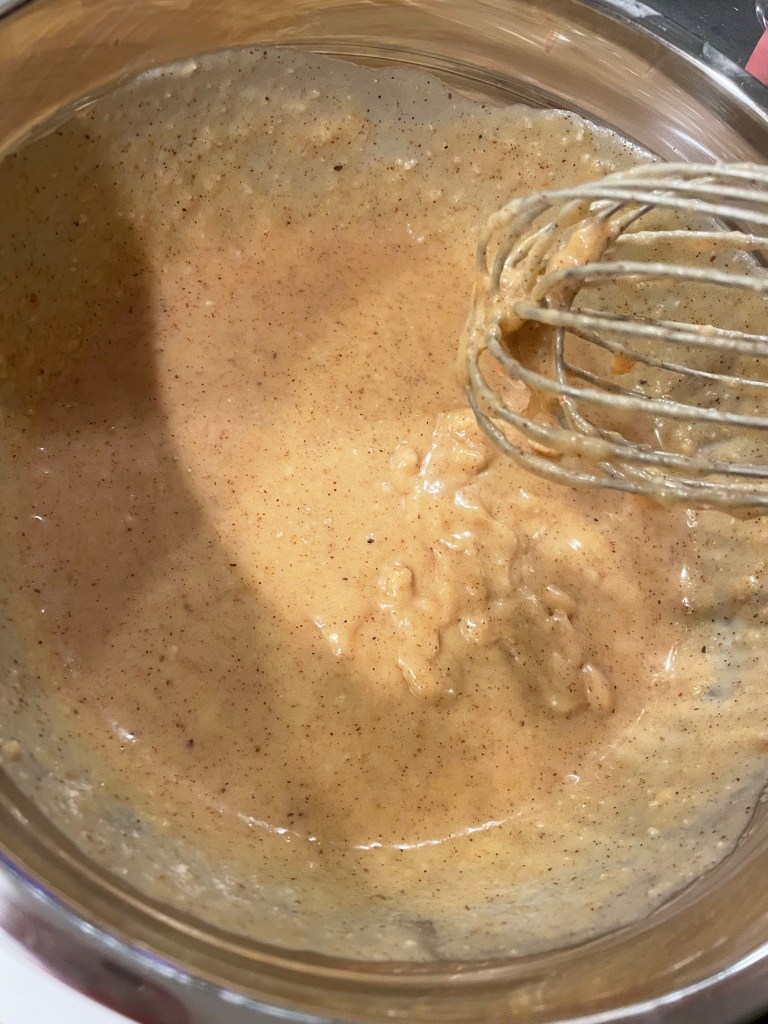
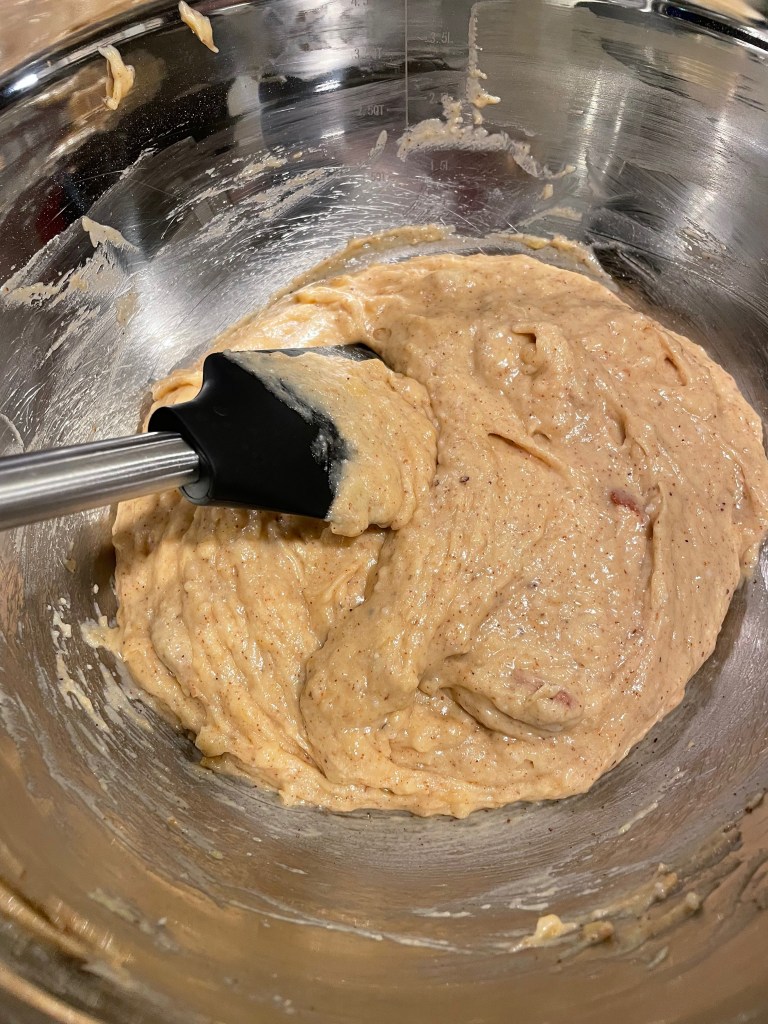
Making The Batter
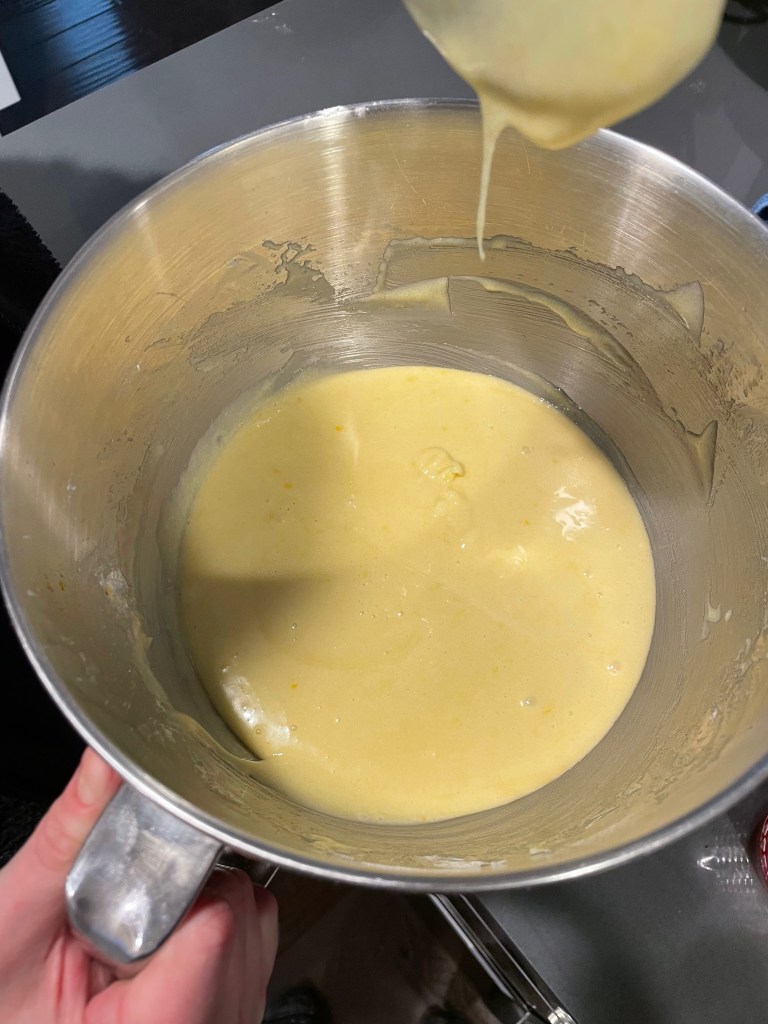
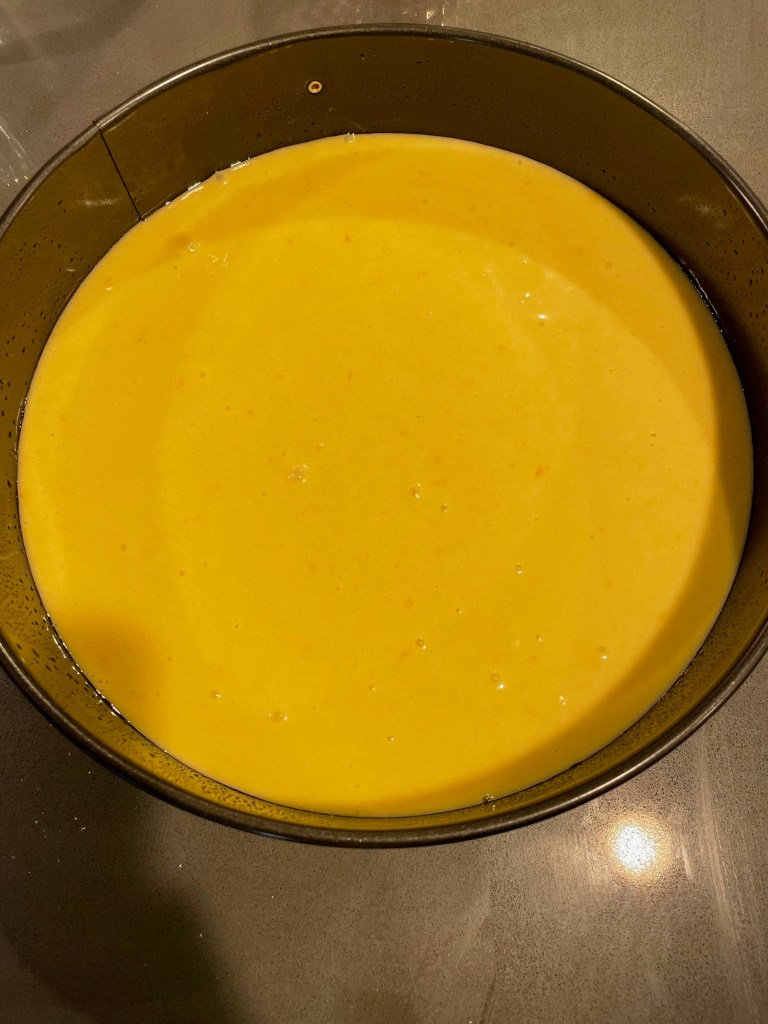
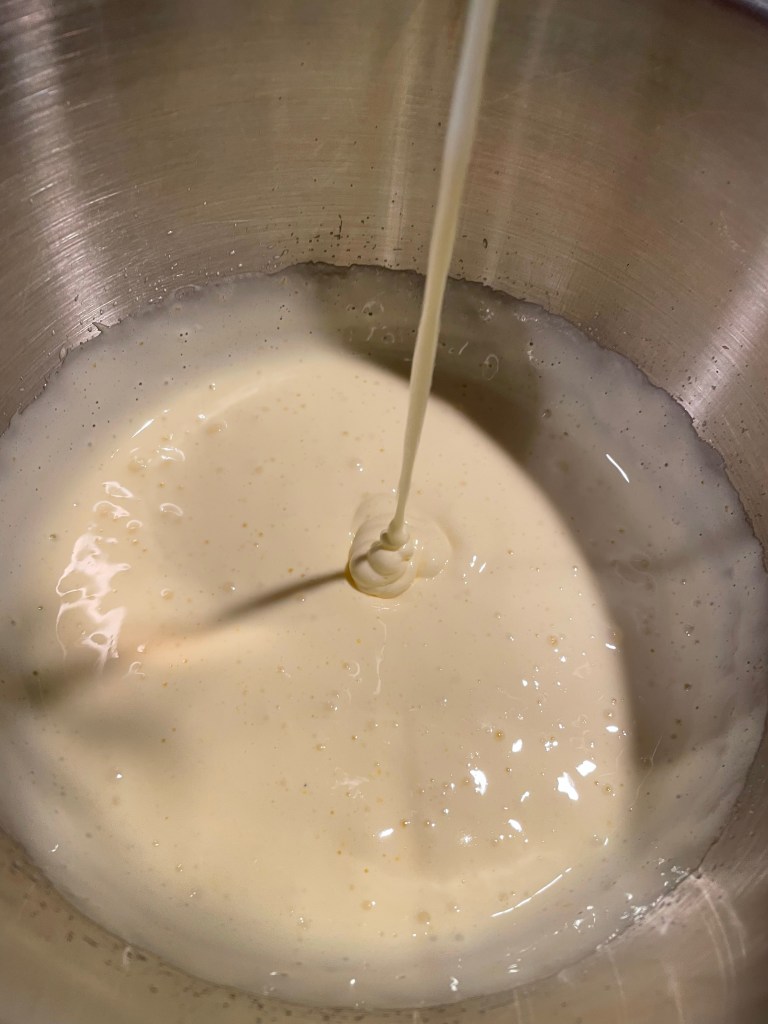
Tip: Stream in the oil very slowly and not all in the same spot – otherwise it could ruin the egg-sugar mixture.
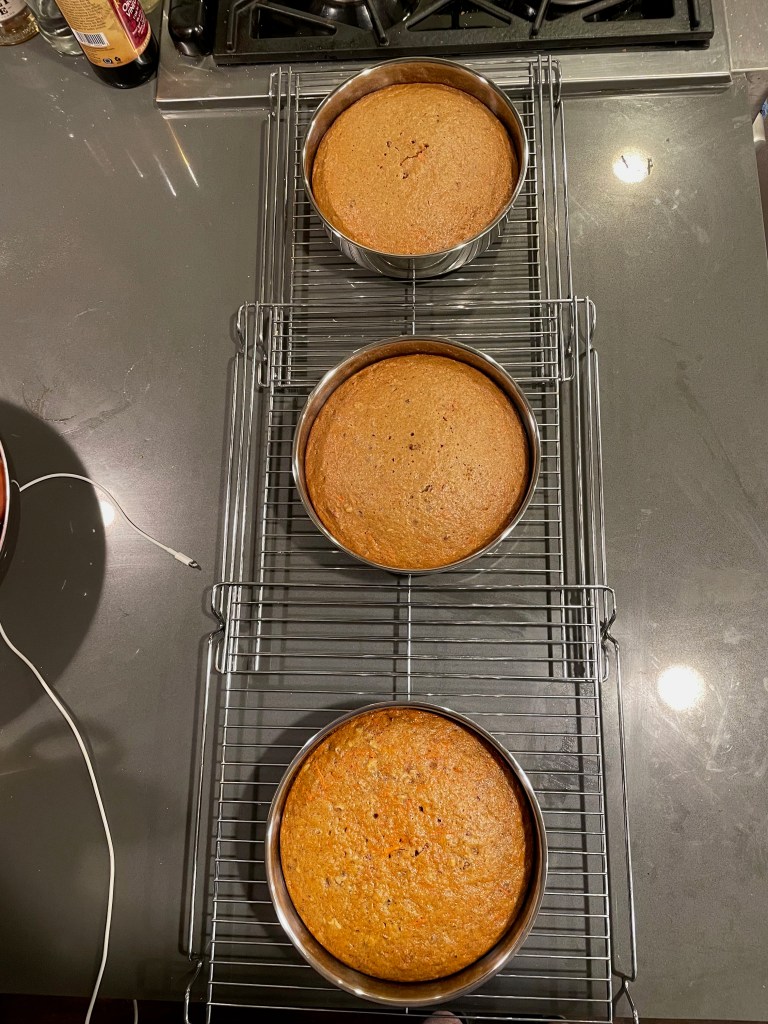
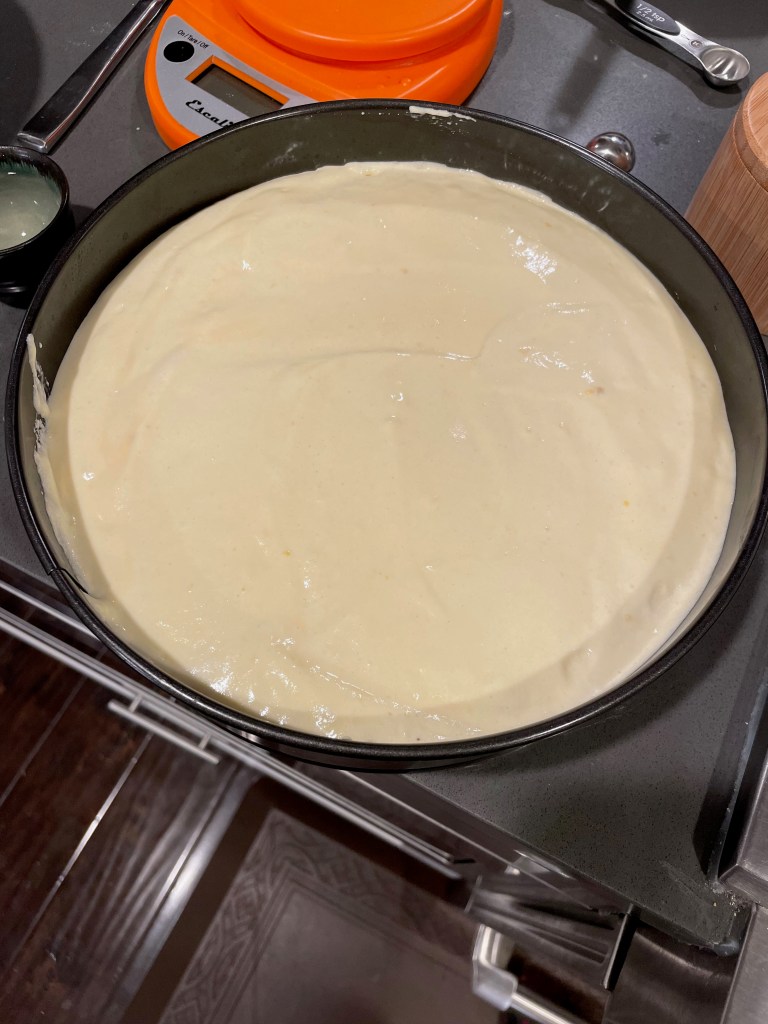
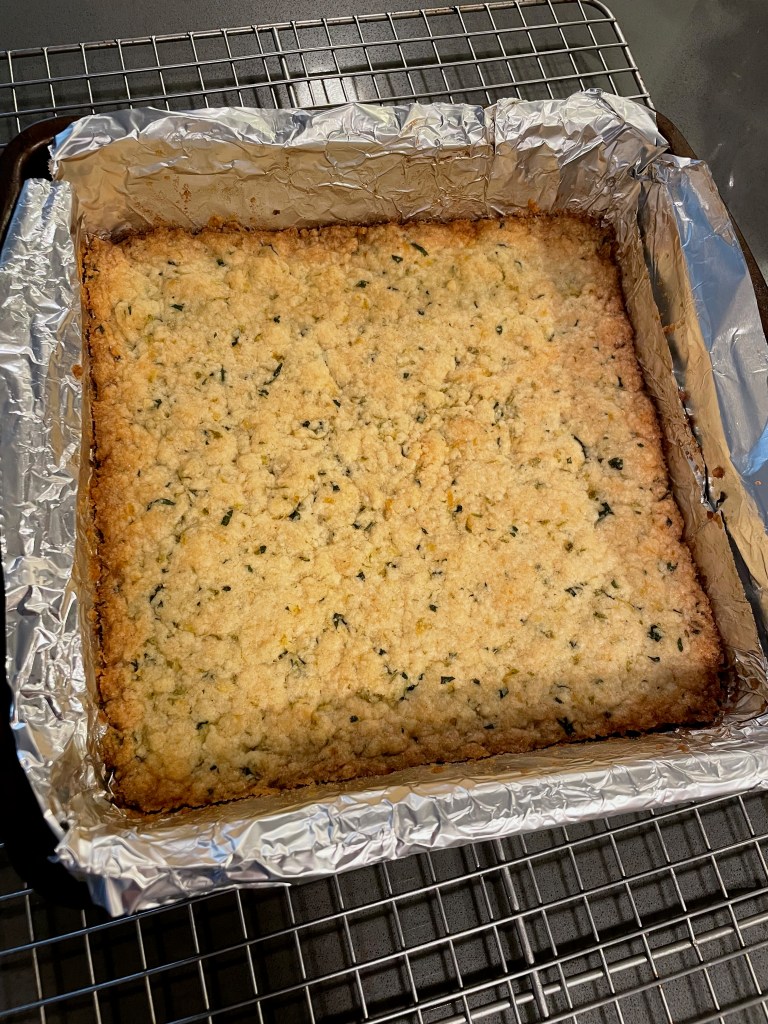
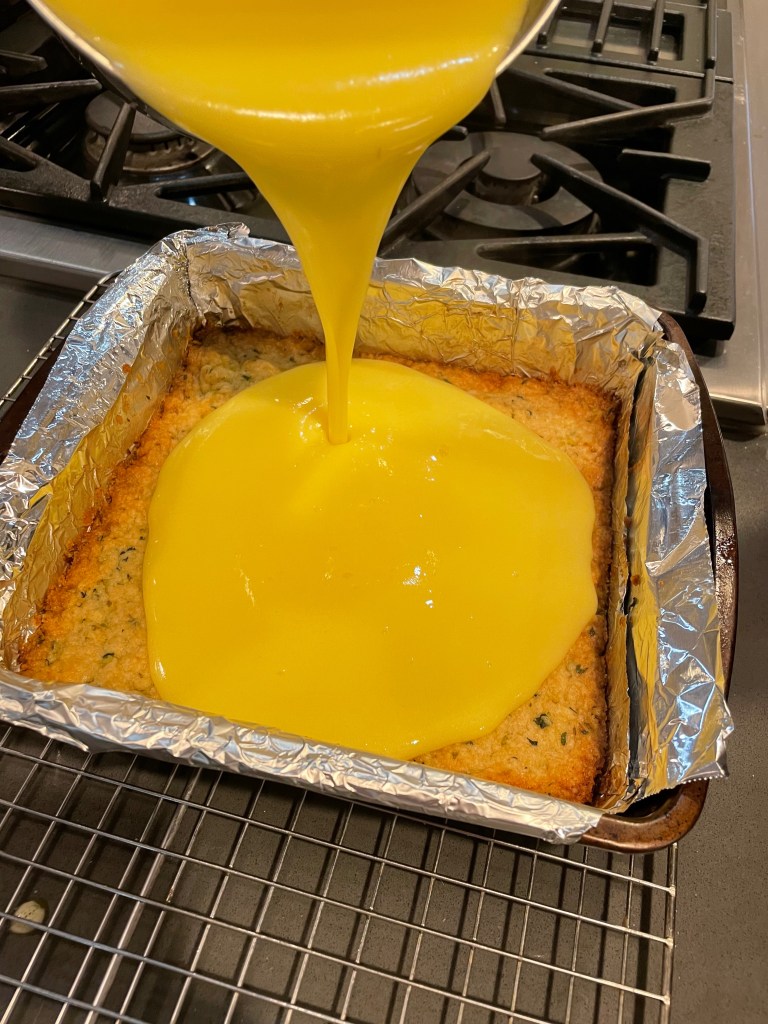
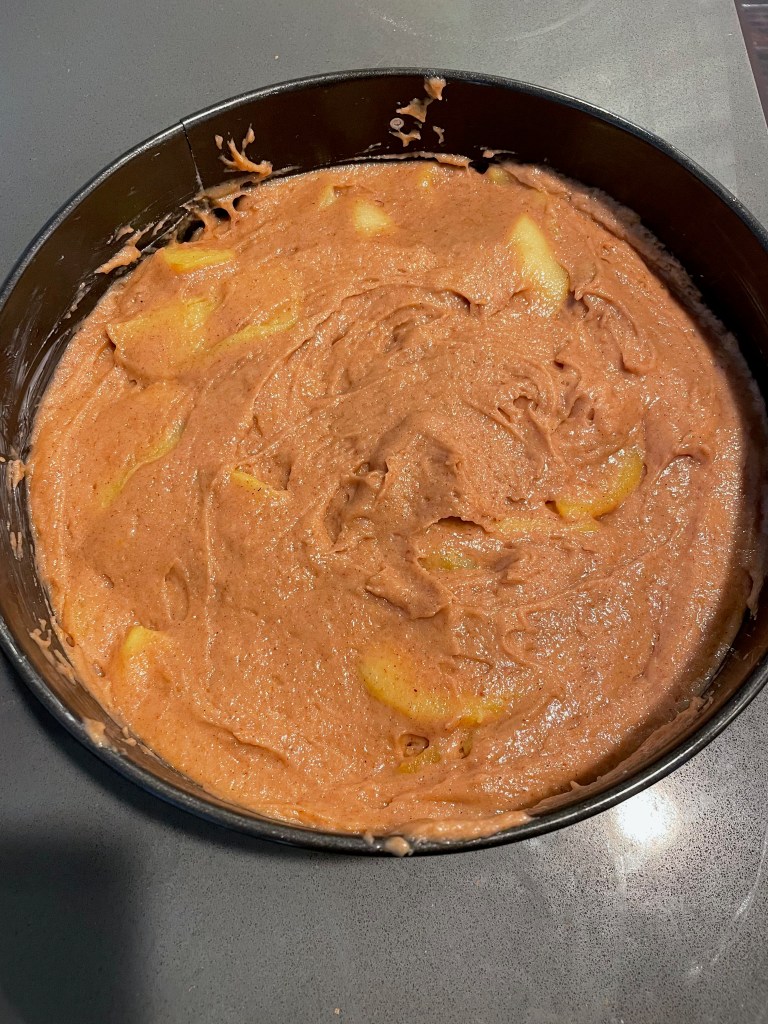
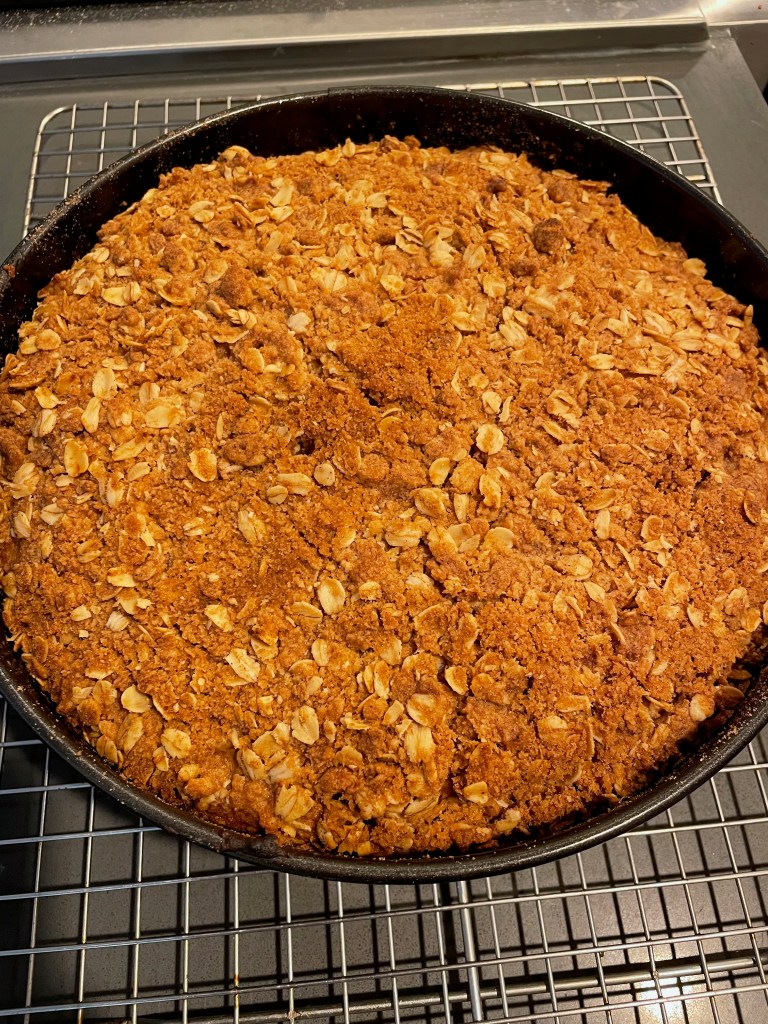
Baking The Cake


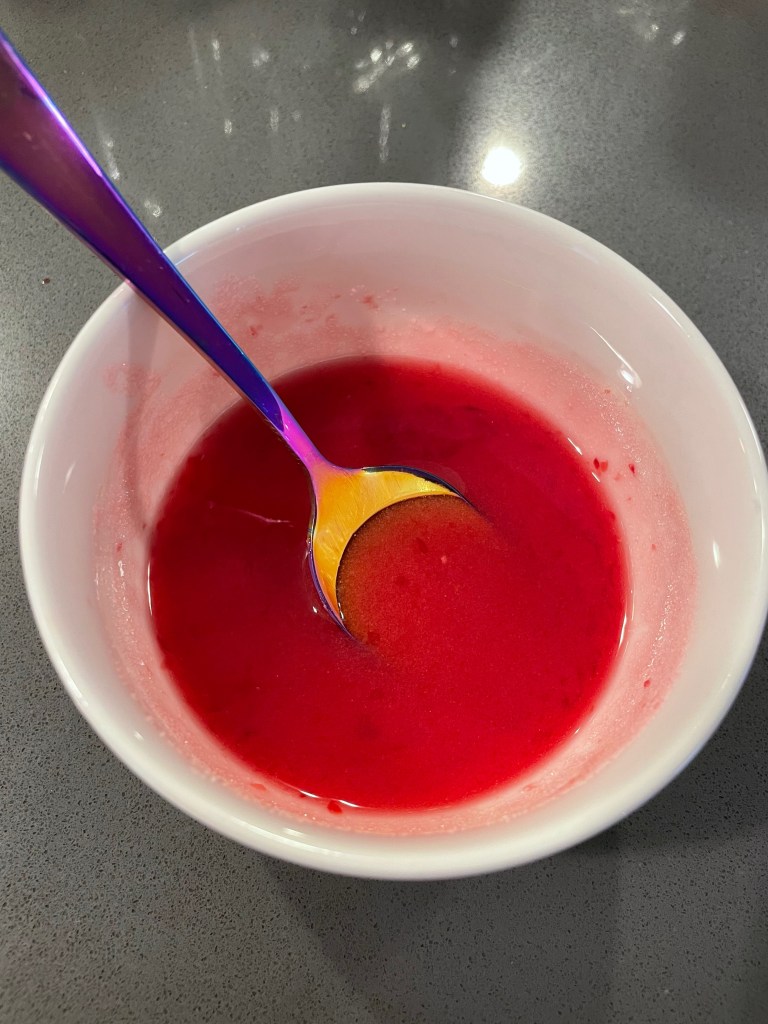
Tip 1: This recipe can still be done with a 9 inch cake pan. If so, make the recipe as instructed, but only use 81% of the batter and slurry to account for the volume difference.
Tip 2: Use a paring knife to cut out any batter that dripped down under the orange slices to achieve a pretty top.
Tip 3: Definitely serve this with yogurt as recommended. They go great together.
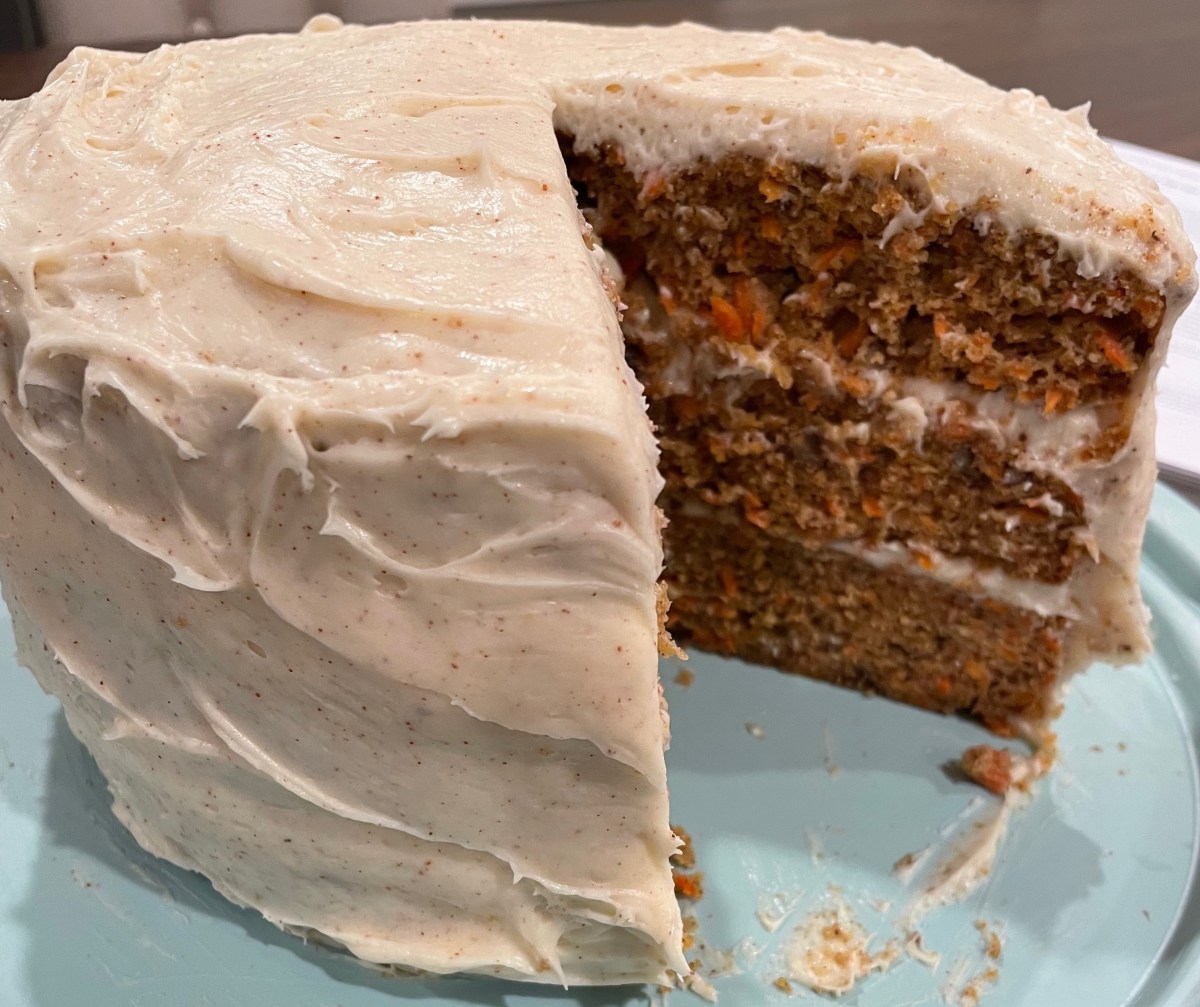
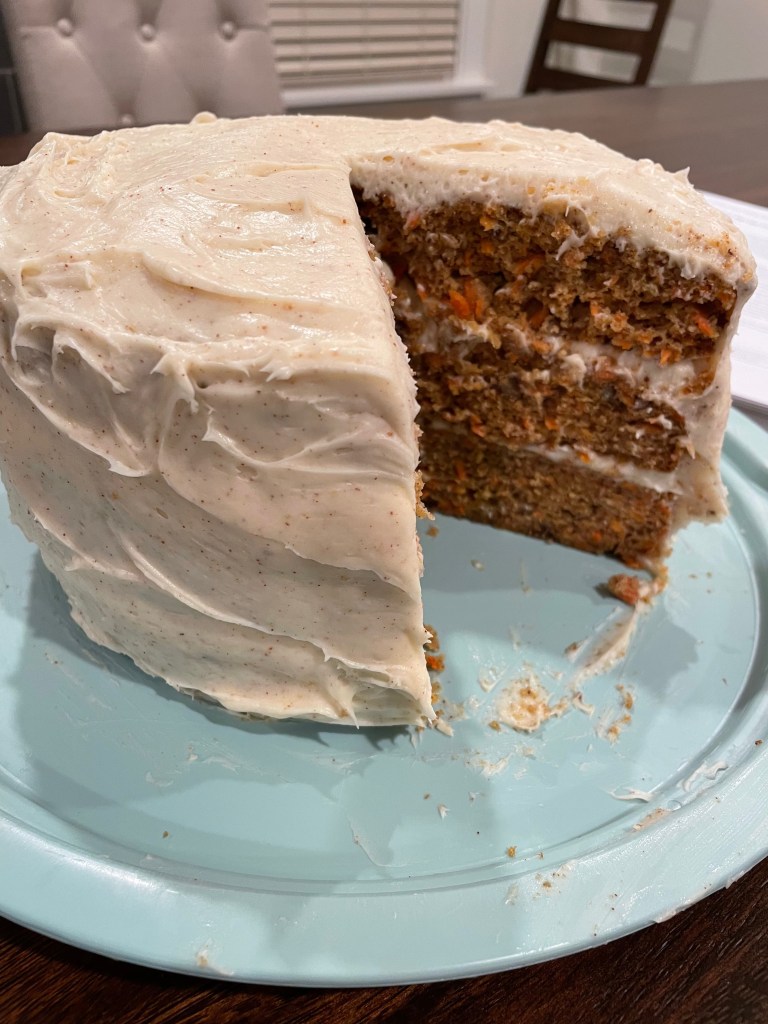
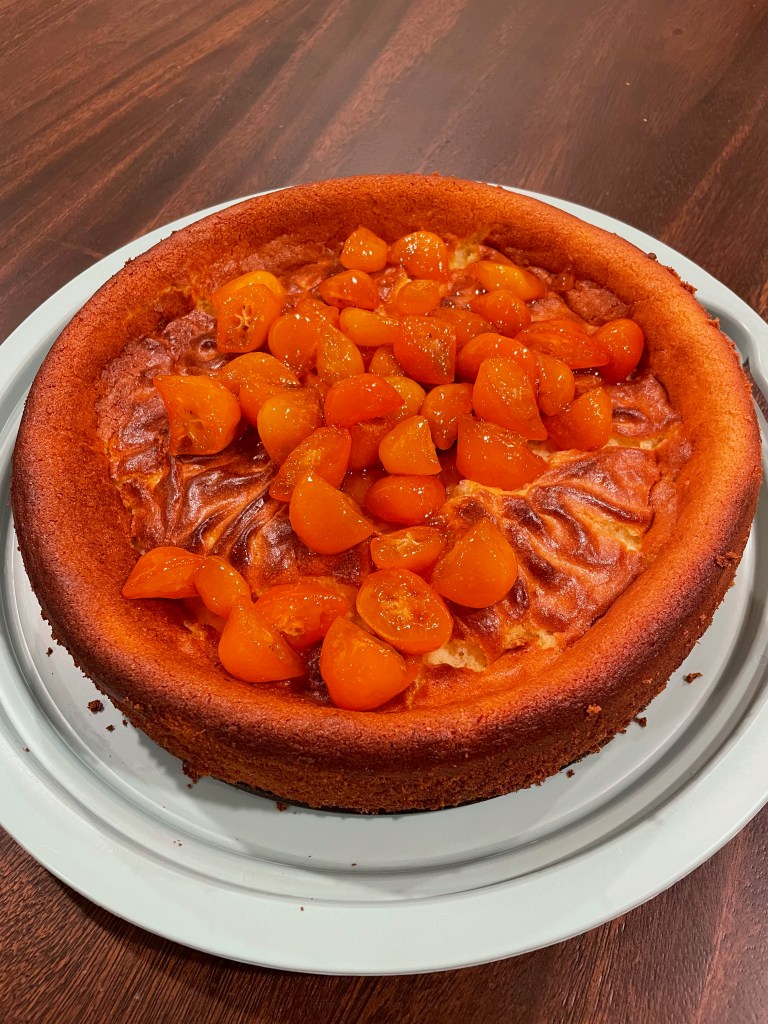
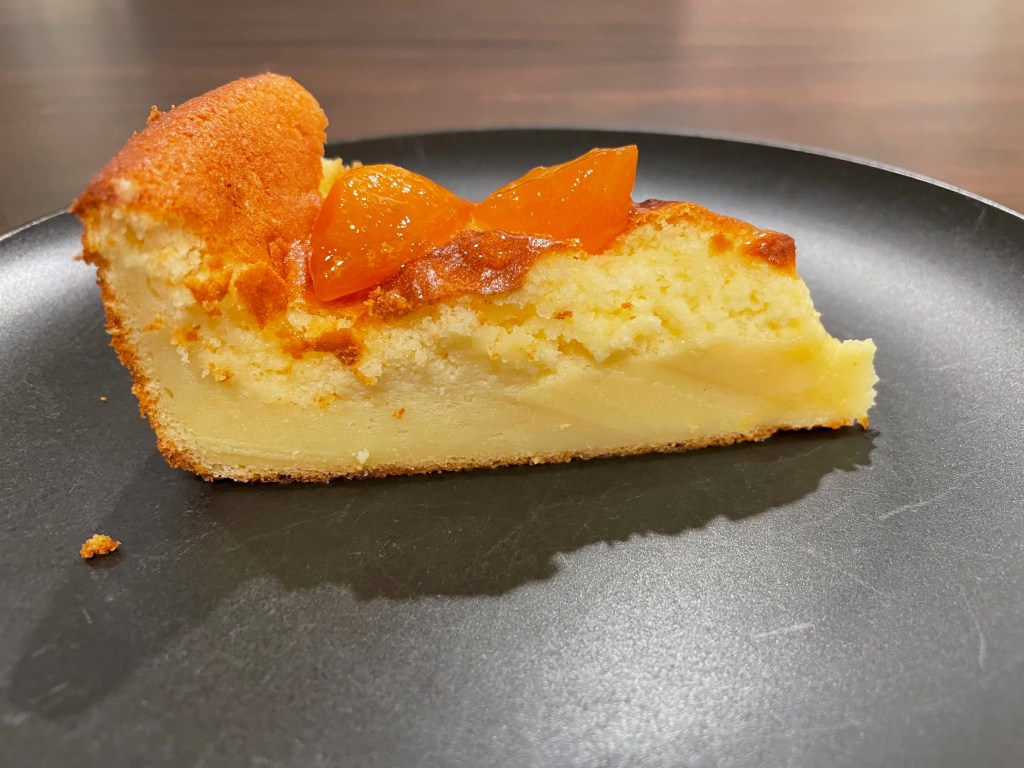
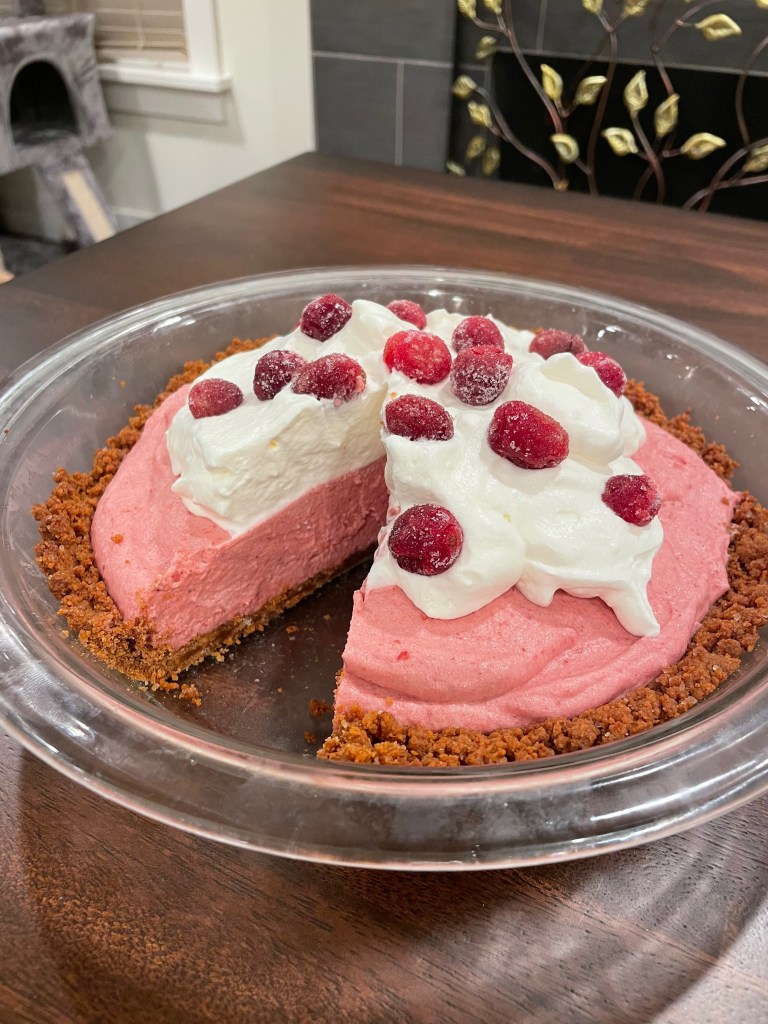
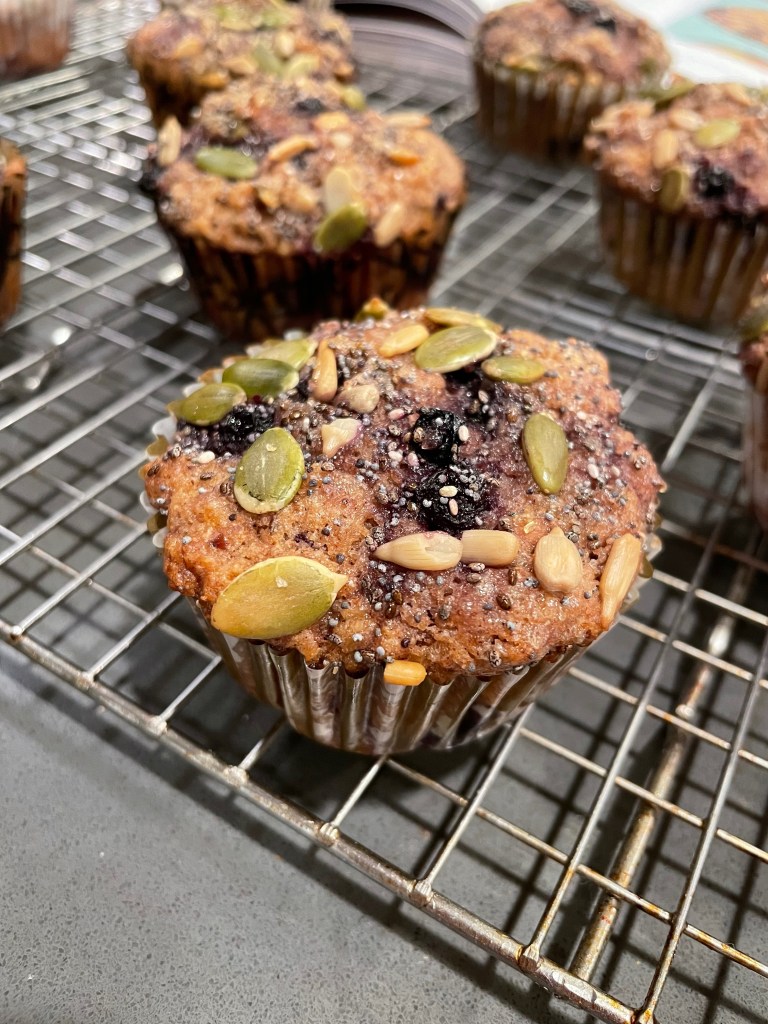
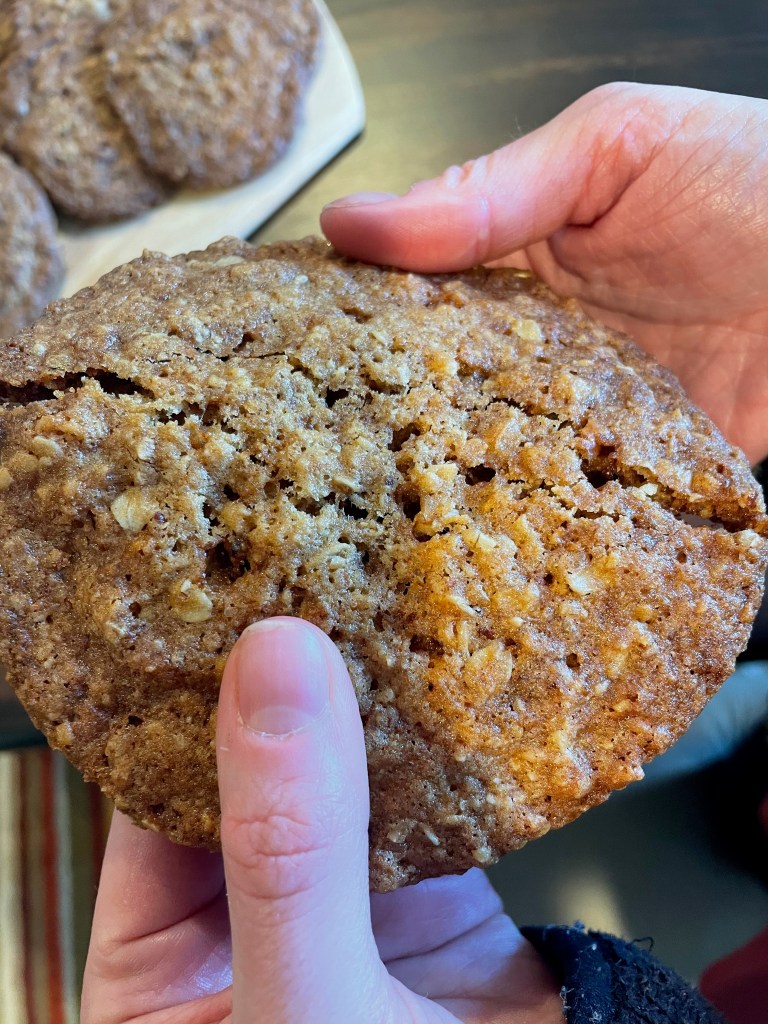
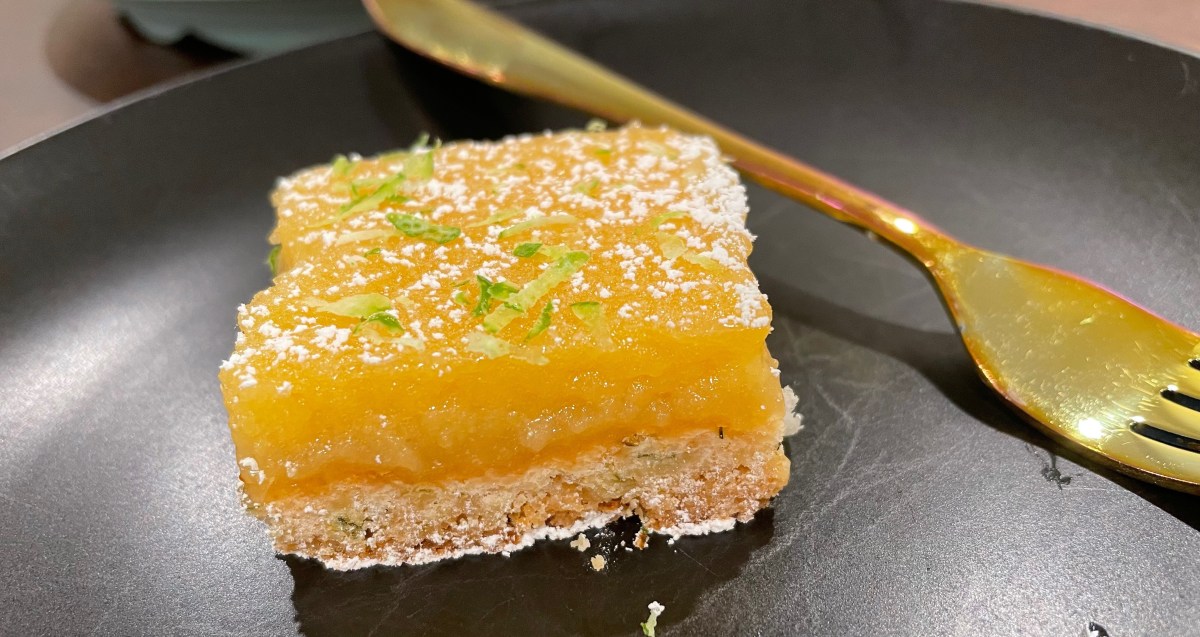
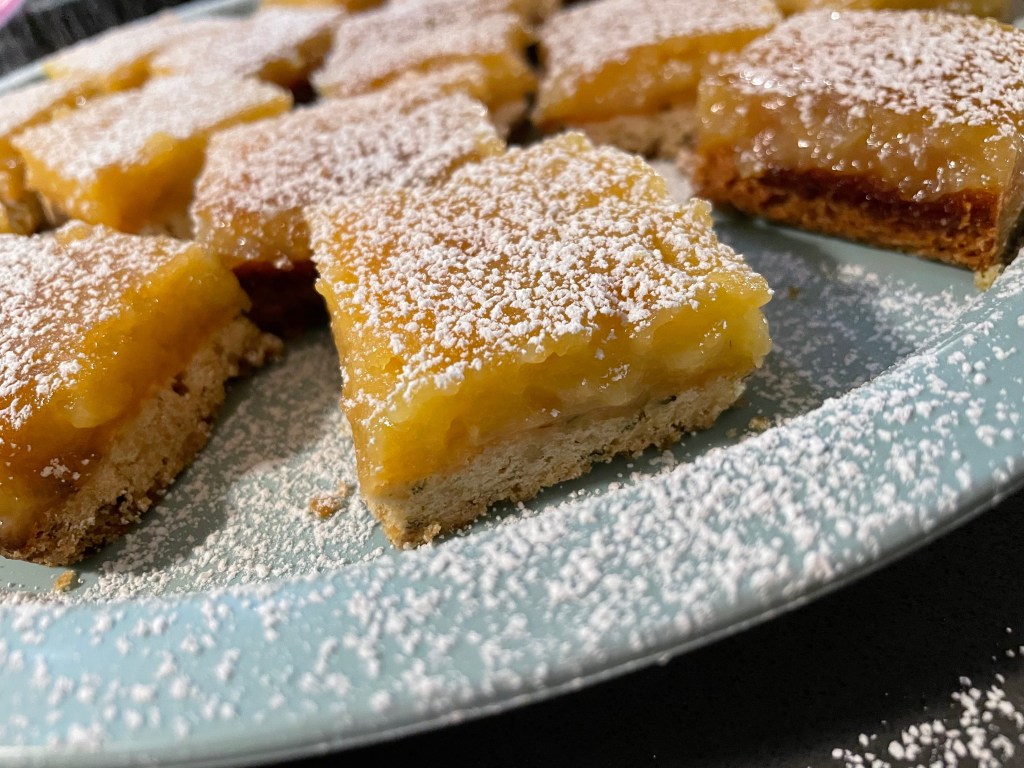
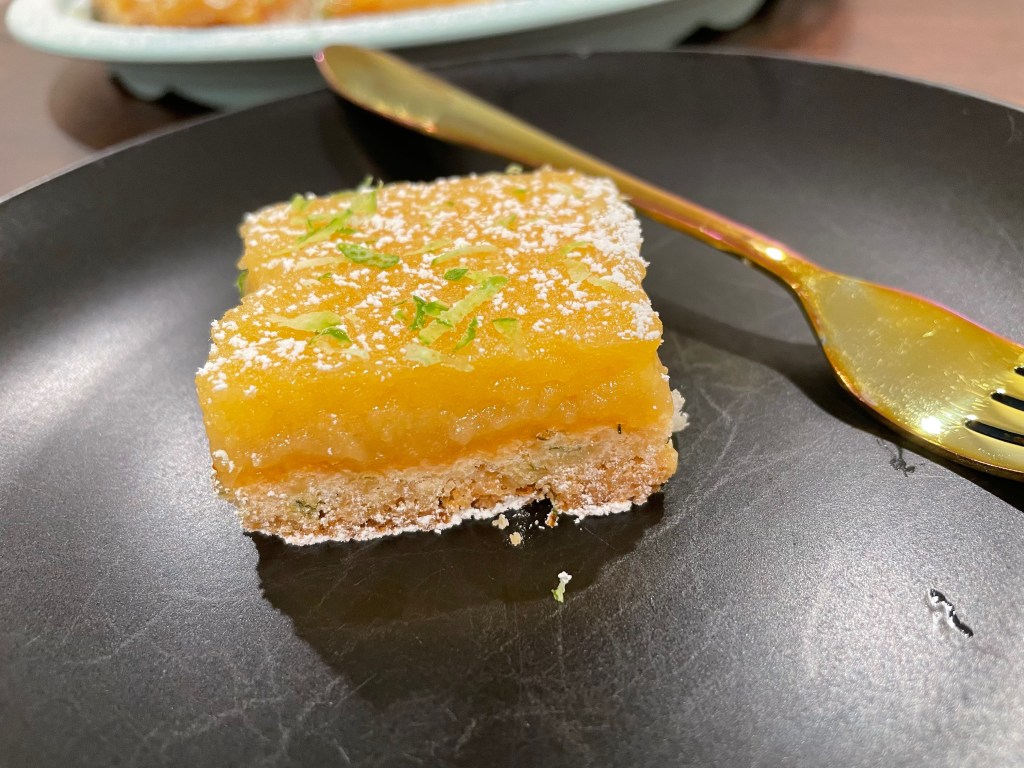
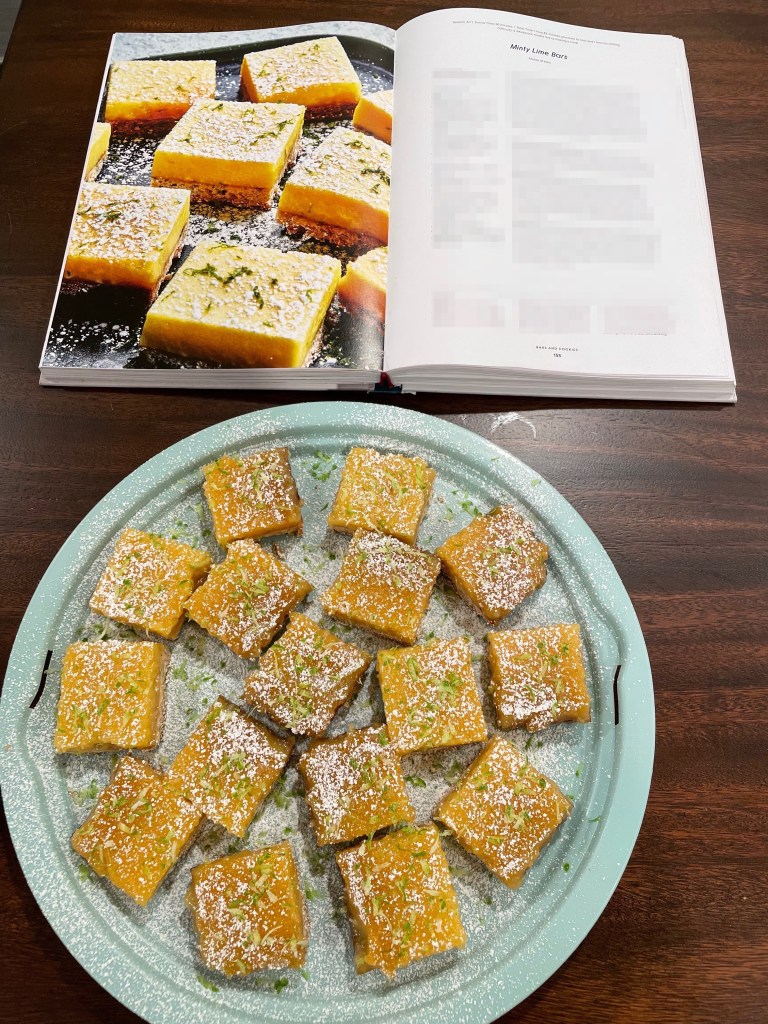
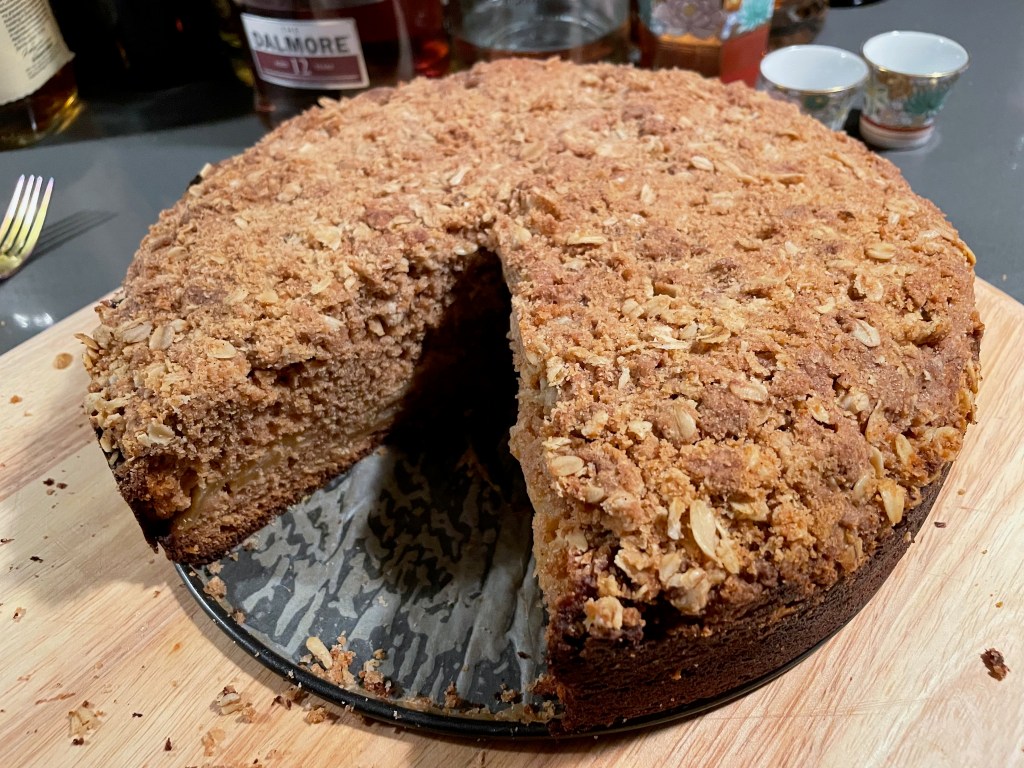
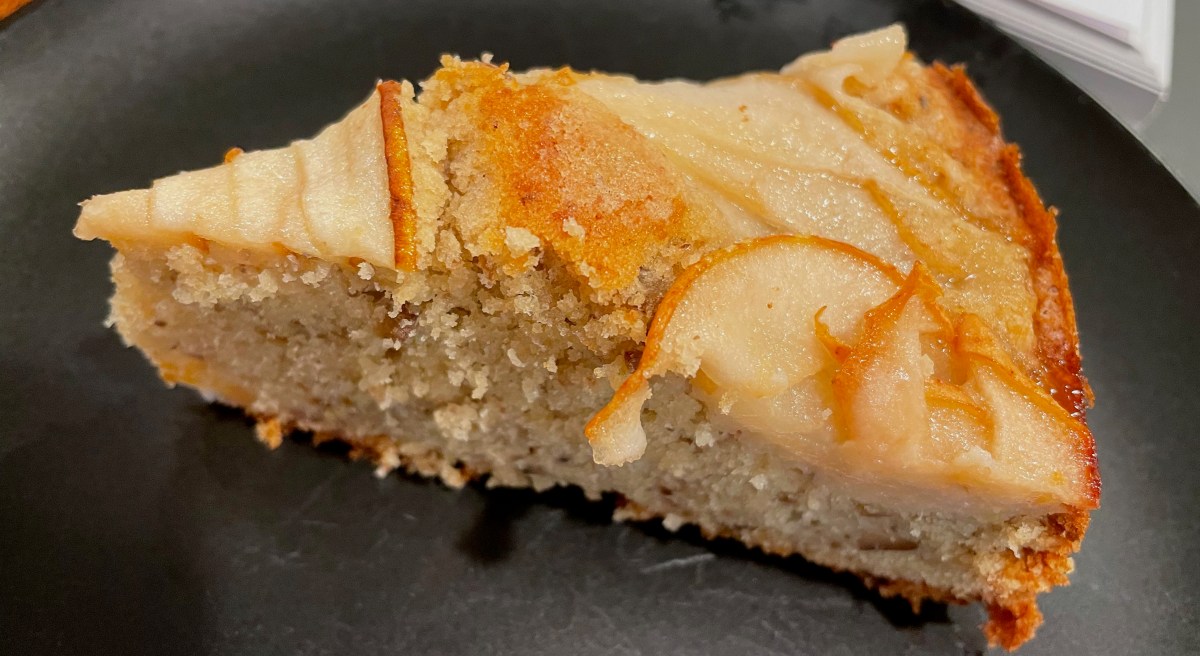
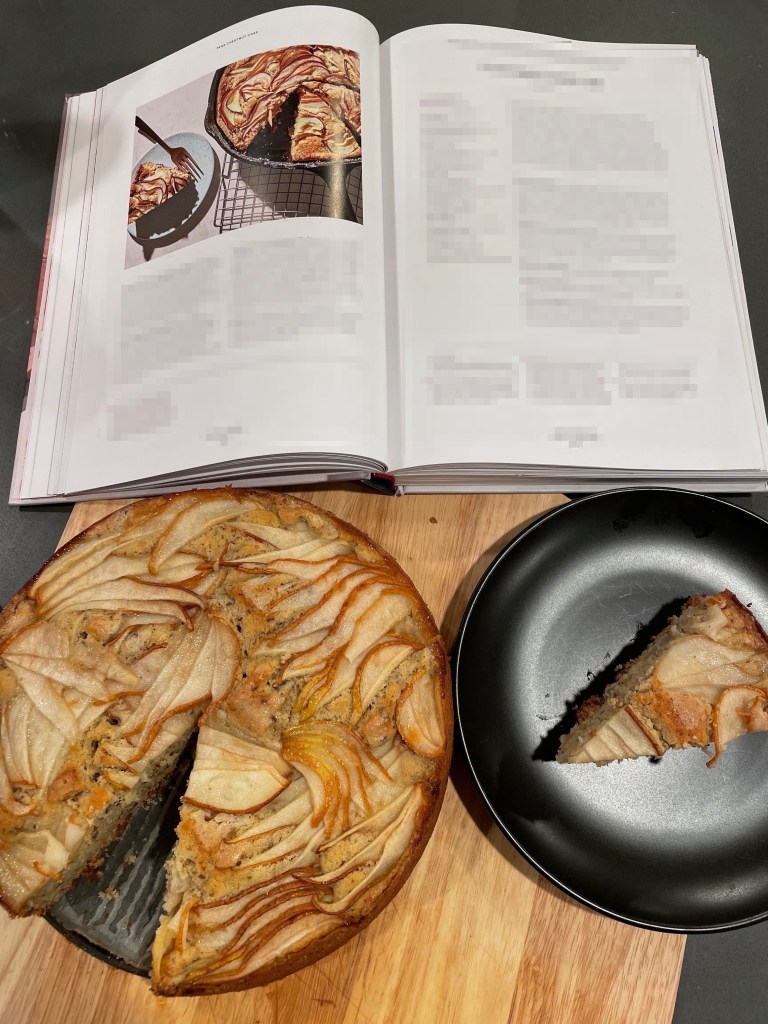
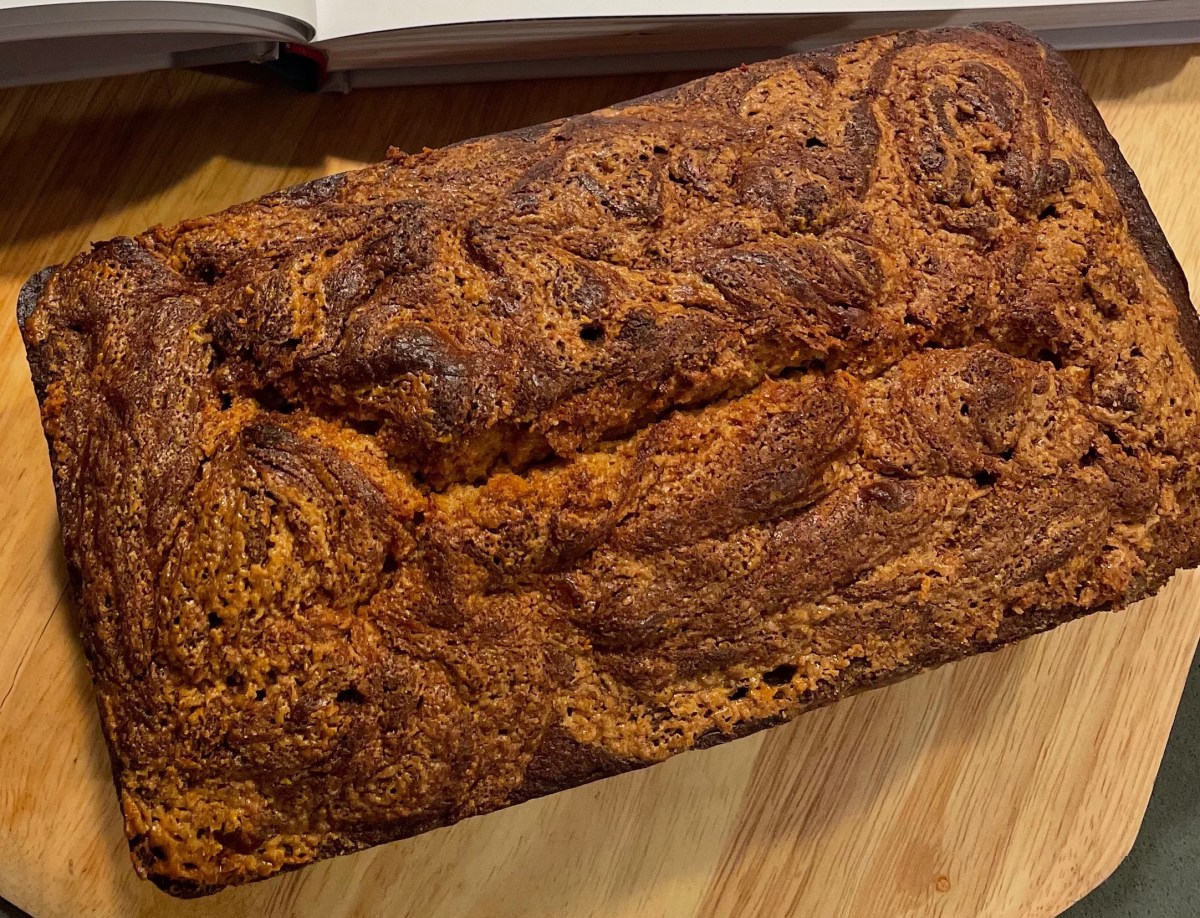
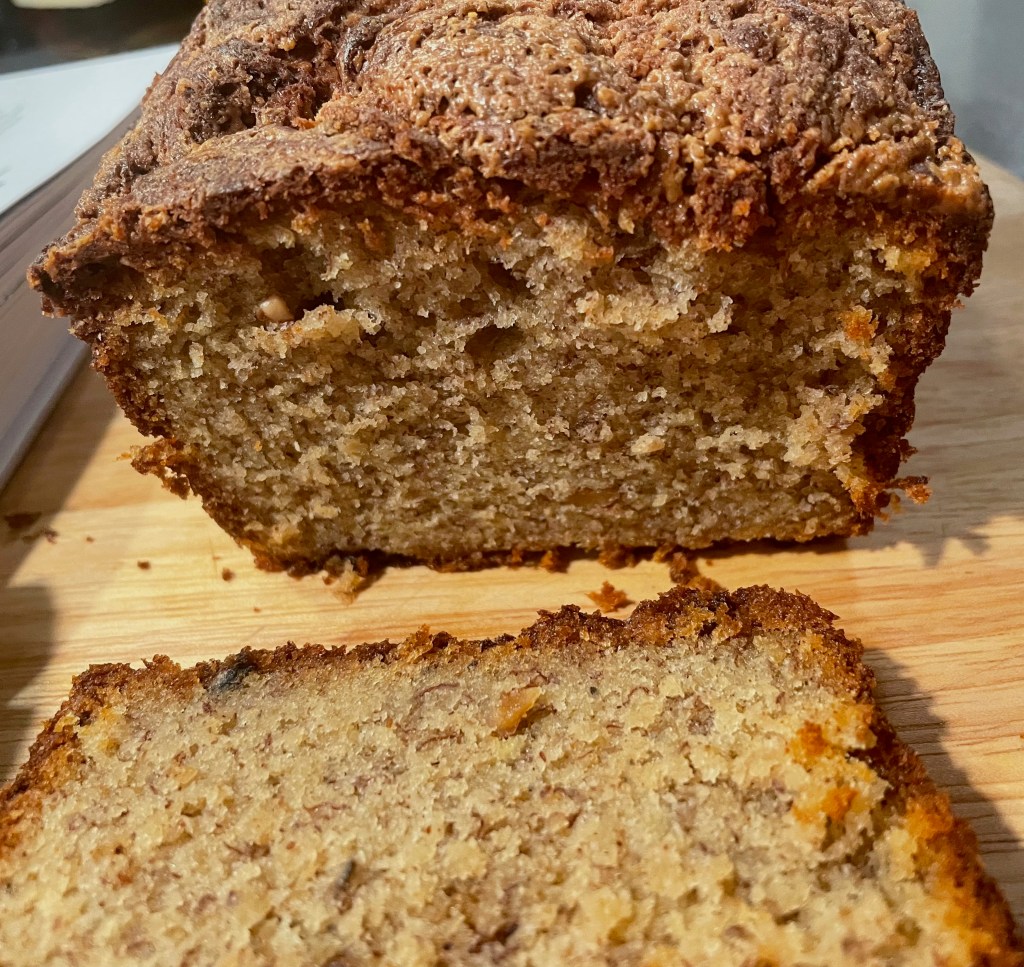
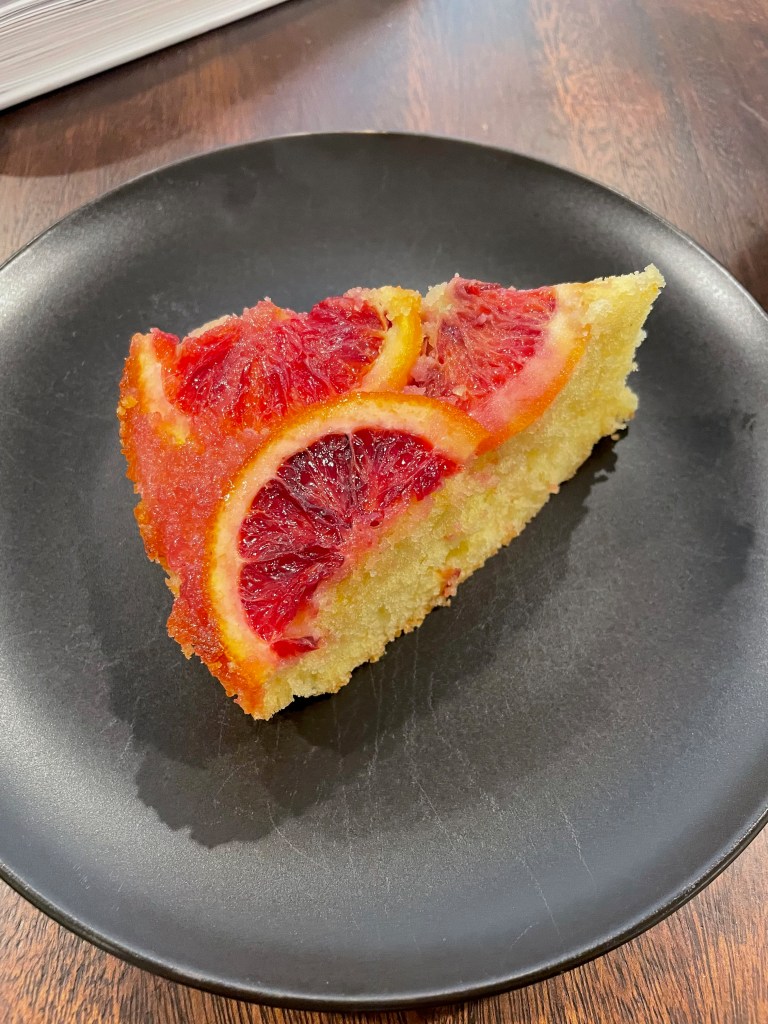
Final Product
Key Takeaways
- The recipe is rather easy, however, slicing the oranges is more difficult than it looks.
- This is best made in winter when blood oranges are in season.
- The cake will taste much better the second day – it takes time for the orange flavors to diffuse throughout the cake completely.
- Final Score: 3/5 – The cake is very good, however, it’s a bit finicky to get the orange layer quite right. Similarly, the cake is a bit plain. Although if you’re a fan of everything orange, then this is definitely the cake for you!