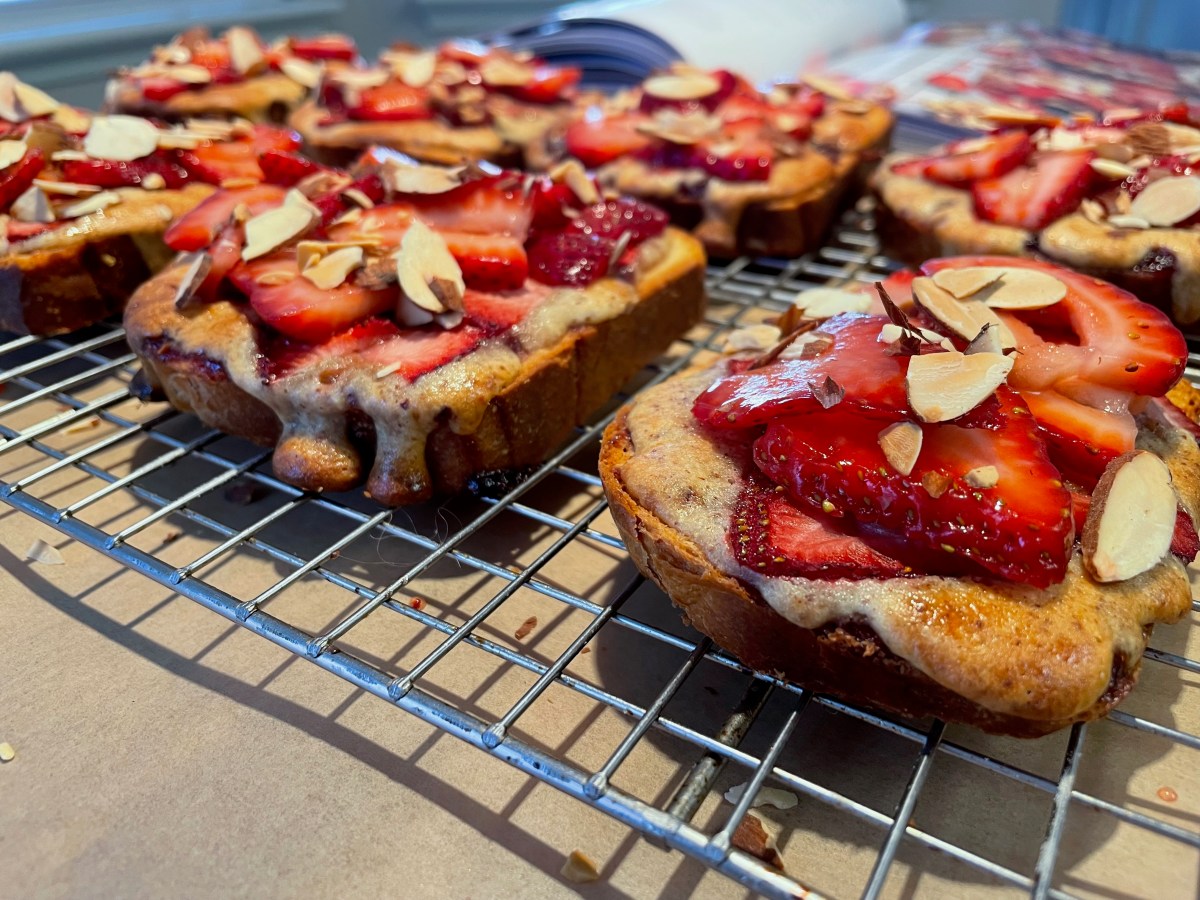
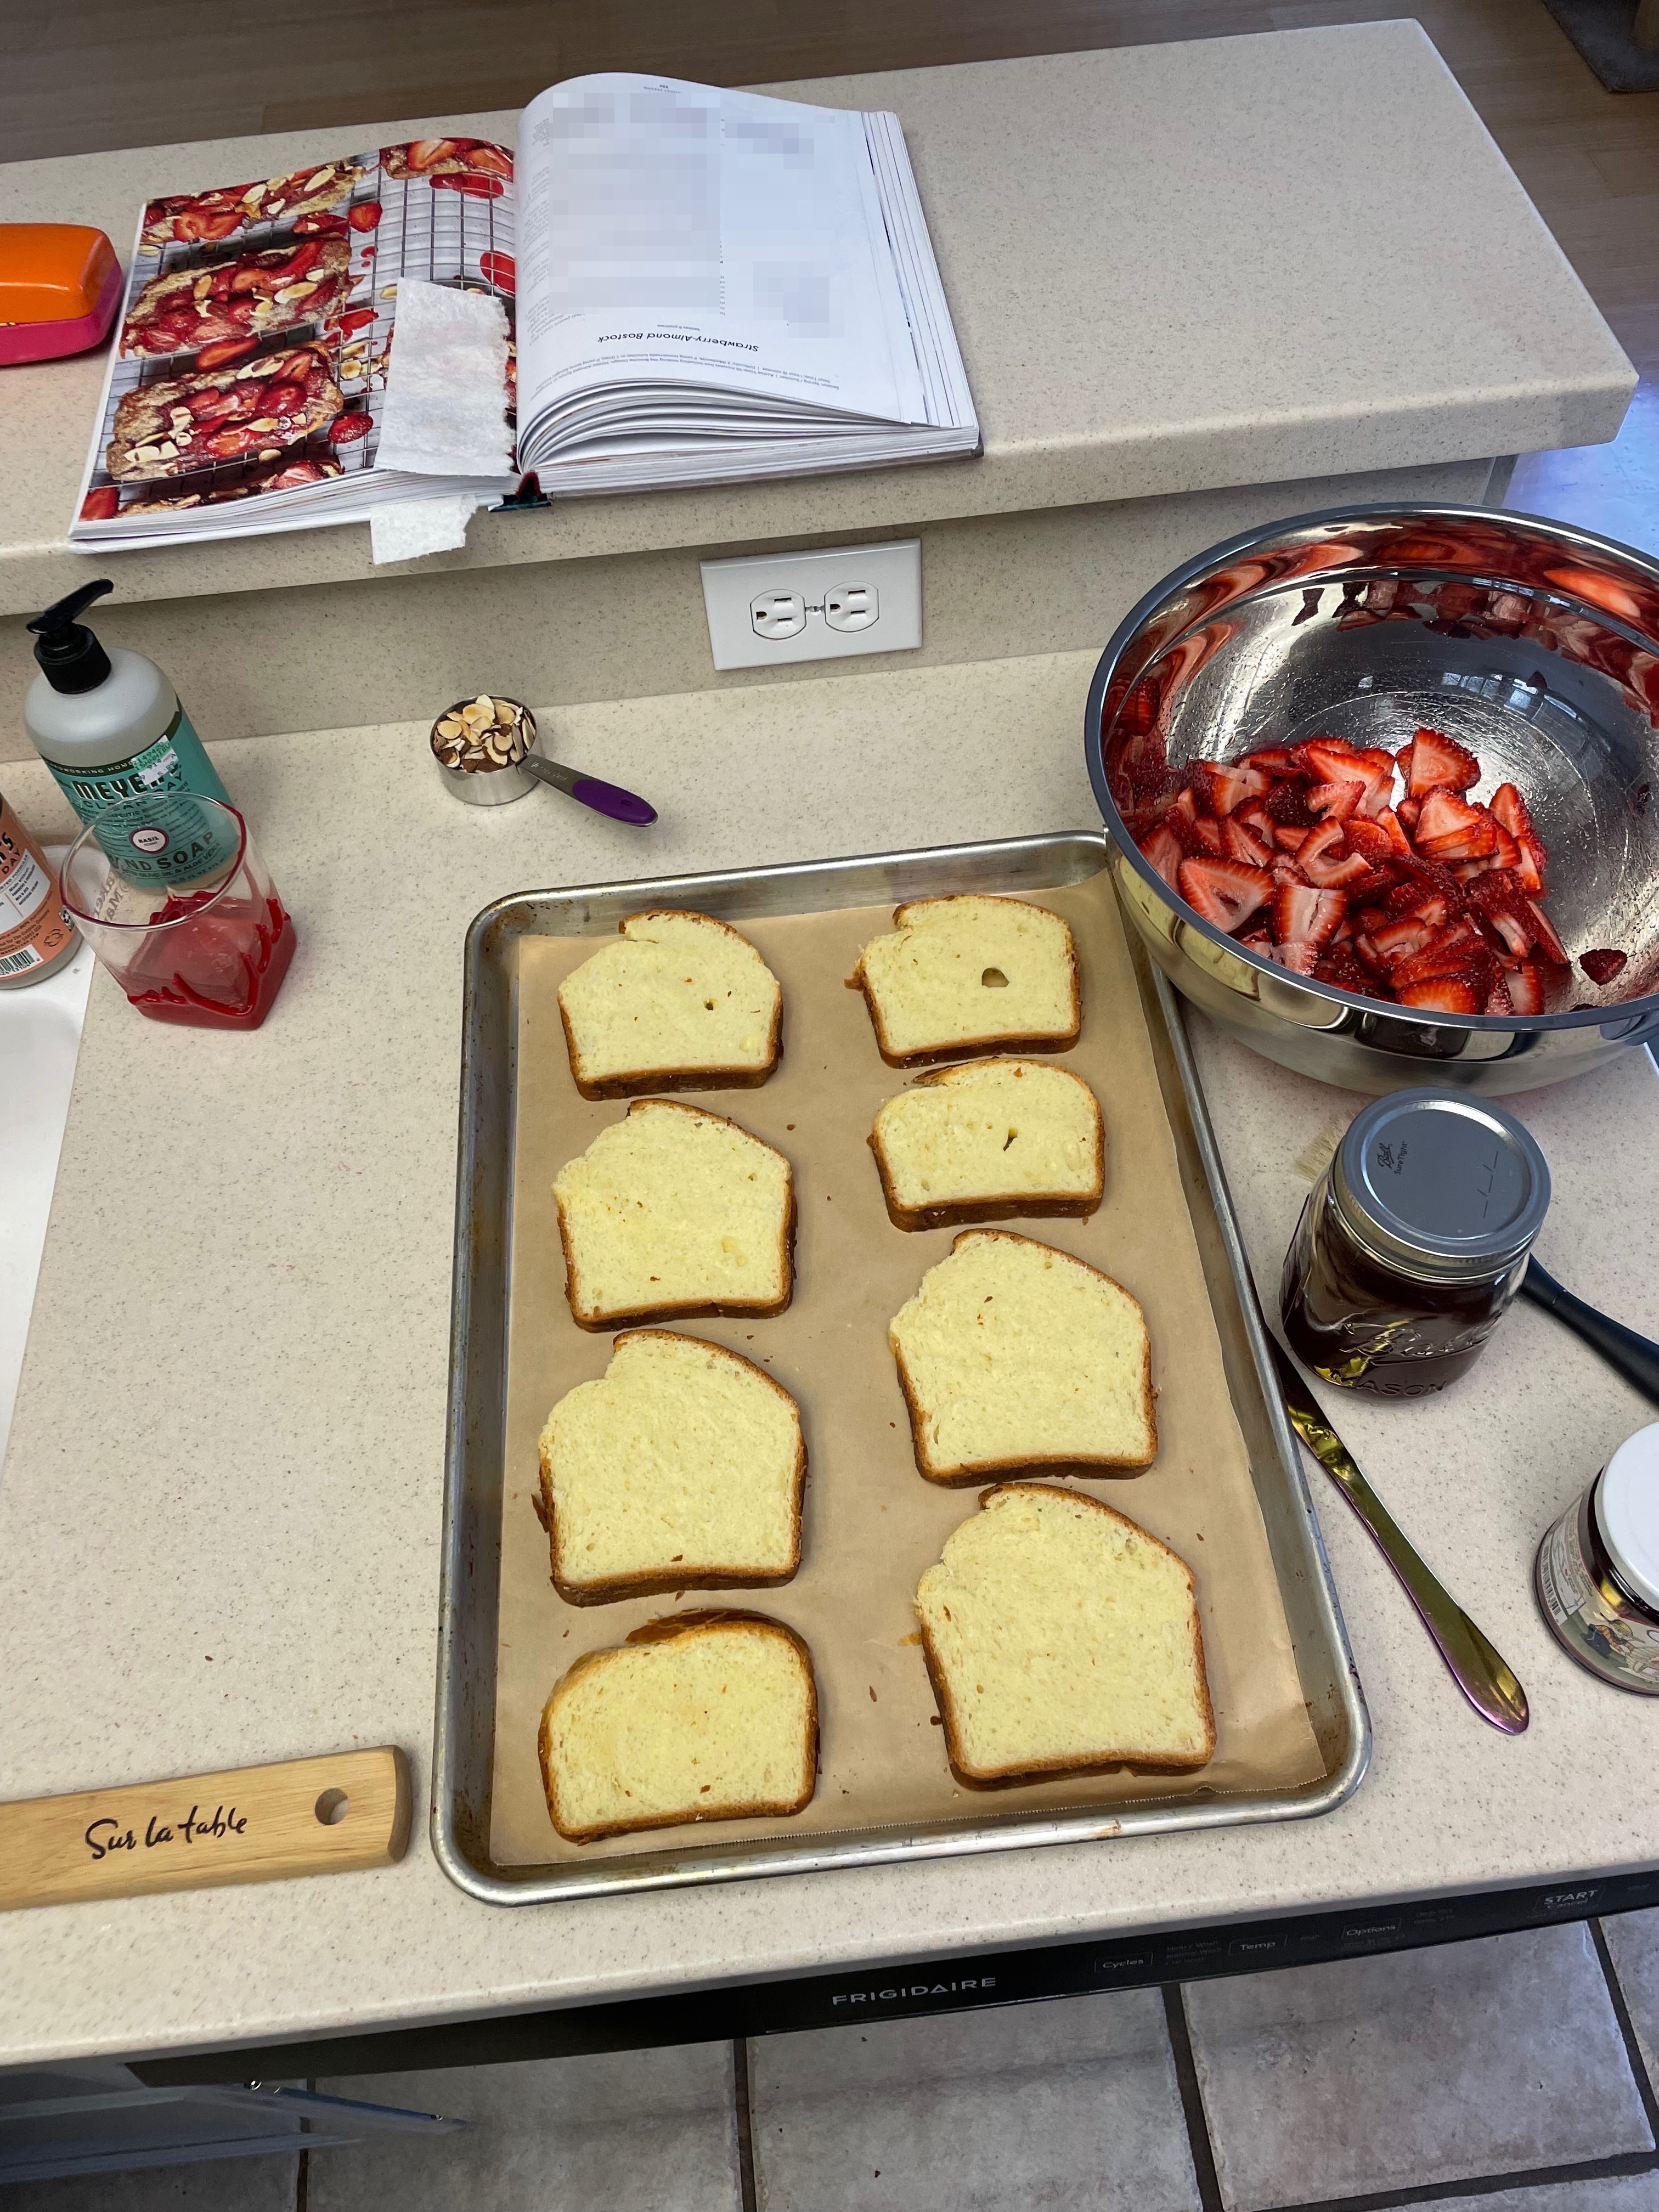
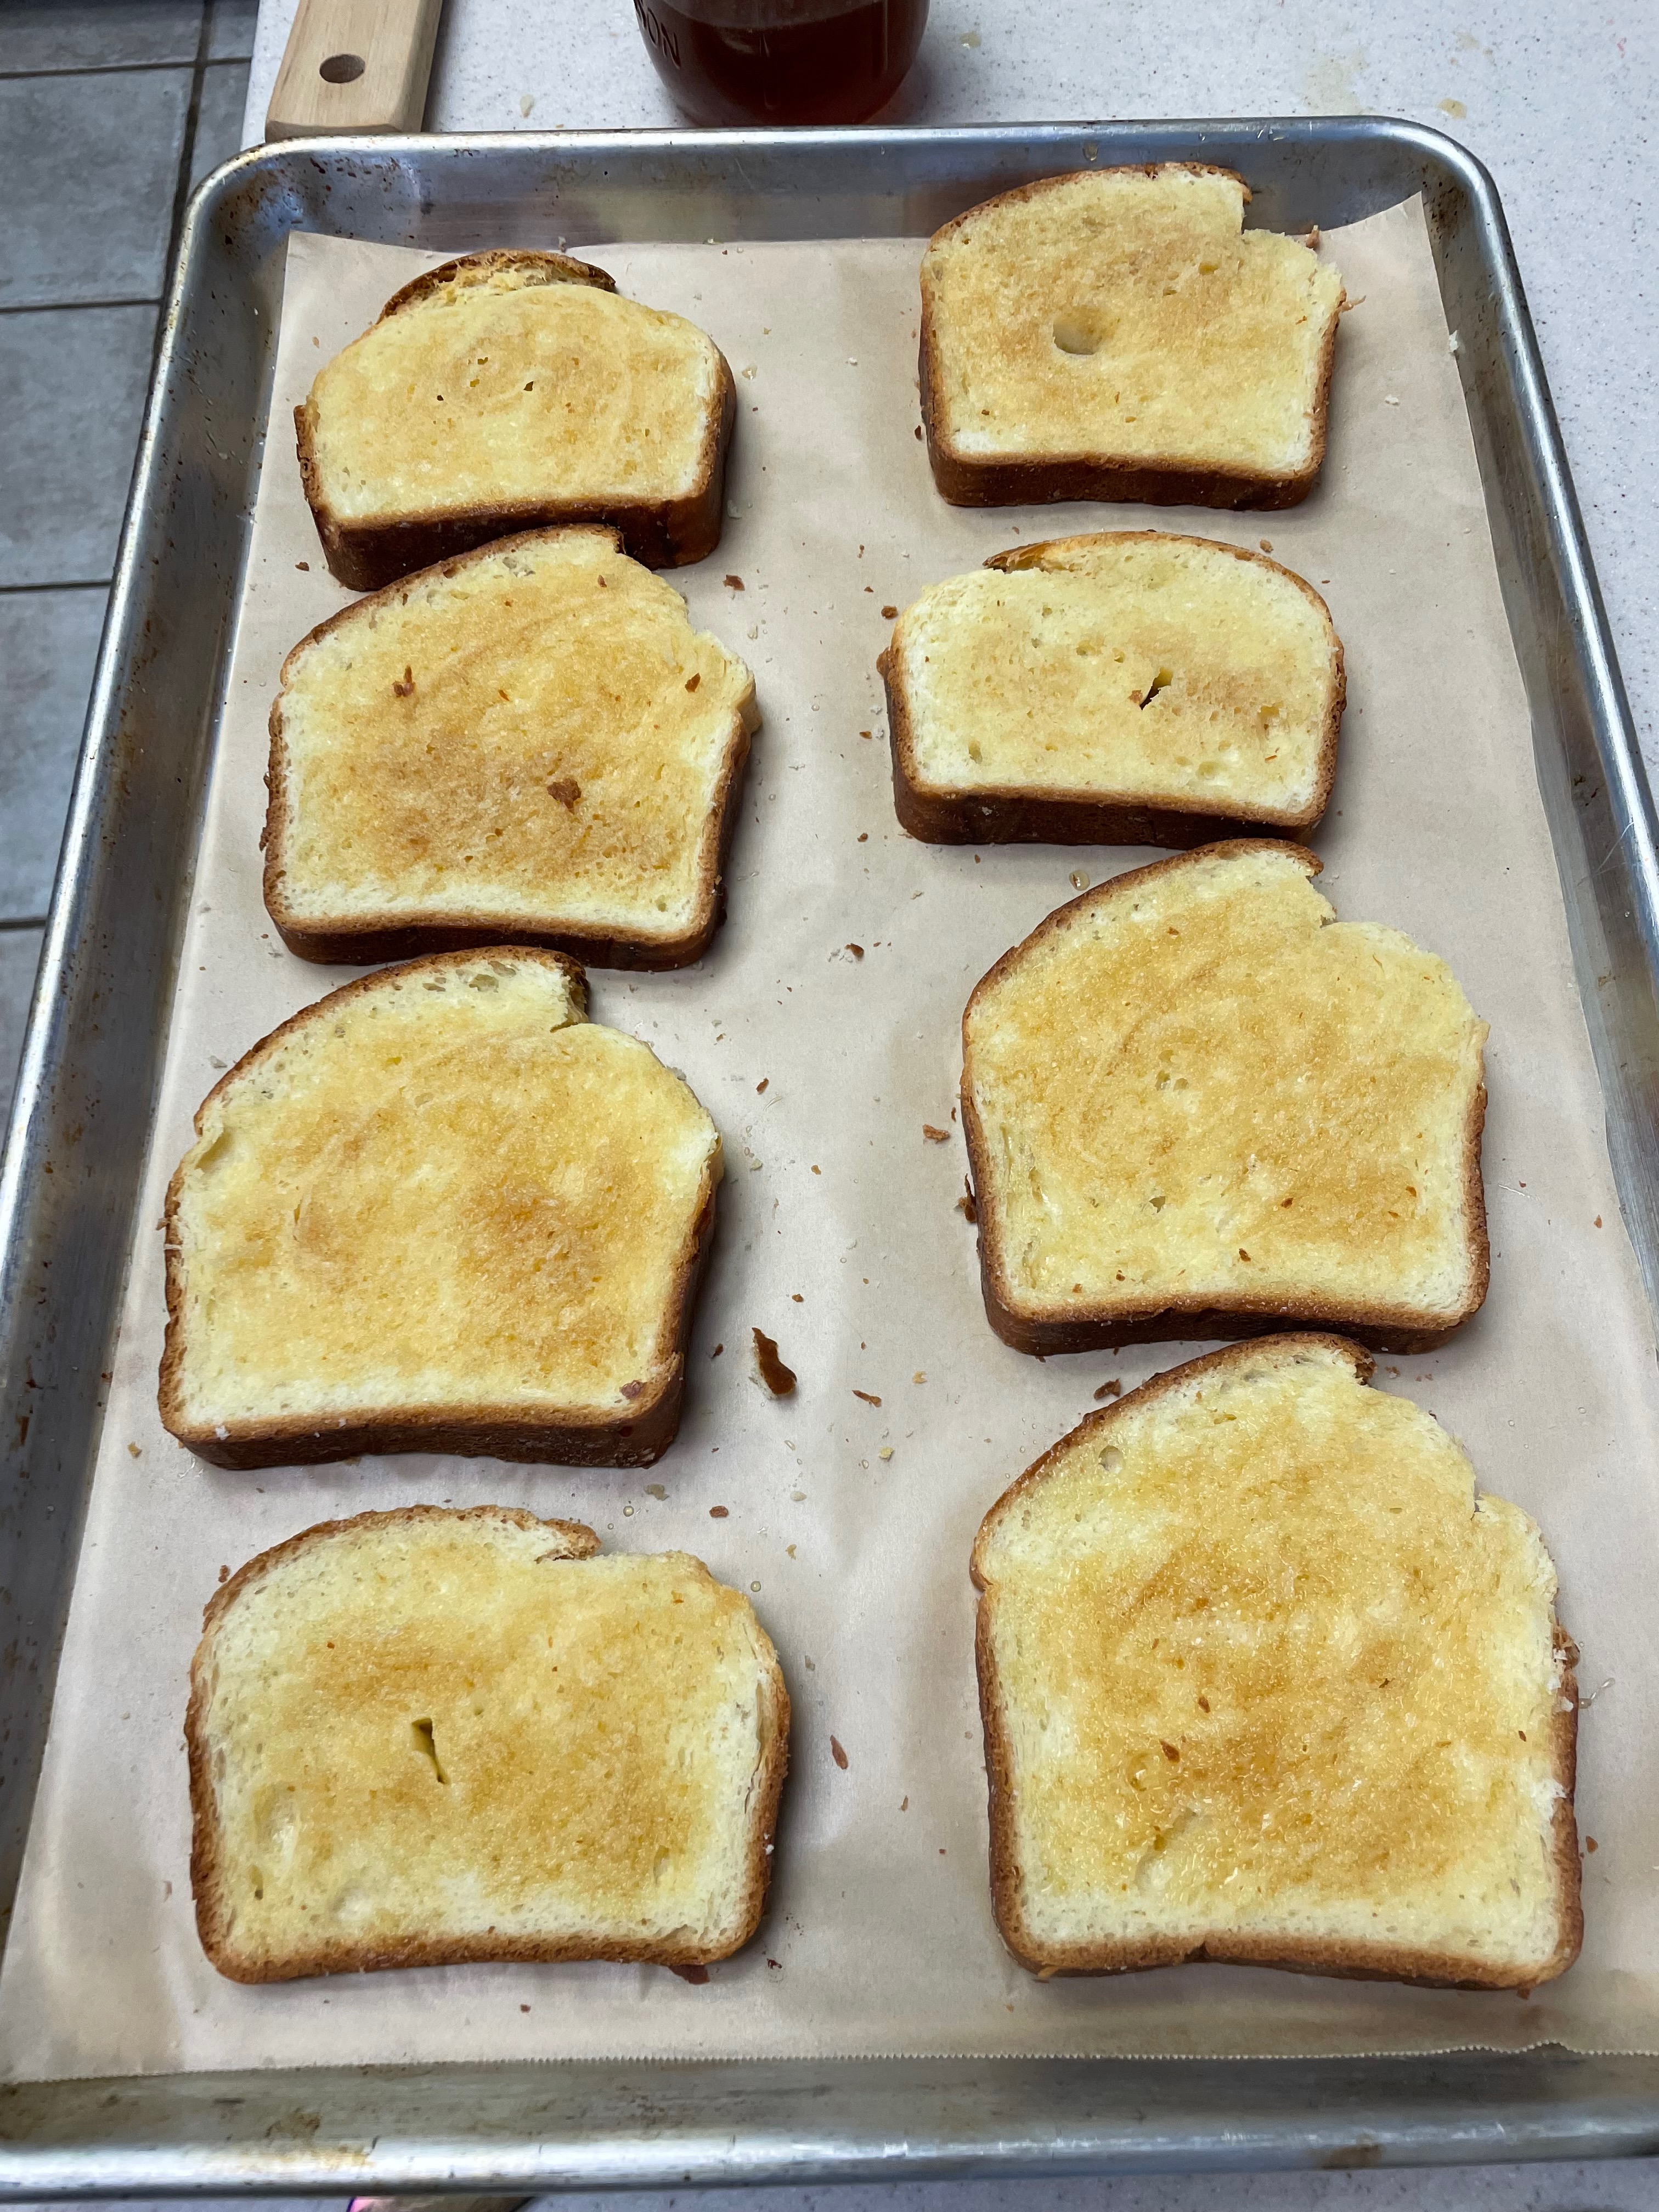
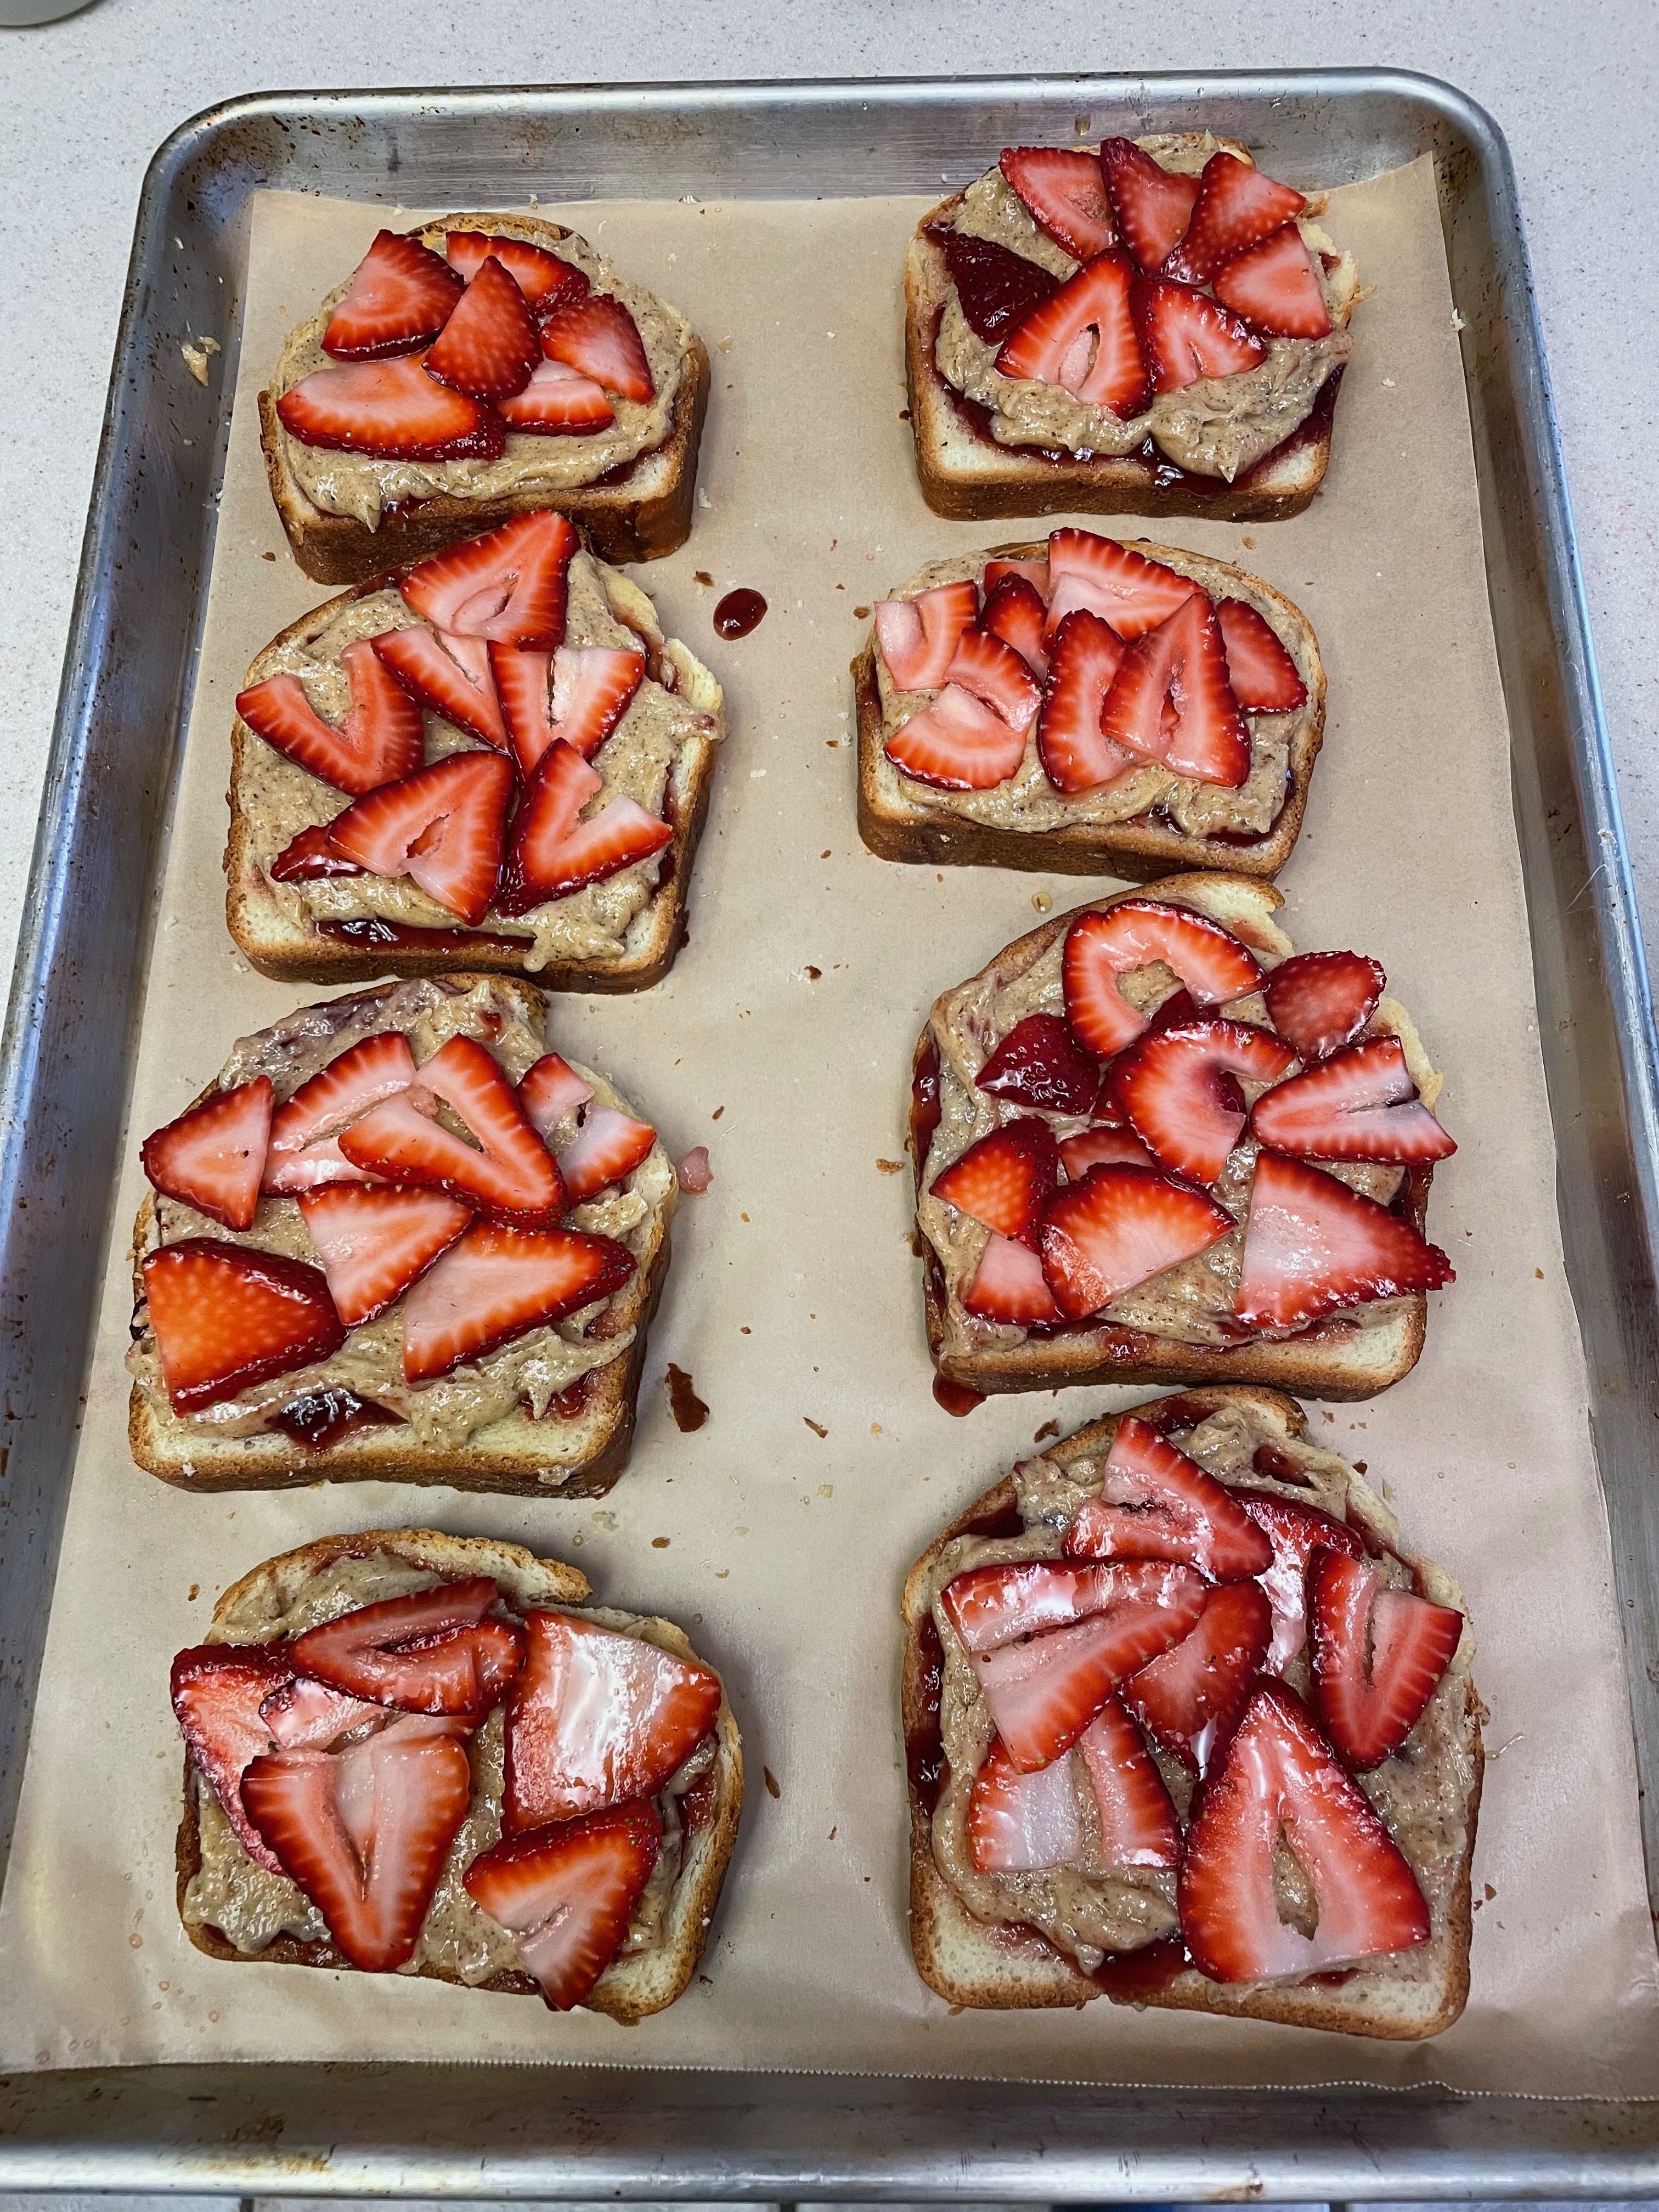
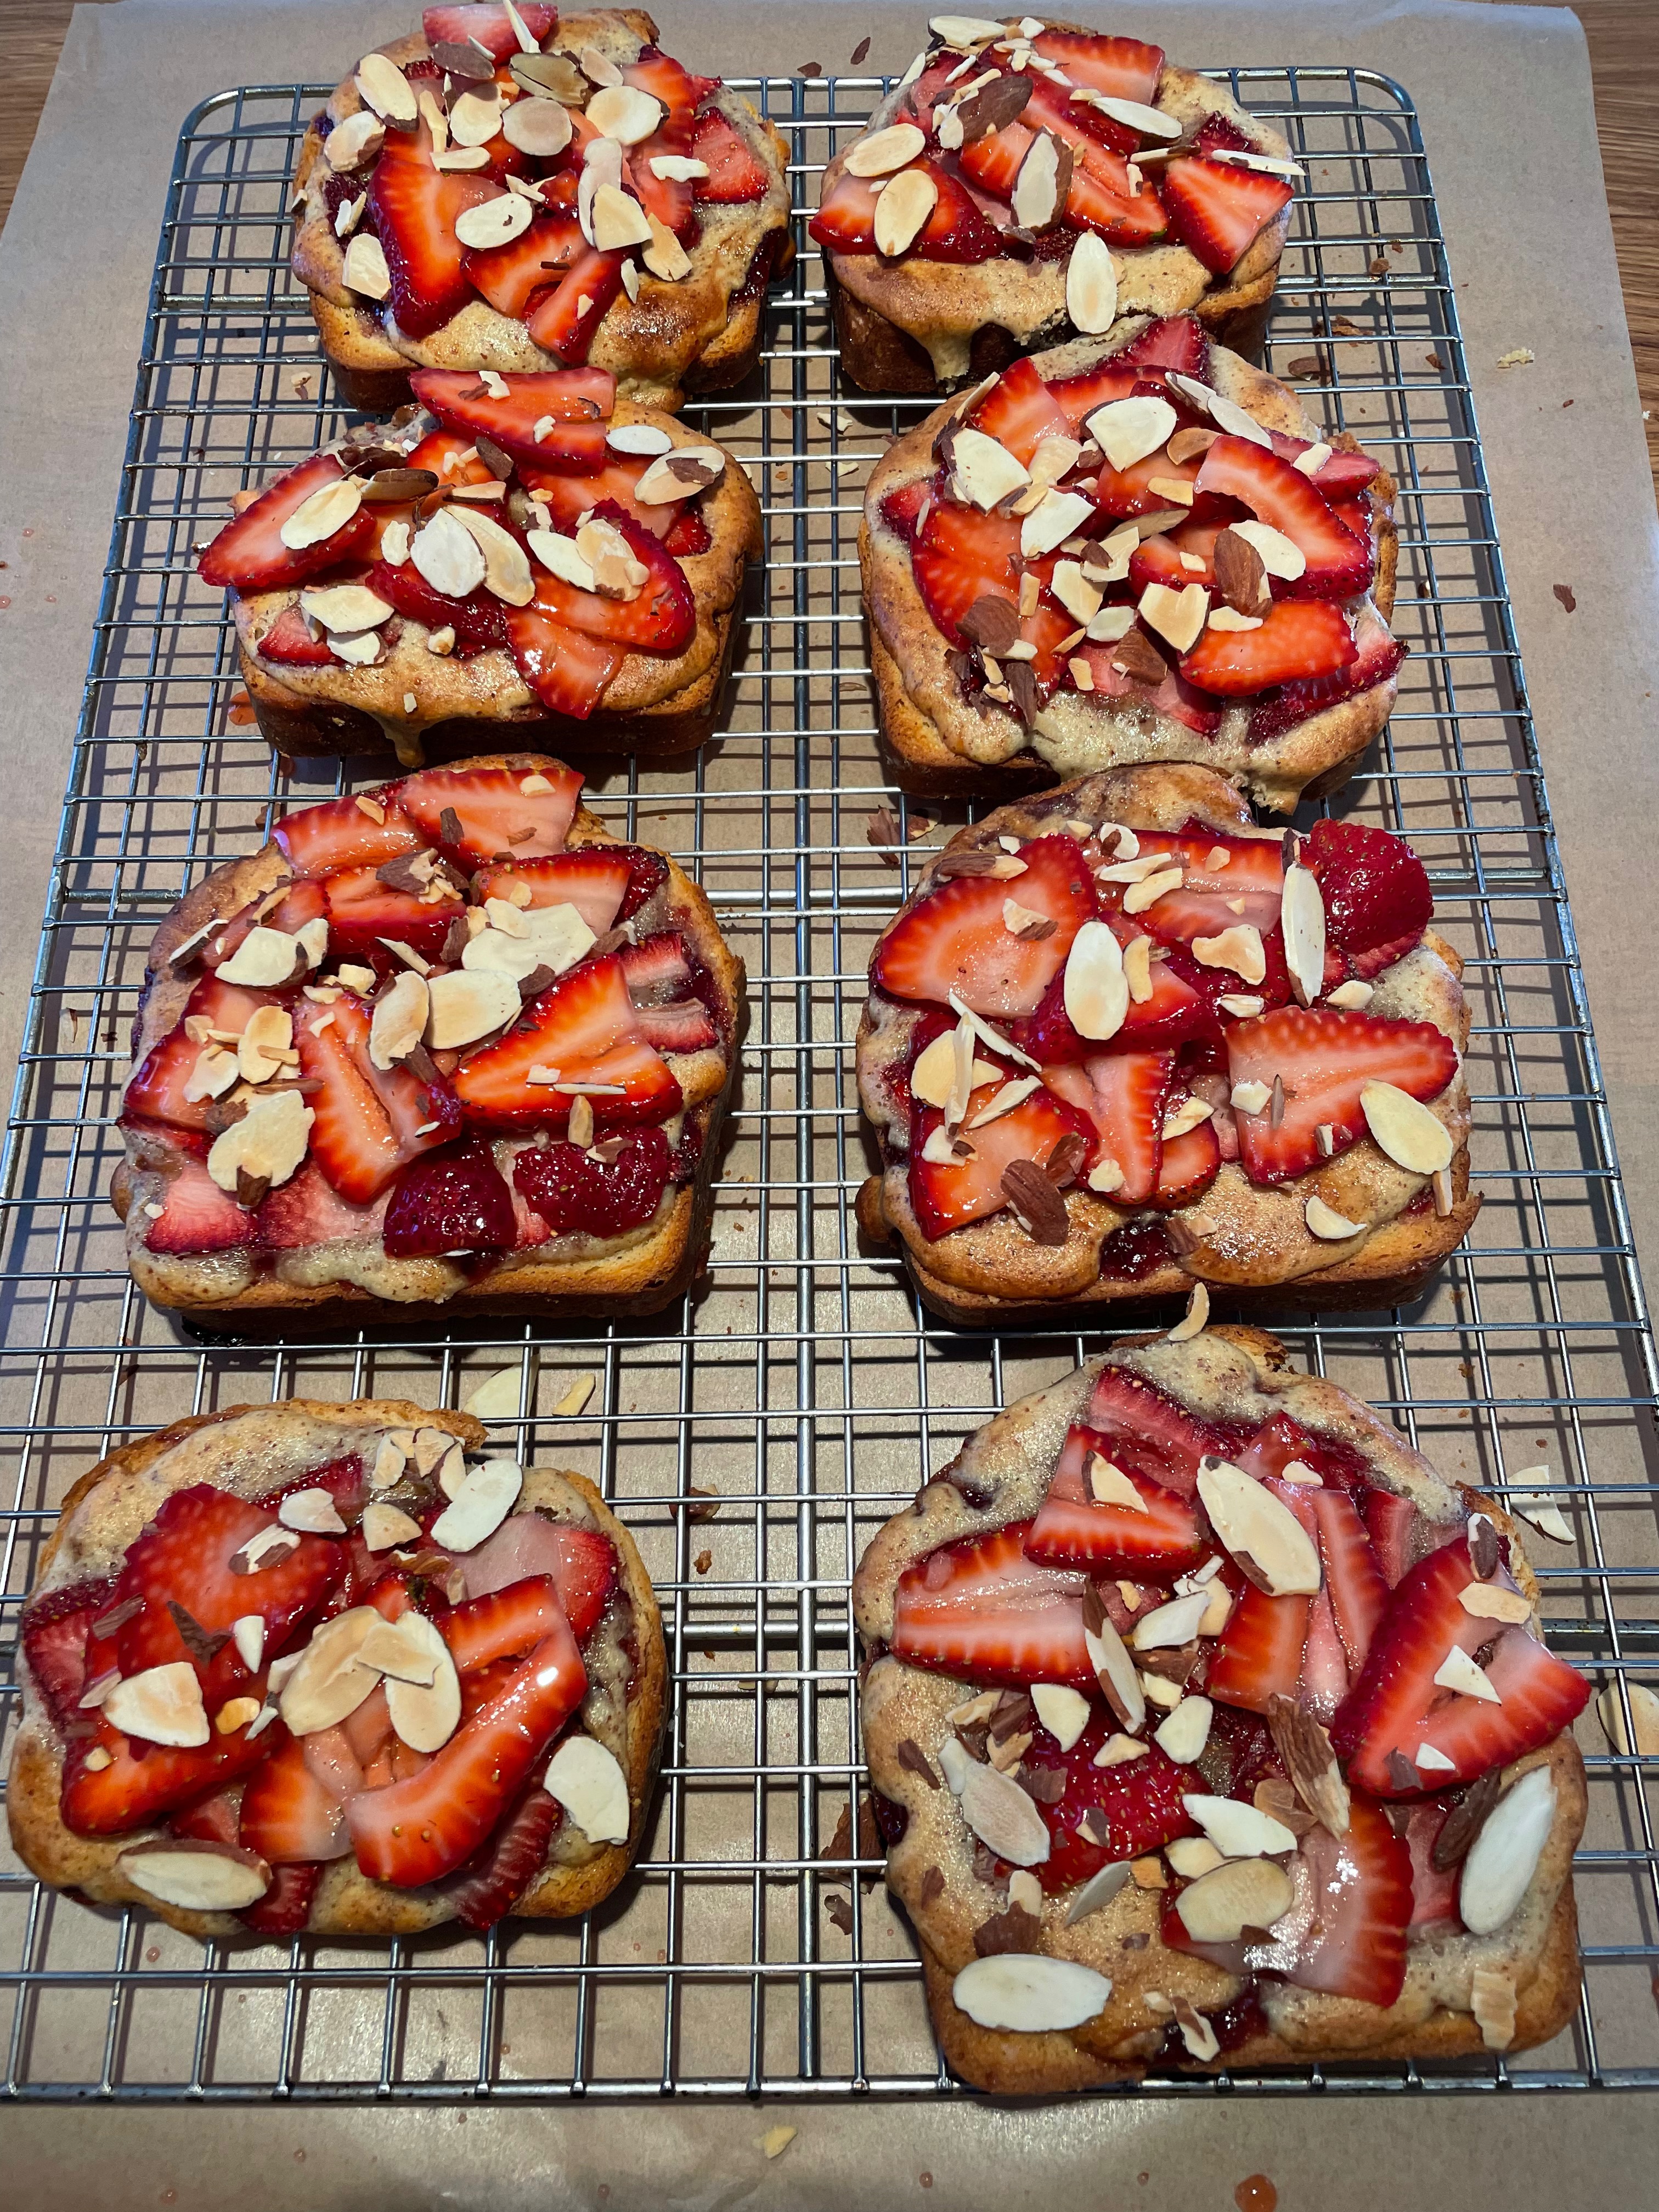
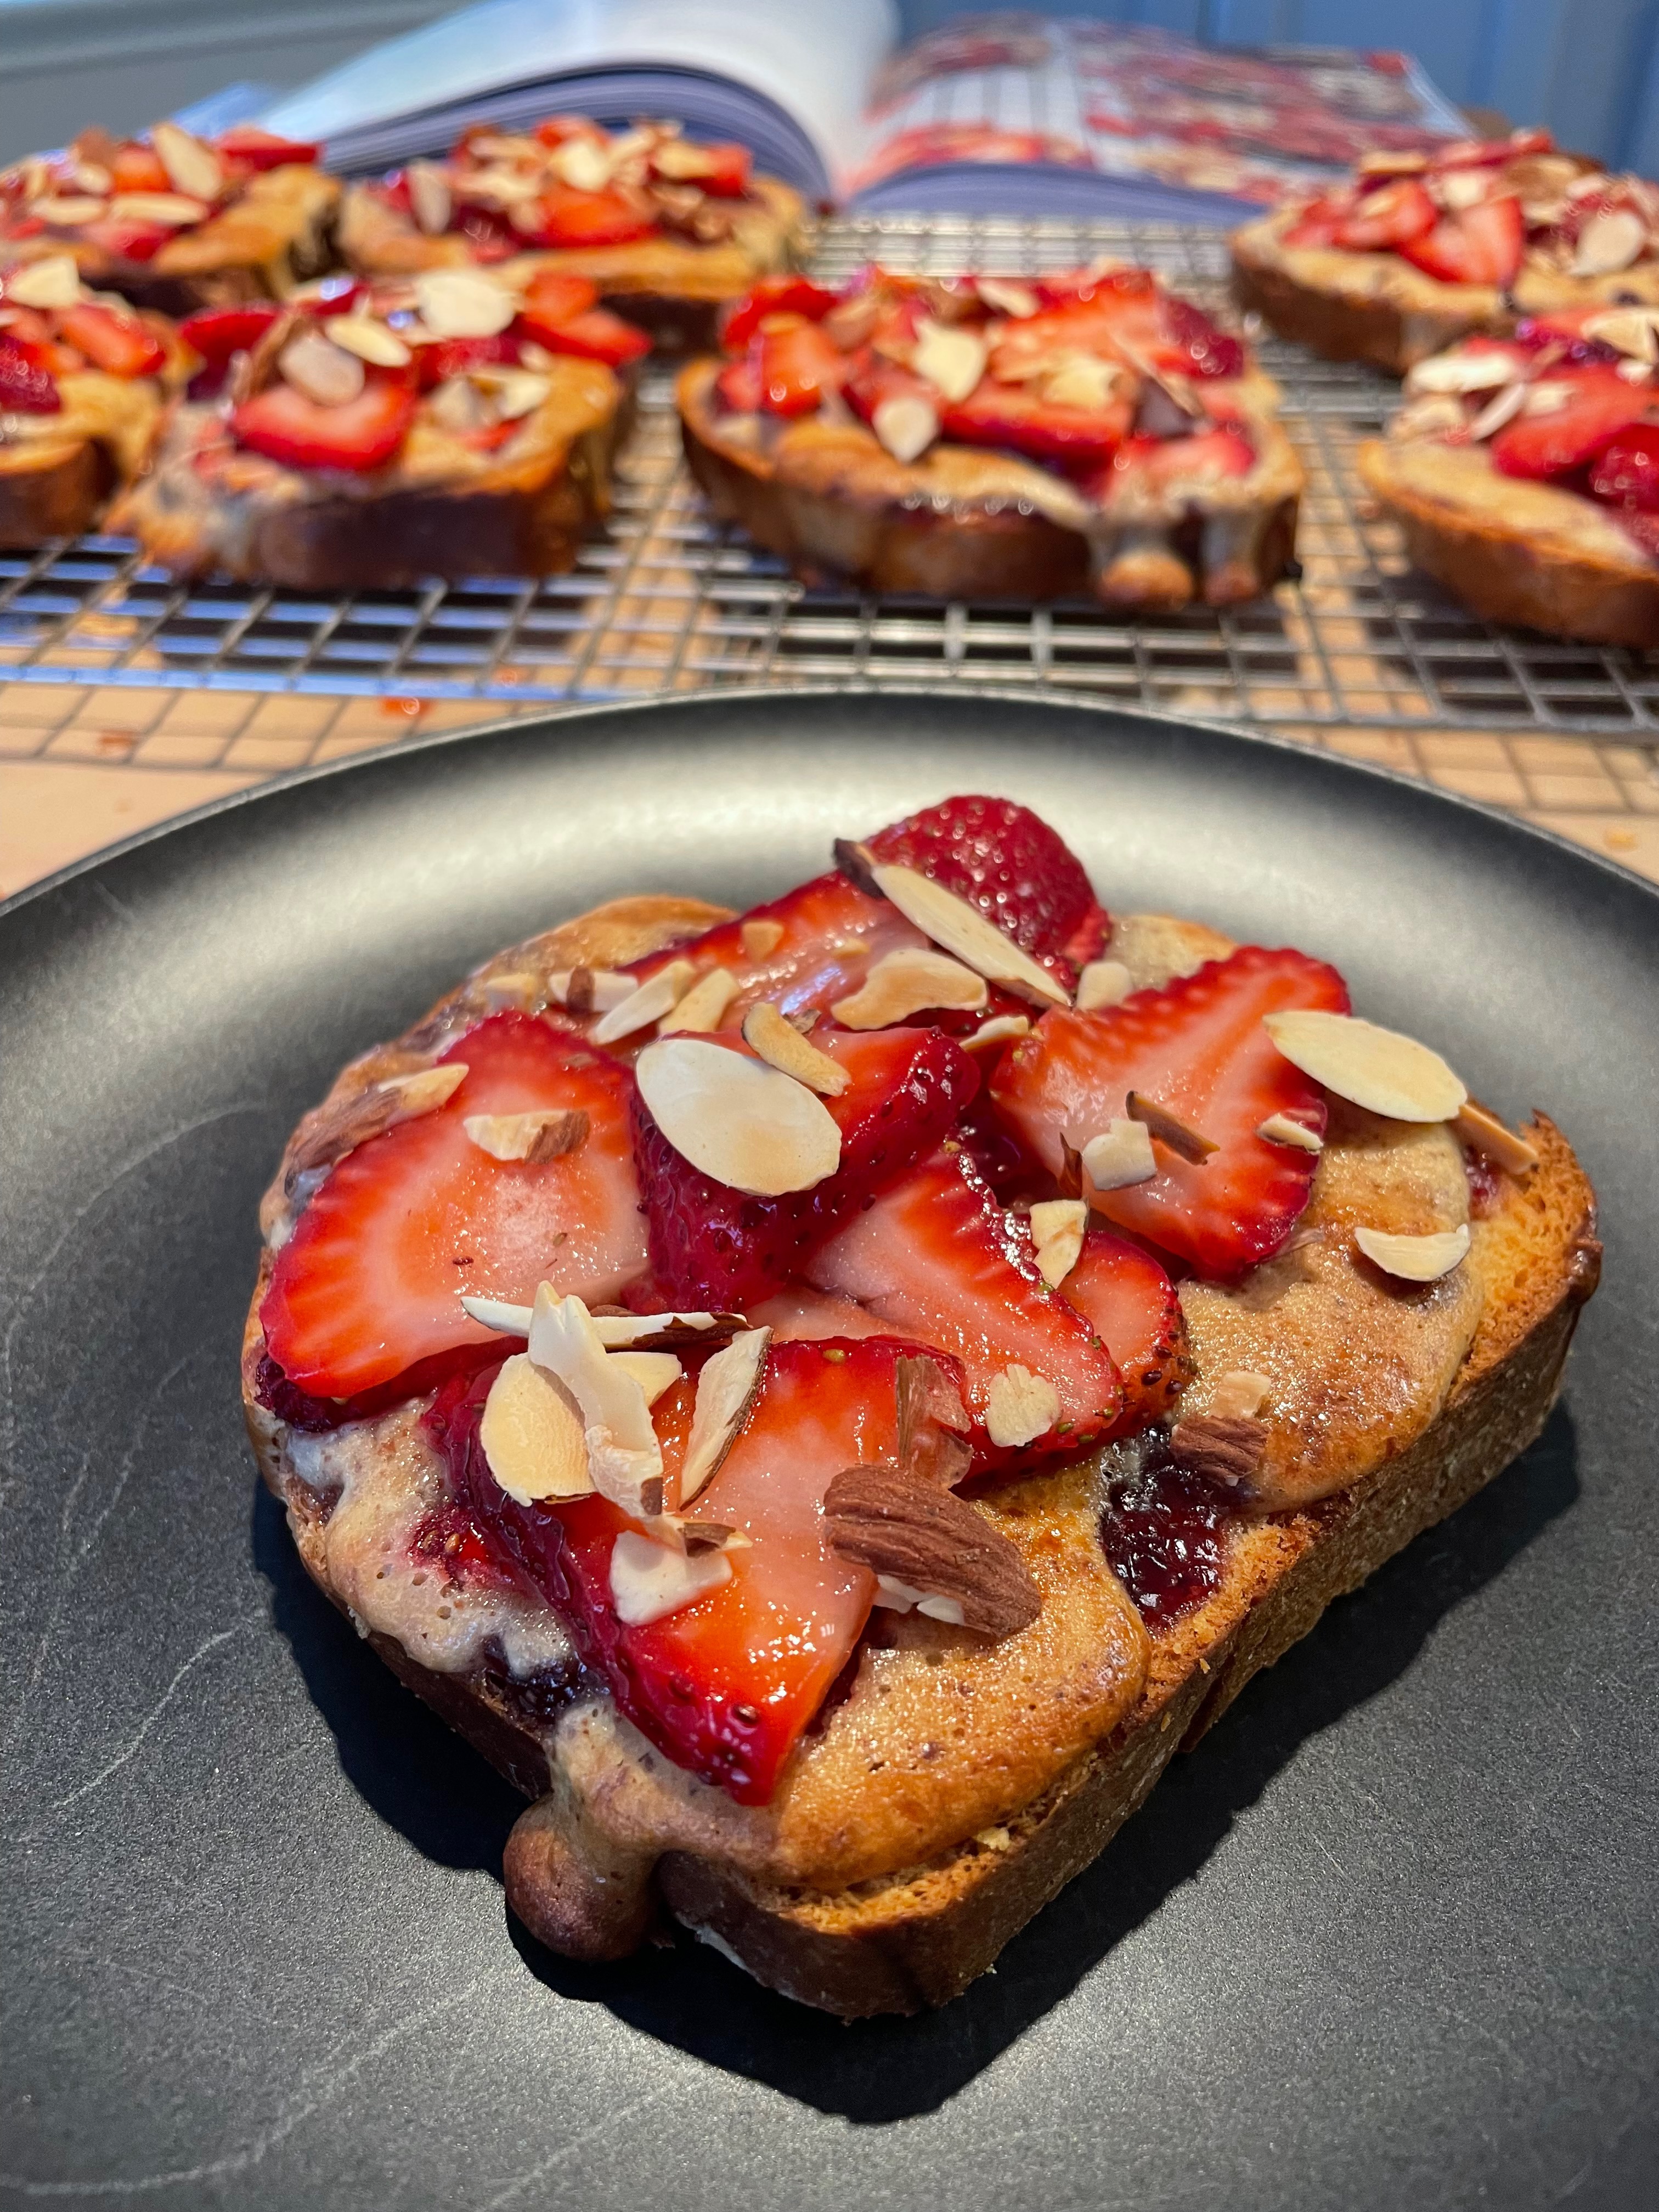
This is a great recipe if you ever get your hands on any particularly fresh, nice strawberries. Likewise, it’s a great reason to practice brioche as the rest of the recipe is fairly straightforward. The recipe has four main steps: brioche, frangipane, honey almond syrup, and assembly. The recipe can be done over multiple days so it’s great if you are busy or need to pace yourself. Definitely a fun recipe. It’s basically bourgeois peanut butter and jelly.
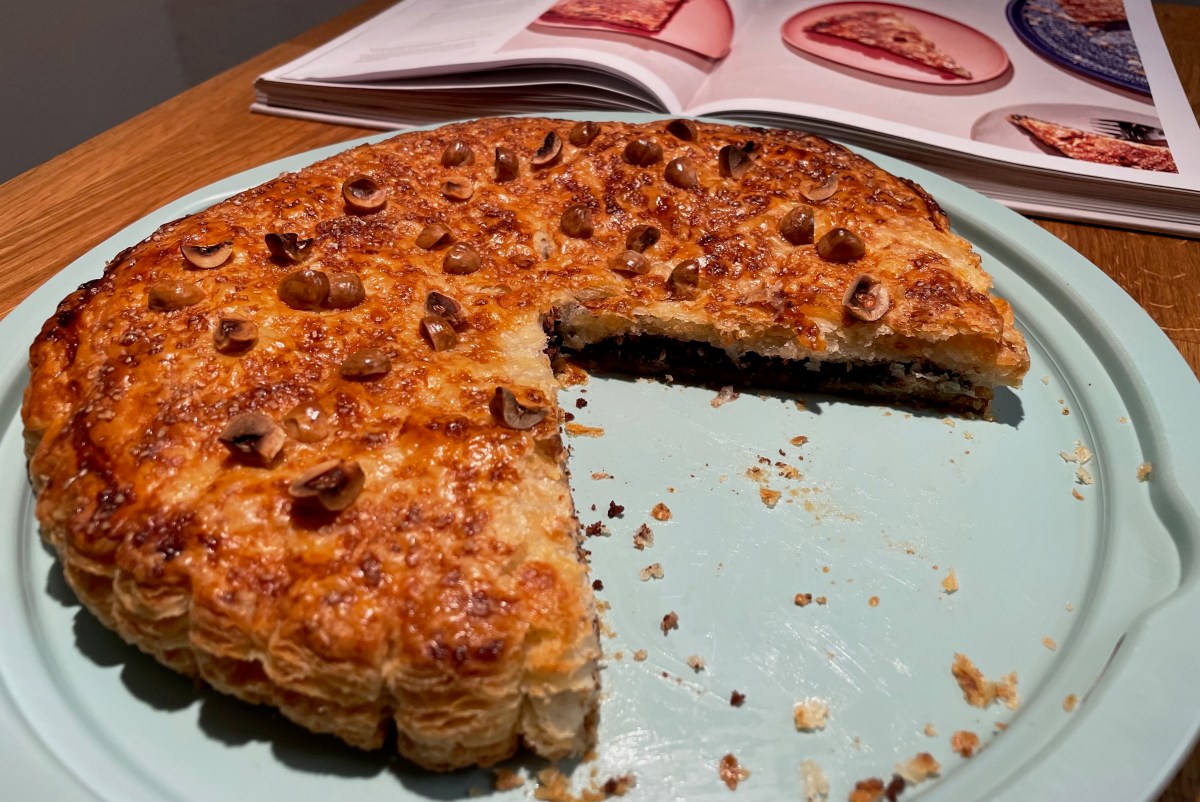
This is quite a recipe. It’s a fair amount of work, especially if you are making the puff pastry yourself. Nonetheless, the final product is incredibly rewarding given the difficulty and uncertainty that goes into the construction. It tastes great as well. Make sure to set aside plenty of time to make this though.
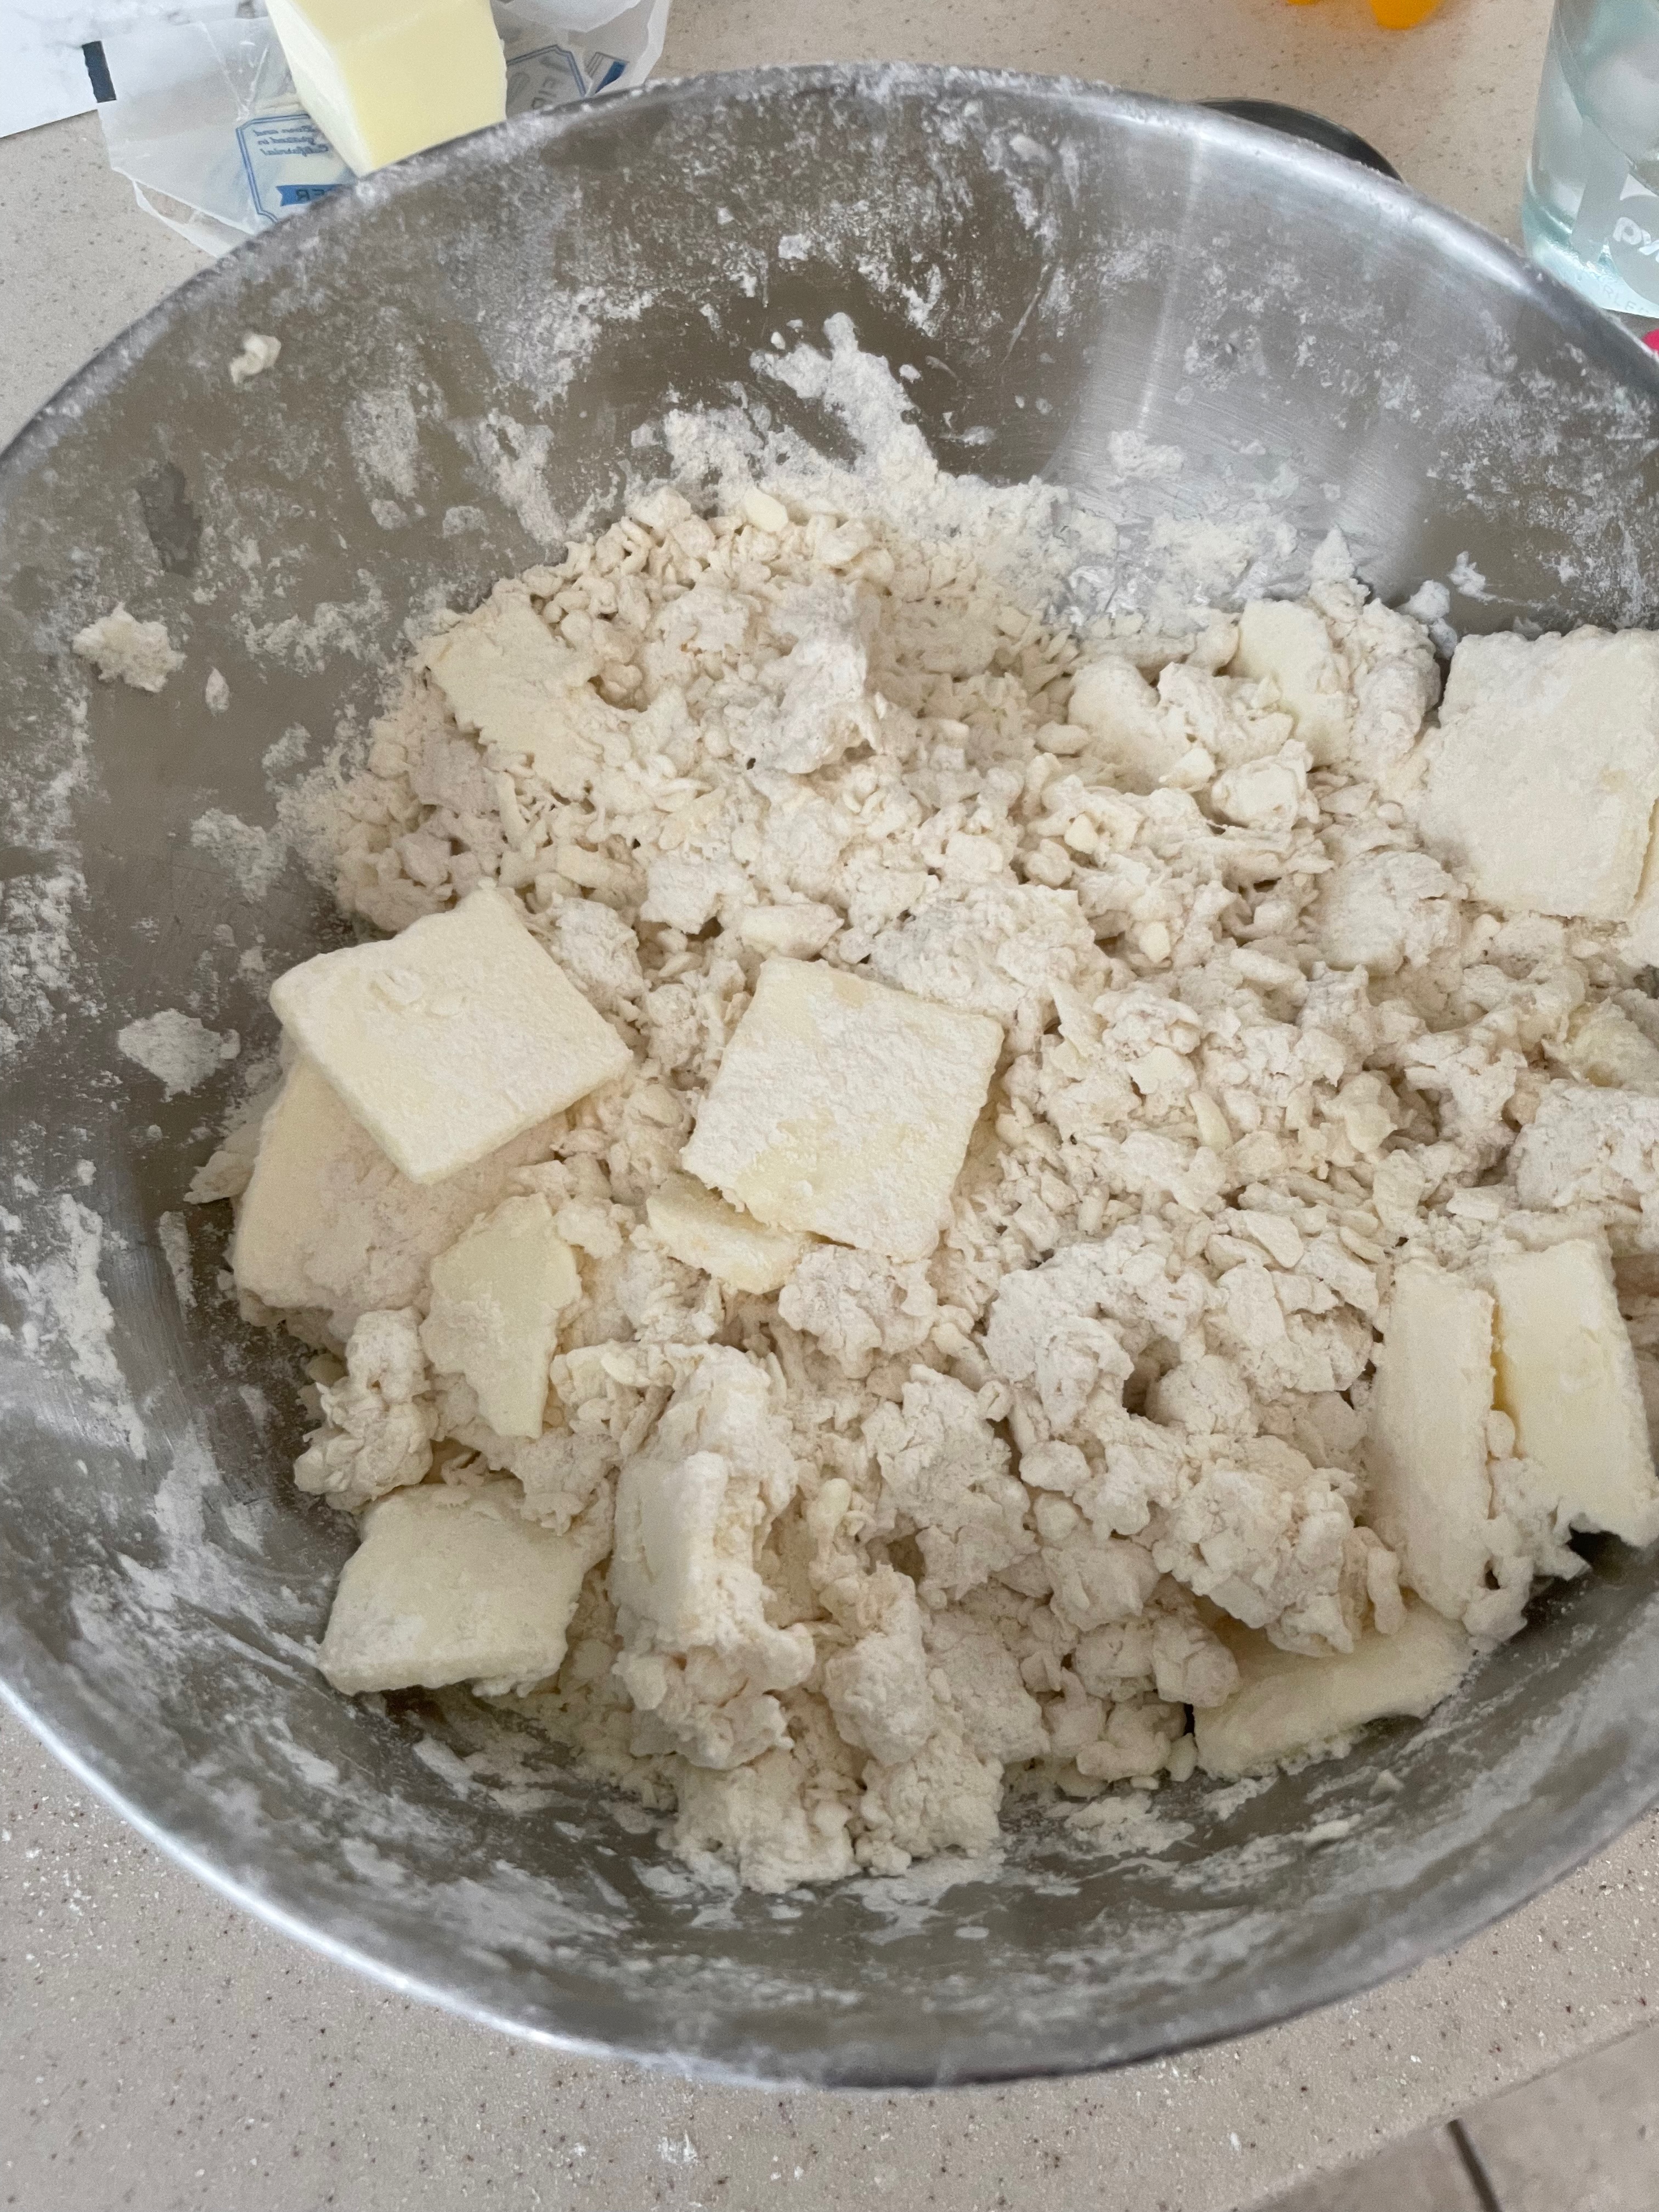
Tip 1: Keeping things chilled by putting the bowl back in the freezer for a bit between each step. Consider putting the box grater and rolling pin in the freezer first as well.
Tip 2: If the dough isn’t forming and it’s too dry then consider adding up to an extra 1/4 cup of water.
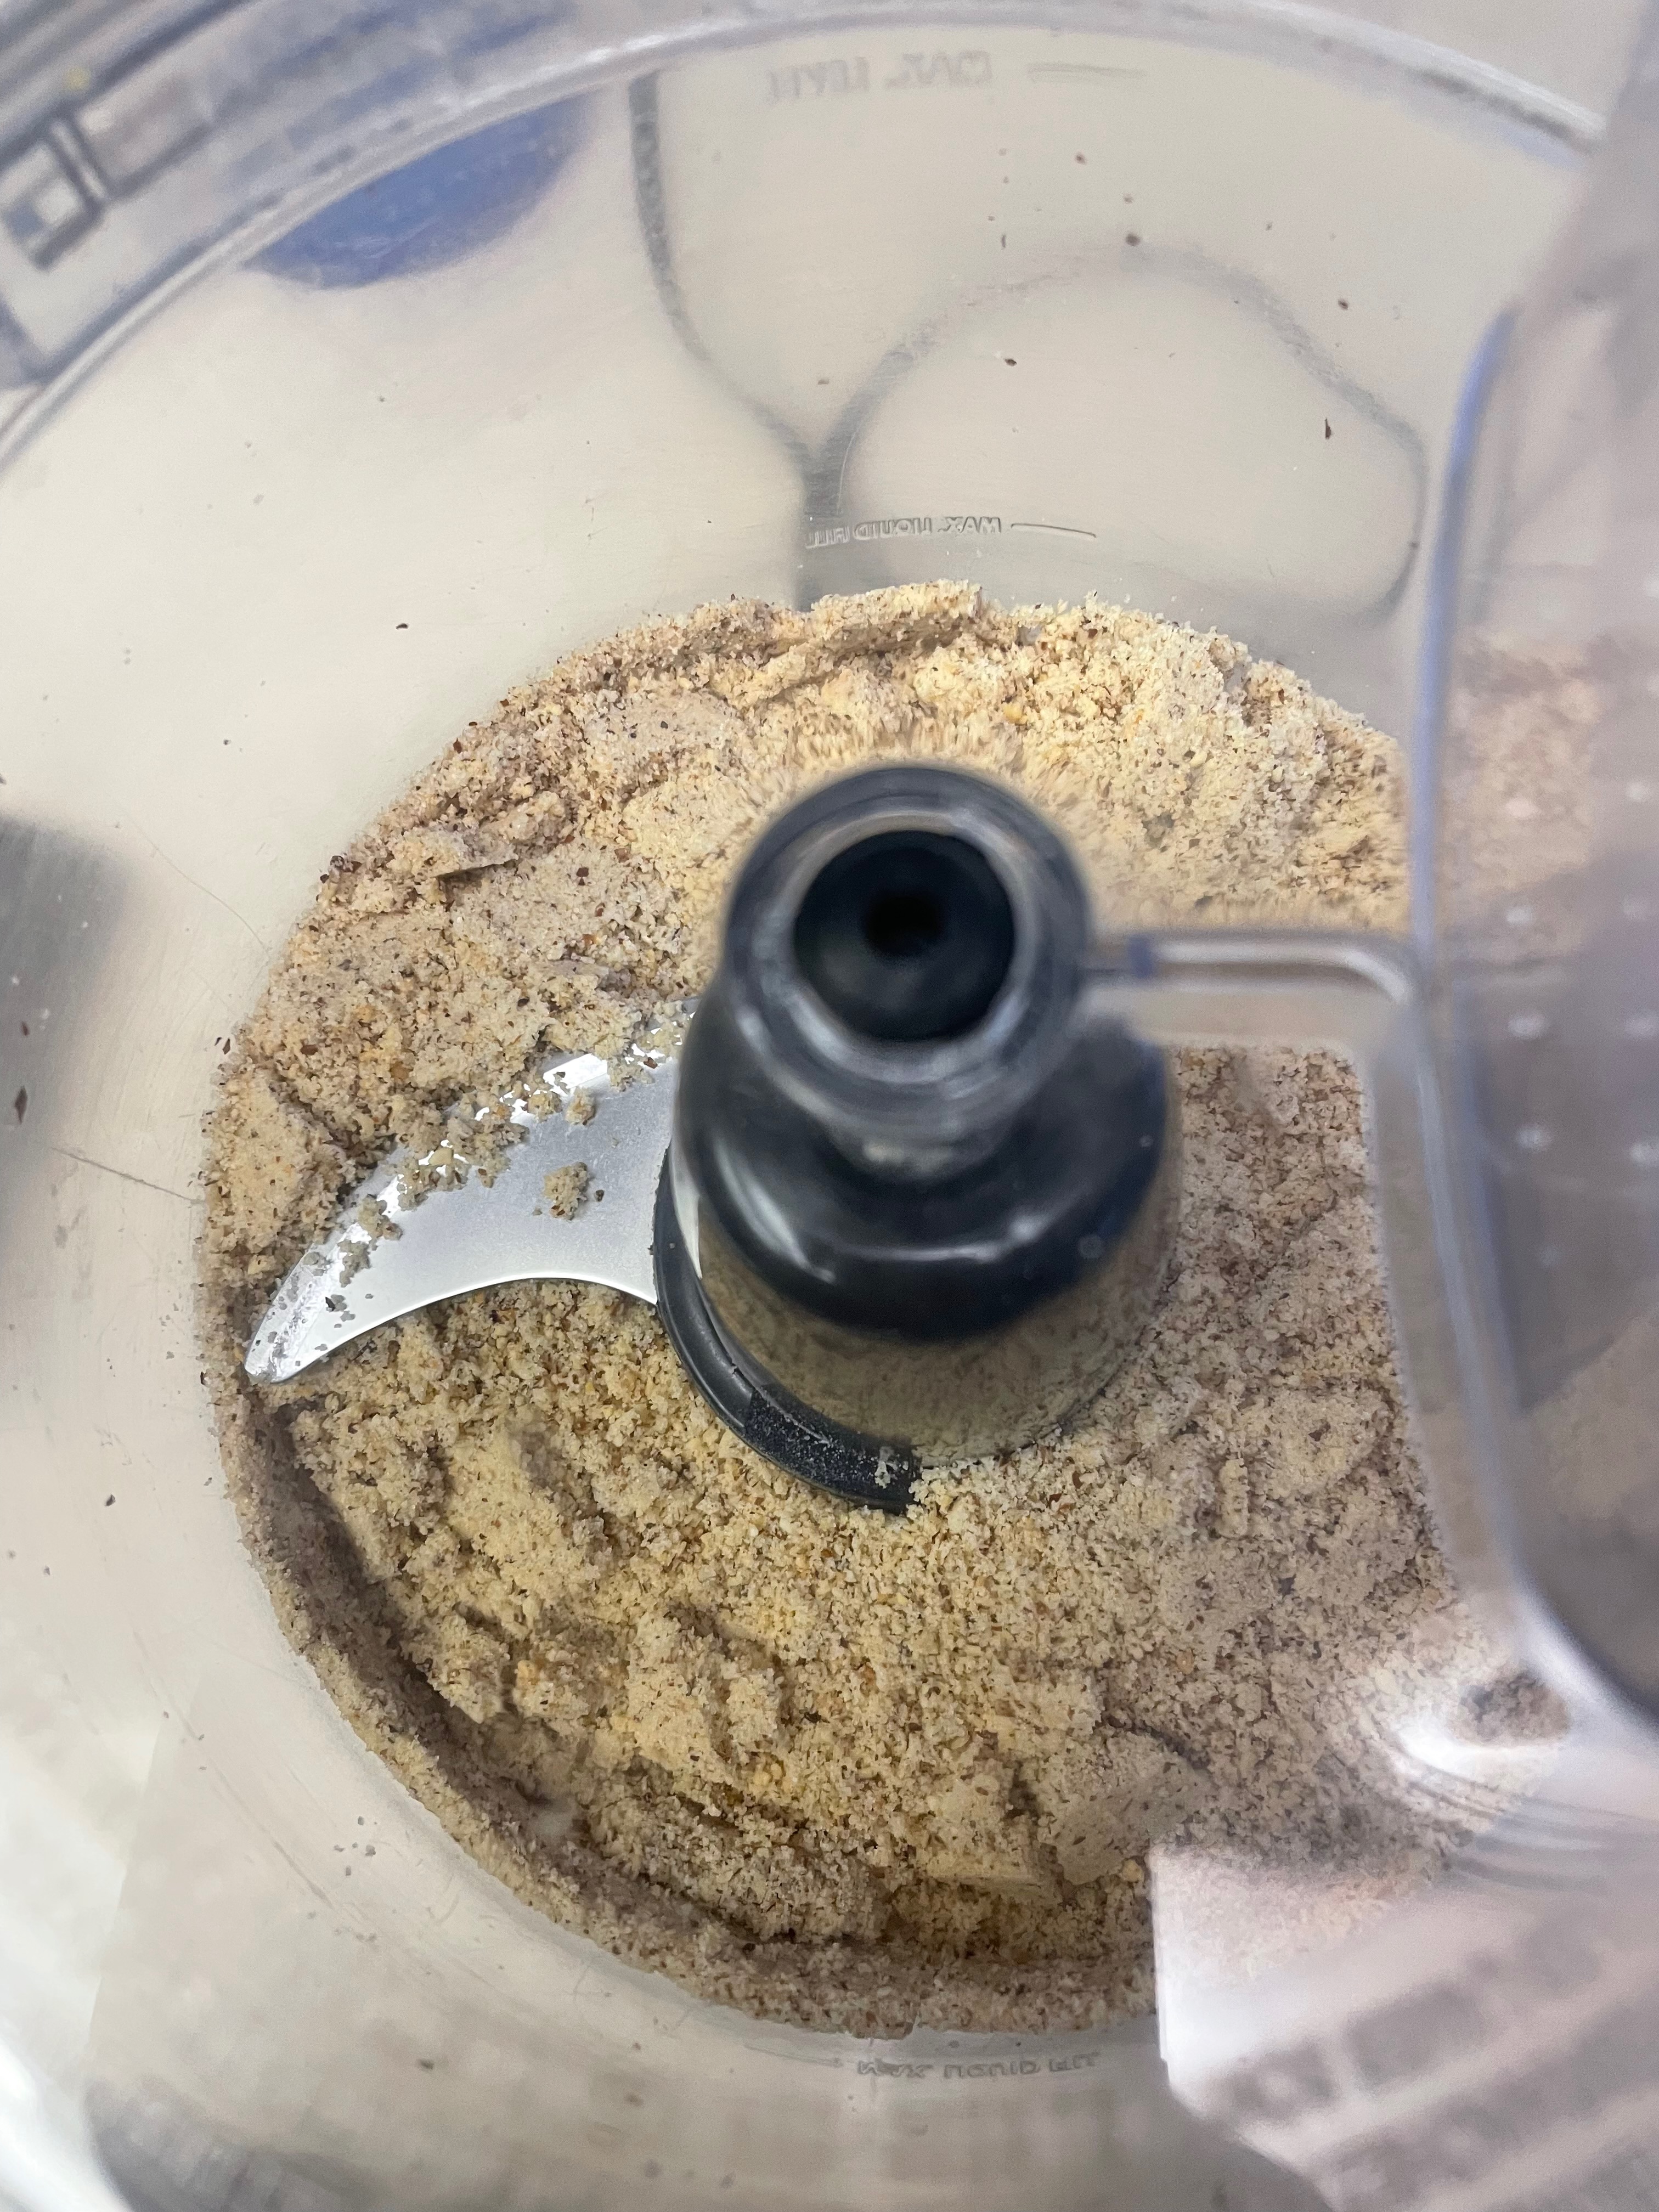
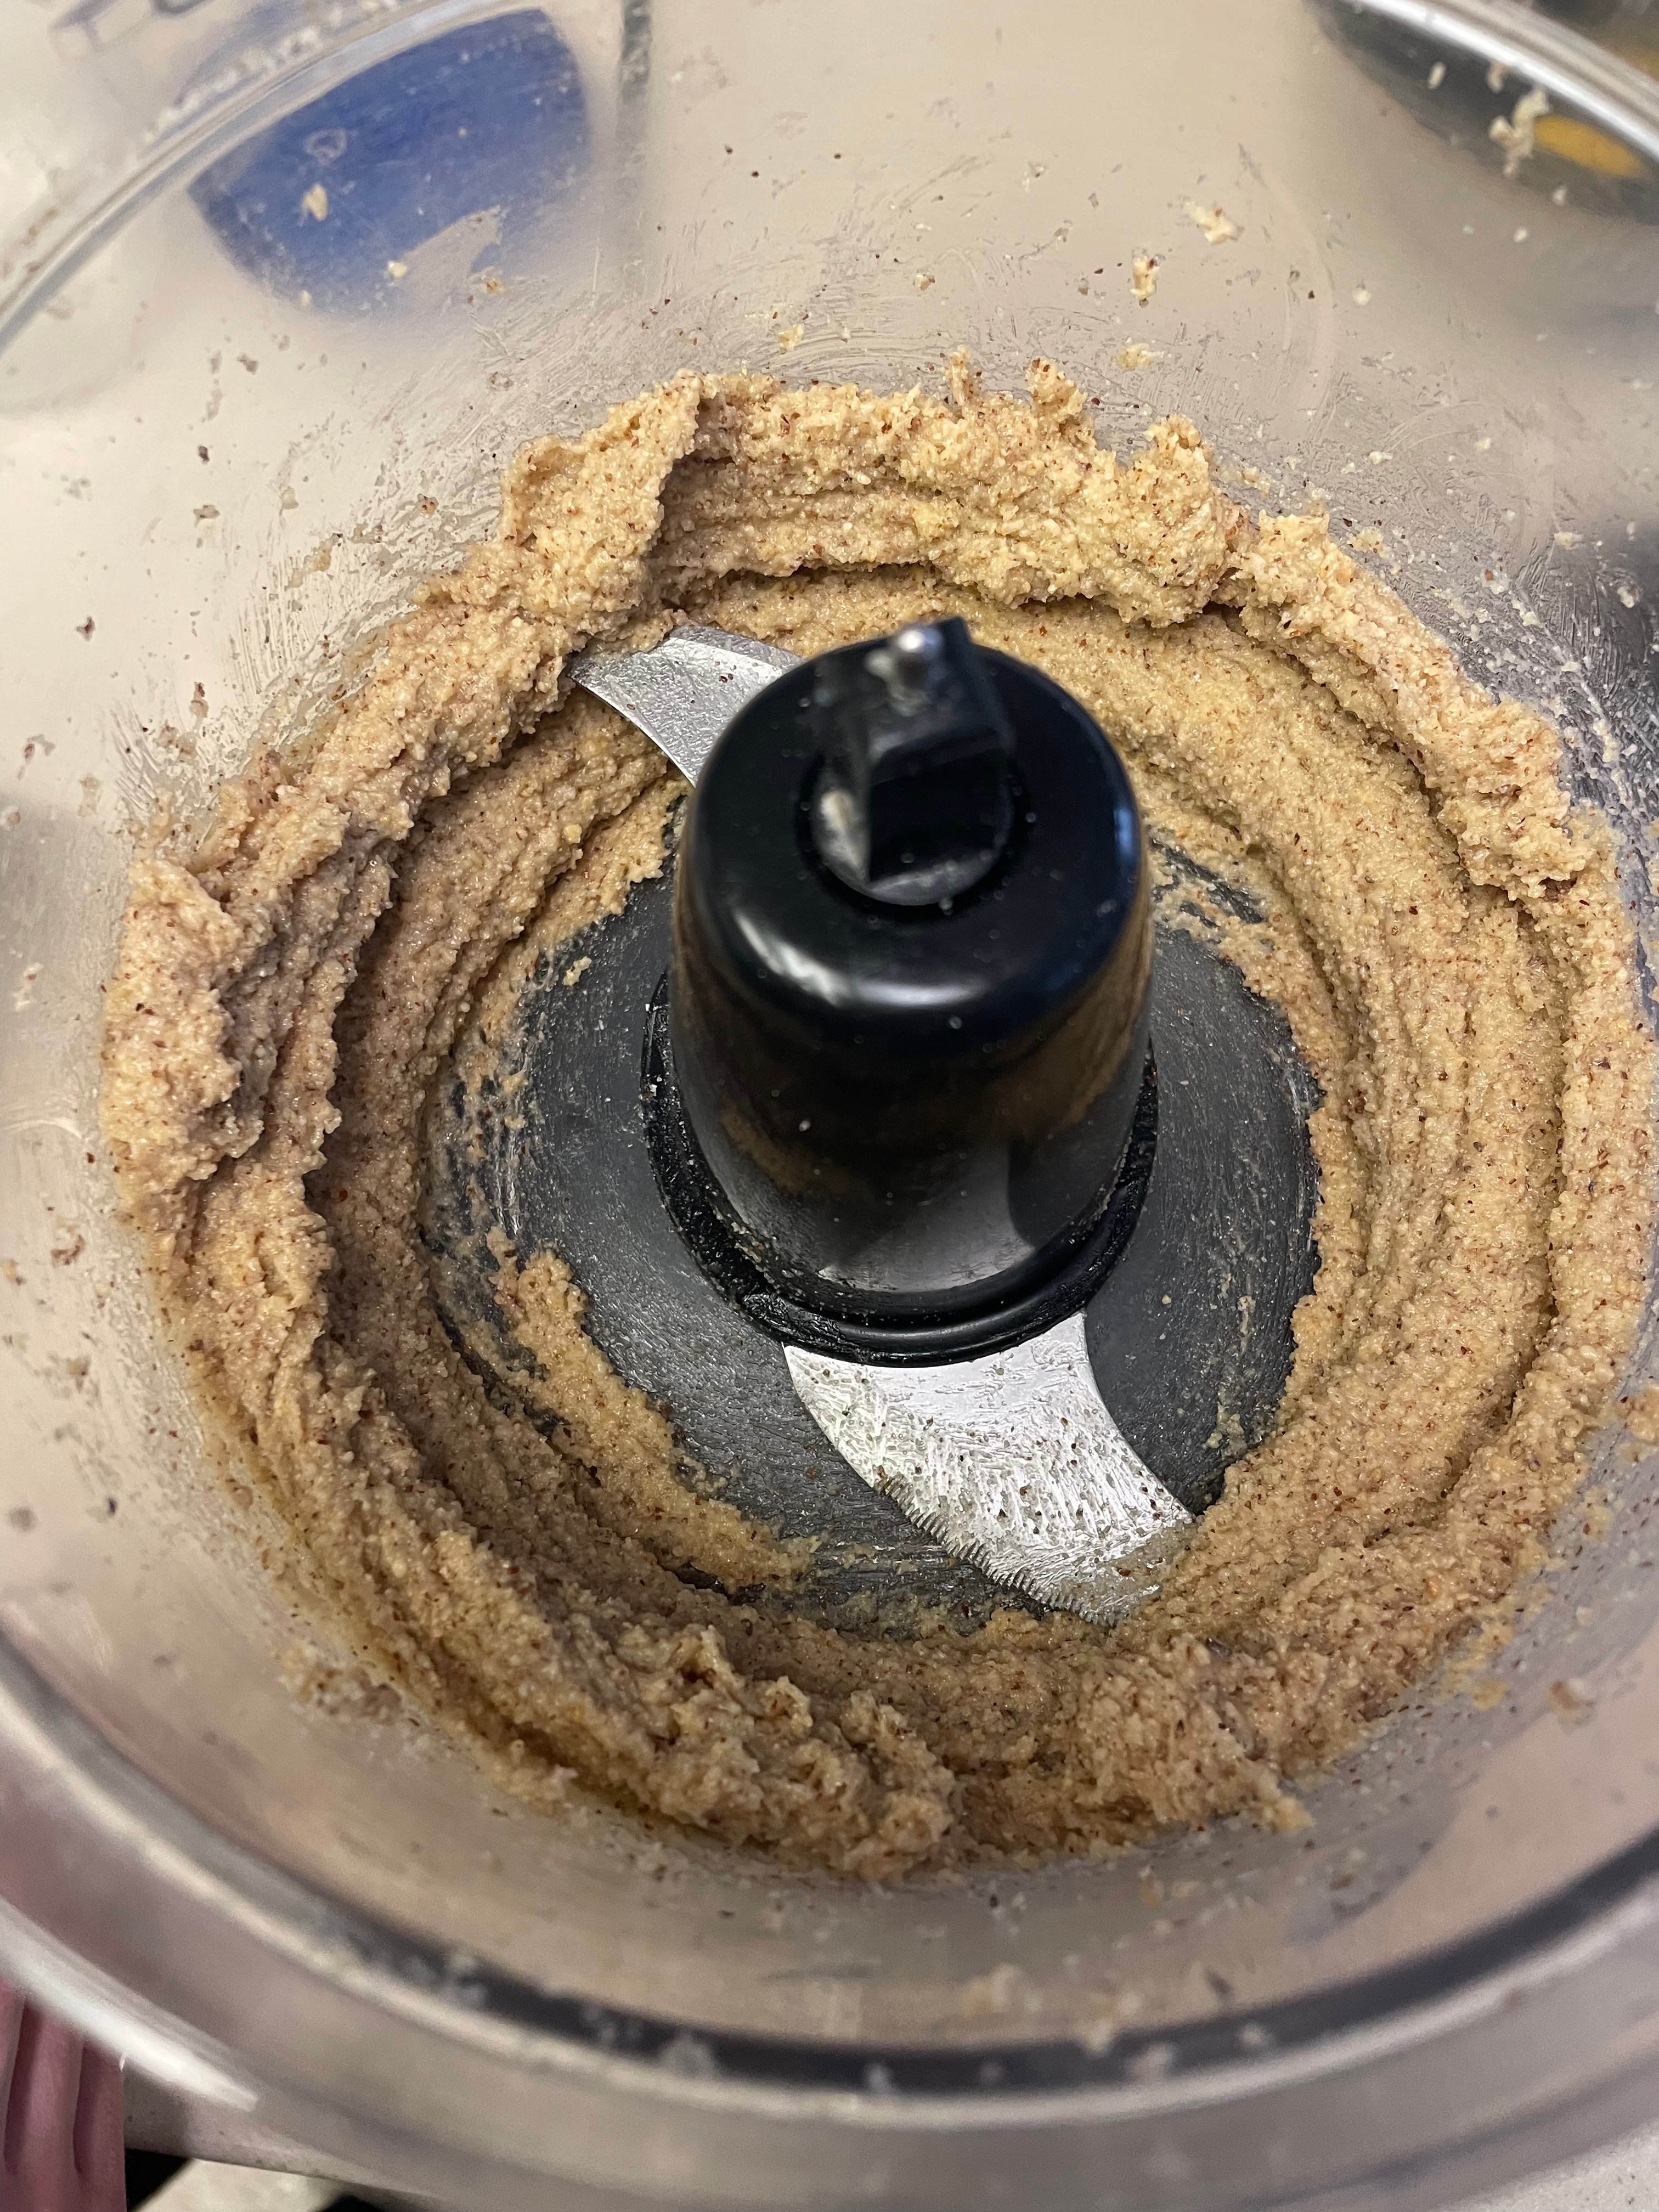
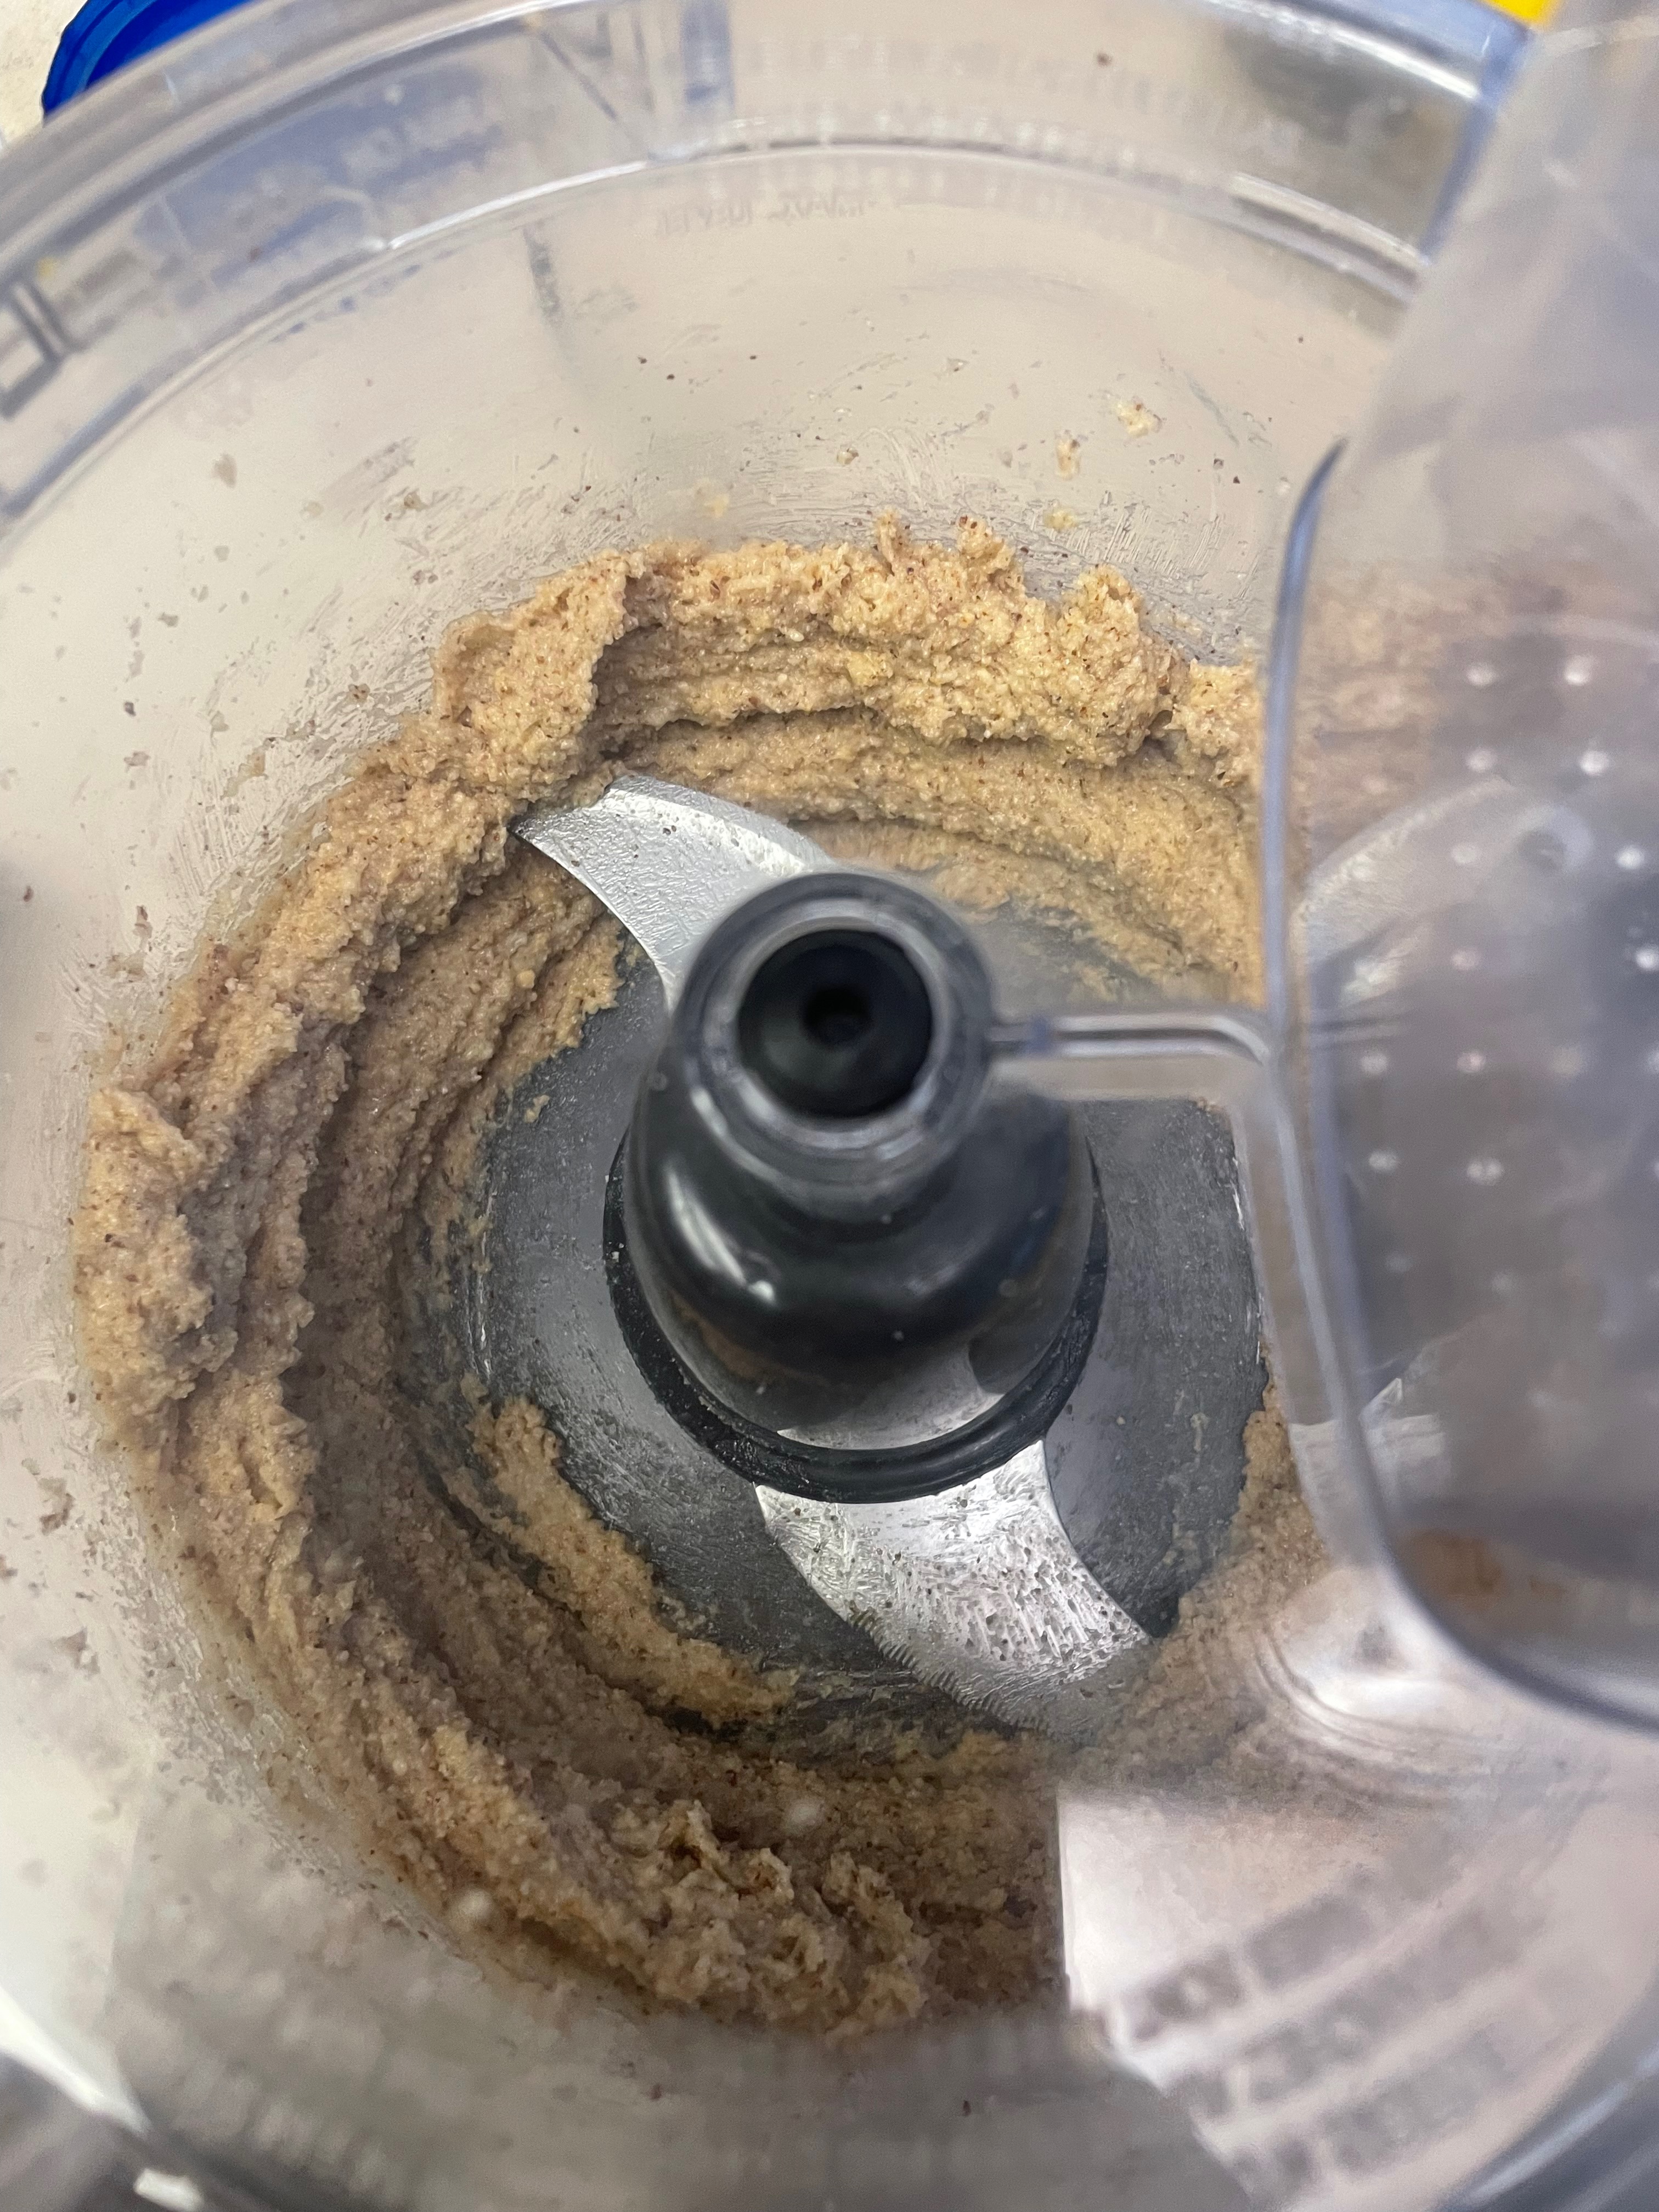
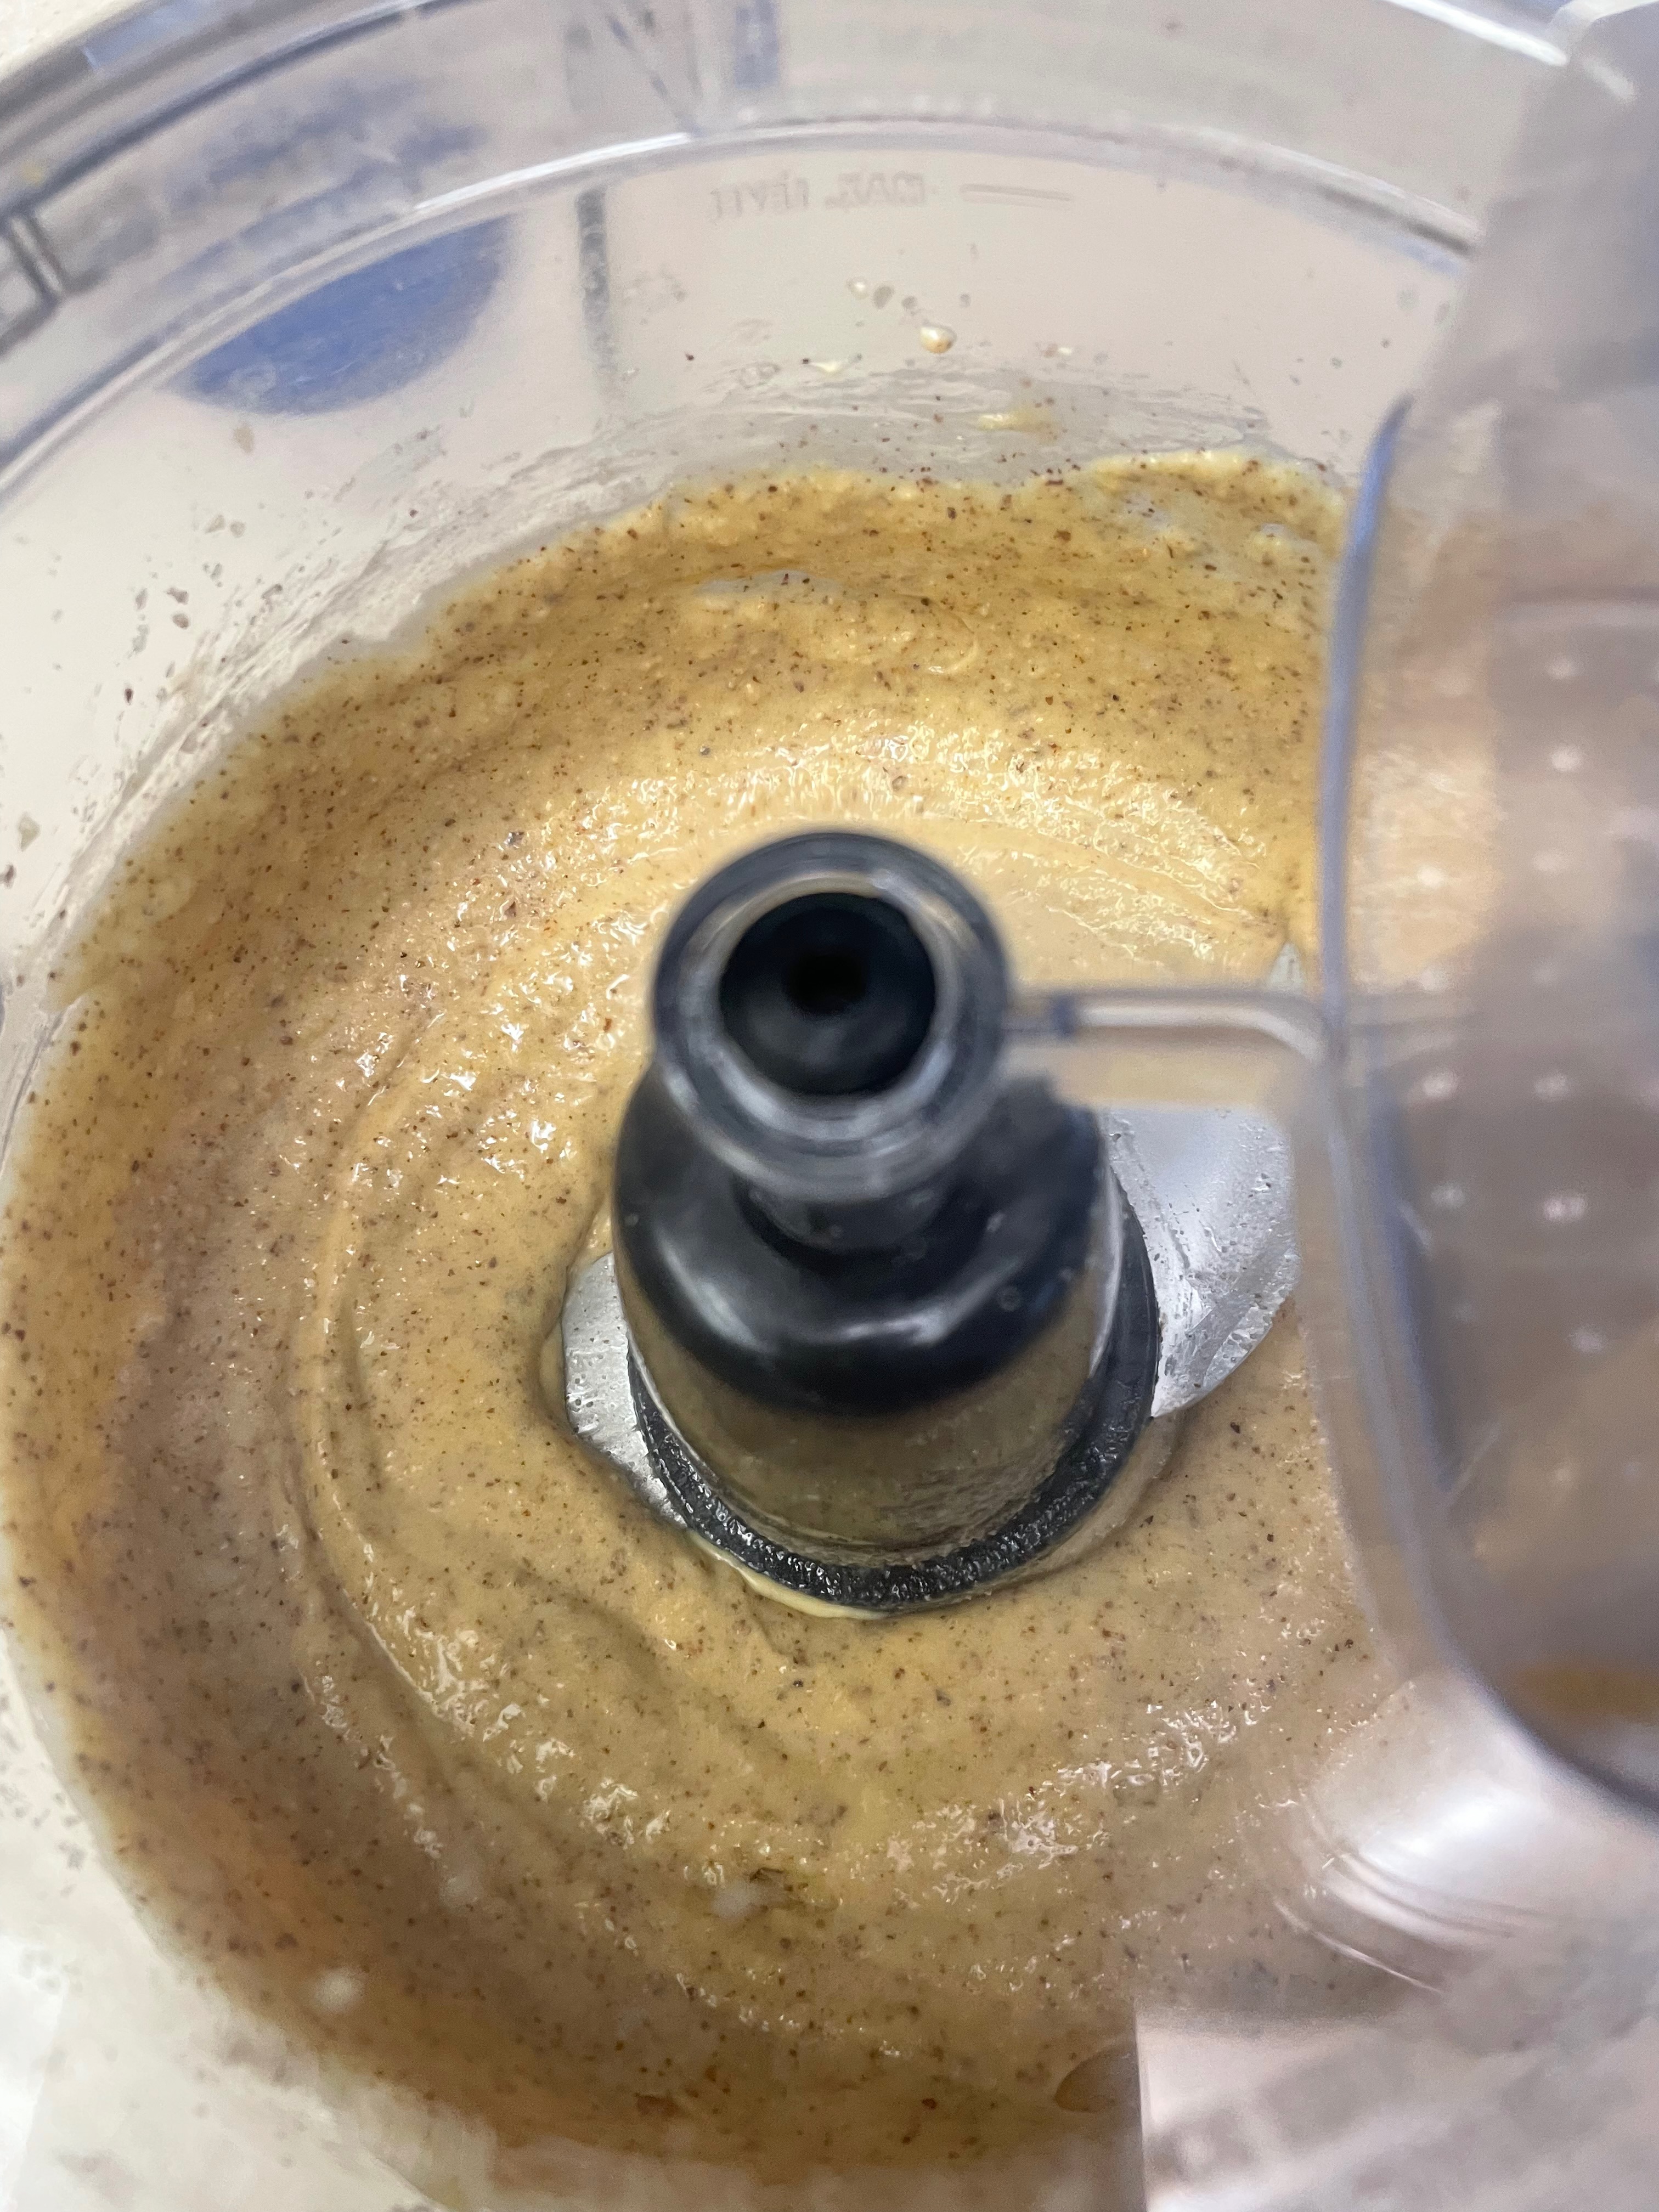
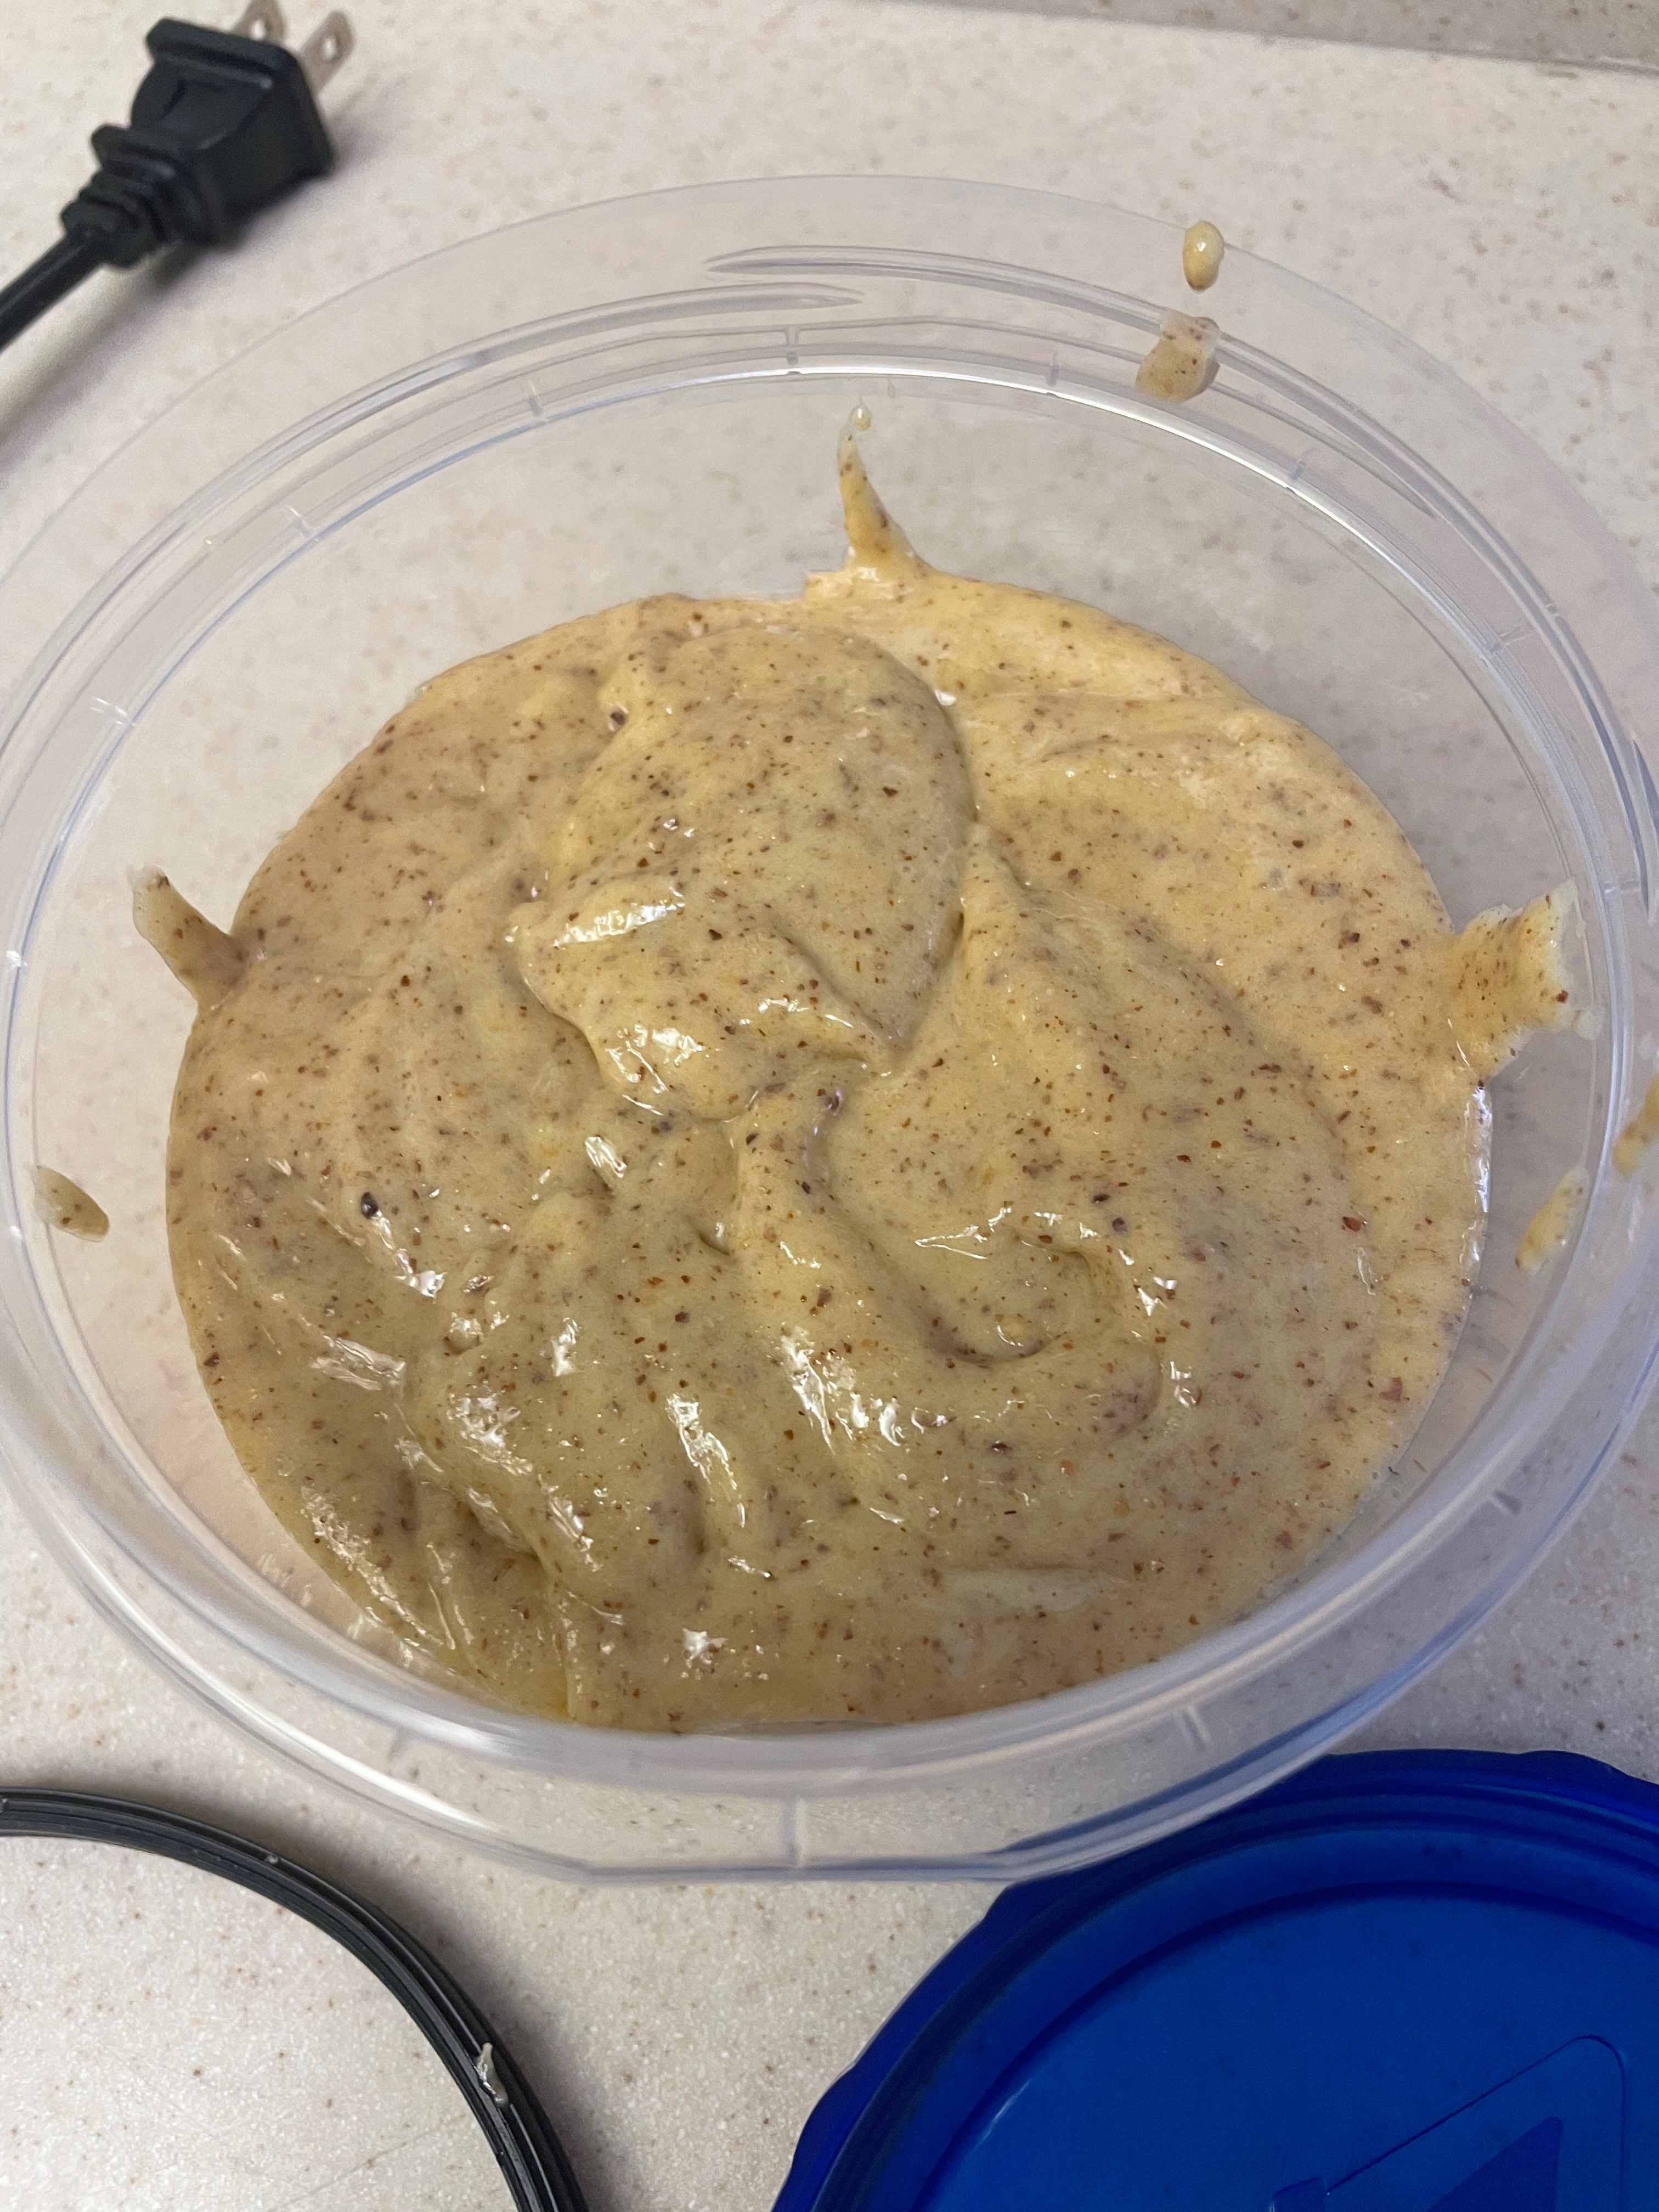
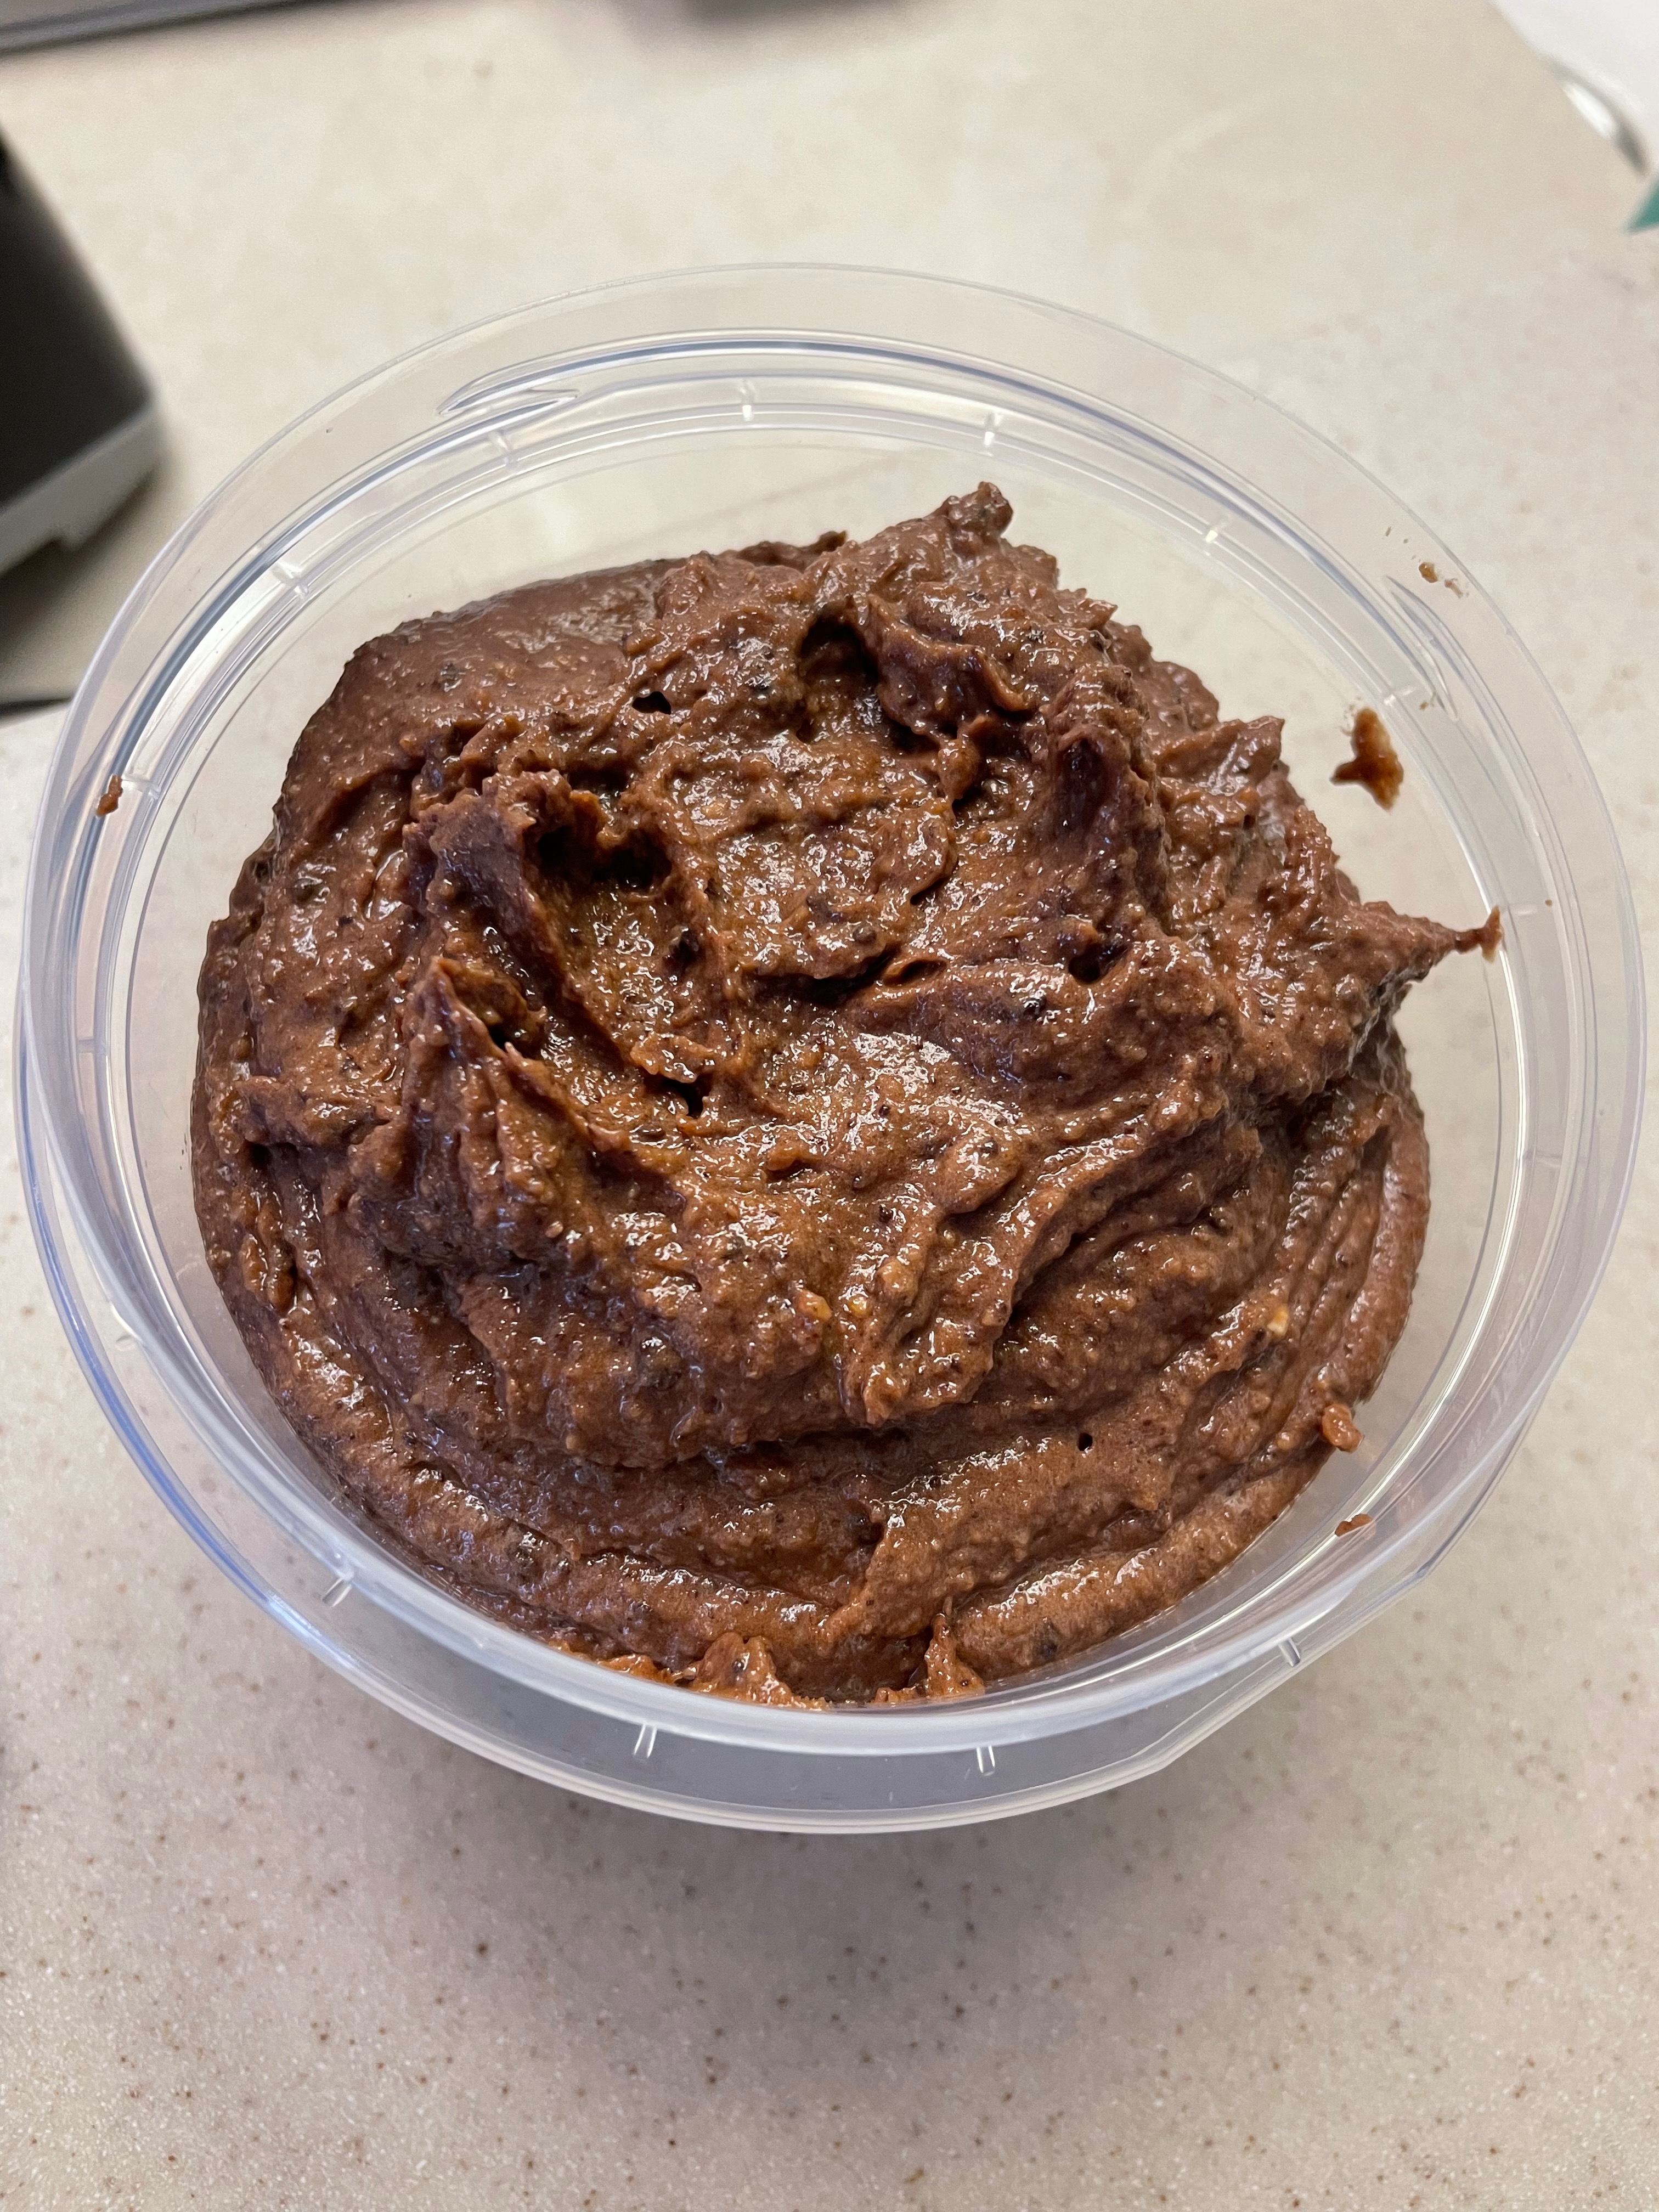
Making The Frangipane
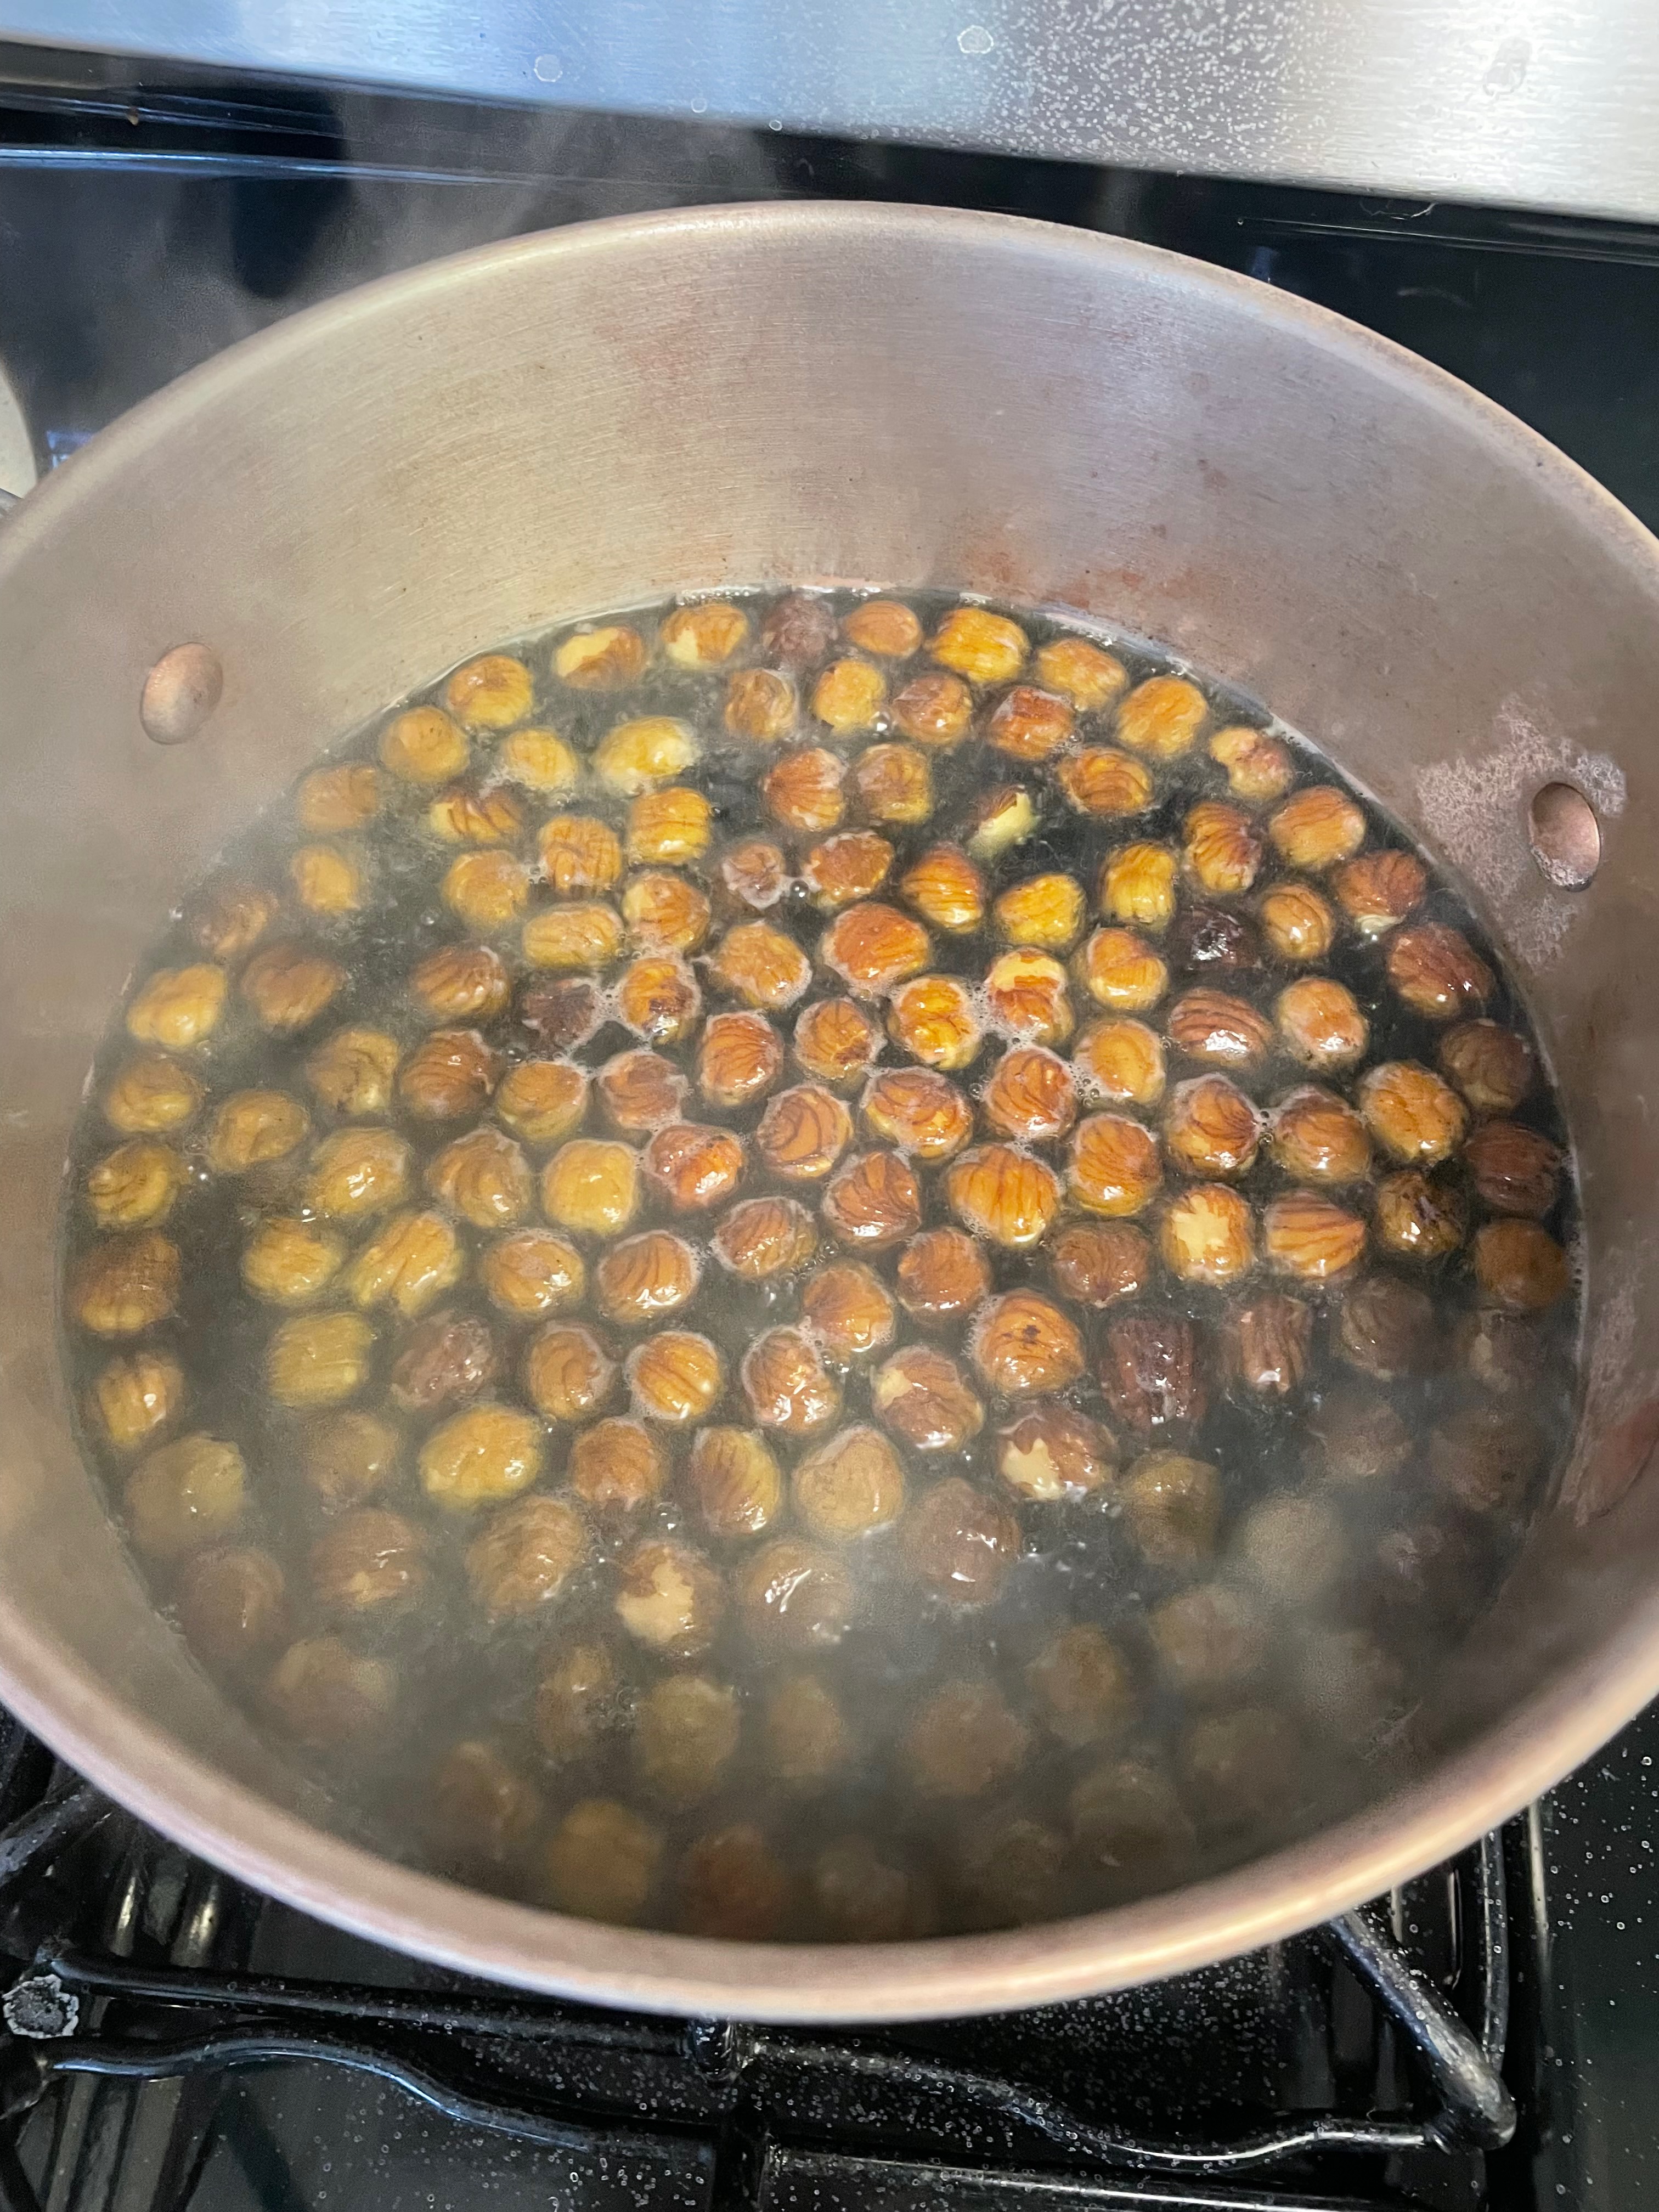
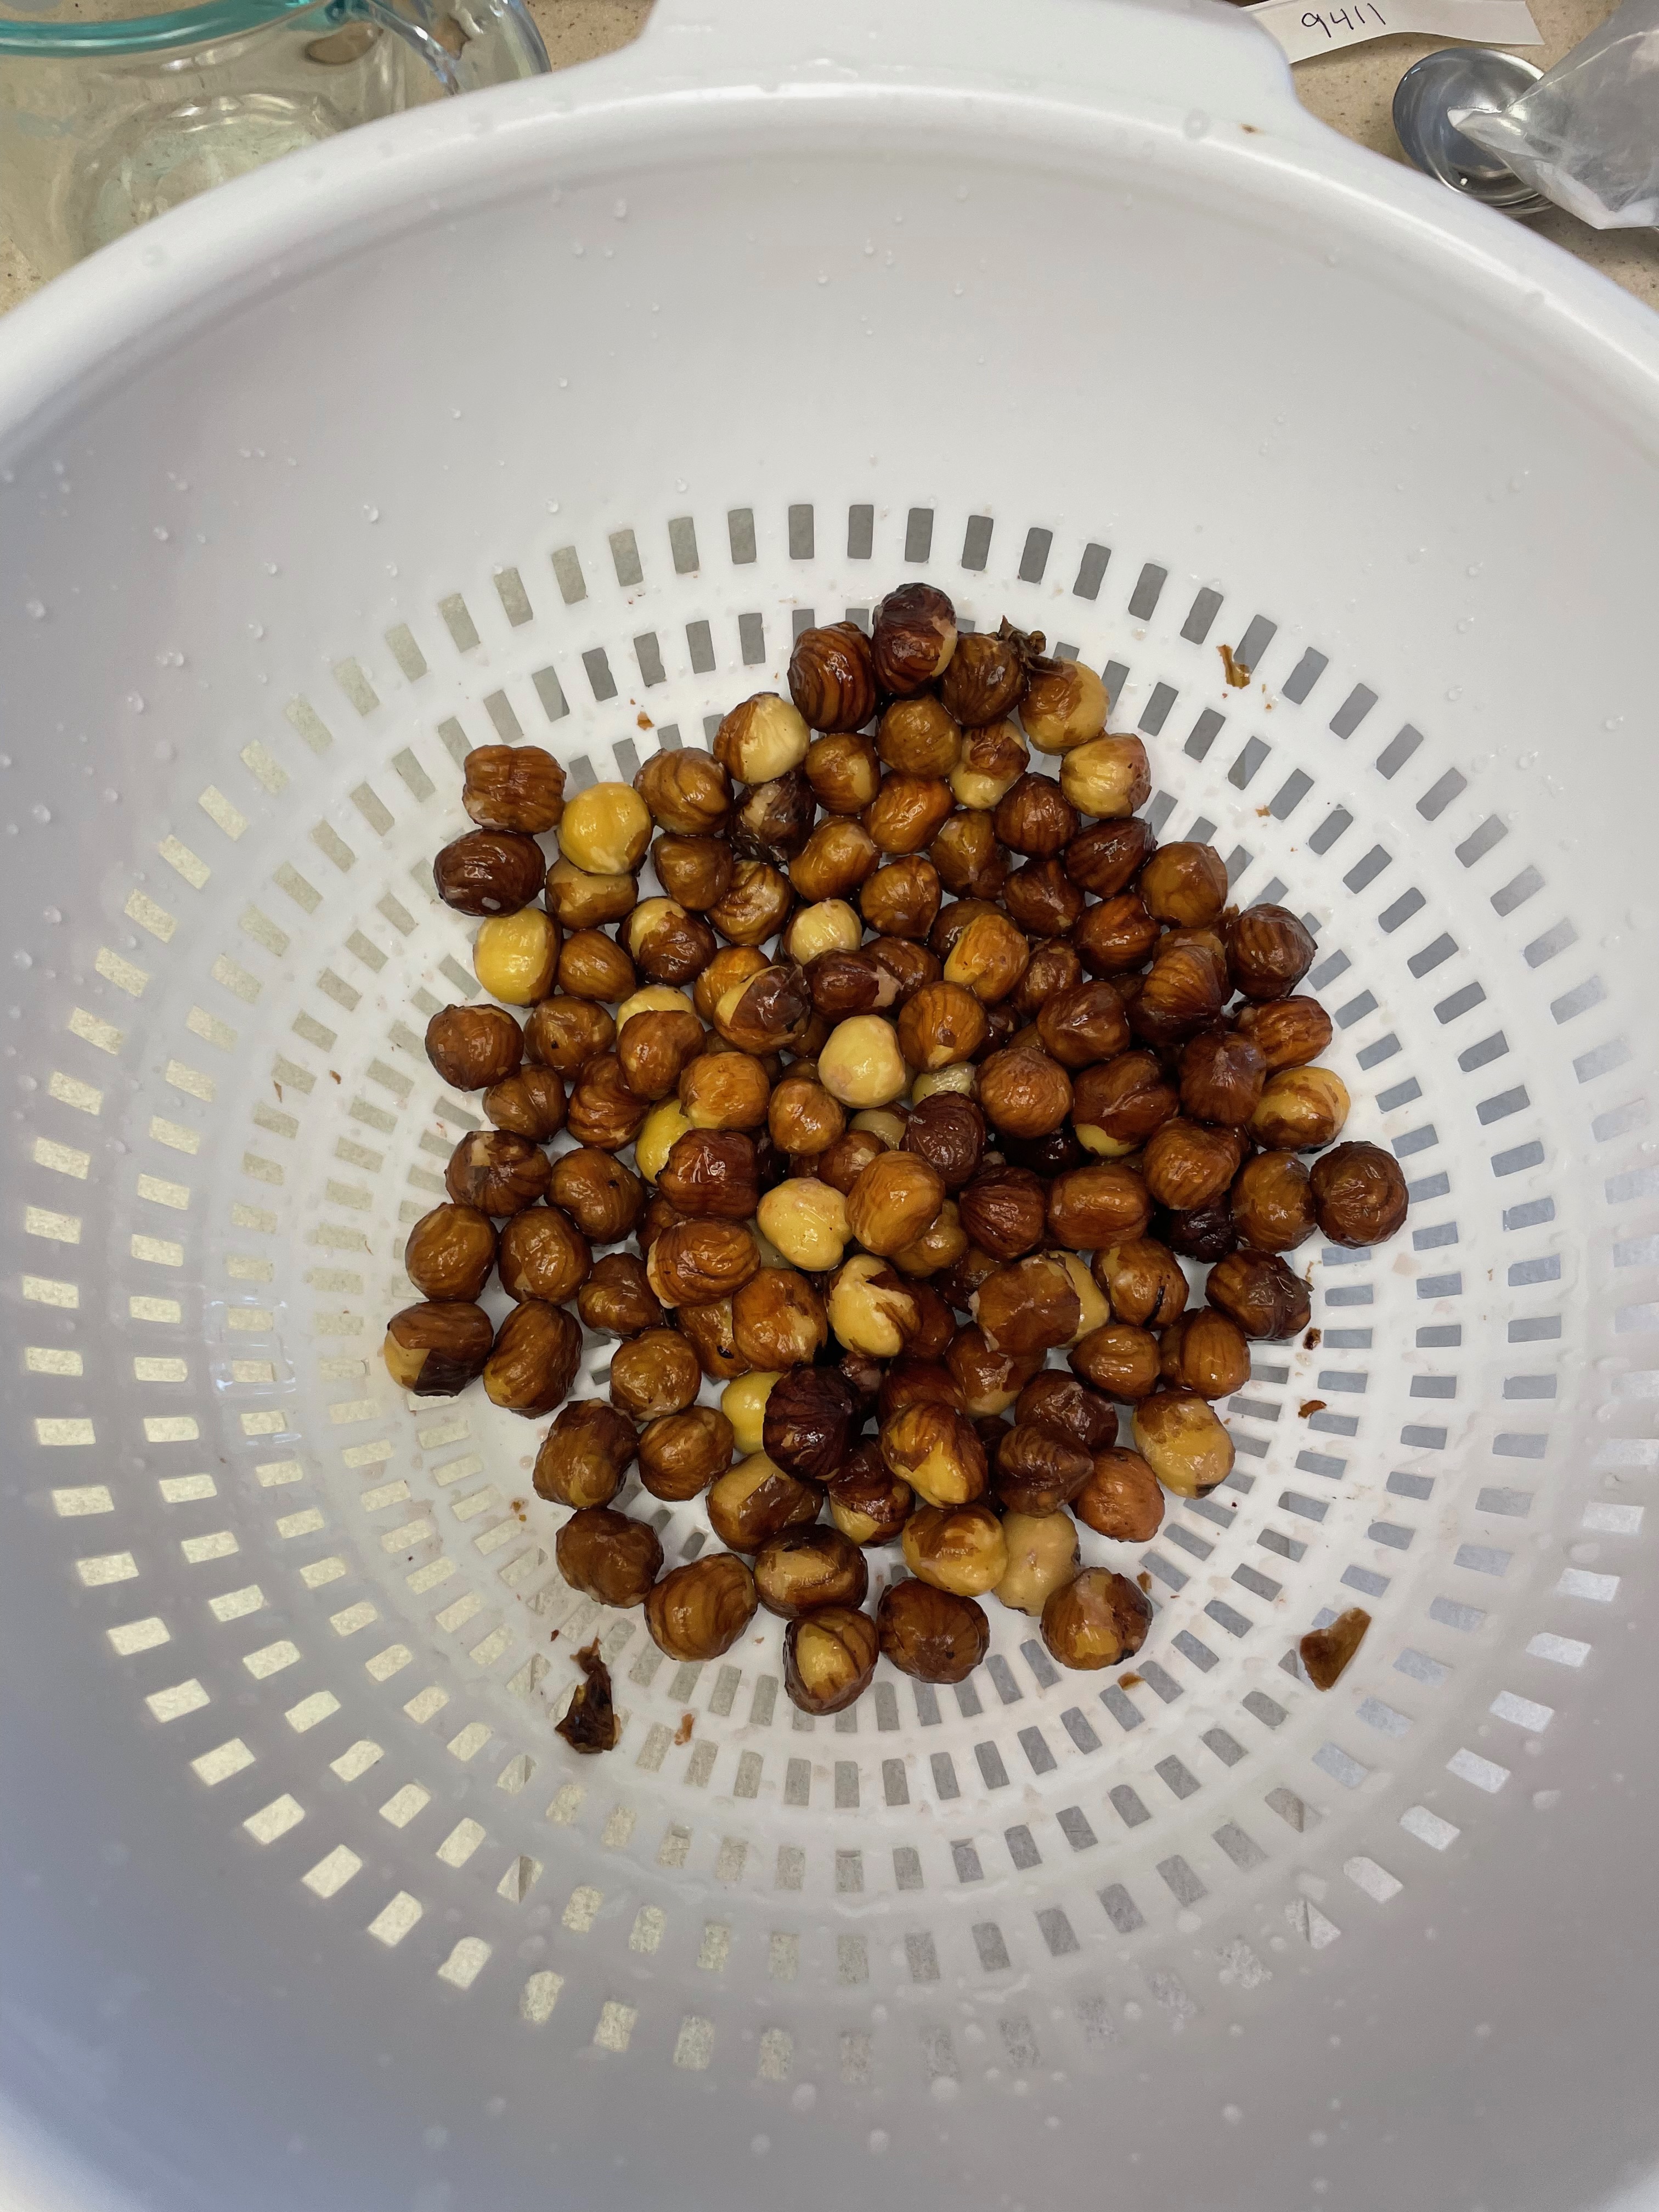
Tip: Blanch the hazelnuts as follows. Bring 3 cups of water to a boil in a medium or large pan. Once boiling, add 4 tbsp of baking soda (it will foam). Add the hazelnuts to the boiling water. Do not let the water boil over or boil too aggressively. Also have a medium bowl of ice/cold water ready. After three minutes carefully remove a single hazelnut and see if the skin is peeling off. If so, proceed. Otherwise, boil another minute and test again. Drain the hazelnuts into a colander. Place the hazelnuts in the cold water for 15 seconds and then drain into the colander again. Use paper towels to gently remove the skins from the hazelnuts.
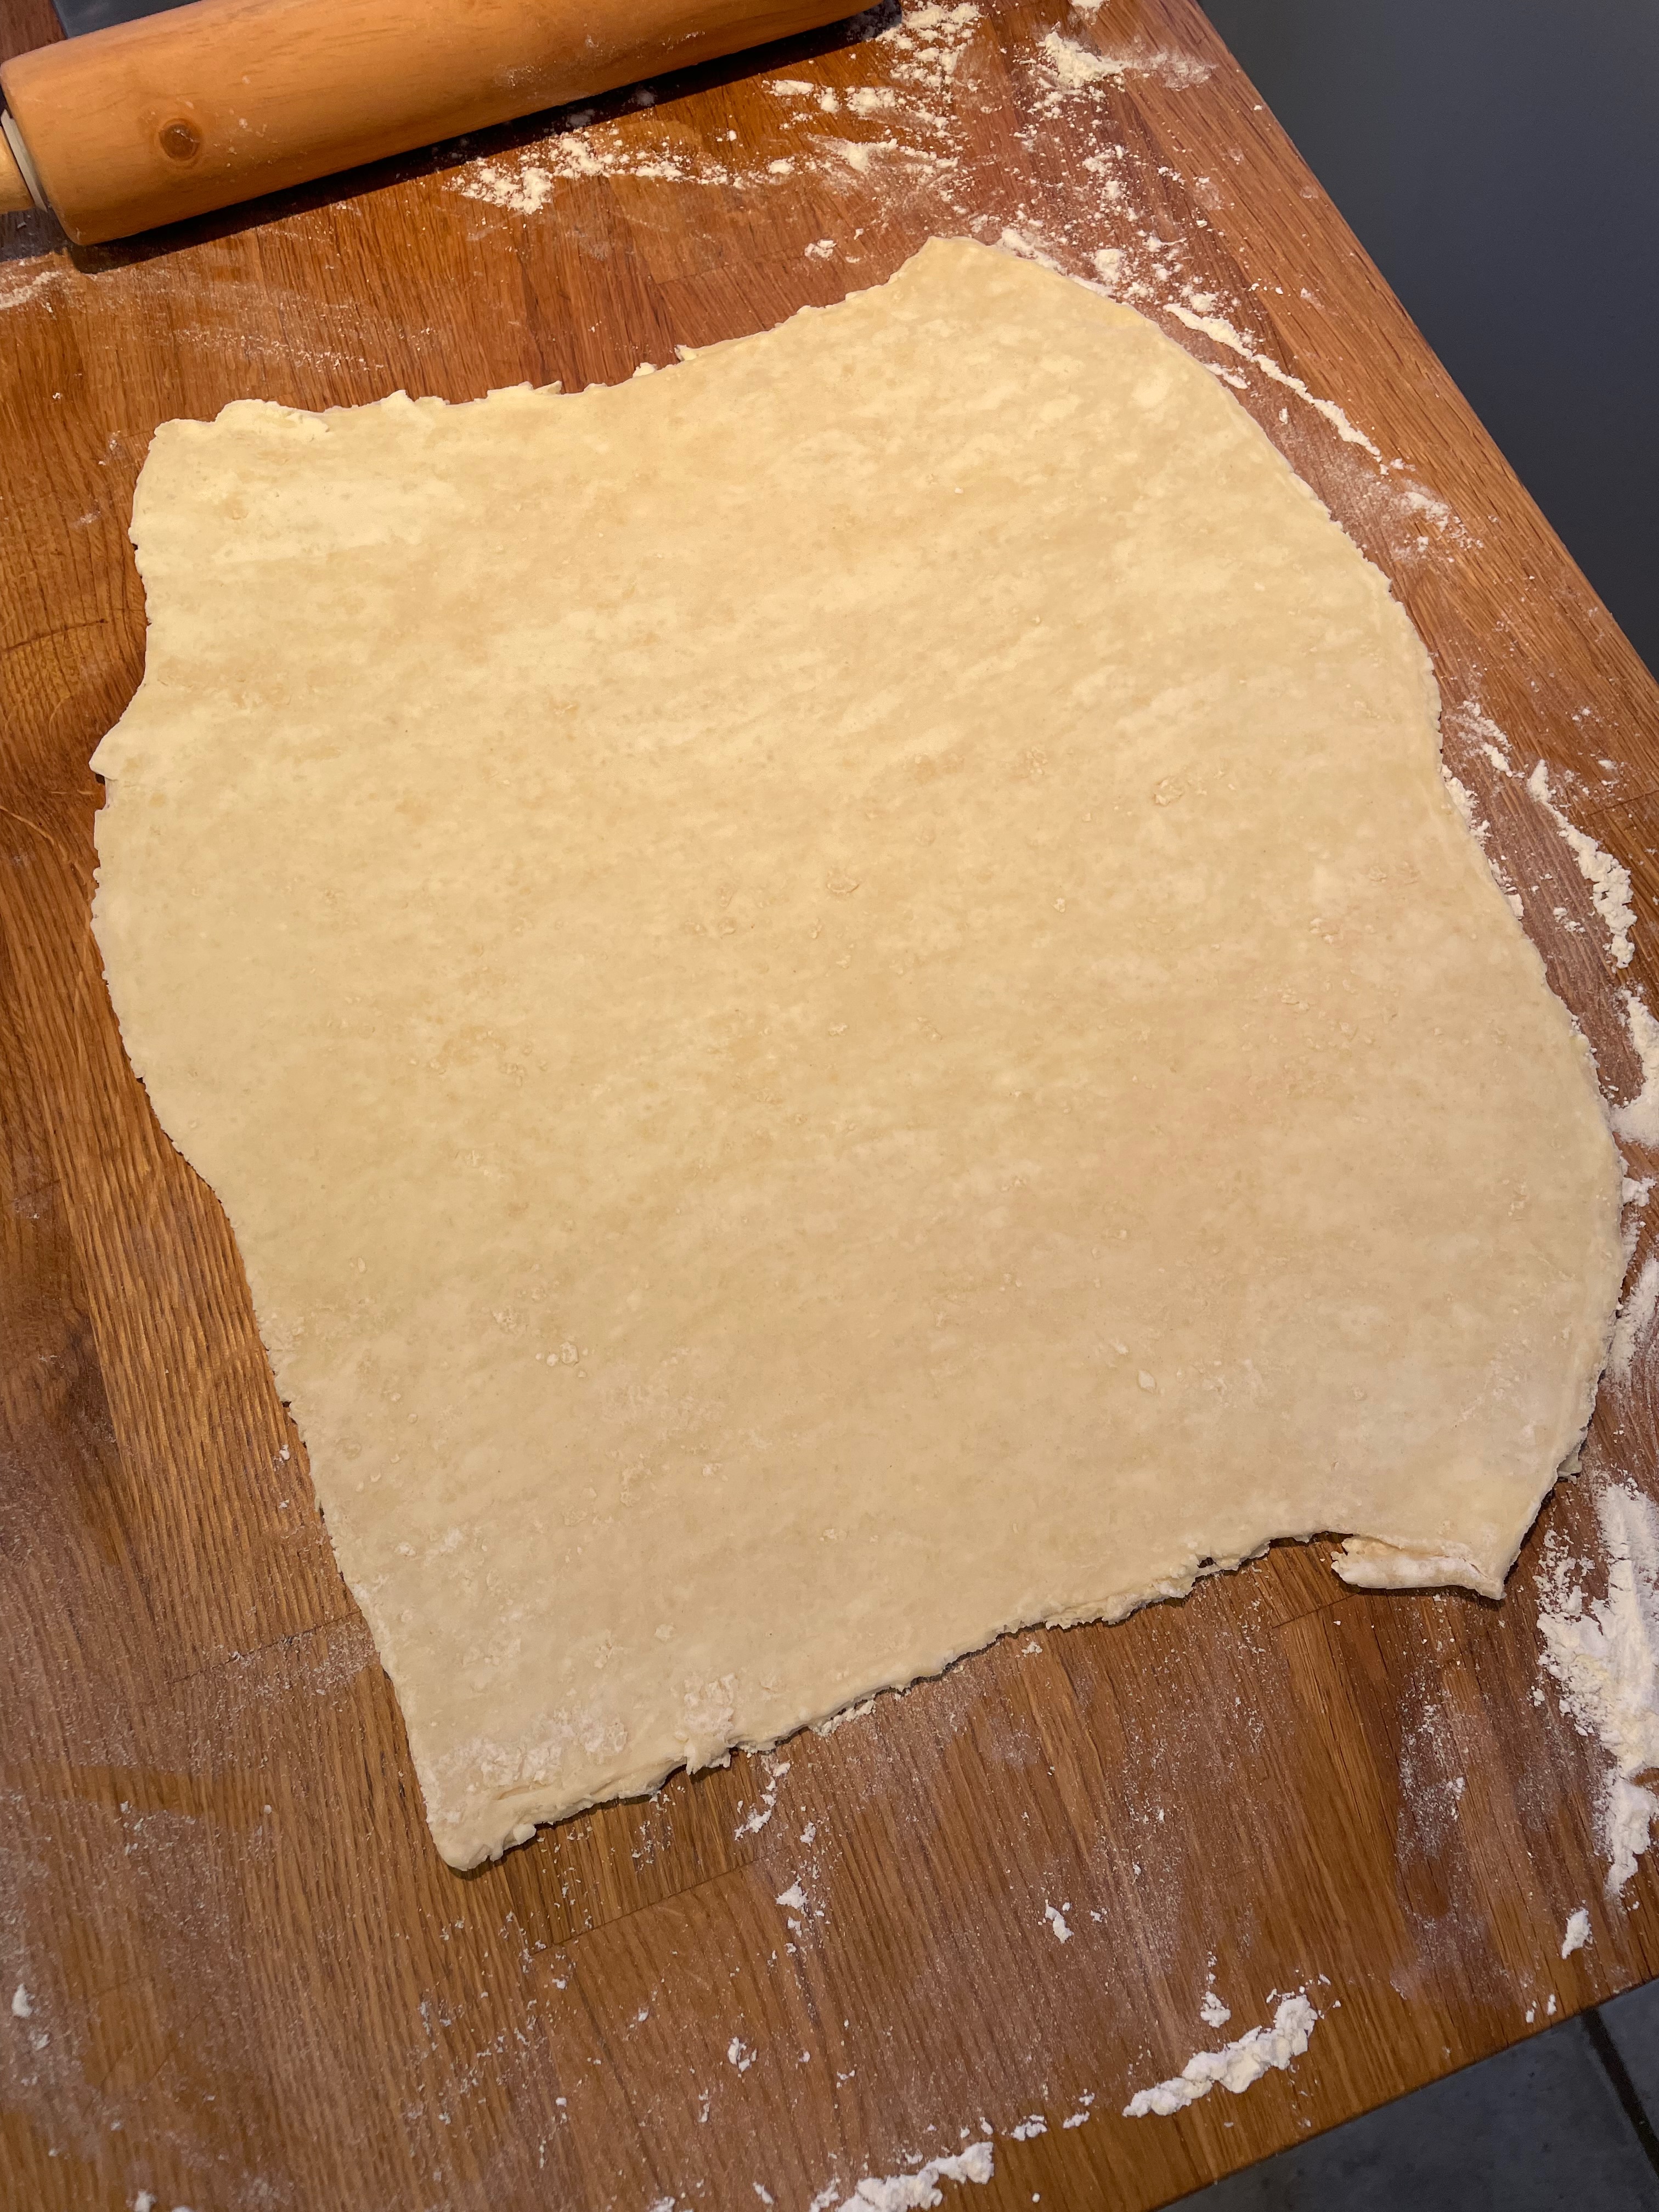
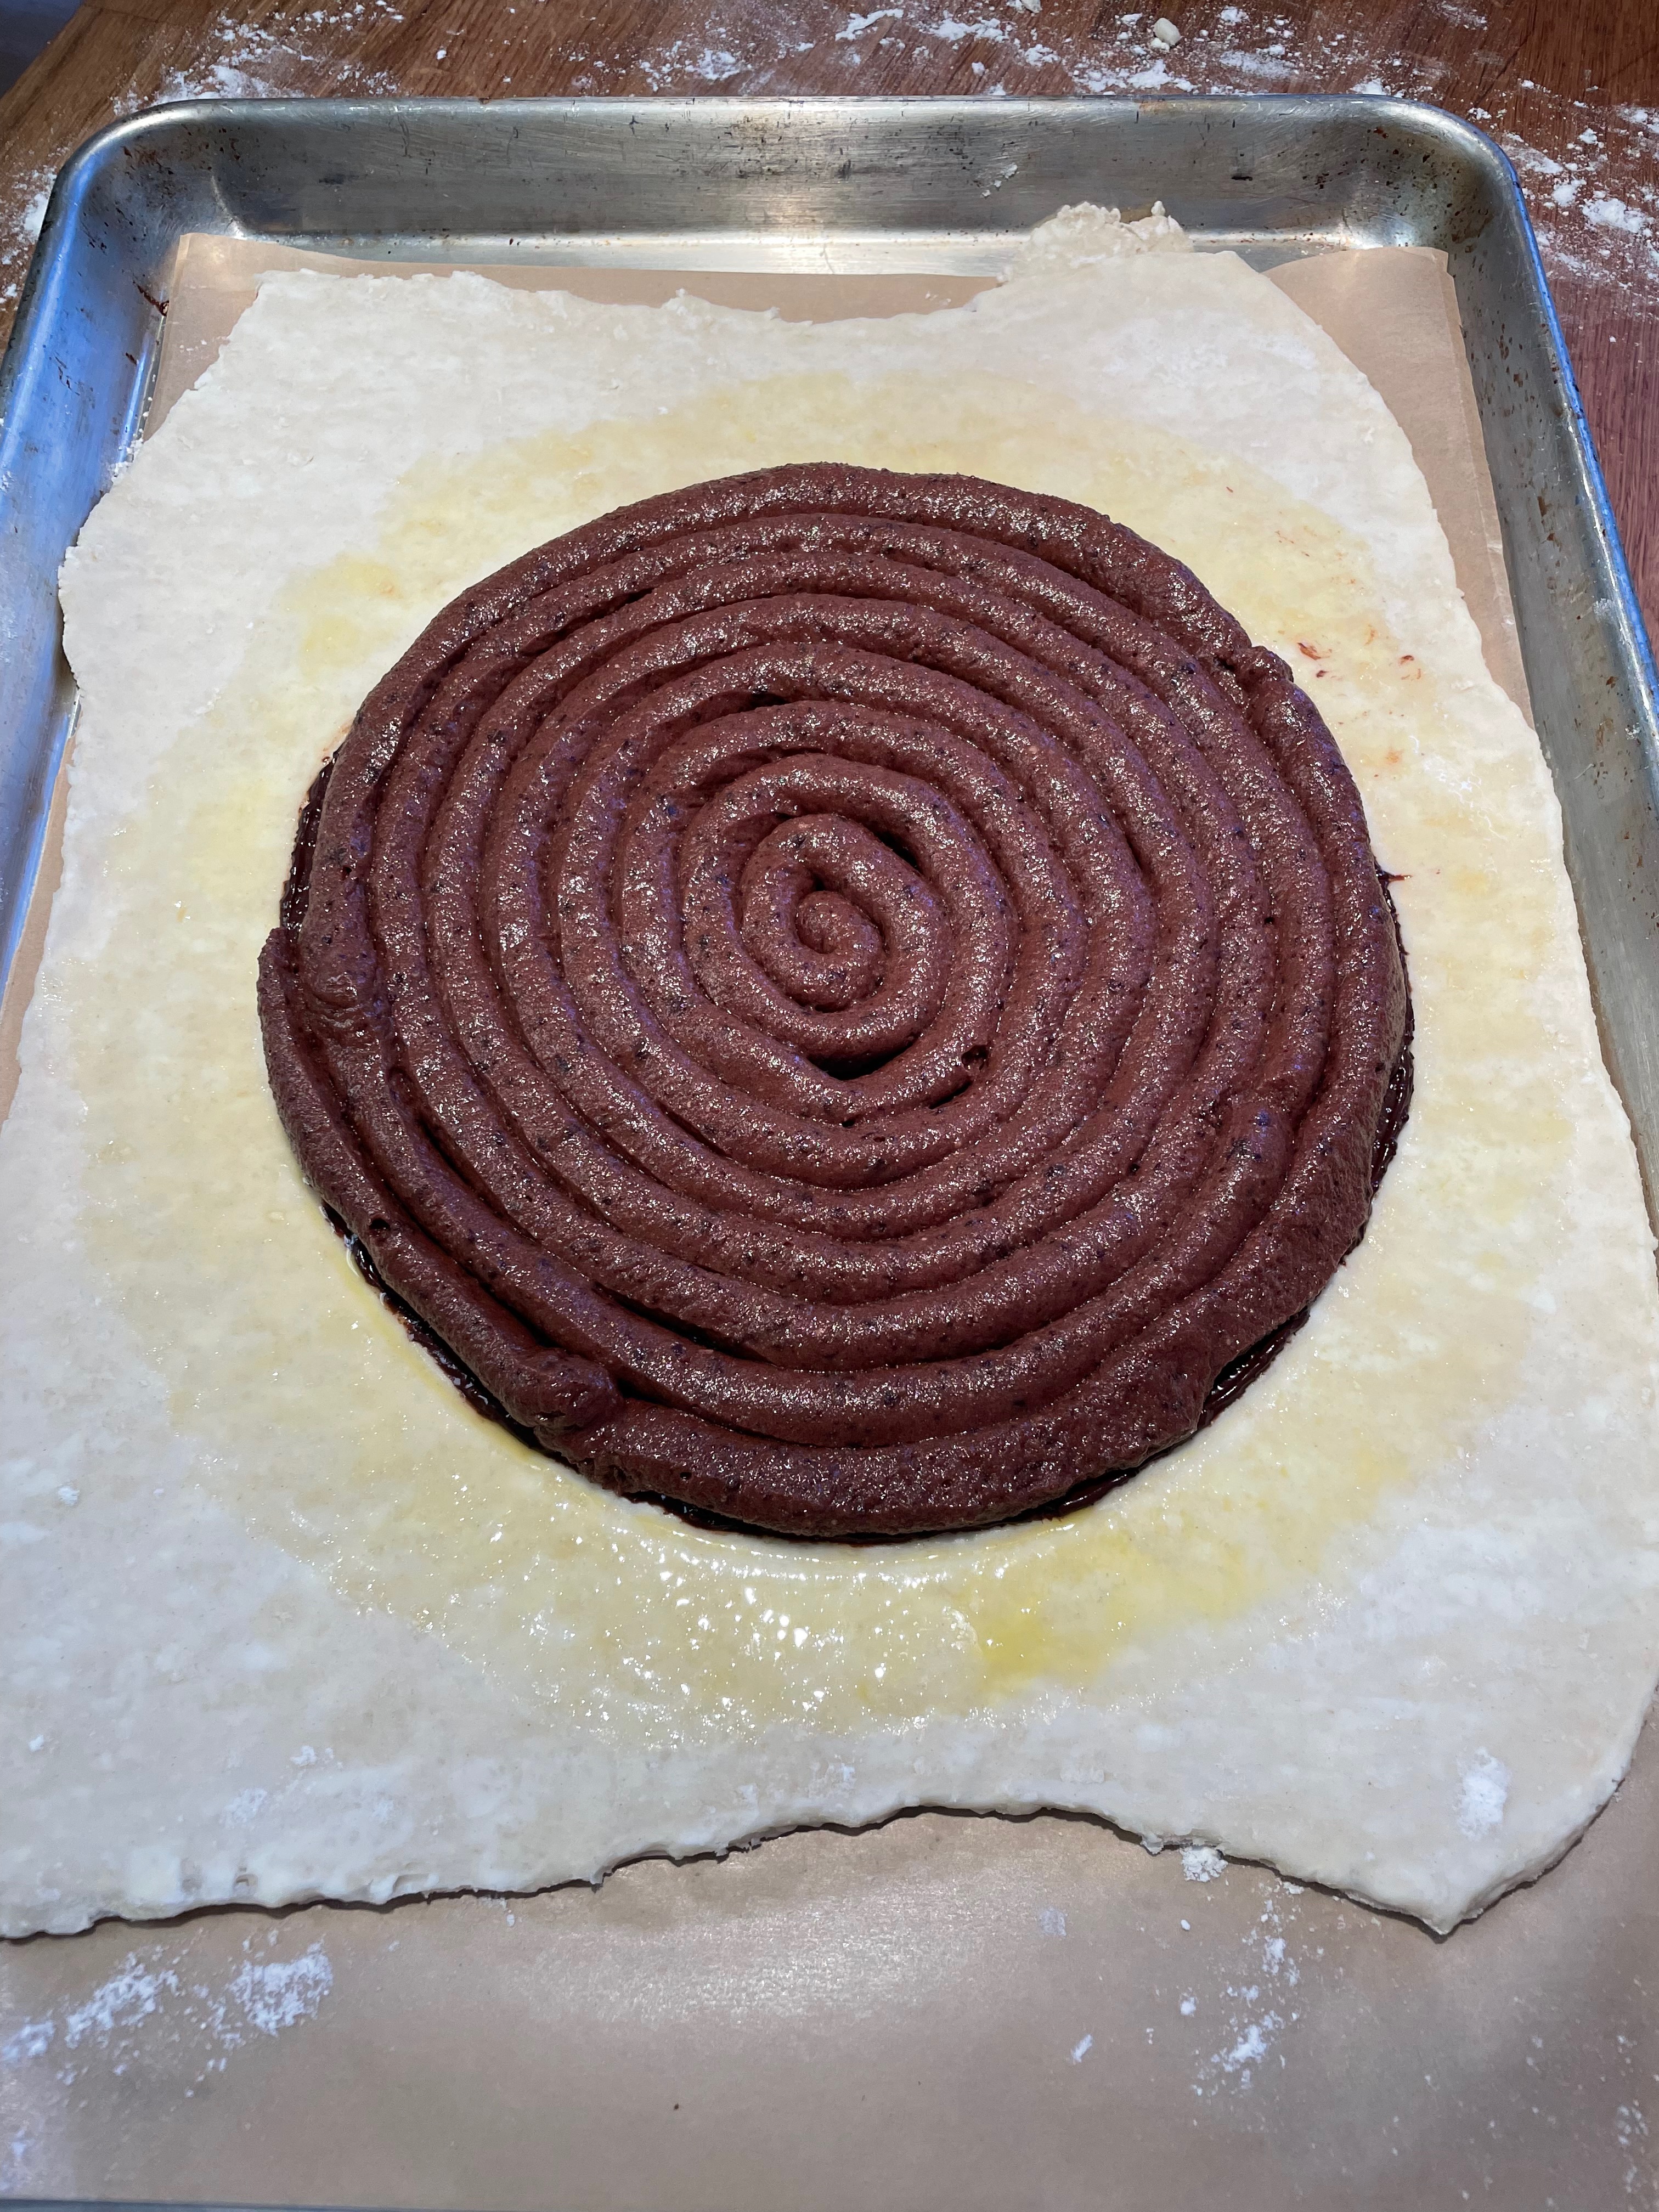
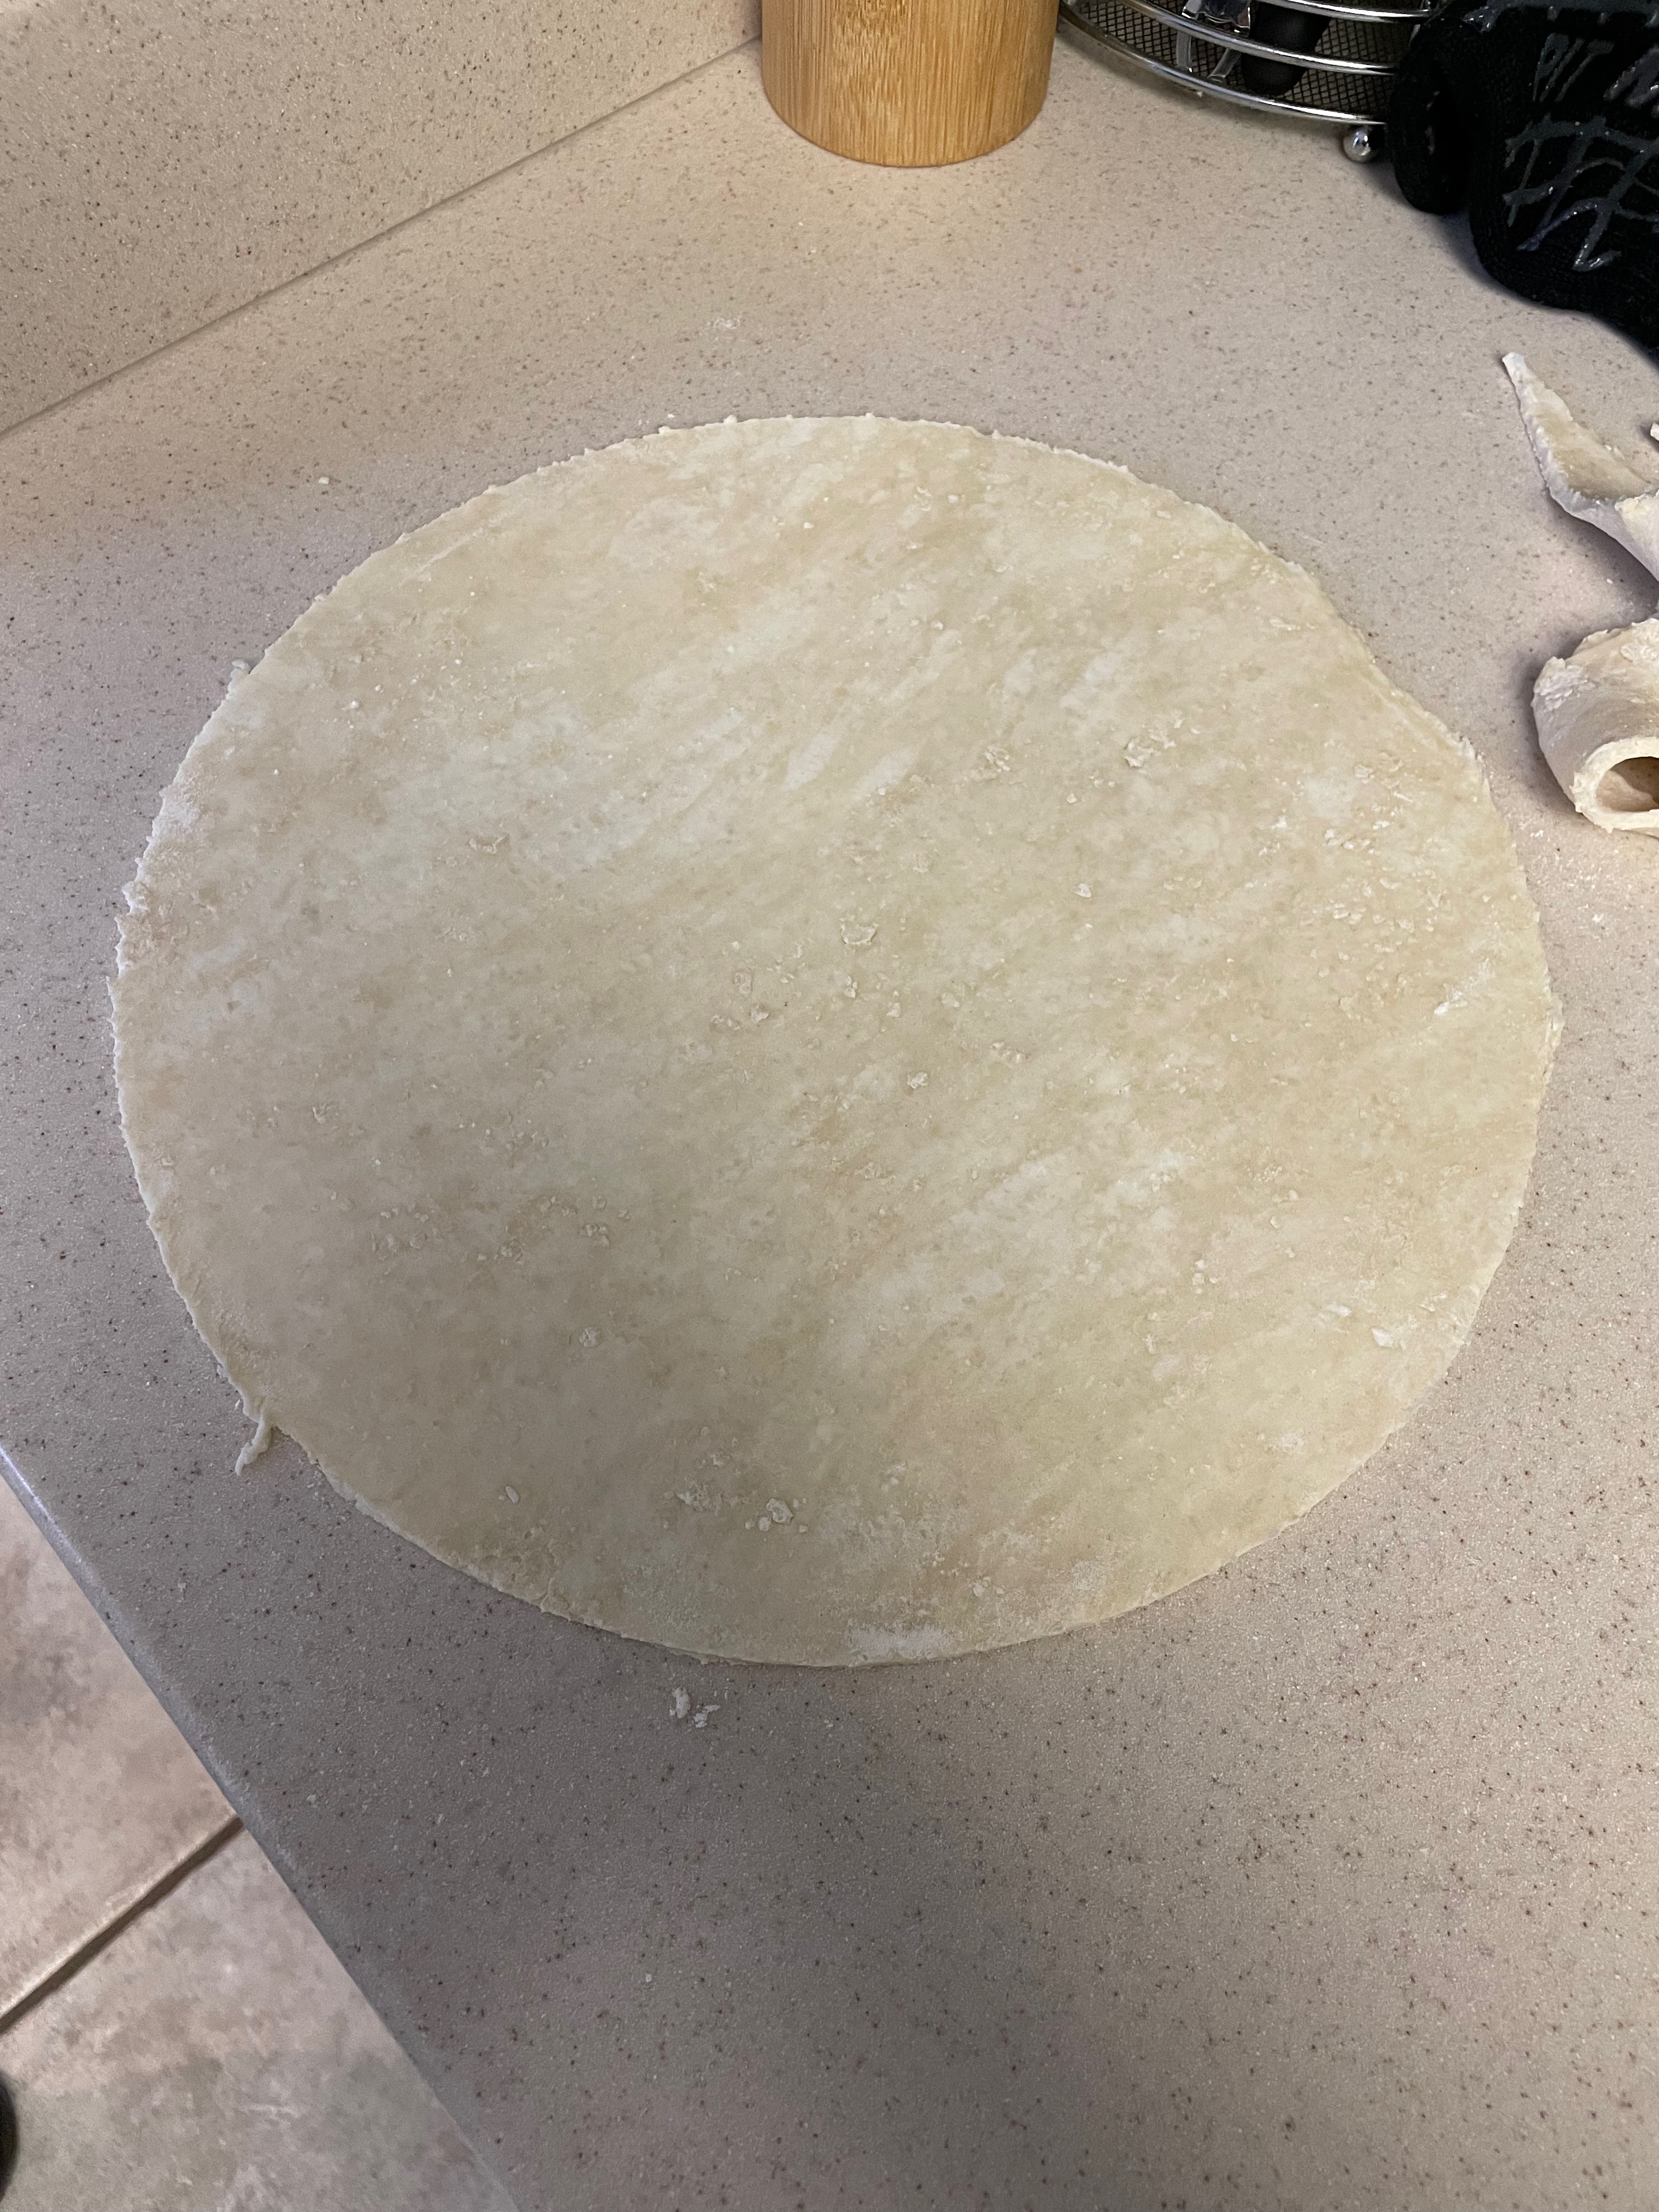
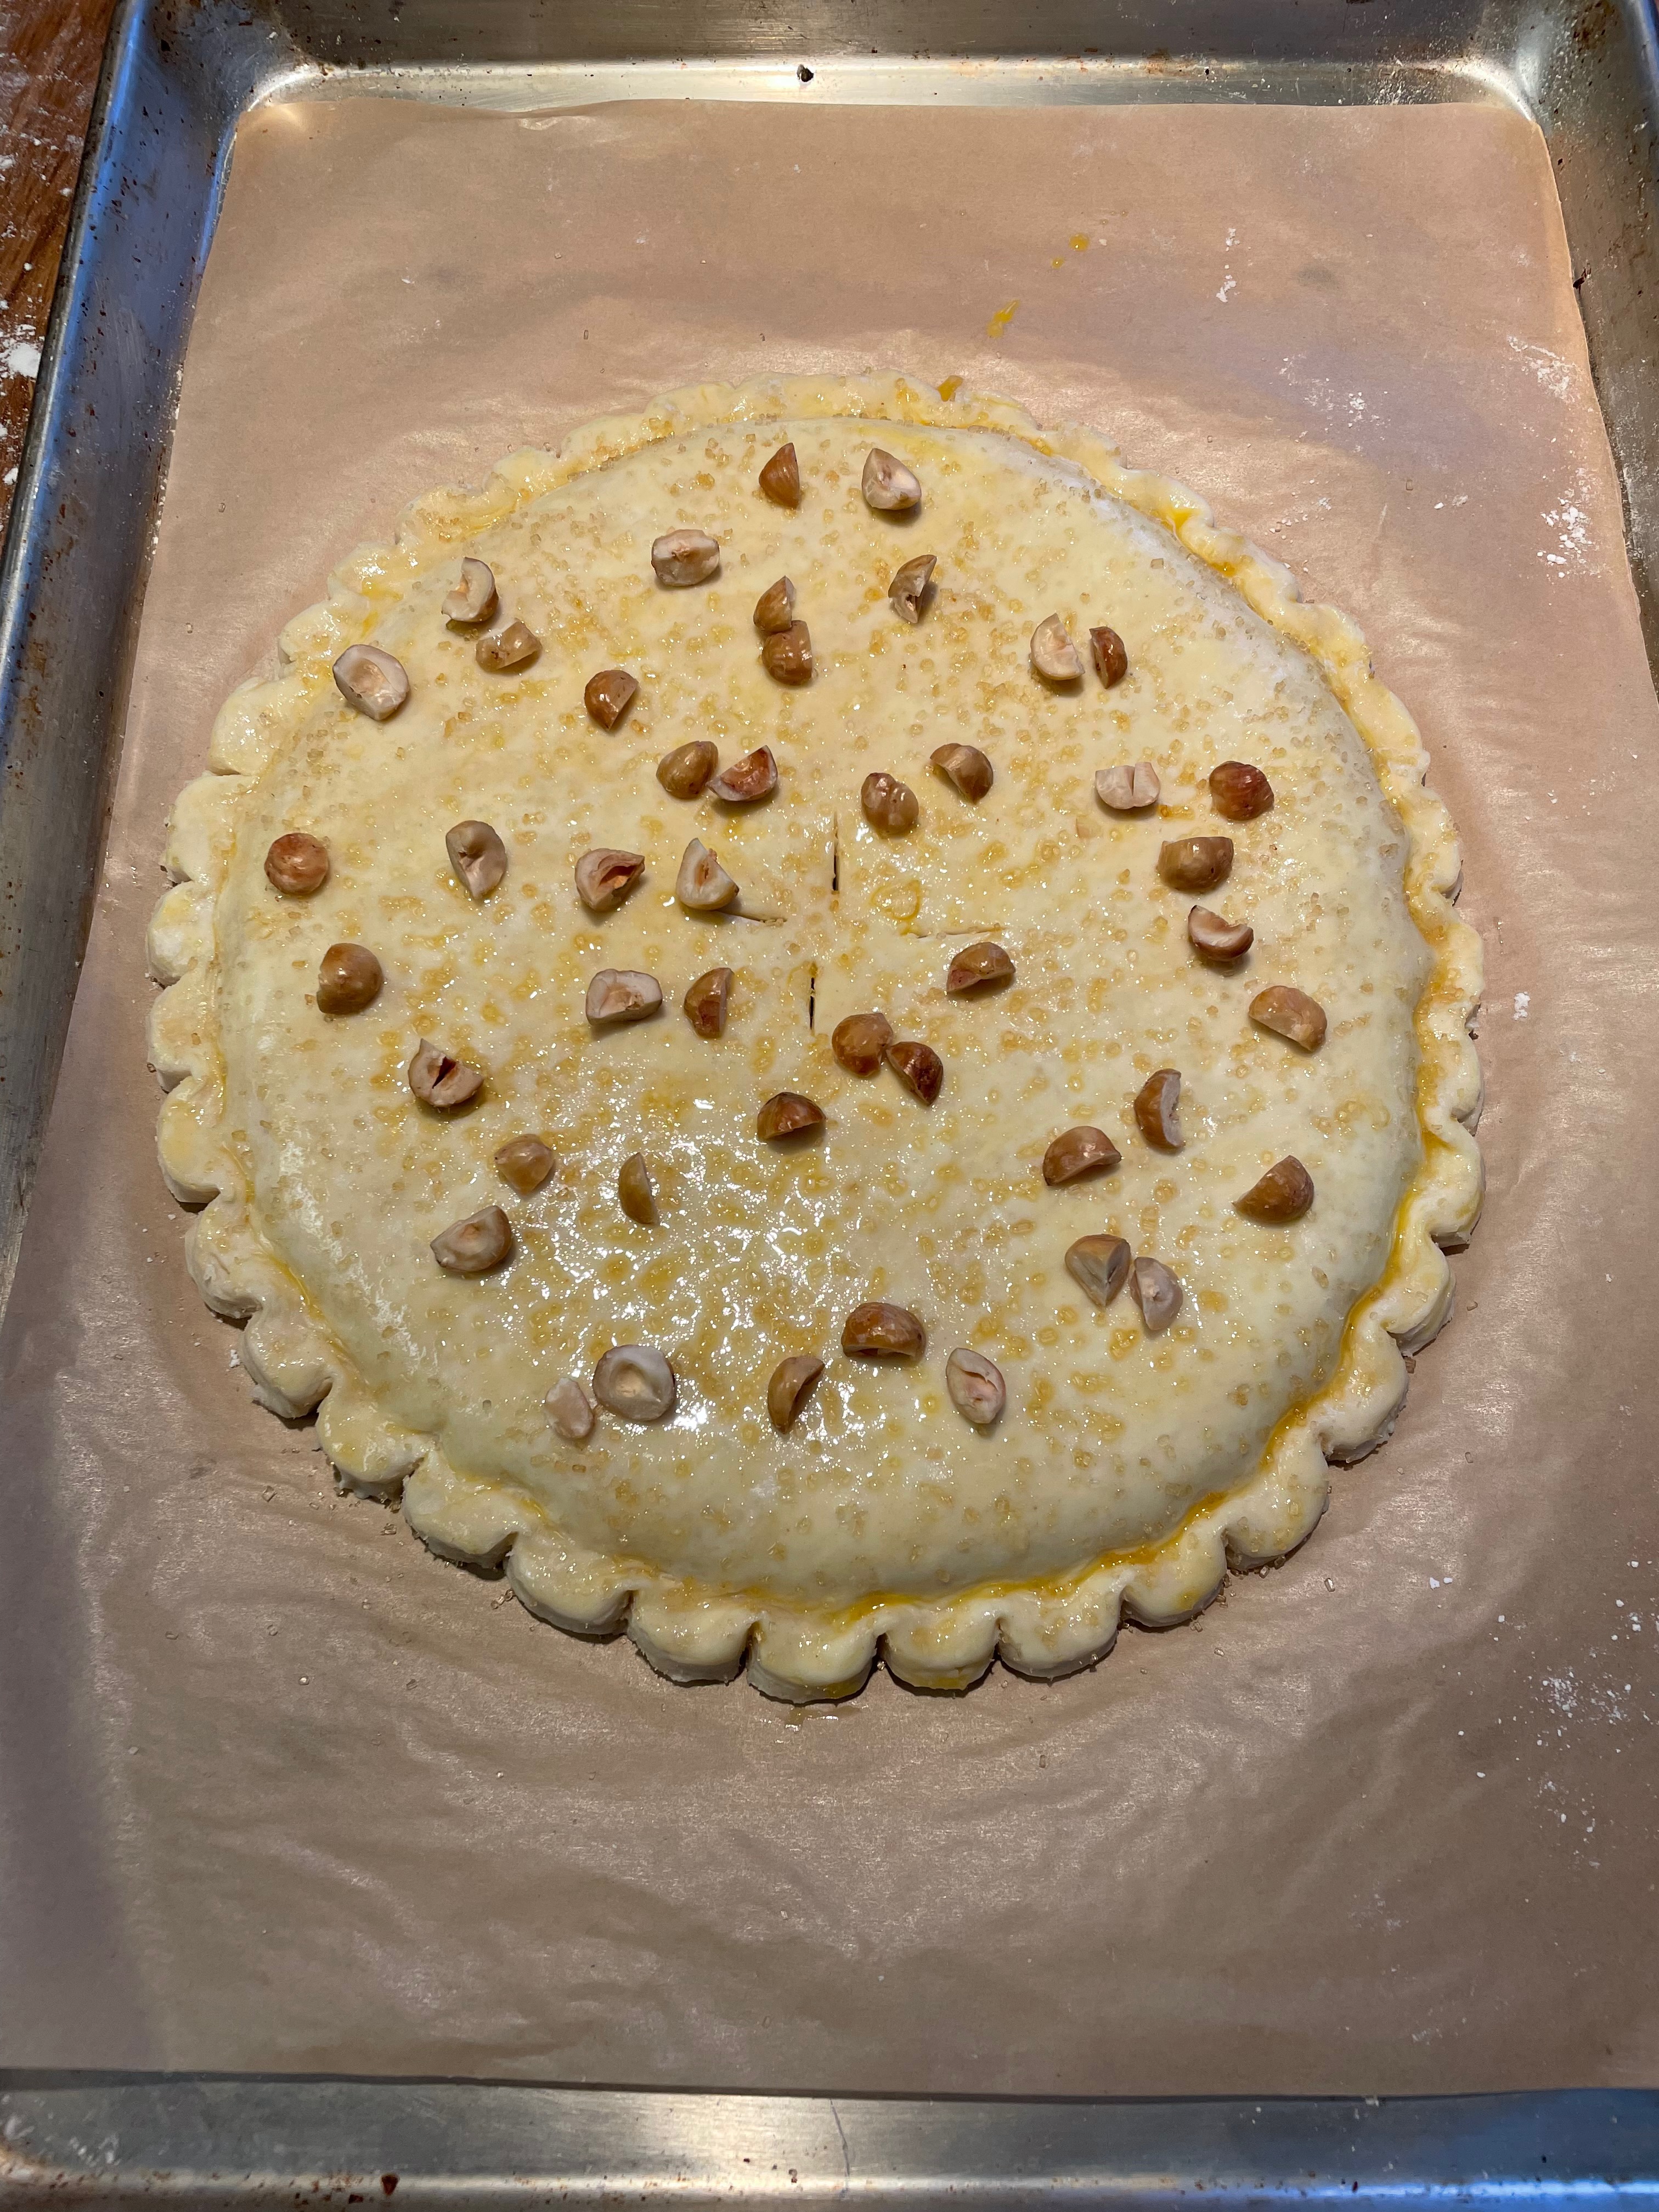
Making And Baking The Galette
Tip: This video does a good job of illustrating the process. Note that their crimping is much more significant than the one Dessert Person recommends. In hindsight, a more elaborate crimping would have been better (this would have required a slightly more space around).
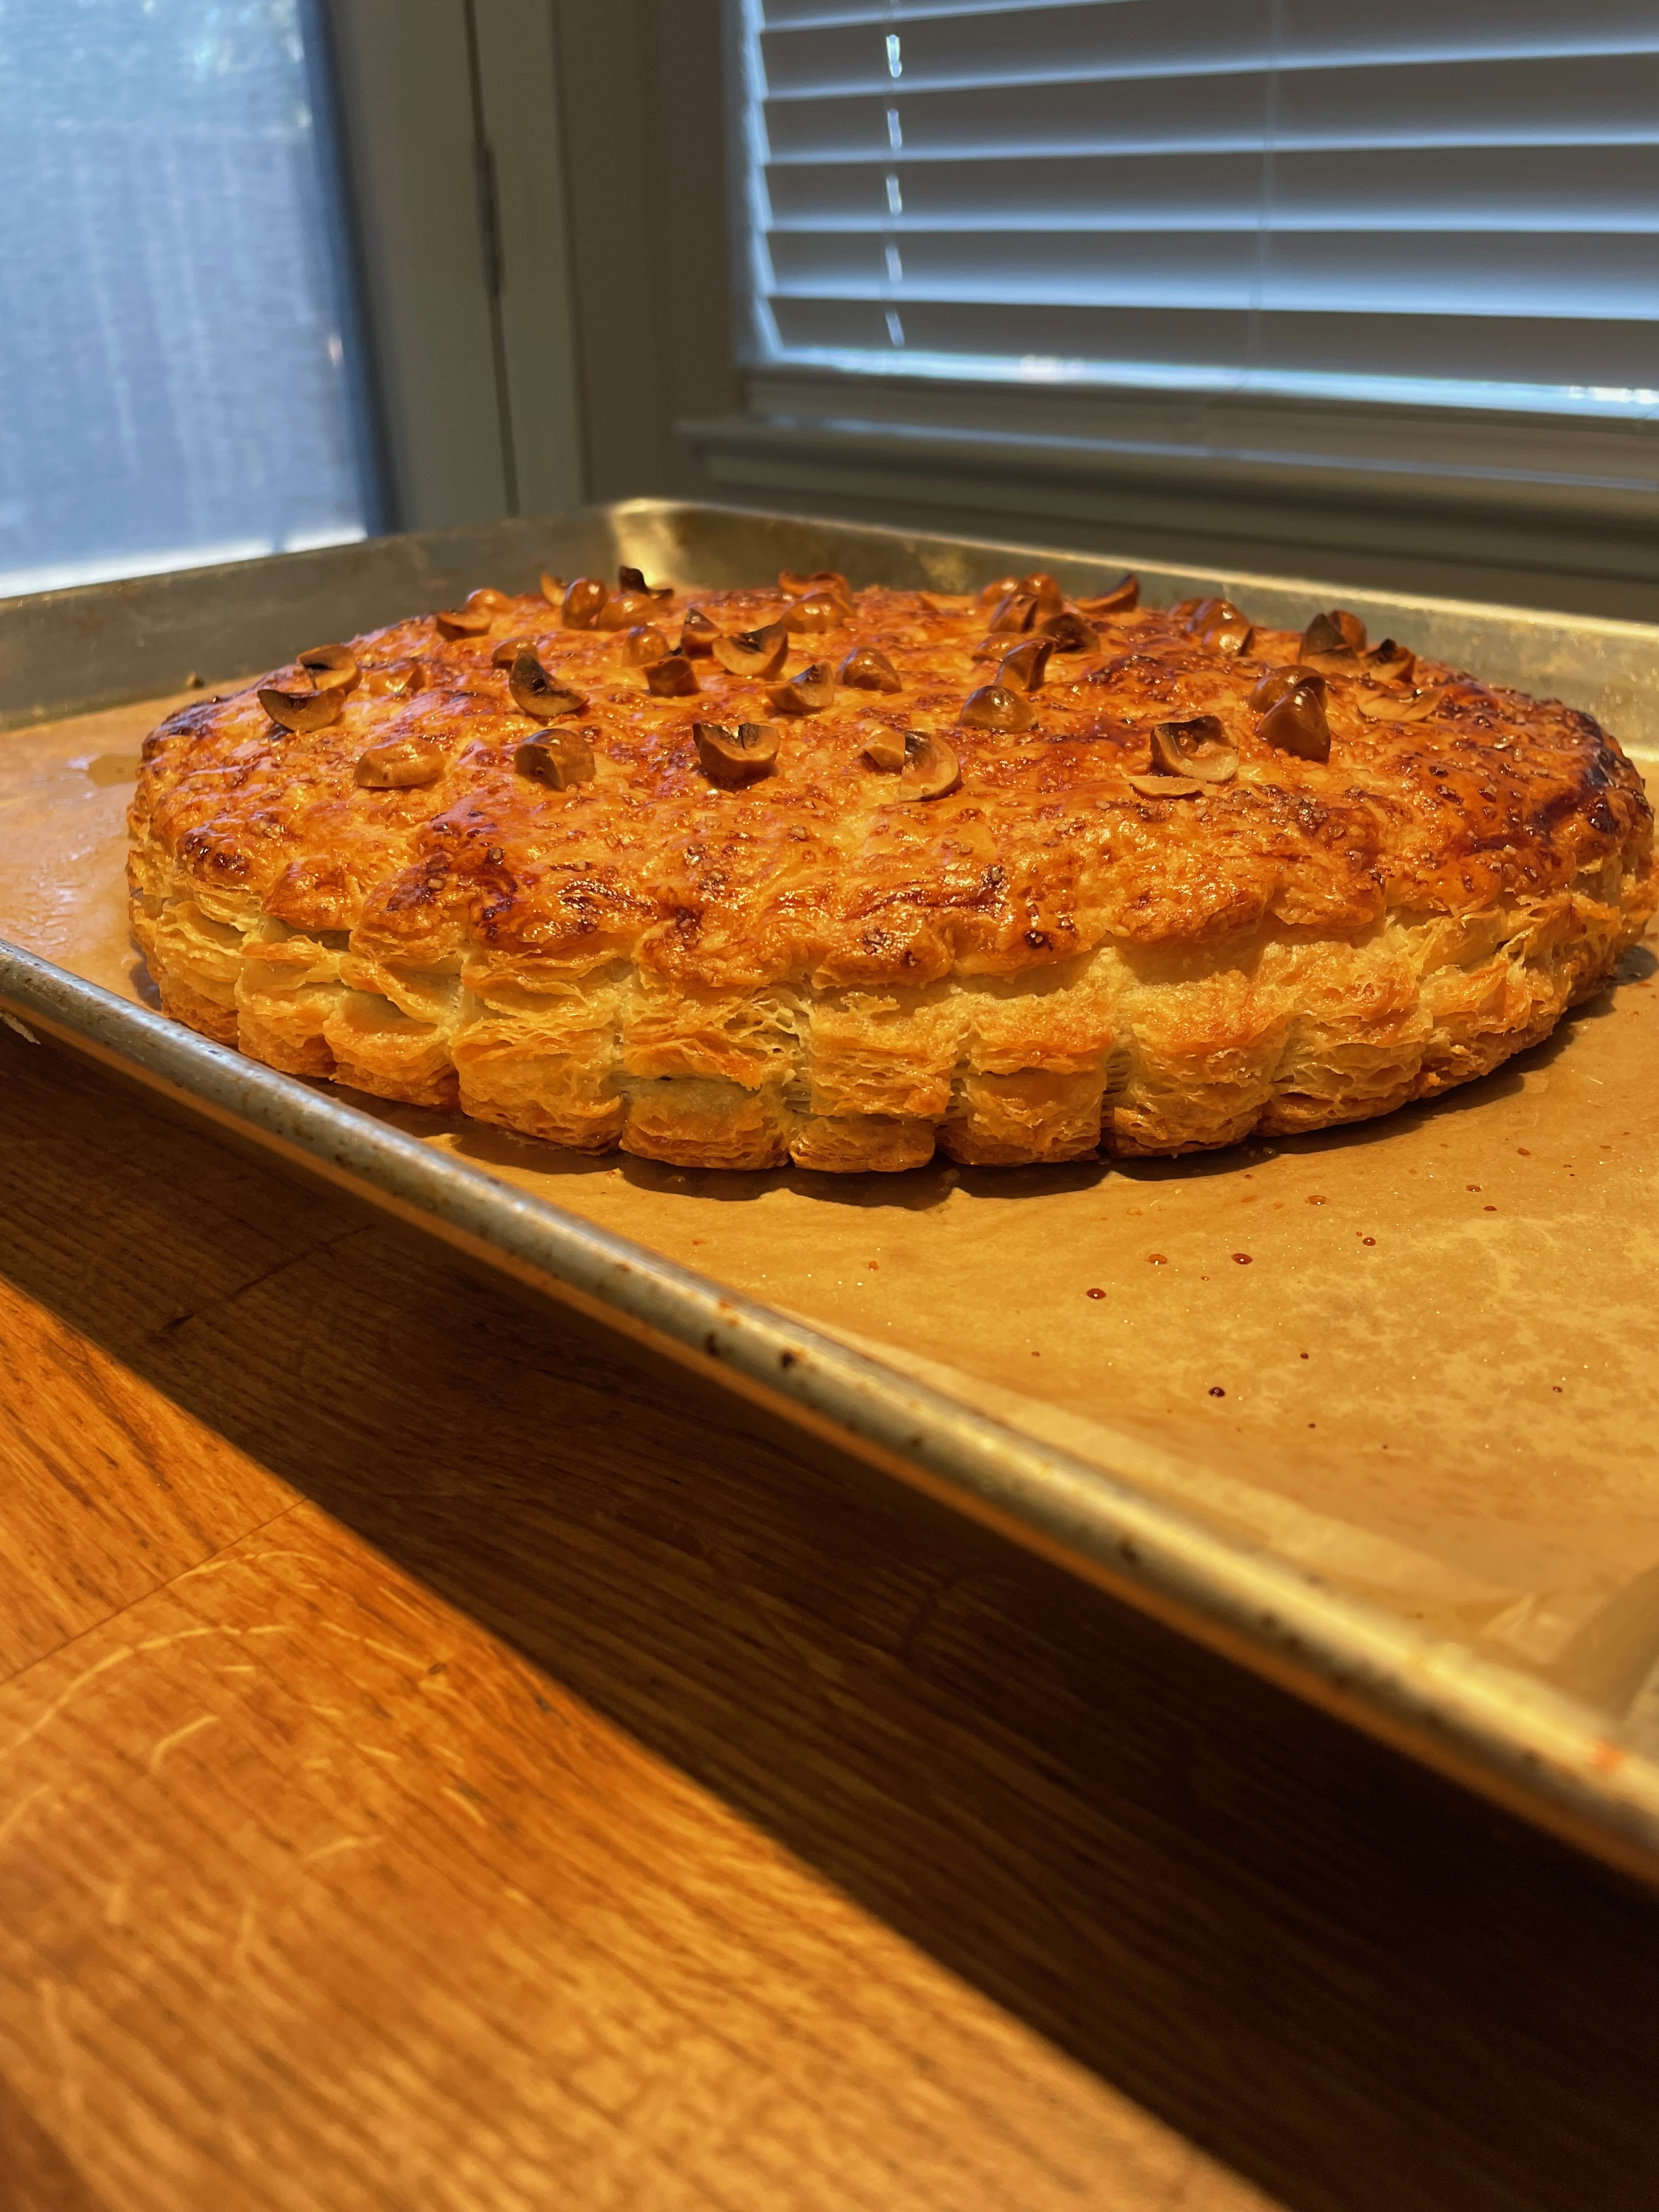
Final Product
Key Takeaways
Feel free to score an intricate pattern on the top of the cake or use a more intricate crimping pattern.
This recipe is rather difficult and takes a while to do.
Final Score: 4/5 – This is quite an undertaking, but the end result is worth it. It’s delicious and great practice for working with puff pastry.
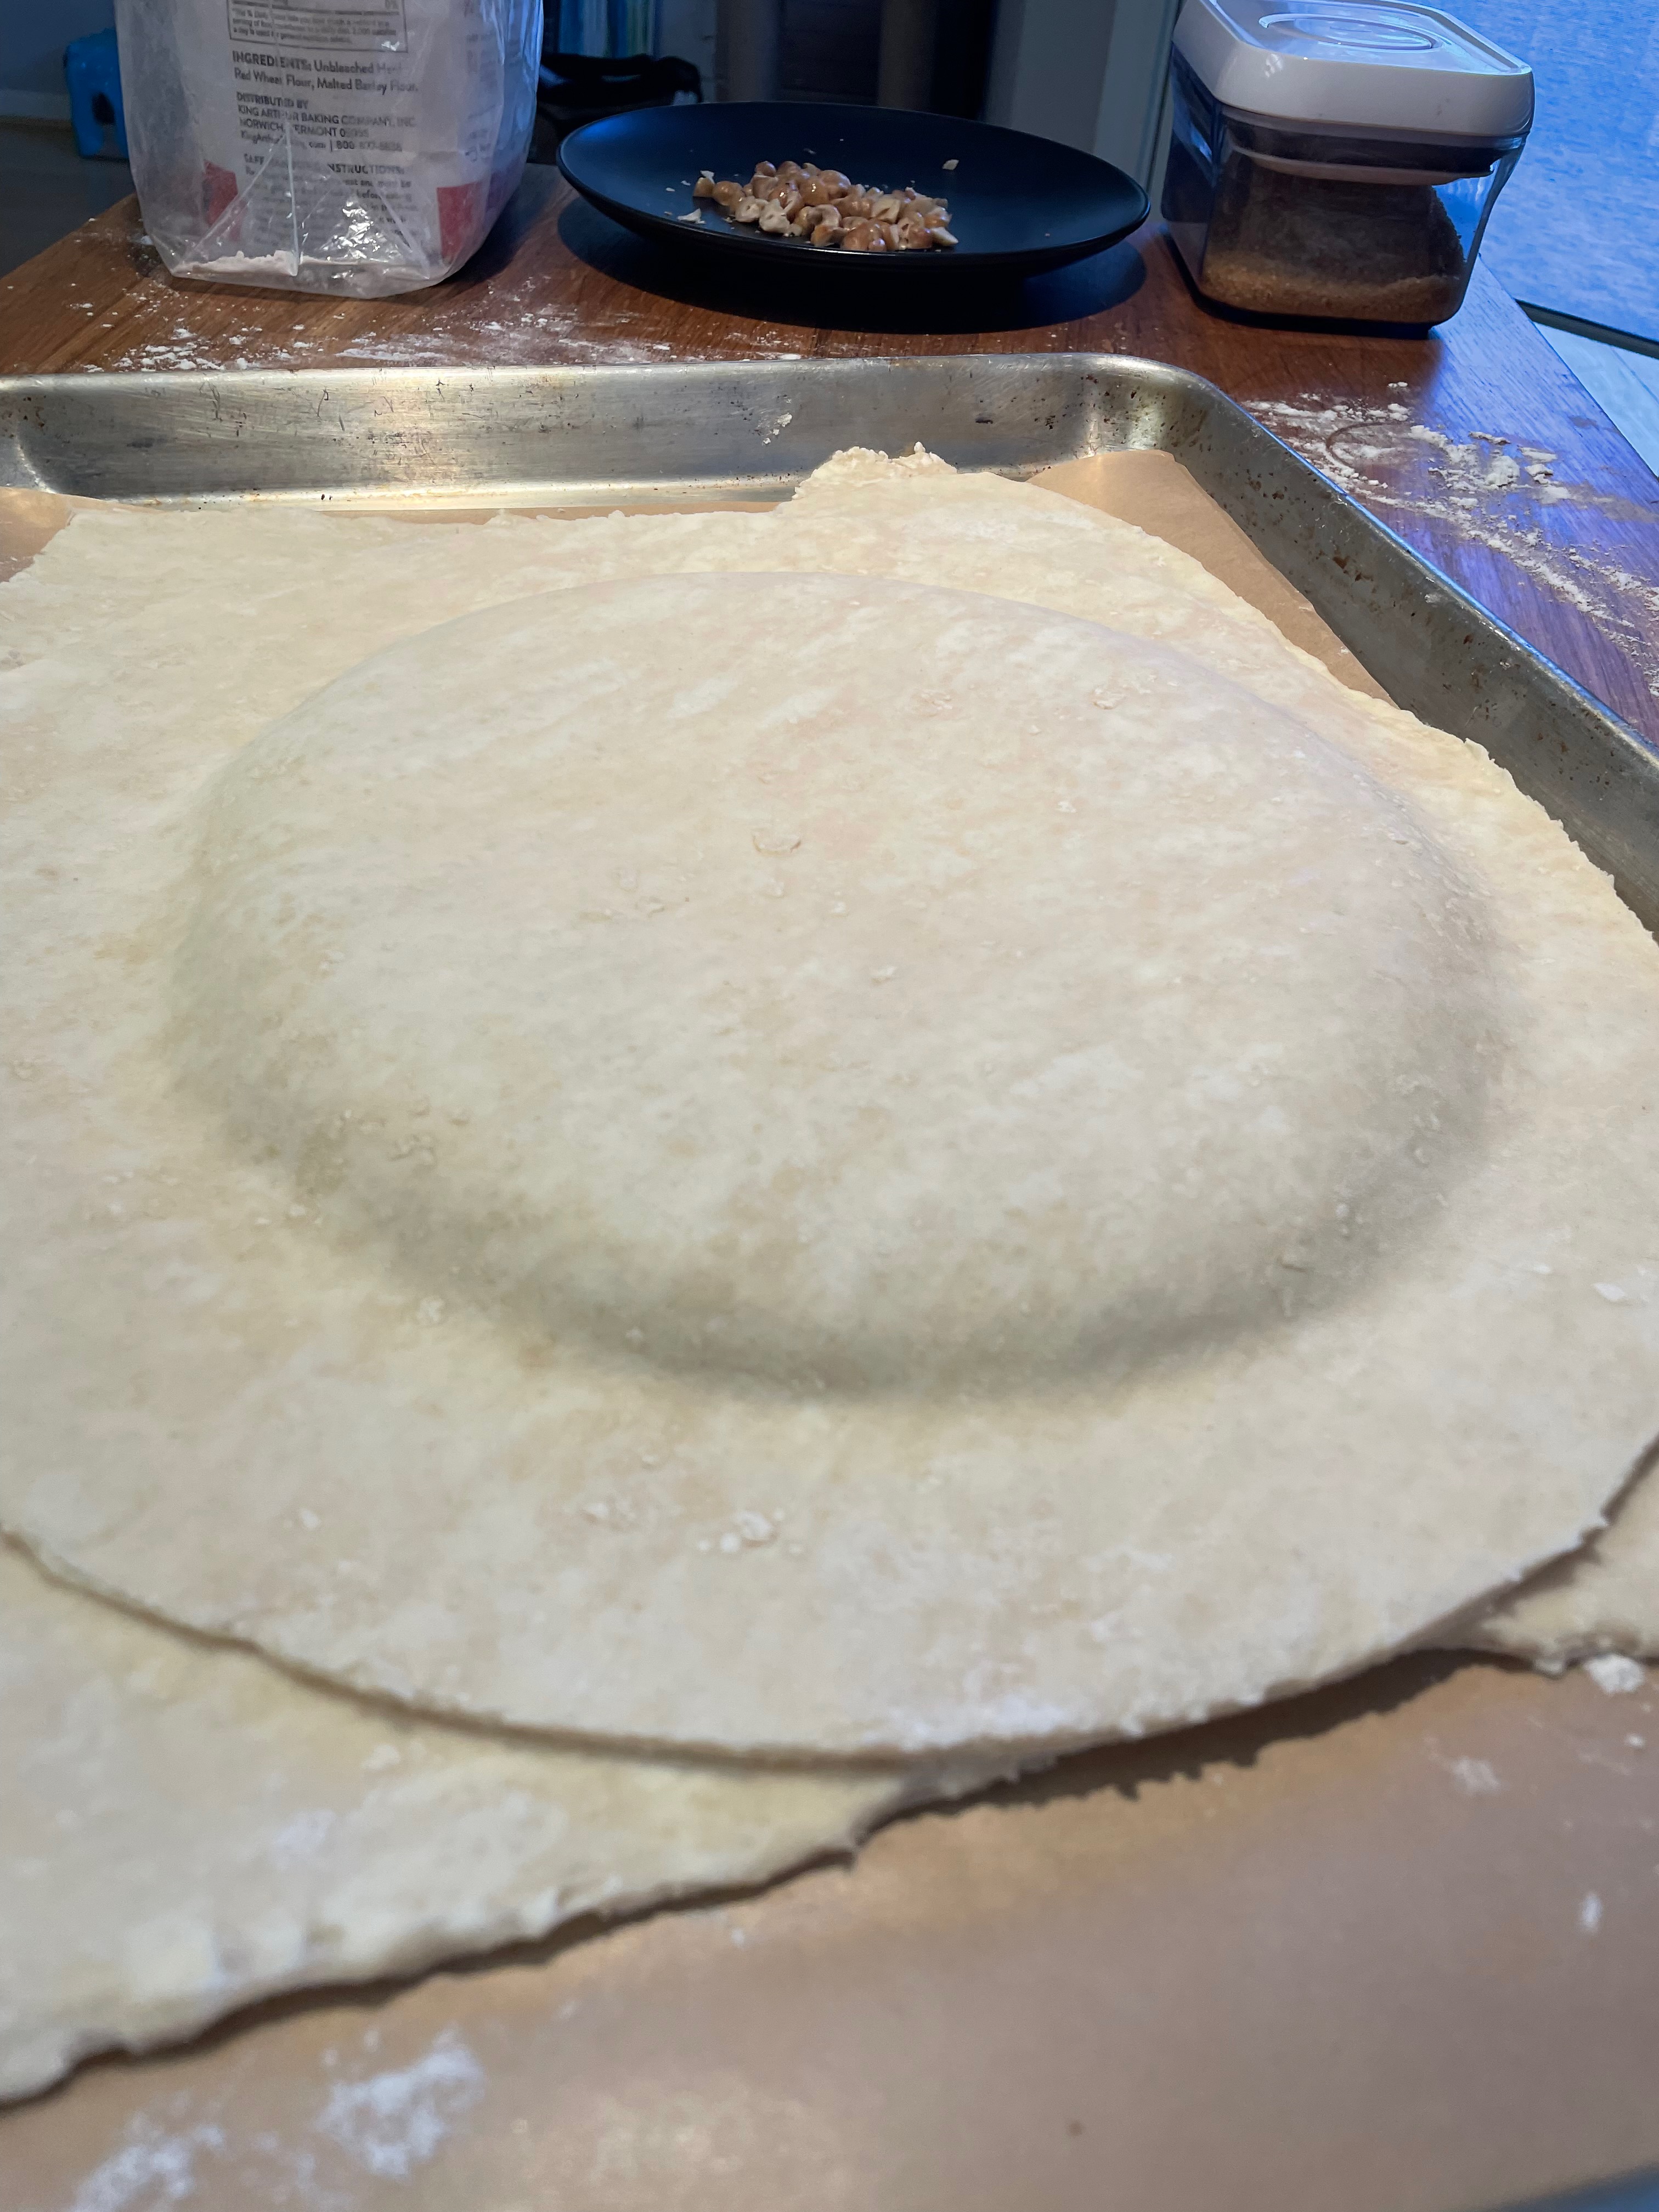
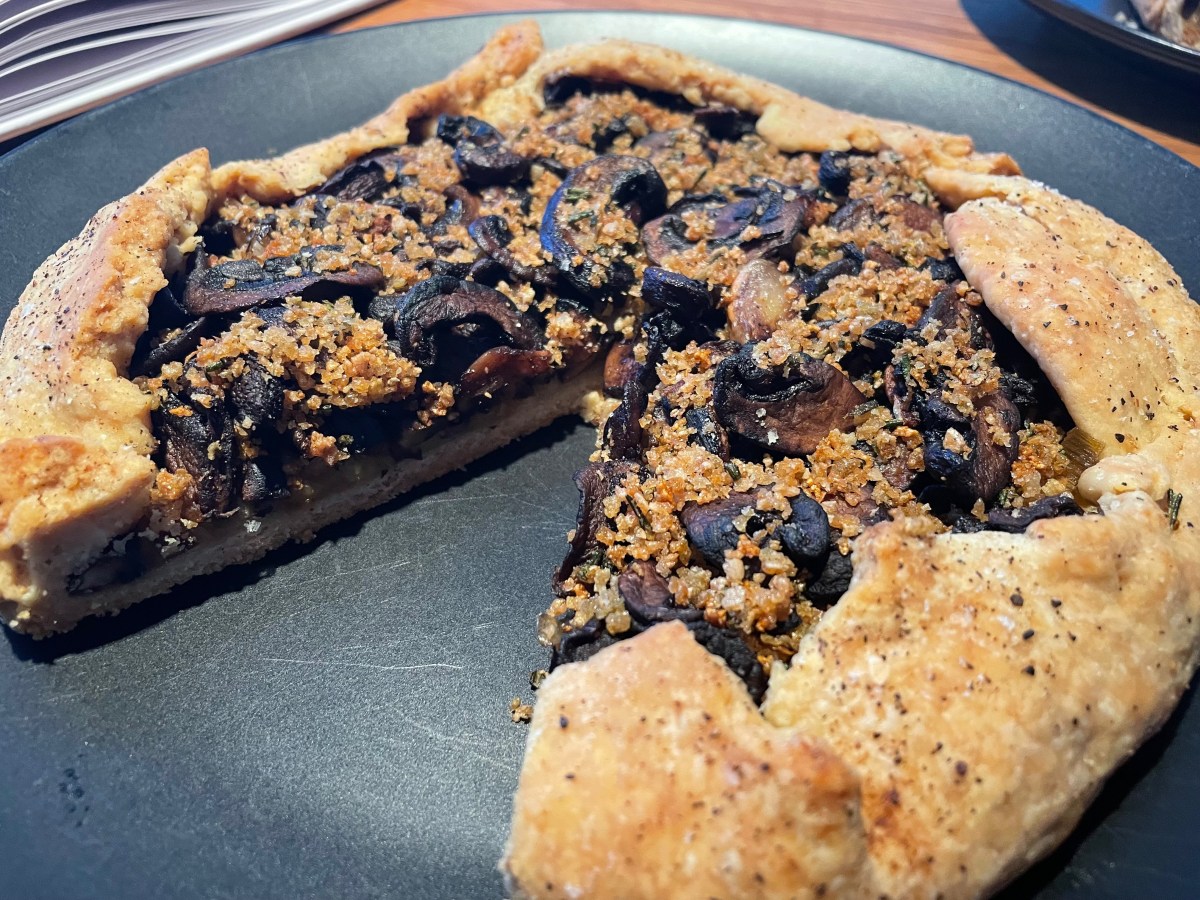
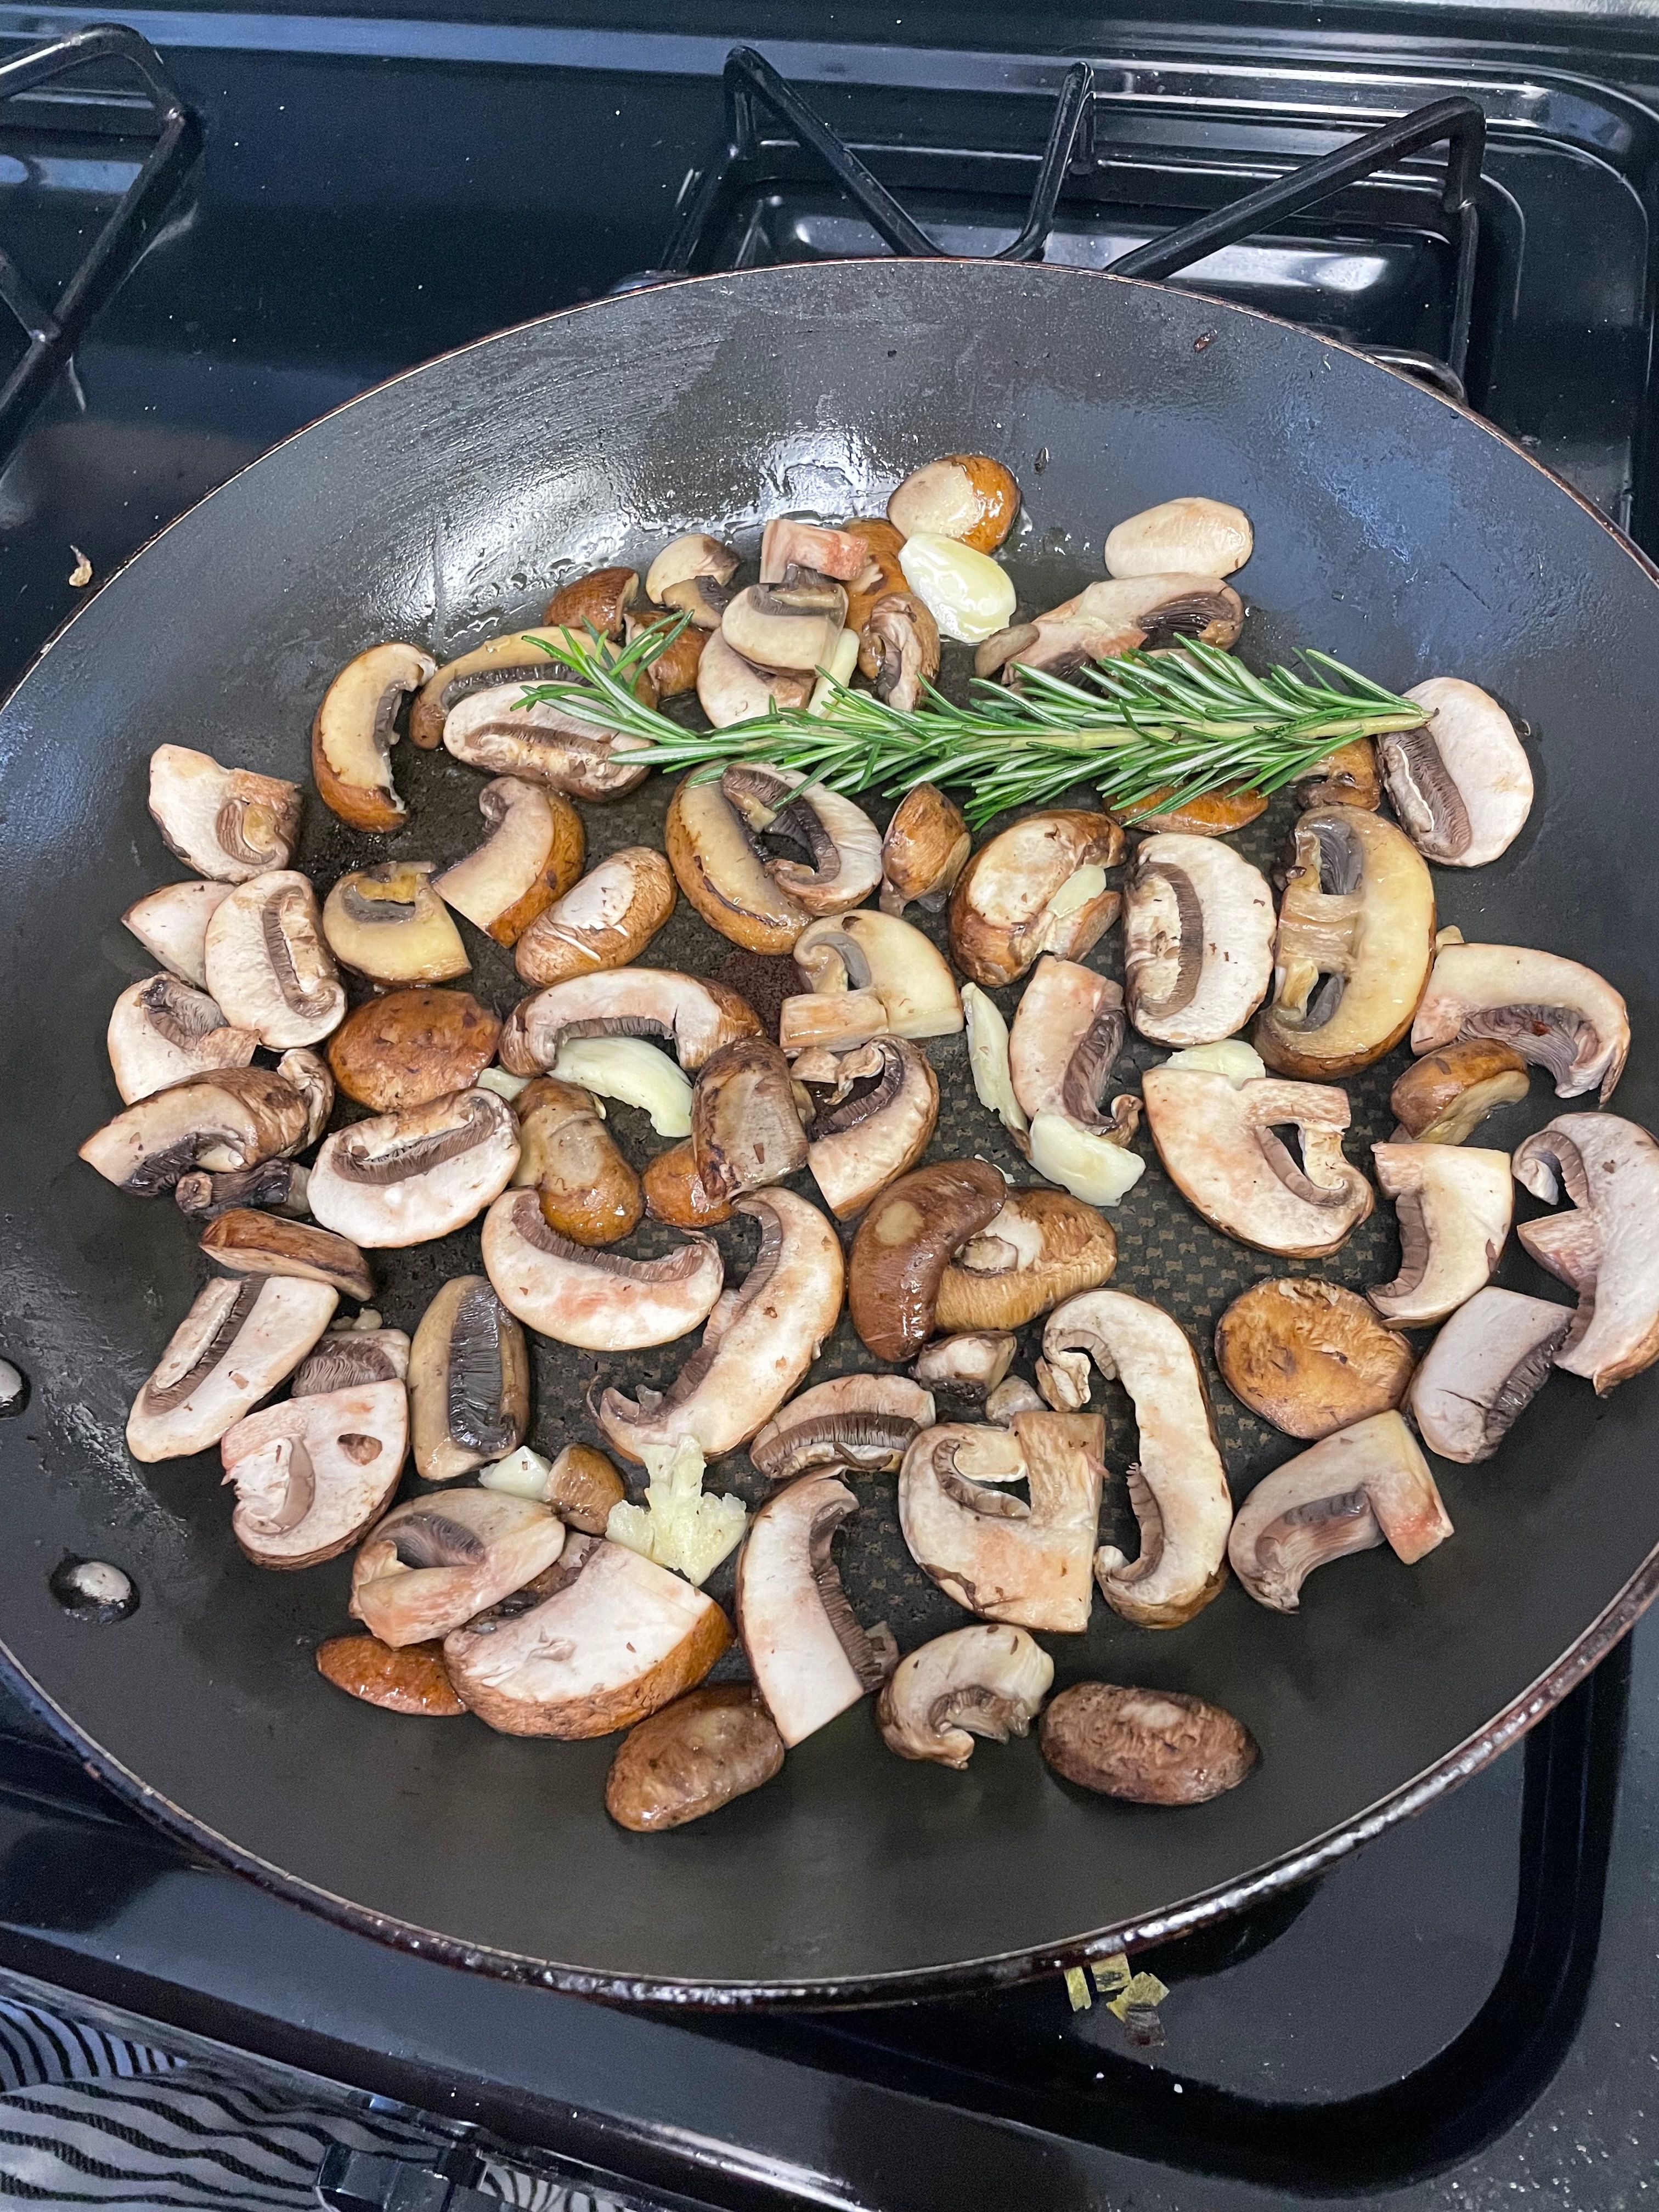
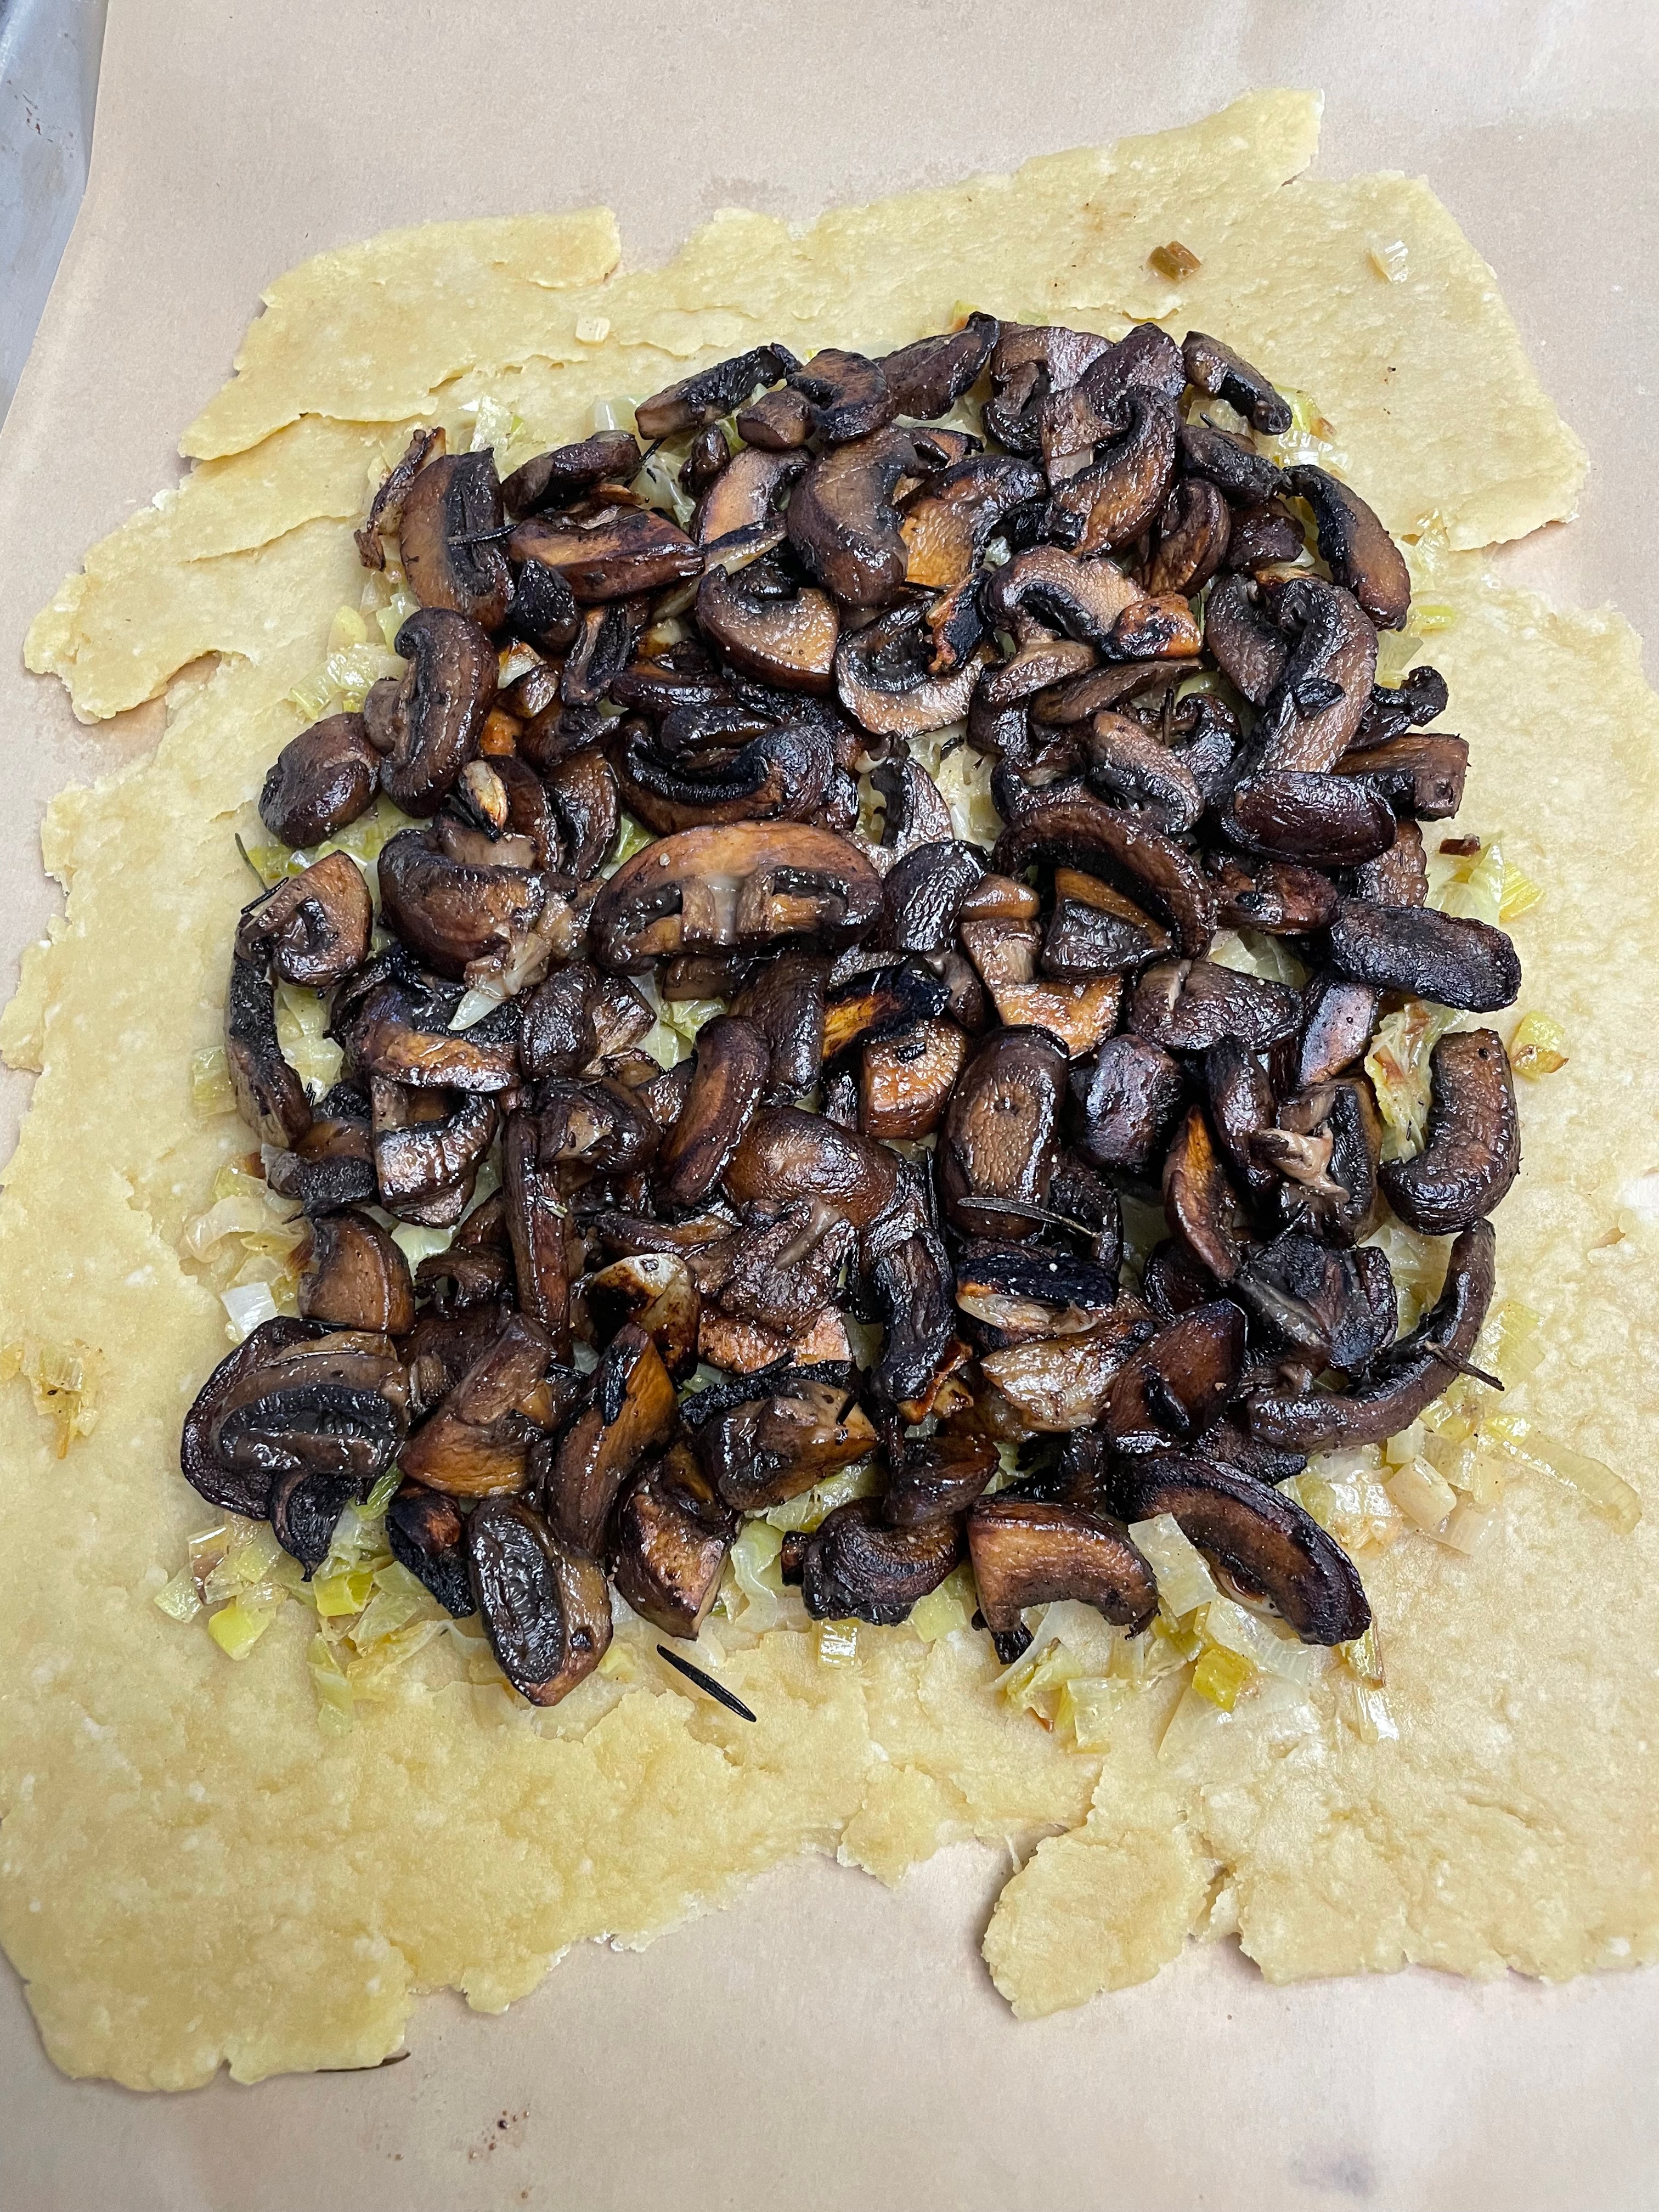
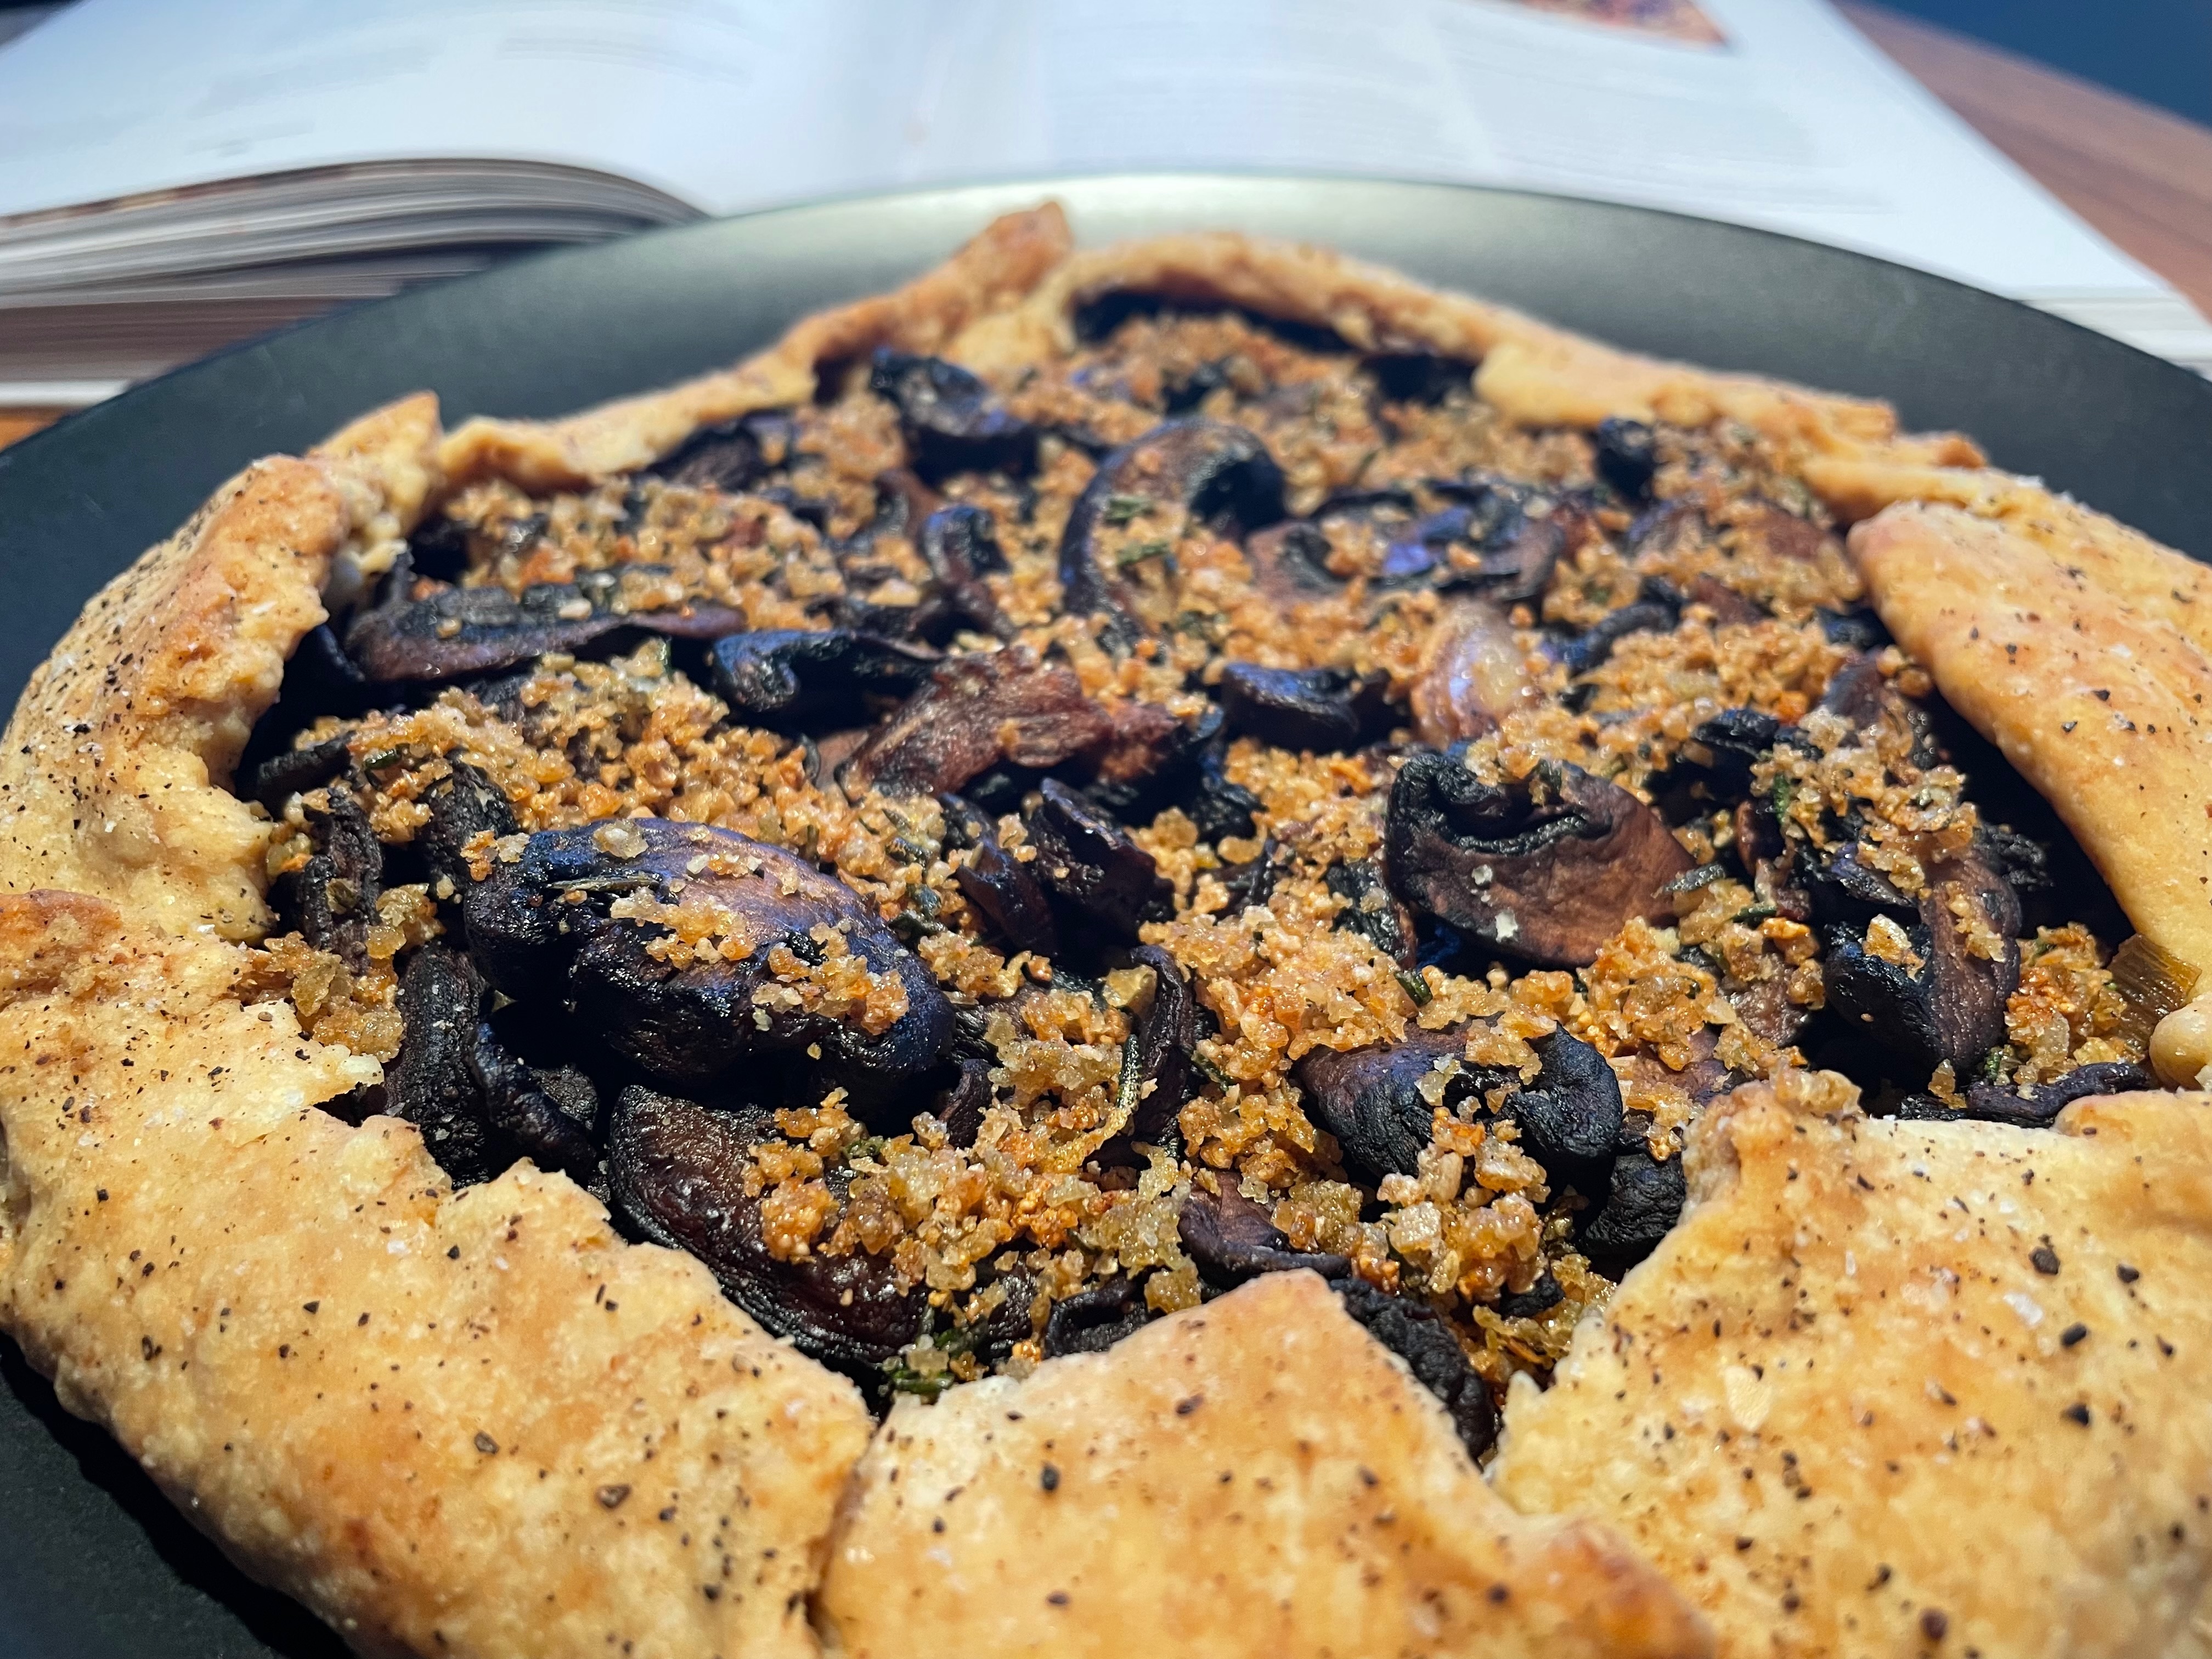
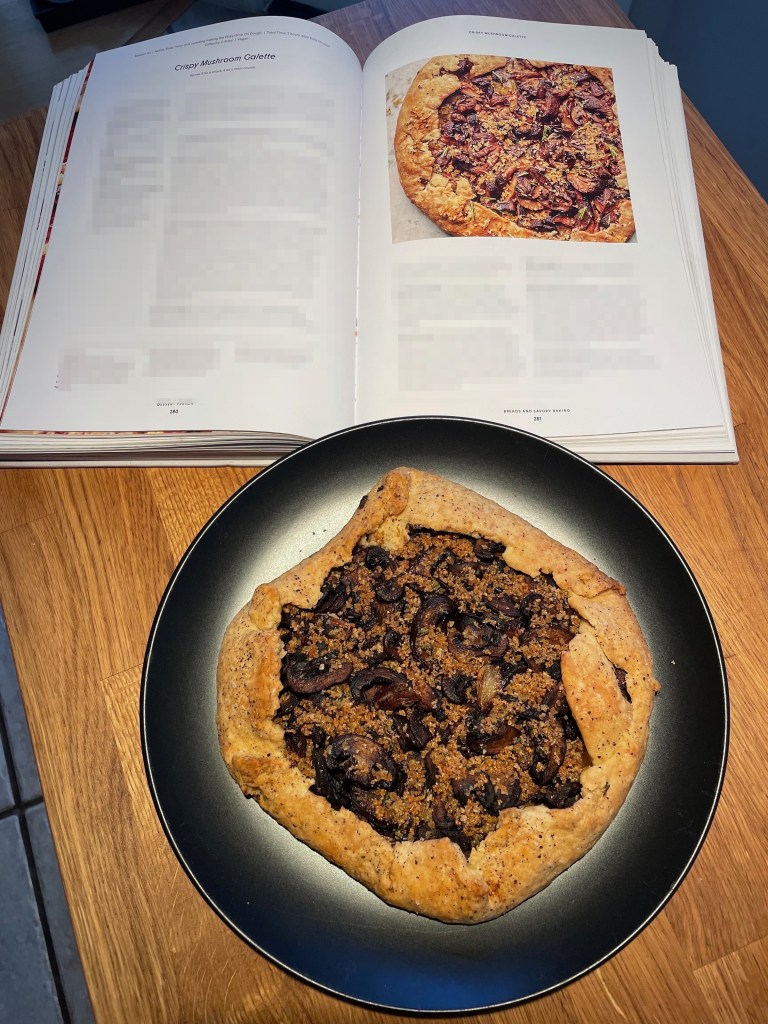
This is another fun savory recipe. It’s a bit more time consuming and difficult than the book suggests, but isn’t too bad. This is definitely worth giving a try as there are a lot of valuable techniques to learn (flaky olive oil dough, preparing leeks, cooking mushrooms, and folding a galette), despite not being one of the best recipes in the book.
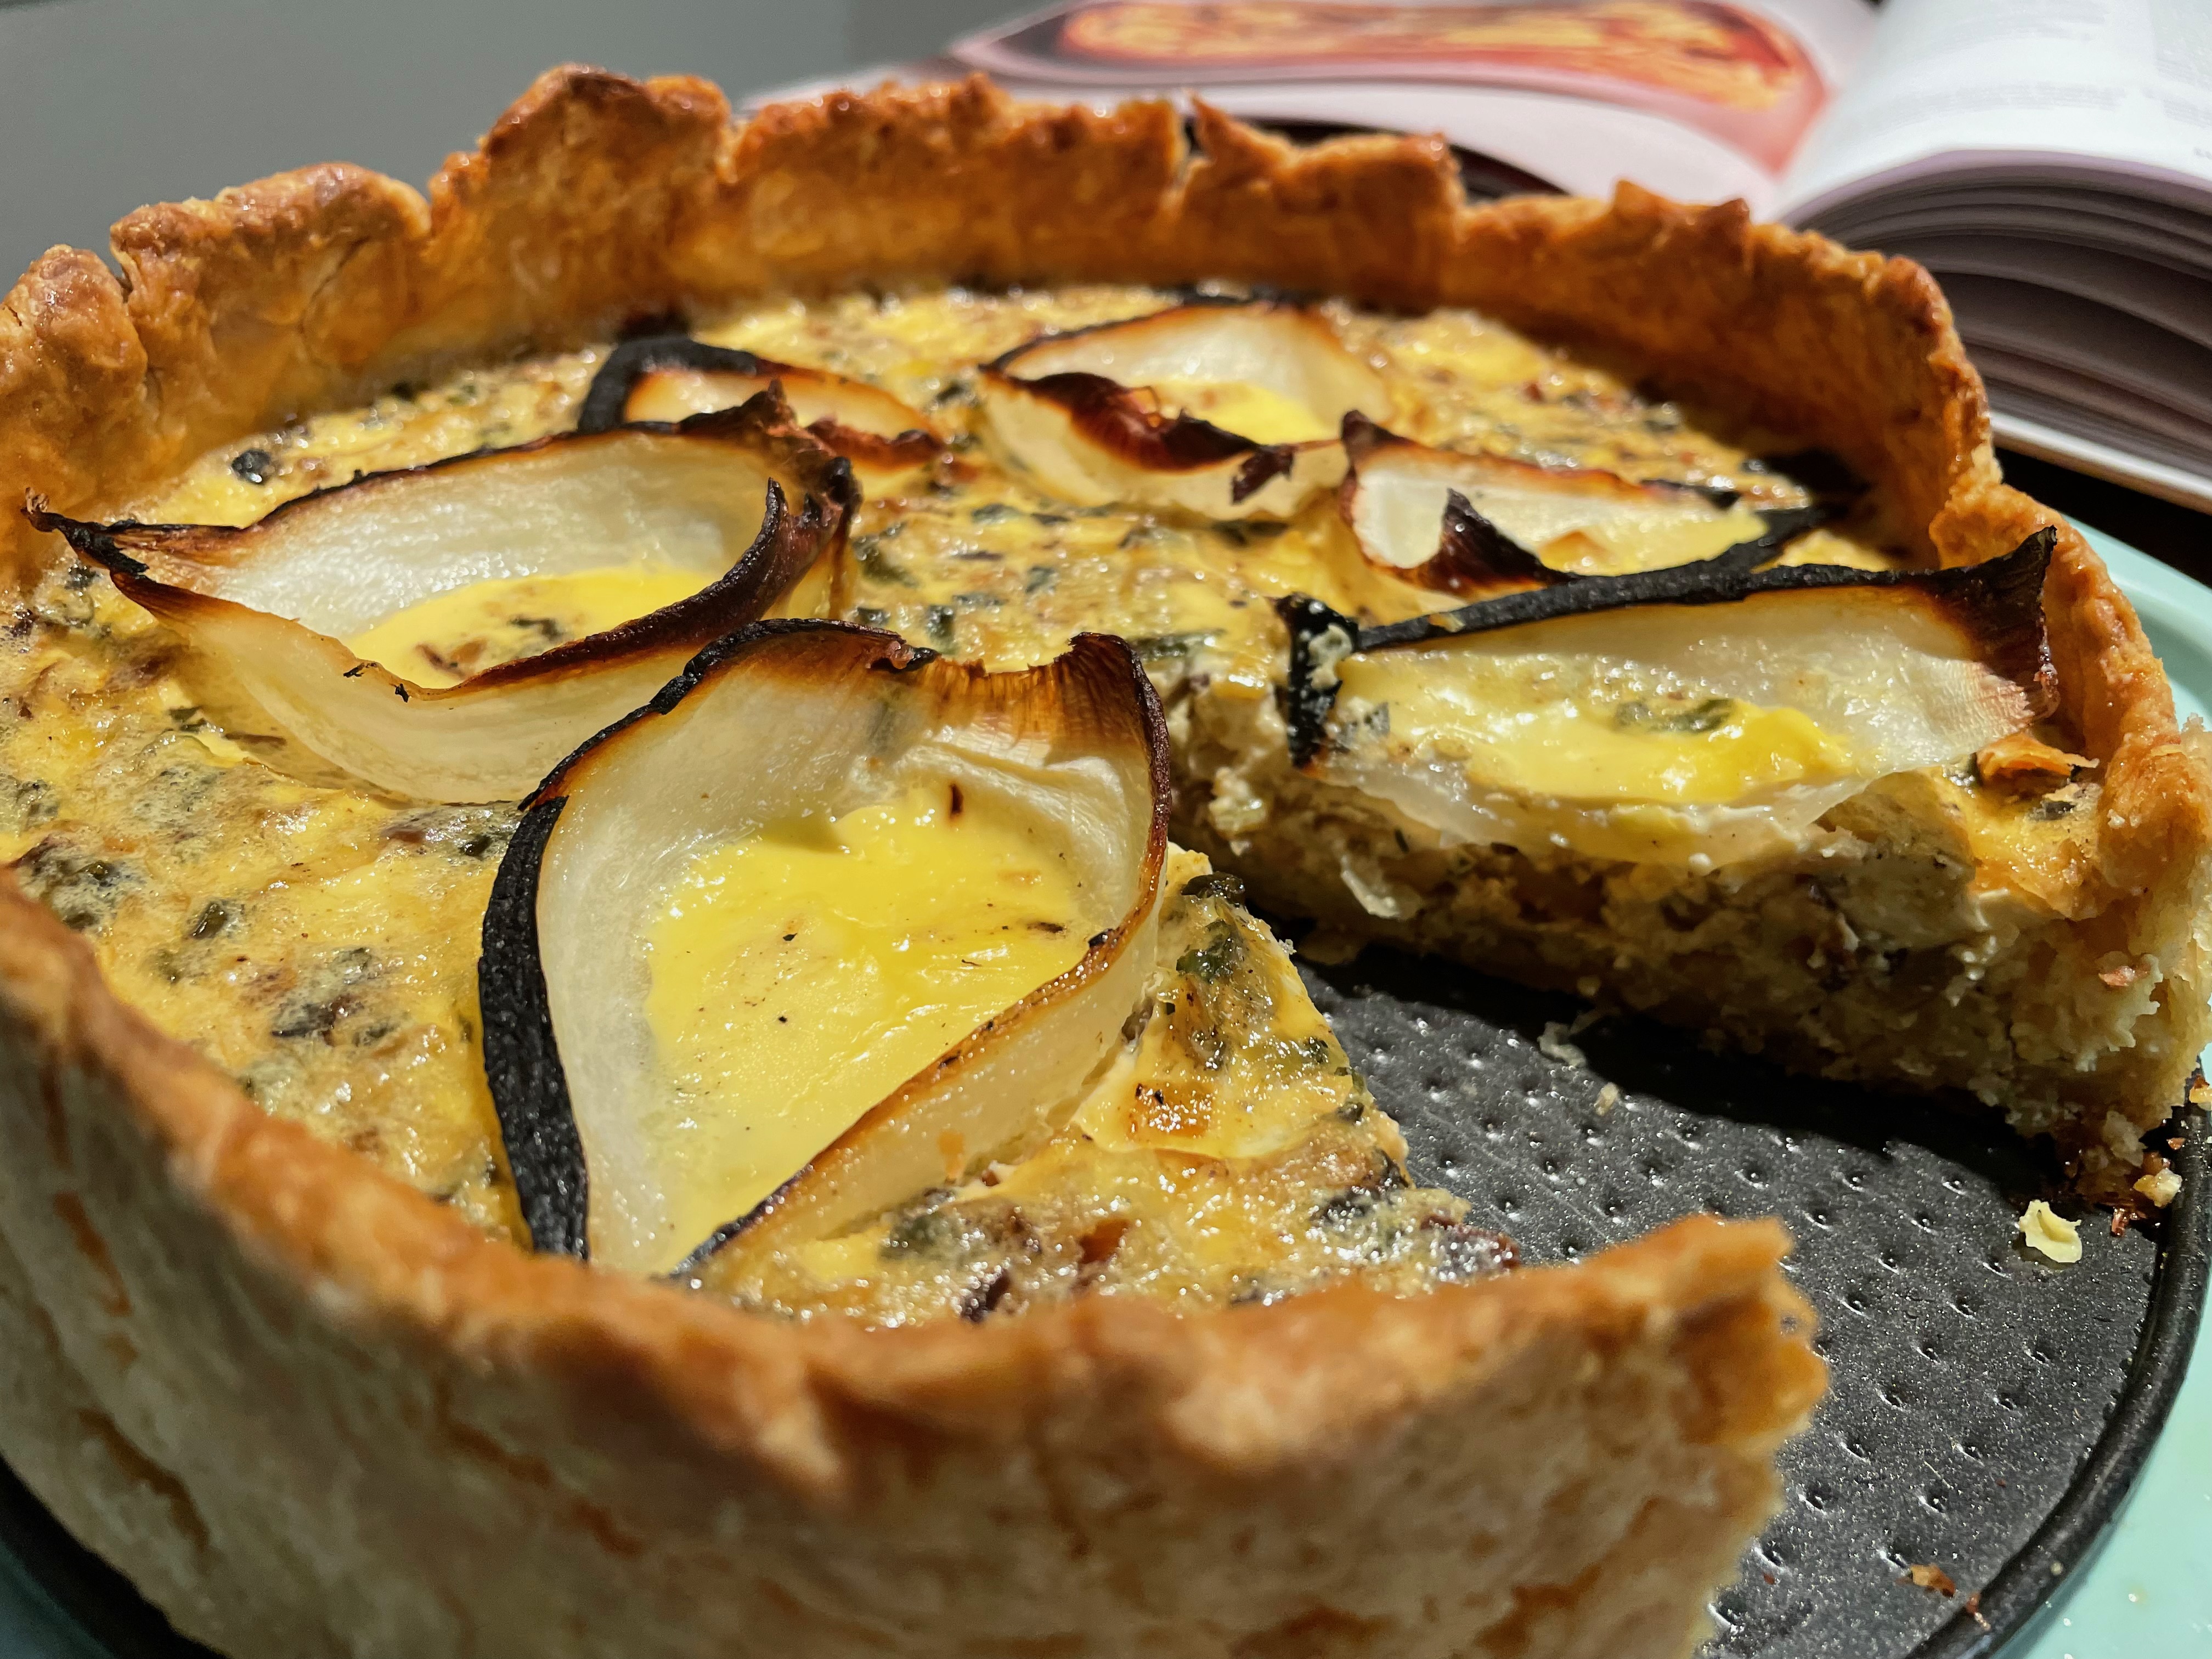
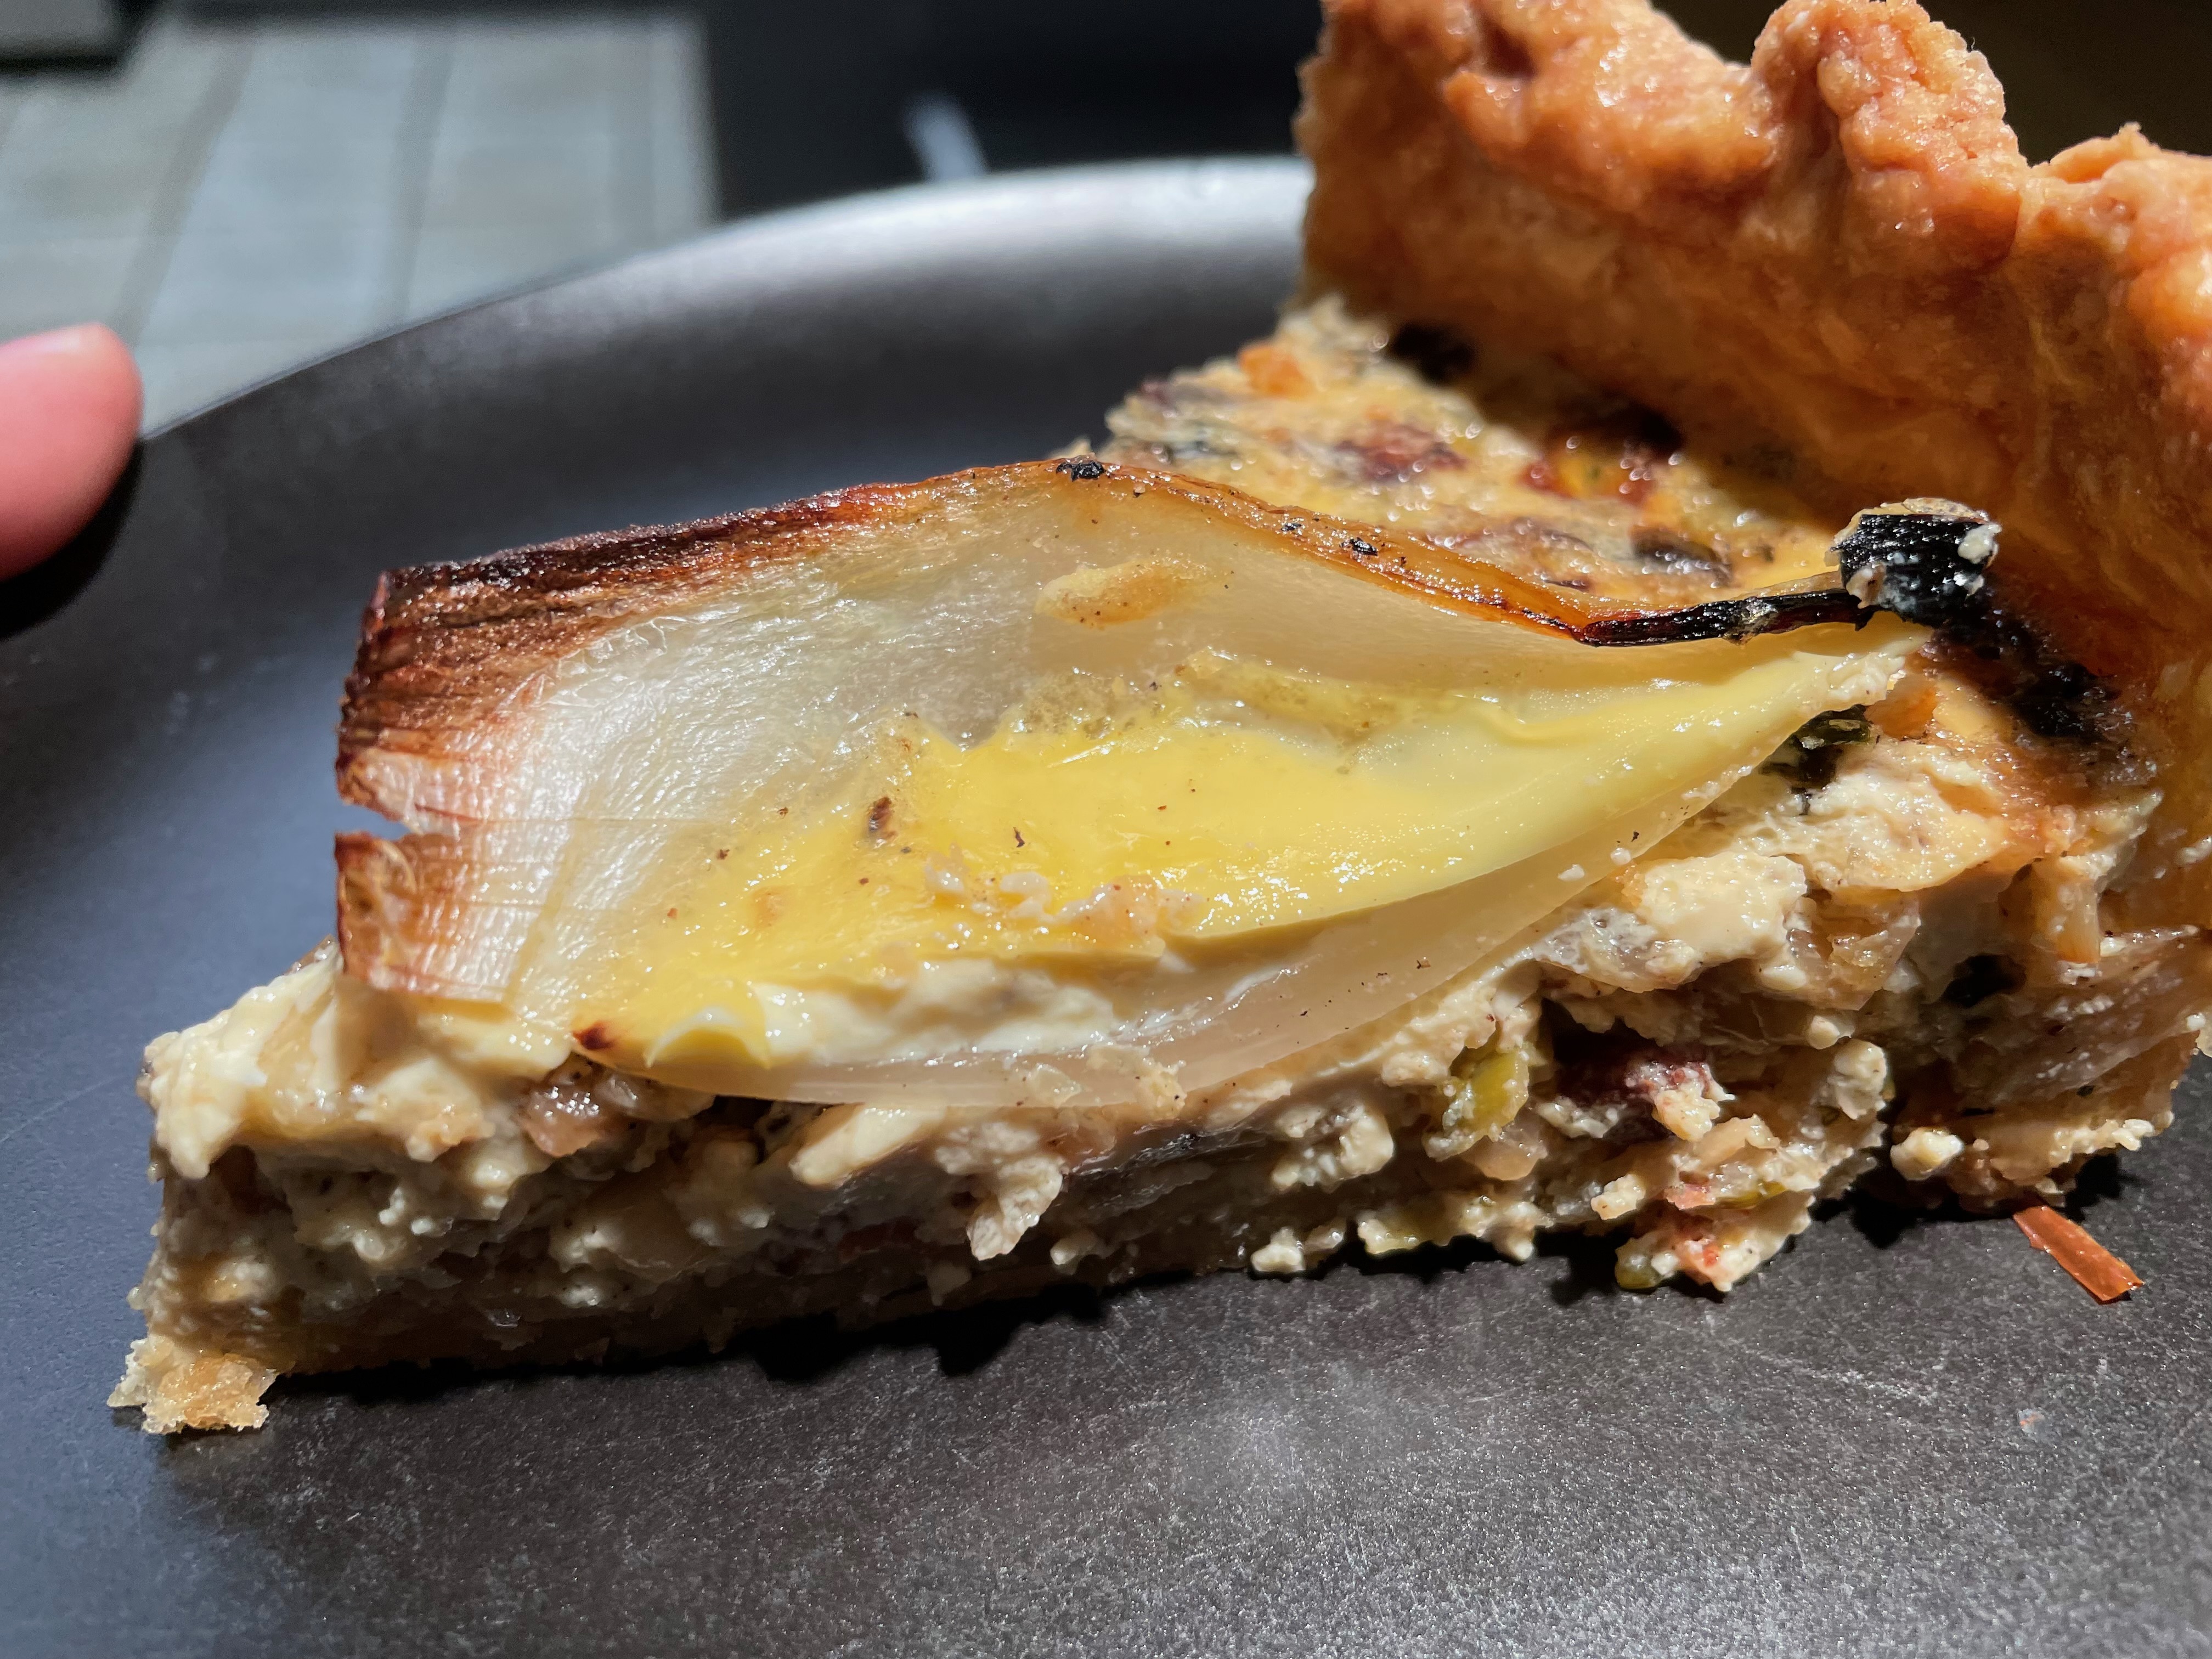
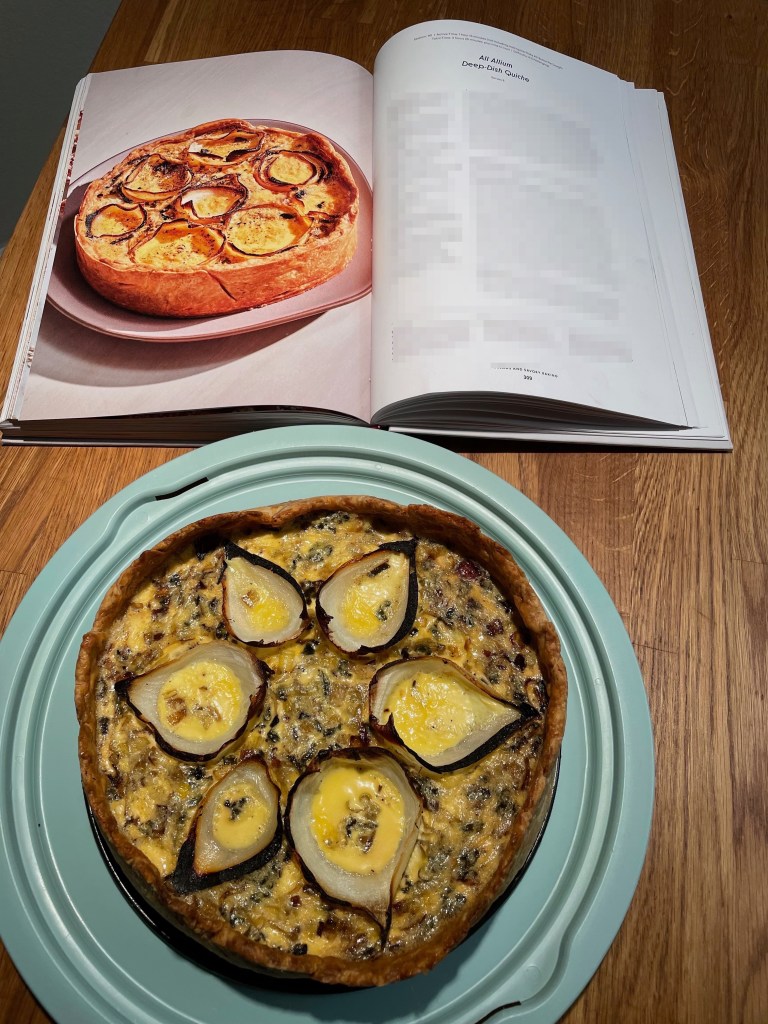
This is one of the best savory/not-totally-a-dessert recipes in the book. The base is a flakey, buttery pie dough and the allium-filling (think onion, scallions, leek, garlic) is especially flavorful. Be warned though, this recipe is quite an undertaking. While no single step is particularly difficult, there are many steps and a fair amount of work. It’s definitely worth the effort though.
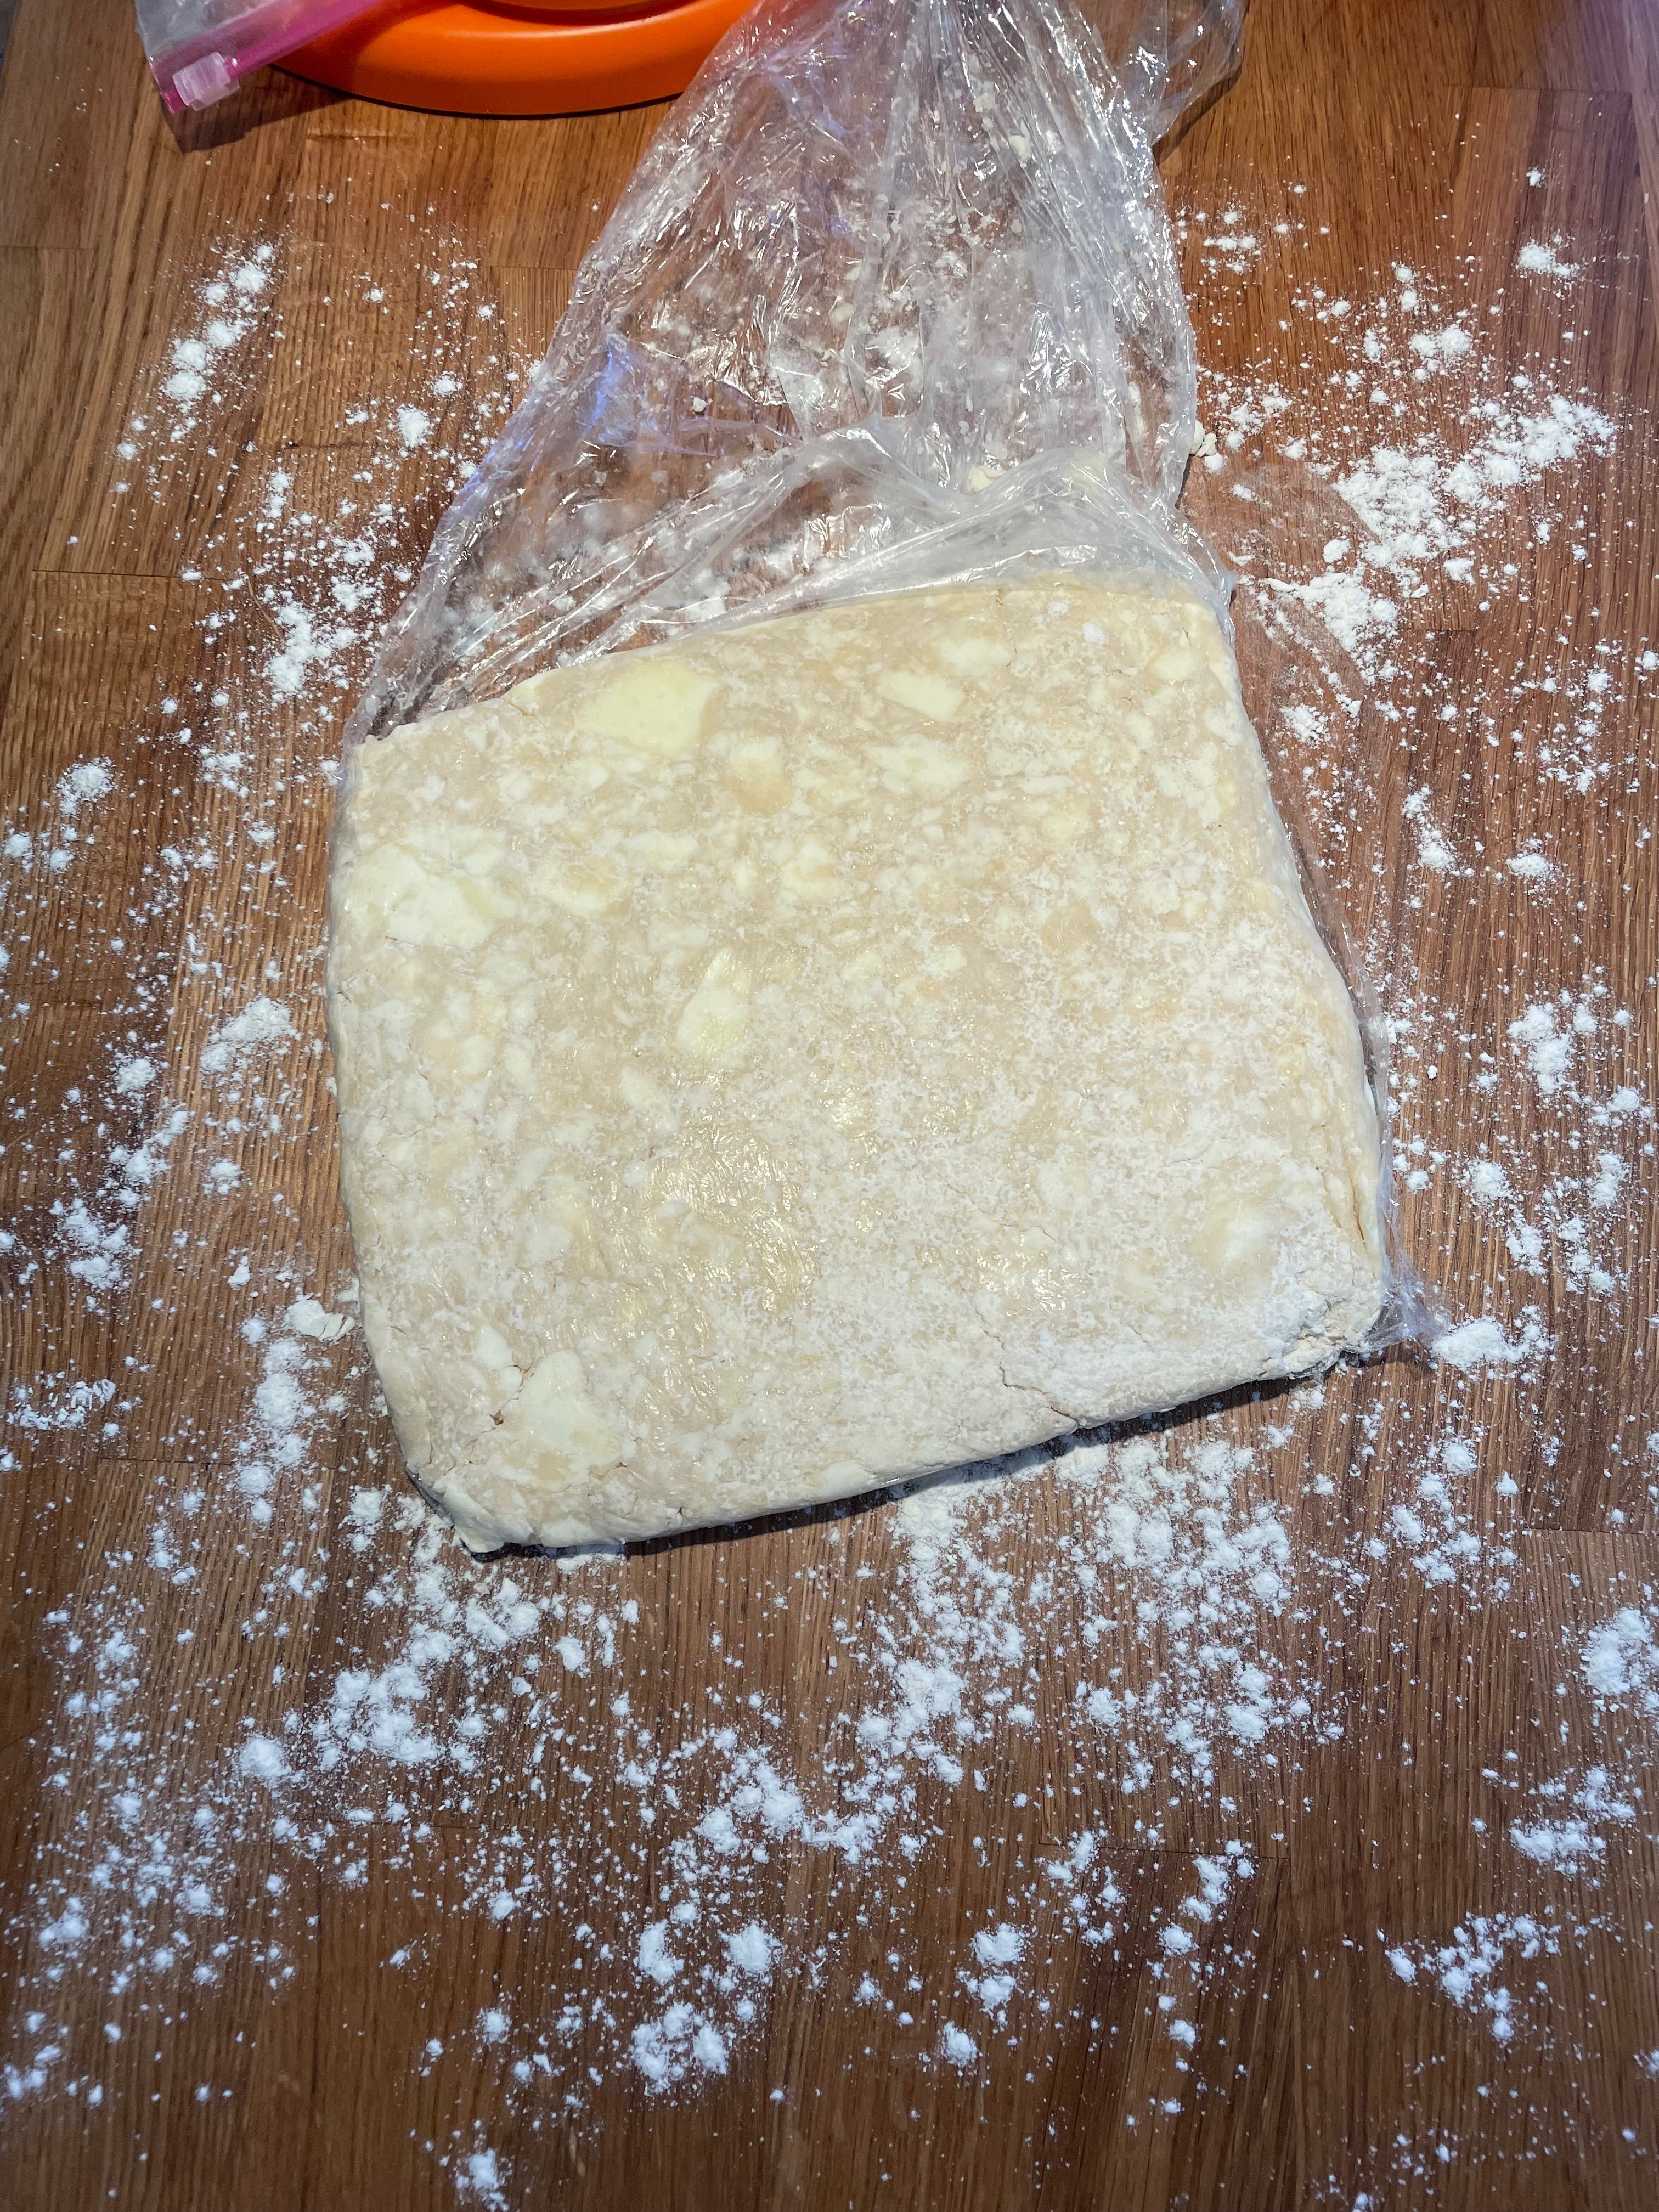
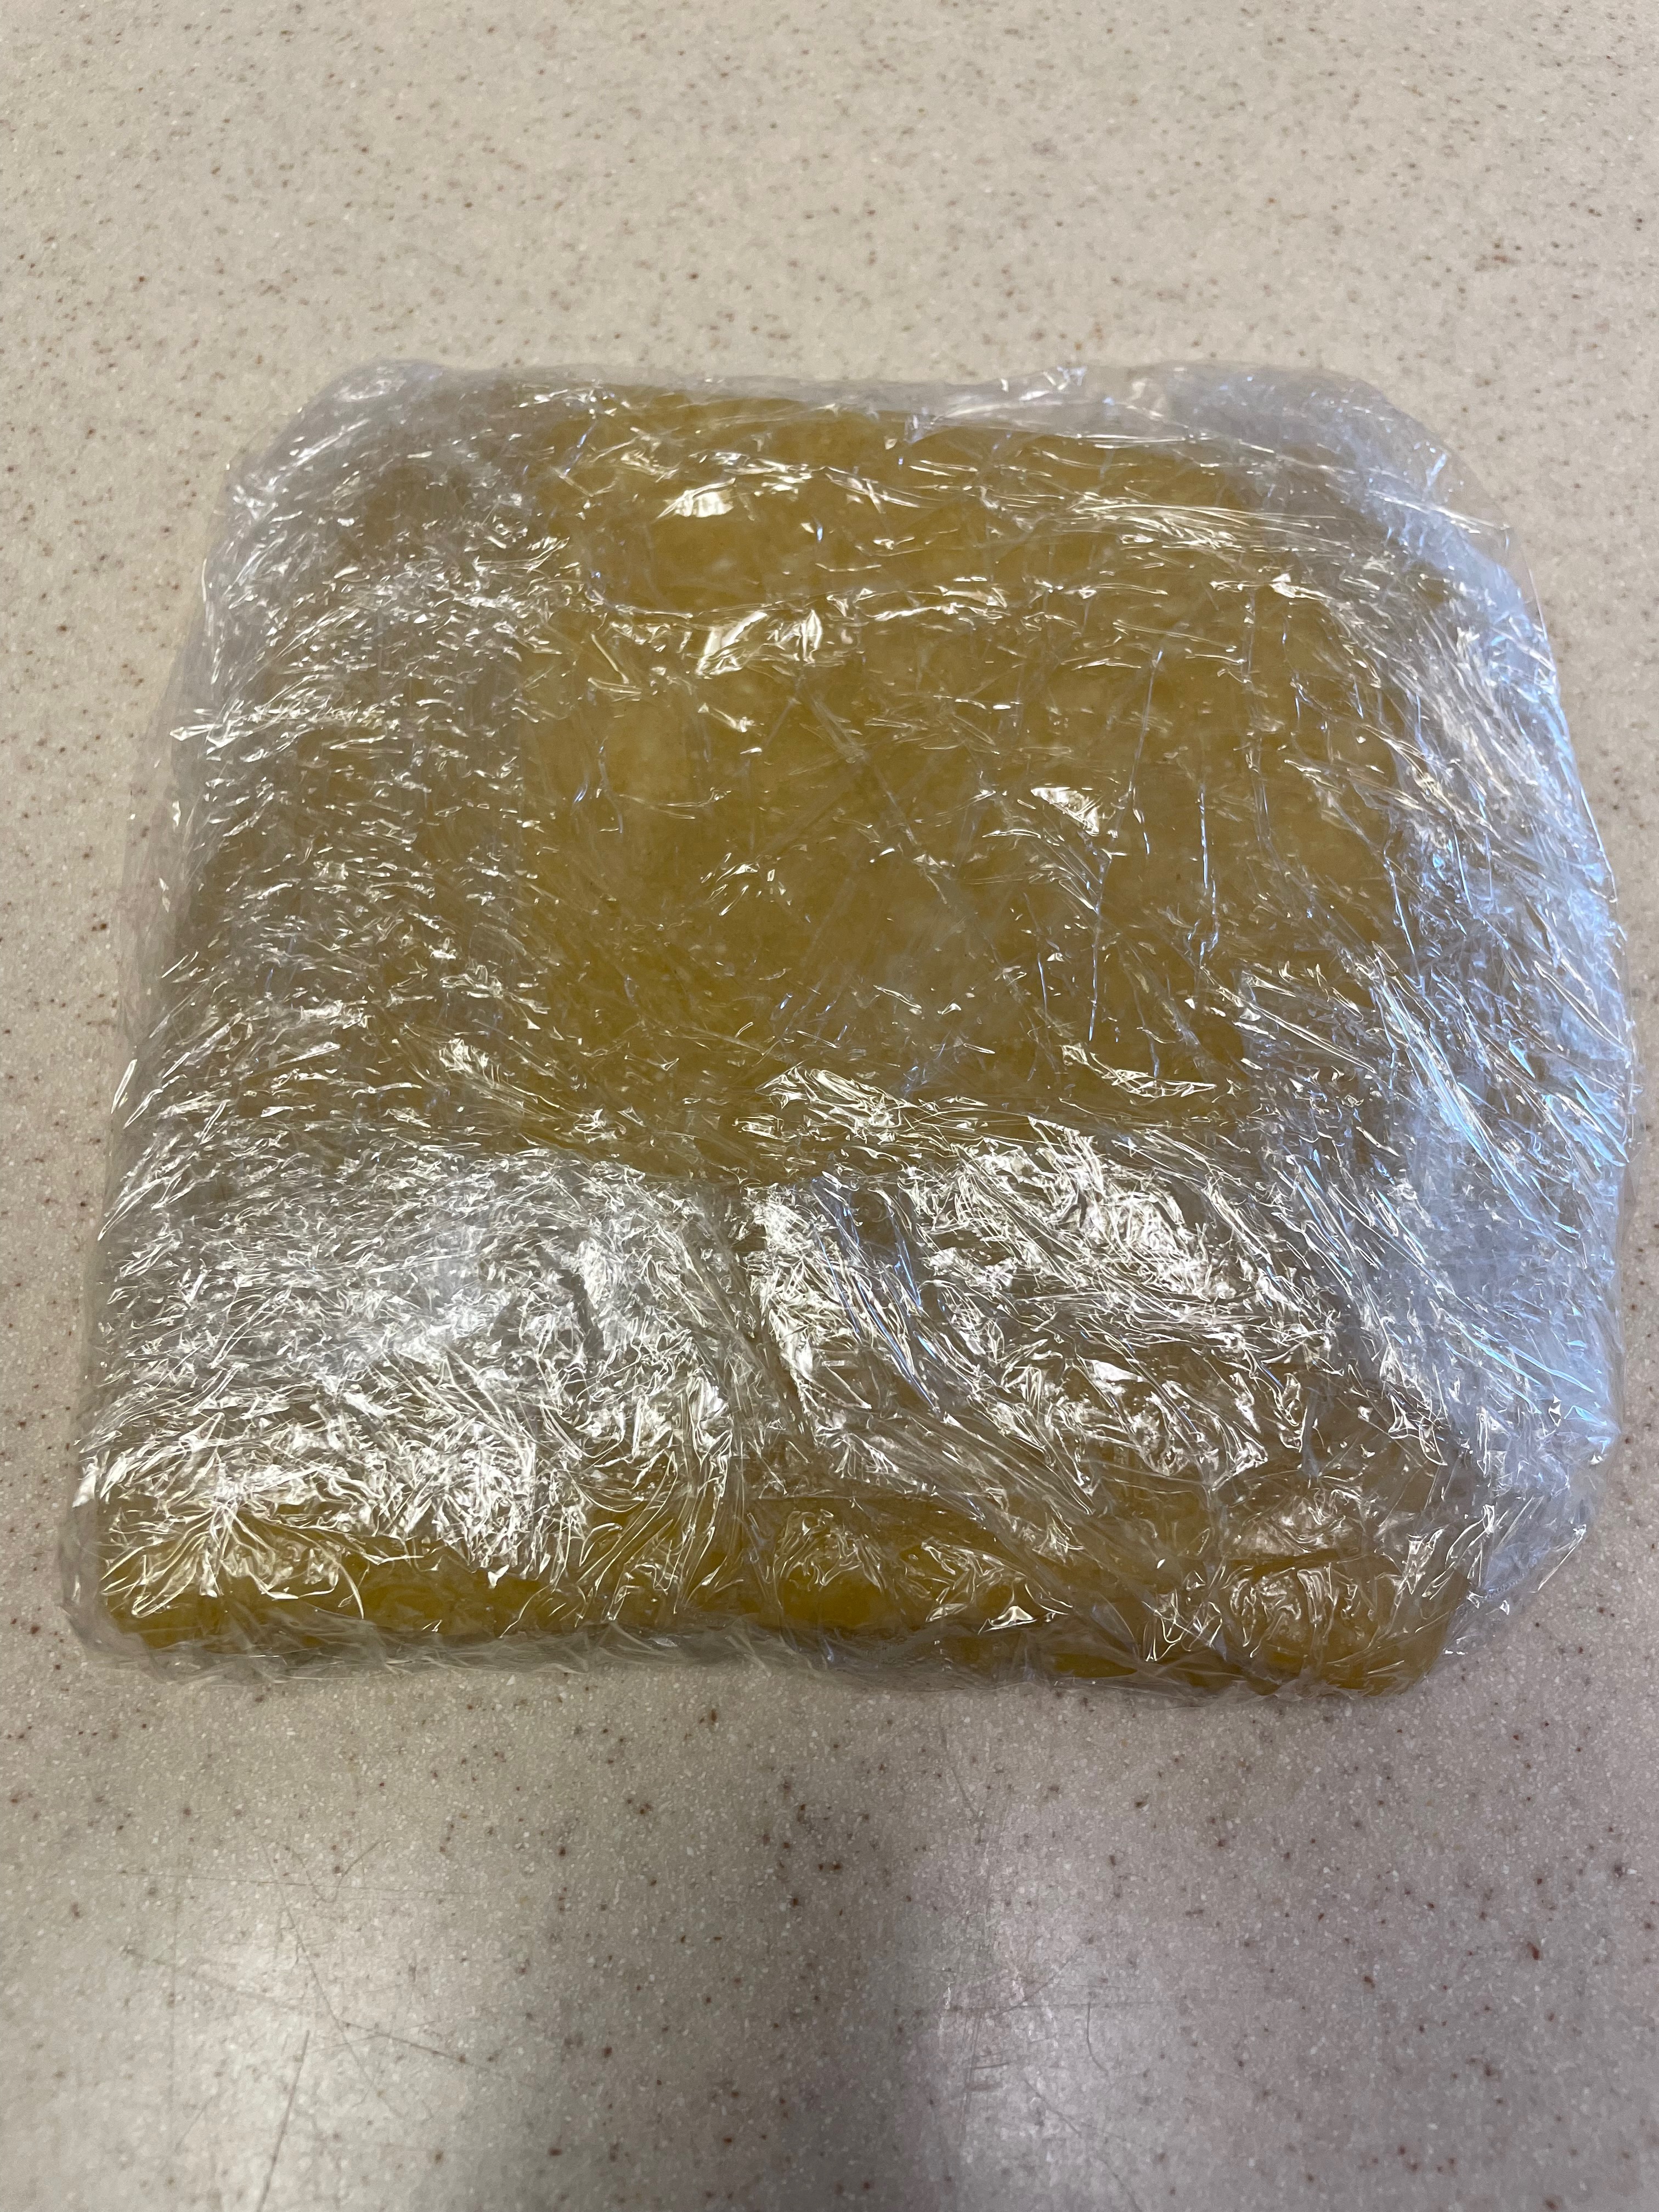
Tip: If the dough just won’t come together, then add a bit more water and stir. But be careful not to add too much though. The goal is to add as little as water as possible while still having it come together.
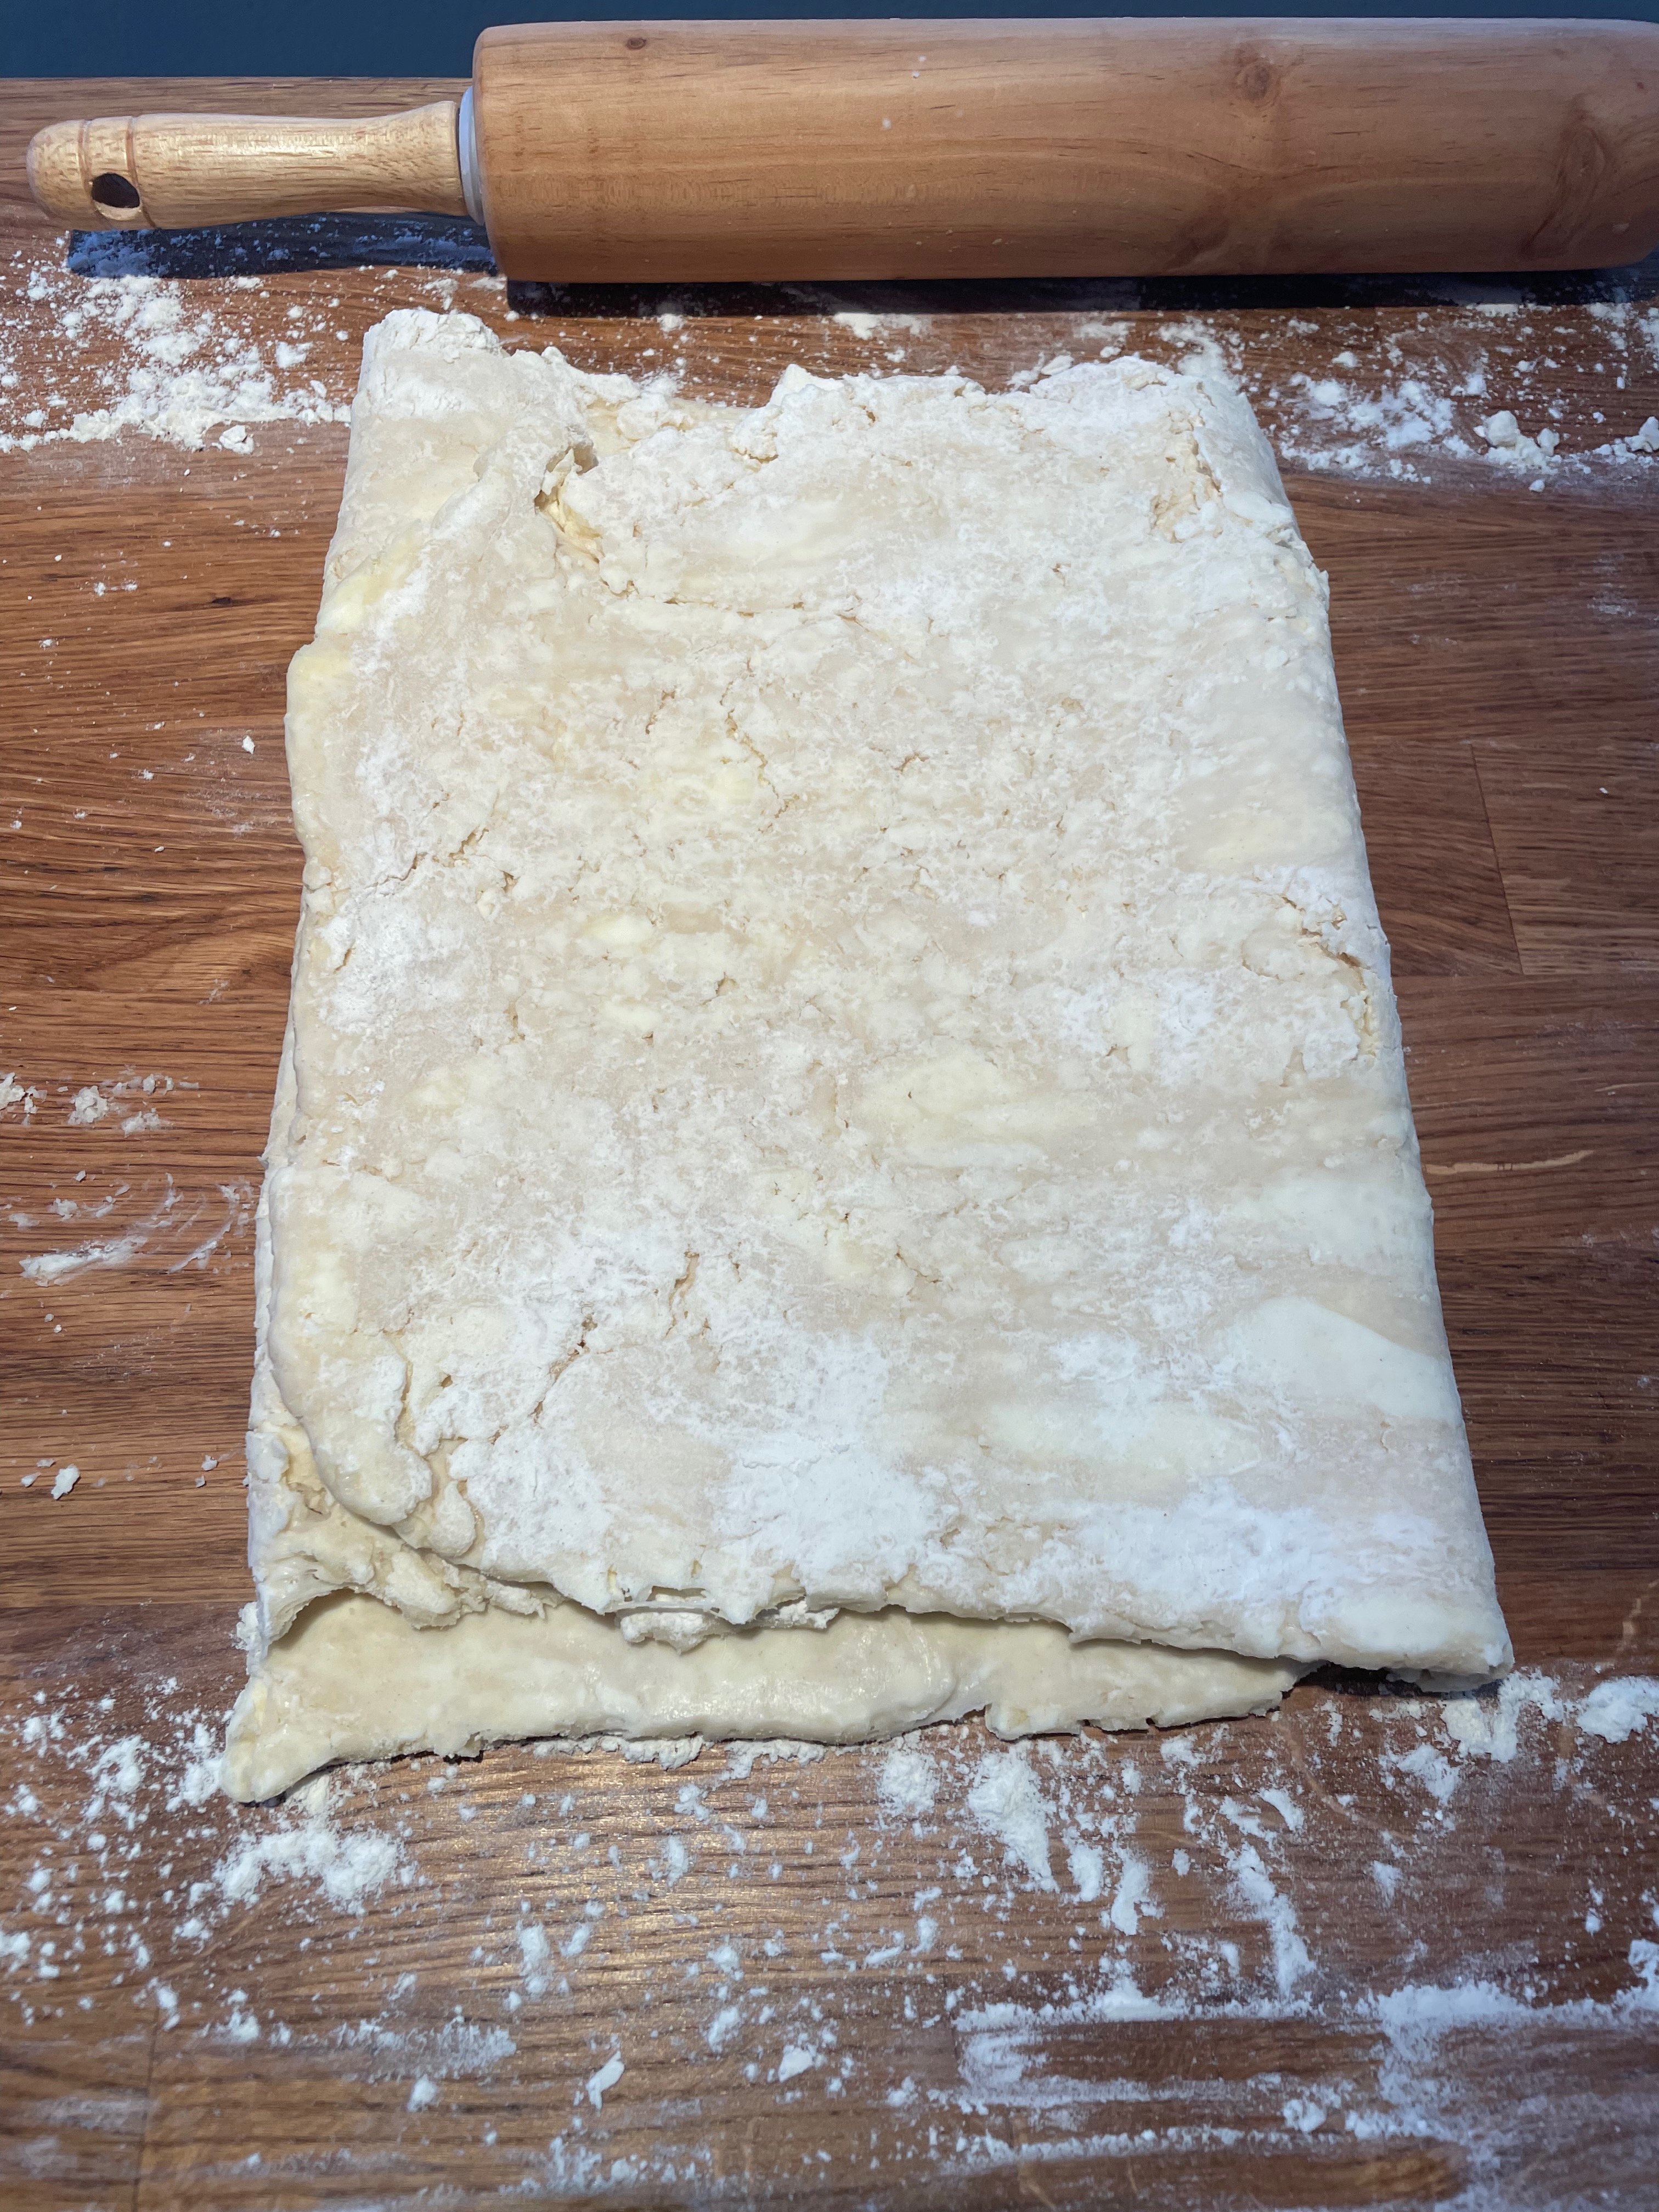
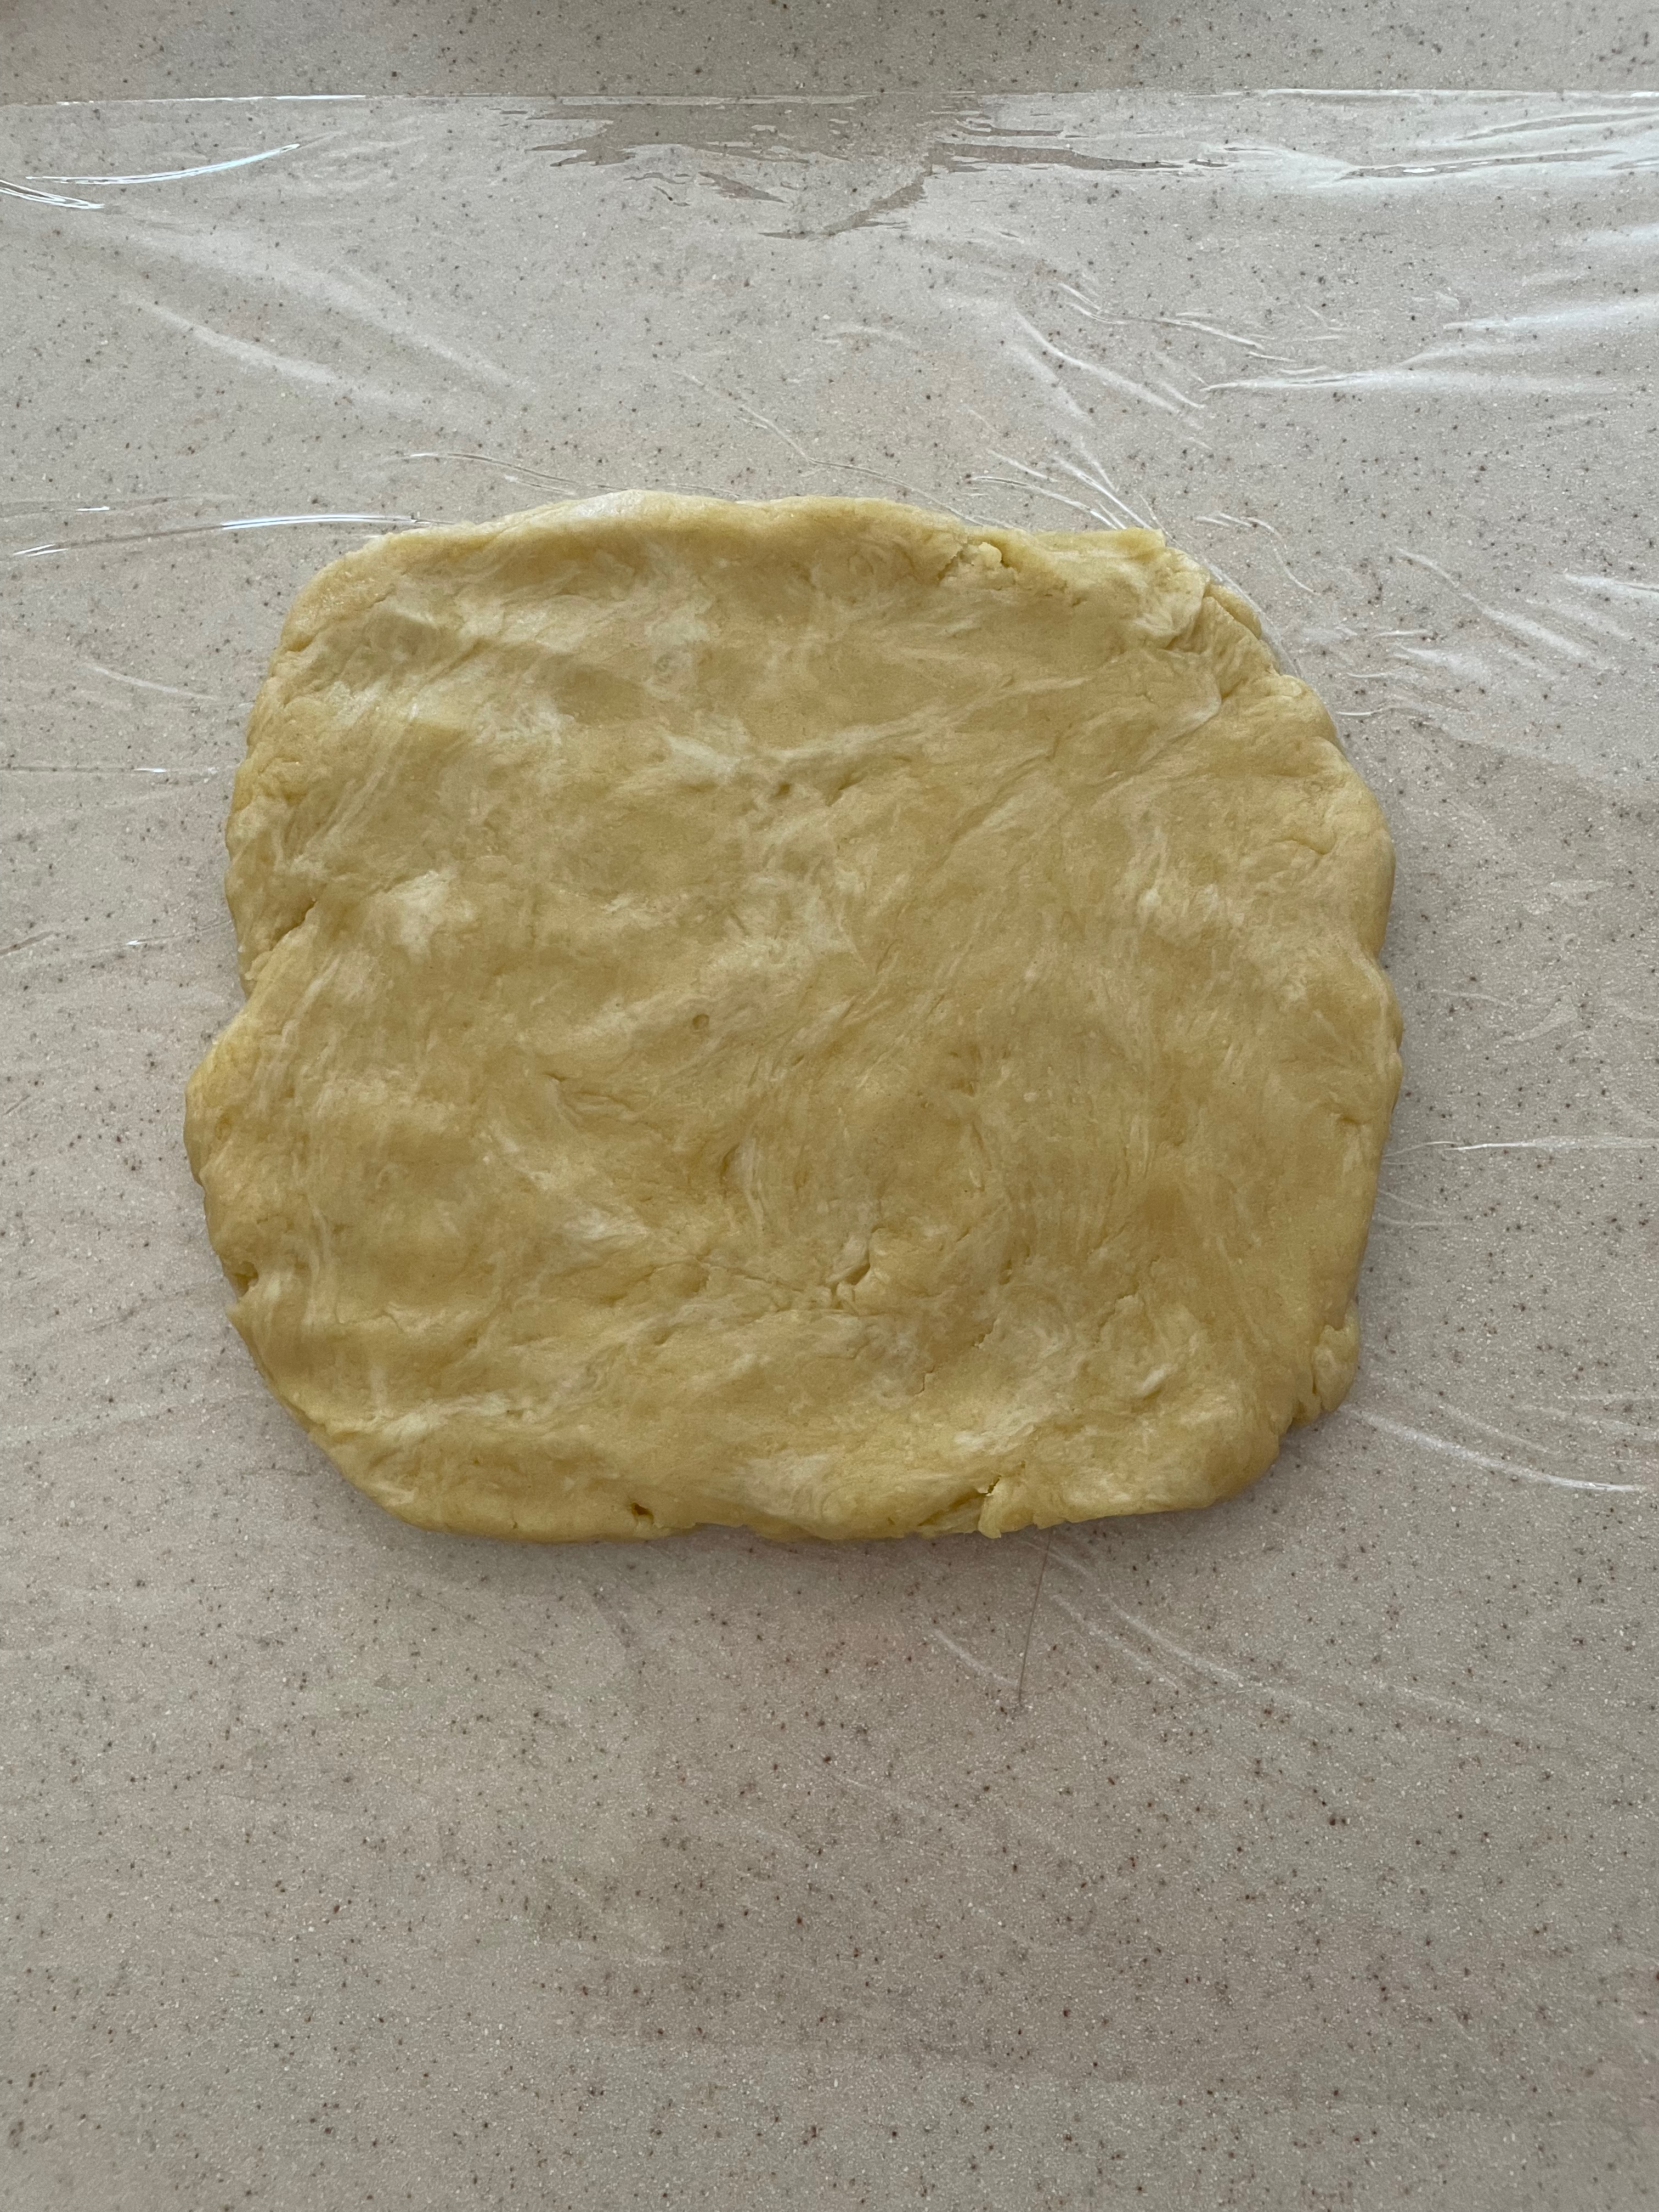
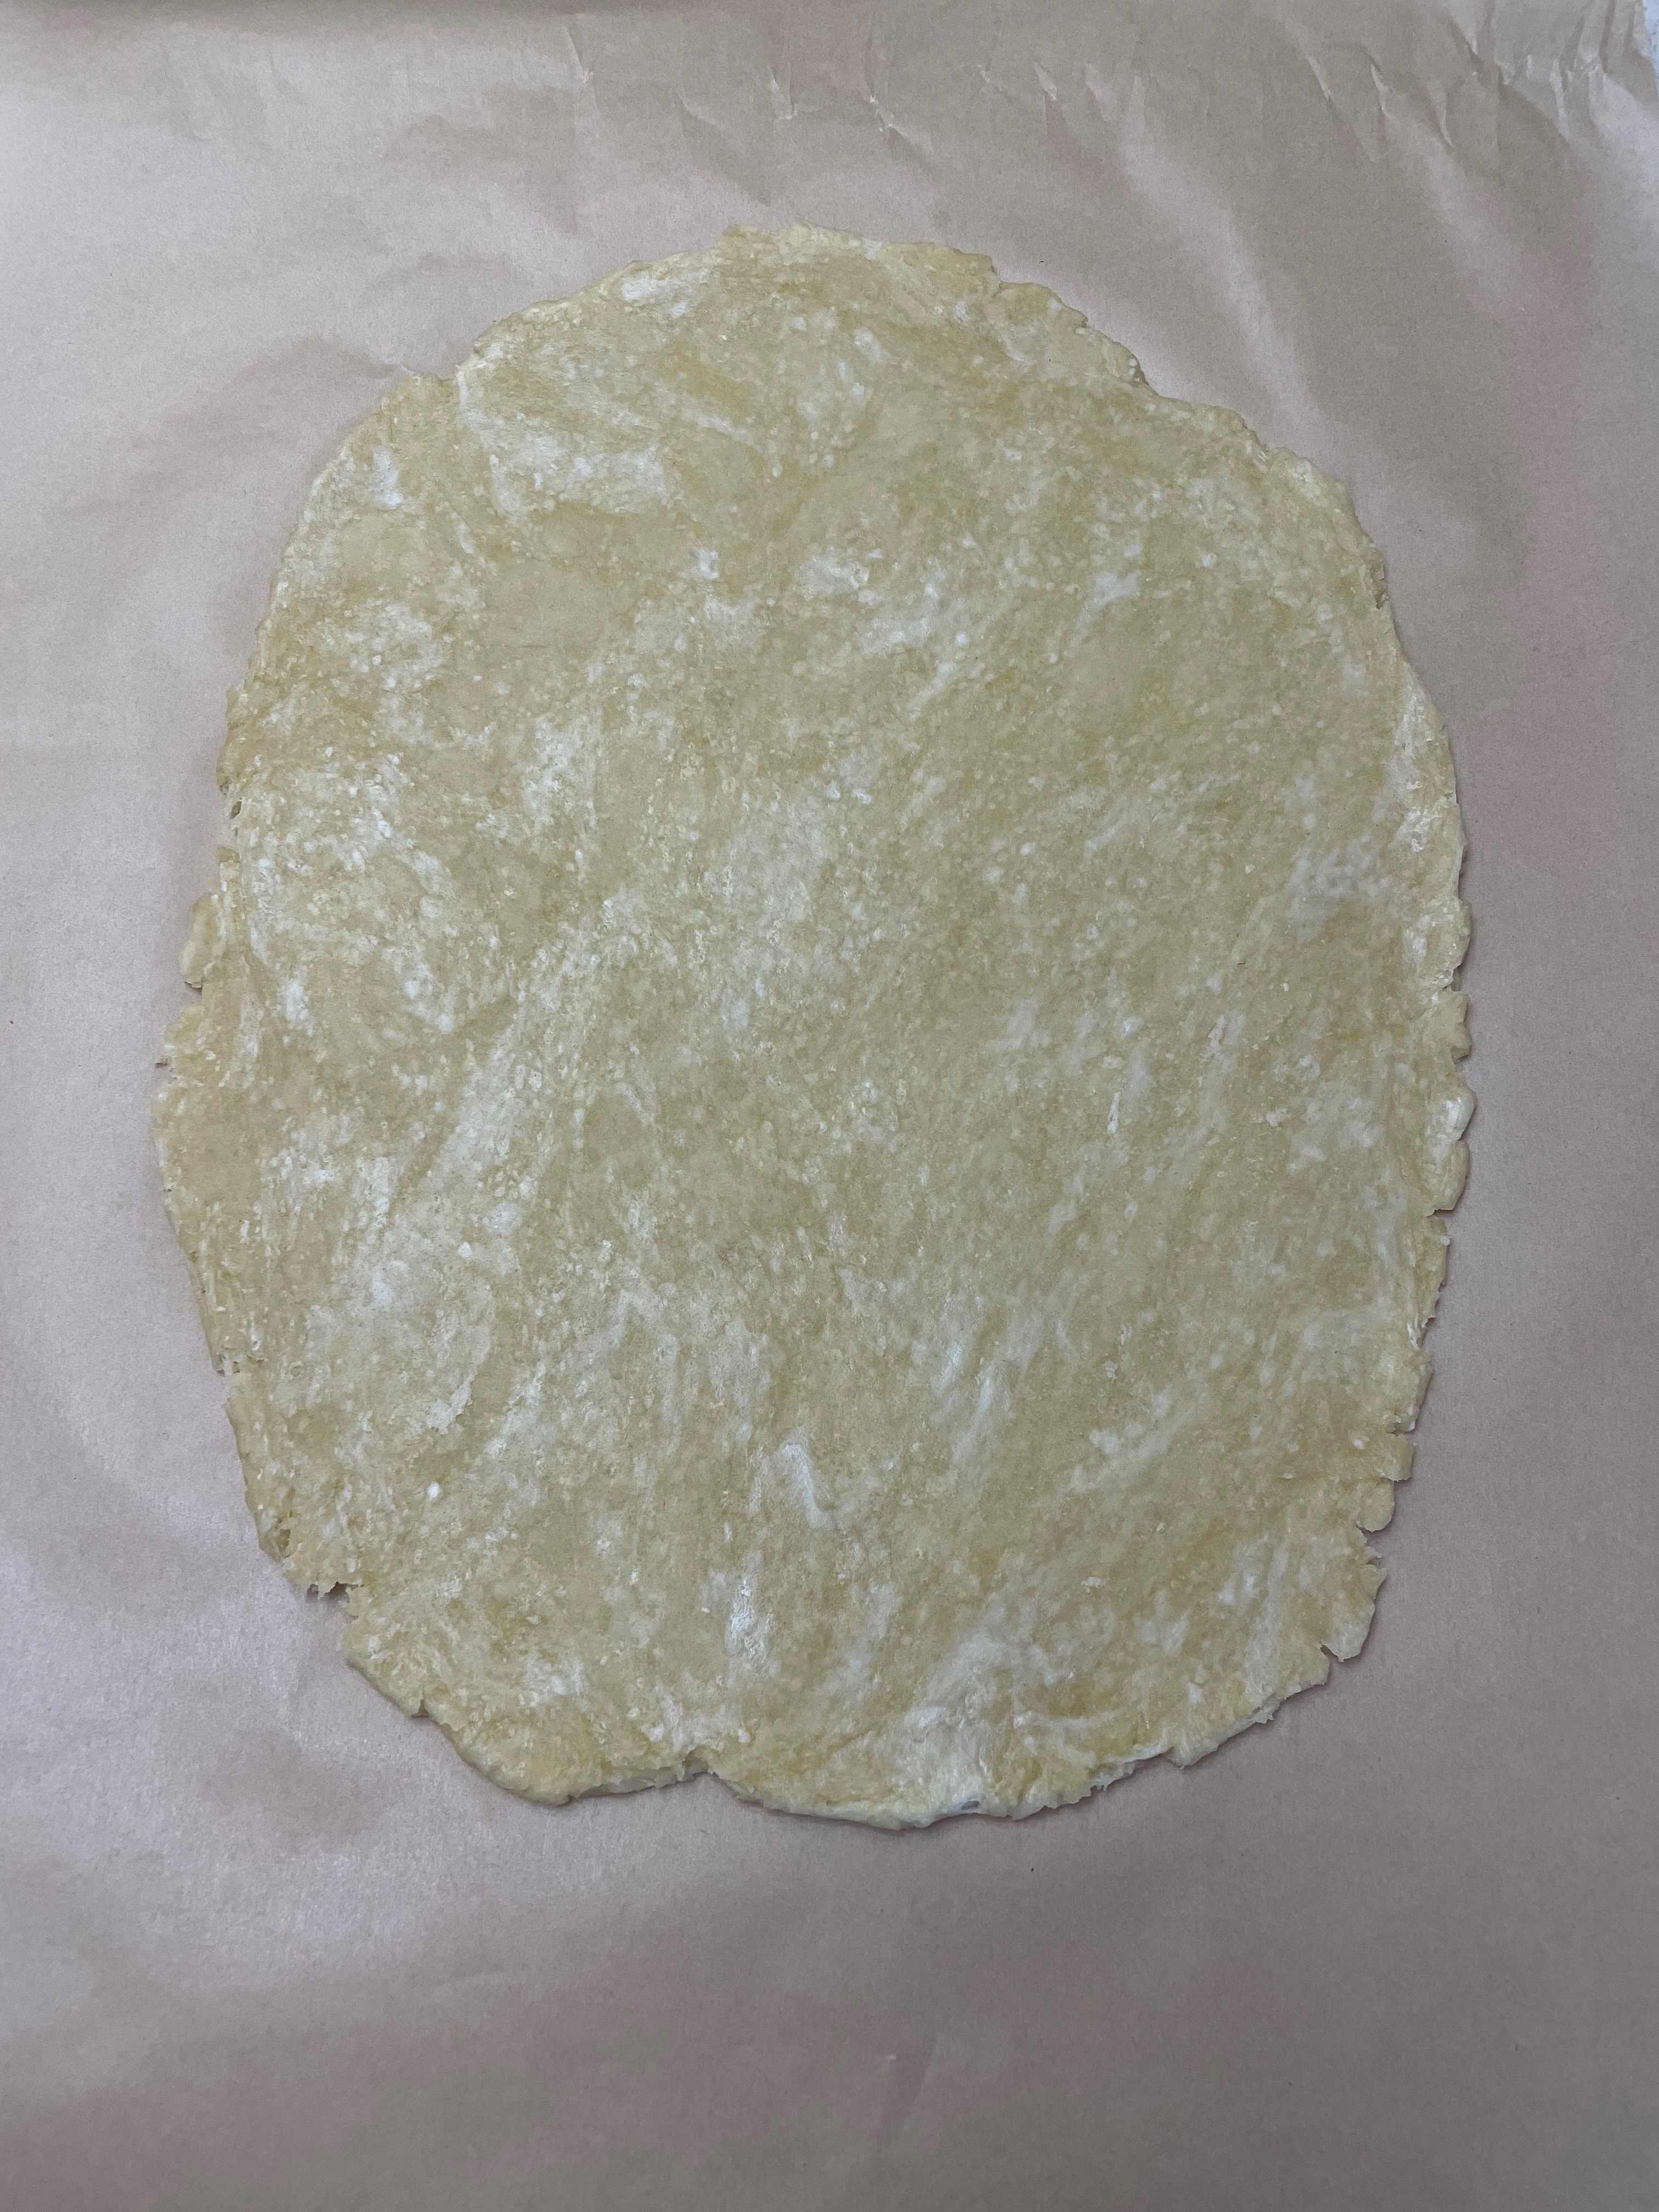
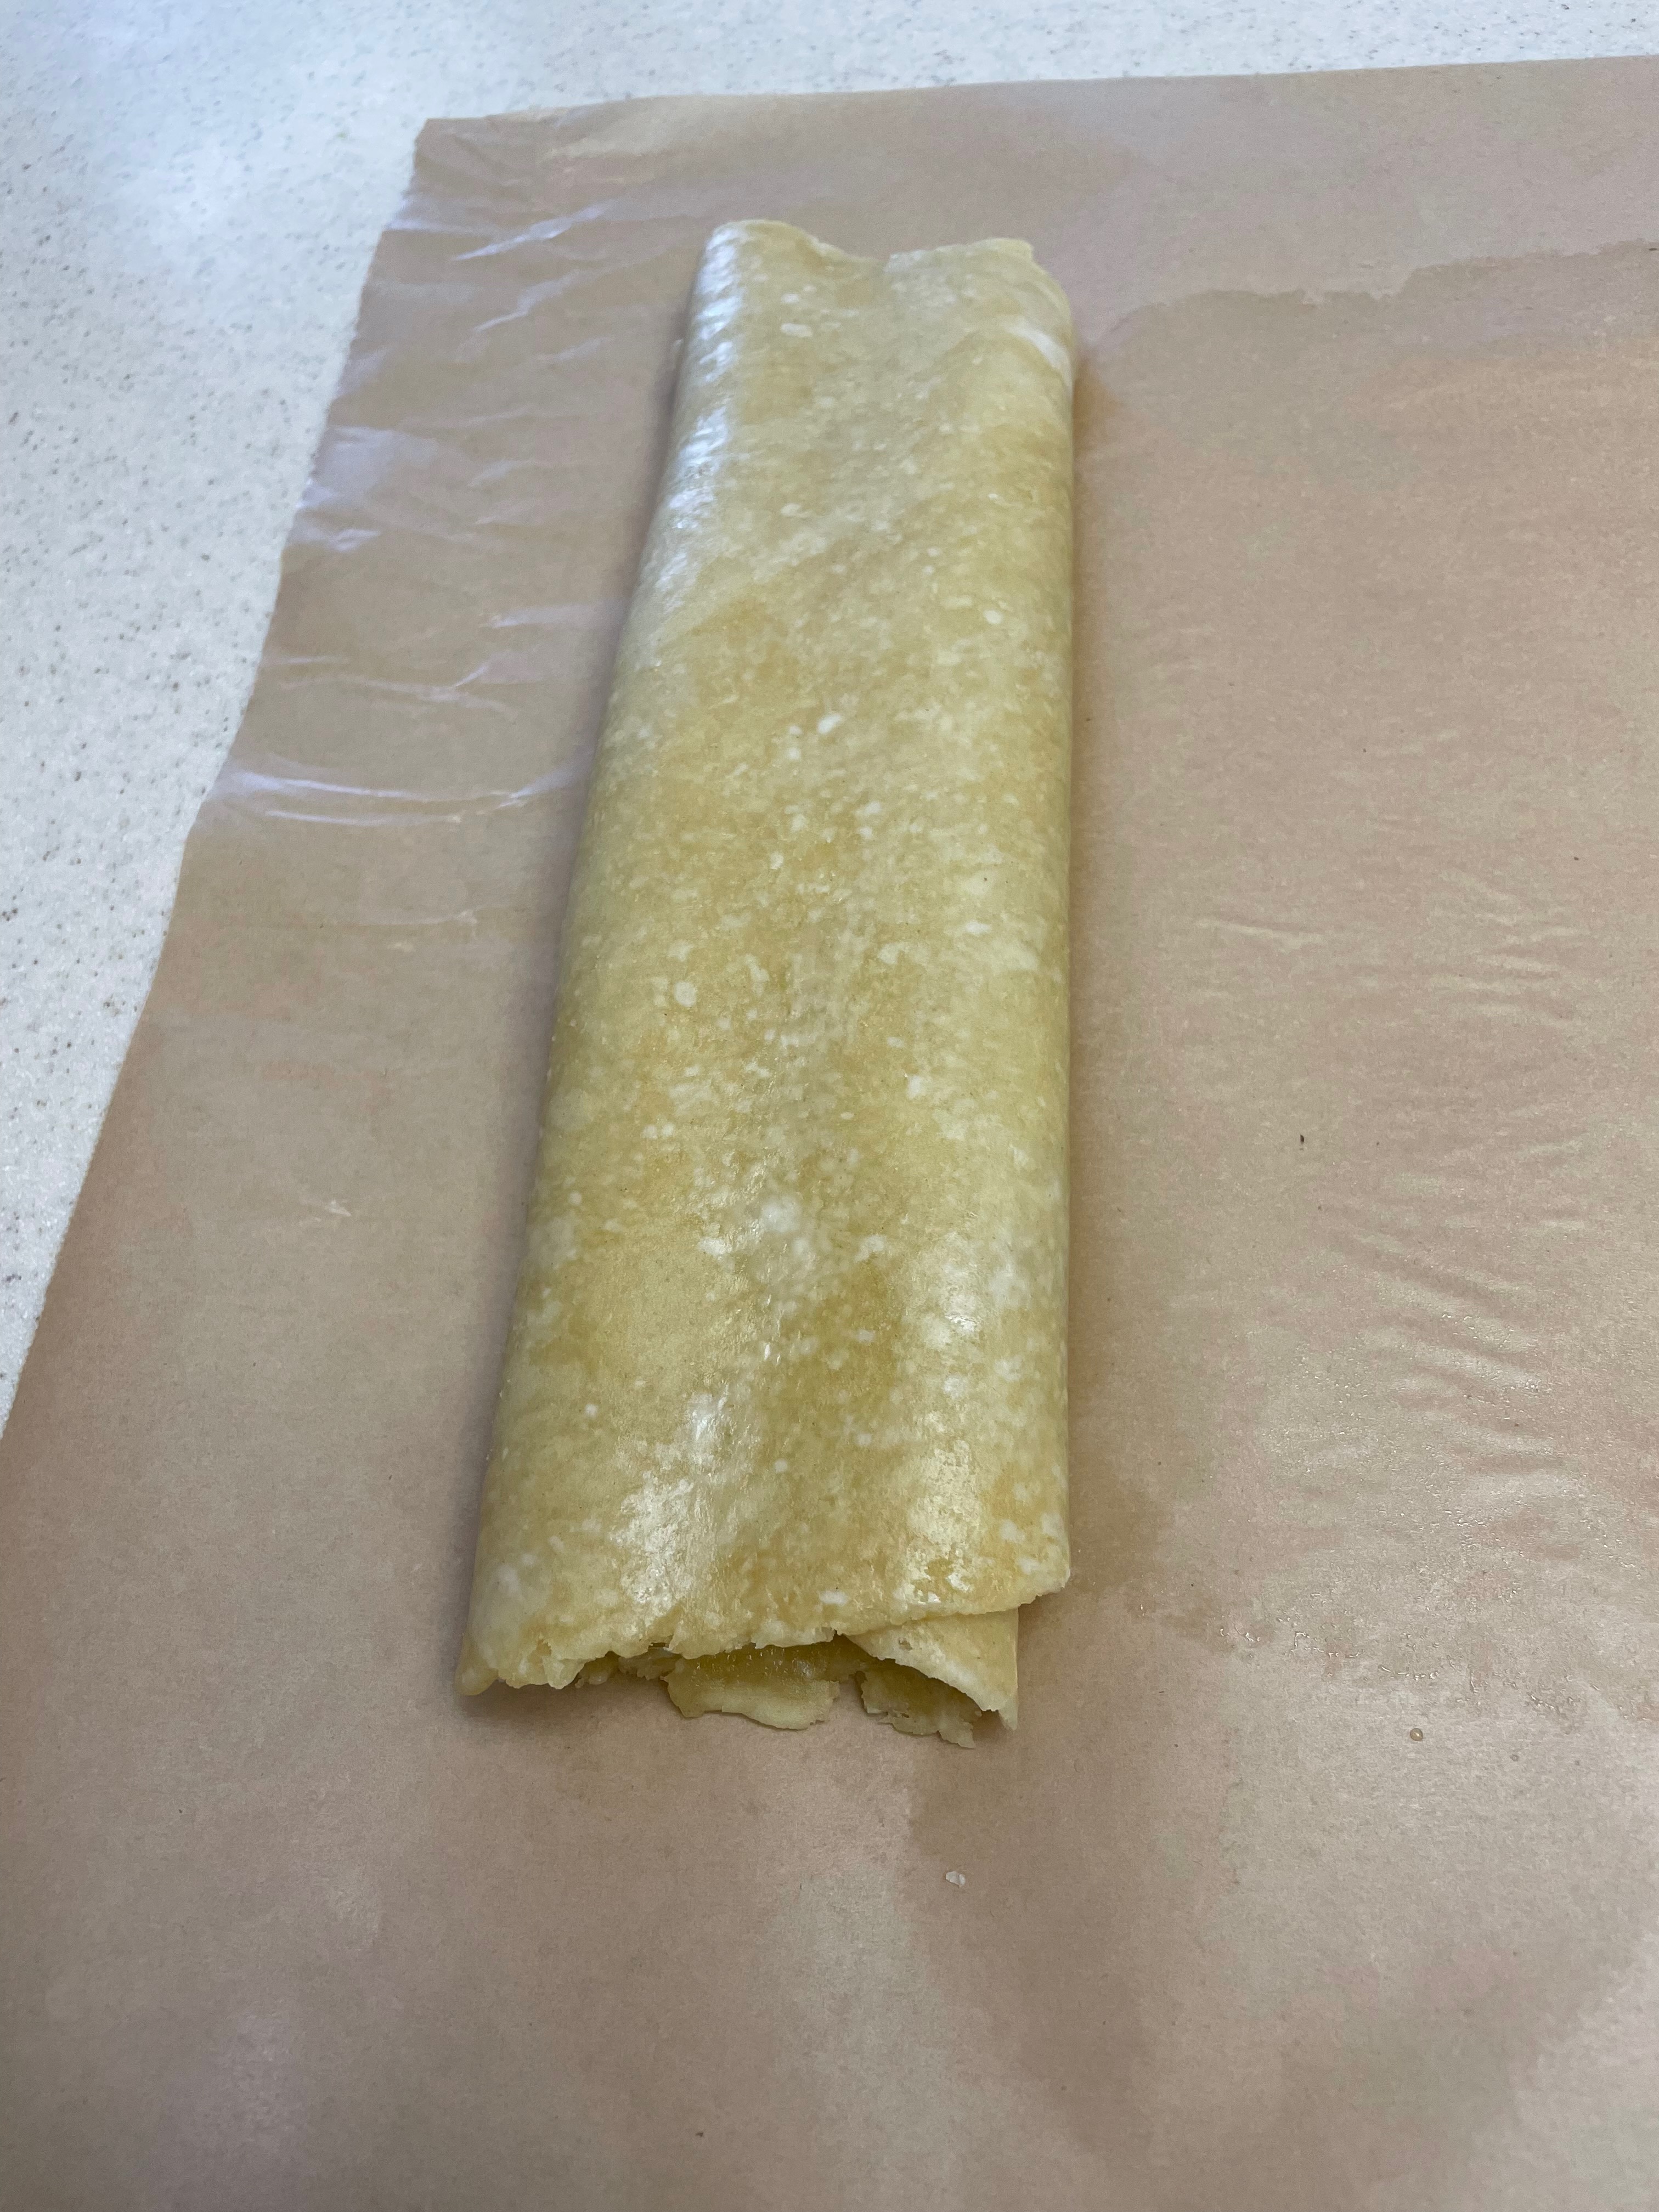
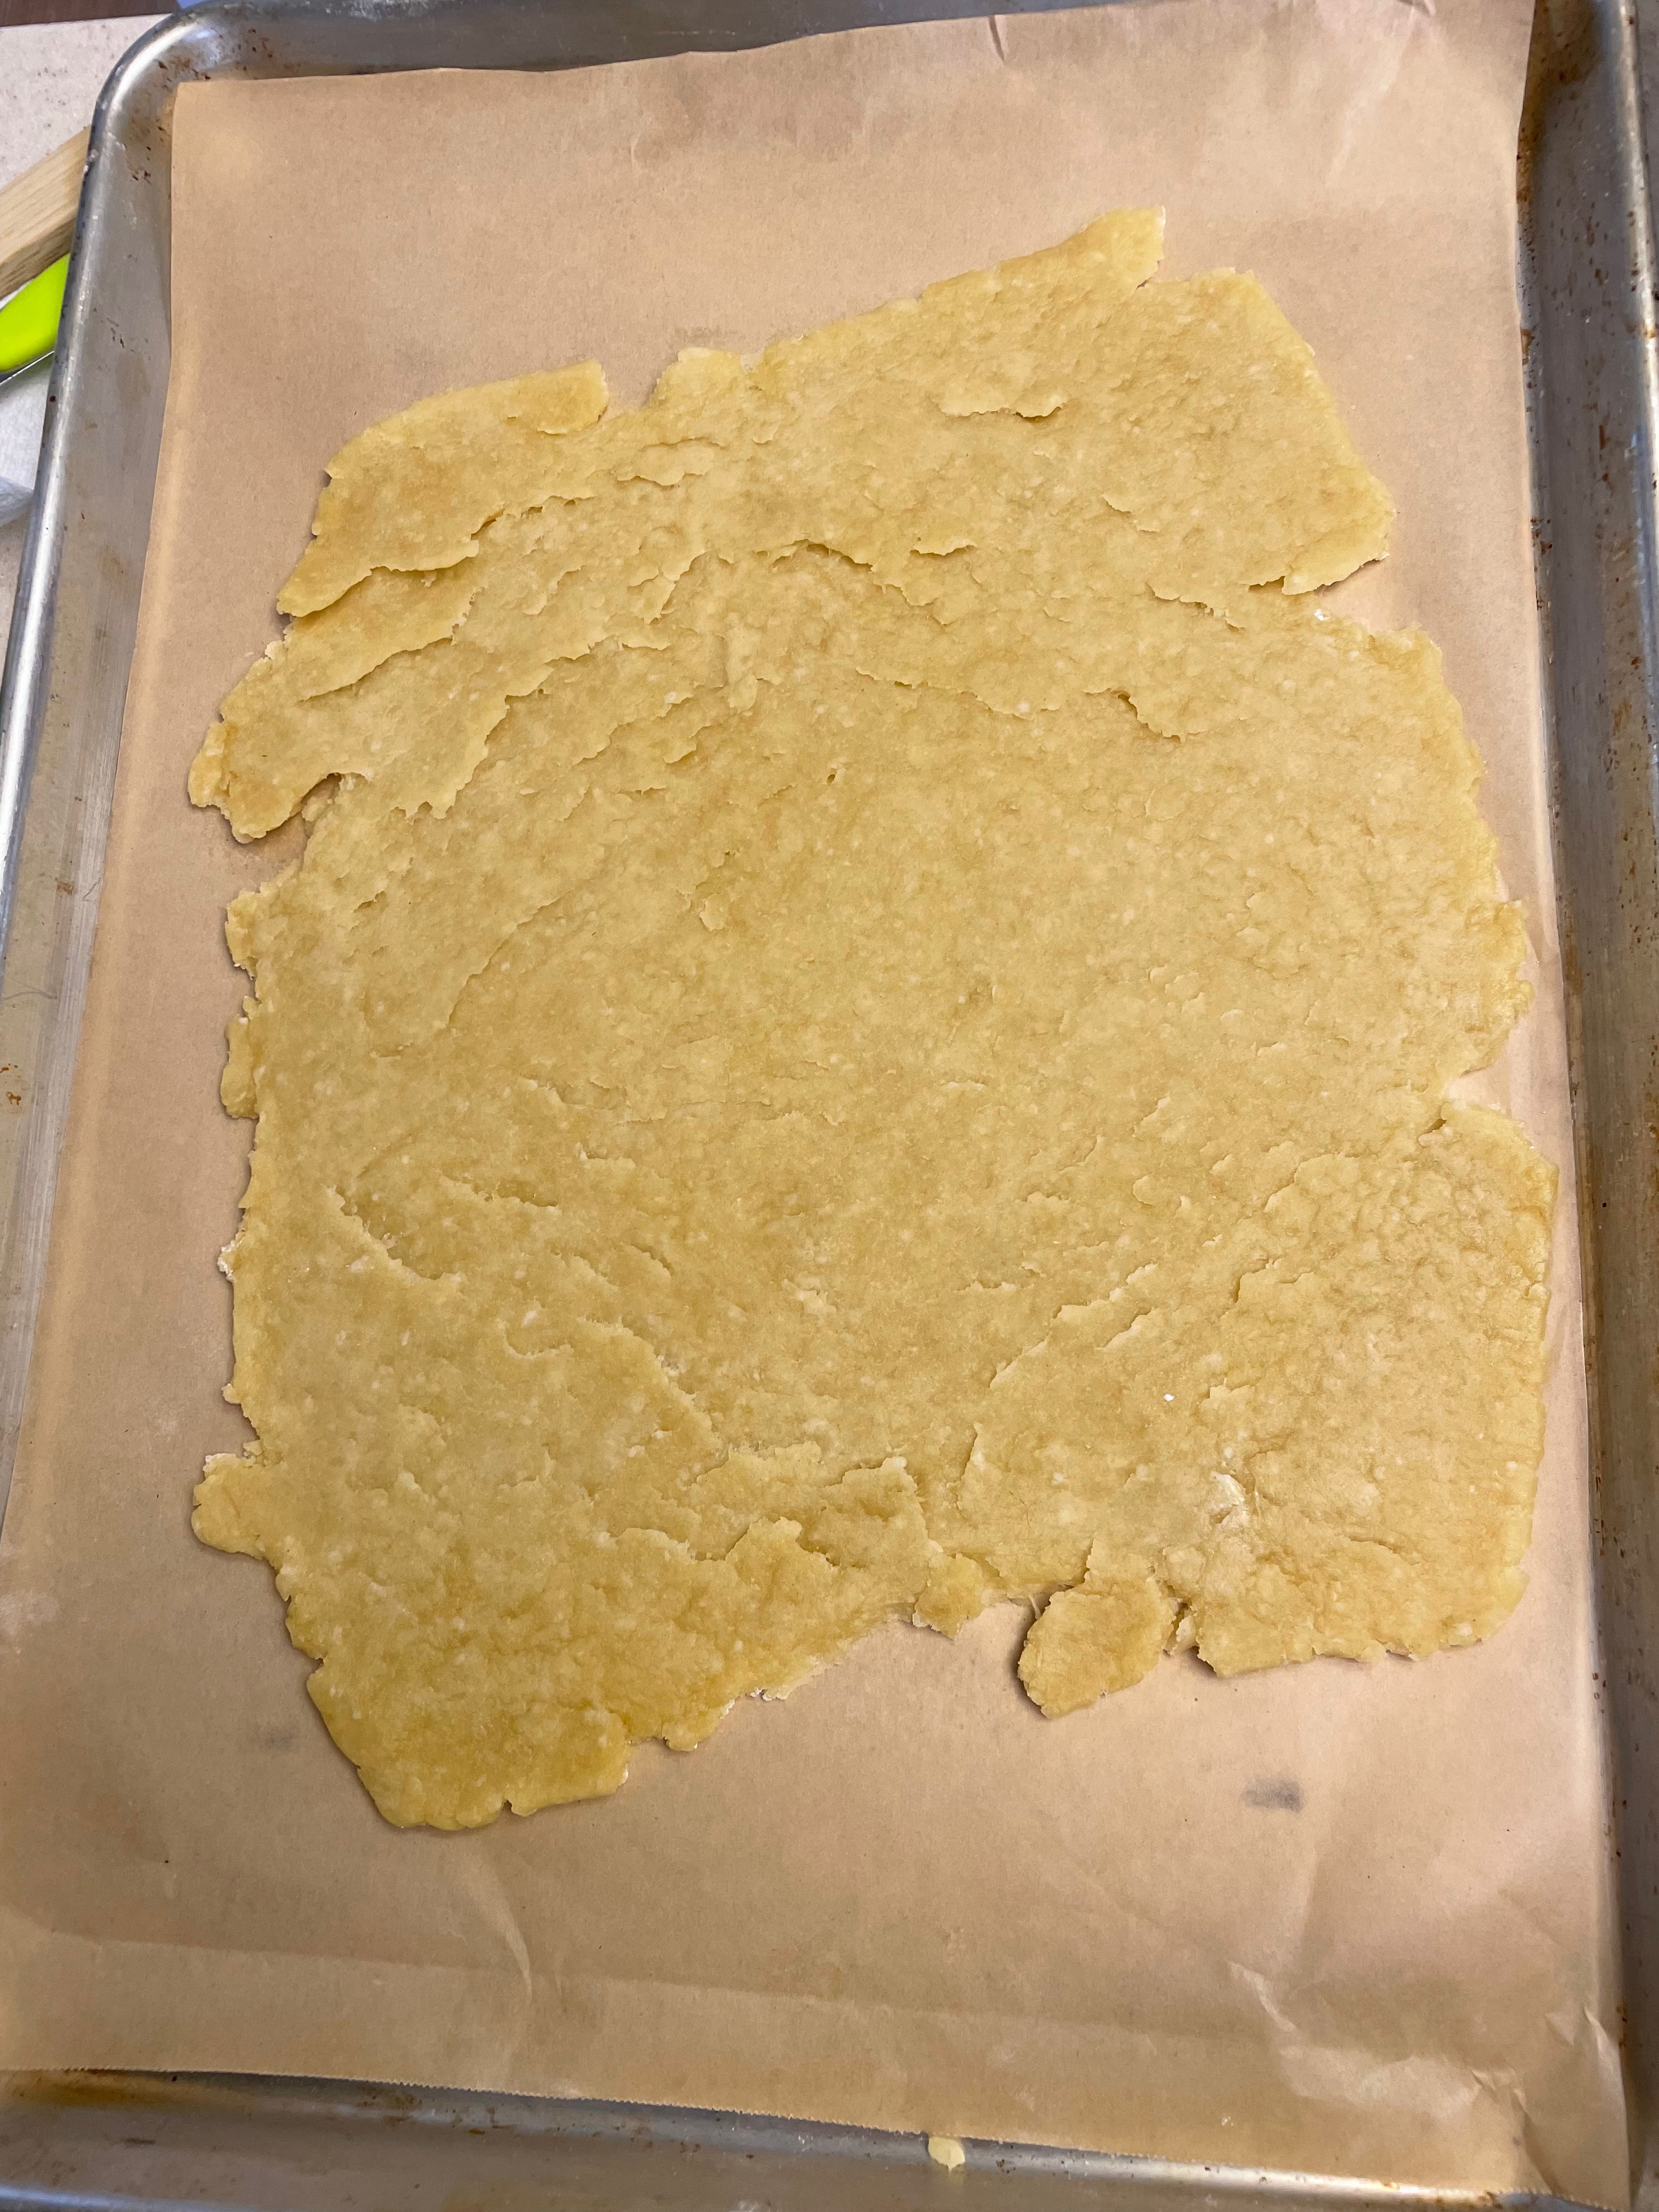
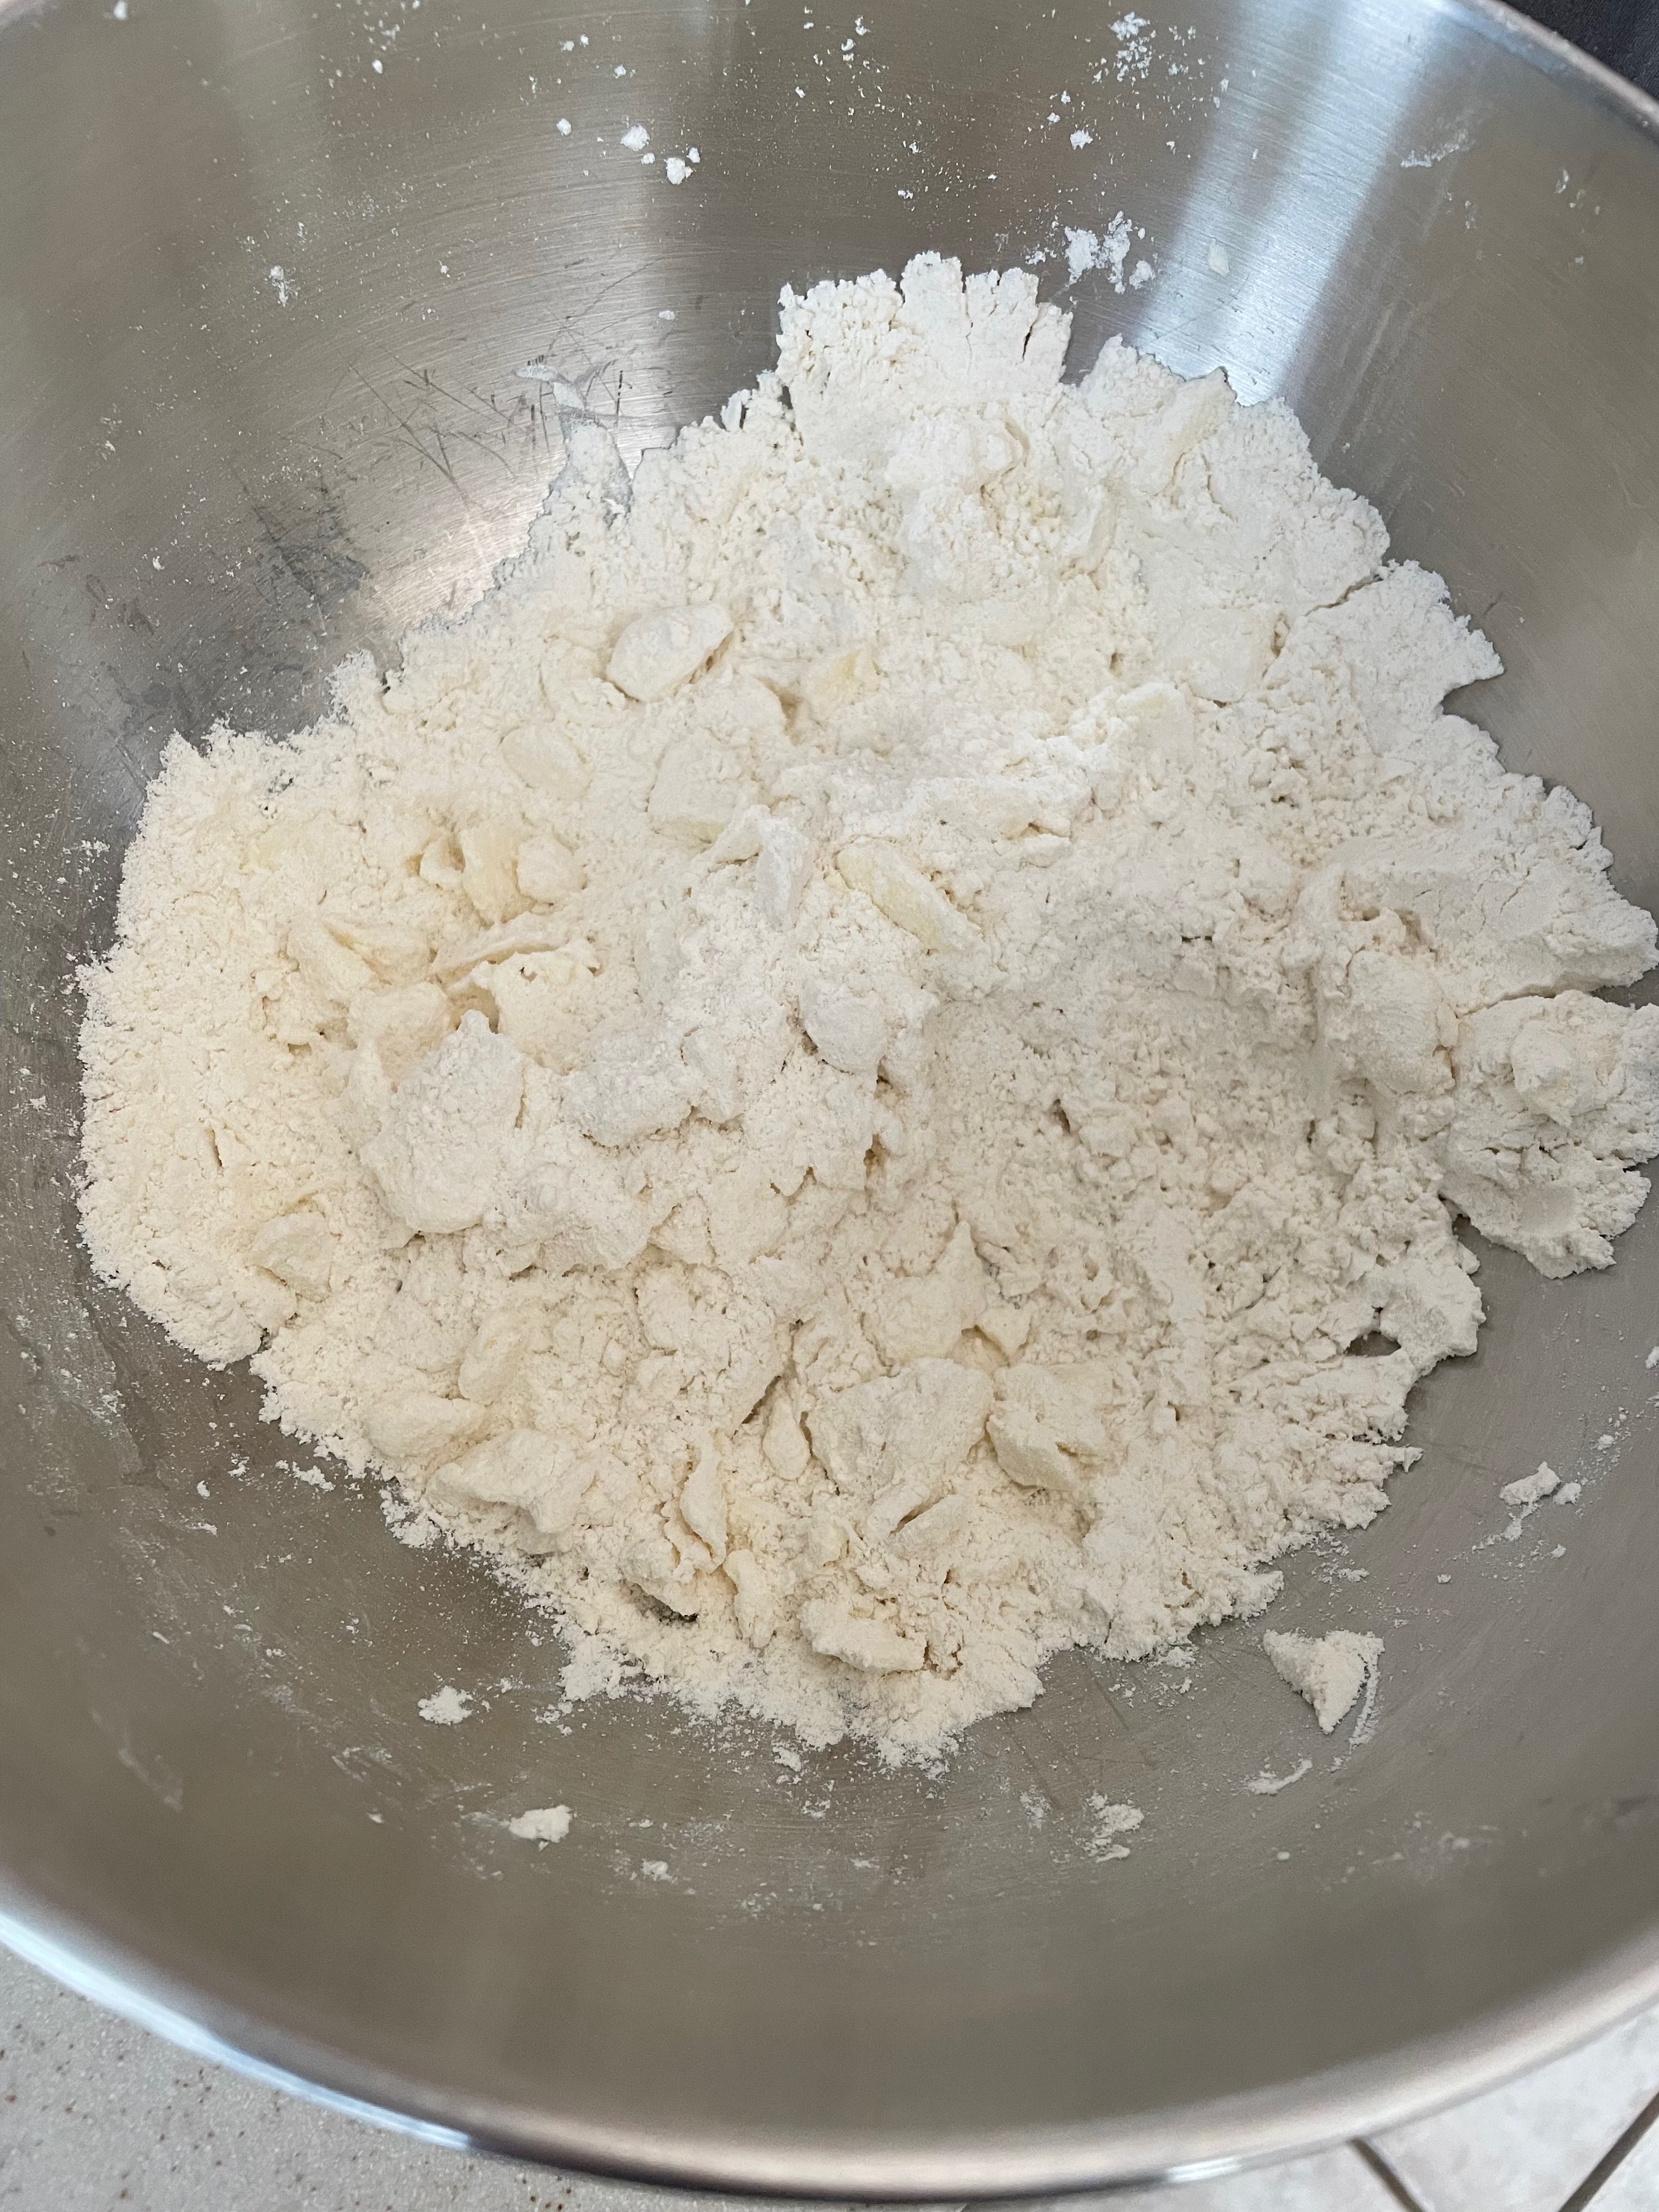
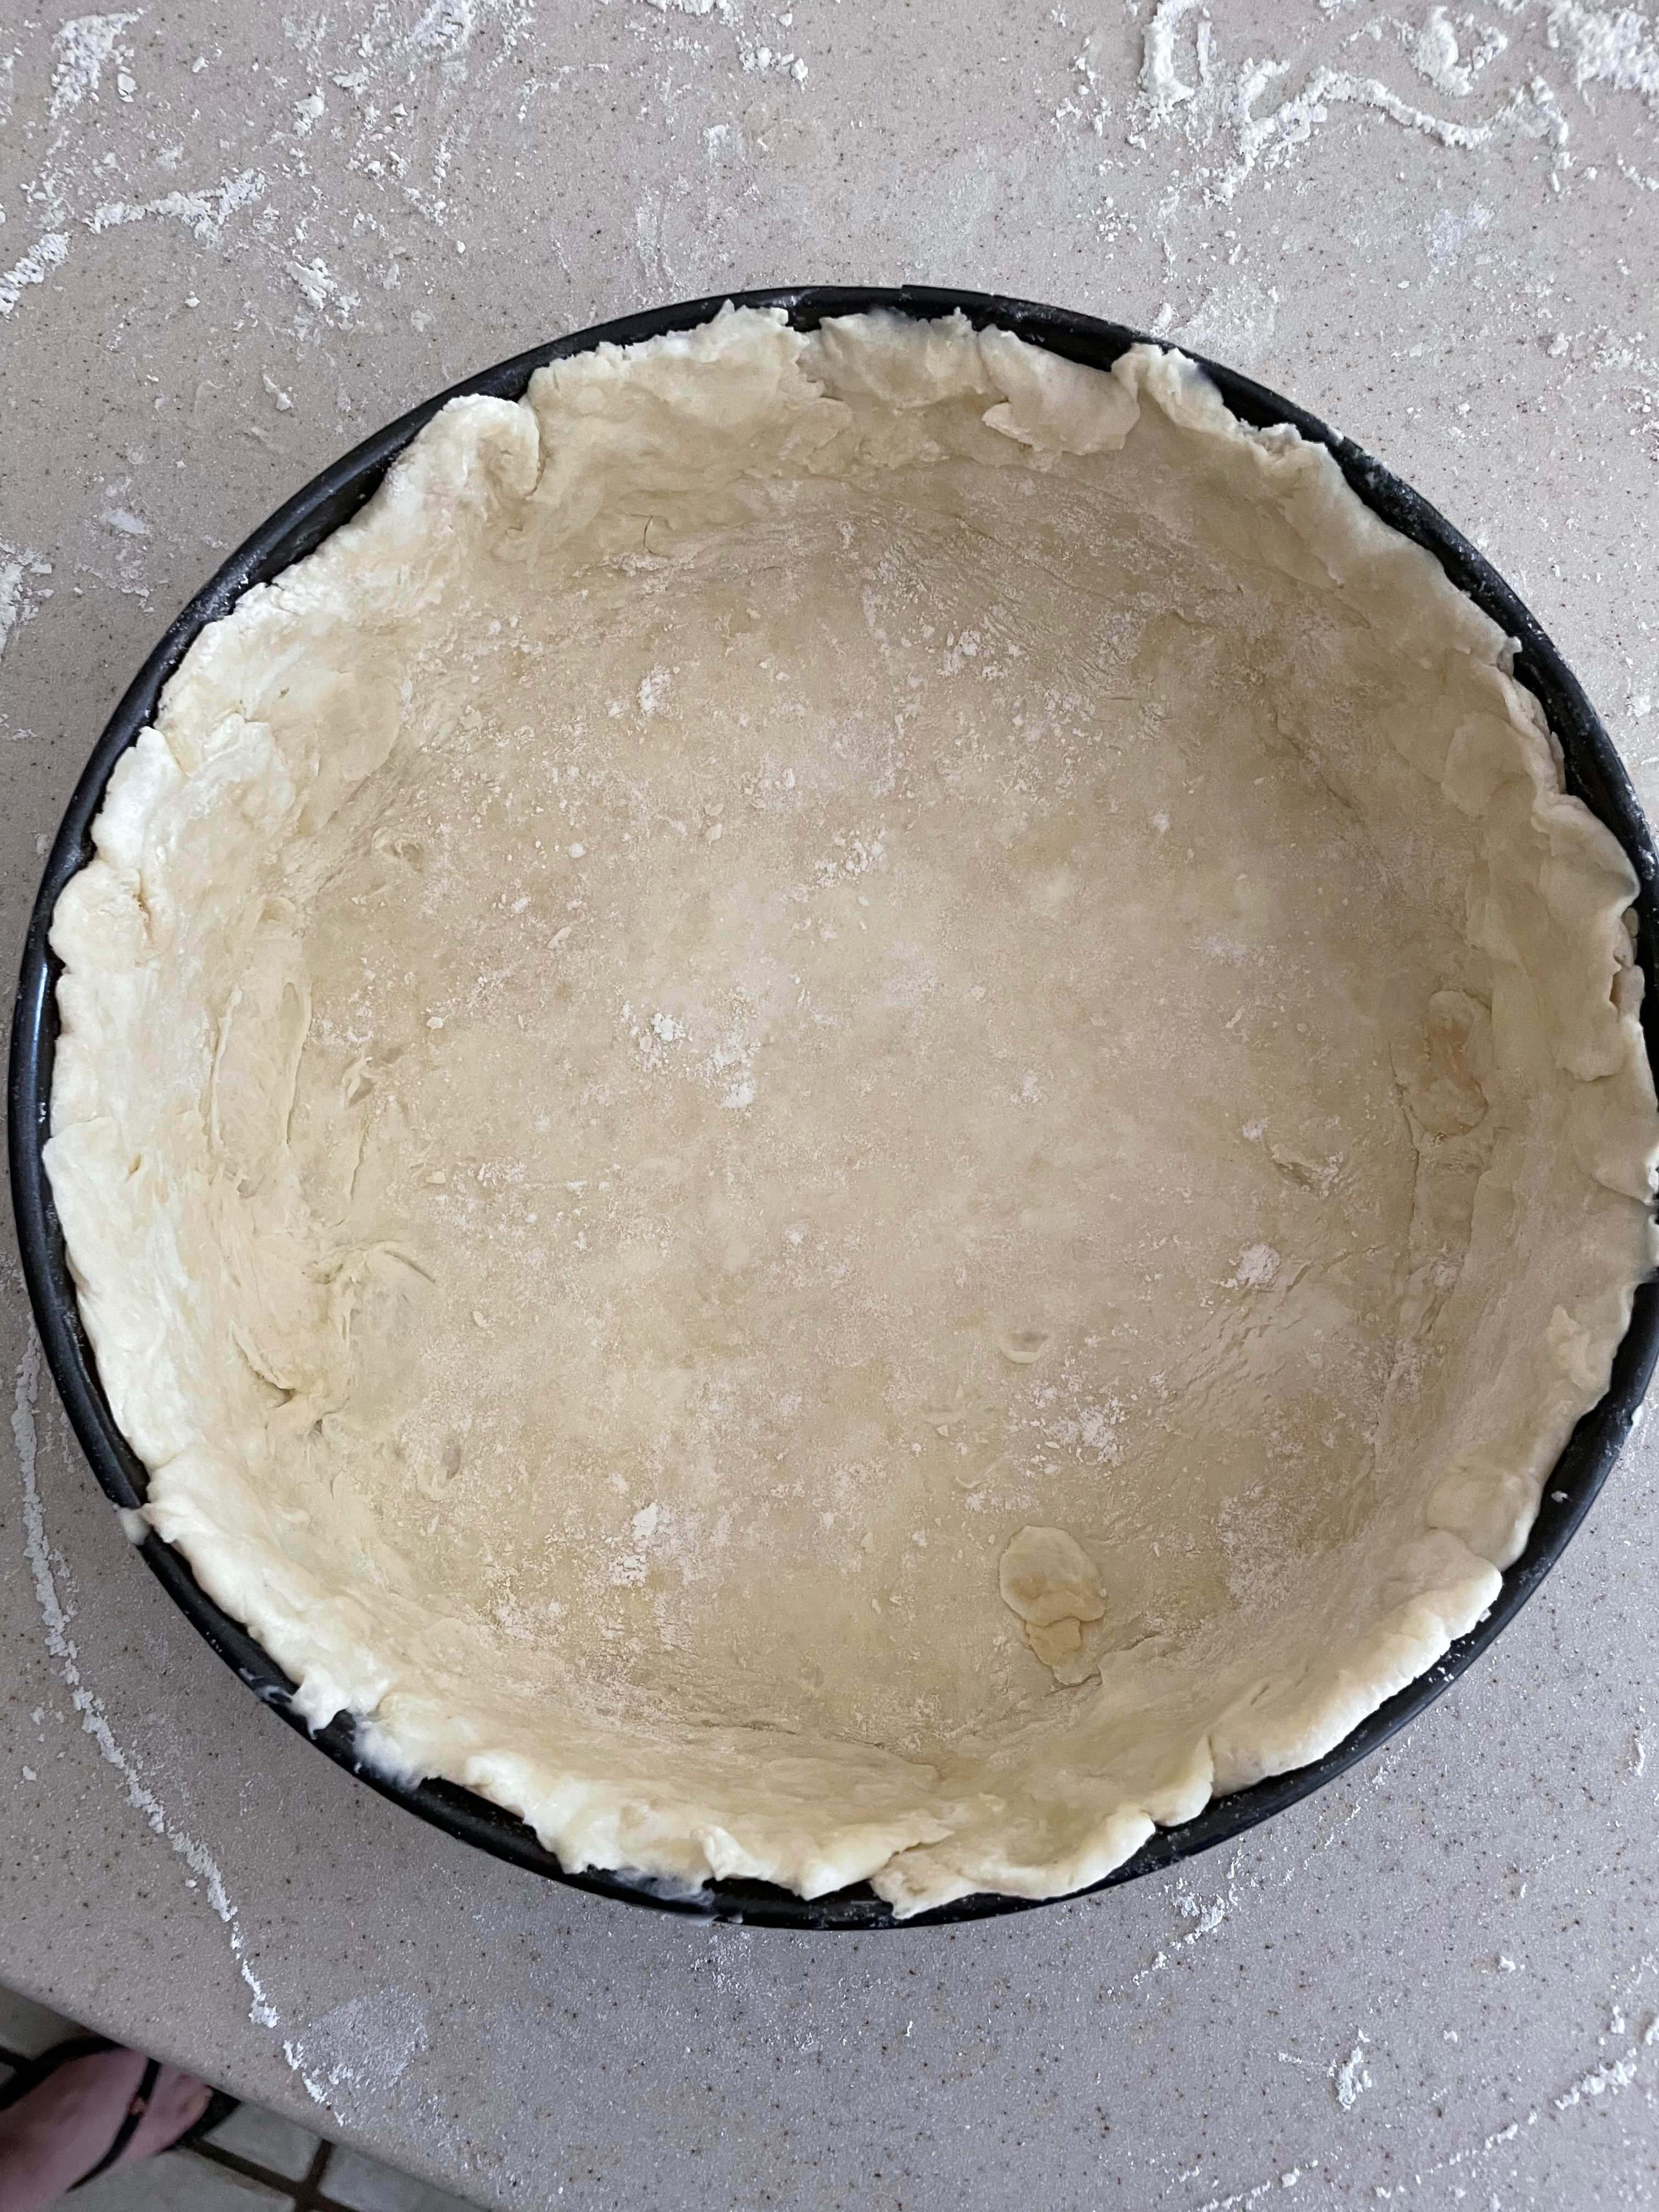
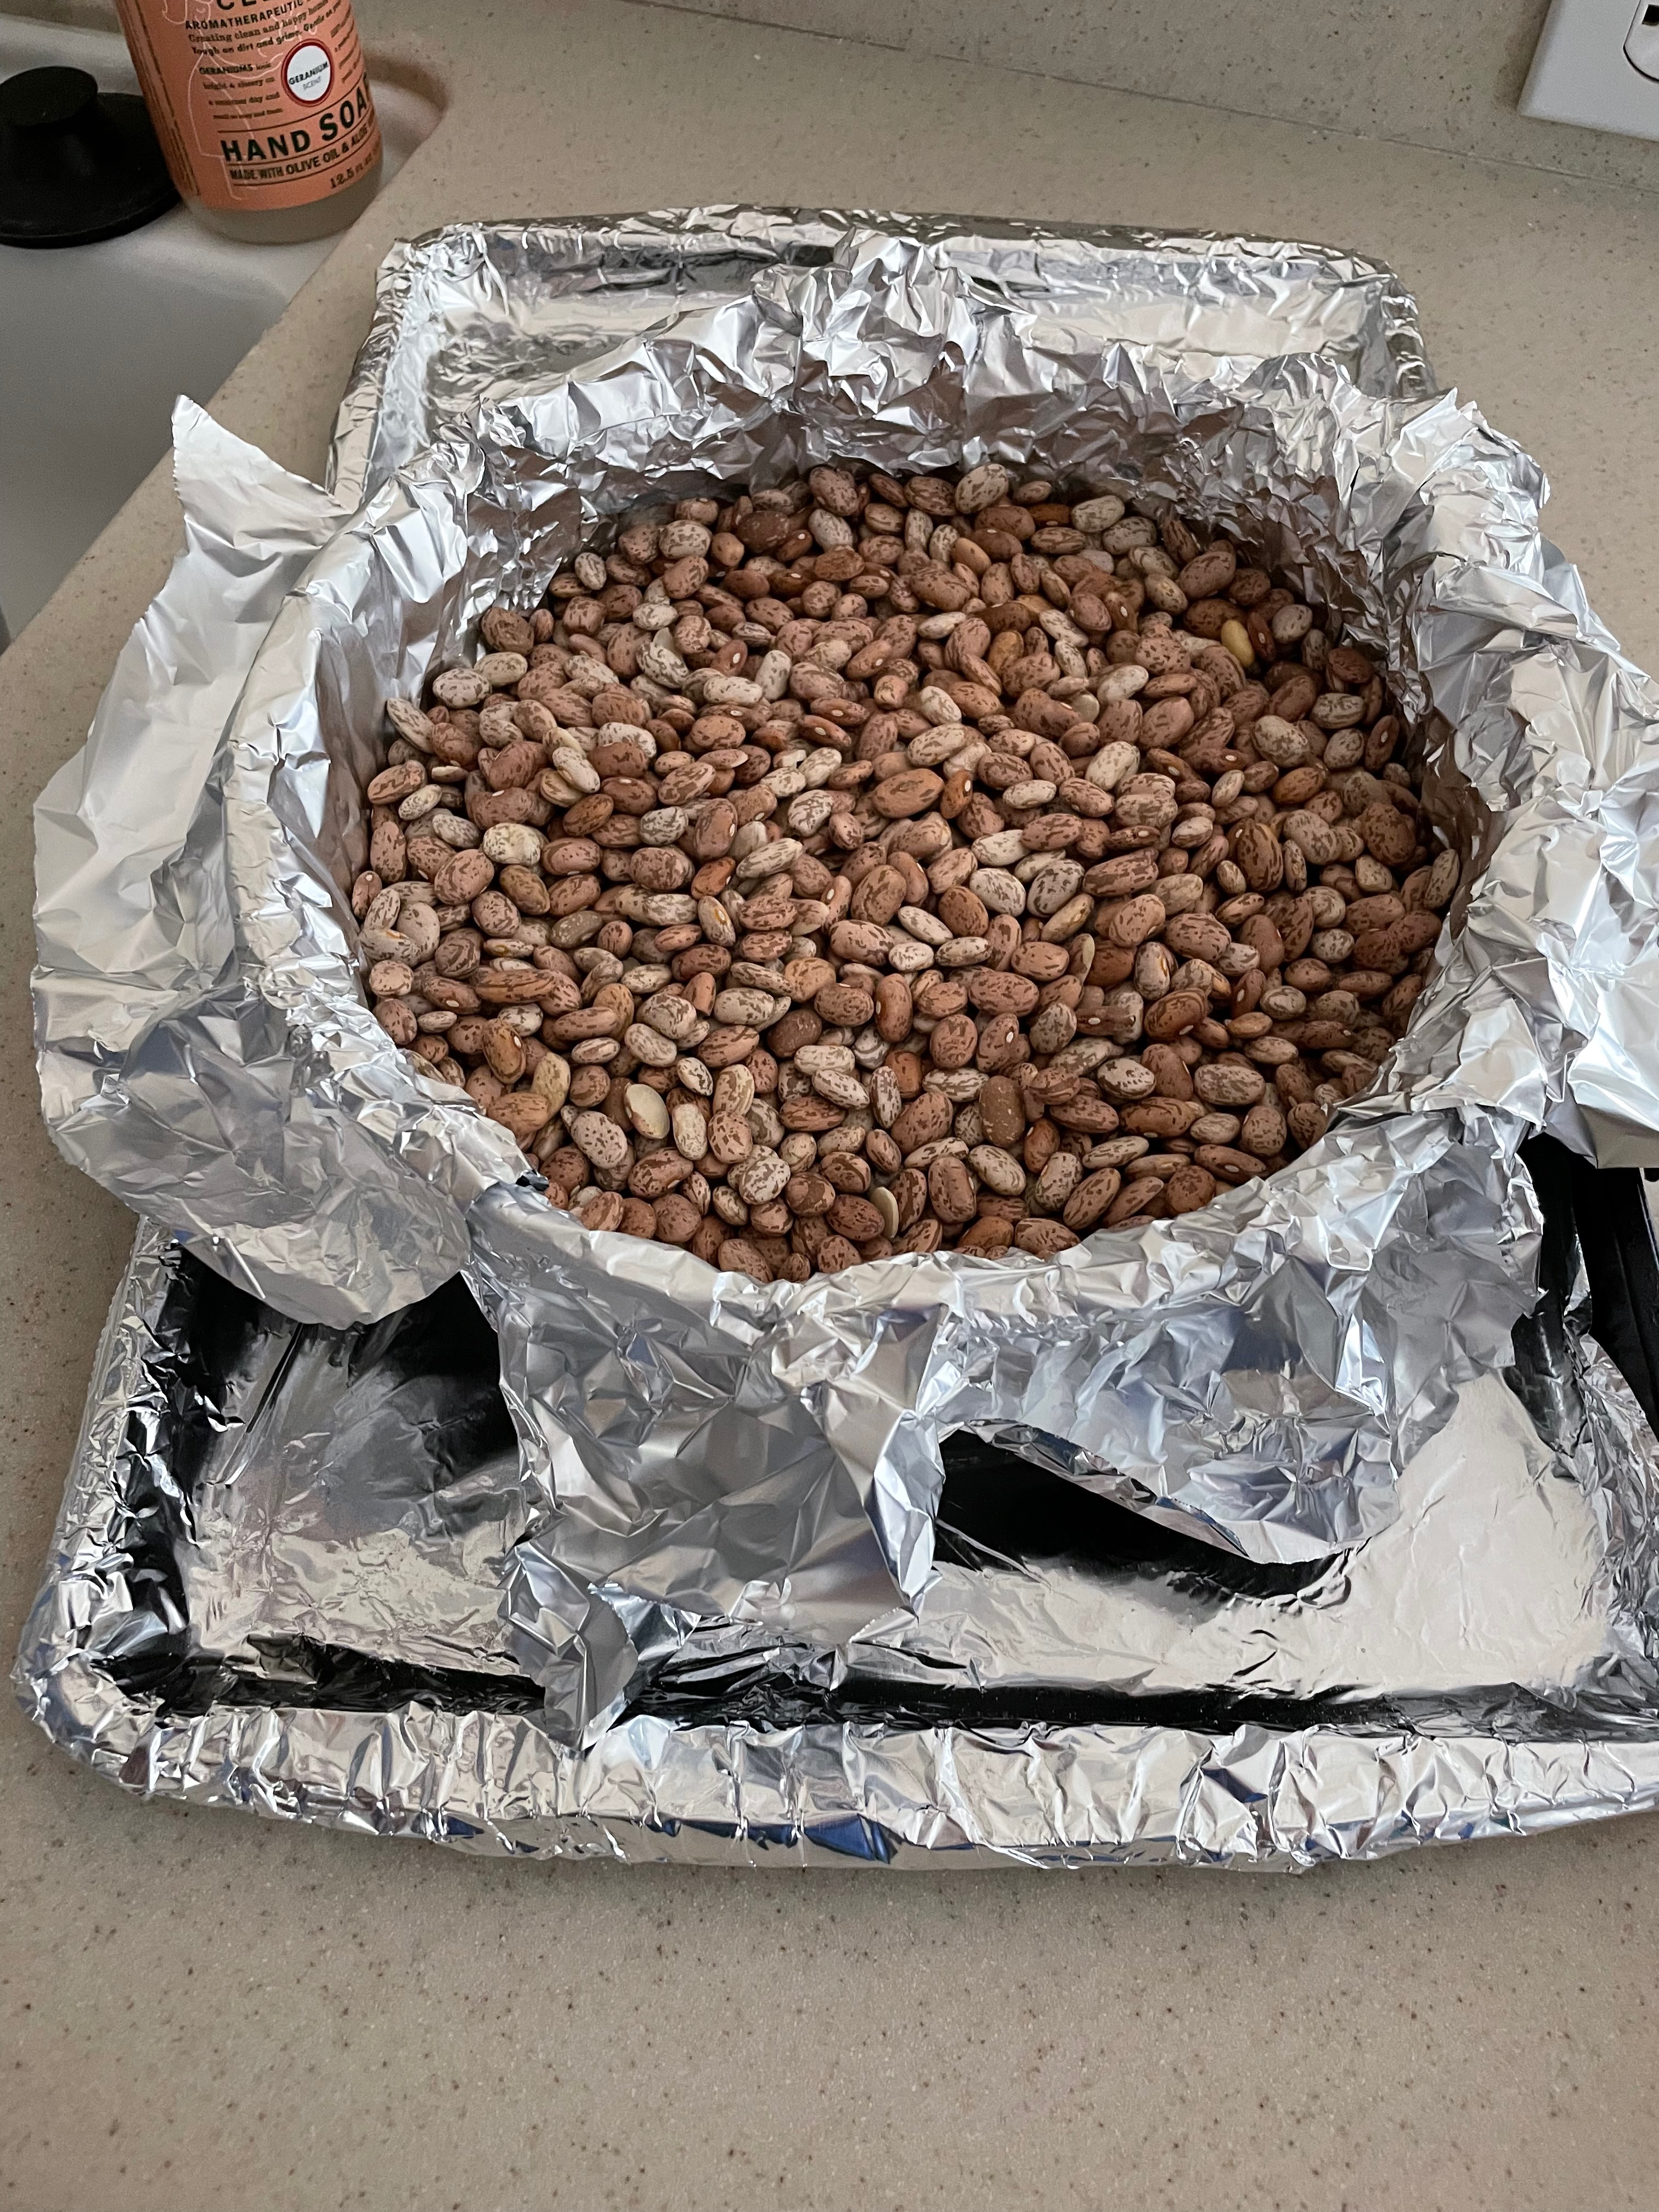
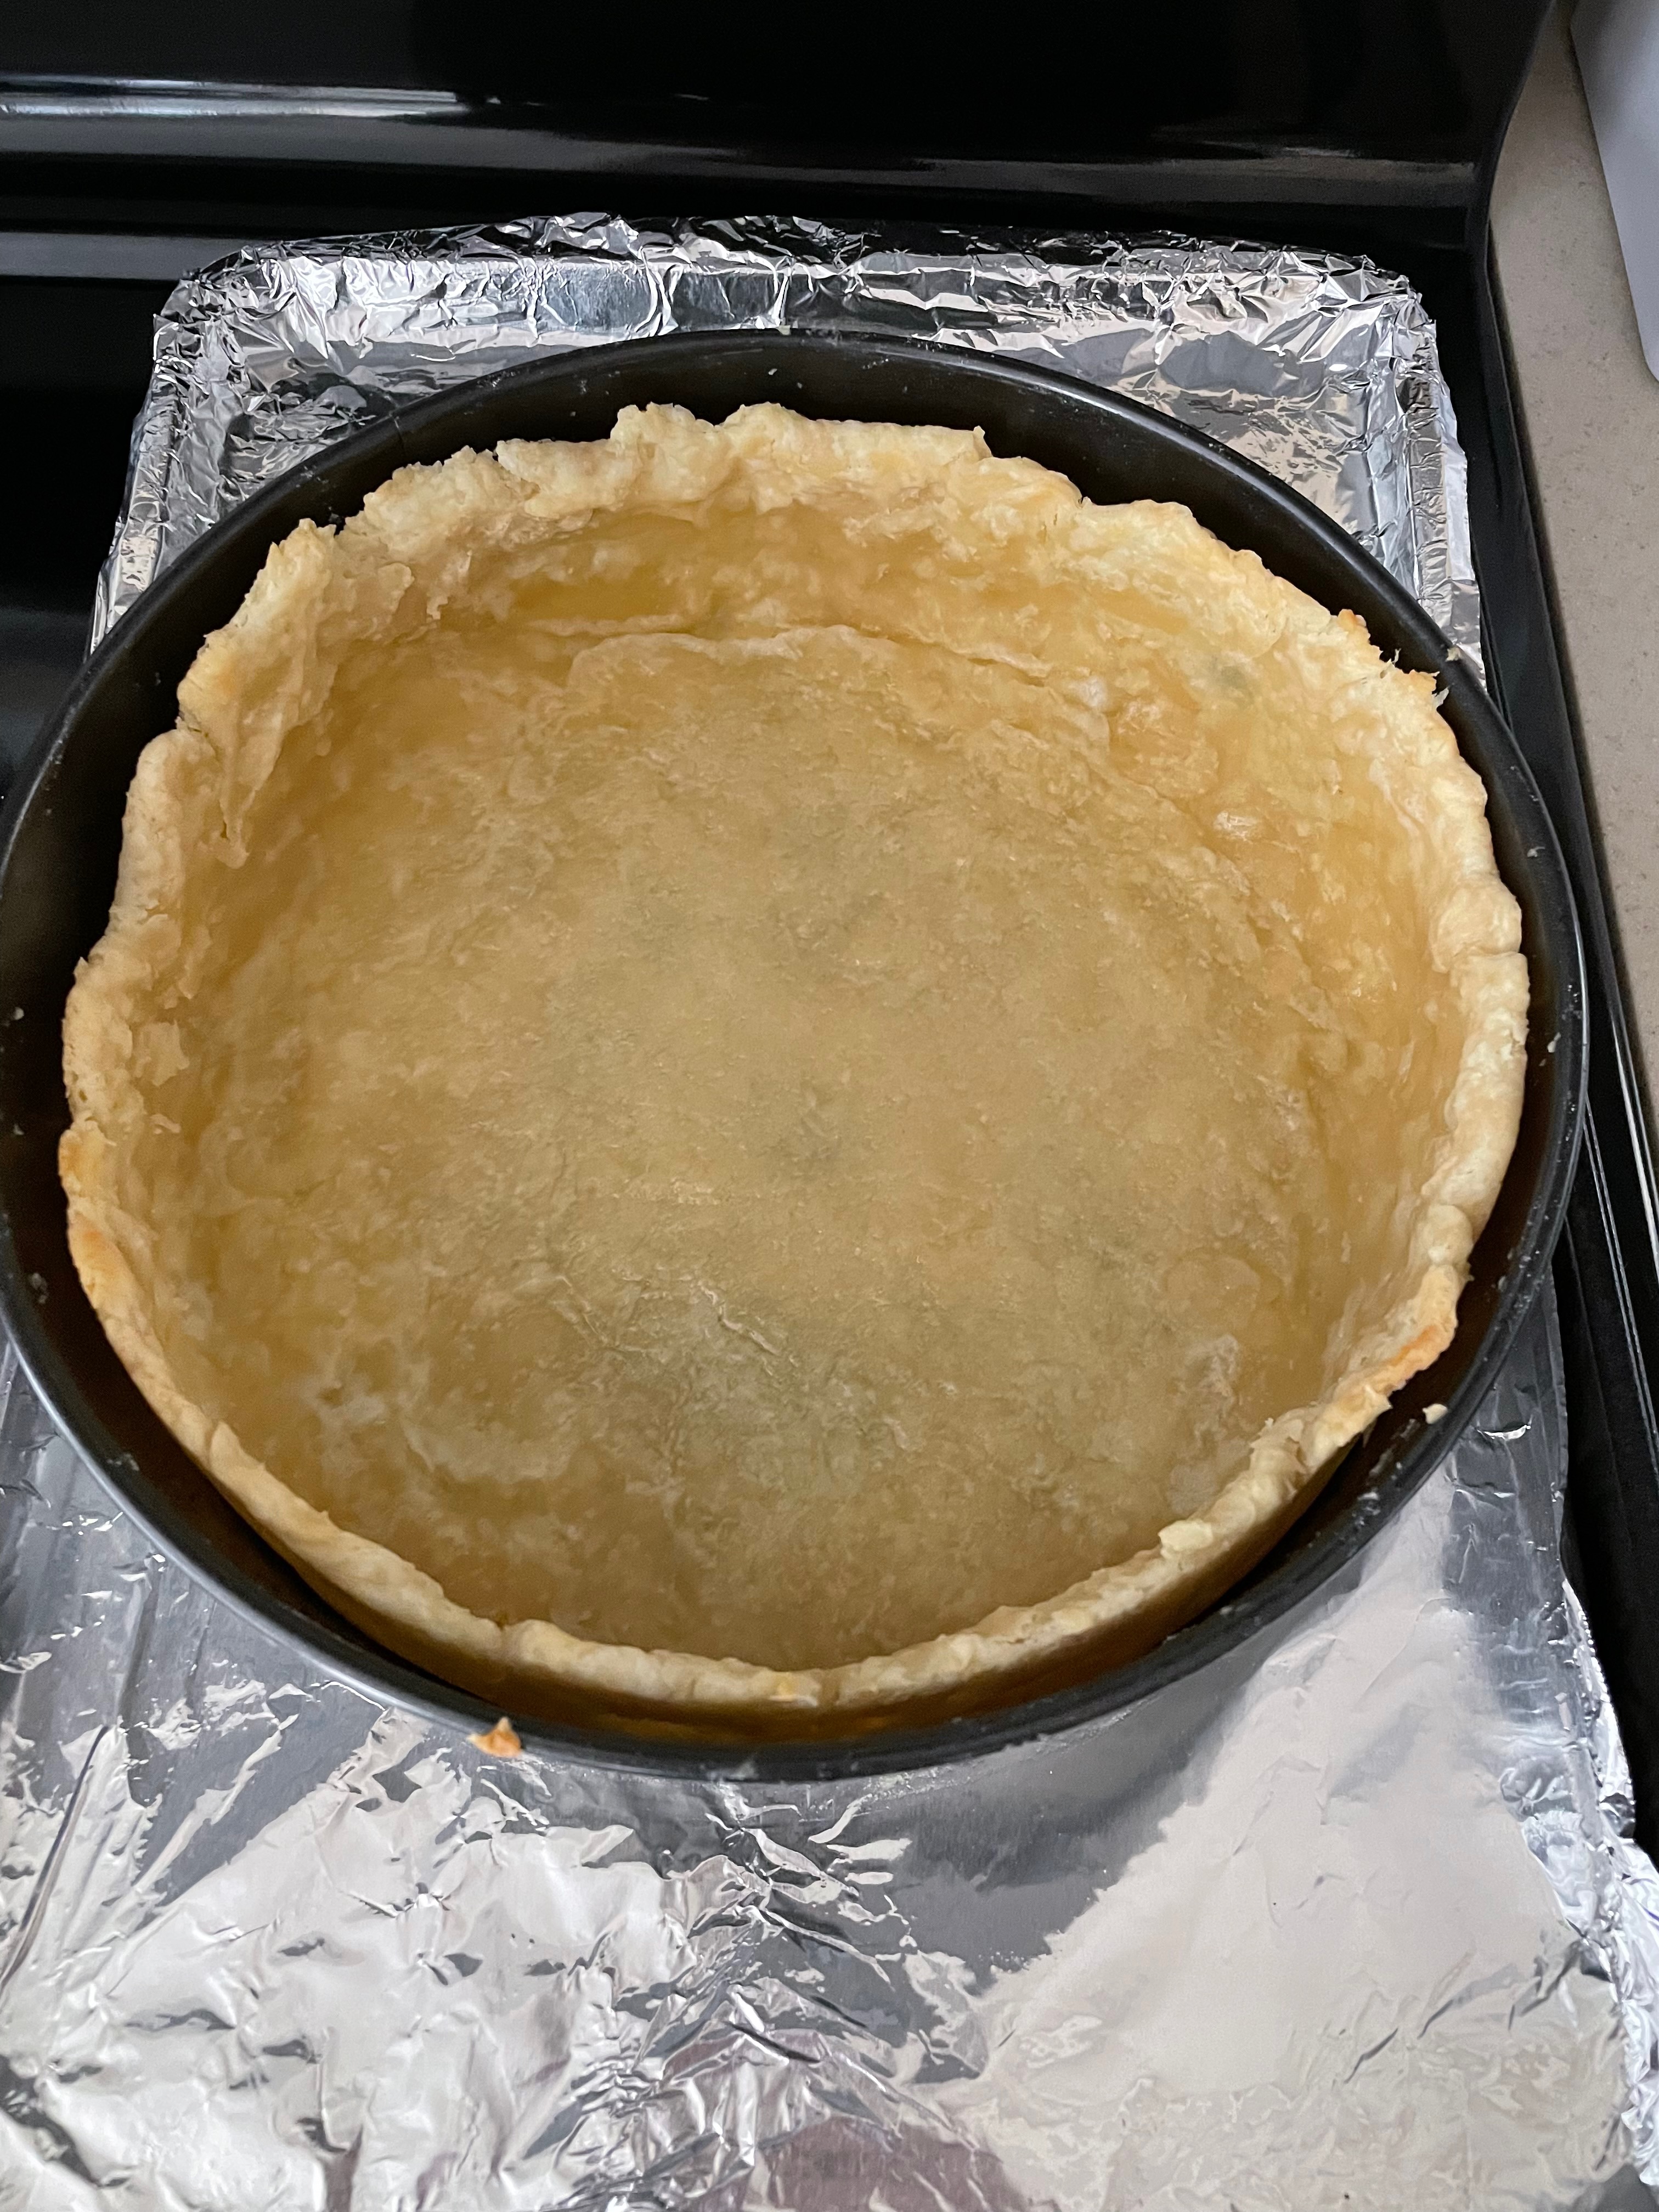
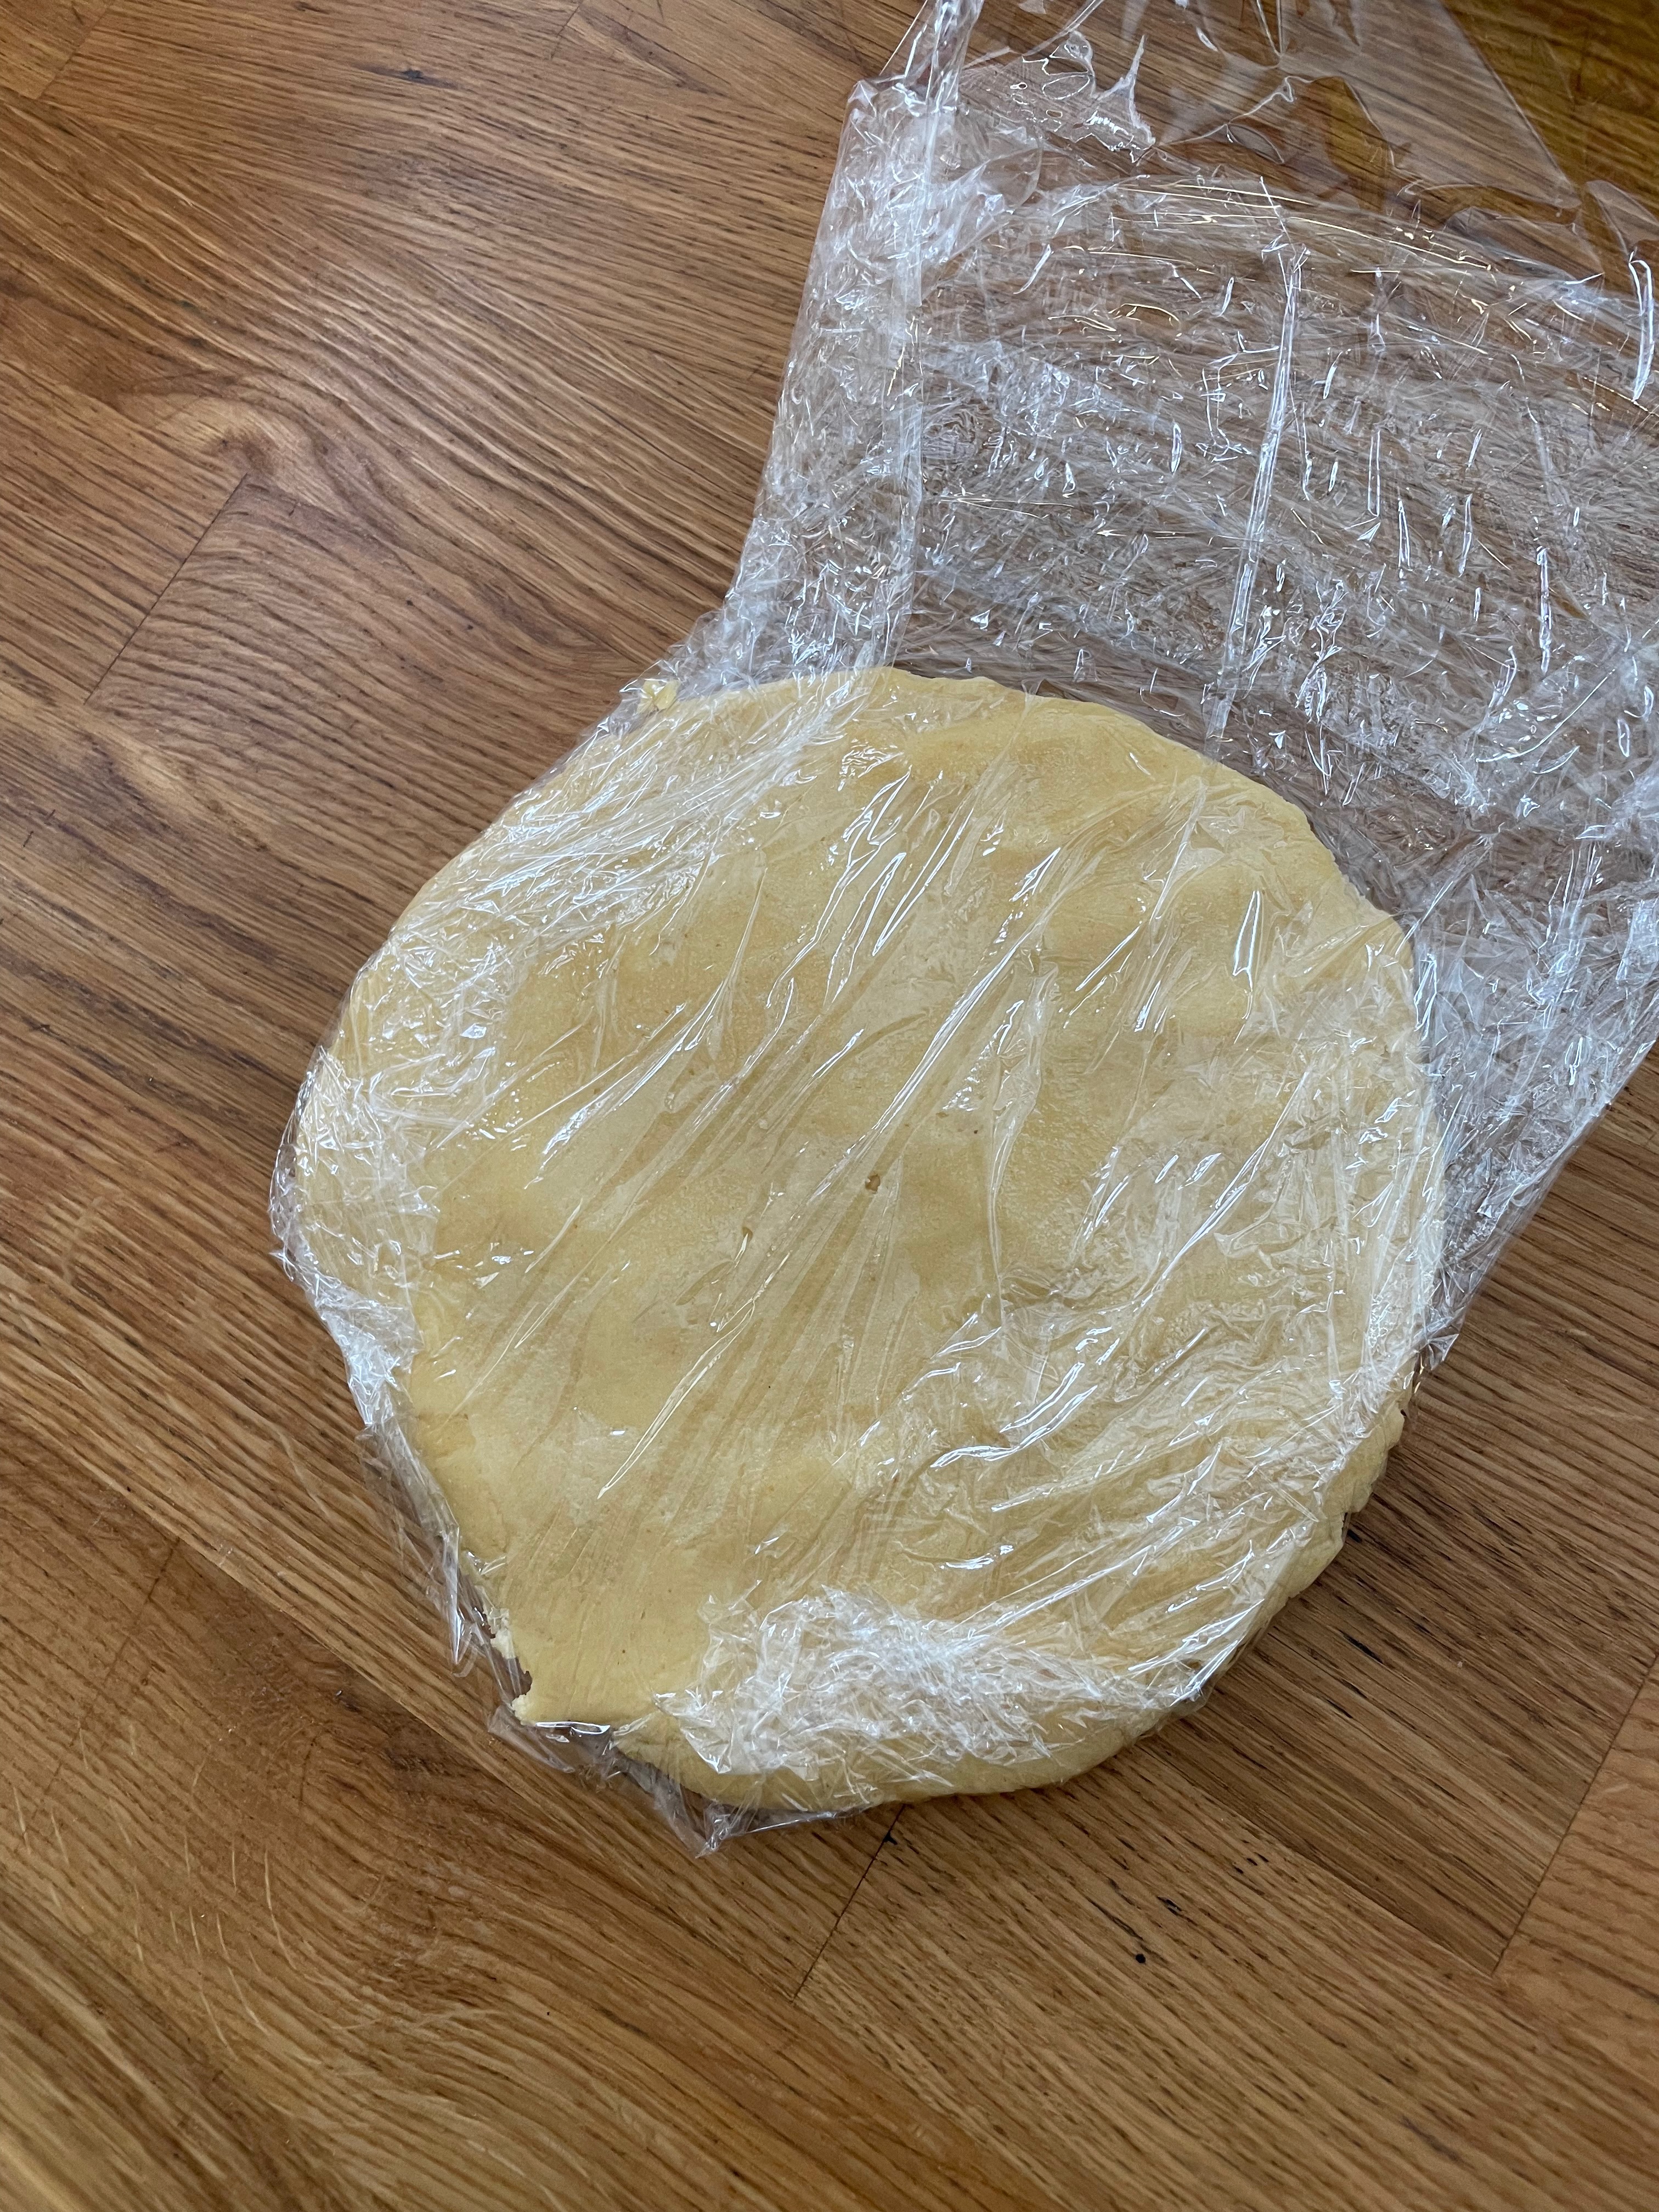
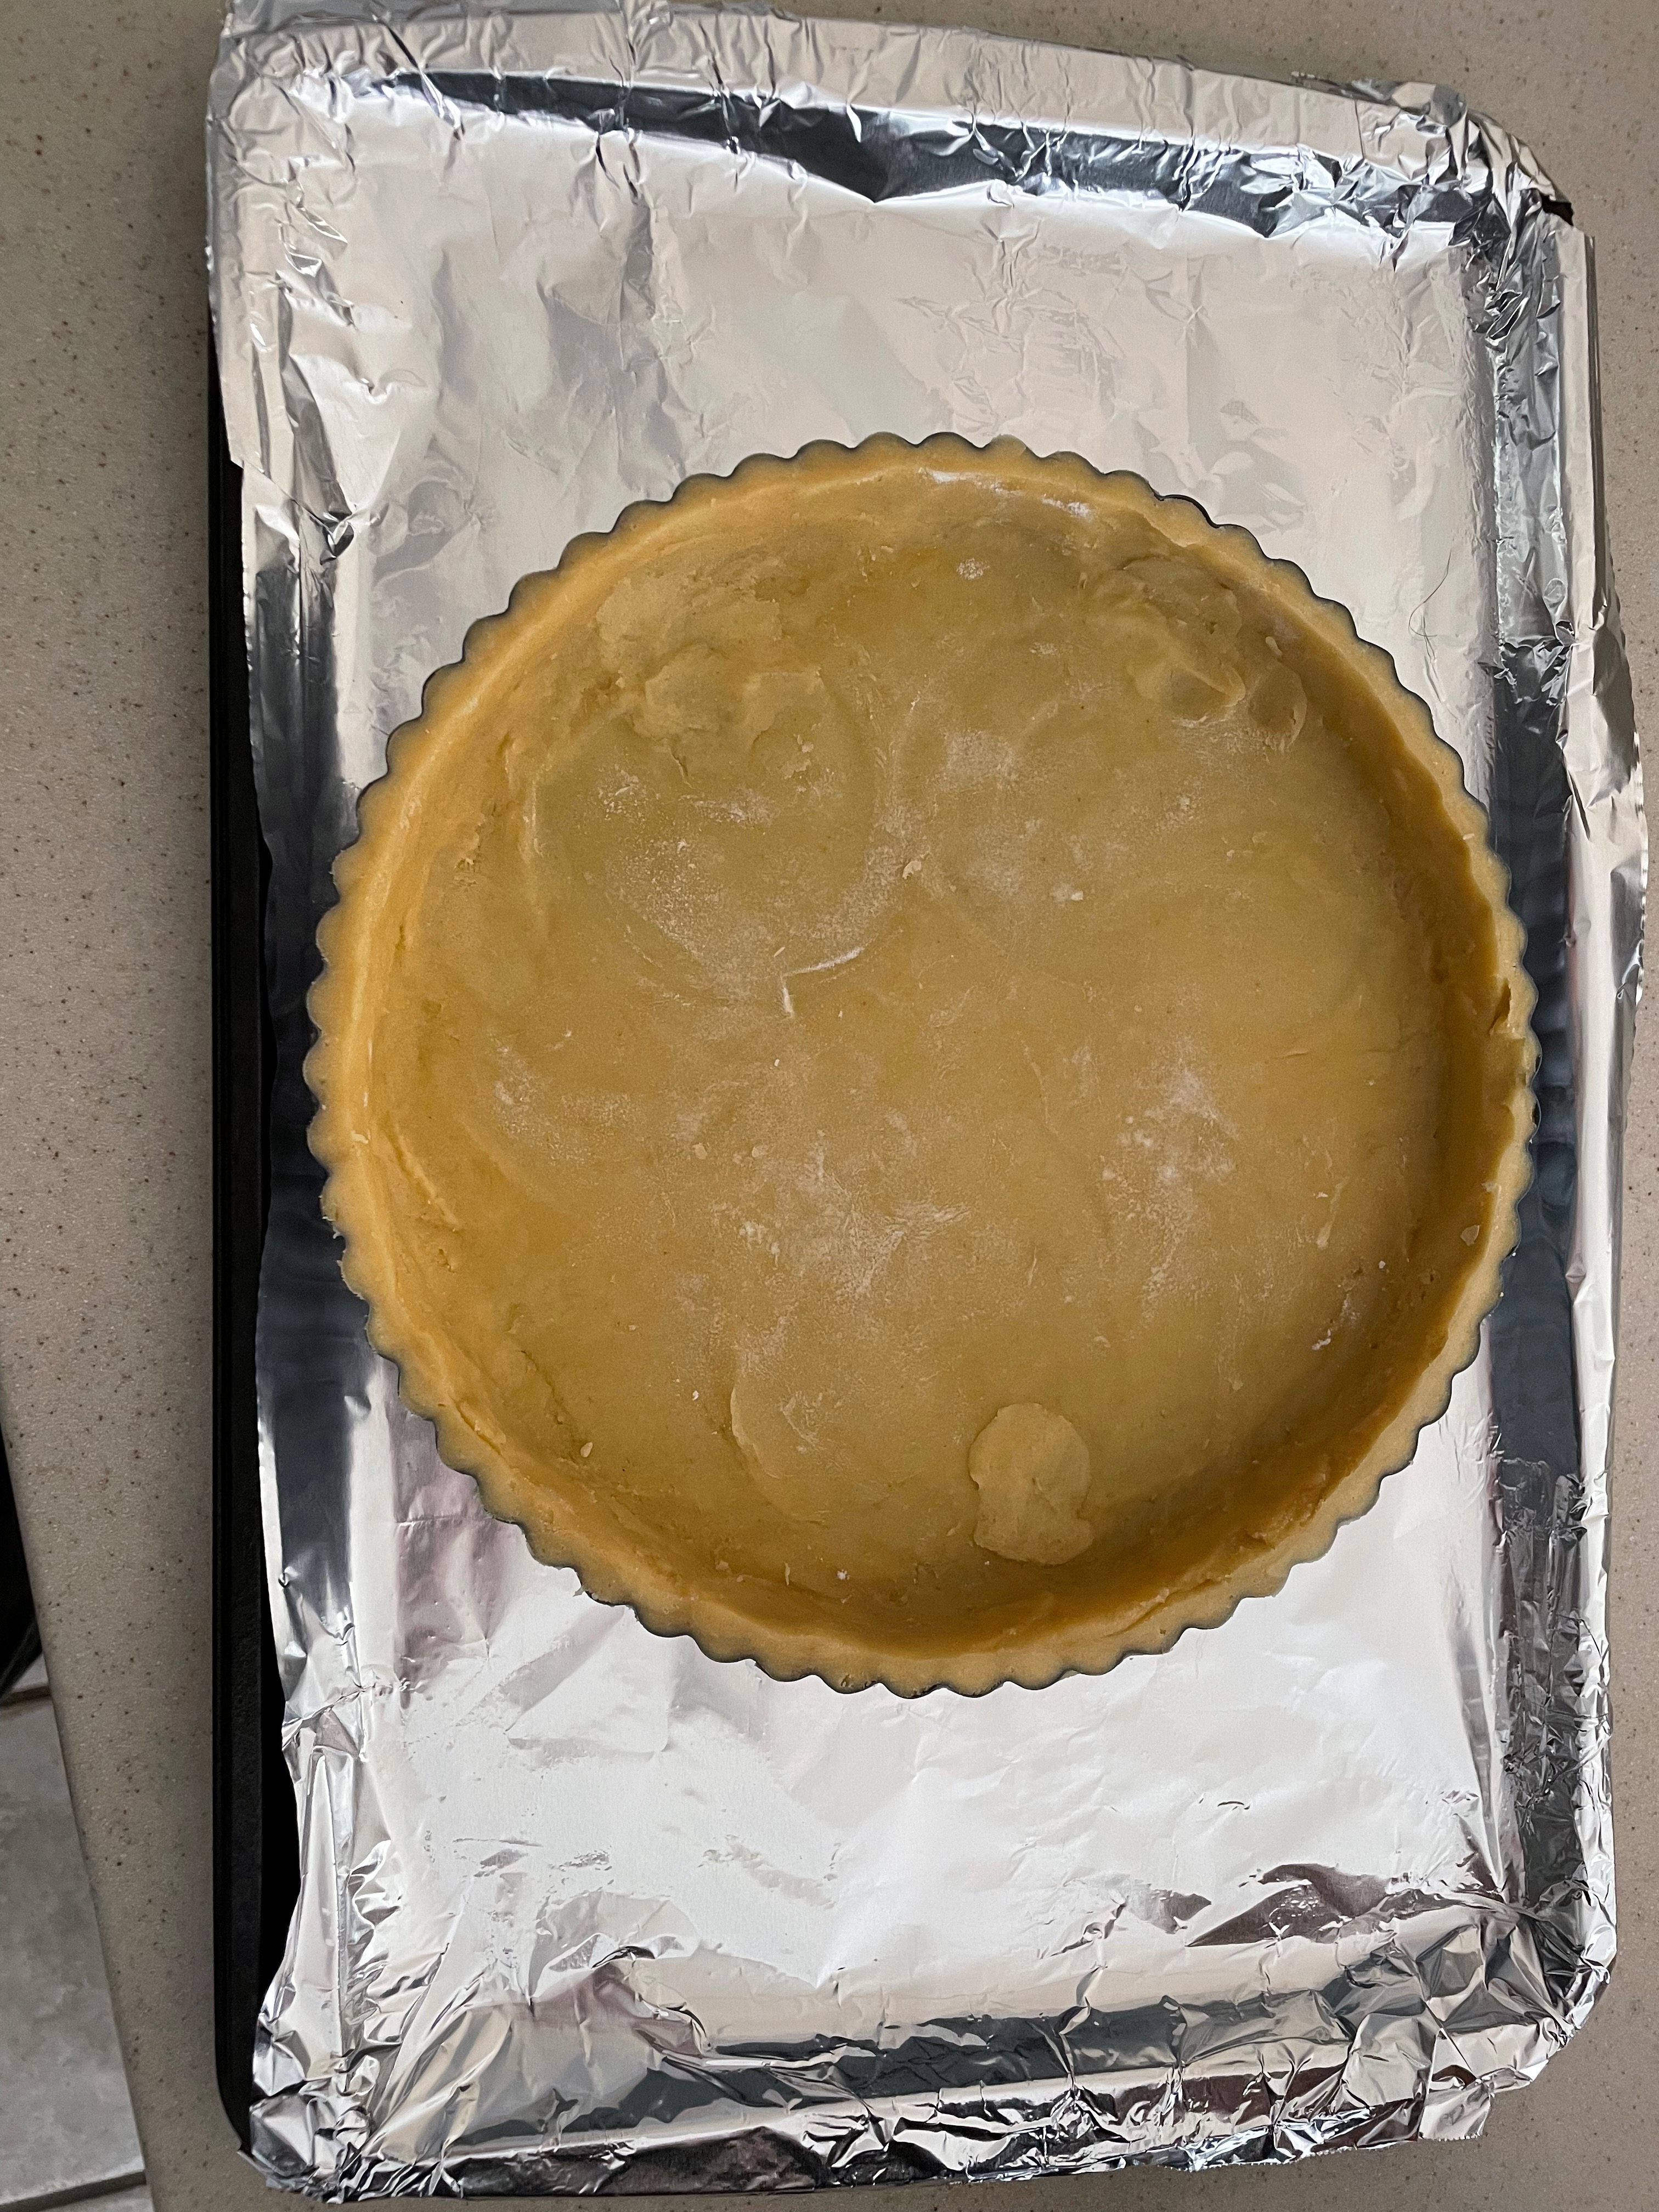
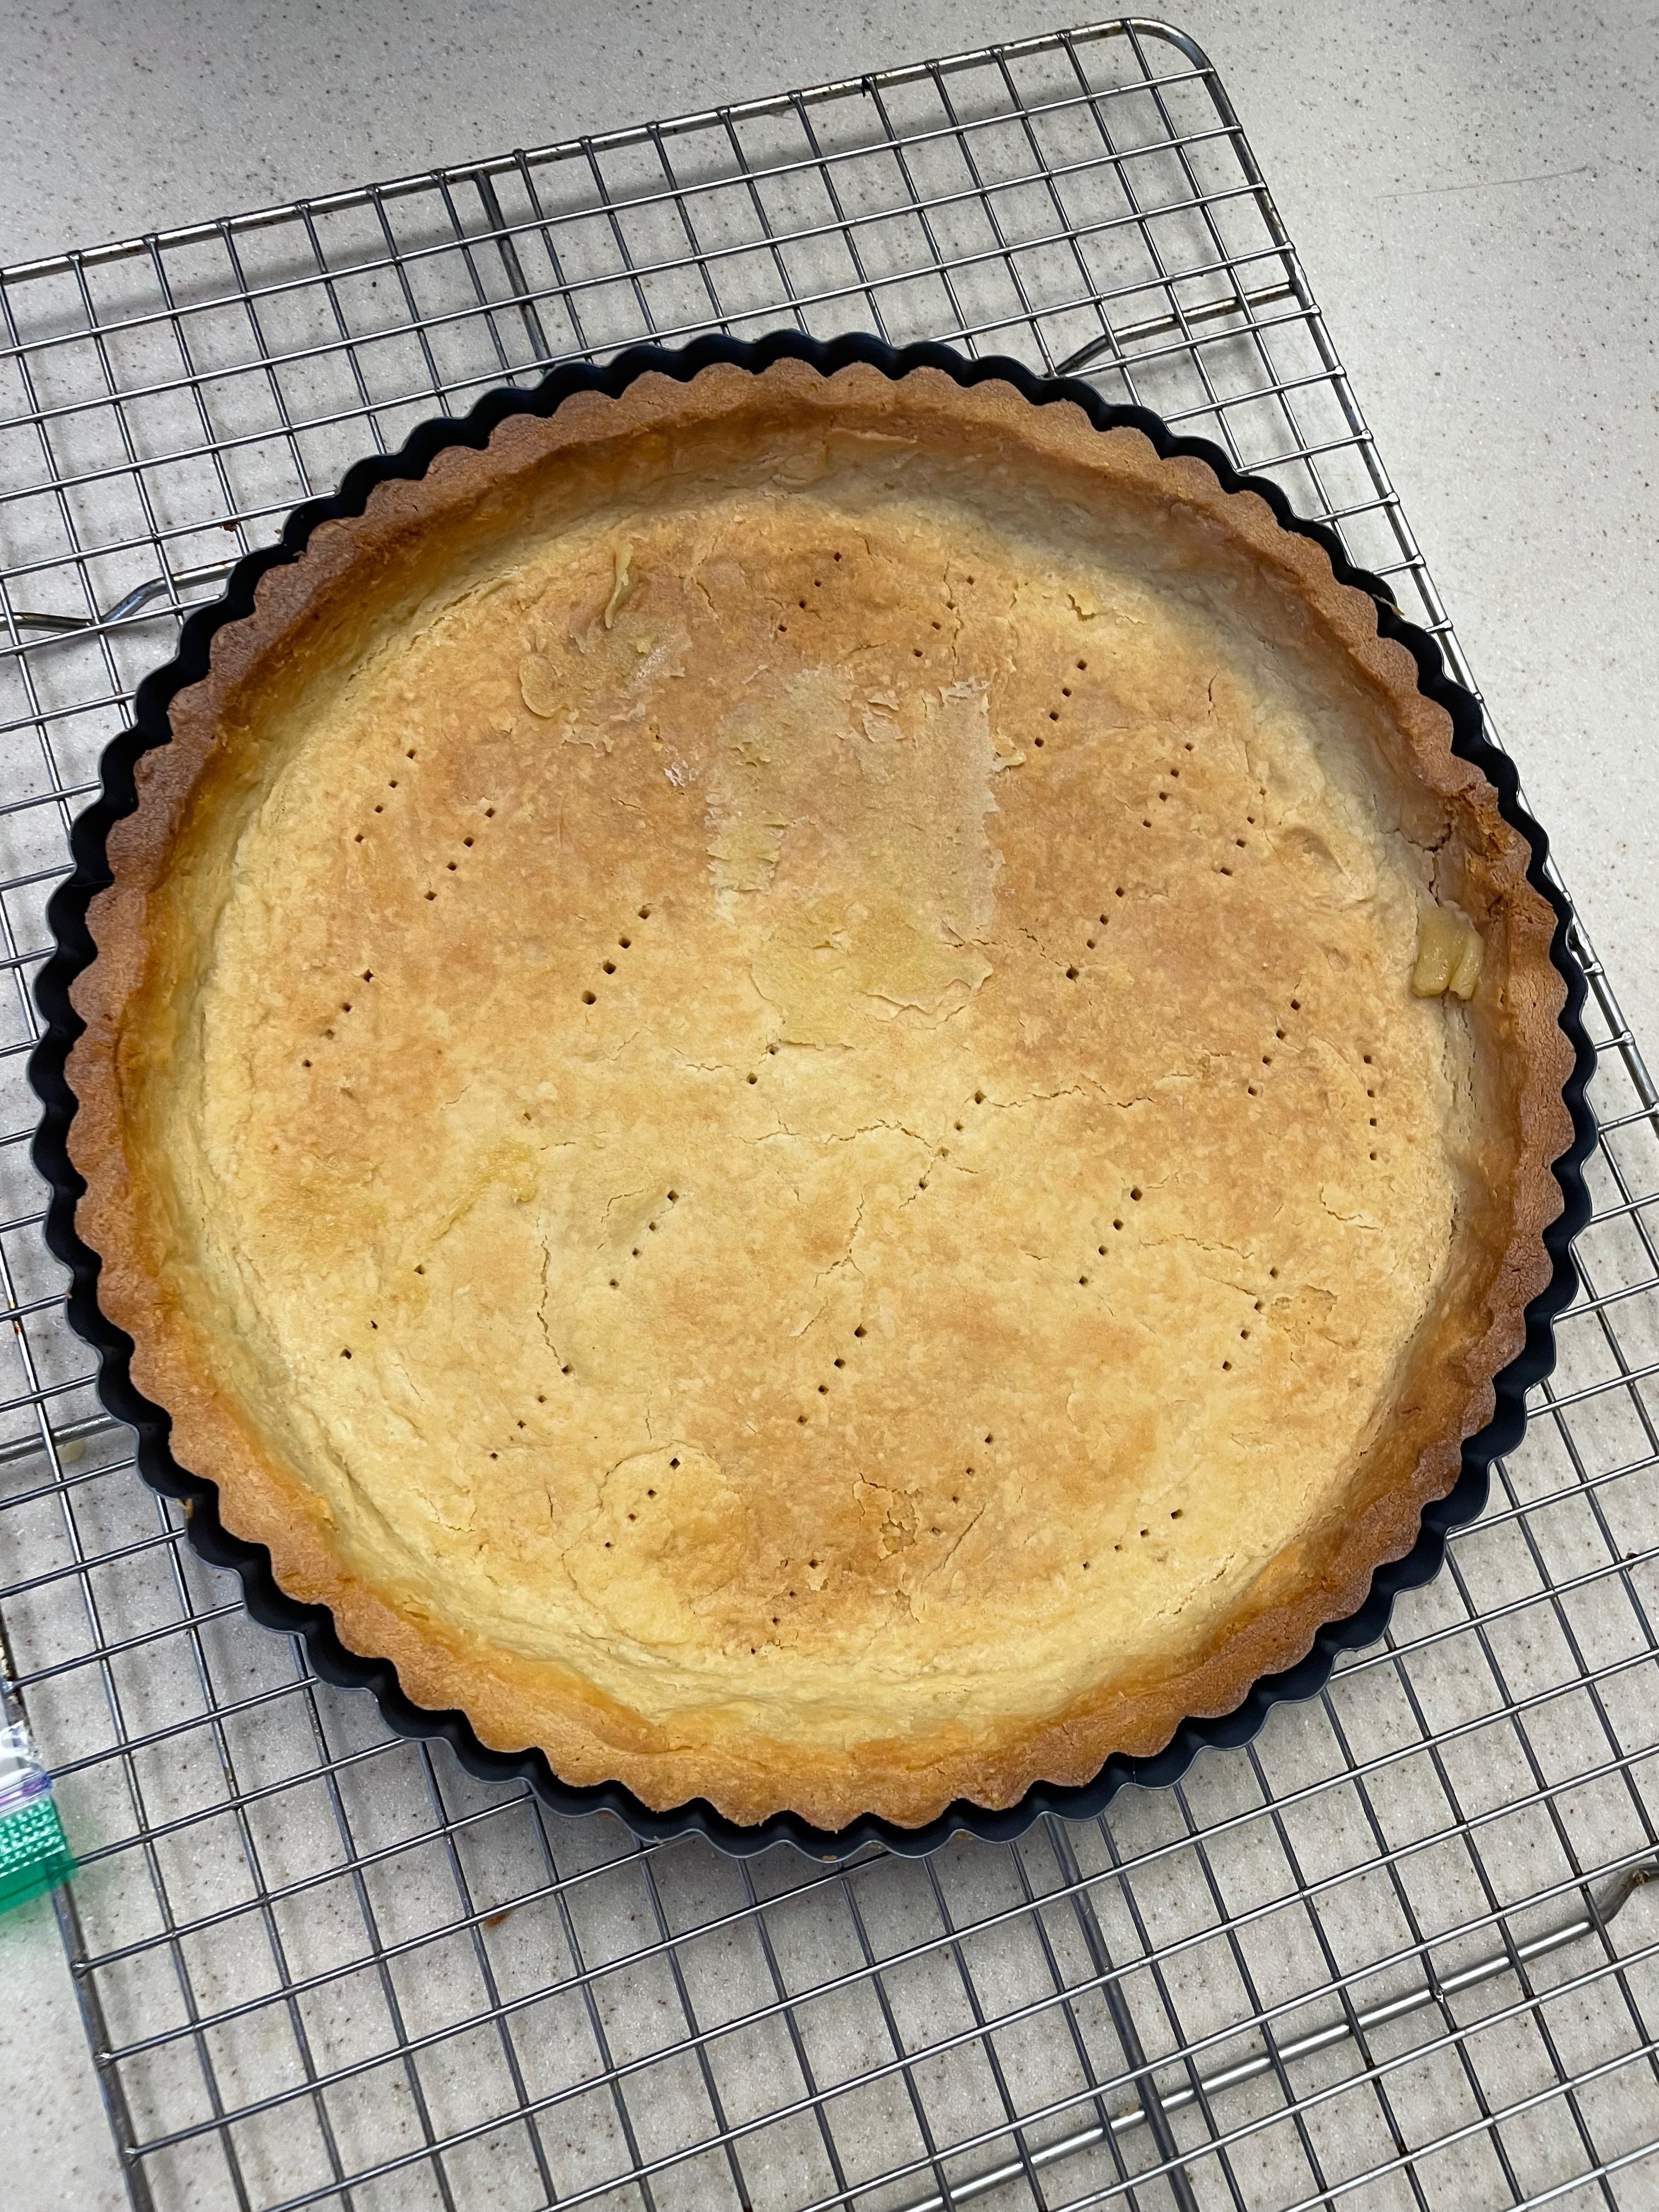
Making The Crust
Tip: Make sure the 13-inch dough round is rolled evenly, otherwise the sides of the crust will be too thin and the center too thick..
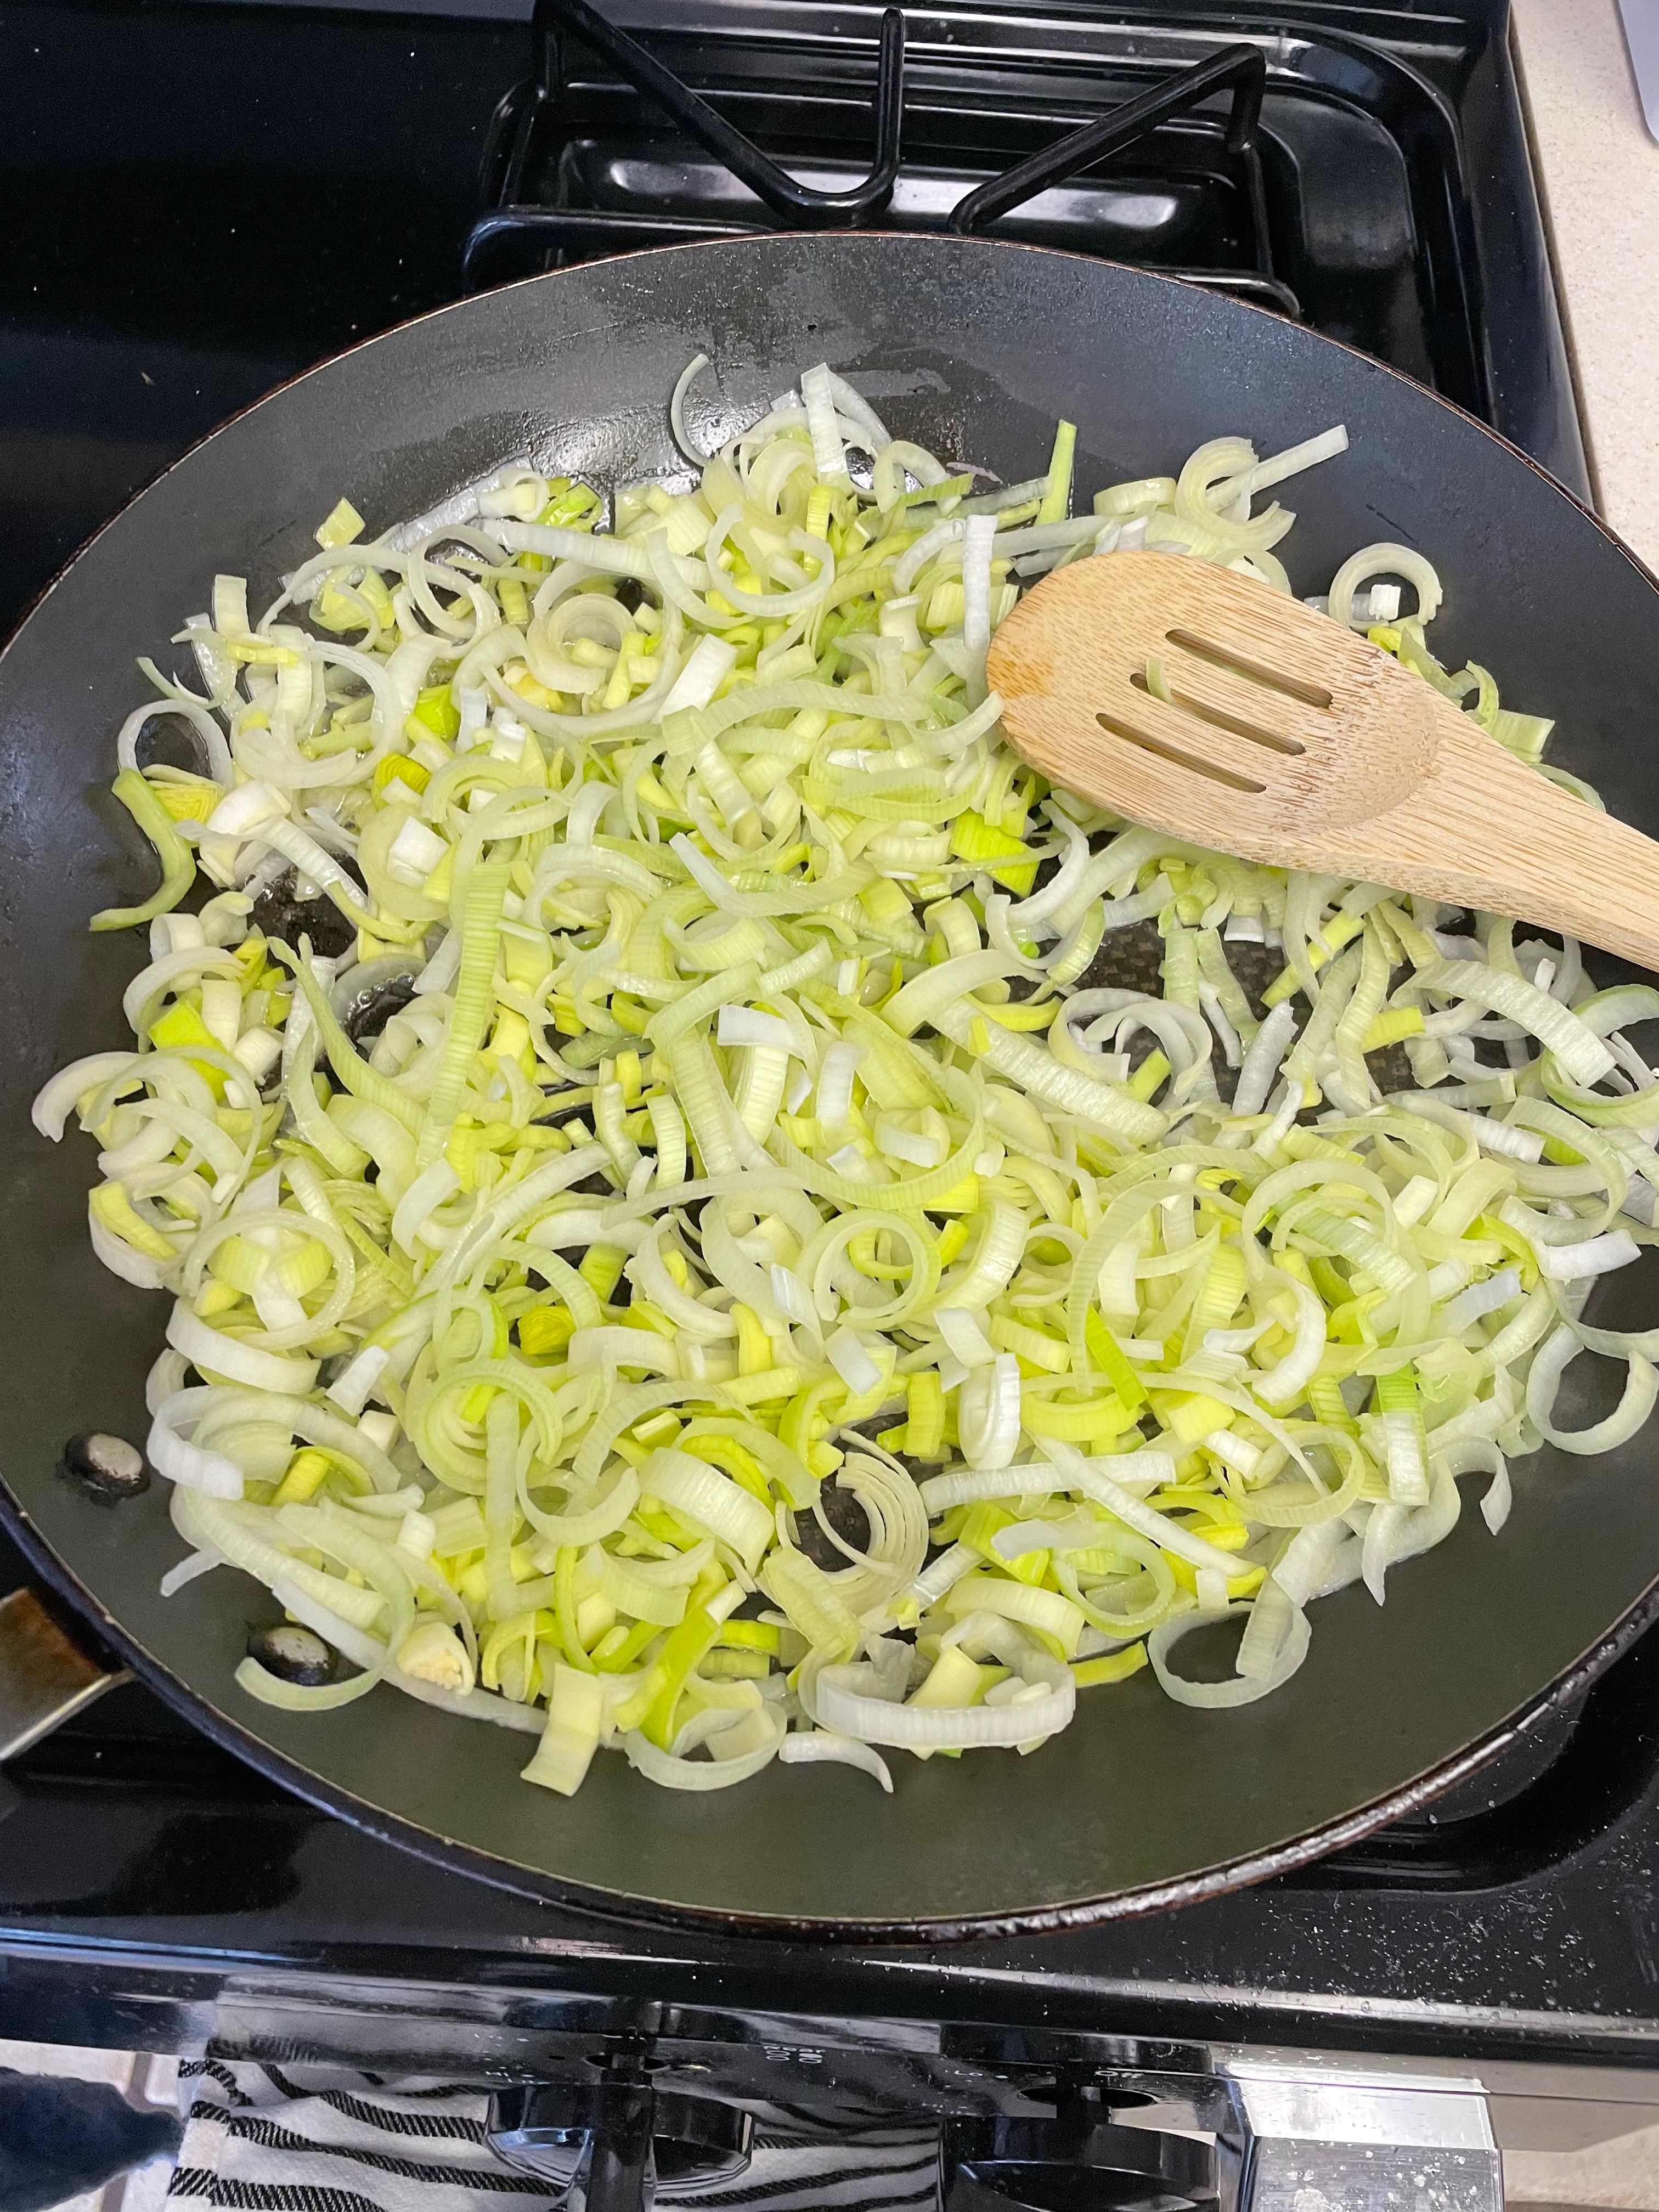
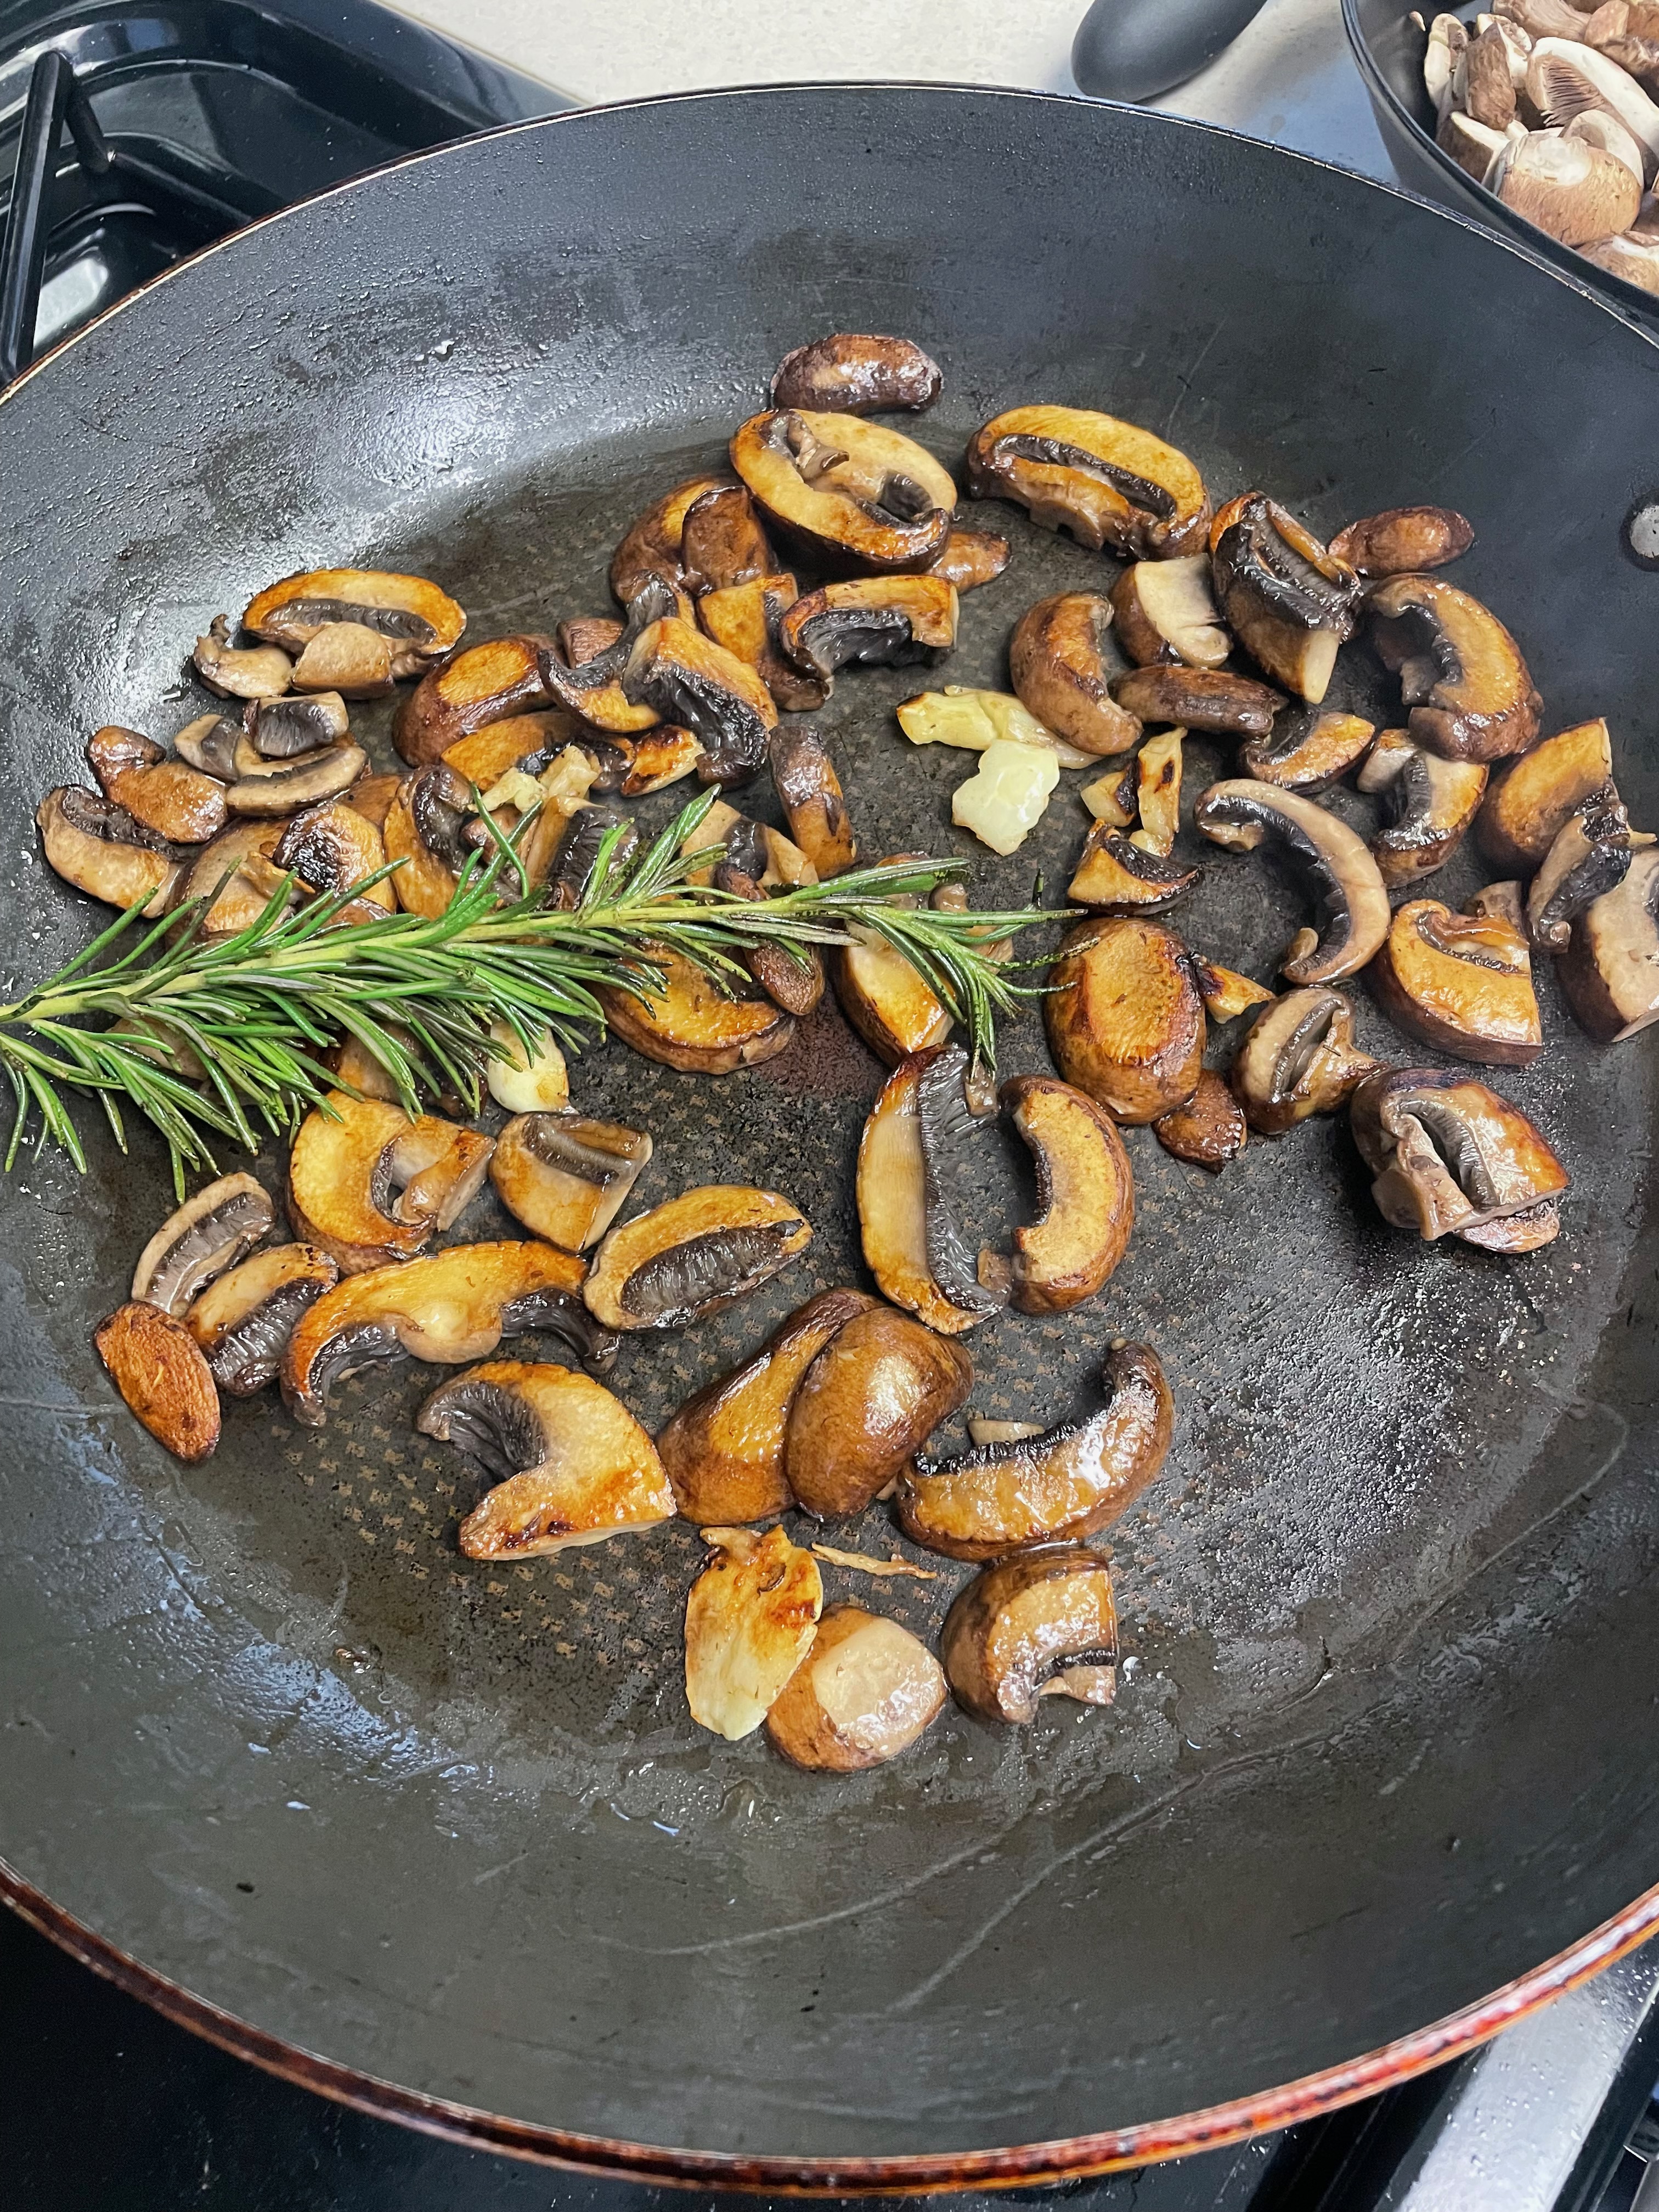
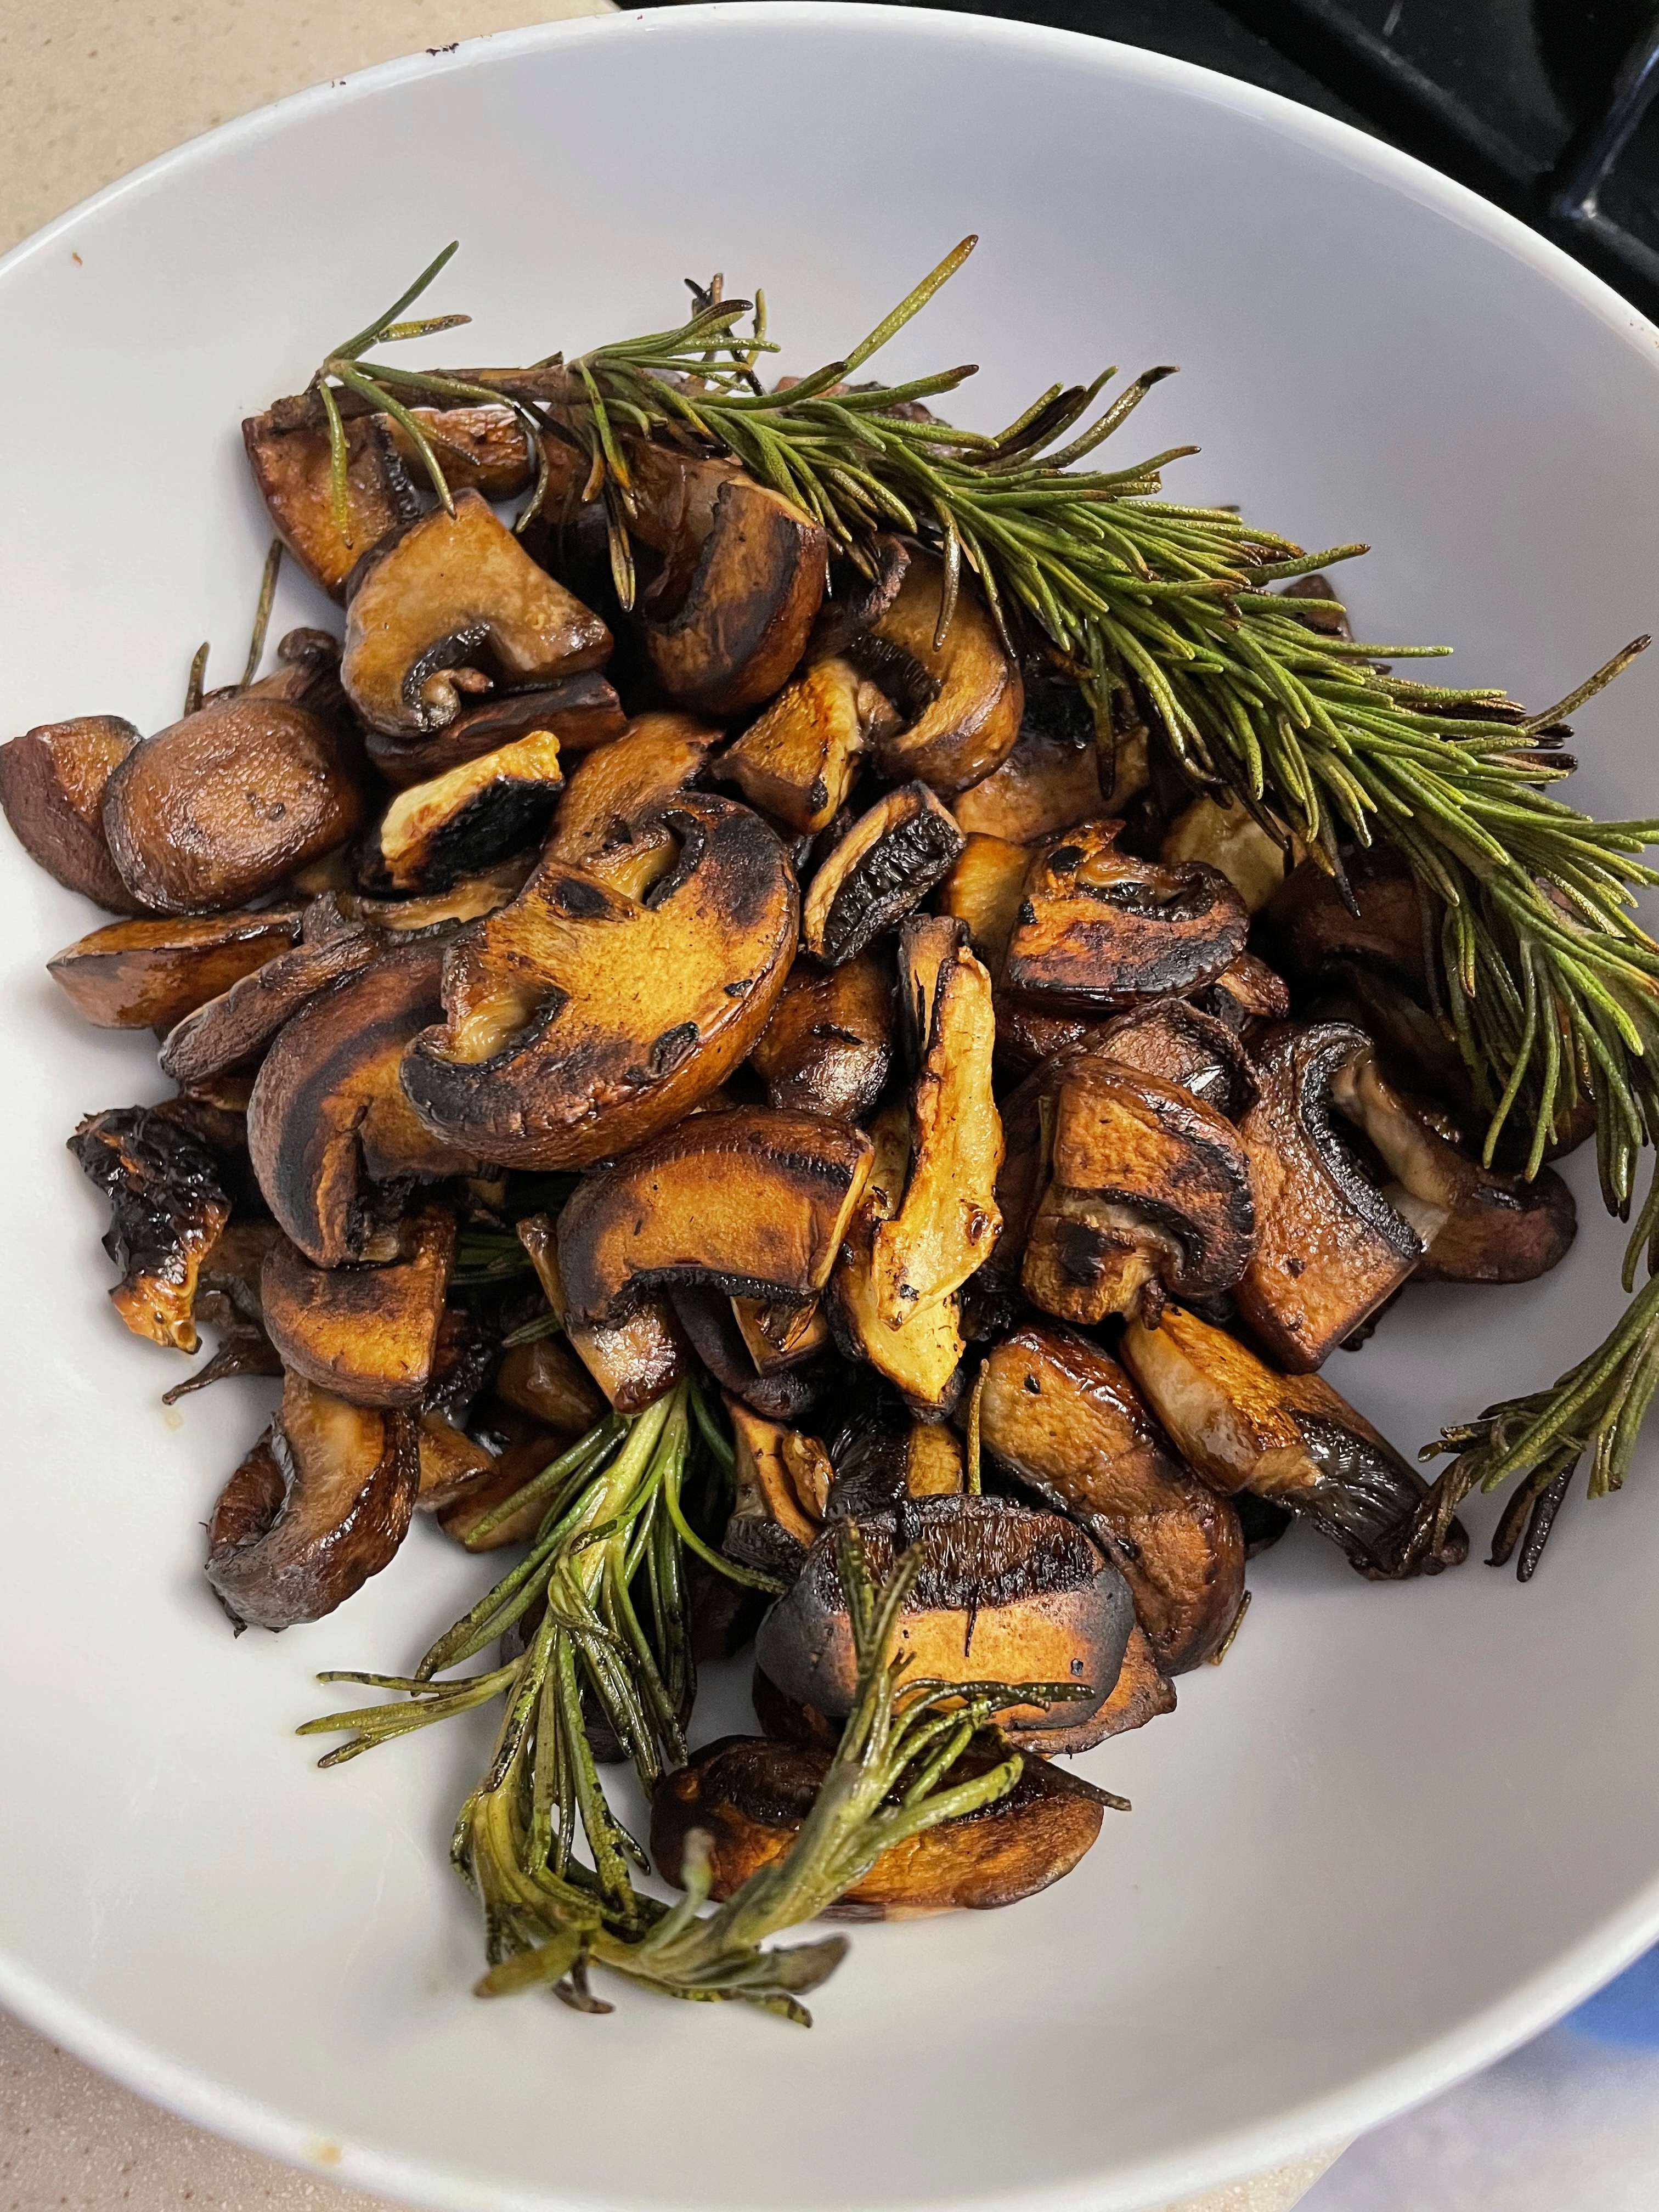
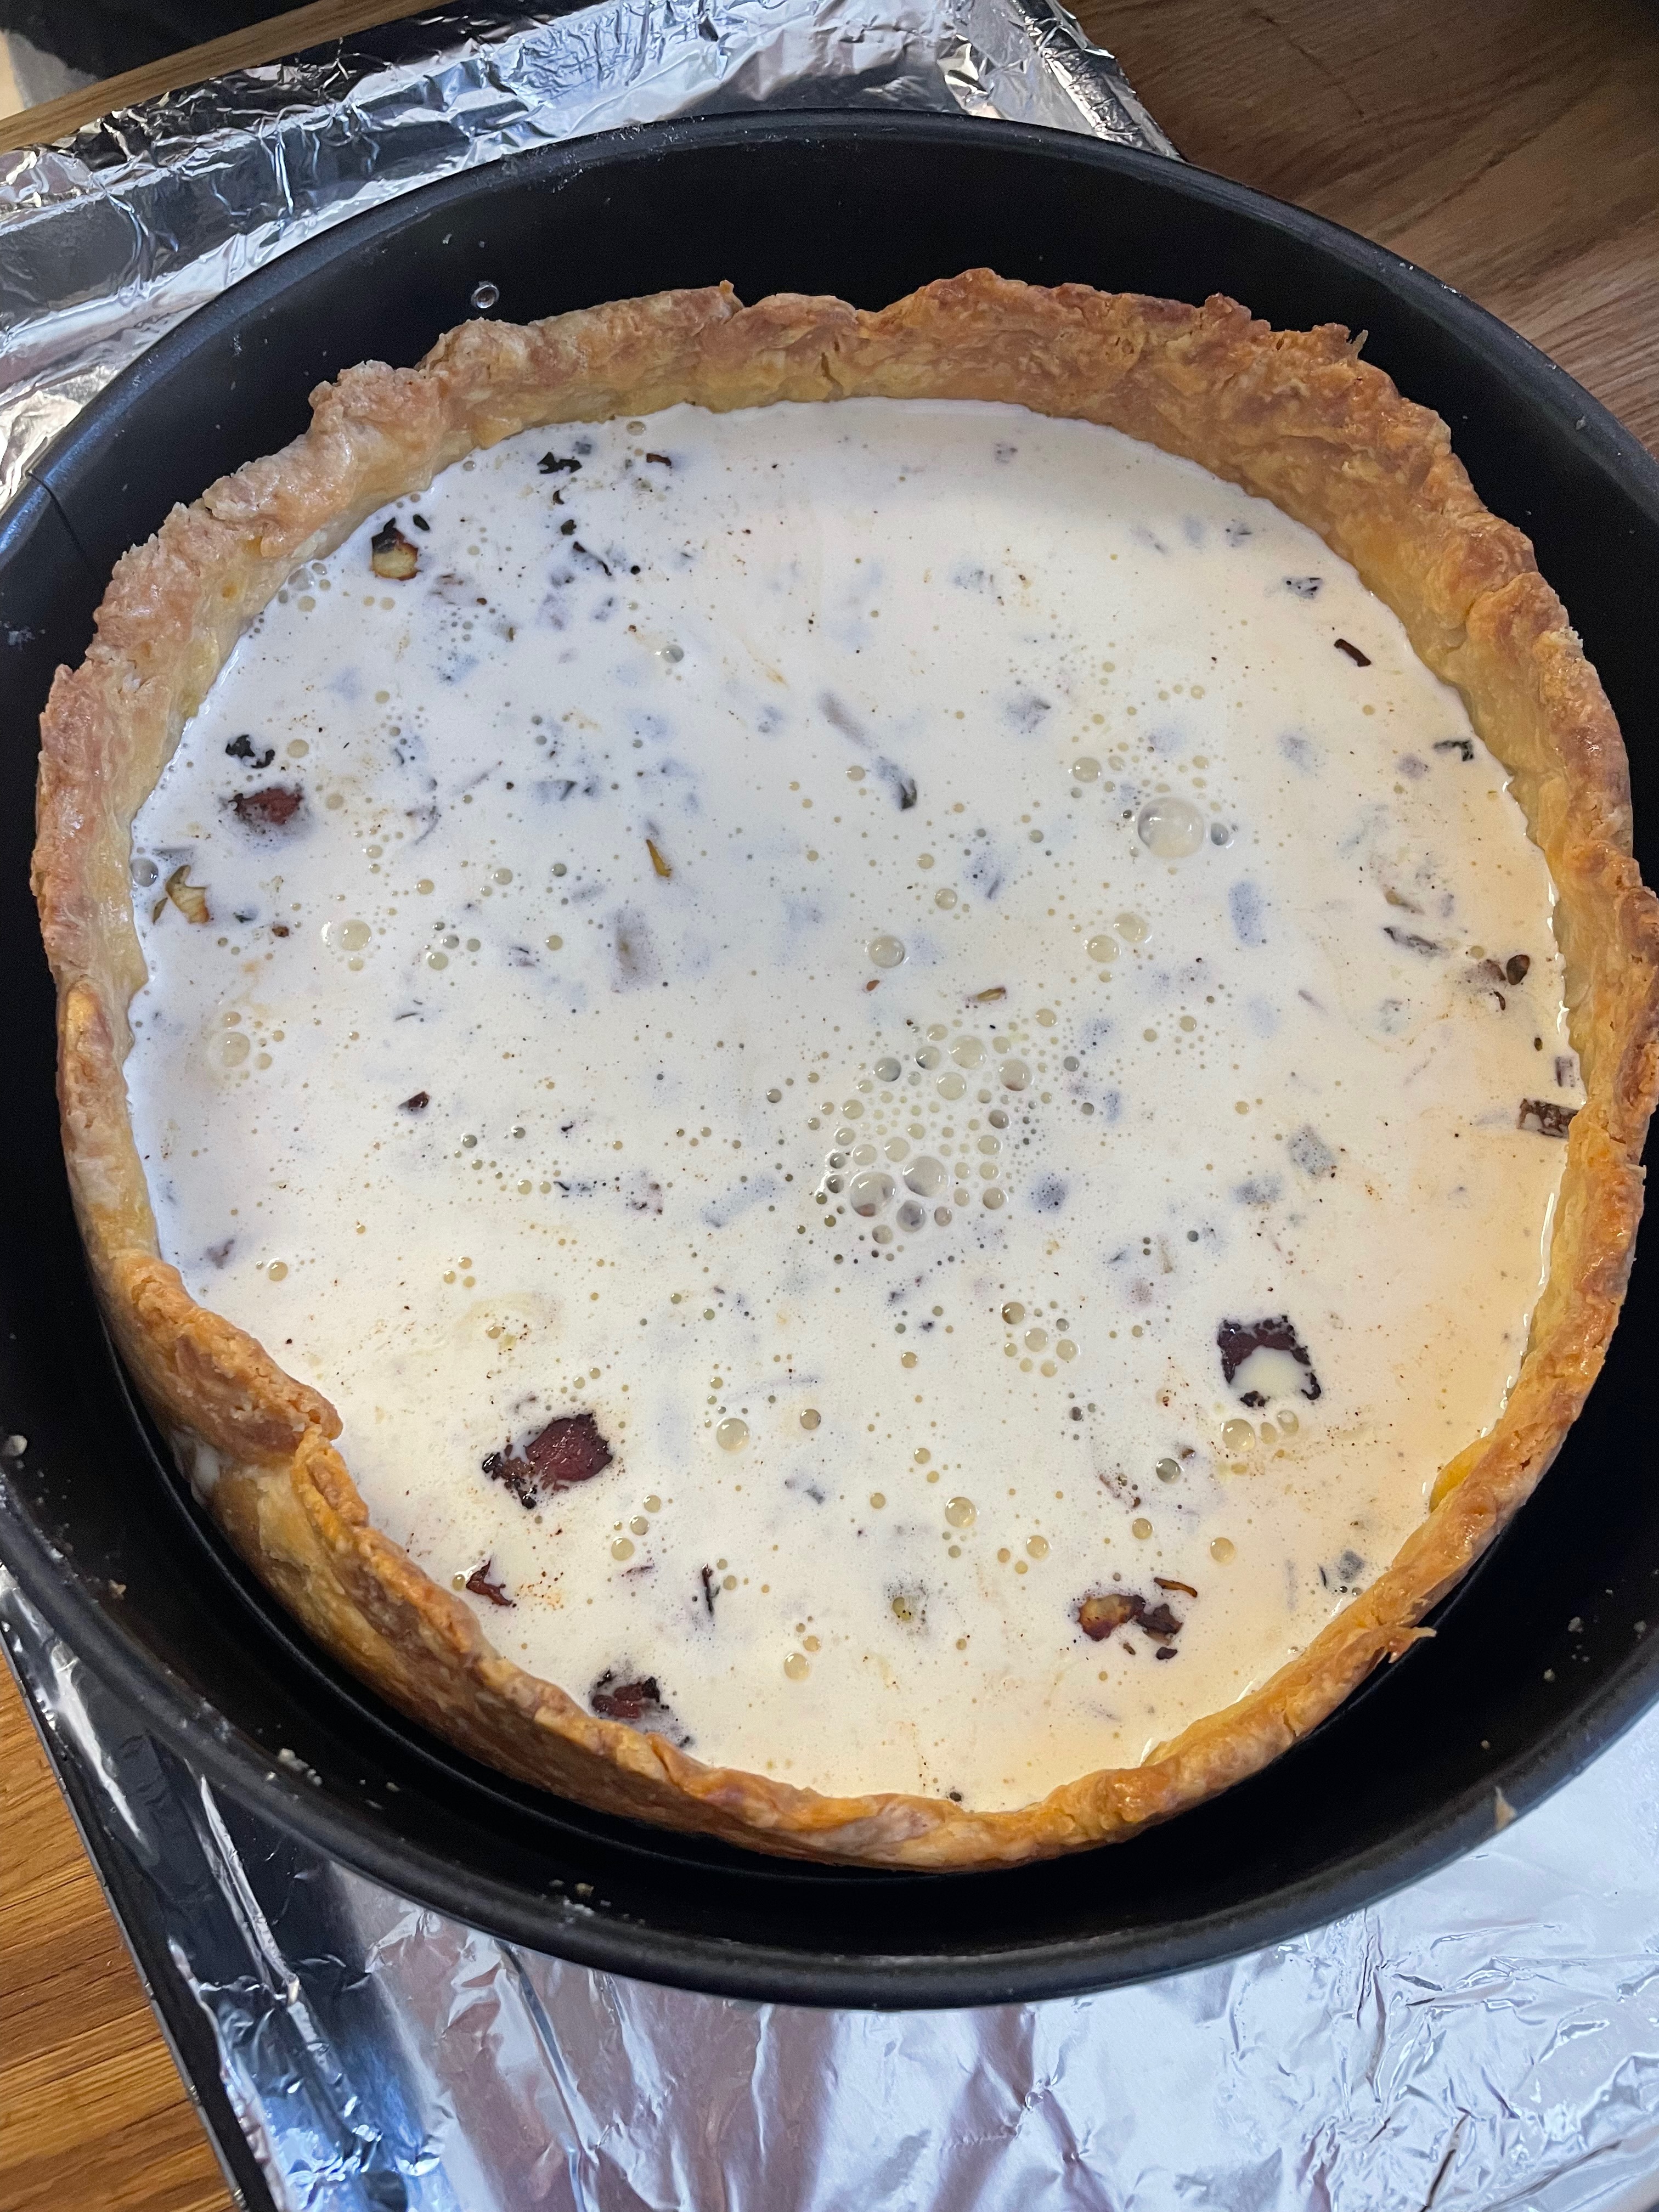
Making The Fillings
Tip: Separate the warm onion petals using a butterknife.
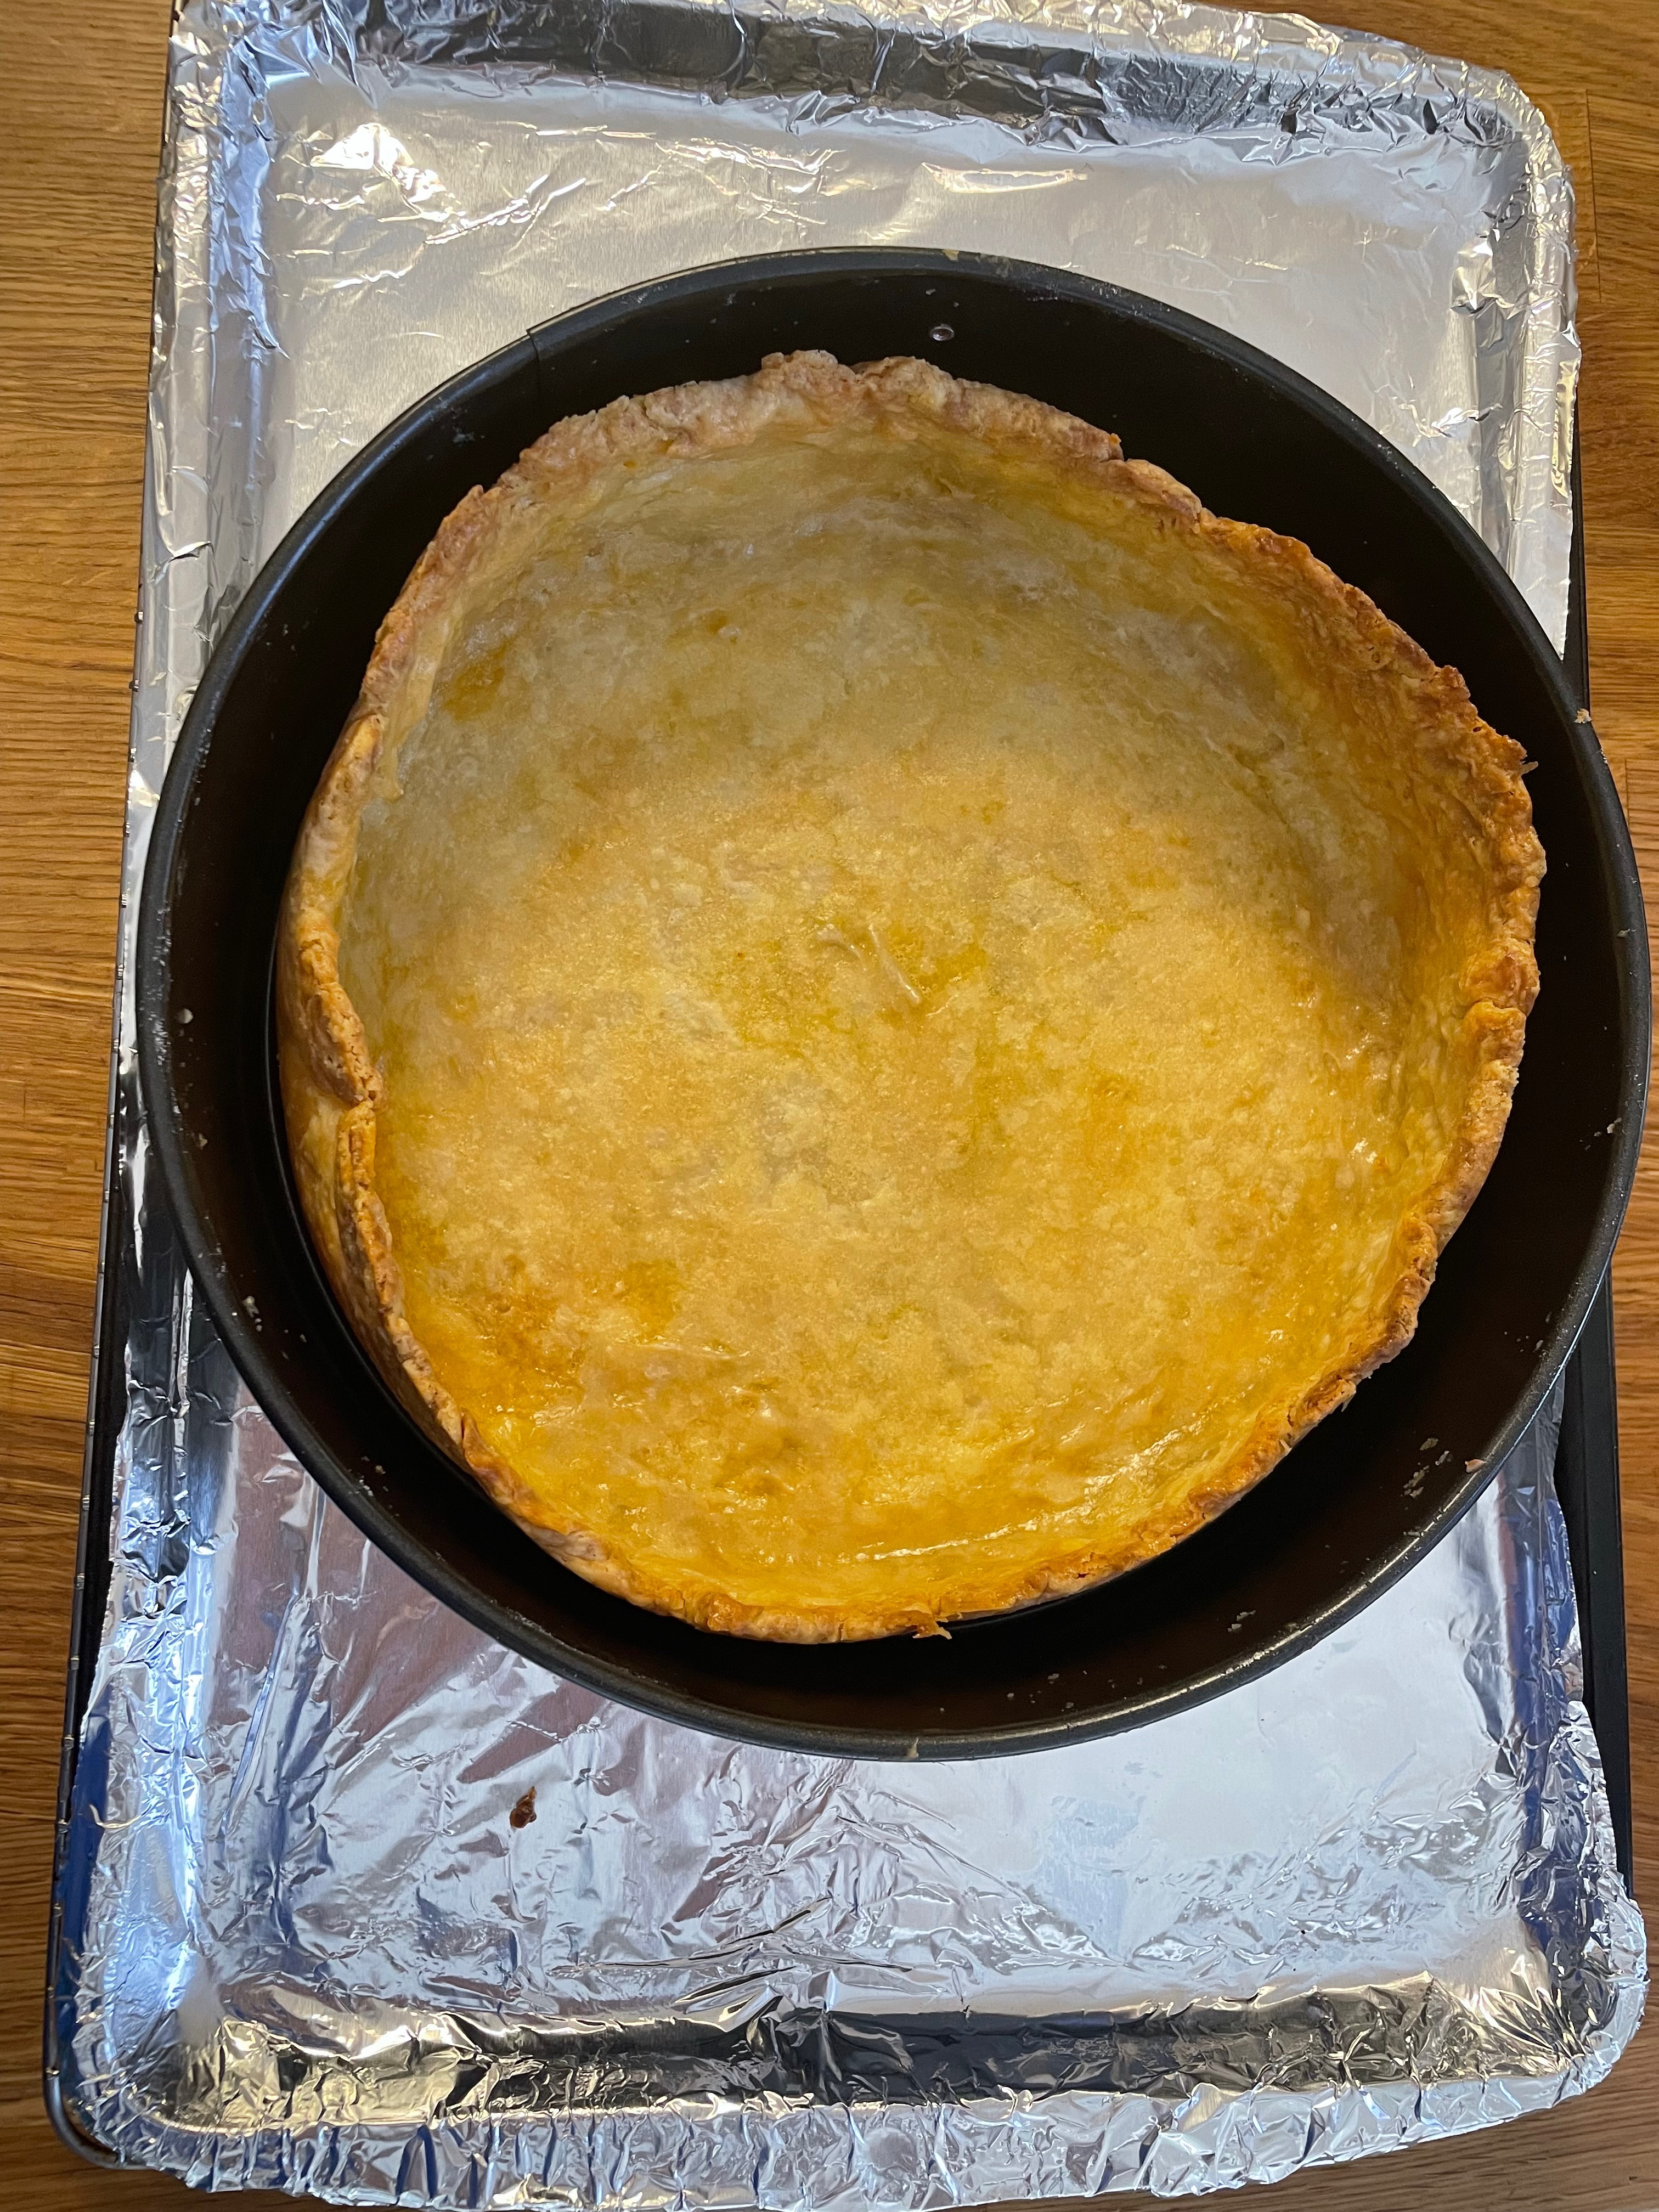
Baking the Quiche
Tip: You can make a very slight incision in the surface to check if the filling below is too runny/fluid/unset.
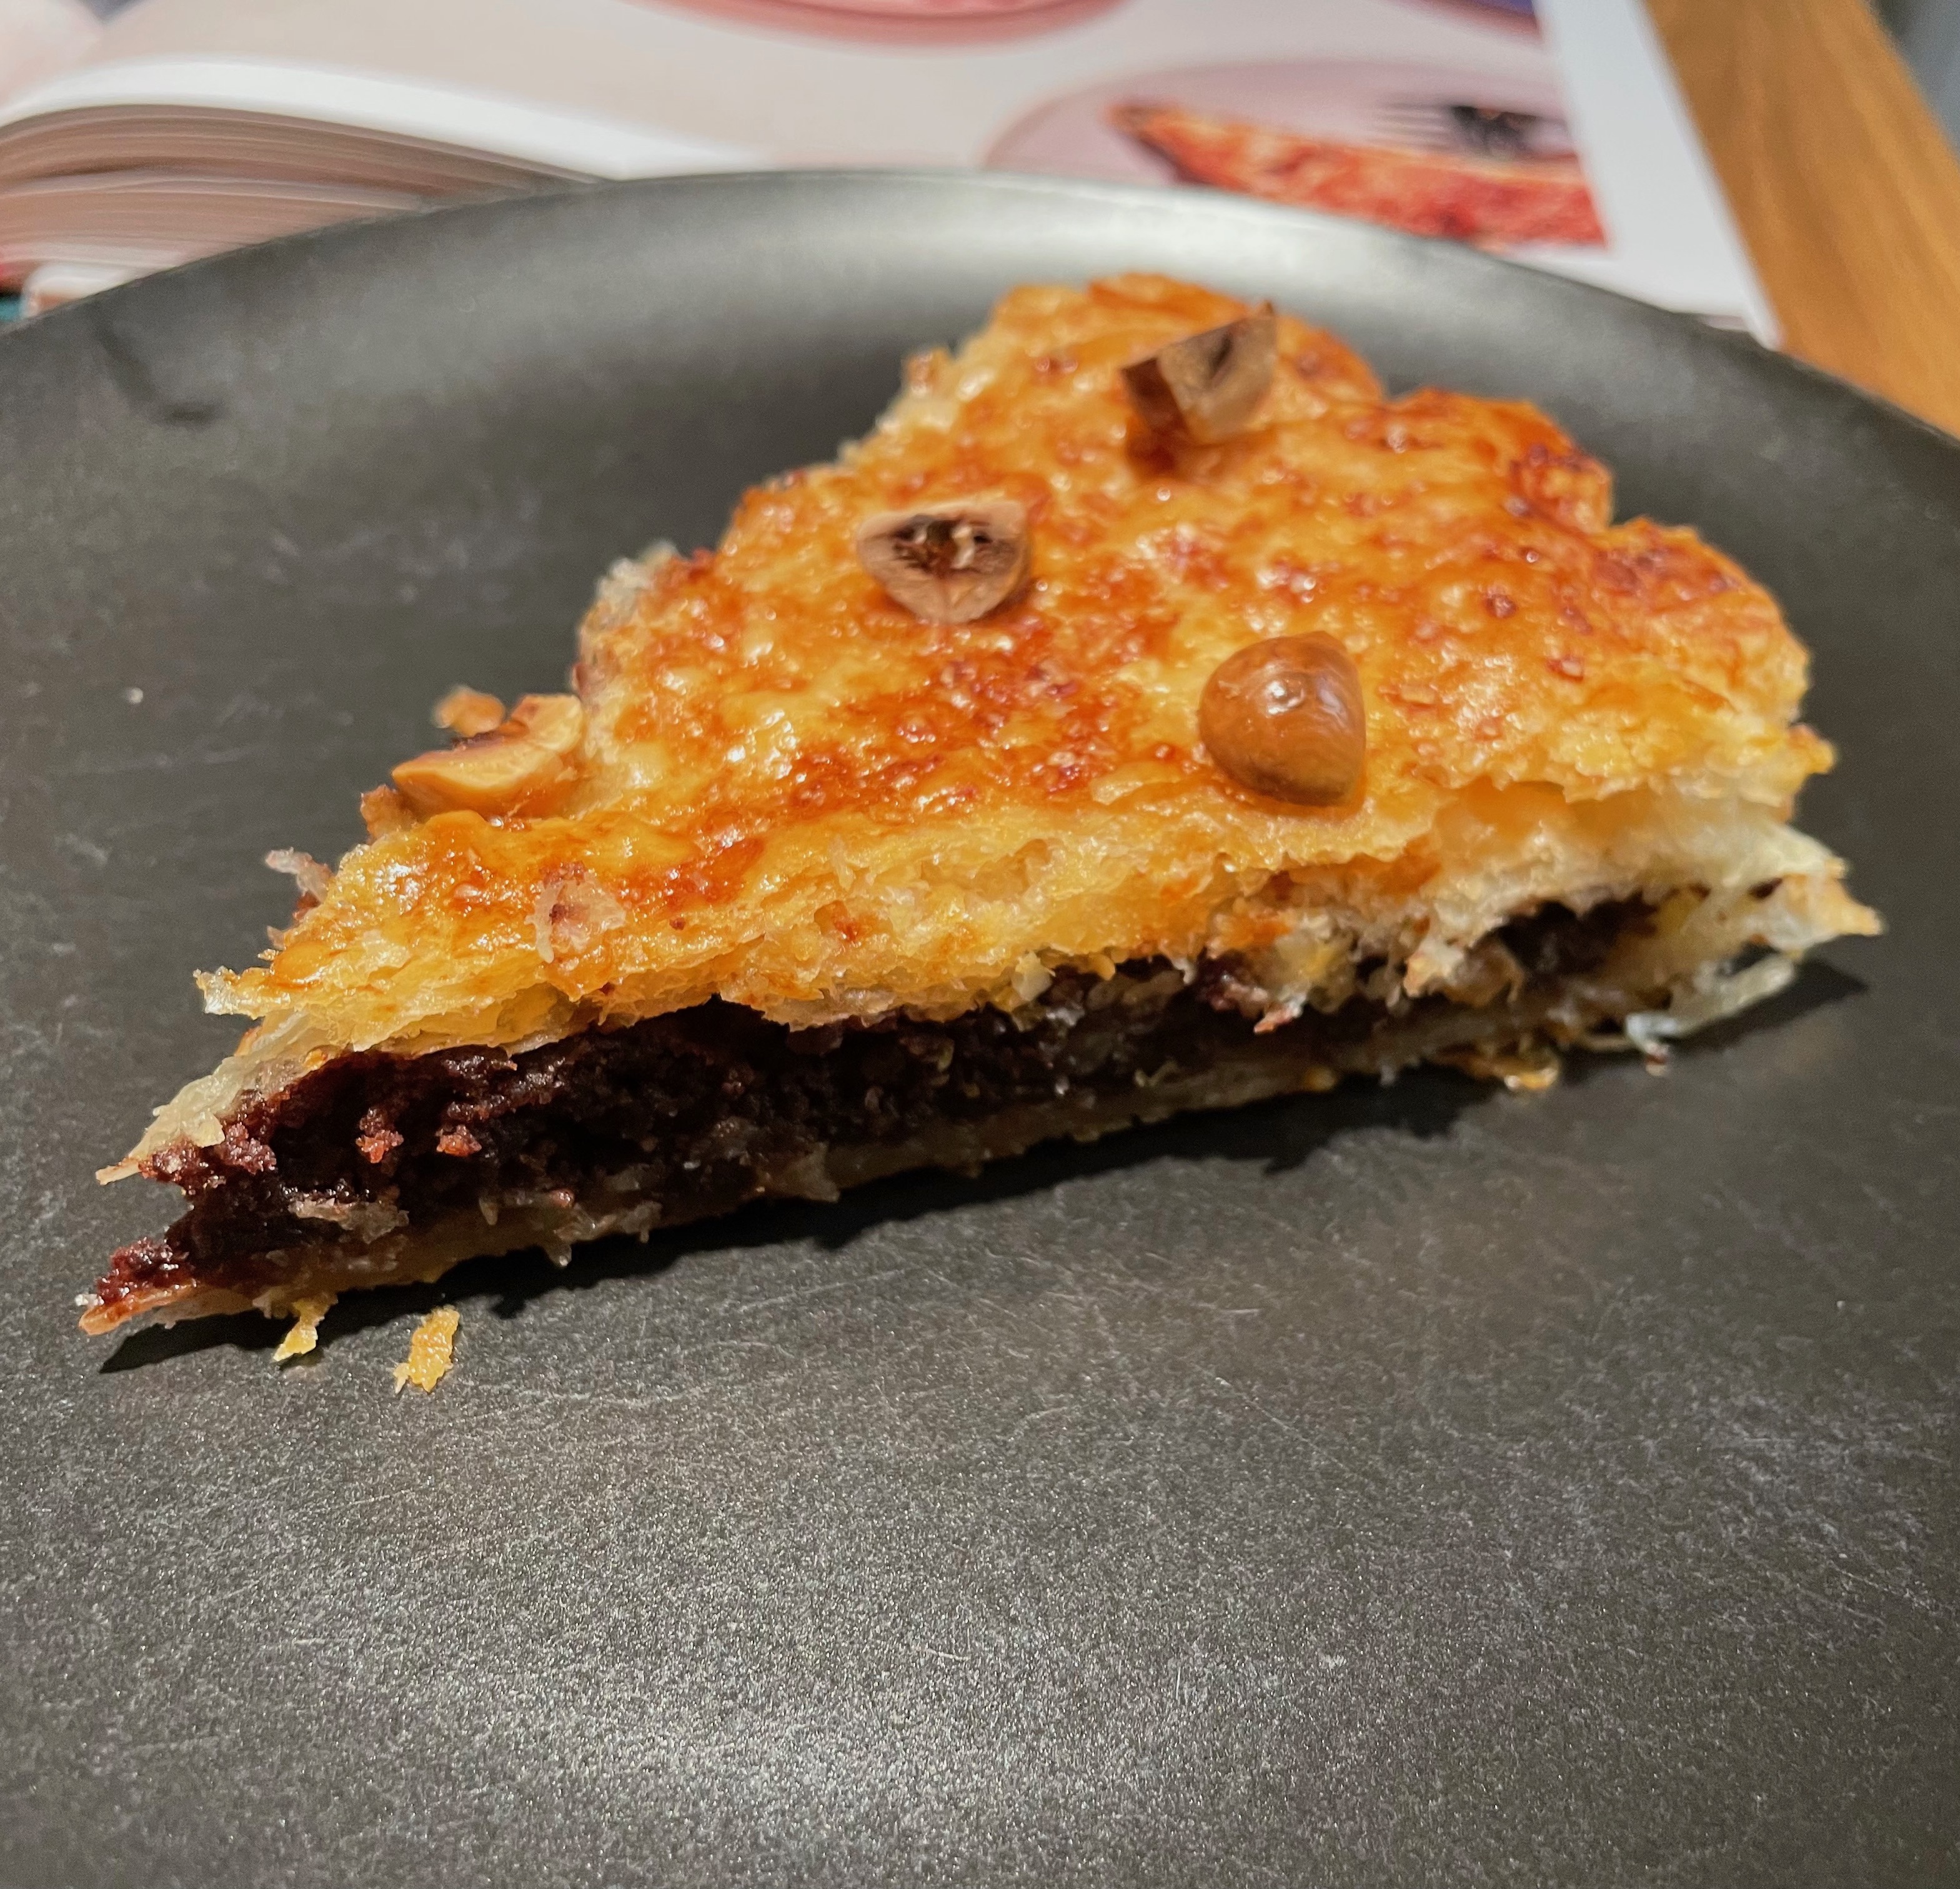
Final Product
Key Takeaways
Use very fresh fillings for full flavor.
While not too difficult, this is extremely time consuming. Expect closer to 3 hours.
Final Score: 4/5 – This is an incredible recipe that delivers on every level. It’s a lot of work though and really an all day activity (unless you’ve done it before or are particularly skilled)!
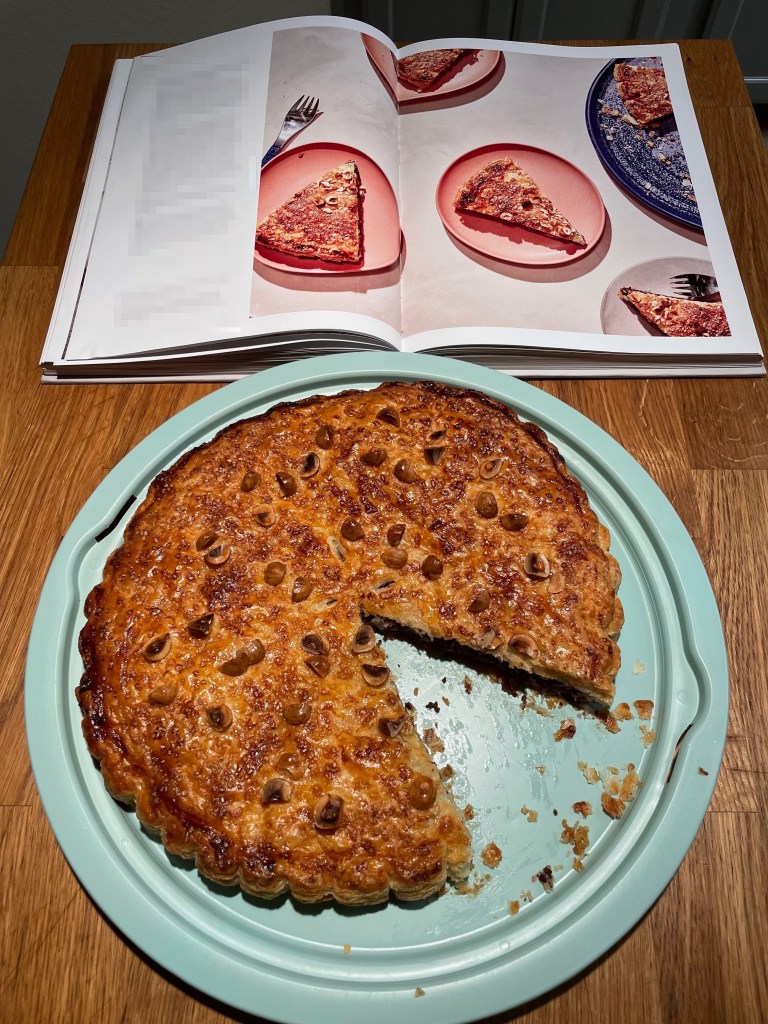
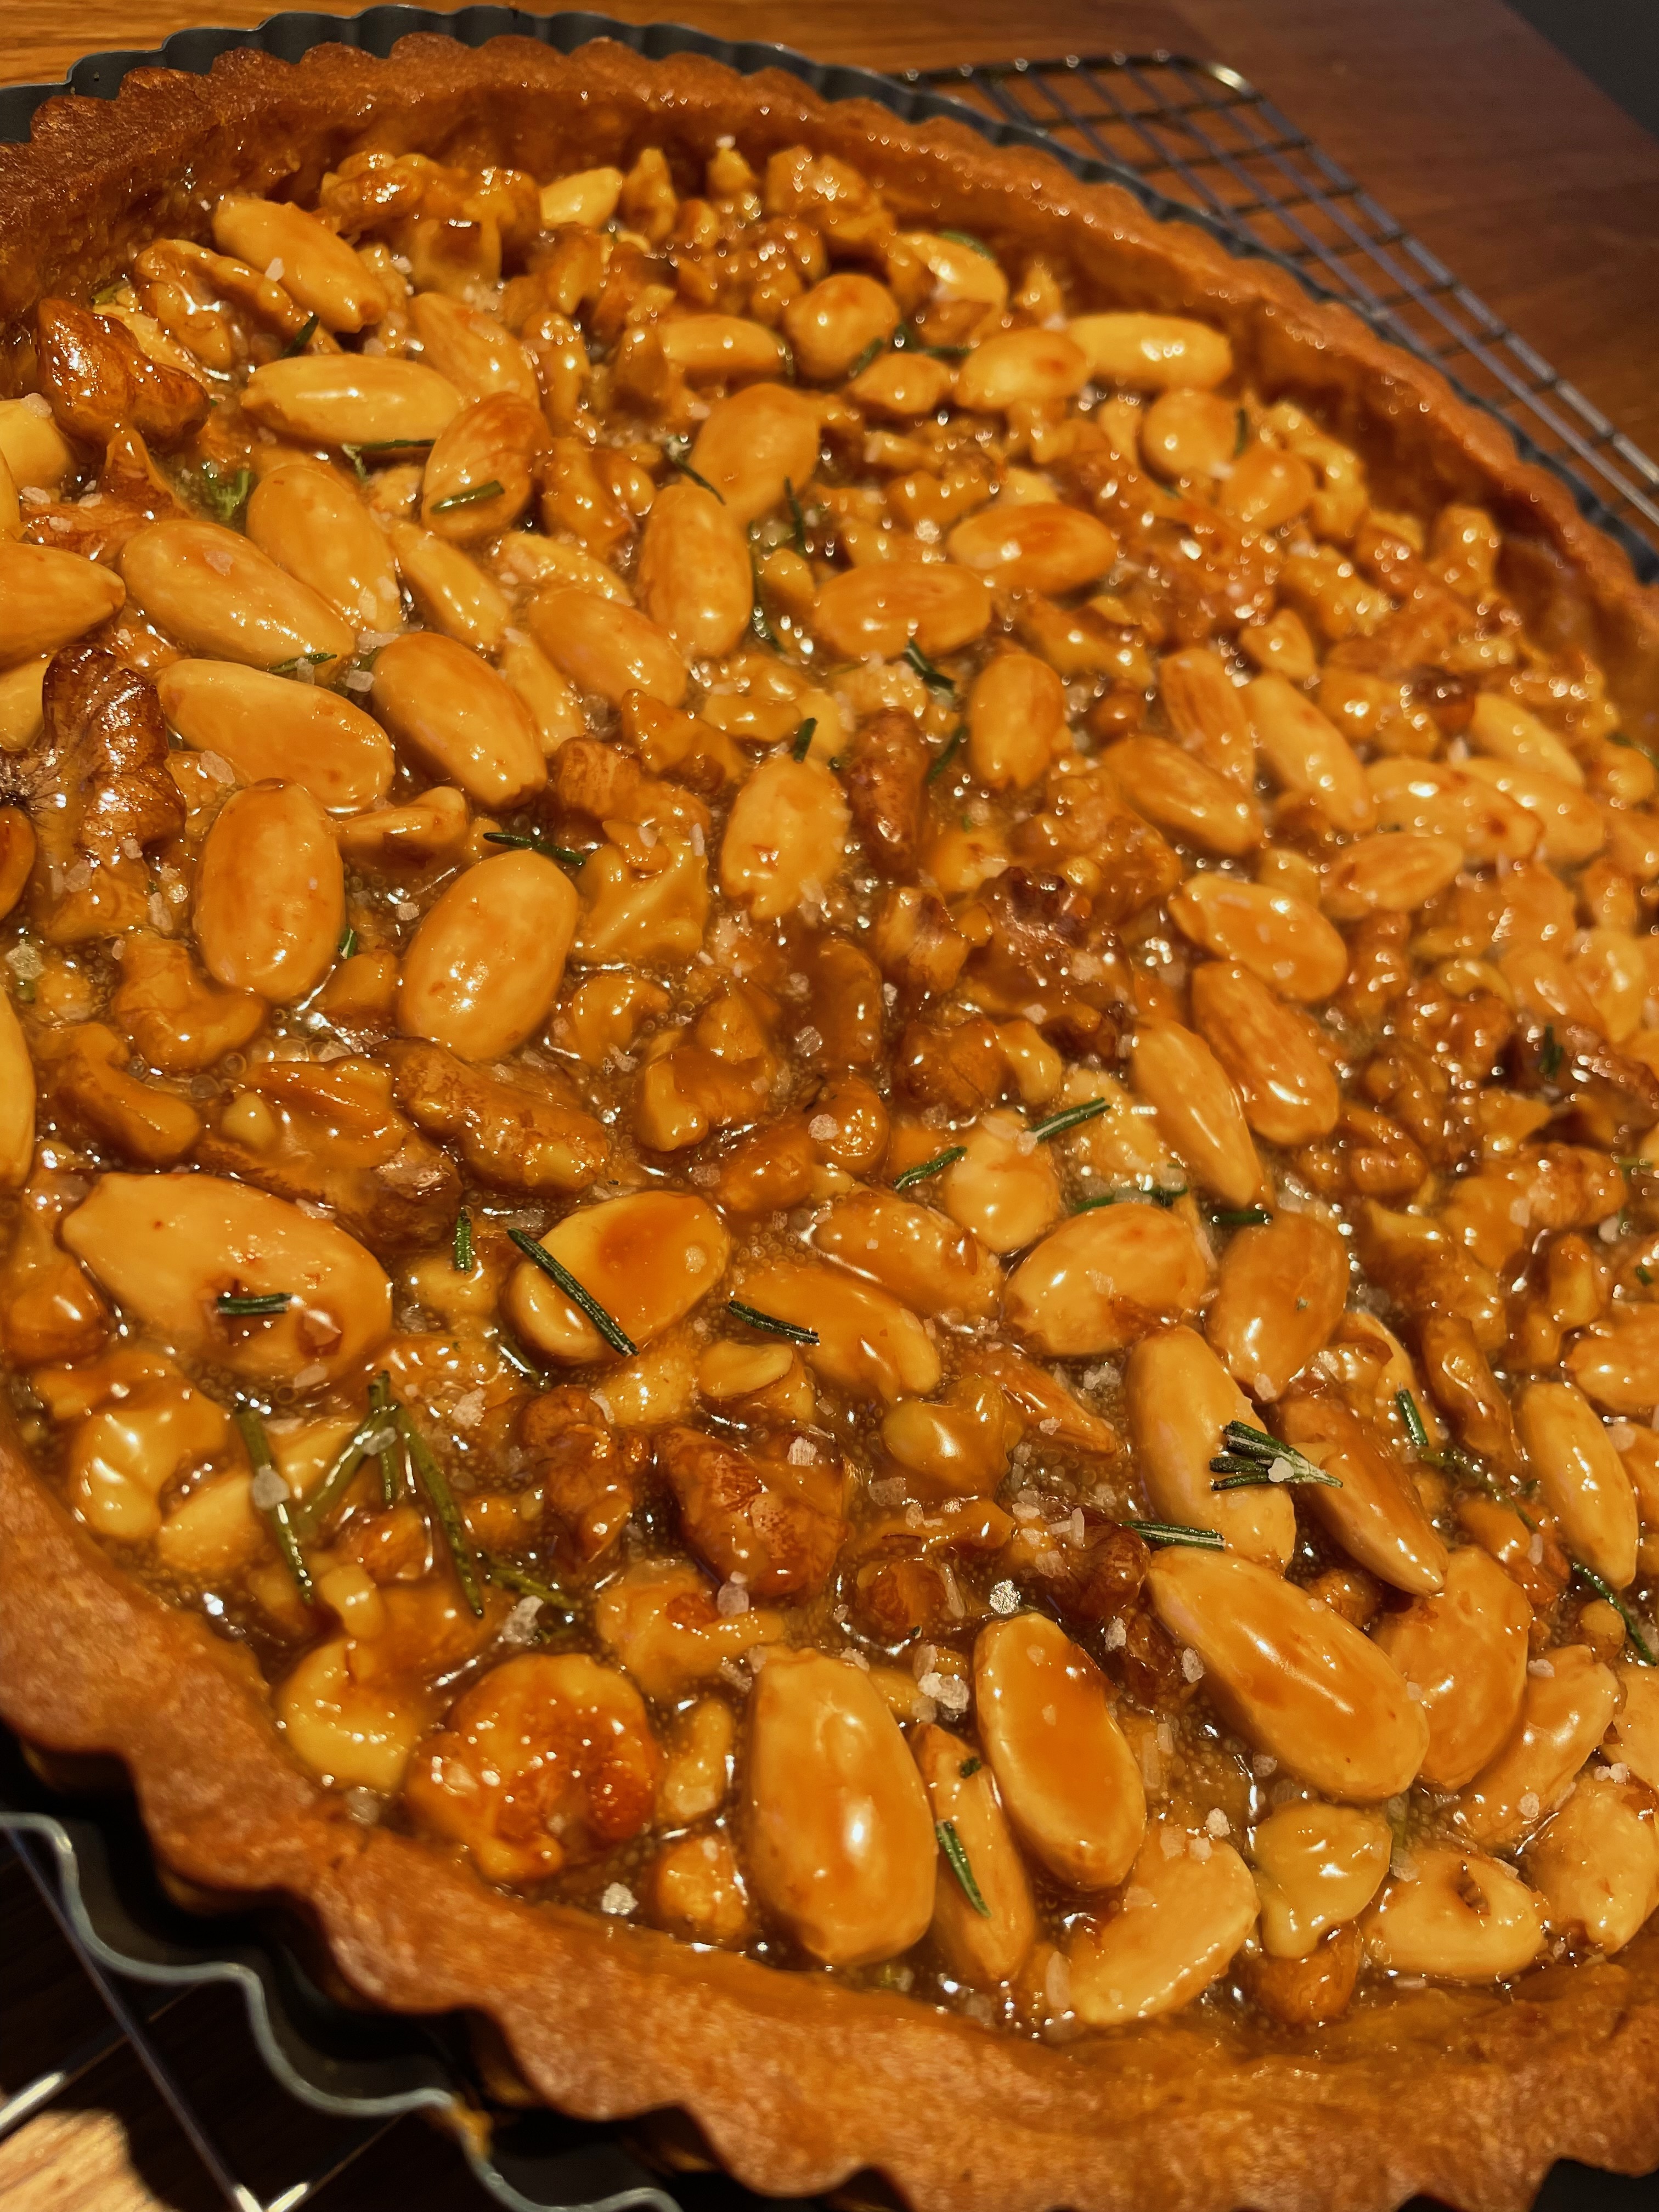
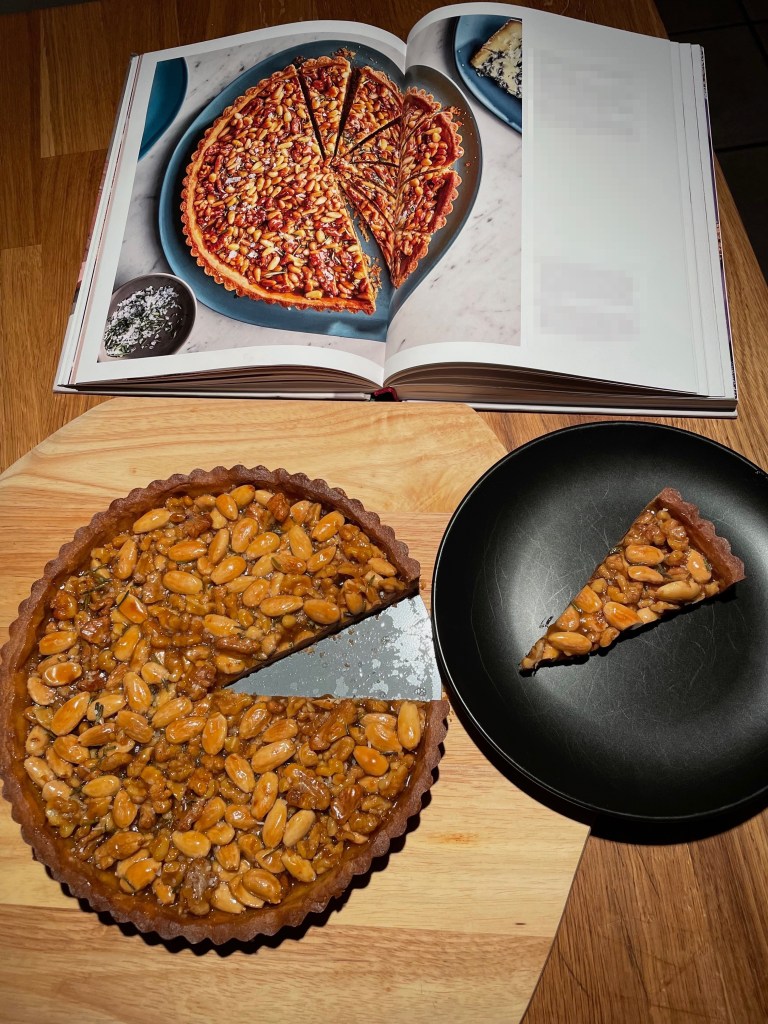
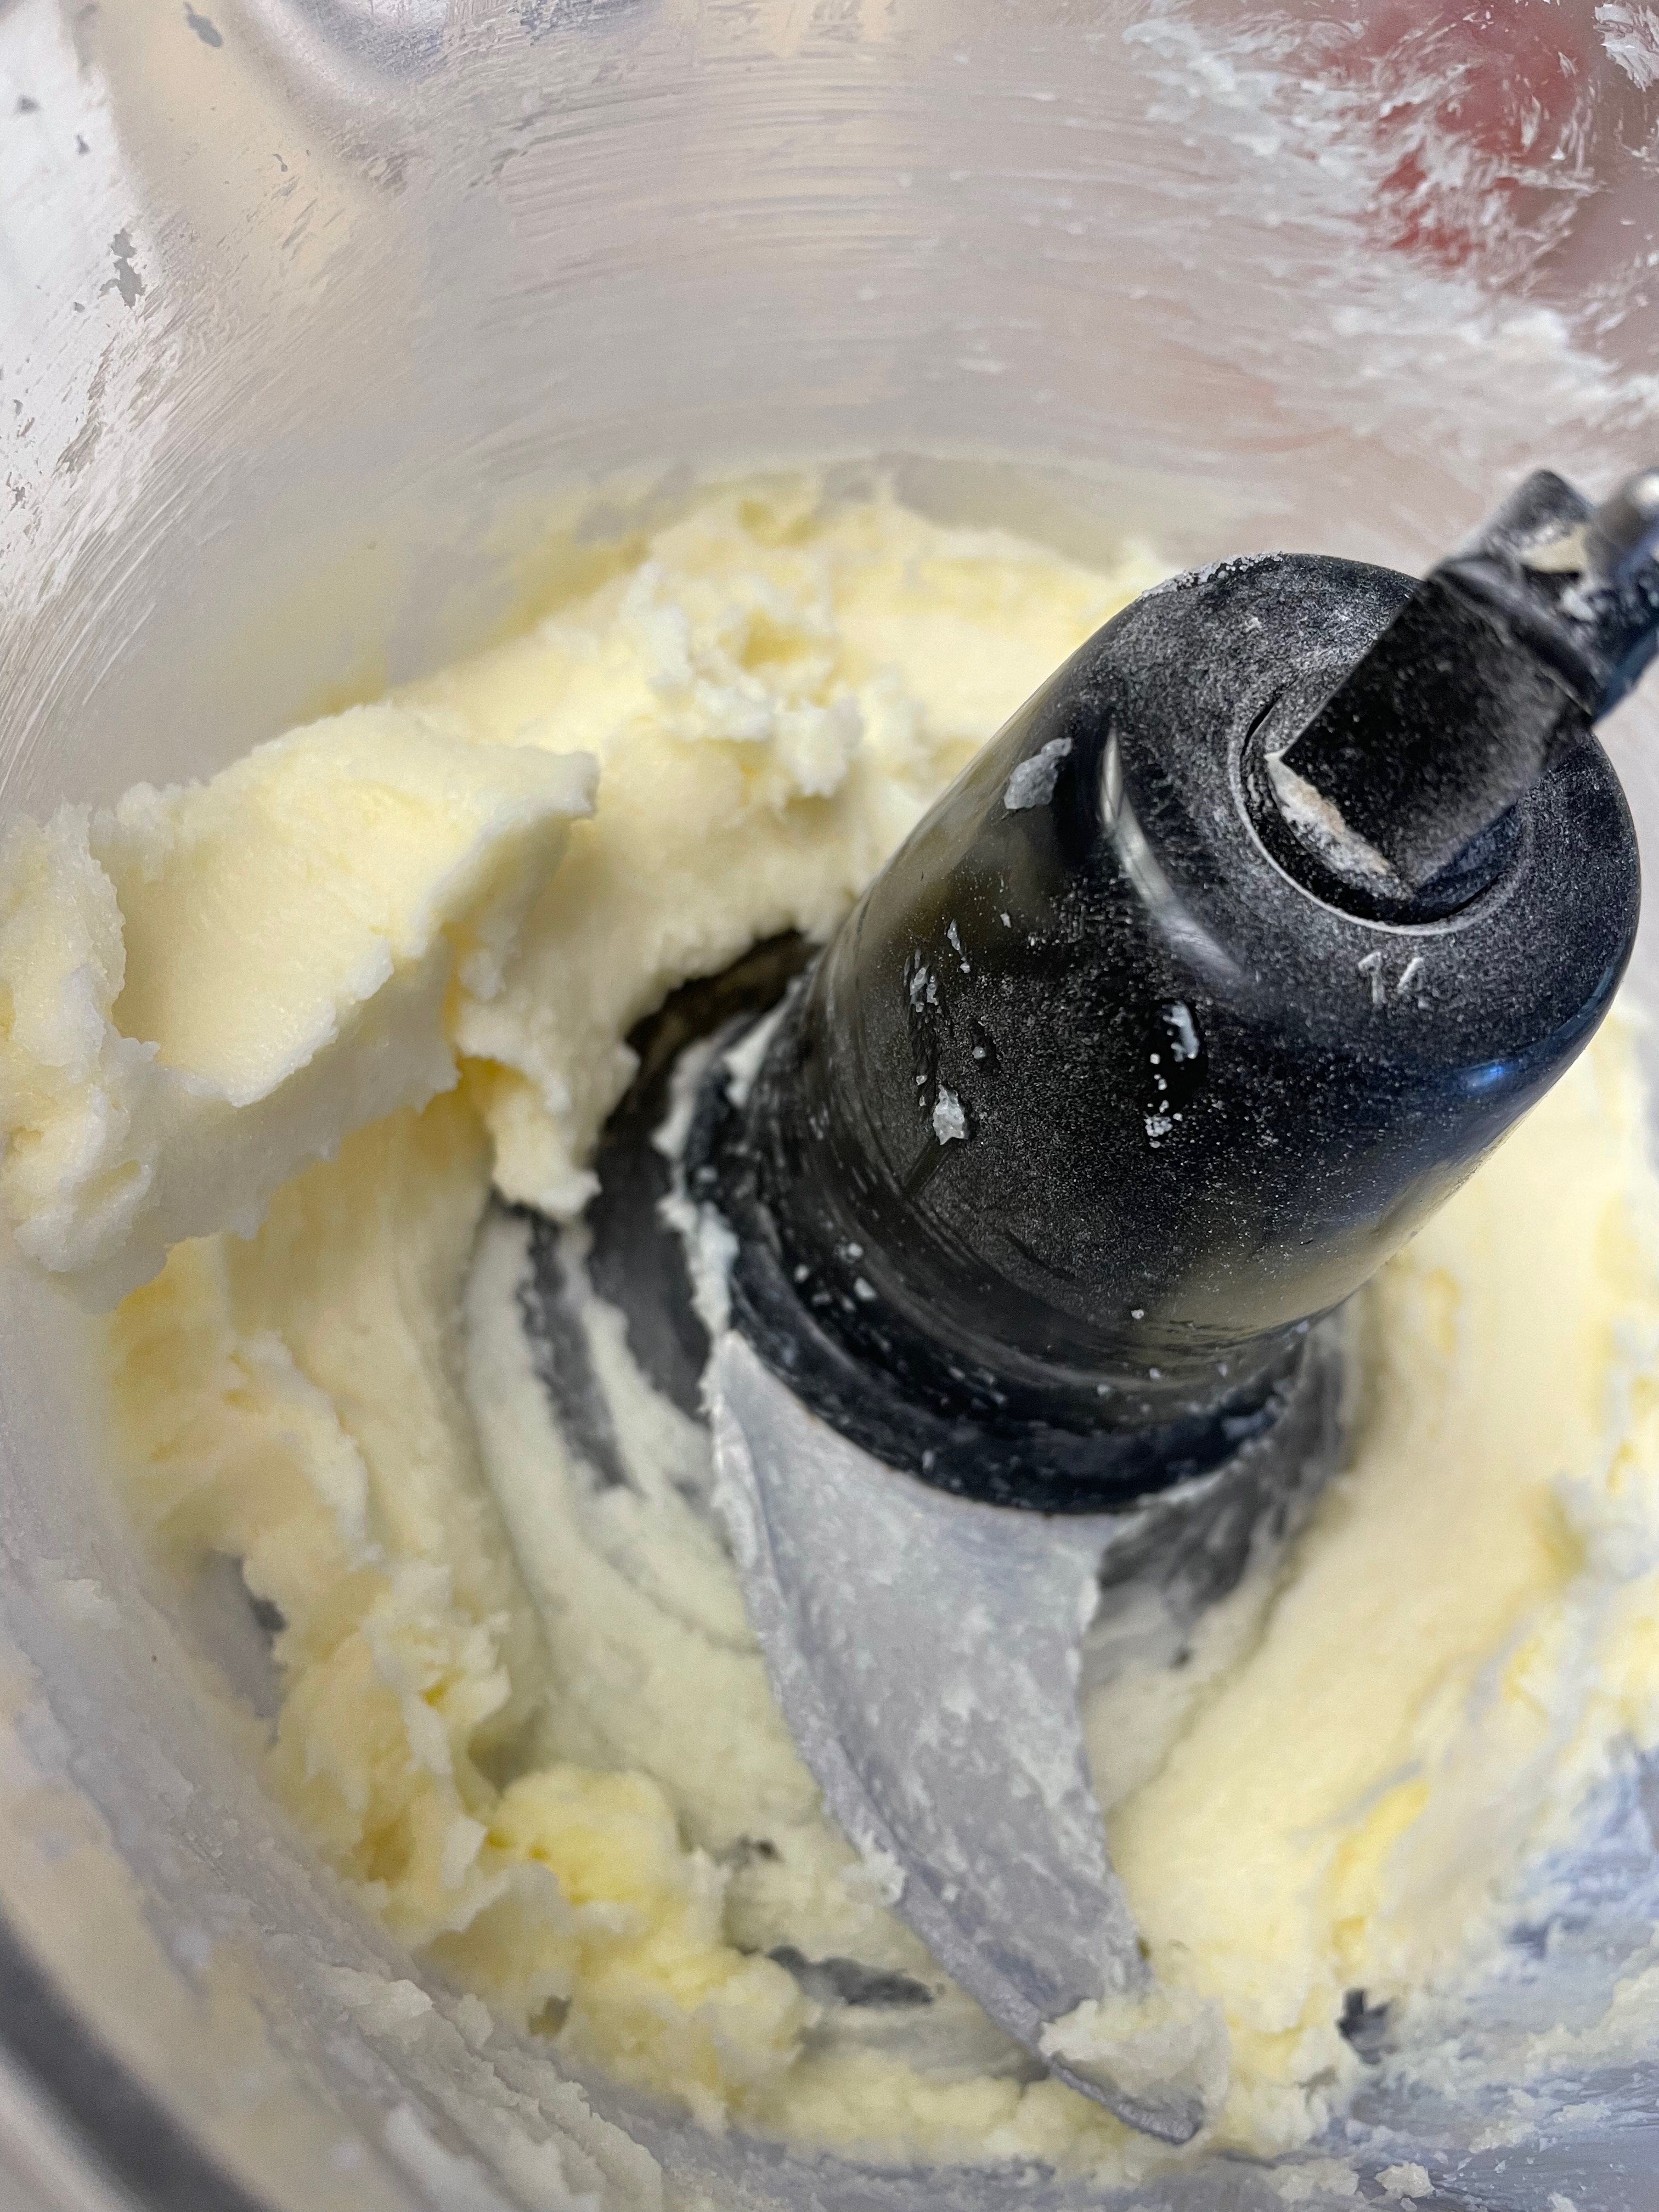
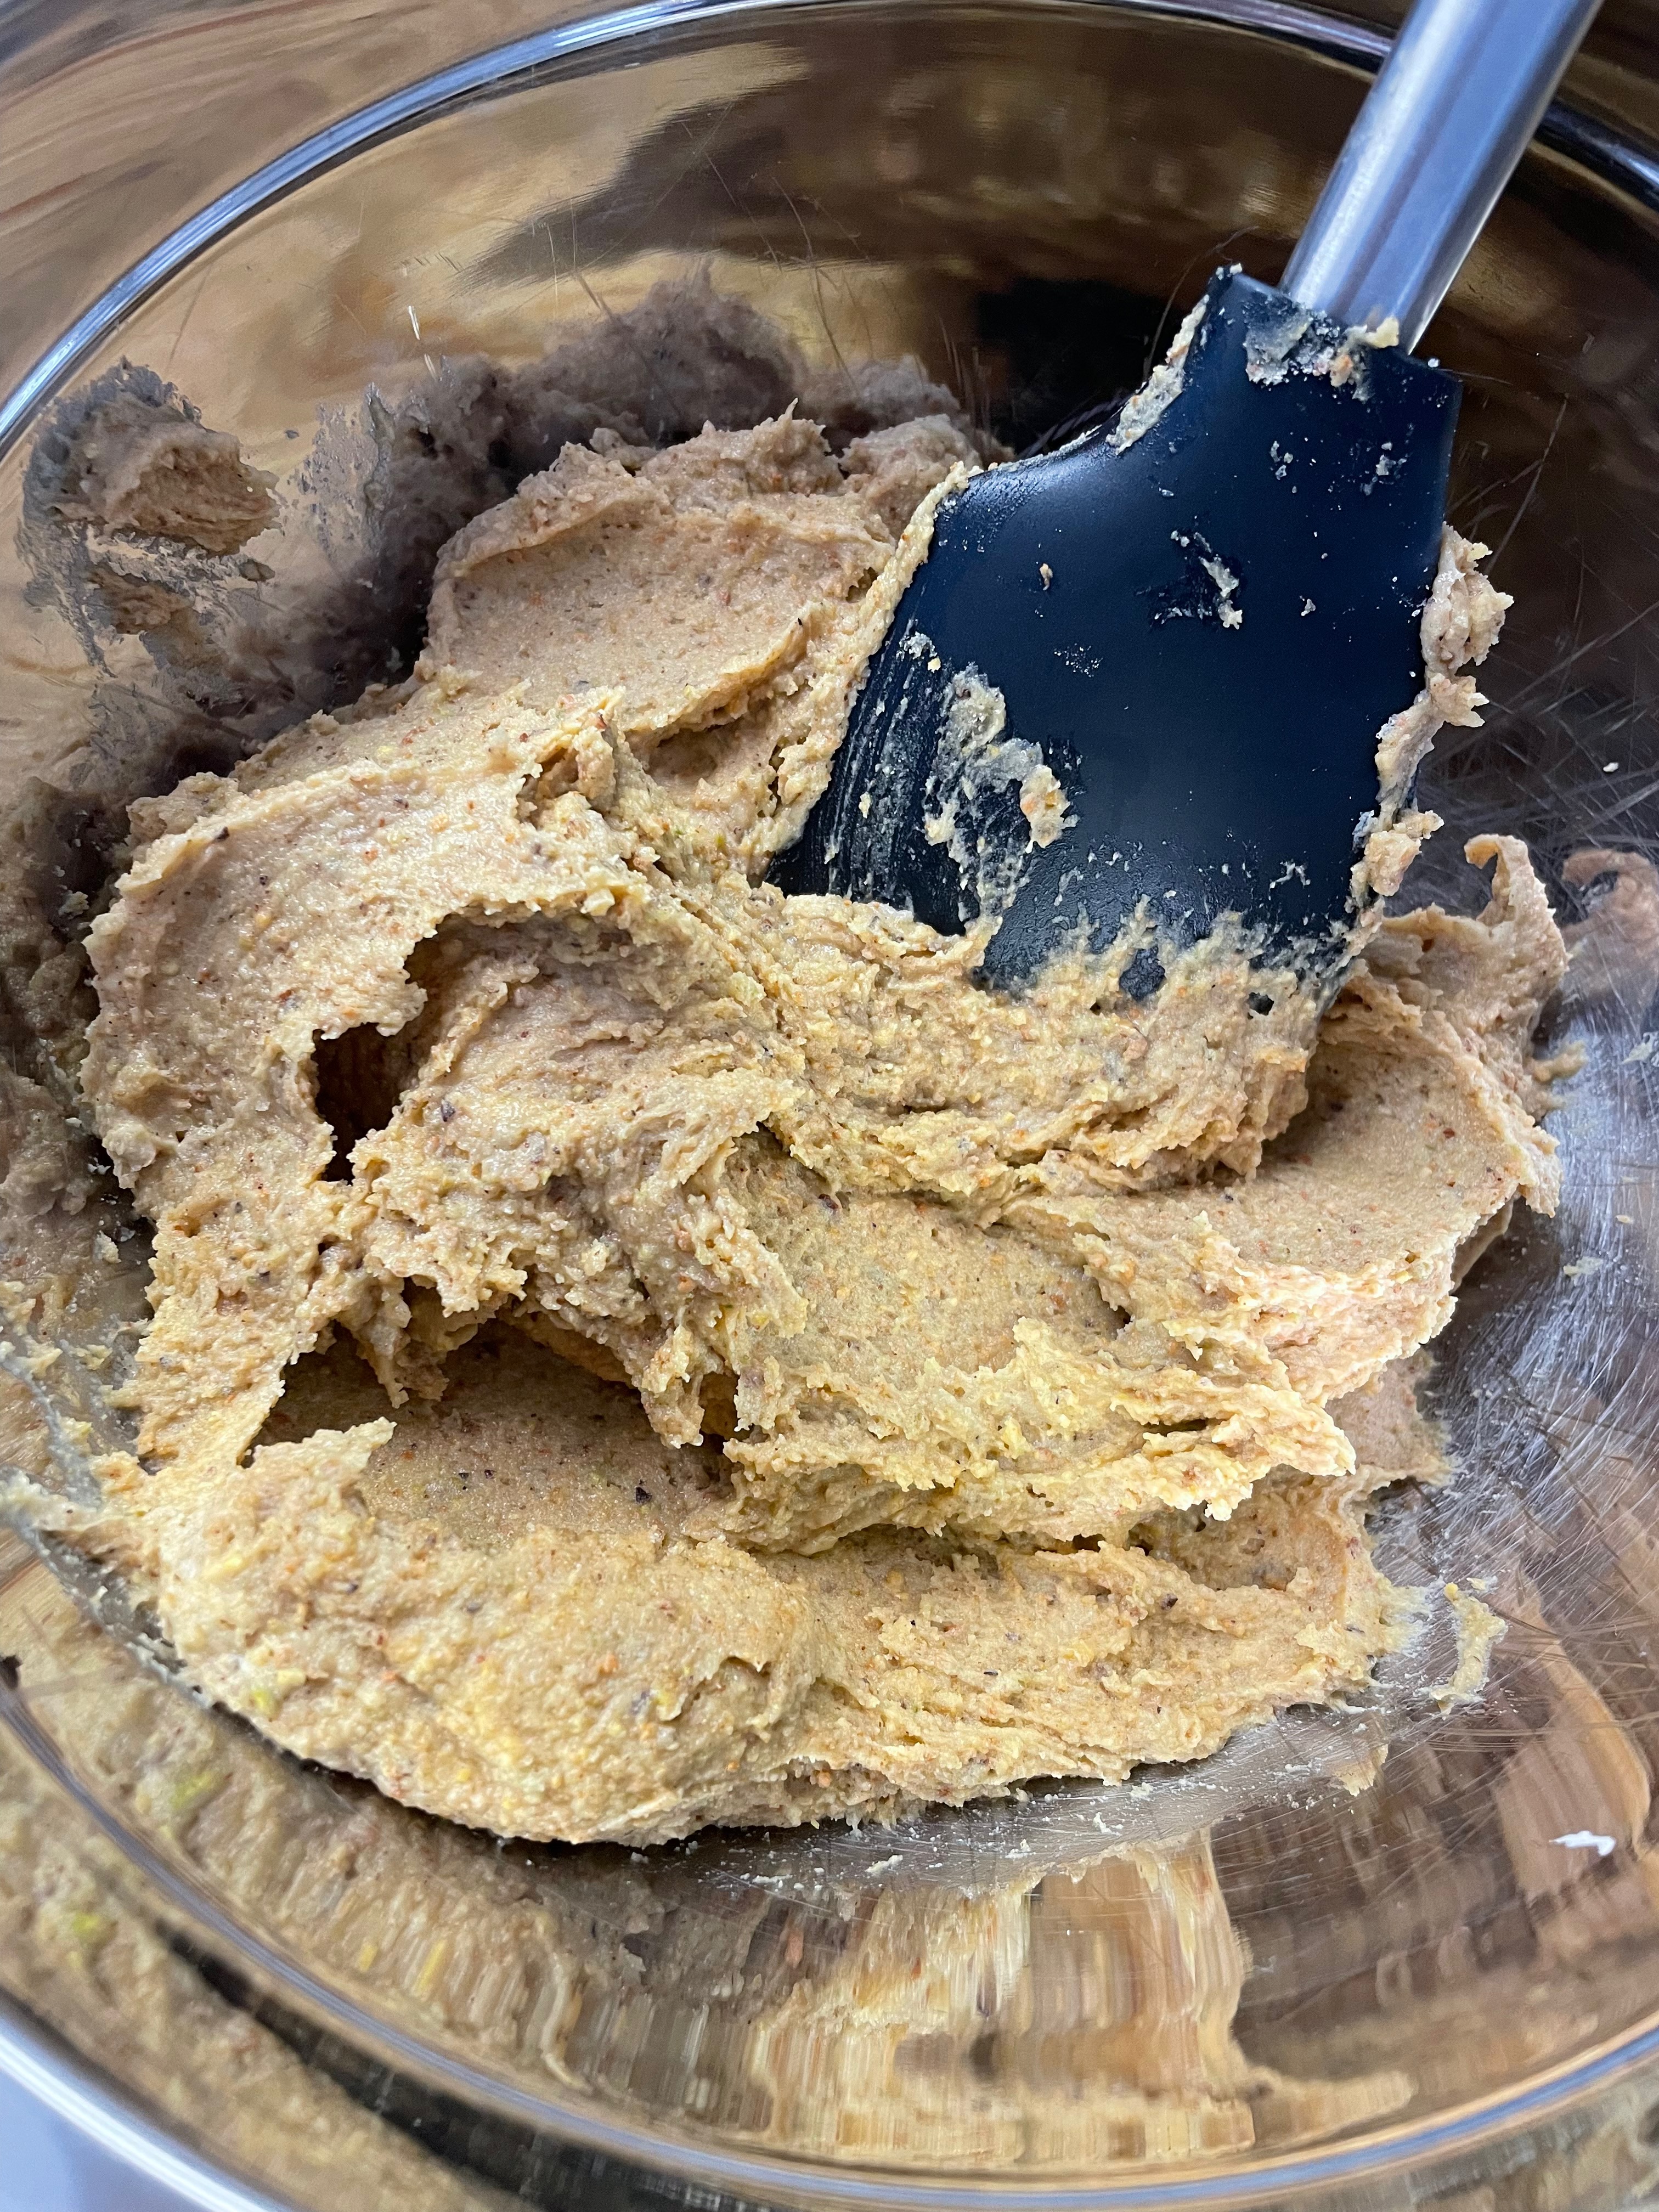
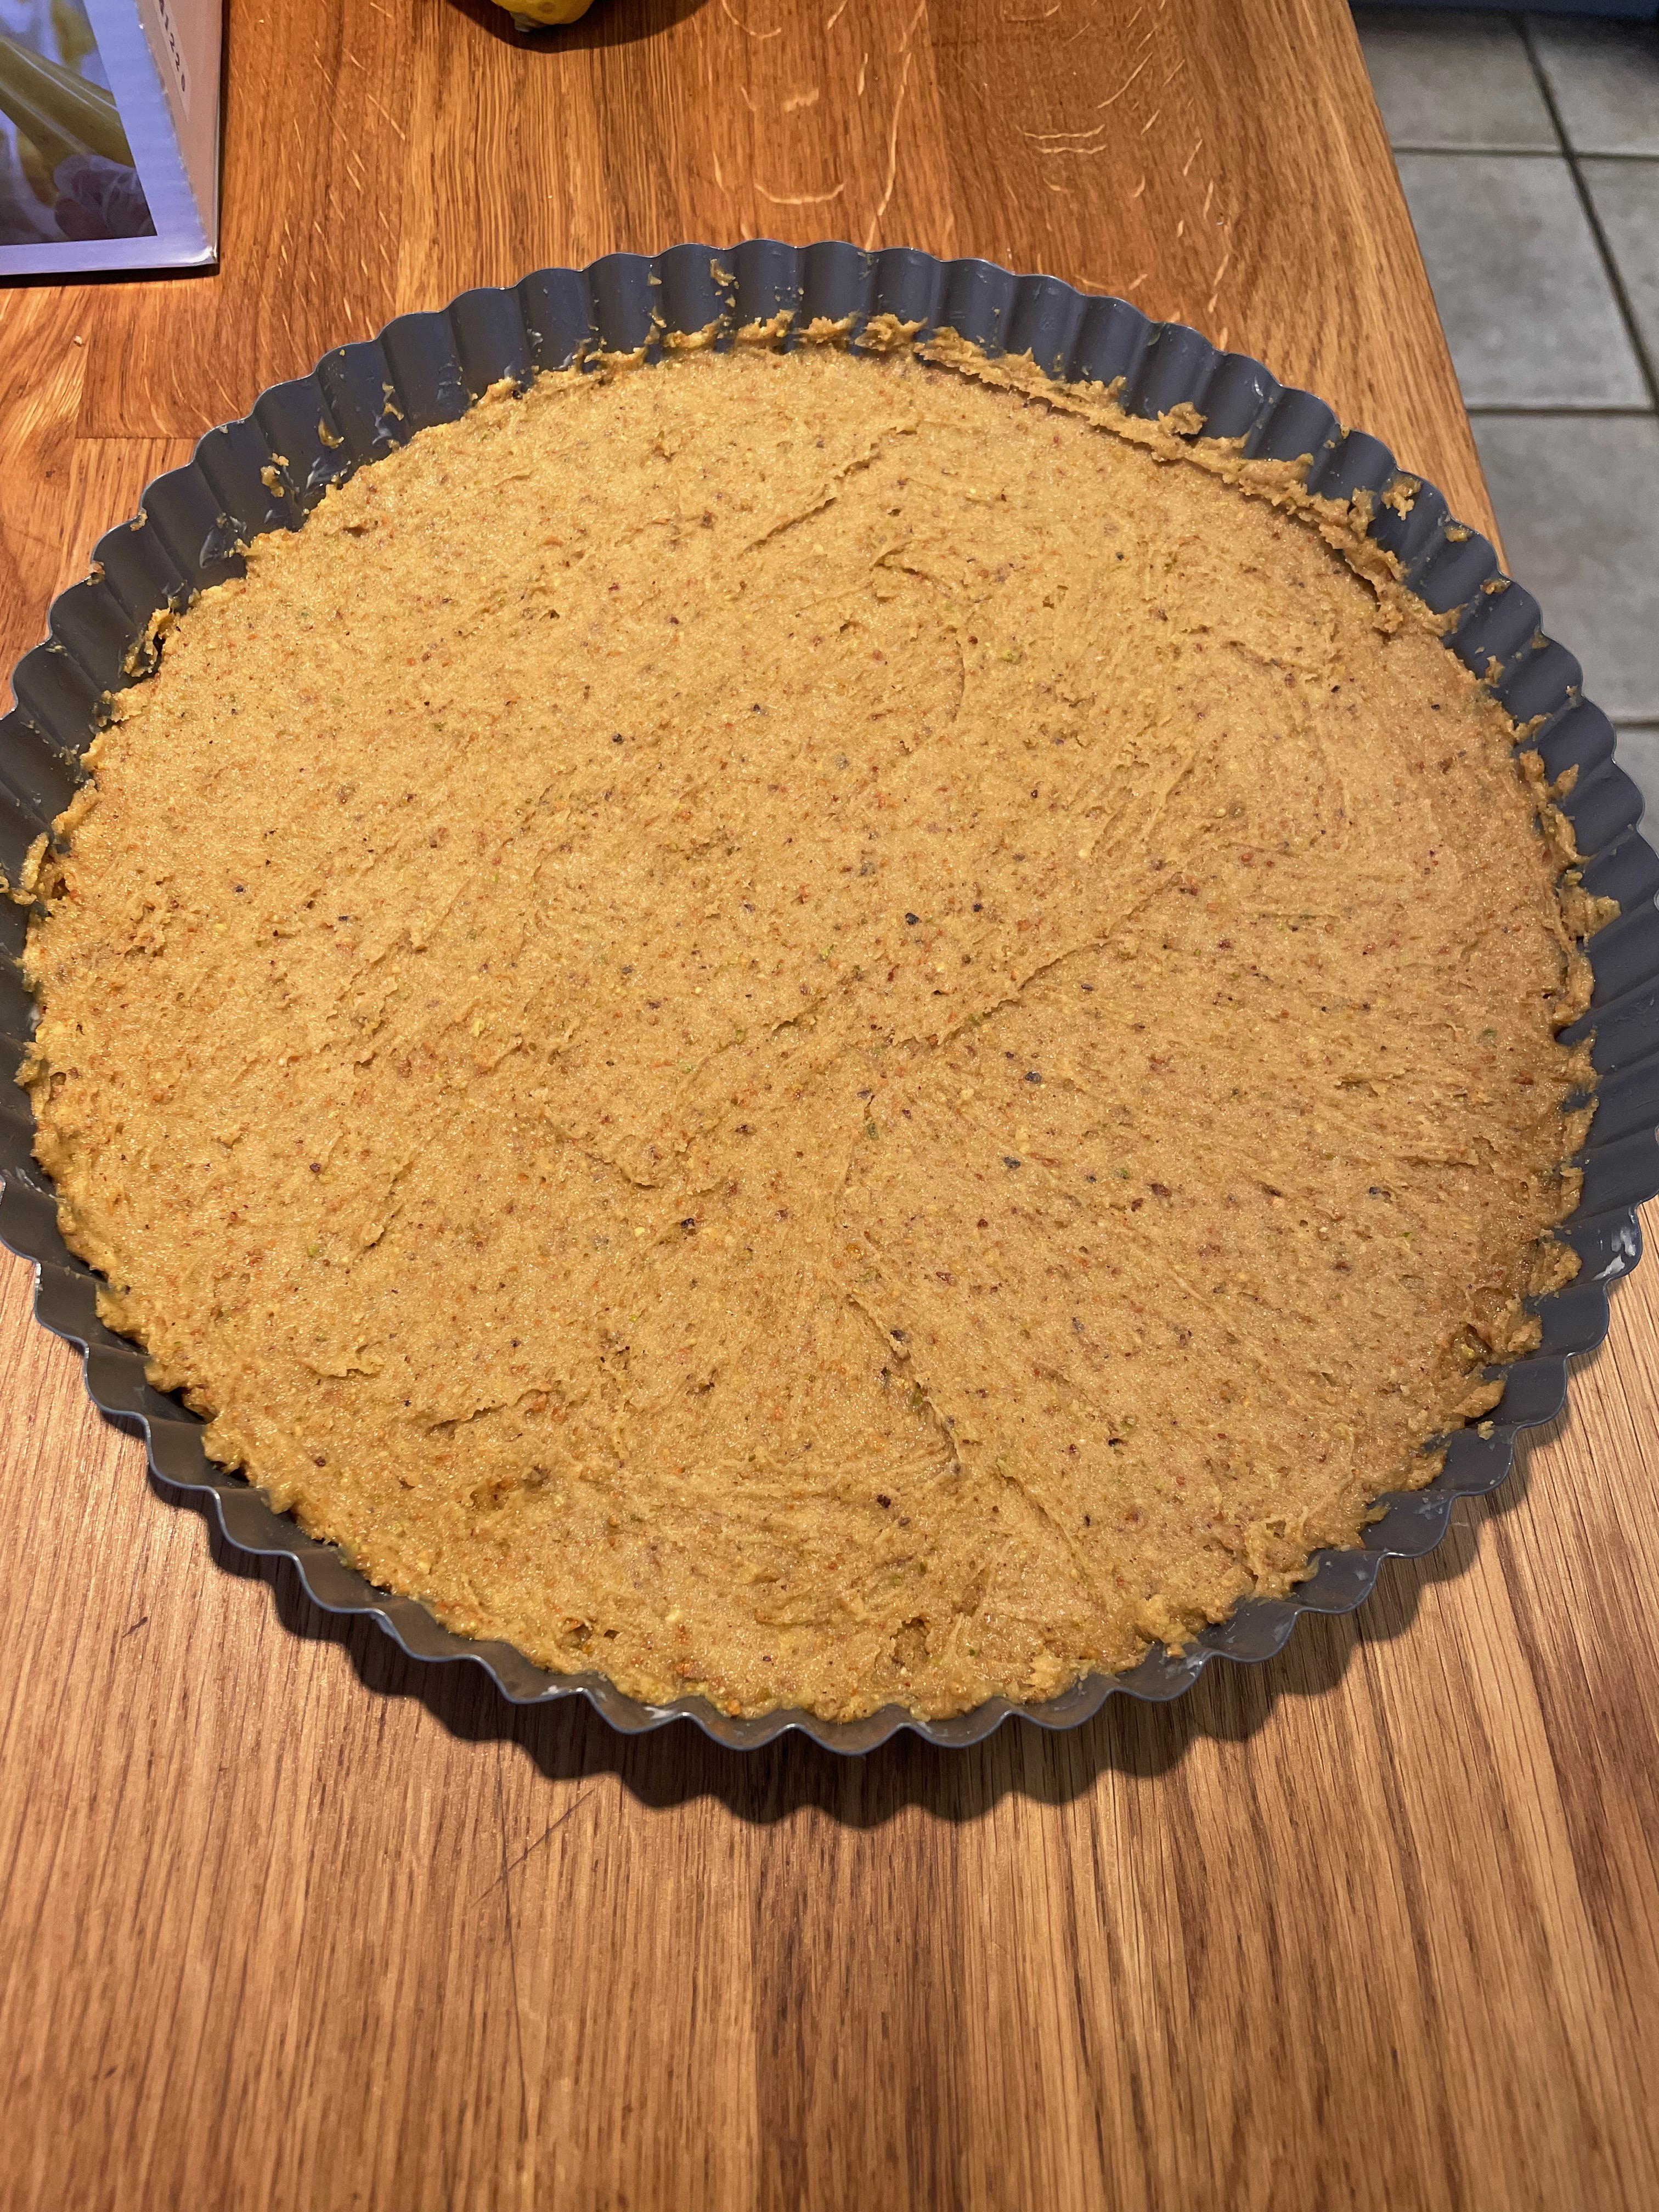
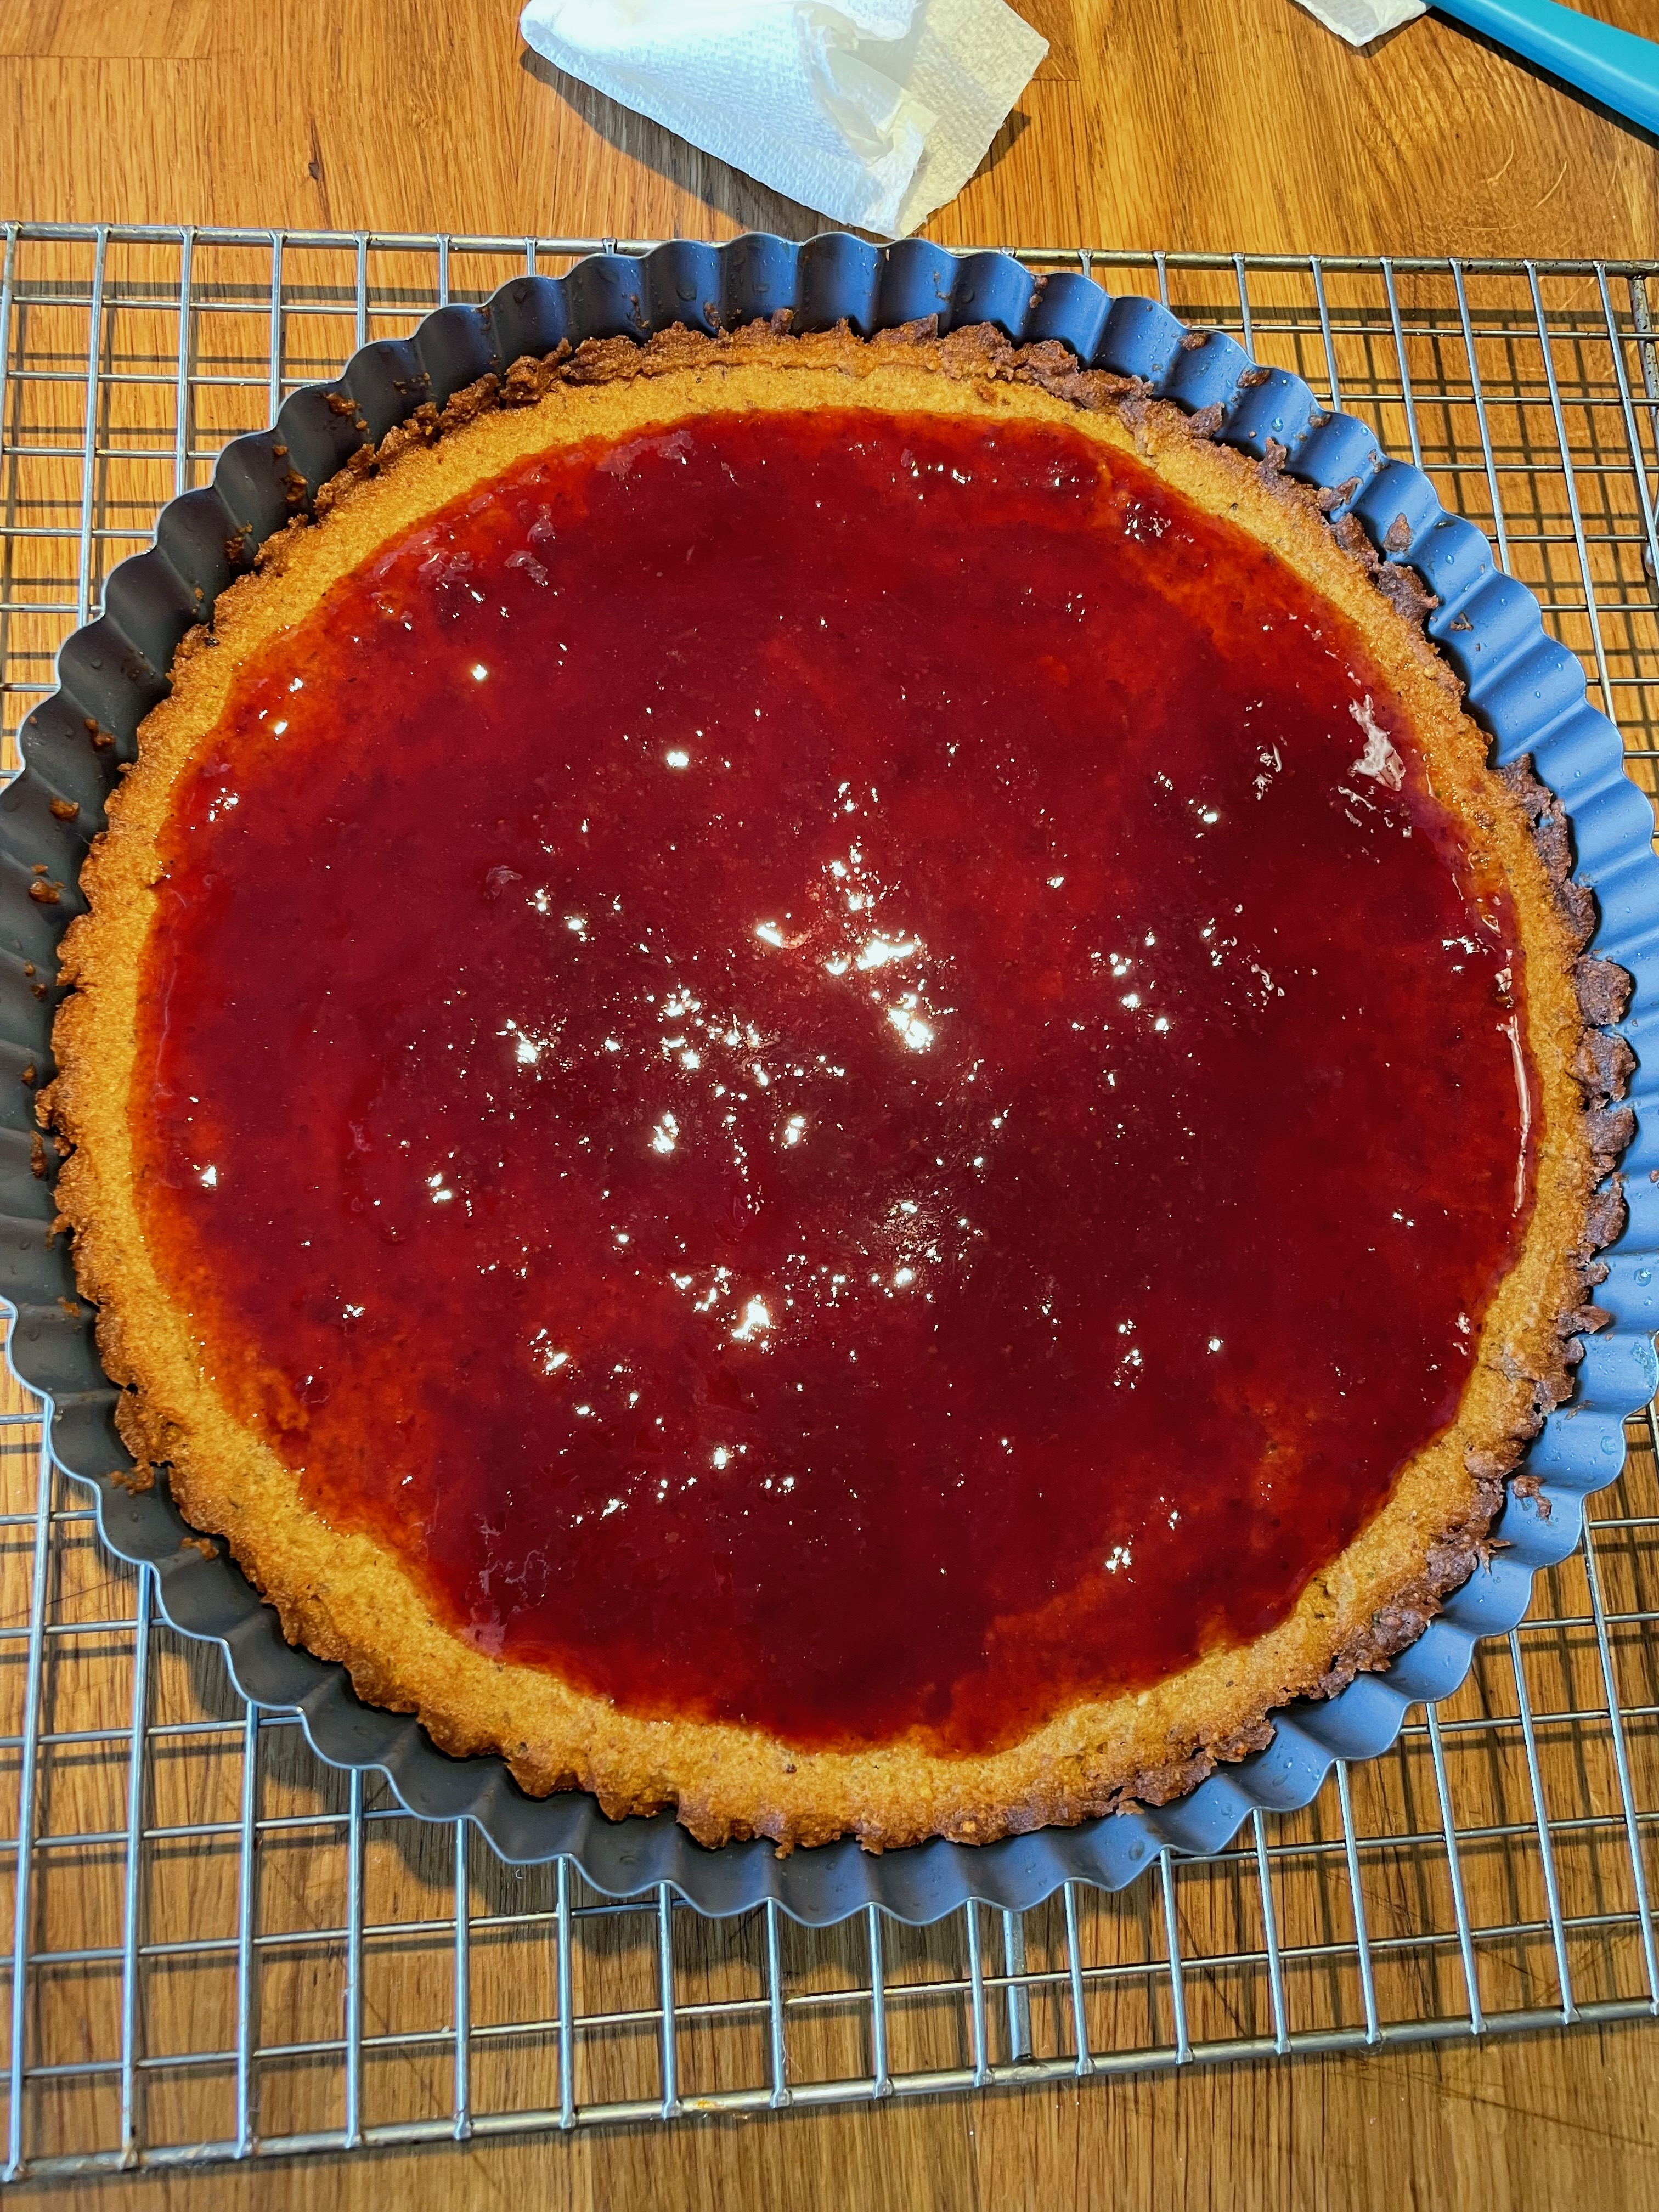
This is another fairly easy tart recipe, especially if you’ve made the base Sweet Tart Dough before. The filling is especially delicious and the rosemary works surprisingly well. It’s a very pretty tart despite the relatively beige ingredients. Note that the rosemary can be omitted and it’ll still be delicious. Likewise the recipe recommends using pine nuts and walnuts, but it also goes great with blanched almonds and walnuts instead.
Tip: Be very careful when checking the tart with the foil still on top.
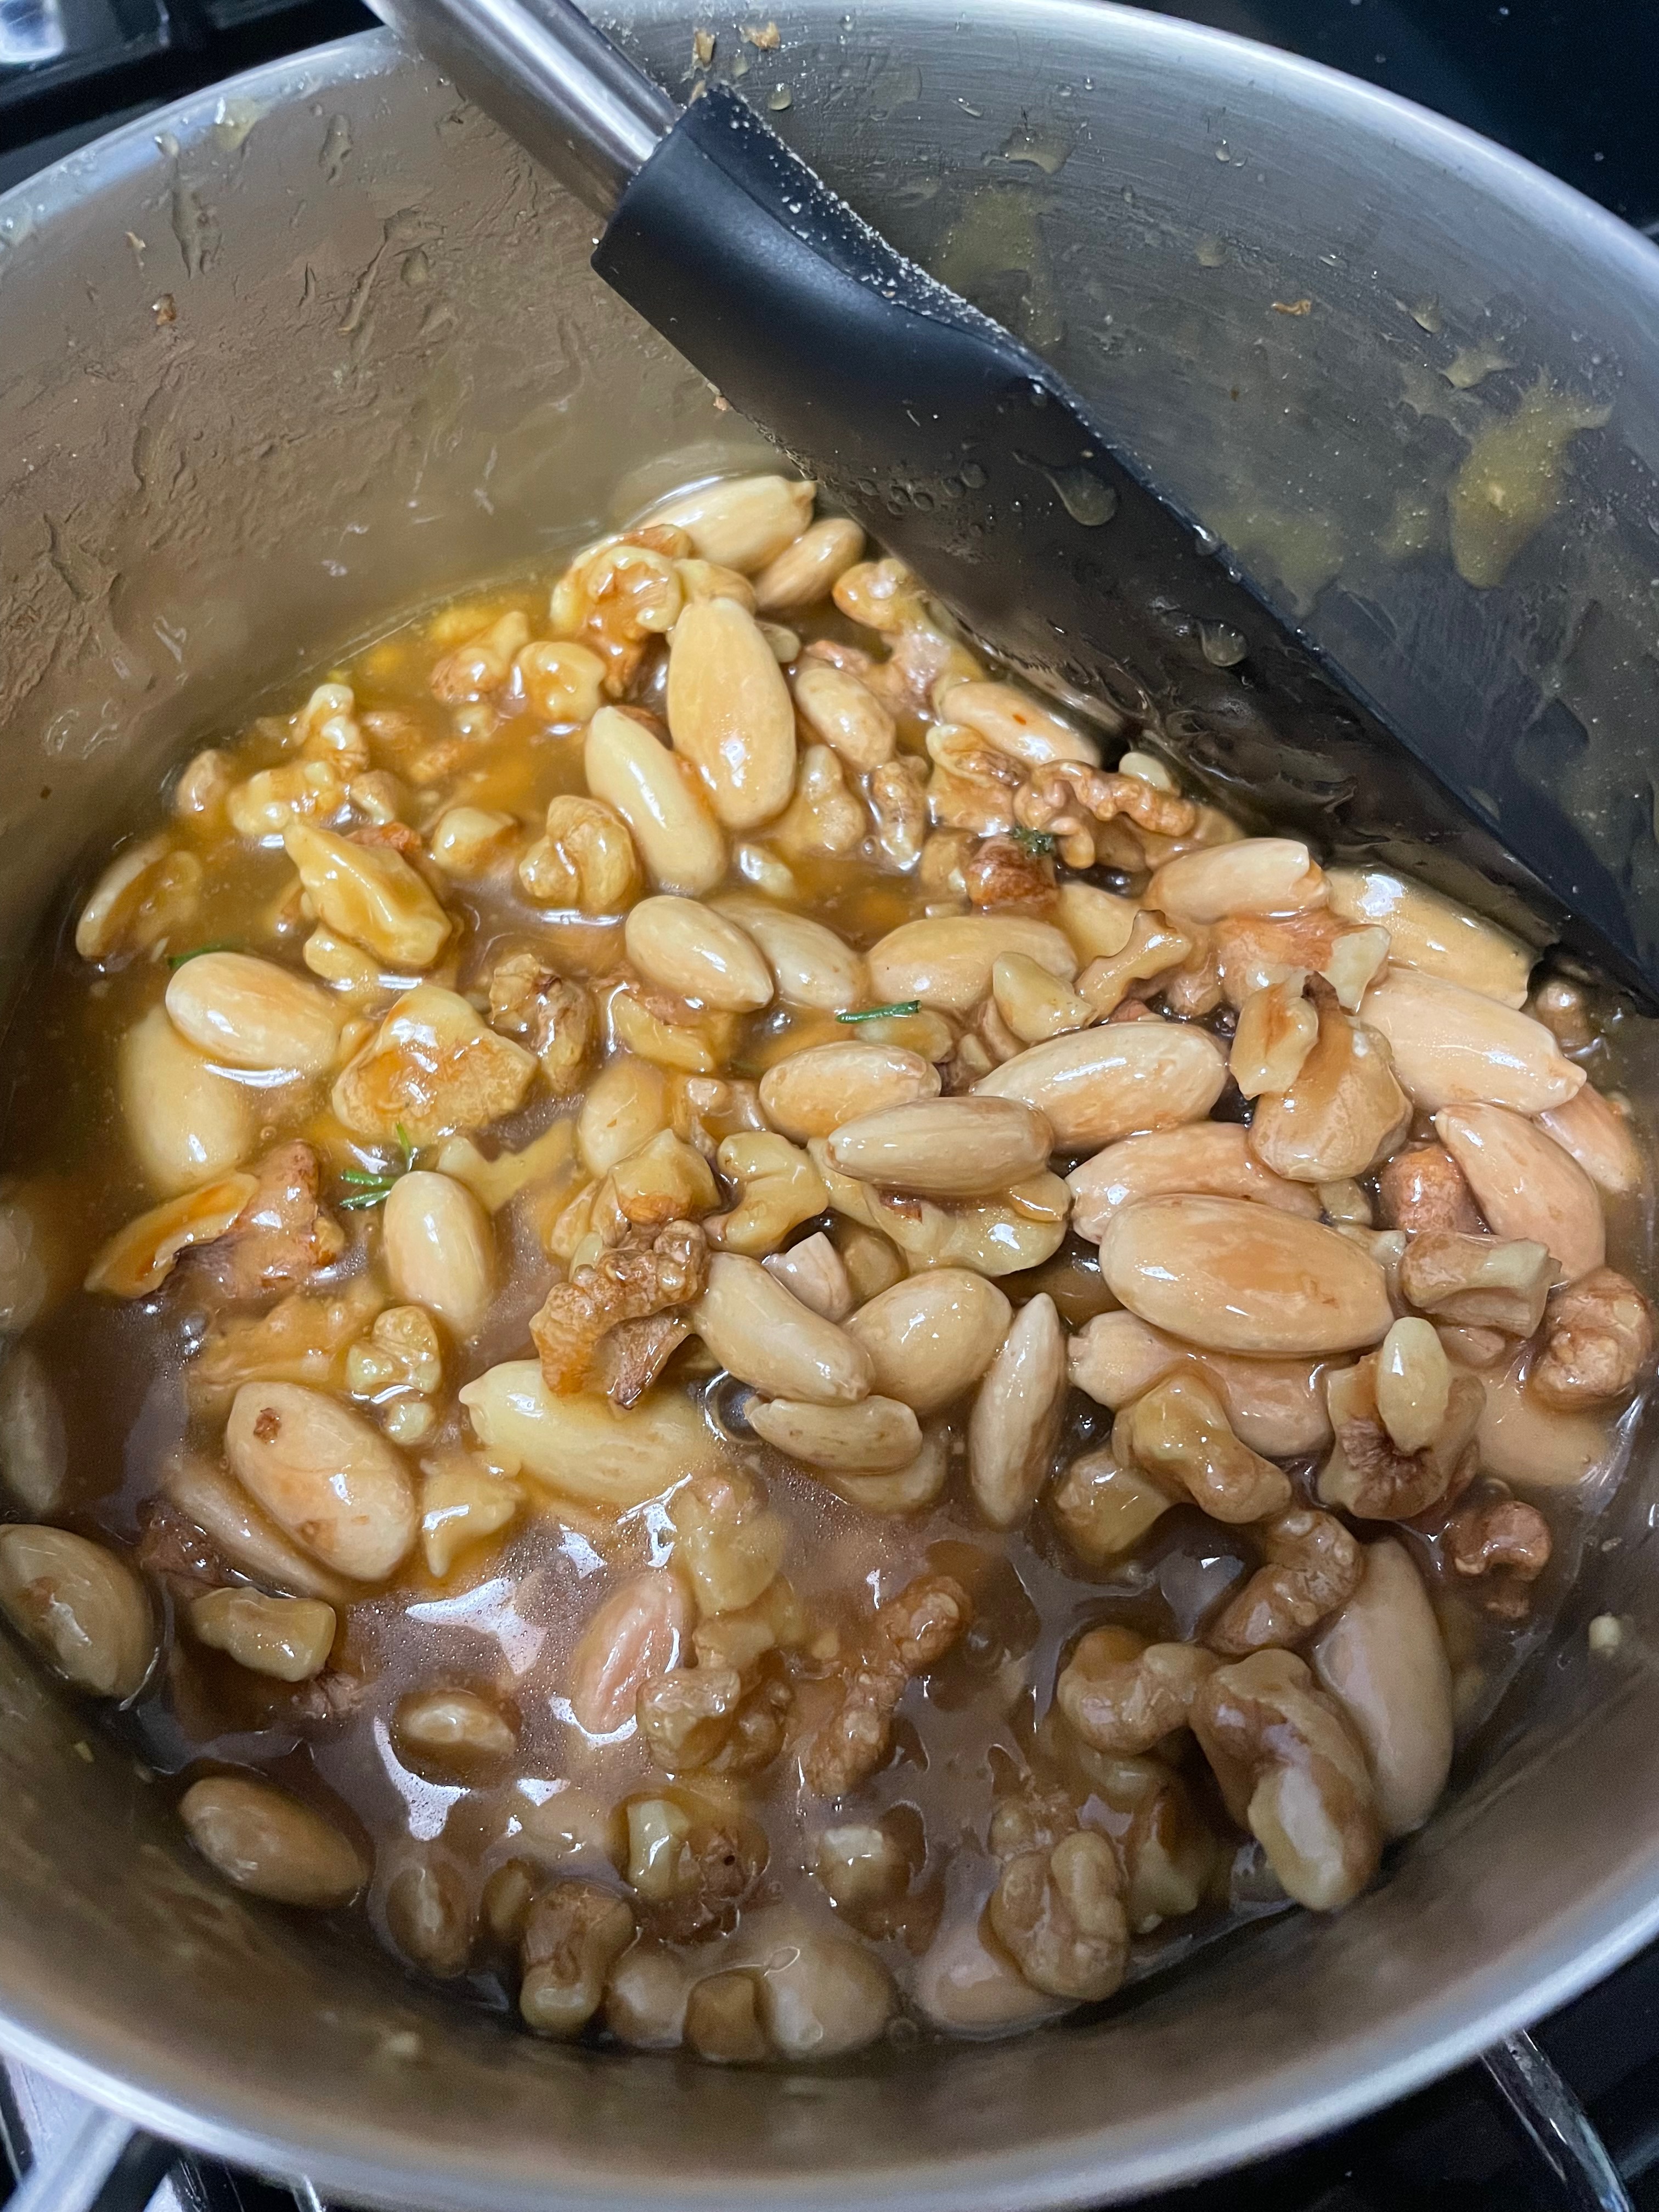
Making The Filling
Tip: Be careful that it doesn’t thicken too much. Keep a very close eye on it throughout and don’t step away from the saucepan. As soon as it starts to thicken is about a good time to stop, otherwise it’ll quickly thicken too much.
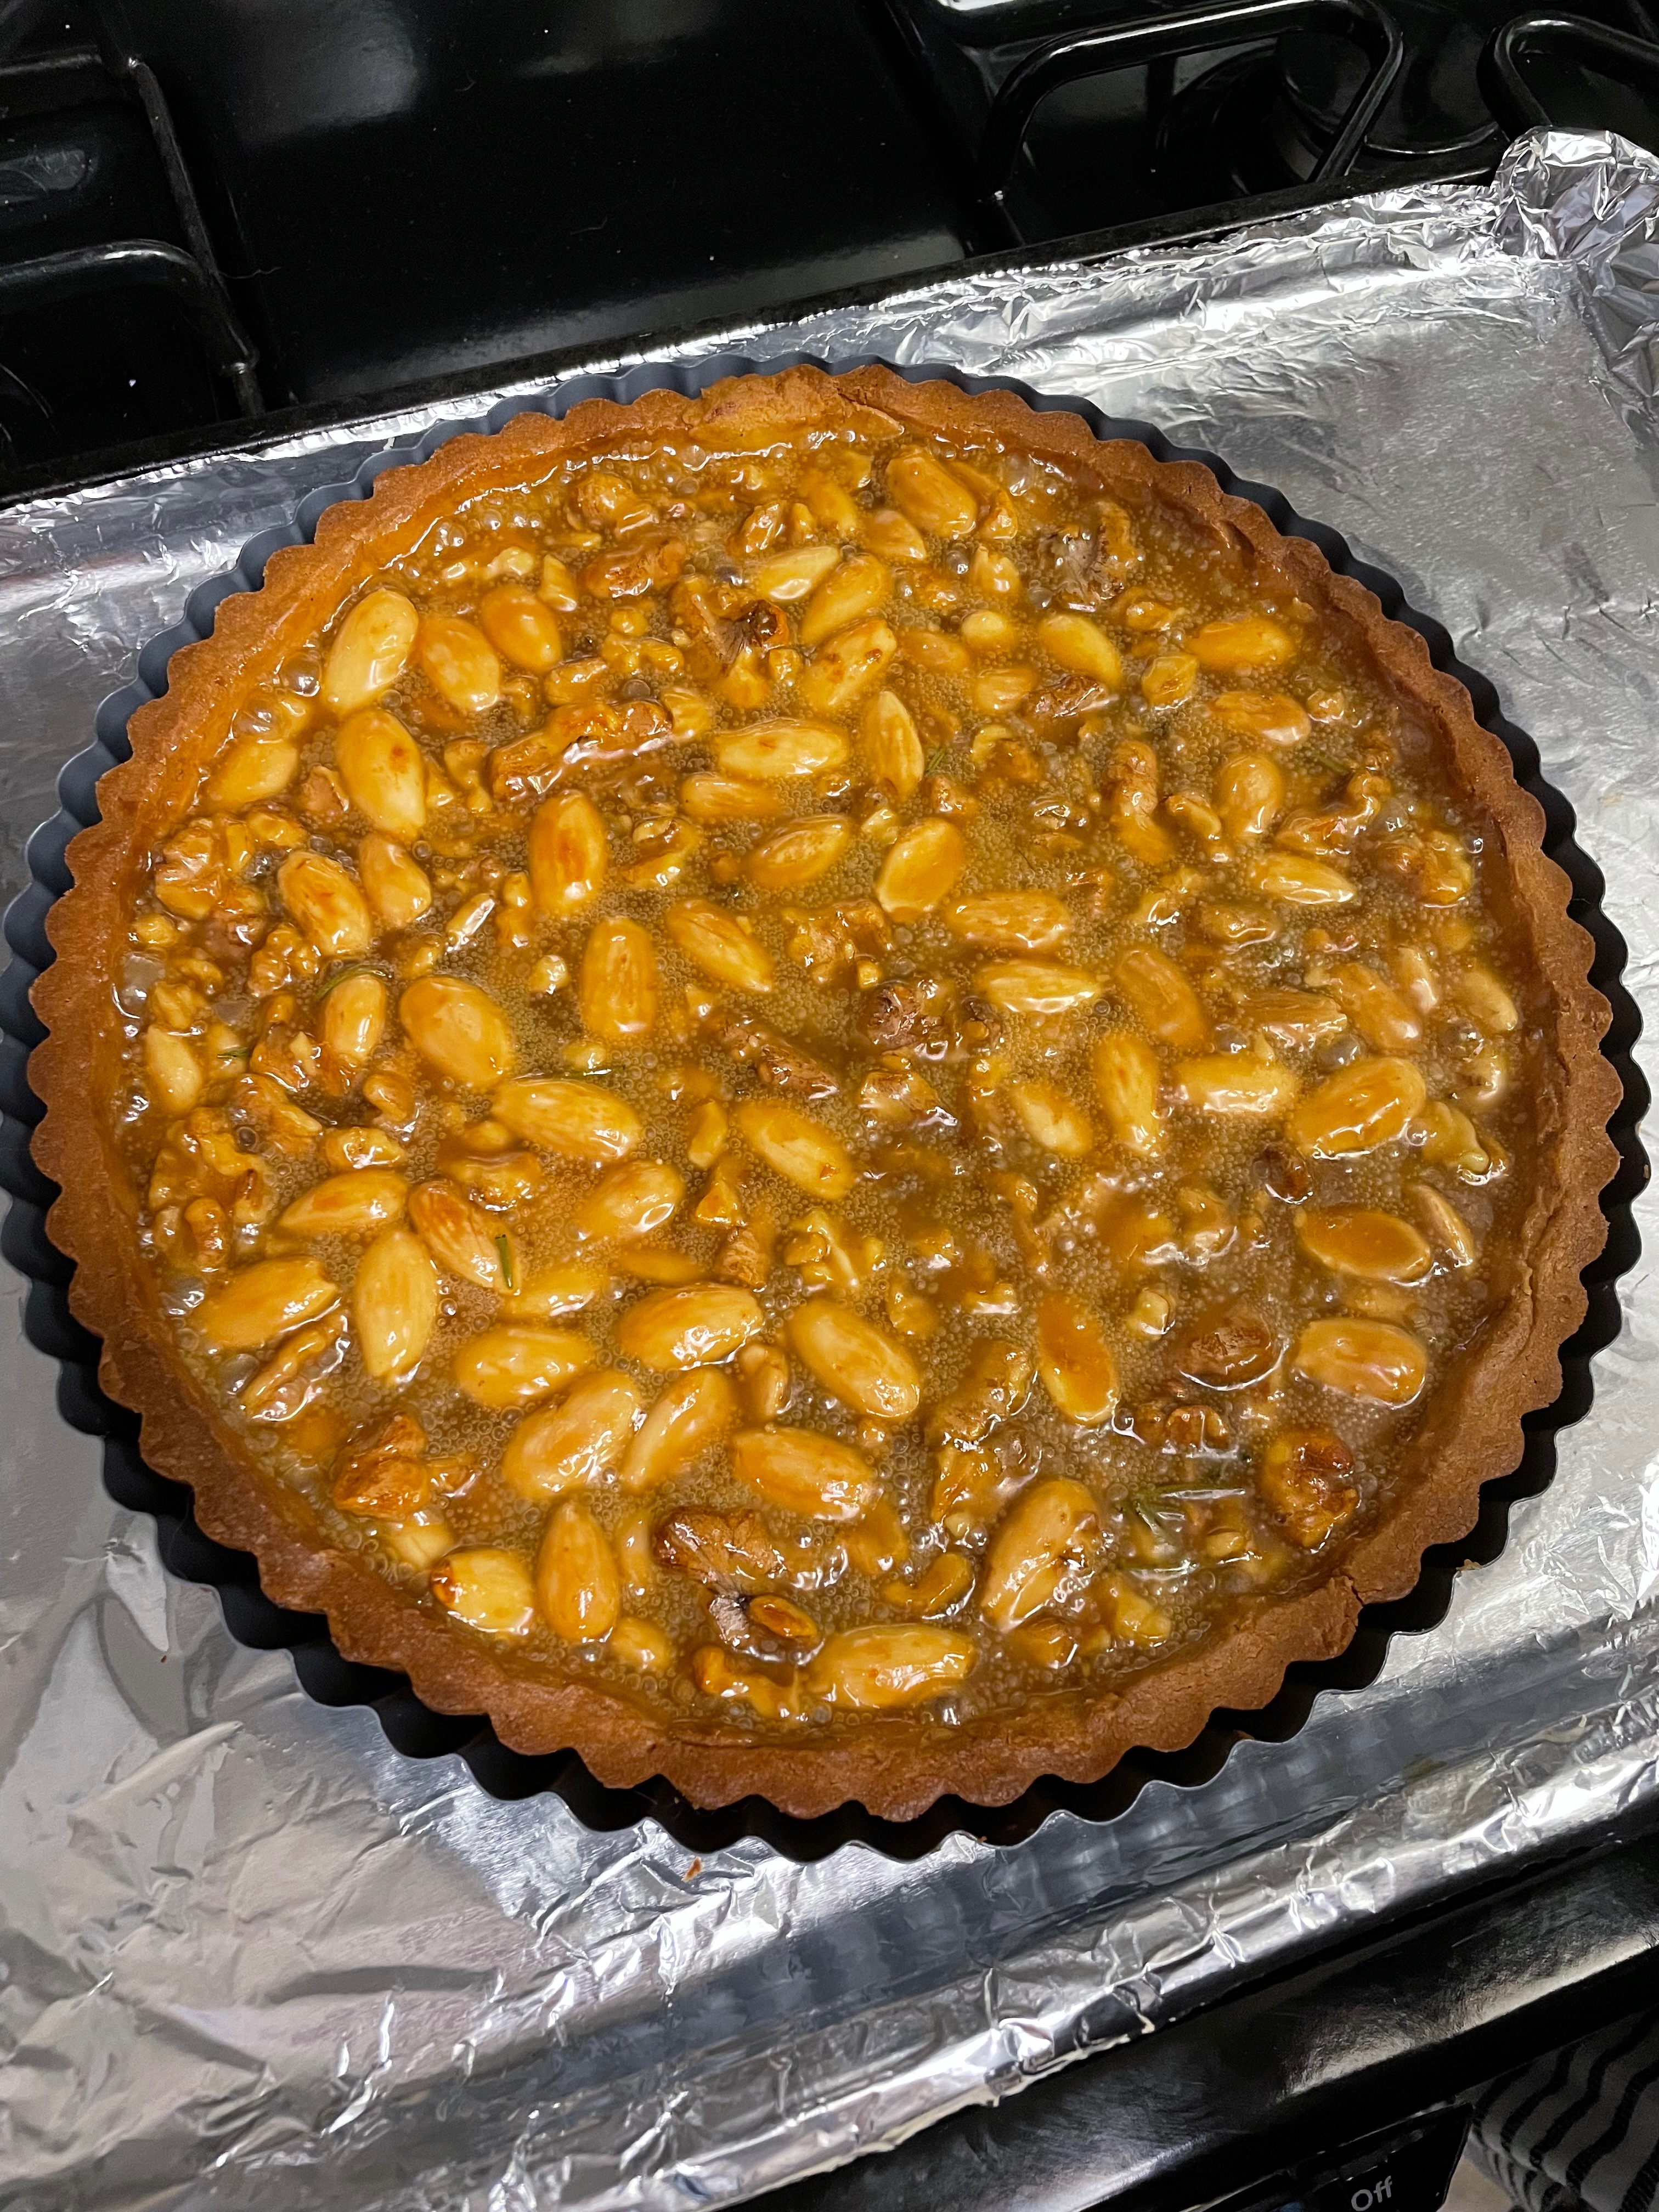
Baking The Tart
Tip: If quite brown or bubbling excessively, then feel free to remove the tart earlier than recommended. Everything is already cooked anyways.
Final Product
Key Takeaways
Feel free to modify the nuts and herbs used in this recipe.
The rosemary works surprisingly well. If you’re hesitant at first considering giving a try. It really does work.
Final Score: 4/5 – This is an excellent recipe, especially given how simple it is. Definitely give this one a try!
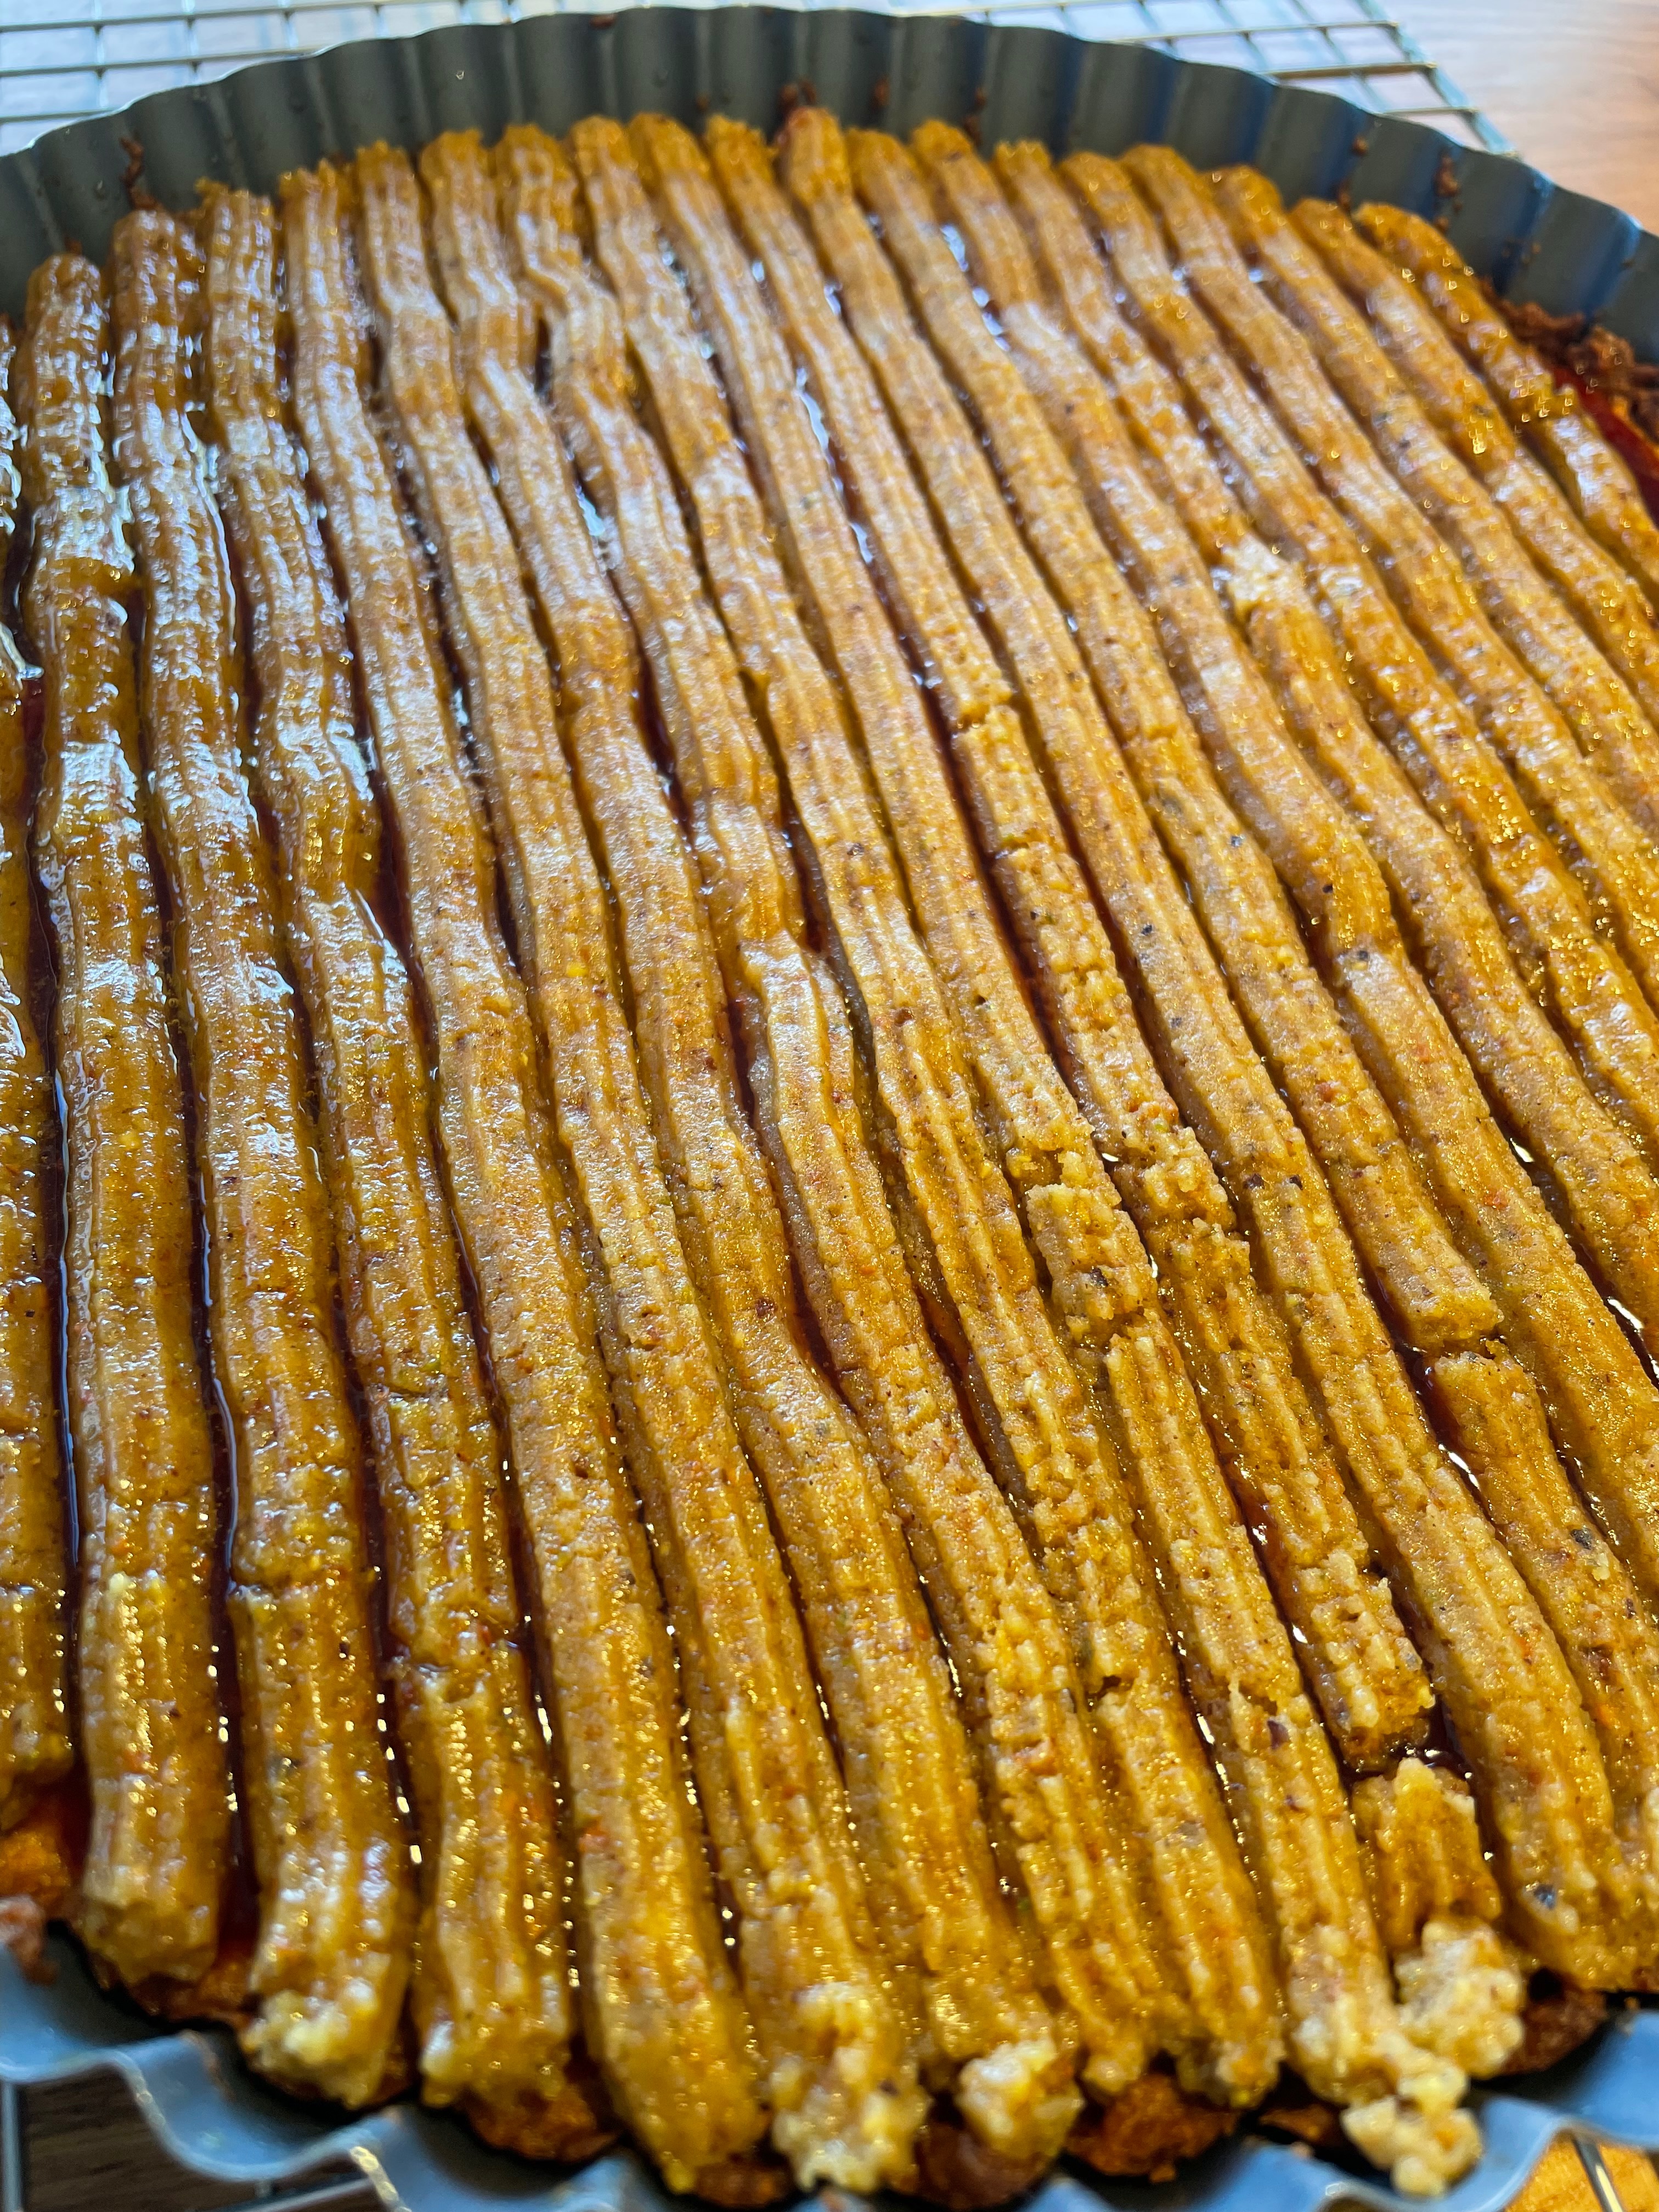
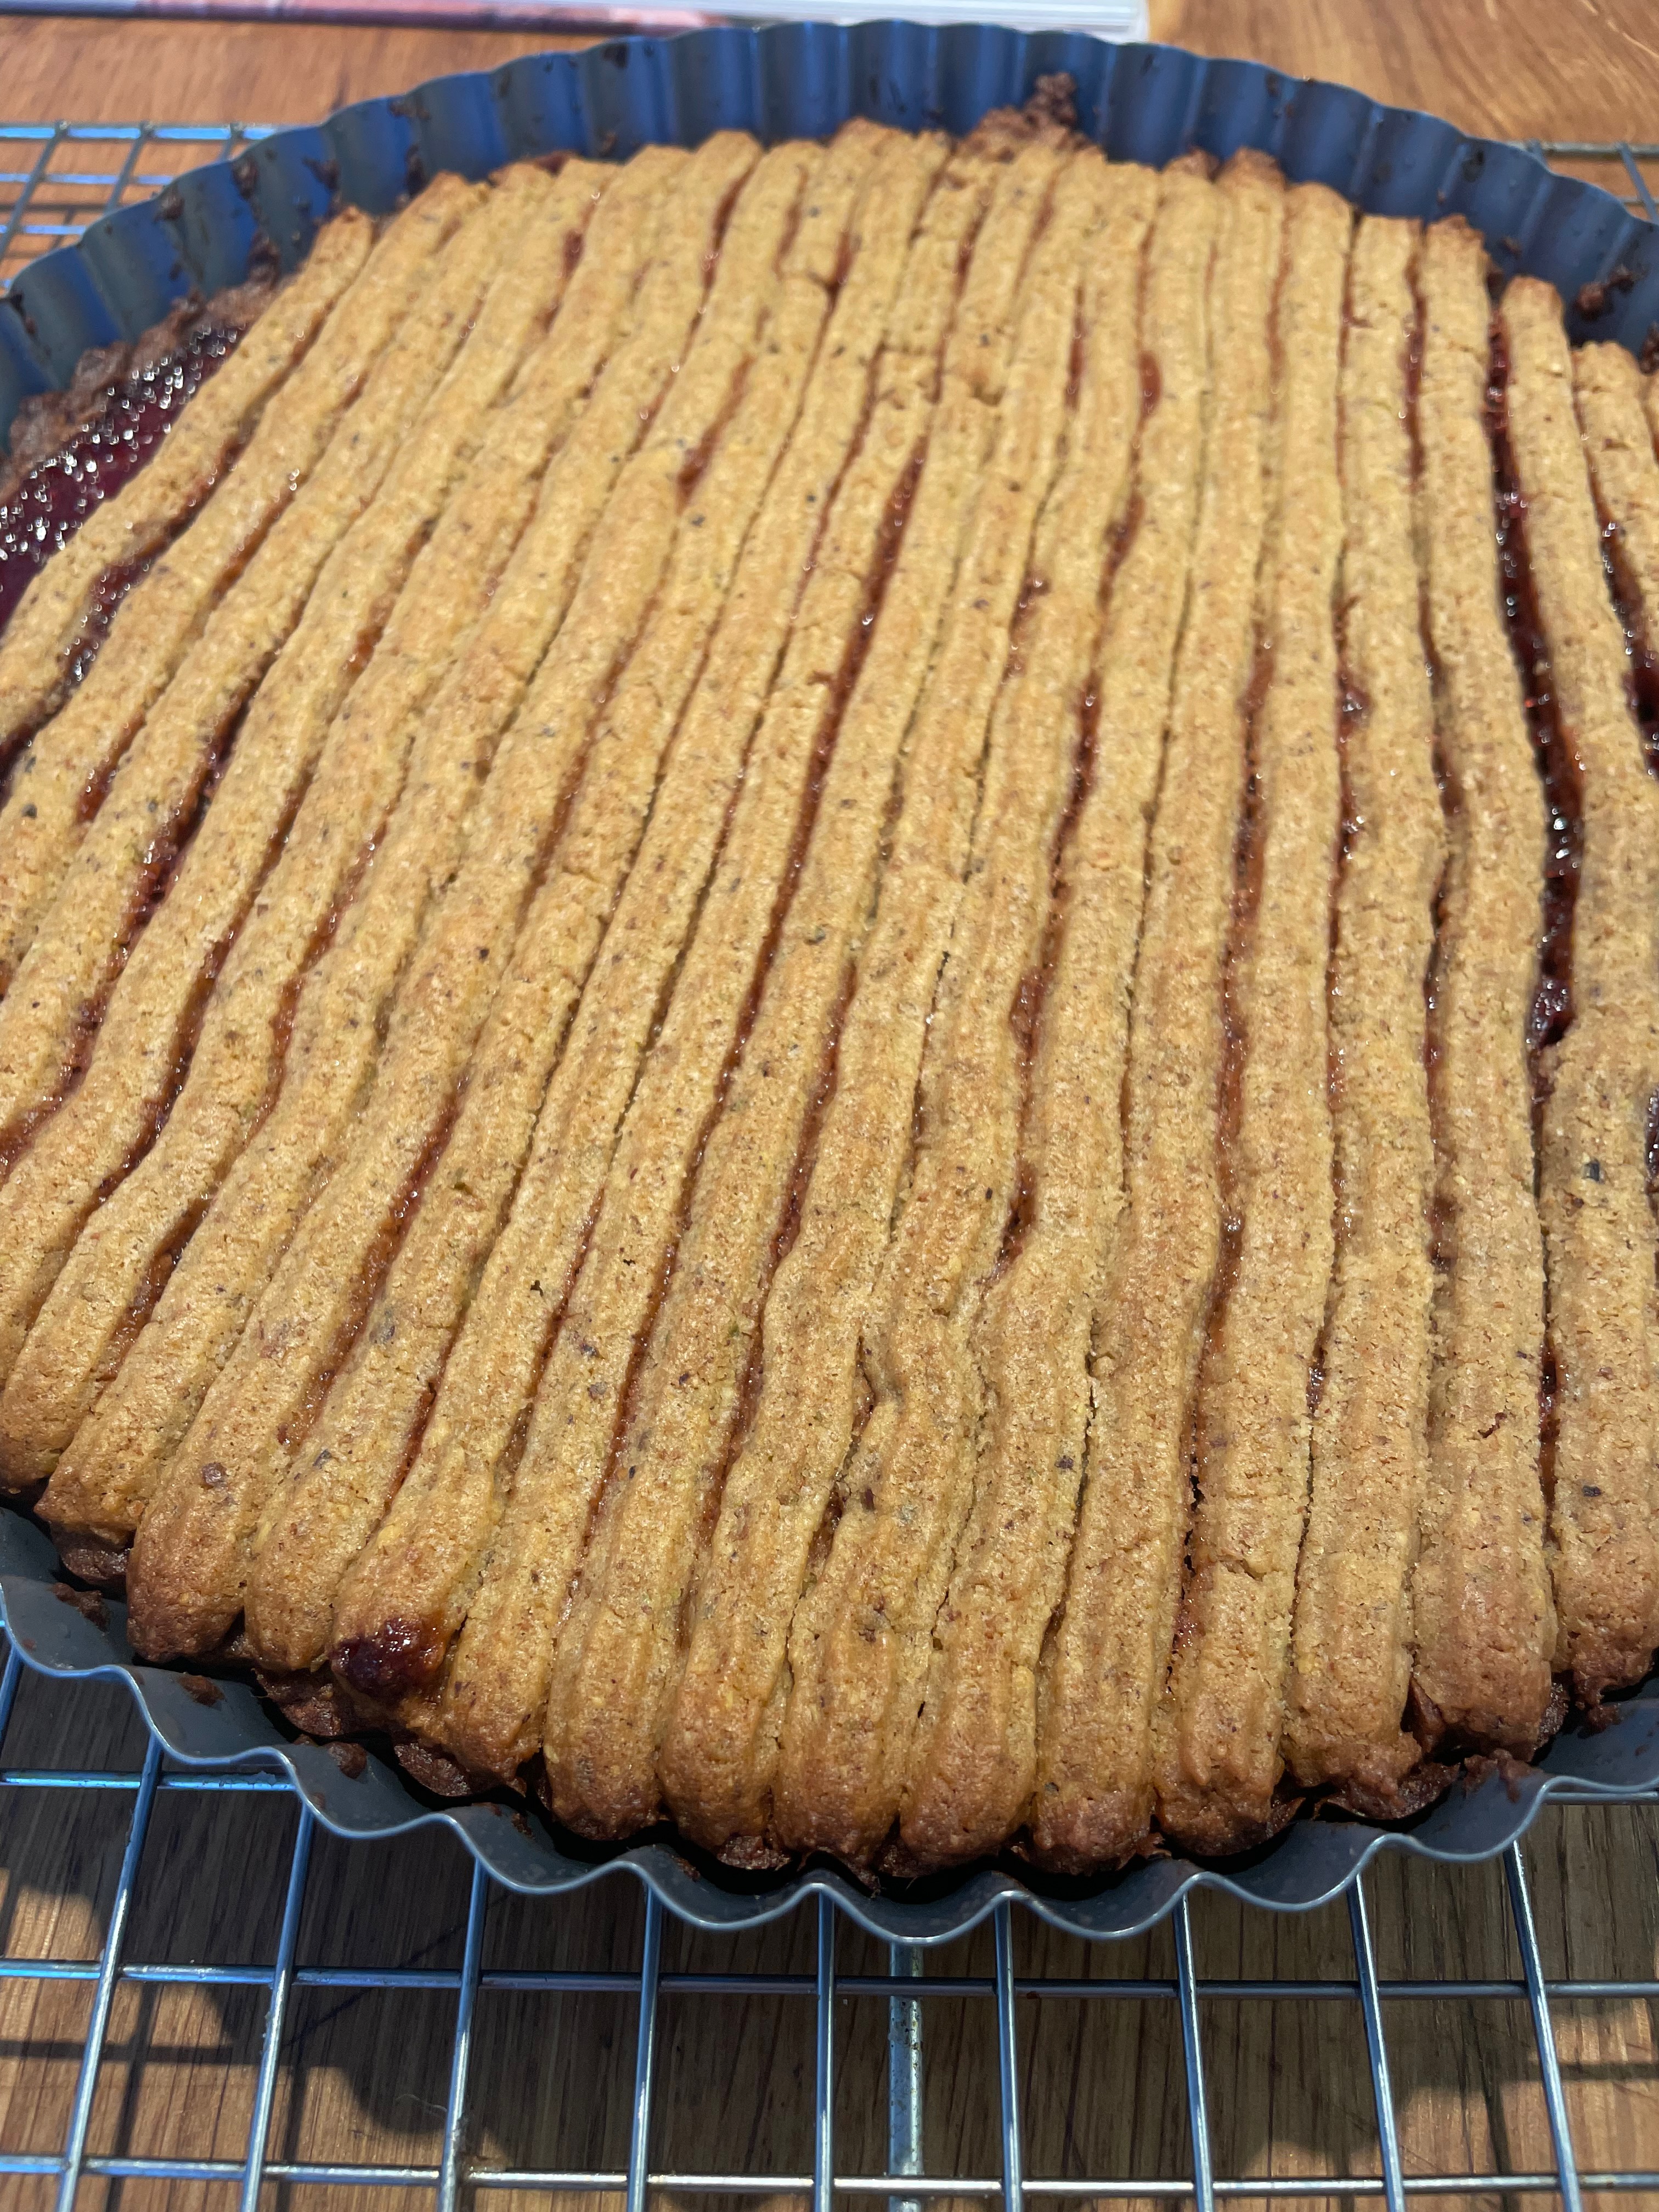
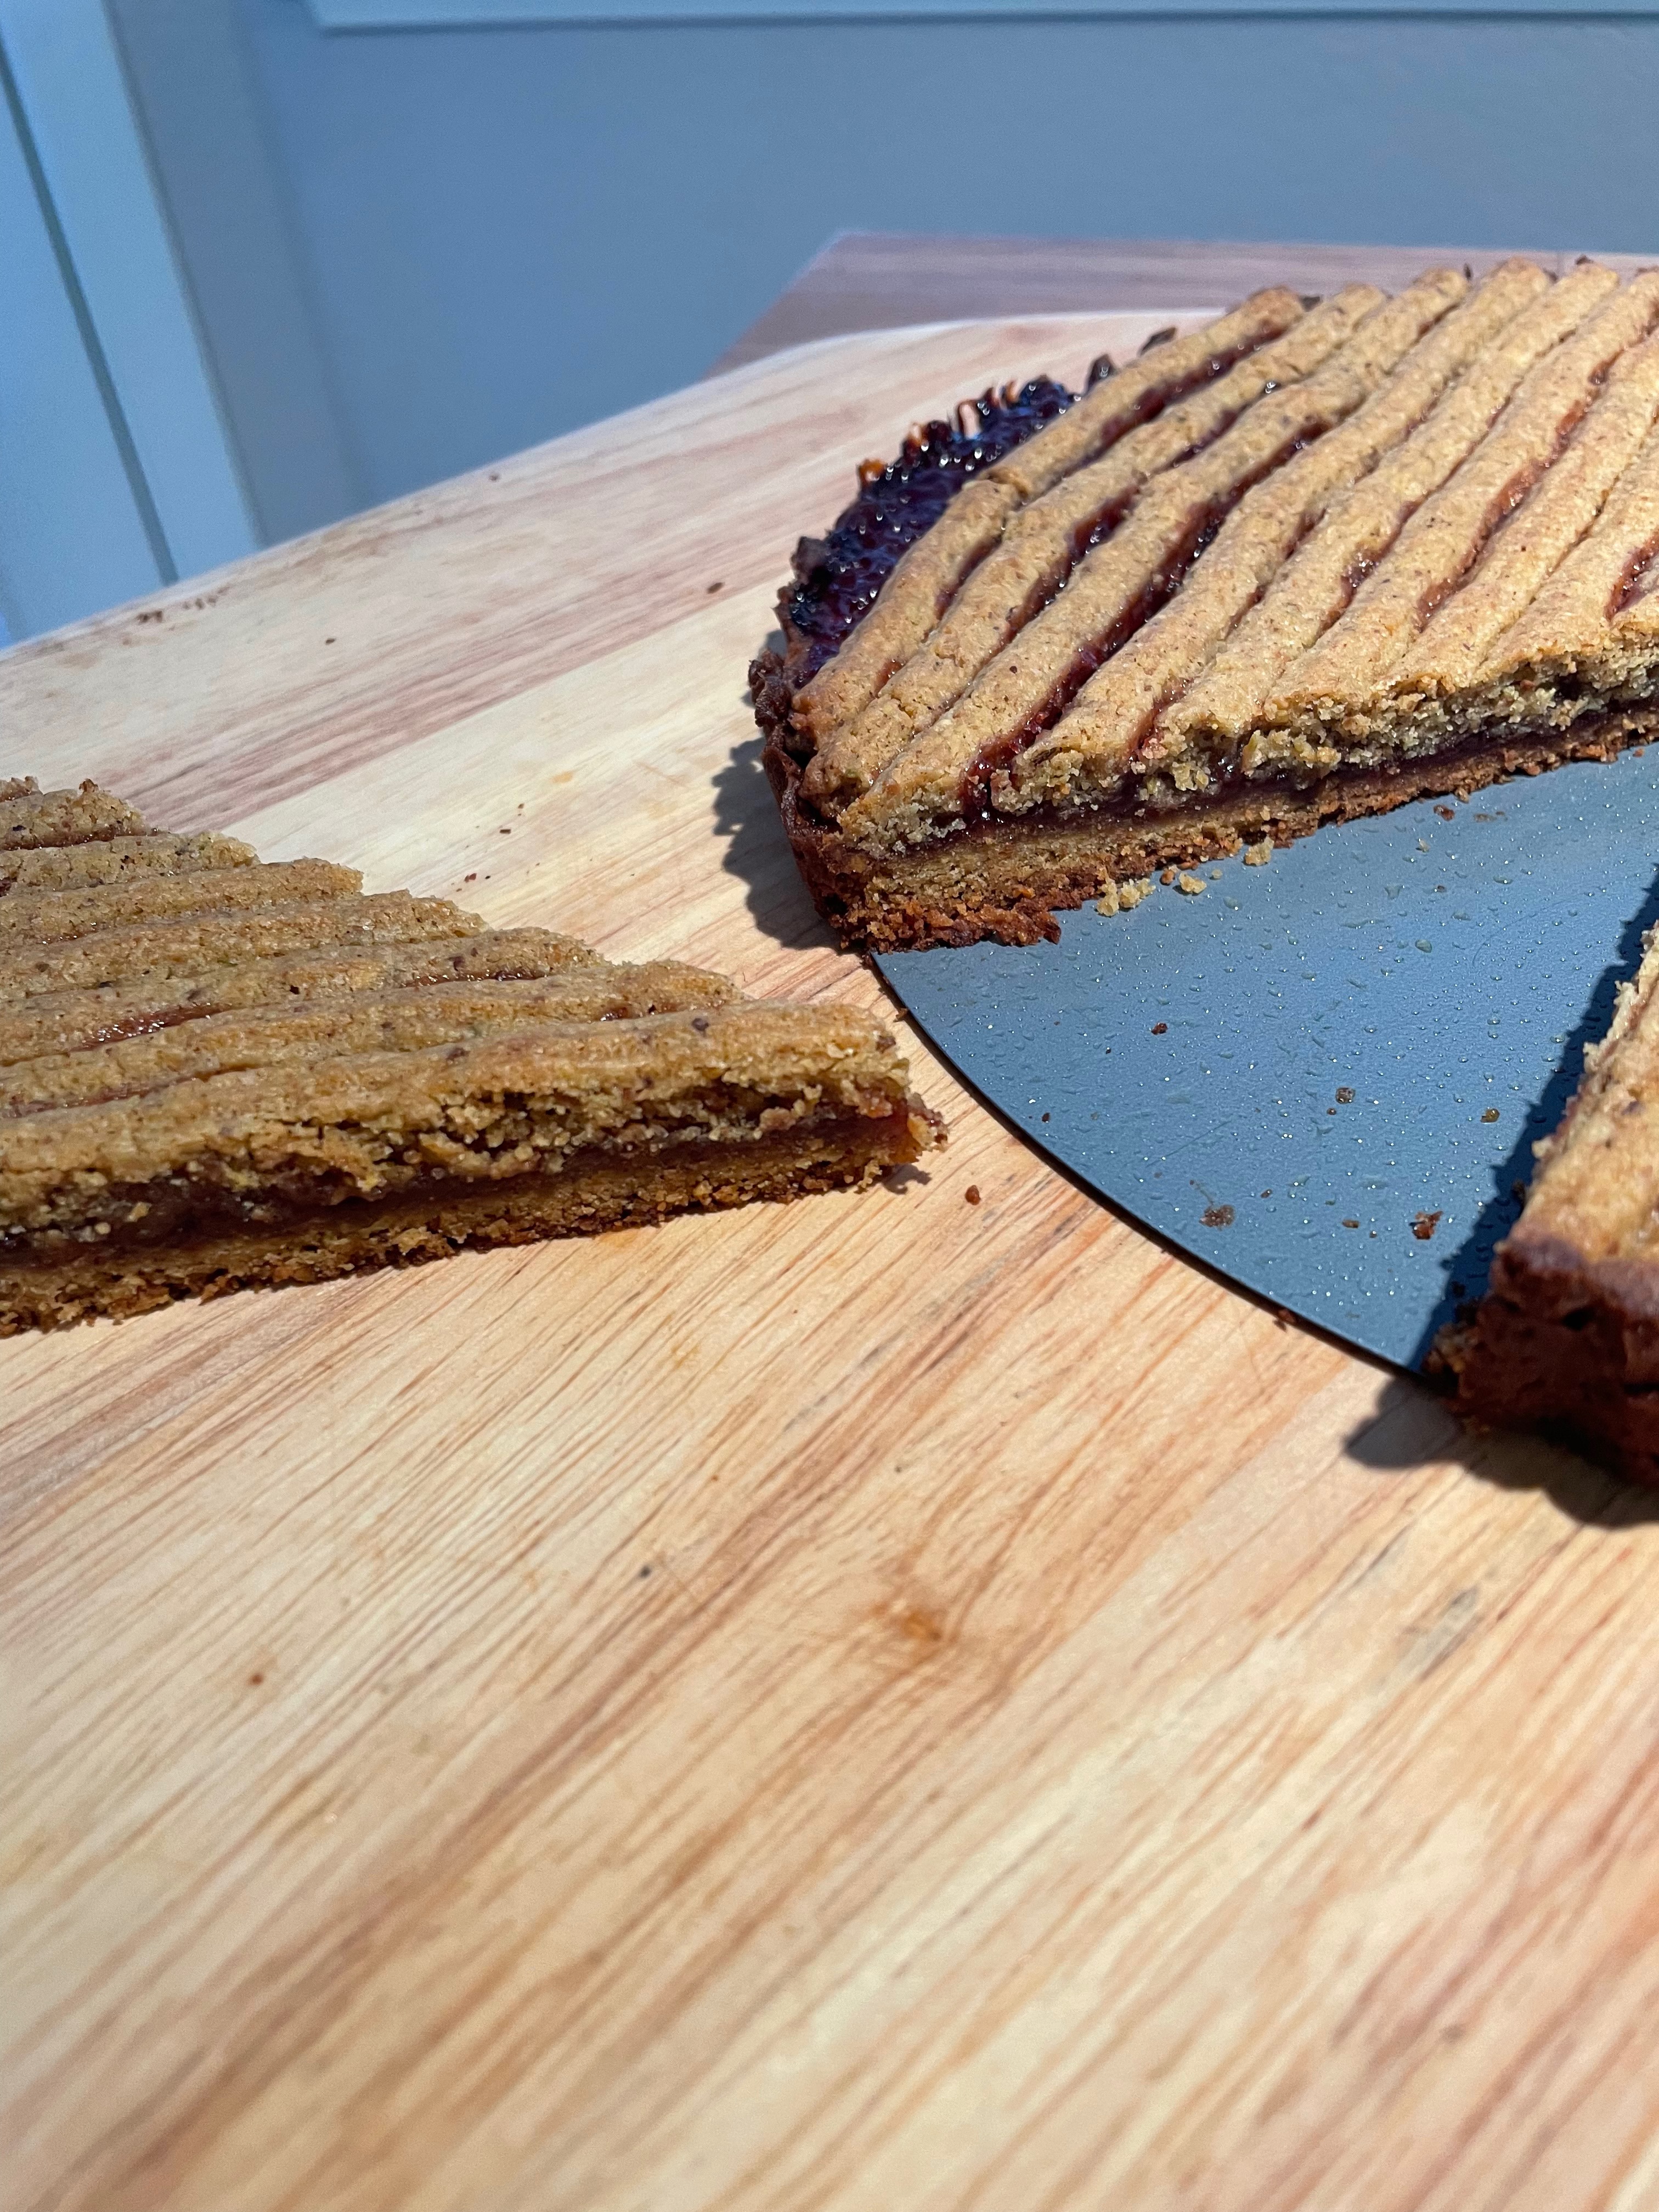
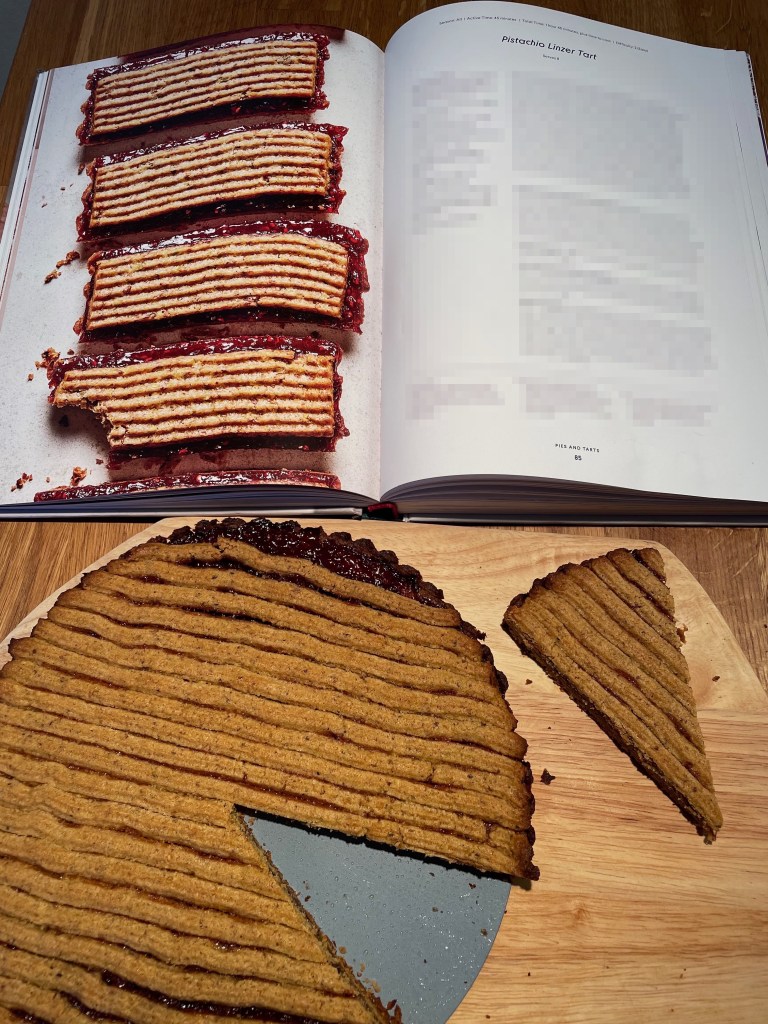
This is a fairly easy tart recipe, despite a slightly vague recipe (mostly due to a lack of pictures). Unlike most tart recipes in the book this can be easily made in one sitting. It’s not quite as visually stunning (or as delicious) as some of the other tarts in the book, but it still looks and tastes pretty good. Plus it’s a fair bit easier to make and doesn’t have any esoteric ingredients. Definitely worth a shot.
Recipe Outline
Recipe: Pistachio Linzer Tart
Special Equipment: 9-inch round removable bottom tart pan OR 14×4 inch rectangular tart pan, Food Processor
Tip 1: Consider saving slightly more than half of the batter for the top half to ensure you don’t run out.
Tip 2: Consider refrigerating the pastry bag so it doesn’t “melt” and cause the butter to separate before using it (especially if you have a warm kitchen).
Final Product
Key Takeaways
The instructions are very brief and with very few pictures, so hopefully the photos above are a helpful guide.
Consider making extra dough or saving extra for the top.
Final Score: 3/5 – This was a fairly quick and easy tart (even if the instructions were a bit vague and photos lacking). It tasted good, but wasn’t quite amazing.
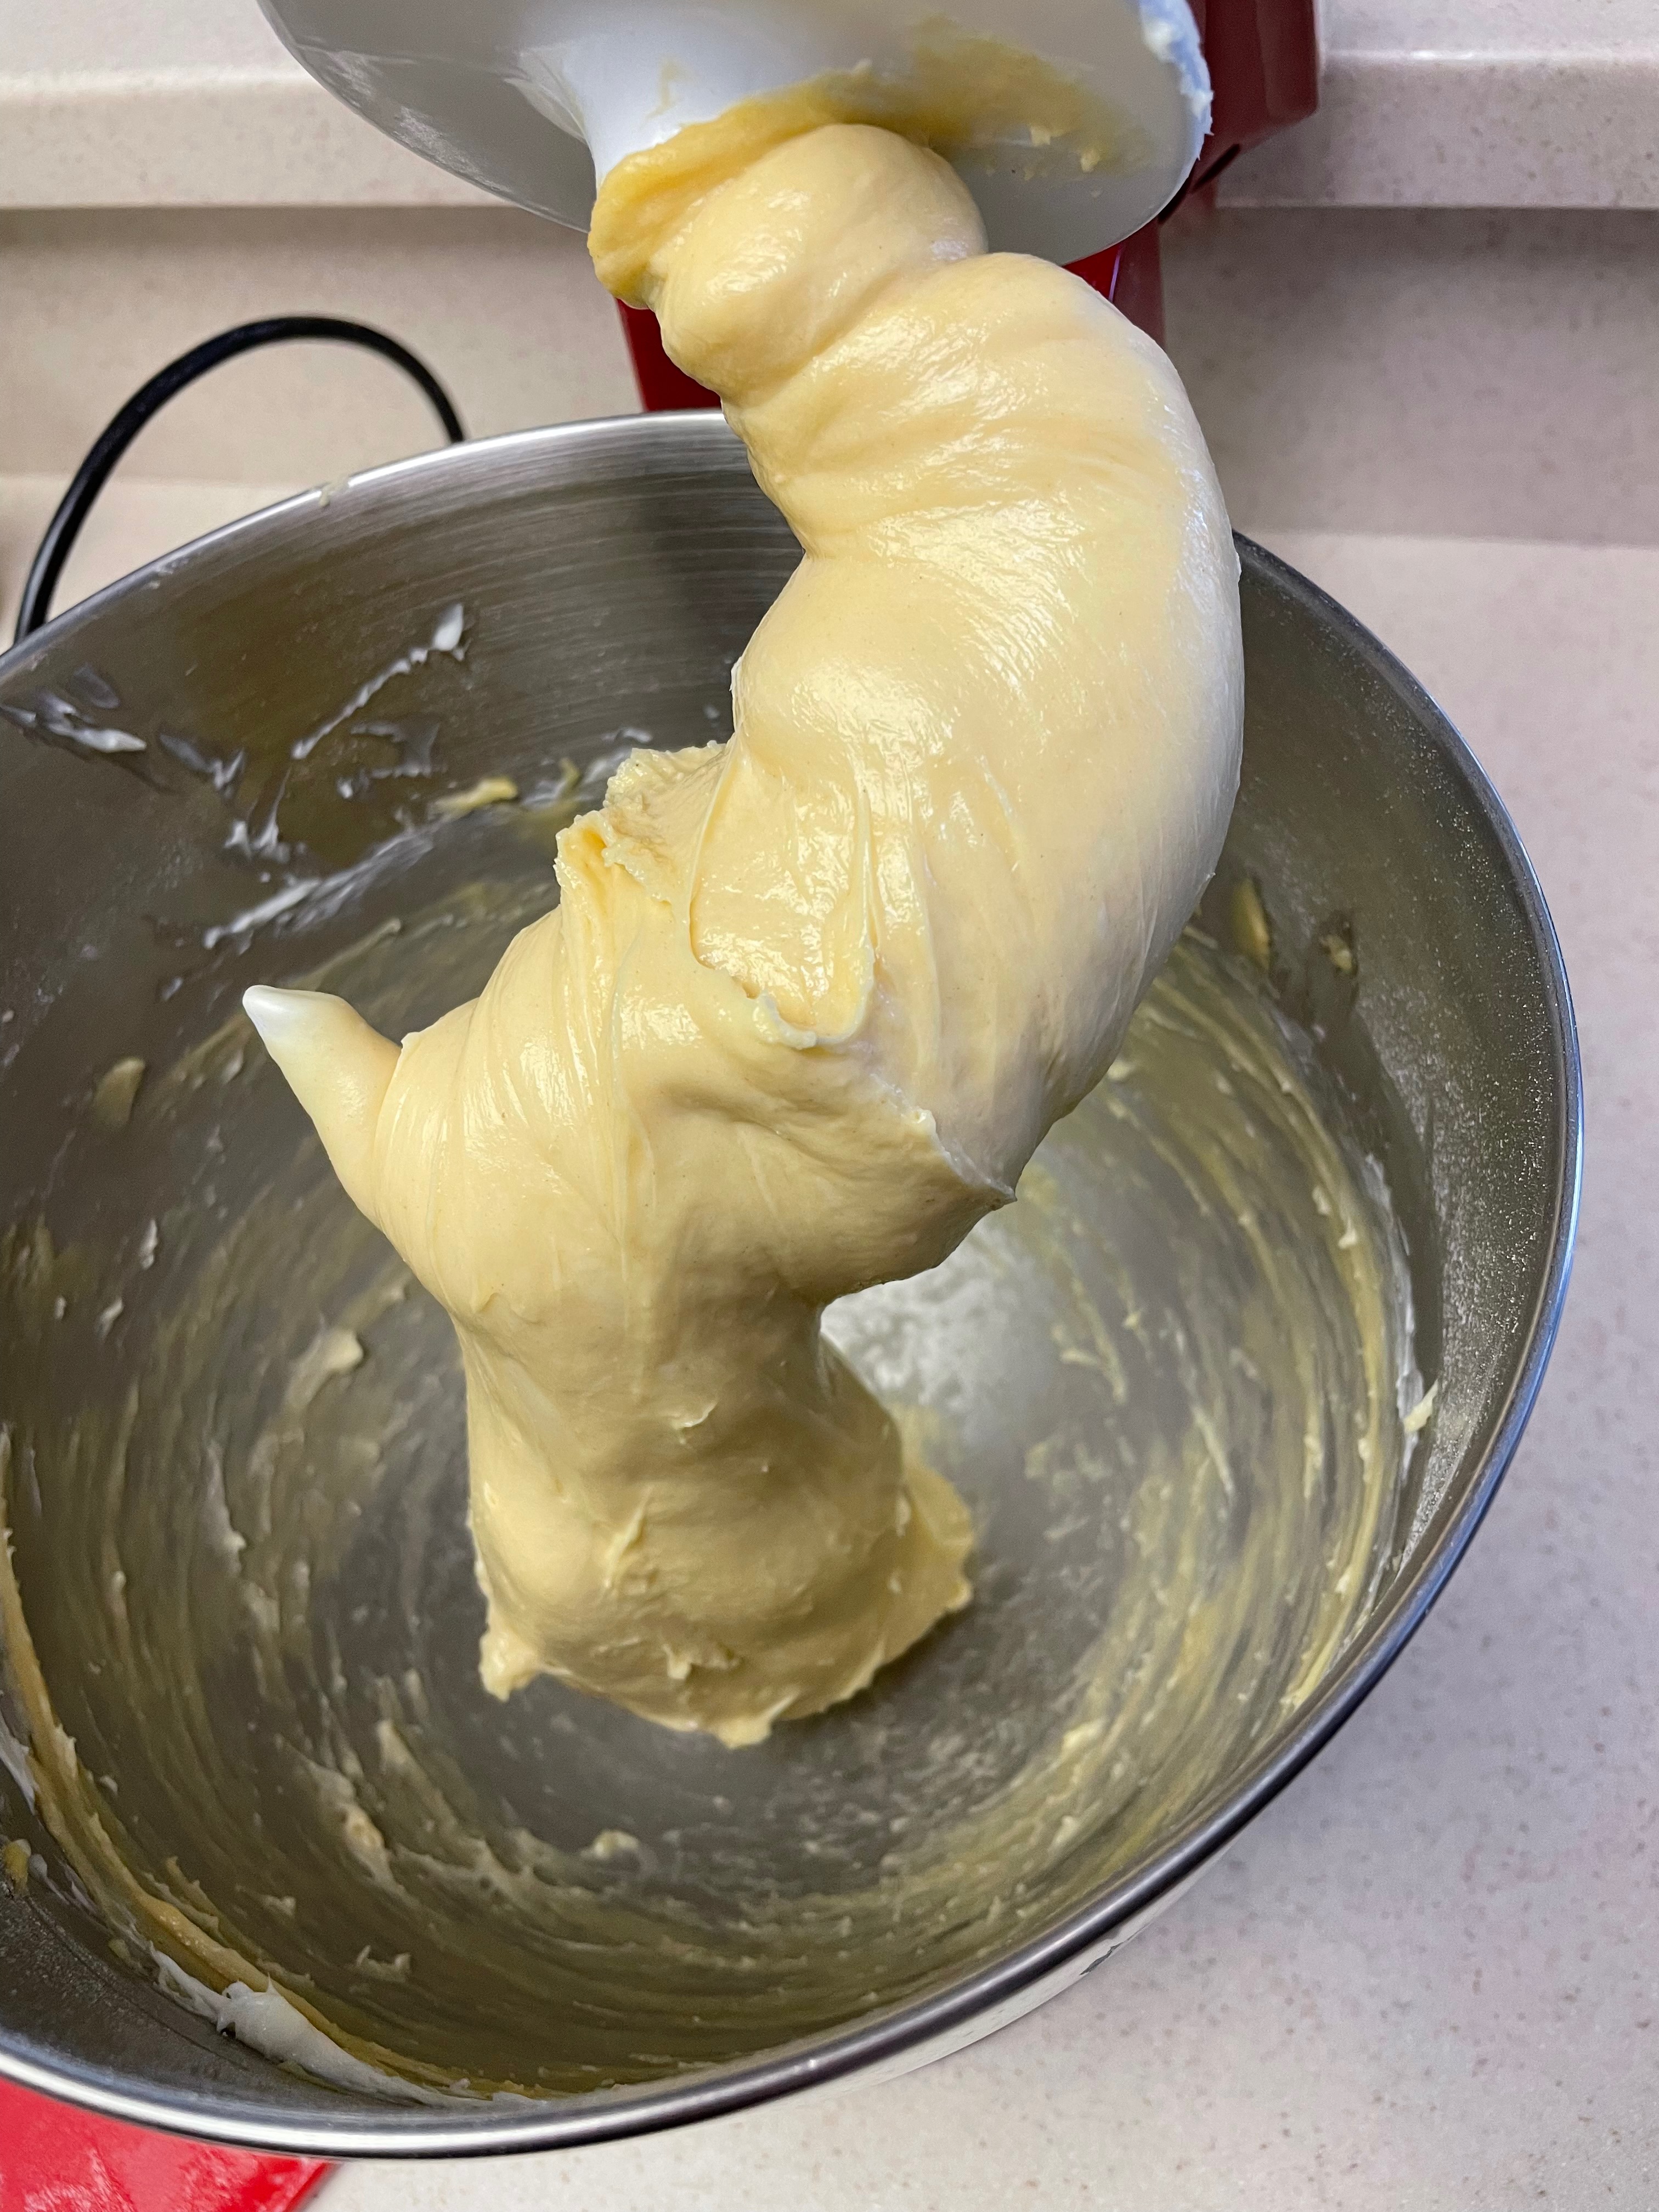
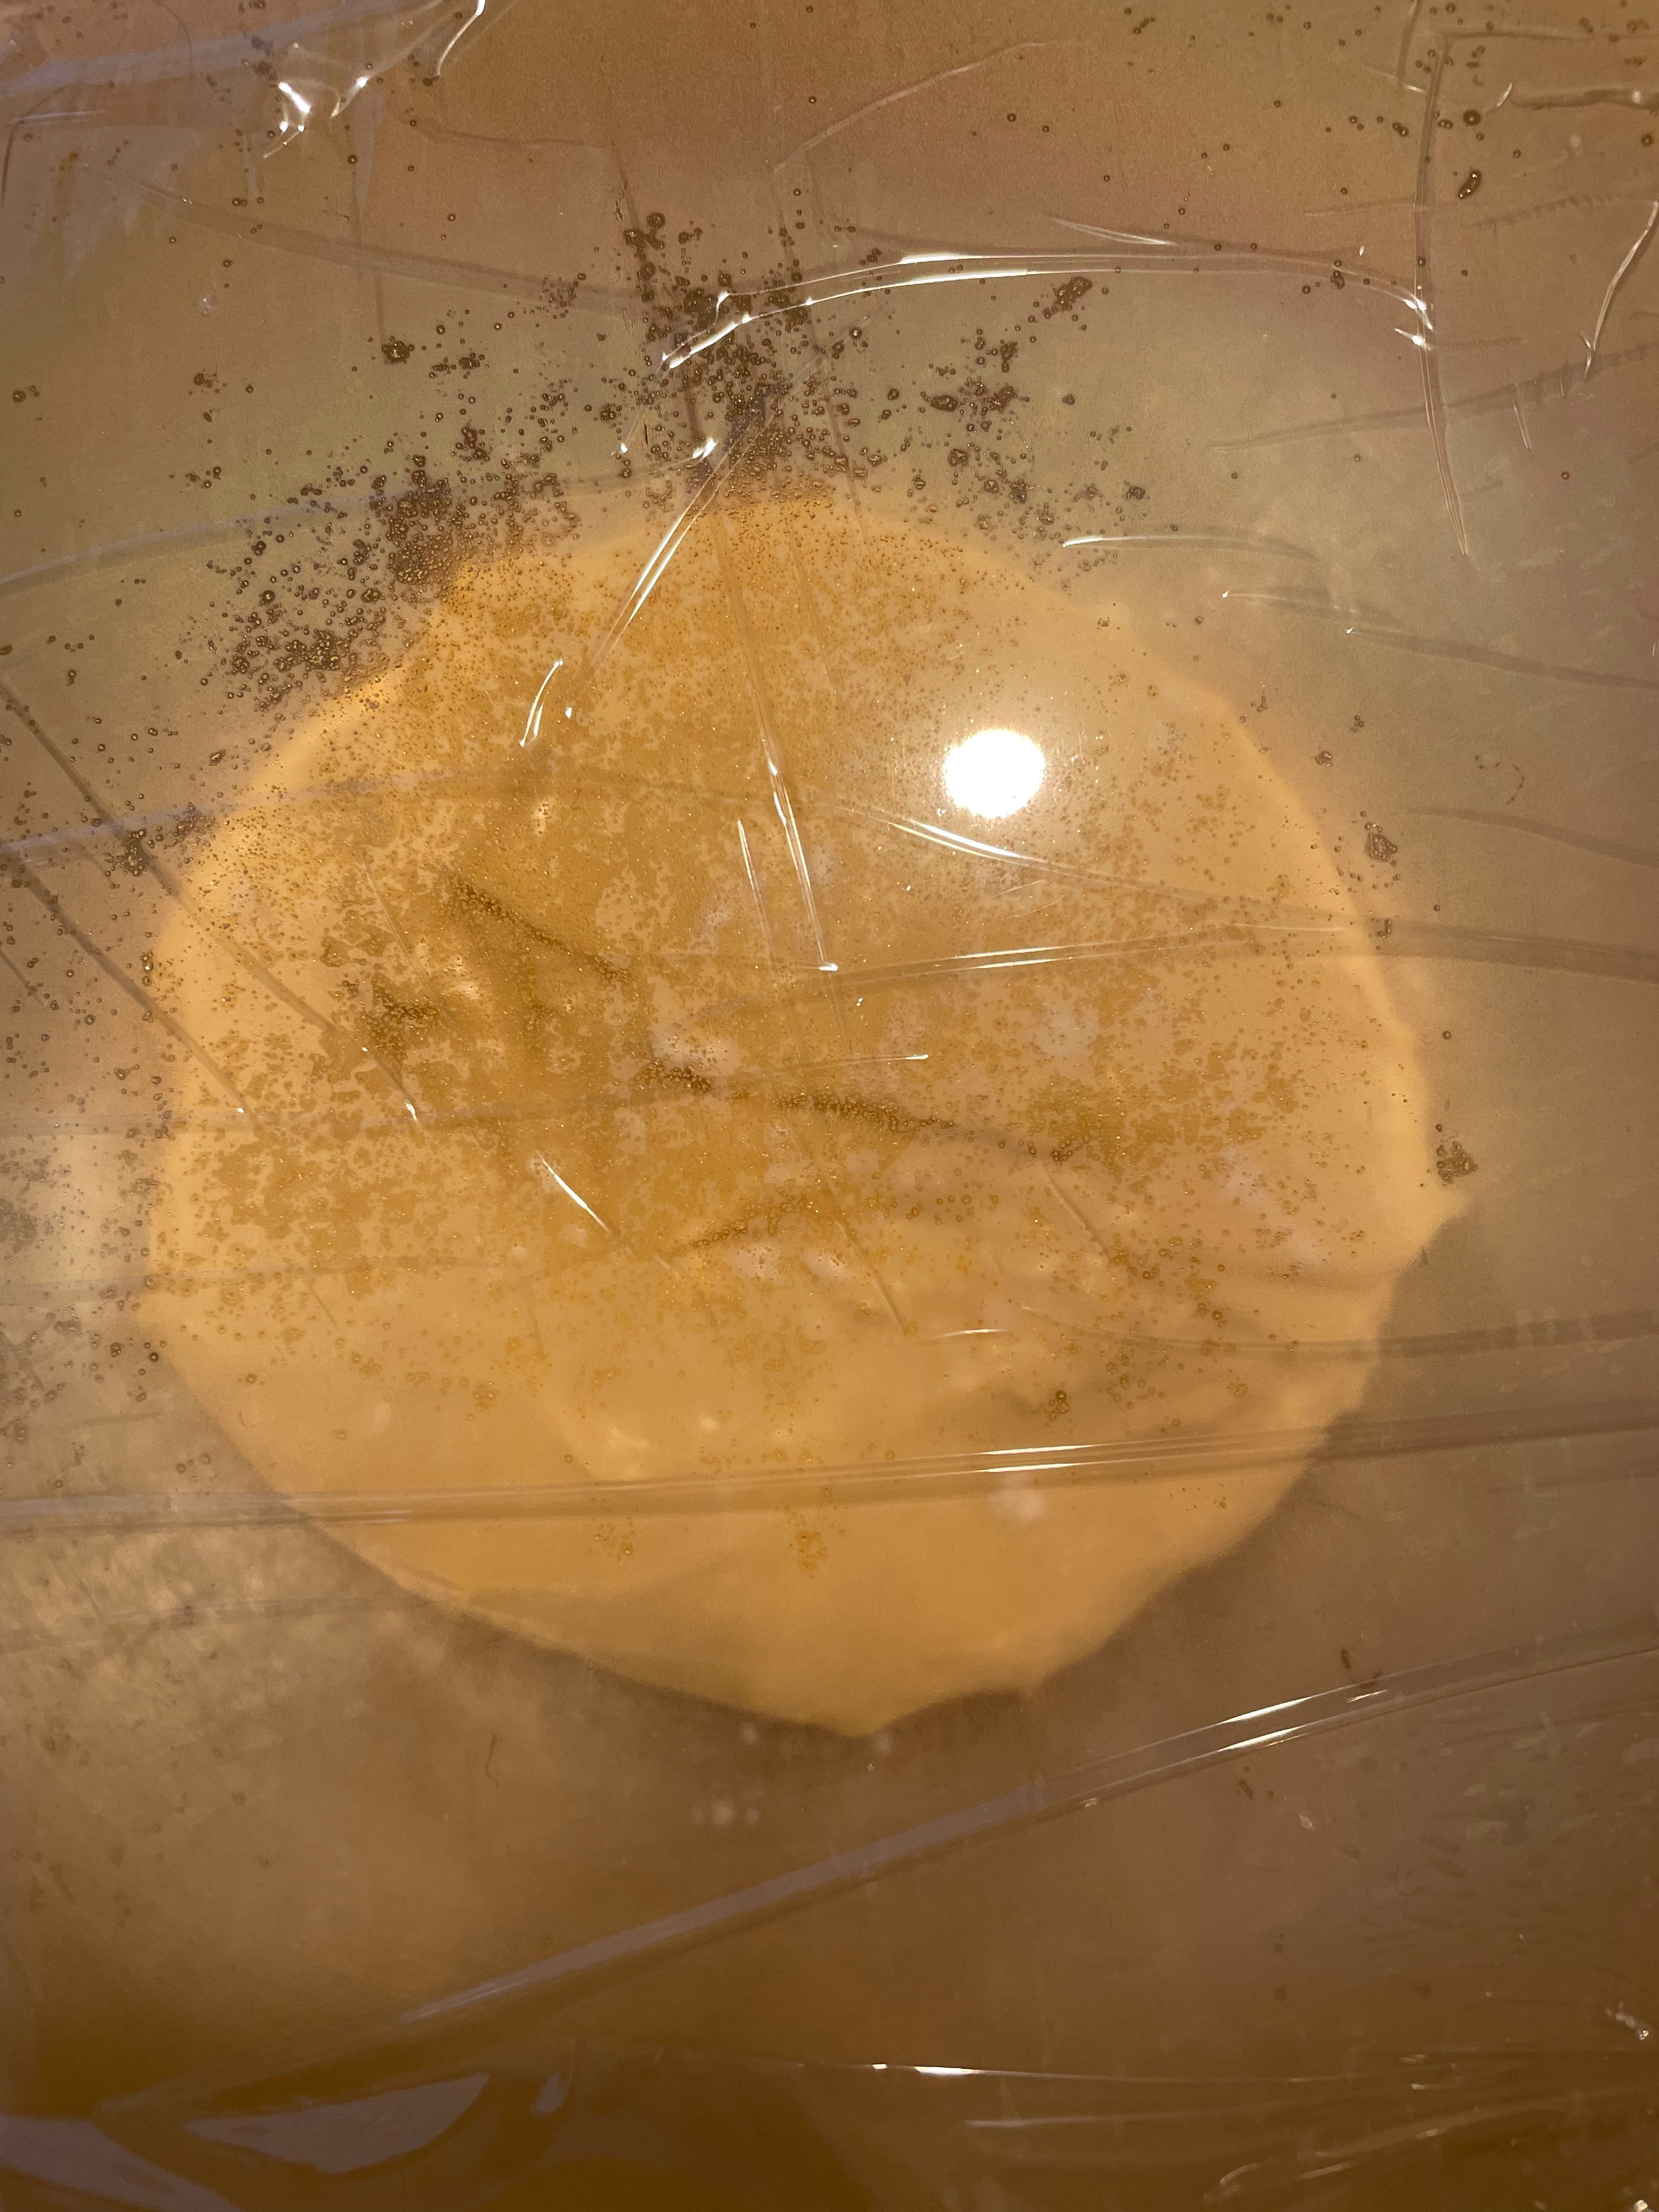
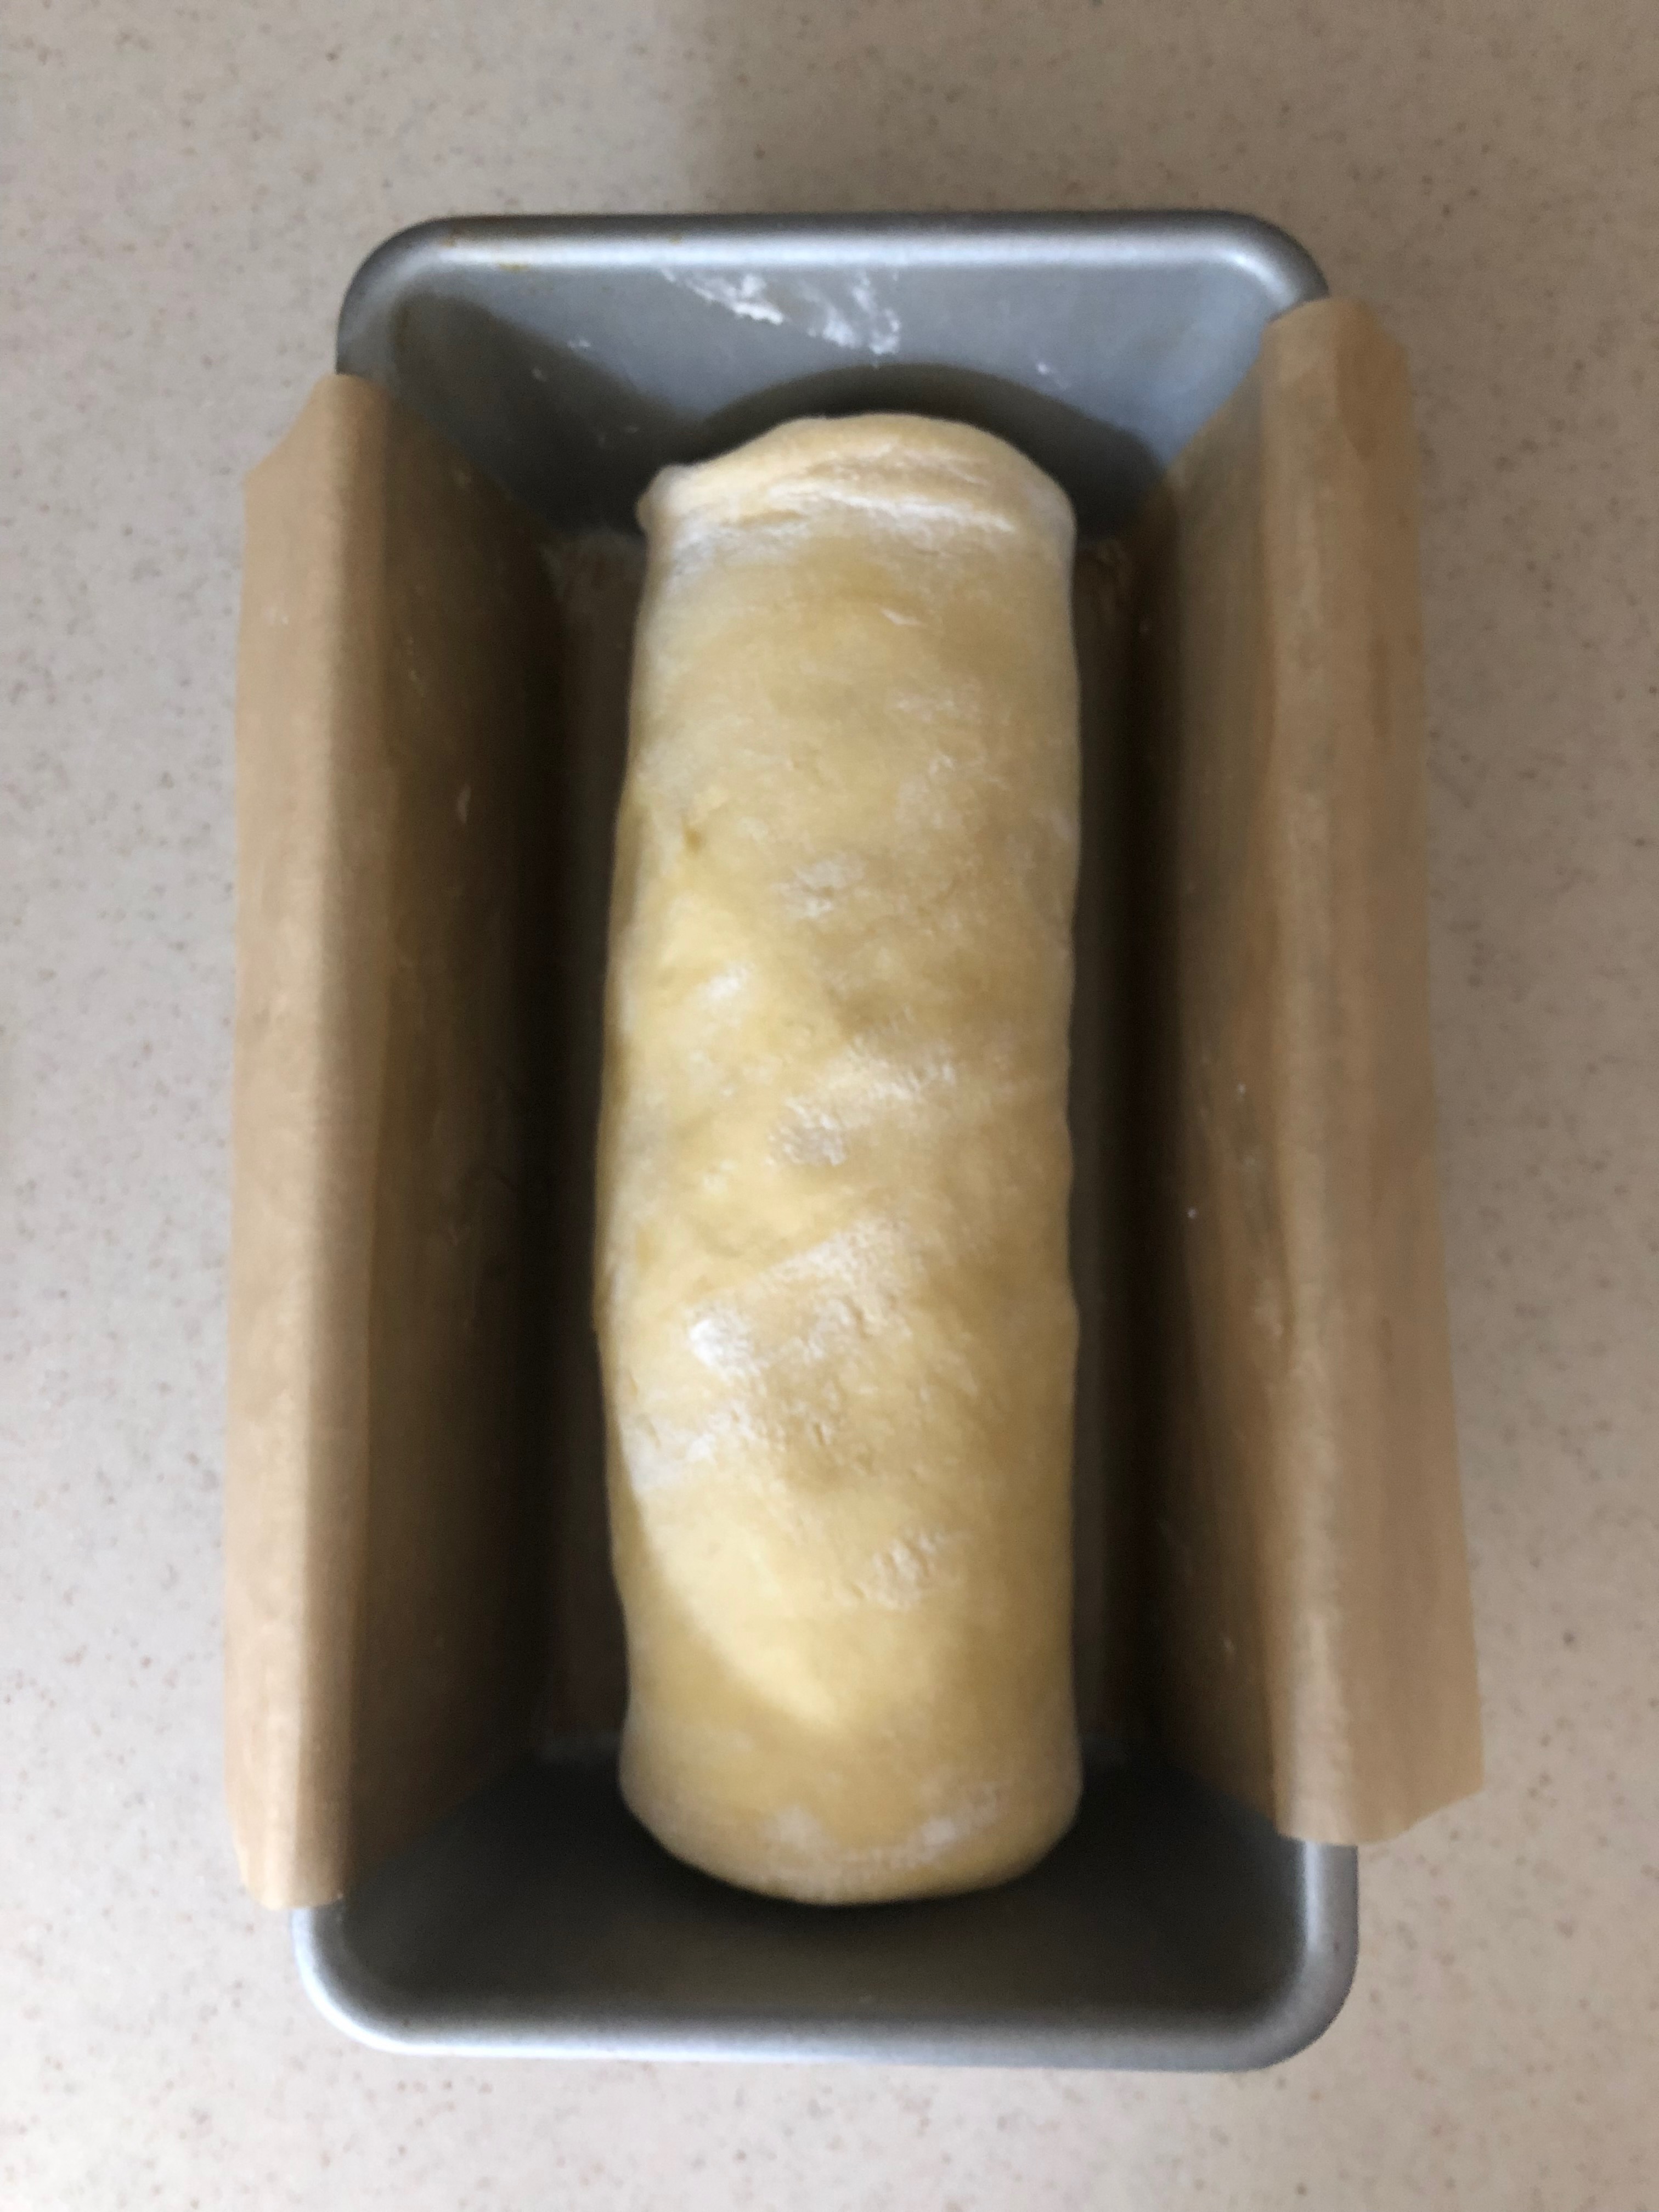
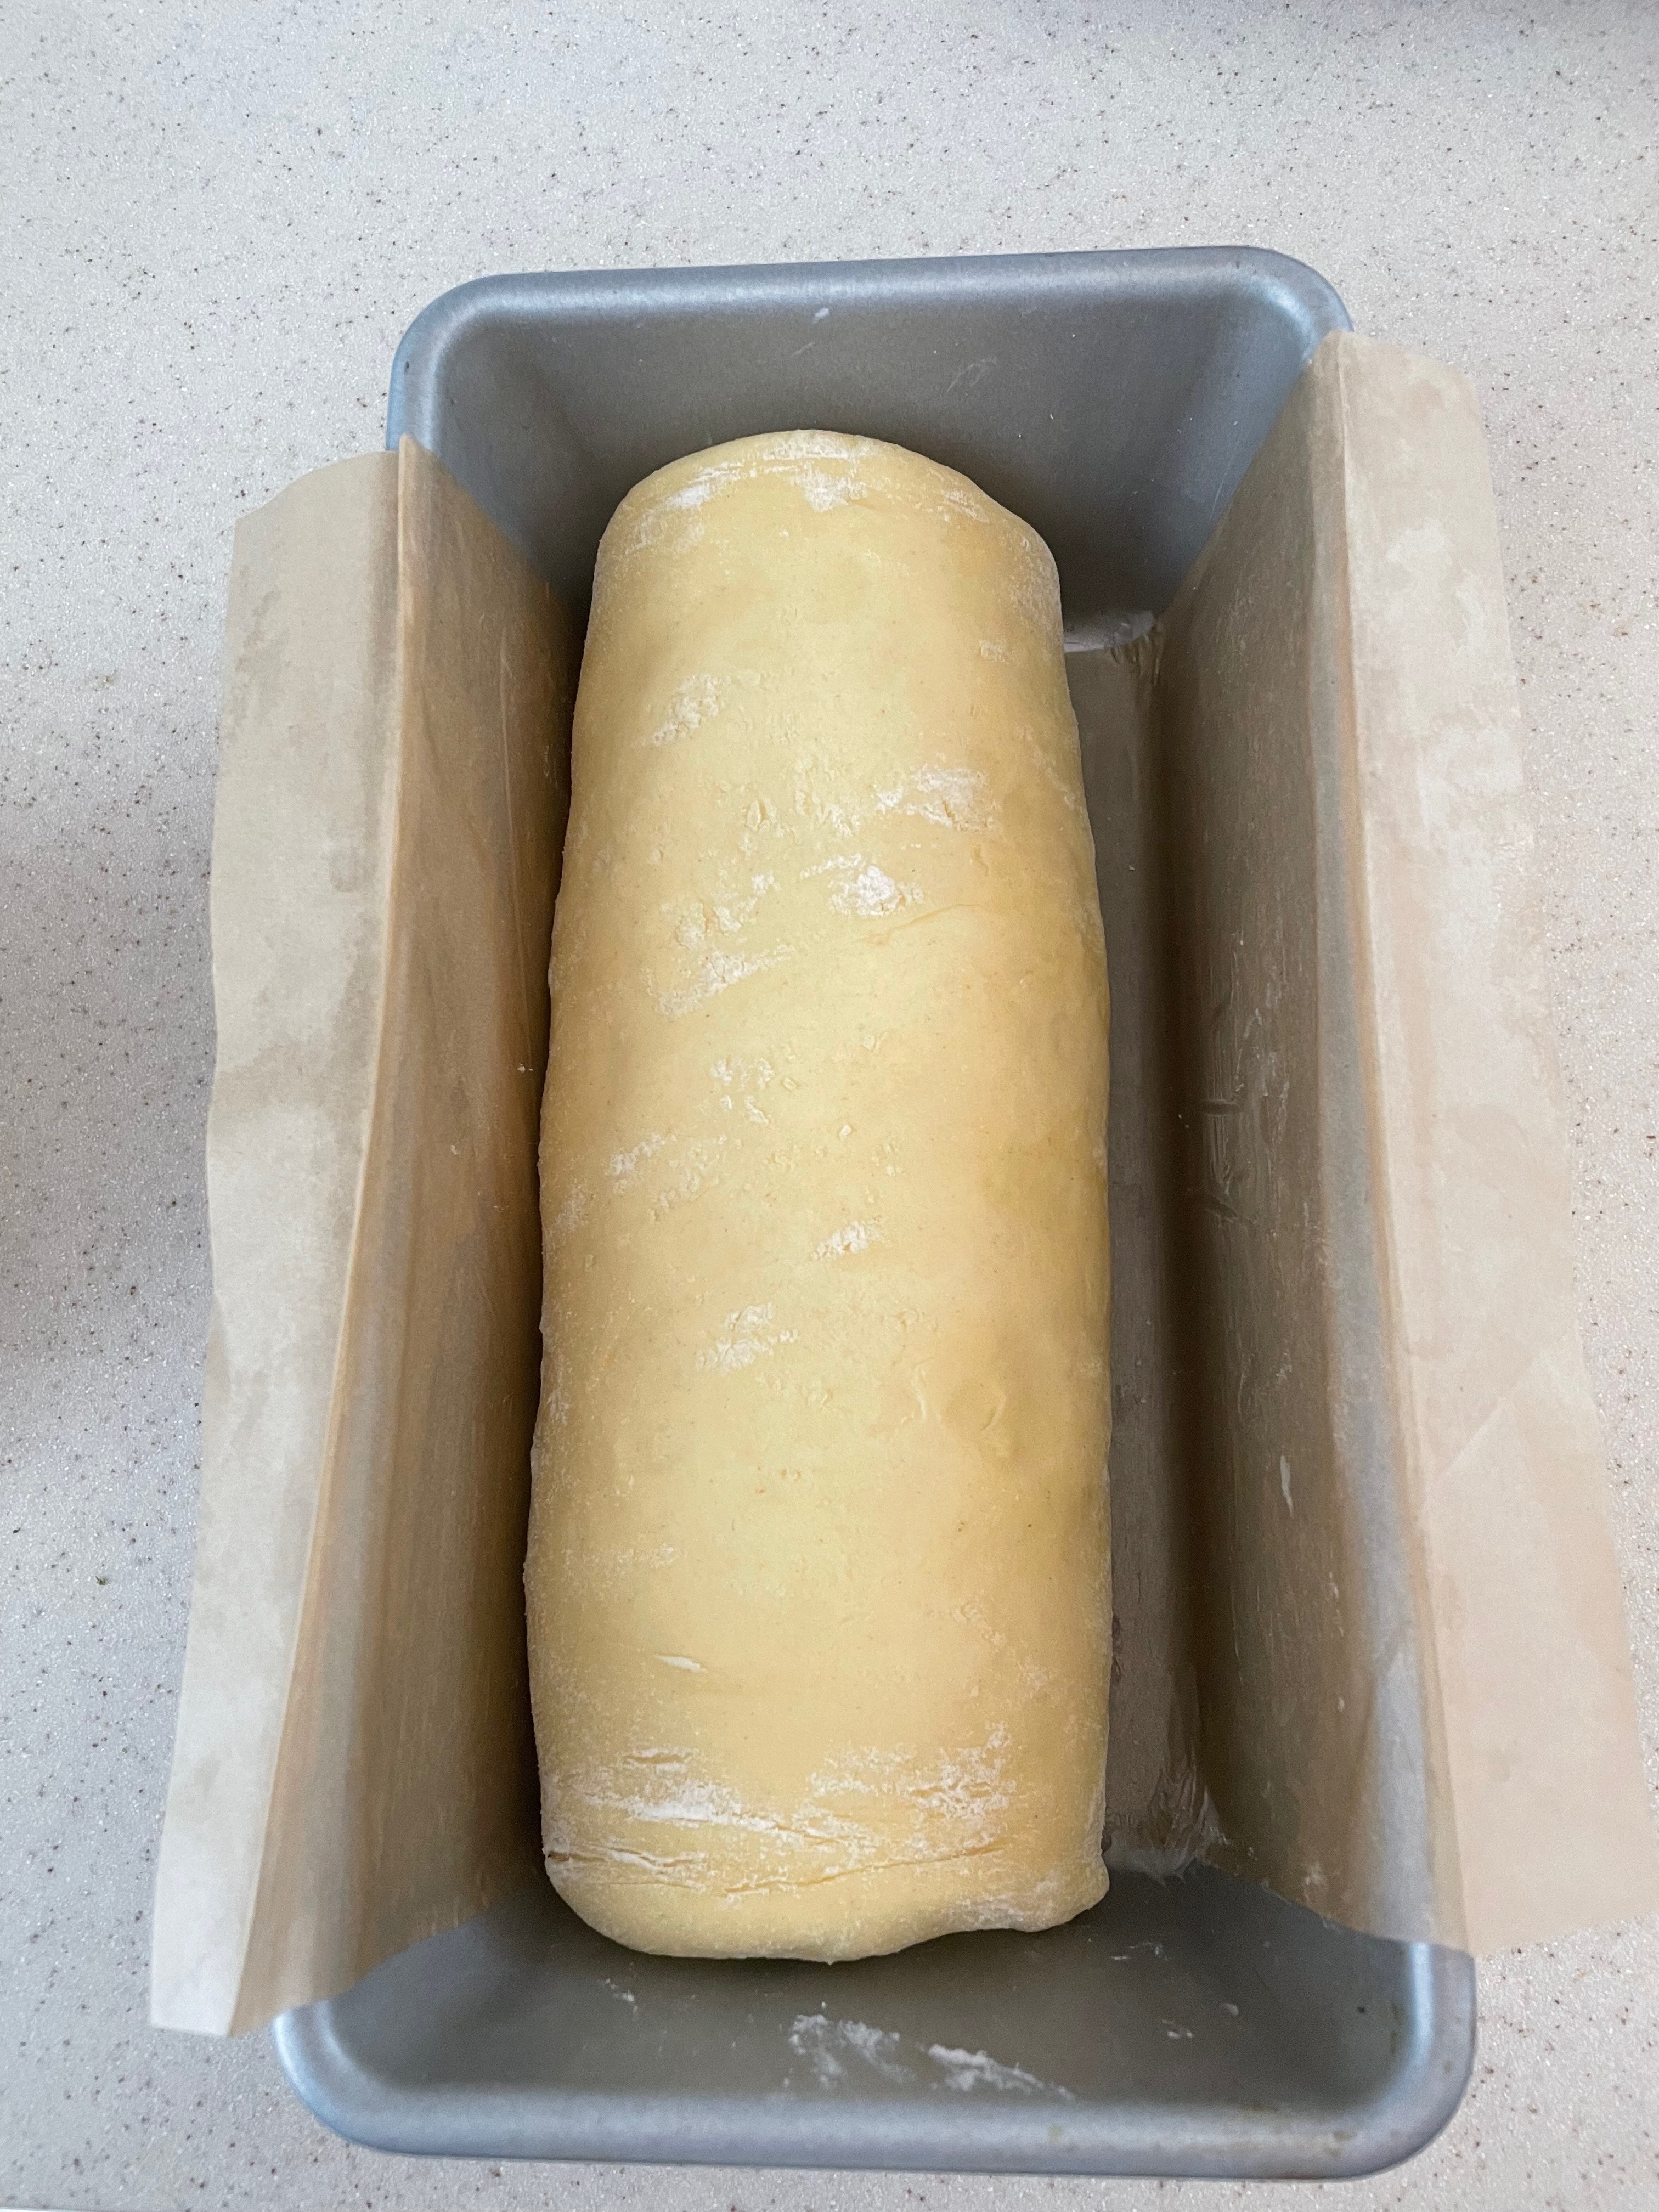
This recipe is mostly just making brioche and then working with it a bit. Nonetheless it’s a great recipe and a great way to make brioche and apply it in a fun way. Do note that brioche is a fairly complex dough that requires an (ideally) overnight period in the fridge. While the recipe came out great, we thought that Pigs in a Blanket was better with puff pastry. In fact we also made Pigs in a Blanket with Dessert Person’s rough puff pastry recipe and found it even better.
Tip 1: We’ve found that the dough often sticks to the sides of the bowl late into the initial mixing (before adding butter). Add a tablespoon and a half flour to loosen it if it hasn’t started pulling away by the 8 minute mark. You’ll know the dough is ready for butter once it is no longer very sticky to the touch and stays together as mostly one mass.
Tip 2: You’ll know to add another tablespoon of butter when it stops appearing on the sides of the mixing bowl and the dough starts to slap loudly against the sides. This process will get quicker with each addition of butter.
Tip 3: Don’t walk away from the stand mixer at any point and pay close attention. If your mixer starts to shake hold it by the sides and don’t lean on the top of it. It can cause the mixer to overheat and other such things.
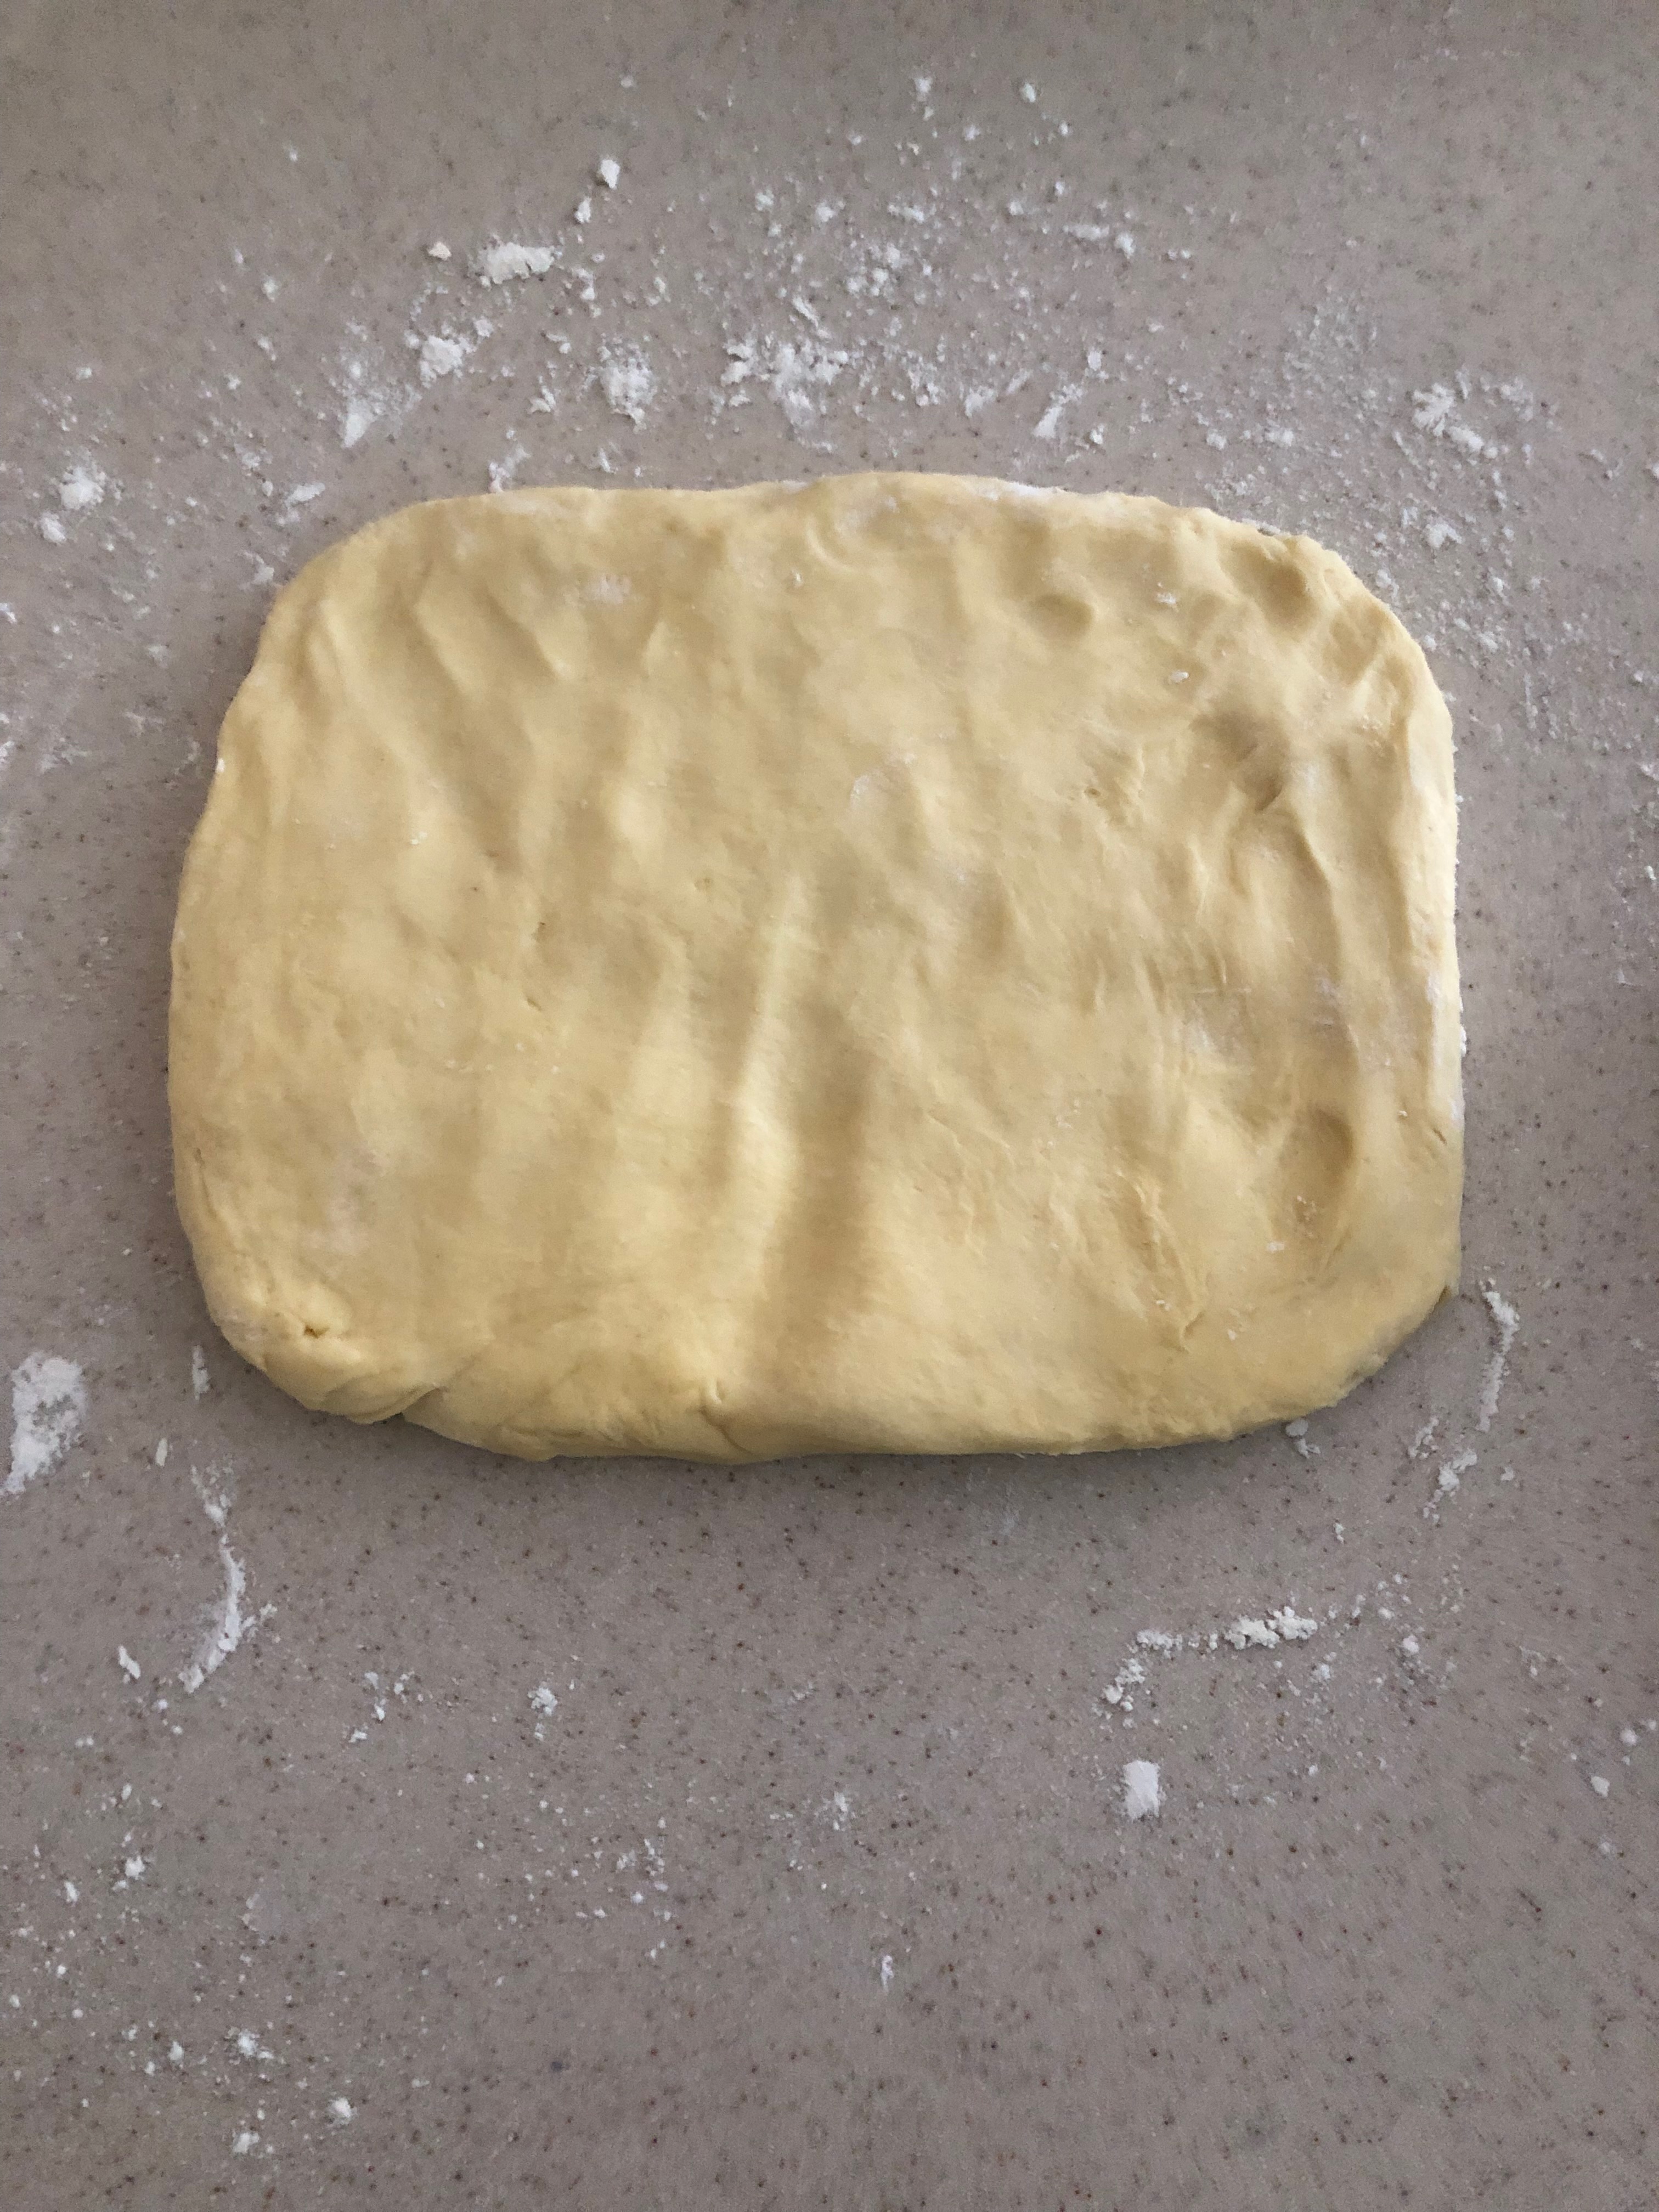
Making The Pigs In A Blanket
Tip 1: It’s not totally clear what the optimal dough roll to hot dog length ratio for full coverage should be so that the hot dog doesn’t stick out. Simply roll out the dough a bit longer (or shorter) to adjust after each one. Note that after you roll it out it will contract over the next minute or so.
Tip 2: Consider pulling slightly on the dough while wrapping. Let the dough hang vertically over the middle of the hot dog as you roll to keep the other side sufficiently stretched due to gravity.
Tip 3: Keep the dough cold otherwise it will be hard to work with. The video and book instructions differ slightly here – the video doesn’t stress keeping the dough cold as you work with it.
Baking The Pigs In A Blanket
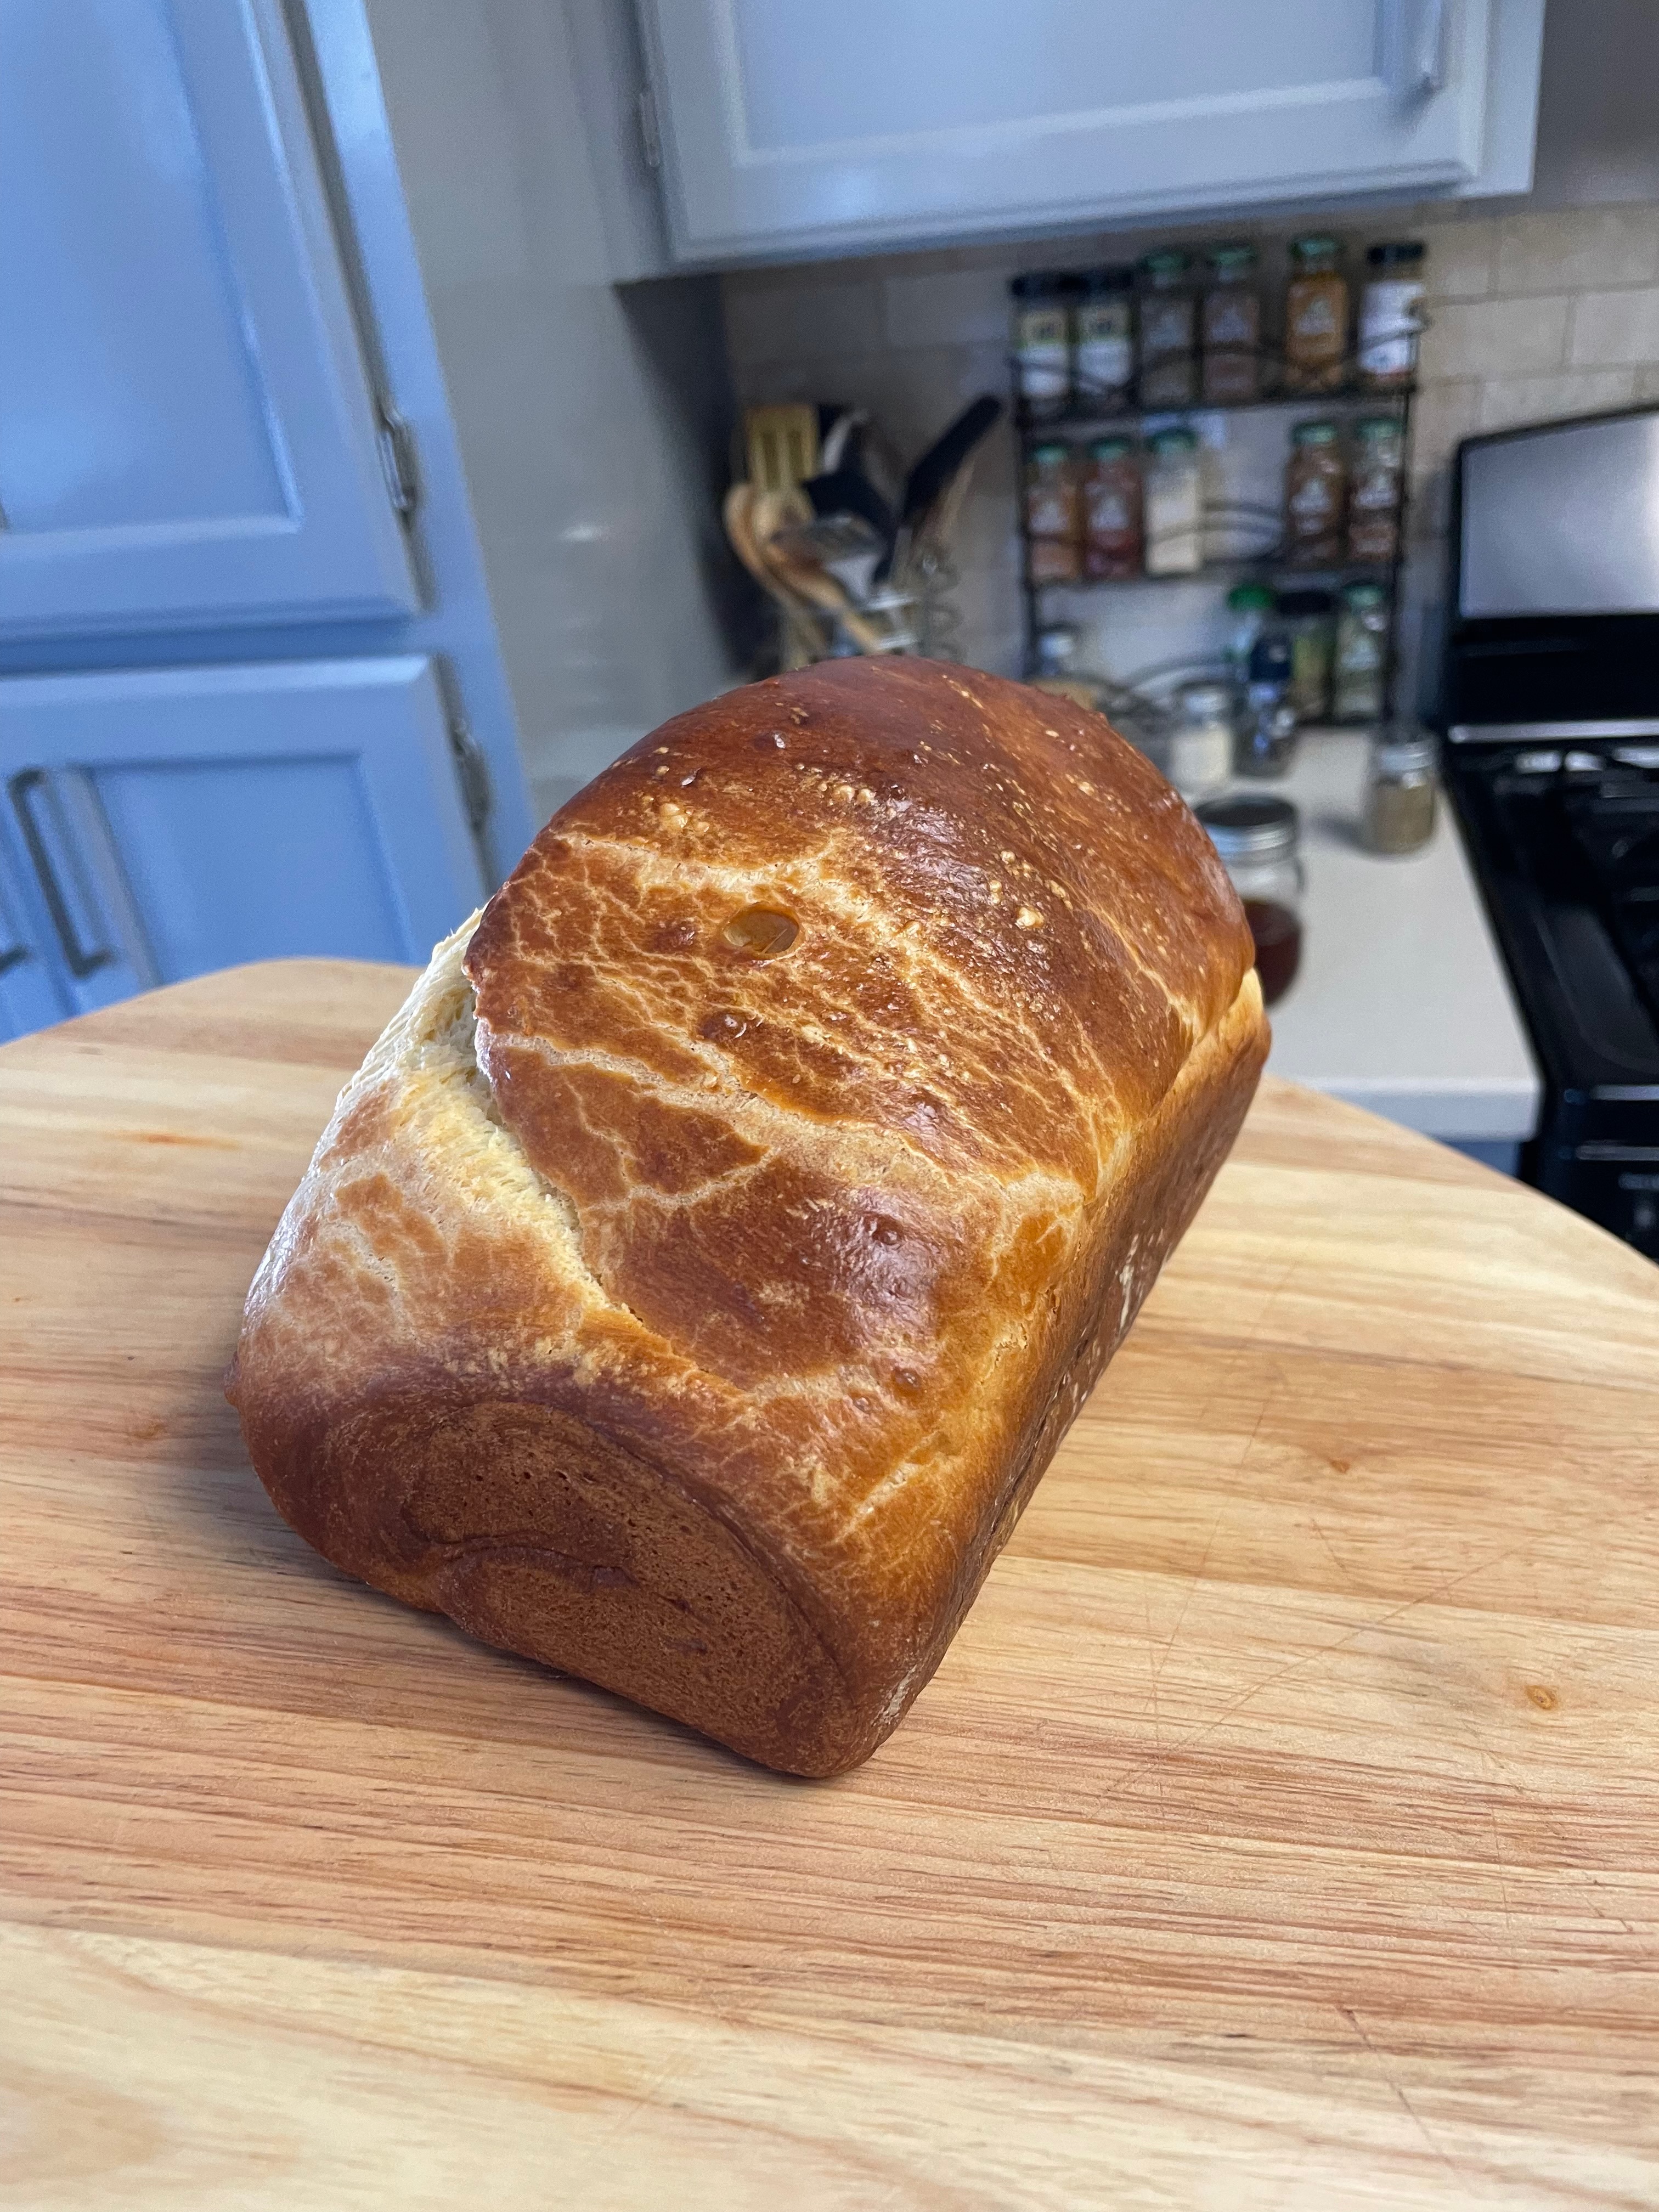
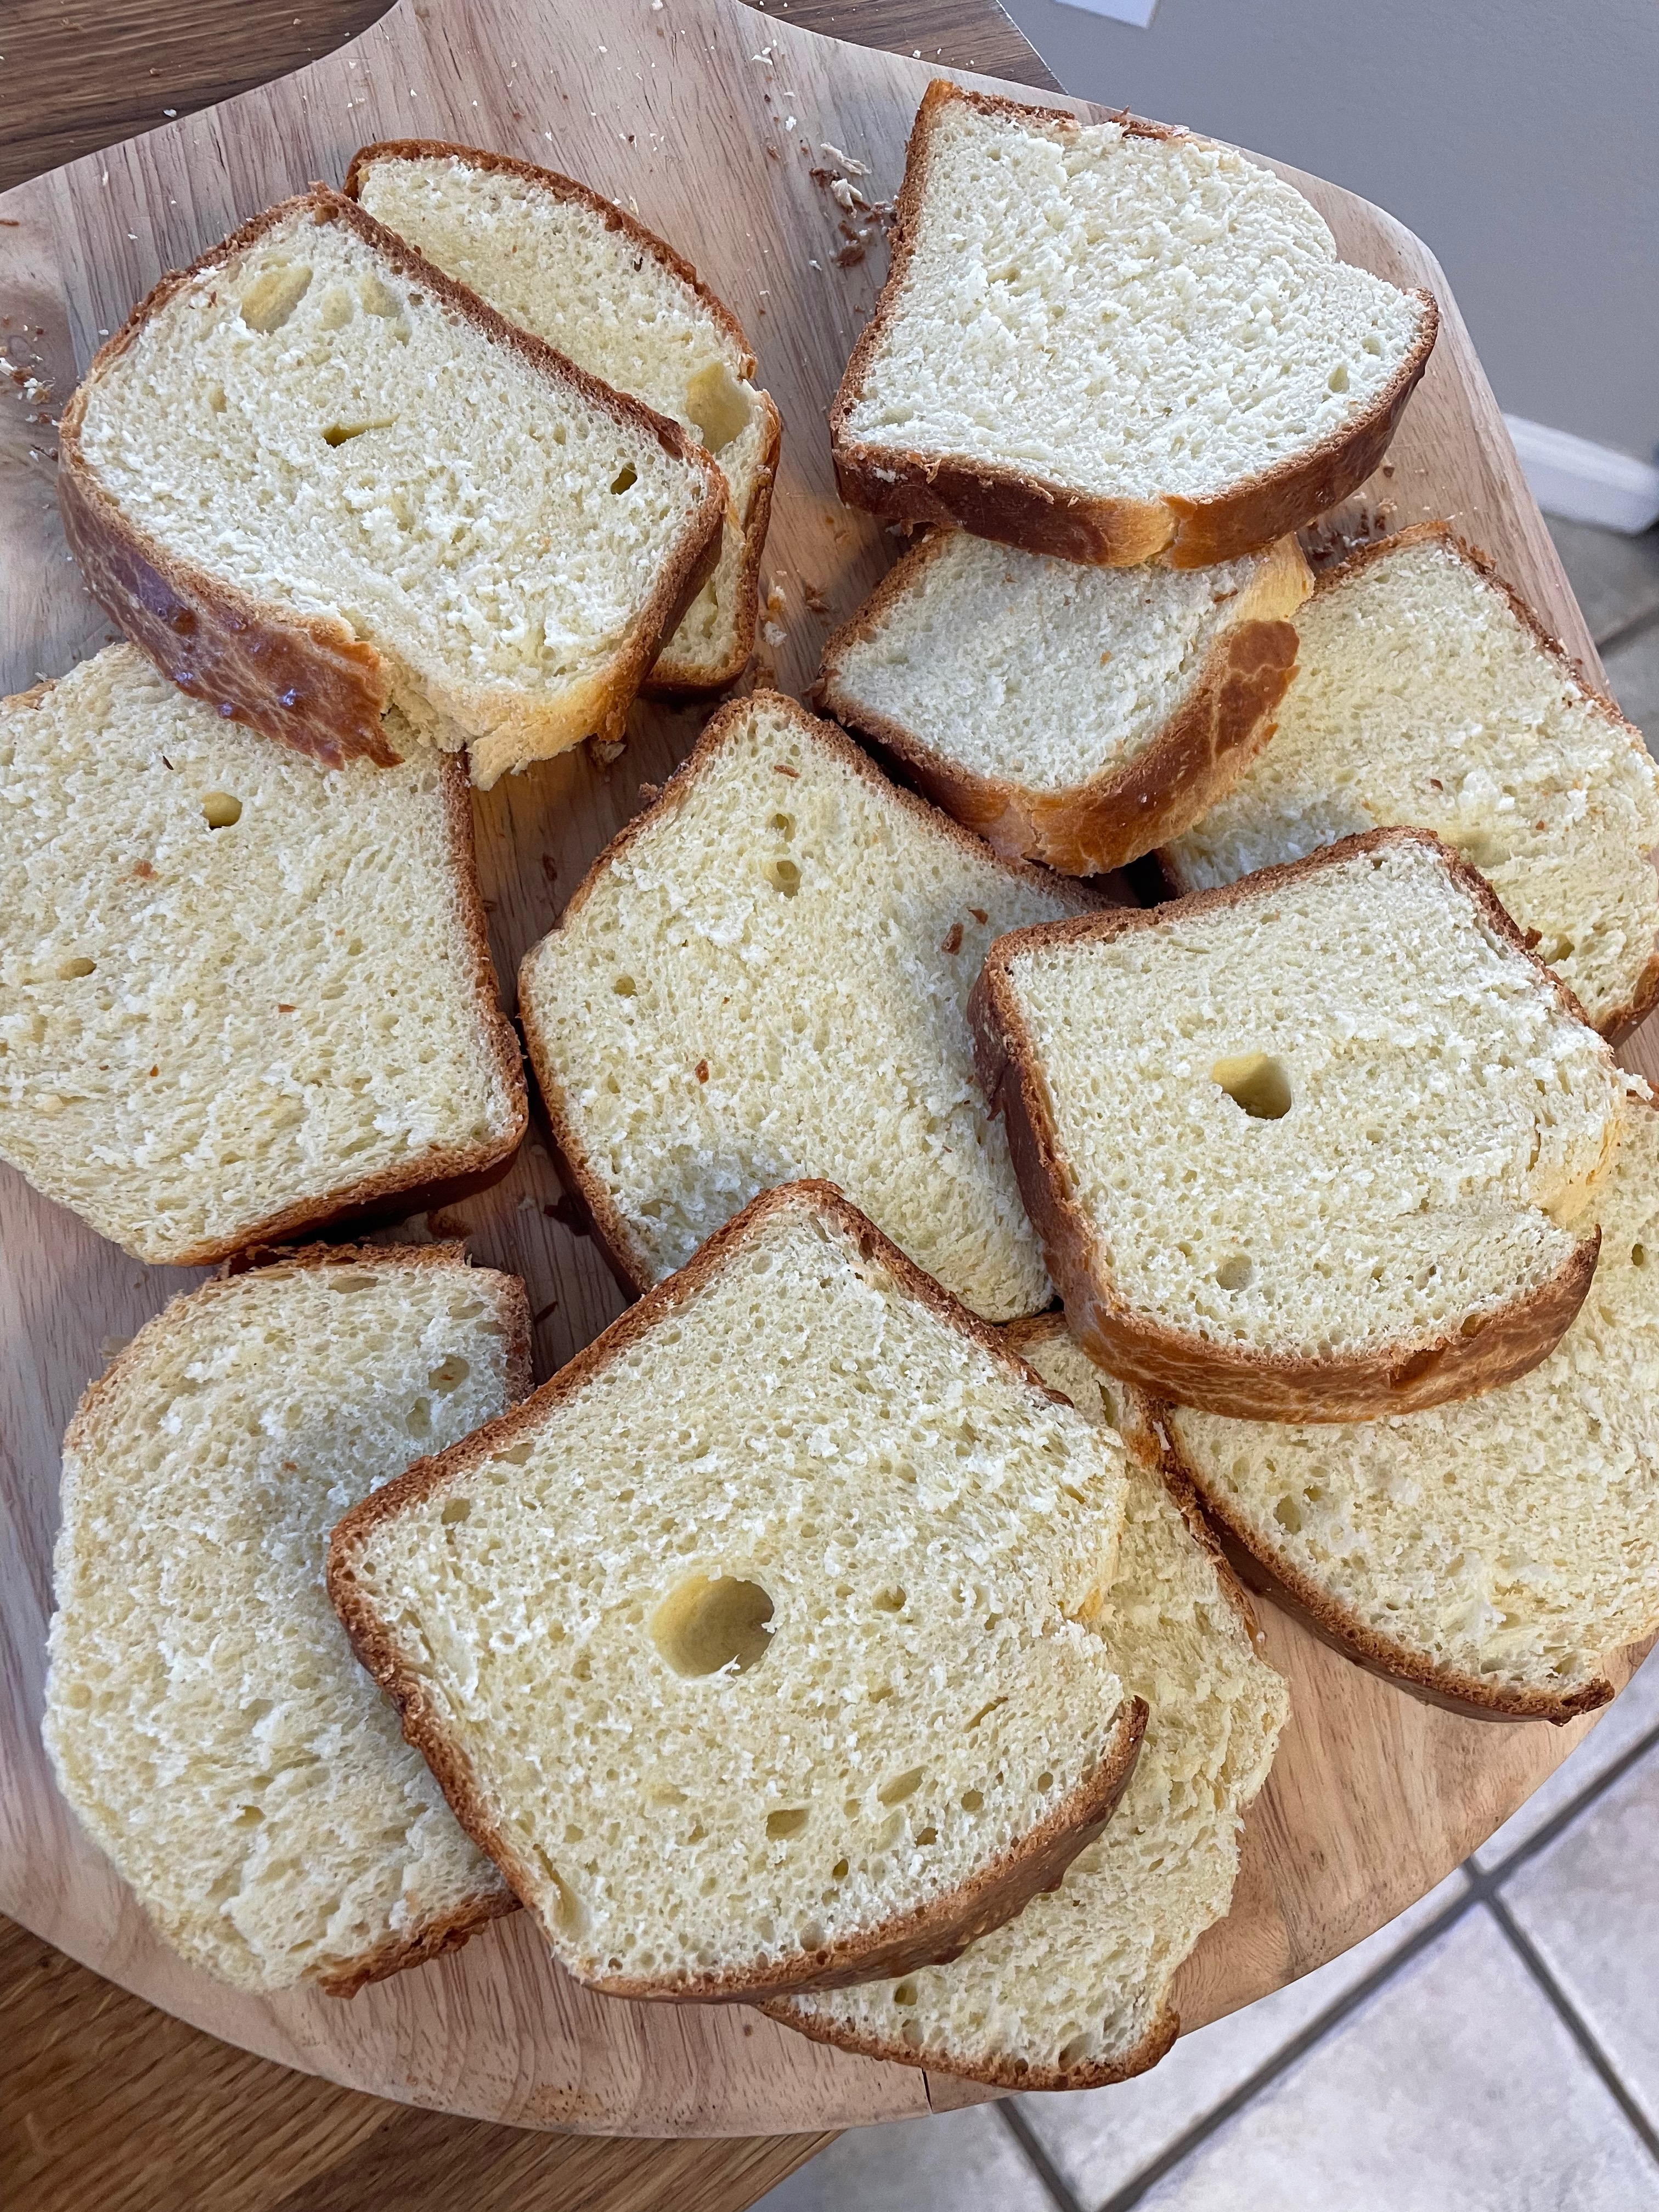
Final Product
Key Takeaways
Be patient with your dough and use the tips and indicators. The video is a great visual reference as well.
For assembly, use the book notes instead of the video notes.
Give this a try with puff pastry instead!
Final Score: 3/5 – This is a fun way to learn brioche and a great party snack. Puff pastry is a great alternative though.
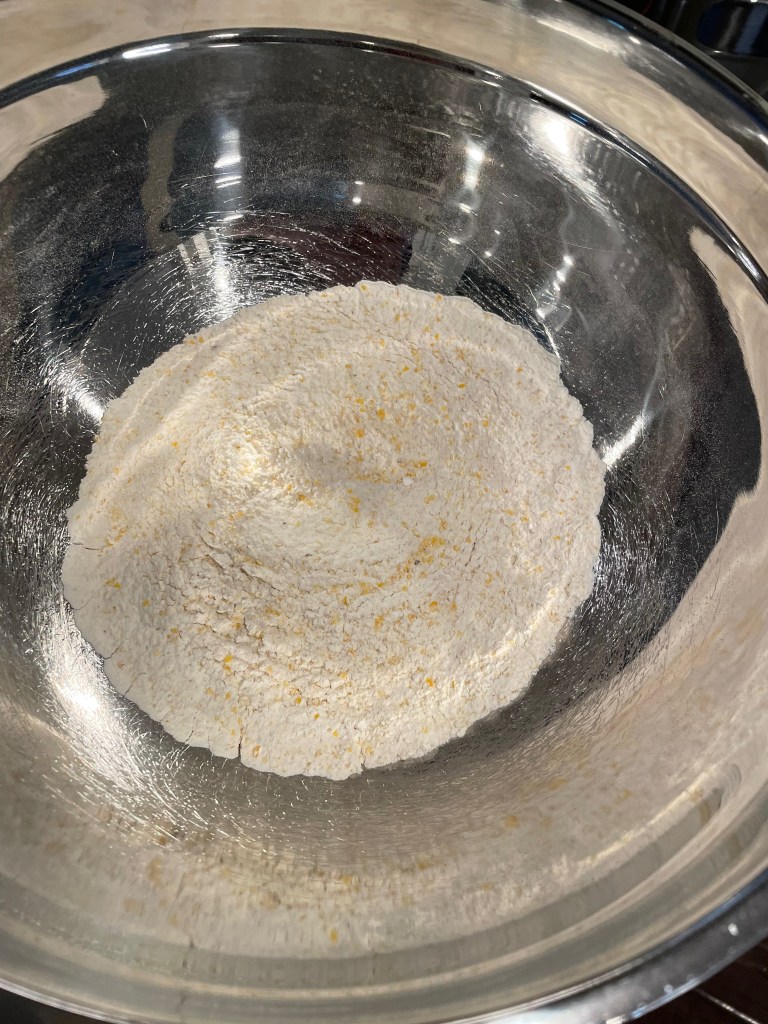
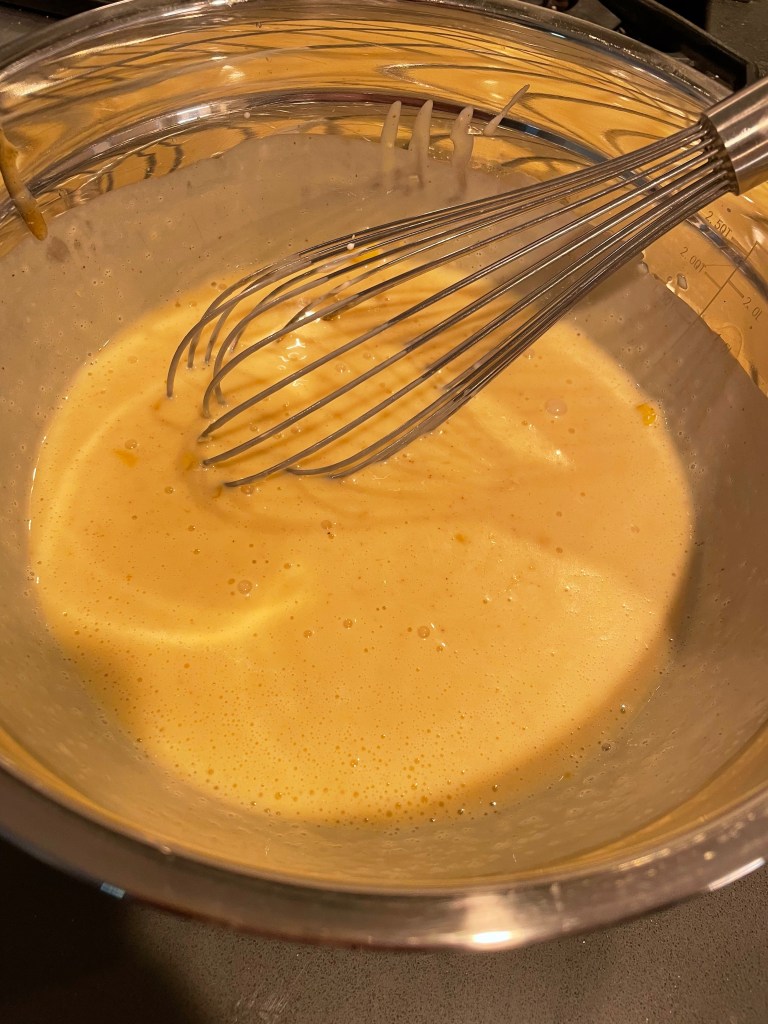
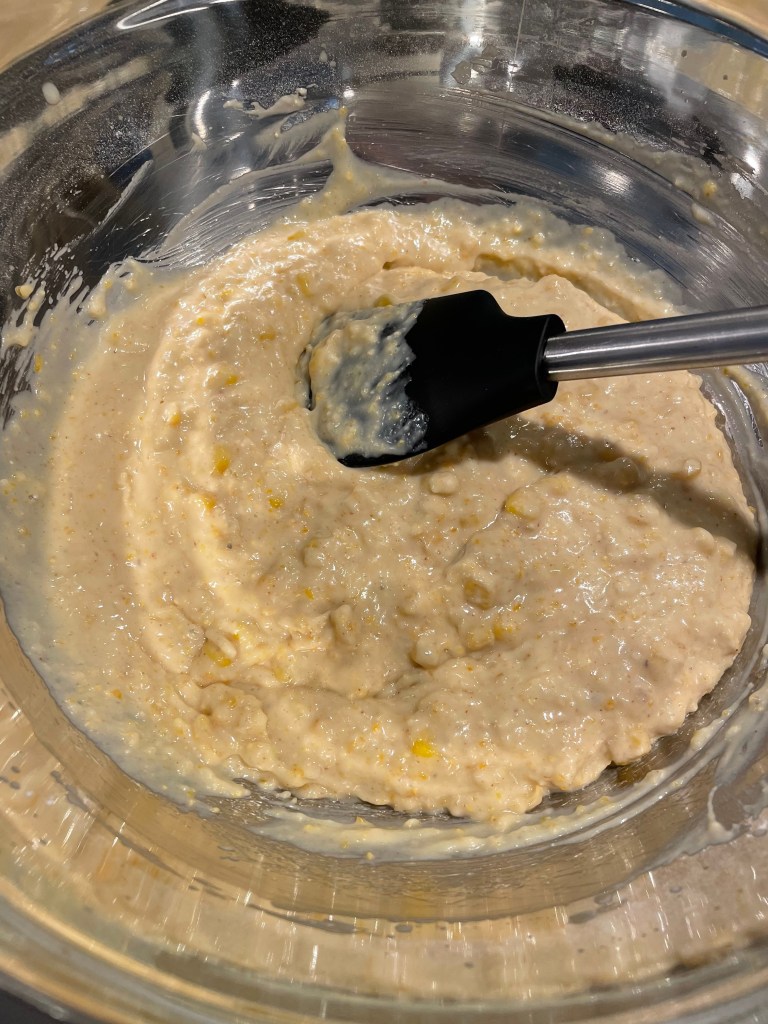
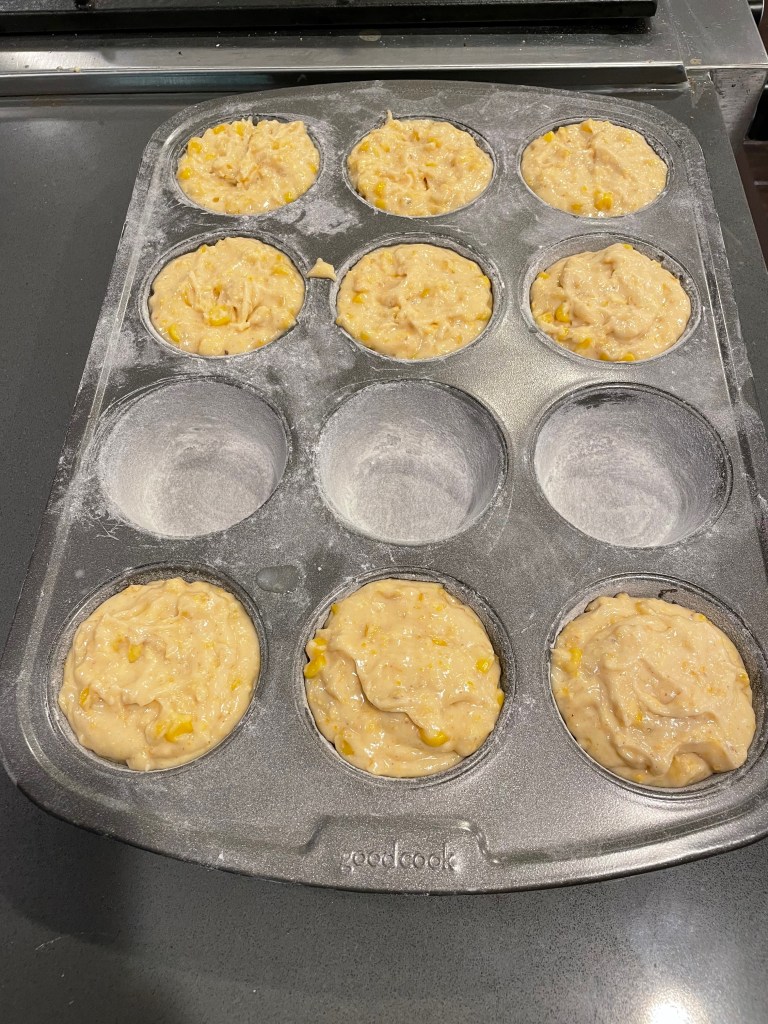
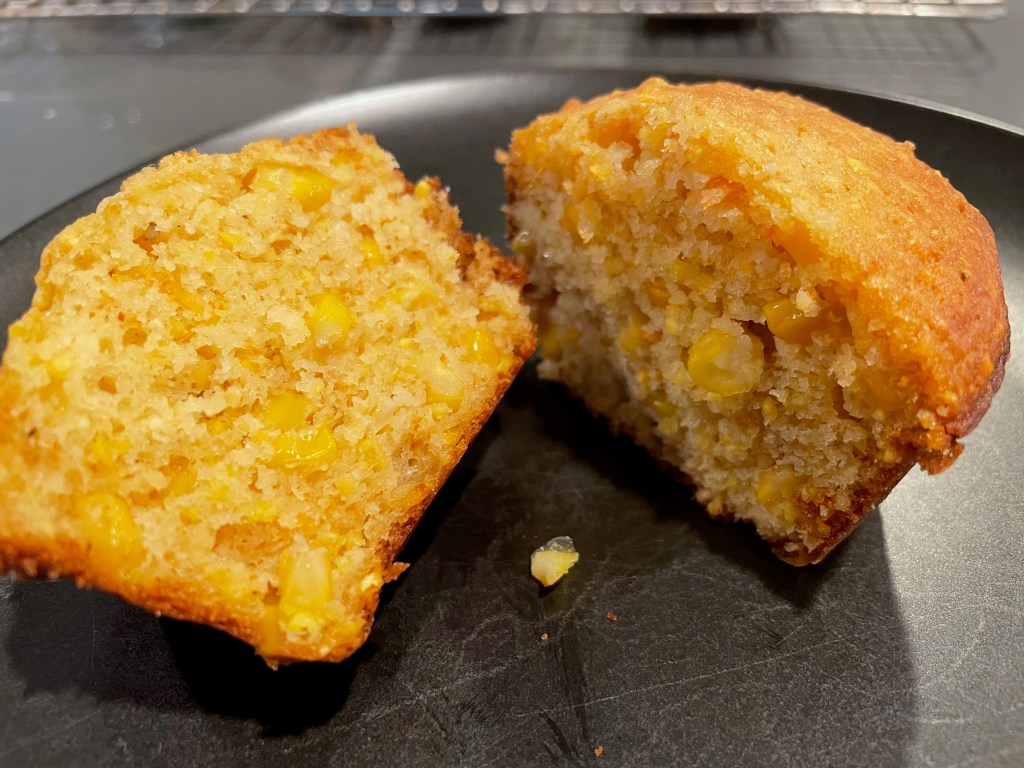
This is a great and easy corn muffin. It stands out from other corn muffins in its use of fresh corn kernels cooked in browned butter. Likewise it uses slightly less flour so they are less dry than a typical corn muffin. These are very good, but not quite as good as the loaded corn bread from Dessert Person.
Tip 1: Make sure the corn kernels are soft before adding them to the batter. It may take several minutes longer than the book suggests.
Tip 2: Our muffins turned out well, however as written the recipe does not make 12 muffins using a 1/2 cup for each. If you want 12 muffins, consider using slightly less than a 1/2 cup for each.
Final Product
Key Takeaways
These are best made in summer with fresh corn. If you use frozen kernels, make sure they are completely thawed and dried first.
Final Score: 3/5 – These are great and easy corn muffins with a nice twist. Definitely worth a try!
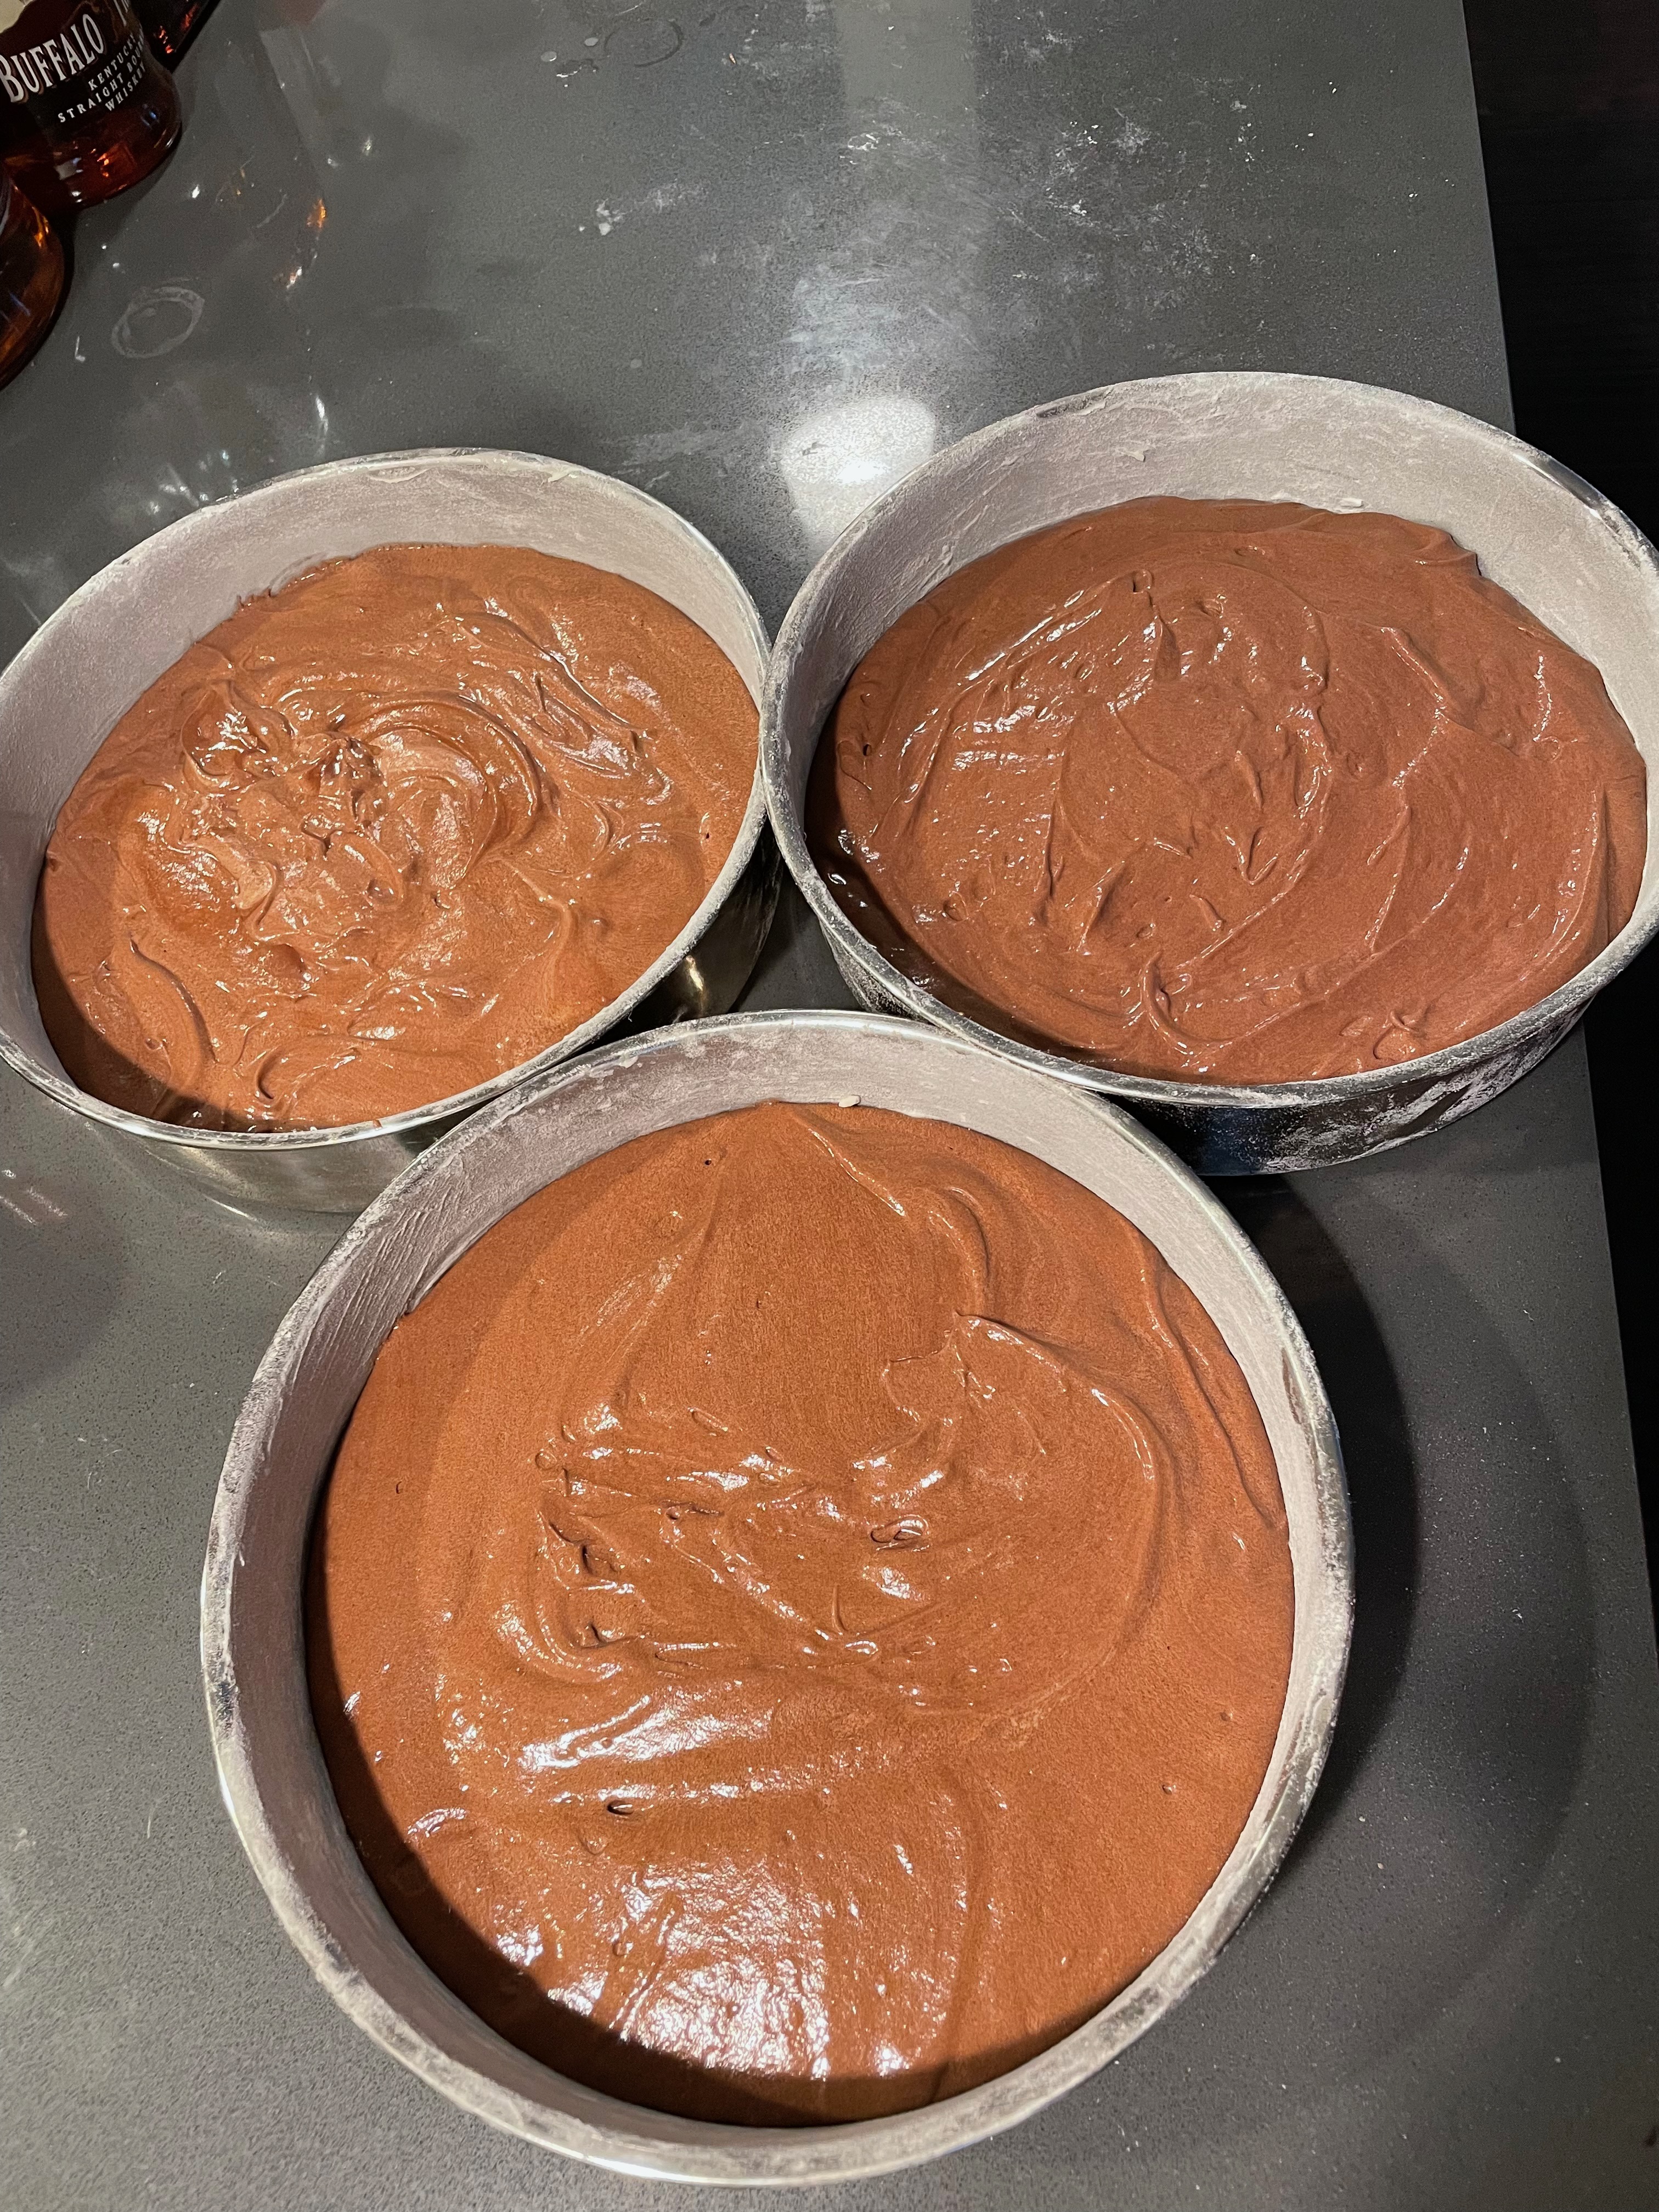
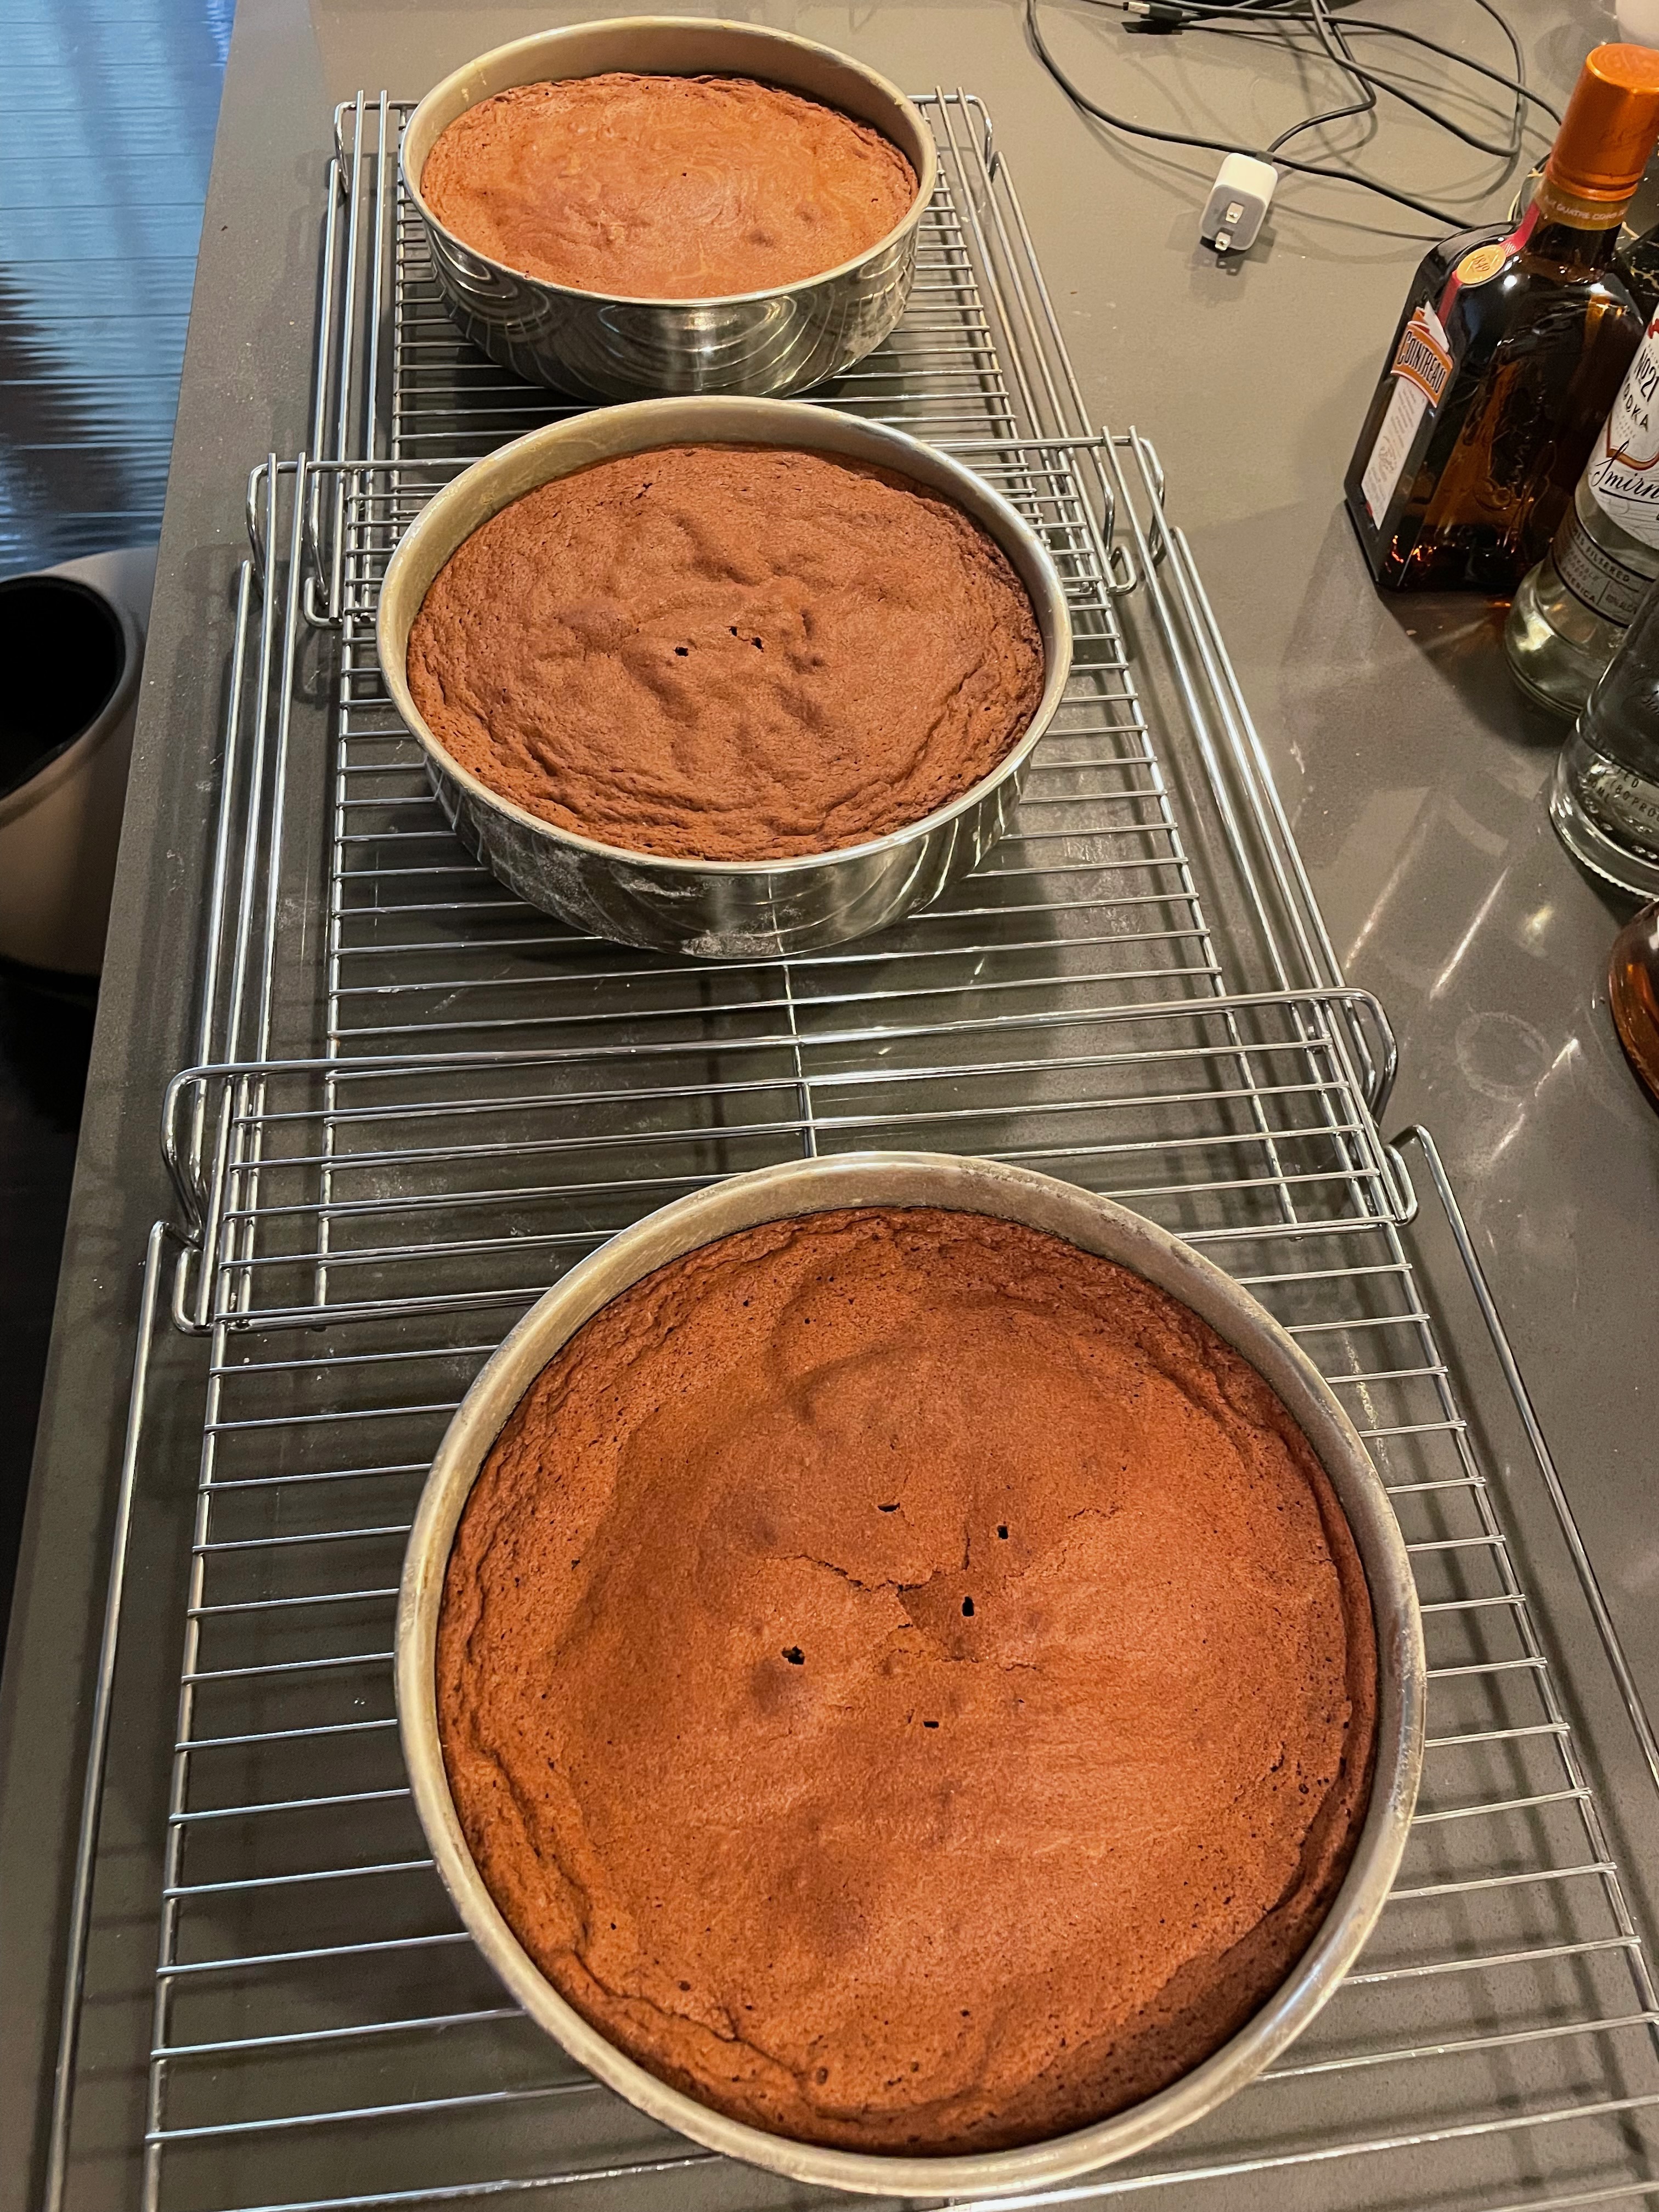
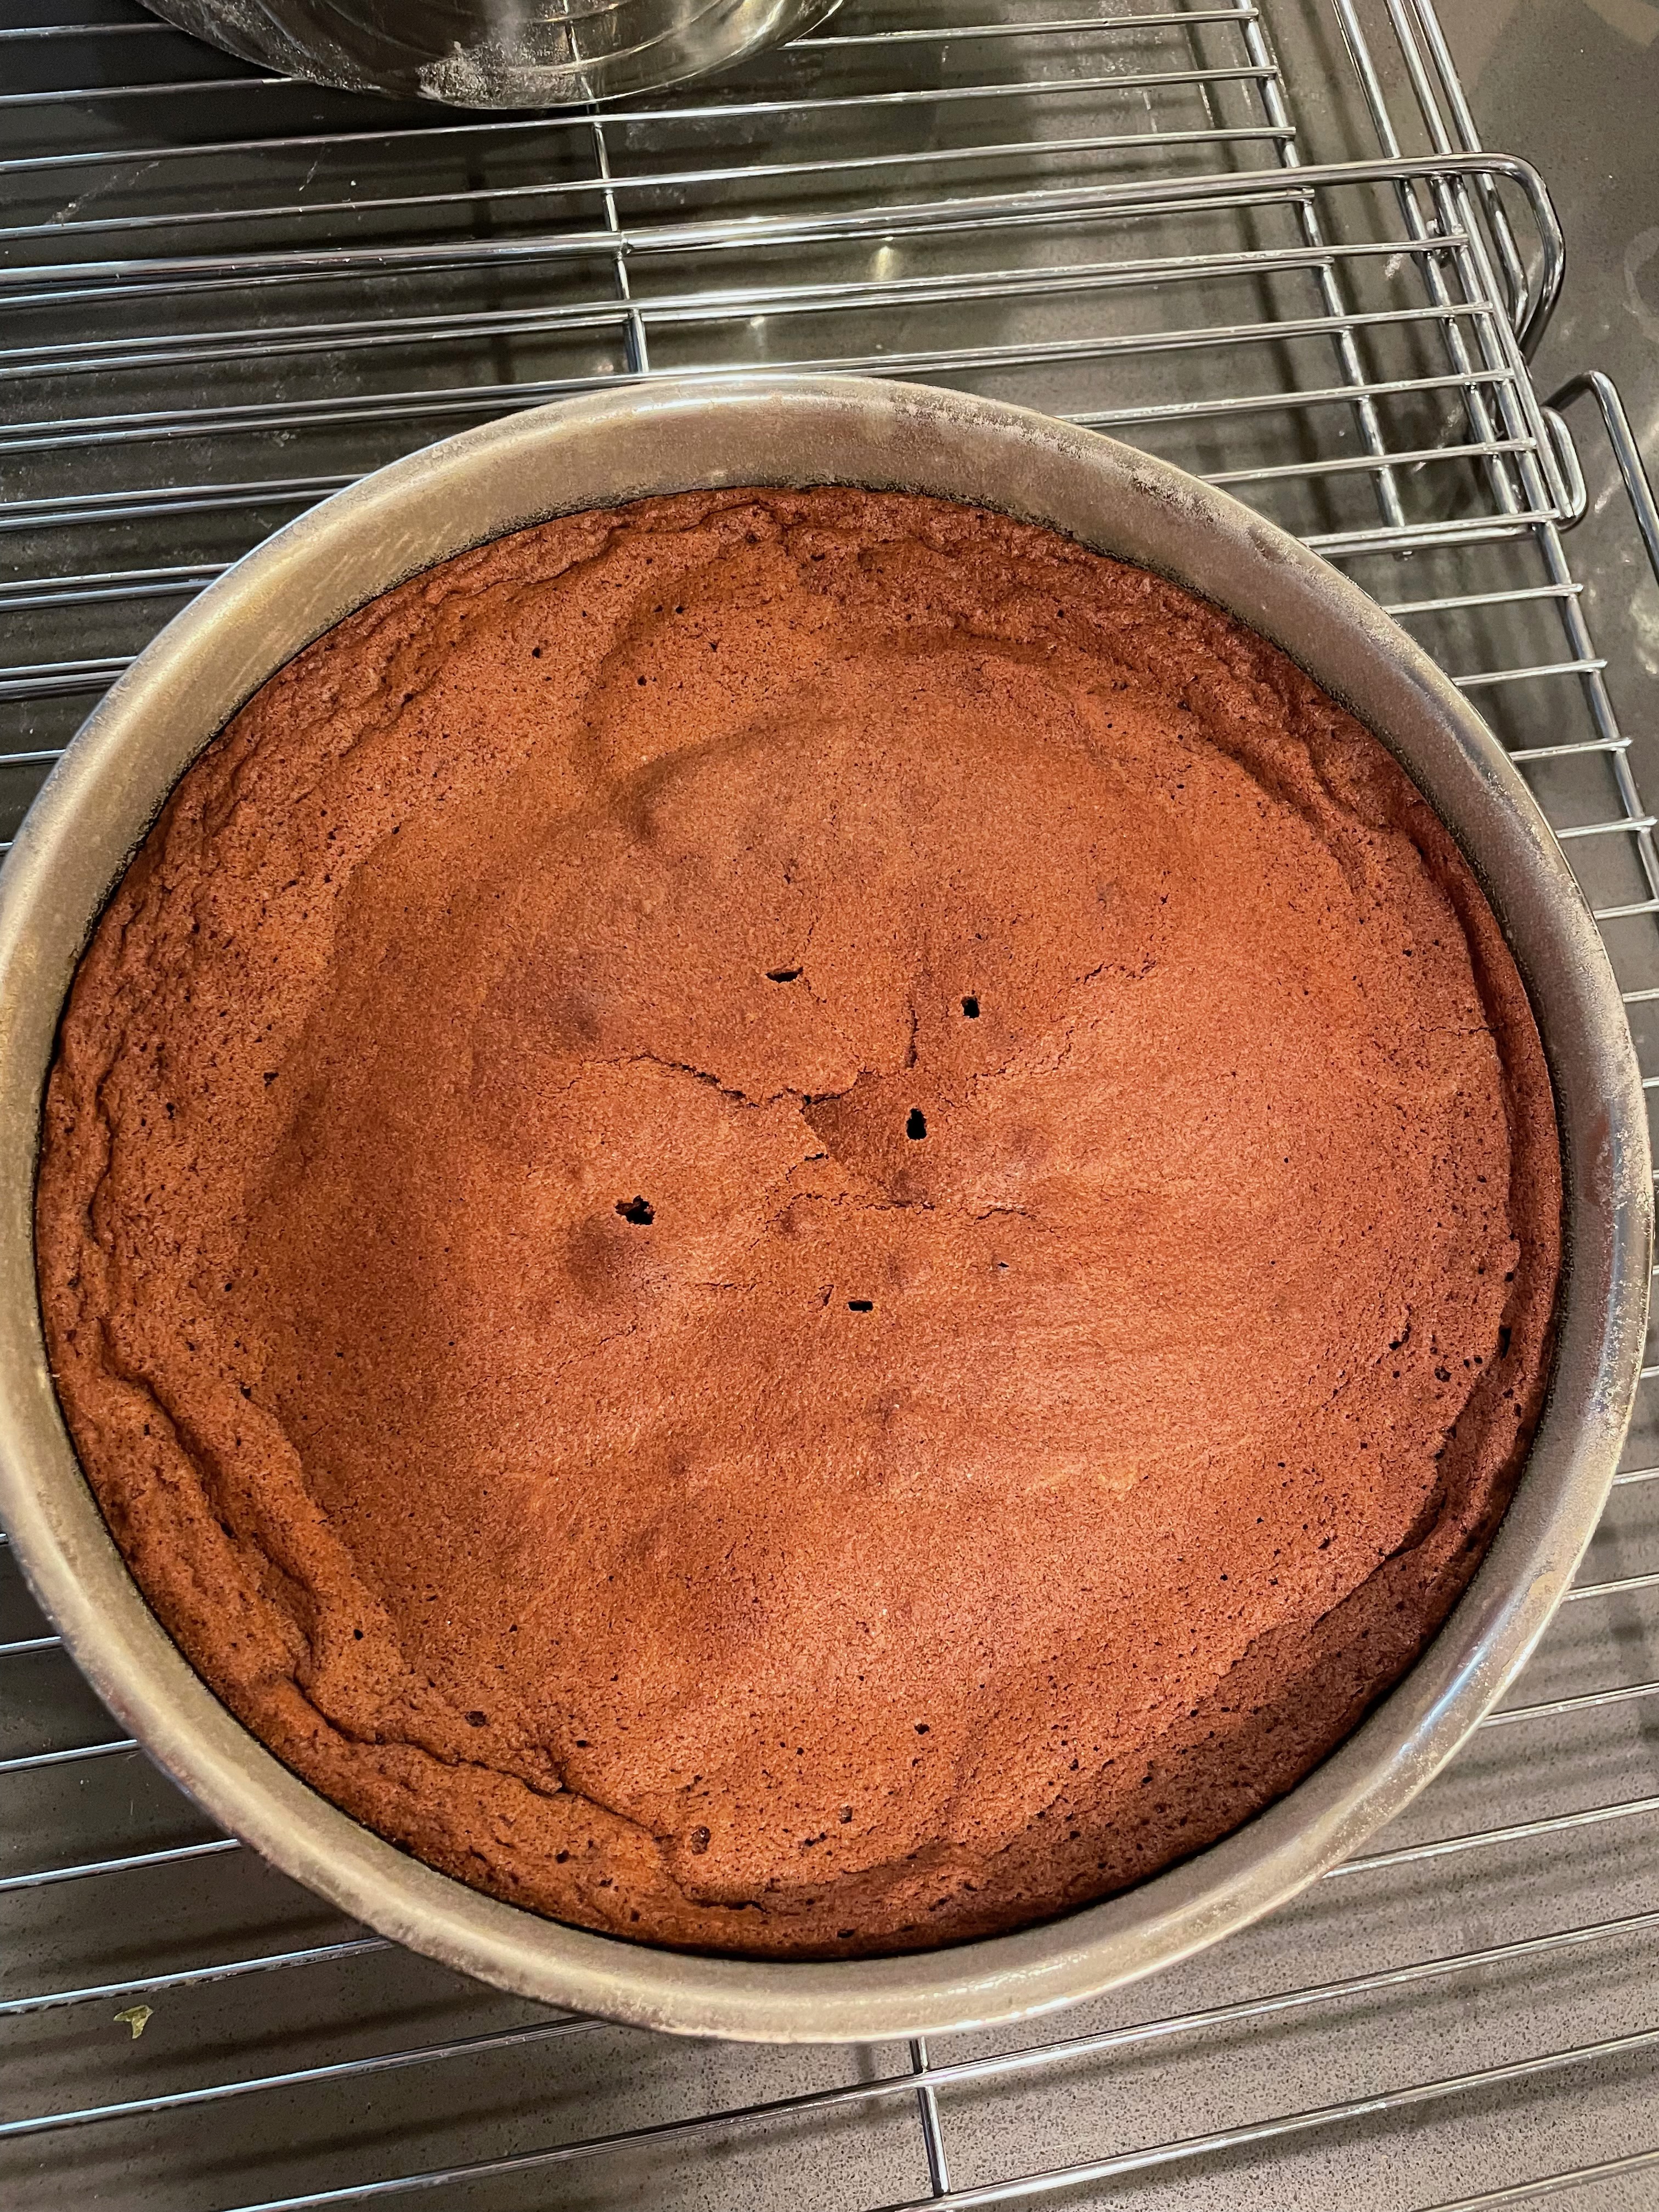
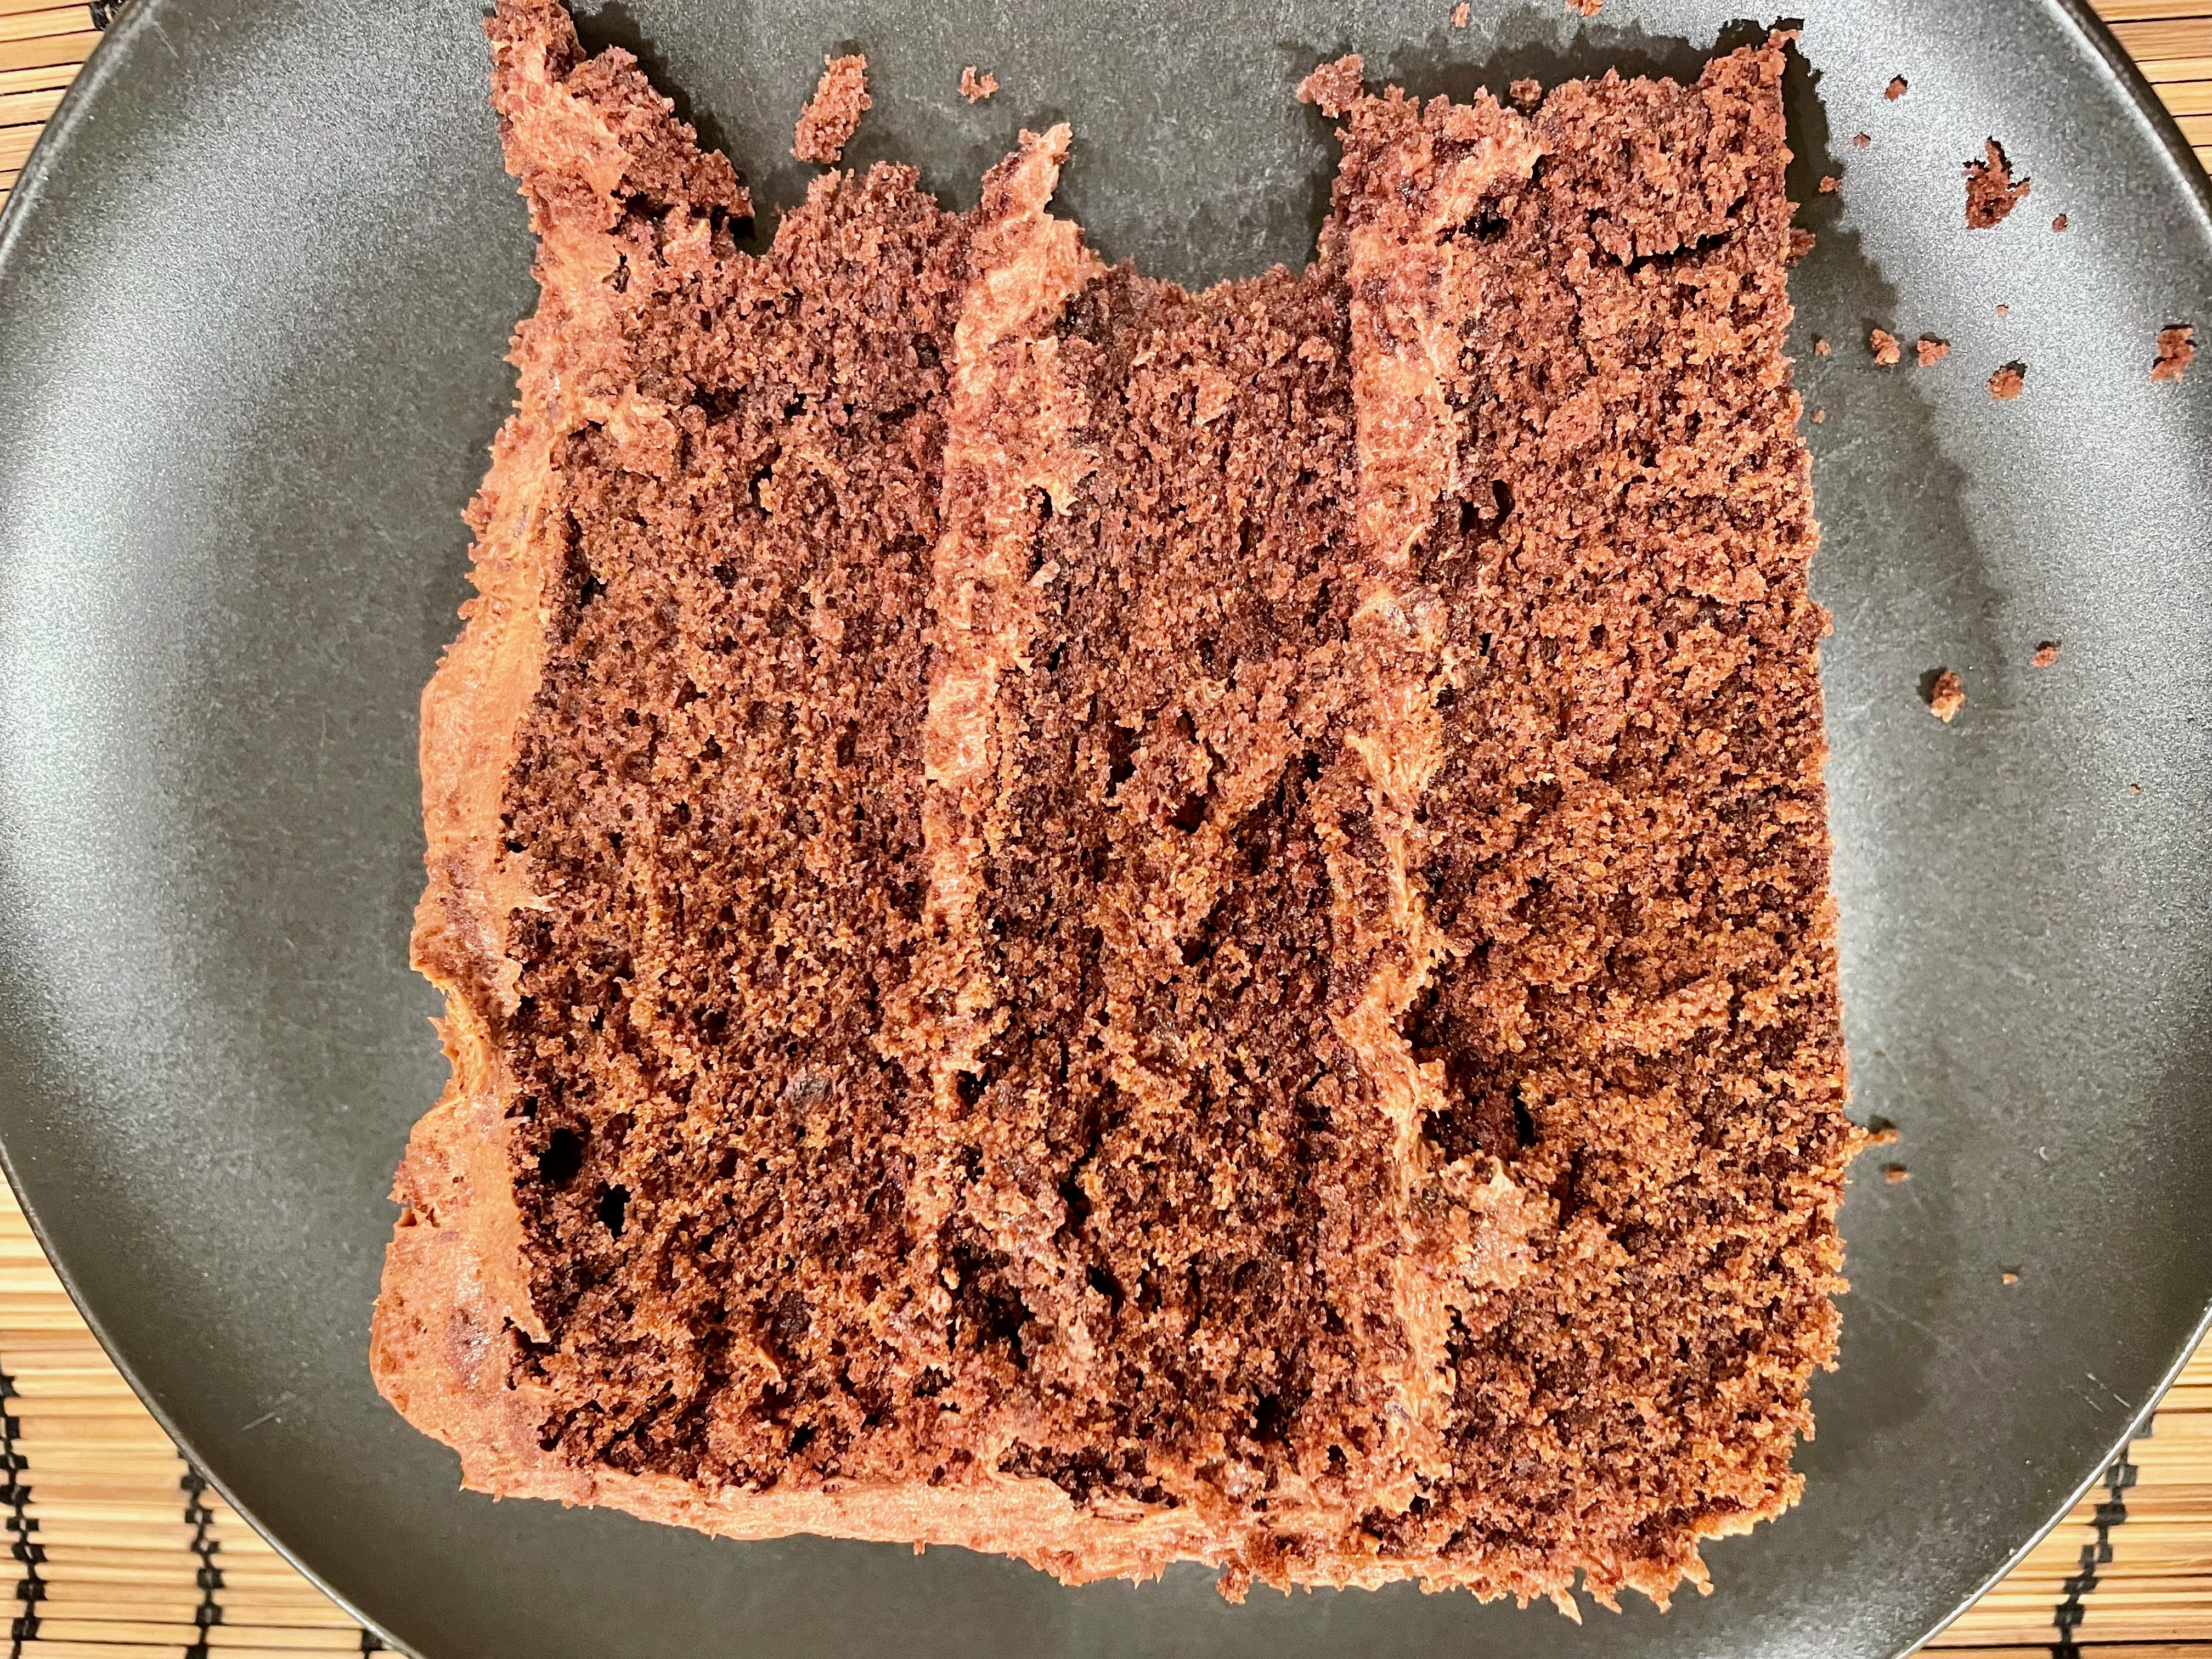
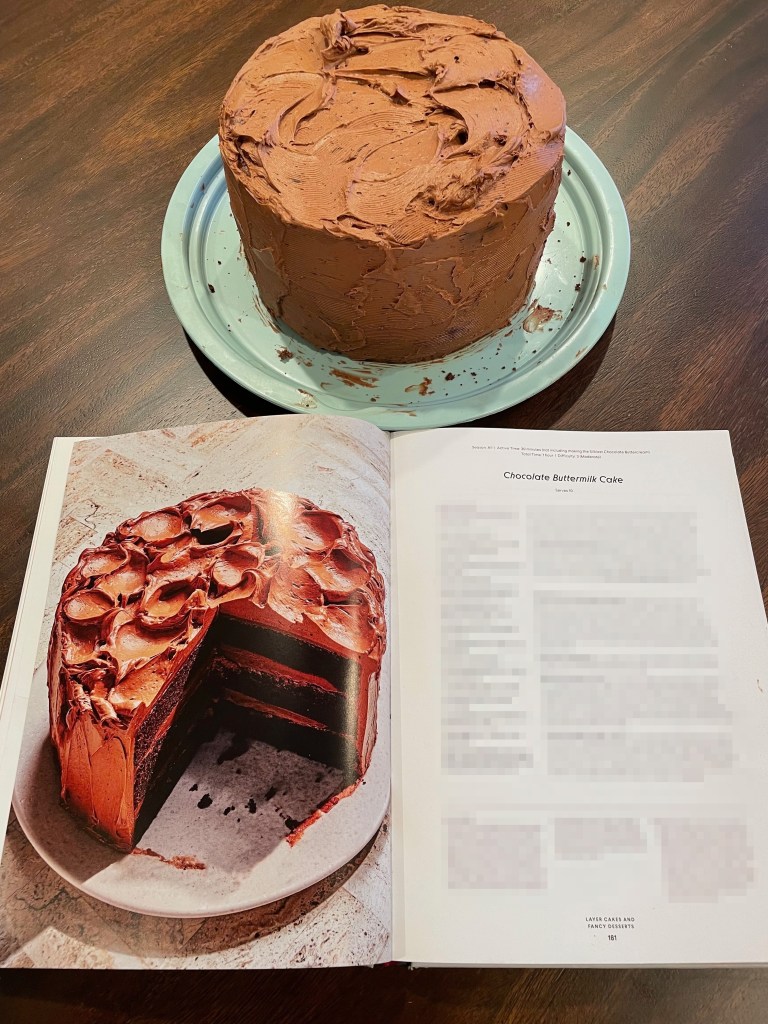
This is a great chocolate cake with an even better frosting. Similarly, the frosting is much more difficult to make than the cake. Note that there is a video available that explains how to make the frosting (there is not one for the cake). Keep in mind that the video instructions are slightly different at times. We generally followed the video instructions, but see the tips below for more information. This cake can be made in a relatively quickly time frame, but you’ll be busy for most of it. Make sure to let the ingredients come to room temperature ahead of time though (and cool completely). This is very important for this recipe (both cake and frosting).
Recipe Outline
Recipe: Chocolate Buttermilk Cake
Special Equipment: Three 8 Inch Cake Pans, Stand Mixer, Instant-Read Thermometer
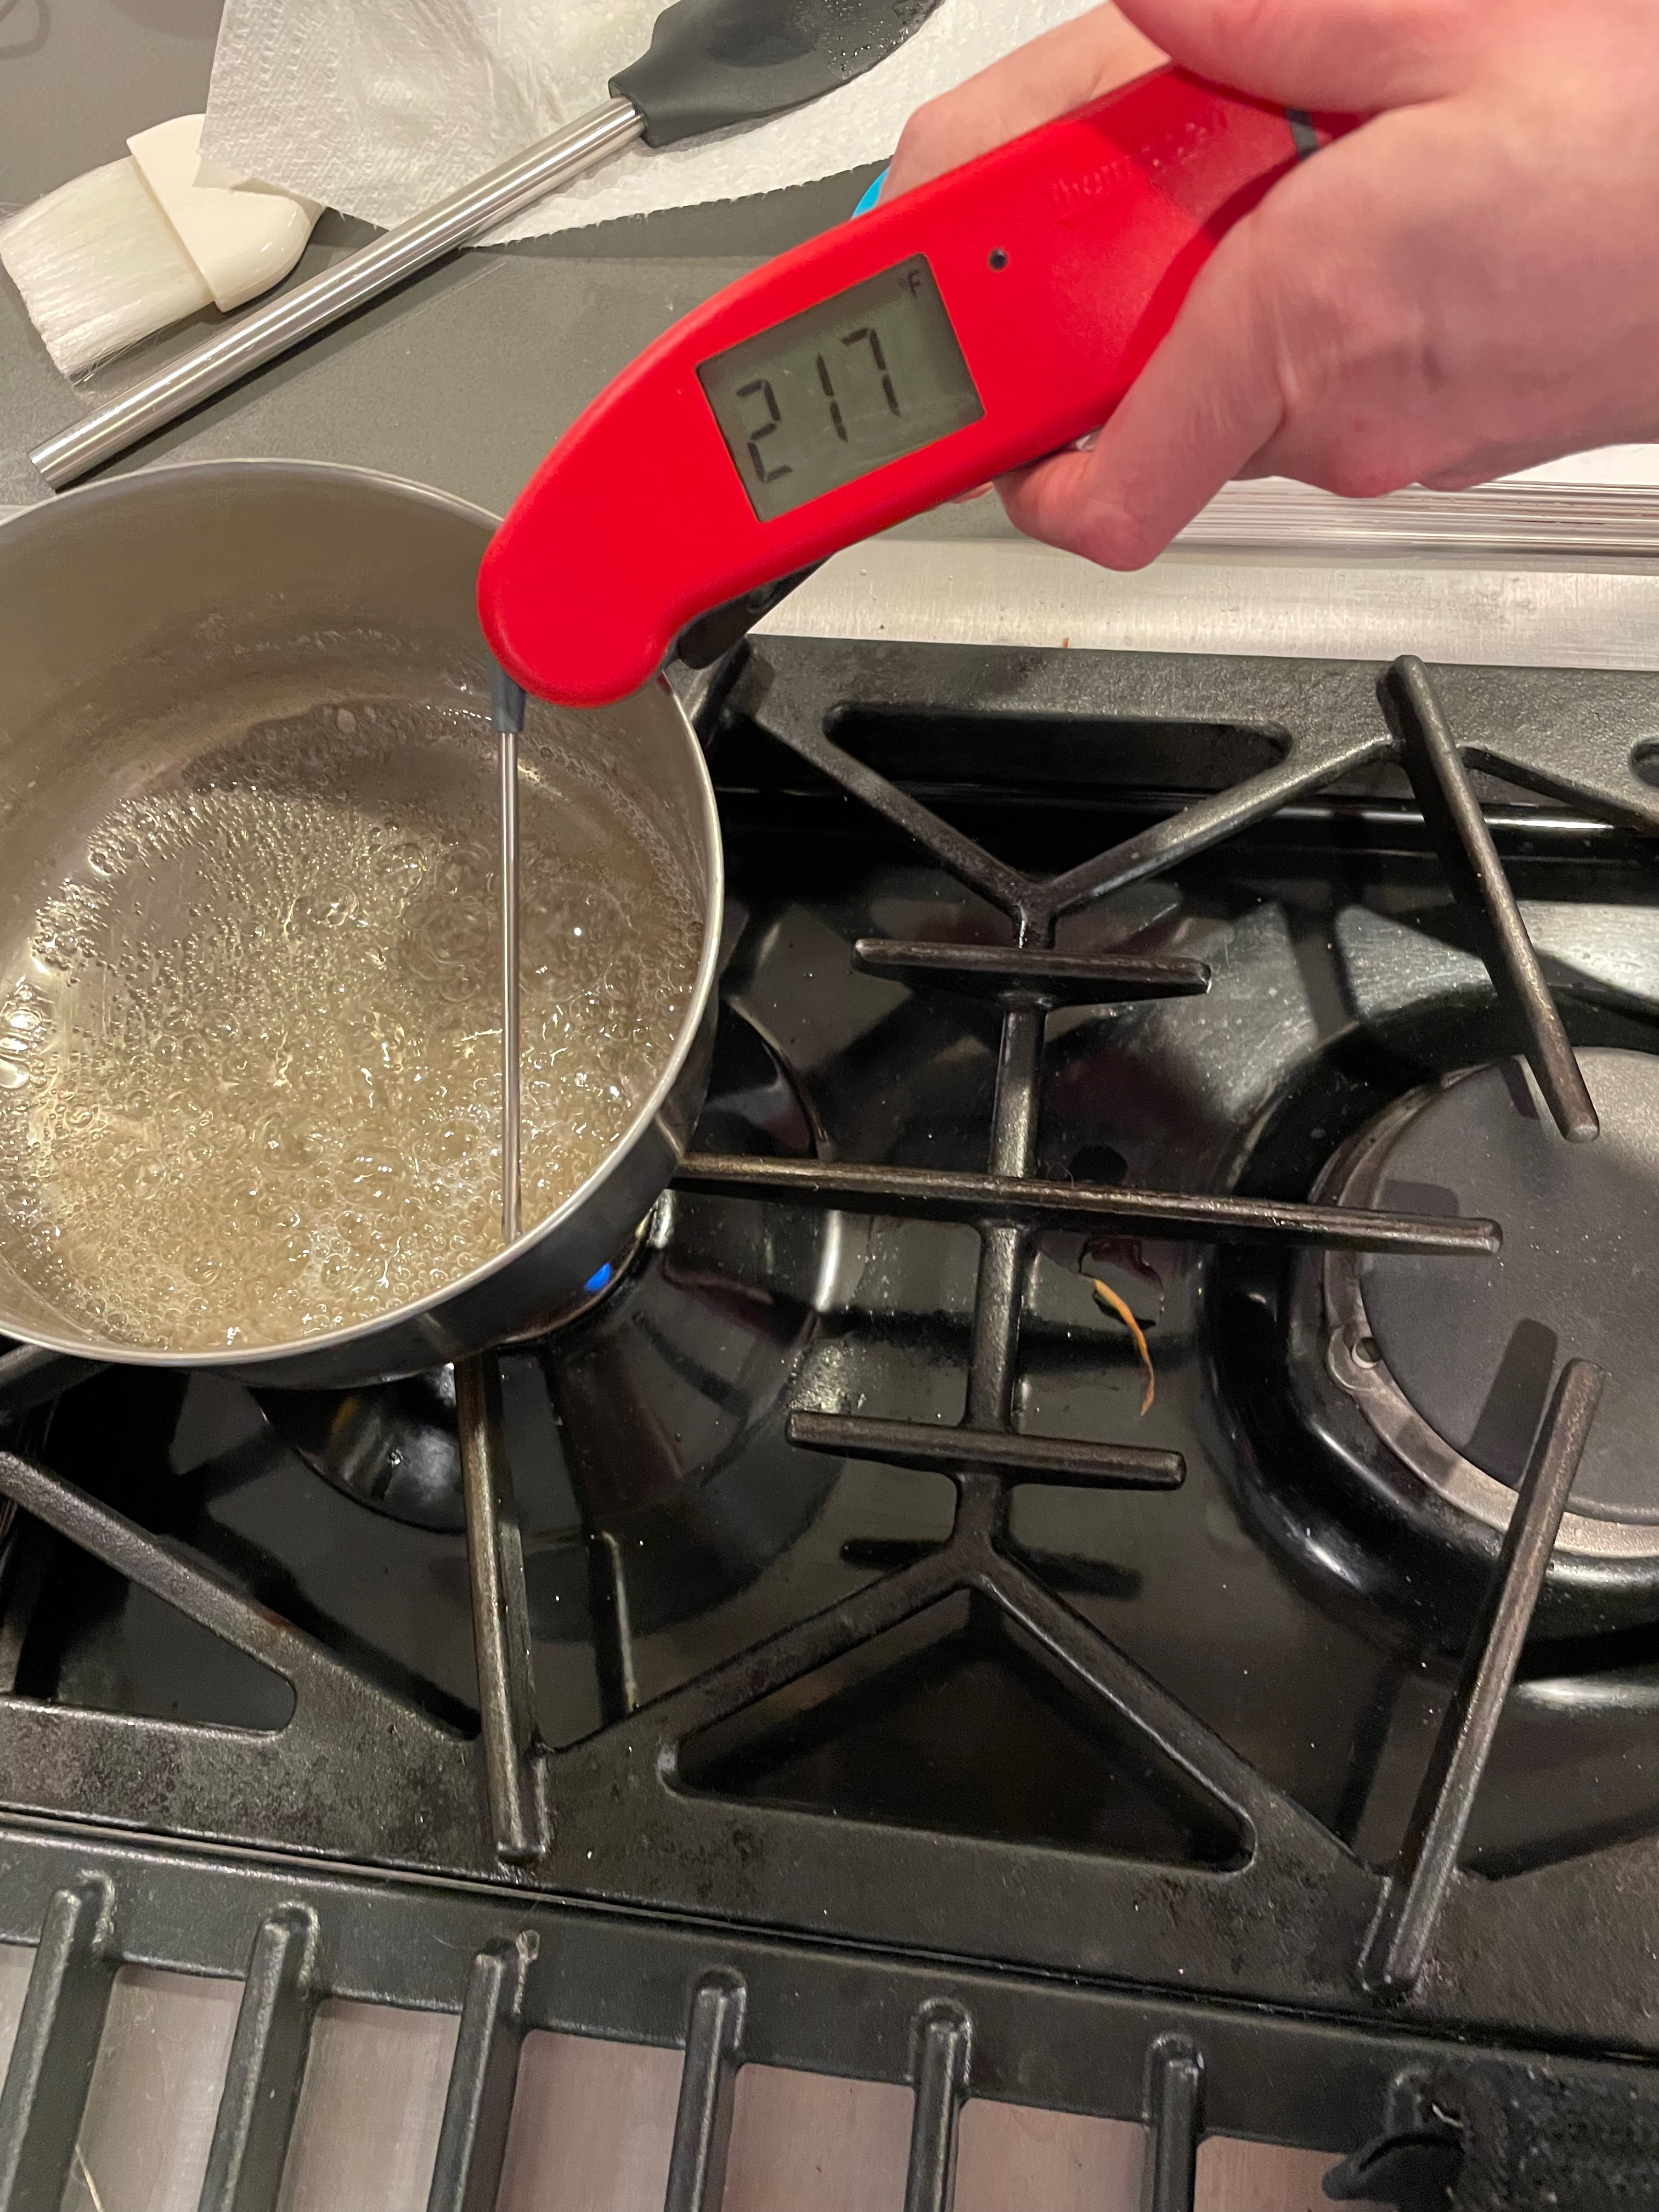
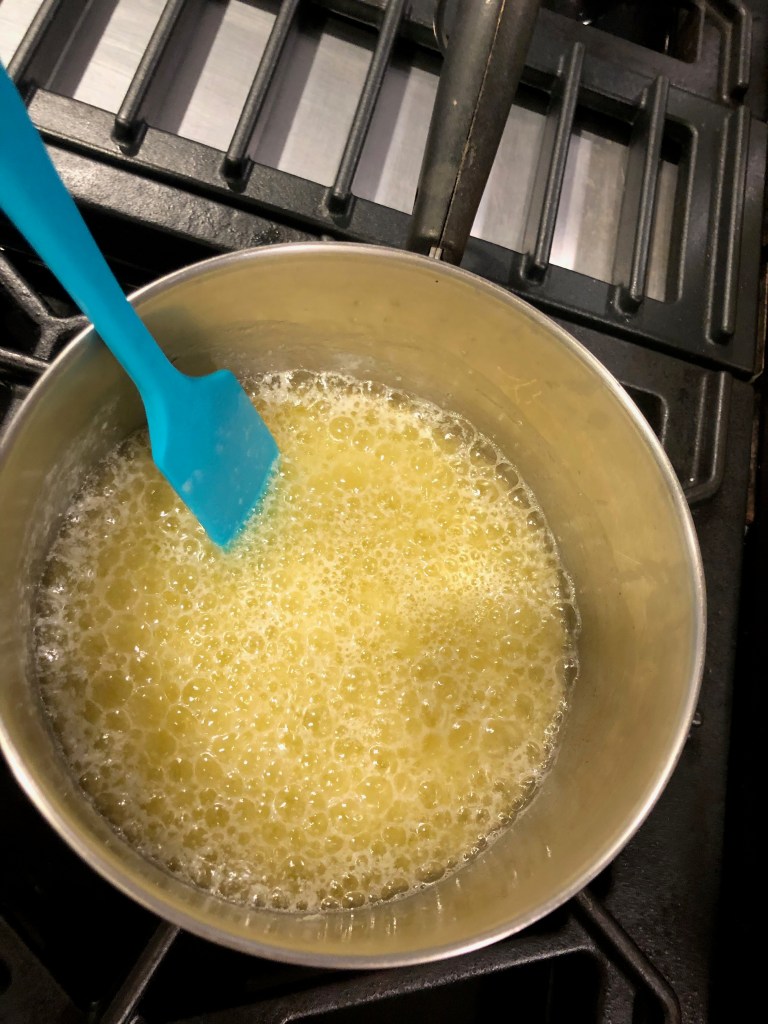
Tip 1: Start heating the sugar mixture at the same time you start beating the eggs. Turn down the heat to low if your mixture is heating too fast (before the eggs have been beaten for at least 5 minutes). Start keeping a close eye on the temperature by 215° otherwise it’ll be too late to stop it from going well over 230°.
Tip 2: In the video it’s recommended to switch to the paddle attachment after the first 5 tablespoons or so of butter, but it is not mentioned in the book. We followed this recommendation and it turned out well.
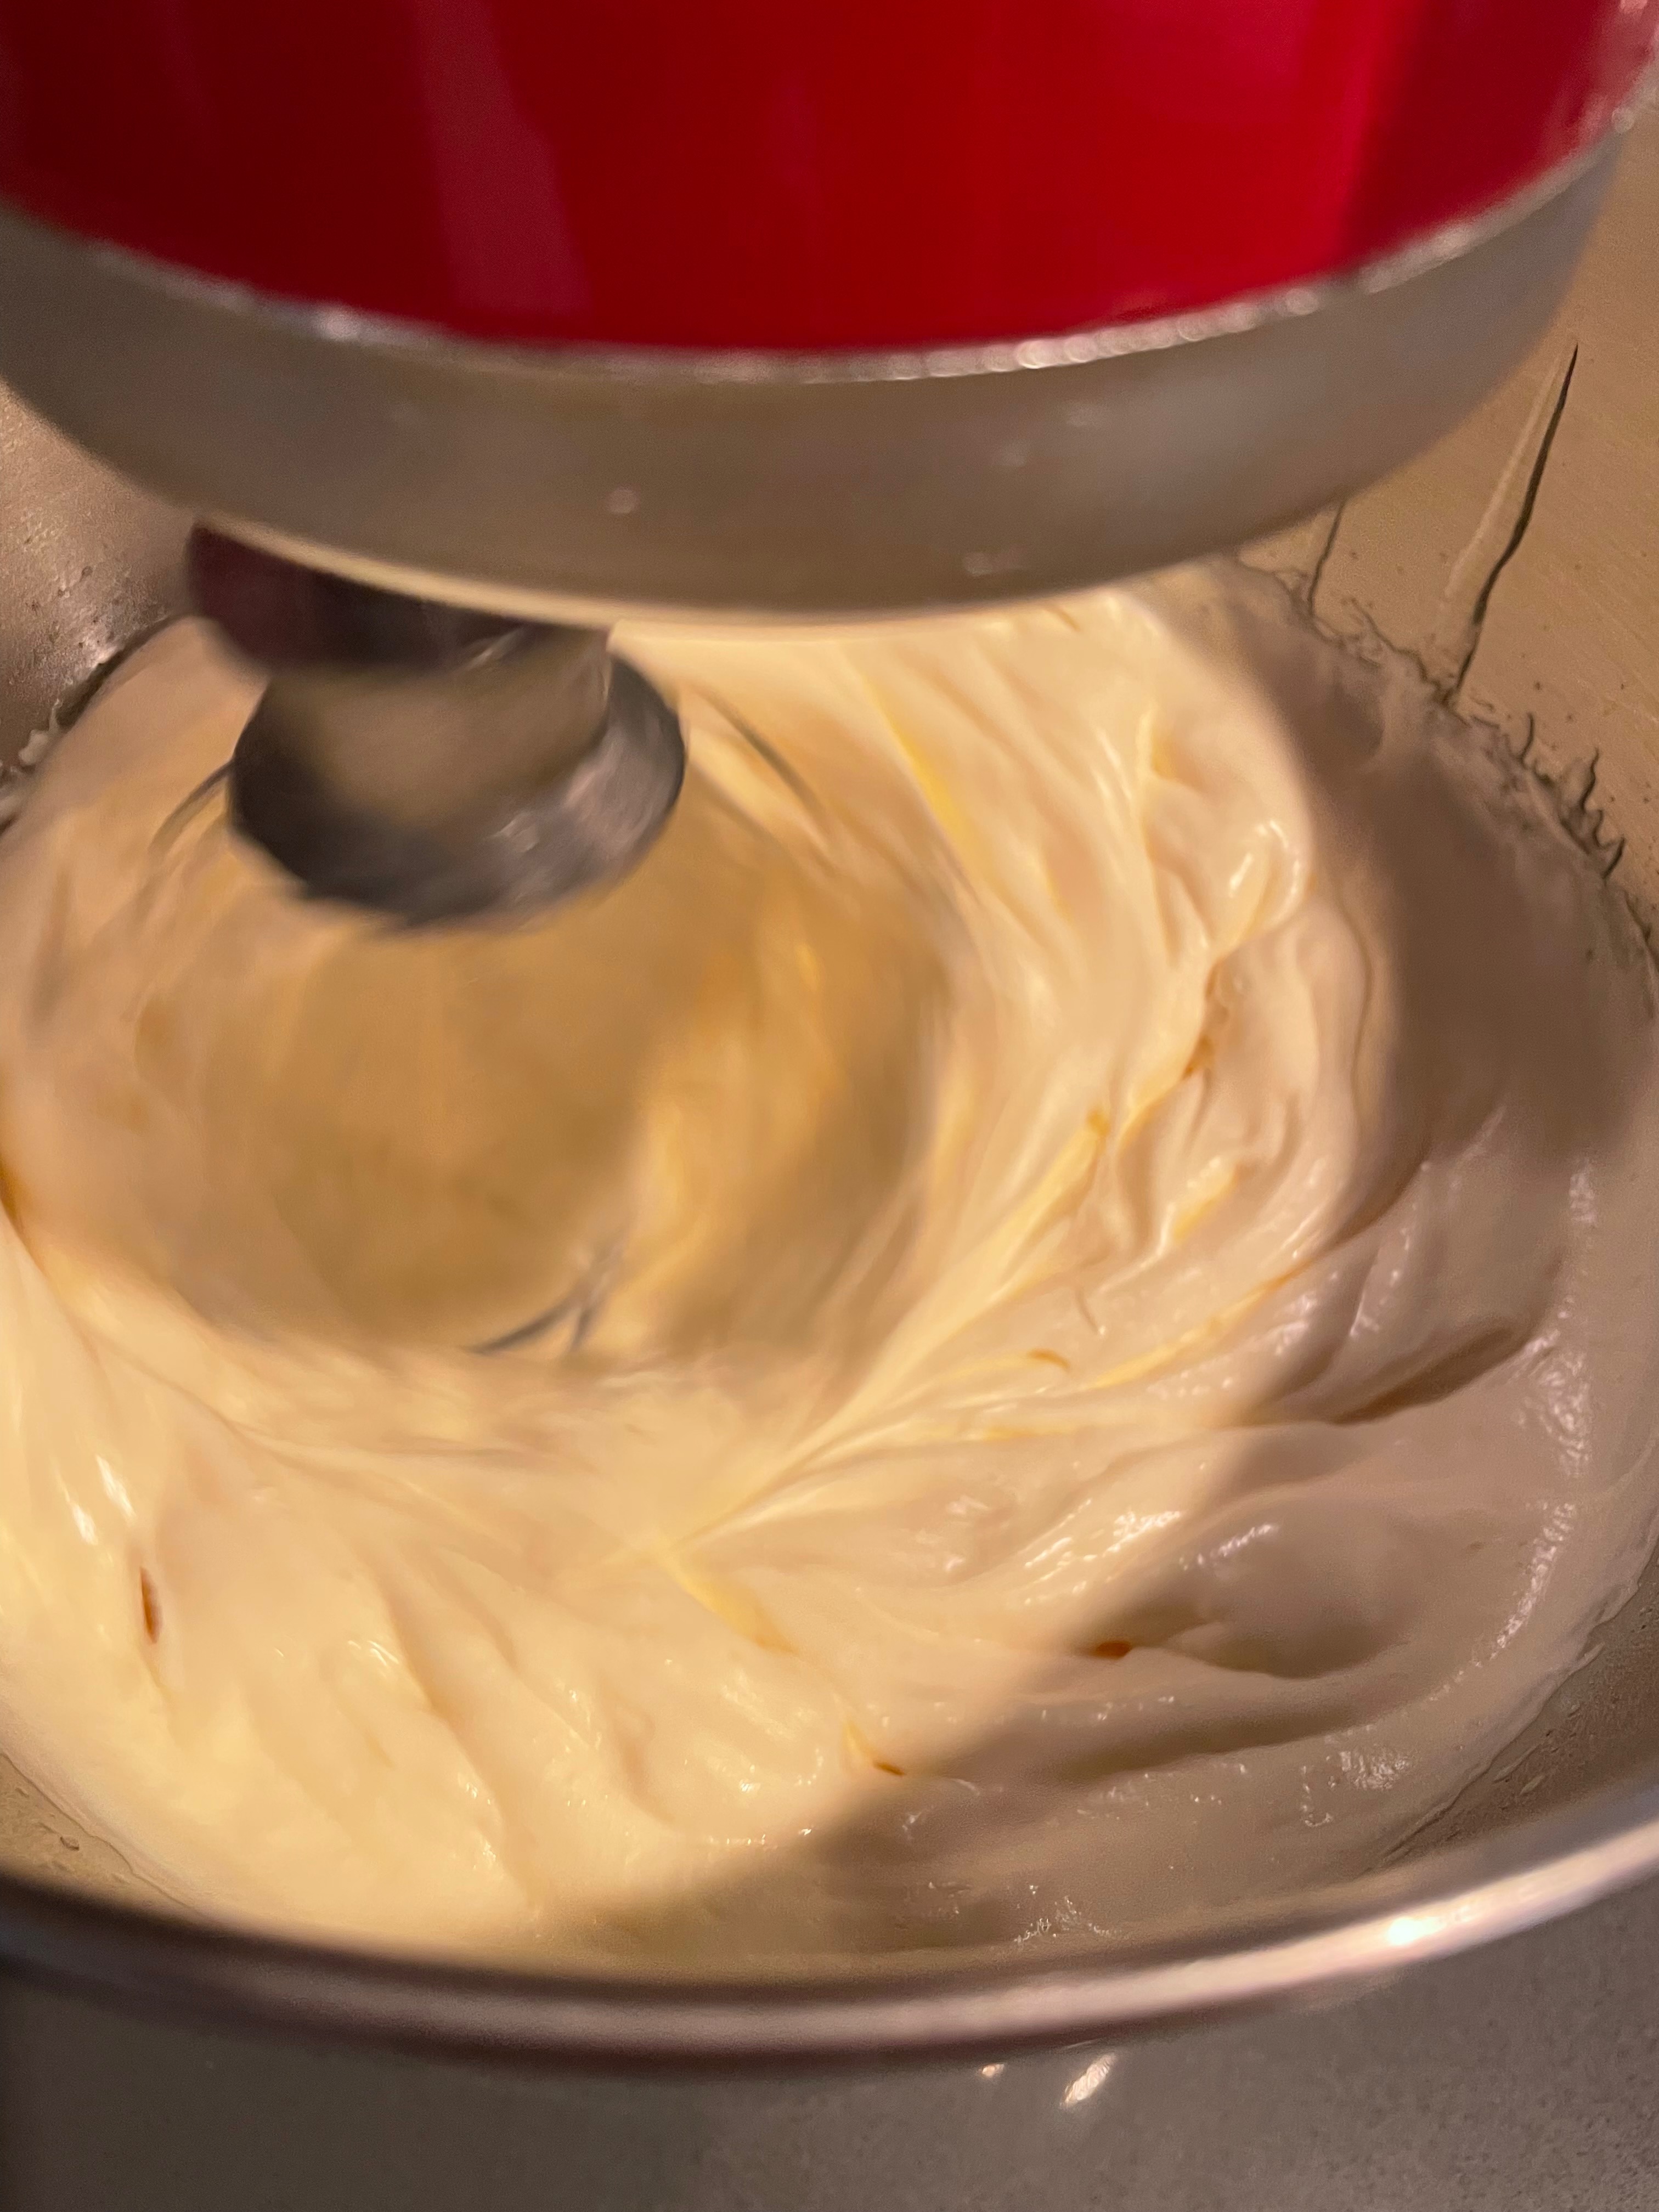
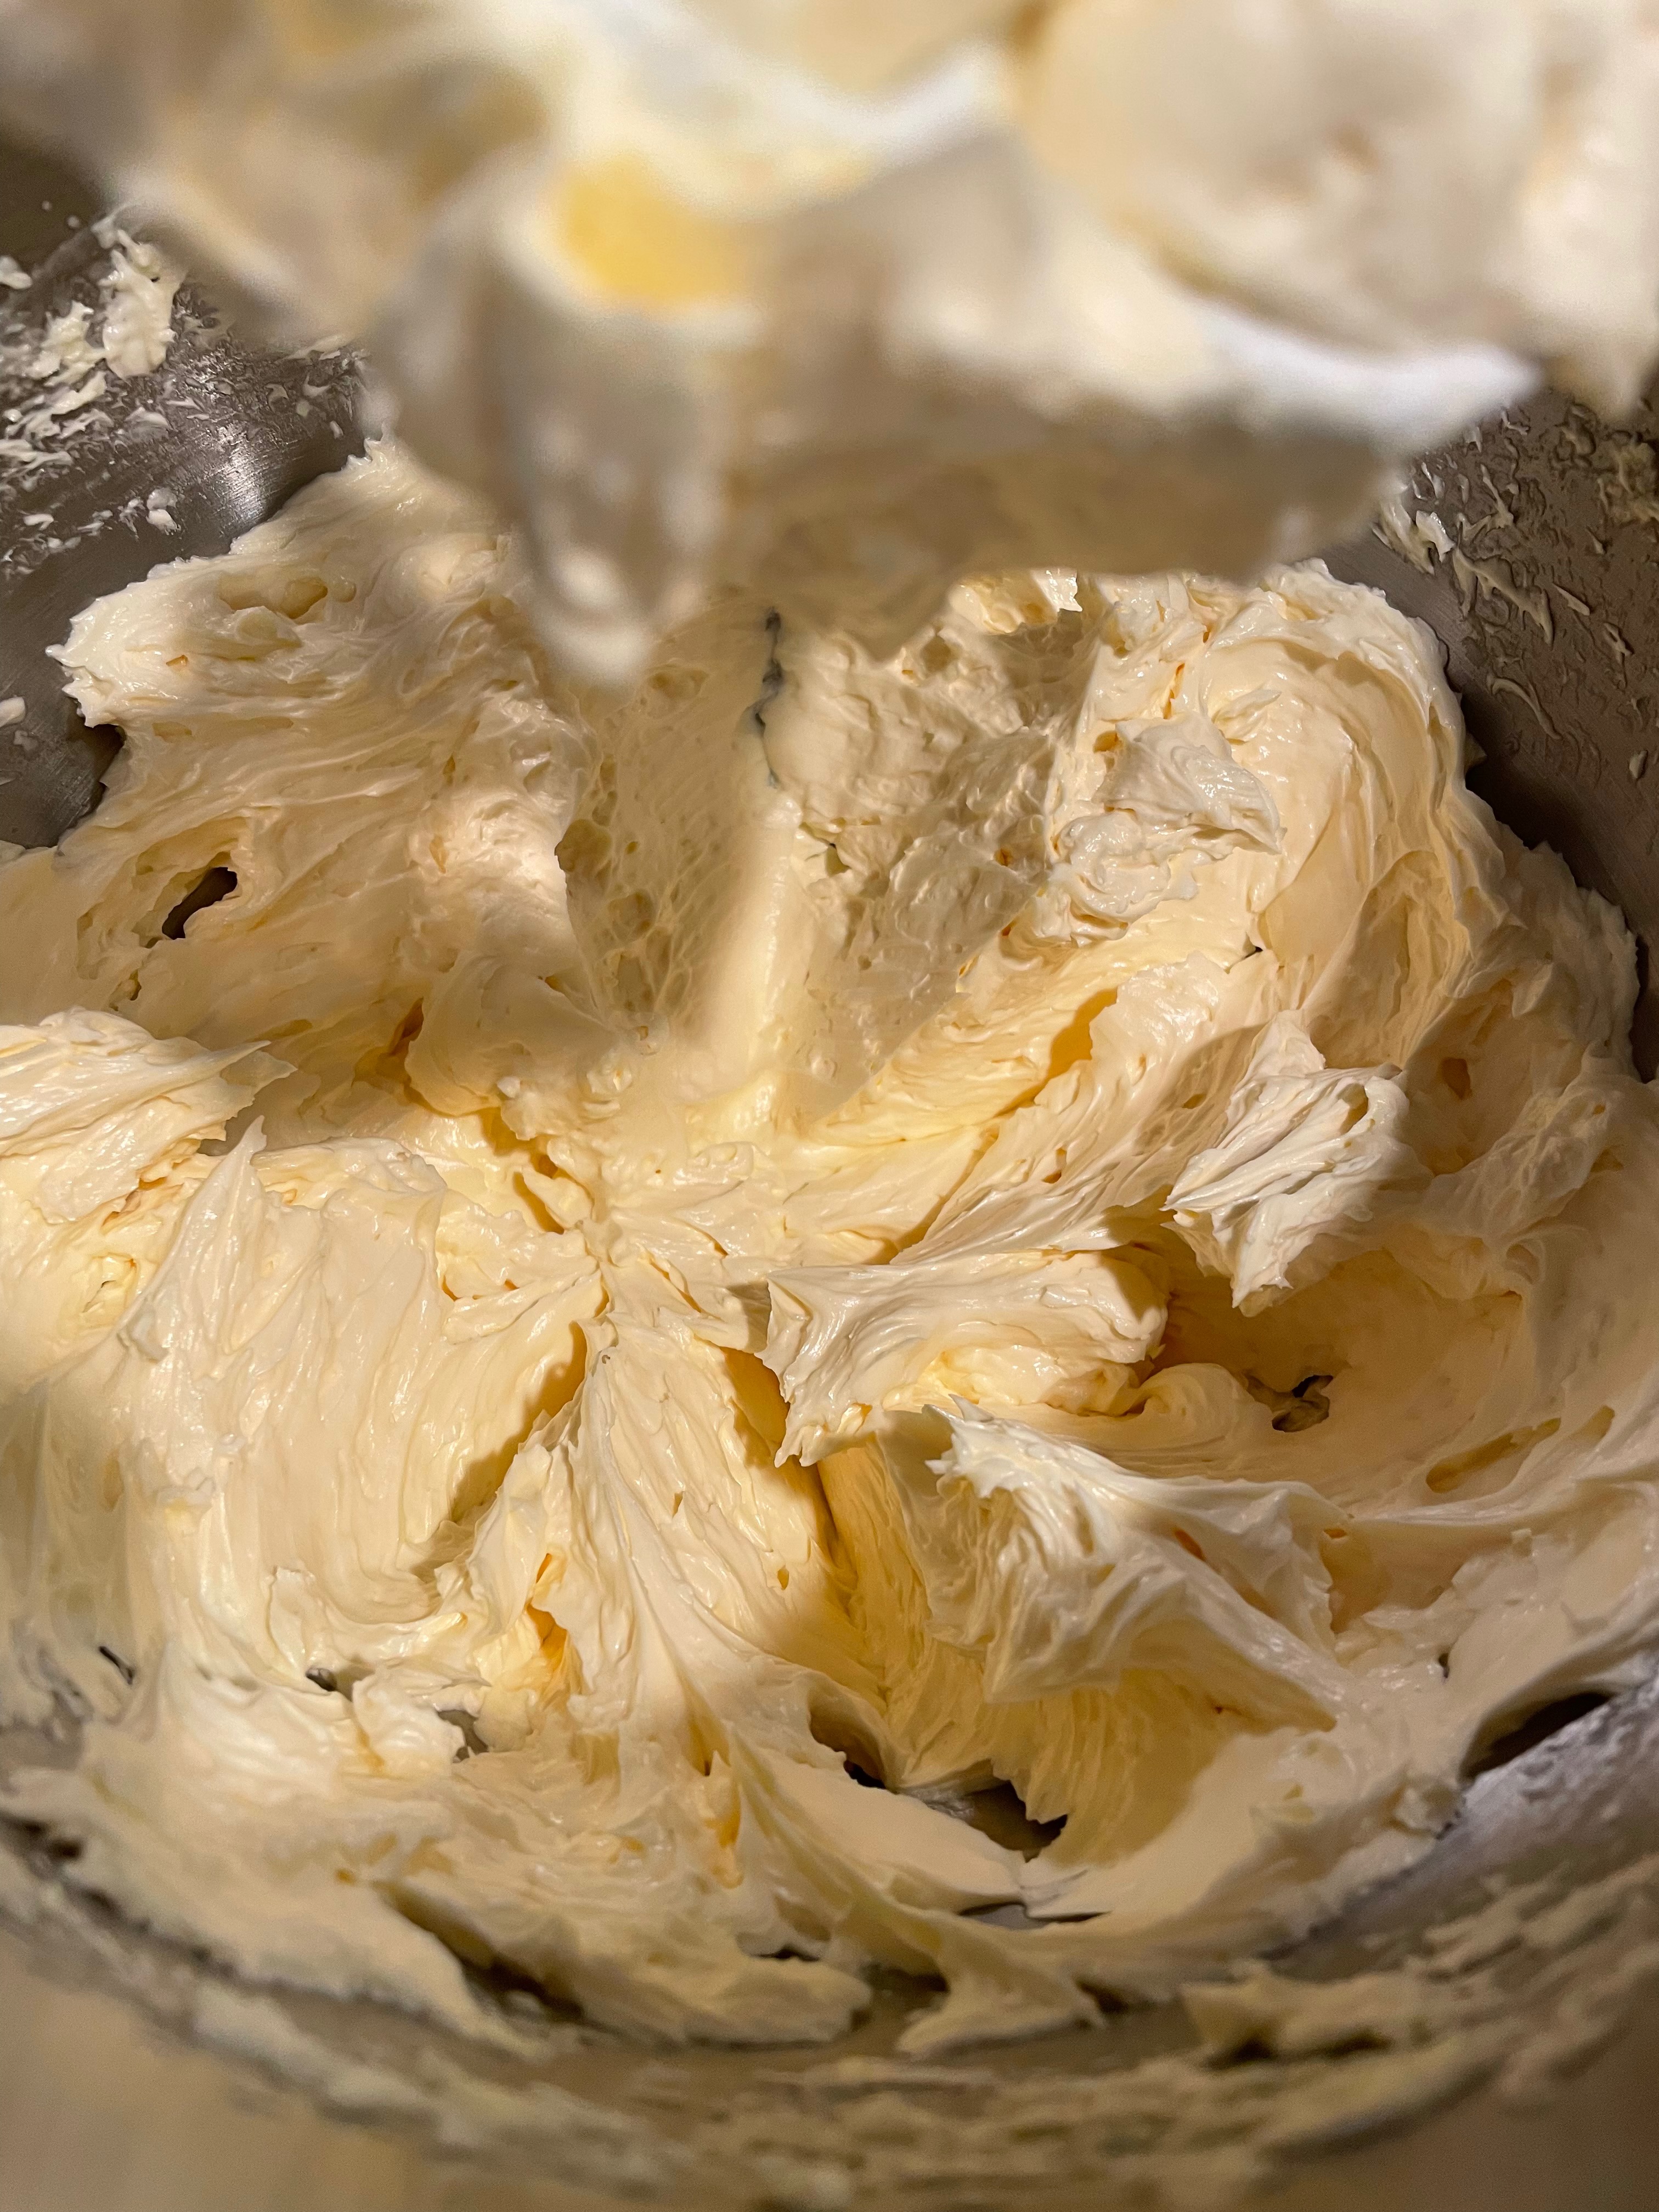
Tip 3: Take your time between adding each piece of butter. Watch the video and use it as a reference. It may seem like it won’t come together, but just keep going. It magically transforms as the final few tablespoons of butter are being added.
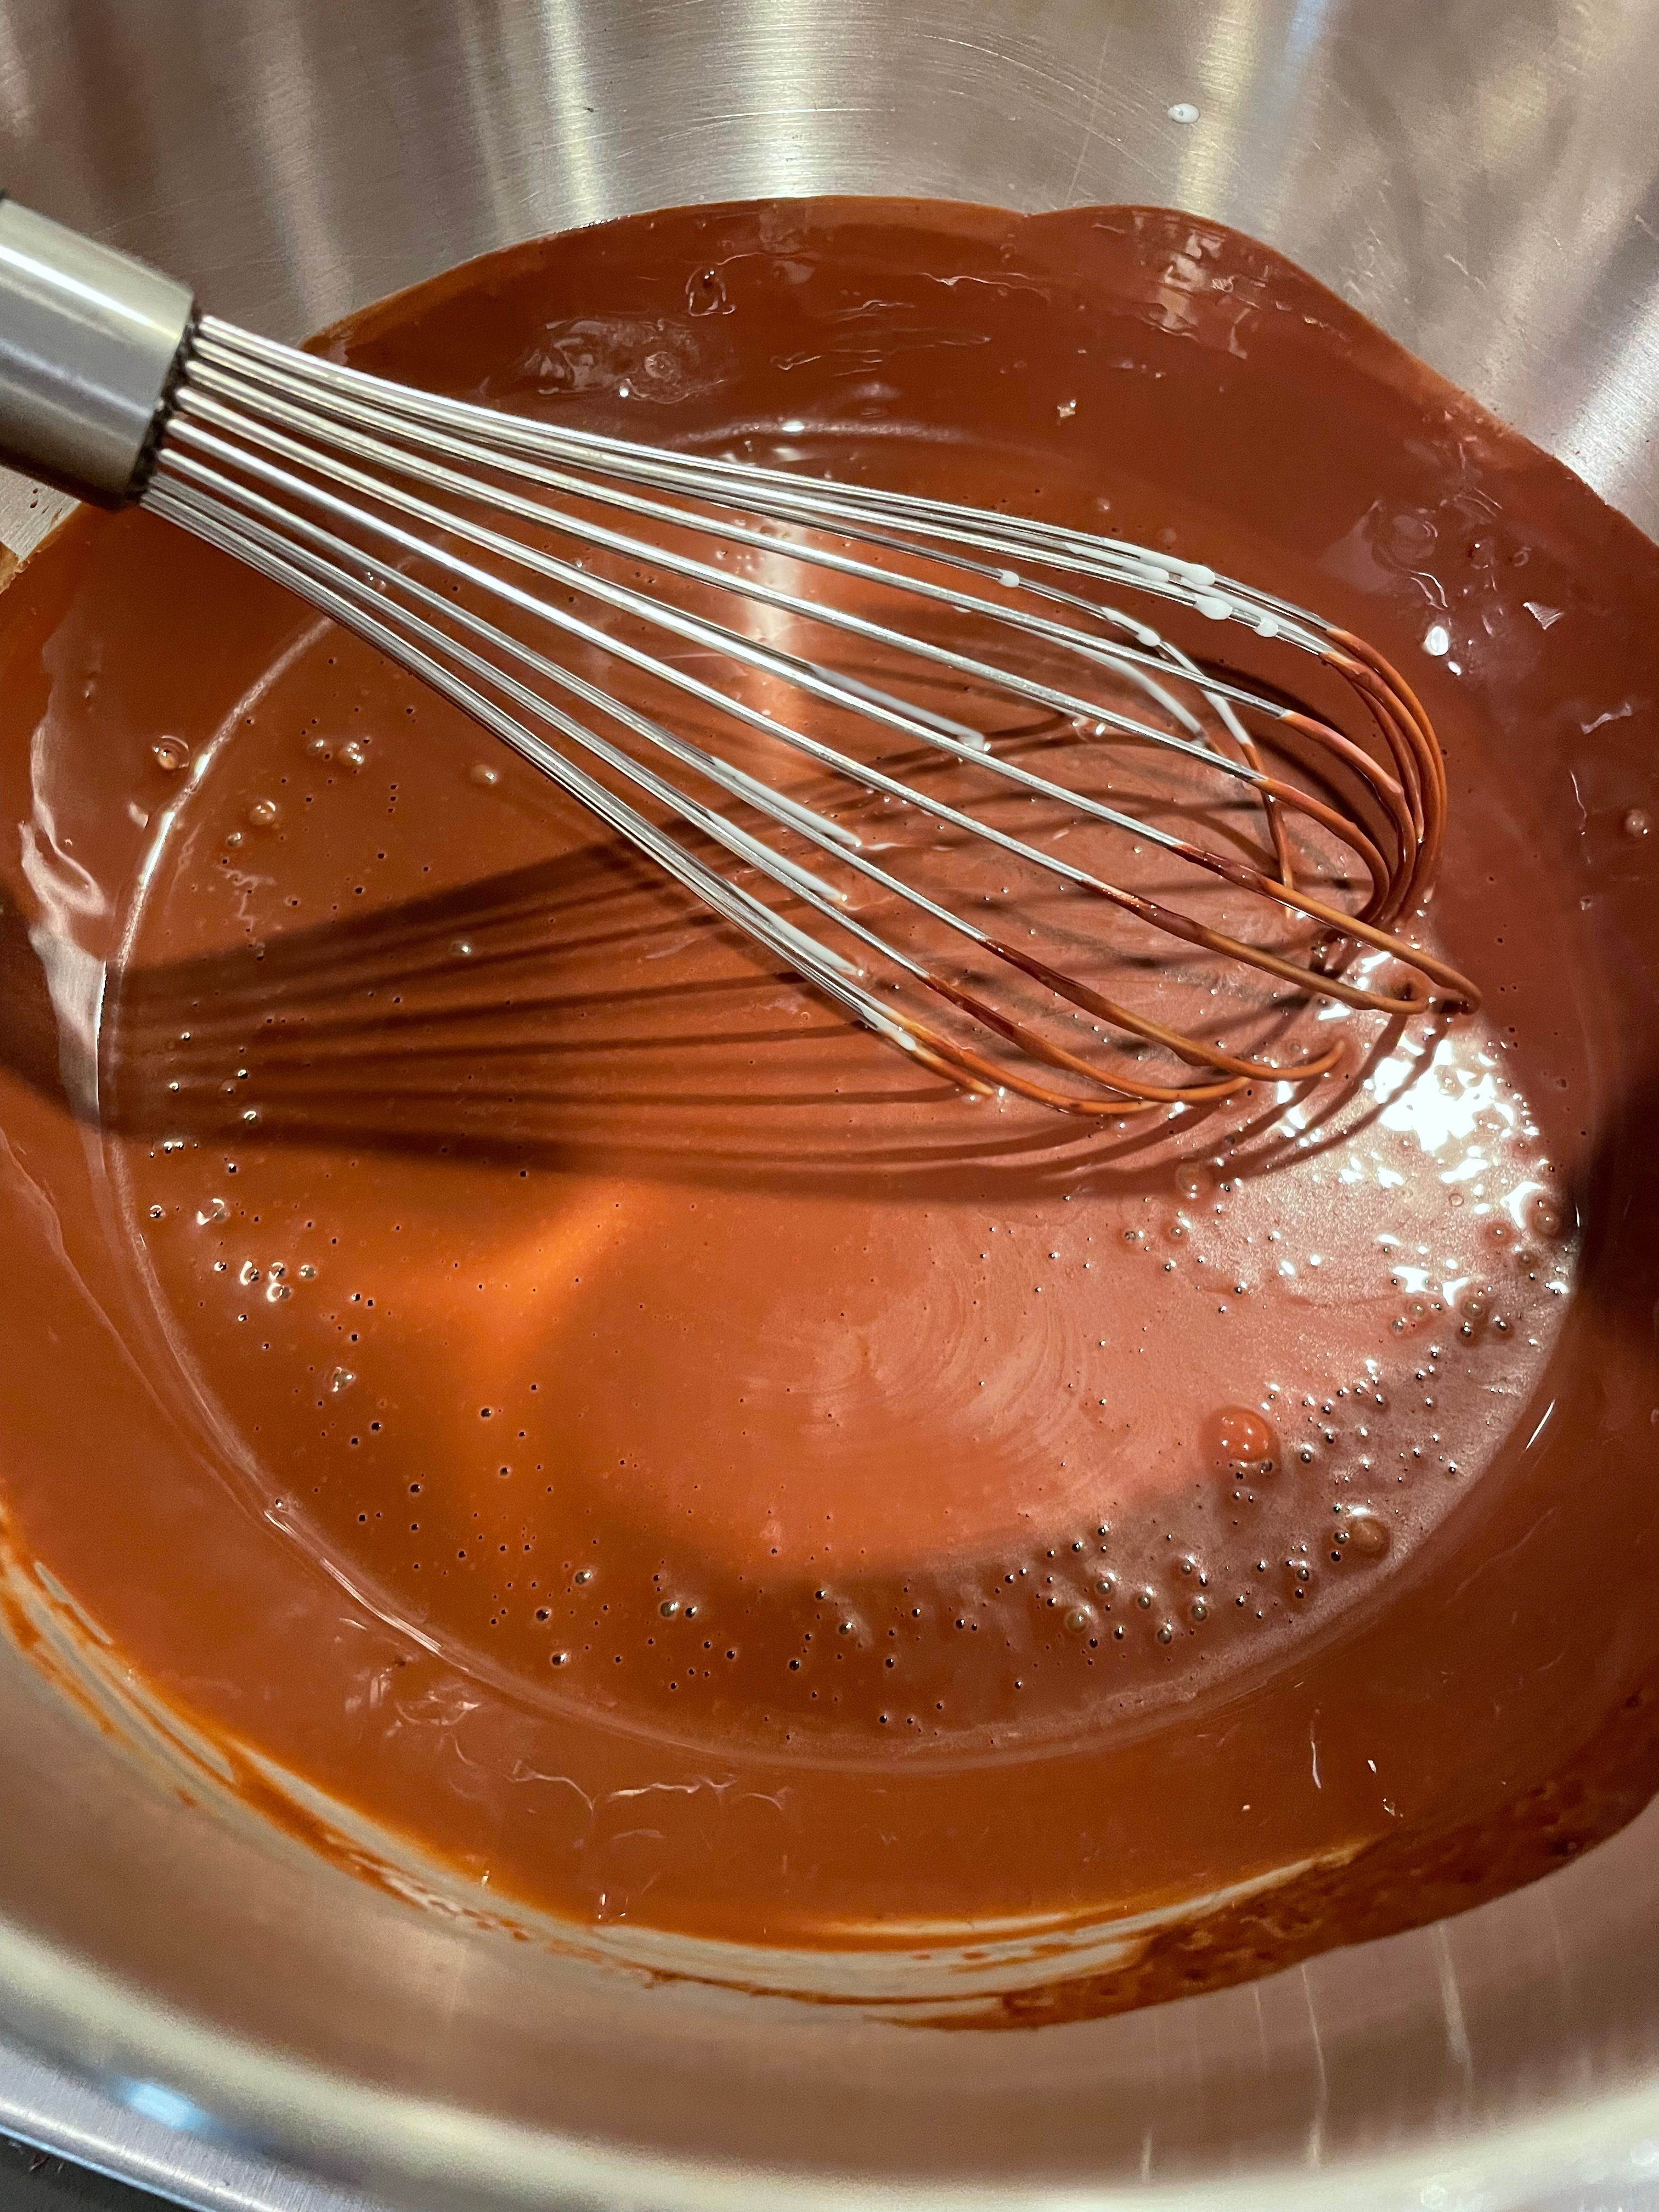
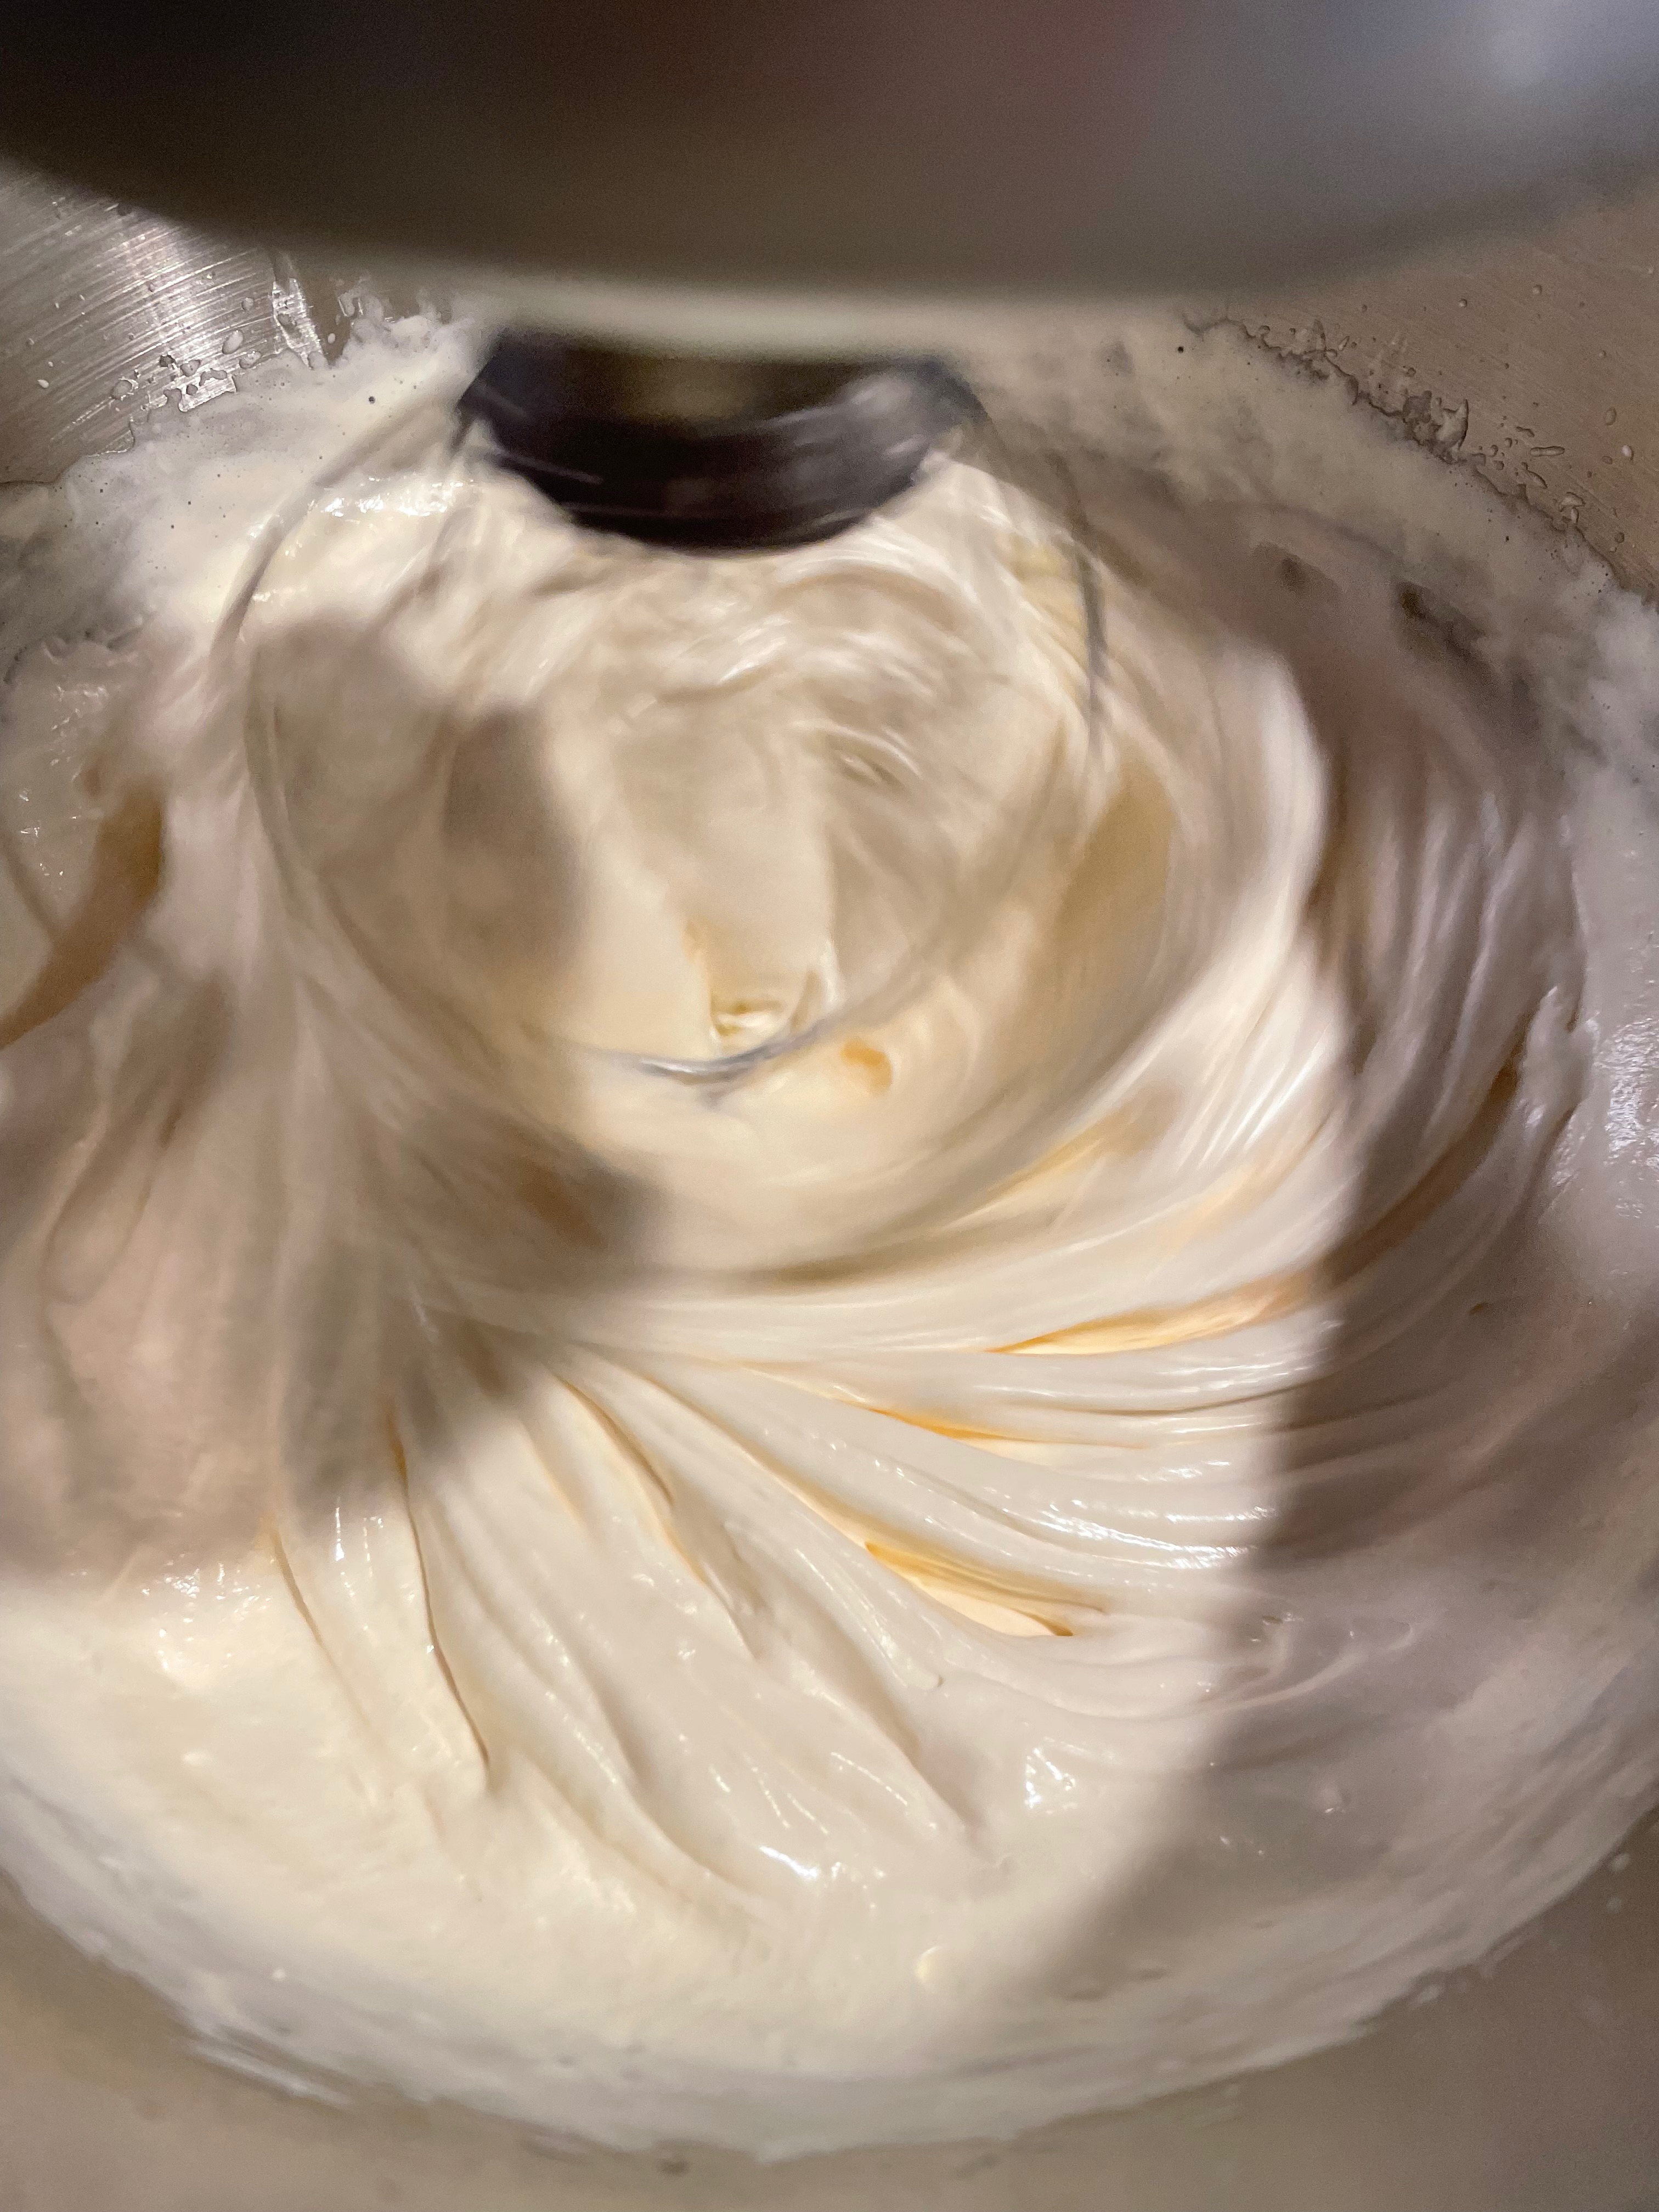
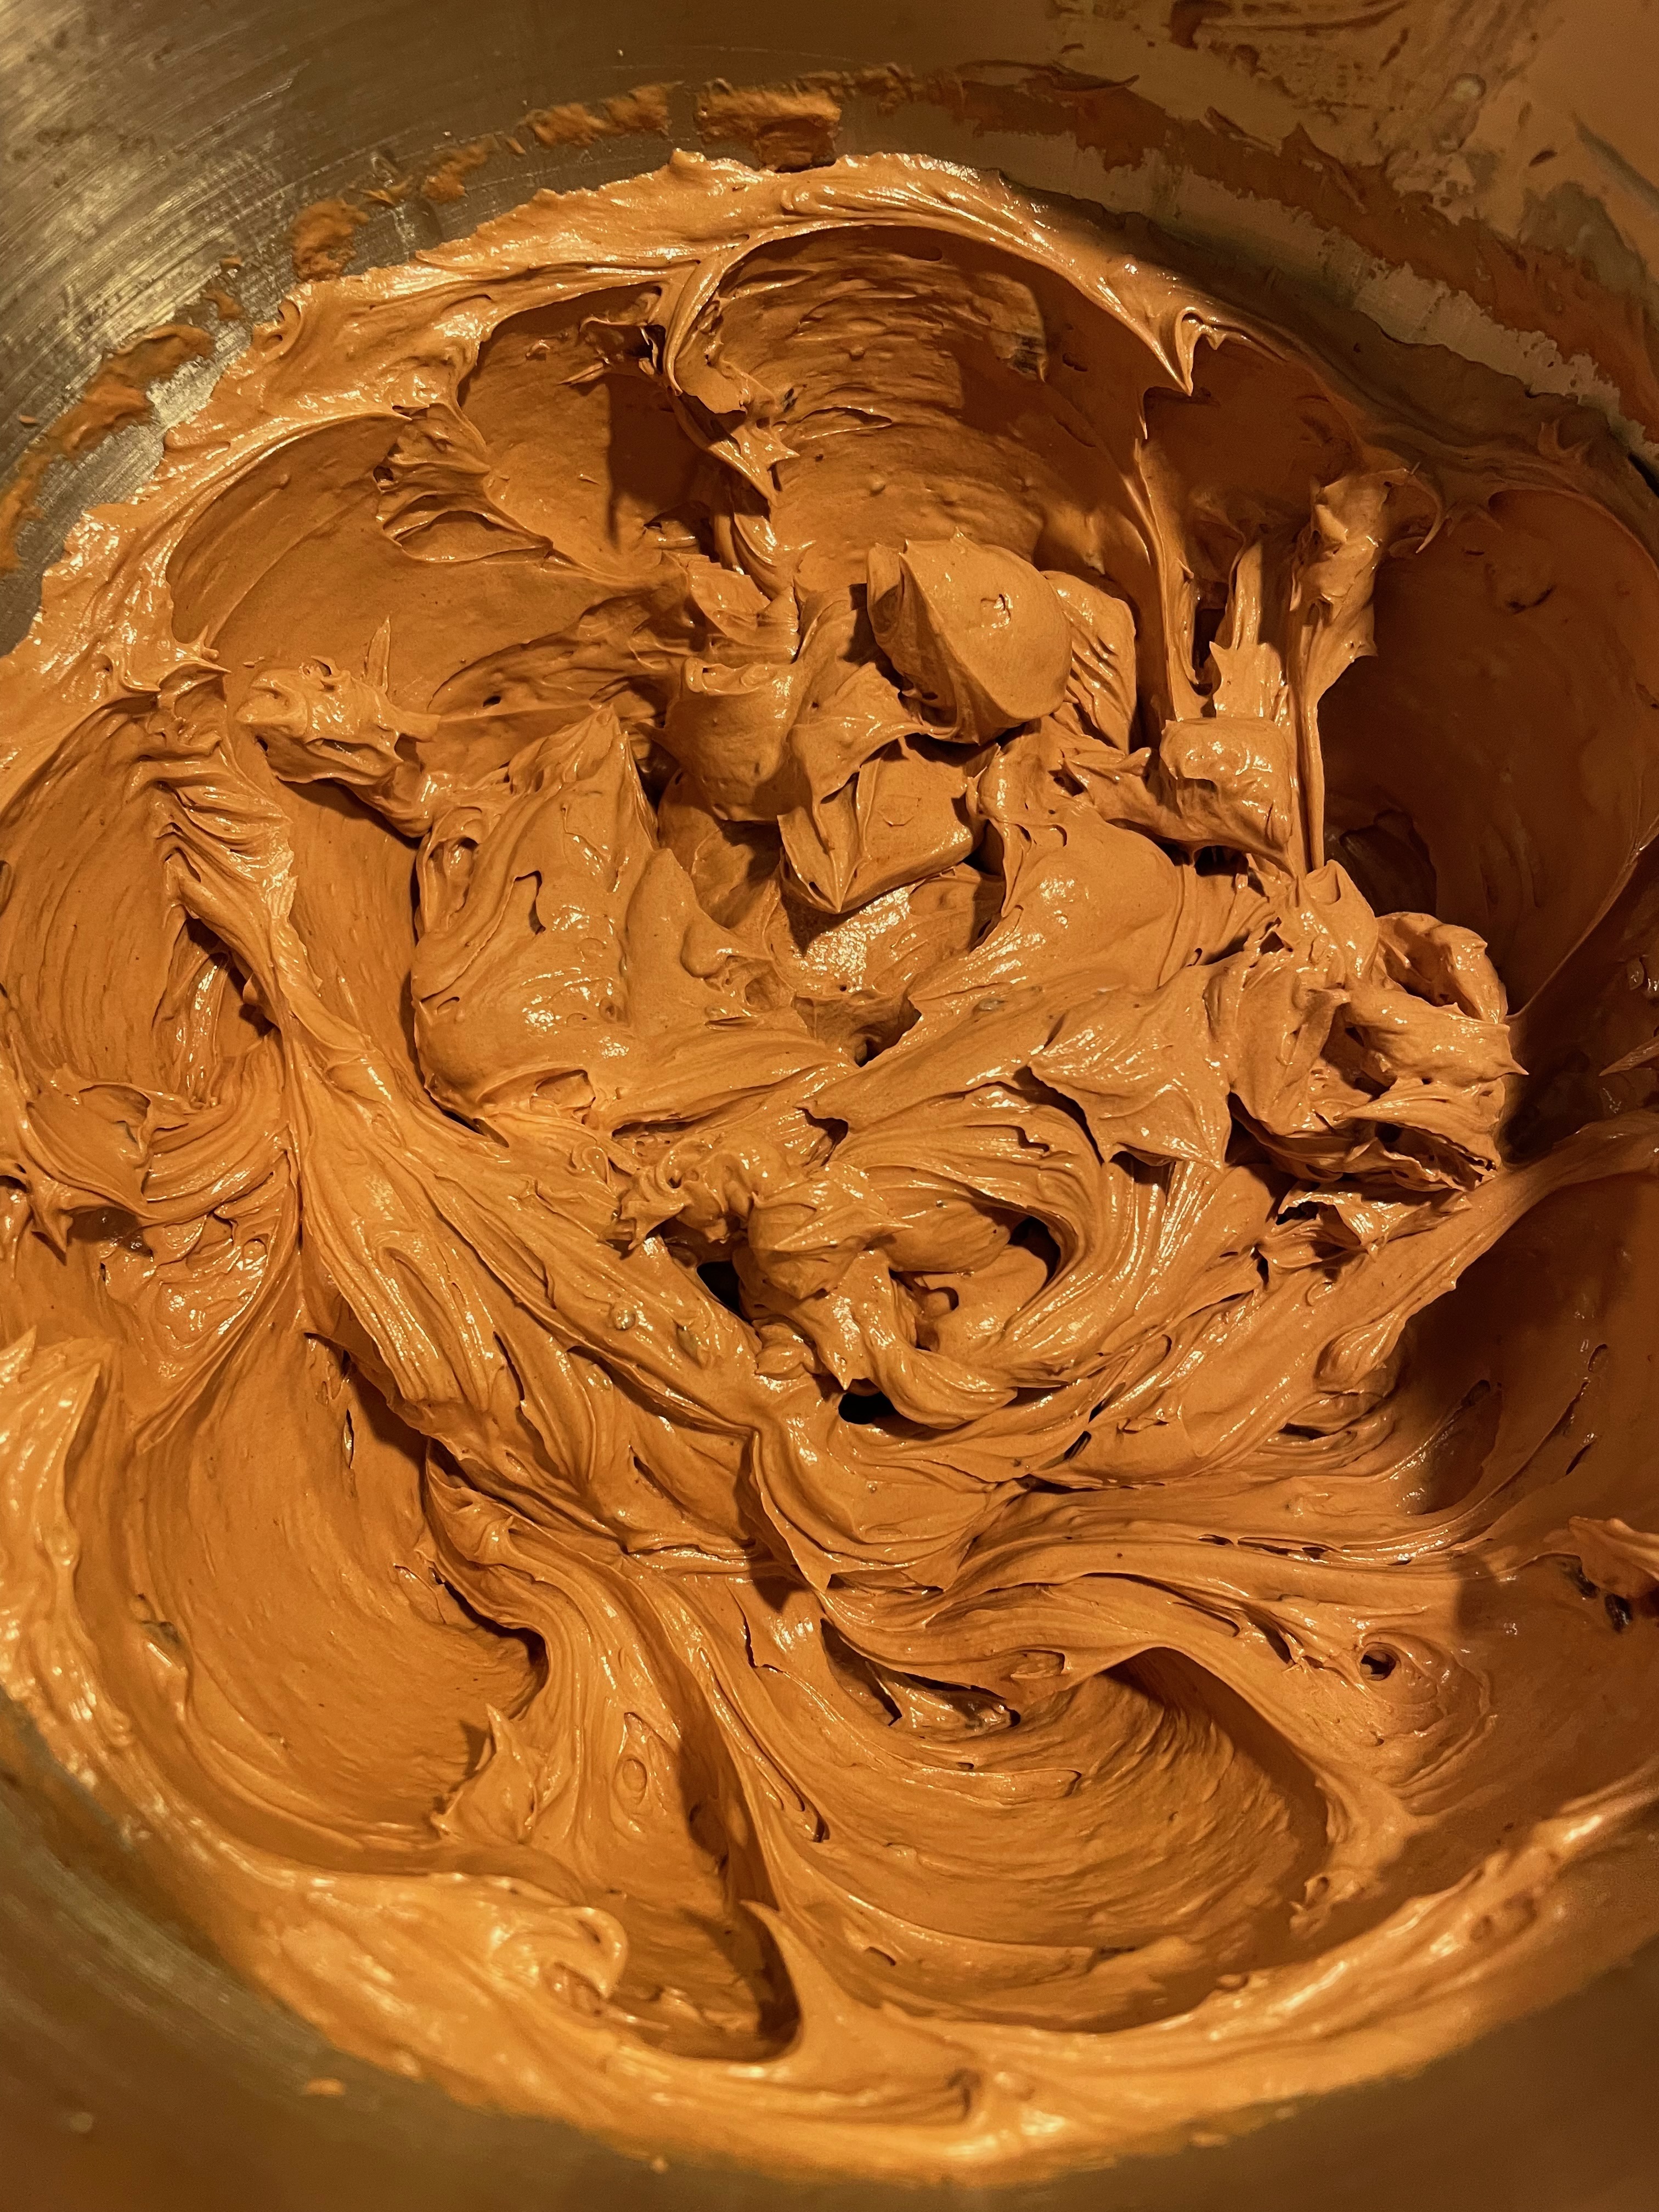
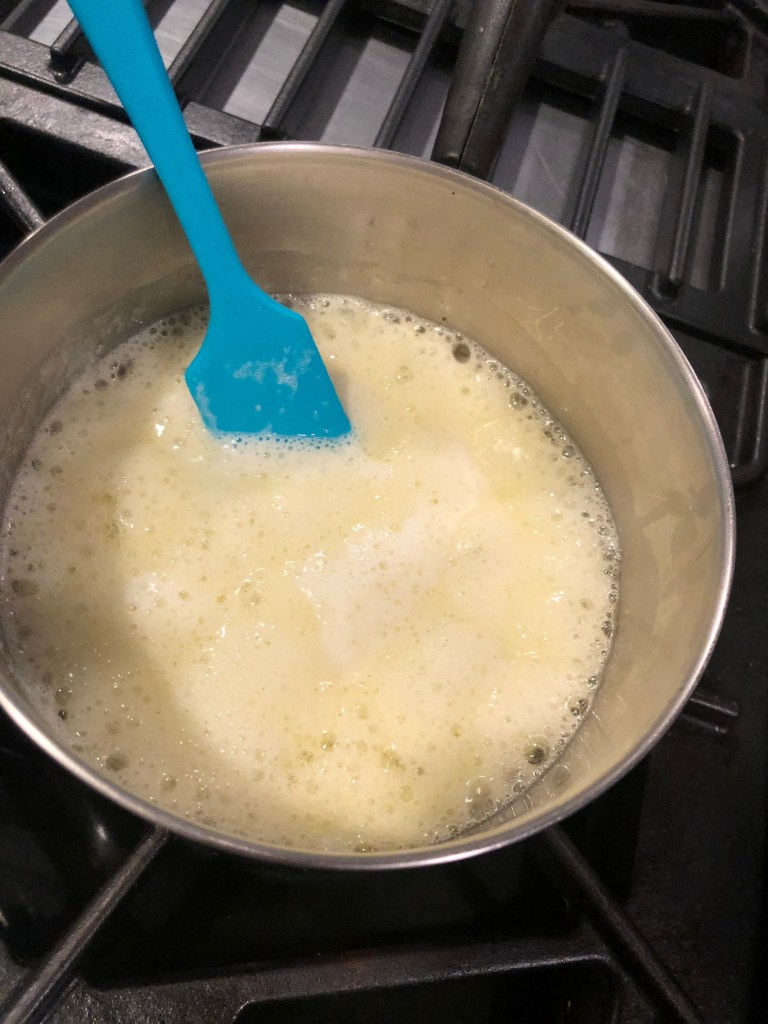
Tip 4: Melt the chocolate using the double-boiler method. It can be made right before you start and cool while you make the rest of the frosting and it should cool in time. Do keep an eye on it and make sure it doesn’t solidify. If it starts to solidify you can re-melt it using the same method, although preferably just keep it near something warm (like above an oven – though don’t let it get too hot) if you notice it starting to harden and periodically stir it.
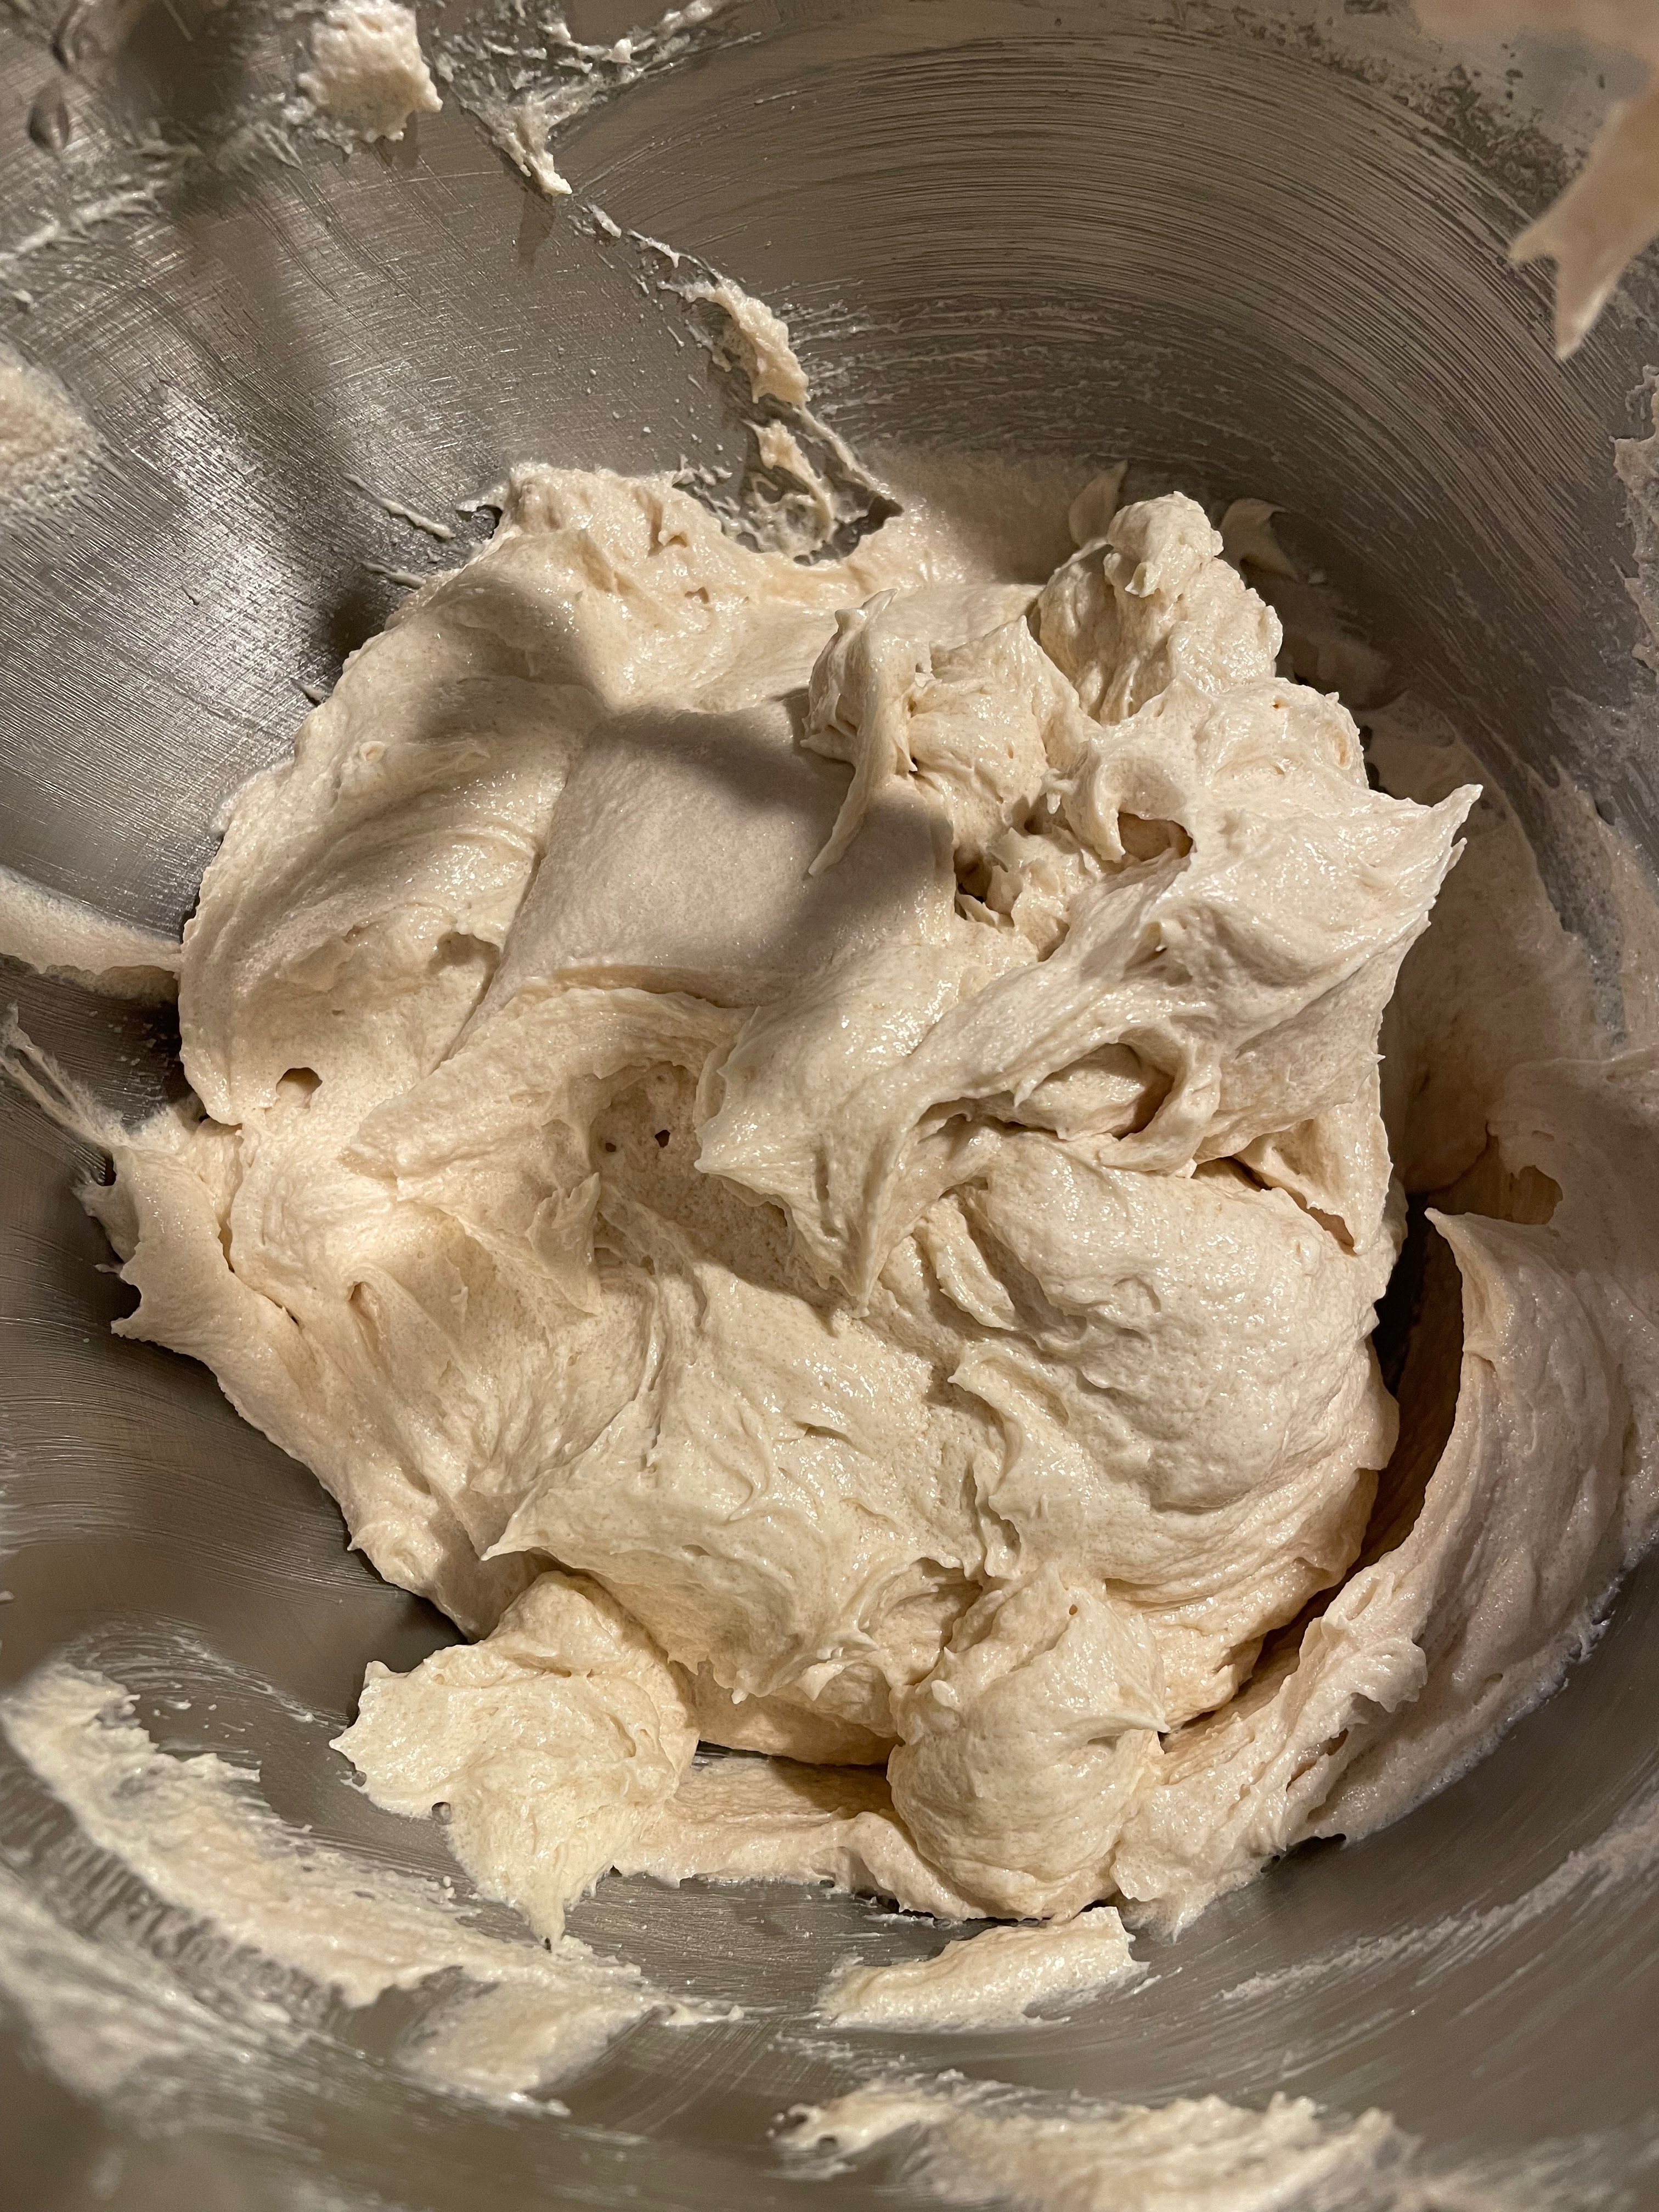
Tip 5: Use multiple “blobs” when frosting the cake for a more even distribution. The longer you refrigerate after applying the crumb coat, the easier it will be.
Final Product
Key Takeaways
Making the cake is easy; making the frosting is hard.
The frosting can be done with one person, but is much easier with two.
The frosting and cake can be made in any order, but the quickest way is to do the cake and then make the frosting while the cake cools.
Make sure to let everything come to room temperature as instructed. This is particularly important for this recipe.
Final Score: 4/5 – This is a great chocolate cake and fantastic frosting. The instructions (and video) for the frosting are particularly detailed and helpful. The entire cake can be completed within 3 hours, but you’ll be busy the entire time.
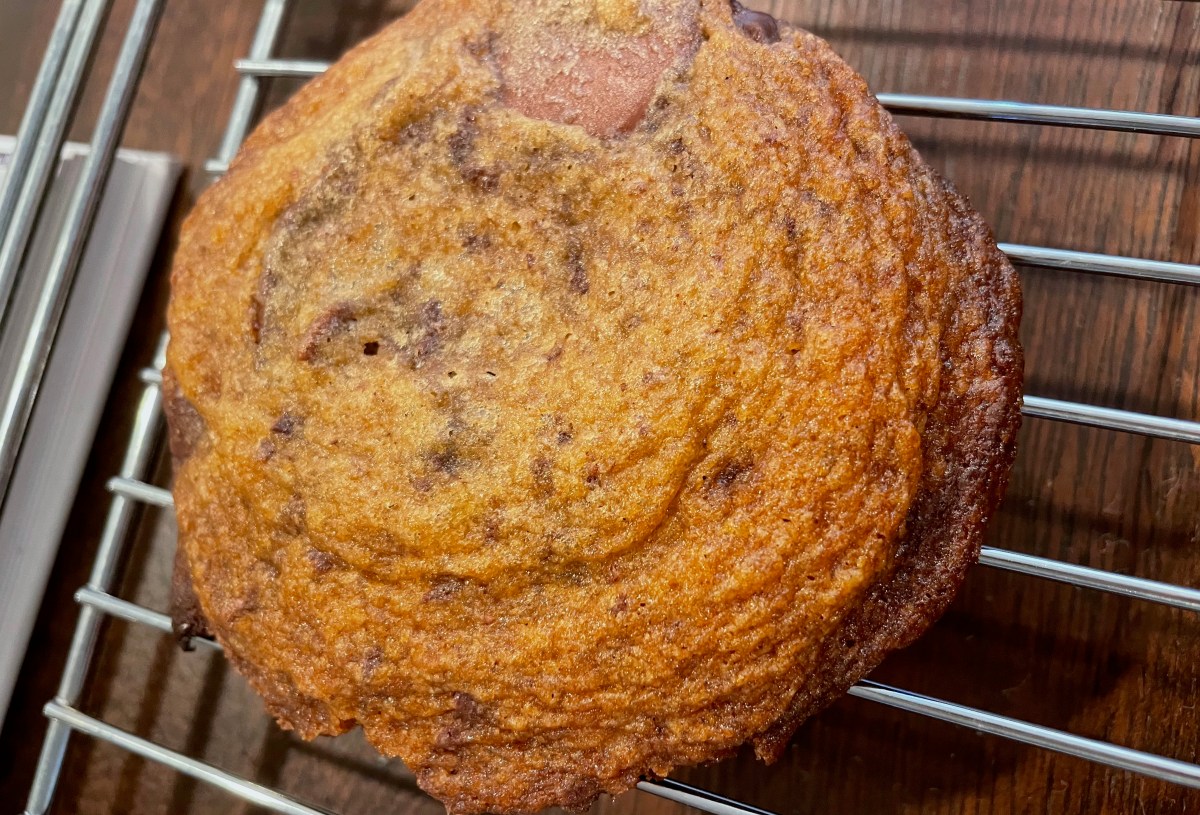
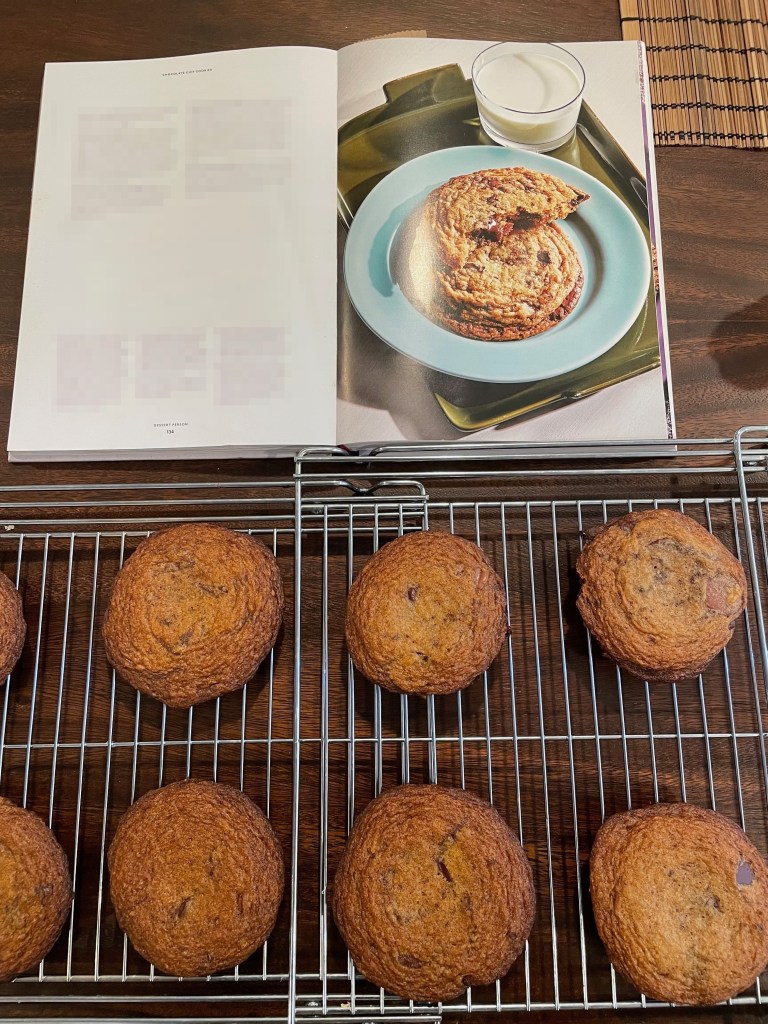
This is a great chocolate chip cookie recipe and one of the only recipes that took us 2 tries to get right (thought it is a fairly easy recipe). This is not a mind-blowing chocolate chip cookie, but it is a very good one. The mix of chocolates used and brown butter are great touches. Note though, that otherwise the cookies are fairly simple and flat. Lastly, note that the video instructions are very different than the instructions in the book. We found the video instructions to be clearer and work better than the book instructions.
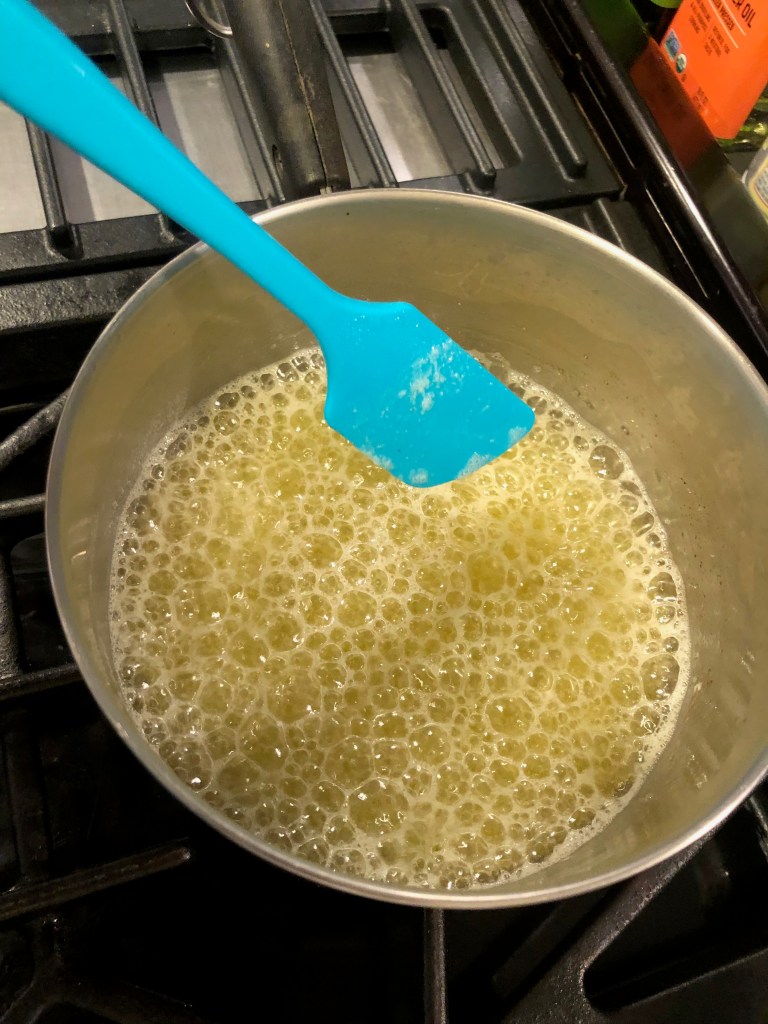
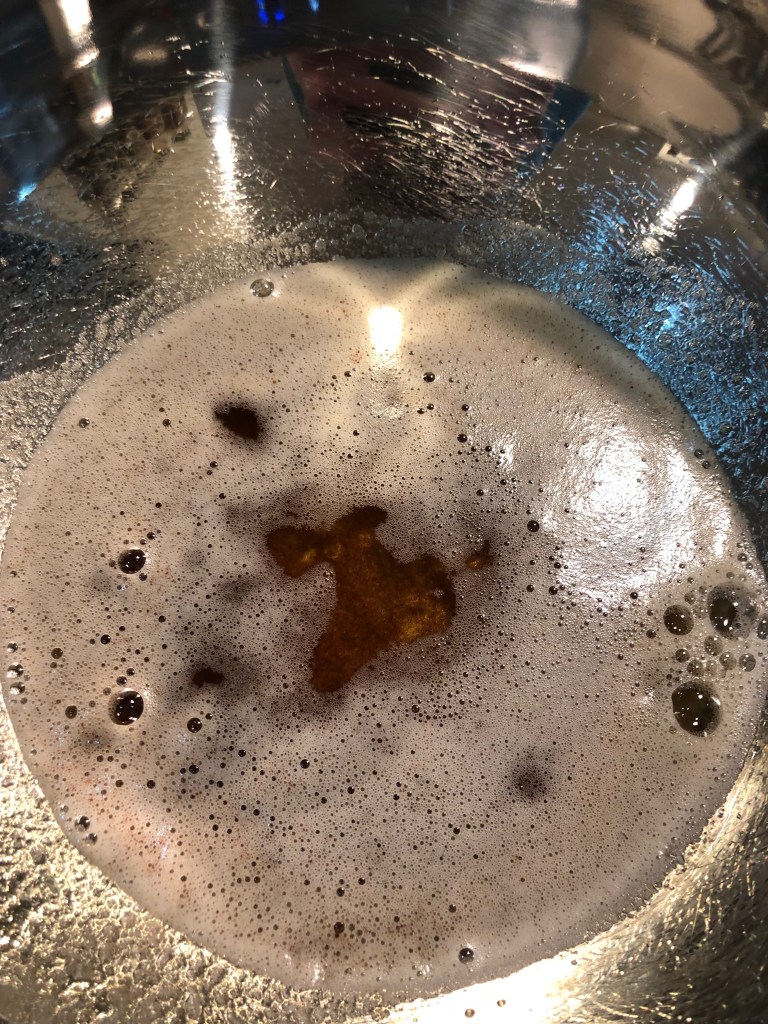
Tip 1: It might be hard to tell when the butter has browned and brown specks have appeared if you use too small of a pan. Consider using a small-medium pan instead.
Tip 2: The butter will take about 30 minutes to cool if you let it just sit in the bowl. Be careful as the bowl it is cooling in will be very hot at first.
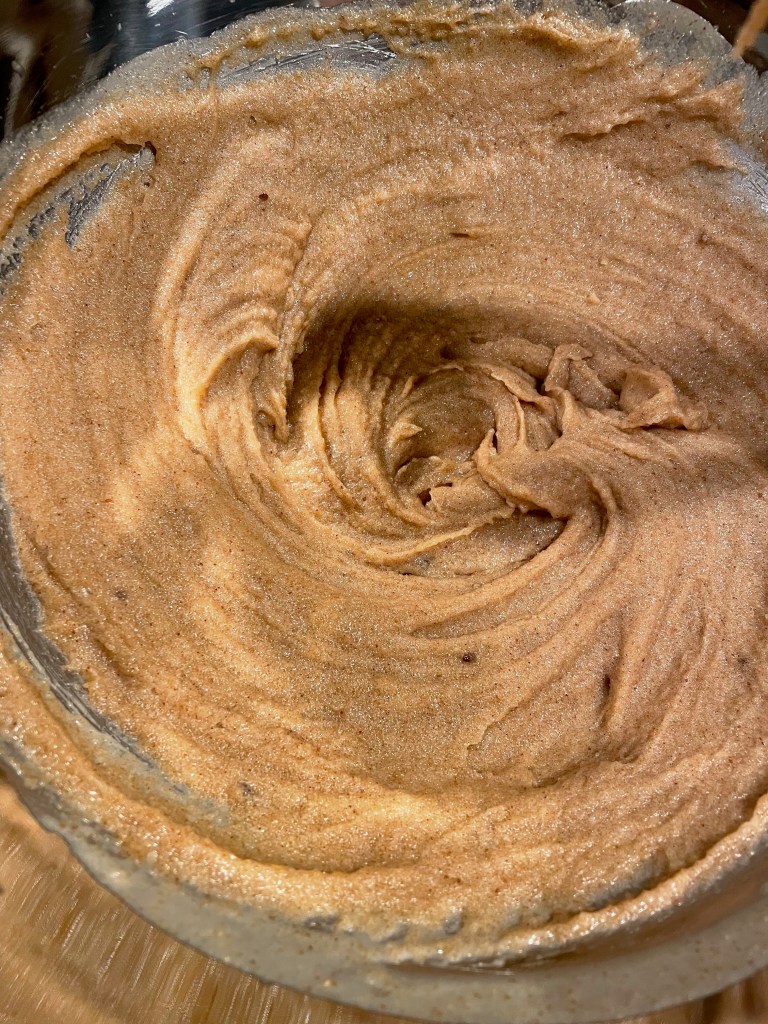
Making The Dough
Final Product
Key Takeaways
As mentioned earlier, note that the video instructions are very different than the instructions in the book. We found the video instructions to be better.
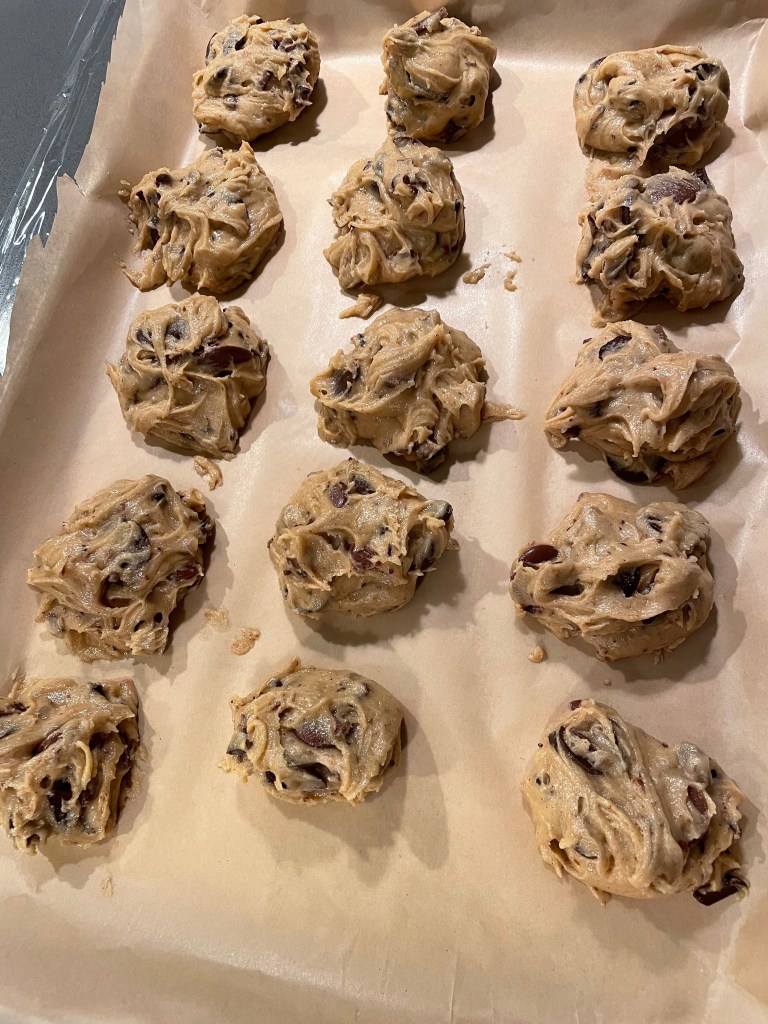
Make sure to refrigerate the dough for at least 12 hours! It’s critical to forming the delicious wrinkles in the cookies.
Final Score: 4/5 – These are great chocolate chip cookies that are fairly straightforward to make. It’s definitely worth giving a try, but no guarantee that it’ll be the best chocolate chip cookie you’ve ever had.