Introduction
This is one of the most unique recipes in the book. It is also one of the more challenging ones. This came as a bit of a surprise given that the book rates the difficulty as a “moderate 3/5”. At times the instructions were a bit brief and some additional photos and tips could have been helpful. Nonetheless, this was an incredibly interesting recipe that used a variety of techniques (quince preparation, poaching, jelly, skillet tarts, etc). Likewise the output is delicious (the poached quince alone is amazing). For these reasons this recipe is definitely worth trying. You can find quince in October and November, but often in limited quantities (in the USA). Quince is kind of like a tropical apple+pear and a very versatile ingredient.
Recipe Outline
| Recipe: Quince and Almond Tart with Rosé | Special Equipment: 10-Inch Cast Iron Skillet, Dutch Oven |
| Source: Dessert Person | Time: 6 Hours |
| Author: Claire Saffitz | Difficulty: 4/5 |
| Type: Dessert (Baking) | Score: ★★★☆☆ |
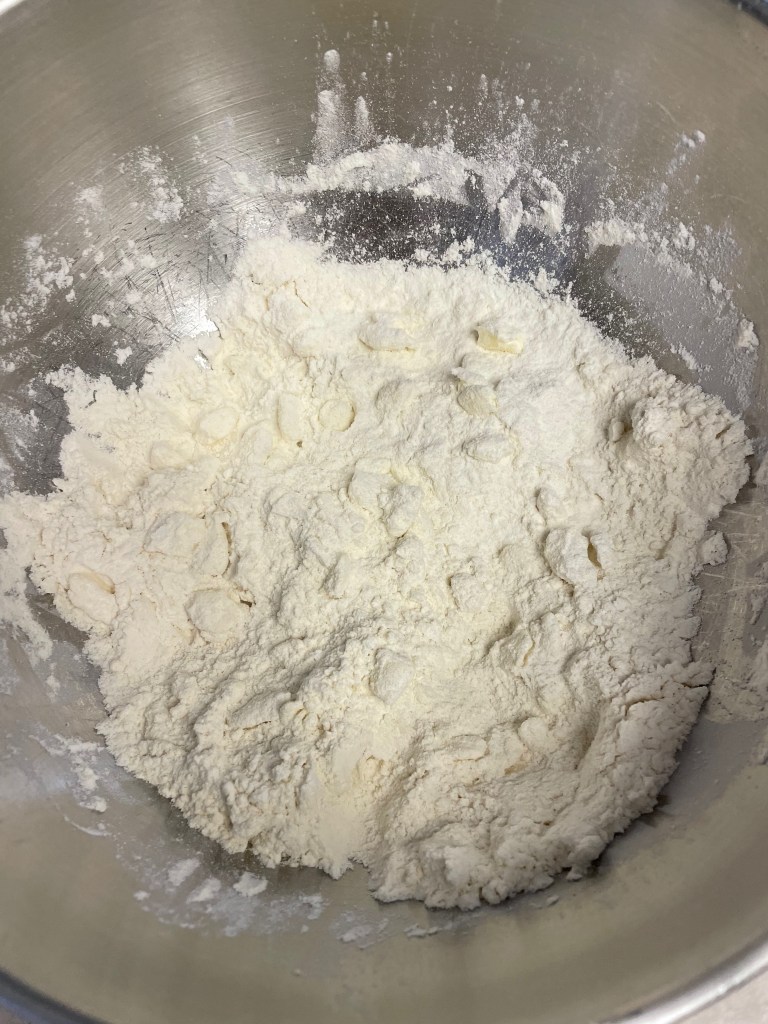
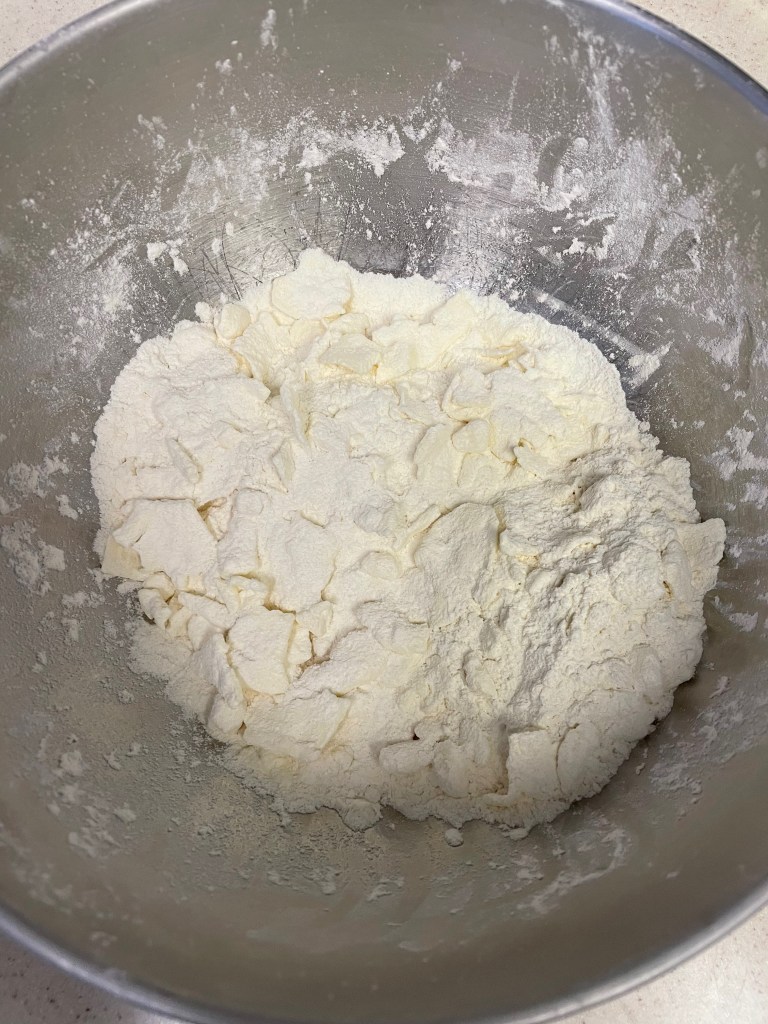
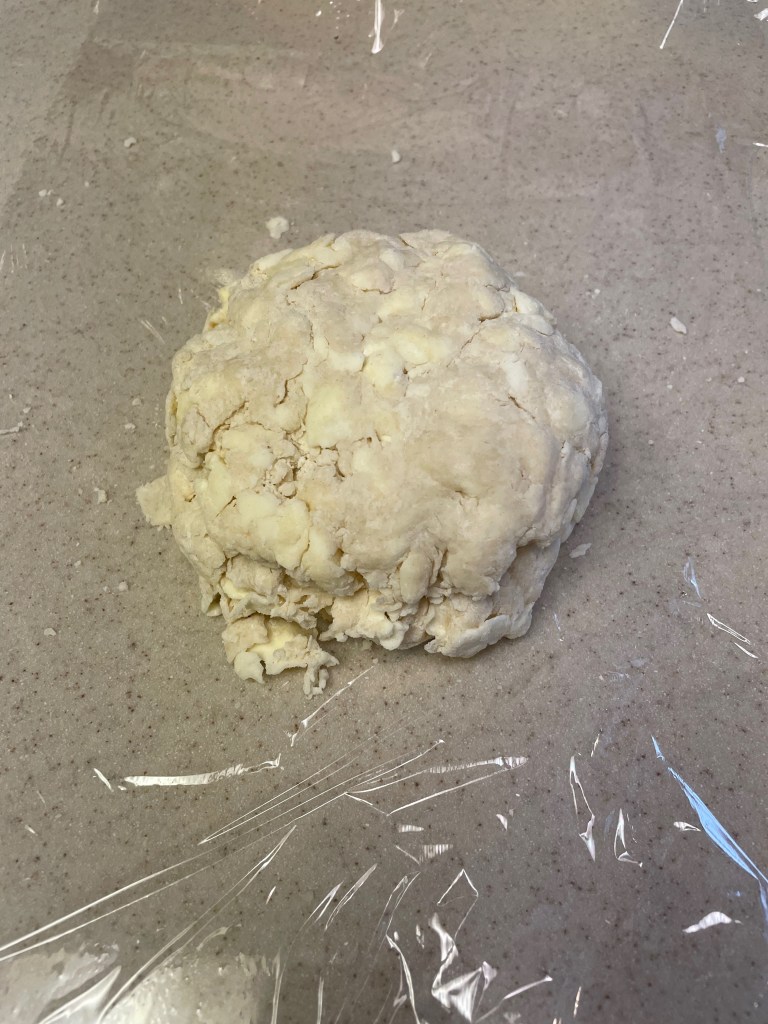
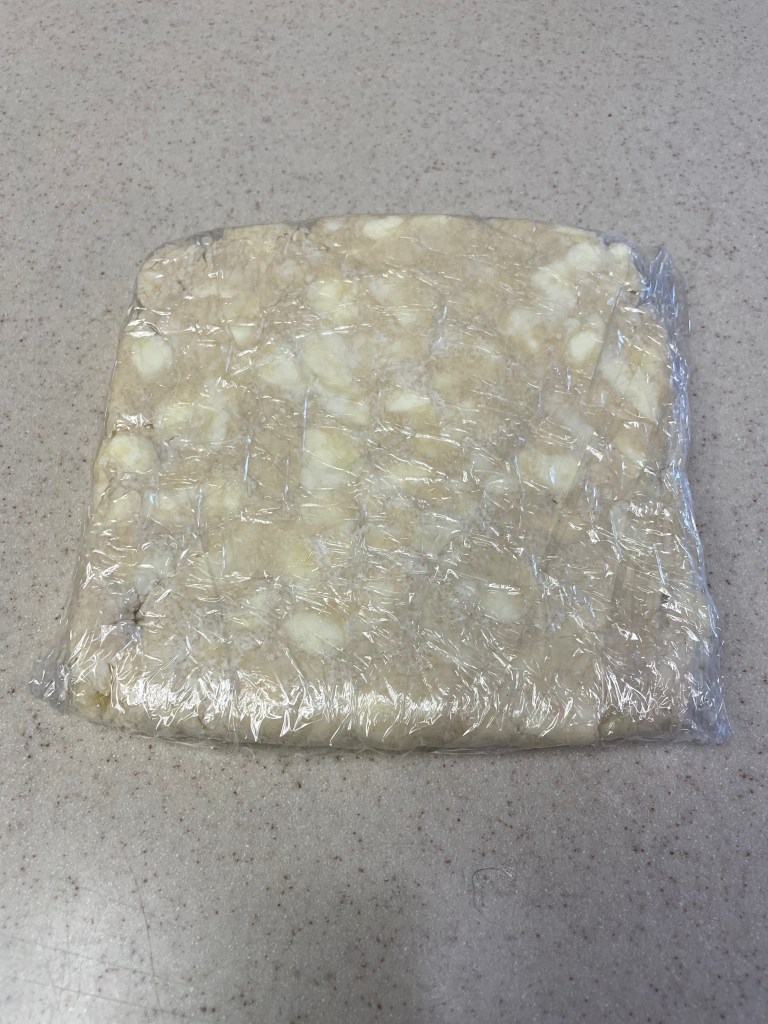
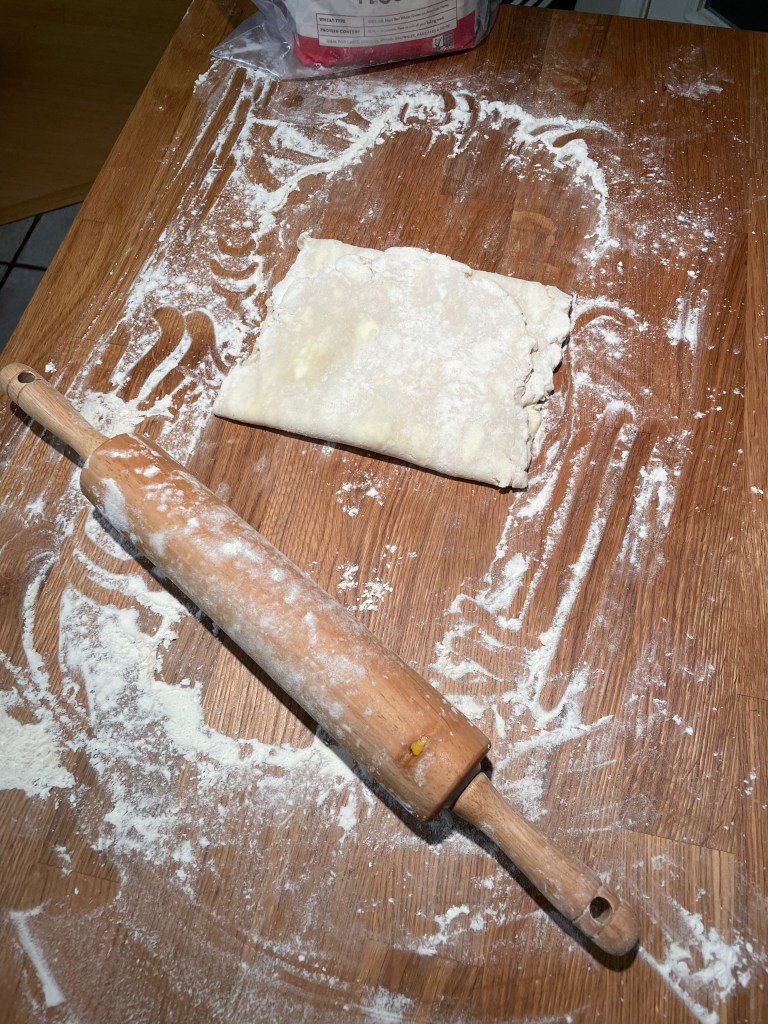
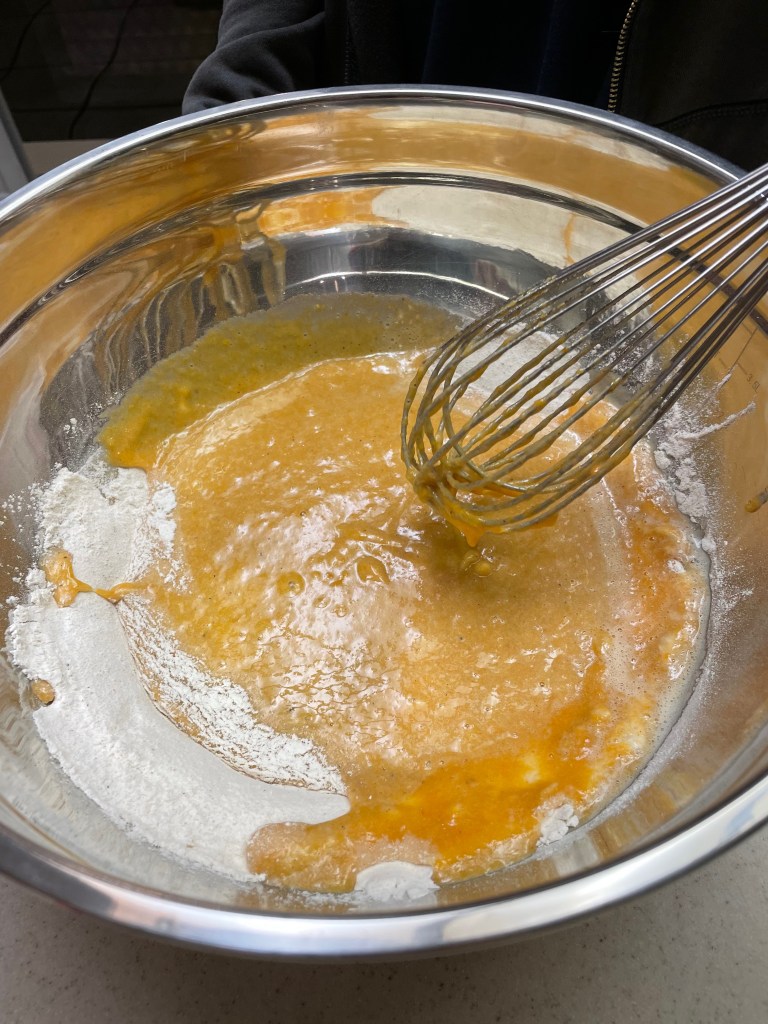
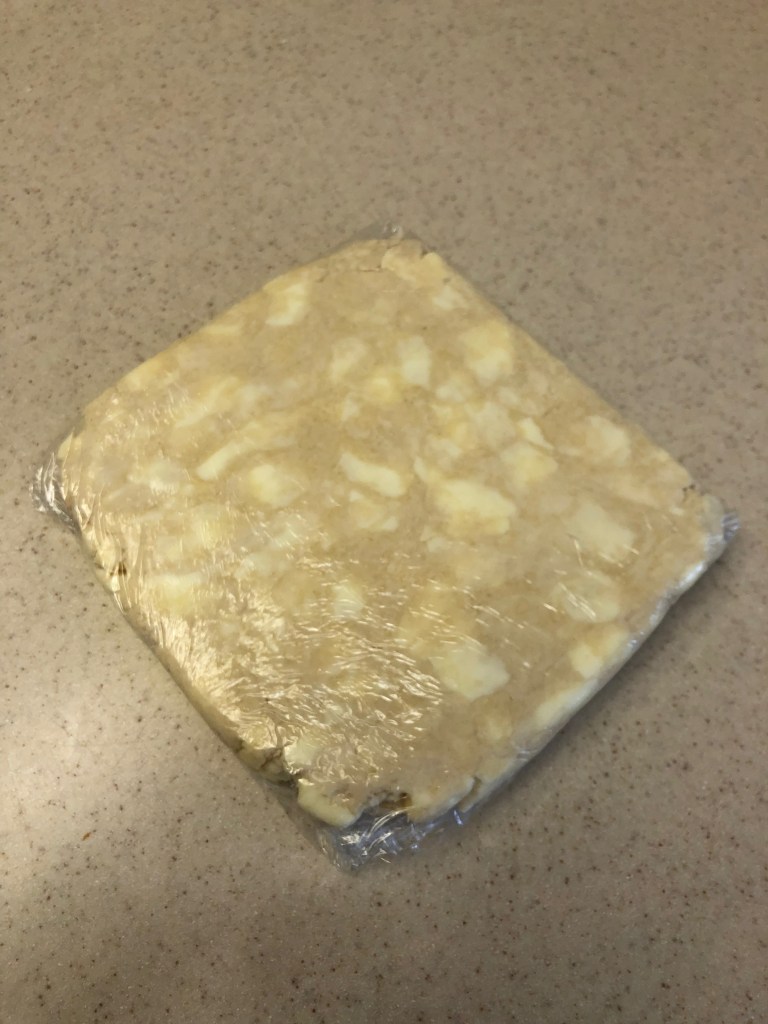
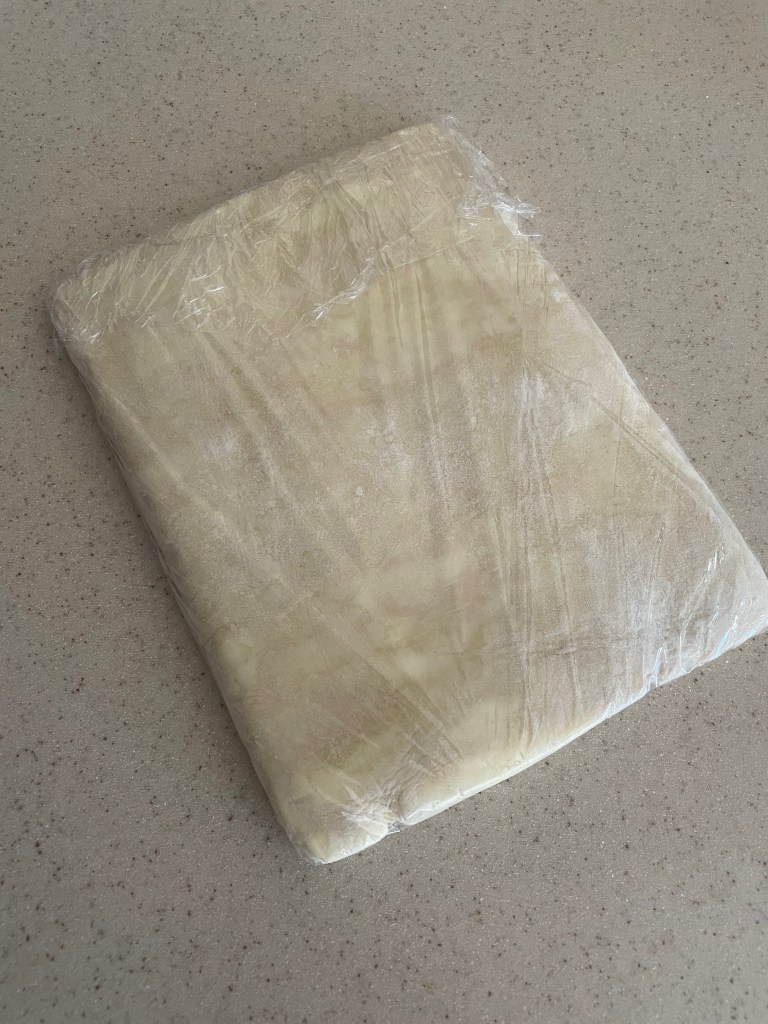
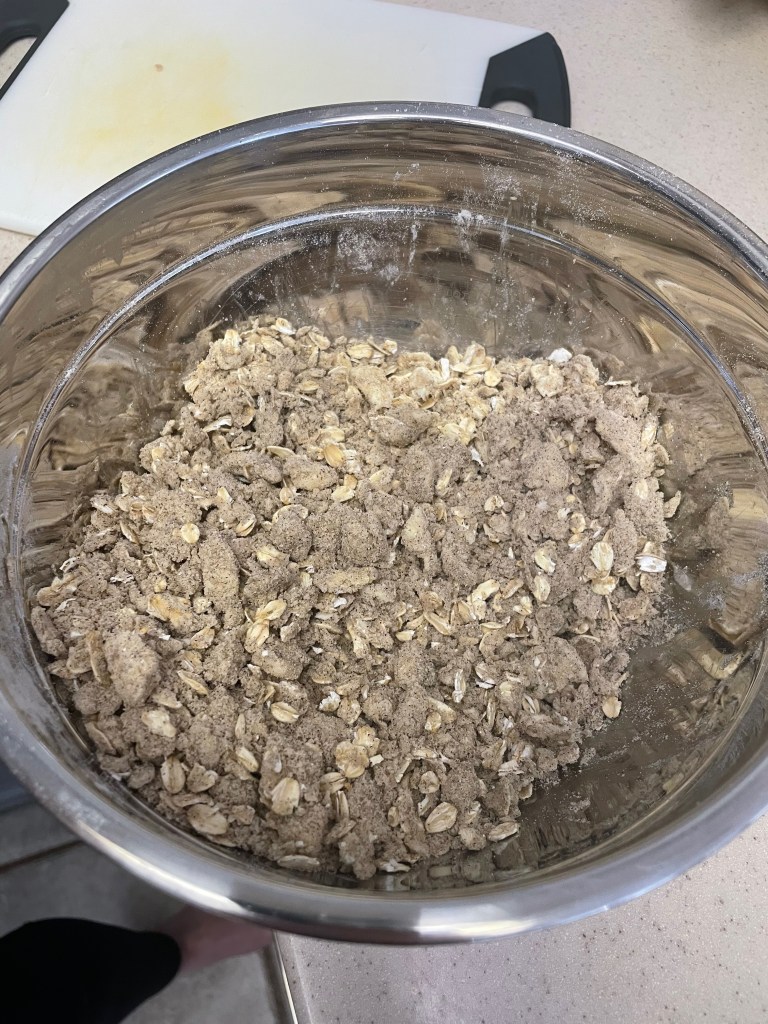
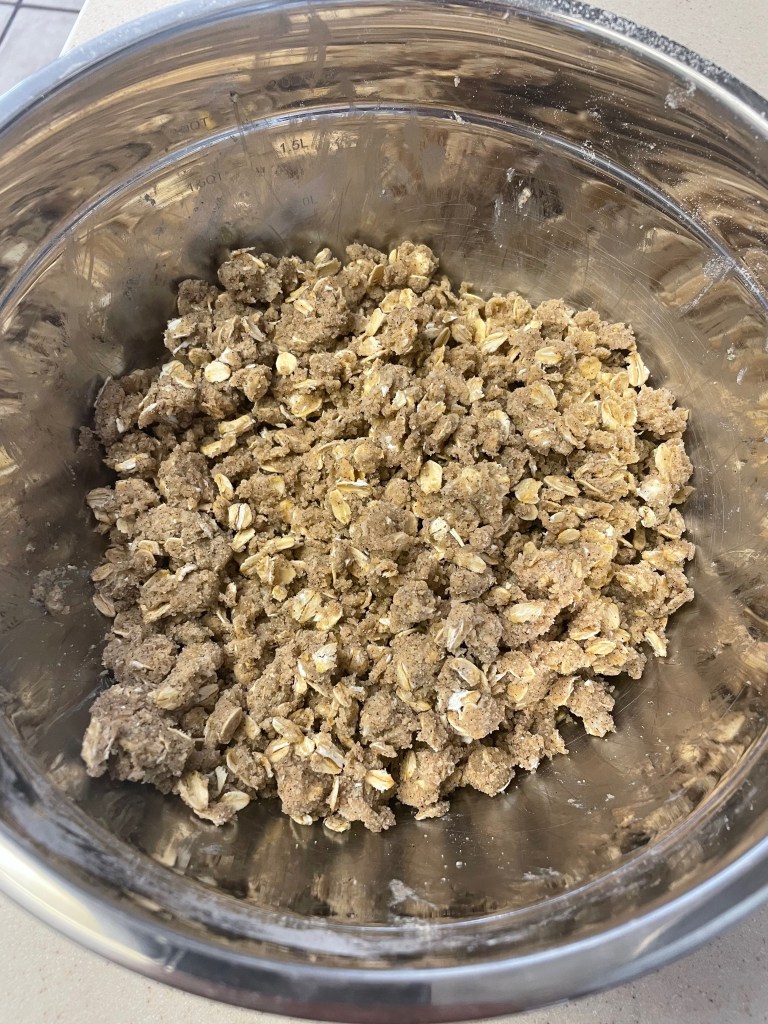
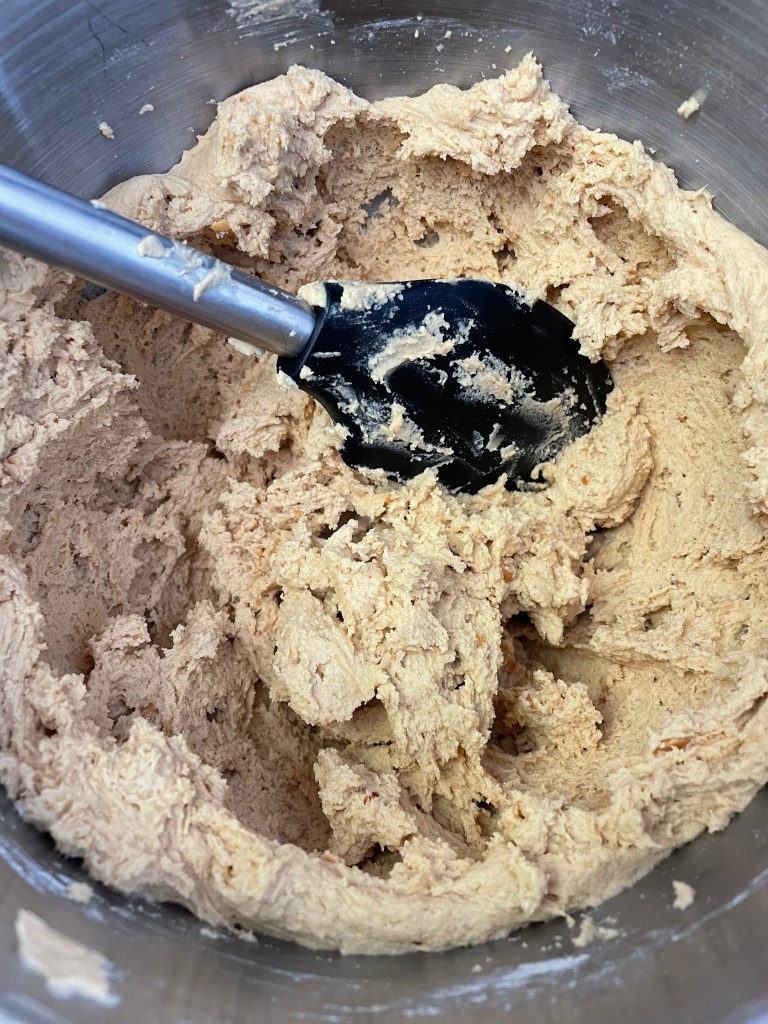
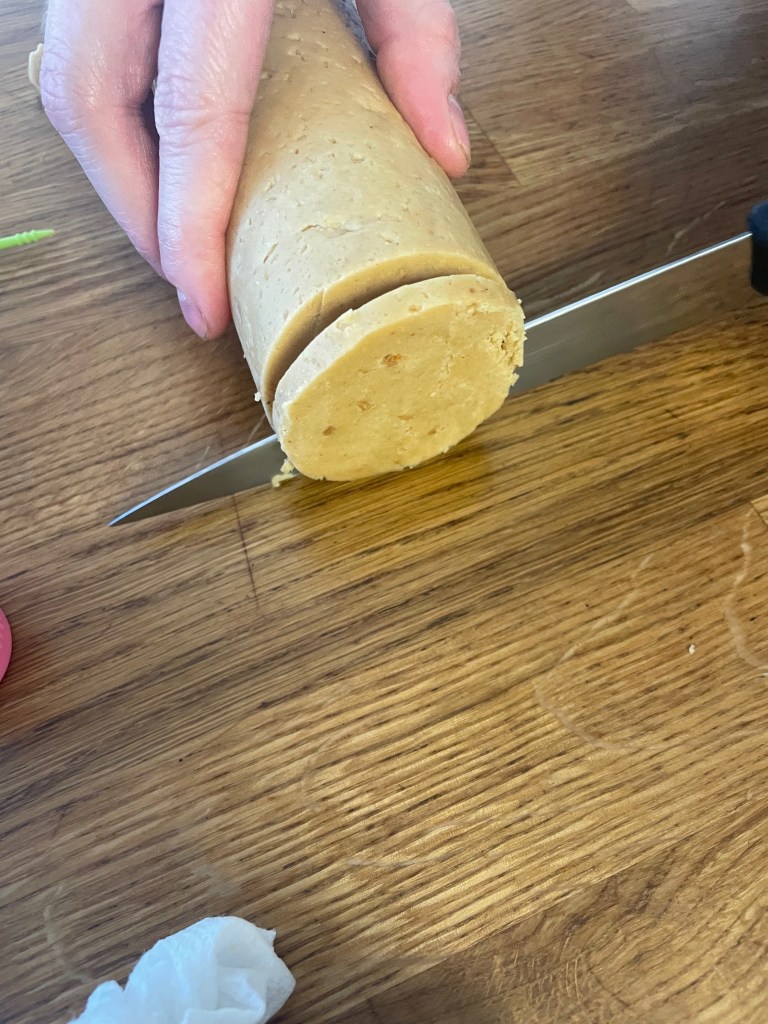
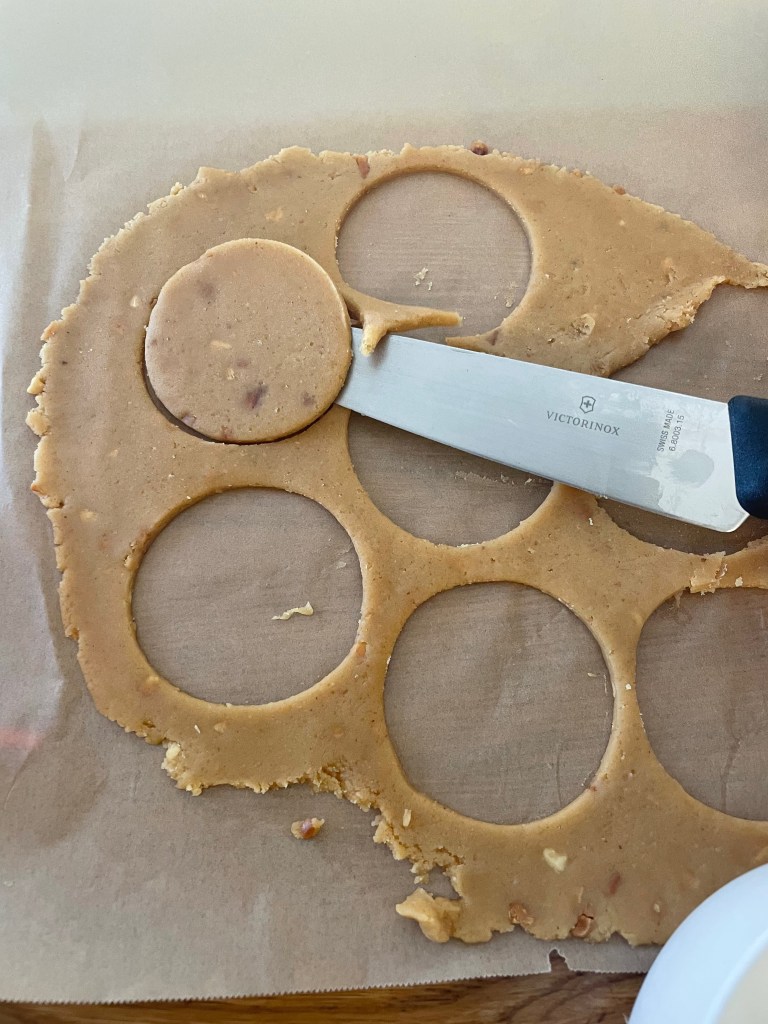
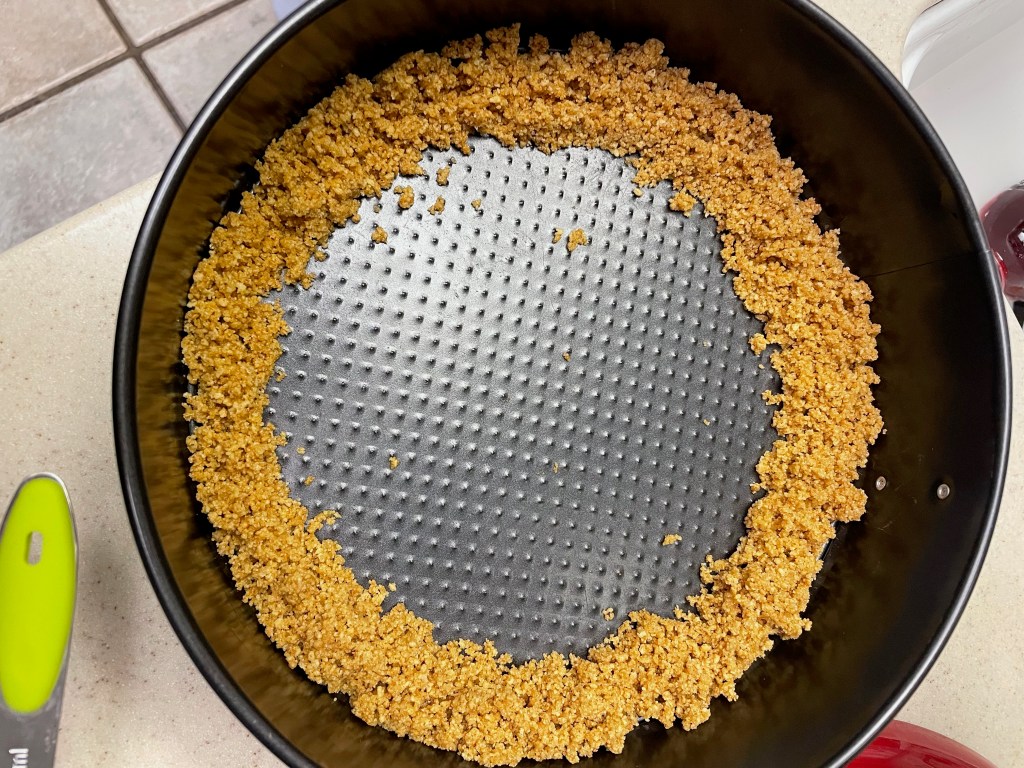
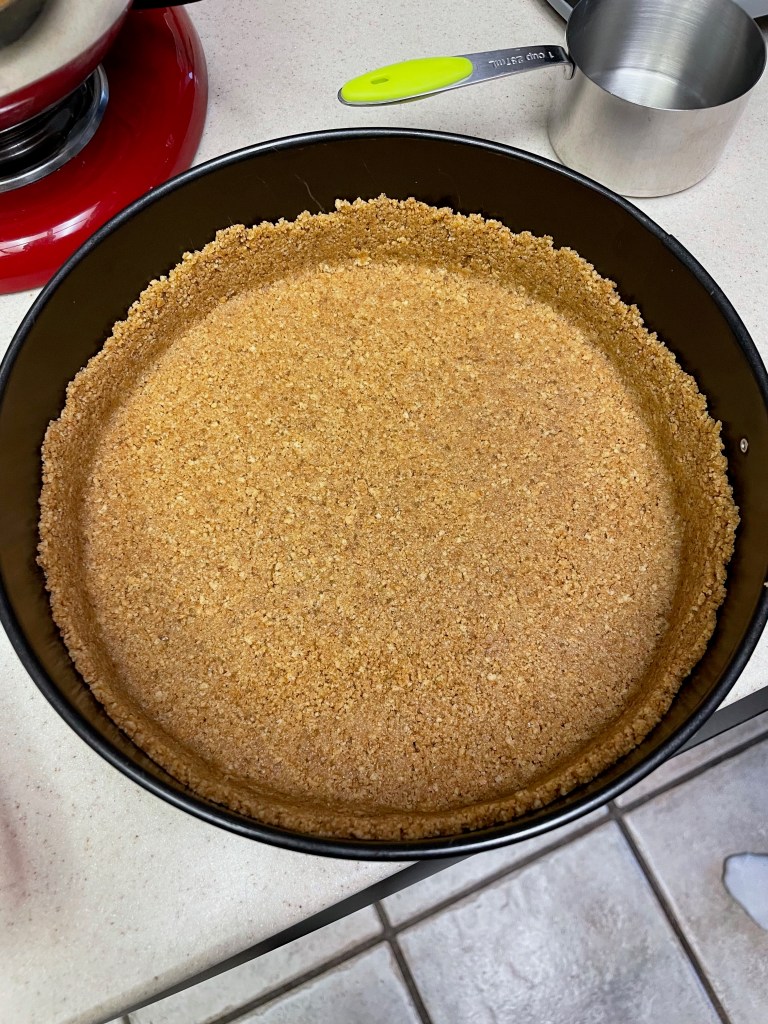
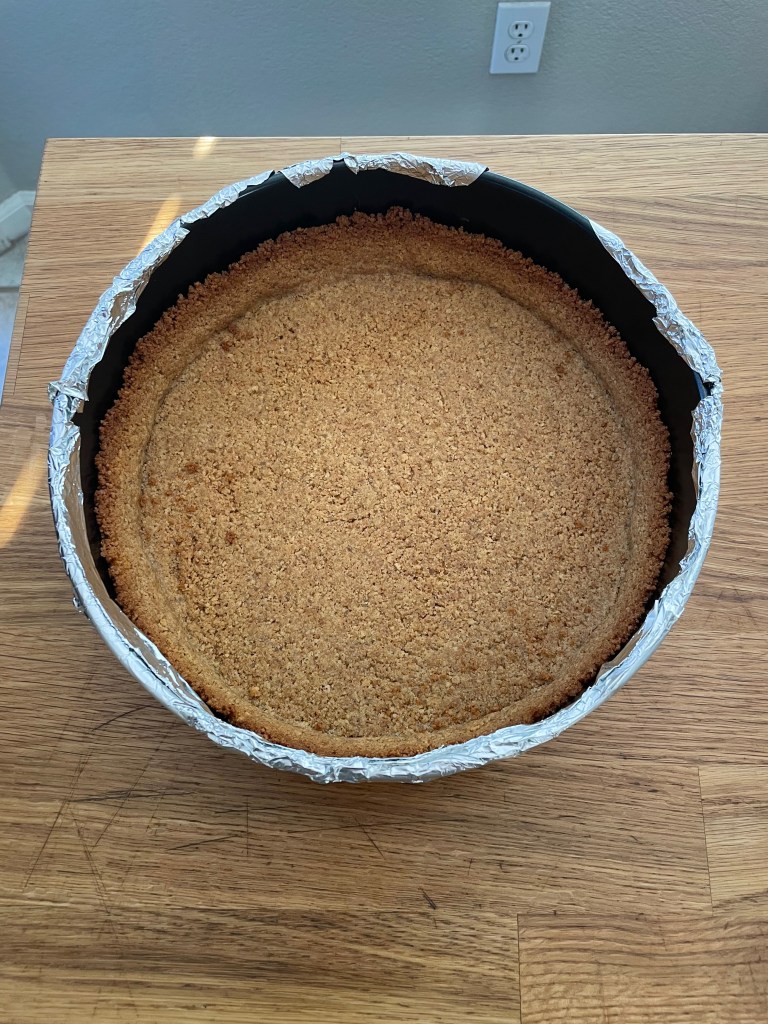
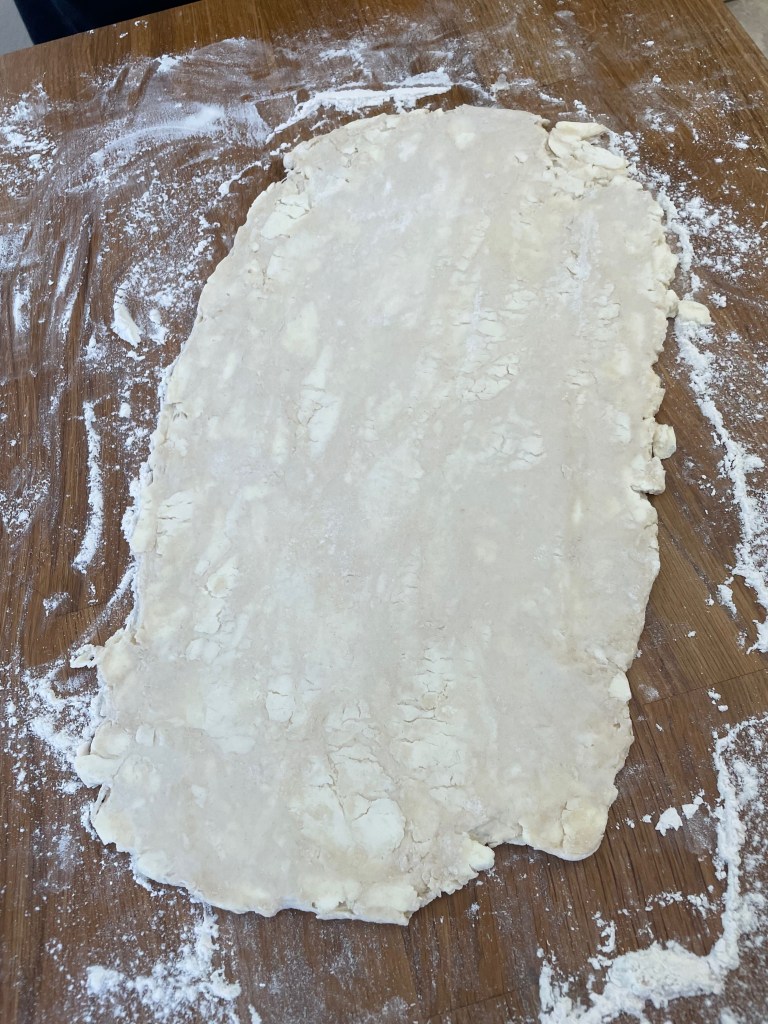
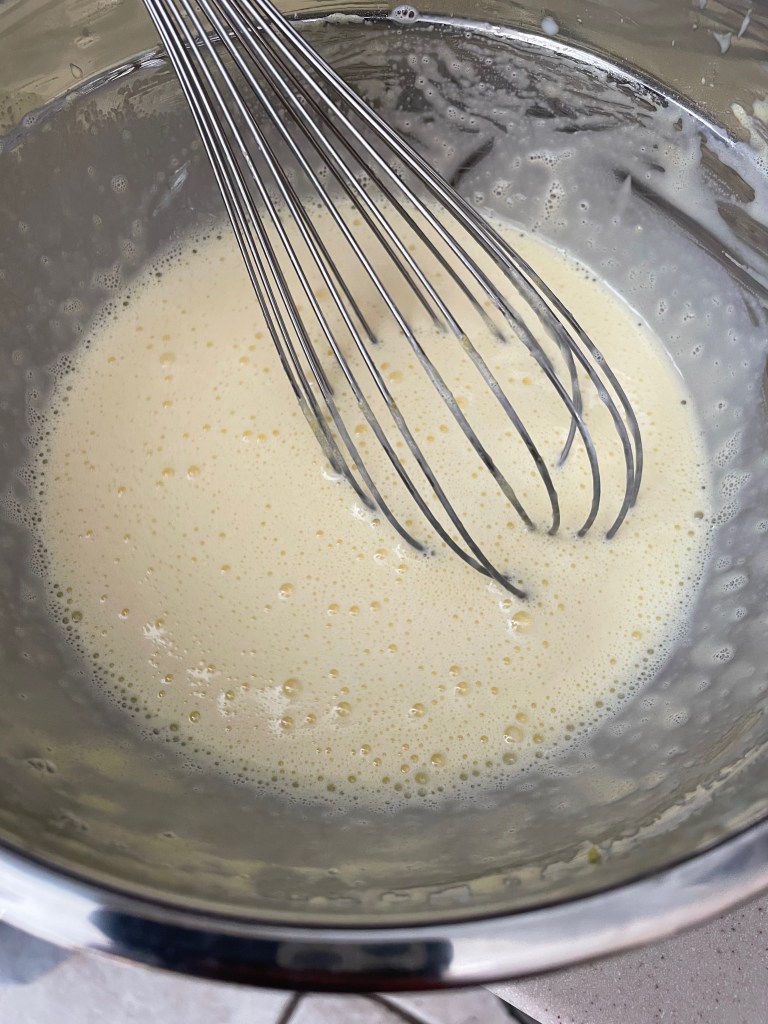
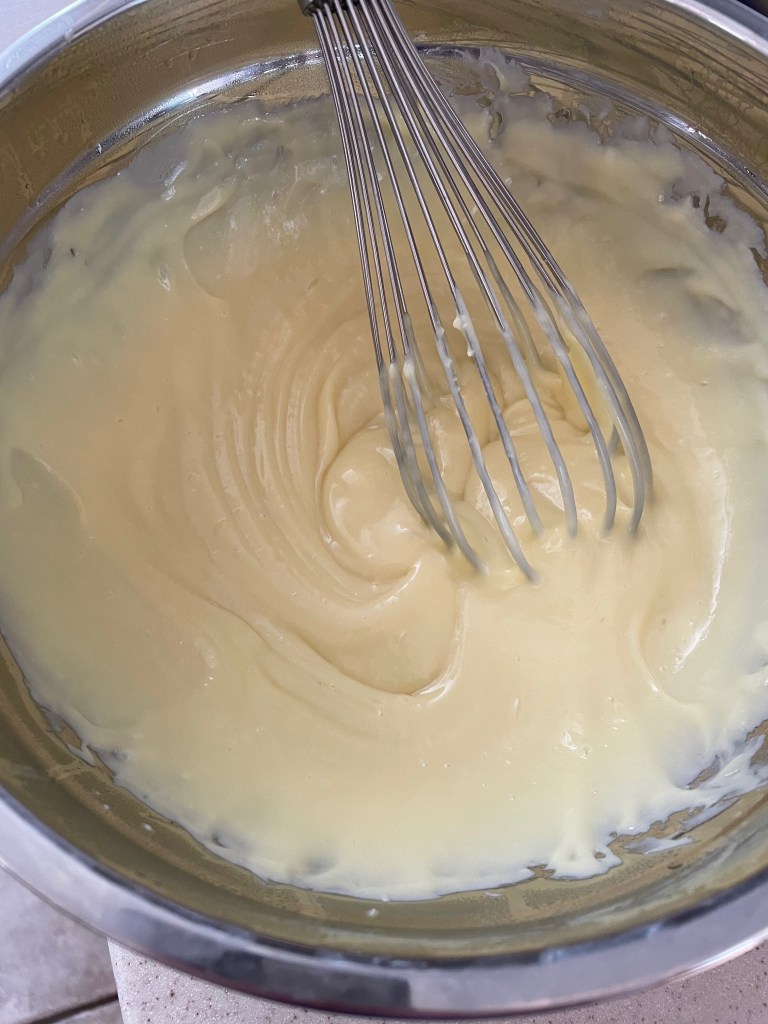
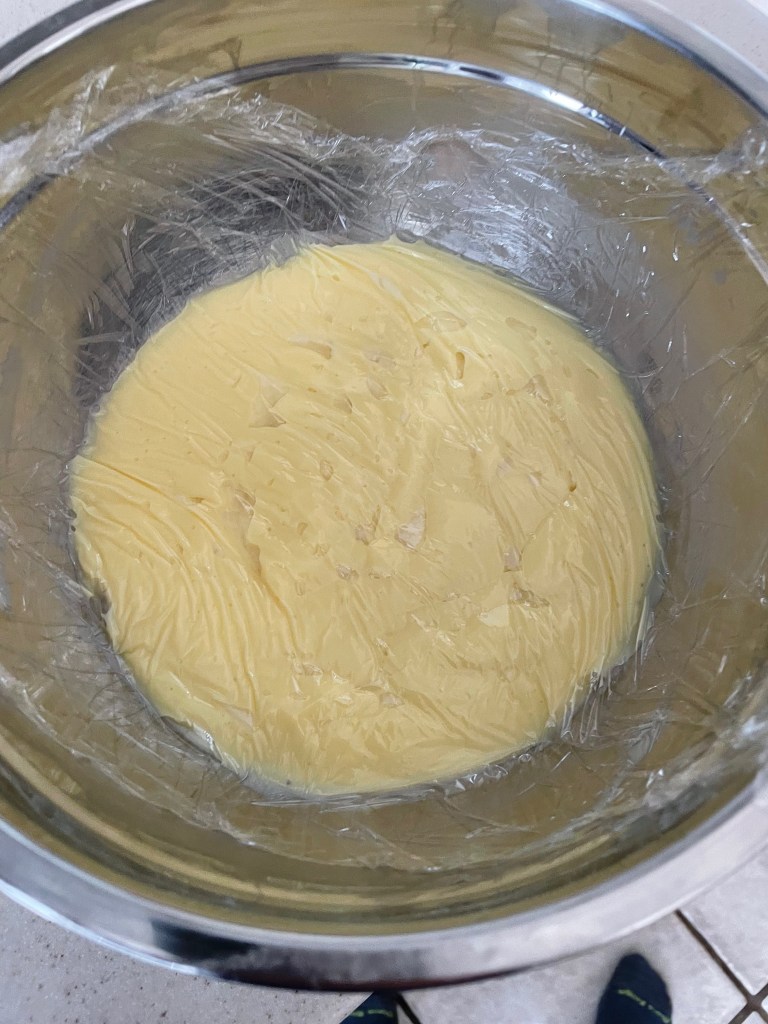
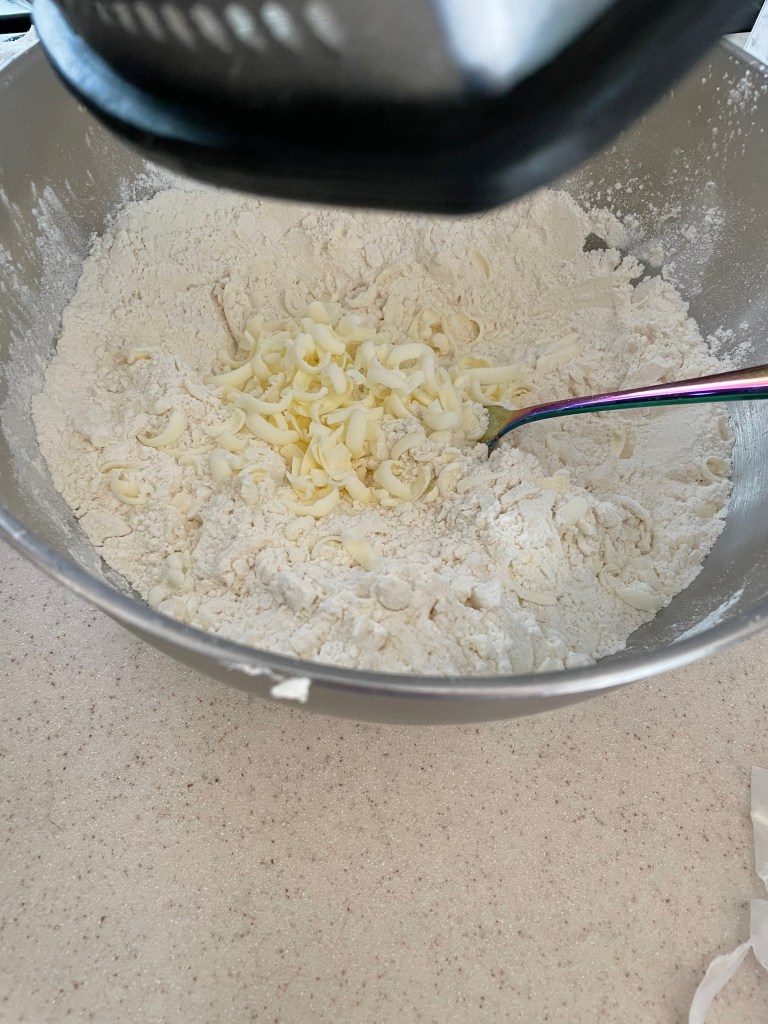
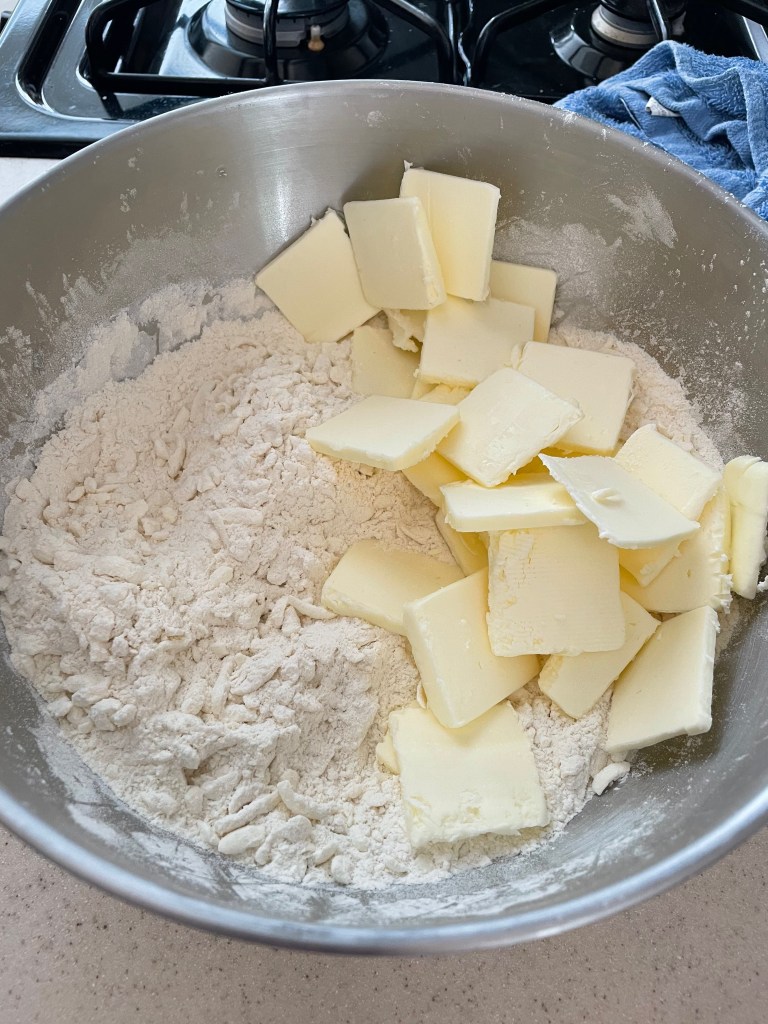
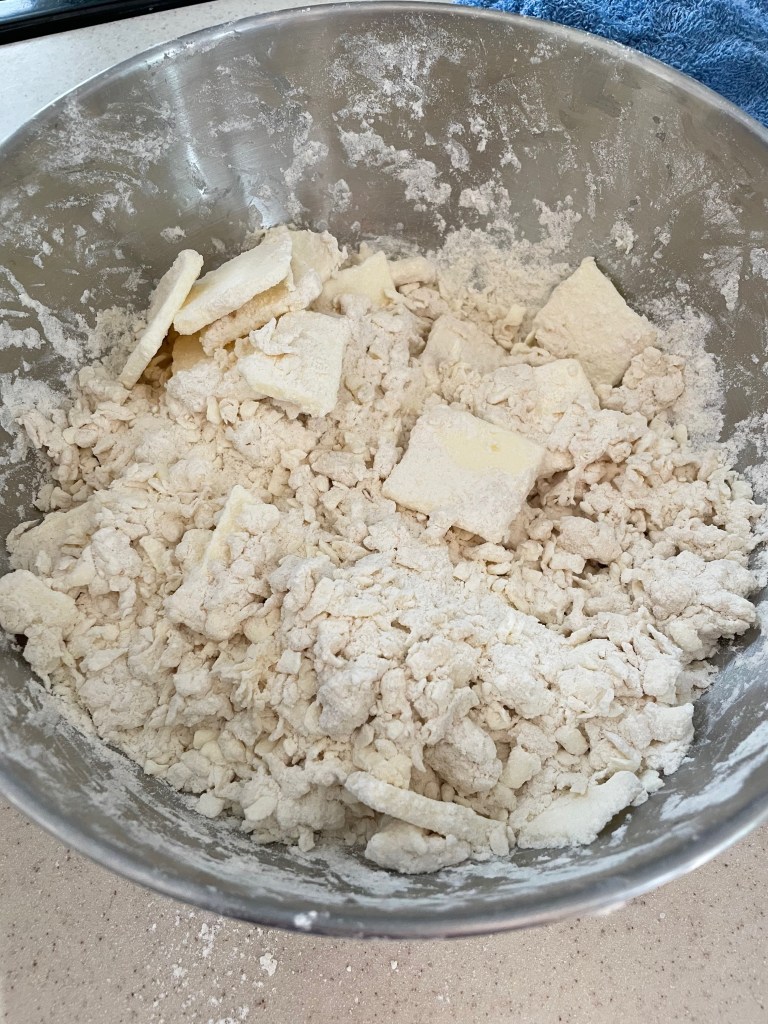
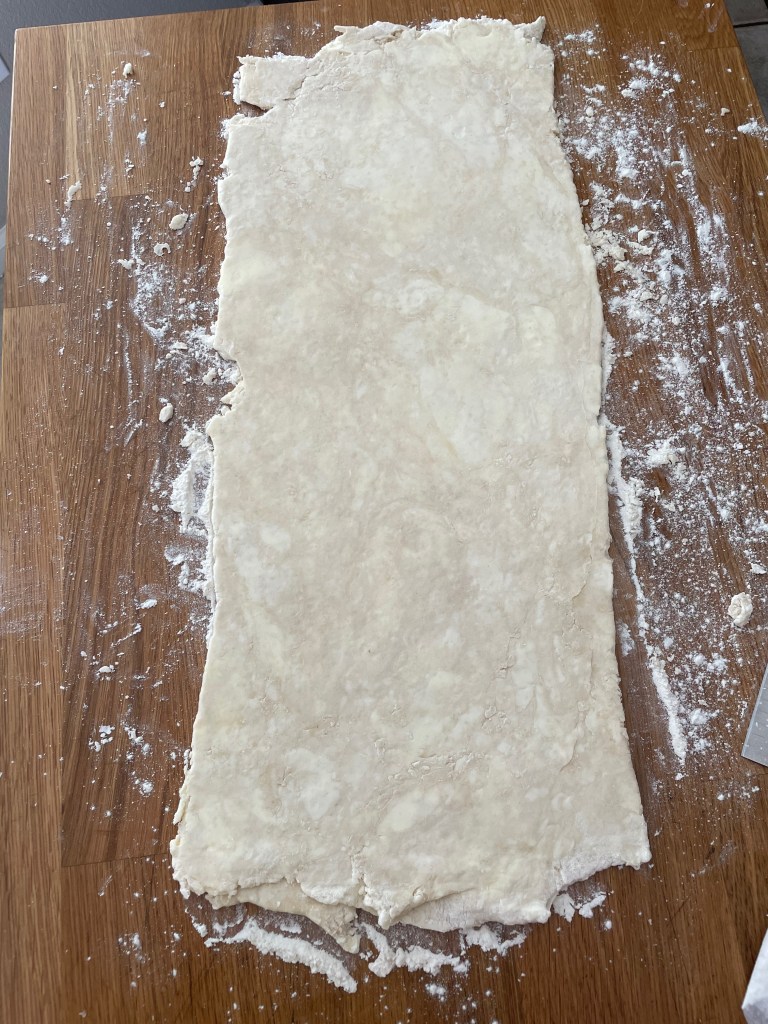
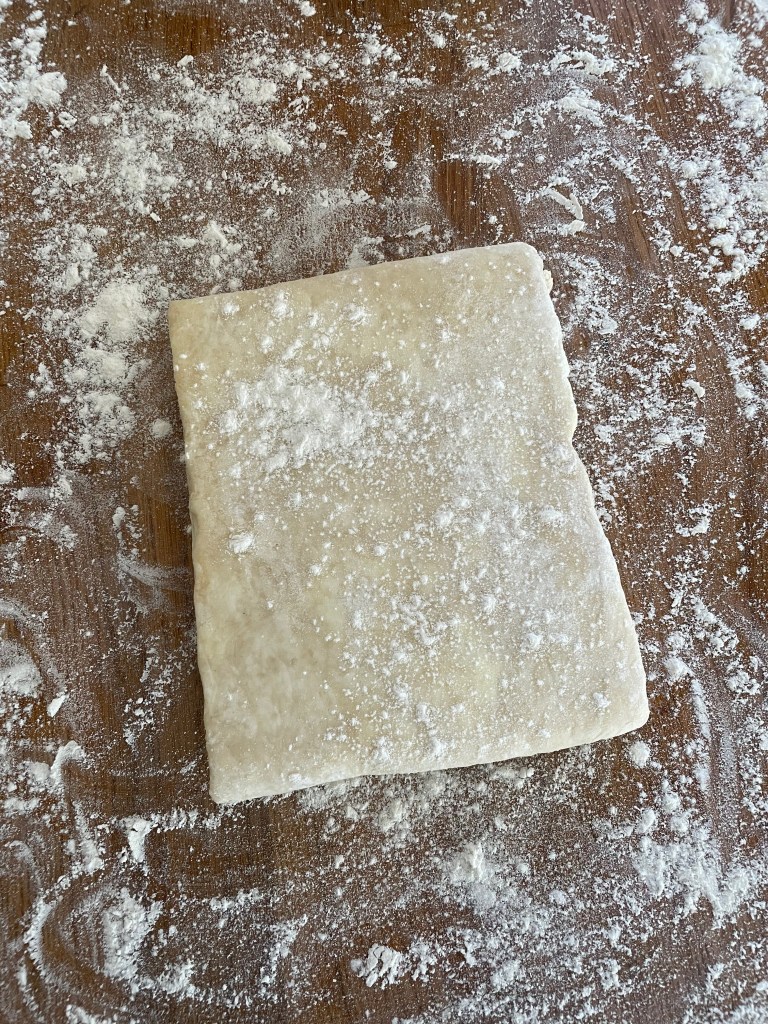
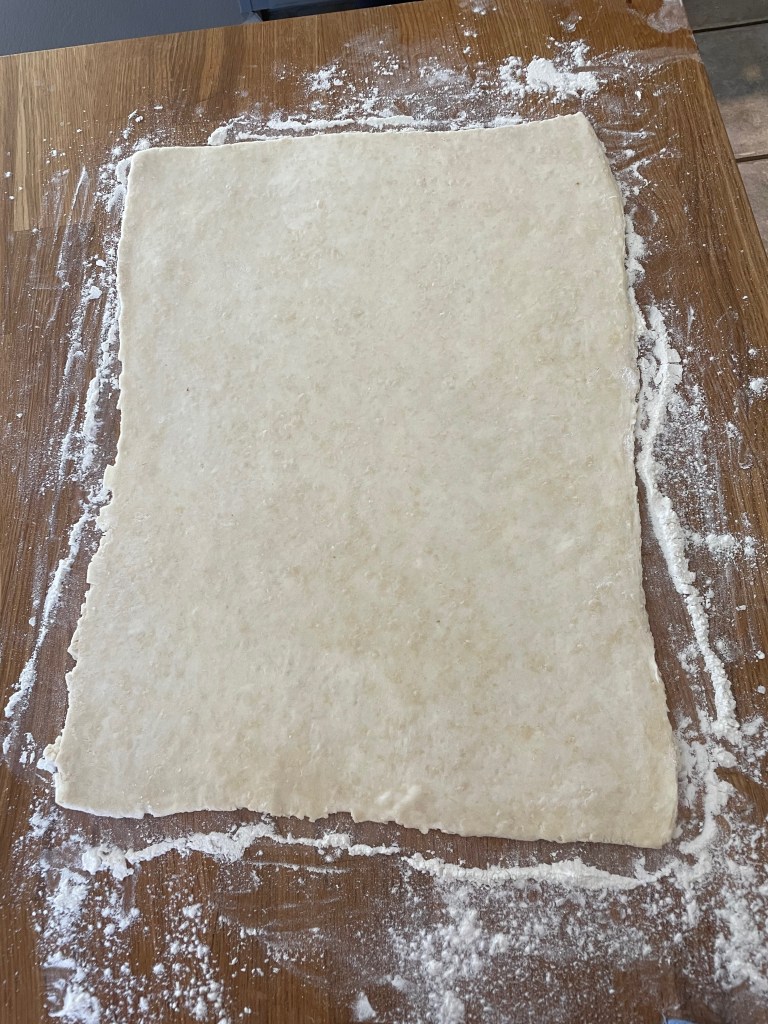
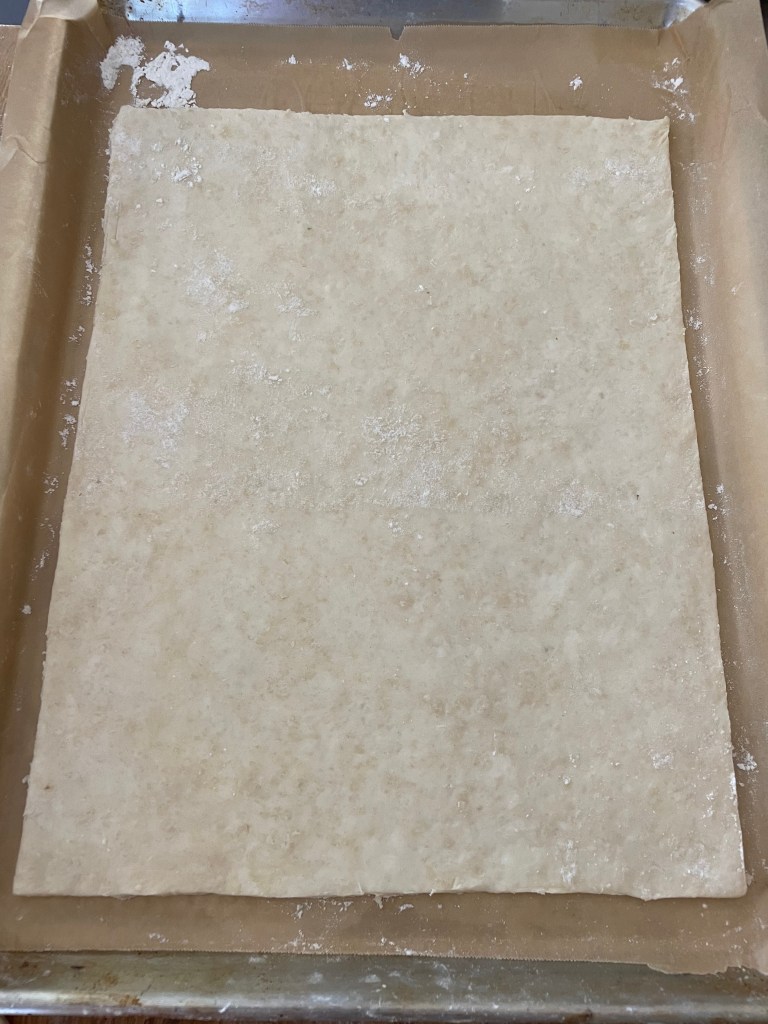
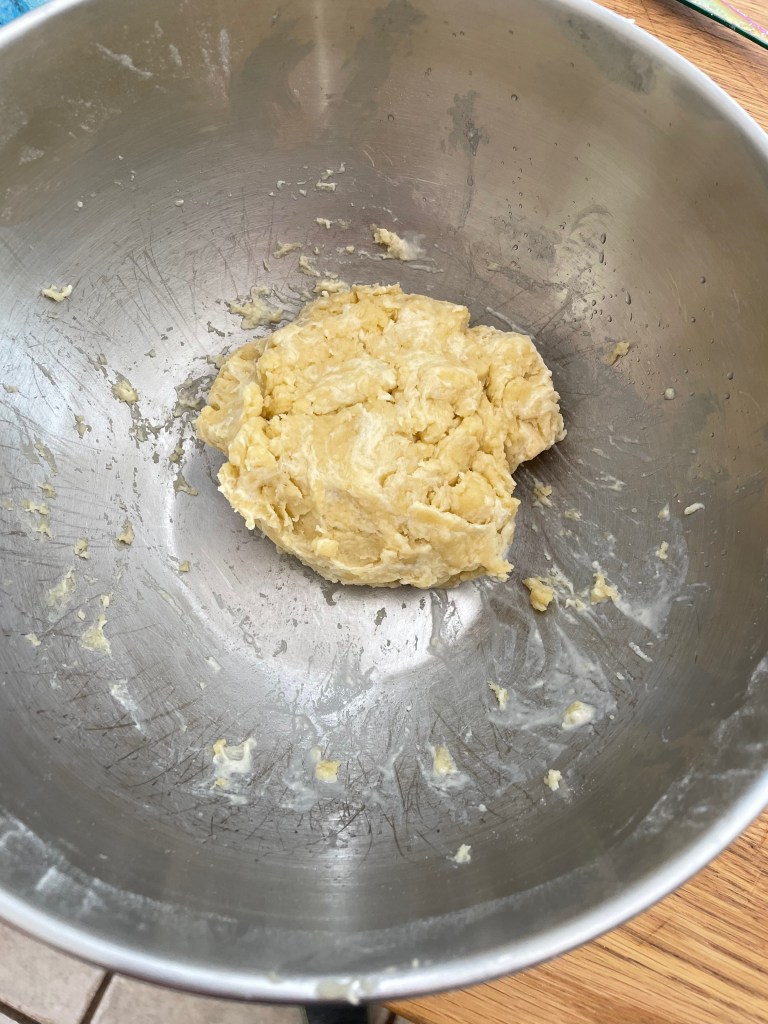
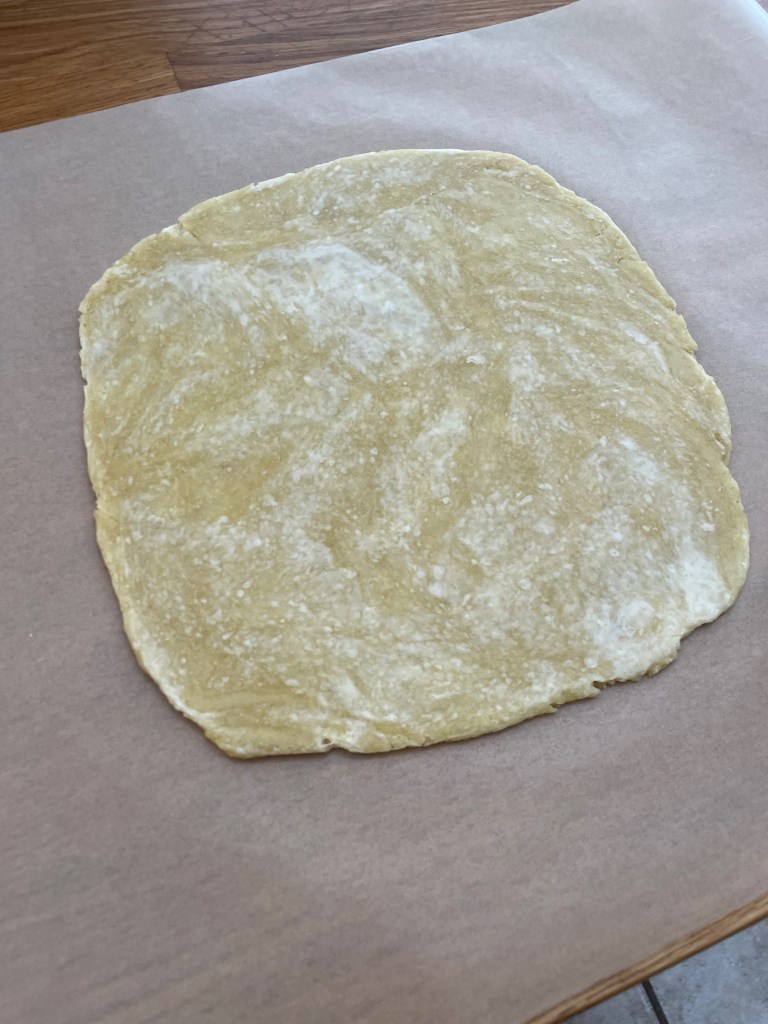
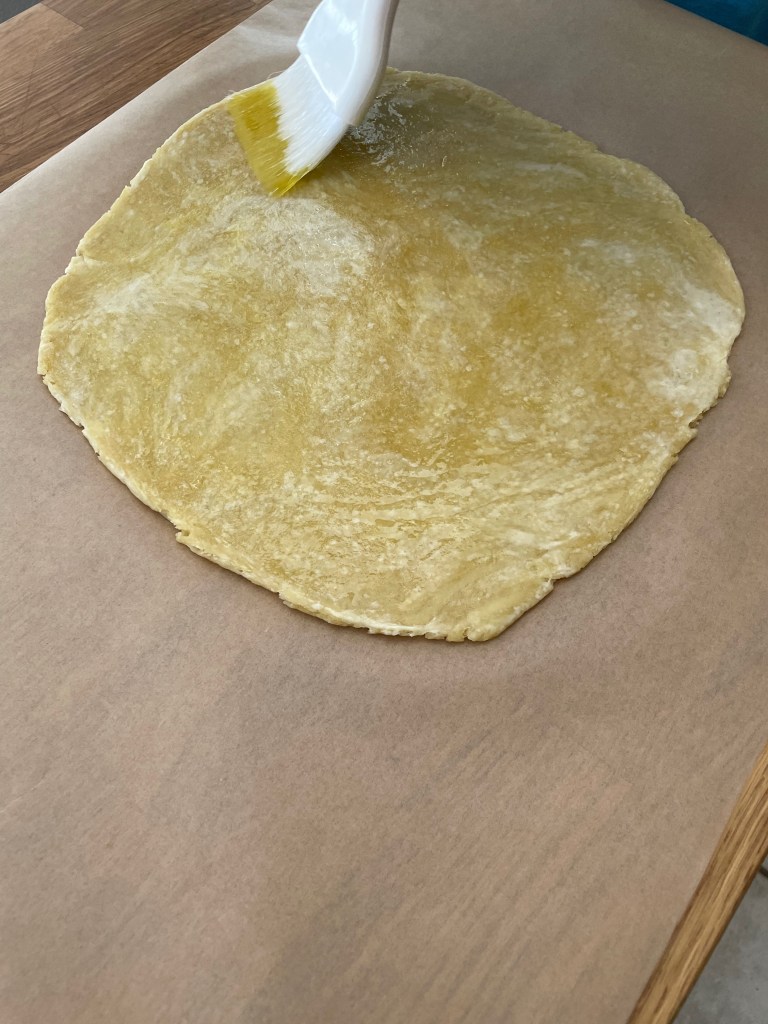
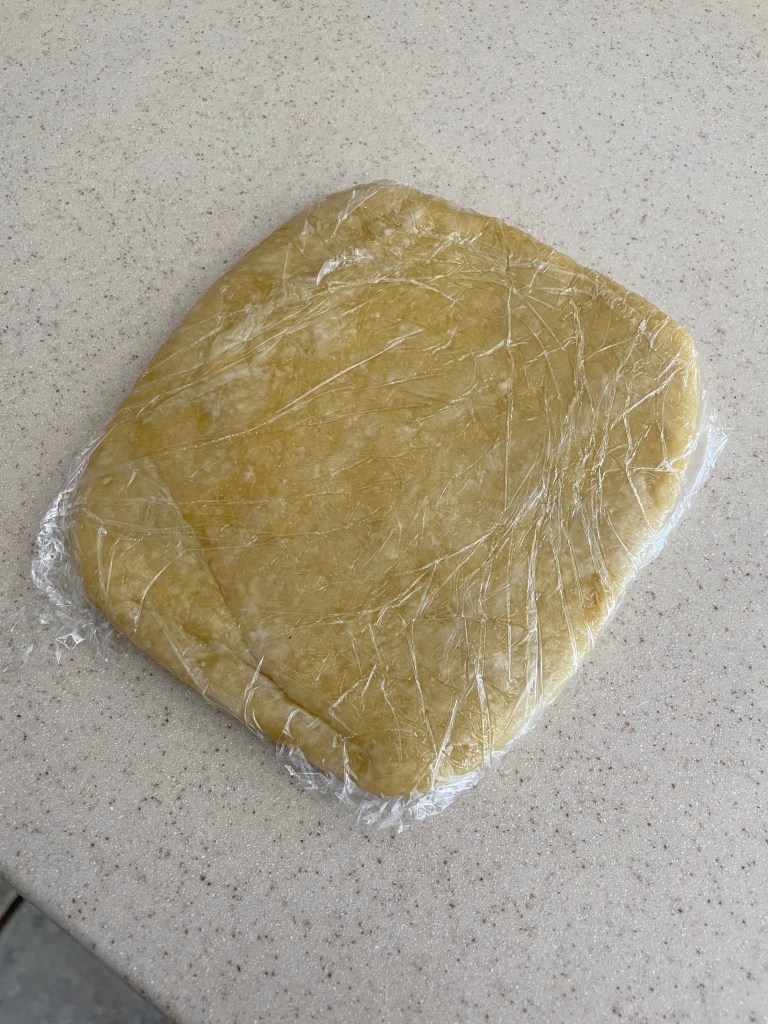
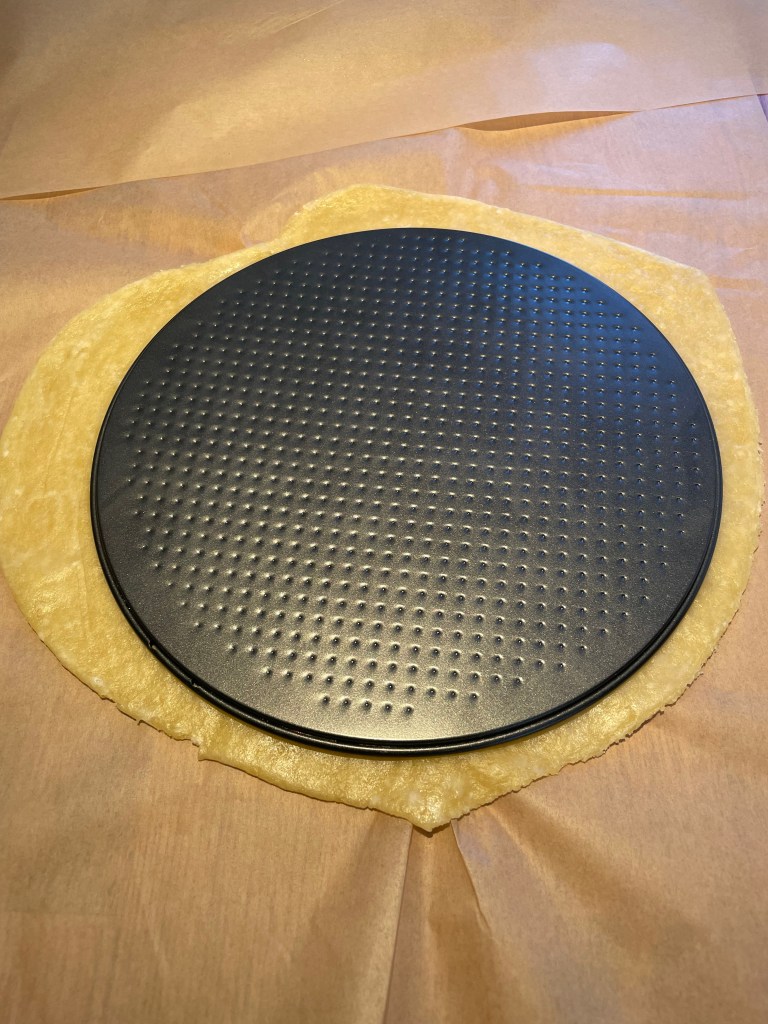
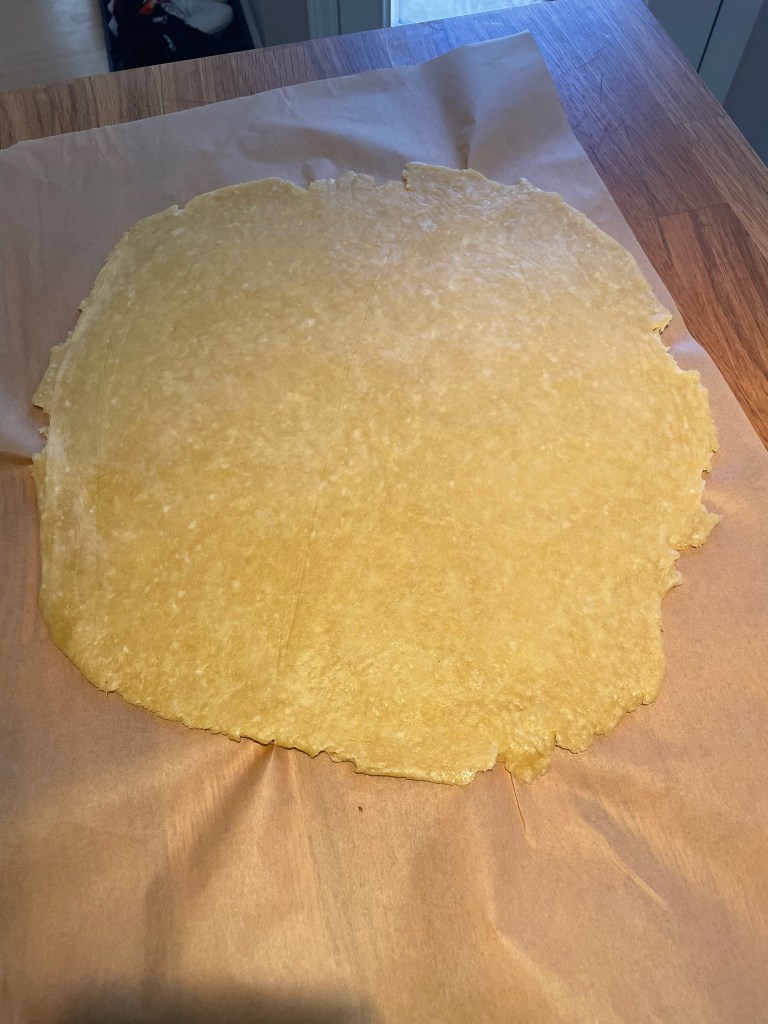
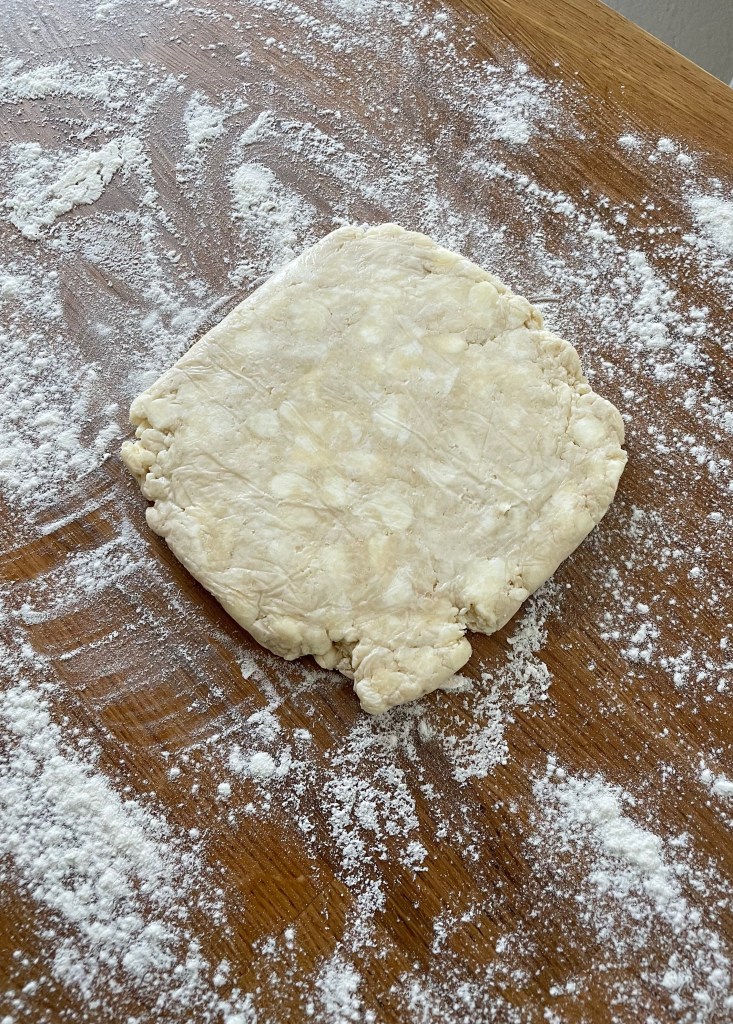
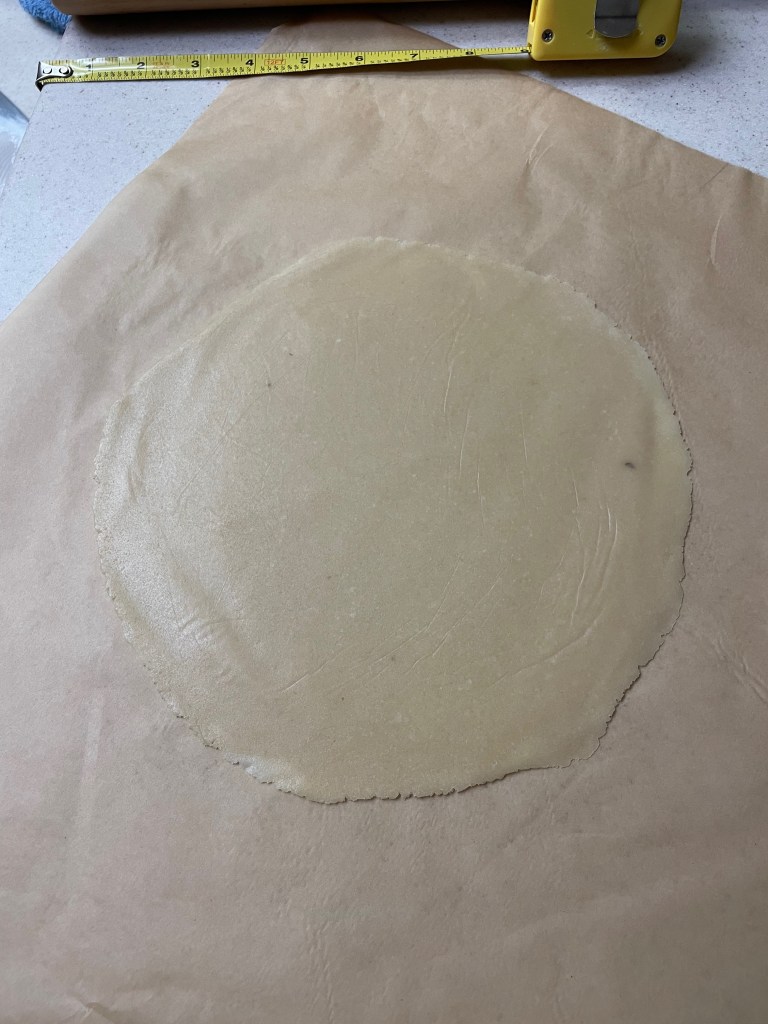
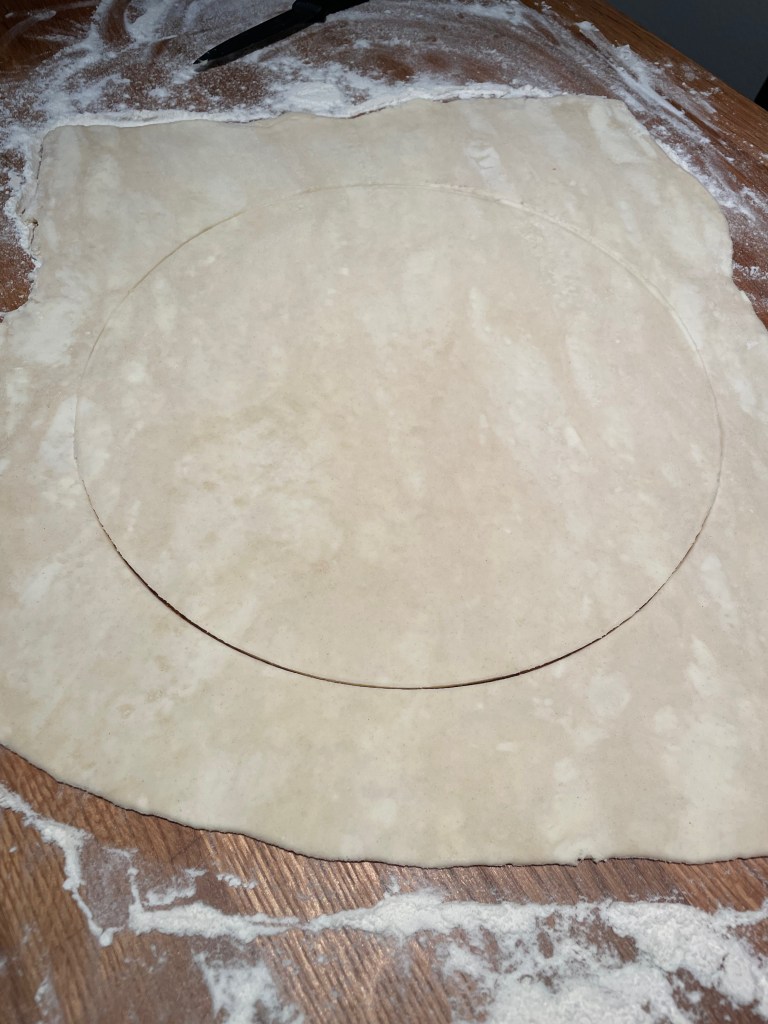
Making The Flaky Pie Dough
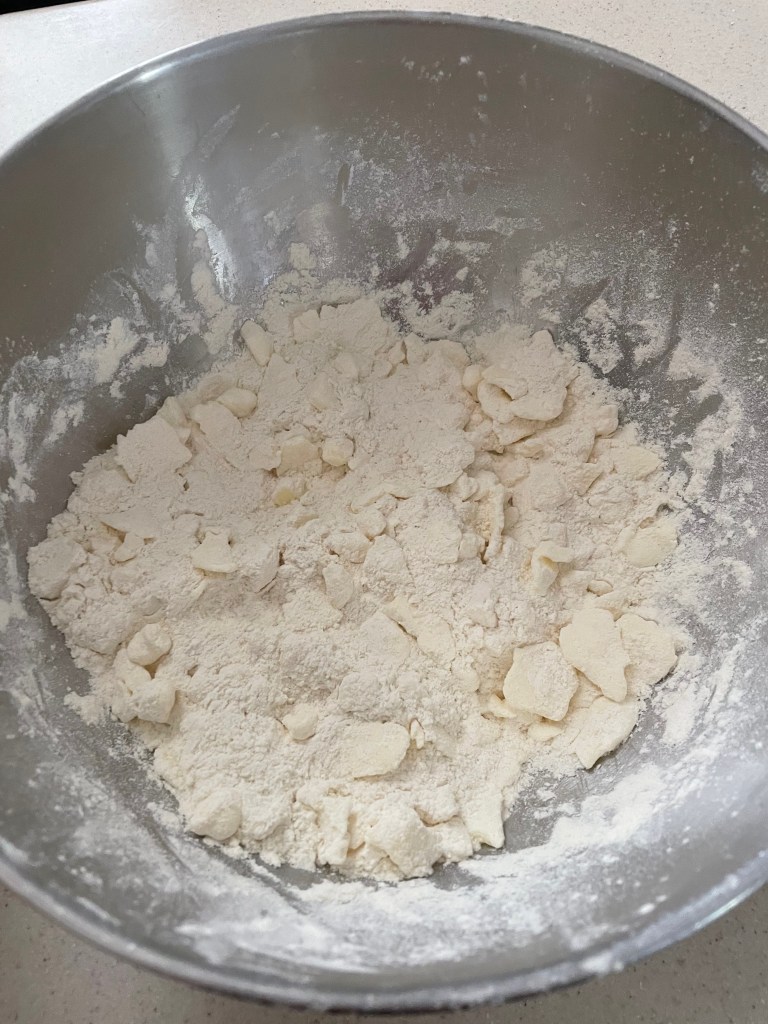

Tip 1: Consider freezing the bowl, the rolling pin, and the working surface (such as a cutting board) to keep the butter from melting. Likewise, freeze the bowl and the flour/butter mixture for at least 5 minutes between each step.
Tip 2: Consider chilling in refrigerator for longer than suggested for both steps.
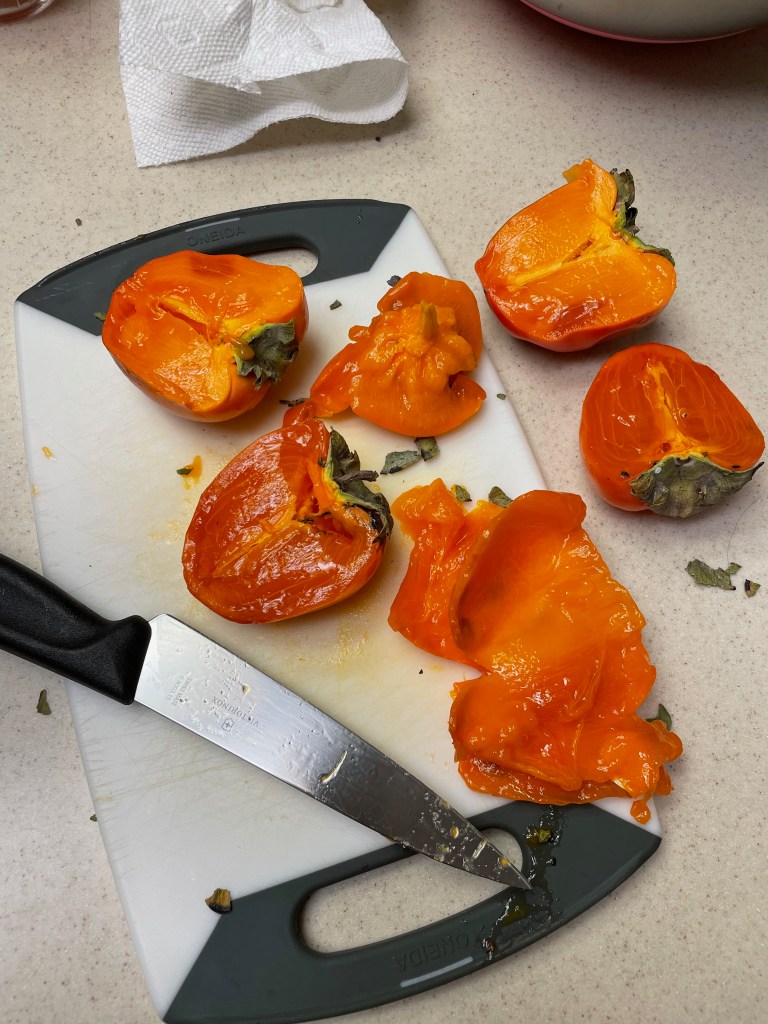
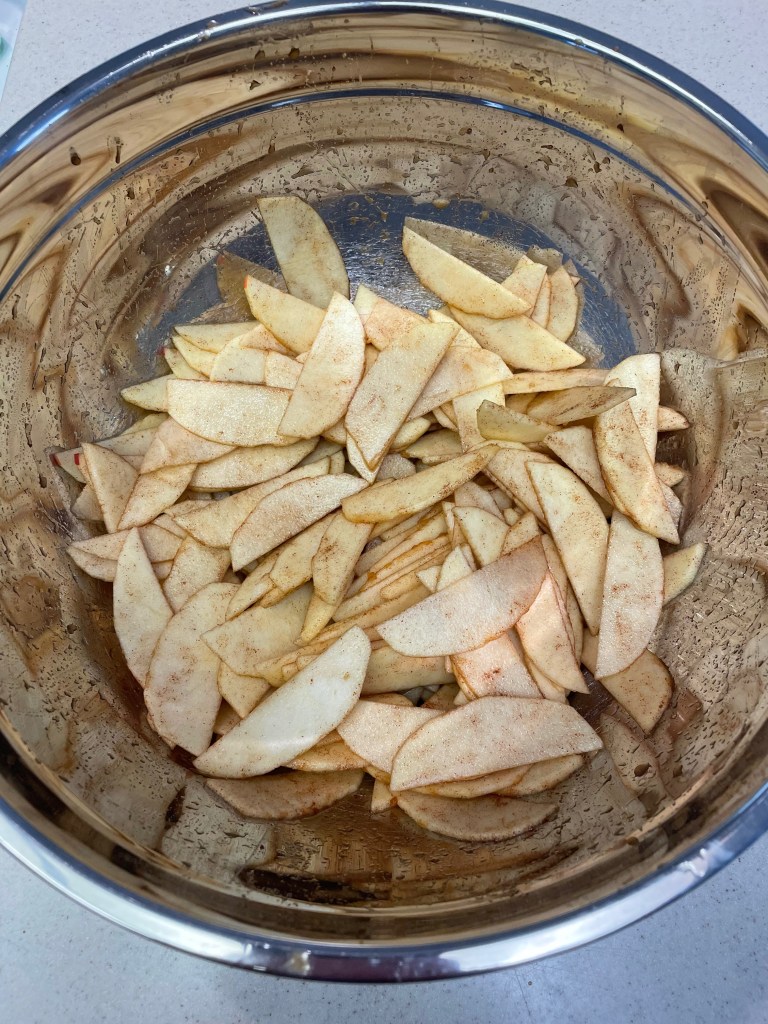
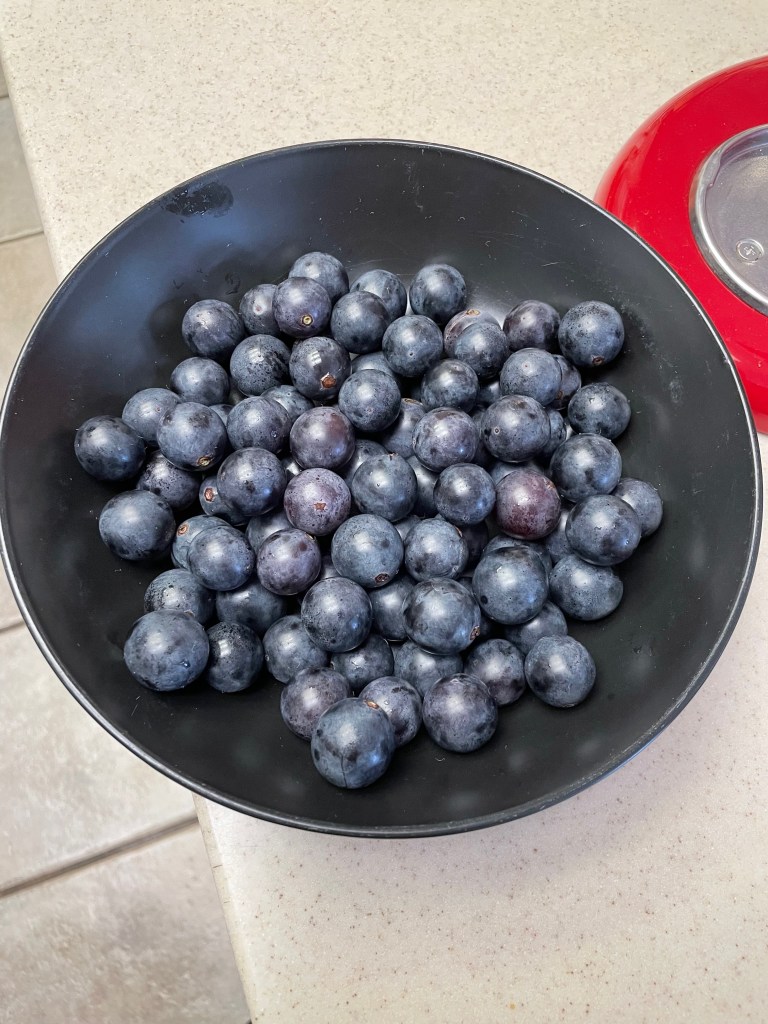
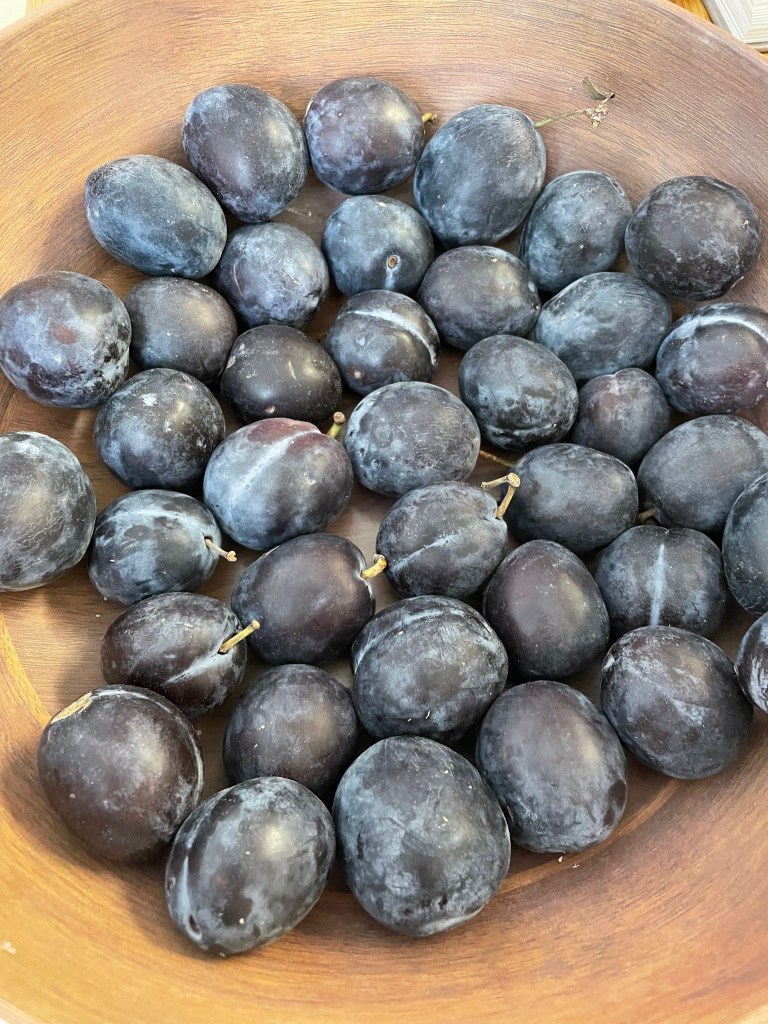
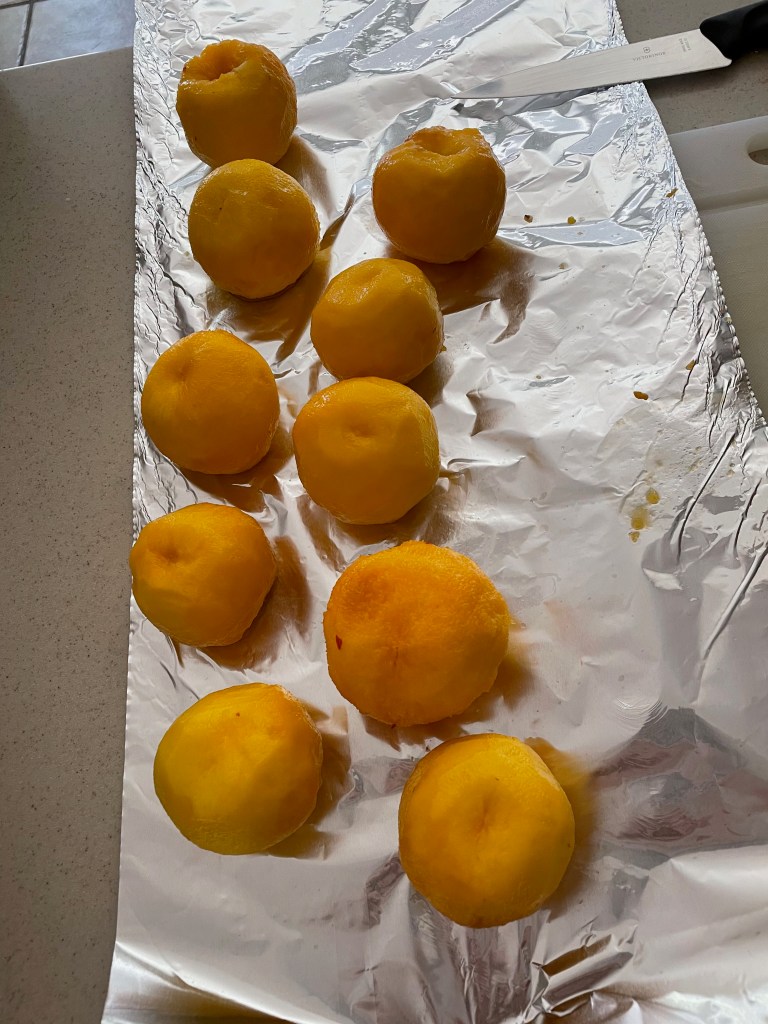
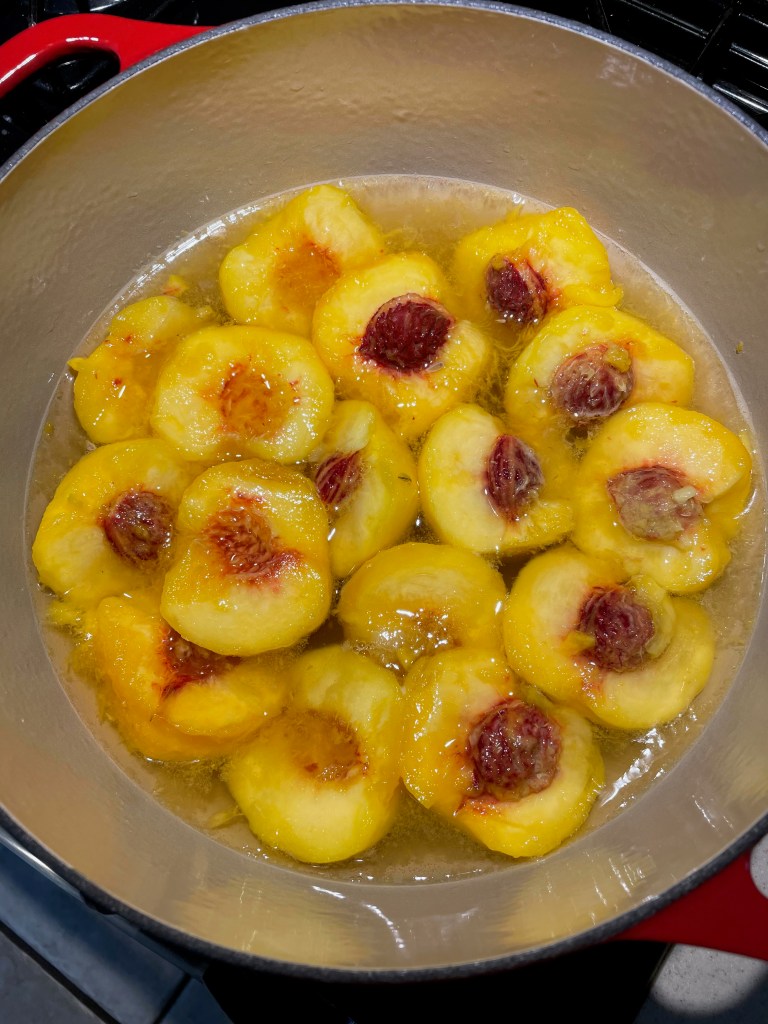
Preparing The Quince
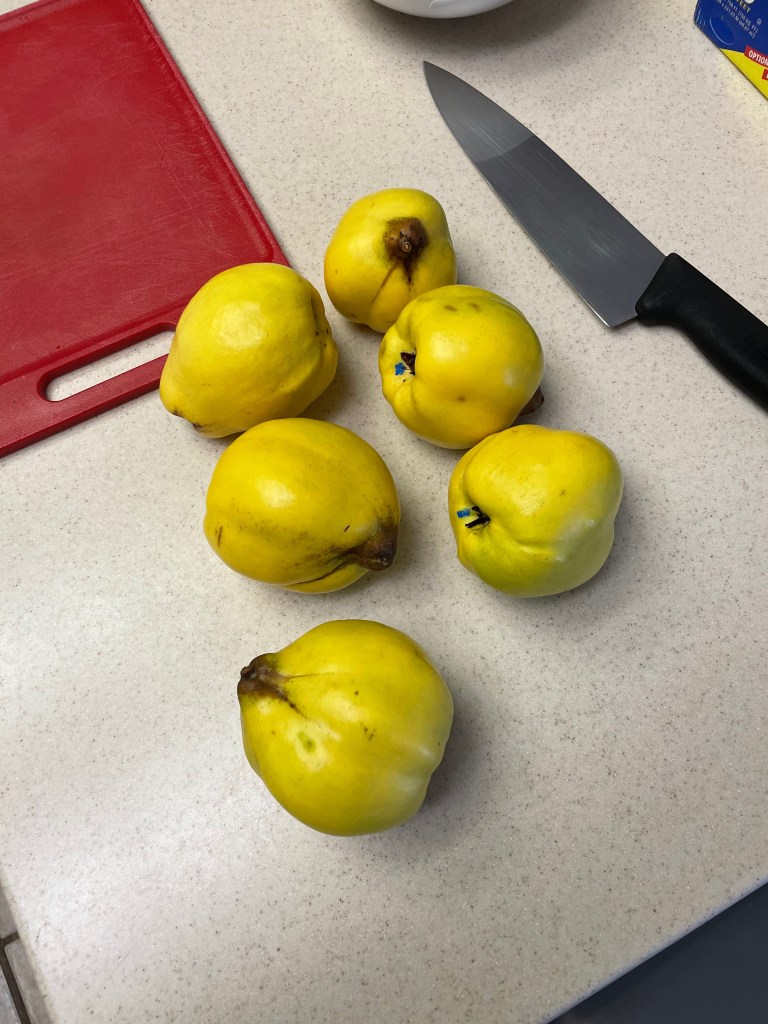


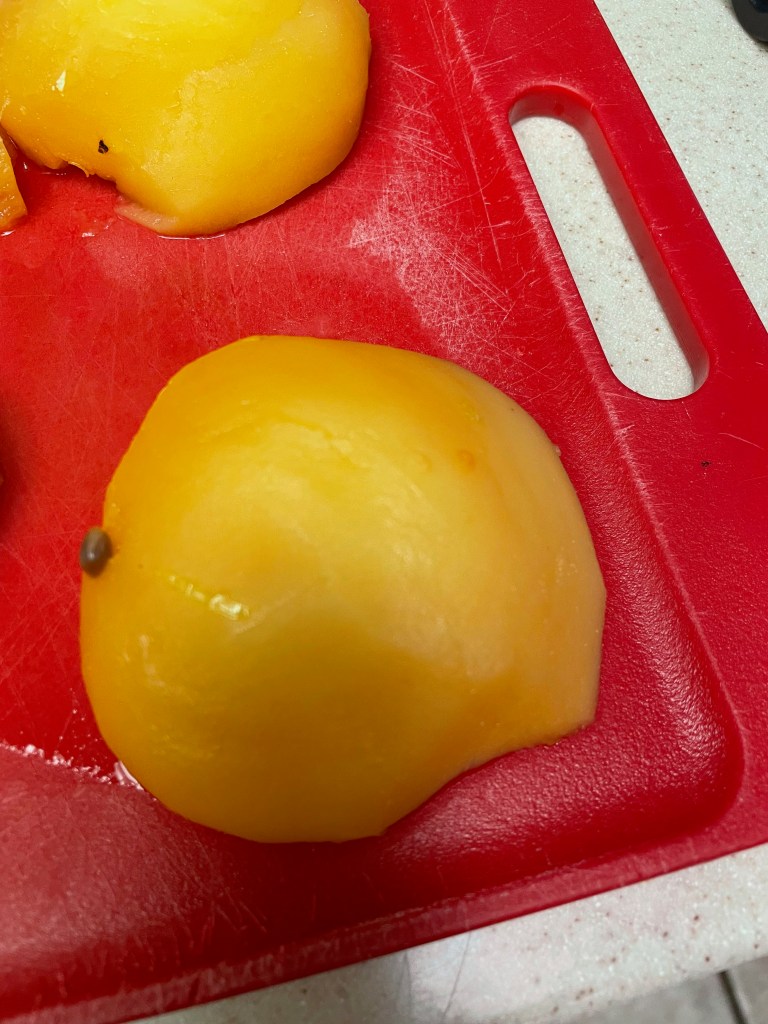

Tip 1: Quince can be hard to find. Look in mid October to mid November. It’s okay if the quince looks rough, as rinsing and lightly scrubbing cleans them up significantly. Buy several backup quince in case any are bad – as it’s hard to tell from the outside.
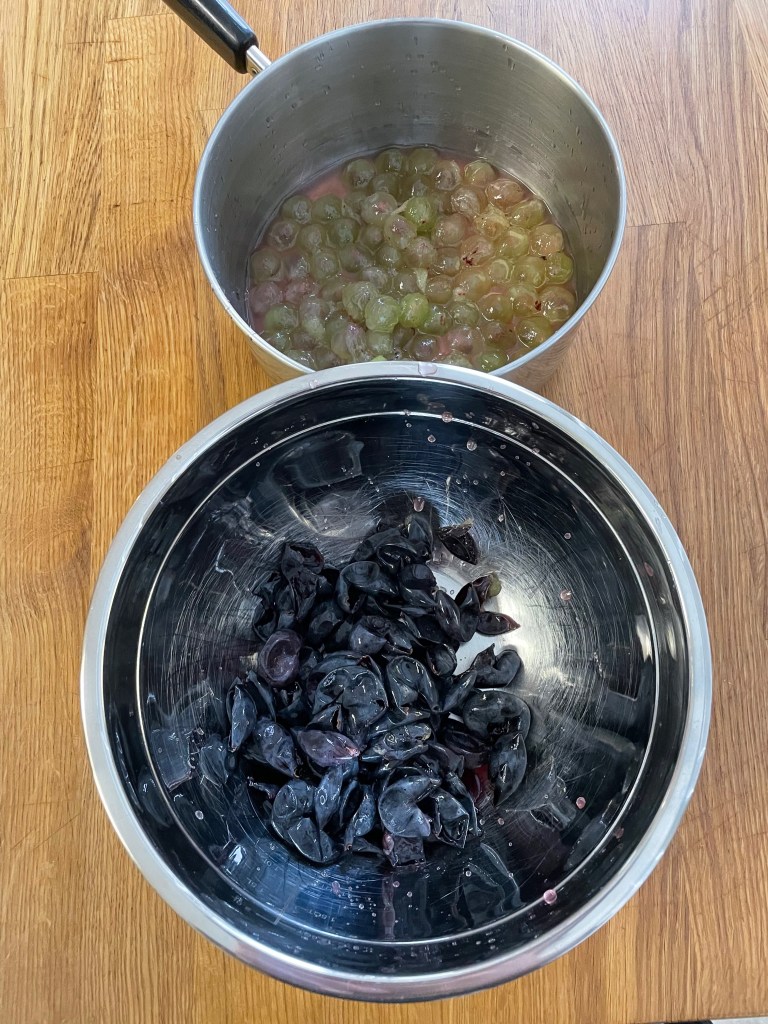
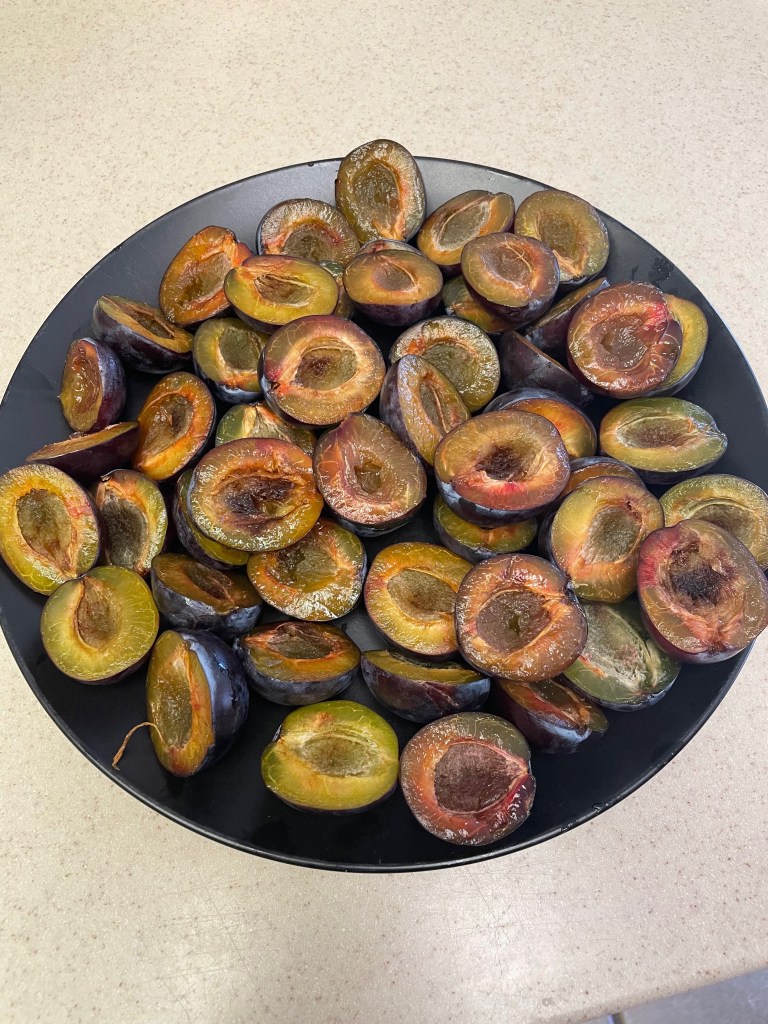
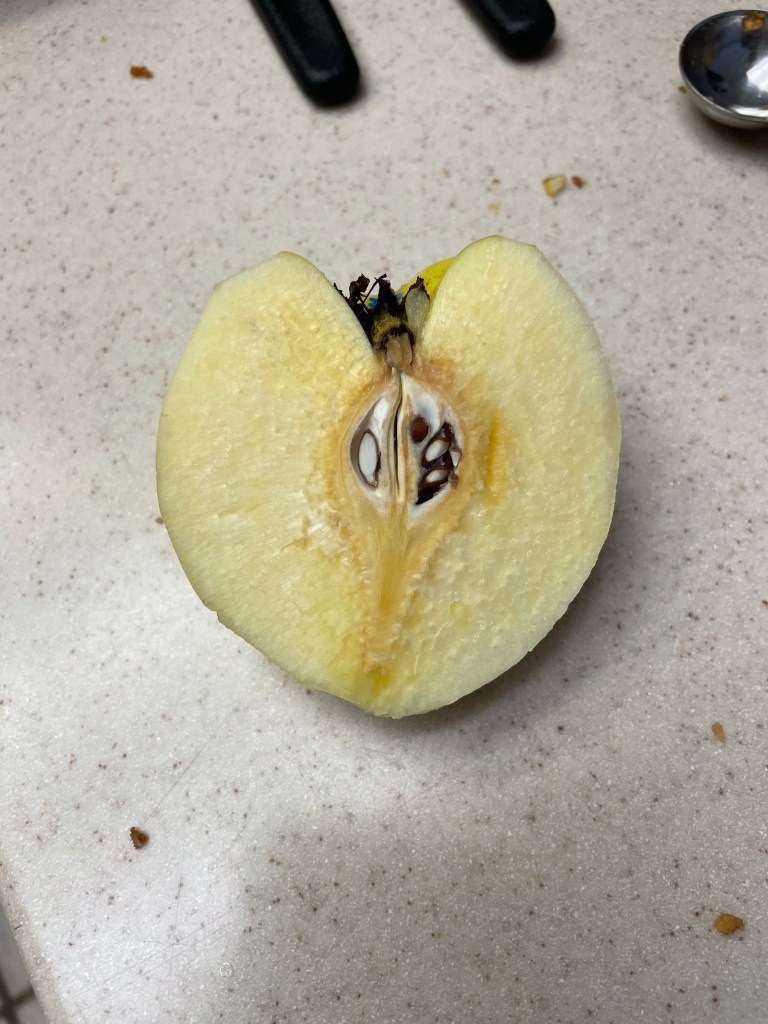
Tip 2: Use a larger spoon to core and a paring knife to cut out any particular hard parts that extend past the core. It’s quite an arduous process.
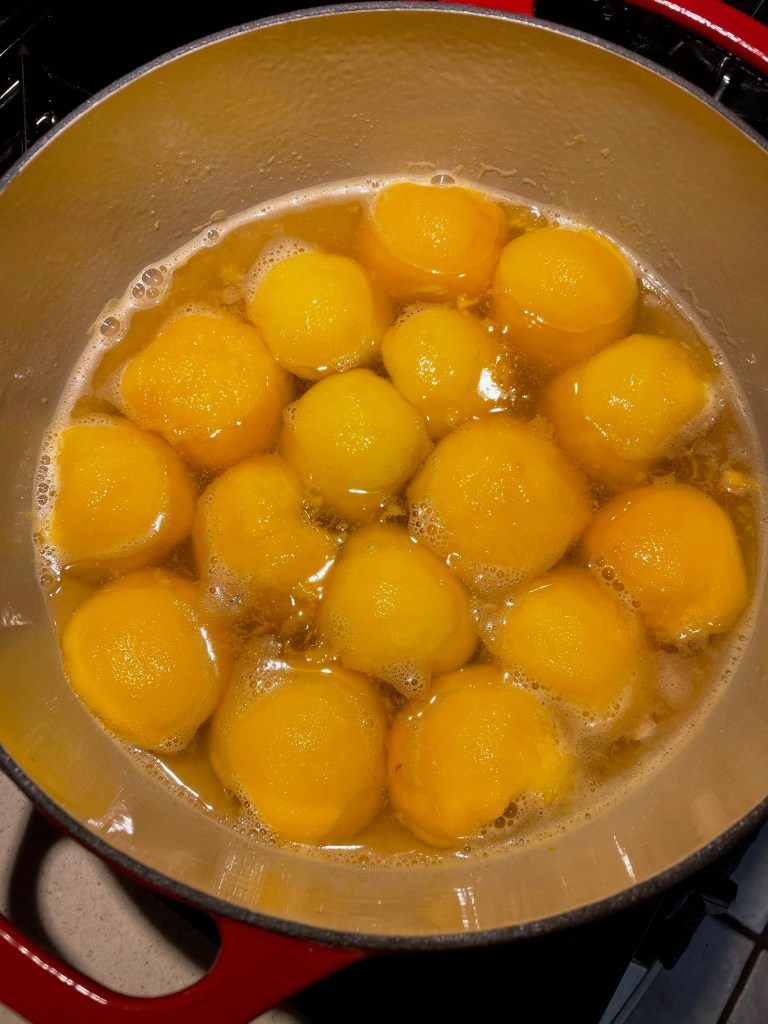
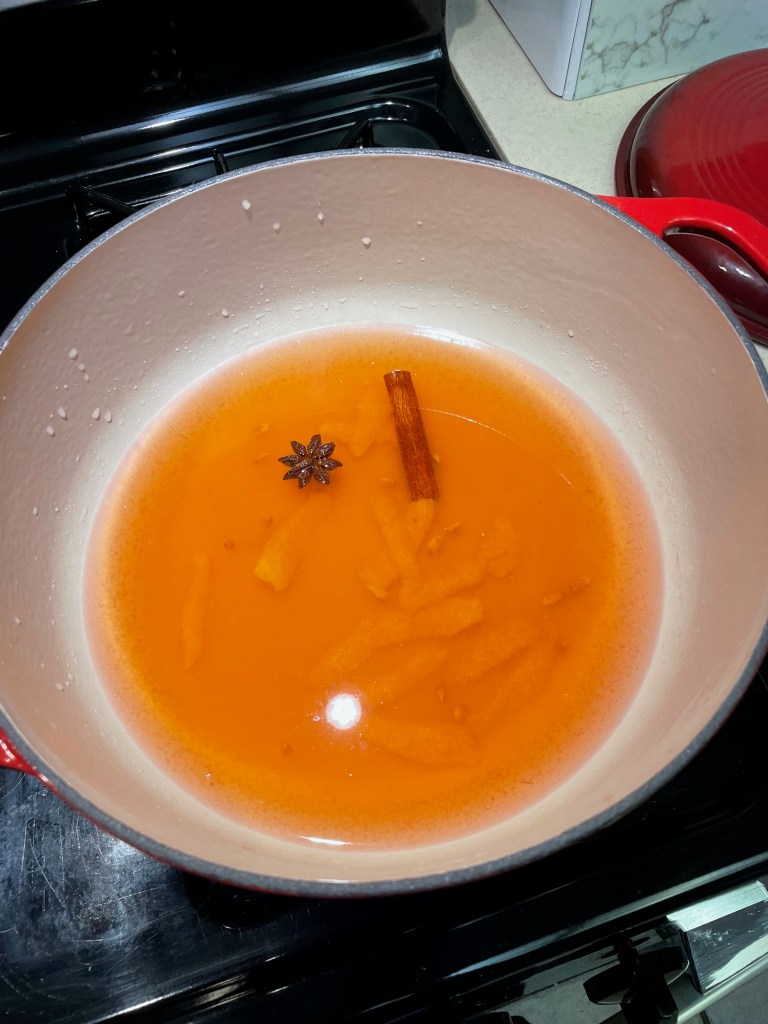
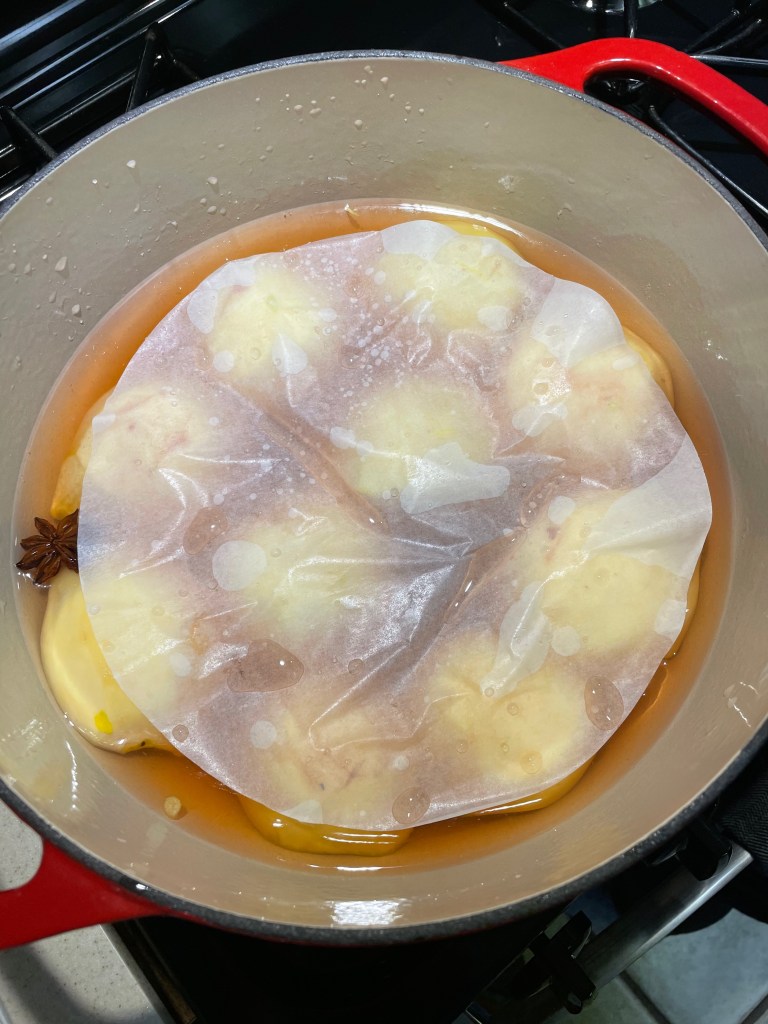
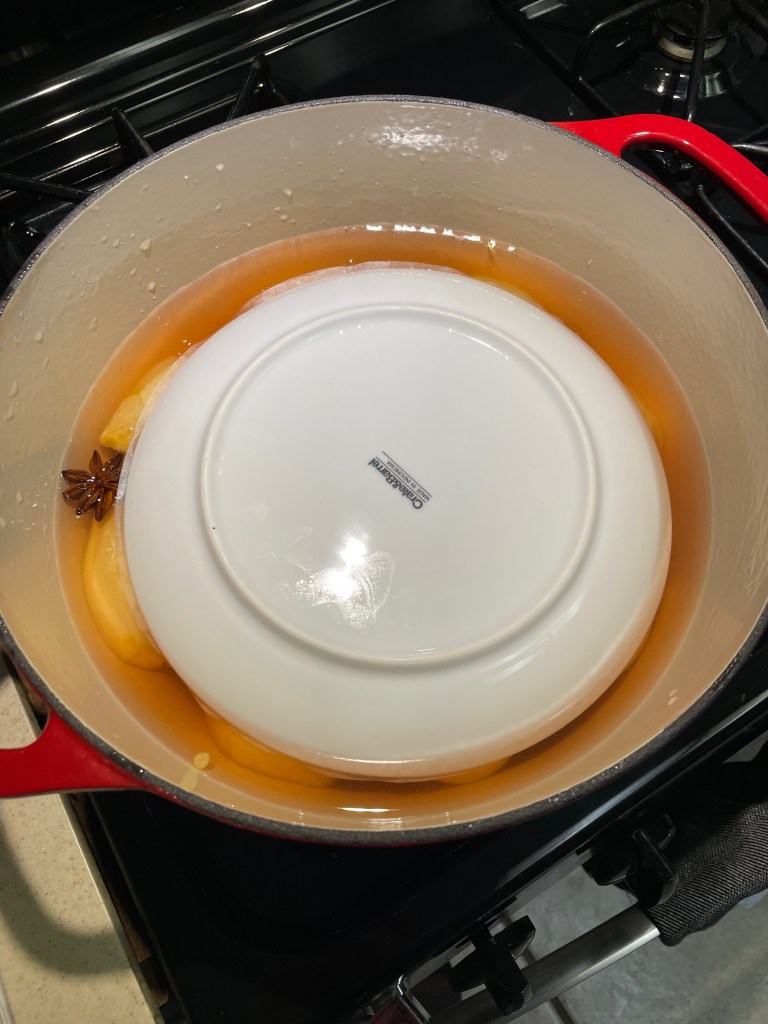
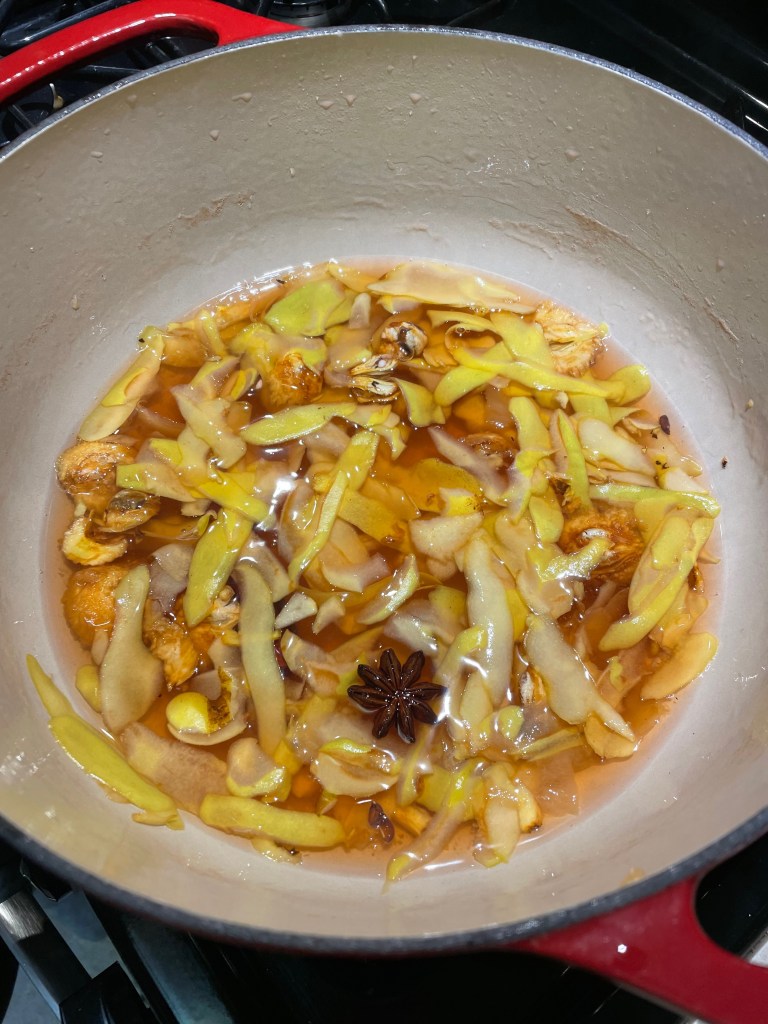
Tip 3: Once you start poaching the quince regularly check every 10 minutes. They can go soft quite rapidly. Be careful not to boil to aggressively or the quince will be mushy. It’s not totally necessary, but consider moving the quince about periodically to evenly distribute heat.
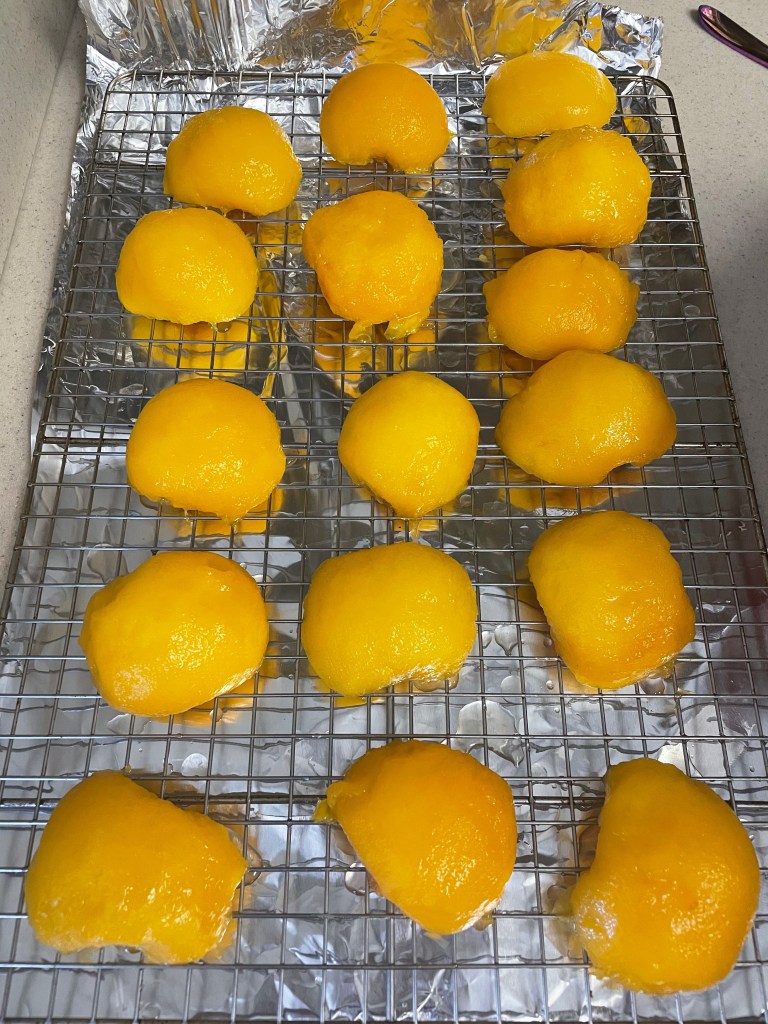
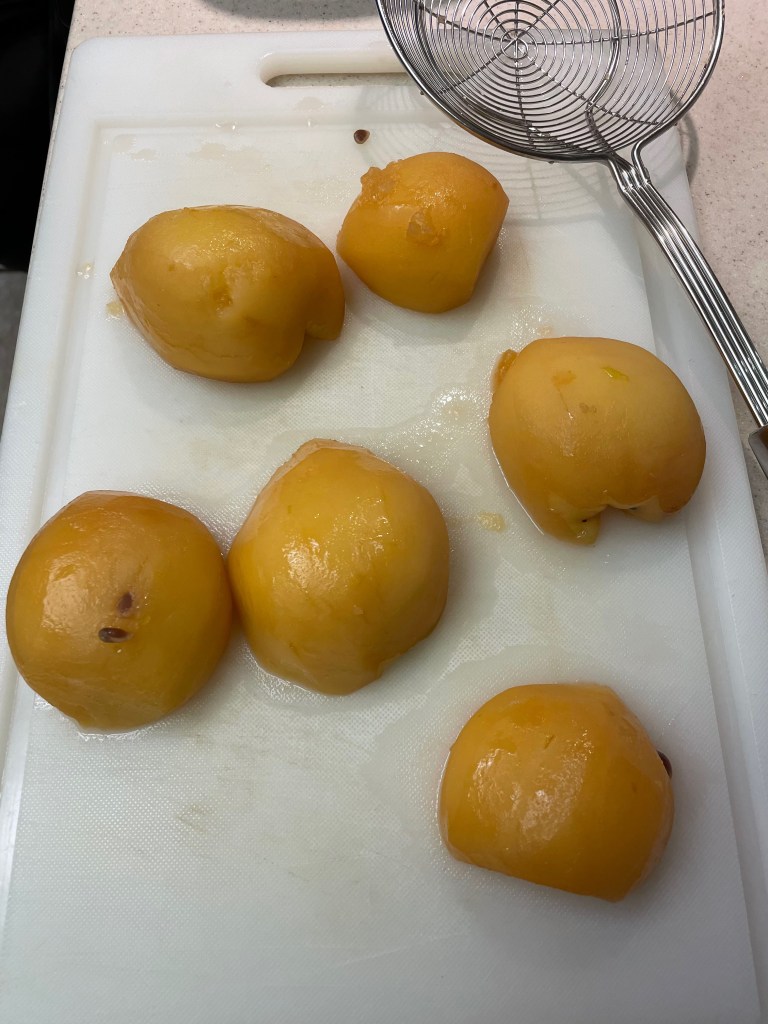
Tip 4: Make sure to let the quince cool a bit before cutting them, otherwise they’ll fall apart and not hold their shape.
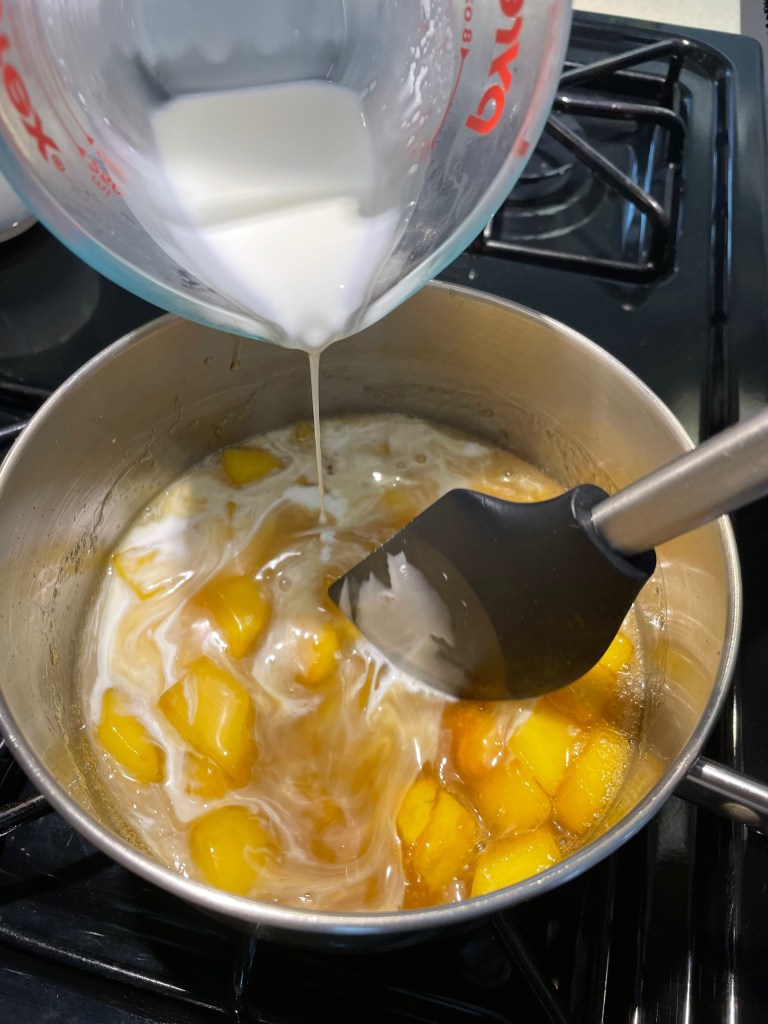
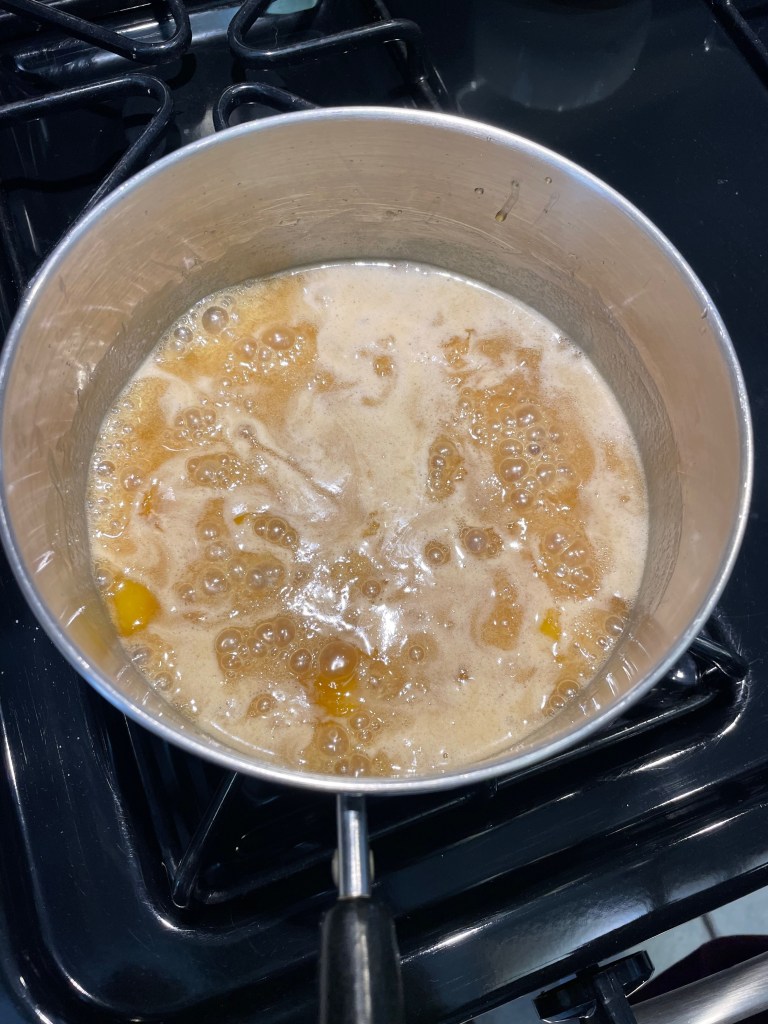
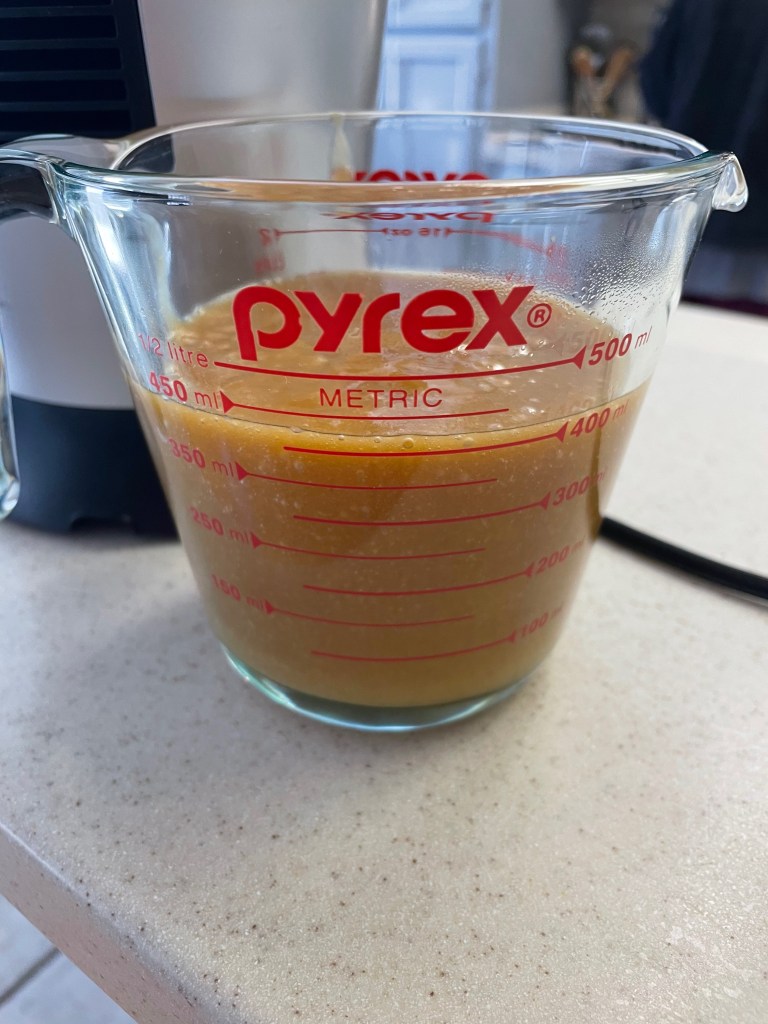
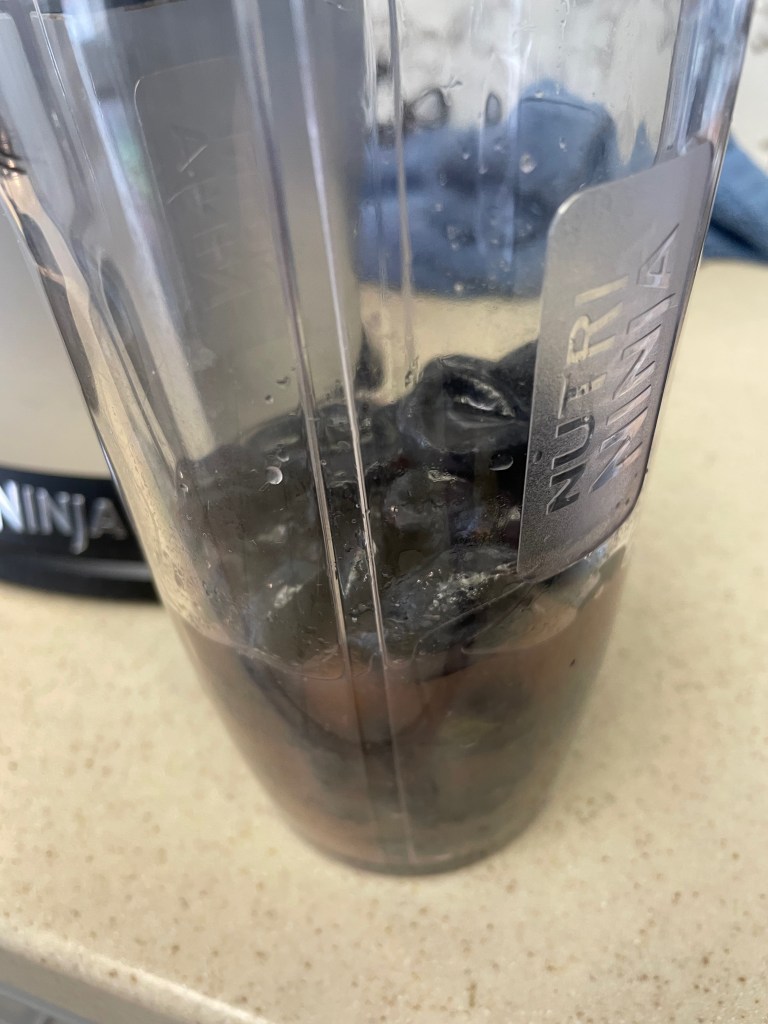
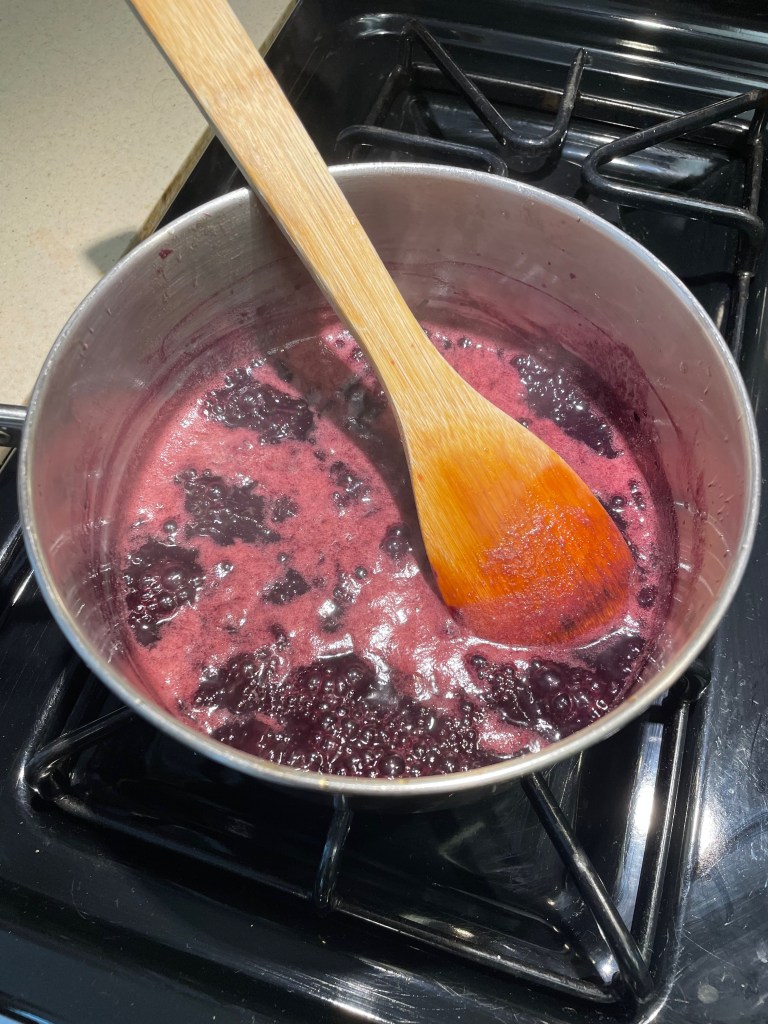
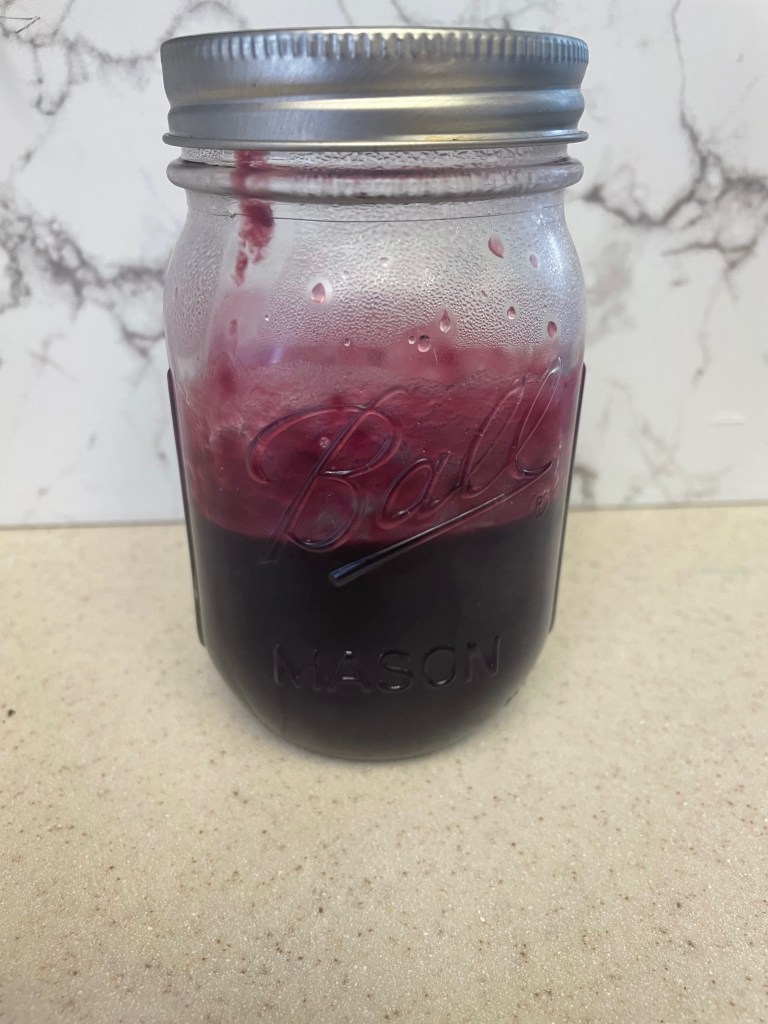
Tip 5: It can take a long time for the mixture to reduce to a jelly, but the transformation happens very quickly. Make sure to watch very intently as the water level gets low. Even if you end up with a small amount of jelly, it can still turn out well because the jelly melts during baking.
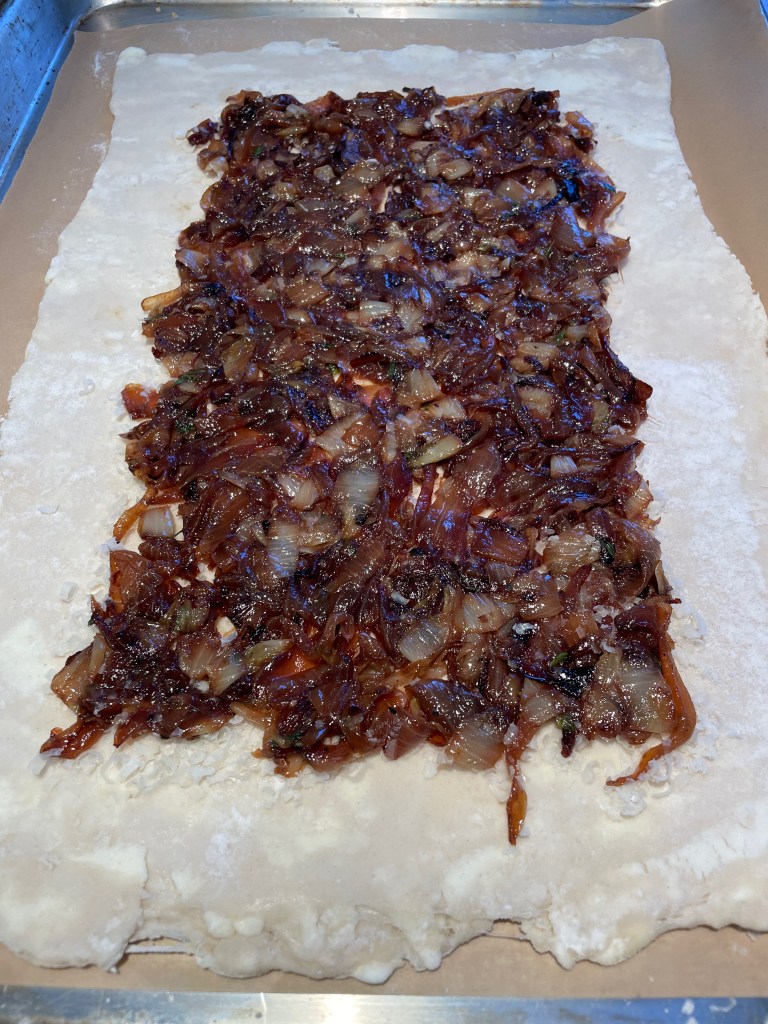
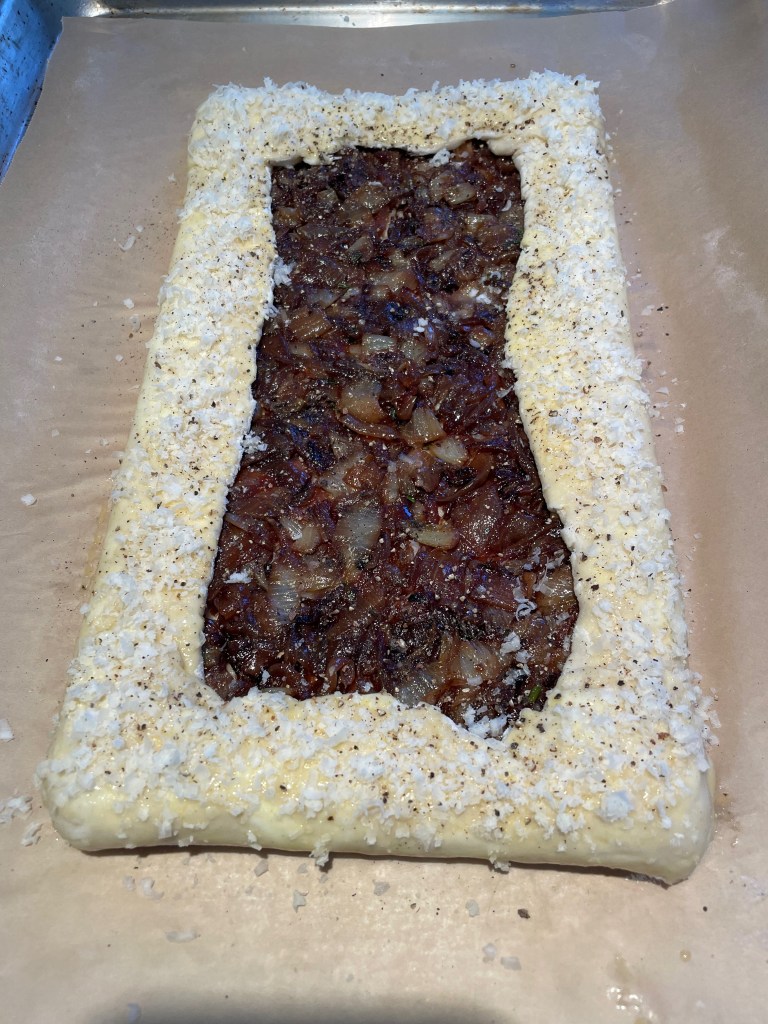
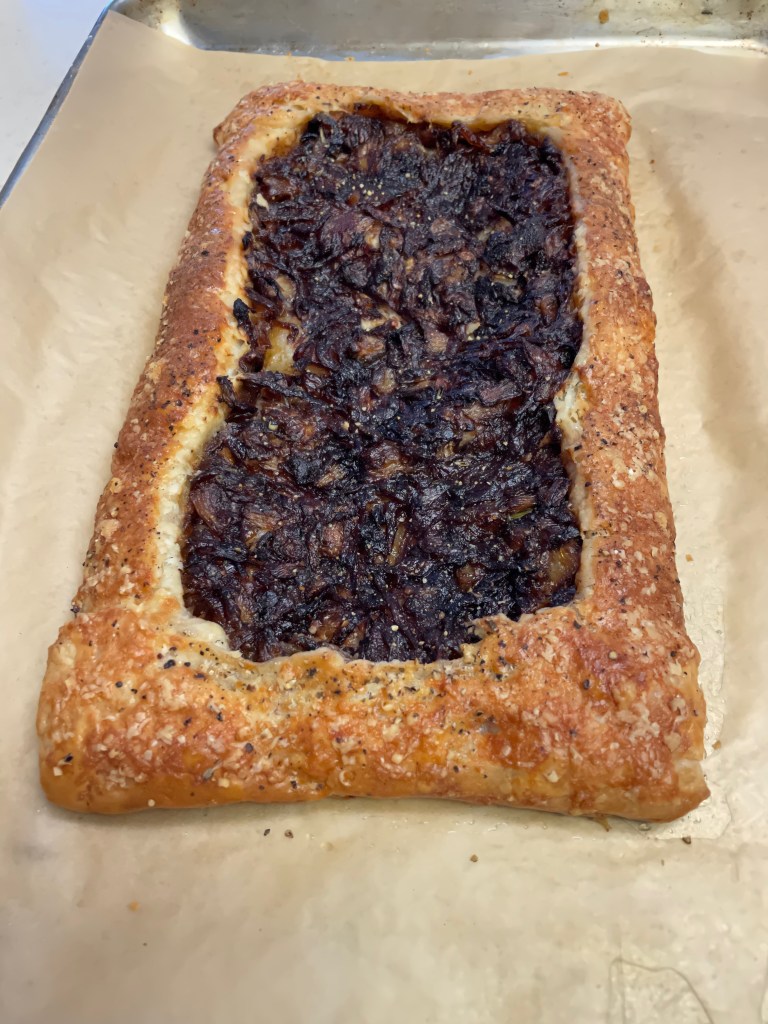
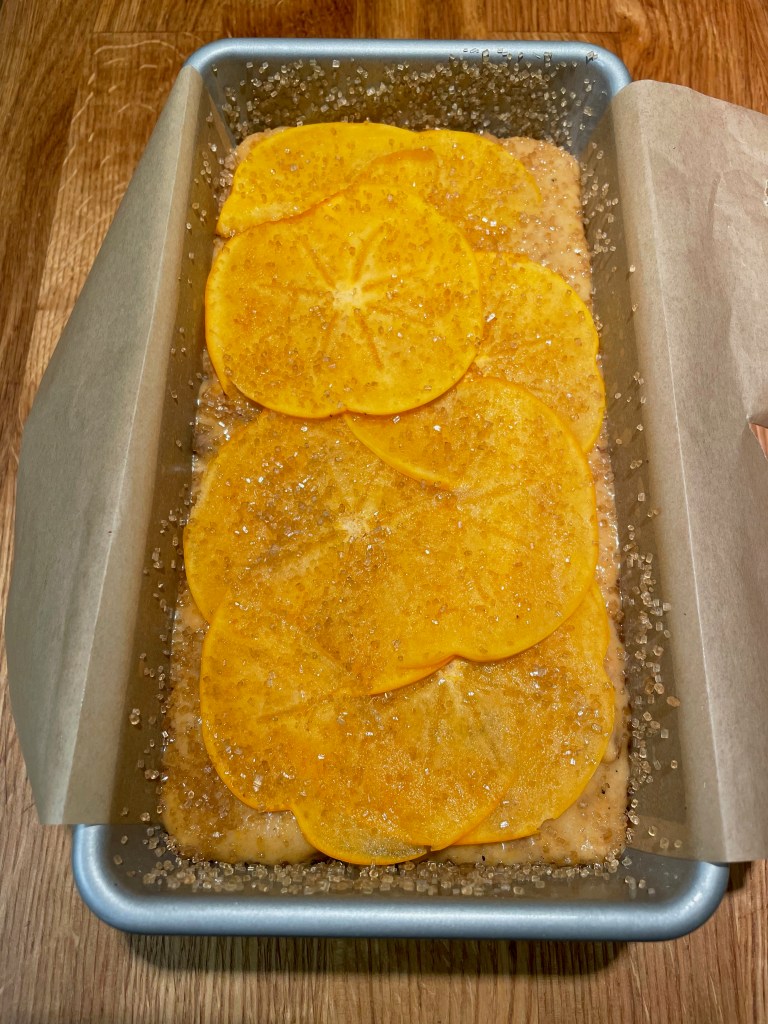
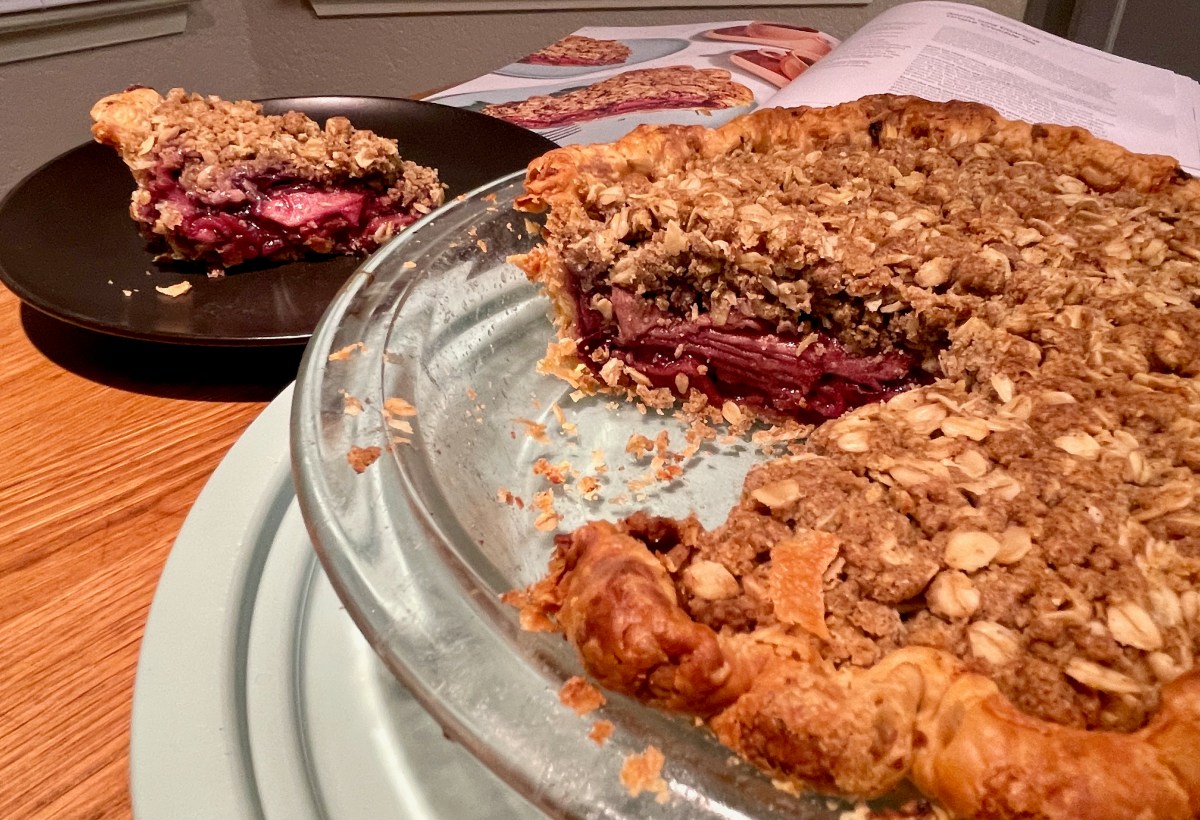
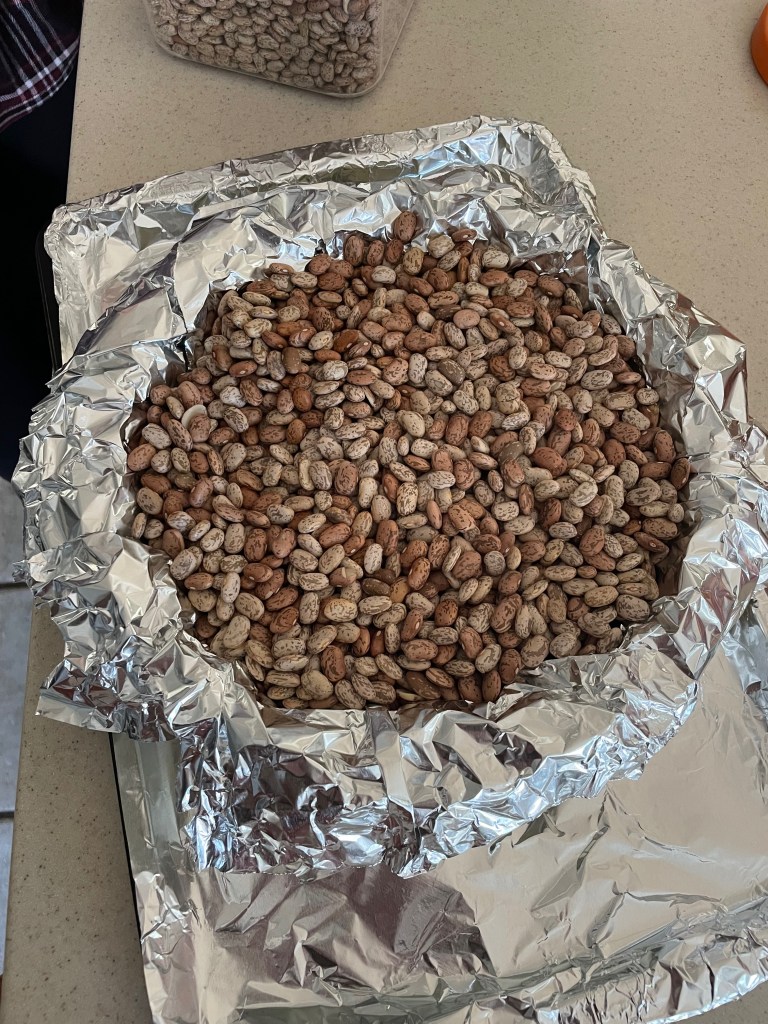
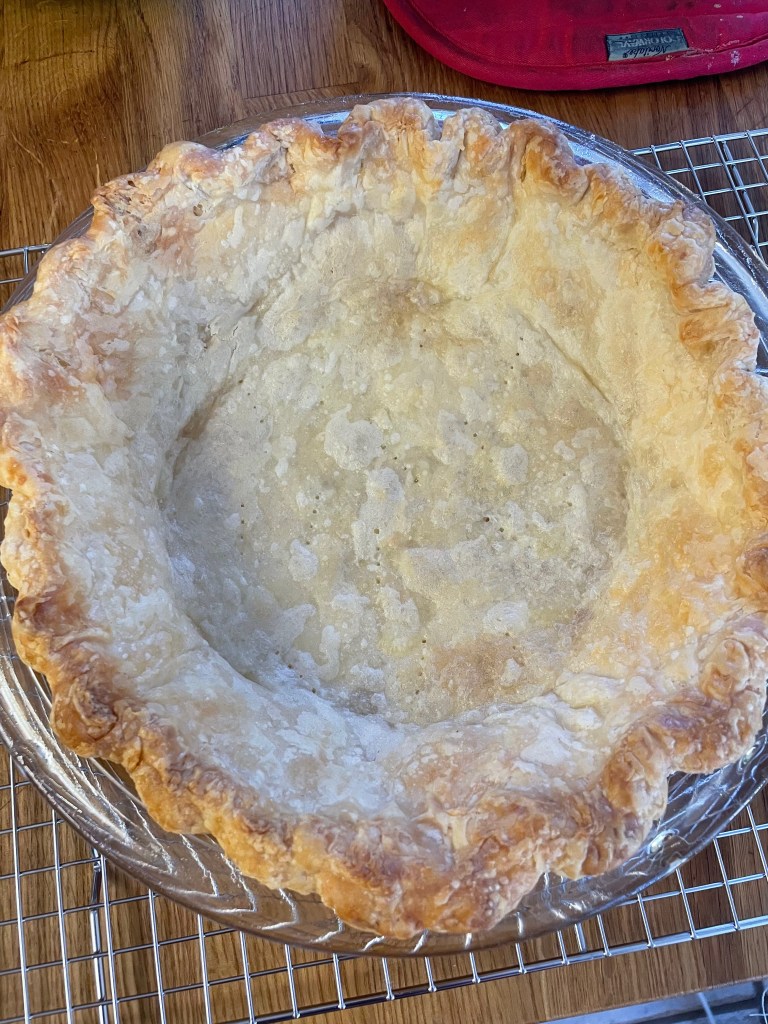
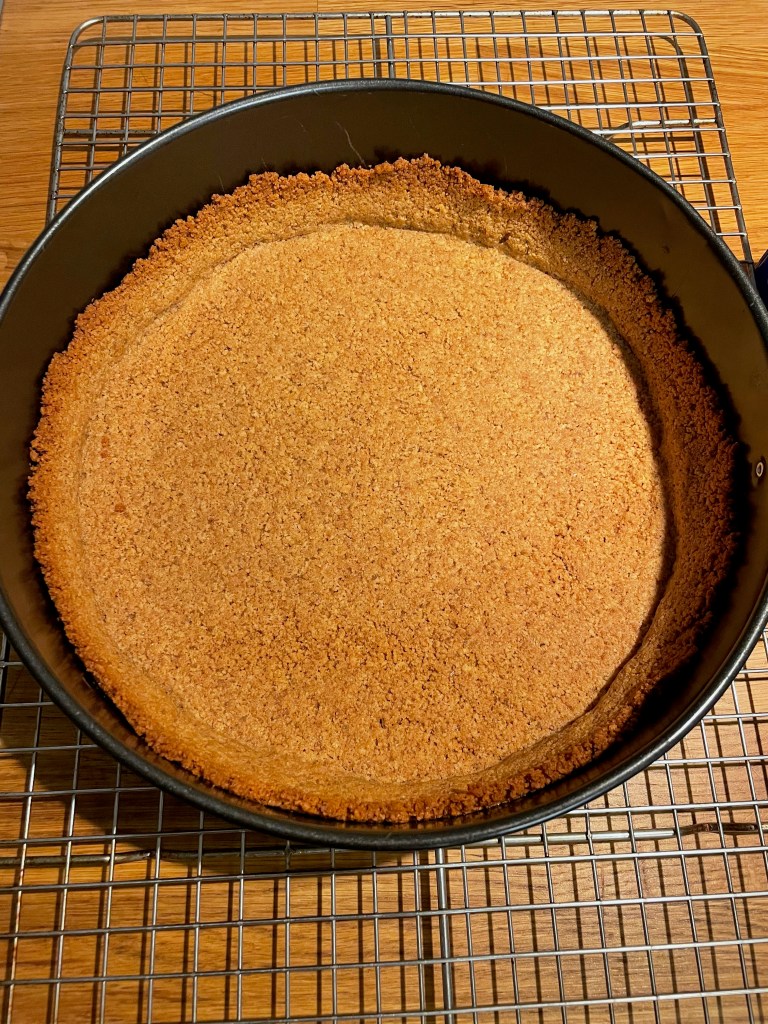
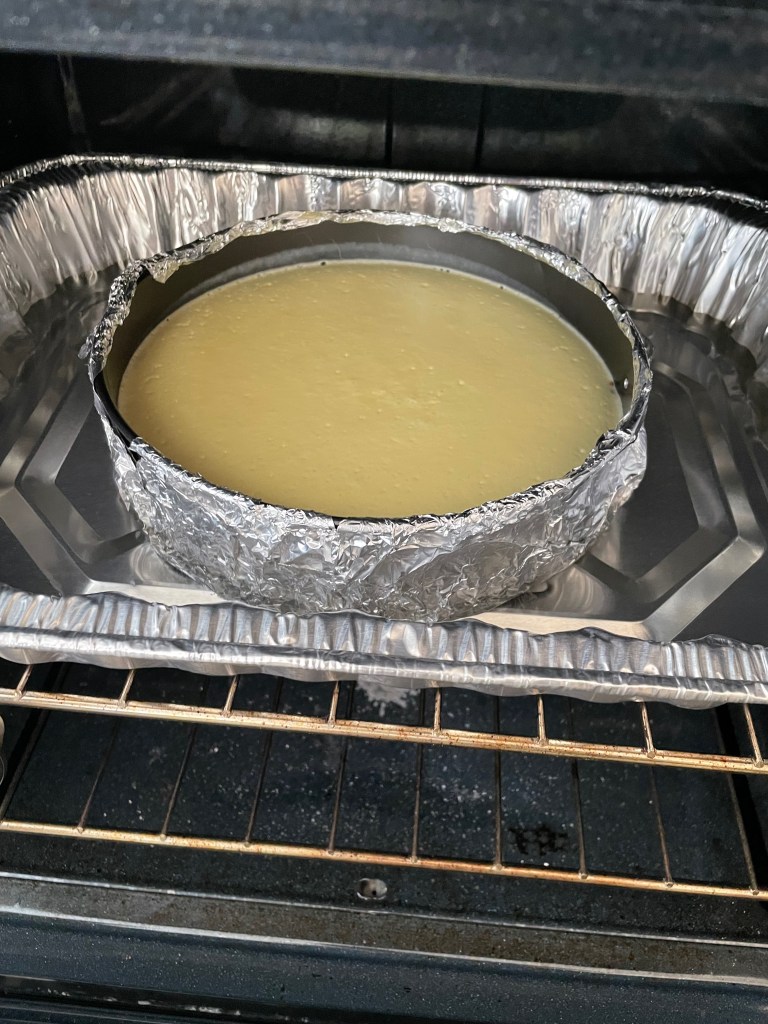
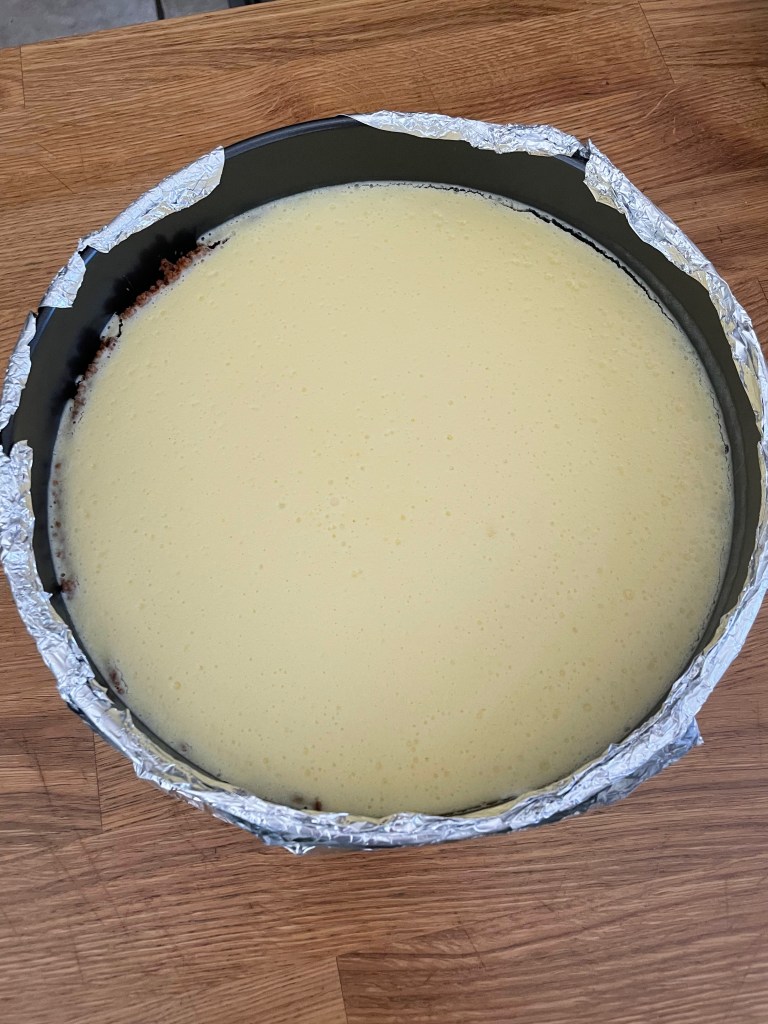
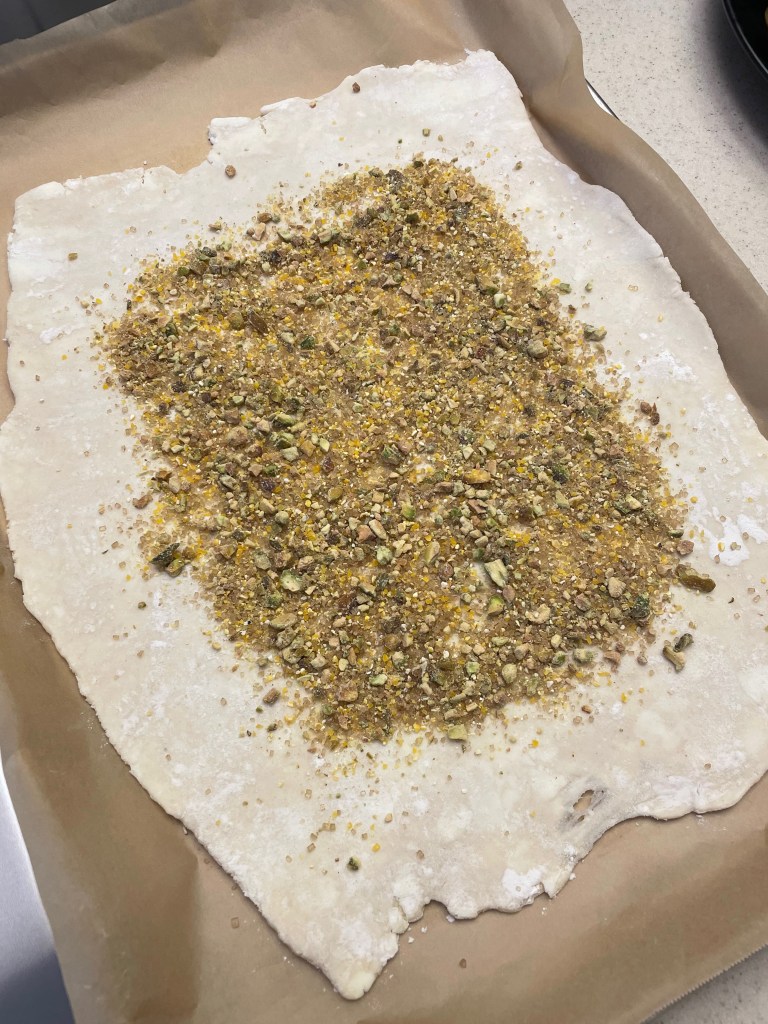
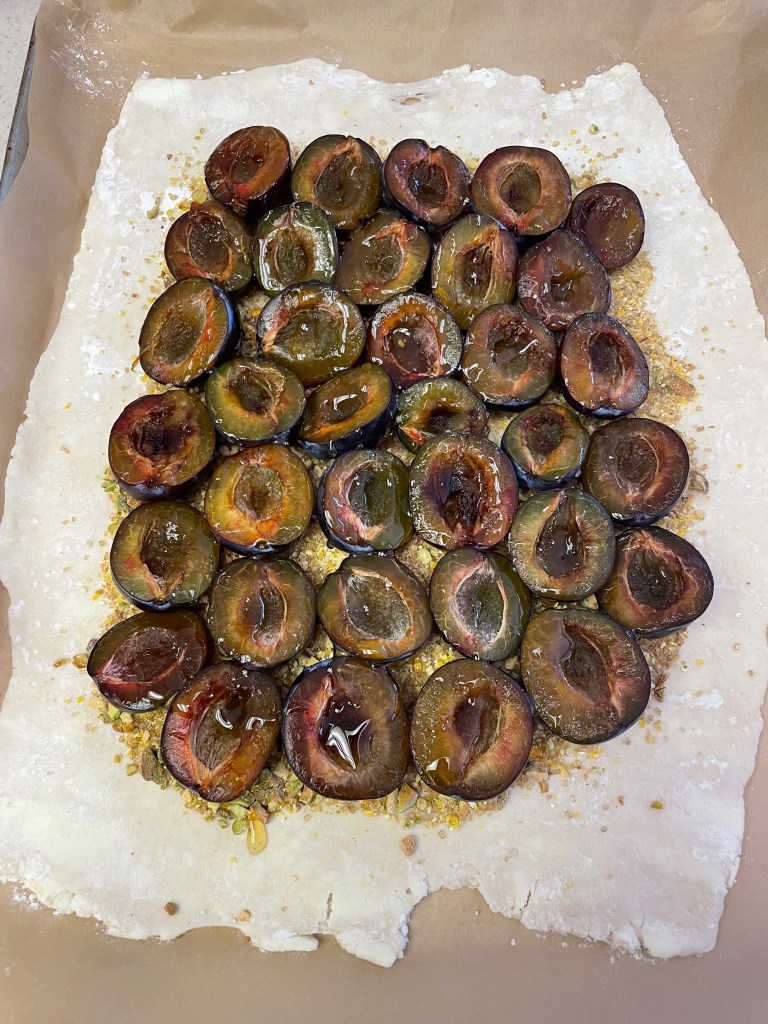
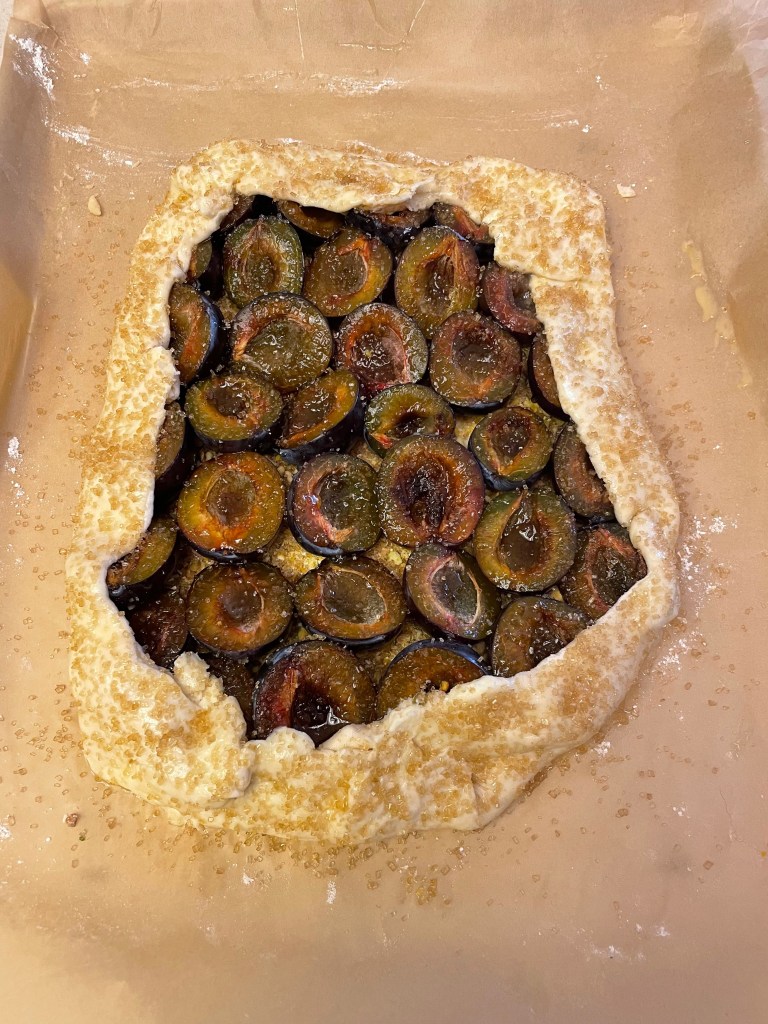
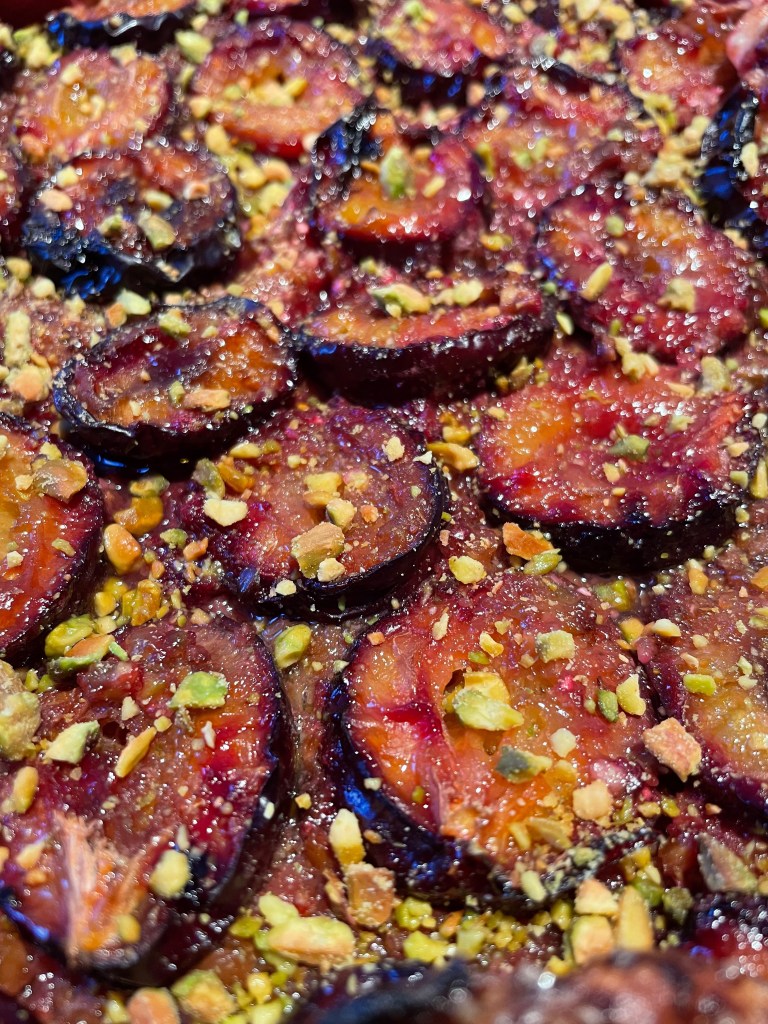
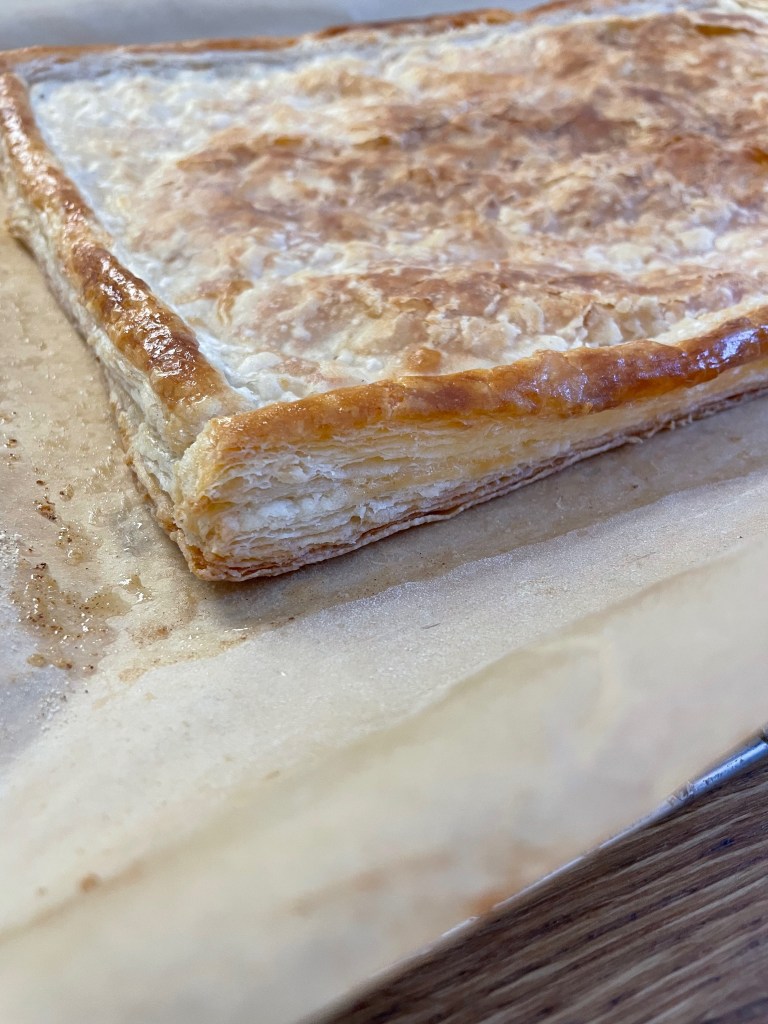
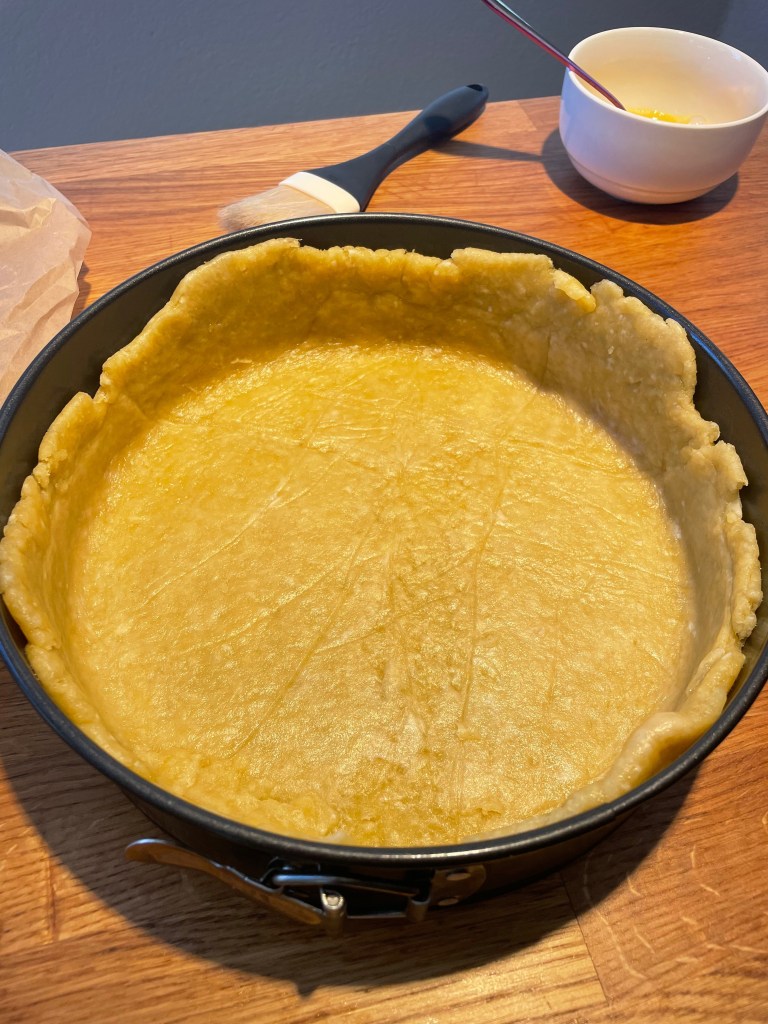
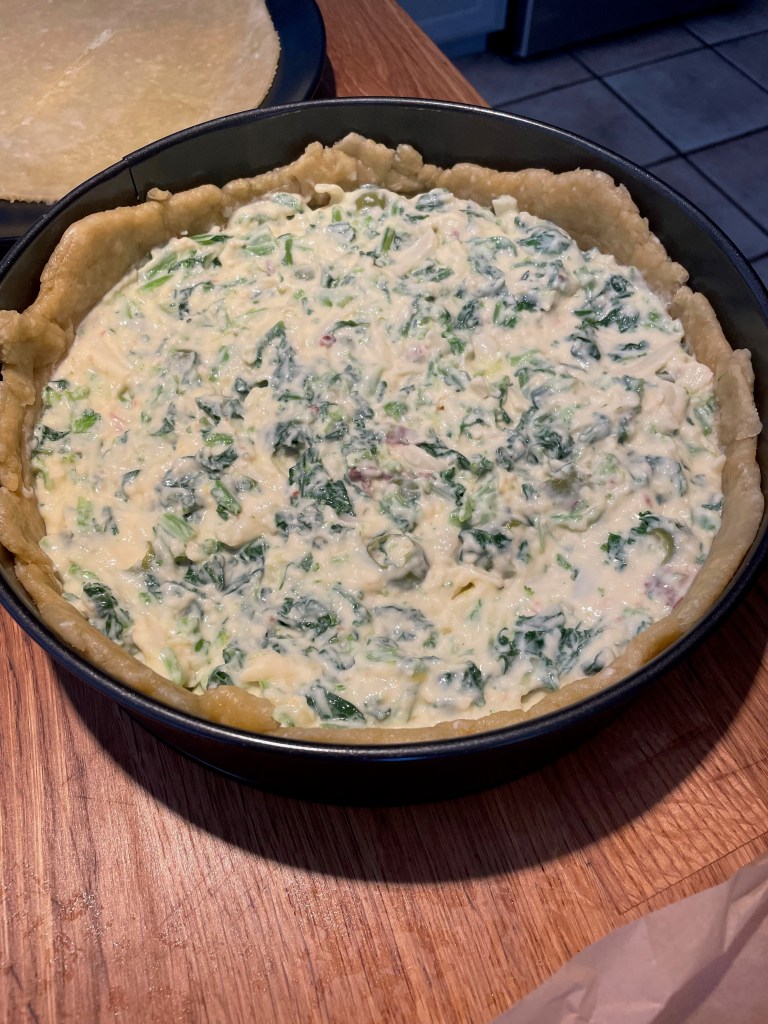
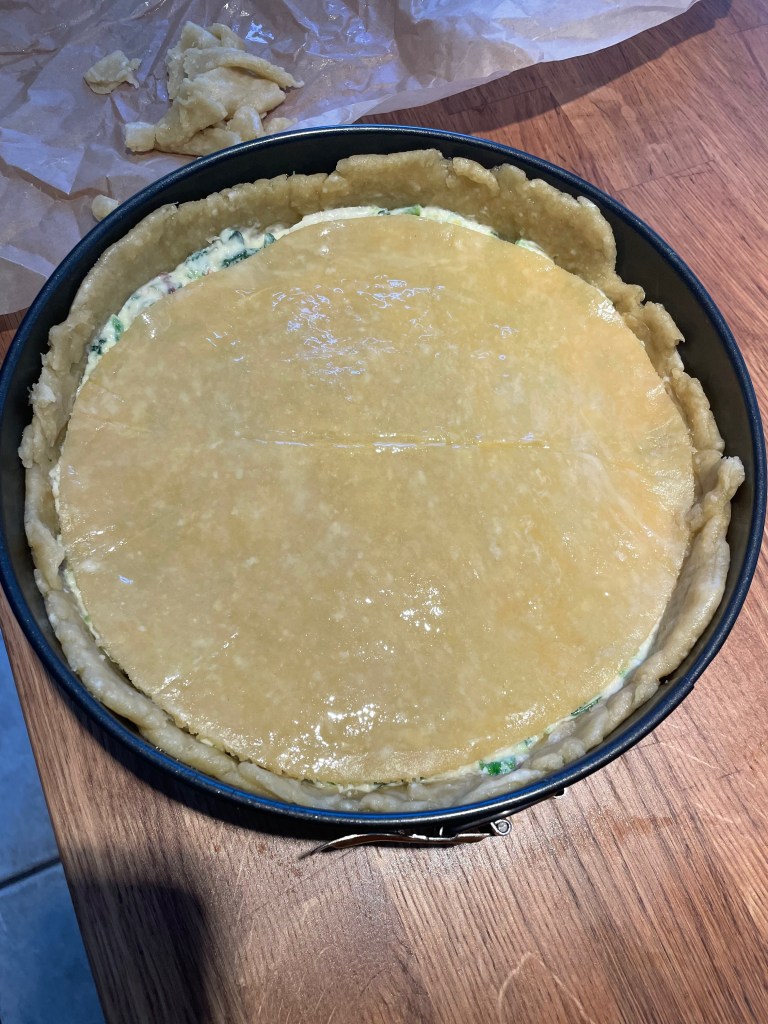
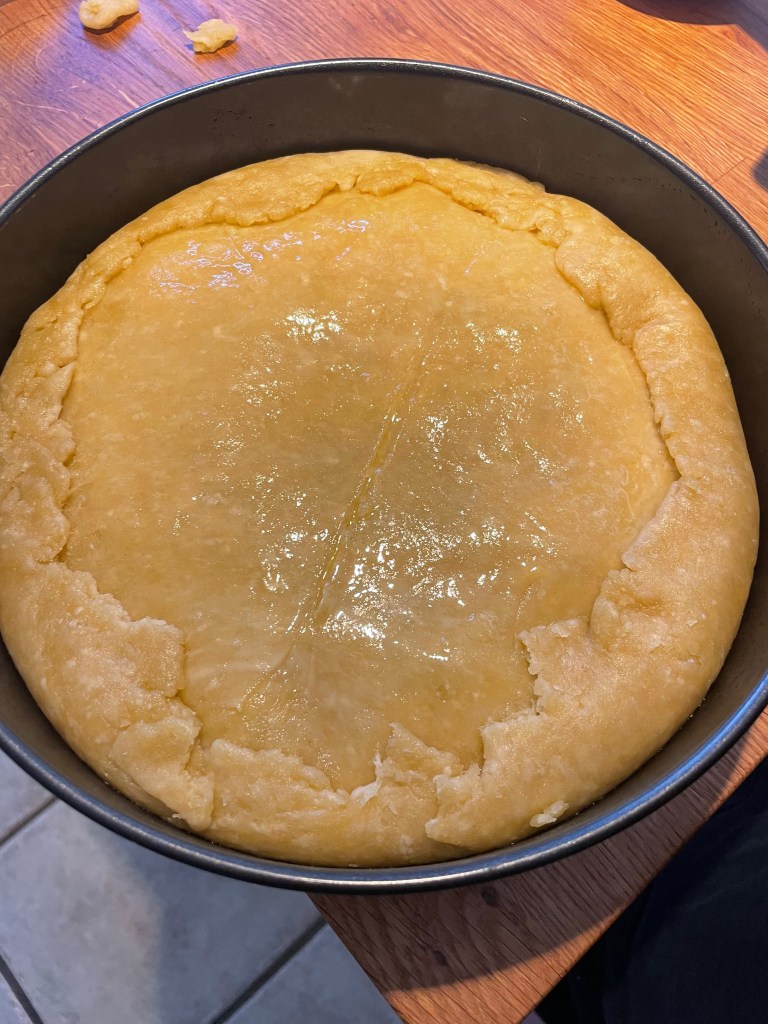
Assembling And Baking The Tart
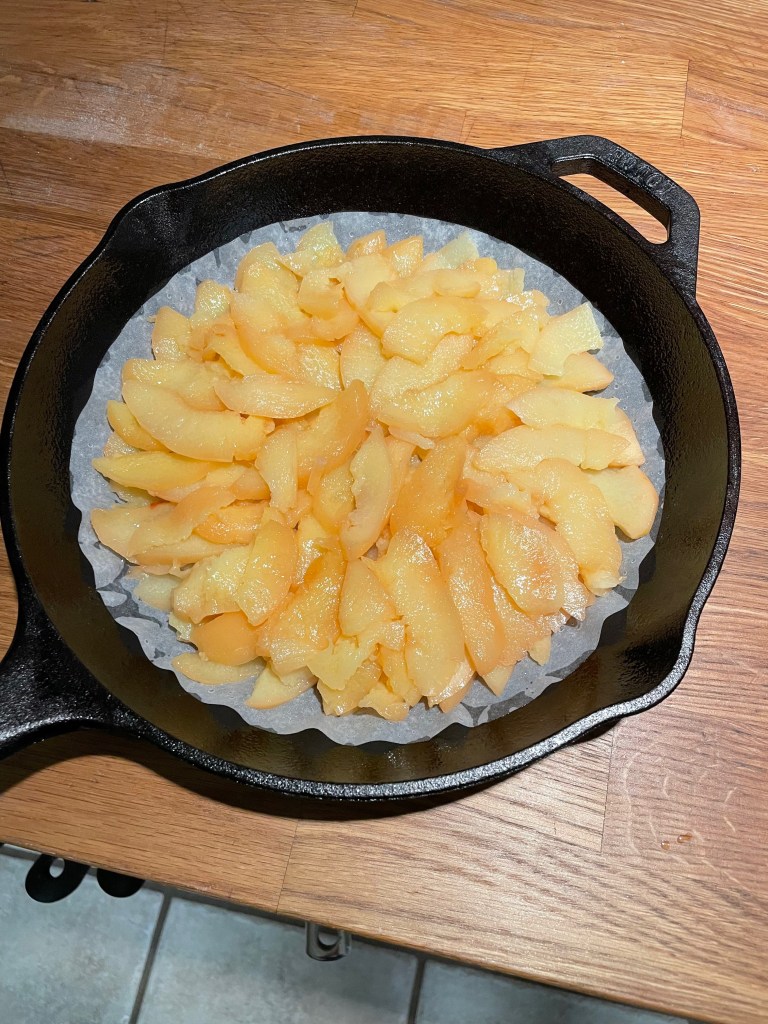

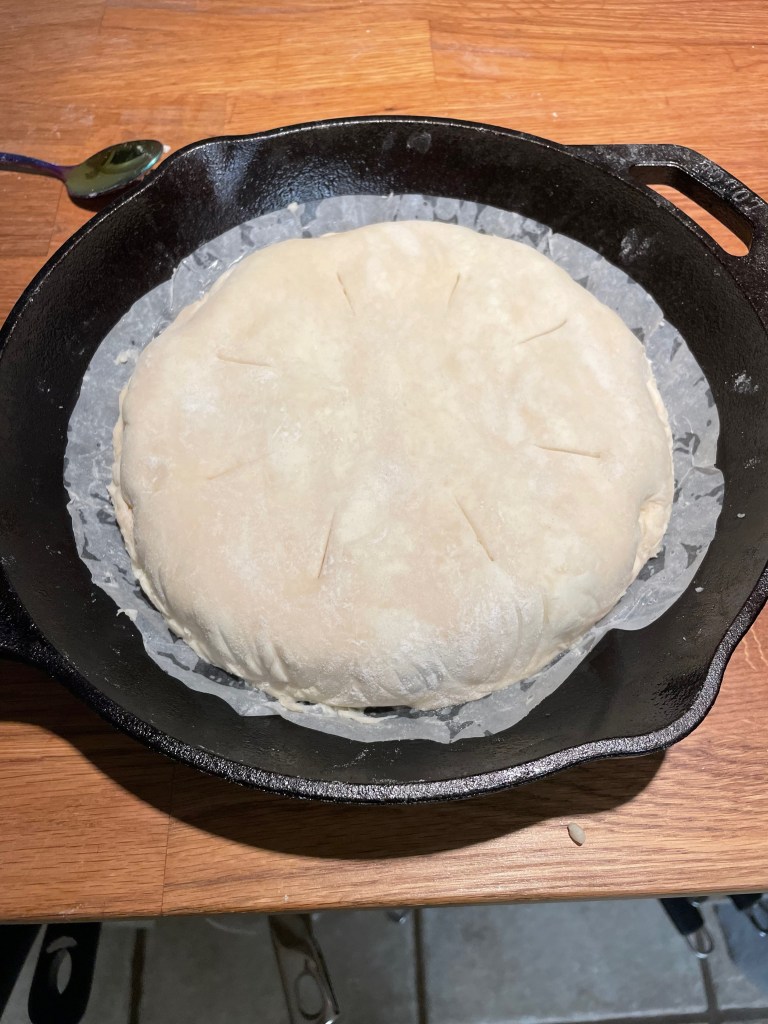
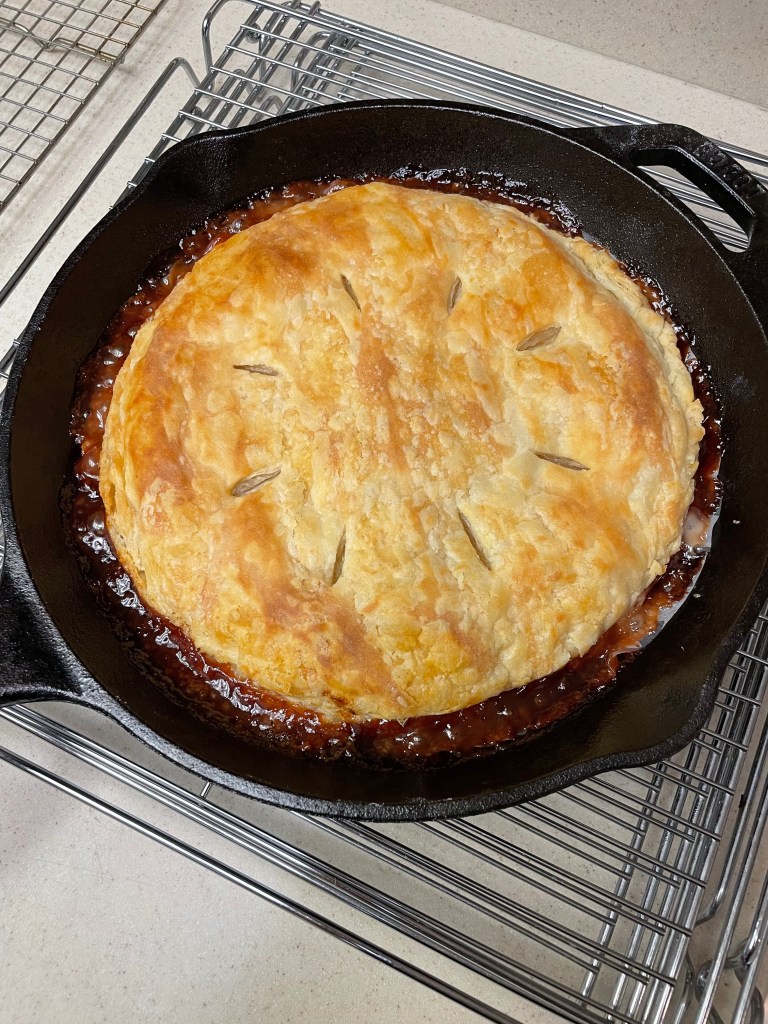
Tip: Ensure that the pie dough is fully cooked through. The insulating almond paste layer can make it hard for heat to work through from both sides.
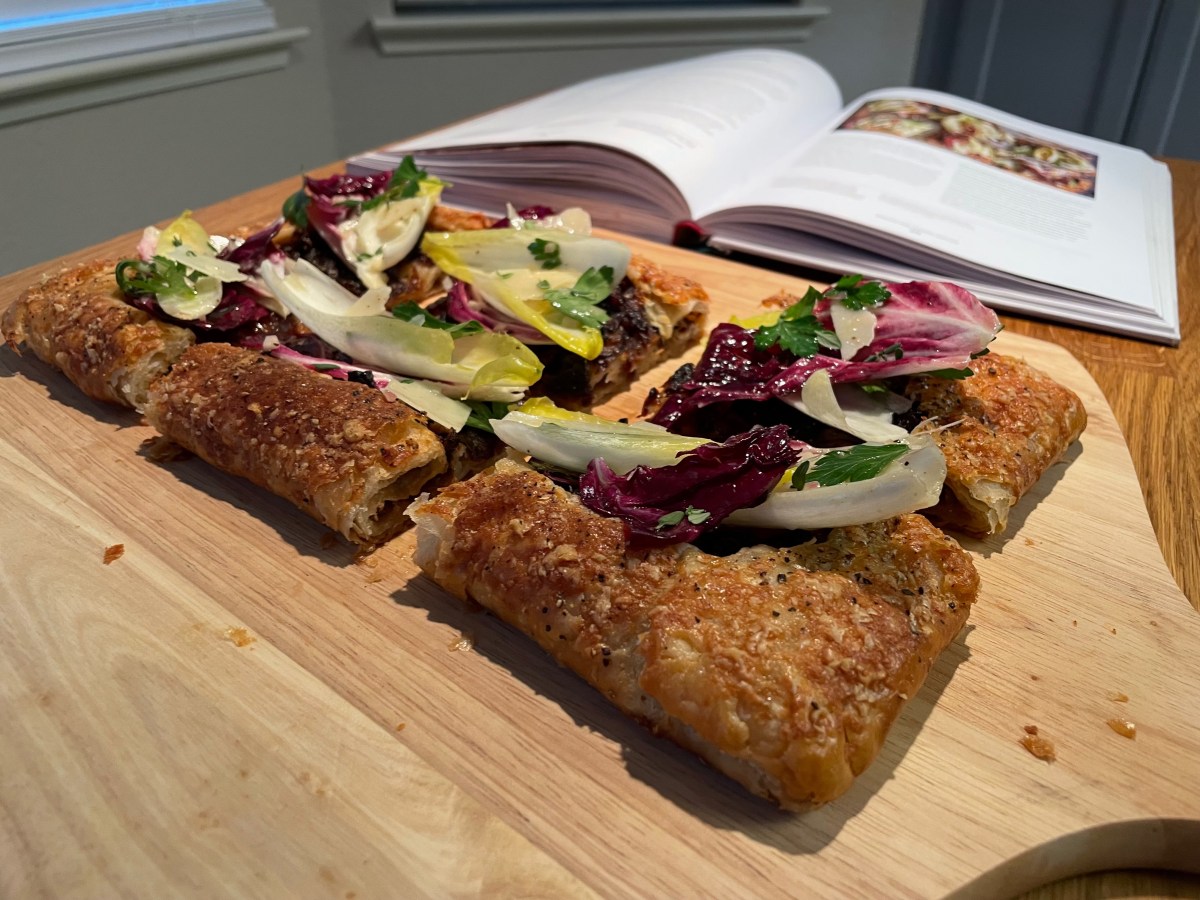
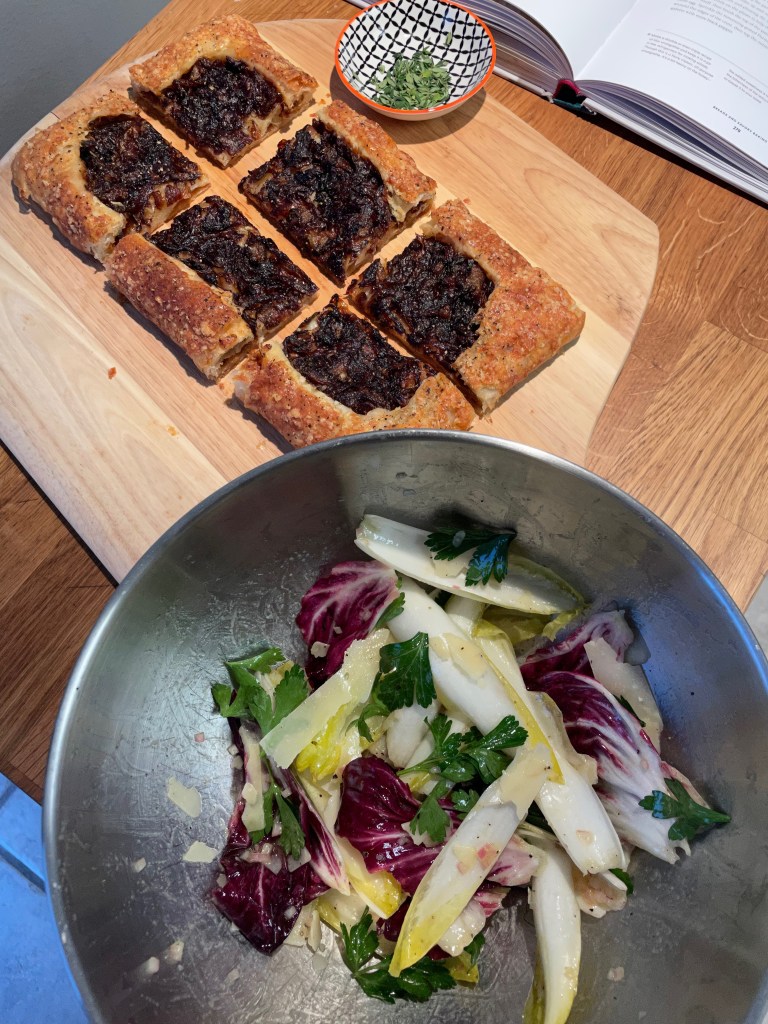
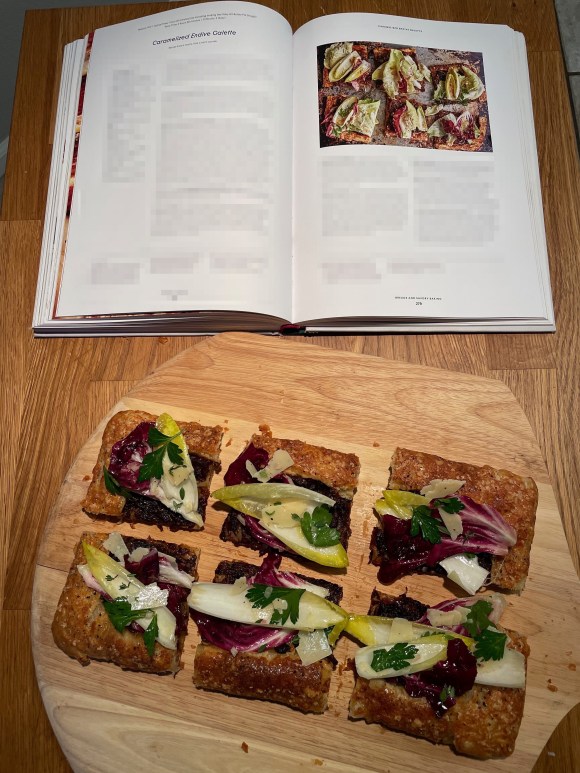
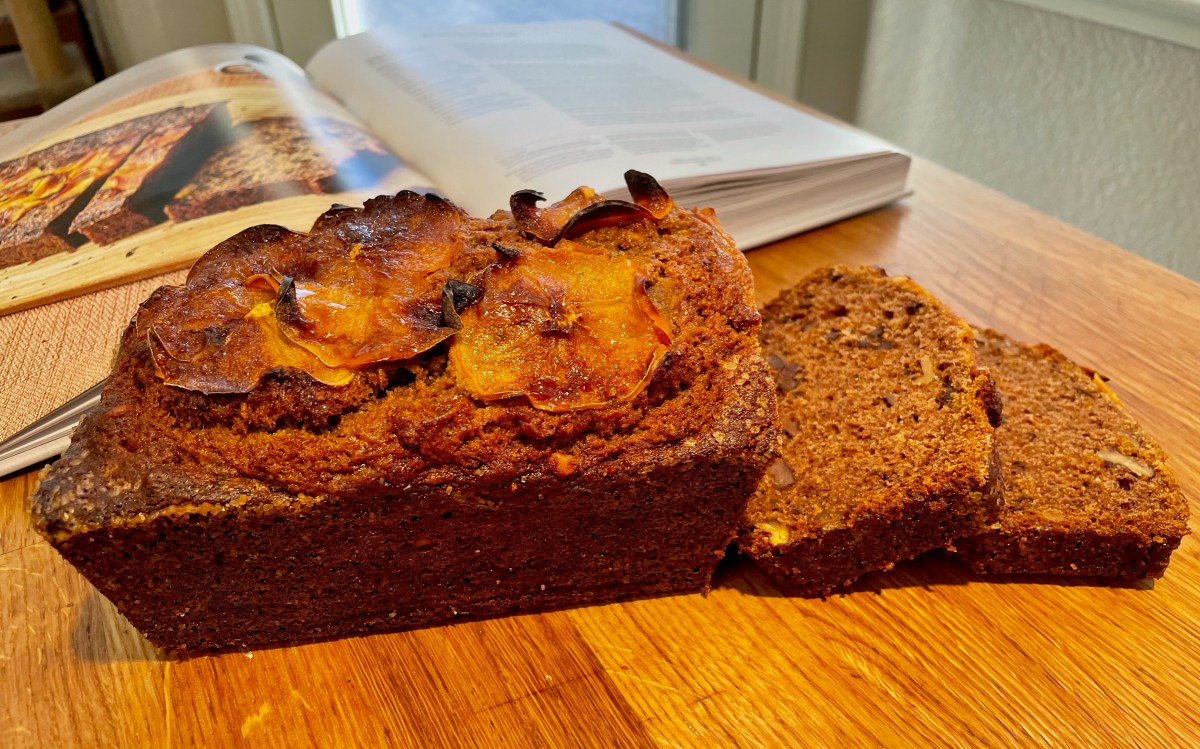
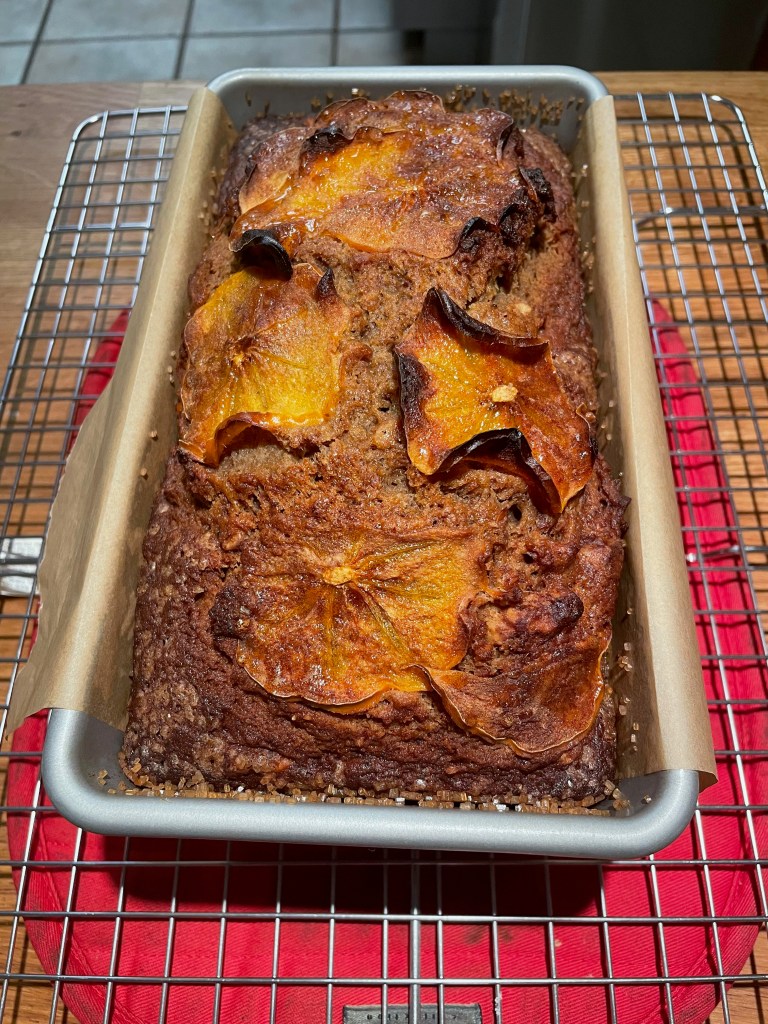
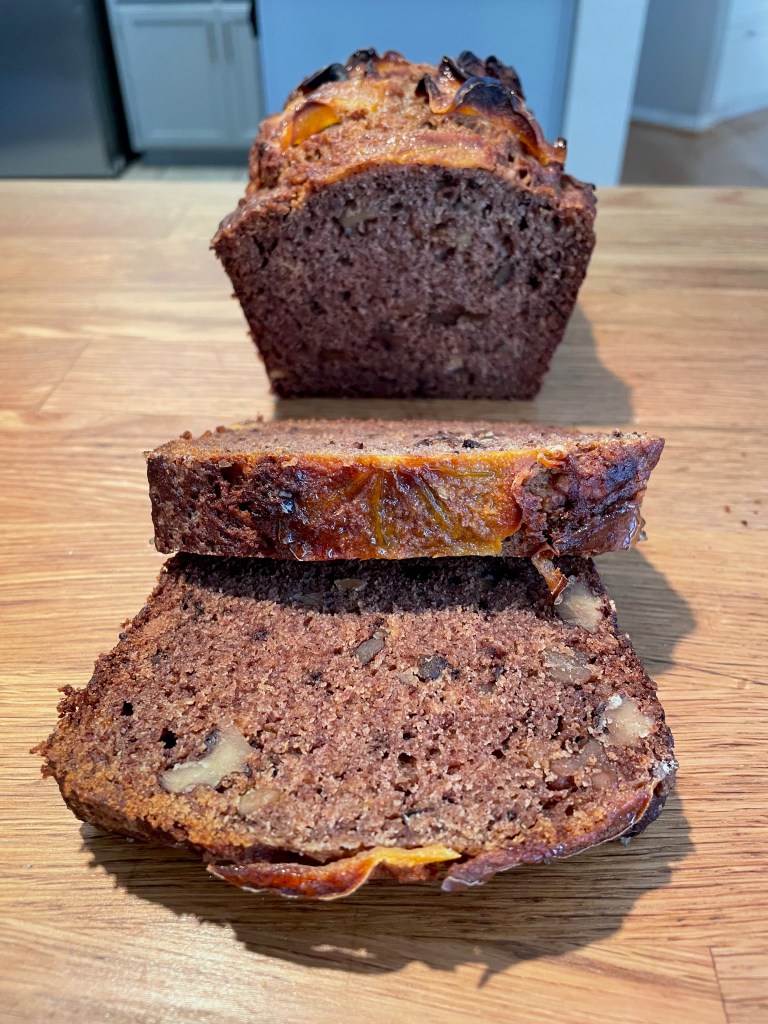
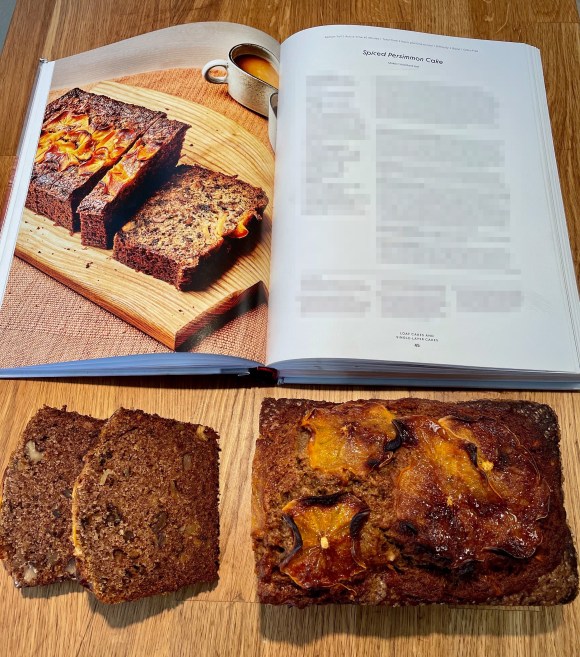
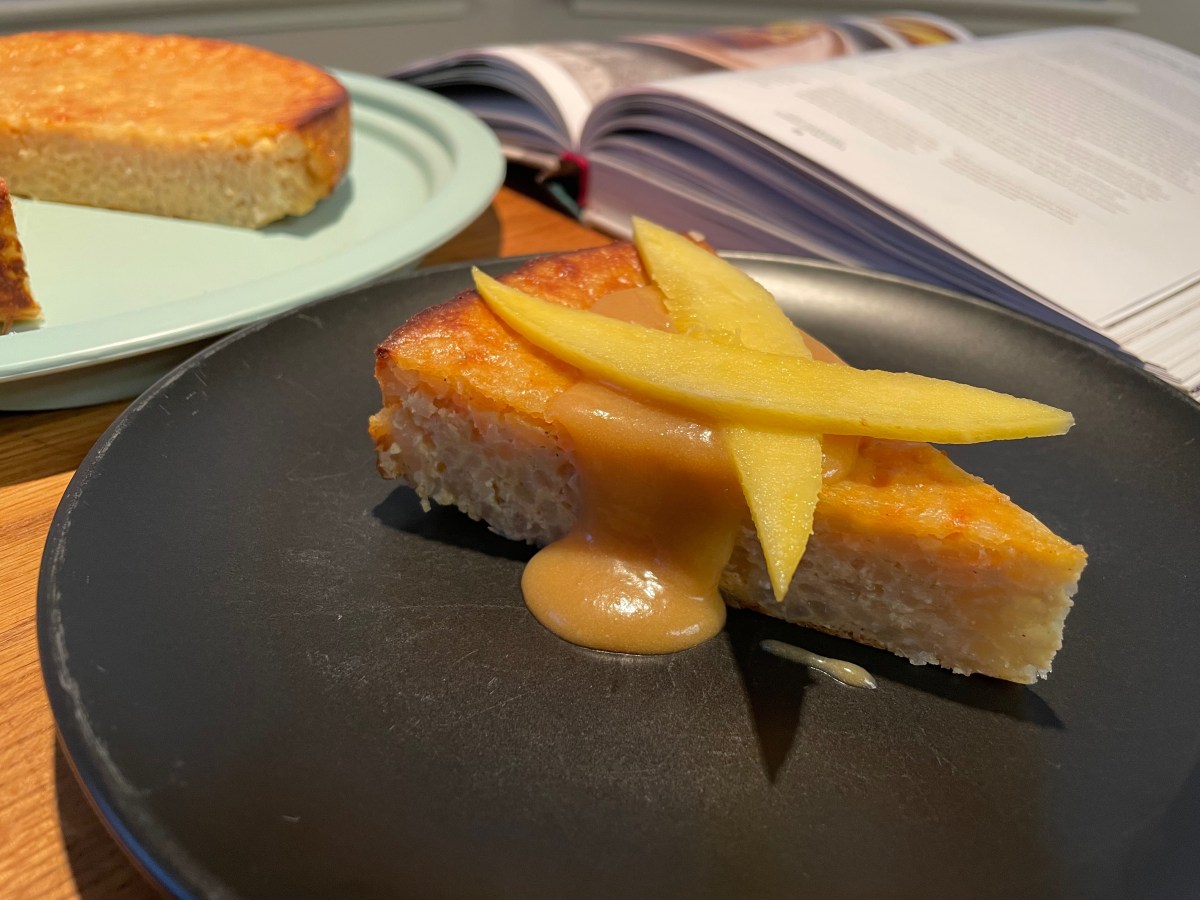
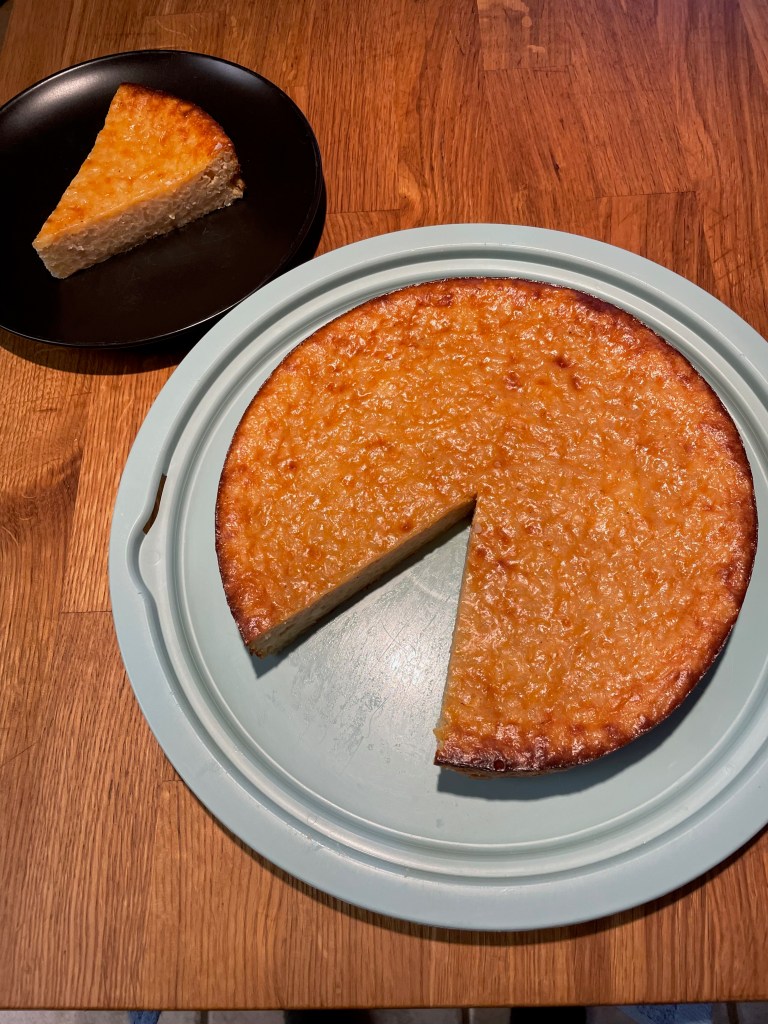
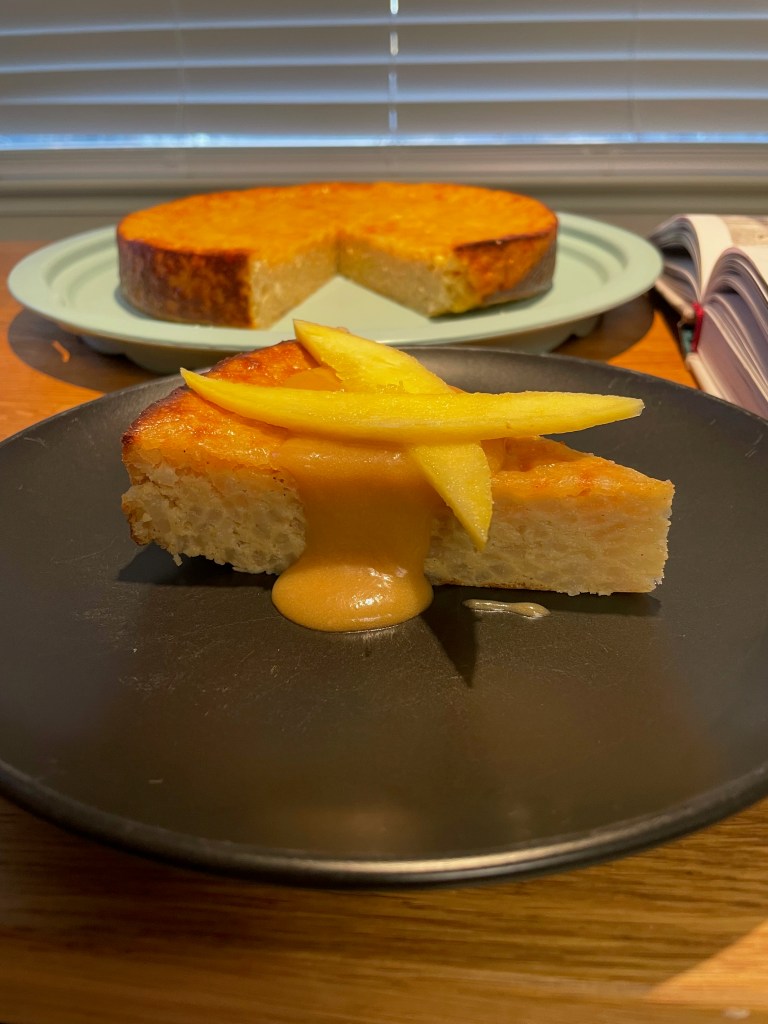
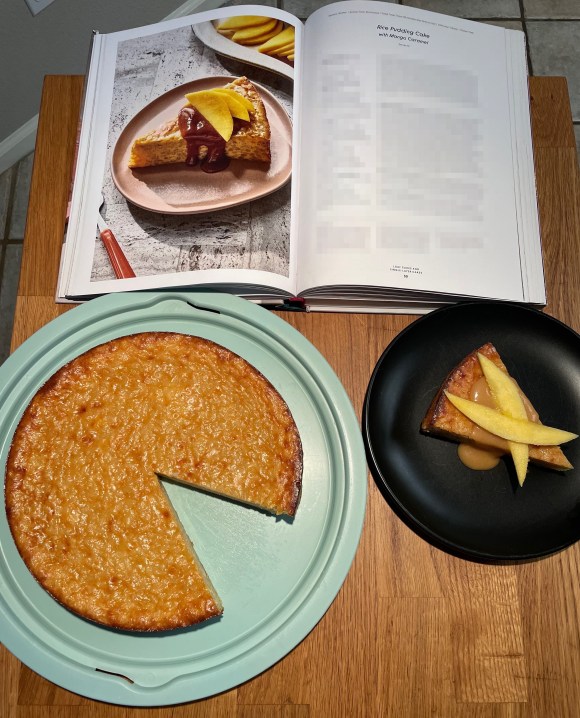
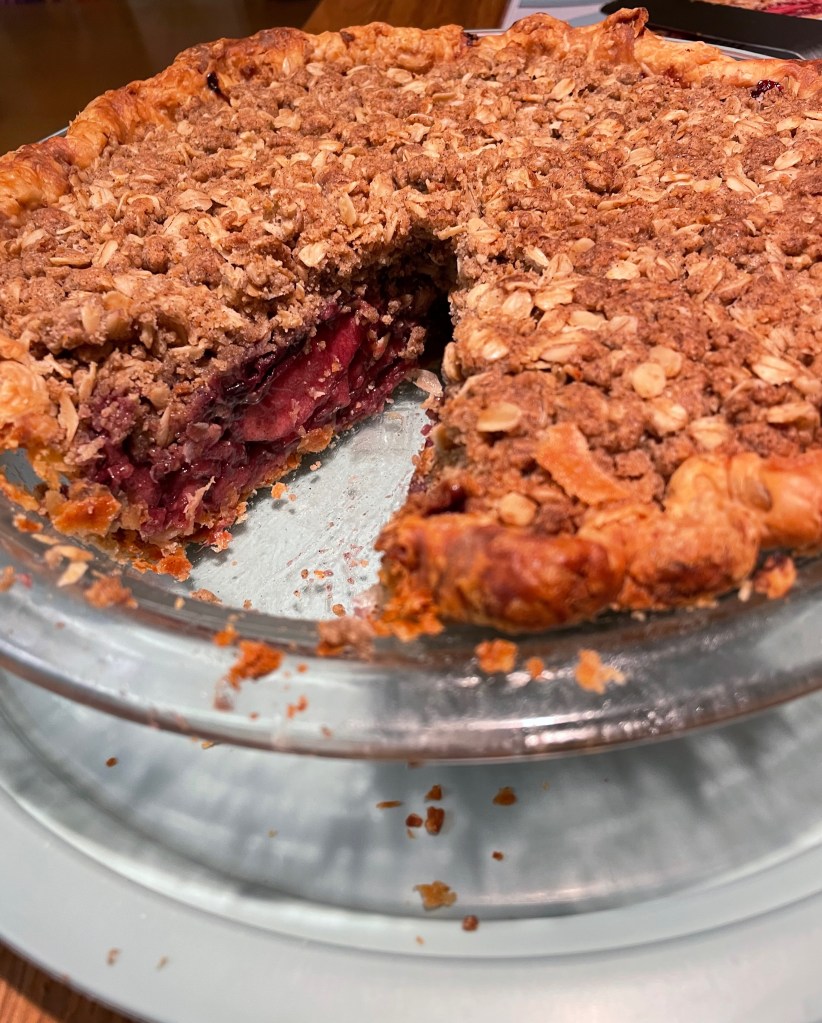
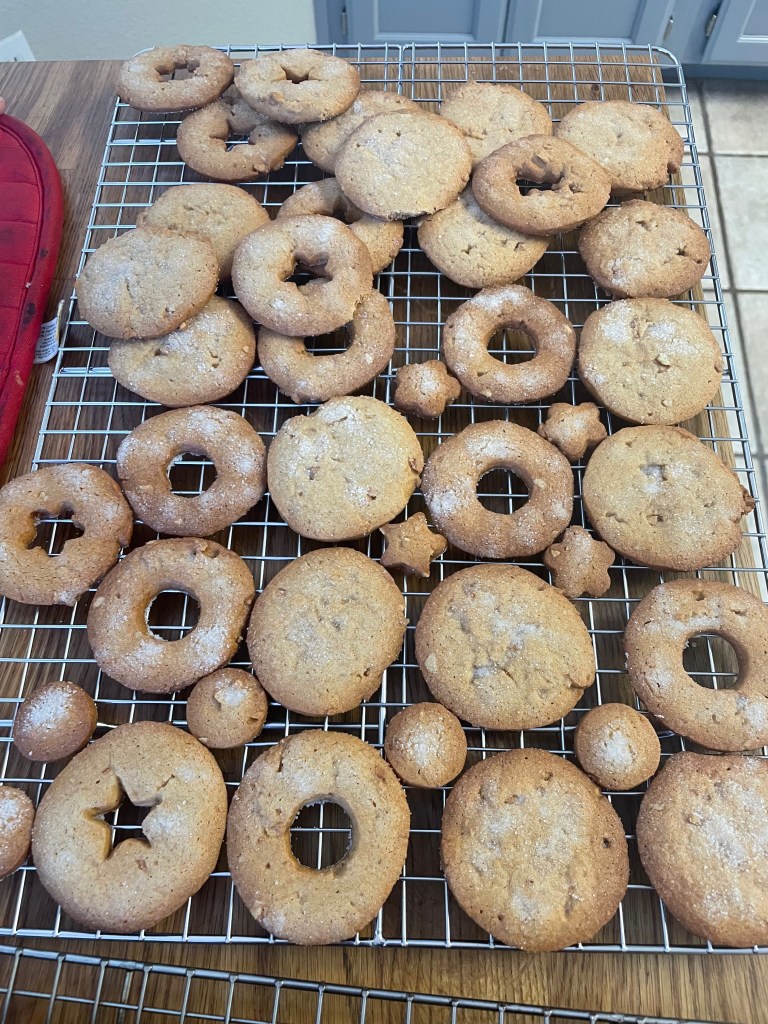
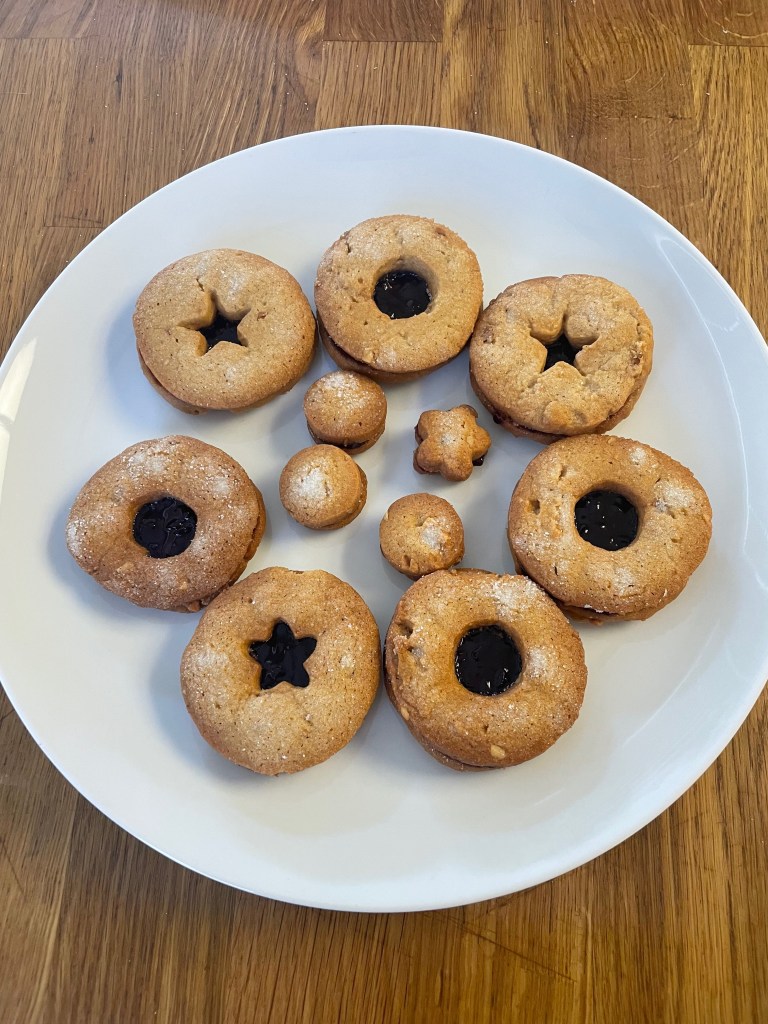
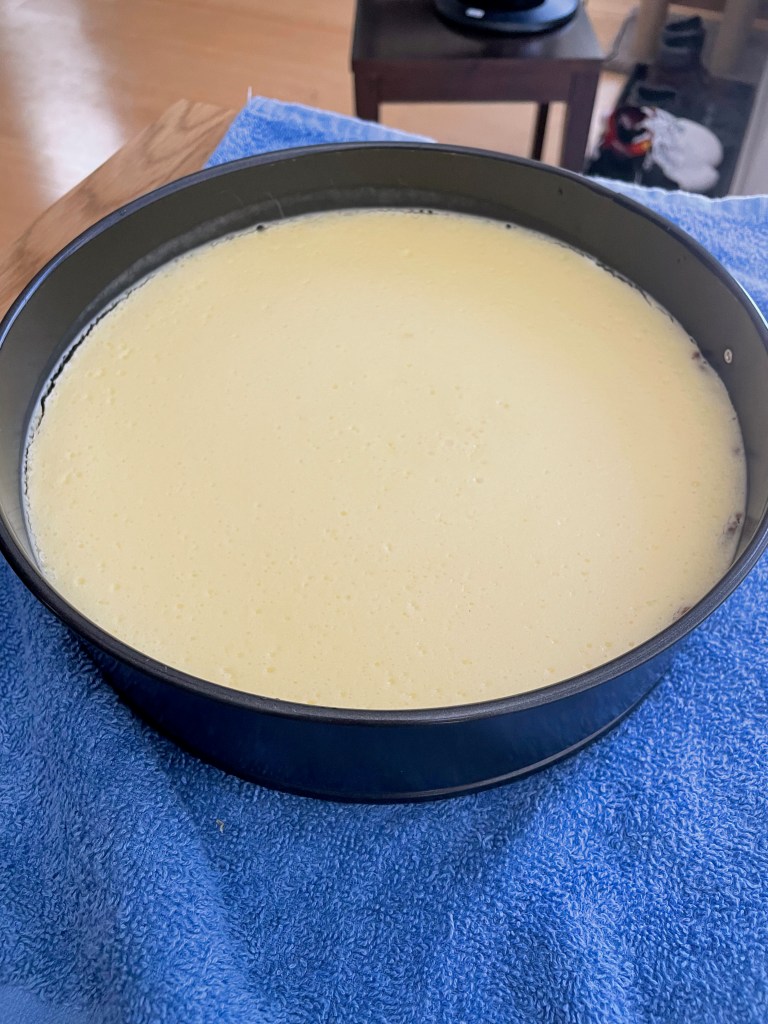
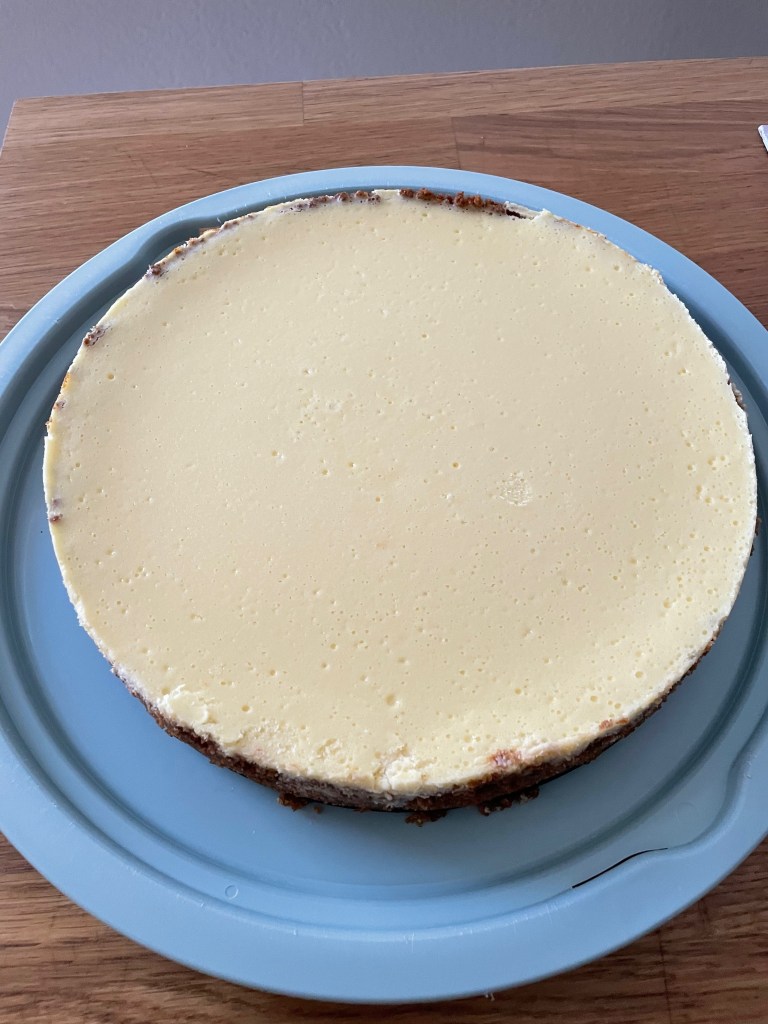
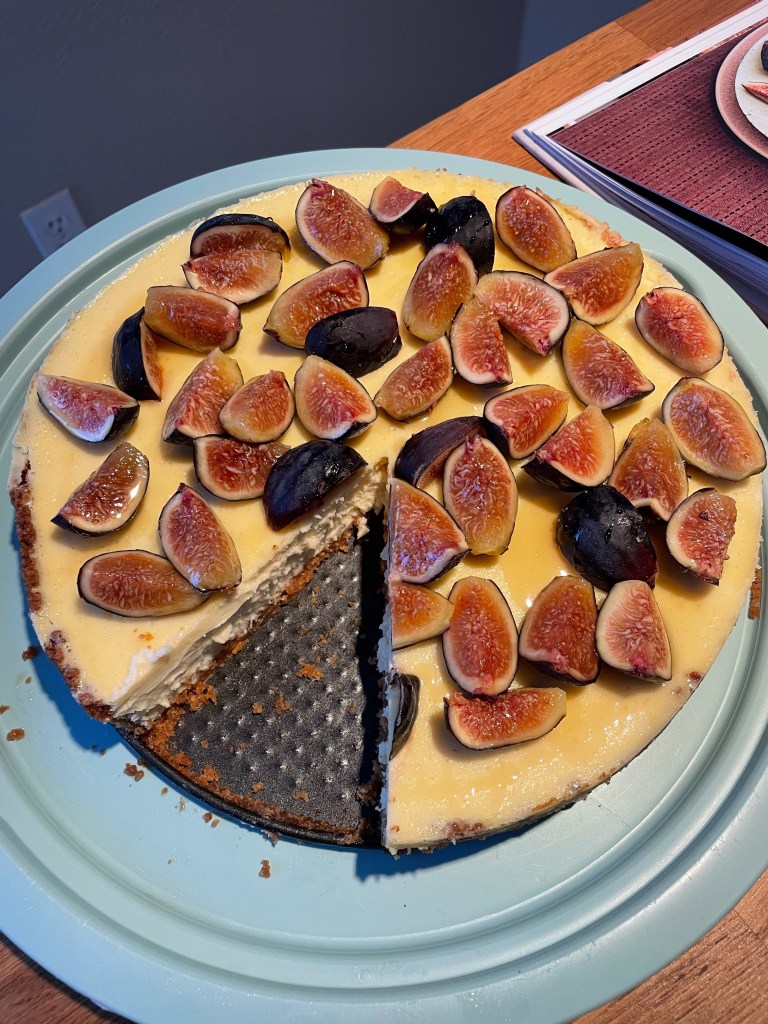
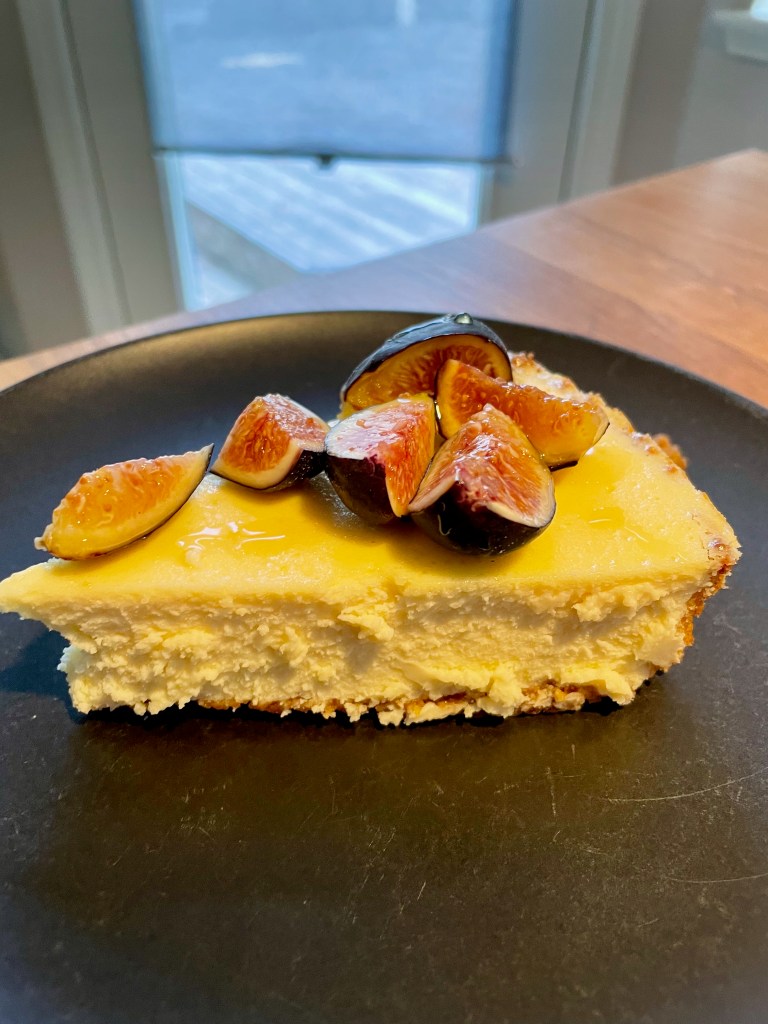
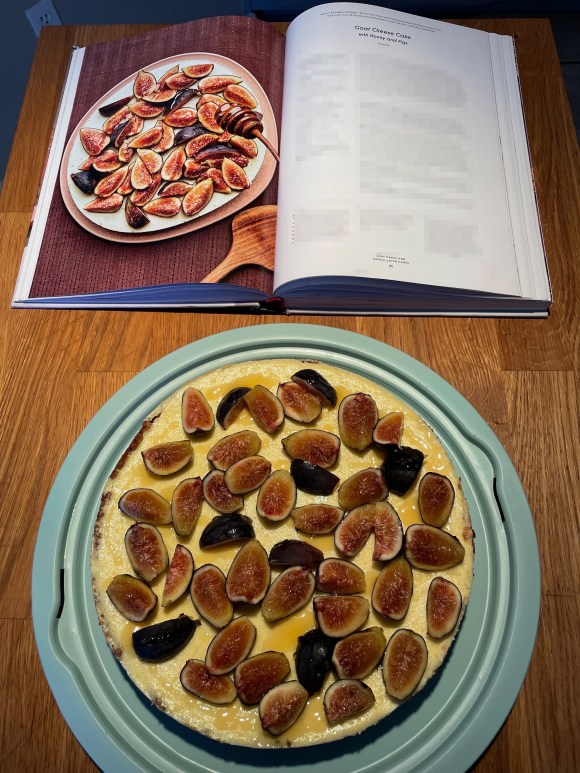
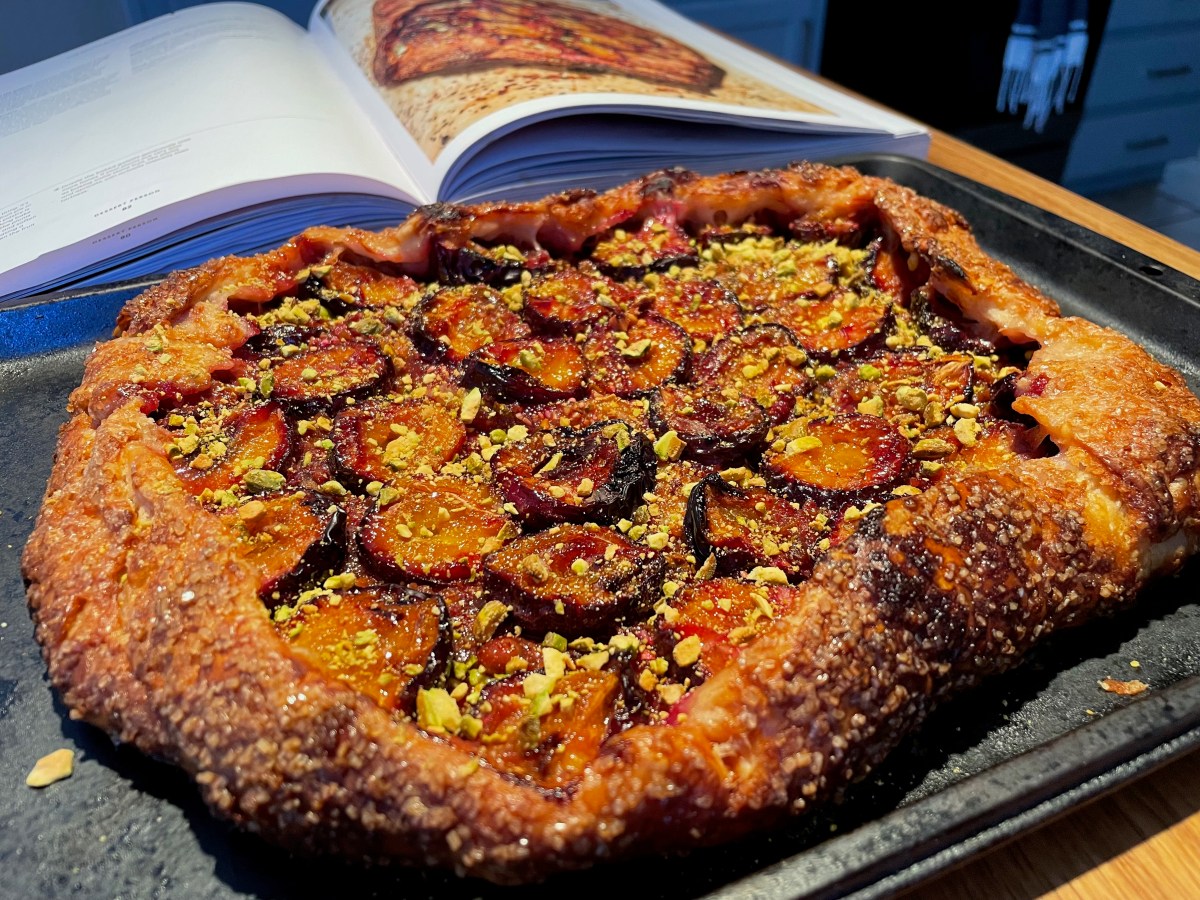
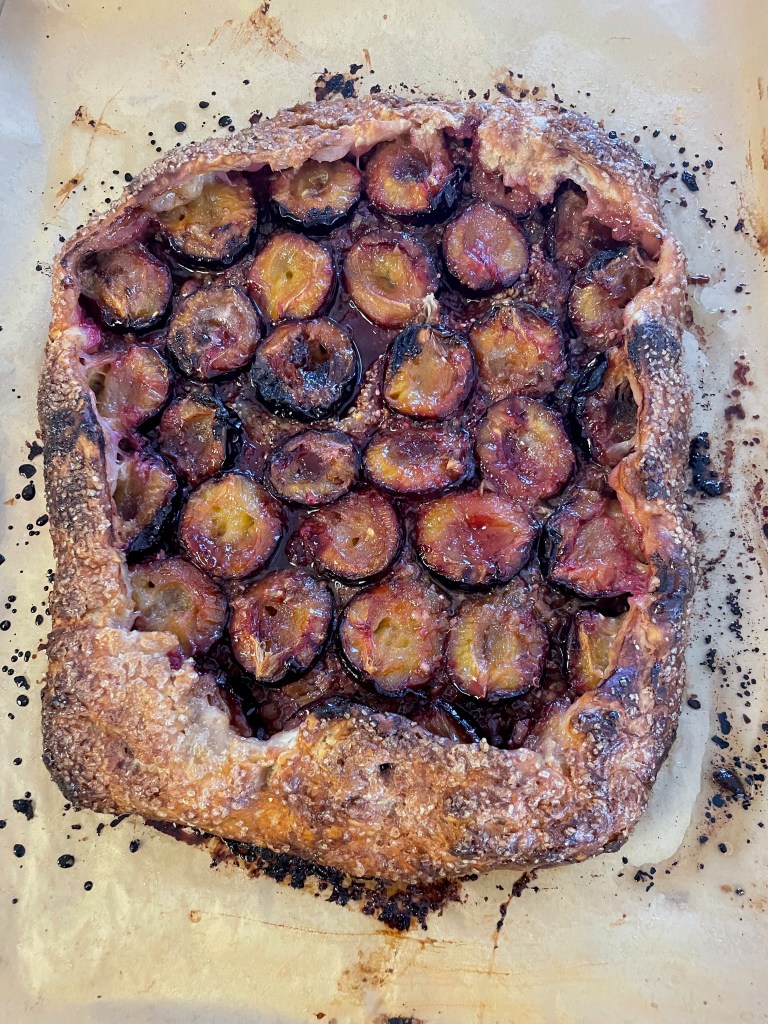
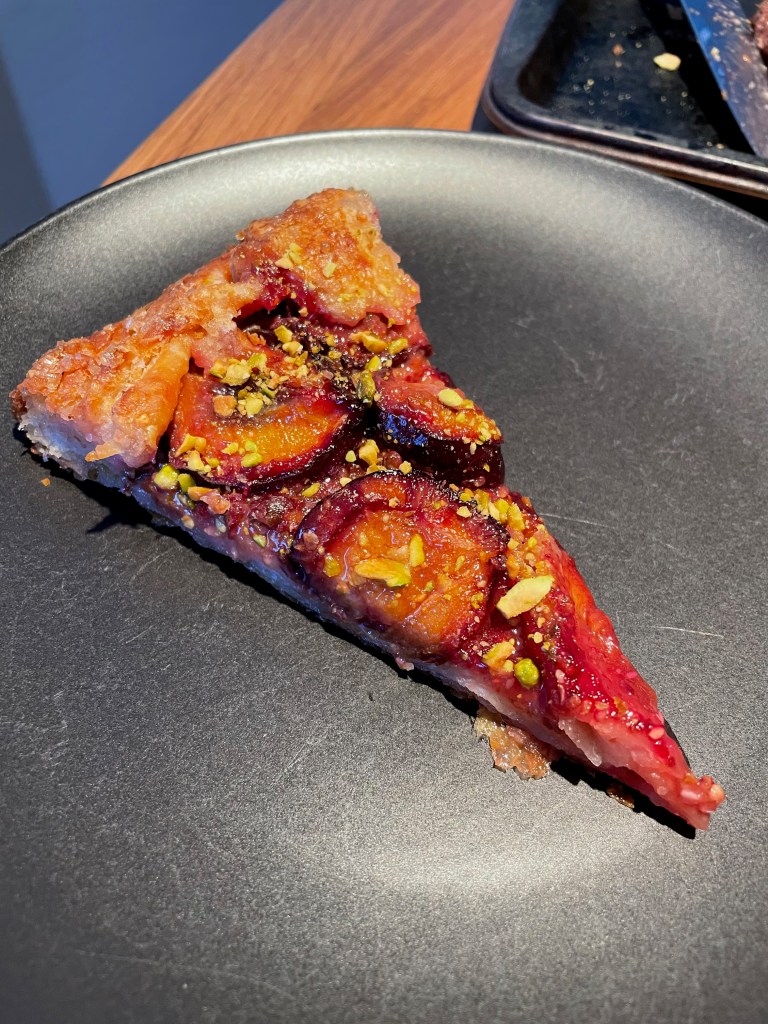
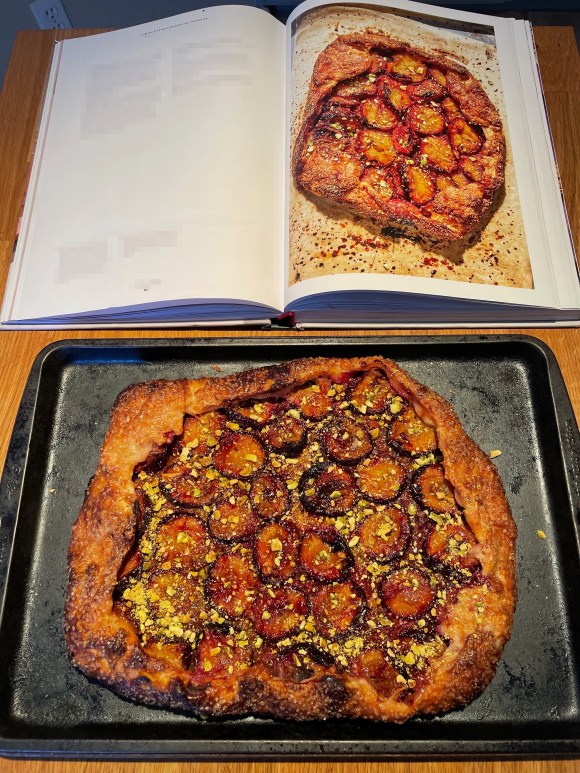
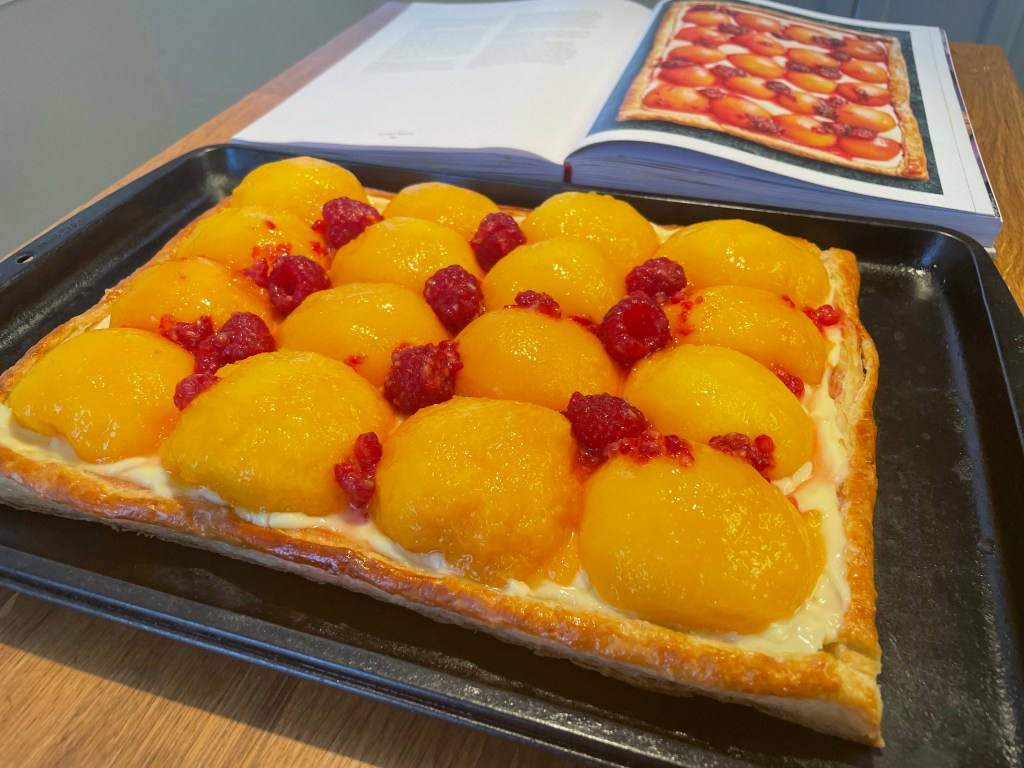
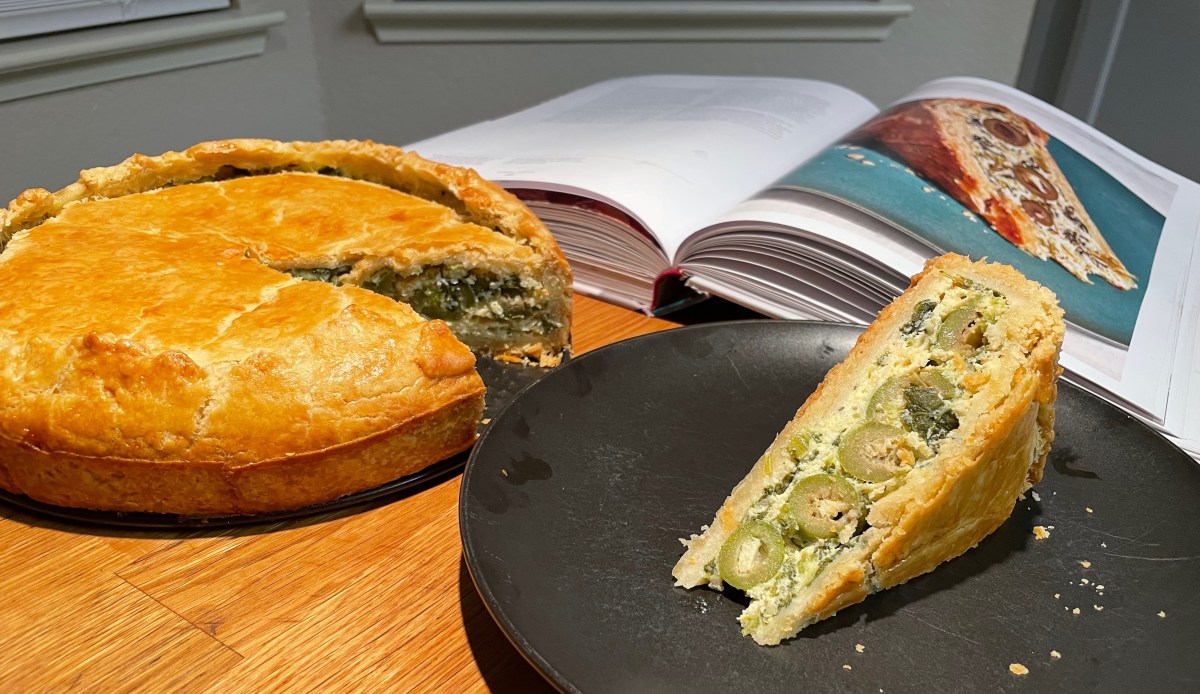
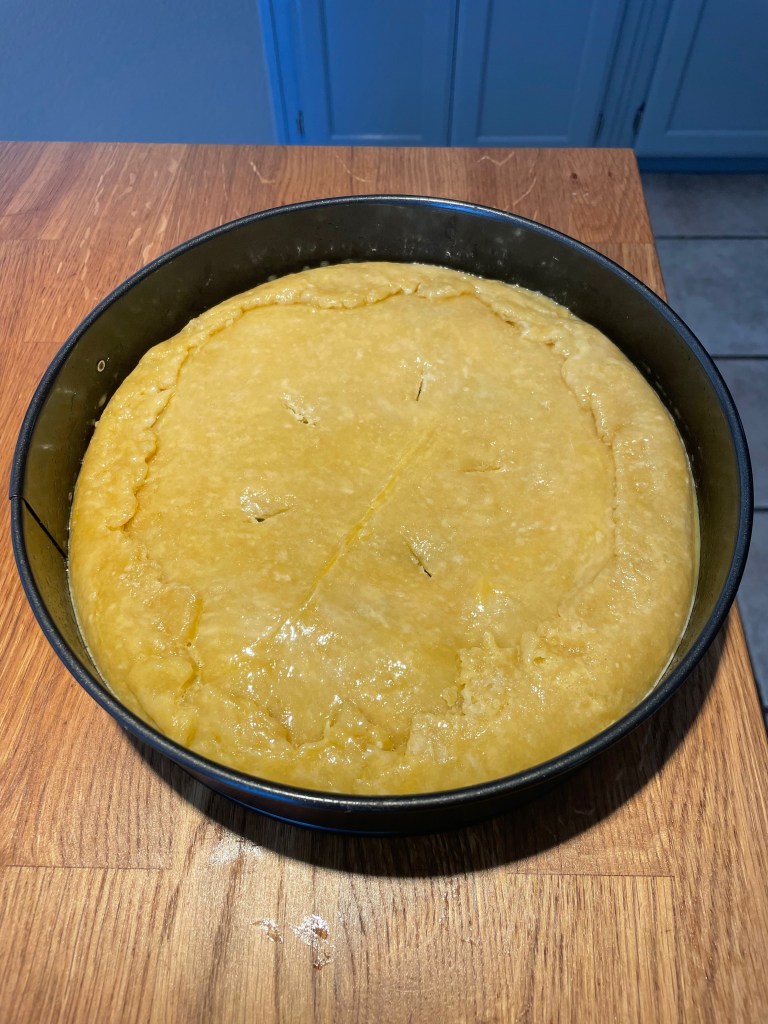
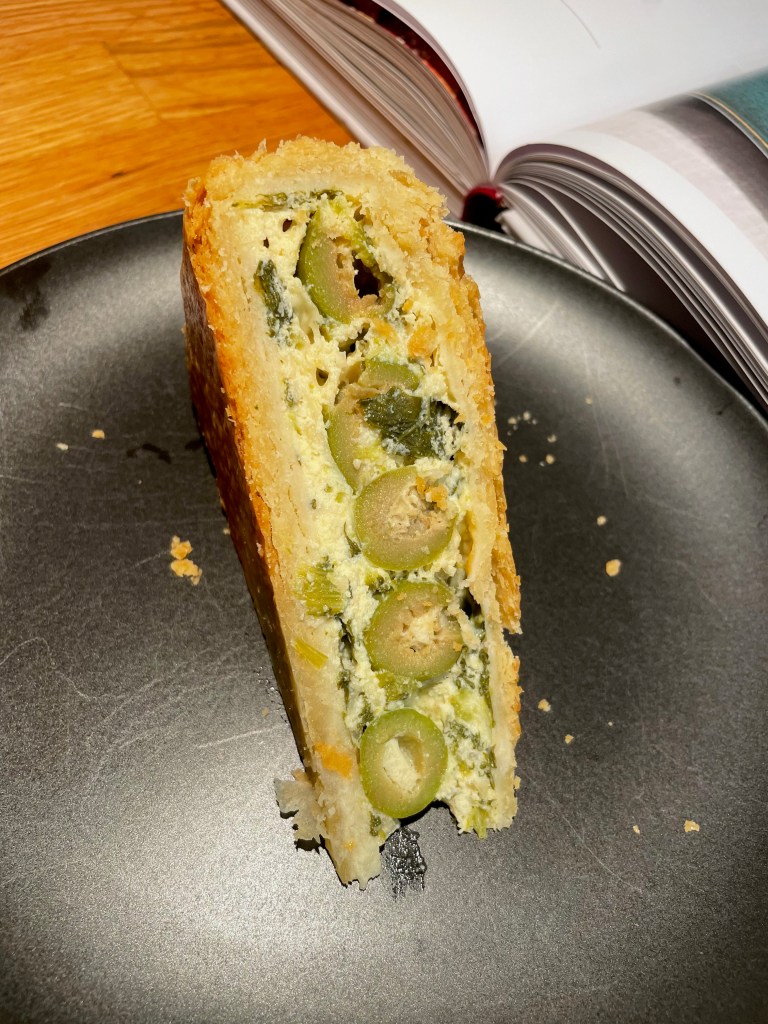
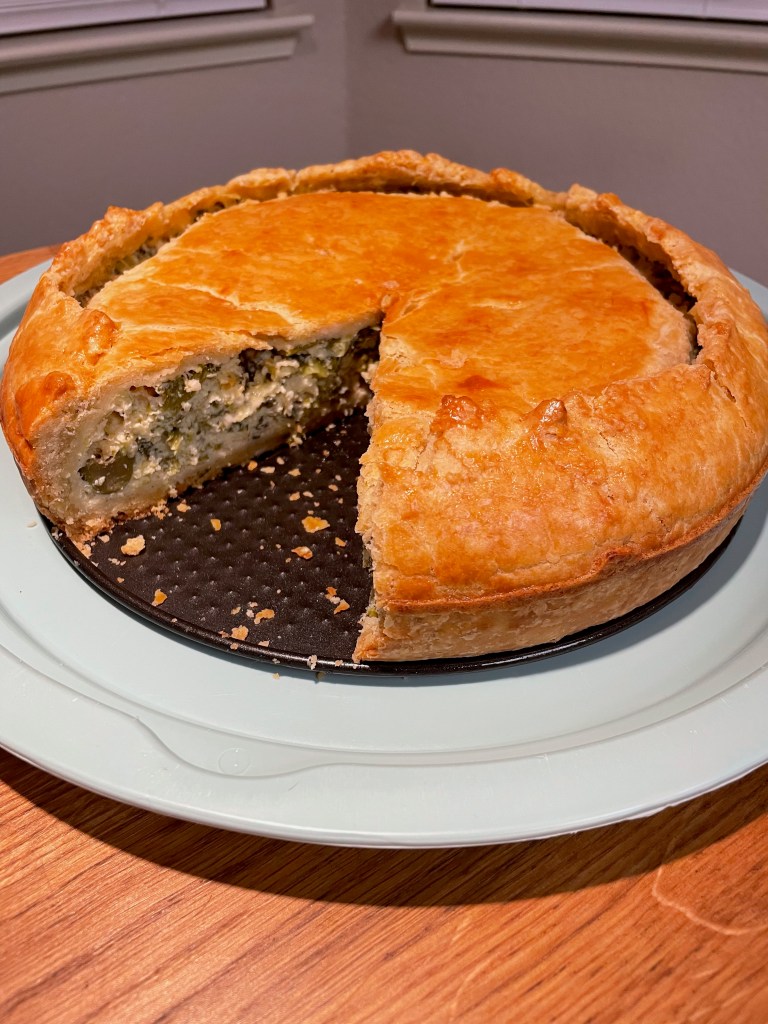
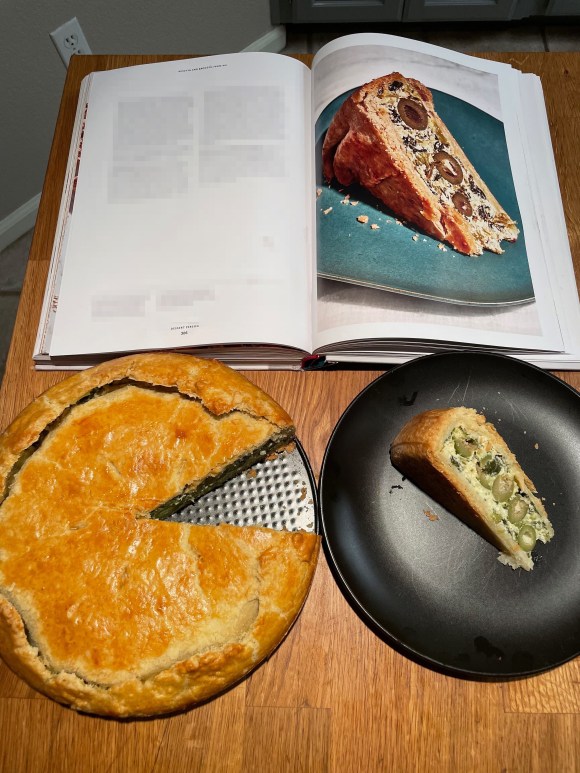
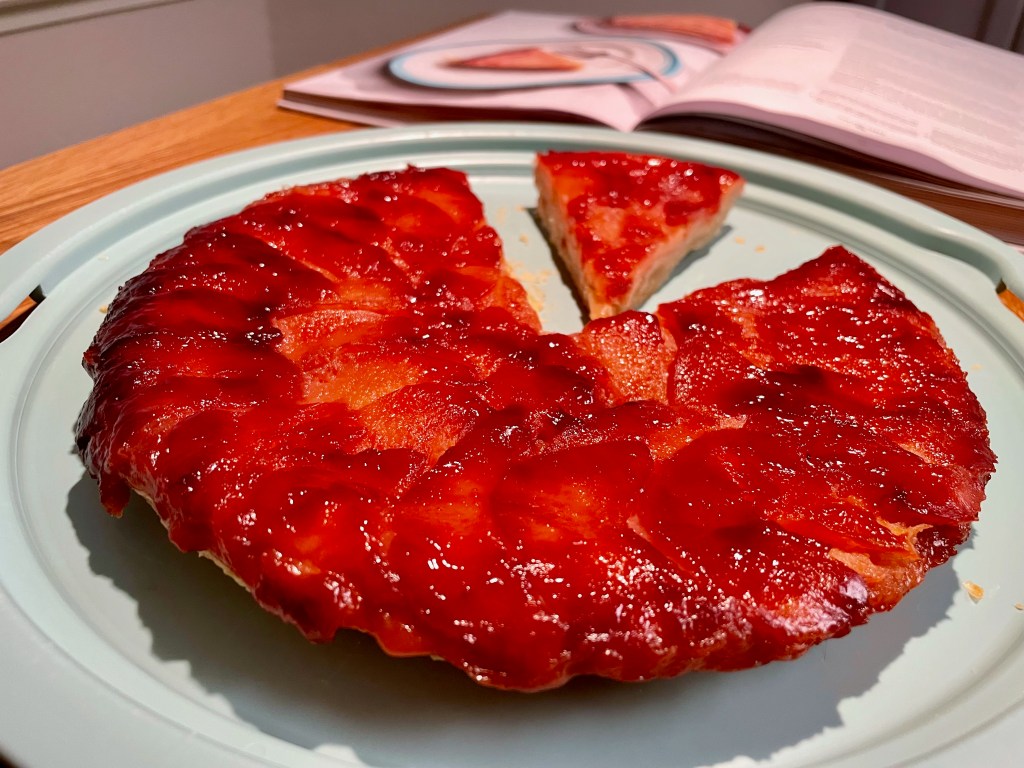
Final Product

Key Takeaways
- Make sure to use the tips above. This is a particularly complex recipe that could have used a bit more instruction and photos (when compared to others in the book).
- Buy extra quince in case some of your picks are bad.
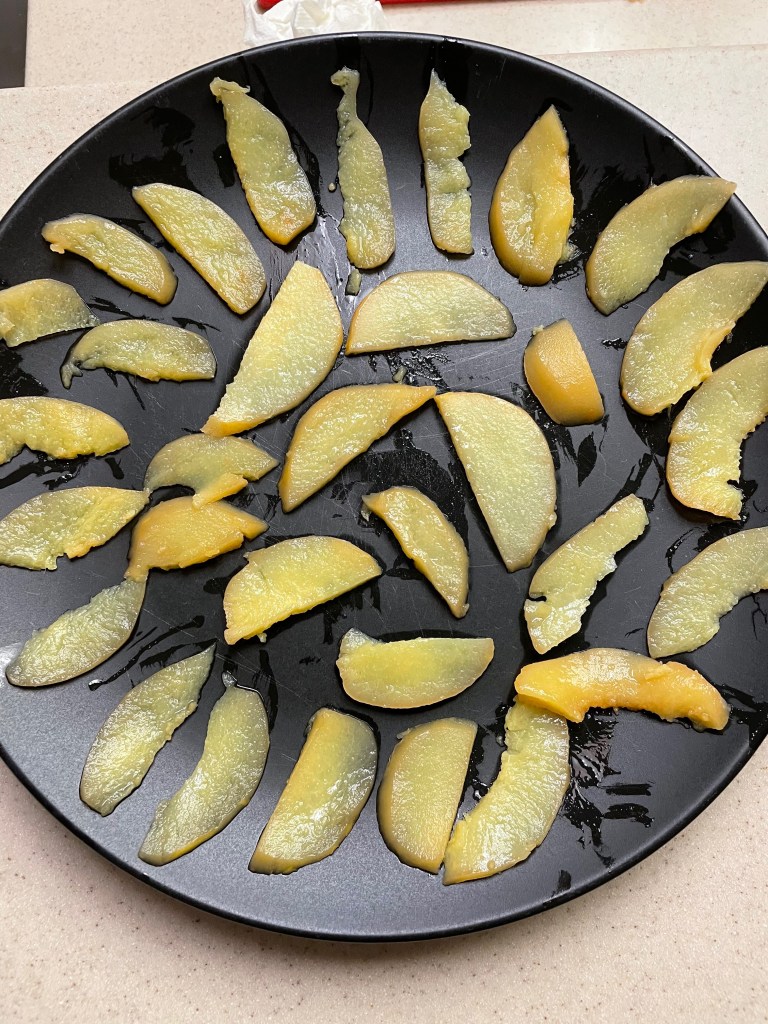
- Final Score: 3/5 – This is one of the most interesting recipes in the book, but also one of the most complex (despite not being rated as such in the book). With the tips above you’ll probably have better luck than we did. All things considered though this recipe is definitely worth a try. The quince slices and the poaching liquid are incredible. There are a lot of interesting techniques employed in this recipe that are definitely worth learning.