Categories
food

Recipe Review: Creamy Greens Pie With Baked Eggs

Introduction

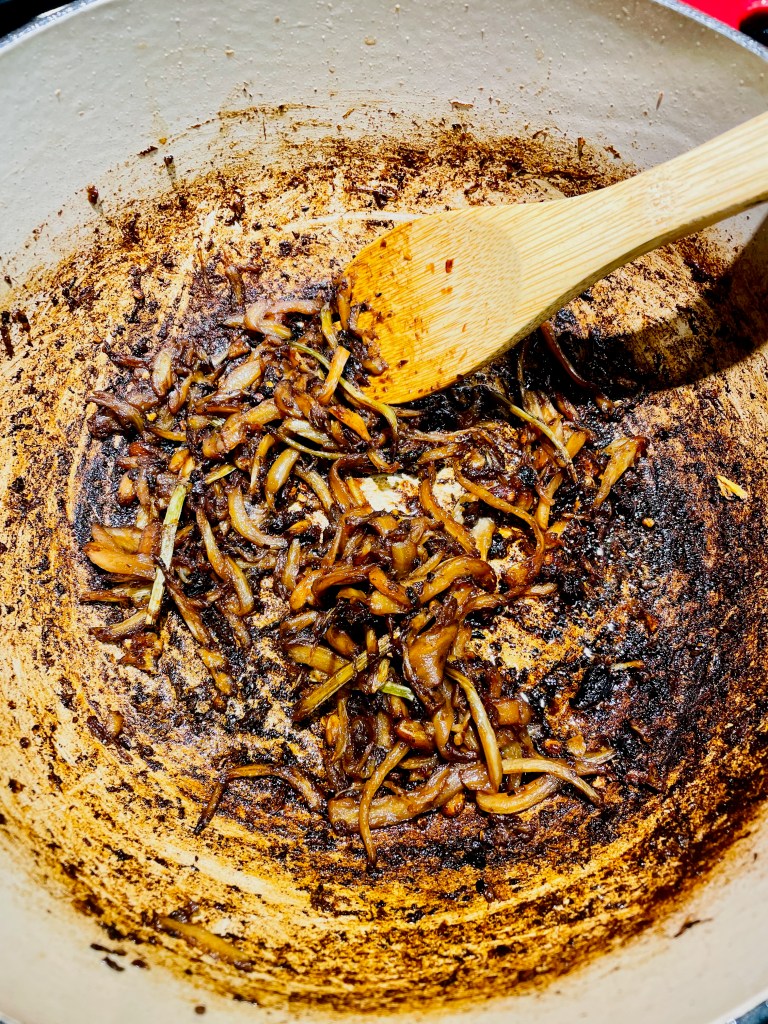
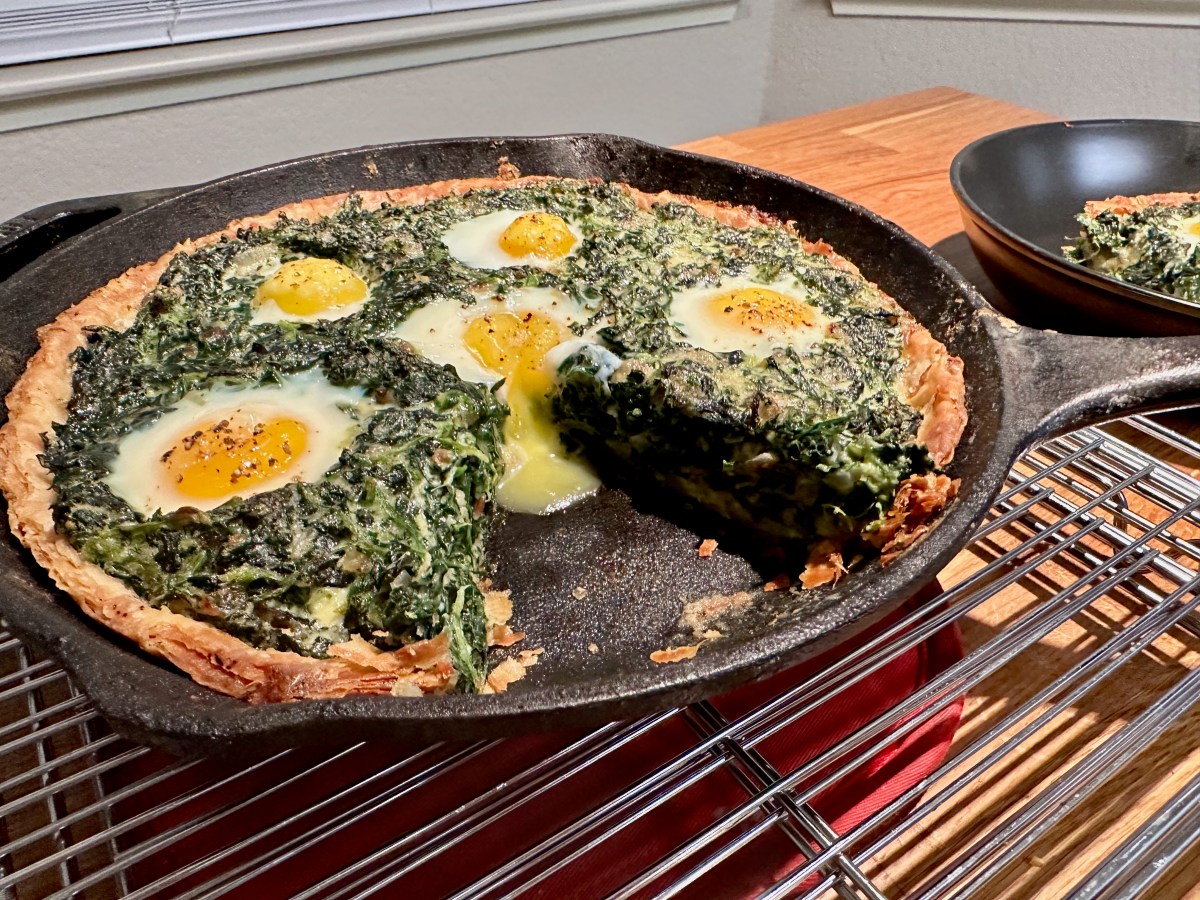
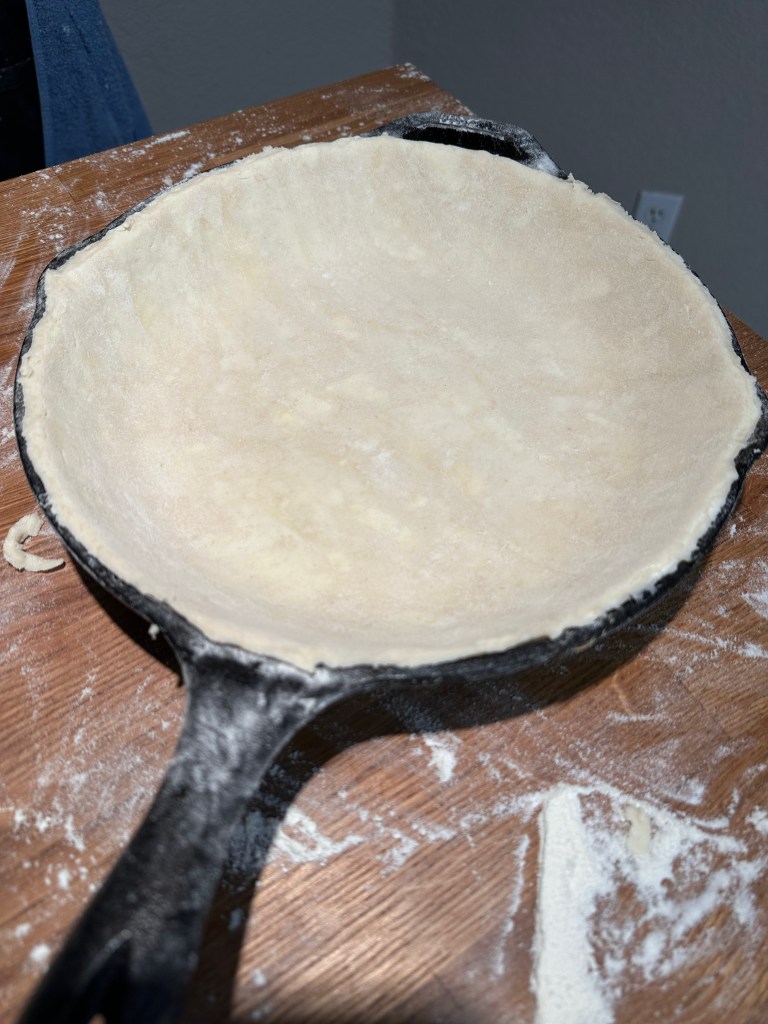
This is a great savory pie. The greens add a ton of flavor, the creamy filling keeps it moist, and the pie dough provides great texture. It’s a fair bit of work to make this (mostly washing and preparing all of the greens), but it’s not too bad and definitely worth the effort. The hardest part is probably making the pie crust in the skillet (and this is a great recipe to practice that since it can be done in advance).

Recipe Outline

Recipe: Creamy Greens Pie With Baked EggsSpecial Equipment: Cast Iron Skillet
Source: Dessert PersonTime: 5 Hours
Author: Claire SaffitzDifficulty: 3/5
Type: Dessert (Baking)Score: ★★★★☆
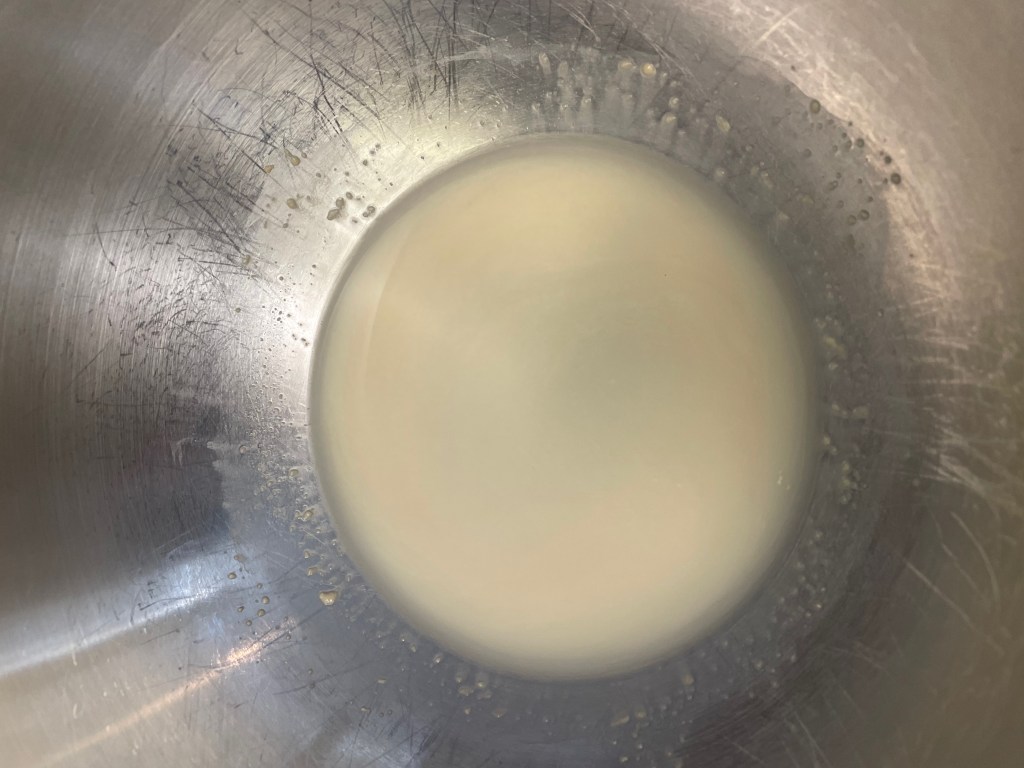
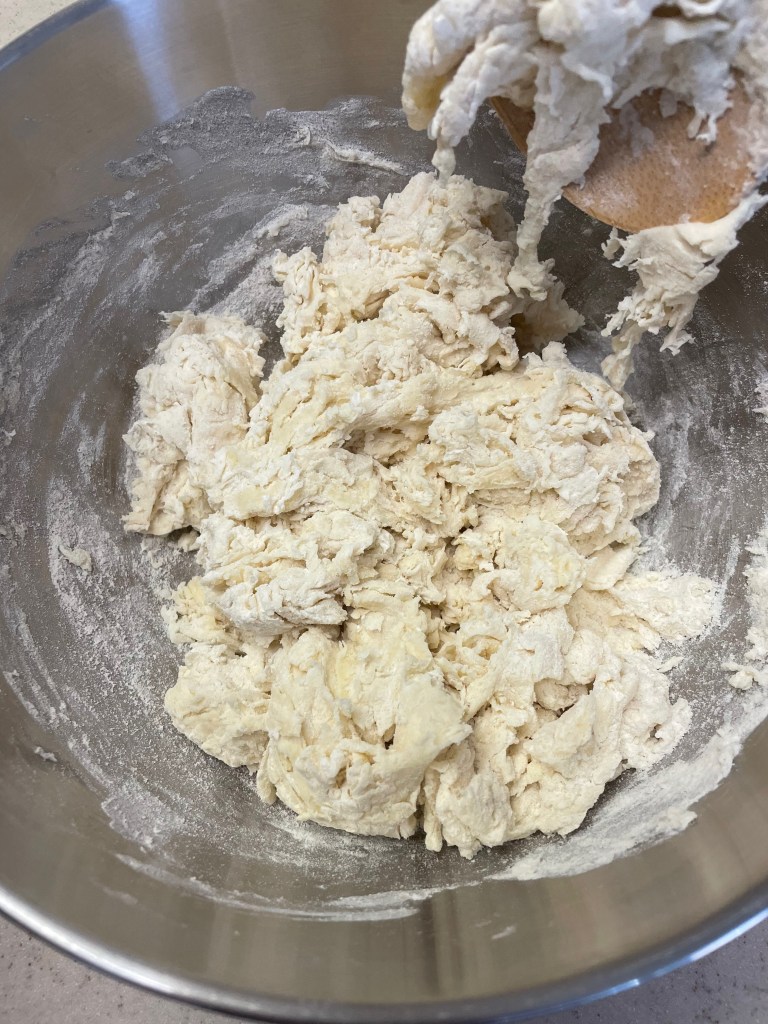
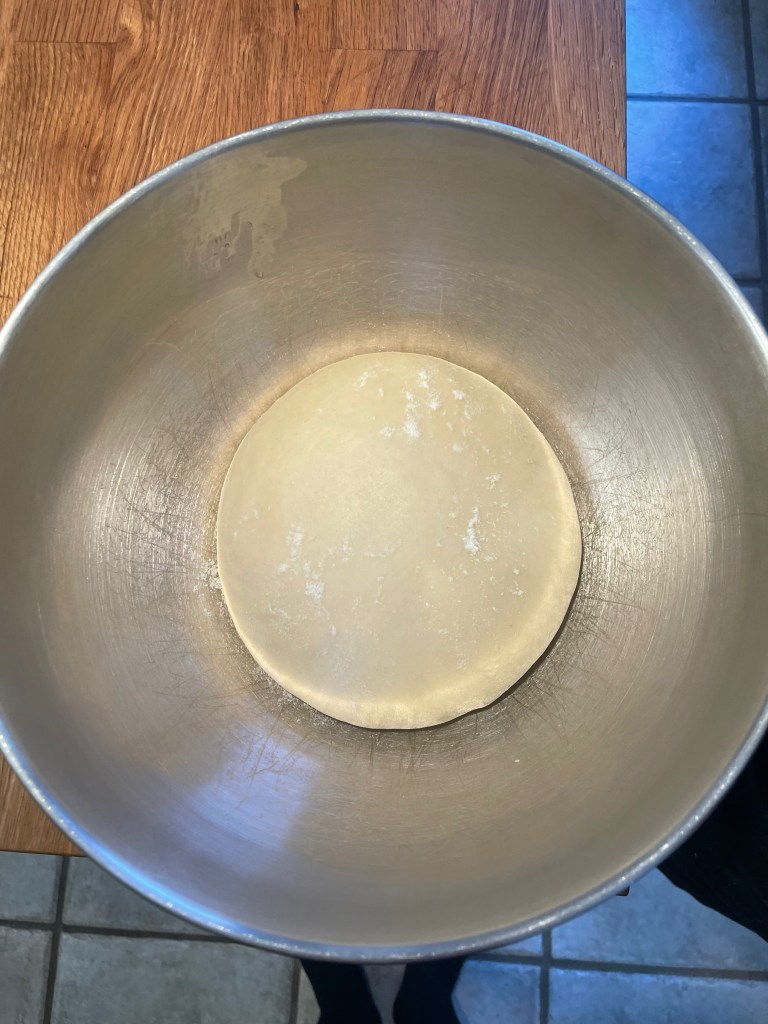
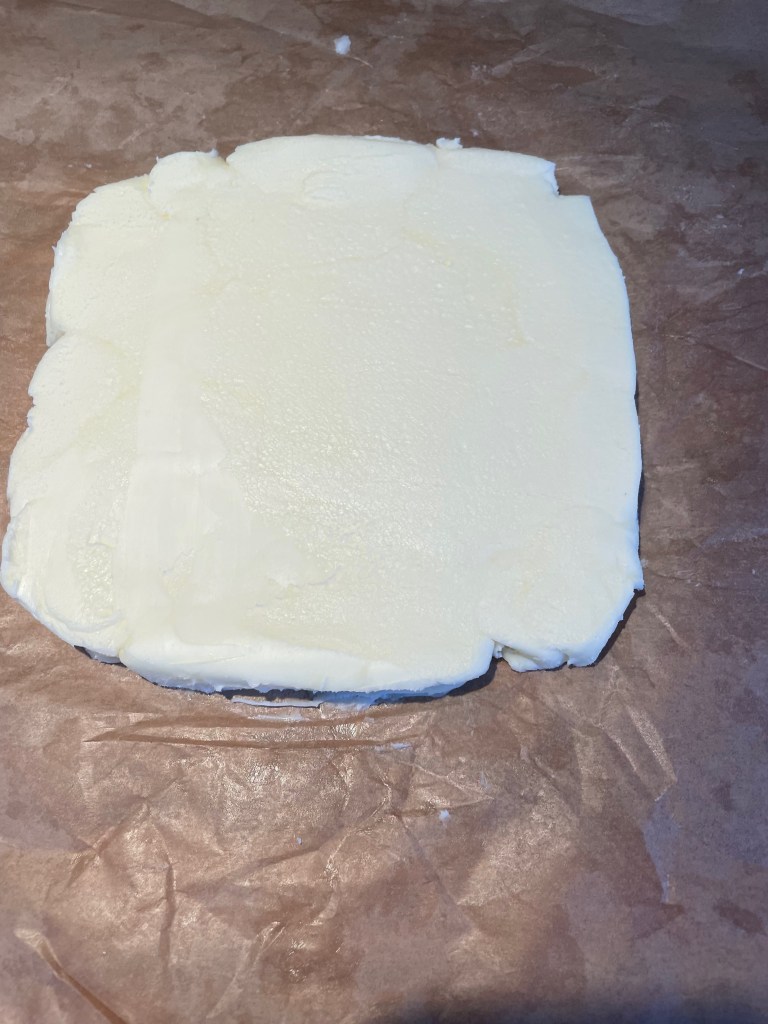
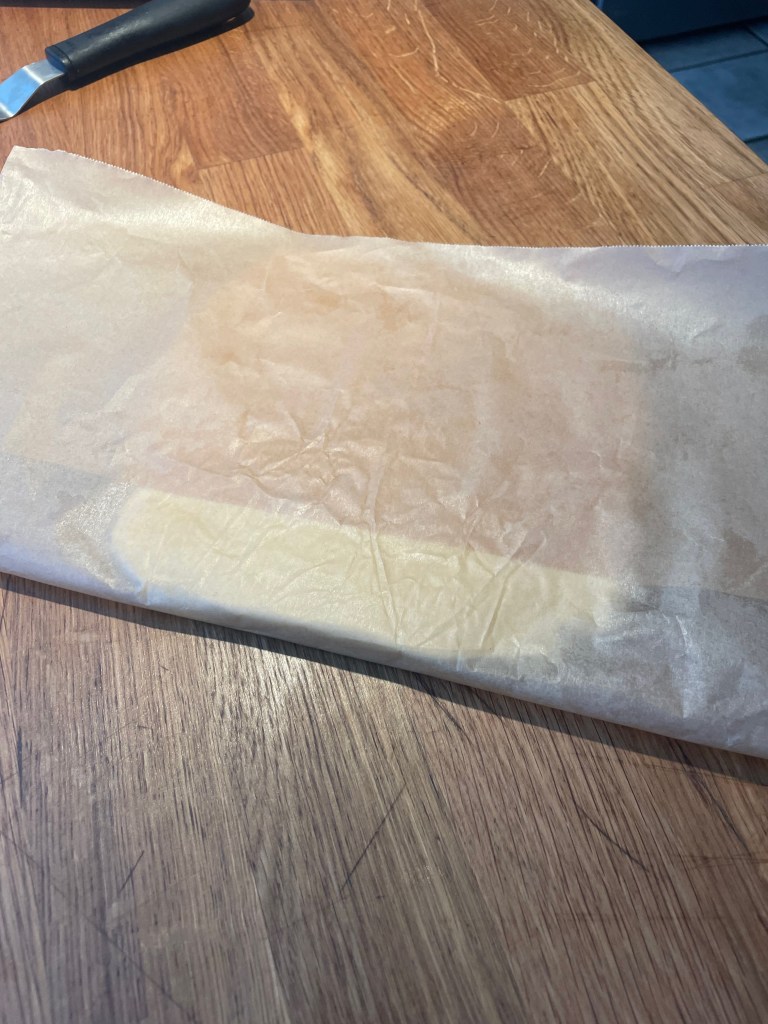
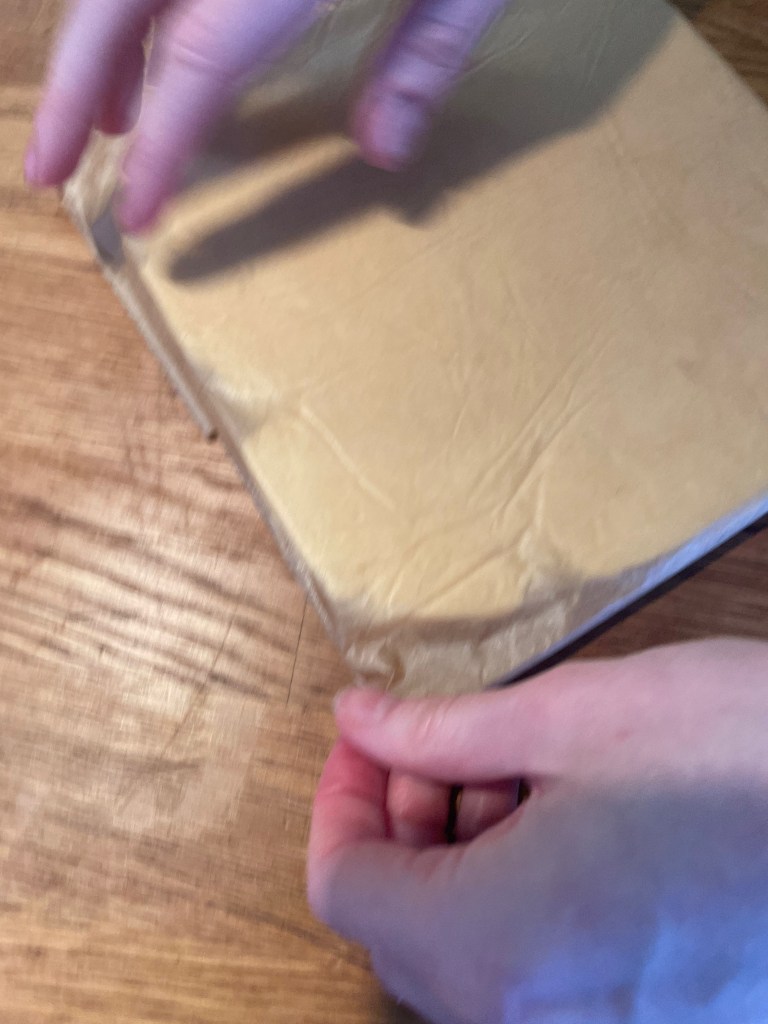
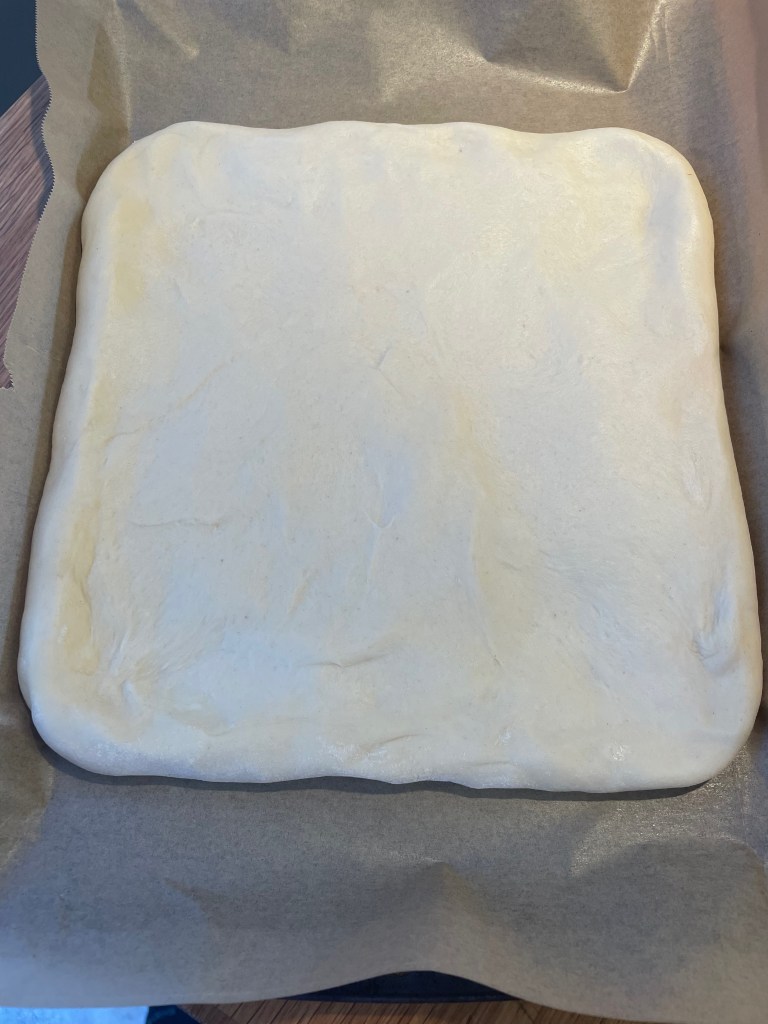
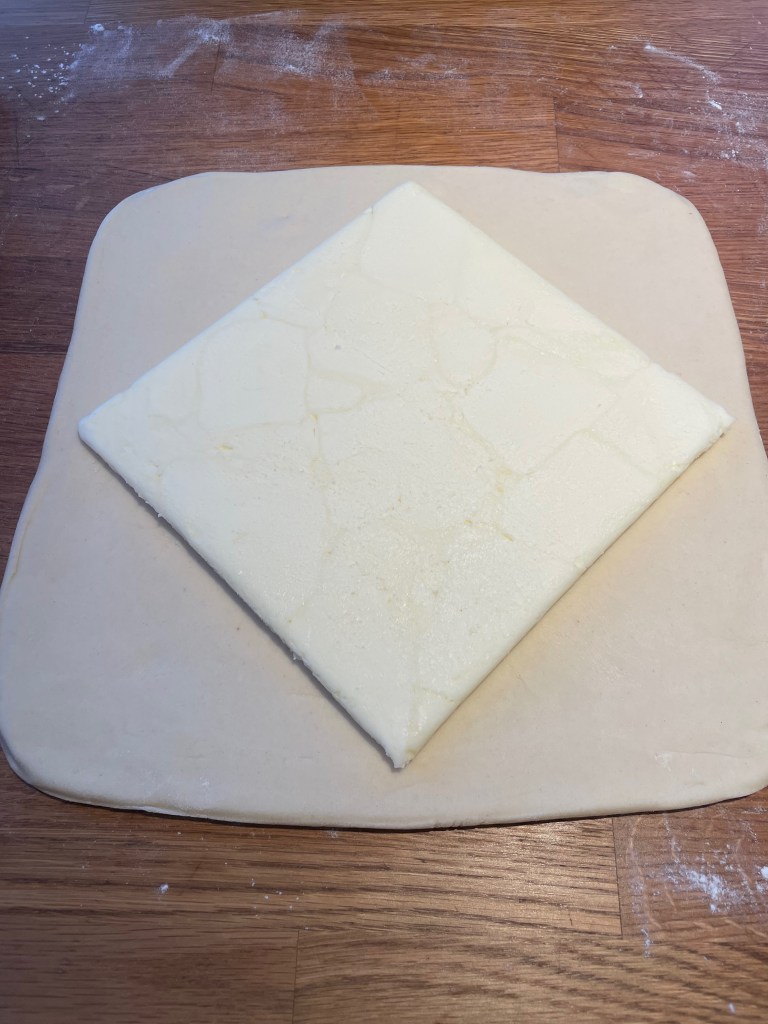
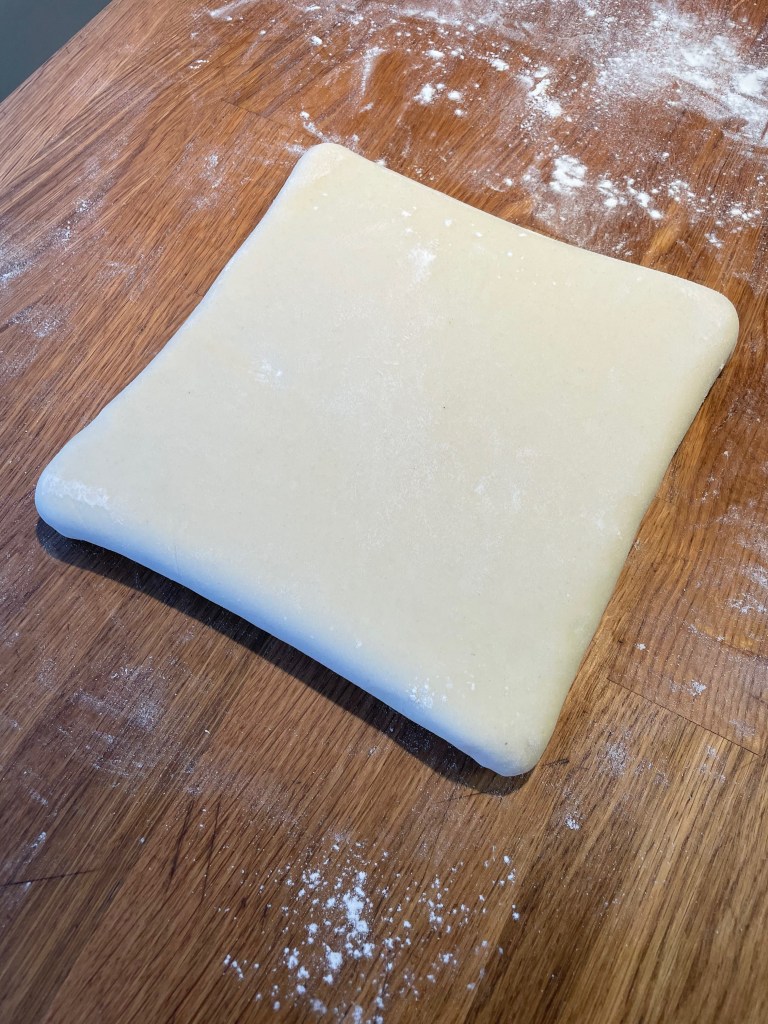
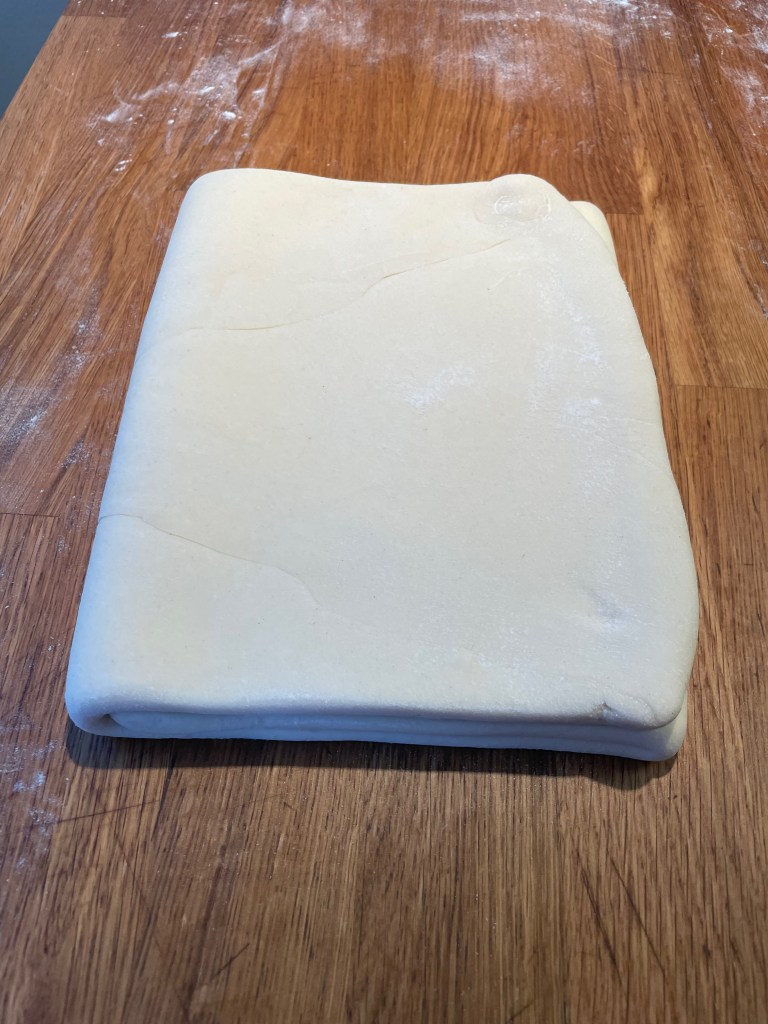
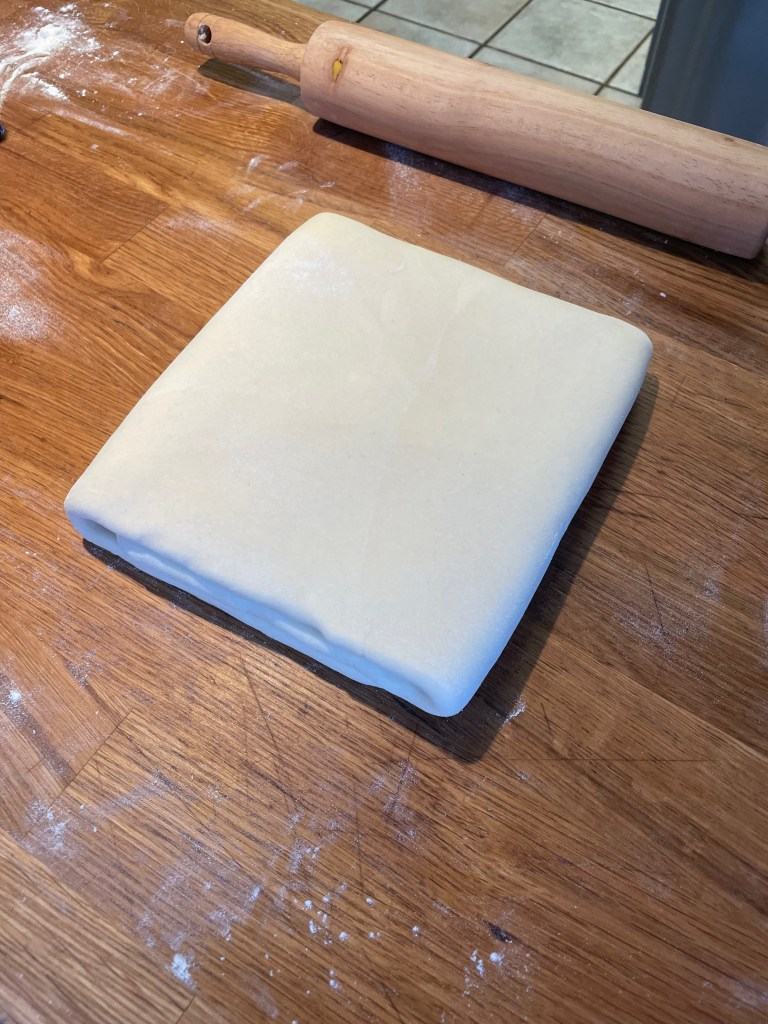
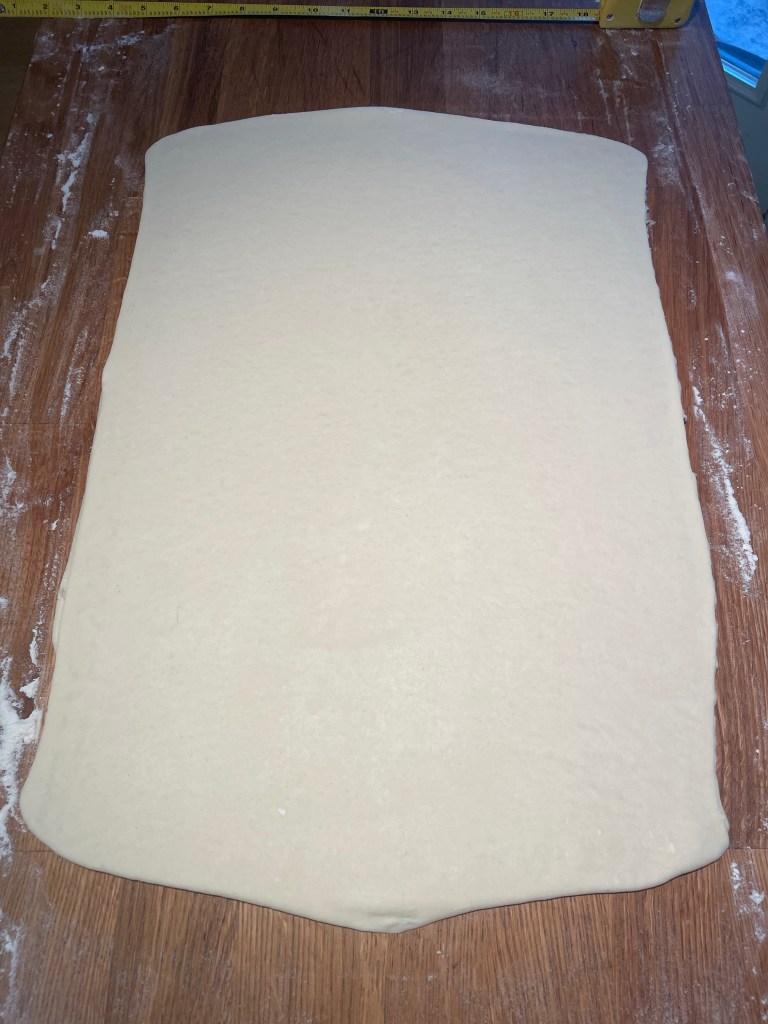
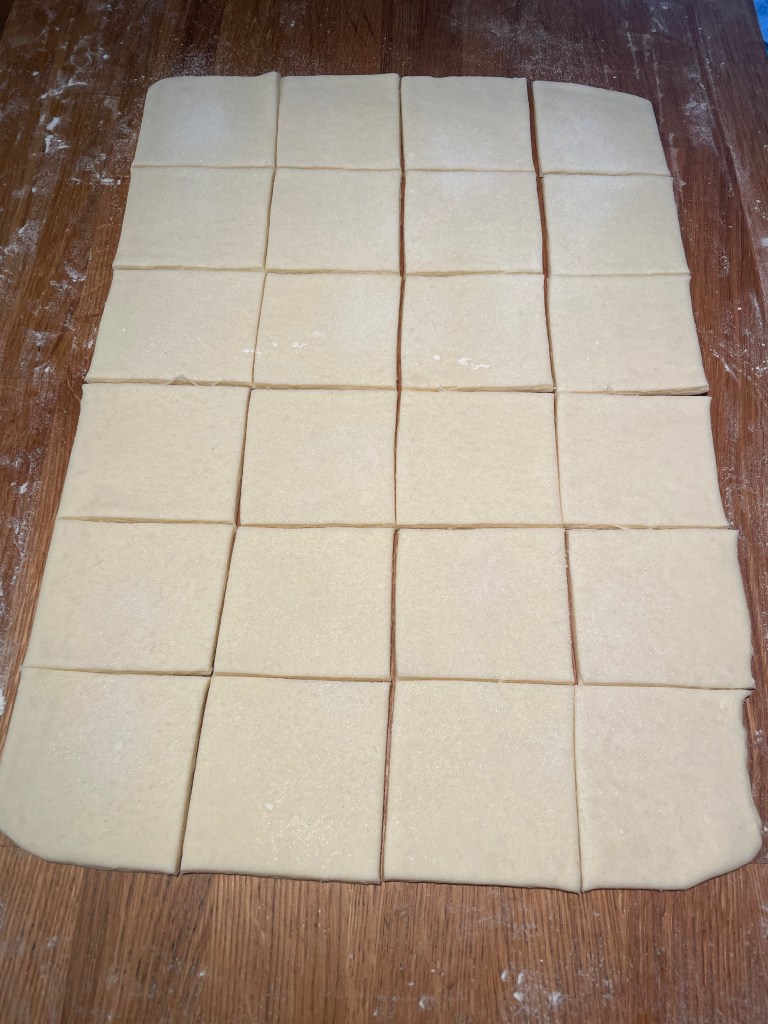
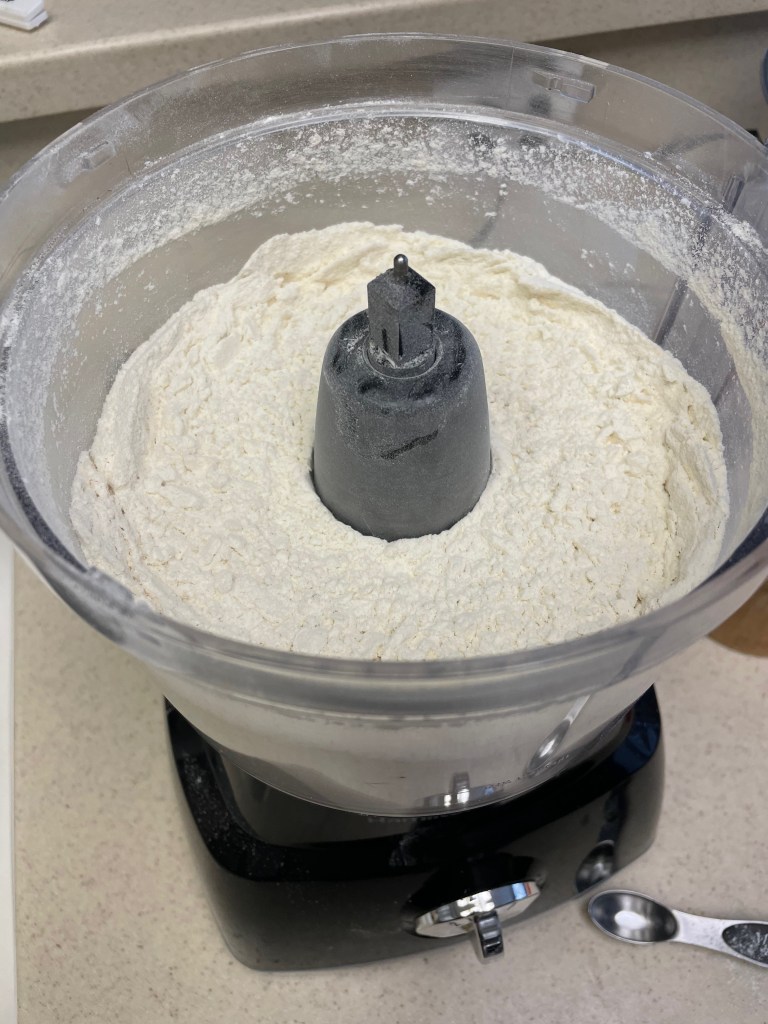
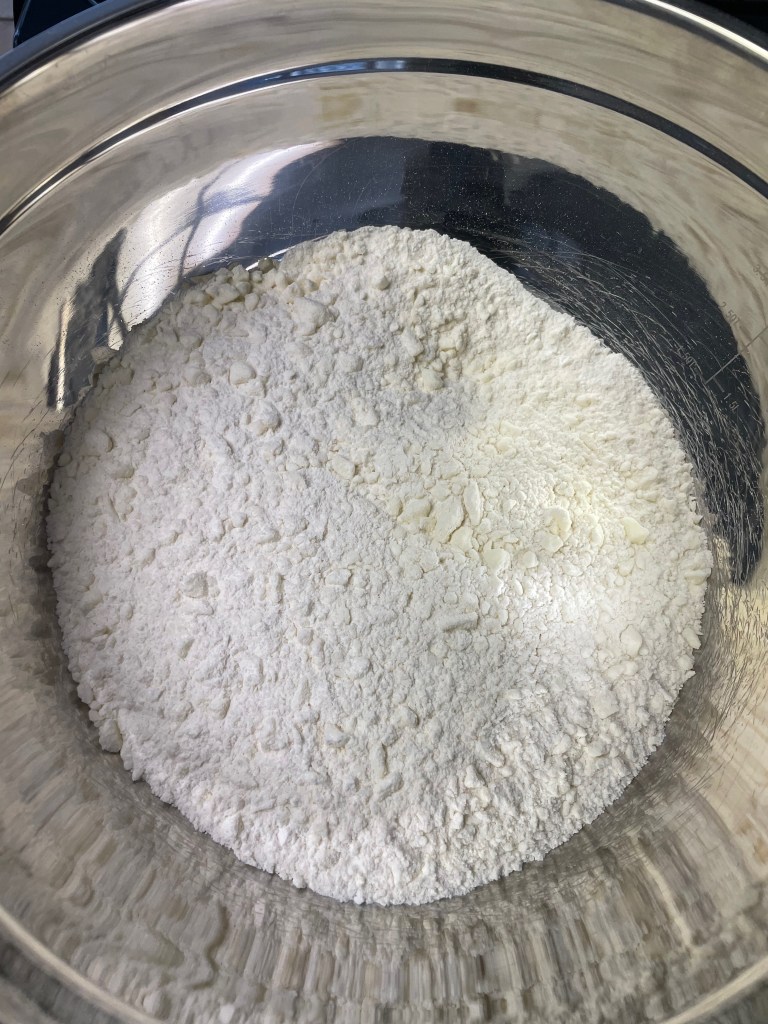
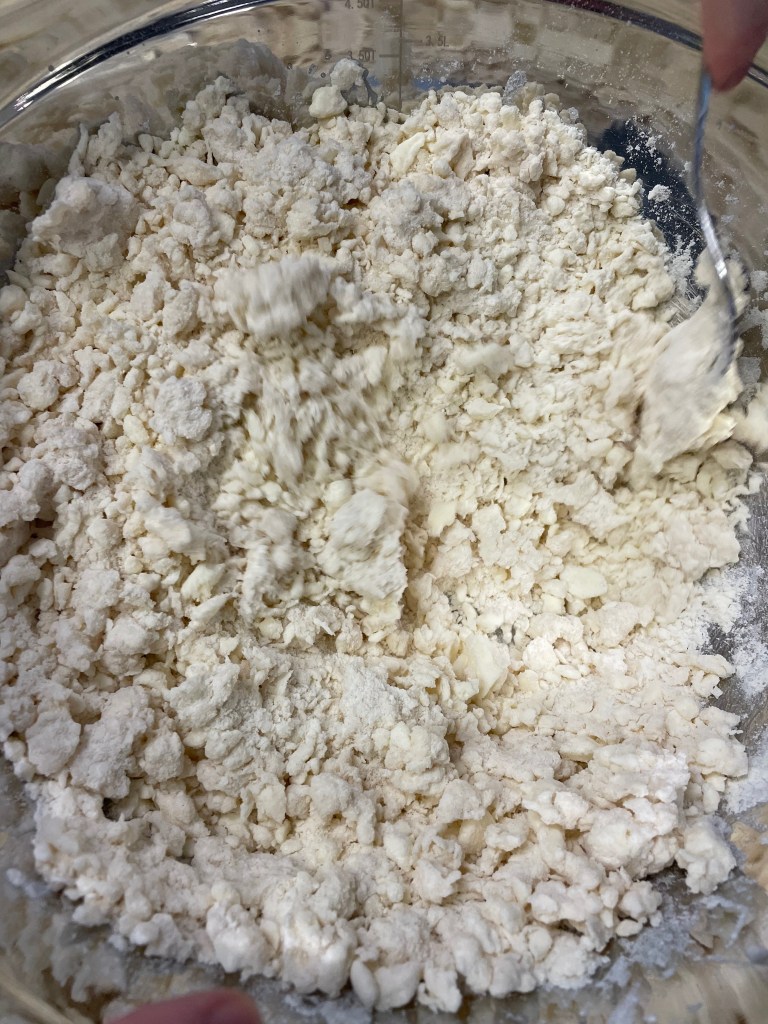
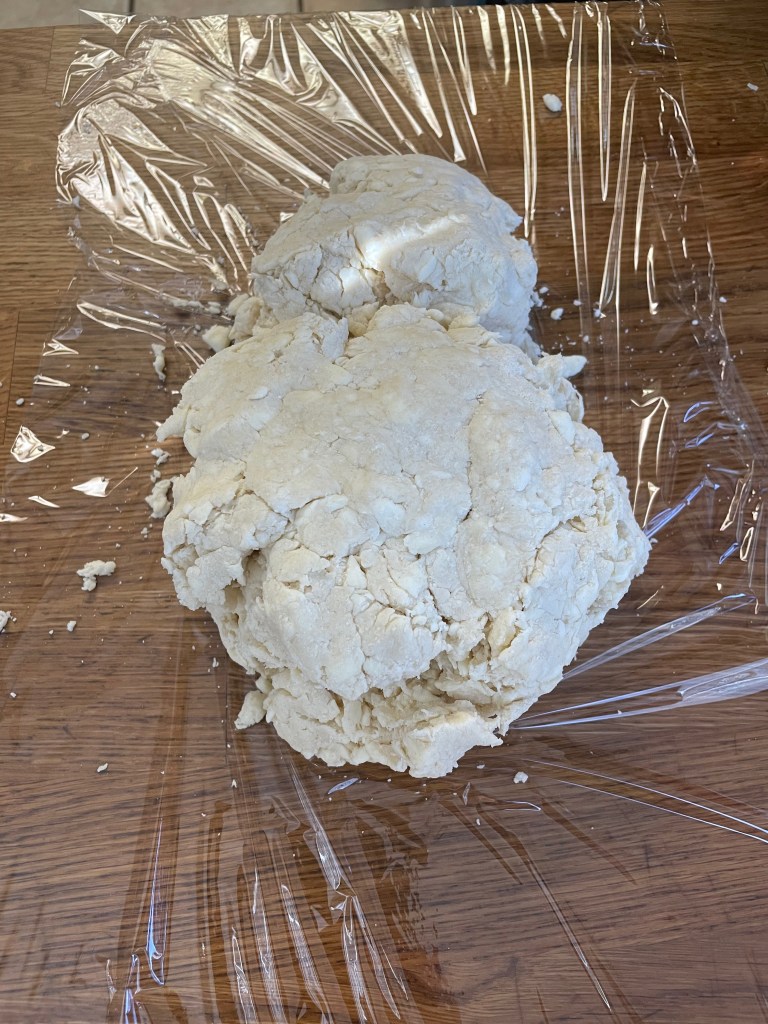
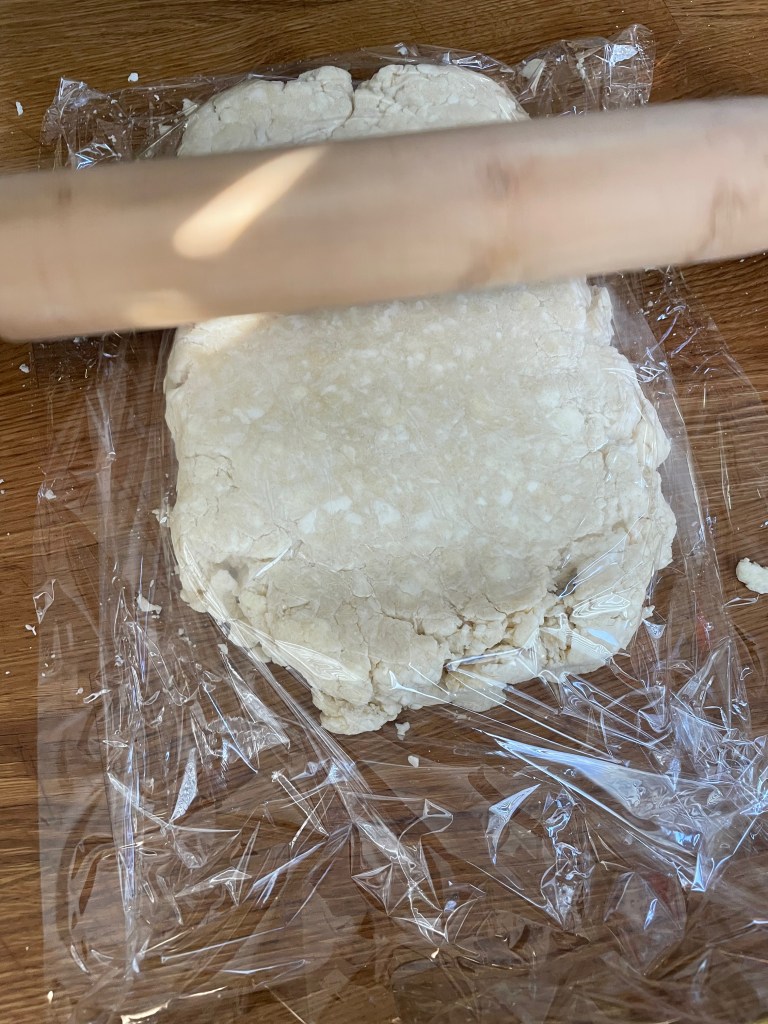
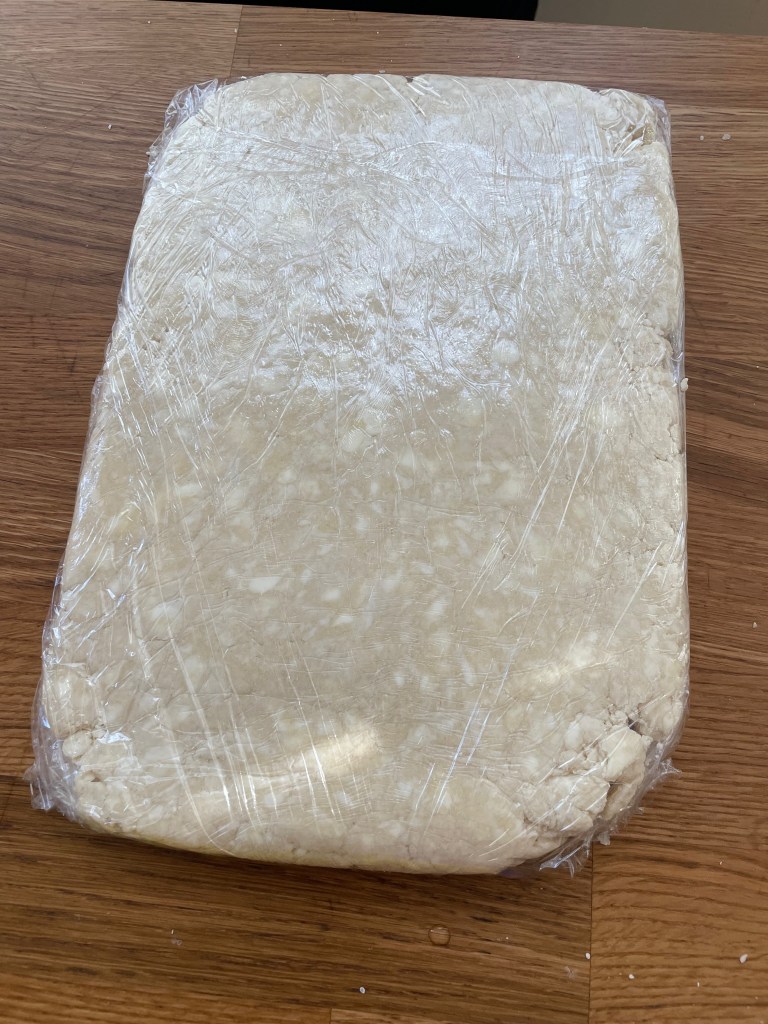
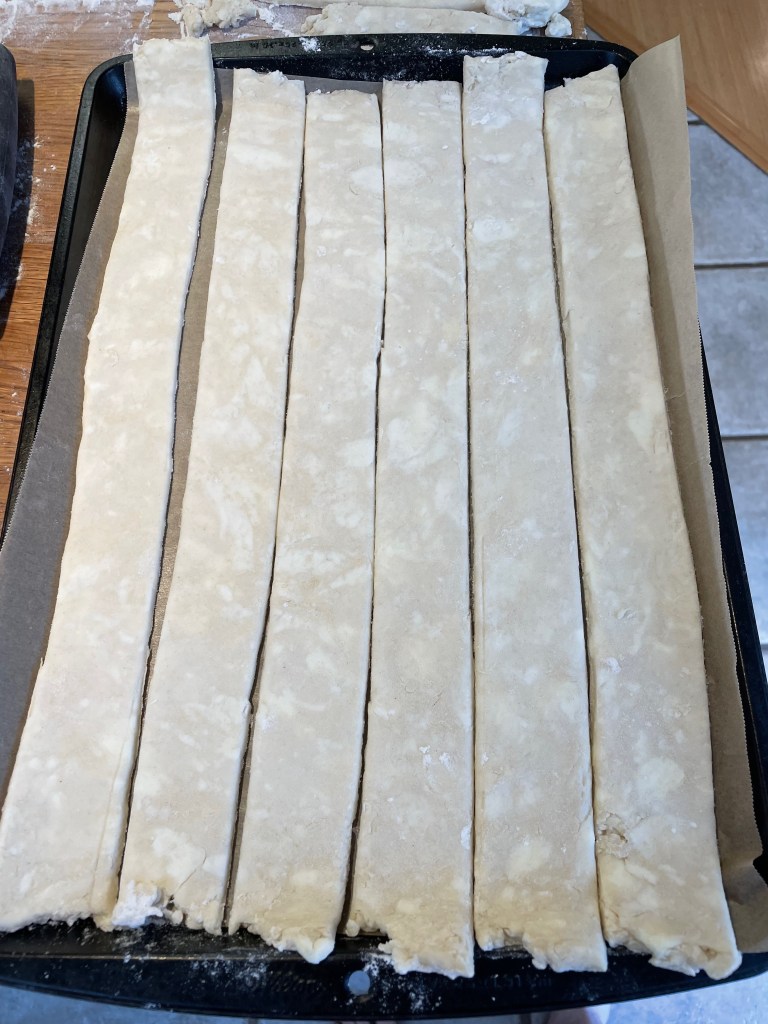
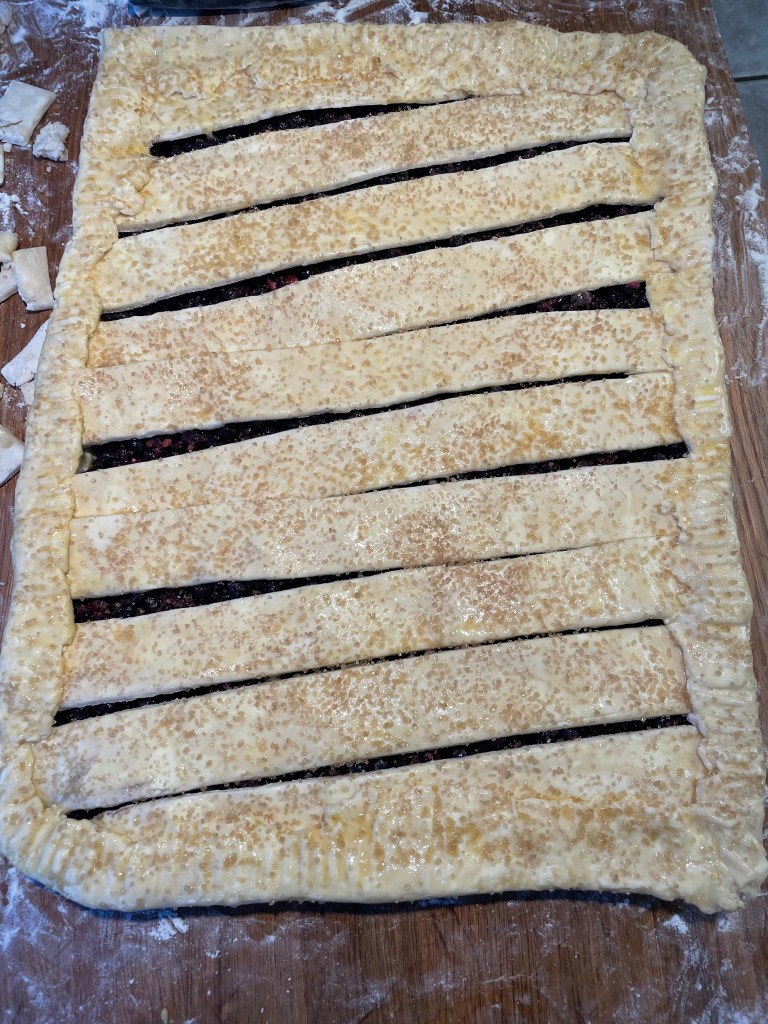
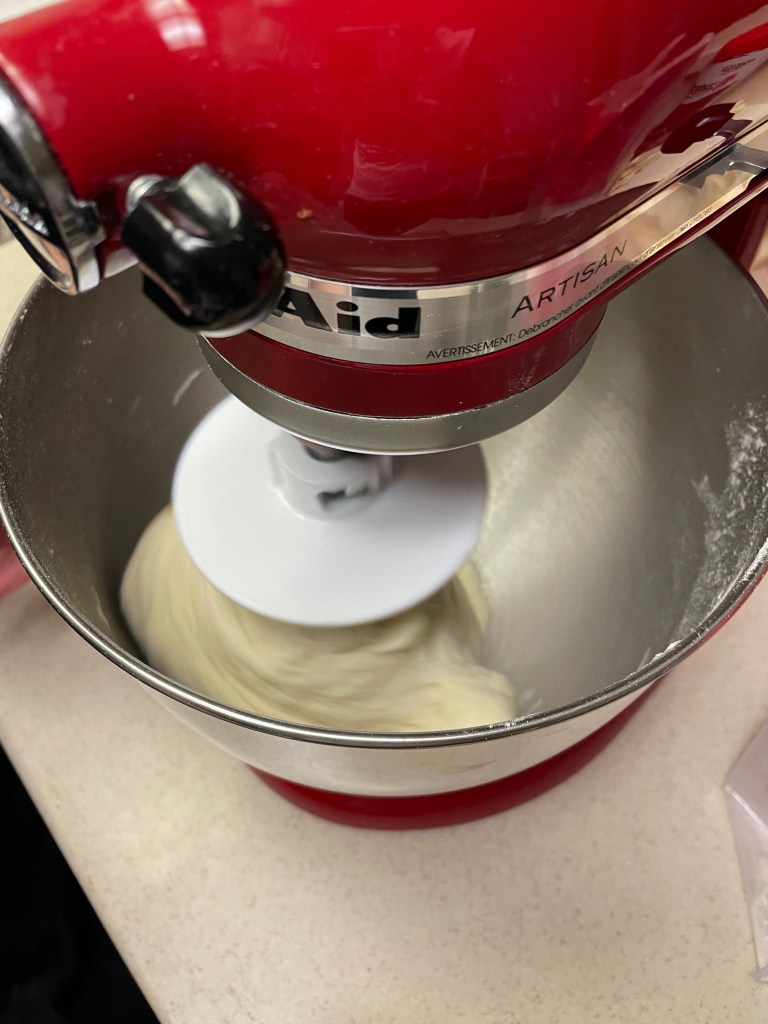
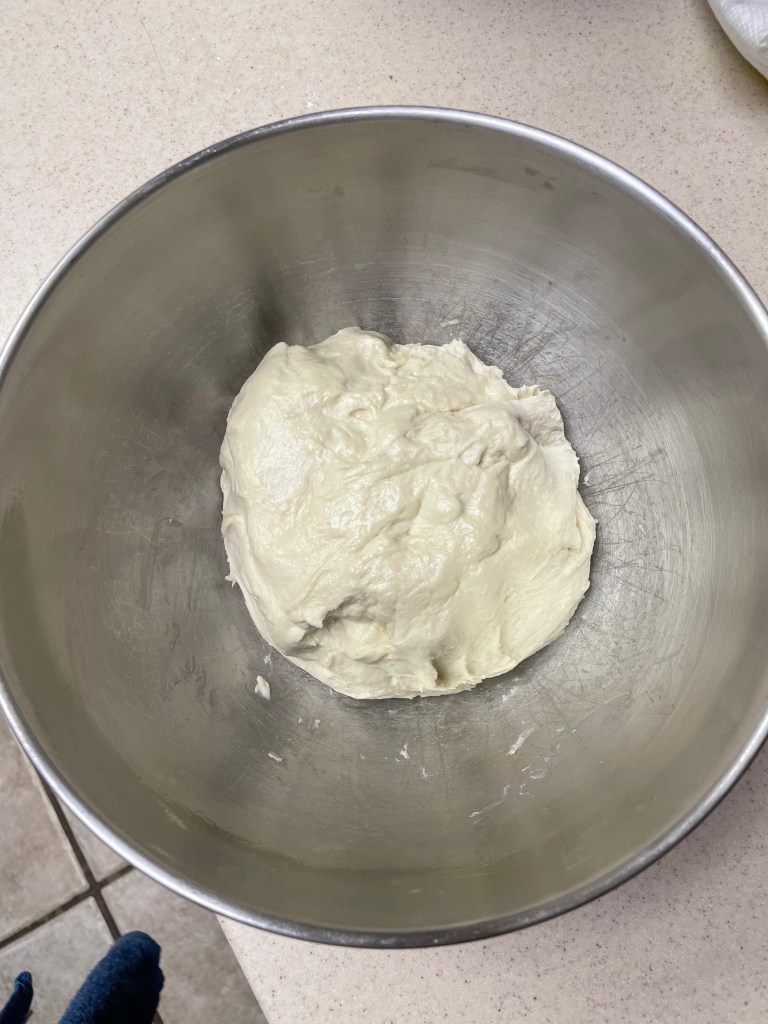
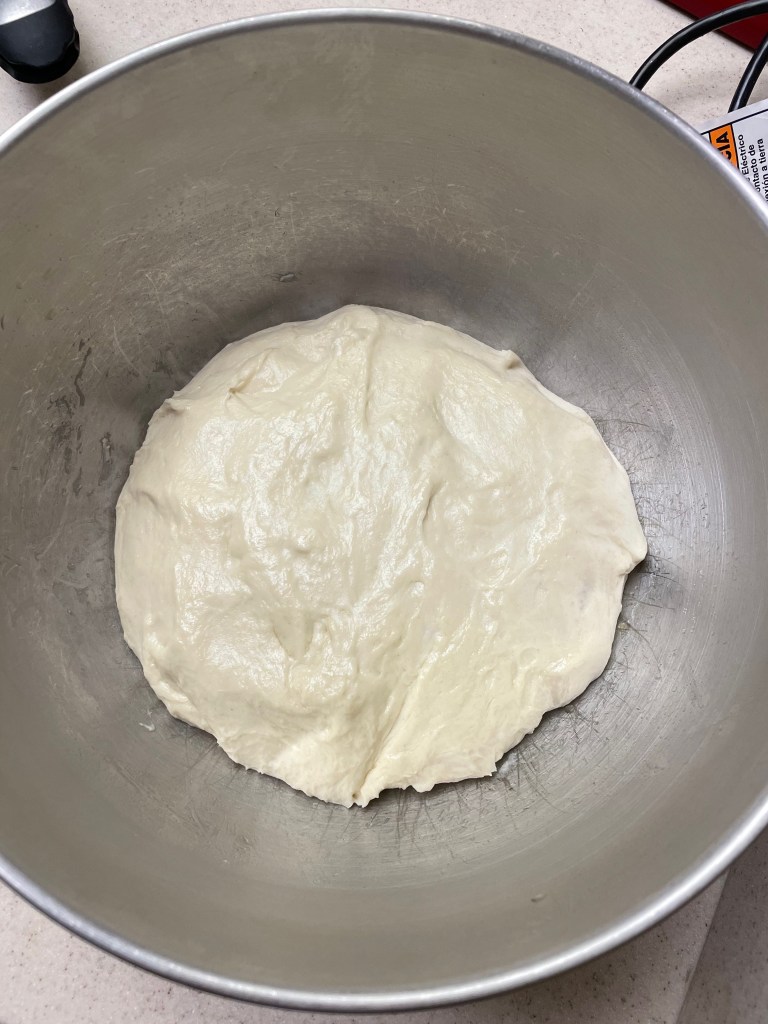
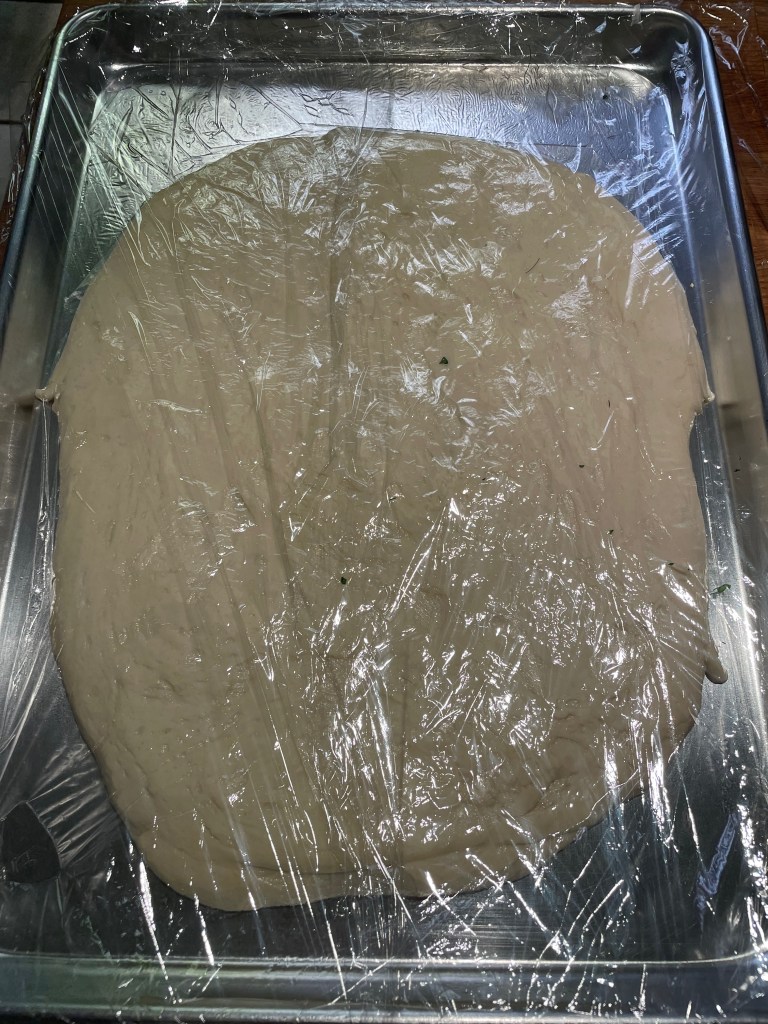
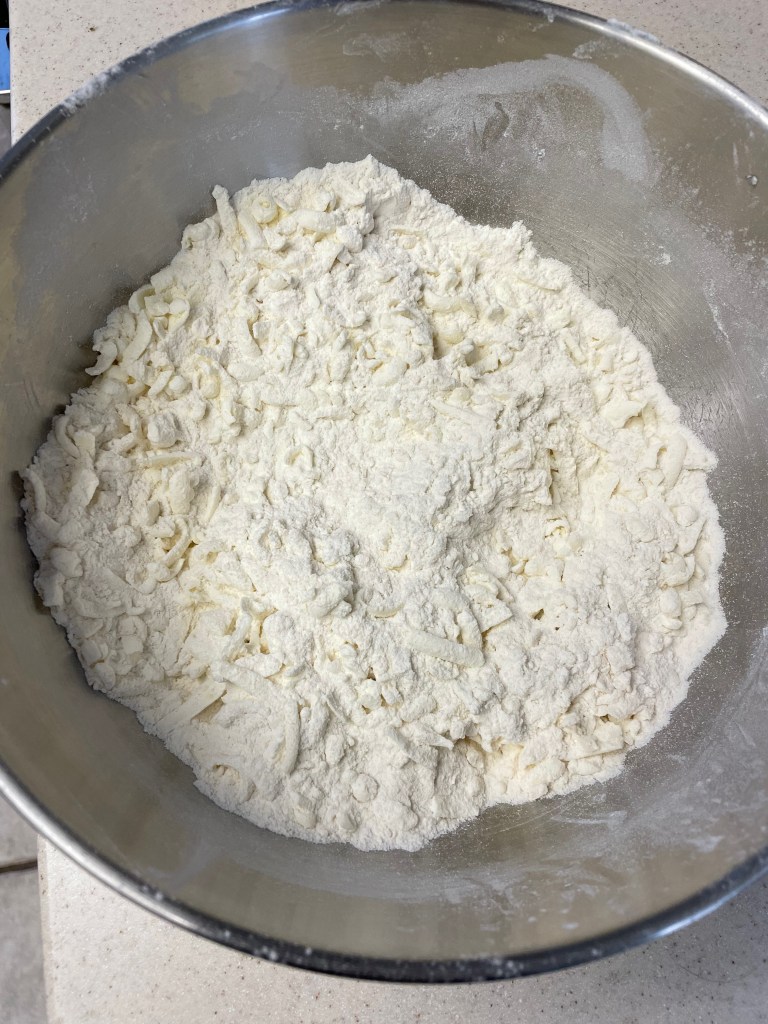
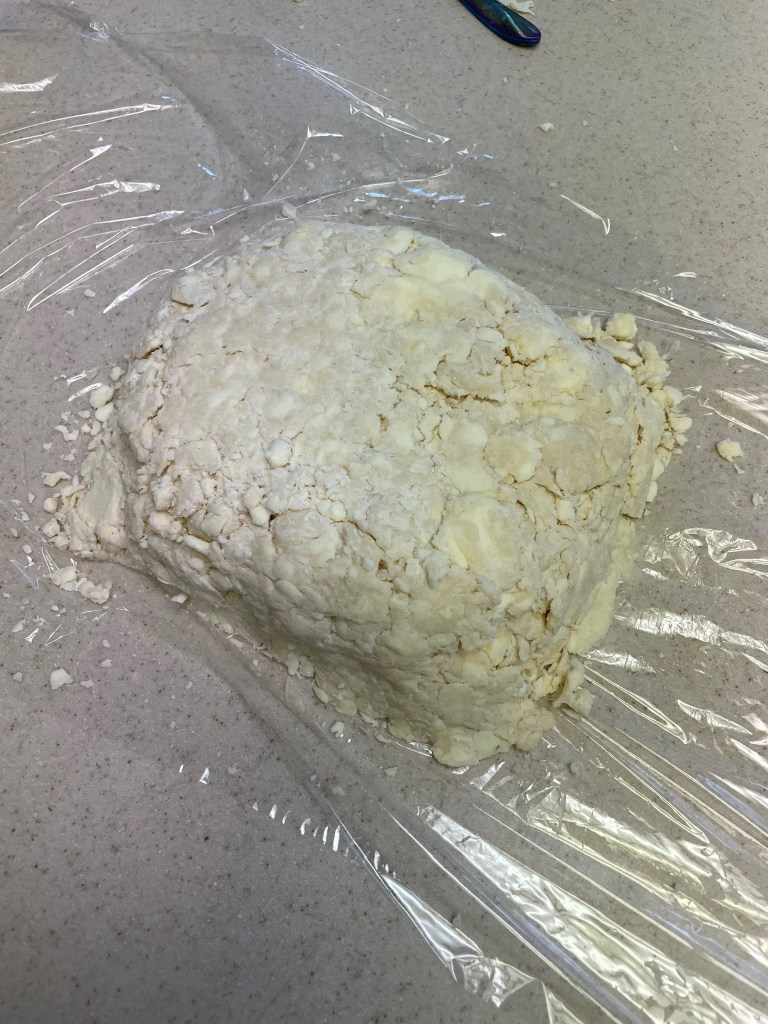
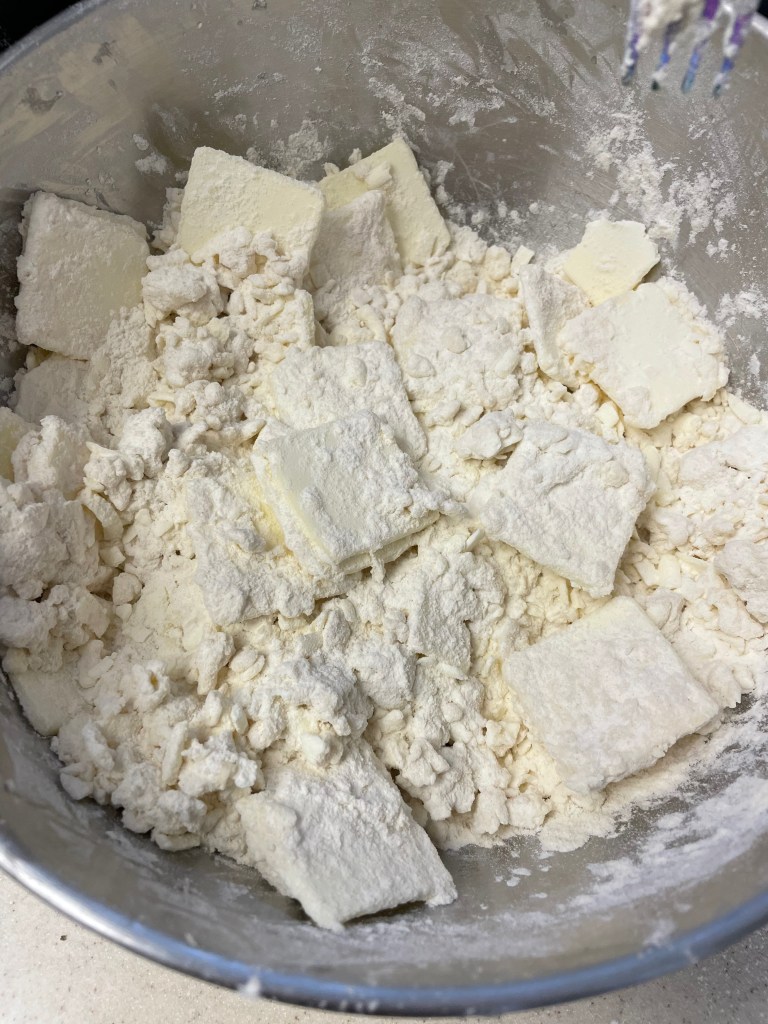
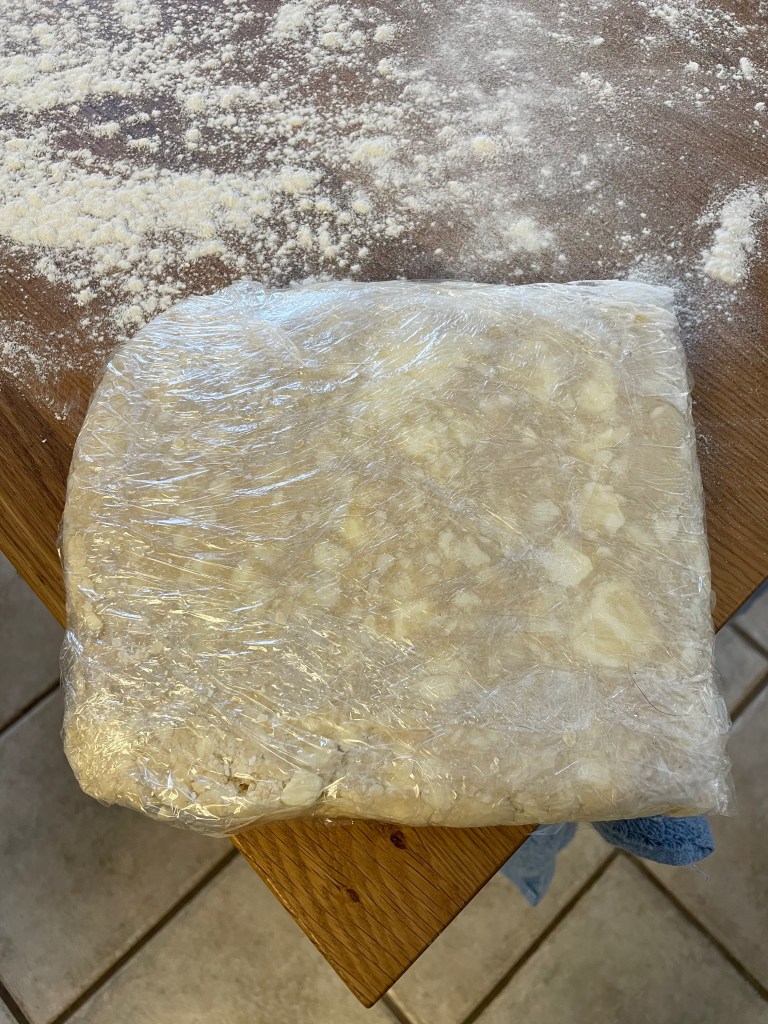
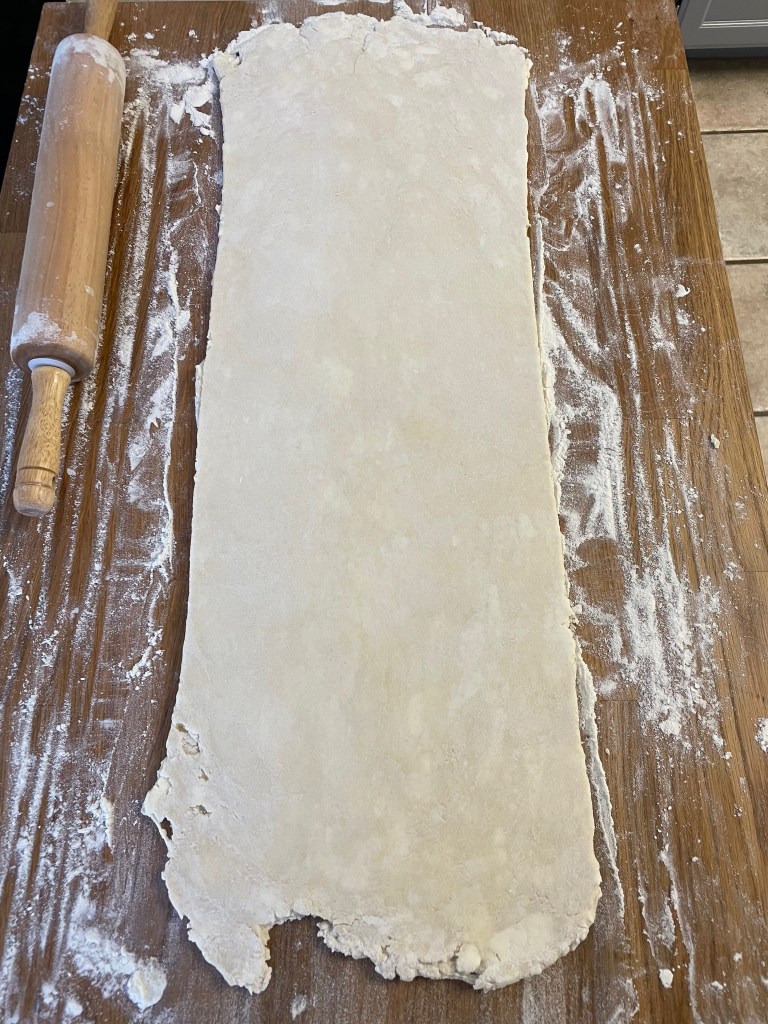
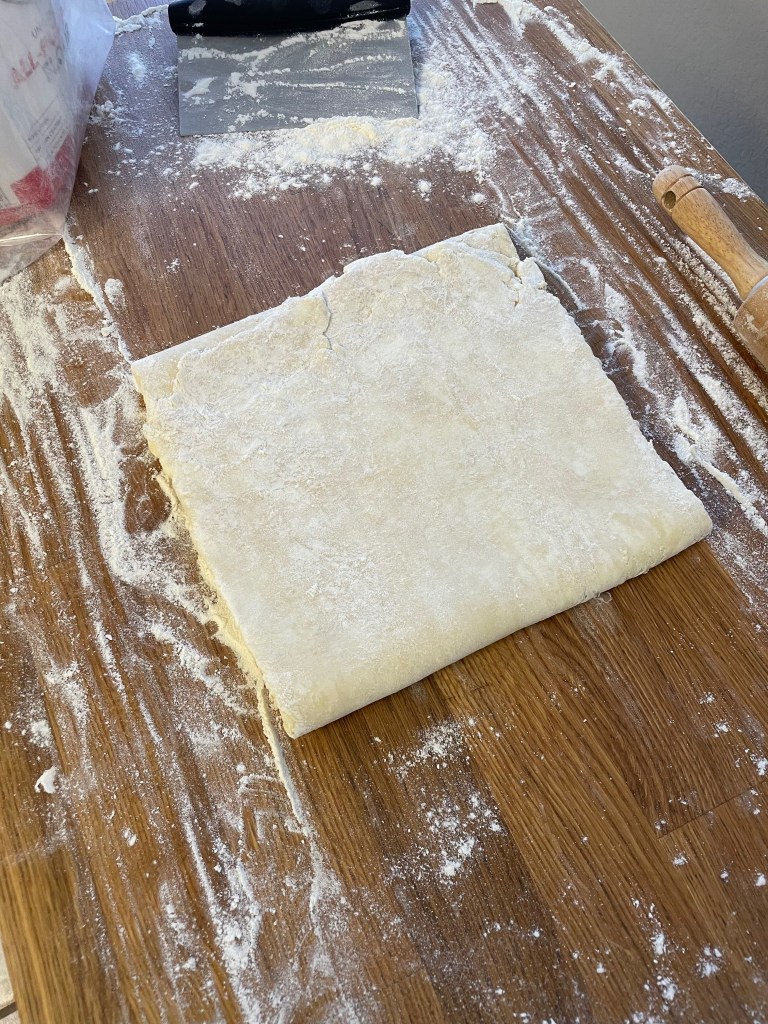
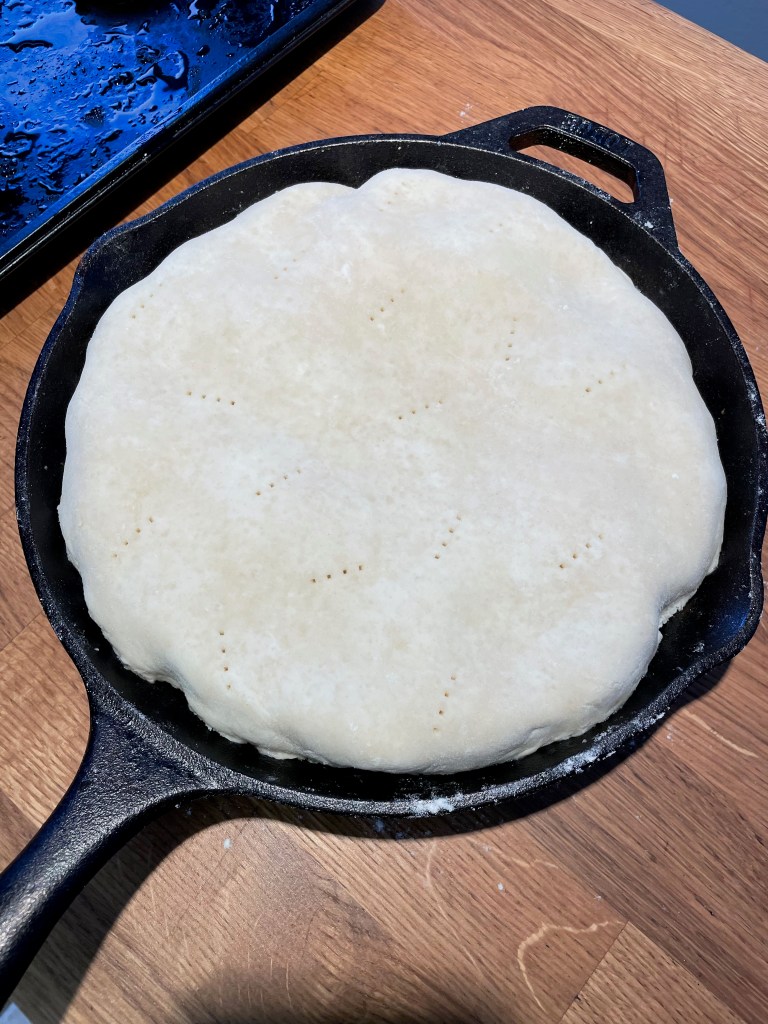
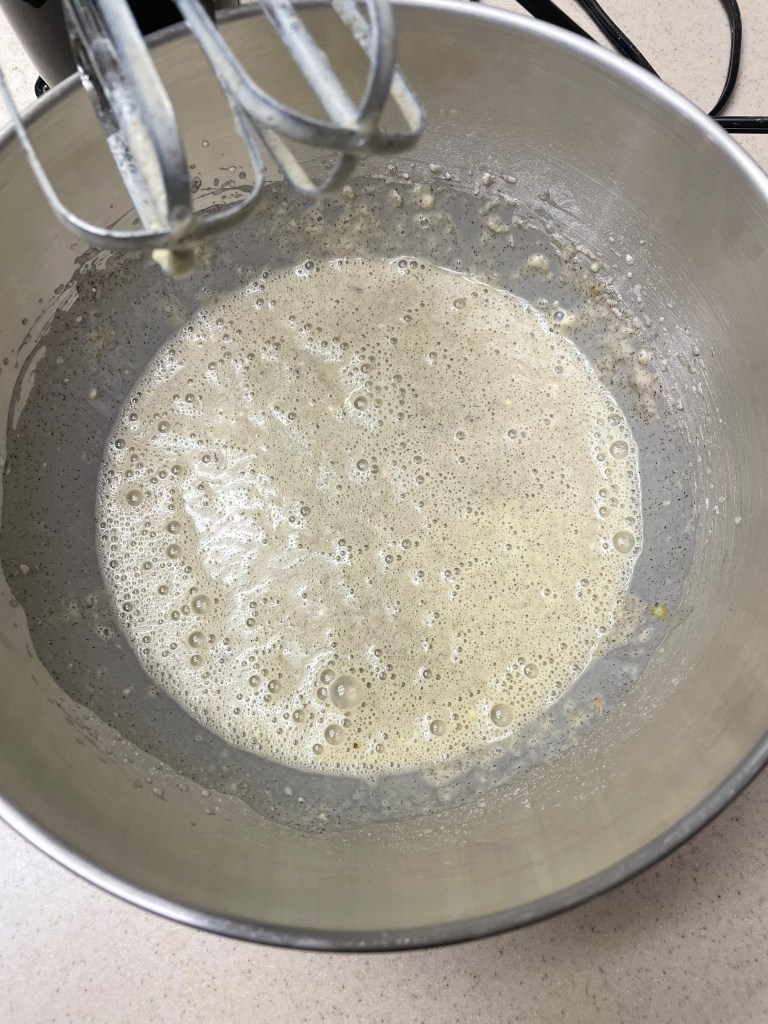
Making The Pie Dough

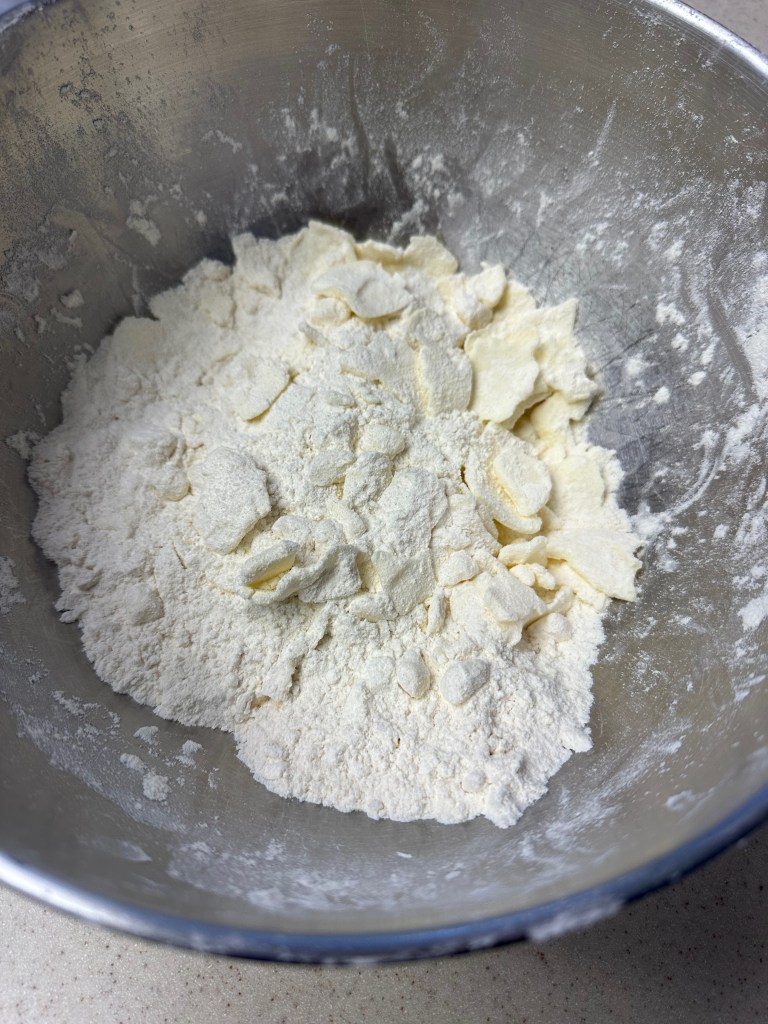
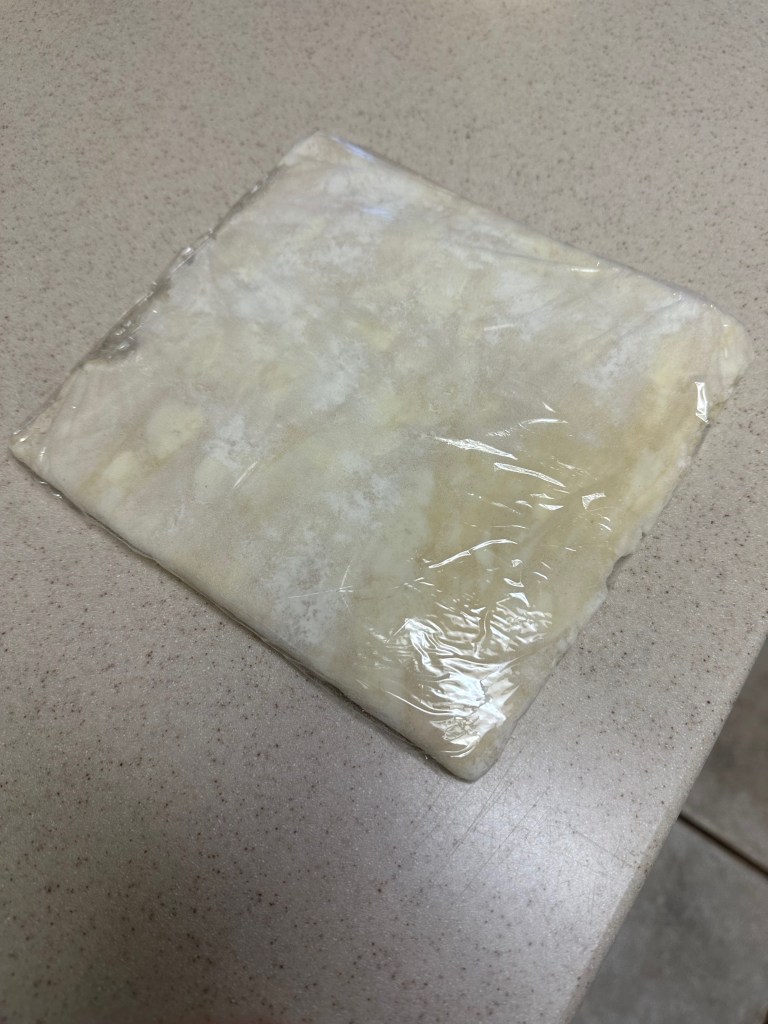
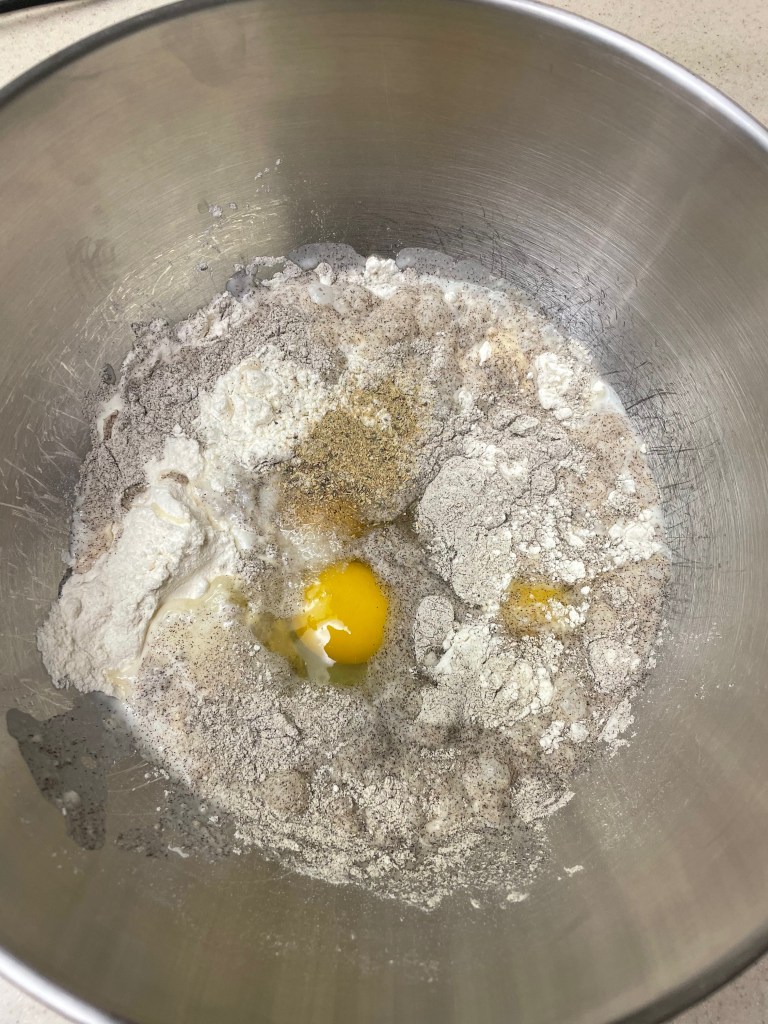
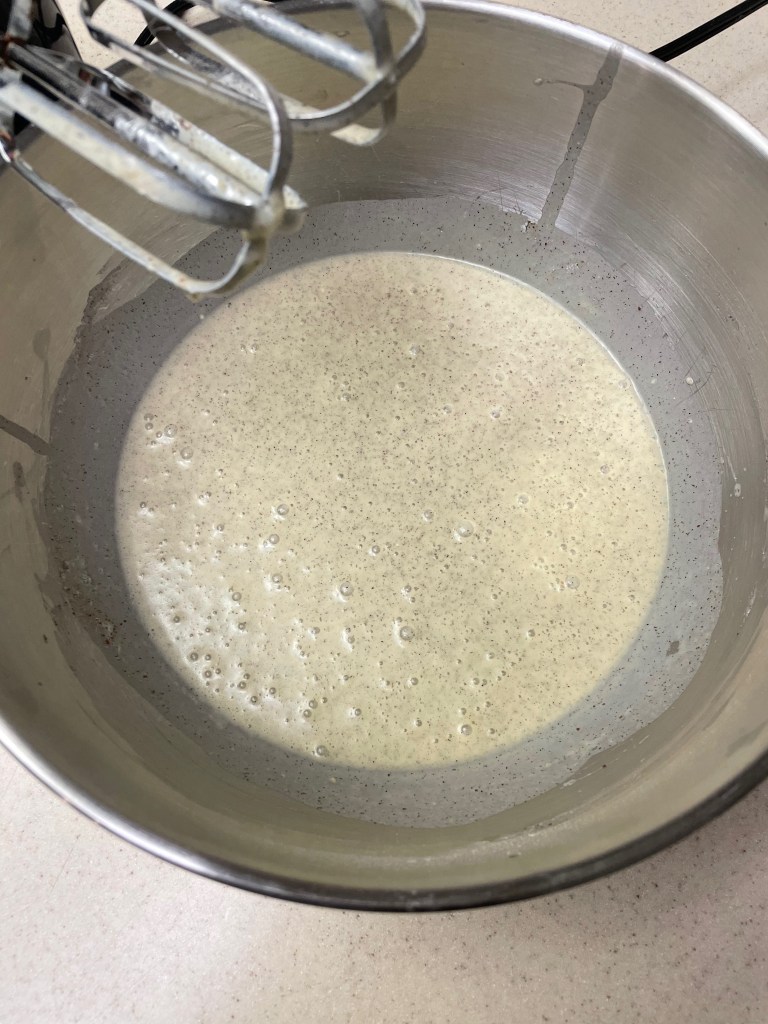
Tip 1: Consider freezing the bowl, the rolling pin, and the working surface (such as a cutting board) to keep the butter from melting. Likewise, freeze the bowl and the flour/butter mixture for at least 5 minutes between each step. 

Tip 2: Consider chilling in refrigerator for longer than suggested for both steps.

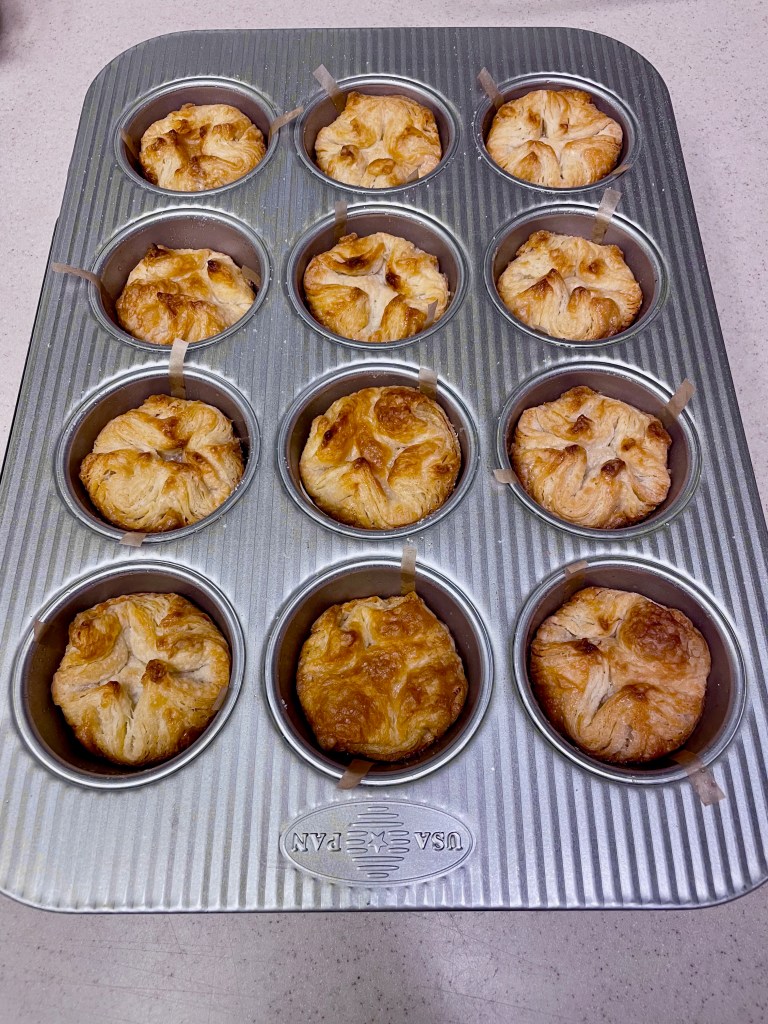
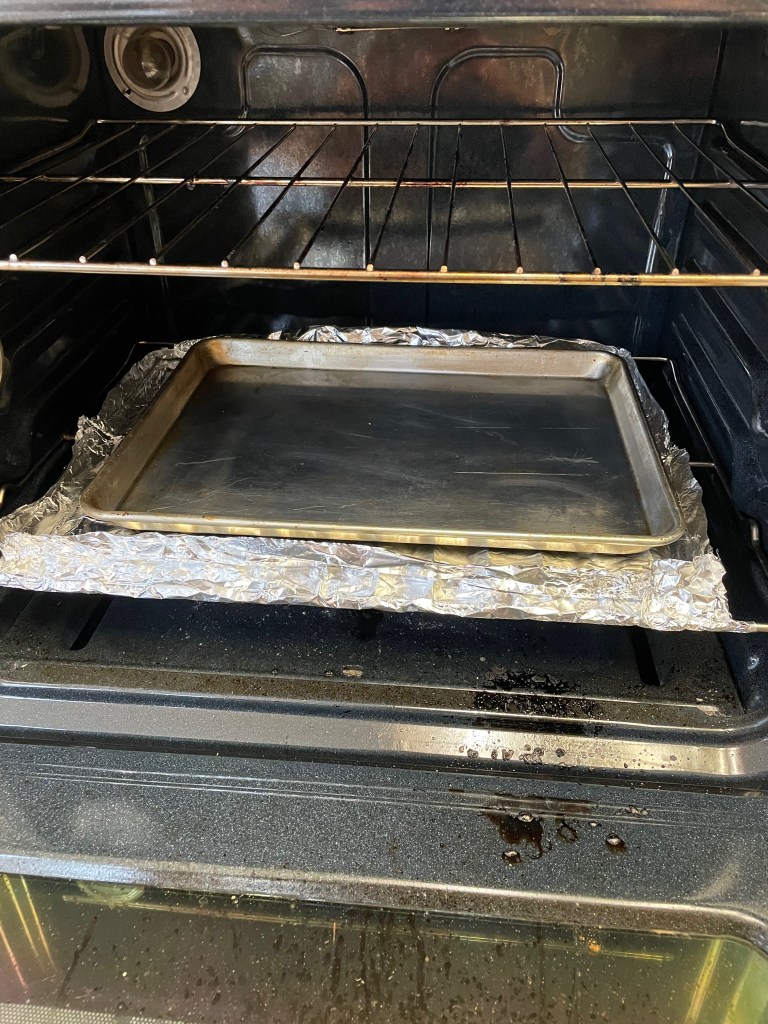
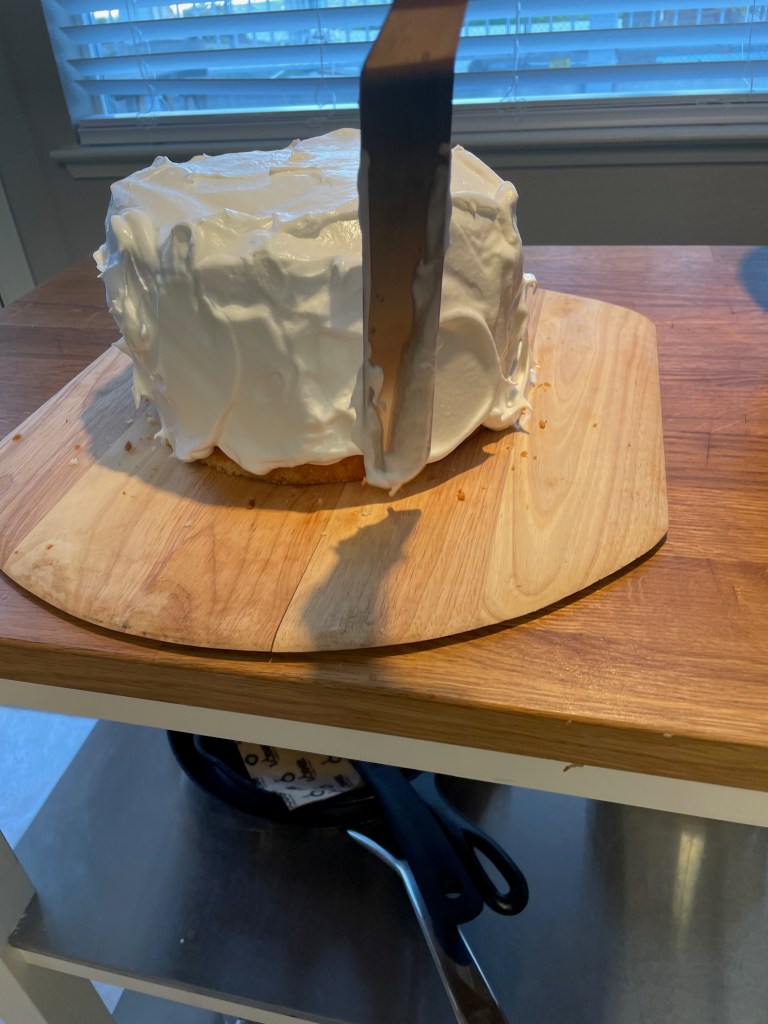
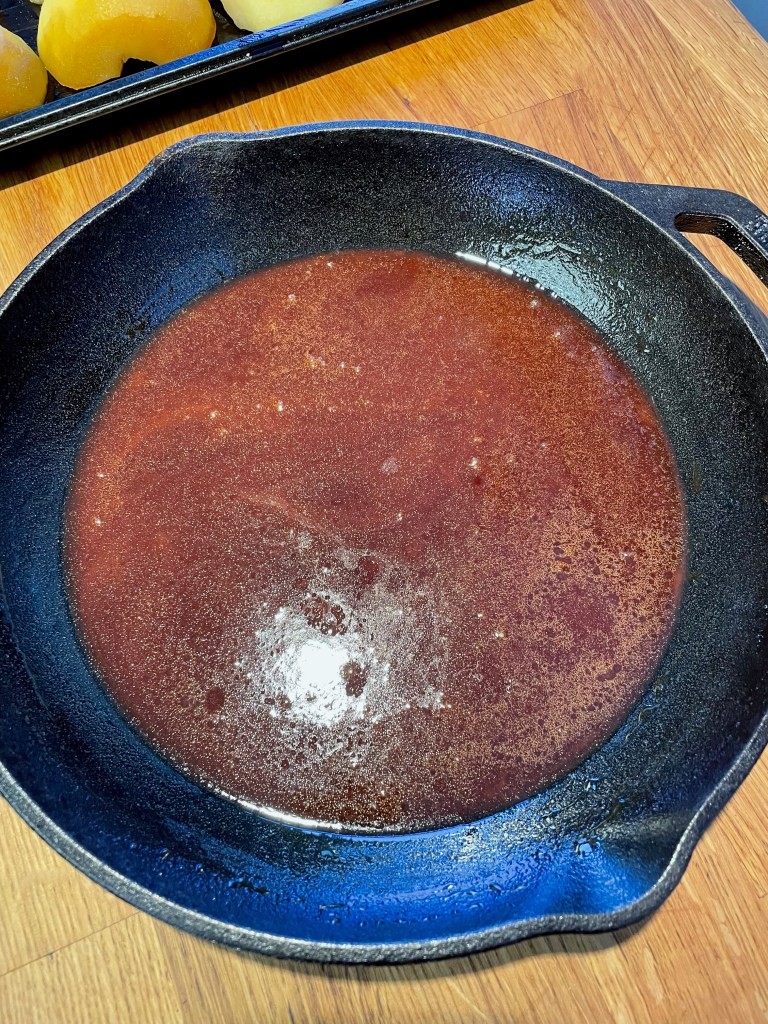
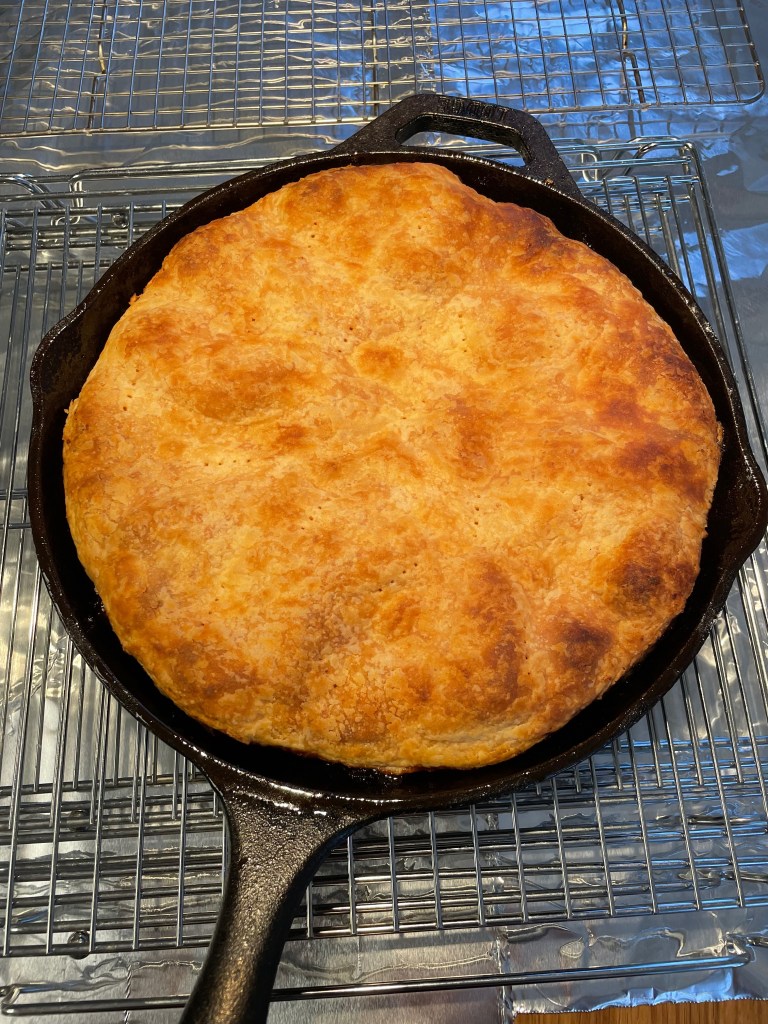
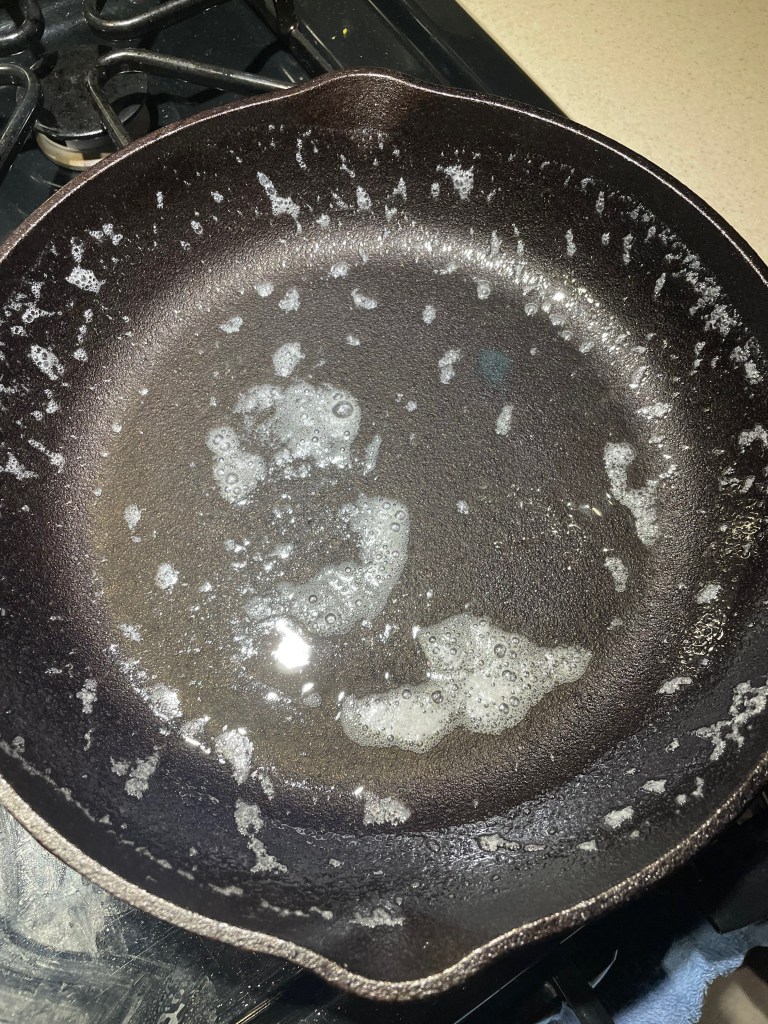
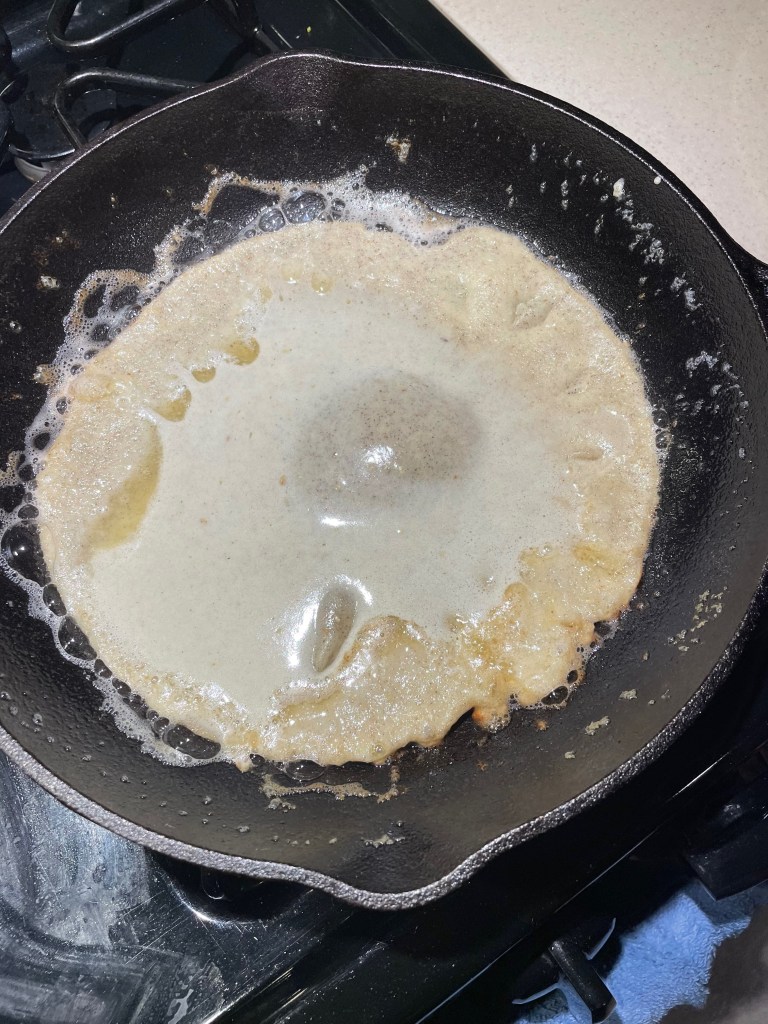
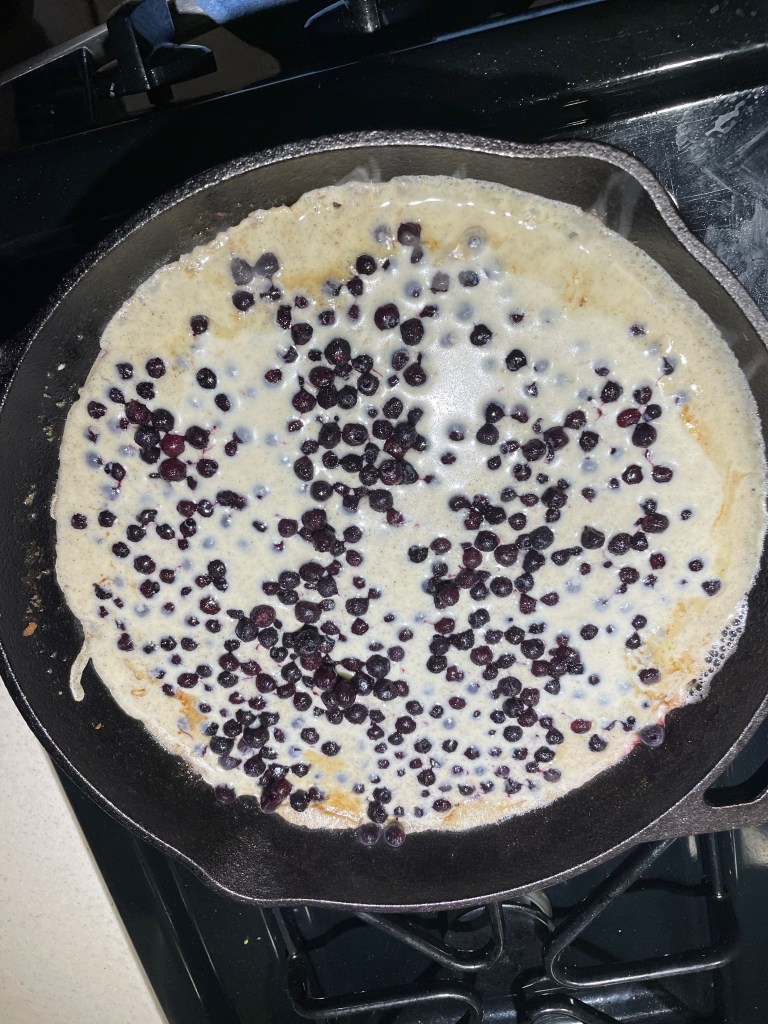
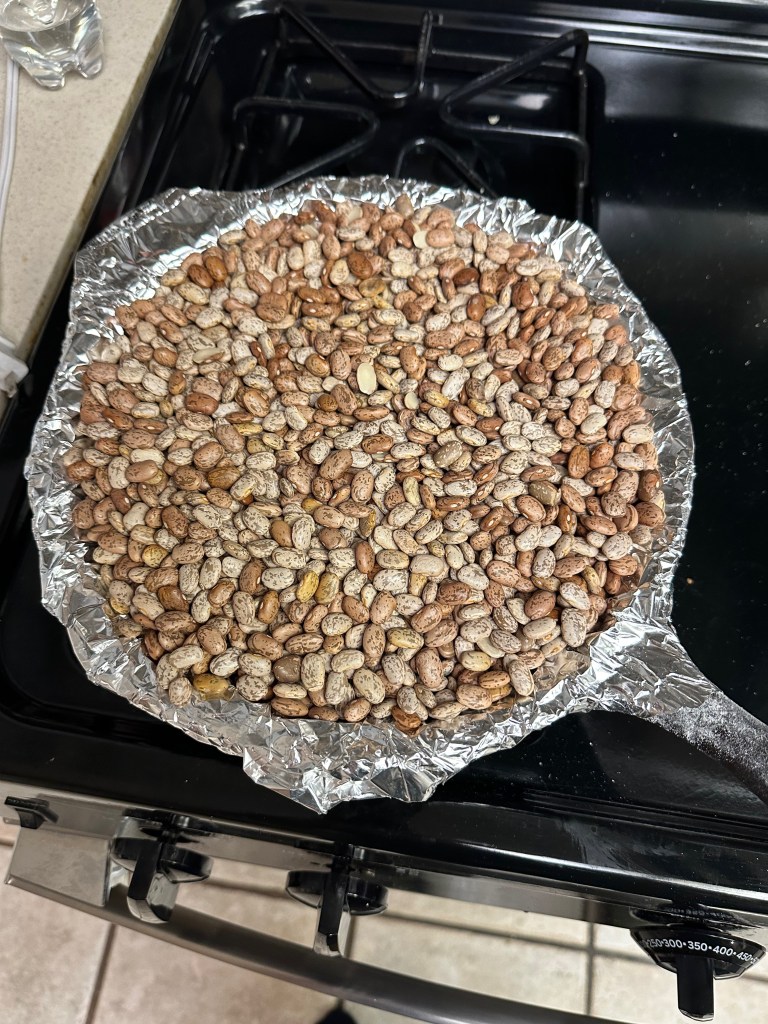
Baking The Pie Crust
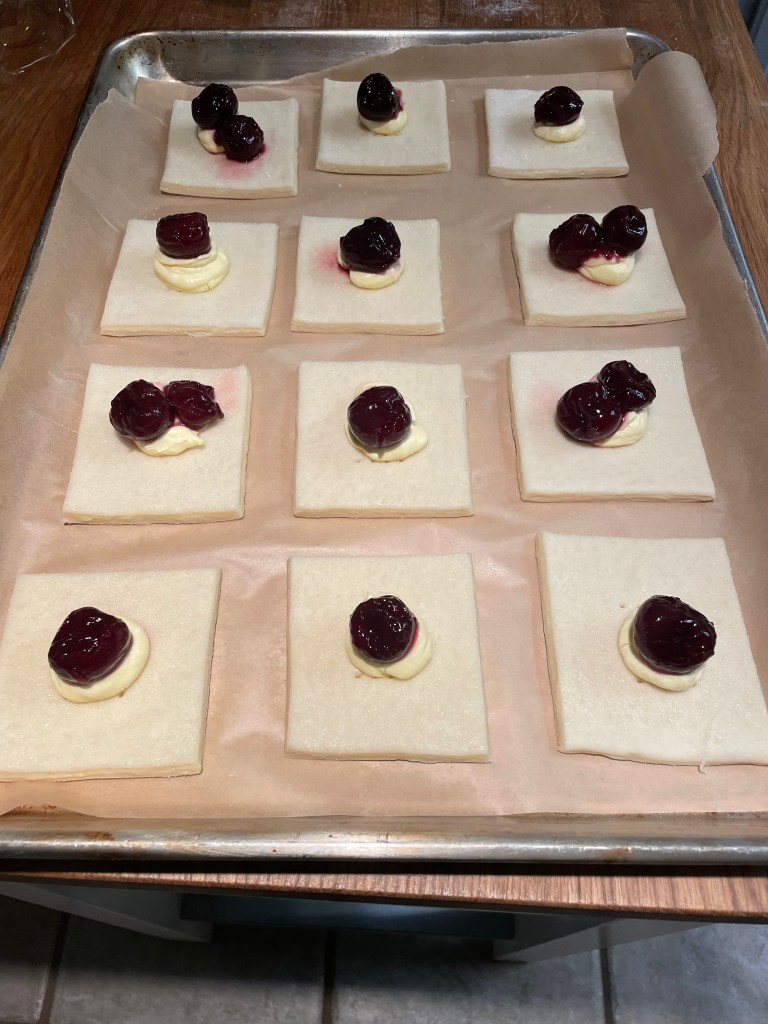
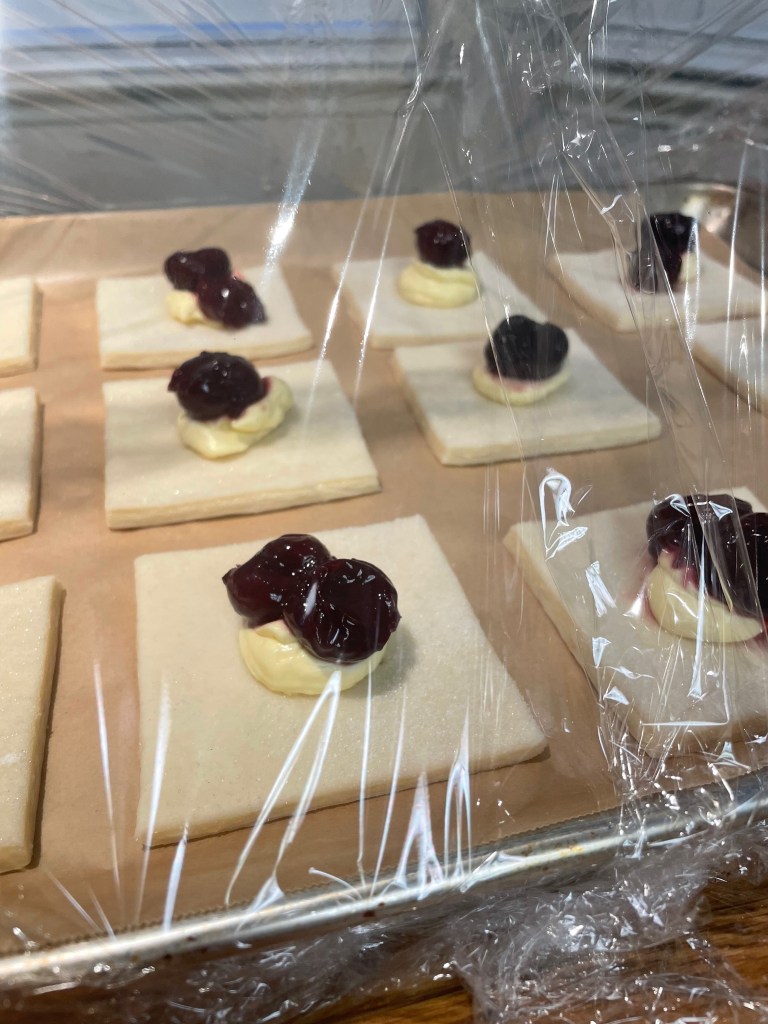
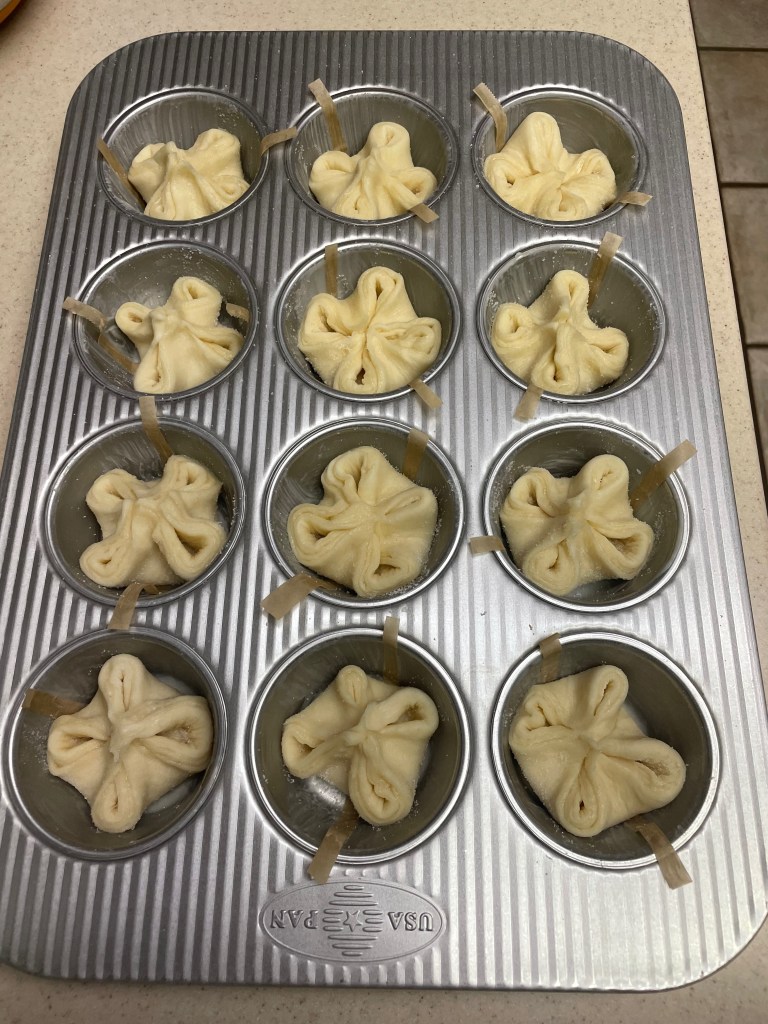
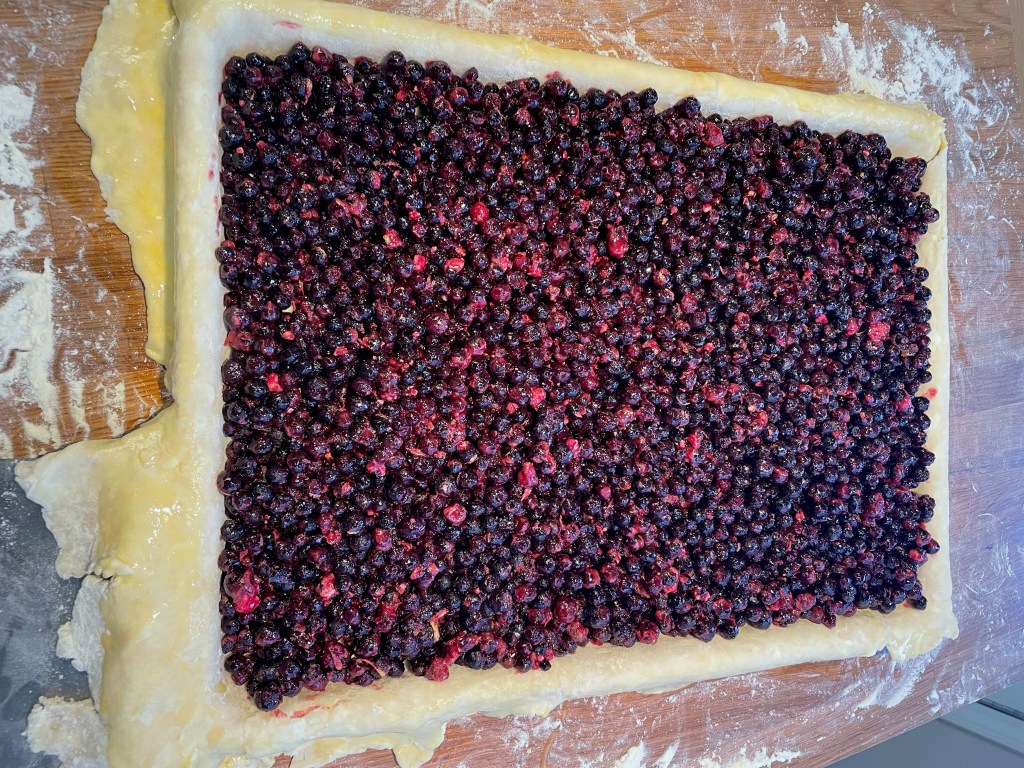
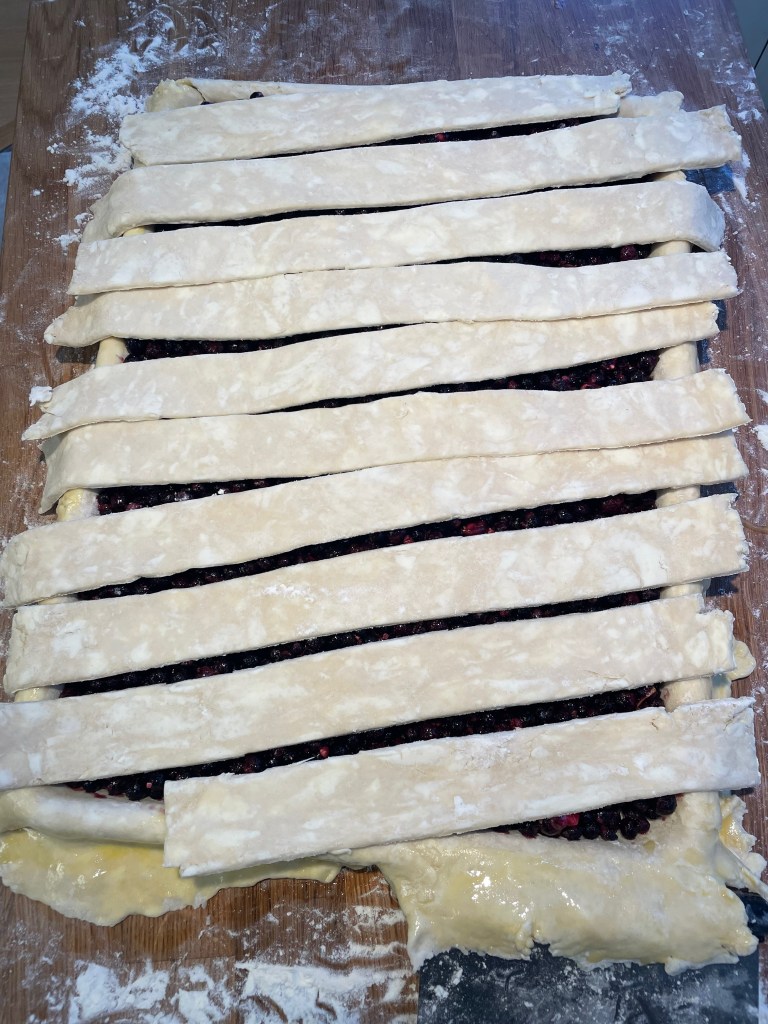
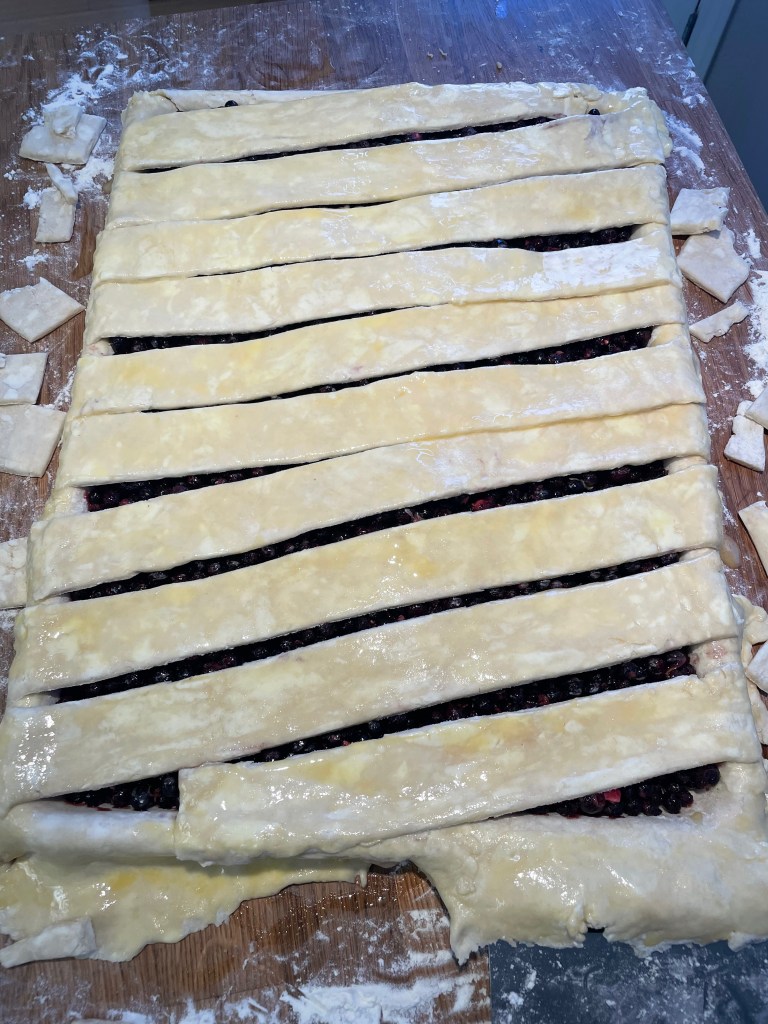
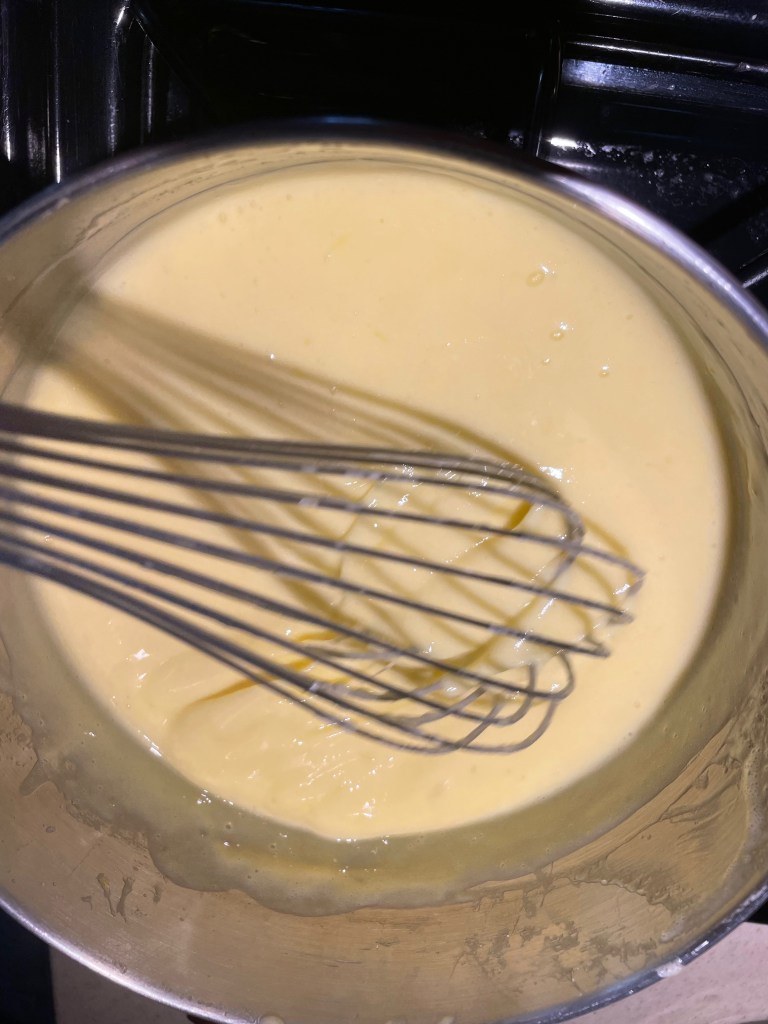
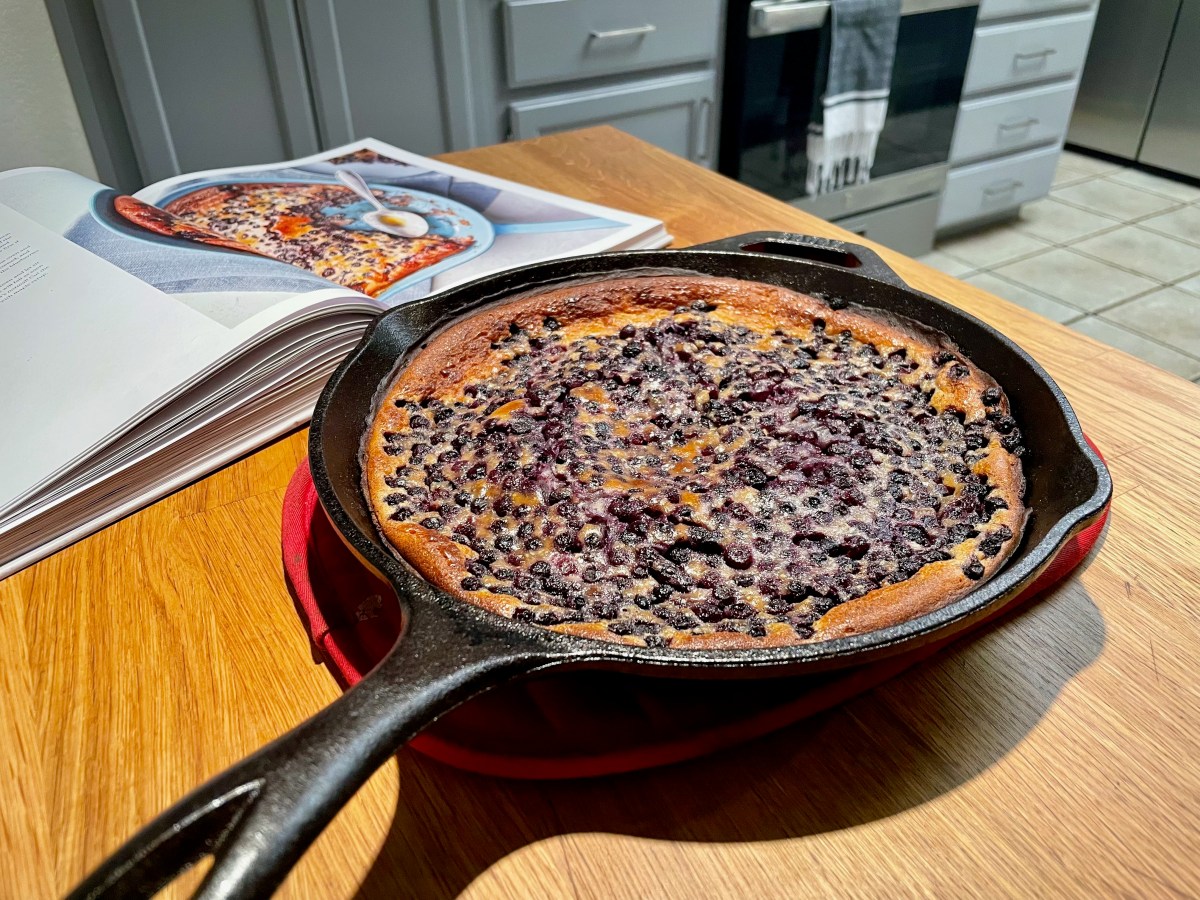
Making And Baking The Pie

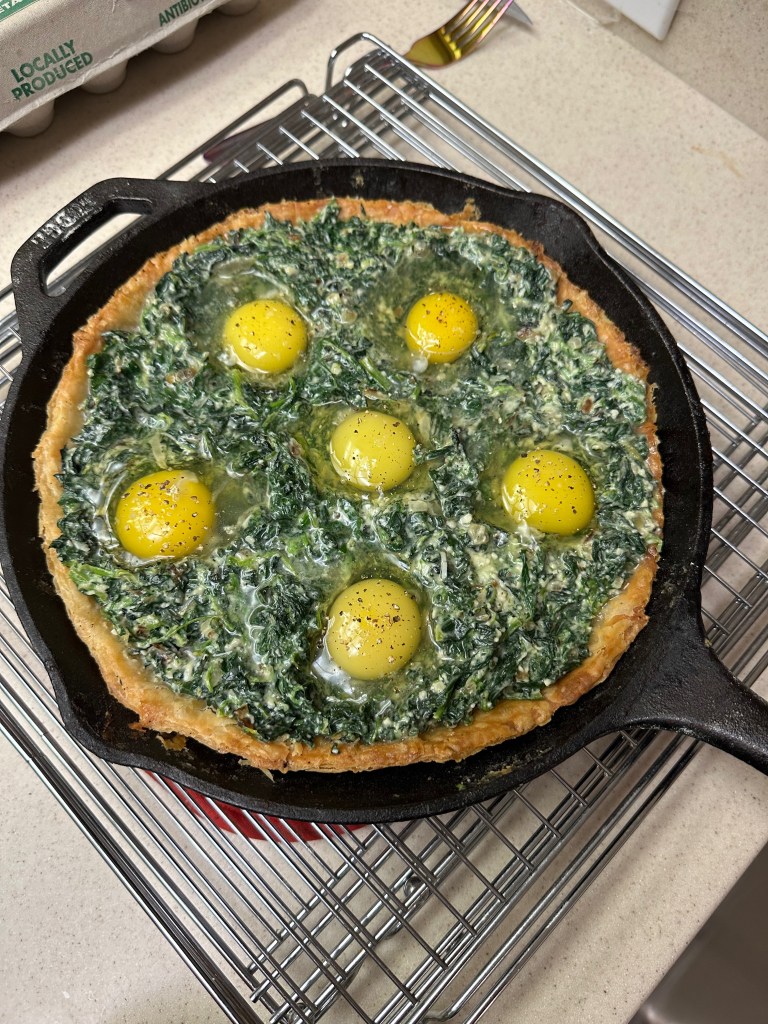
Tip: Carefully crack the egg into the divots, keeping in mind that you may need to not let all of the egg white in to avoid it overflowing. You can use a baster to siphon out excess egg white.
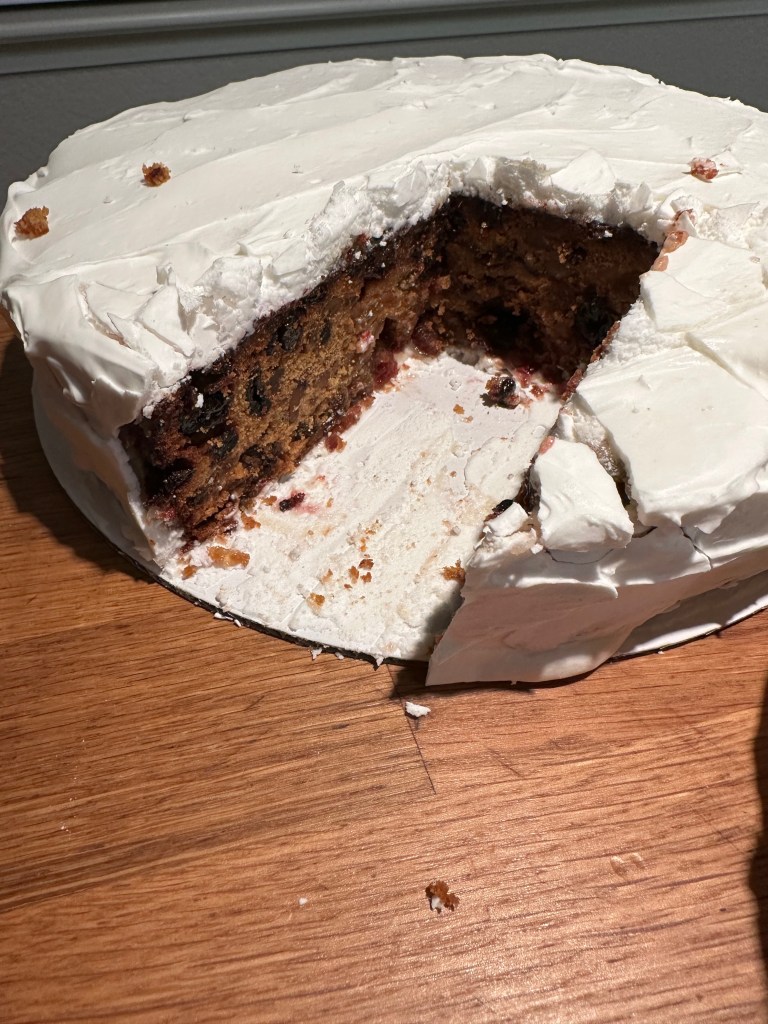
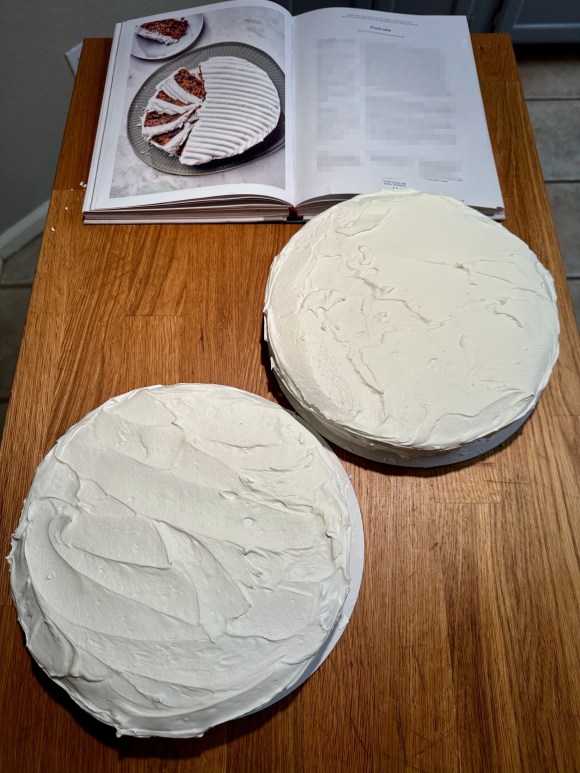
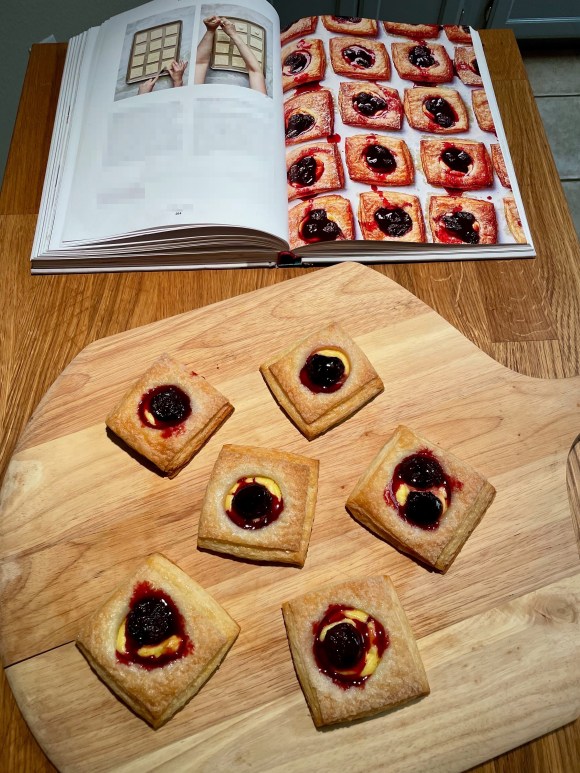
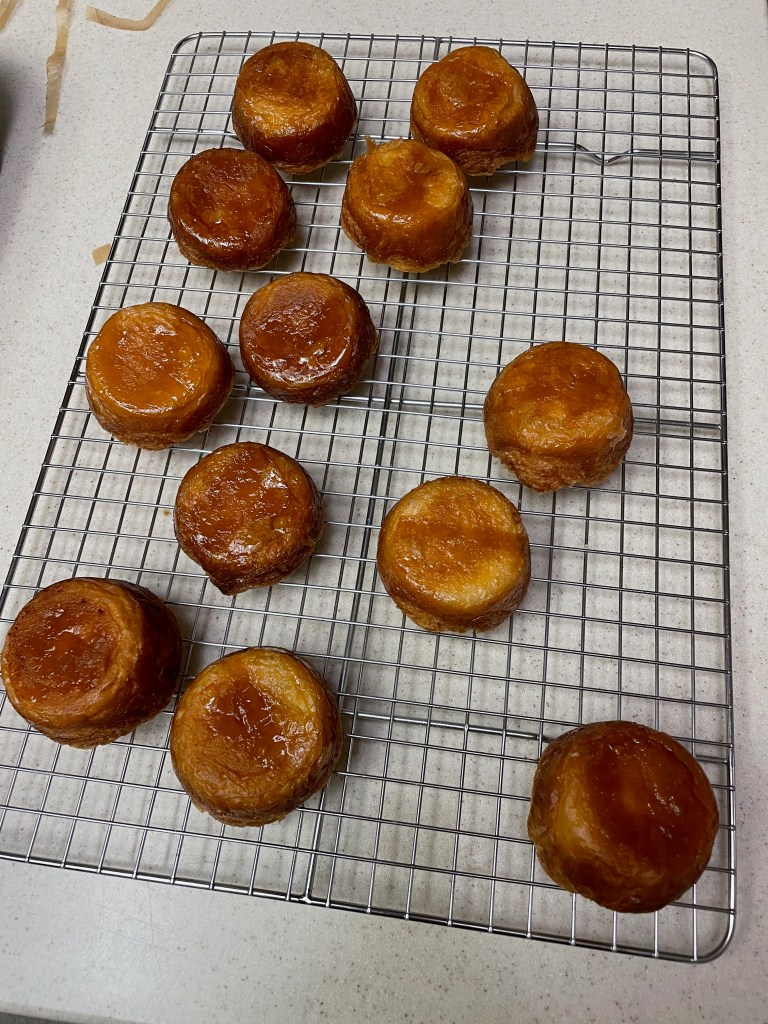
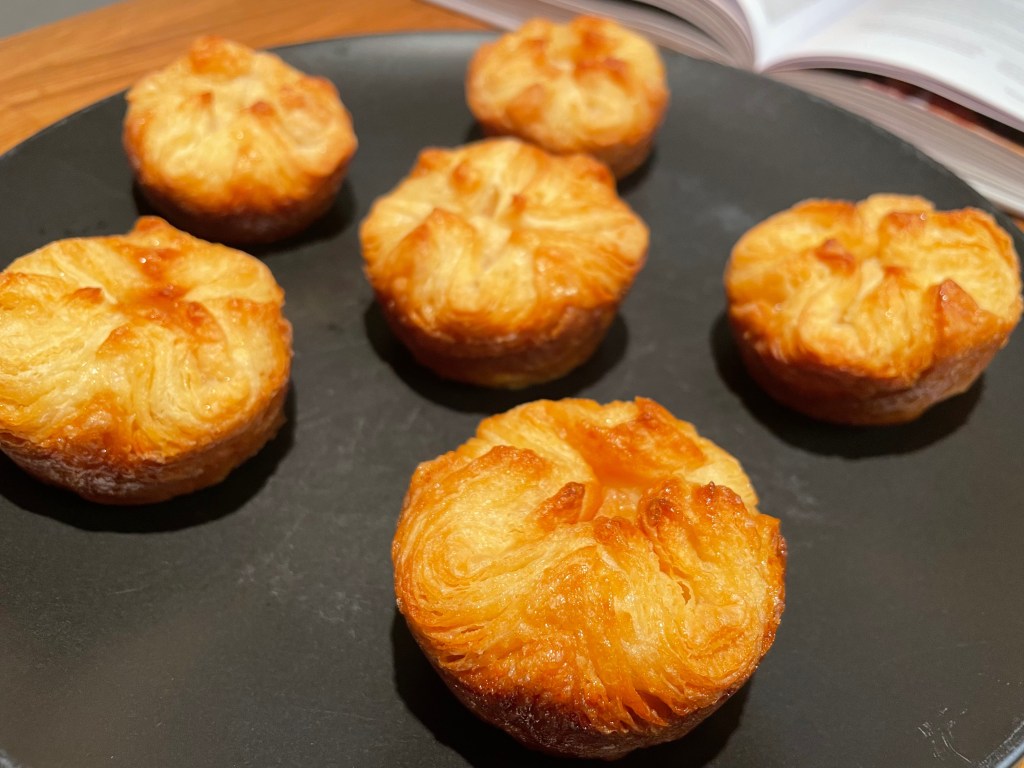
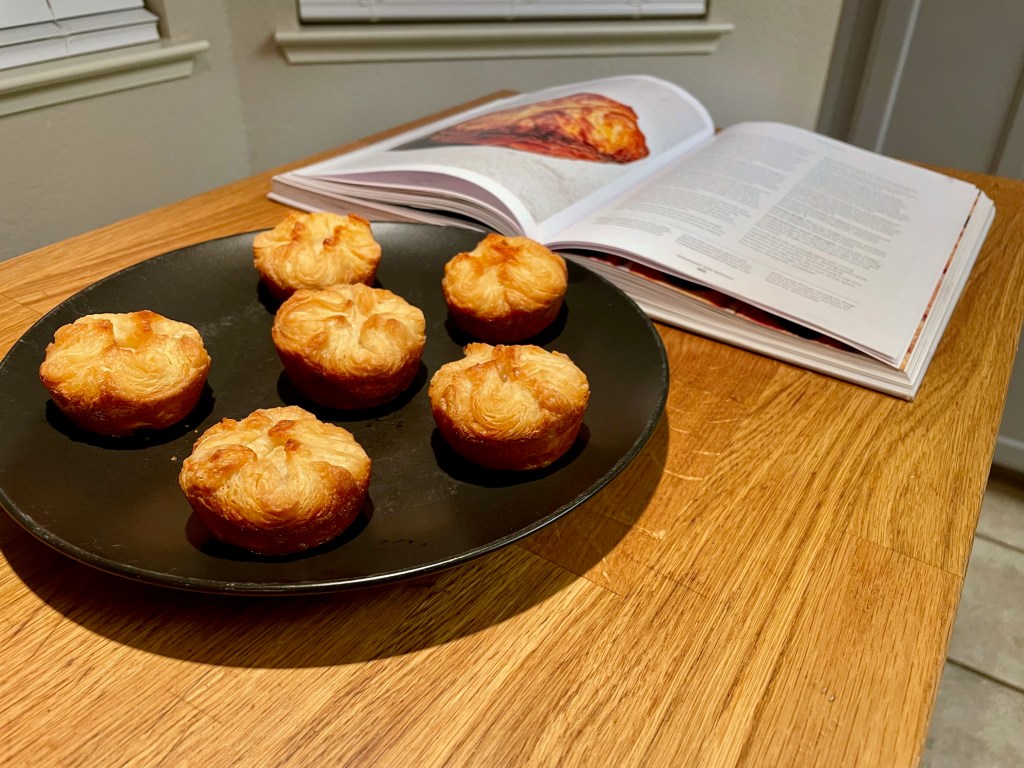
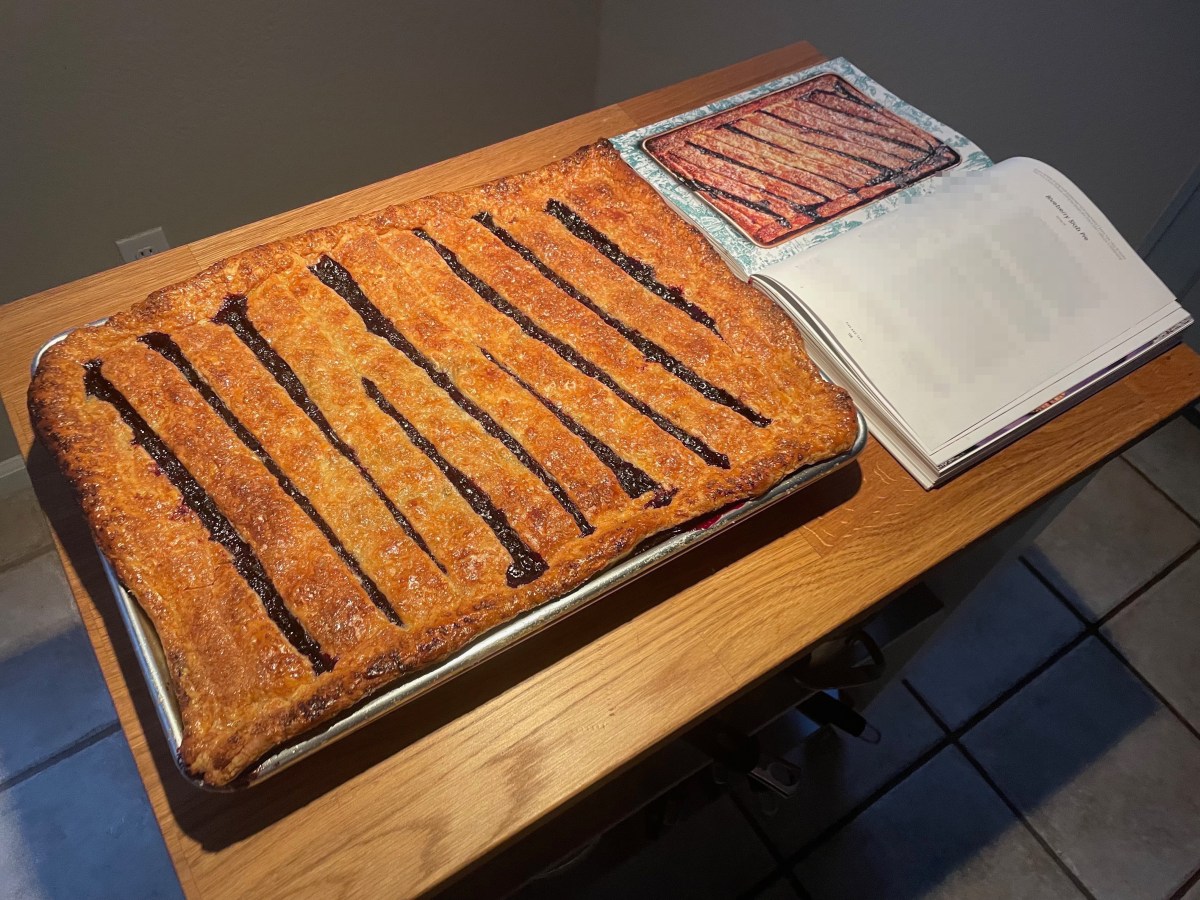
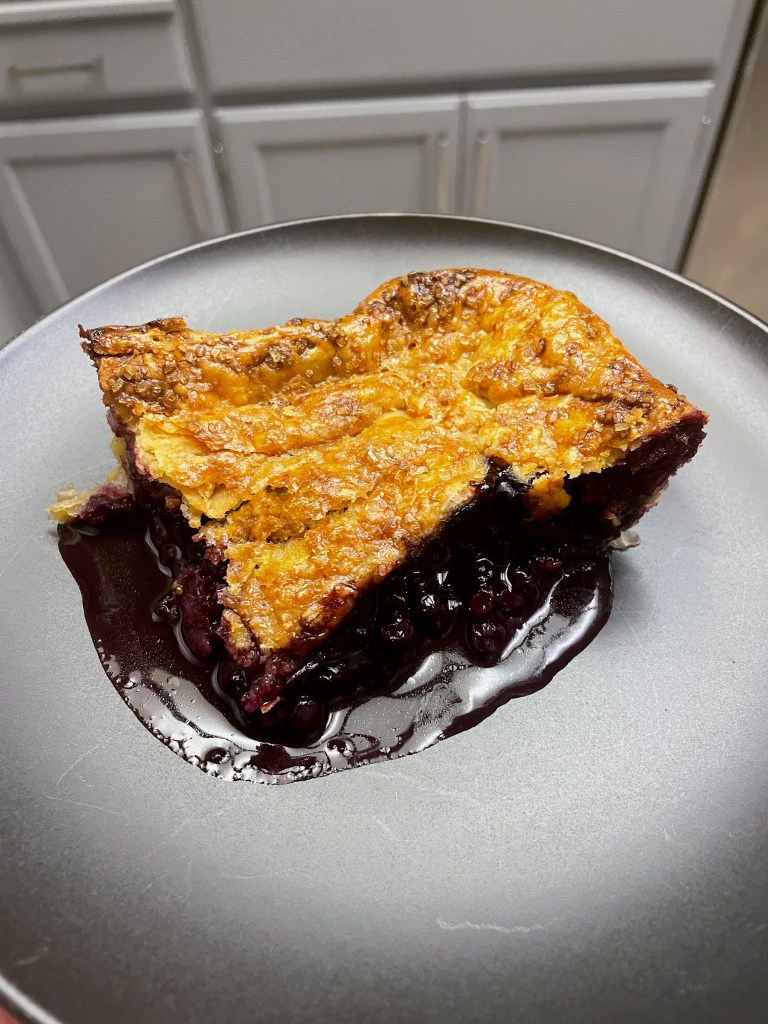
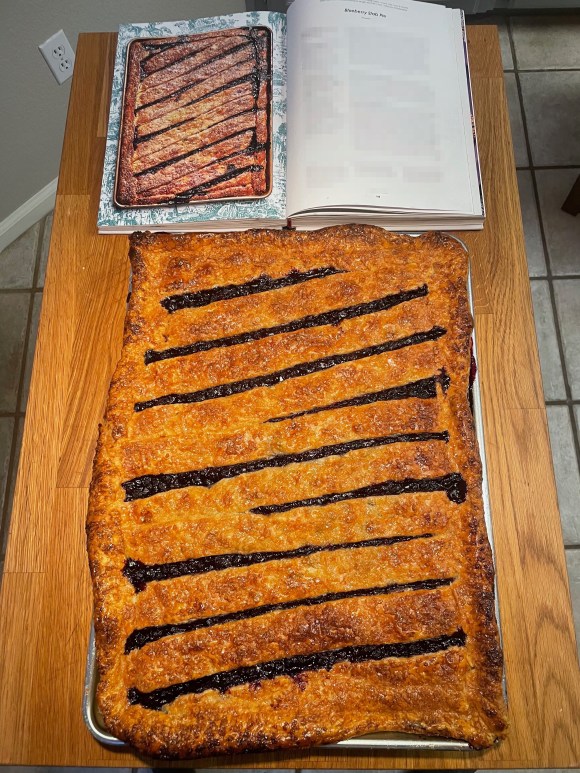
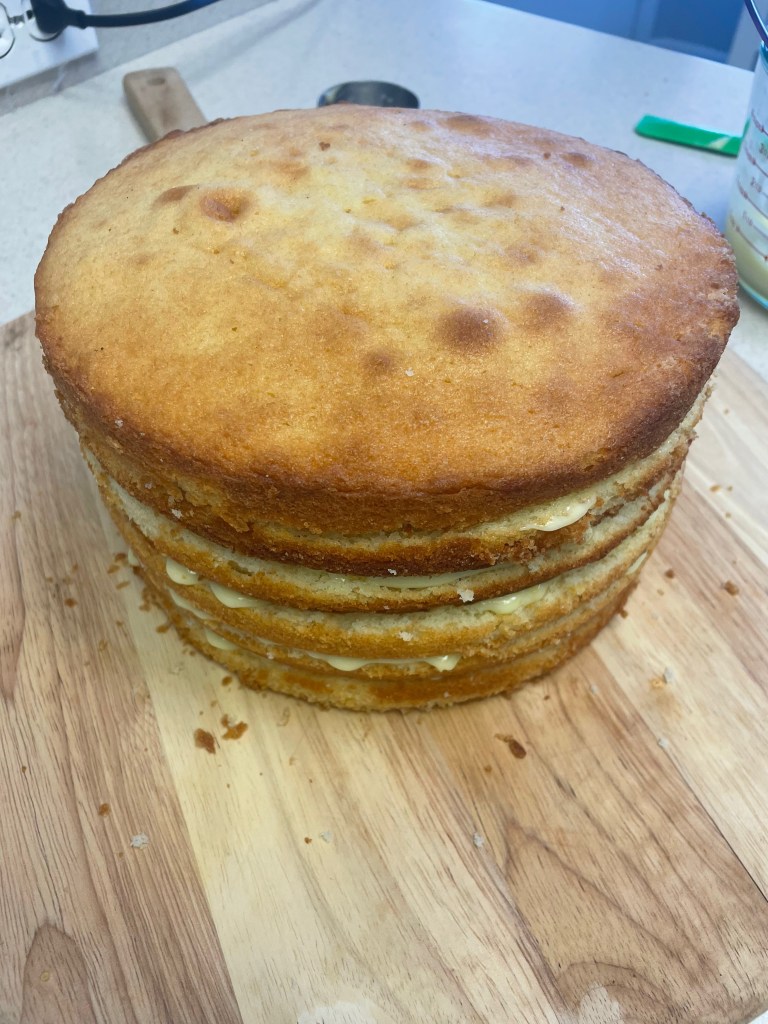
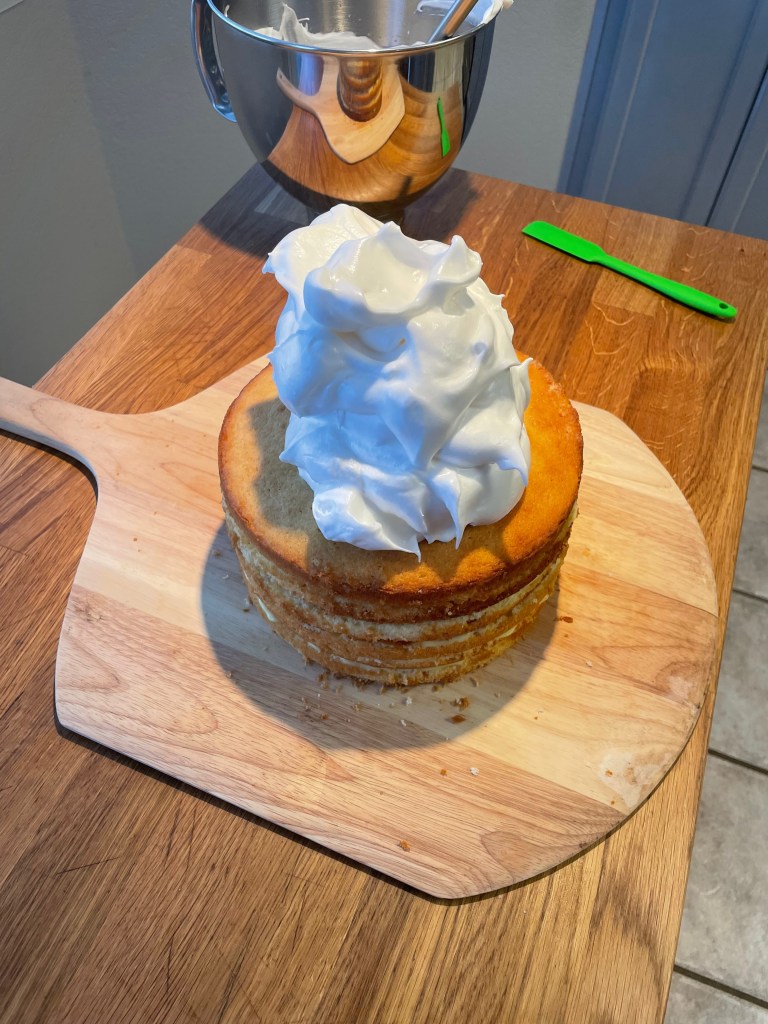
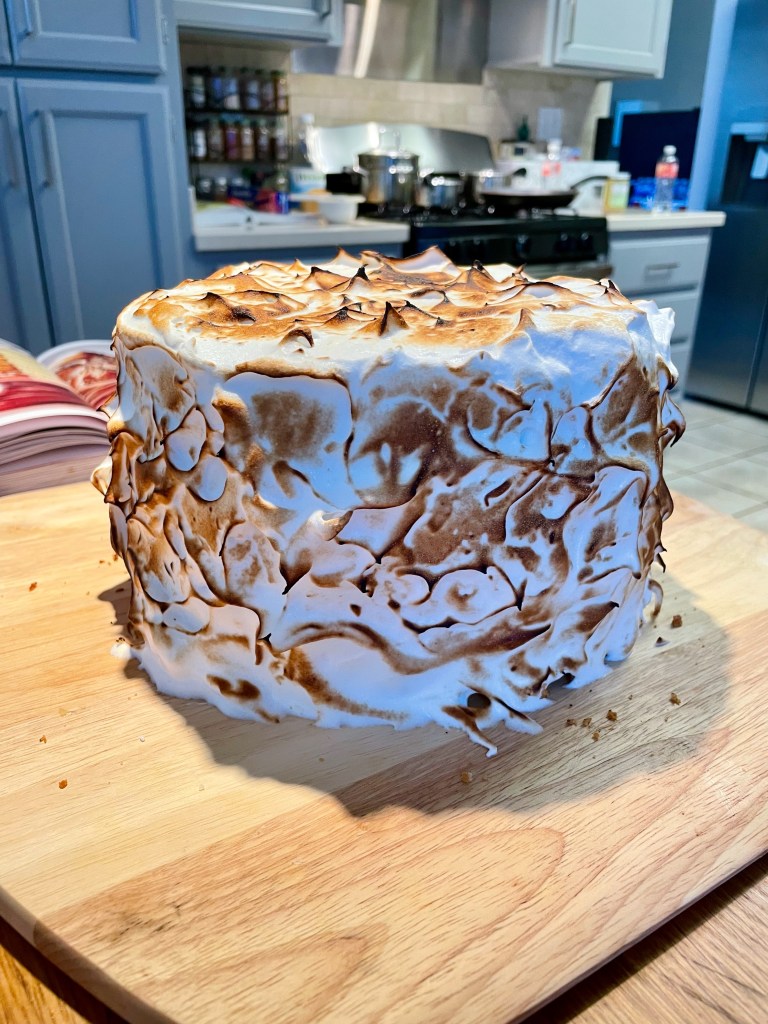
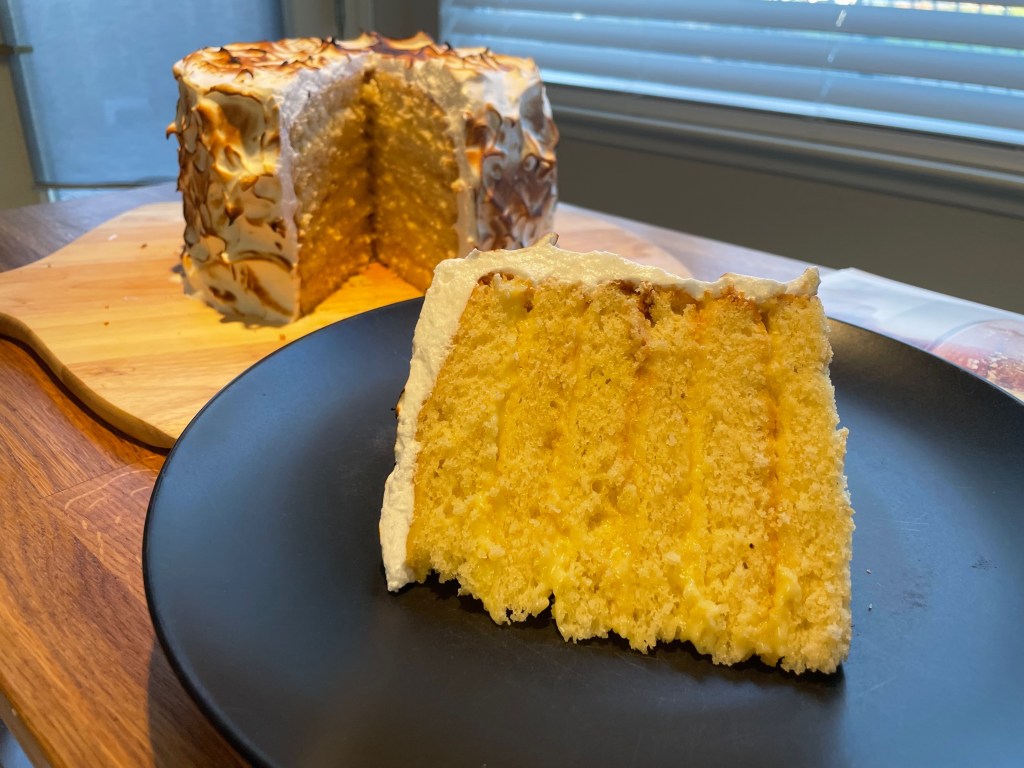
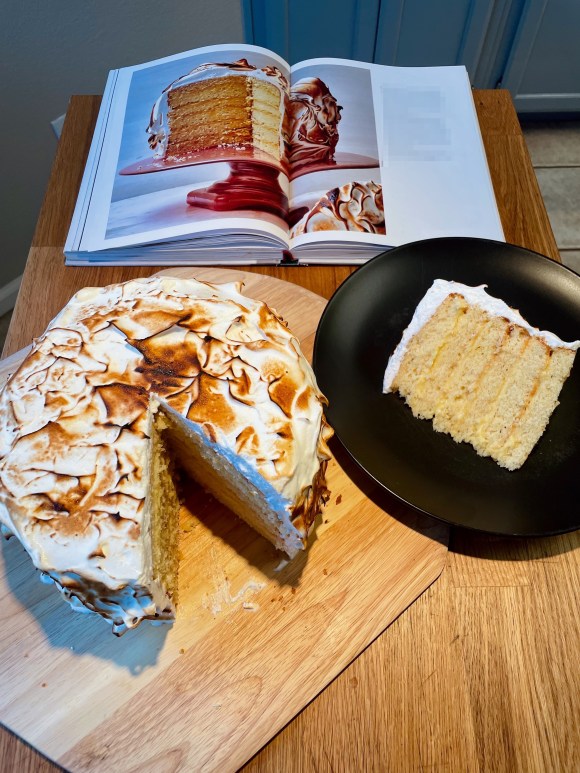
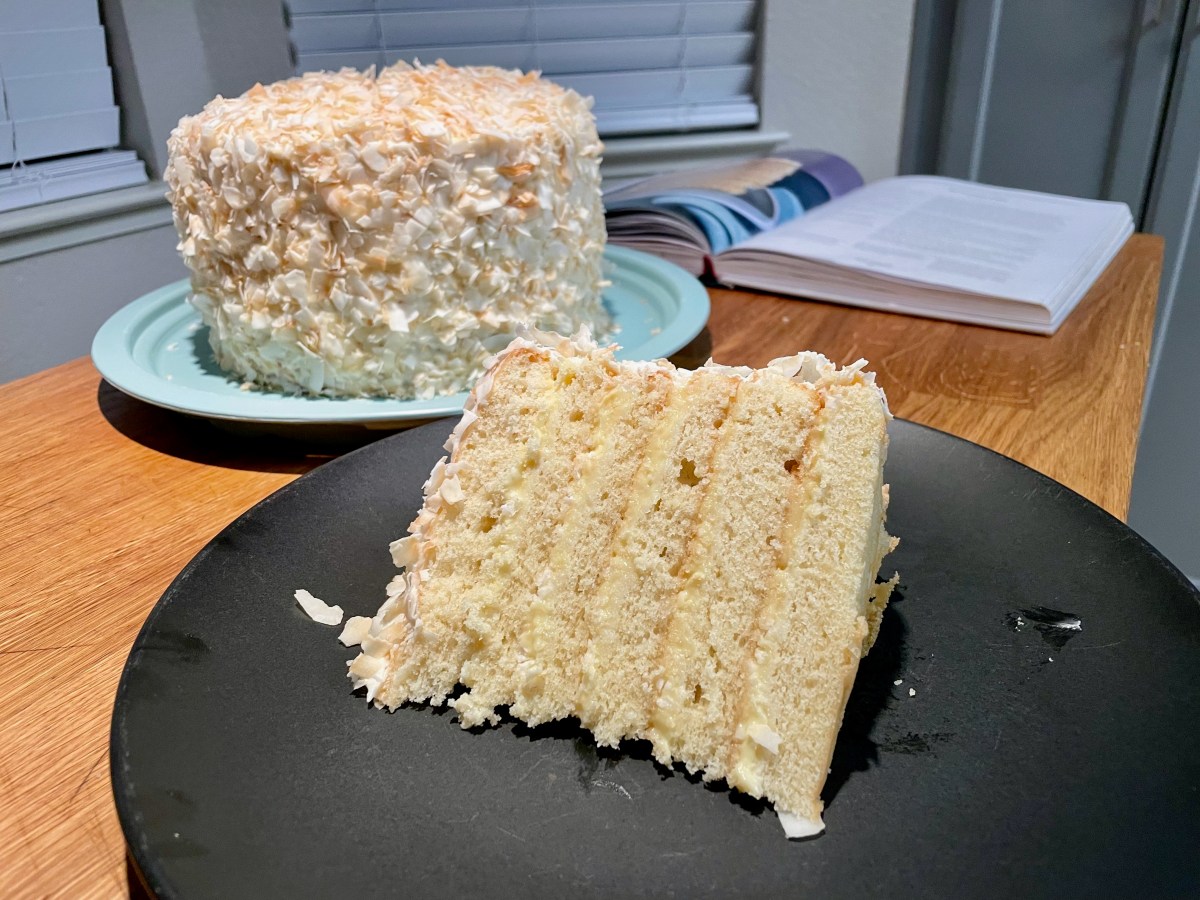
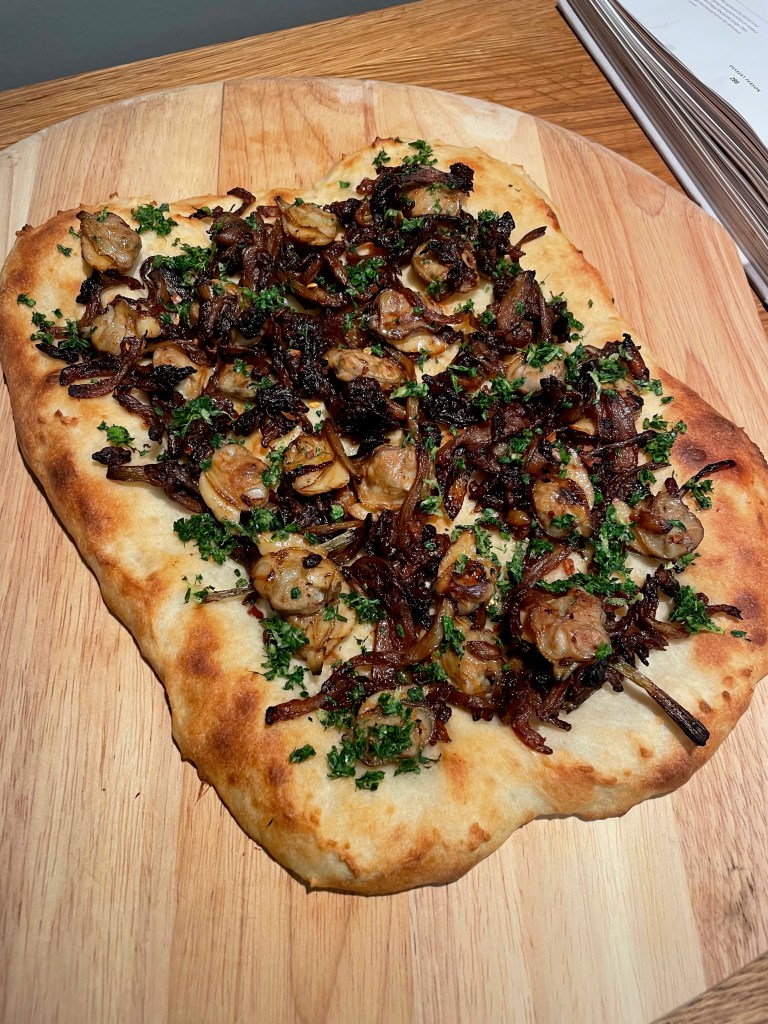
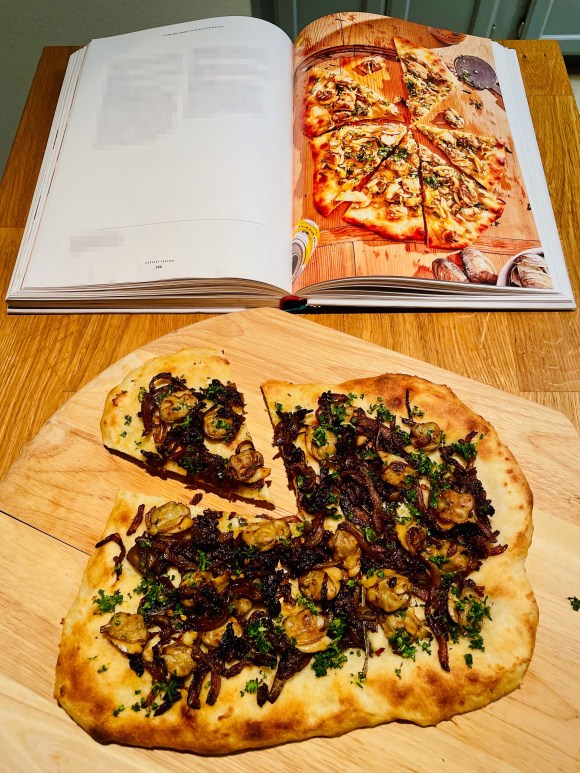
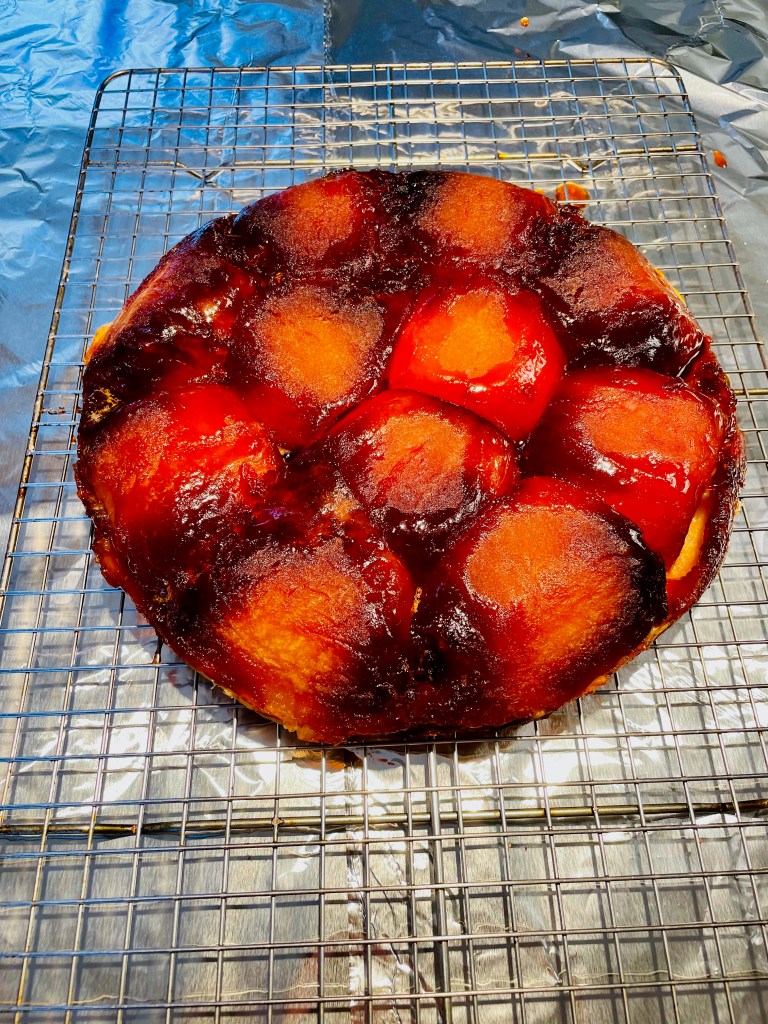
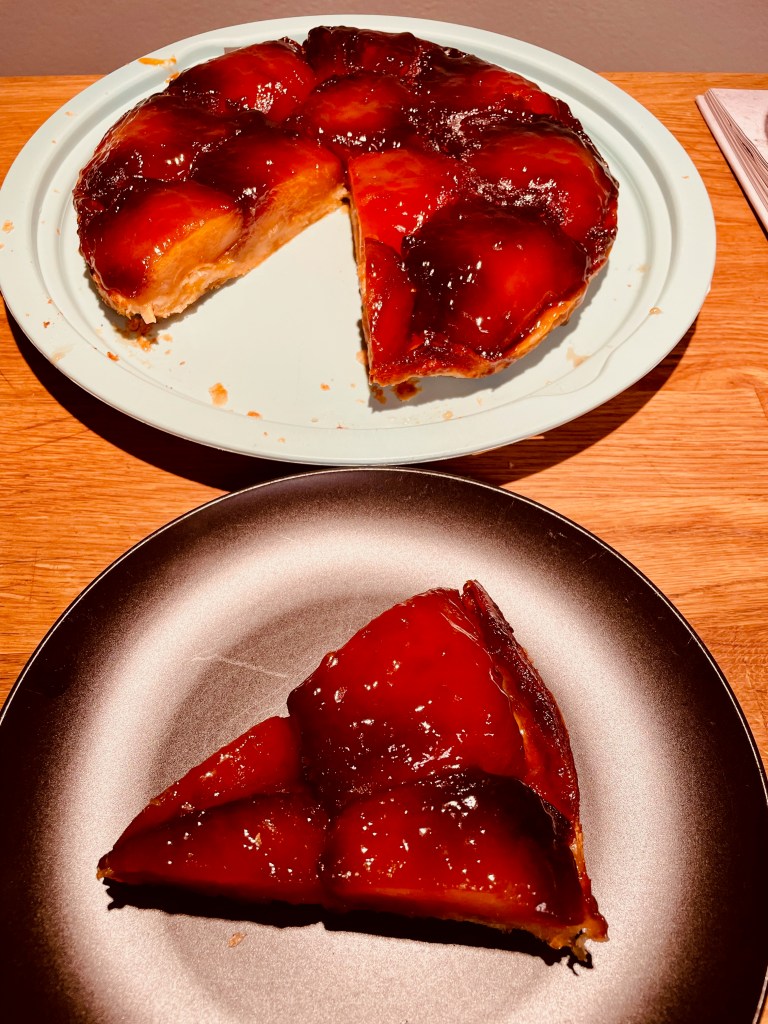
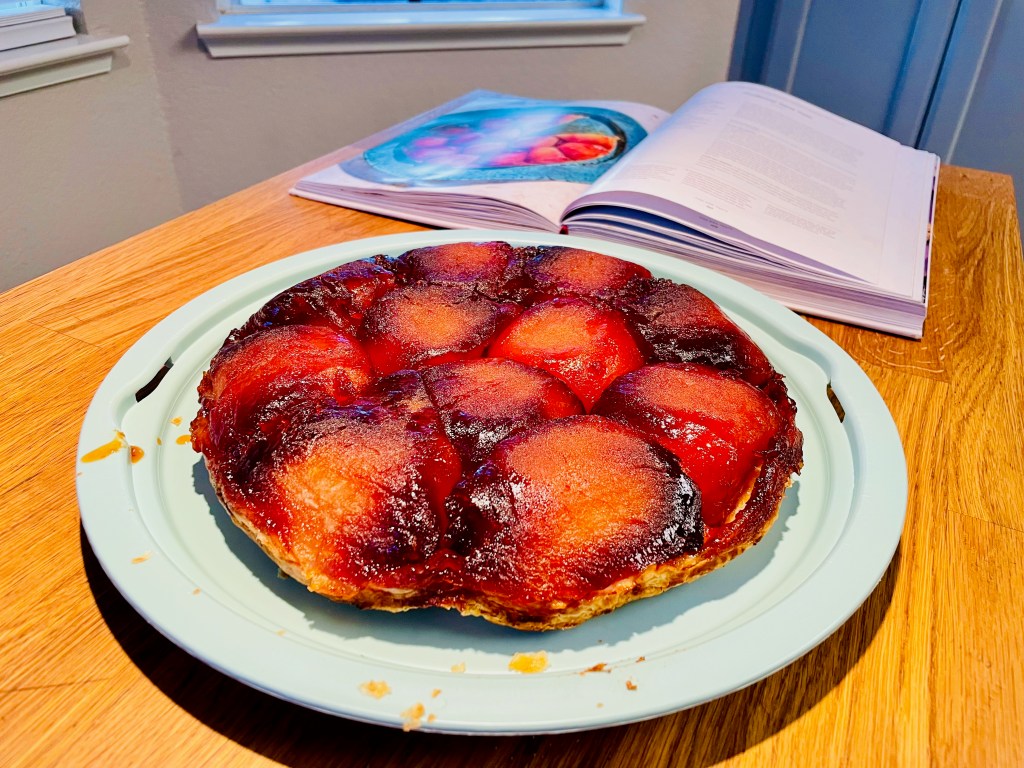
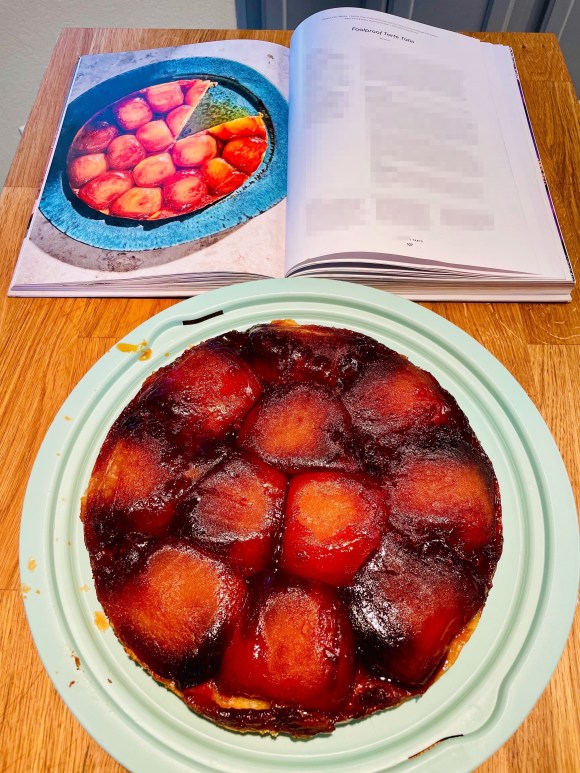
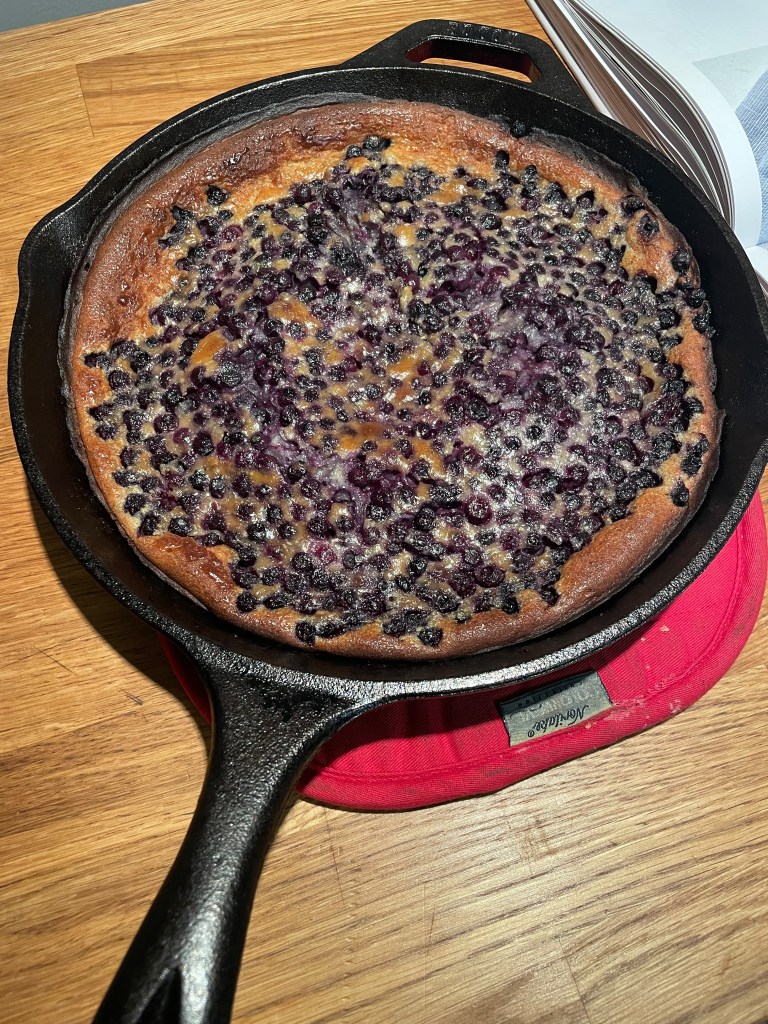
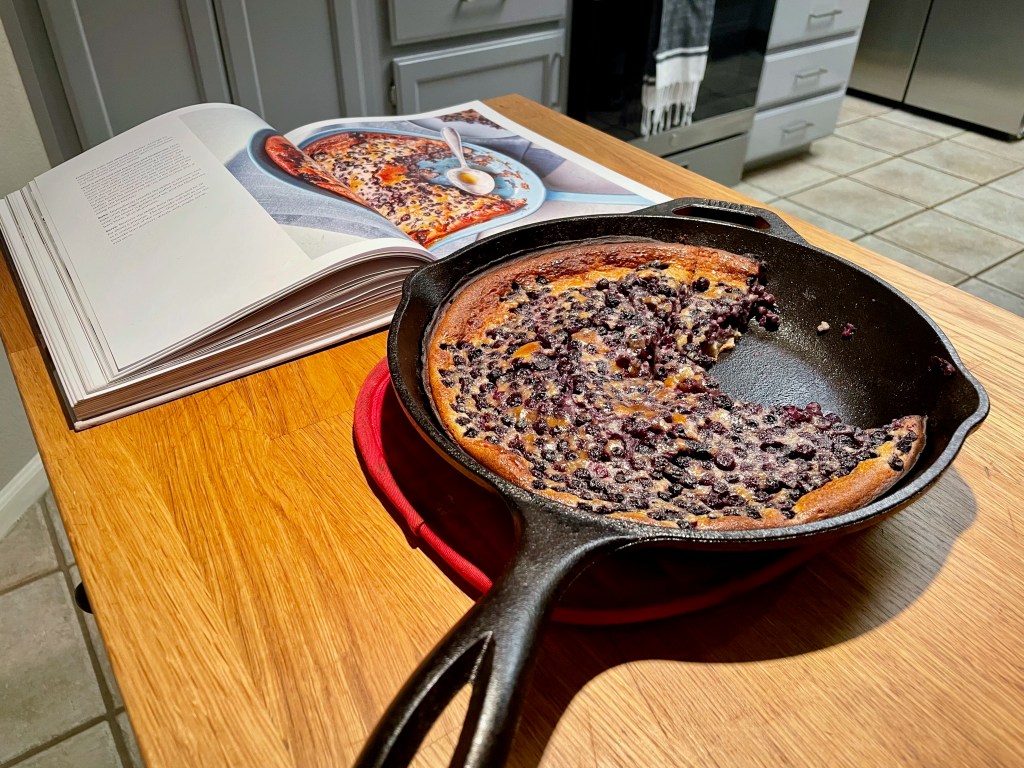
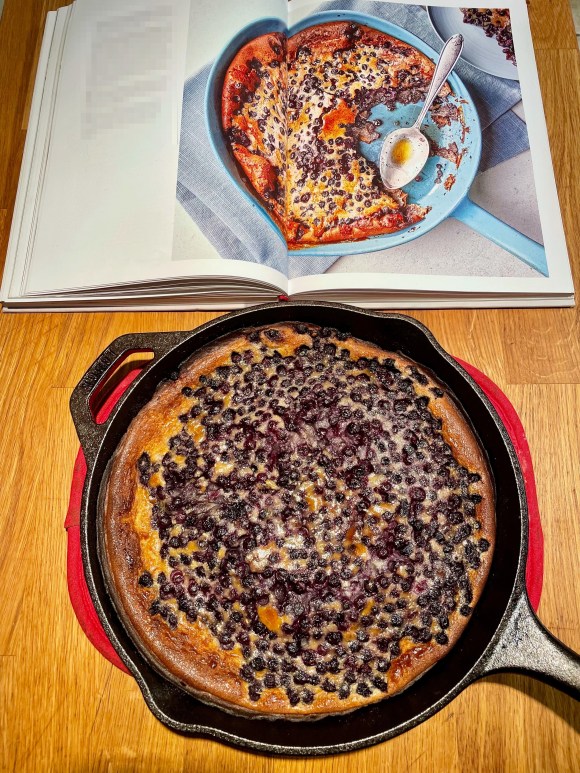
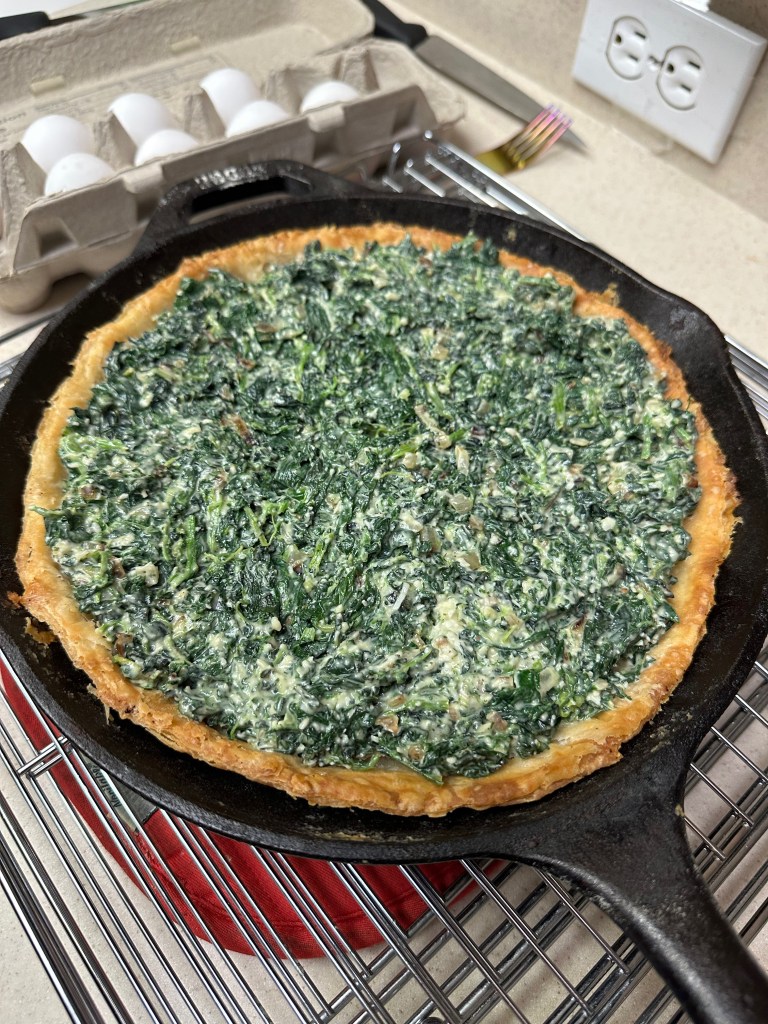
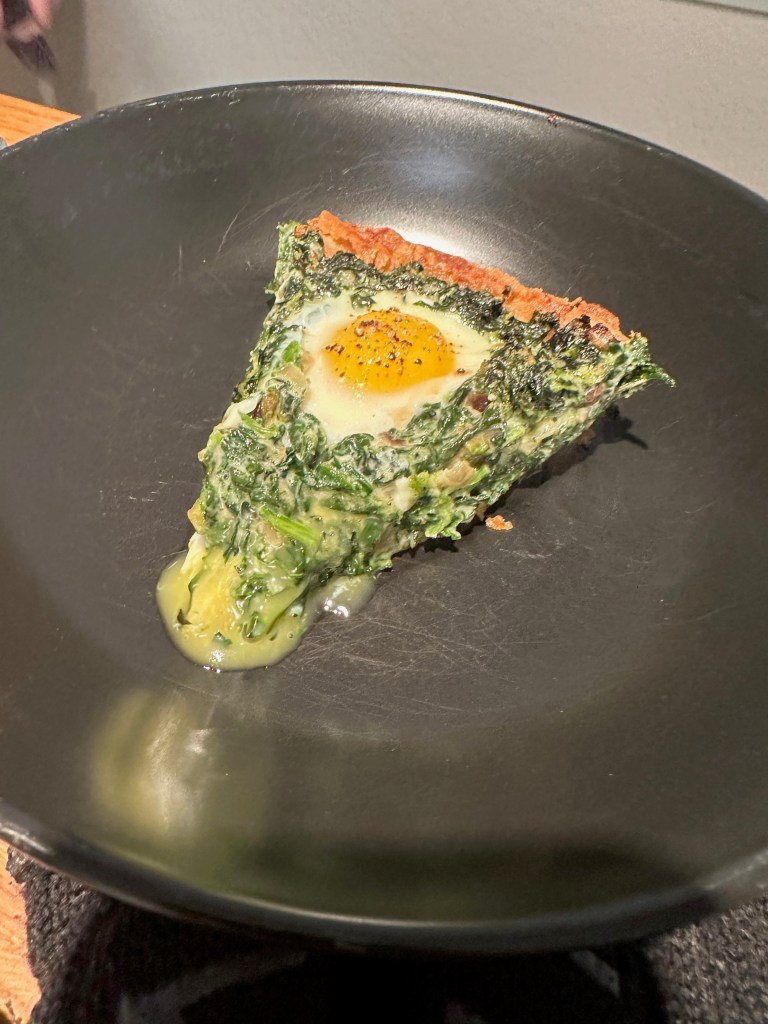
Final Product

Key Takeaways

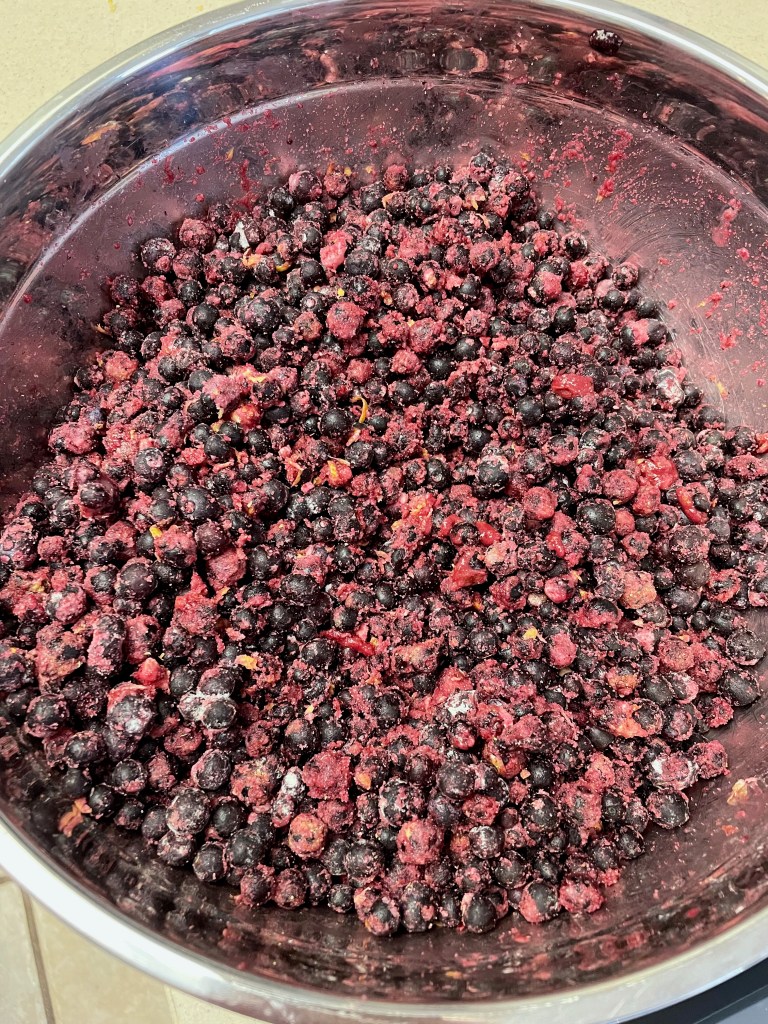
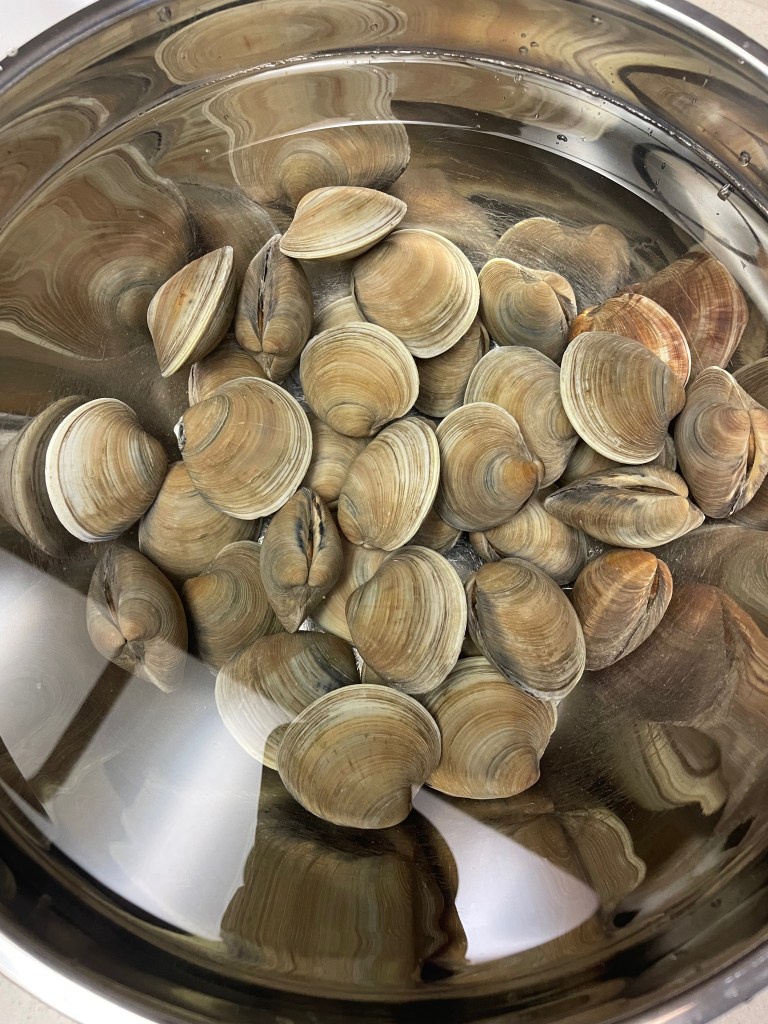
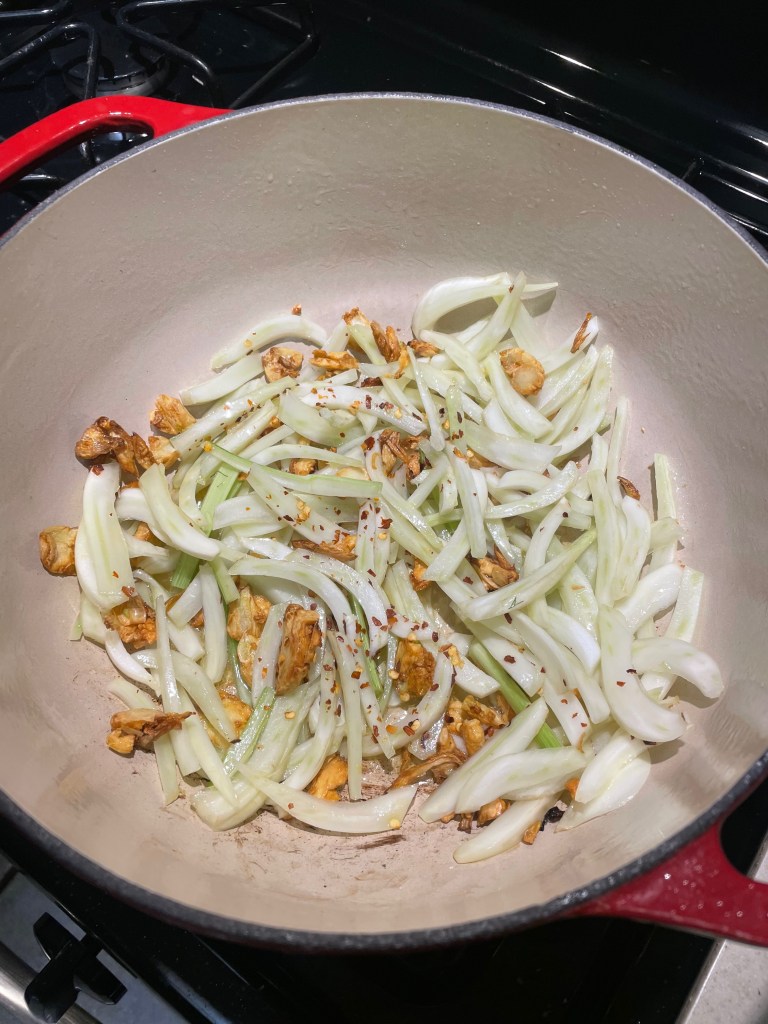
  • Use quality greens since they are the star of the show.
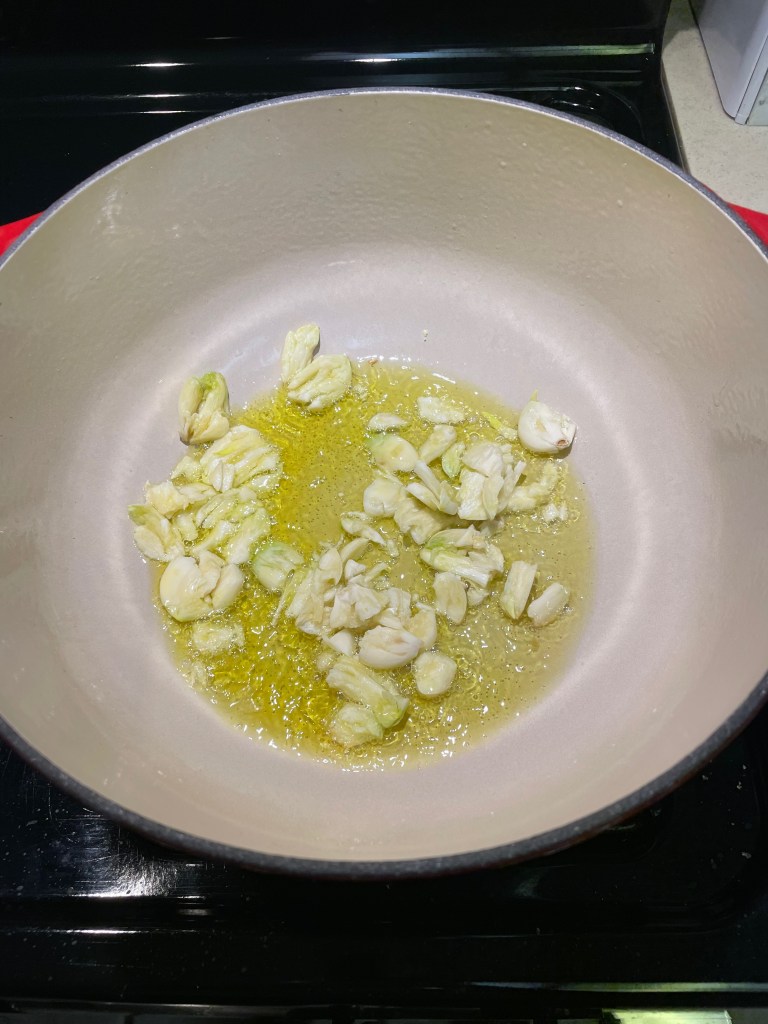
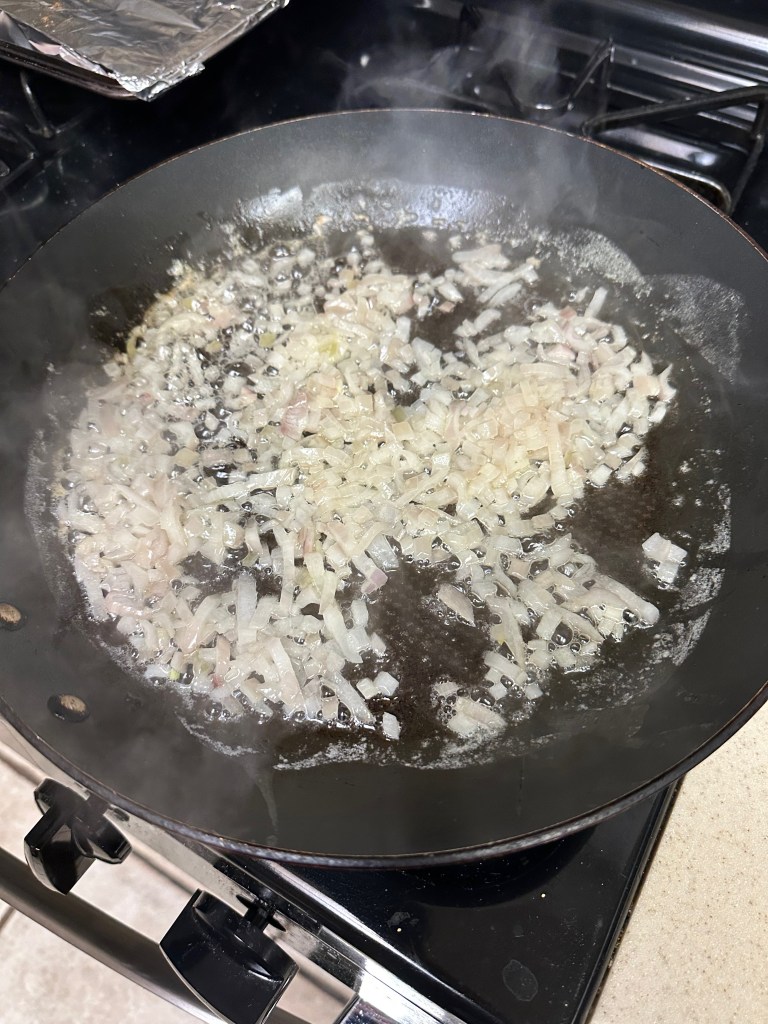
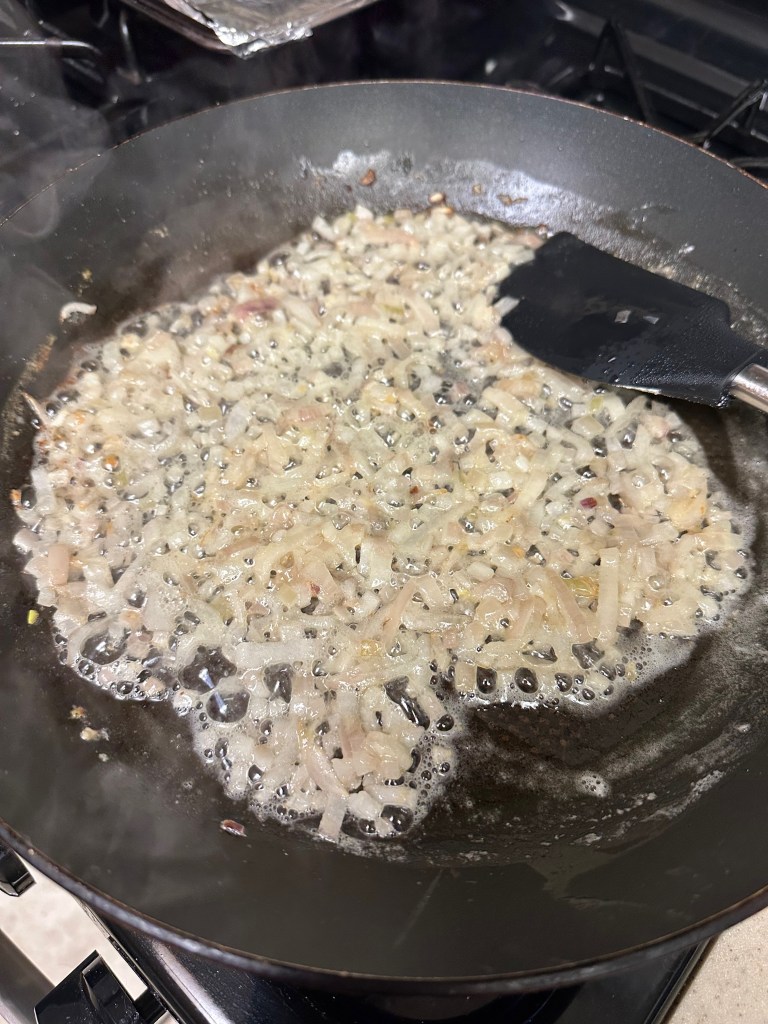
  • Feel free to substitute the shallot with yellow or sweet onion.
  • Final Score: 4/5 – This is a fantastic greens pie. It’s best served warm shortly after it’s made though. So be ready to eat this one.

Categories
food

Recipe Review: Fruitcake

Introduction

Many folks don’t like fruitcake. This recipe is a great chance to better understand and appreciate it (although you still may not like it afterwards). Despite the long duration, the recipe itself isn’t too difficult as long as you heed some of the tips below. Make sure to get started on this in October if you’re trying to get it ready for the holidays since the recipe takes at least 2 months. Likewise make sure to use a quality liquor for feeding the cake – as it will define a large amount of the final flavor.

Recipe Outline

Recipe: FruitcakeSpecial Equipment: Stand Mixer, Two 9-Inch Cake Pans
Source: Dessert PersonTime: 2 Month
Author: Claire SaffitzDifficulty: 4/5
Type: Dessert (Baking)Score: ★★☆☆☆
Making The Batter

Tip 1: Make sure to scrape down the sides frequently due to the molasses and zest.

Tip 2: The mixture may look strange after adding the egg. Don’t worry, the flour step will fix this.

Baking The Cakes

Tip: Use butter to get the parchment paper to stick to the pan. To prepare the parchment, take 2 sheets and hold them in half twice (to produce 4 sections – i.e. a nested fold). Then cut to get 8 strips to line the pan with. Use butter to get the layers of parchment paper to stick together and deal with overlap.

Feeding The Cake
Wrapping The Cakes (Marzipan)

Tip: Use a very generous amount of powdered sugar to make the marzipan easy to roll out and to avoid sticking. The marzipan will stick to other surfaces in the future, so make sure to apply plenty of powdered sugar to any surface it will touch.

Final Product

Key Takeaways

  • Use a high-quality liquor. The final product will taste quite similar to whatever liquor you use. If you aren’t a fan of brandy, considering using a sweeter whiskey.
  • Set a reminder to feed the cake every week.
  • Final Score: 2/5 – This was a fun recipe (except for working with the marzipan), but the final product wasn’t particularly tasty. The strong brandy flavor and lack of sweetness (despite the royal icing) made the cake fall a bit flat. In the future I’d consider trying this with a smaller variety of fruit (for a simpler flavor), more sweetness, and whiskey instead of brandy.

Categories
food

Recipe Review: Cherry Cream Cheese Danishes

Introduction

This recipe is a lot of work, but definitely worth the effort. Once you’ve had enough practice making the flaky pie dough and rough puff pastry this shouldn’t be too difficult. This recipe is all about preparation and precision, plan ahead. You can use just about anything you want for the filling, just be careful any berries you use aren’t too large. Regardless of what you do for the filling though, the end product will be incredible.

Recipe Outline

Recipe: Cherry Cream Cheese DanishesSpecial Equipment: None
Source: Dessert PersonTime: 7 Hours
Author: Claire SaffitzDifficulty: 5/5
Type: Dessert (Baking)Score: ★★★★★
Making The Dough (First Proof)
Making The Butter Block

Tip: First get the butter into a rough square and then create a package with the parchment paper (tape to seal and flip over). To get it into a perfect square, simply hold one corner and roll into the opposite corner using the rolling pin.

Making The Puff Pastry

Tip 1: Use this video as a helpful guide (note that the sugar layers are omitted from the video for reasons unbeknownst).

Tip 2: Try to have straight edges from the start. This helps ensure that you end up with a nice rectangle before needing to cut out the 24 squares.

Baking The Filling

Tip: The top bowl in the final photo shows the ideal level of reduction.

Baking The Danishes

Tip: Bake until a deep golden brown. It’s a bit hard to over bake, so go for a deeper golden brown.

Final Product

Key Takeaways

  • Watch the video multiple times and make a time chart to plan everything out in advance.
  • Feel free to substitute other berries. Be careful to not get berries that are too large or you will only be able to fit one or two, as was the case here.
  • A wheel-cutter and chilled rolling pin will help significantly.
  • Final Score: 5/5 – This is one of the most difficult recipes in the book, but not without good reason. When done right, the result is hard to describe — it’s amazing. Claire describes it best in the video, to the effect that – “the best danish you’ll ever have is probably homemade”.

Categories
food

Recipe Review: Kouign-Amann

Introduction

This is definitely one of the most difficult recipes in the book. However, if you’ve made most of the other items in the book you shouldn’t have too much trouble with this. This recipe is pretty a much a full day effort and is best done with half of the dough being used for the Kouign-Amann and the other half being used for danishes. When done right, this recipe (of essentially just 4 ingredients) is mind-blowing.

Recipe Outline

Recipe: Kouign-AmannSpecial Equipment: Muffin Tin
Source: Dessert PersonTime: 7 Hours
Author: Claire SaffitzDifficulty: 5/5
Type: Dessert (Baking)Score: ★★★★★
Making The Dough (First Proof)
Making The Butter Block

Tip: First get the butter into a rough square and then create a package with the parchment paper (tape to seal and flip over). To get it into a perfect square, simply hold one corner and roll into the opposite corner using the rolling pin.

Making The Puff Pastry

Tip 1: Use this video as a helpful guide (note that the sugar layers are omitted from the video for reasons unbeknownst).

Tip 2: Try to have straight edges from the start. This helps ensure that you end up with a nice rectangle before needing to cut out the 24 squares.

Baking The Kouign-Amann=

Tip 1: Bake until a deep golden brown. It’s a bit hard to over bake, so go for a deeper golden brown.

Tip 2: Let them cool upside down after resting in the pan for 5 minutes. This is shown in the book, but isn’t explicitly written.

Final Product

Key Takeaways

  • This video is a helpful guide, as the dough is literally the same. Keep in mind though that the sugar layers are omitted in this video.
  • Watch the video multiple times and make a time chart to plan everything out in advance.
  • A wheel-cutter and chilled rolling pin will help significantly.
  • Final Score: 5/5 – This recipes is certainly an undertaking, but ultimately worth the effort. With enough practice, you shouldn’t have too much trouble. Just be precise, prepared, and plan ahead.

Categories
food

Recipe Review: Blueberry Slab Pie

Introduction

If you’ve never made a slab pie before, give this a try. It’s a great pie. The blueberries go surprisingly well with the warm spices and just about any filling could work. Despite being rated as a 4/5 in difficulty, it’s closer to a 3 (especially if you’ve had practice working with dough). This is one of the more interesting recipes in the book and definitely worth the effort.

Recipe Outline

Recipe: Blueberry Slab PieSpecial Equipment: Two 18×13 -Inch Pans, Food Processor
Source: Dessert PersonTime: 7 Hours
Author: Claire SaffitzDifficulty: 3/5
Type: Dessert (Baking)Score: ★★★★☆
Making The Dough

Tip: Your food processor needs to be at least 8 cup volume.

Making The Filling And Preparing The Oven
Making The Pie

Final Product

Key Takeaways

  • Even though it is a summer pie, the warm spice makes it tastes more like a winter pie. The pie is not overly sweet at all. It’s a bit atypical, but delicious.
  • If served one hour after making, as recommended in the book, it’ll still be a bit runny. Wait another hour and will solidify.
  • Final Score: 4/5 – This is a great winter (or anytime) pie. It’s a bit of a process, but no single step is too difficult. Slab pies are a great idea. They are simpler to make and taste better (the ratios are ideal). This would go great with many other types of fruit fillings – especially shower cherries. Definitely give this one a shot.

Categories
food

Recipe Review: Preserved Lemon Meringue Cake

Introduction

This is a fantastic lemon cake that will definitely impress. It’s not quite as hard as it looks, but the Italian meringue can be a bit difficult if you’re making it alone. The cake has a moderately strong lemon flavor, but it works very well. If you aren’t a fan of a lemon consider straining the final lemon curd to remove some of the more potent lemon flavor. This is definitely a fun cake and worth giving a try.

Recipe Outline

Recipe: Preserved Lemon Meringue CakeSpecial Equipment: Stand Mixer, Three 8-Inch Cake Pans, Instant-Read Thermometer
Source: Dessert PersonTime: 7 Hours
Author: Claire SaffitzDifficulty: 3/5
Type: Dessert (Baking)Score: ★★★★☆
Making The Lemon Curd
Making The Batter
Baking And Slicing The Cakes

Tip: Cutting a cake in half is not easy. The most straightforward way is to use a large serrated knife. A better alternative though is to use toothpicks and cutting wire (or simply dental floss). Just go around the cake and insert 8 toothpicks equally apart at the midpoint of the cake. Wrap the string around and set it atop the toothpicks. Then pull the string firmly, but not too quickly about the cake. Make sure to exert your force parallel to the cake — no upward or downward force/pressure. Here’s a video. There are also products made specifically for this.

Assembling The Cake
Making And Applying The Italian Meringue

Tip: Start whipping the egg whites around the time the sugar reaches 230°.

Final Product

Key Takeaways

  • This recipe (or at least the Italian meringue) is best done with two people.
  • You can find preserved lemons in the middle eastern or moroccan section of the store/market.
  • Final Score: 4/5 – This is a great cake that can be made any time of year. It’s fun to make, tastes great, and looks cool. It’s not too difficult, but it does take some time and patience to make.

Categories
food

Recipe Review: All Coconut Cake

Introduction

This is great cake recipe that produces a beautiful cake that truly celebrates coconut. There is coconut in absolutely every element: in the batter, in the pastry cream layers, in the covering flakes, soaking each cake, and in between each layer. The cake is rated as a 4/5 in difficulty, but it is a bit easier than that. There are simply a lot of steps. Definitely give this cake a try – there’s a lot to learn about coconut.

Recipe Outline

Recipe: All Coconut CakeSpecial Equipment: Stand Mixer, Food Processor, Three 8-Inch Cake Pans
Source: Dessert PersonTime: 6 Hours
Author: Claire SaffitzDifficulty: 3/5
Type: Dessert (Baking)Score: ★★★★★
Making The Coconut Pastry Cream
Making The Batter And Cream Cheese Frosting

Tip: The cream cheese frosting is pictured last; the rest are the batter.

Baking And Slicing The Cakes

Tip: Cutting a cake in half is not easy. The most straightforward way is to use a large serrated knife. A better alternative though is to use toothpicks and cutting wire (or simply dental floss). Just go around the cake and insert 8 toothpicks equally apart at the midpoint of the cake. Wrap the string around and set it atop the toothpicks. Then pull the string firmly, but not too quickly about the cake. Make sure to exert your force parallel to the cake — no upward or downward force/pressure. Here’s a video. There are also products made specifically for this.

Making The Coconut Filling And Flakes

Tip: Prepare the coconut pieces using a white coconut as it indicates freshness. Poke a hole in the mouth of the coconut and train with a sharp knife. Afterwards, split the coconut by smashing it with a hard object or banging on a hard outdoor surface. Finally cut out pieces using a knife or remove the shell and then peel the outside layers of coconut skin.

Assembling The Cake

Final Product

Key Takeaways

  • This is a fairly straight-forward cake that comes out delicious.
  • The real coconut filling pieces aren’t strictly necessary and don’t add a ton to the final product. Feel free to skip it.
  • Final Score: 5/5 – This is a fantastic recipe that is well-written and the outcome is truly an all coconut cake. You’ll probably like this cake even if you don’t like coconut.

Categories
food

Recipe Review: Clam And Fennel Pizza With Gremolata

Introduction

This is one of the few savory recipes that did not particularly stand out. The final product is certainly tasty, but not particularly unique nor quite worth the effort. Nonetheless this is a good chance to practice working with clams and fennel. The dough itself is fantastic and is a good reason alone to make this recipe.

Recipe Outline

Recipe: Clam And Fennel Pizza With GremolataSpecial Equipment: Stand Mixer (optional)
Source: Dessert PersonTime: 4 Hours
Author: Claire SaffitzDifficulty: 3/5
Type: Dessert (Baking)Score: ★★☆☆☆
Making The Flatbread Dough

Tip: The stand mixer can simplify this process significantly. Make sure to add flour though if the dough is still sticky near the end (it should be a bit sticky, but not so sticky it can’t be worked with).

Making The Clams

Tip 1: The clams should be bought fresh. Keep the clams open/uncovered enough so that they can breath at the store/market. Ask for them to be packed with ice.

Tip 2: Throw out any clams that are chipped or are open and won’t shut after being tapped. Store them in a single layer on a pan loosely covered with damp paper towels. They can be refrigerated in this state for about a day.

Tip 3: Let the clams sit in a bowl with 1 gallon of cold water and 1/3 cup of salt for at least 20 minutes and up to 2 hours. This will help remove sand. Afterwards scrub each clam and place in another bowl with the same setup and let sit for another 20 minutes before use. Be careful not to let the sandy water get back on the clams.

Tip 4: Watch for the pot boiling over with the clams.

Making The Toppings
Making The Pizza

Tip: The dough rises notably as it bakes, so it’s okay if your layer of dough is very thin.

Final Product

Key Takeaways

  • Clams are a fun and interesting ingredient to work with, but perhaps not worth the effort/time.
  • Final Score: 2/5 – This was a fine recipe, but nothing too special. It was good practice working with clams and fennel though.

Categories
food

Recipe Review: Foolproof Tarte Tatin

Introduction

This is a great fall recipe when you have access to quality, firm, baking apples. The recipe is a bit complicated, but luckily the overall process can be broken down into a handful of discrete steps that can be done at different times. Definitely watch the video for this recipe, as it has a lot of helpful tips. The final product is delicious and is largely worth the effort. Despite the complicated process, the recipe is rather forgiving in terms of taste (just not appearance).

Recipe Outline

Recipe: Foolproof Tarte TatinSpecial Equipment: 10-Inch Cast Iron Skillet, Grater
Source: Dessert PersonTime: 8 Hours
Author: Claire SaffitzDifficulty: 3/5
Type: Dessert (Baking)Score: ★★★★☆
Making The Rough Puff Pastry

Tip 1: Consider freezing the bowl, the rolling pin, the grater, and the working surface (such as a cutting board) to keep the butter from melting. Likewise, freeze the bowl and the flour/butter mixture for at least 5 minutes between each step.

Tip 2: Consider chilling in refrigerator for longer than suggested for both steps.

Making The Apples

Tip 1: Make sure to buy small or medium apples (or shave down the apples to be that size with the peeler). Ideally the height of the apples in the pan should be about the same height or slightly smaller than the rims of the pan itself.

Tip 2: The apples can go from hard and rigid to soft and mushy very quickly. Keep a very close eye and check frequently.

Tip 3: The pan will quickly fill with a fair amount of apple juice. Be very careful to hold the pan level when removing from the oven at any point. Use two hands and hold the pan at both ends.

Tip 4: Use the underside of two large spoons to get the apples out of the pan. Be careful.

Making The Caramel
Assembling And Baking The Tarte Tatin

Tip: Put a large sheet pan on a rack below the baking tarte tatin to avoid caramel dripping and then burning on the bottom of the oven.

Final Product

Key Takeaways

  • Make sure to buy small or medium apples. This won’t really impact taste, but traditionally it is made using smaller apples.
  • Be careful not to bake too long or the apples and caramel will darken a bit much. Again, this doesn’t affect the taste at all, but makes it a bit less photogenic.
  • Final Score: 4/5 – Overall this is a solid recipe and very tasty dessert. There are a lot of valuable techniques learned (dry caramel, apple preparation, skillet tart, rough puff pastry, etc) and the end result is ultimately worth the effort.

Categories
food

Recipe Review: Buckwheat Blueberry Skillet Pancake

Introduction

This is one of the most straightforward and simple recipes in the book. It’s a great way to learn how to make a skillet pancake, although the recipe itself is “just okay” at best. Nothing particular stands out or makes it special like most other recipes in the book. Nonetheless, the end result is pretty tasty.

Recipe Outline

Recipe: Buckwheat Blueberry Skillet PancakeSpecial Equipment: 10-Inch Cast Iron Skillet, Hand Mixer or Open-Top Blender
Source: Dessert PersonTime: 2 Hours
Author: Claire SaffitzDifficulty: 2/5
Type: Dessert (Baking)Score: ★★☆☆☆
Making The Batter
Making The Pancake

Tip: While the recipe says frozen or fresh blueberries can be used, be careful if using frozen ones. Adding the frozen blueberries on top of the batter can result in them releasing water and cooling the temperature of the top layer – resulting in the middle layer of batter not completely cooking through.

Final Product

Key Takeaways

  • Ensure that the middle layer is cooked through.
  • Final Score: 2/5 – This is a rather easy recipe, but it’s not particularly special. It’s a nice intro to making skillet pancakes, but that’s about it.