Introduction
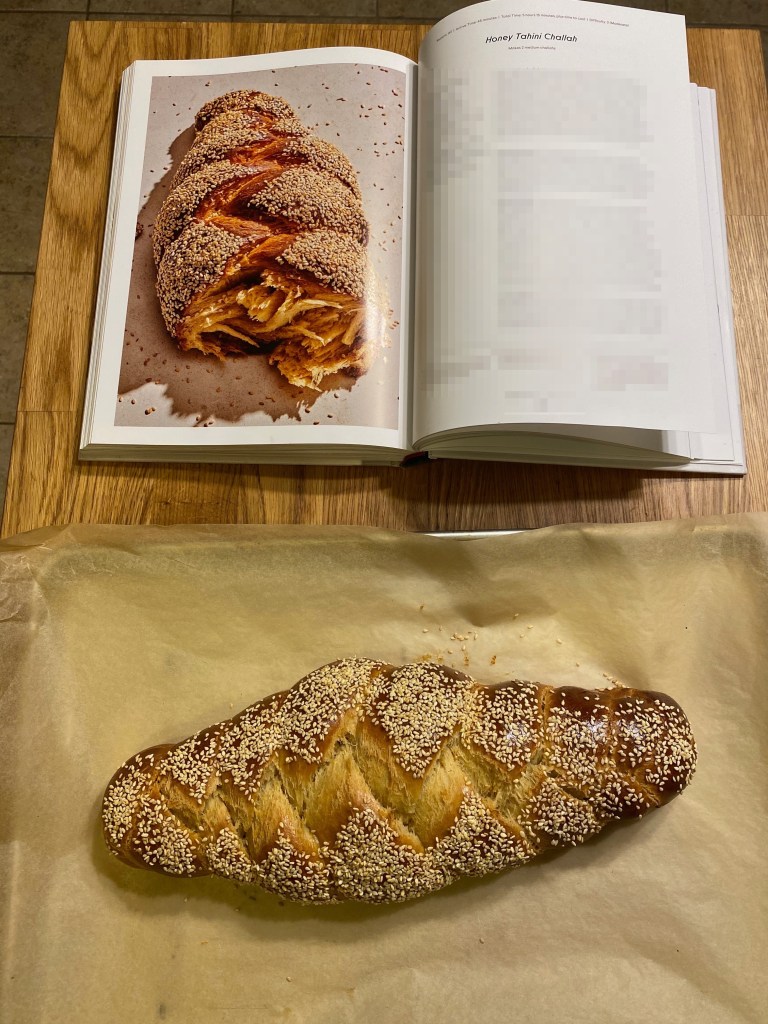
This recipe is very similar to the babkallah recipe from Dessert Person in terms of technique. This challah, however, is much more traditional as it uses primarily oil instead of butter. The tahini is a unique, yet great addition. The sesame flavor it imparts is very subtle and it makes the dough very rich and silky.
Recipe Outline
| Recipe: Honey Tahini Challah | Special Equipment: None |
| Source: Dessert Person | Time: 6 hours |
| Author: Claire Saffitz | Difficulty: 3/5 |
| Type: Dessert (Baking) | Score: ★★★☆☆ |
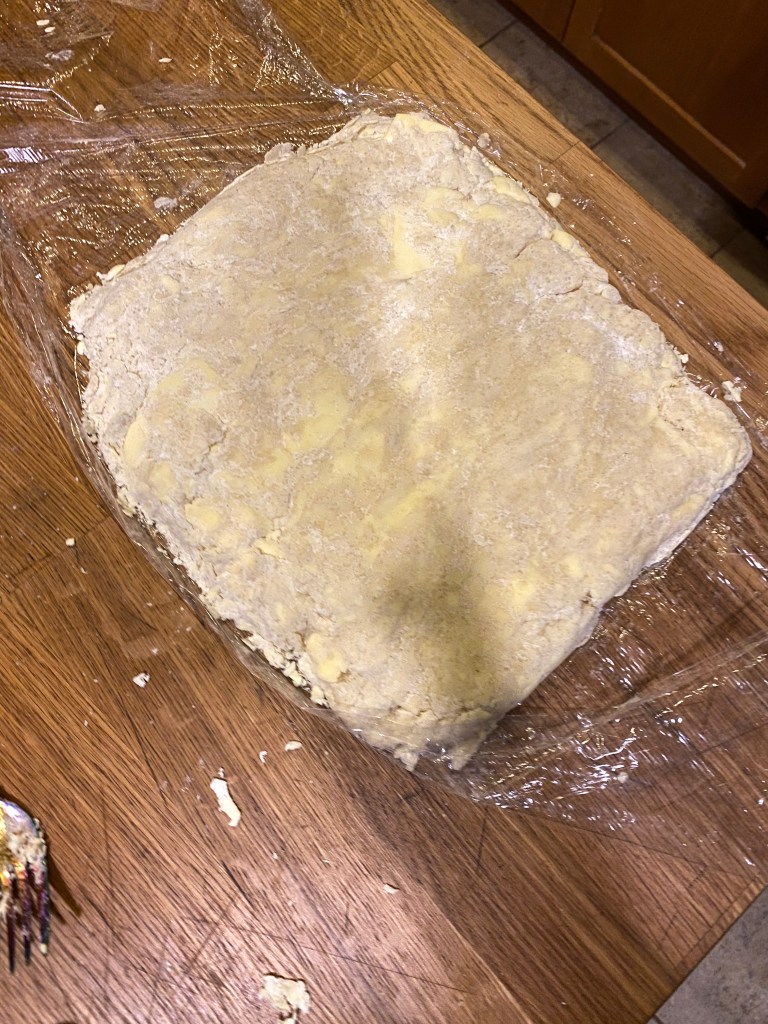
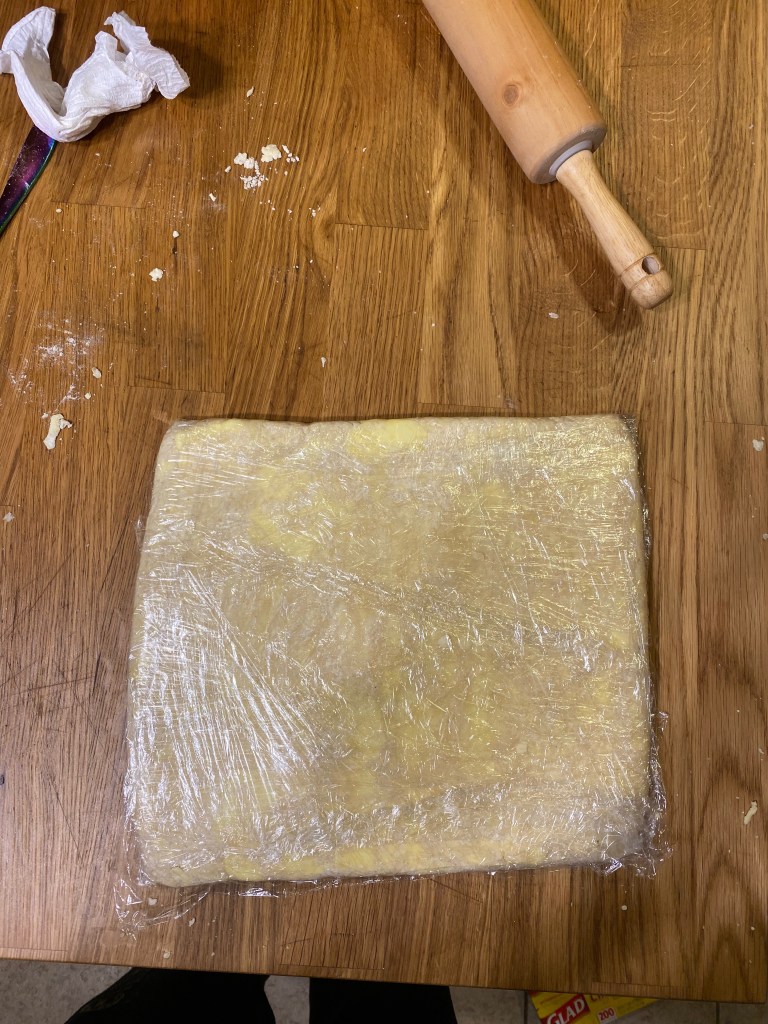
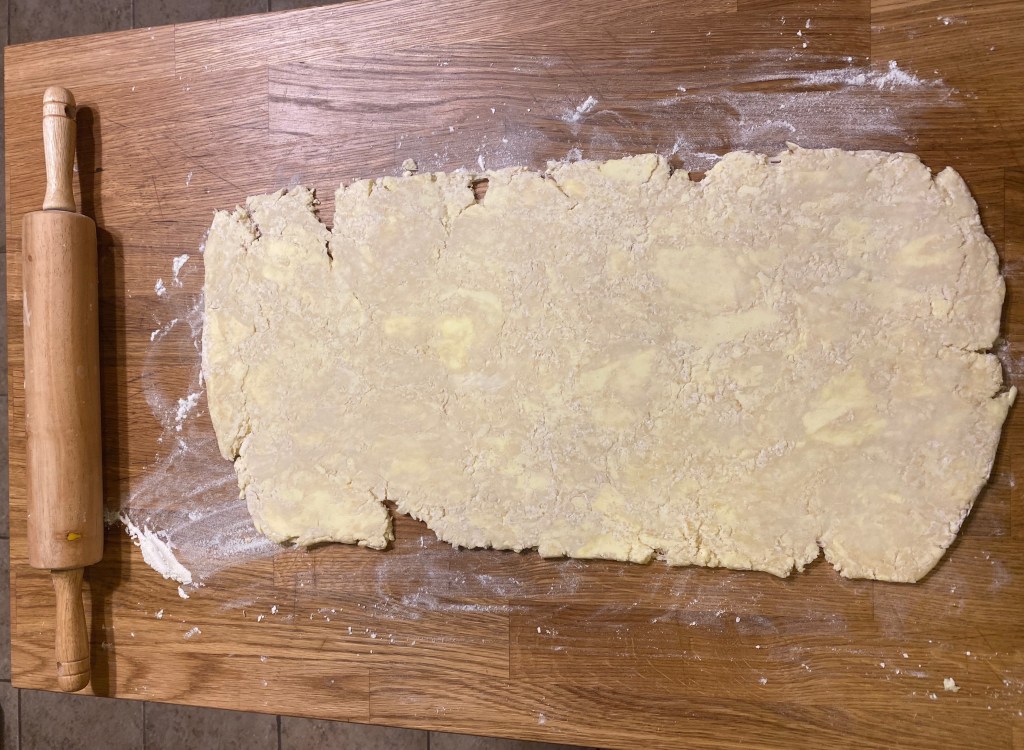
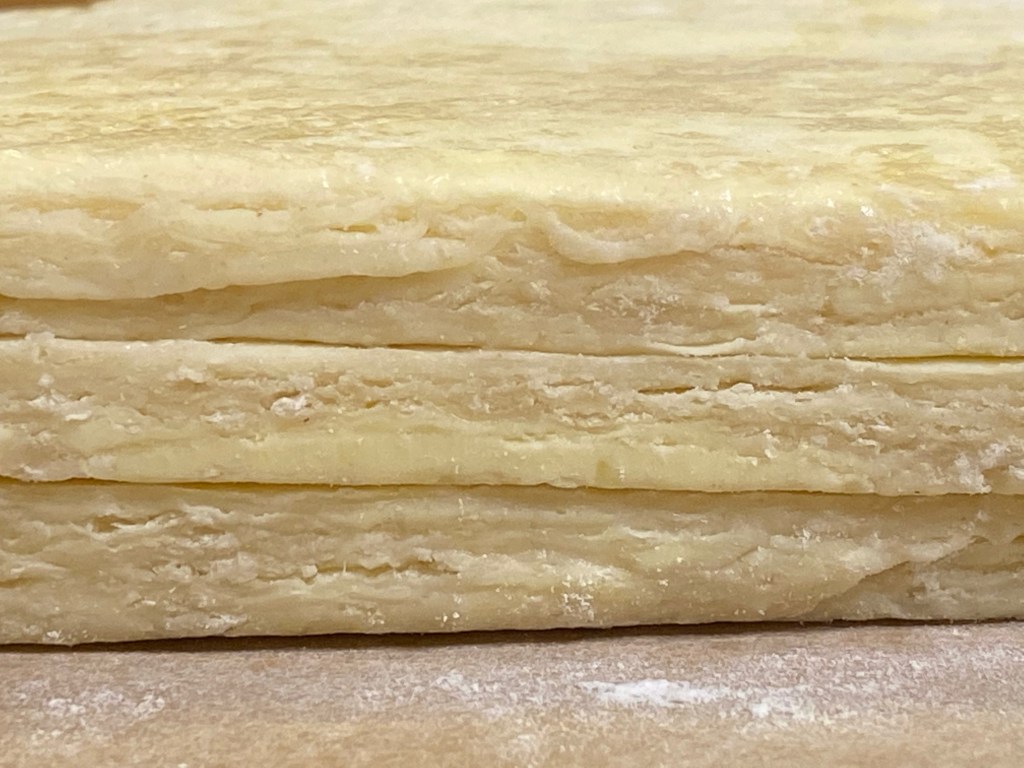
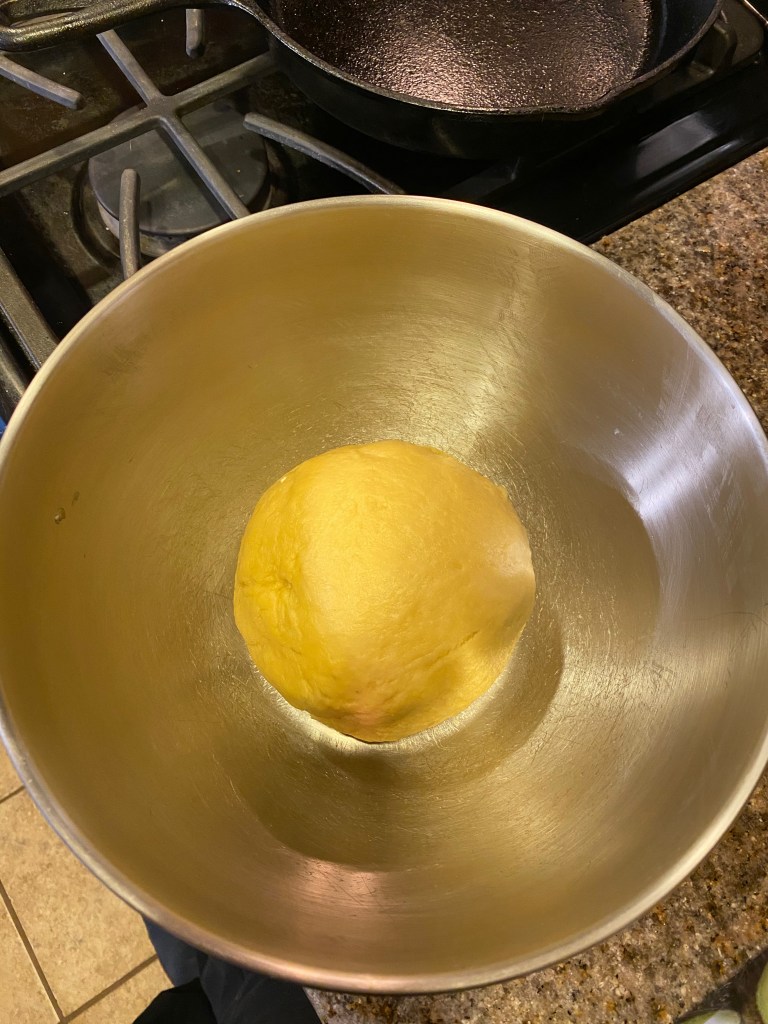
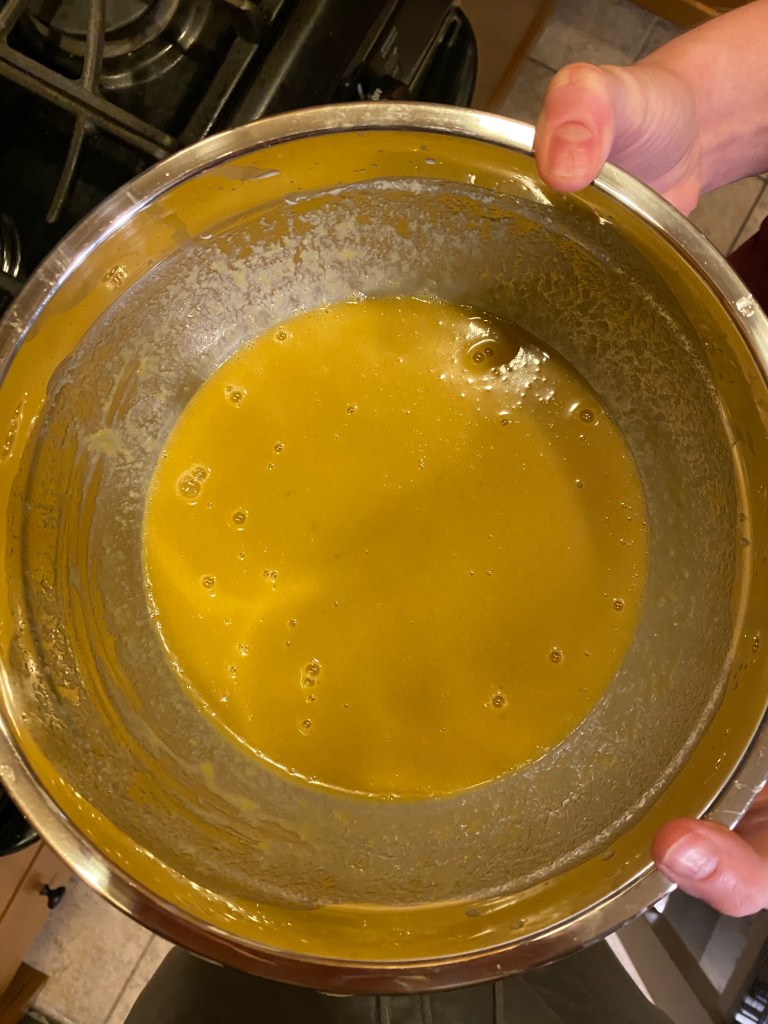
Making The Dough


Tip 1: This dough can take a while to rise the first time. Wait until it is about double in size, even if it takes 3 hours.
Tip 2: If you like a kick then consider adding more cayenne than rTip 2: If you know you have fresh yeast (i.e. you used a brand new packet of active dry yeast) and the yeast doesn’t appear to proof very well – then don’t fret. As noted above, the process can take longer than 10 minutes depending on a variety of conditions. In fact, if you have fresh active dry yeast then you don’t need to proof or dissolve the yeast at all. Claire has confirmed this herself in several of her videos on her YouTube channel. The King Arthur blog concurs.
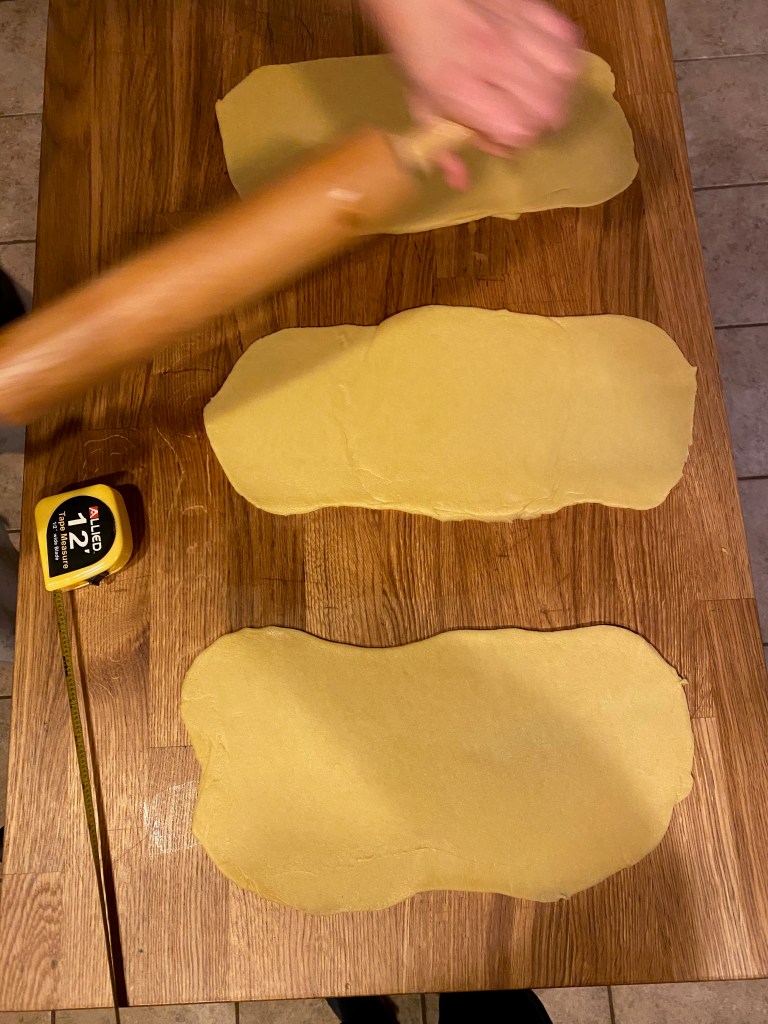
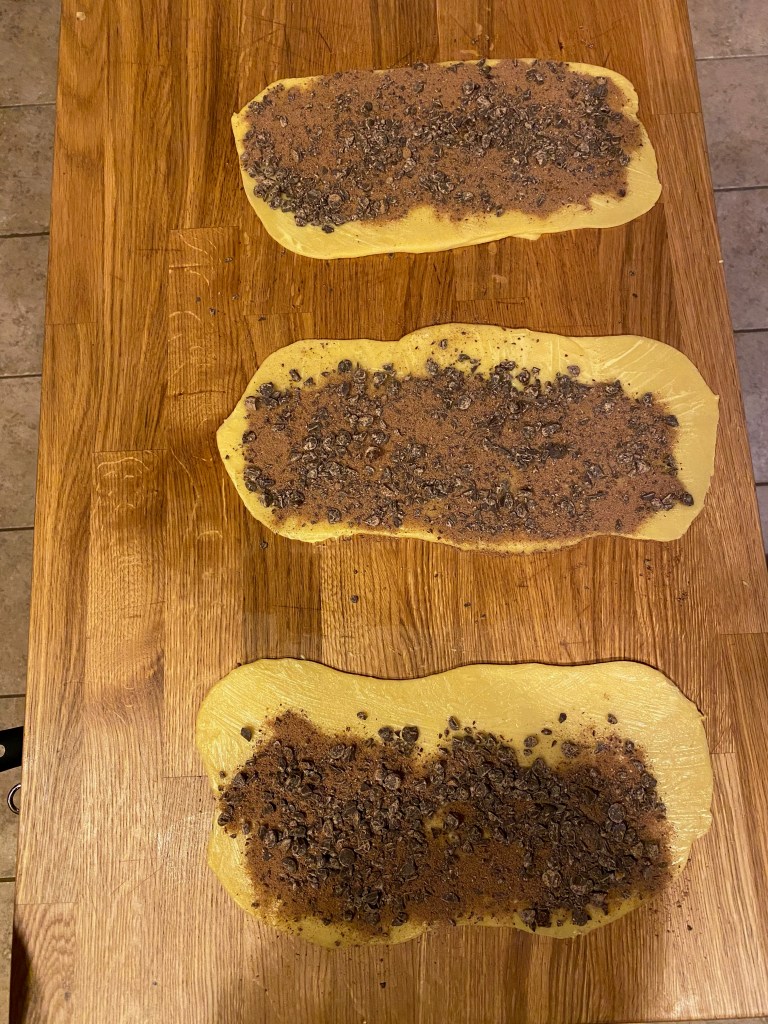
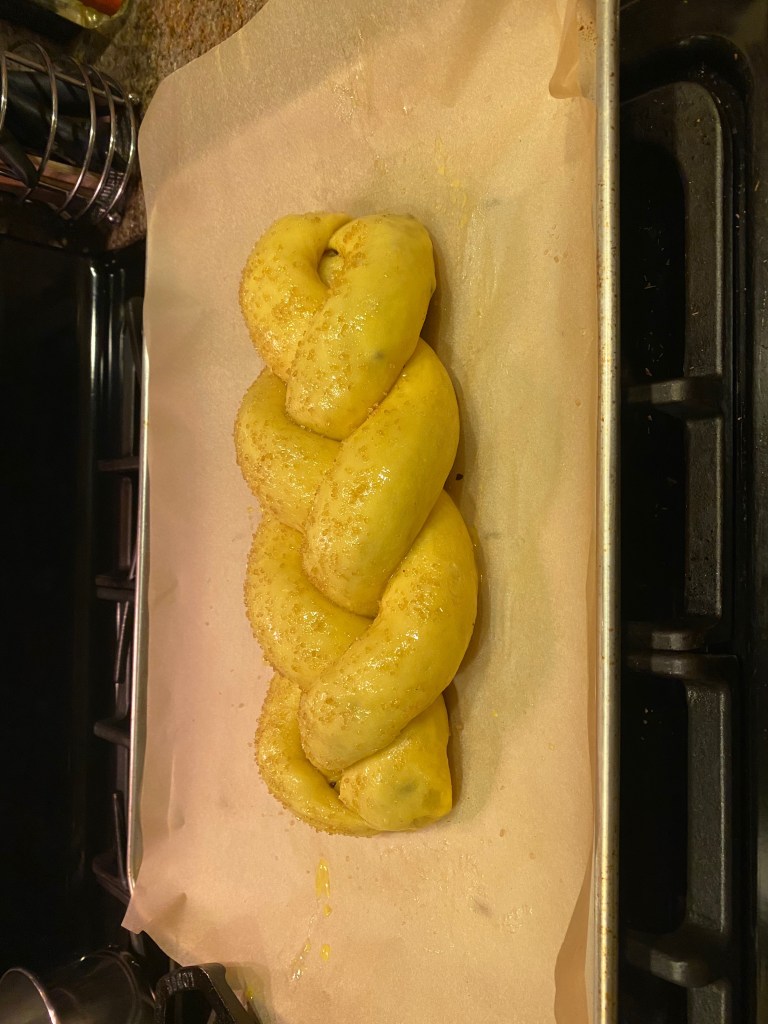
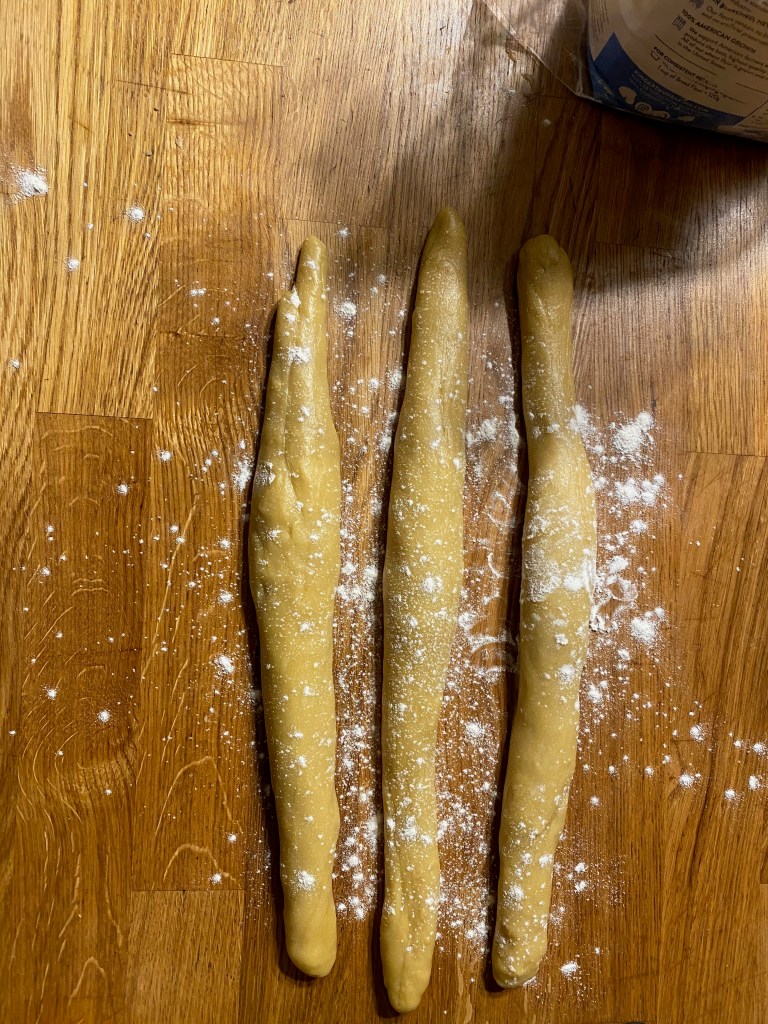
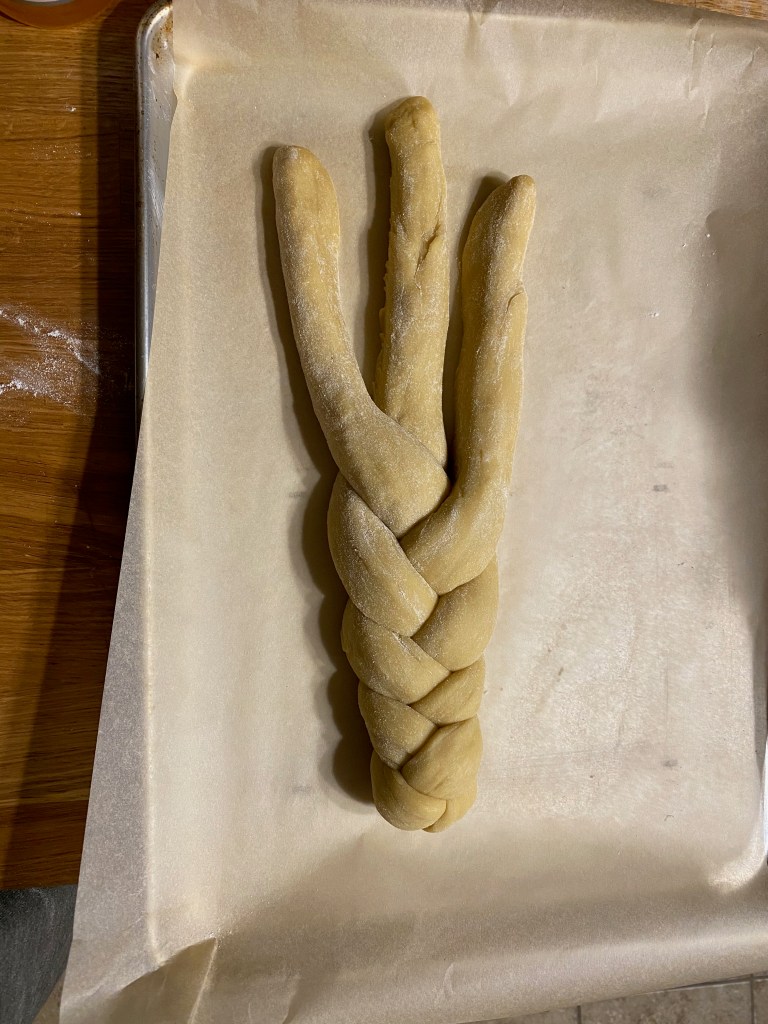
Braiding The Challah


Tip: Much like the babkallah the second proofing was not particularly dramatic and took much longer than suggested. Don’t worry, it’ll still come out great.
Baking The Challah


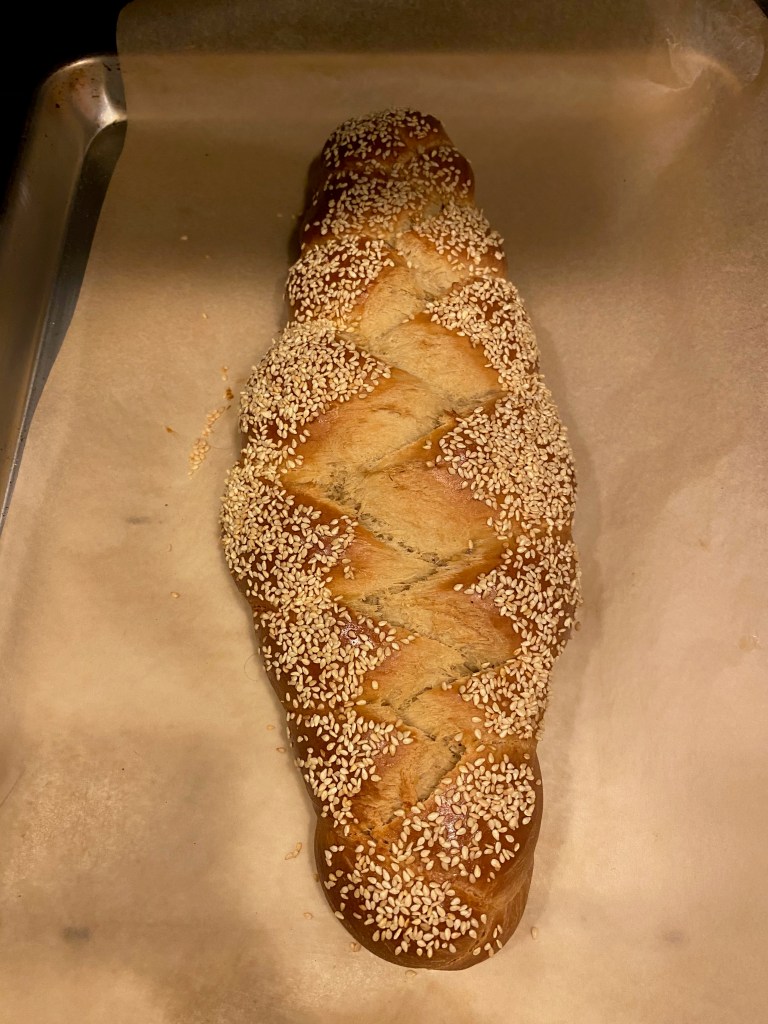
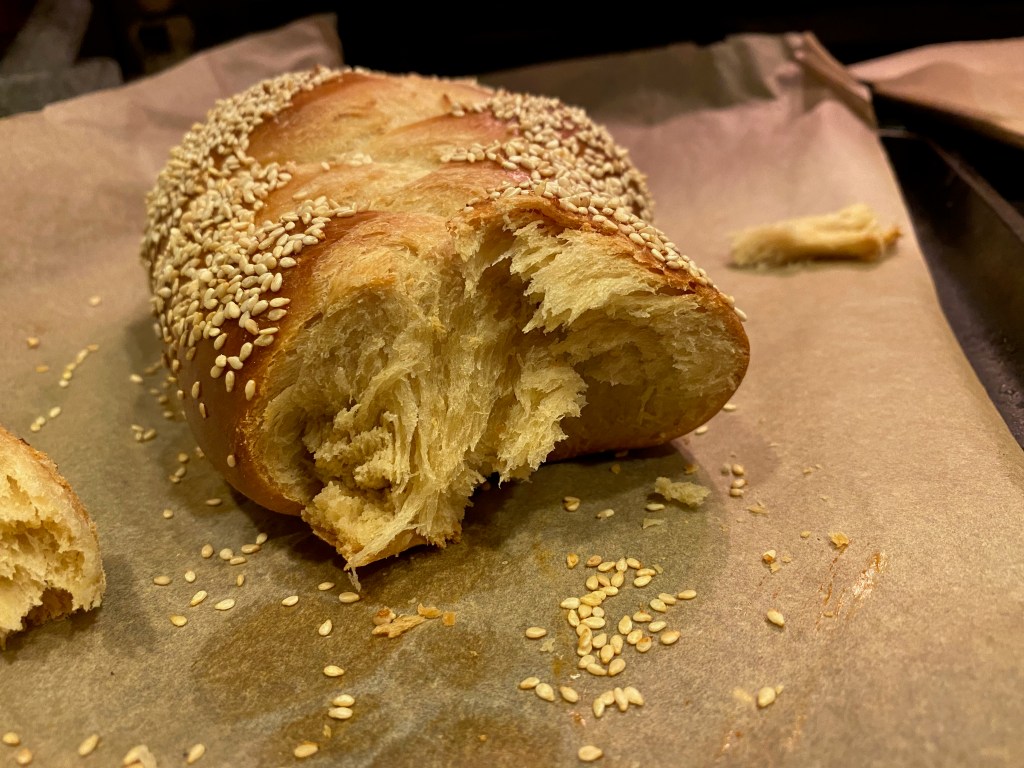
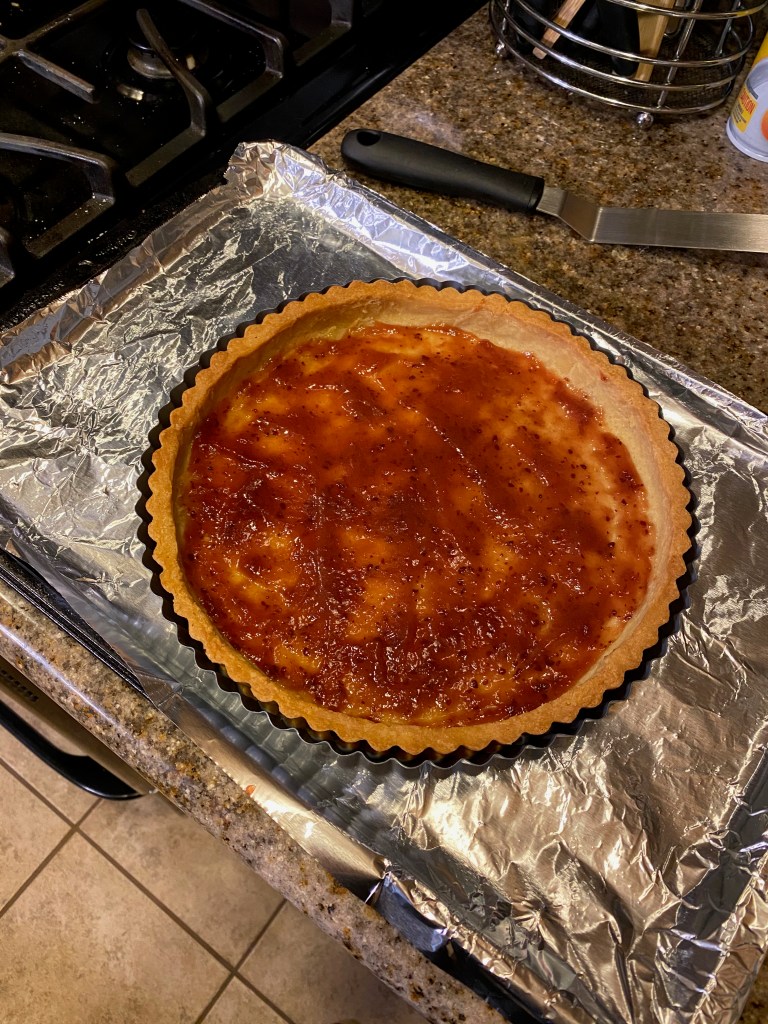
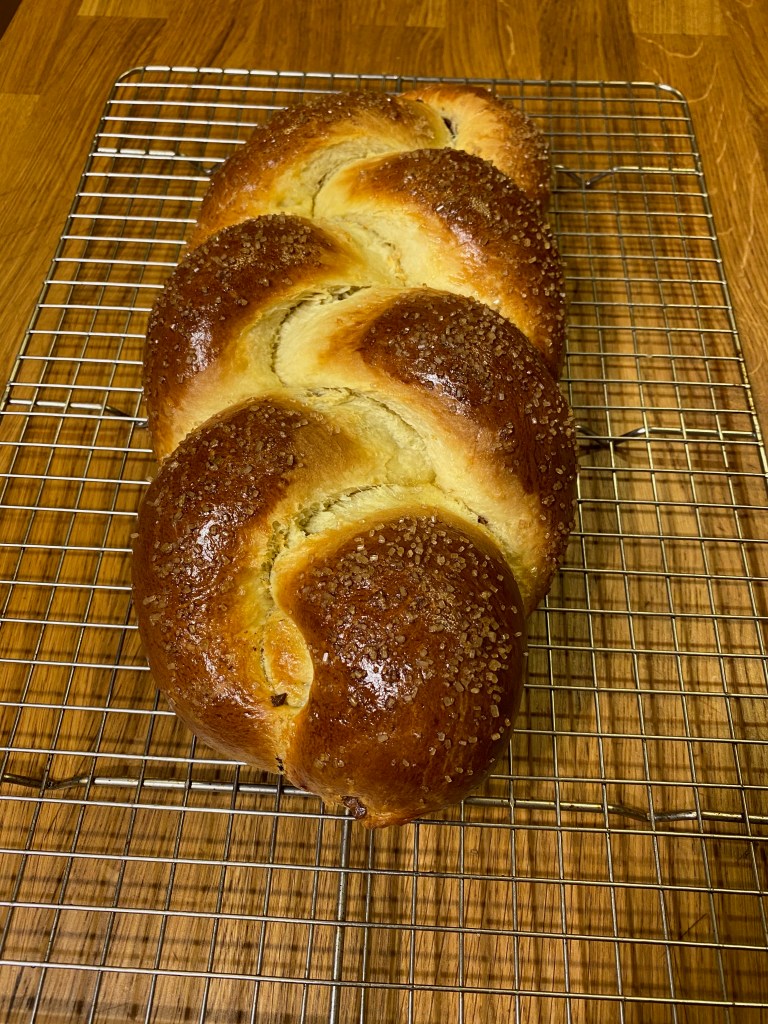
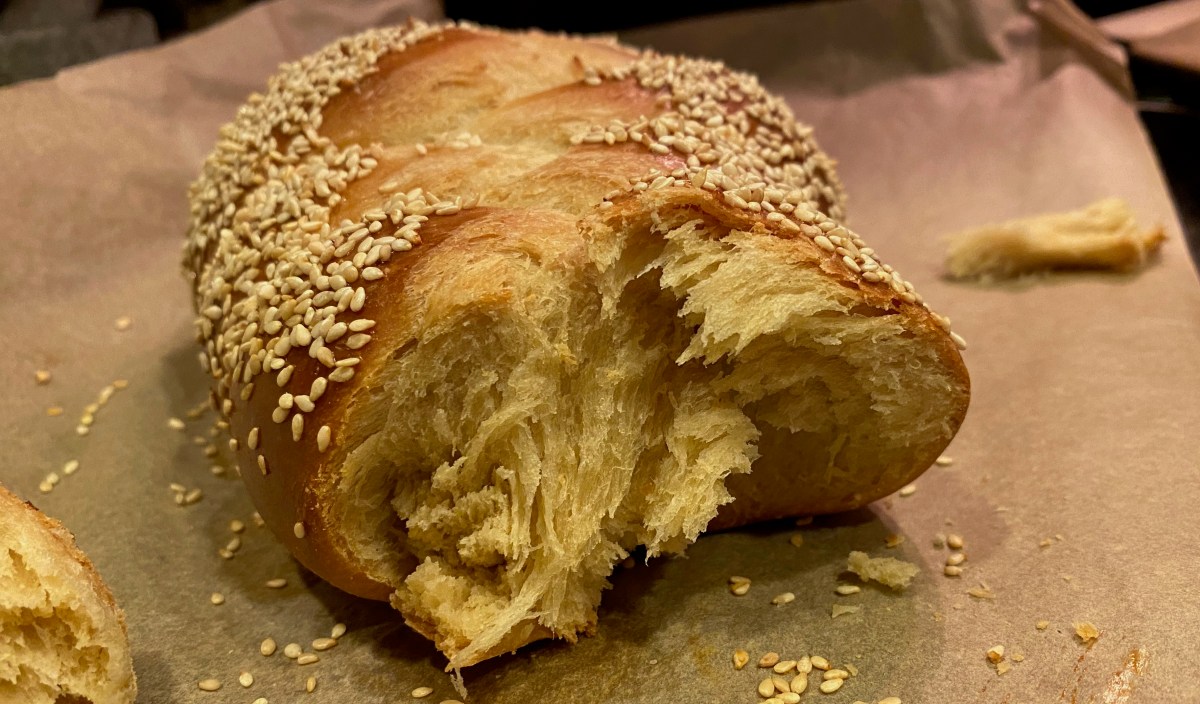
Final Product
Key Takeaways
- The proofing can be finicky – so make sure to go by the indicators and not the listed times.
- The recipe is enough to make 2 challahs. So you’ll get two shots to get the braiding right.
- Final Score: 3/5 – A great take on challah. The tahini isn’t just a gimmick – it really made a difference. The slight sesame flavor and the added richness is a nice touch.