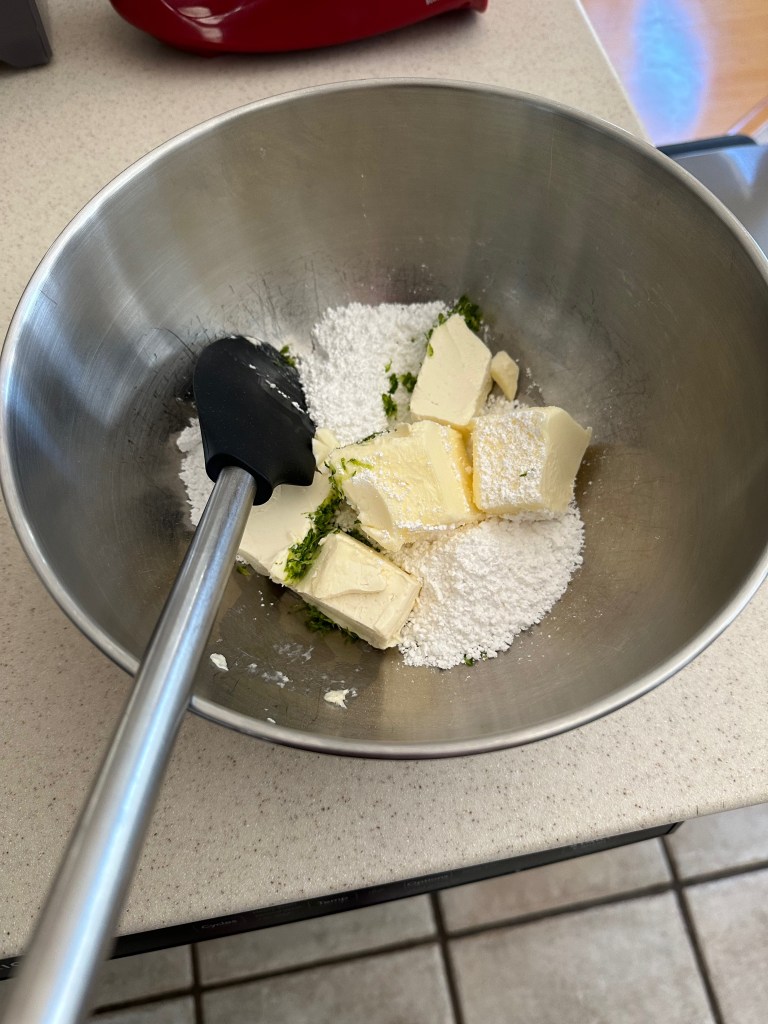
This is a basic/easy cookie. It’s a good introduce to cookies and piping, but that’s pretty much it. If you like lime cookies it’s a nice recipe, but there’s no element that really makes it stand out. Nonetheless, a good learning experience if you want practice with lime cookies or piping.
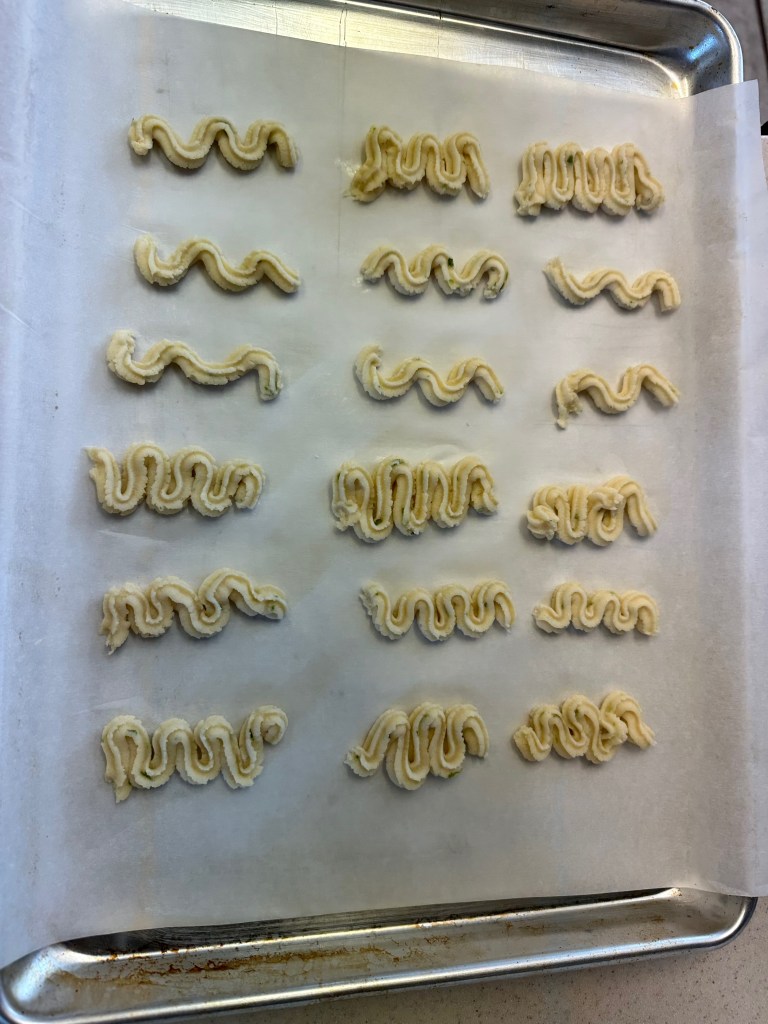
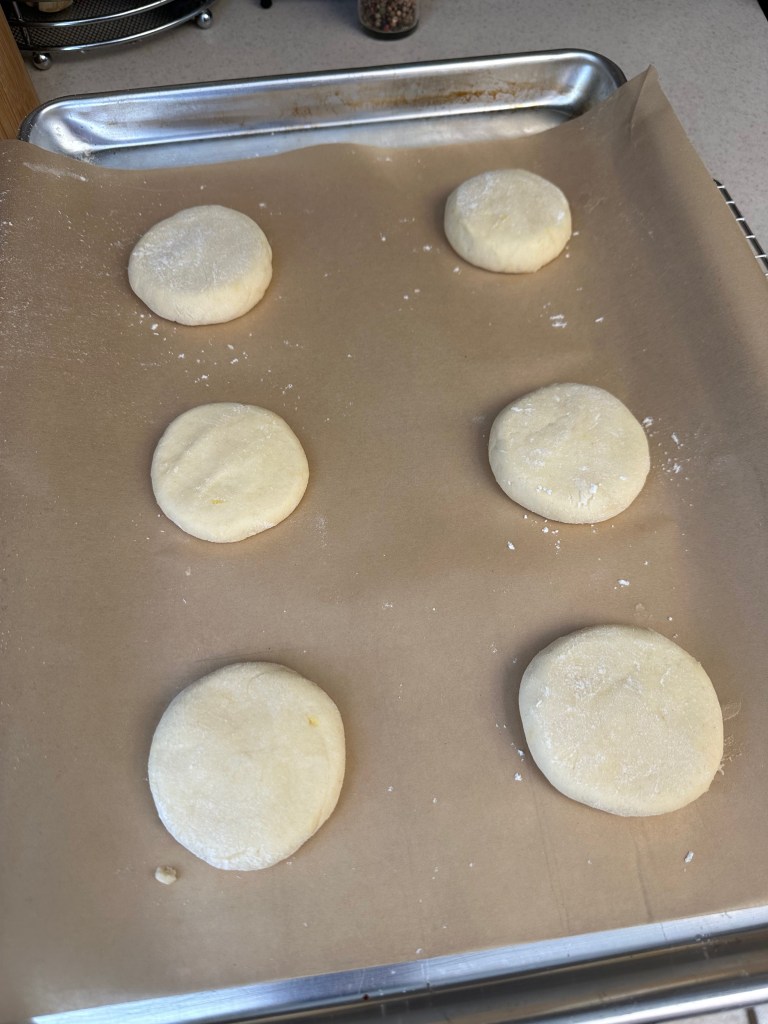
Tip 1: The book recommends a half-inch tip, however, you should consider using a 3/4 inch or 1 inch tip. A 1/2 inch tip doesn’t produce the same results as the book and an inspection of the example image suggests a 1-inch tipped based on the ratios present.
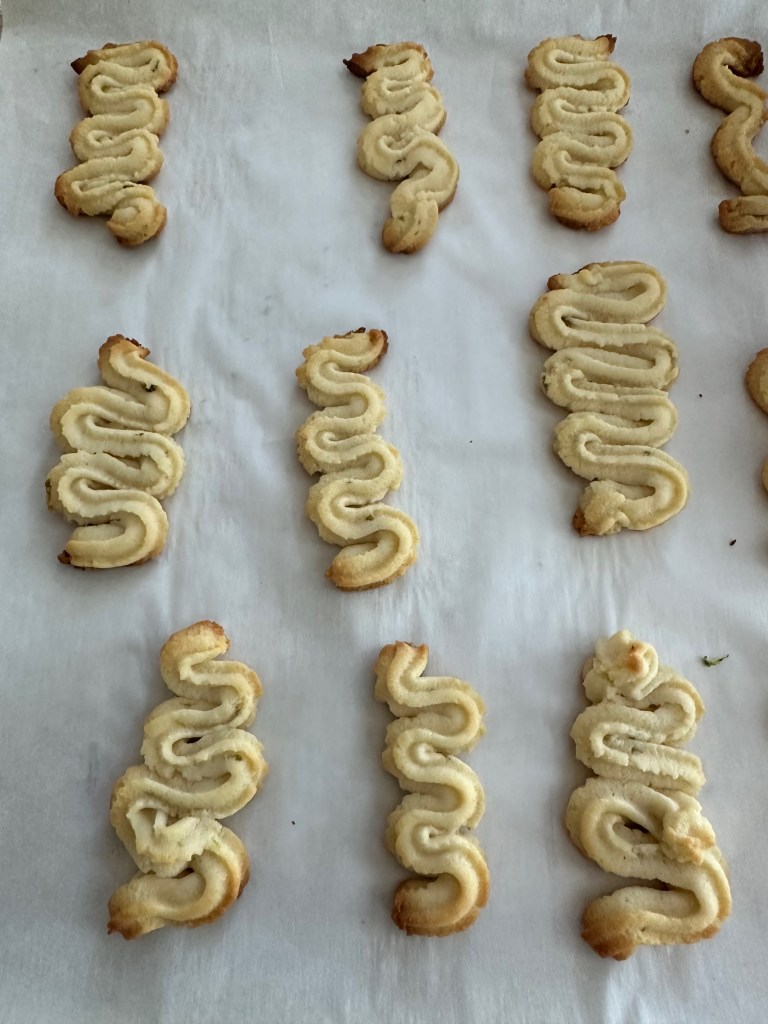
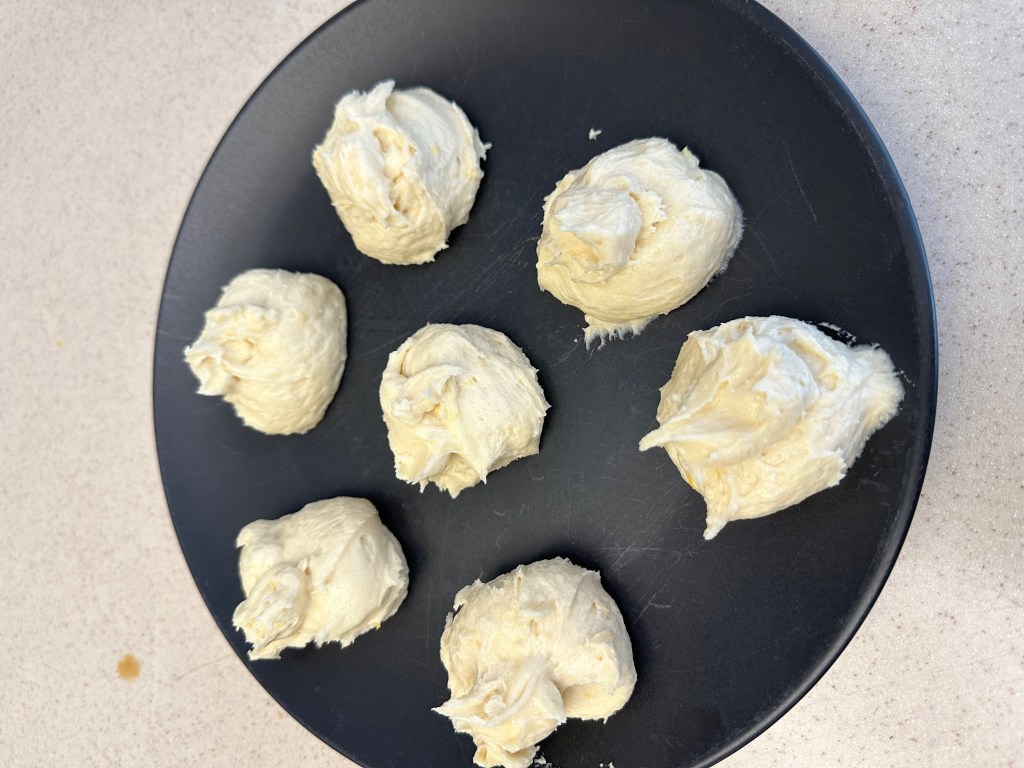
Tip 2: The cookies will maintain the exact shape they are piped into through the baking process.
Final Product
Key Takeaways
This was a tasty cookie, but the instructions were a bit brief and lacking detail.
Final Score: 2/5 – This is an okay dessert if you like lime. Otherwise, it’s average at best. There’s nothing special to set it apart.
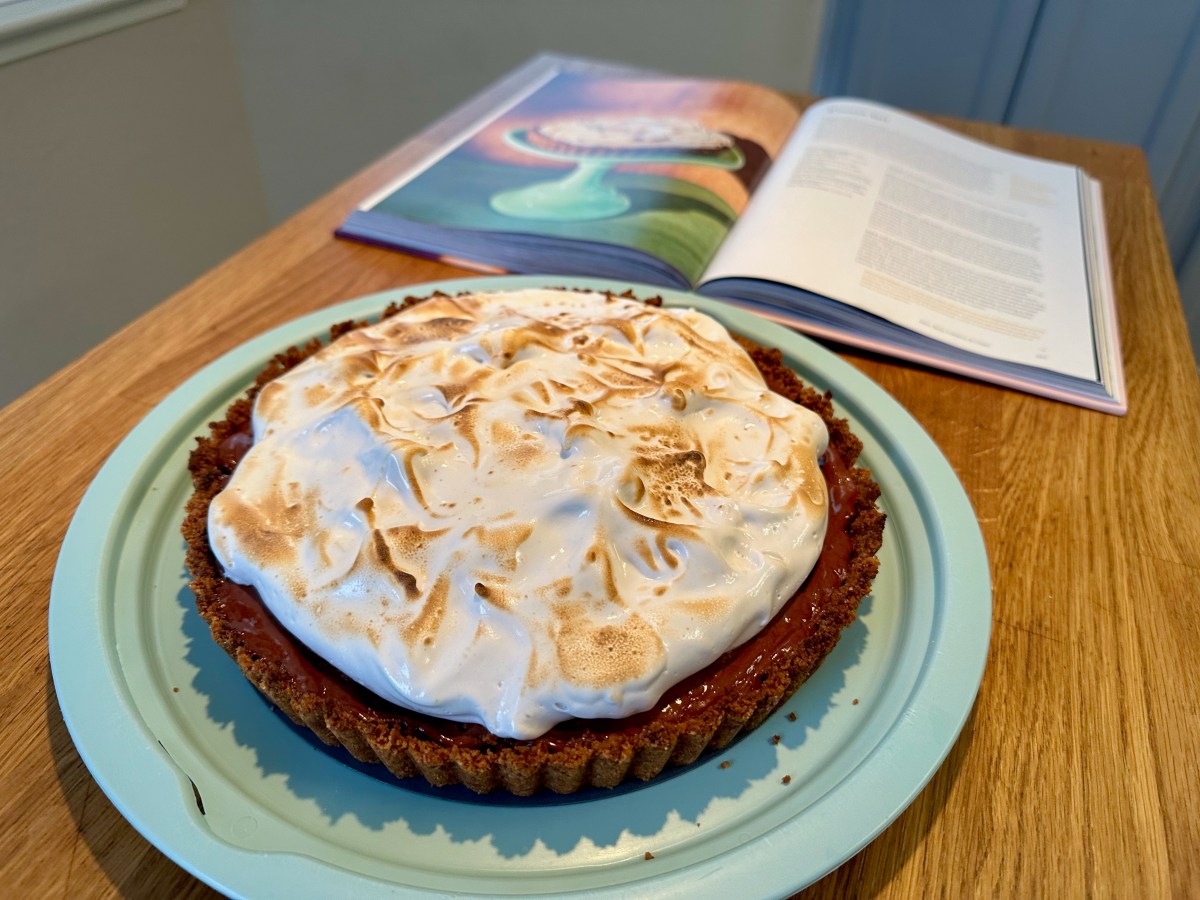
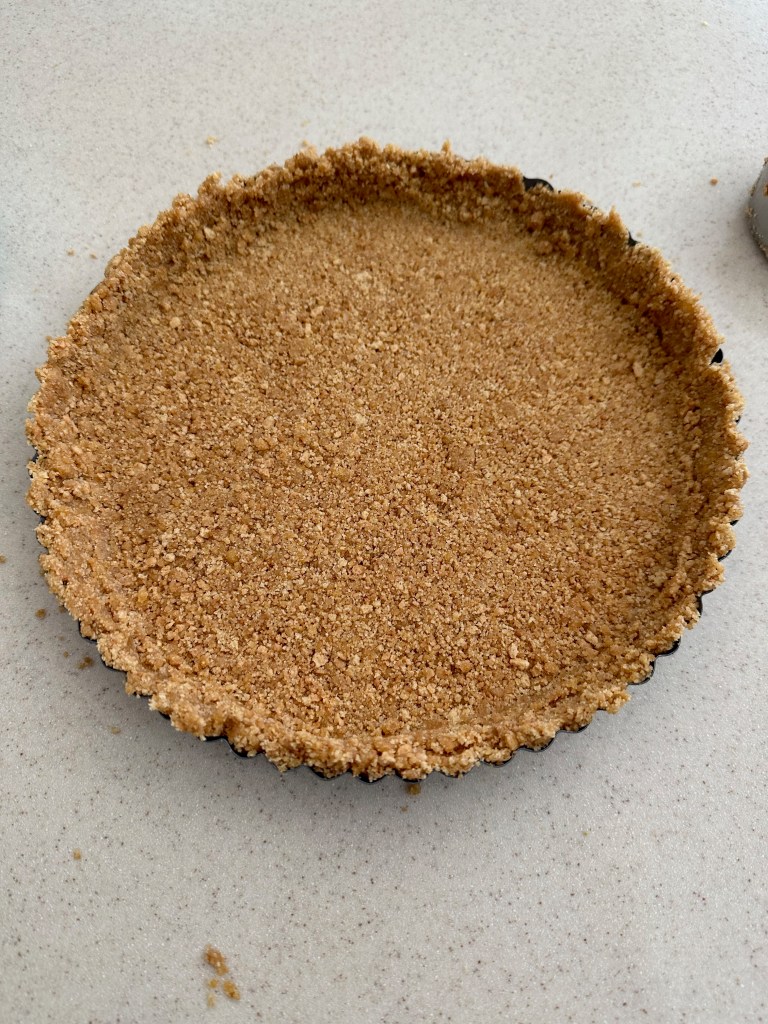
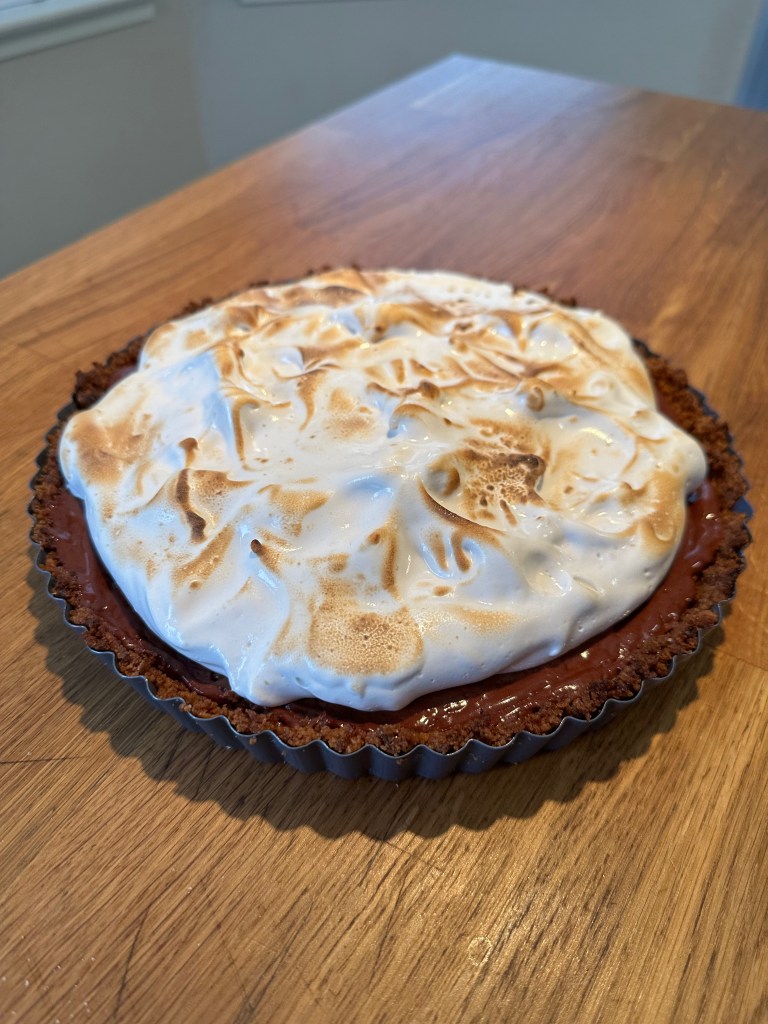
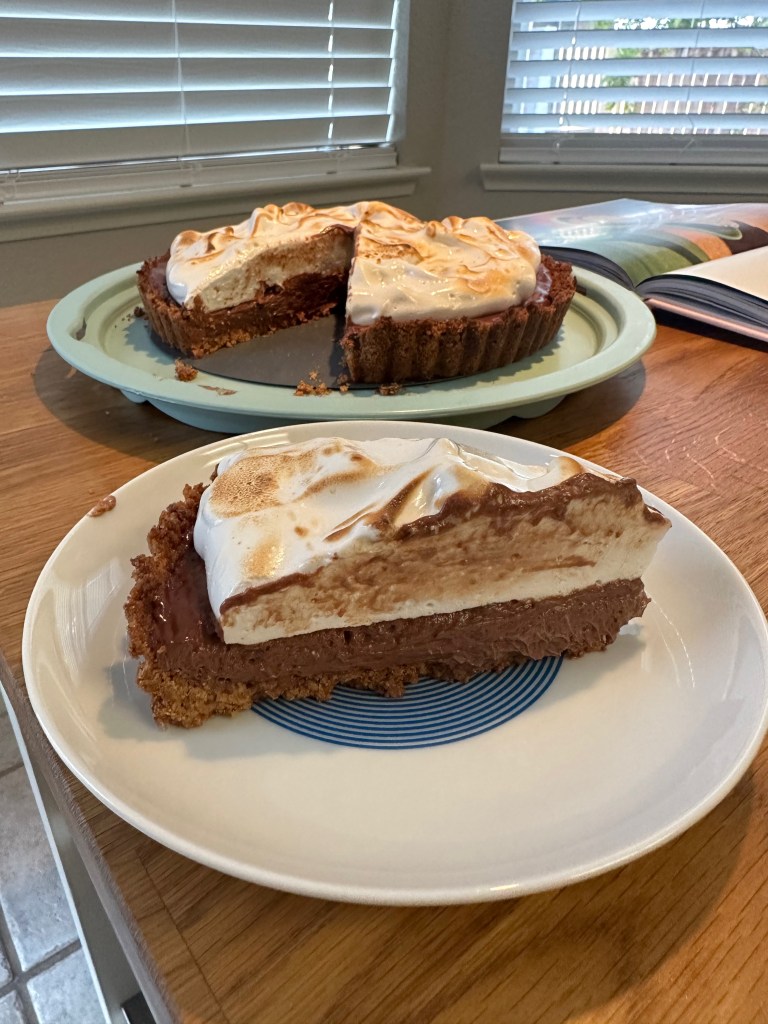
This is a great recipe that combines a variety of techniques to produce a classic and delicious tart. The recipe is an easy intro to tart crusts, marshmallow, and chocolate ganache. This is one of the best so far from What’s for Dessert, but a tad more difficult than most.
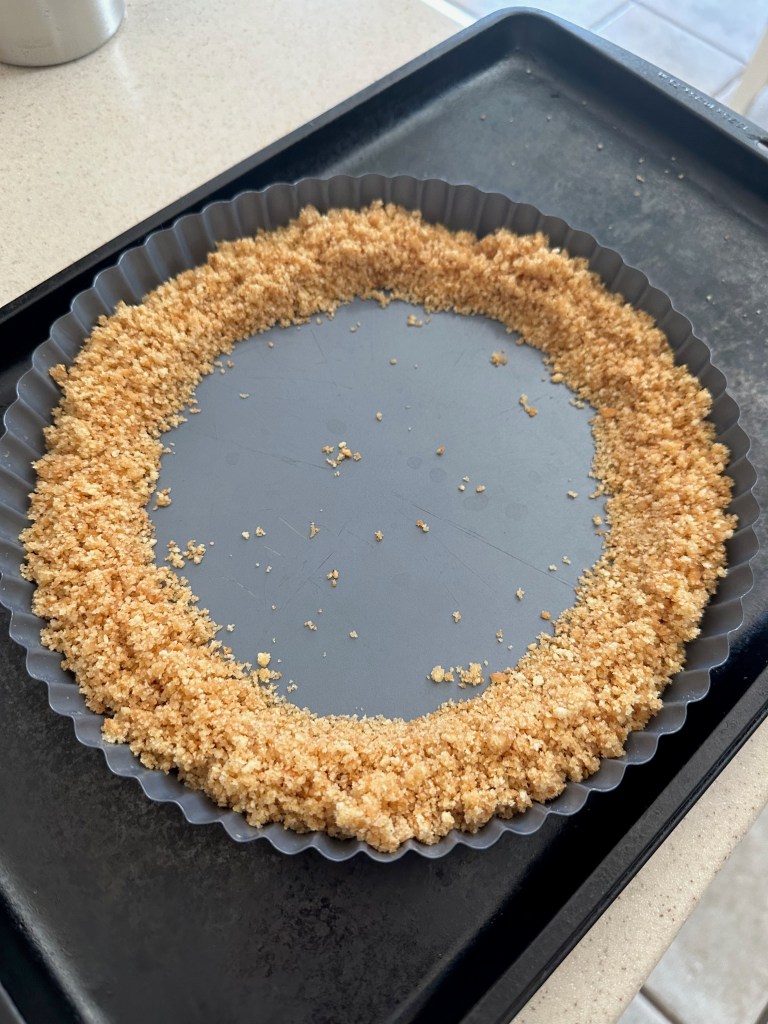
Tip: You’re crust may feel ‘loose’, but that’s okay as it’ll come together when it bakes. If the sides keep falling down, then simply form them into place by apply more pressure.
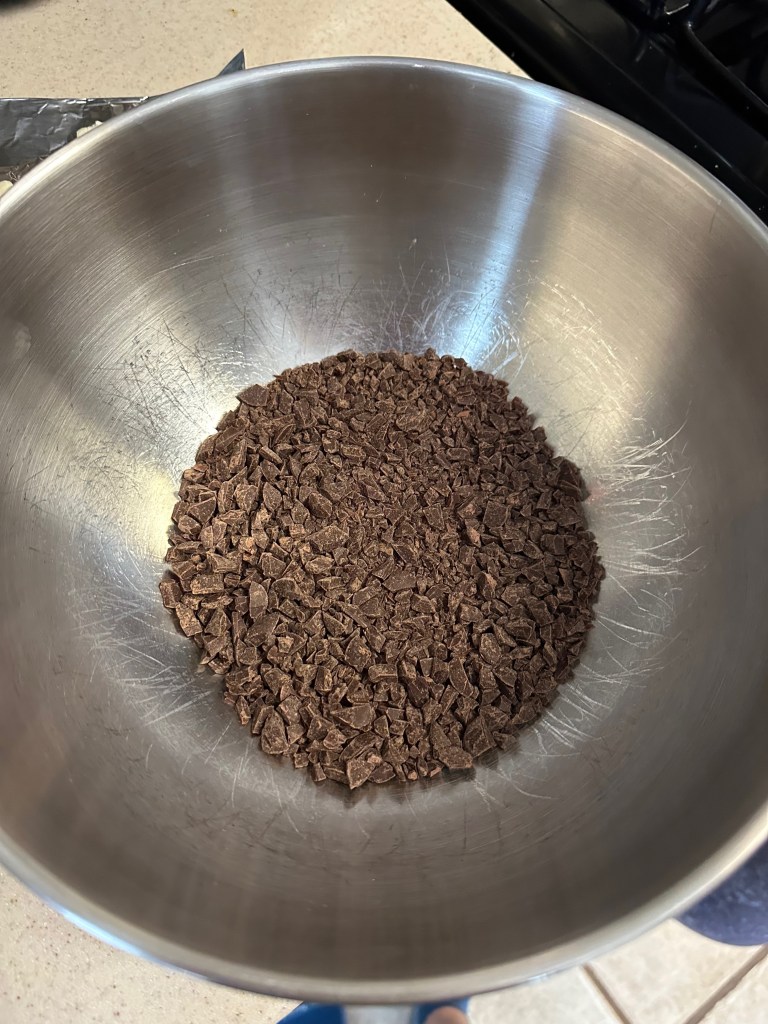
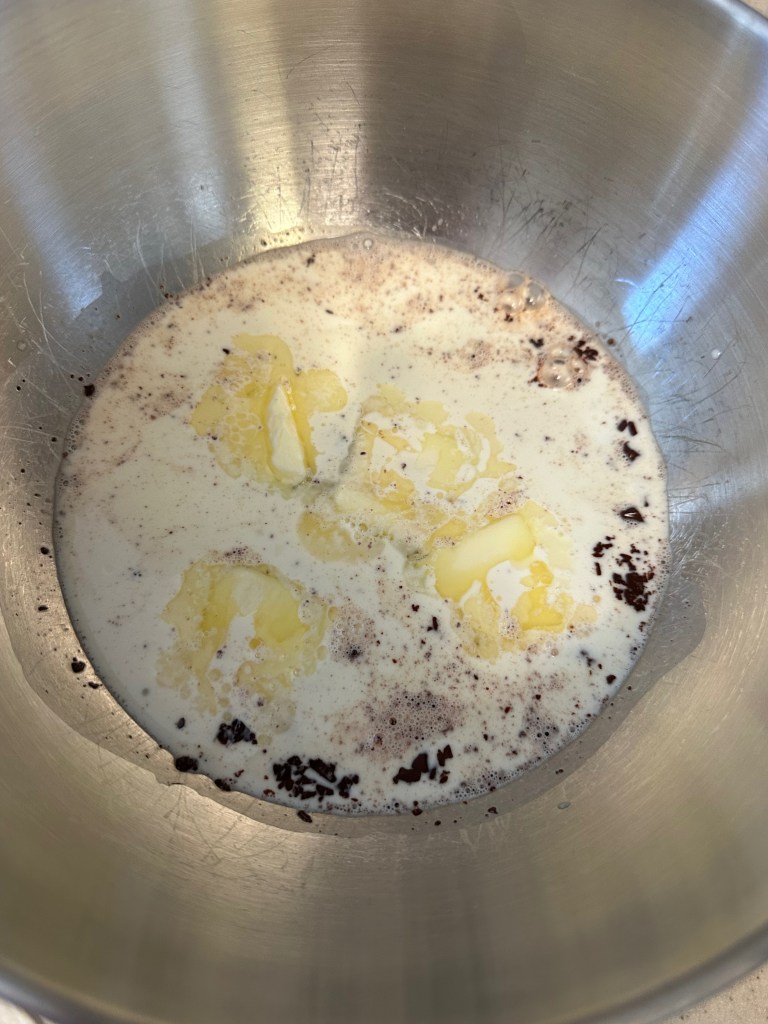
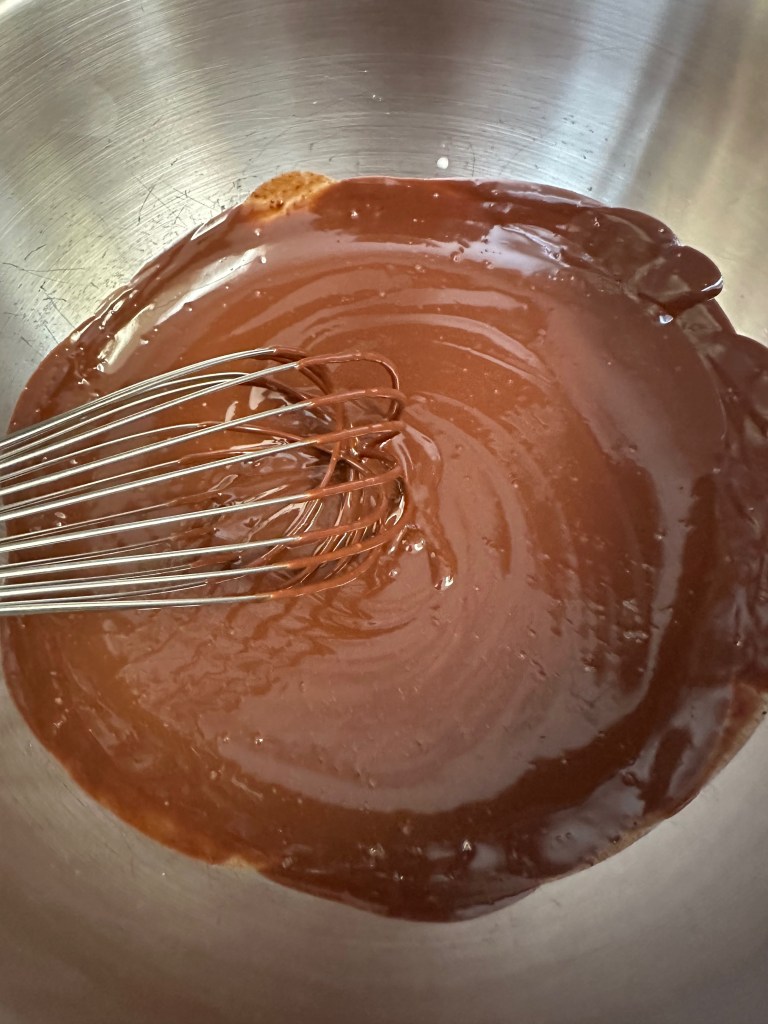
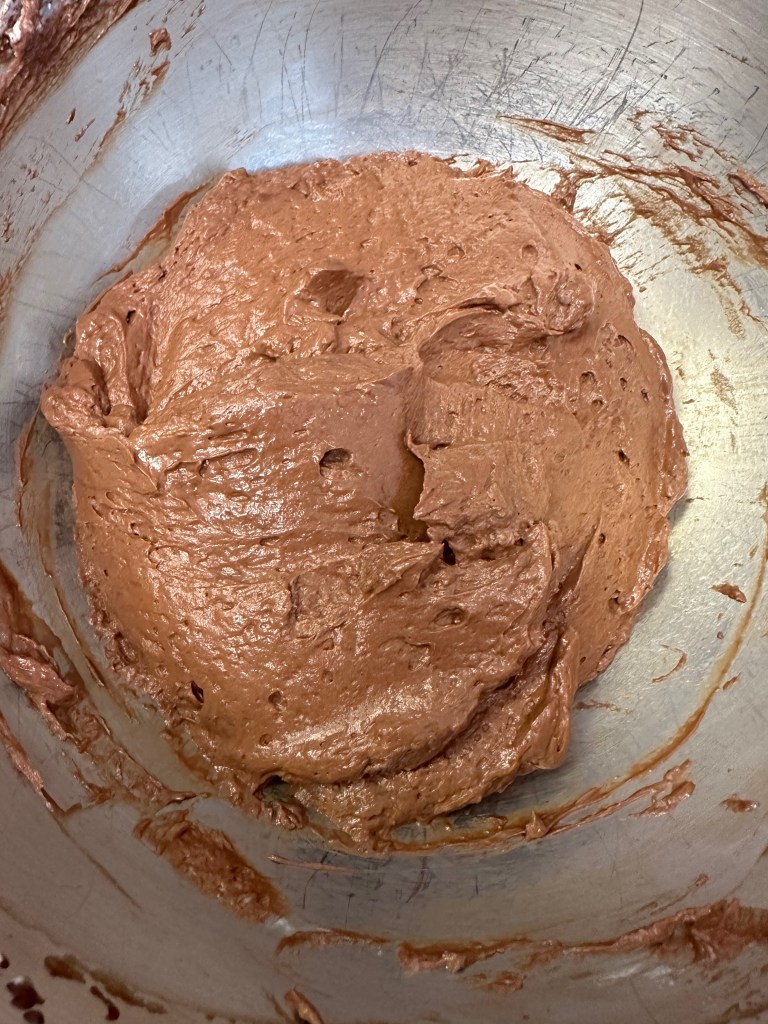
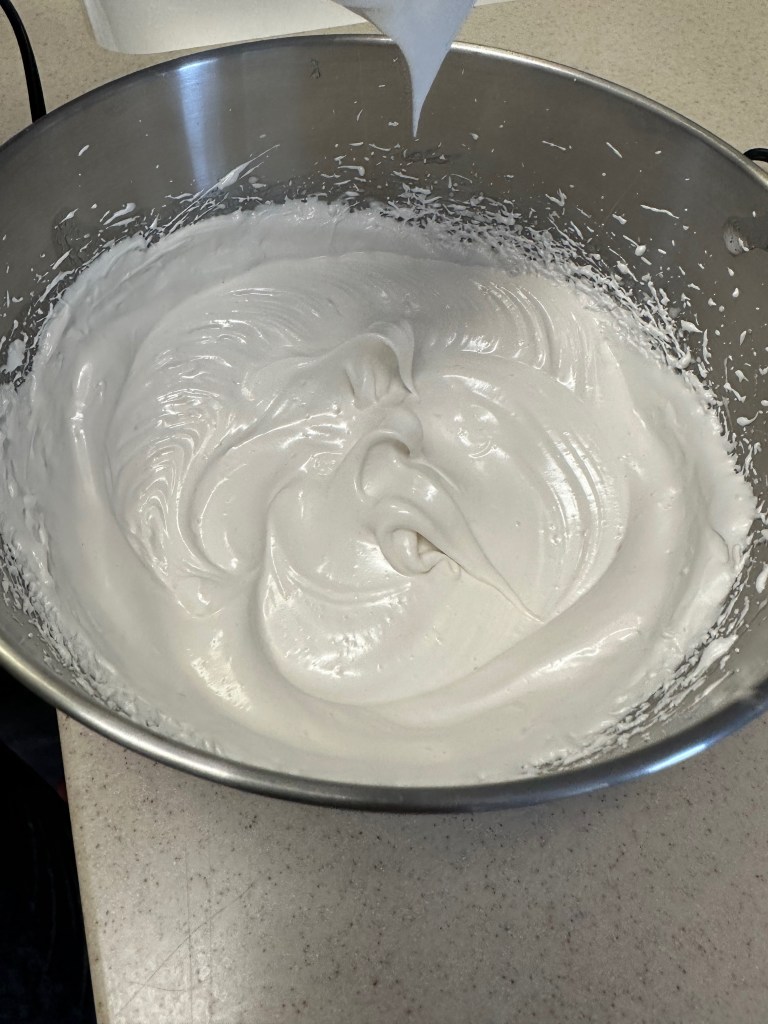
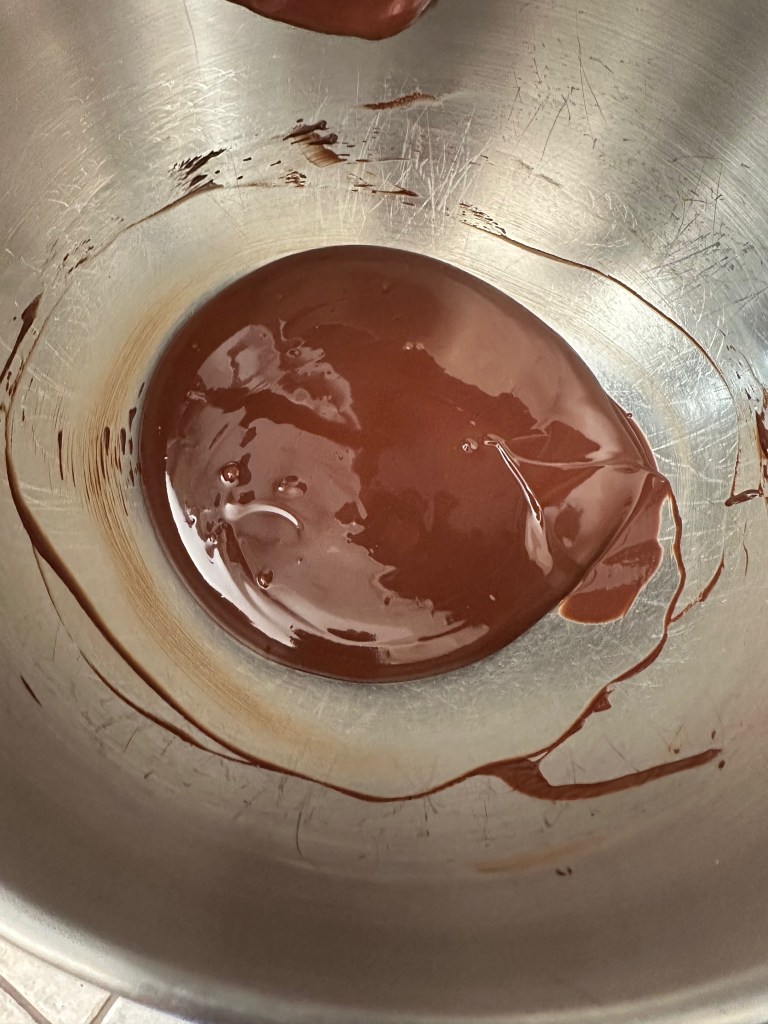
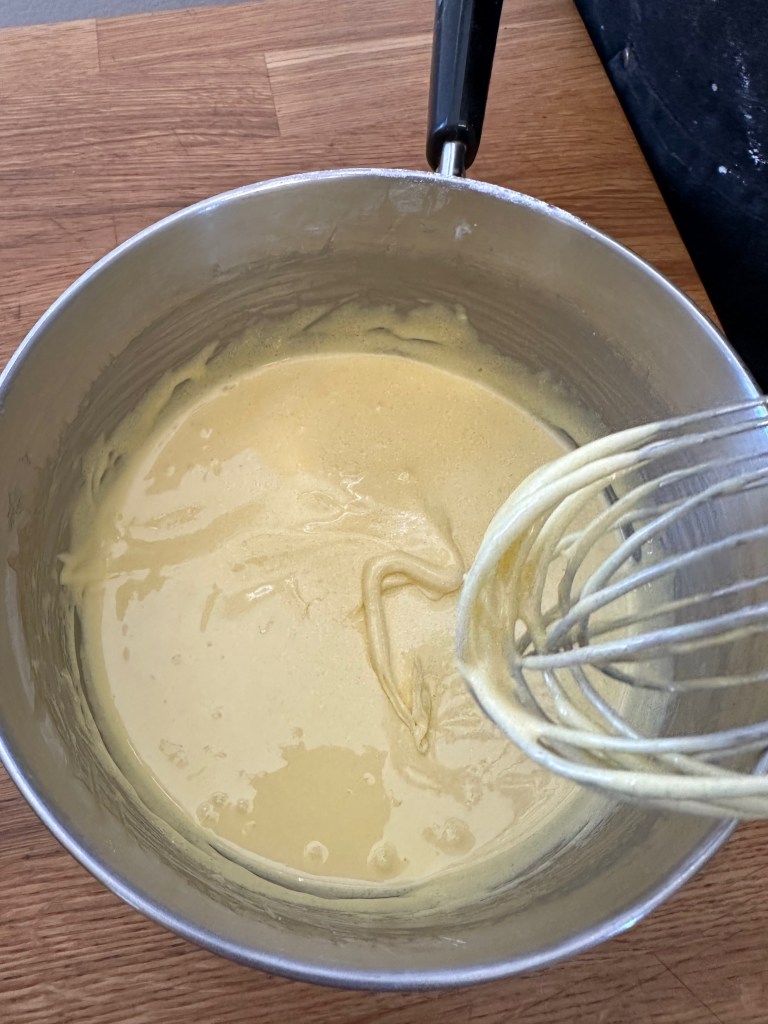
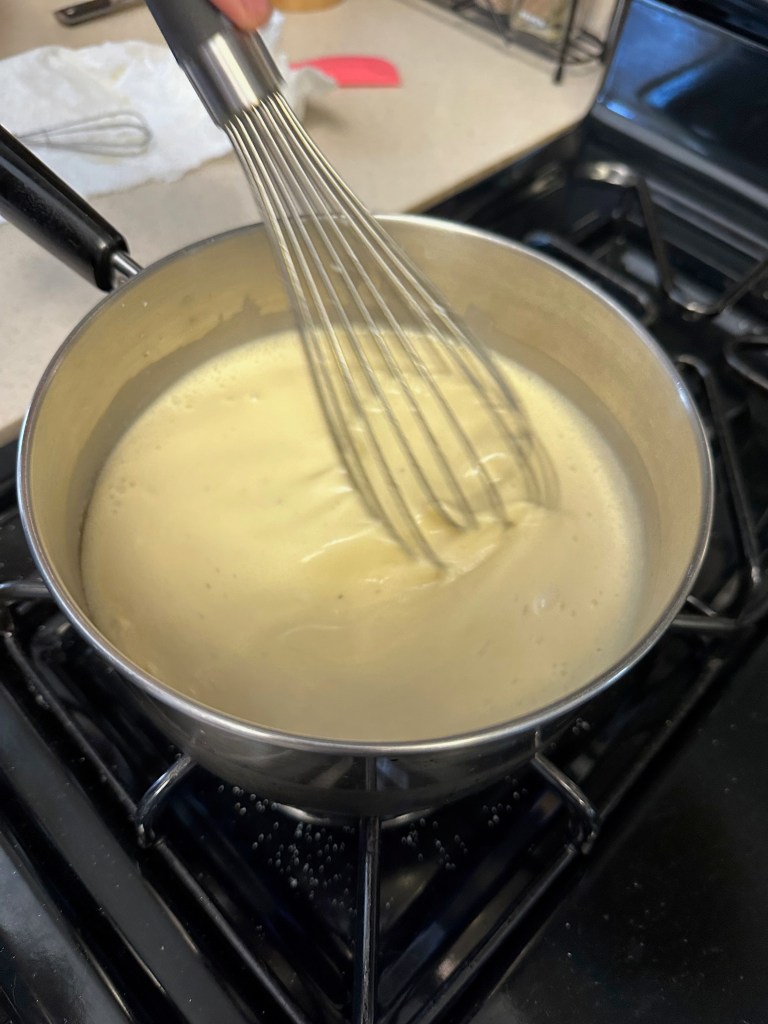
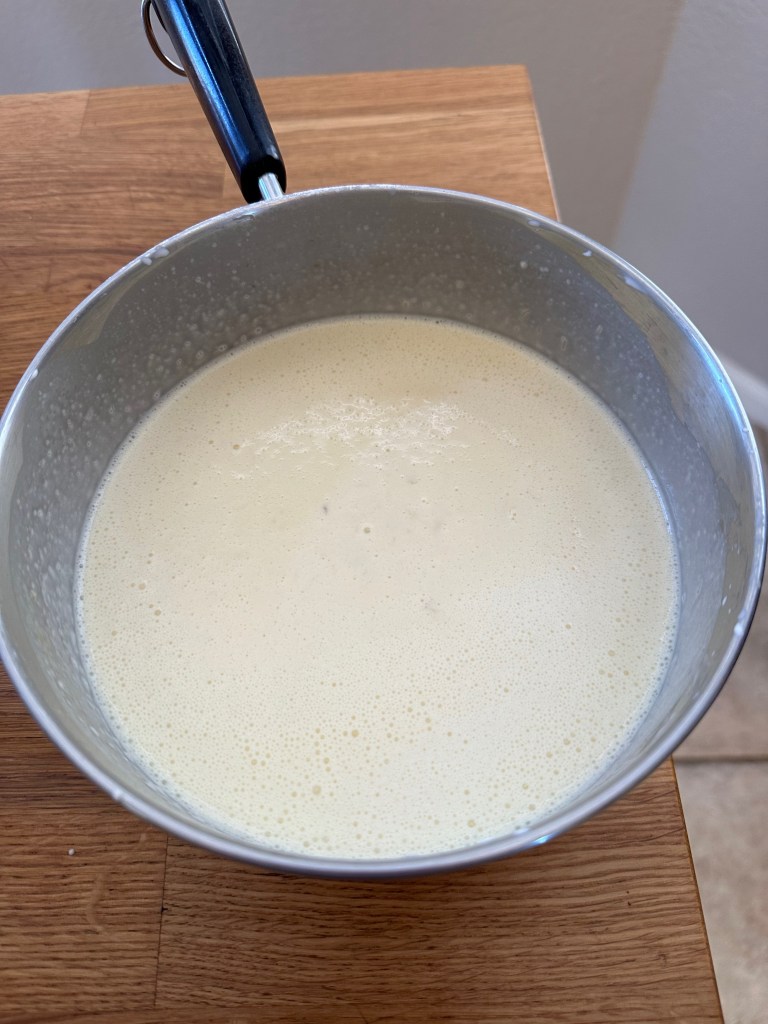
Making and applying the Ganache
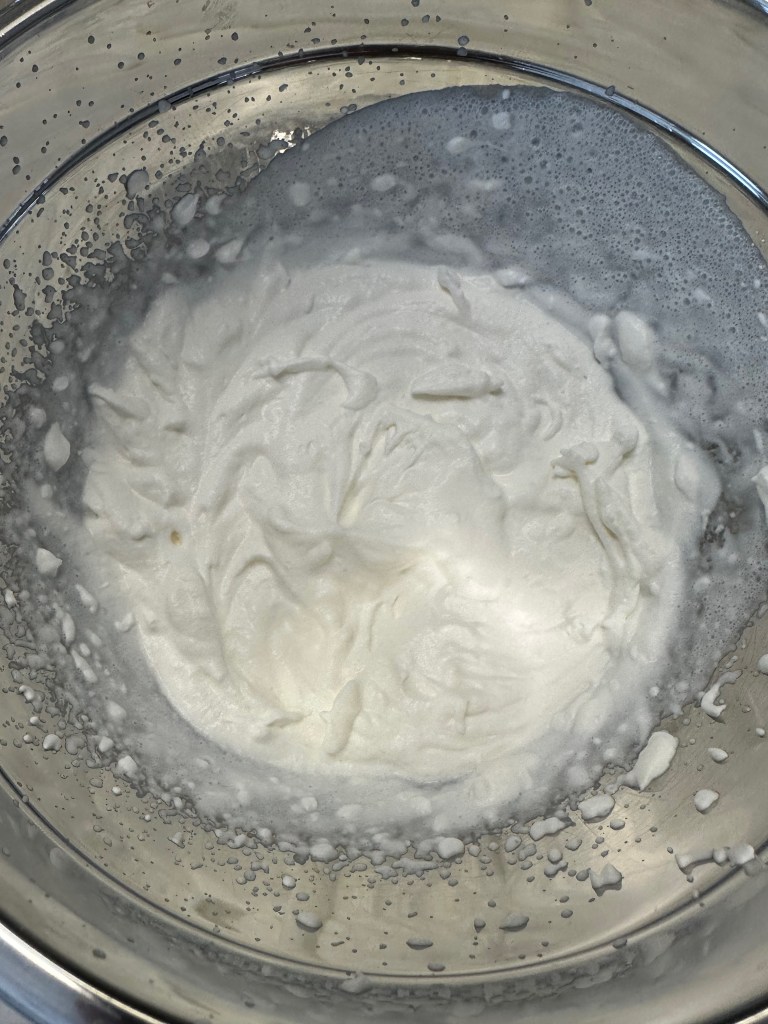
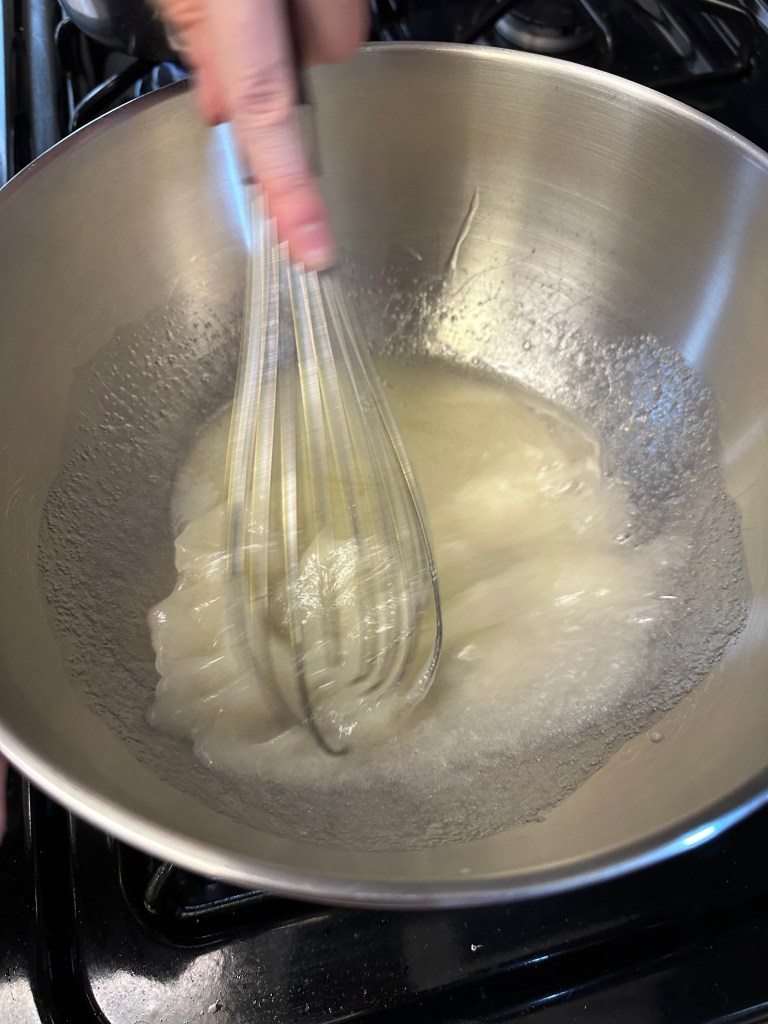
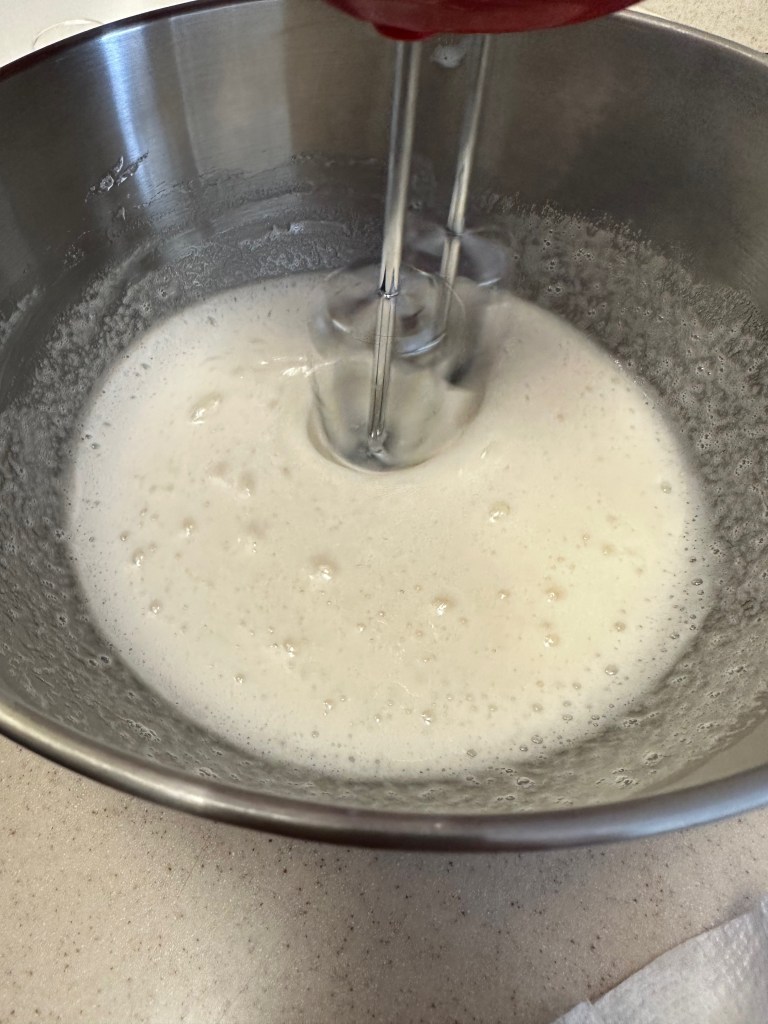
Making and applying the marshmallow
Tip: The marshmallow making process would likely be quicker and easier if you used a stand mixer (and you probably should if you have one). Go until you are as close to stiff peaks as possible and don’t worry if you take significantly more or less time than written.
Final Product
Key Takeaways
If you have trouble with any one step/layer, you can simply retry it.
Final Score: 4/5 – This is a great and relatively easy tart that anyone will love. Plus you get to learn 3 different techniques while doing so. Definitely give this one a try.
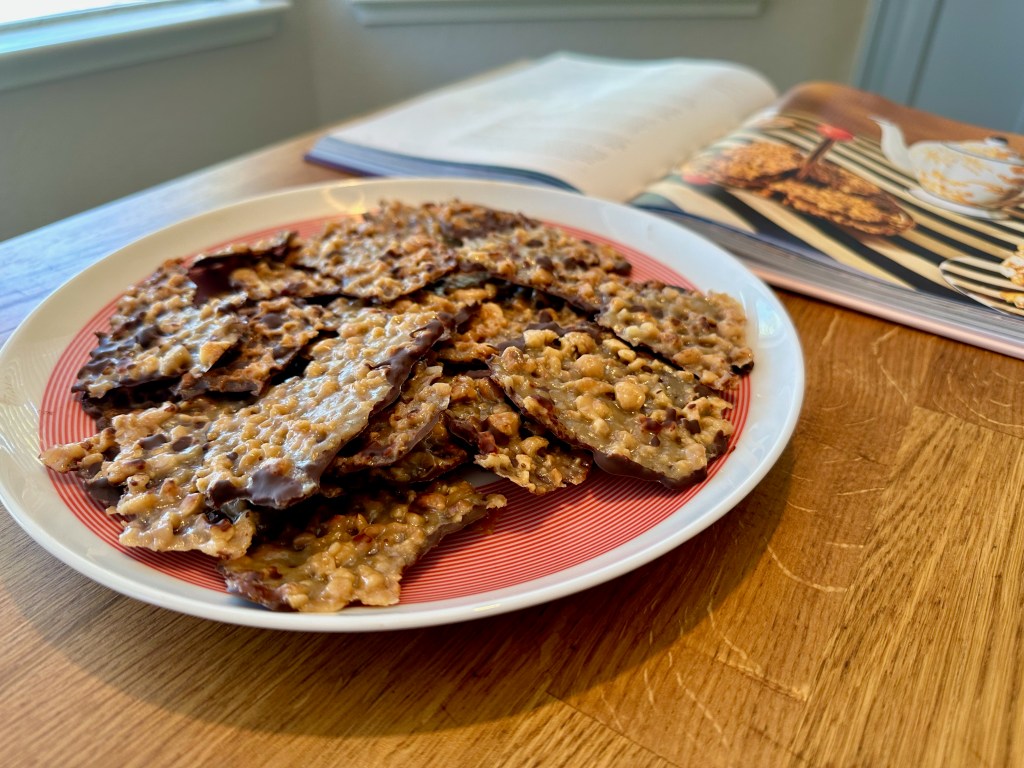
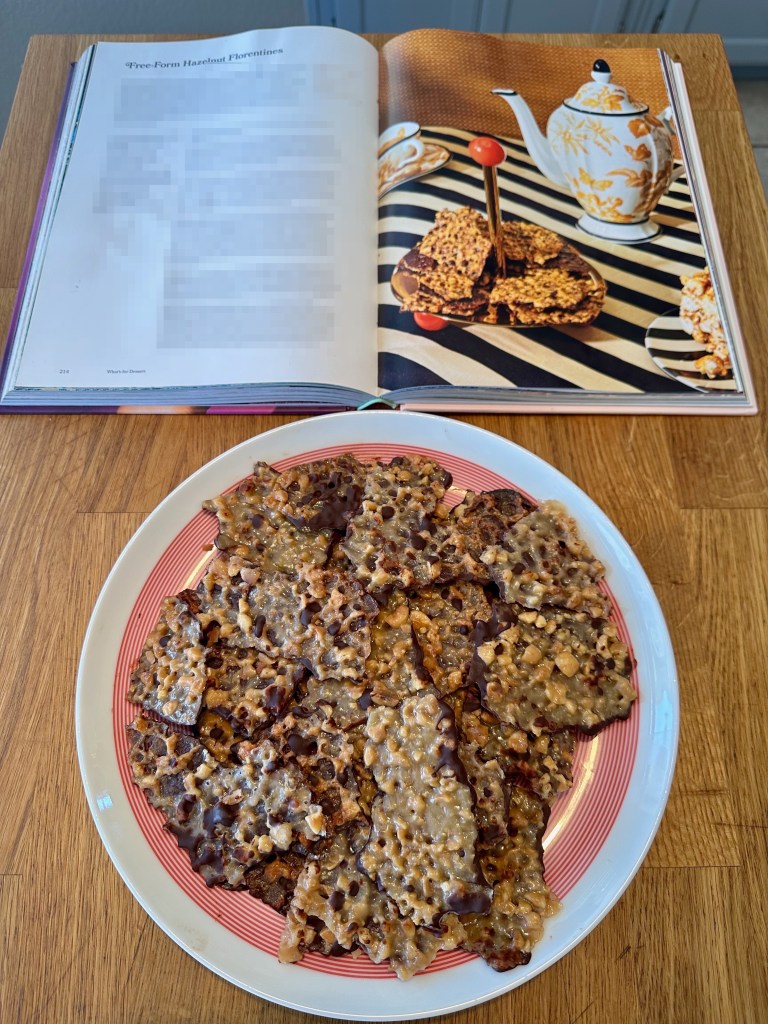
This was a quick, relatively easy and fun recipe for a cool type of cookie. If you find hazelnut and chocolate delicious (and common combinations like Nutella), then you’ll definitely like this one. The recipe could perhaps use a bit more flair, but you also don’t need much more when hazelnut and chocolate are the stars.
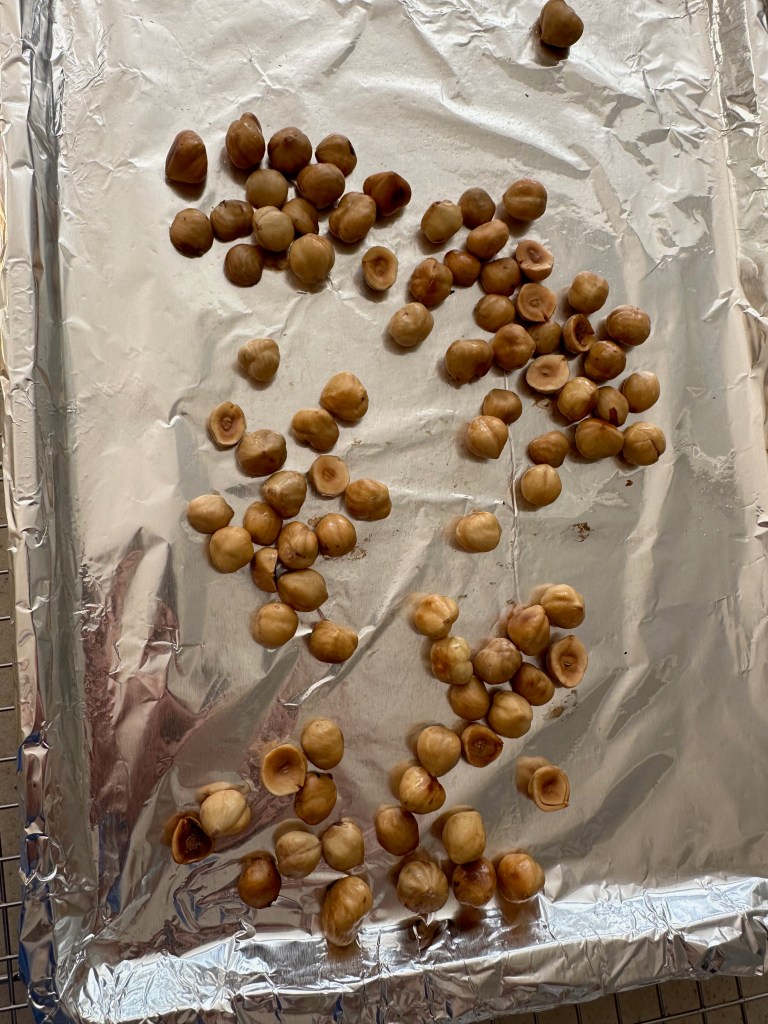
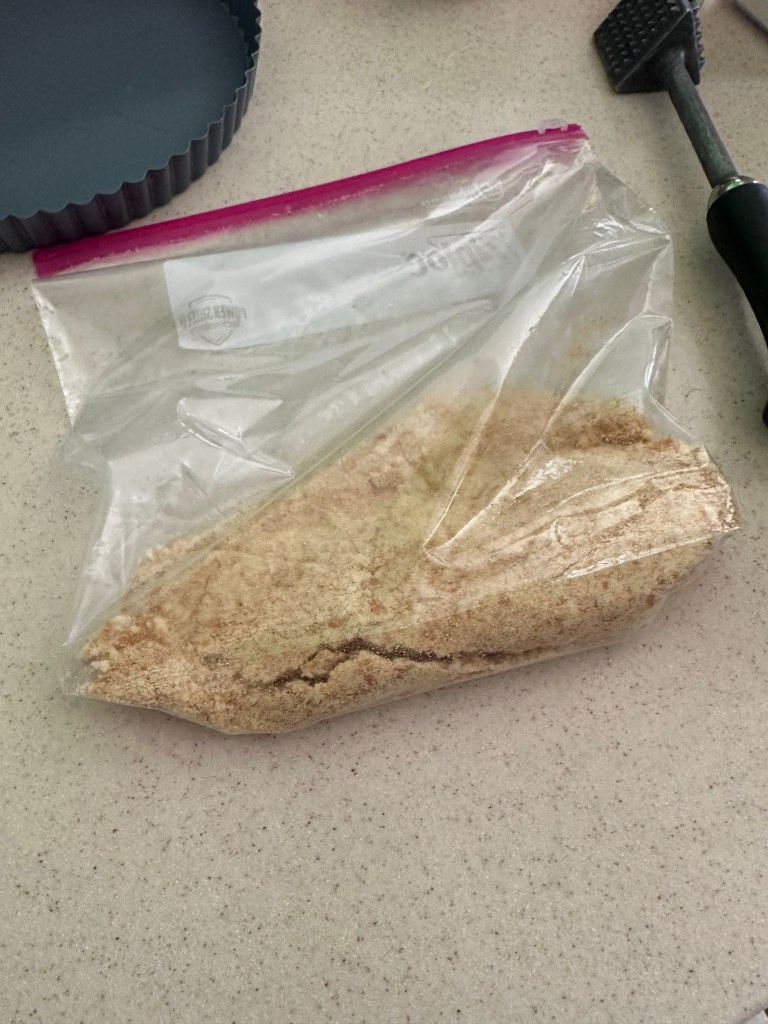
Tip: Blanch the hazelnuts as follows. Bring 3 cups of water to a boil in a medium or large pan. Once boiling, add 4 tbsp of baking soda (it will foam). Add the hazelnuts to the boiling water. Do not let the water boil over or boil too aggressively. Also have a medium bowl of ice/cold water ready. After three minutes carefully remove a single hazelnut and see if the skin is peeling off. If so, proceed. Otherwise, boil another minute and test again. Drain the hazelnuts into a colander. Place the hazelnuts in the cold water for 15 seconds and then drain into the colander again. Use paper towels to gently remove the skins from the hazelnuts.
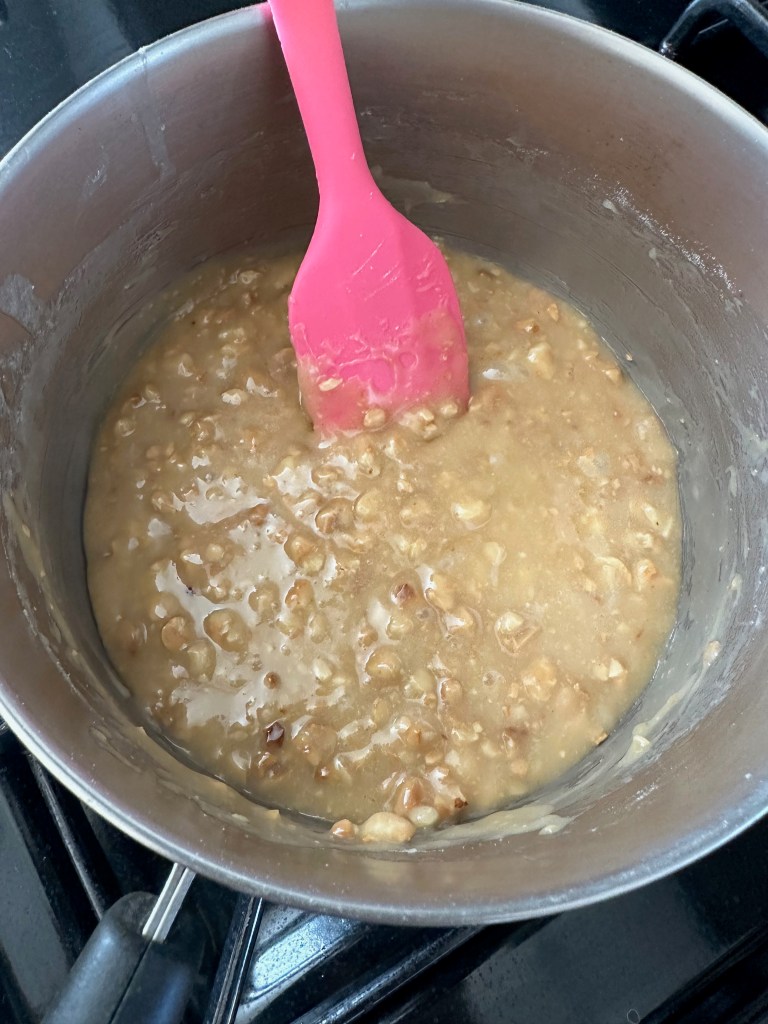
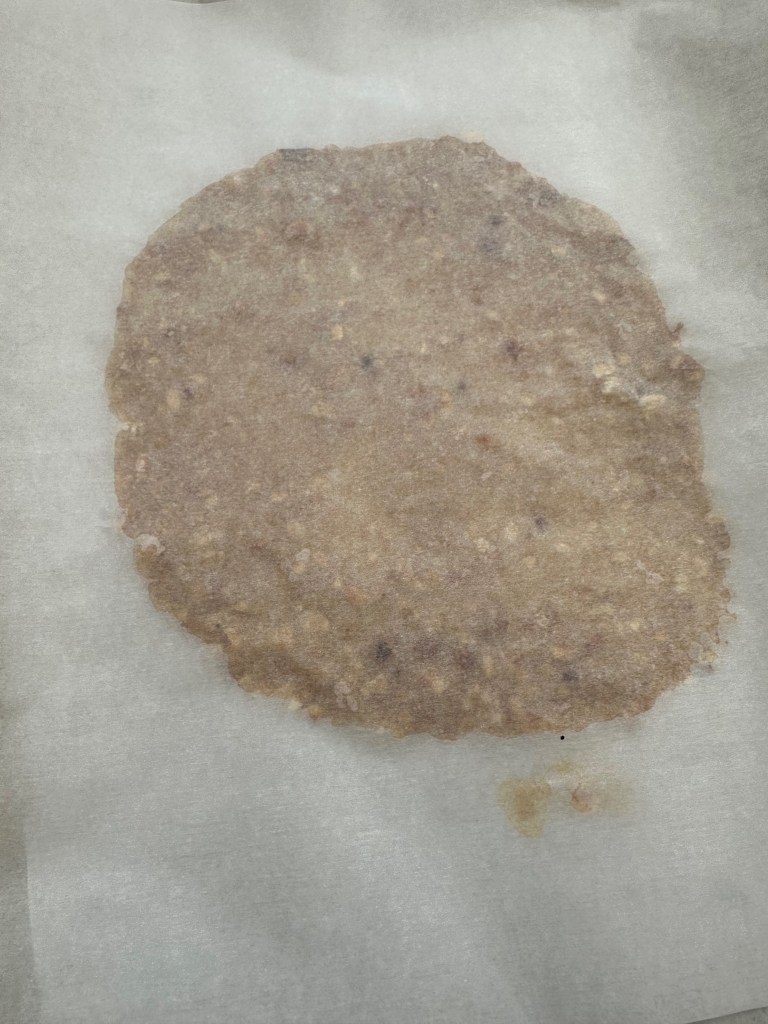
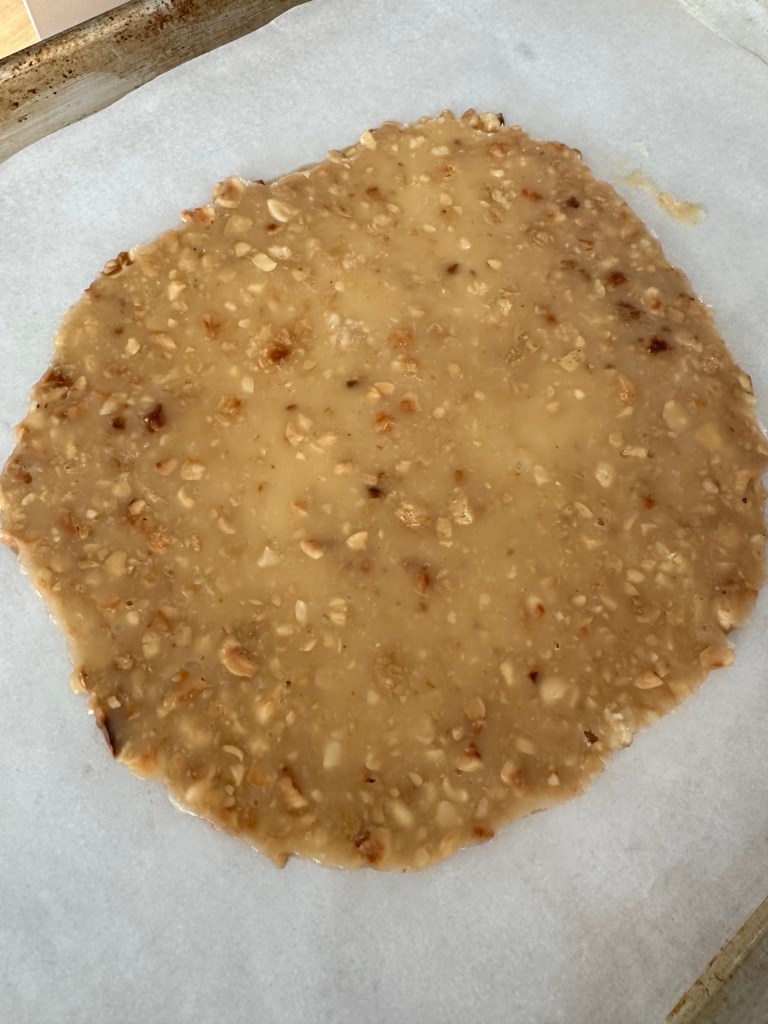
Making the florentines
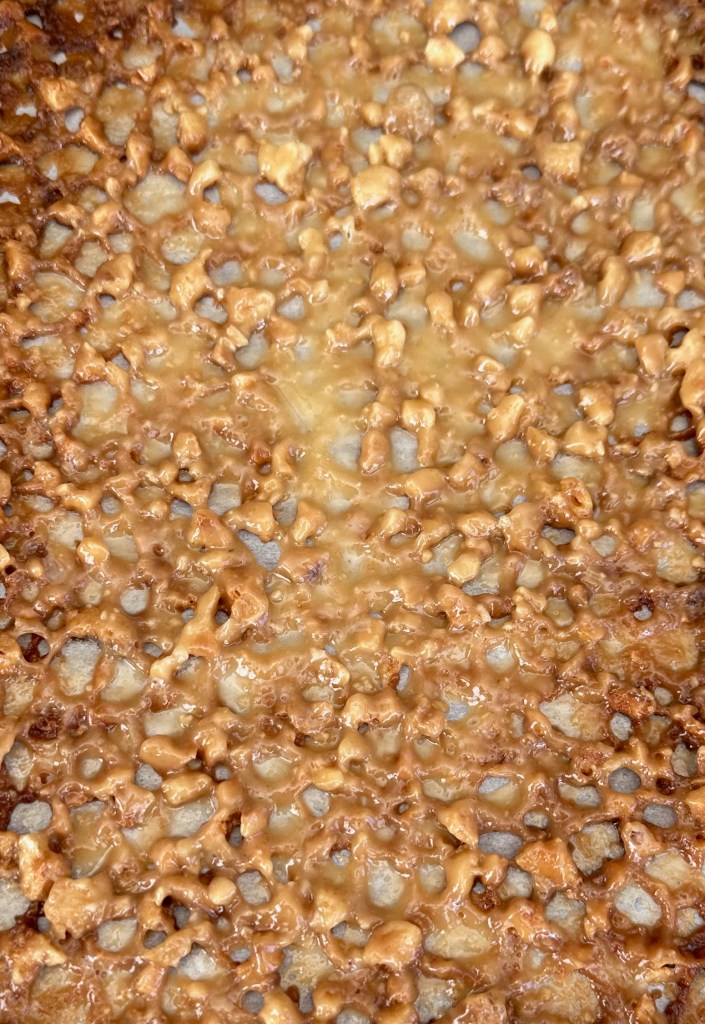
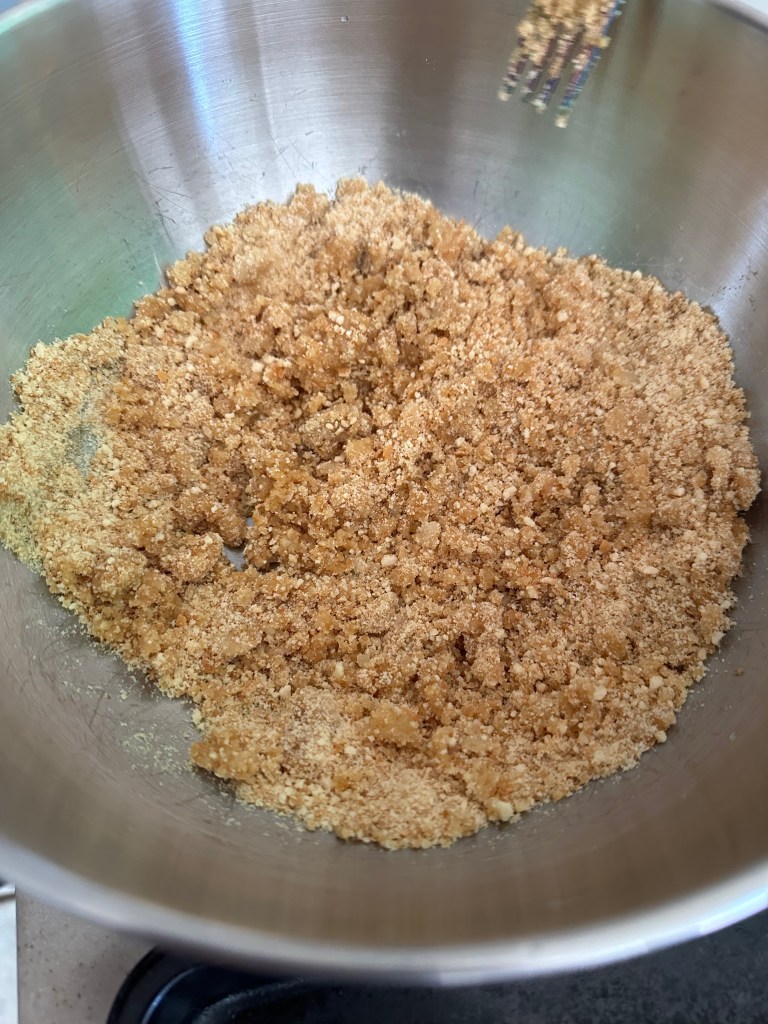
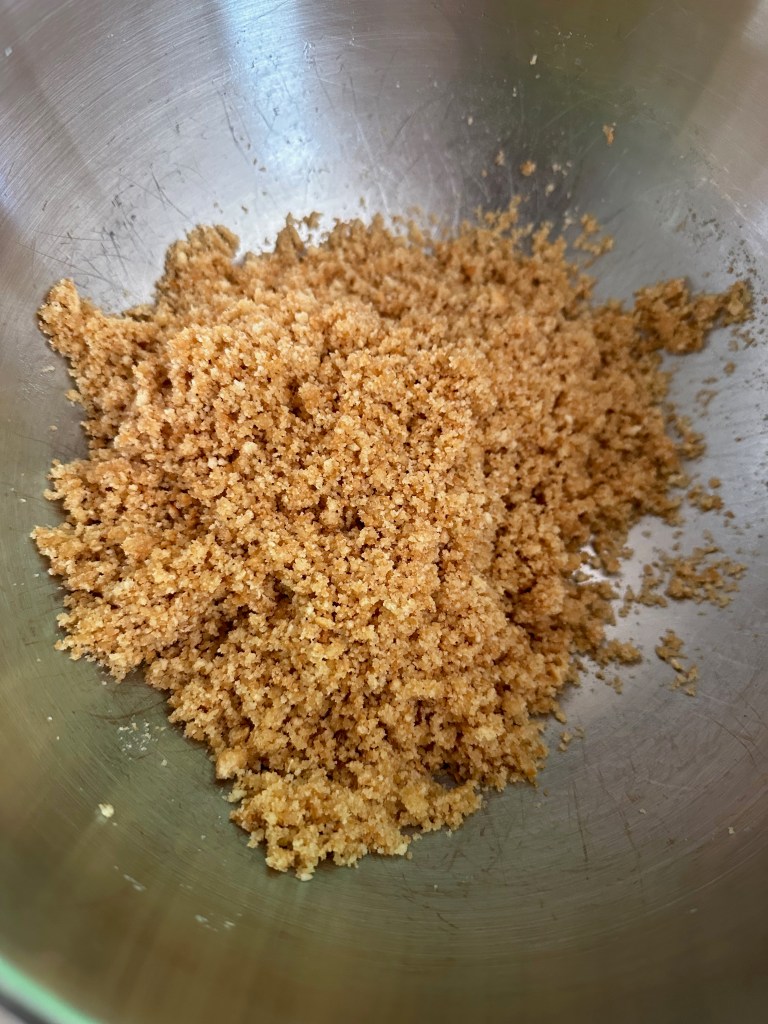
Tip 1: The hazelnuts need to be crushed relatively finely for the Florentine lattice texture to materialize, at the same time they shouldn’t be dust otherwise that will also prevent the texture from materializing. Aim for sizes that on average resemble a sesame seed, though it helps to have a variety of sizes (some a tad smaller and some larger, but nothing larger than the size of a lentil).
Tip 2: Baking in multiple batches as recommended is ideal even if it seems pointless based on the instructions. If you find your first batch isn’t forming the lattice shape due to not being pressed down thinly enough you can easily adjust on your second batch (whereas if you did both batches at once you couldn’t learn+adjust). The layer should quite thin (it’s a bit difficult to go too thin). The main impediment to being thin enough is not crushing the hazelnuts thin enough, as called out above. Regardless of whether the shape fully forms though, the end result tastes nearly the same.
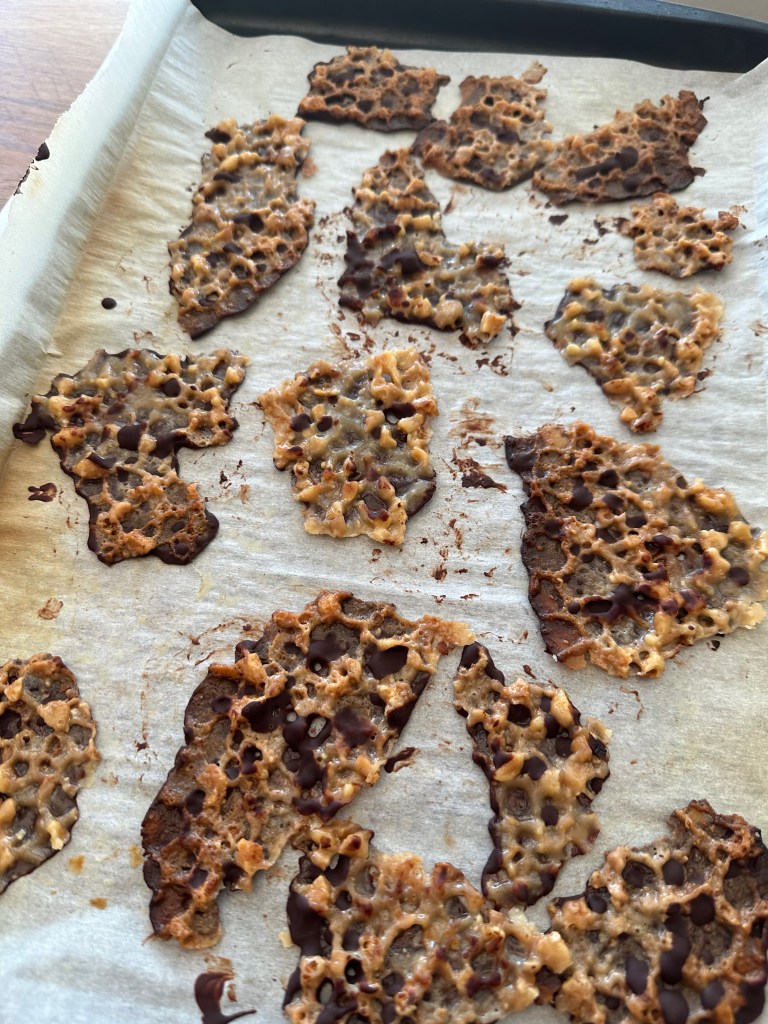
Assembling the Florentines
Final Product
Key Takeaways
Don’t fret too much over the exact lattice texture.
Pay close attention throughout cooking and especially baking.
Final Score: 3/5 – This is a great cookie and fun, quick dessert to make. They taste better after chilling and solidifying in the fridge (or even the freezer) for a bit.
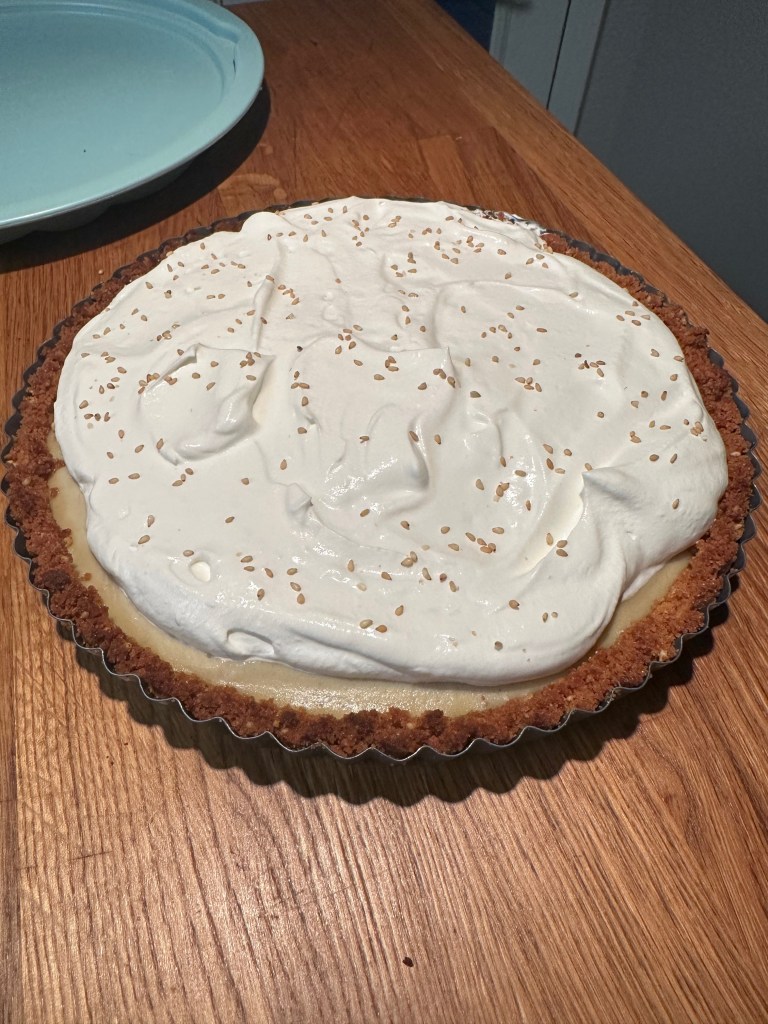
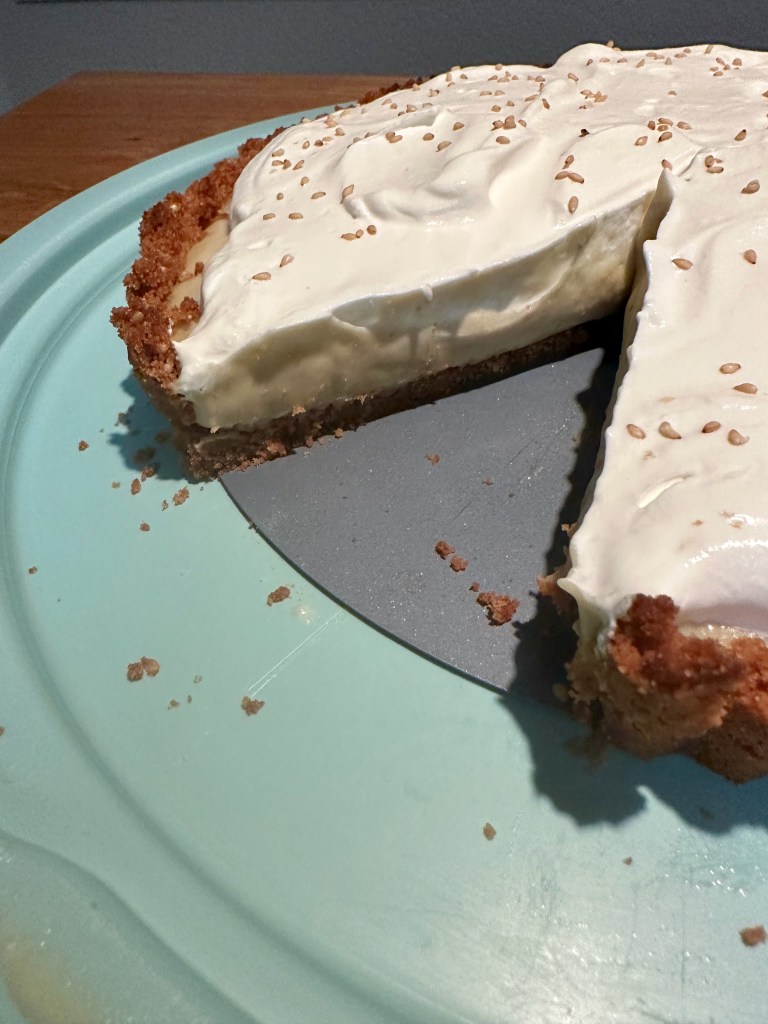
This appears to be a common fan favorite from the book. It’s a relatively straight-forward recipe that requires a little bit of skill and is a bit unique. While this seemed like a recipe for success, the final product fell a bit flat. It was simply a bit plain and boring. It’s a recipe worth trying if you like the ingredients, but it needs more excitement if it wants to truly stand out.
Tip: We chose to use Nilla wafers instead of graham crackers. Nilla wafers and their vanilla-taste goes particularly well with Nilla wafers, although graham crackers are a fine choice.
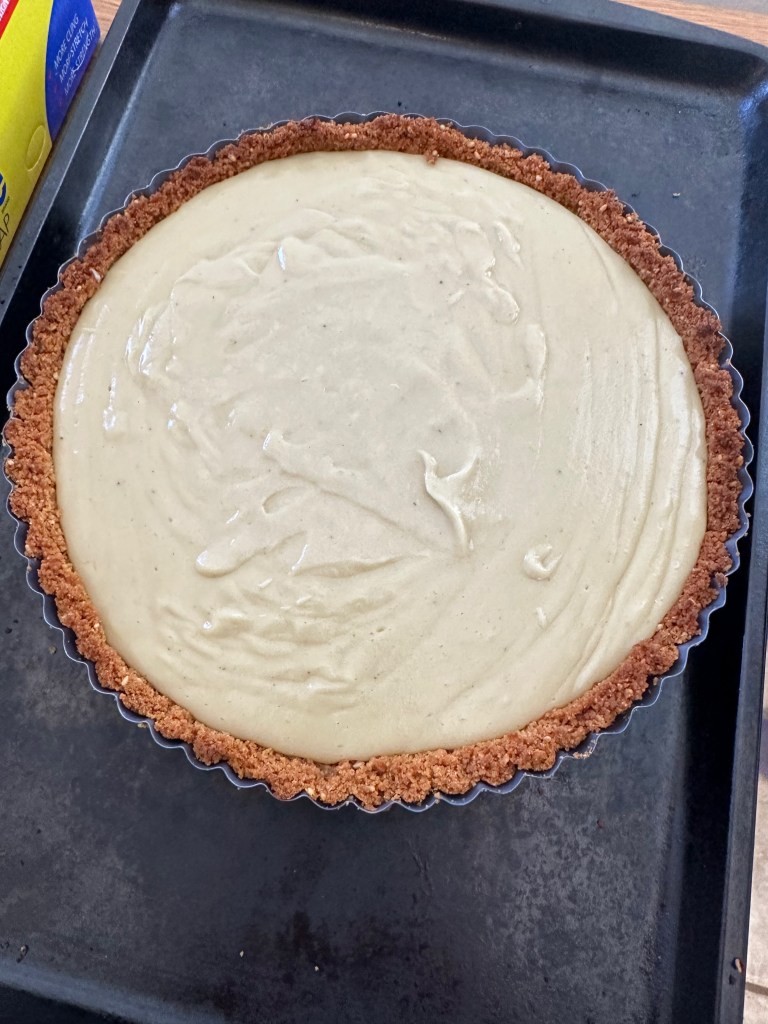
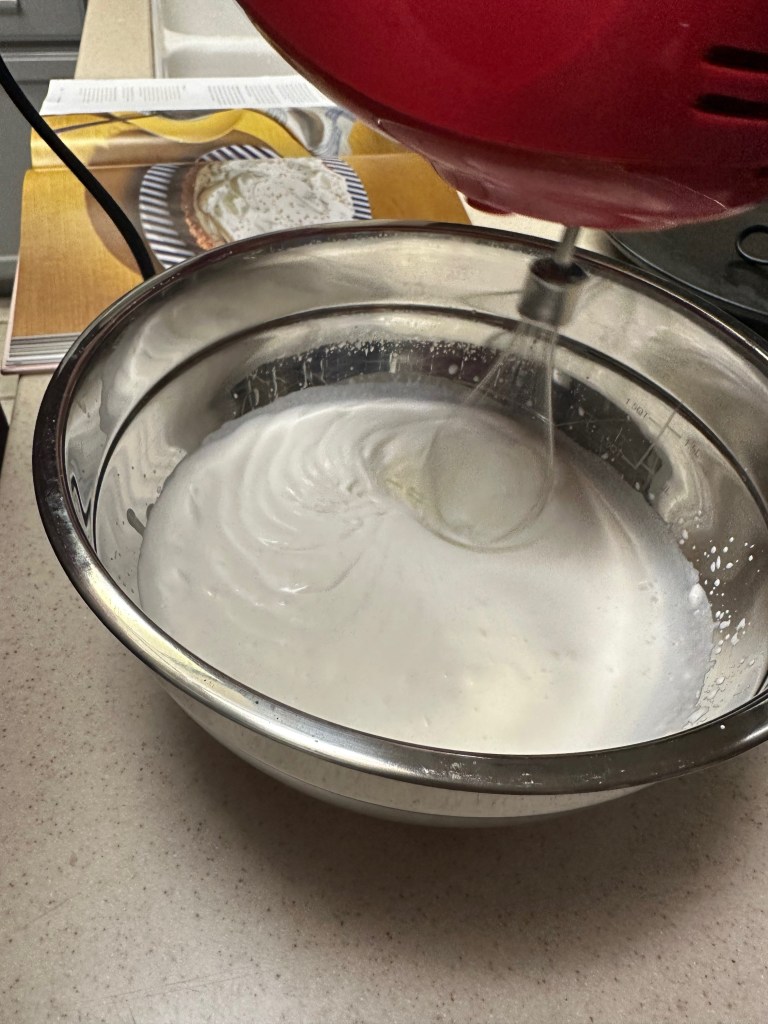
Making the banana-sesame cream
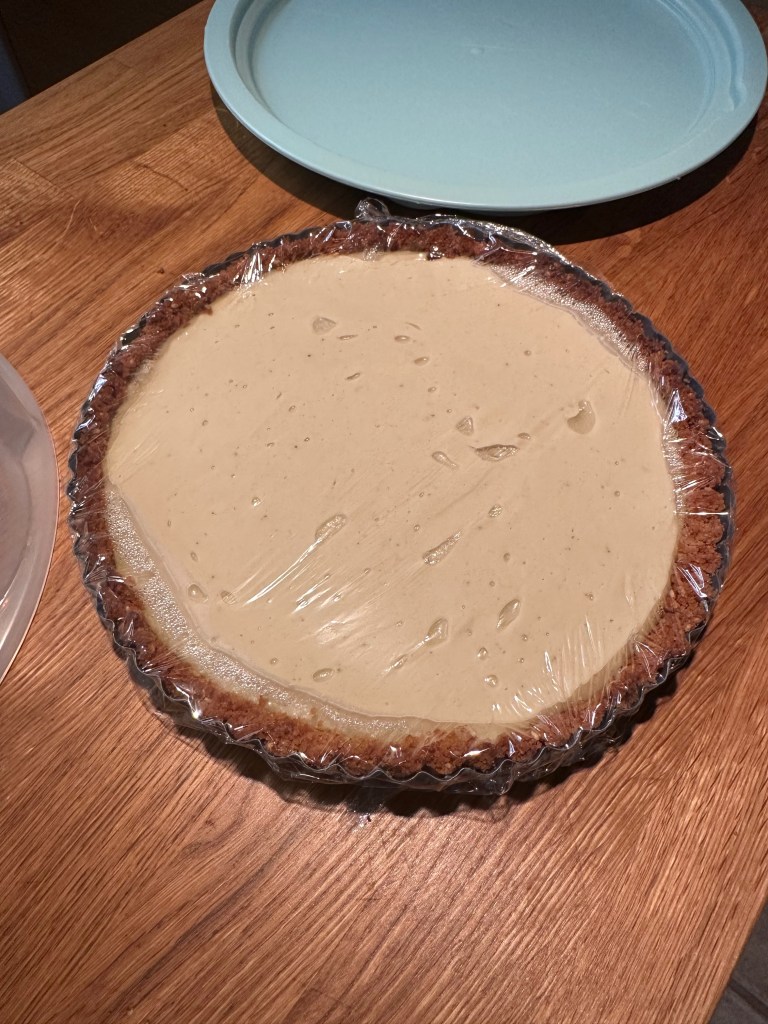
Assembling the tart
Final Product
Key Takeaways
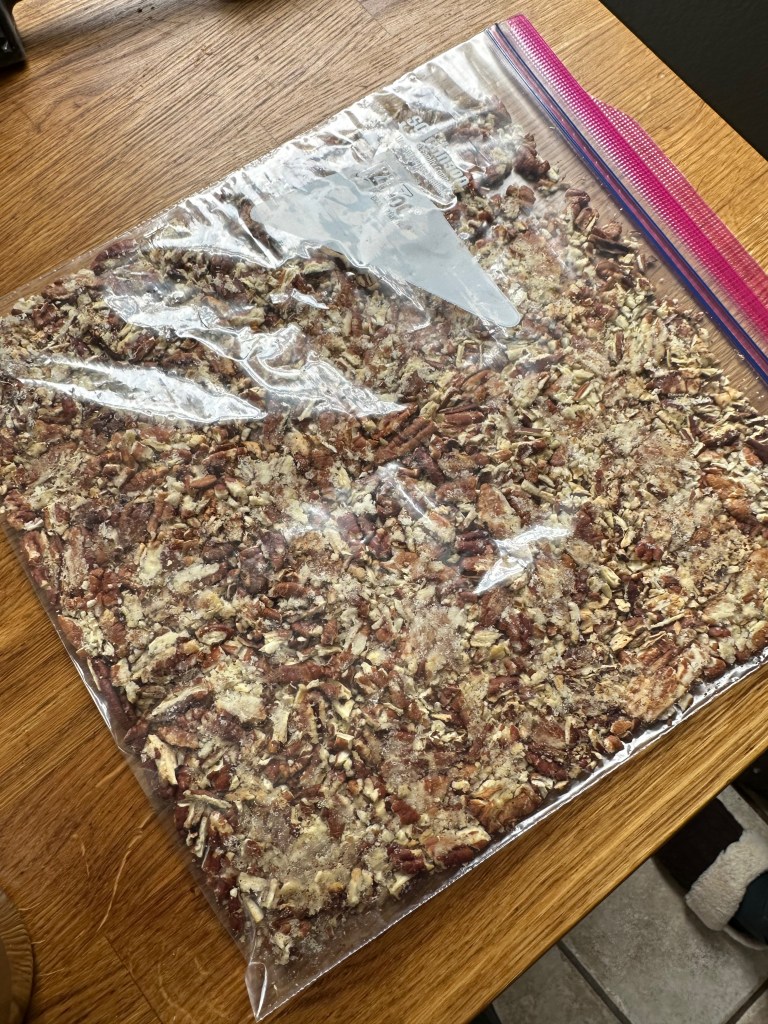
Make sure to use quality, toasted sesame seeds. You can easily toast your own sesame seeds in a pan, but make sure to keep a close eye on them.
Final Score: 2/5 – We didn’t find this dessert particularly tasty even though it had a lot of the right elements. It did taste a bit better the second day after sitting in the fridge longer (at the cost of the stiffness of the cream), but not enough to change the overall score.
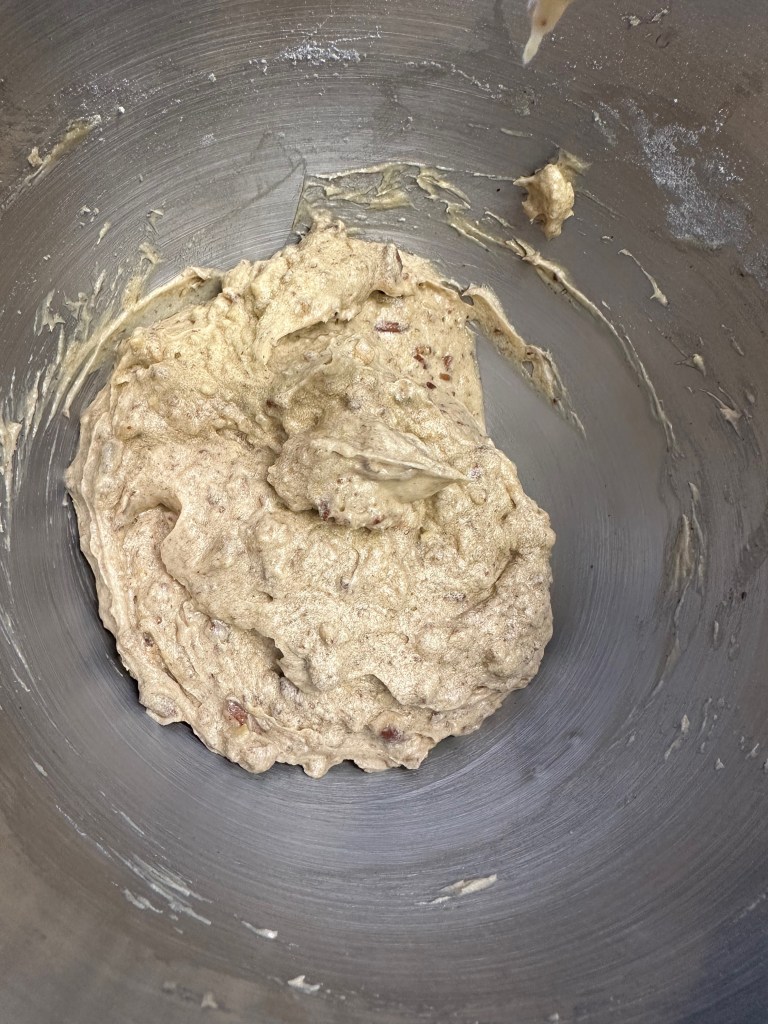
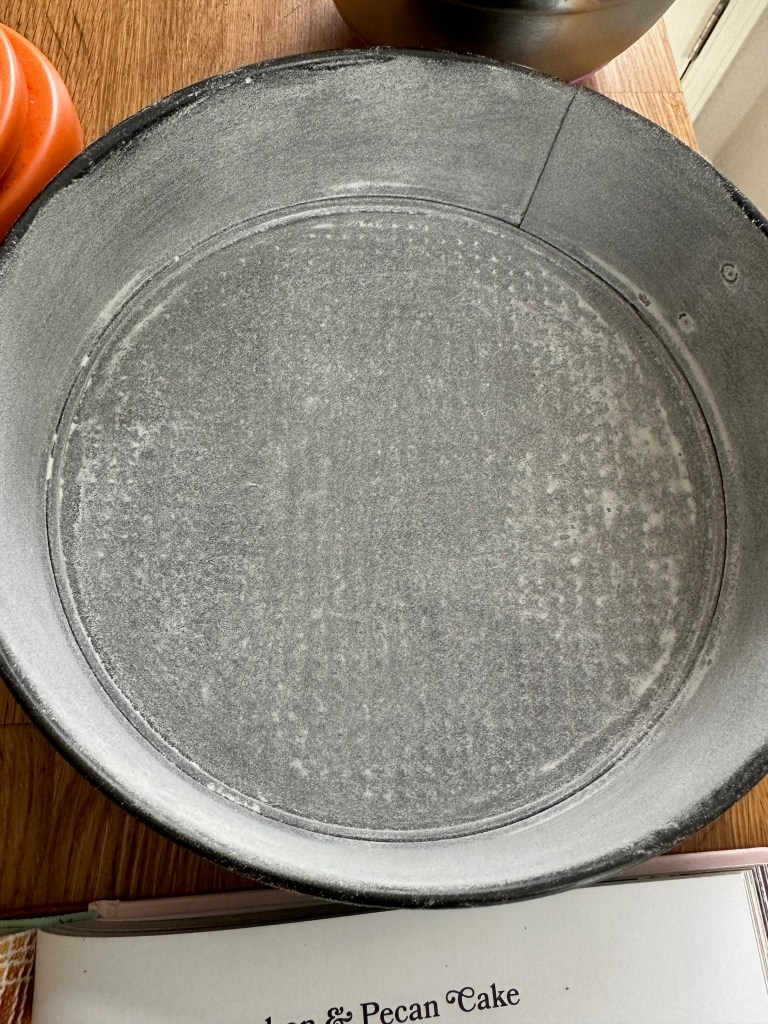
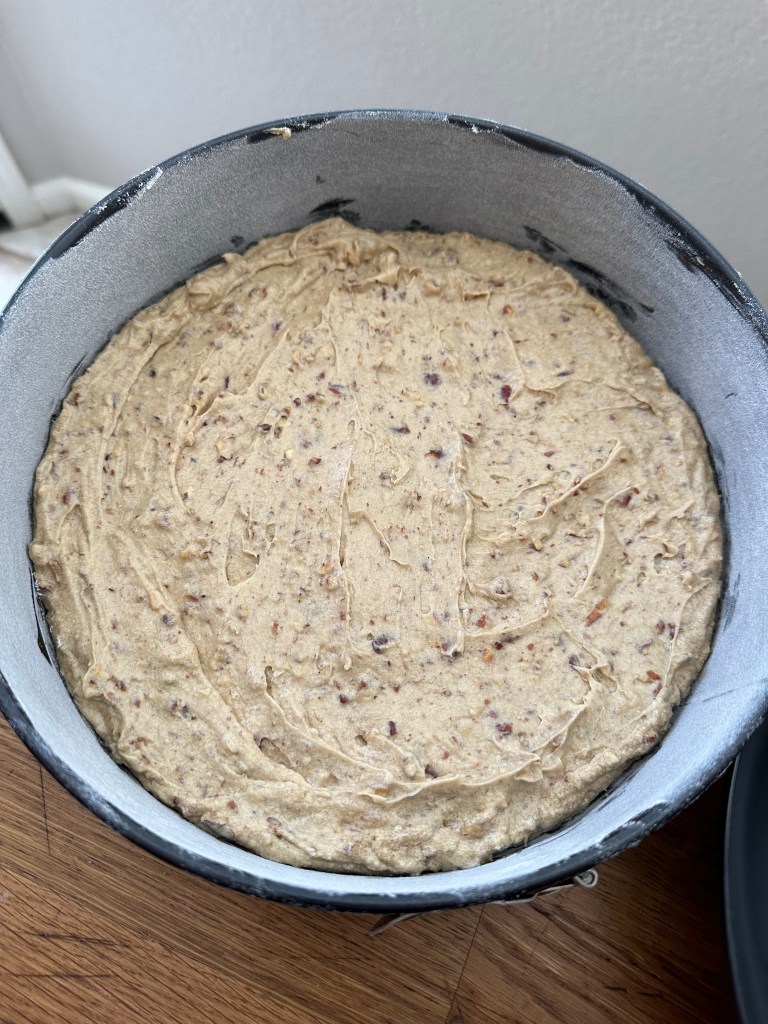
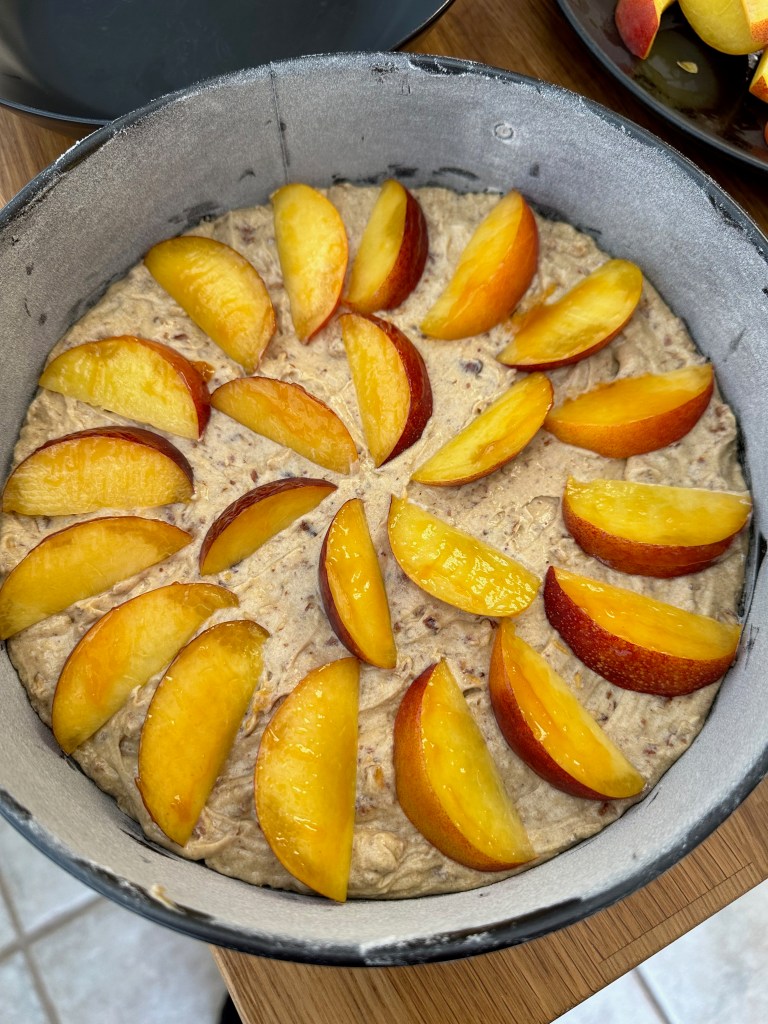
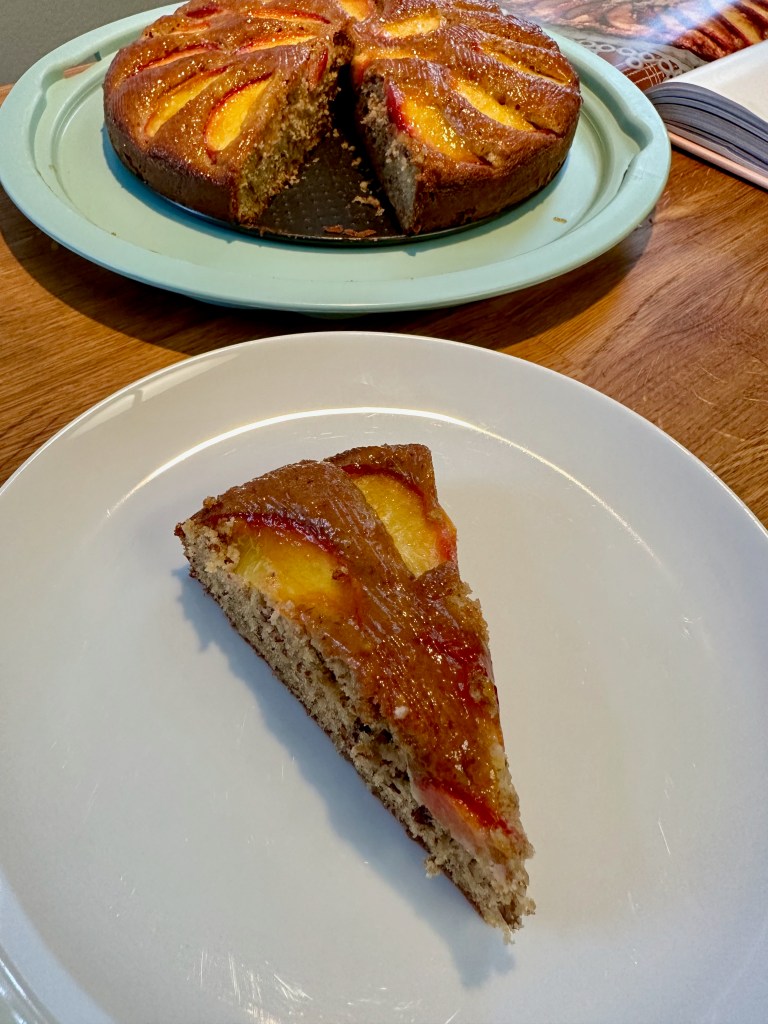
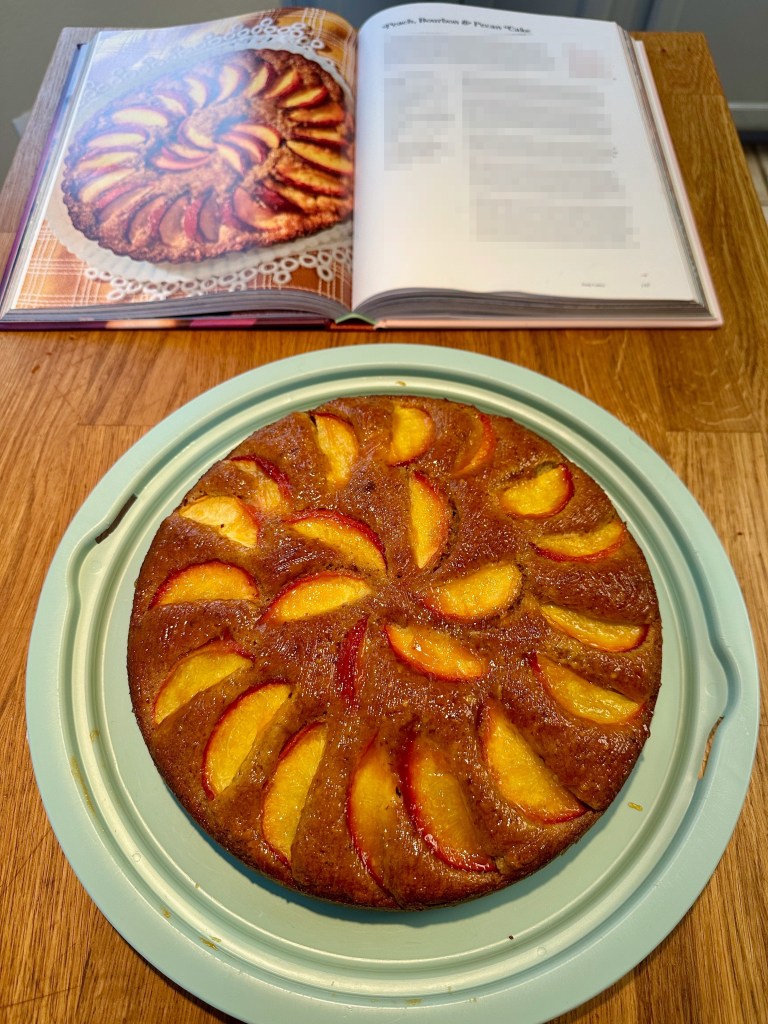
This was a very simple and easy to execute recipe, best suited for summer when there are fresh peaches. While the recipe is well-written, the final product falls a bit short. The cake is good, but lacks anything that makes it truly great or unique. It’s a solid cake, but nothing to write home about. Unlike many of the recipes from Dessert Person, there was nothing particularly unique to this one in the form of a twist or edit that made it stand out from a more typical peach and bourbon cake.
Tip: We found it easiest to cut the peach slices by not removing the pit and cutting wedges with two slices angled inwards in a V-shape repeatedly (you’ll waste some peach, but the cuts will look nice).
Final Product
Key Takeaways
Make sure to only attempt in summer when fresh peaches are in season.
Final Score: 2/5 – Overall this was a fine recipe, it was just a bit simple and uninspiring. It’s a great way to get into the basics of cake baking though.
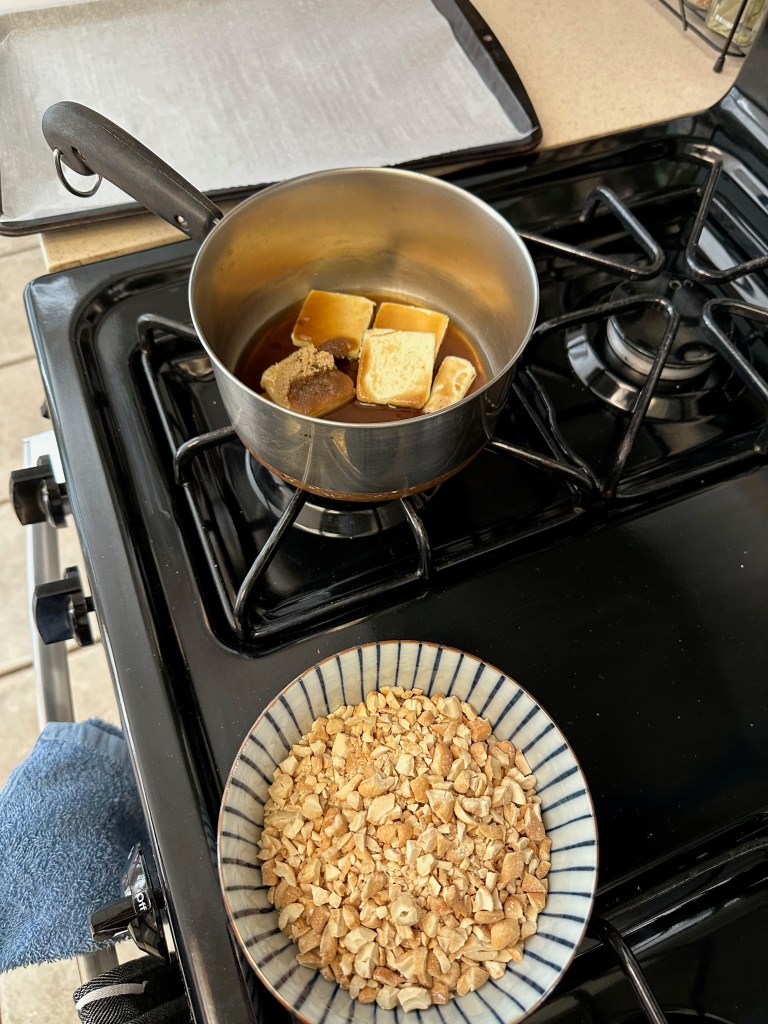
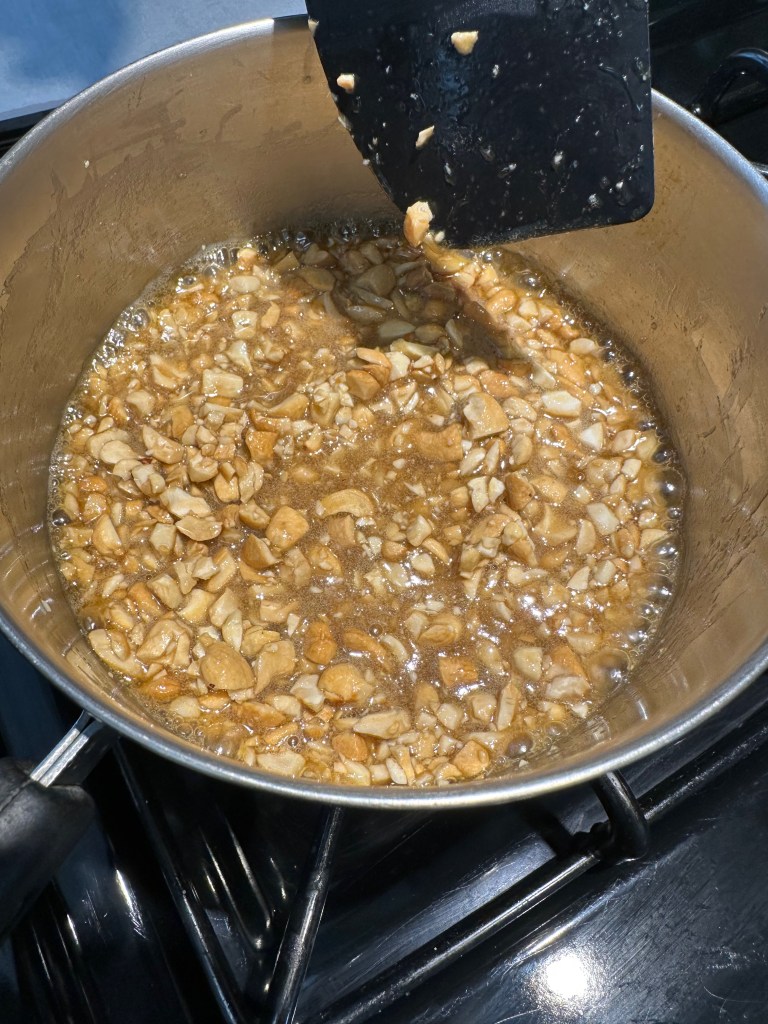
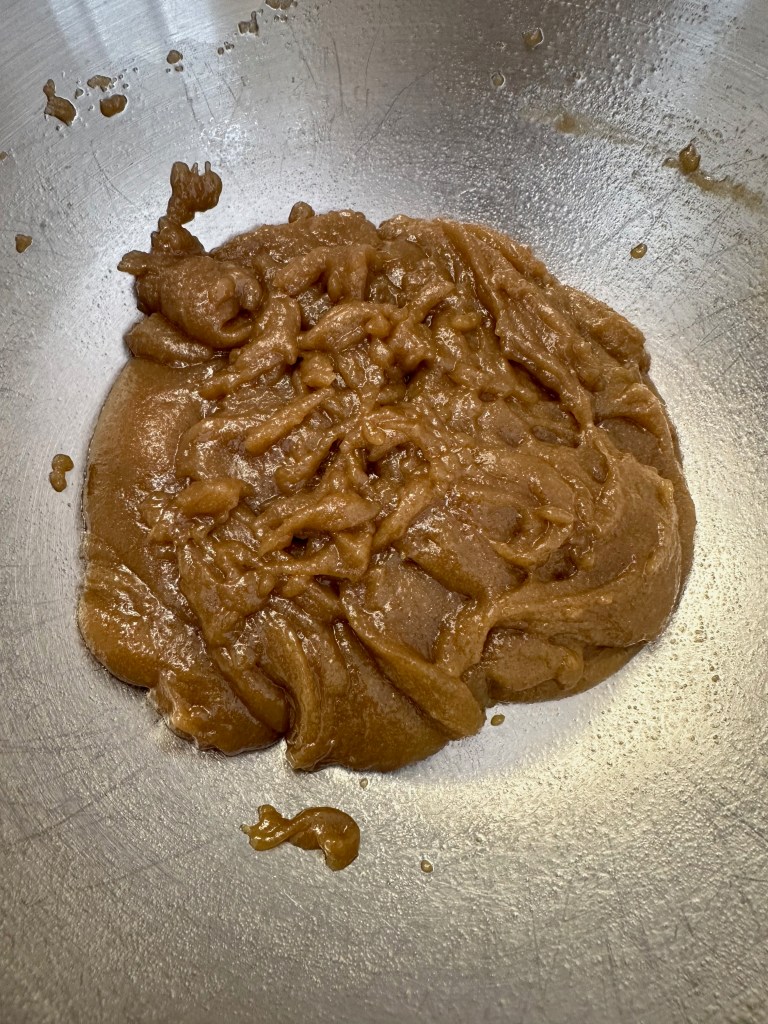
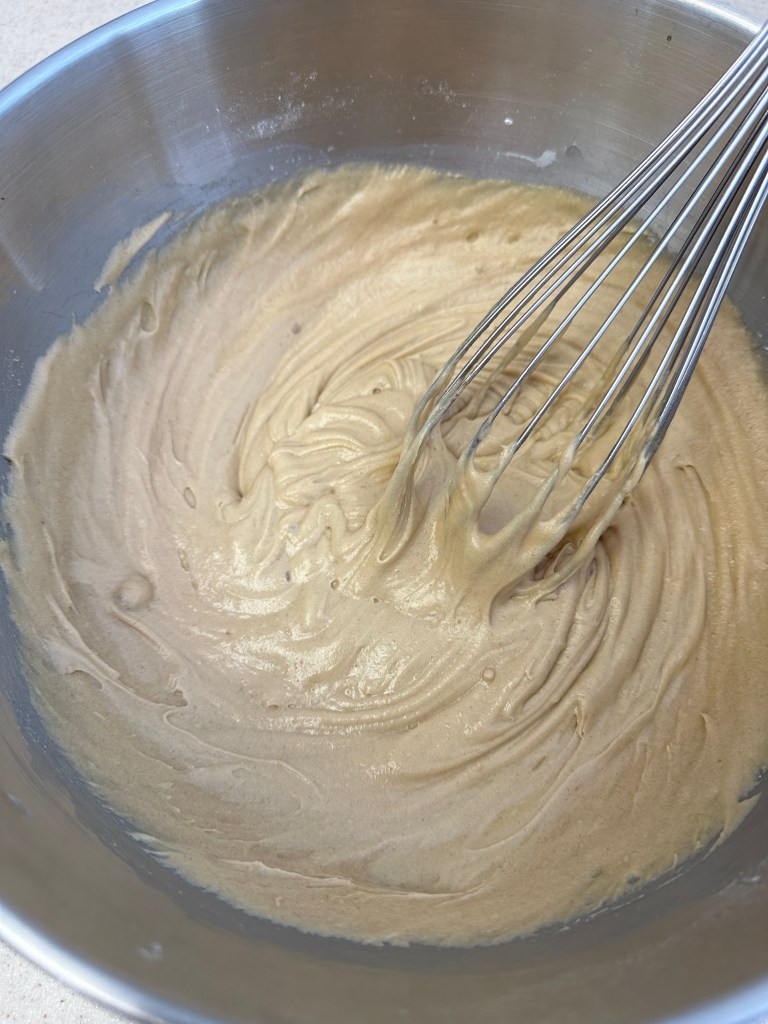
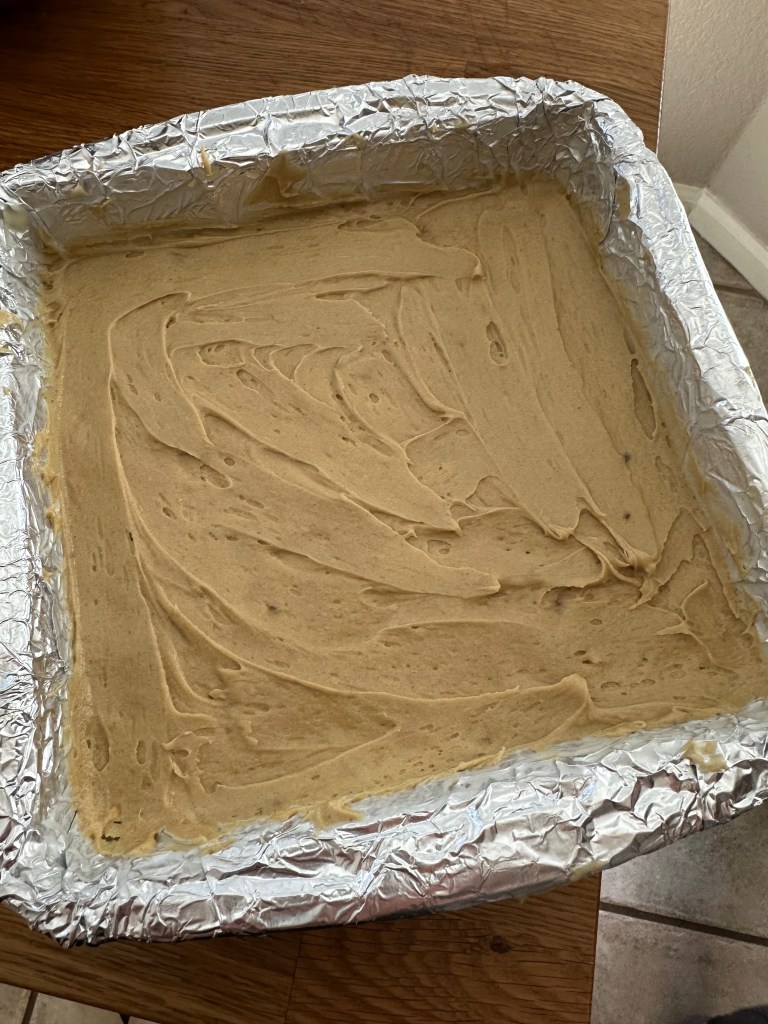
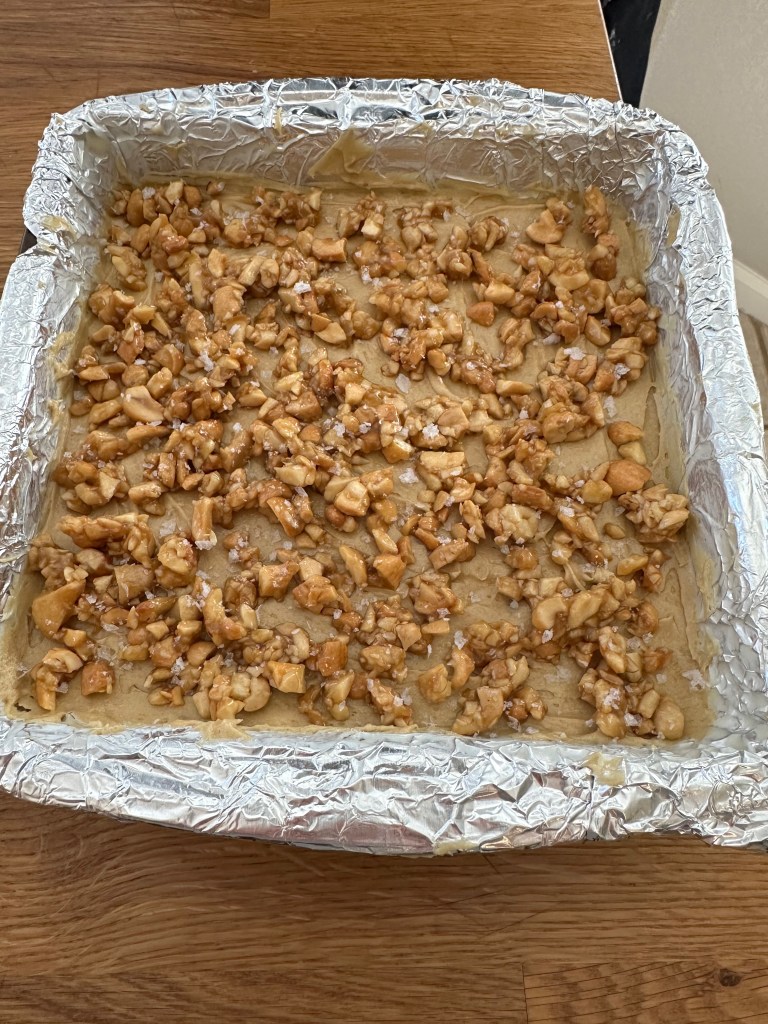
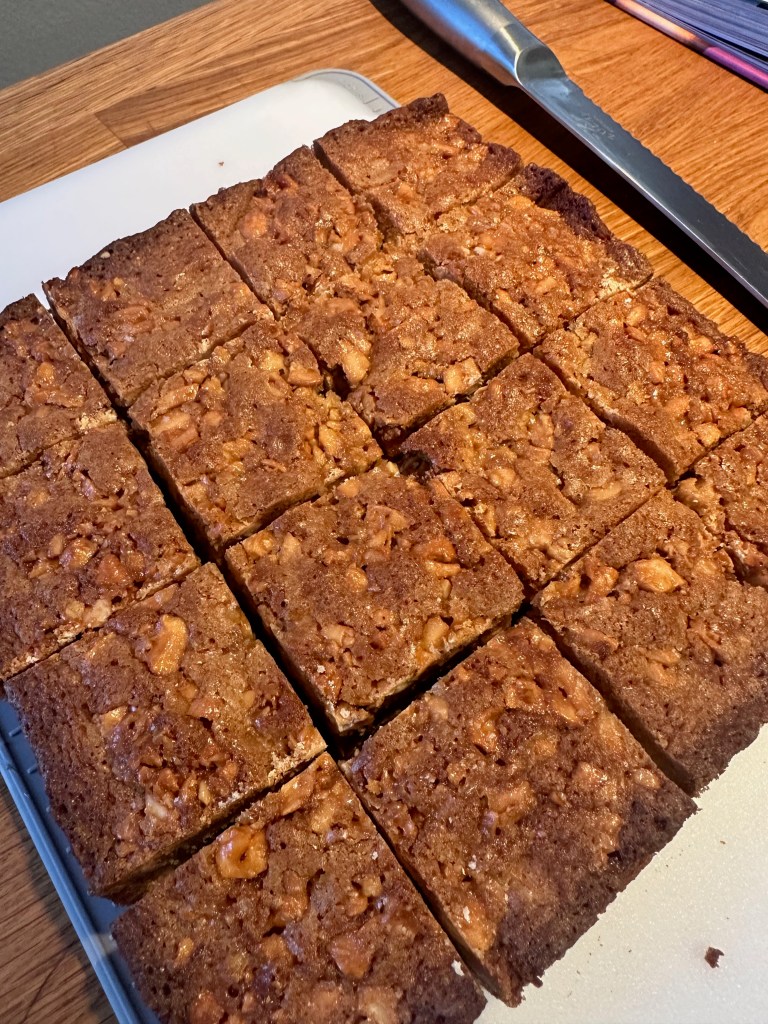
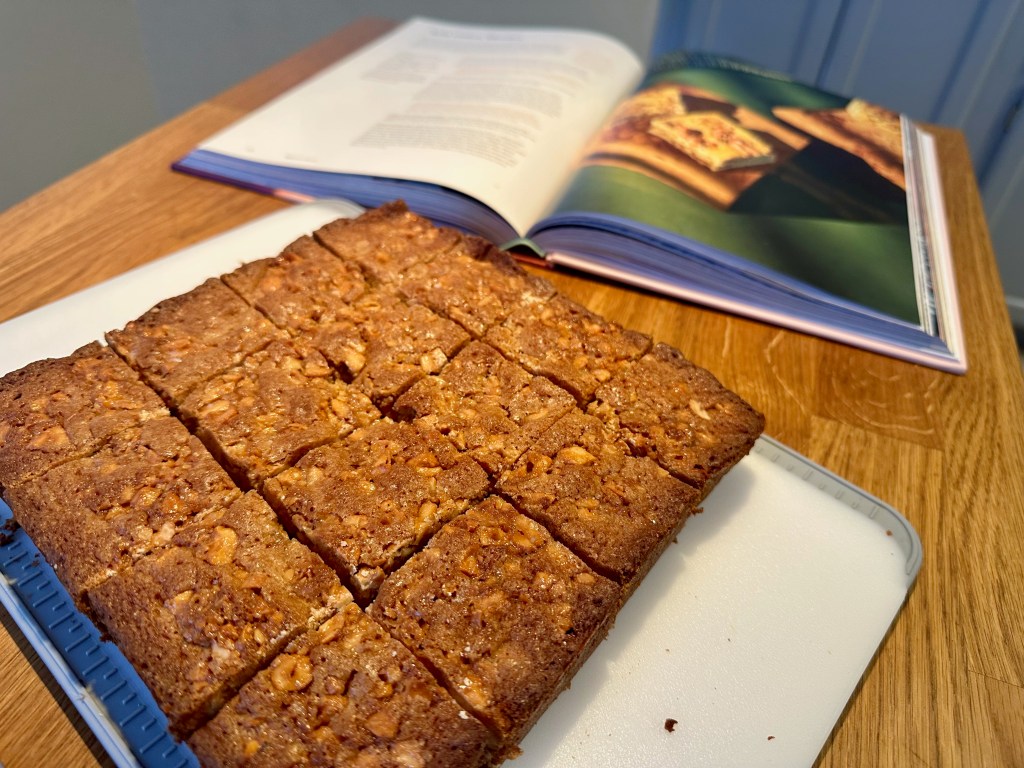
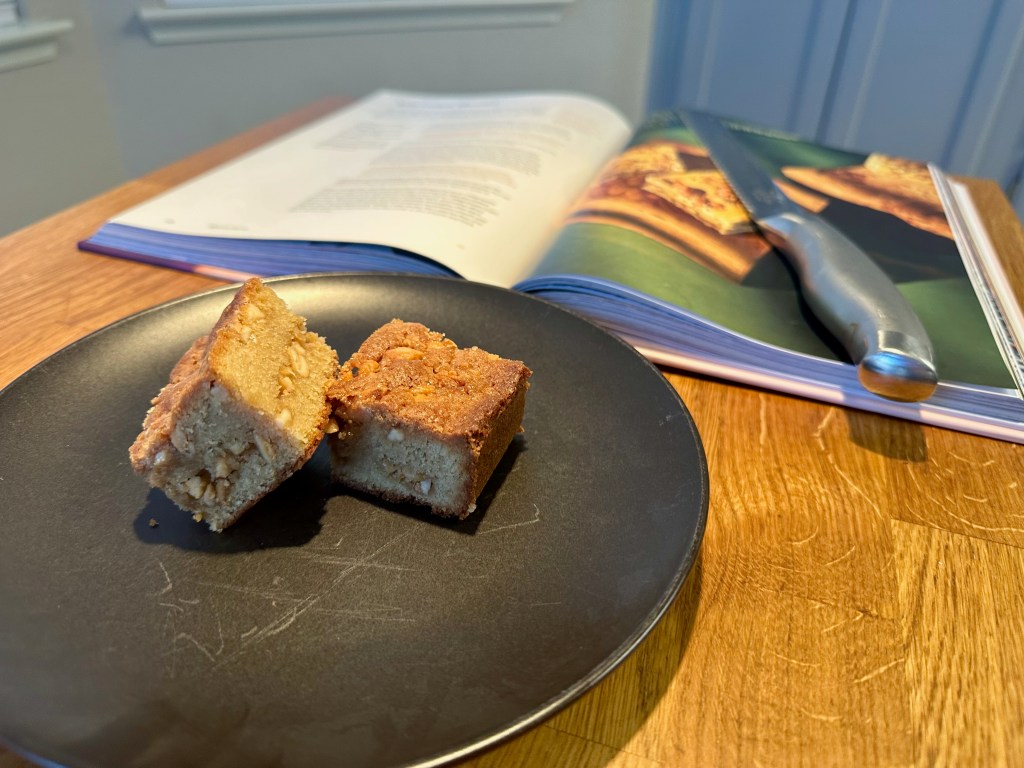
This is a great quick and easy blondie recipe that adds a bit of flair with the toffee topping. Despite its simplicity, the end result is quite good. Definitely worth a try, especially if you don’t usually like blondies. These are arguably better than the blondies from Dessert Person, but it’s very close.
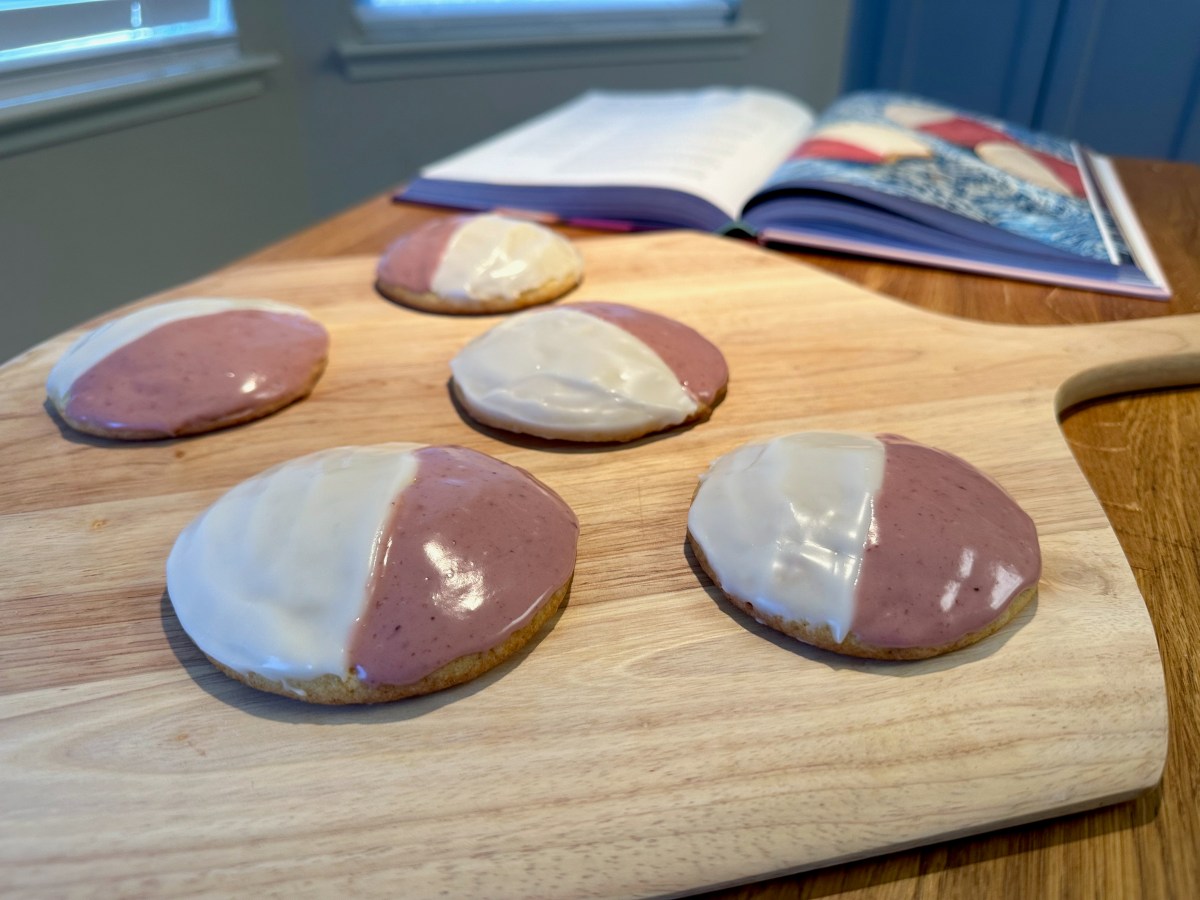
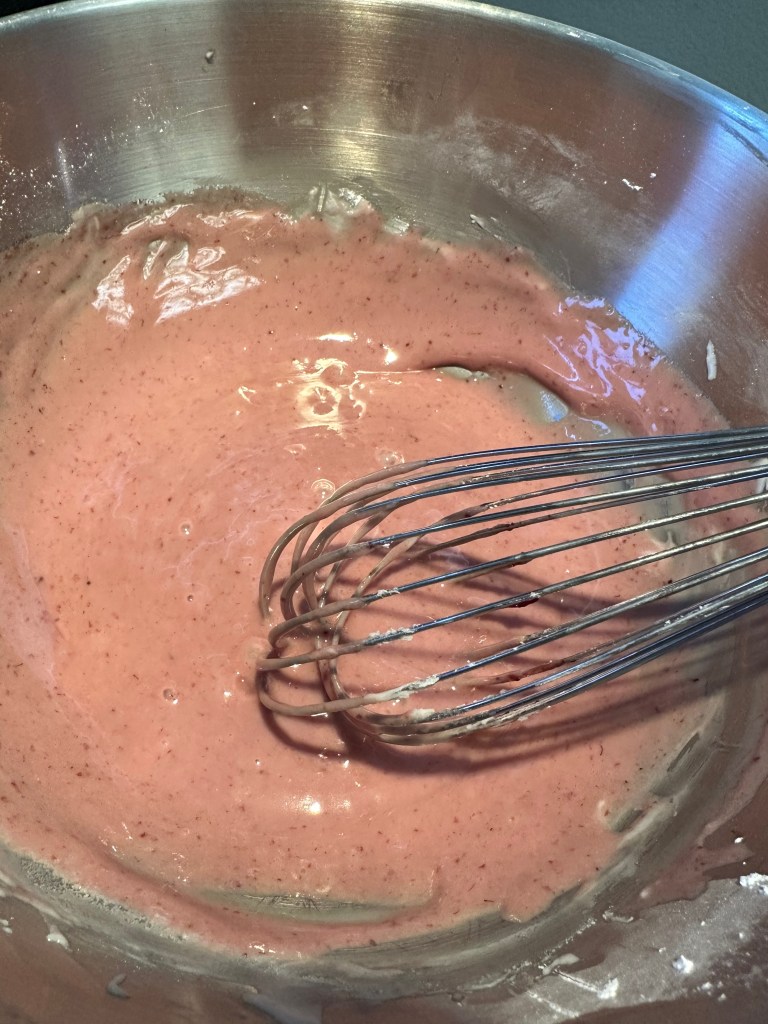
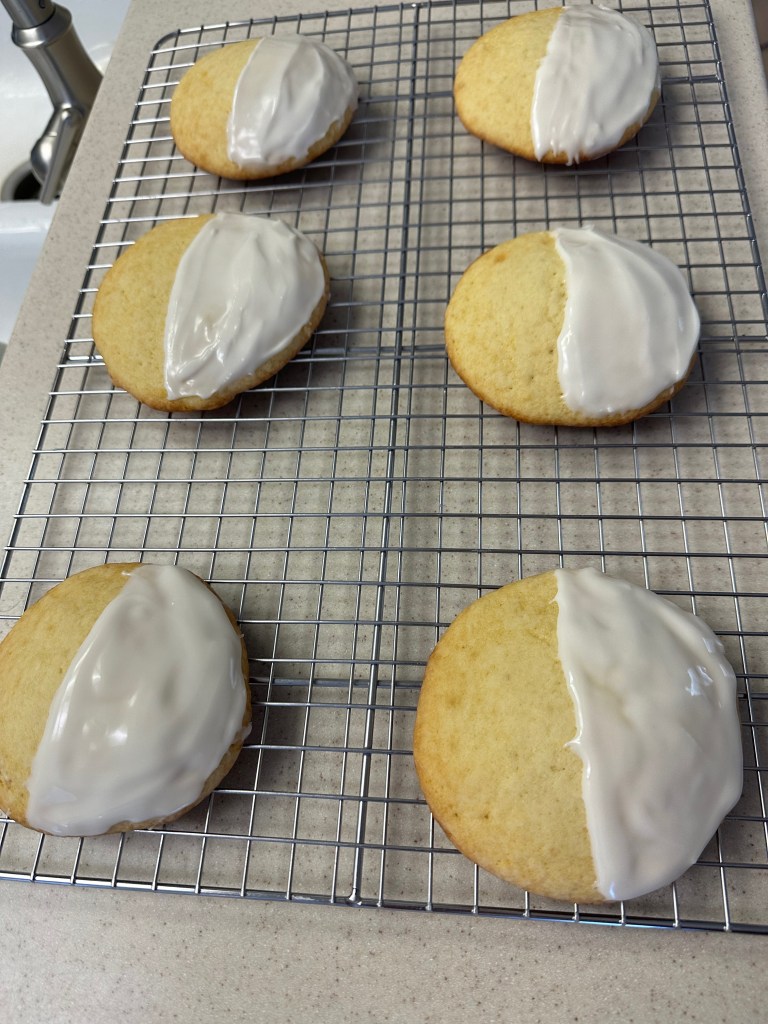
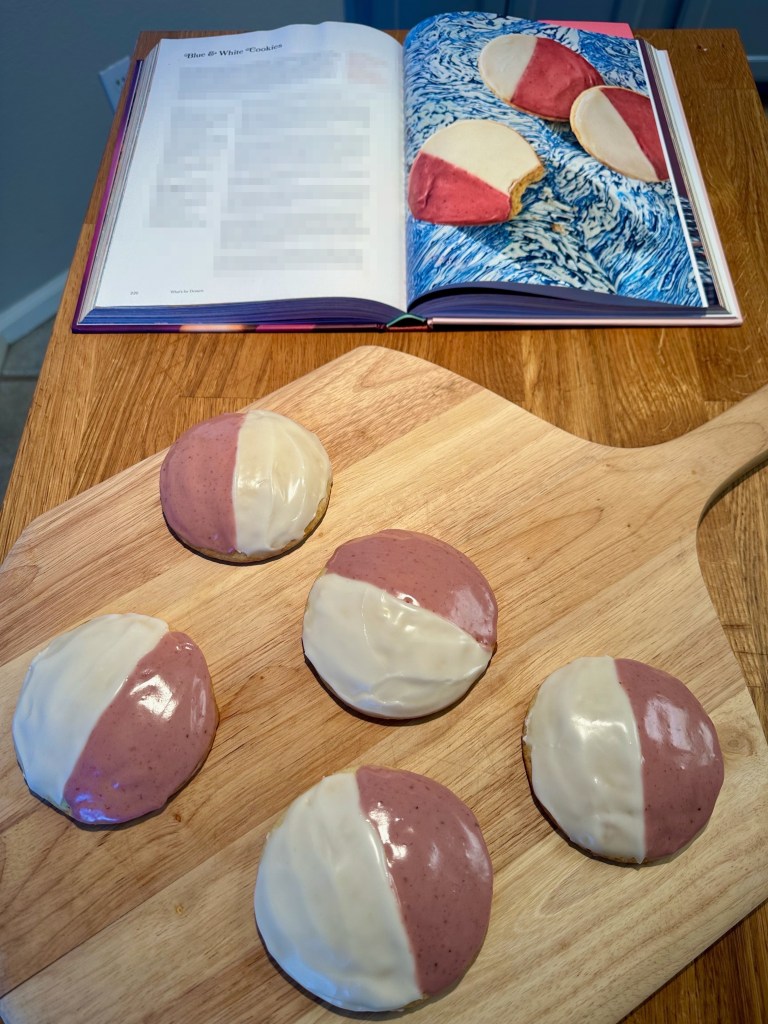
A blue and white cookie really does make more sense than a black and white cookie when you consider the flavors. This recipe does a great job of showing that. The blueberry icing and the lemony, plain icing making for a great combination. Definitely give it a try.
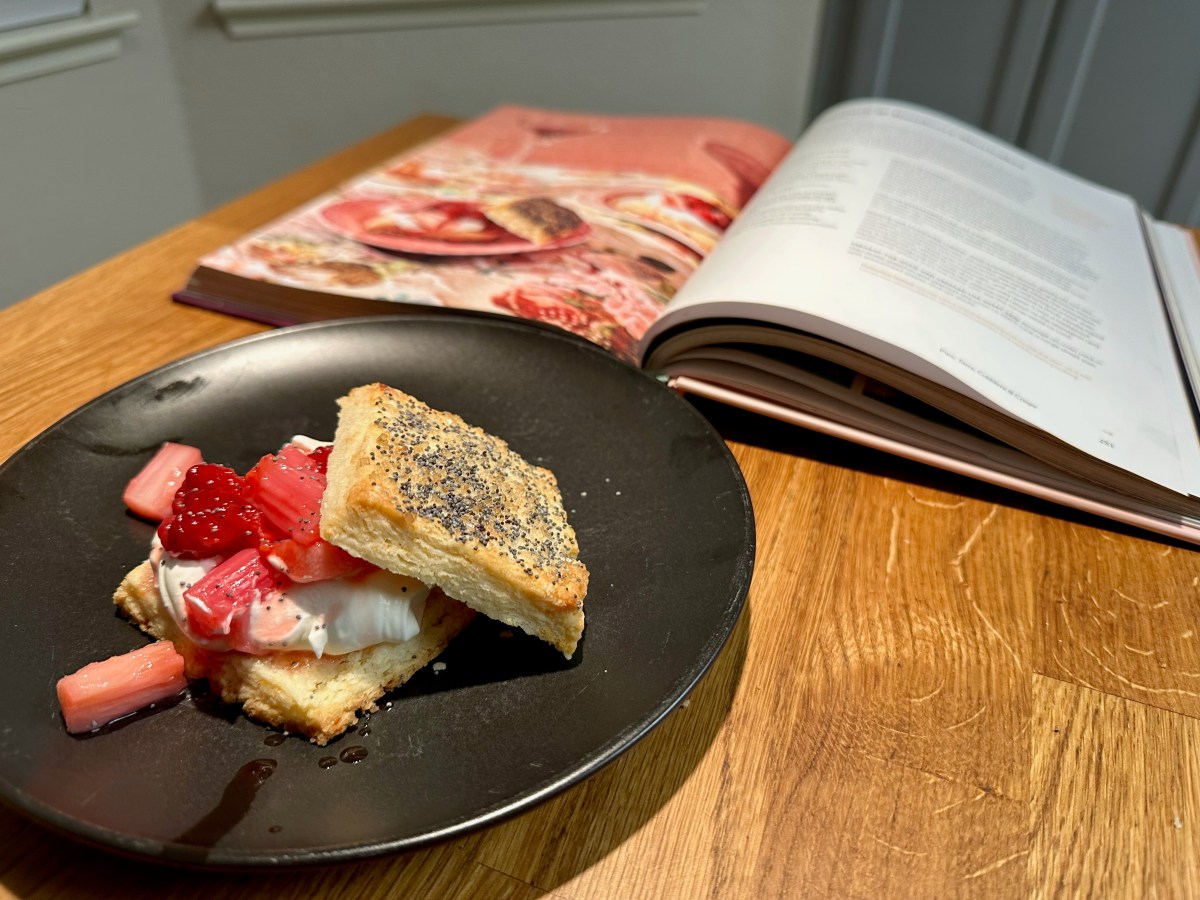
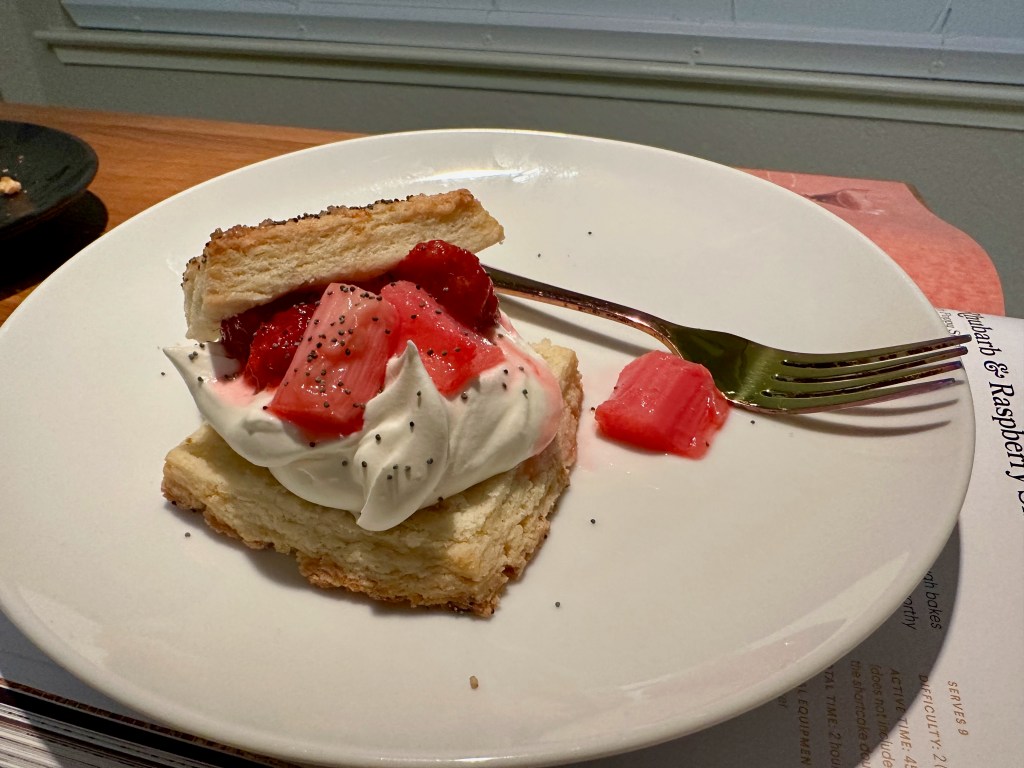
This is our first recipe attempt from Claire’s new book What’s For Dessert. It’s a great spring/summer recipe that was a good balance of technique, difficulty, and taste. The book is quite similar to Dessert Person, but with even more helpful tips. At a glance the book seems a bit more accessible and with many more recipes. It’ll be interesting to see how the overall diversity of recipes and average difficulty+score compare to Dessert Person. This first recipe could have been straight from Dessert Person and is a great one.
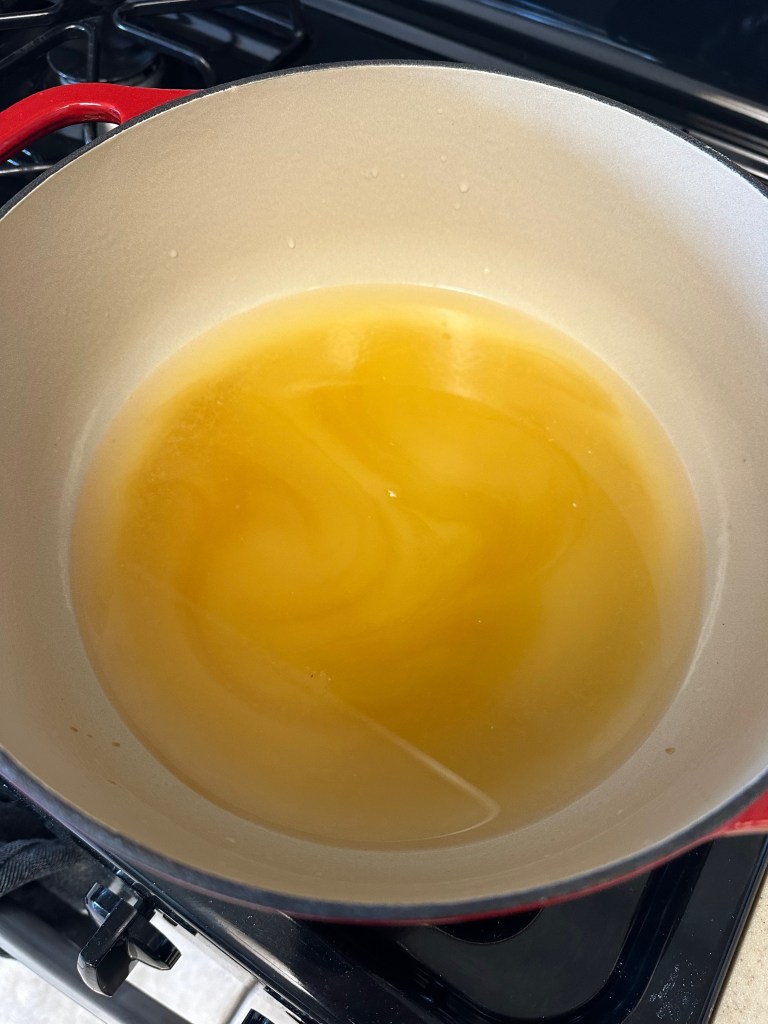
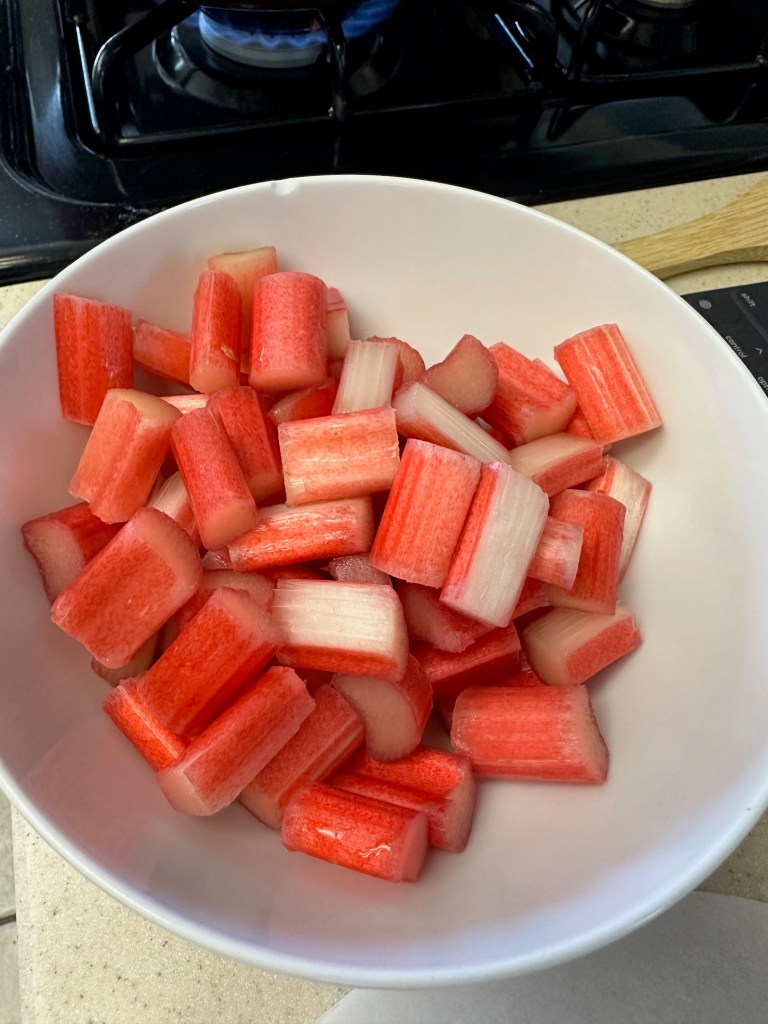
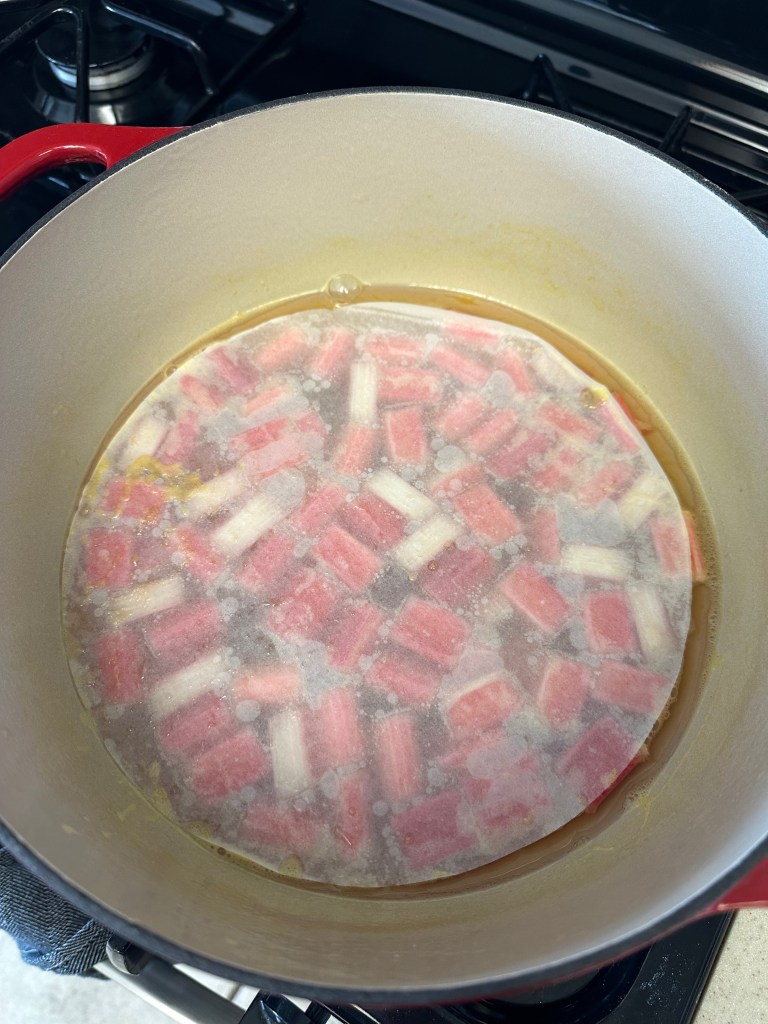
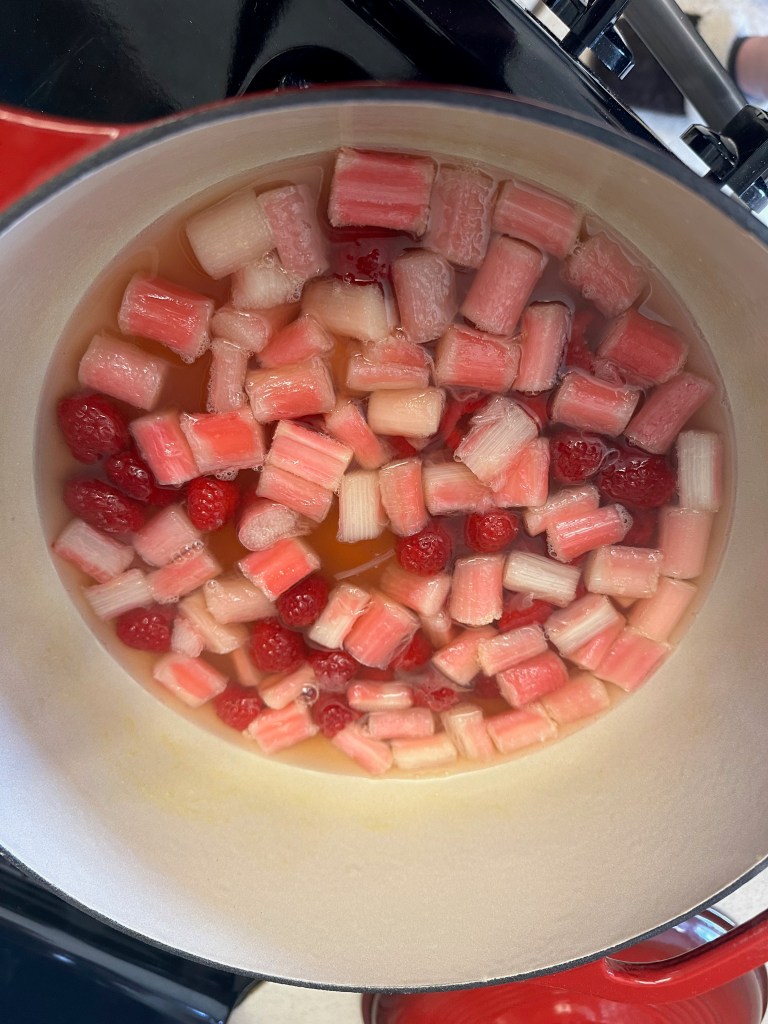
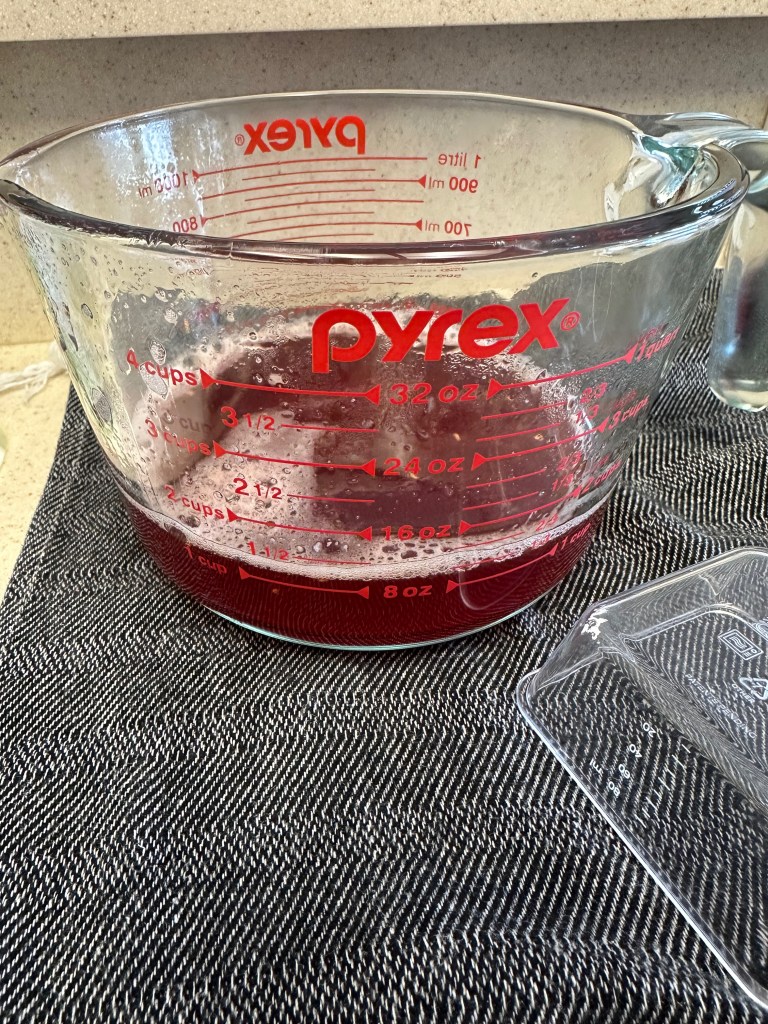
Tip: Be careful to not over-poach the rhubarb. Keep a close eye on by occasionally poking/touching a piece of rhubarb. Remove it immediately from the heat at the point of simmer.
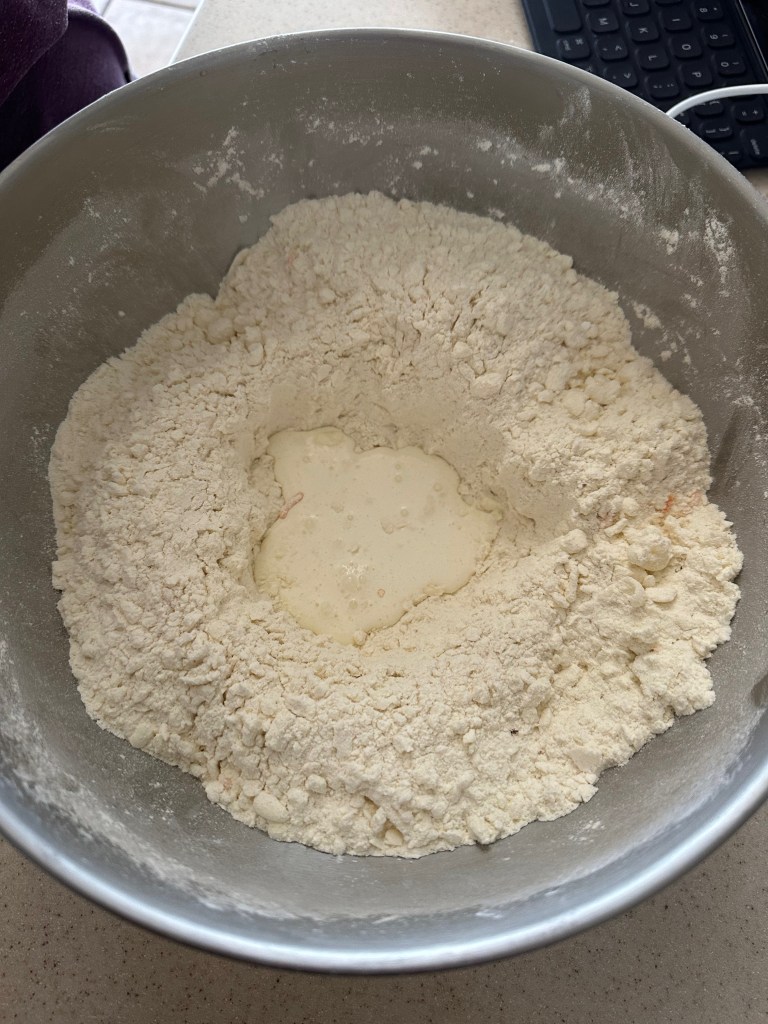
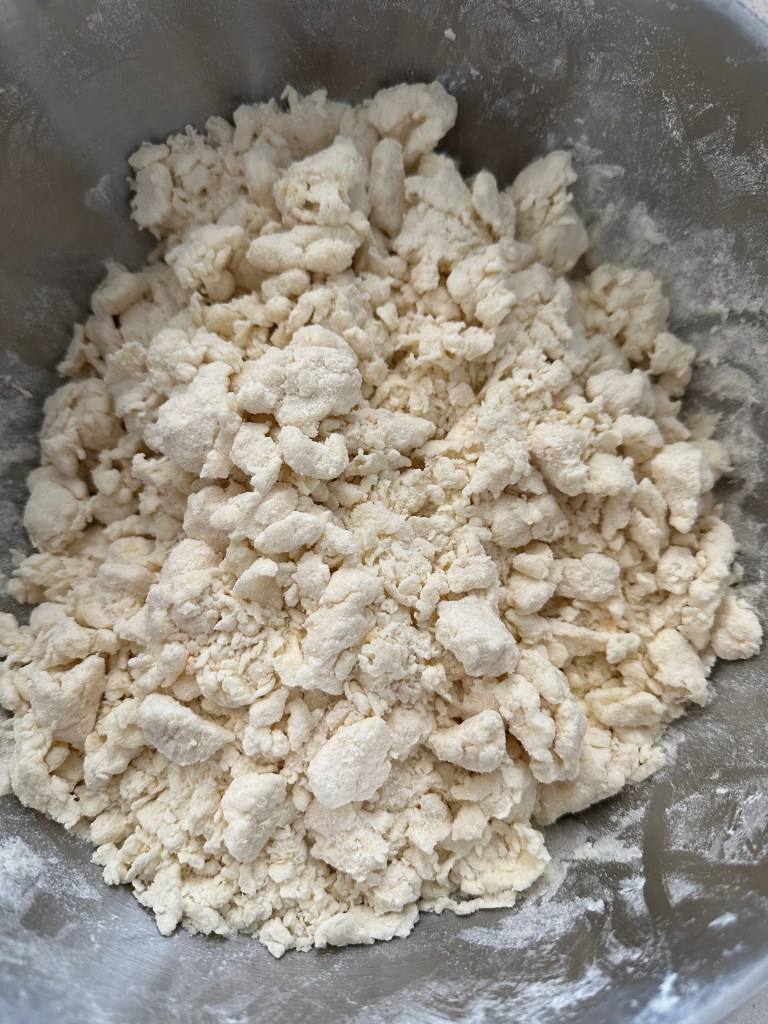
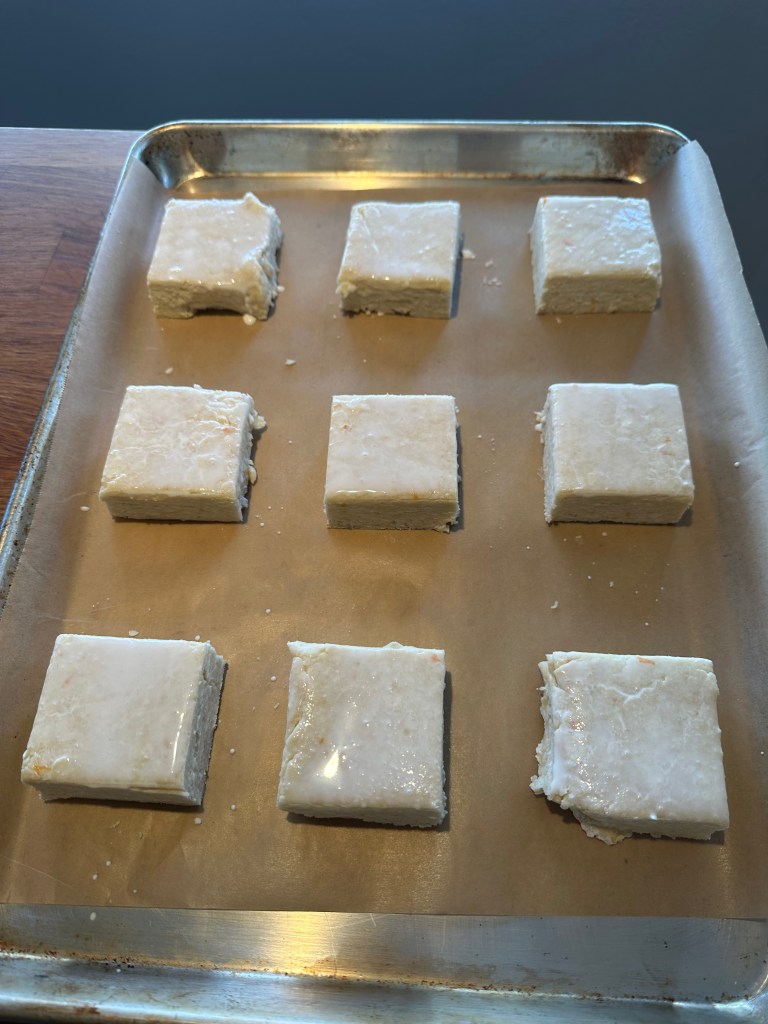
Baking The shortcake
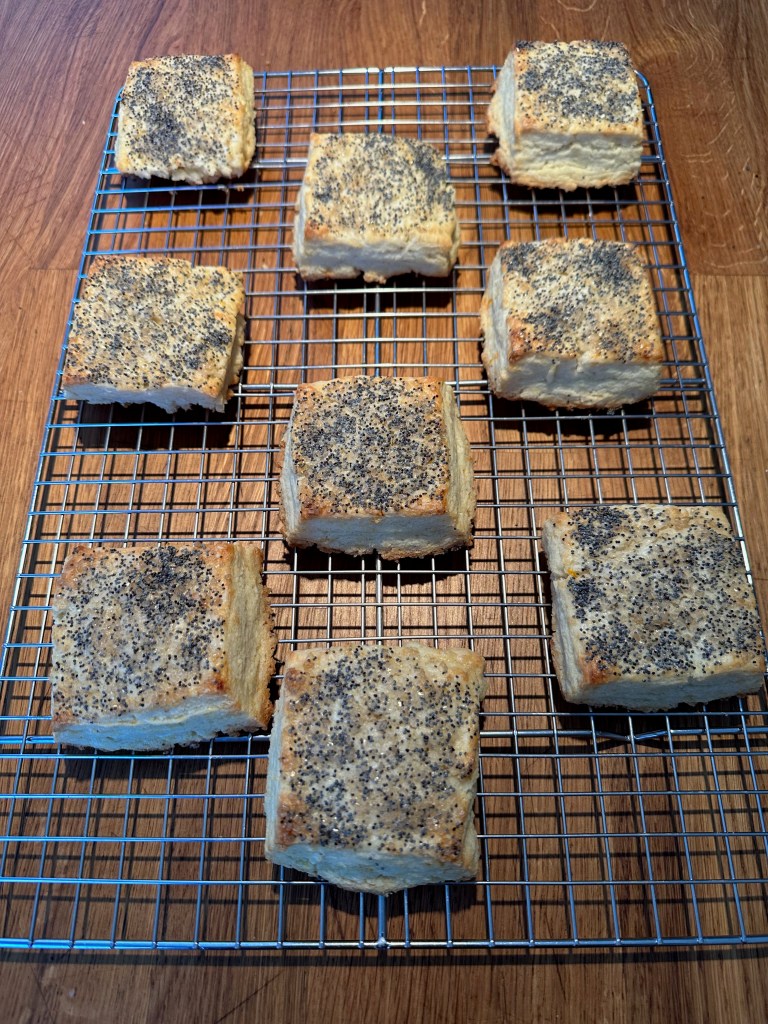
Final Product
Key Takeaways
This is a great spring / summer recipe when rhubarb and fresh berries are in season.
The fragility of the rhubarb and raspberry can make assembly and poaching difficult; be careful.
Final Score: 4/5 – This was a great recipe and good start to What’s for Dessert. It was unique, a bit tricky at times, and very well-written. Looking forward to trying other recipes from the book.
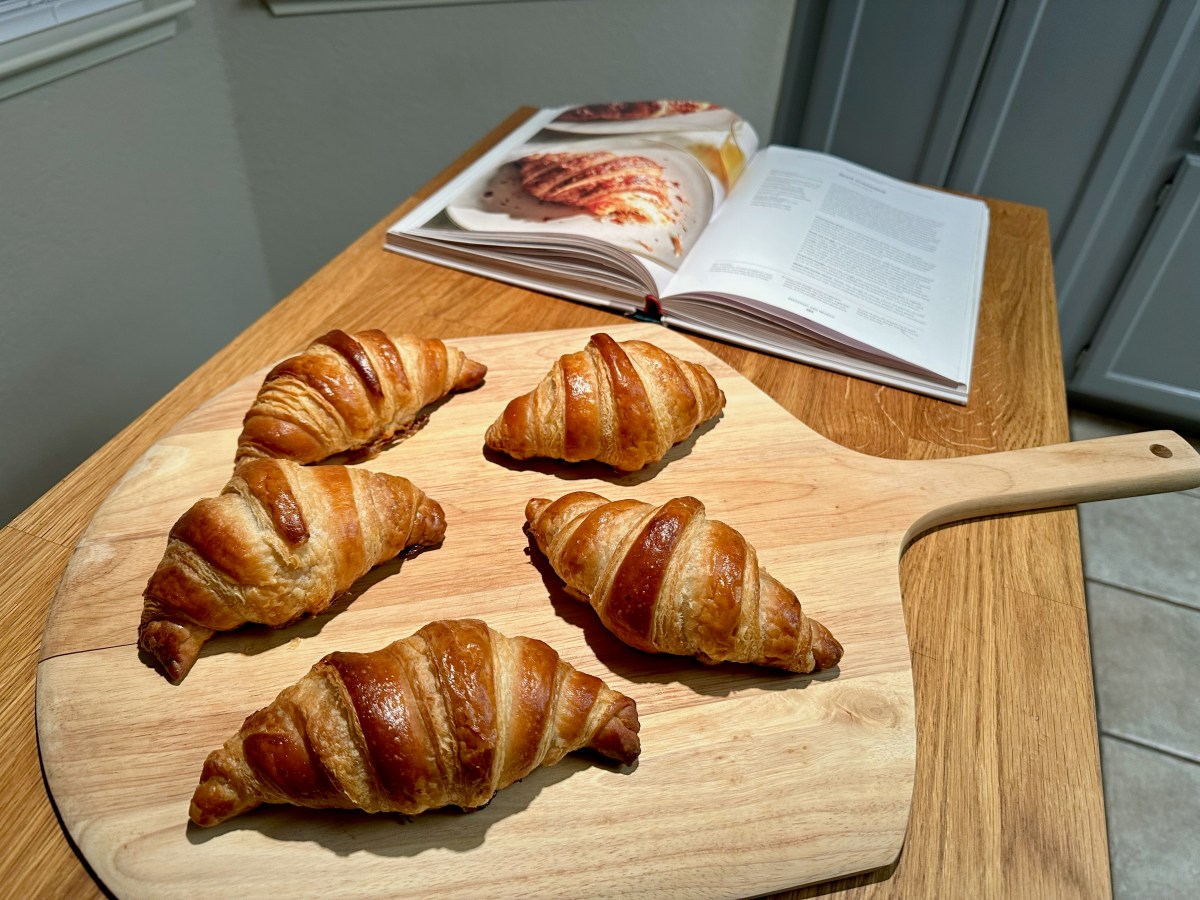
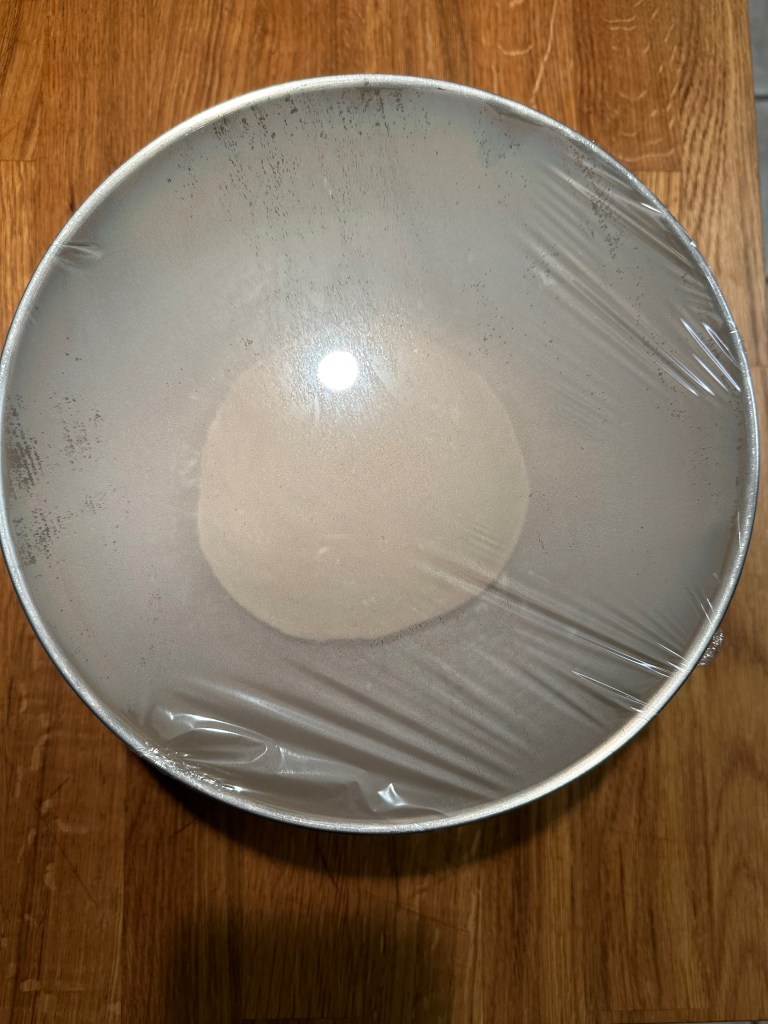
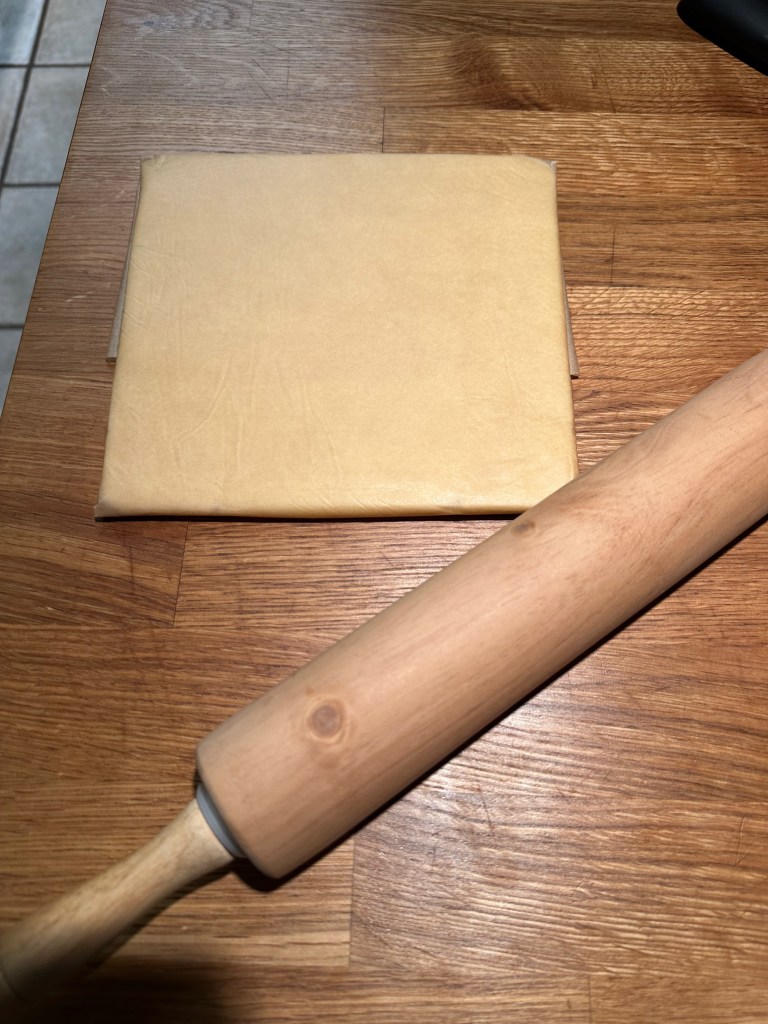
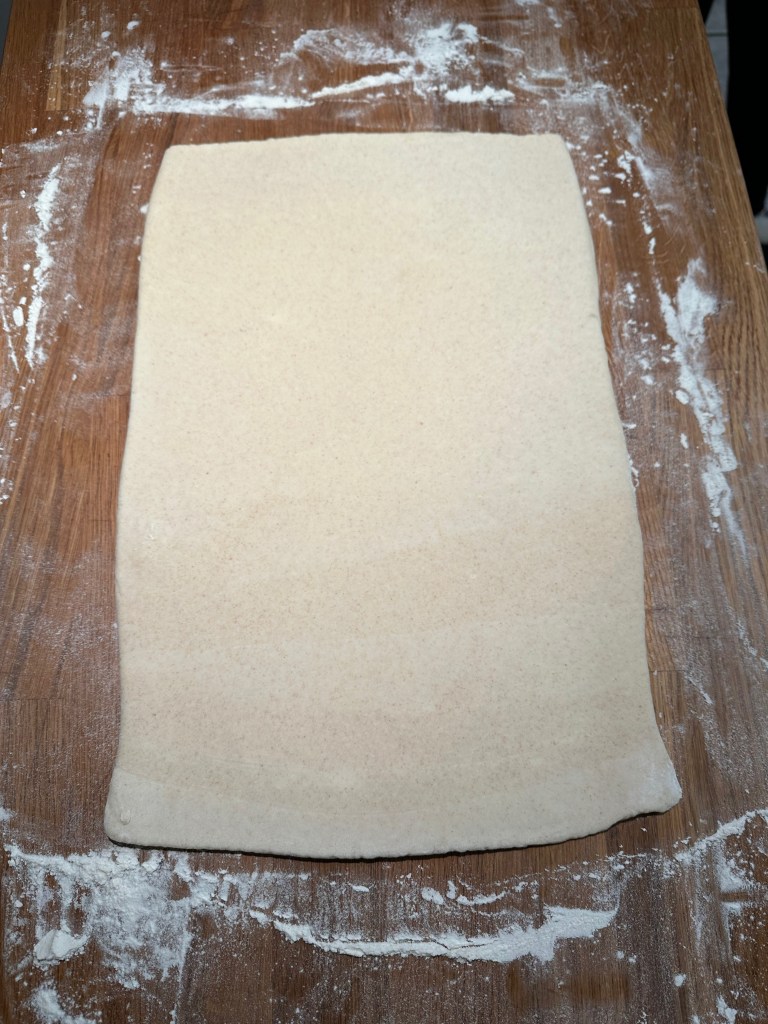
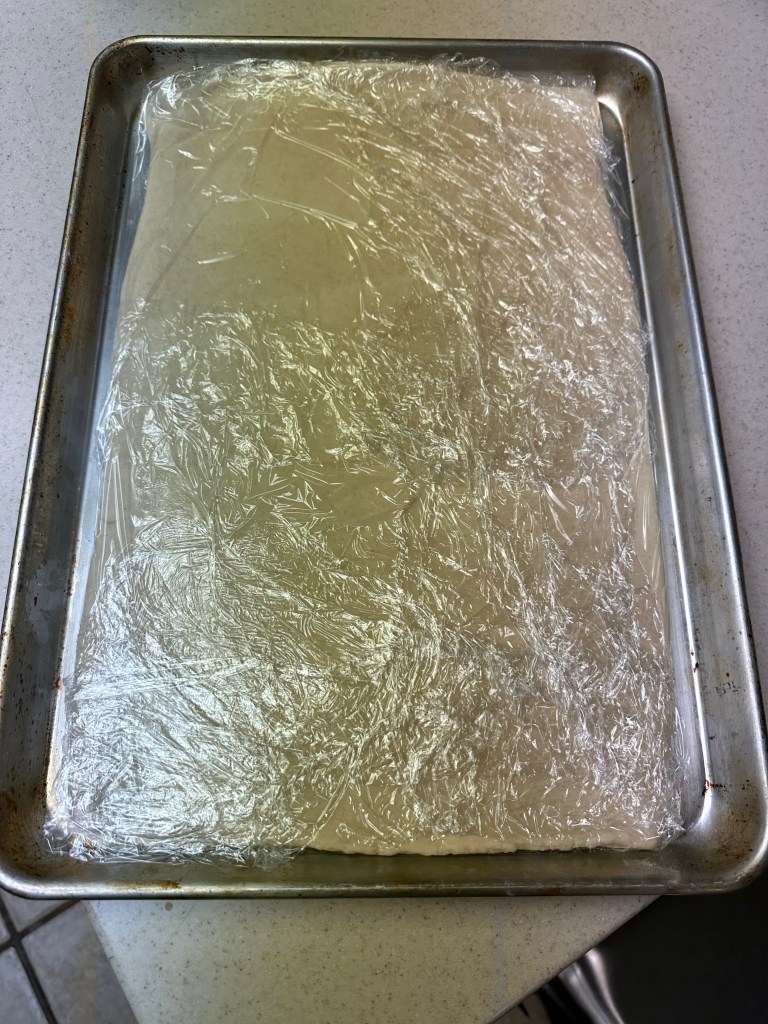
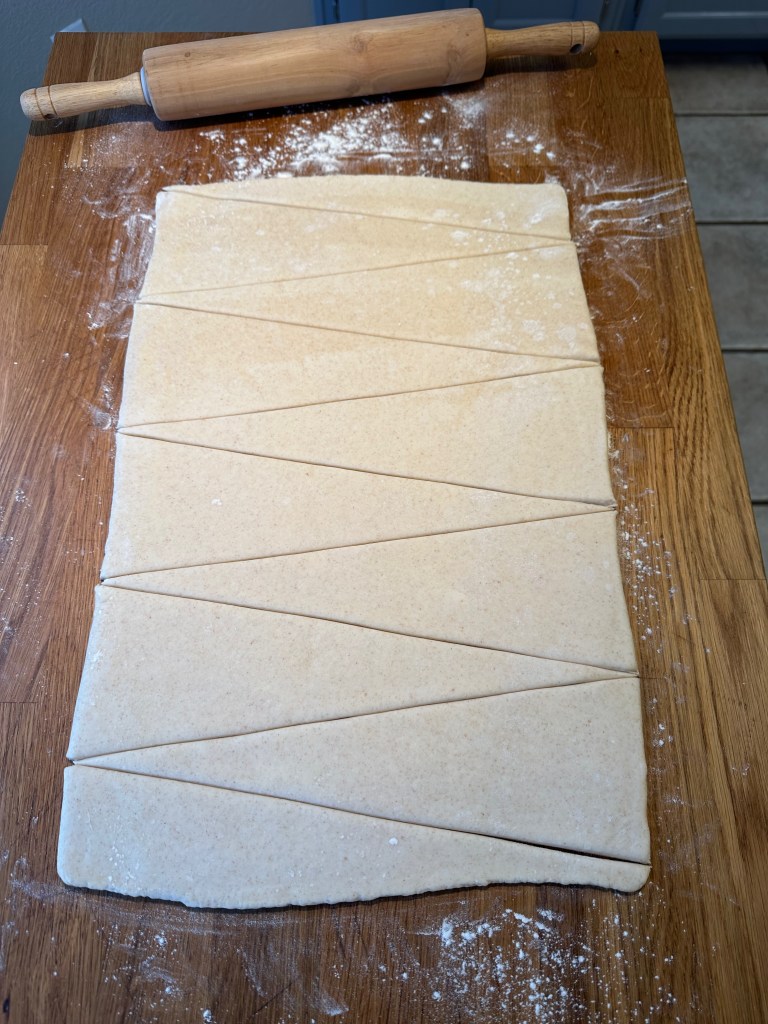
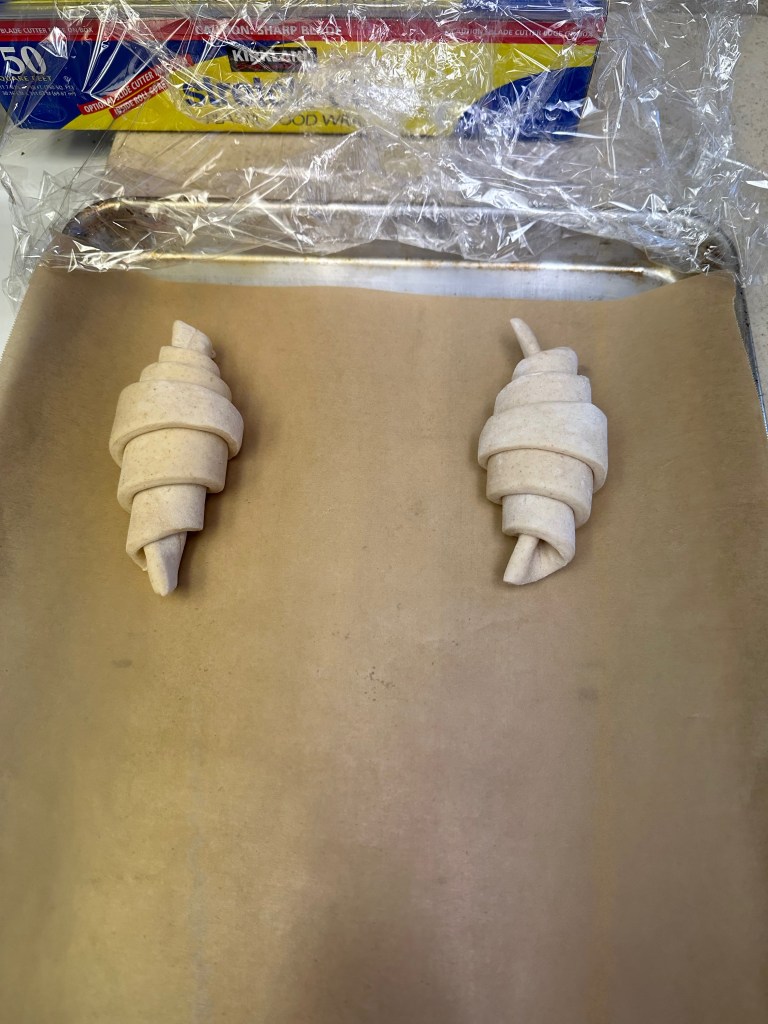
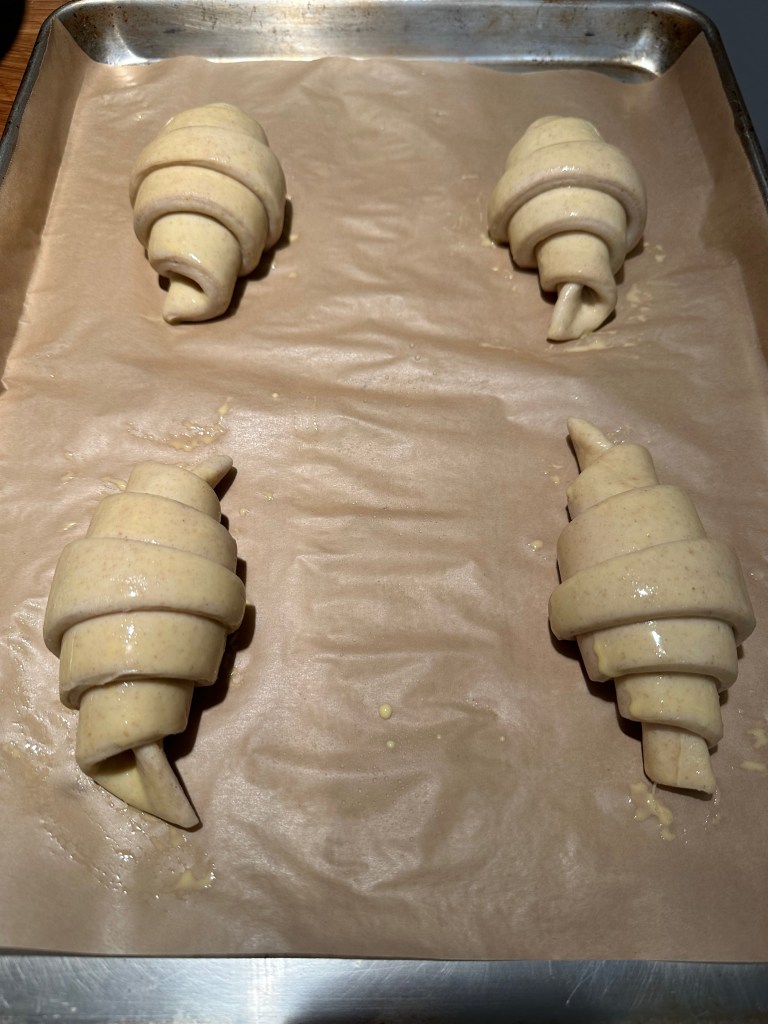
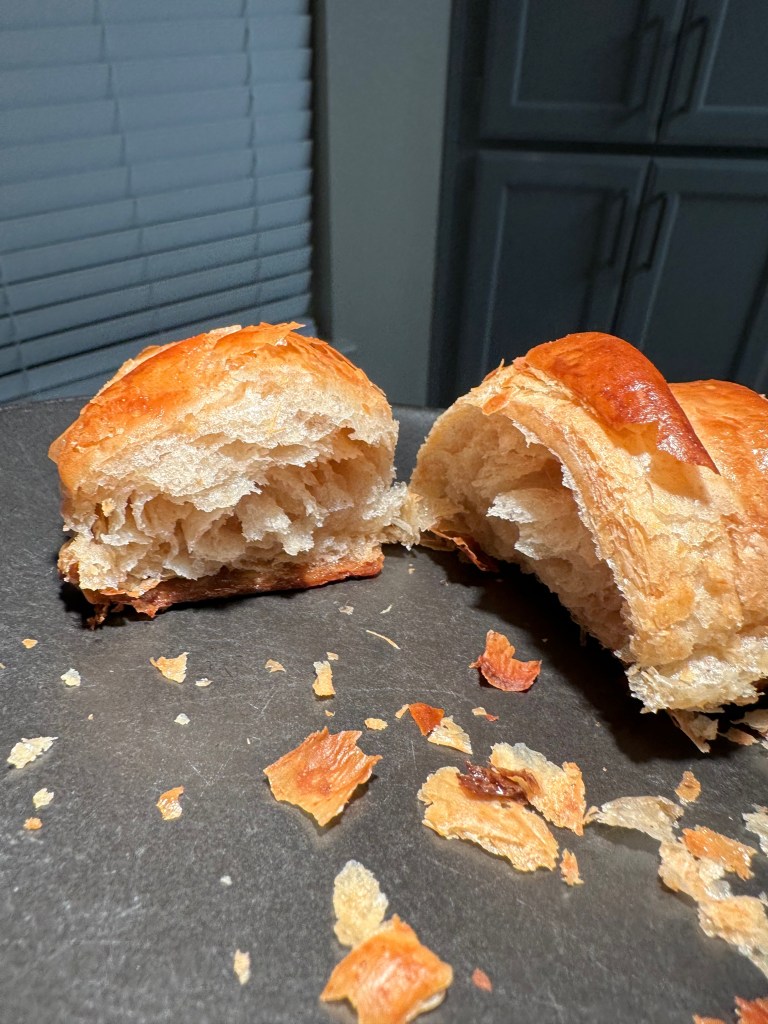
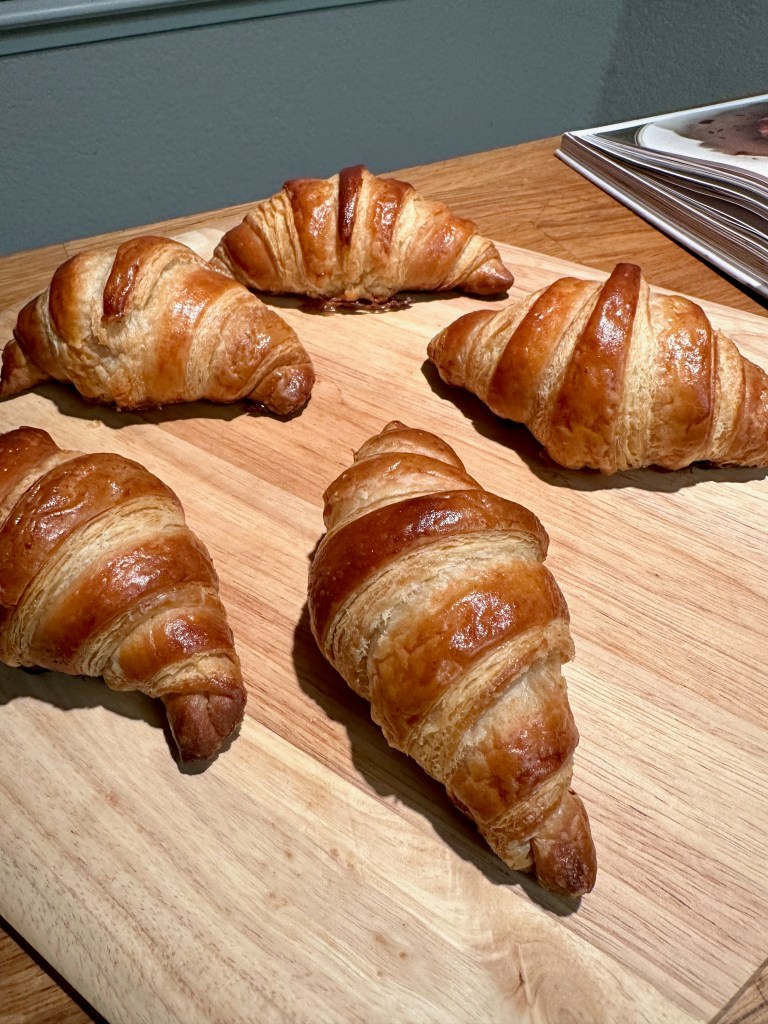
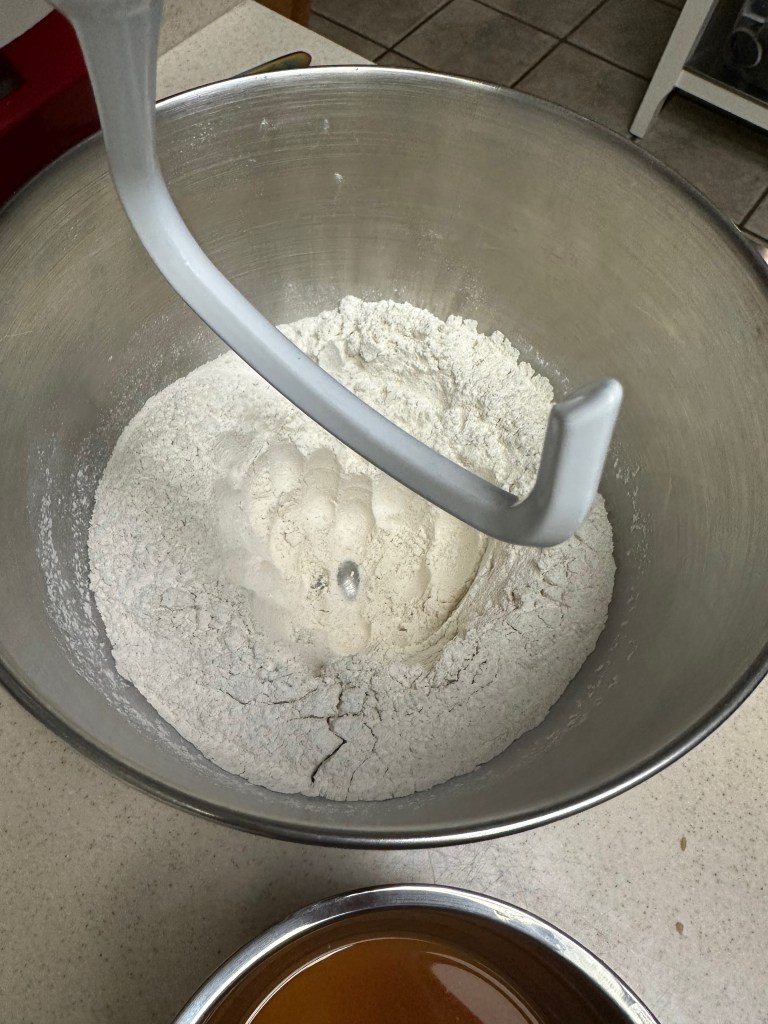
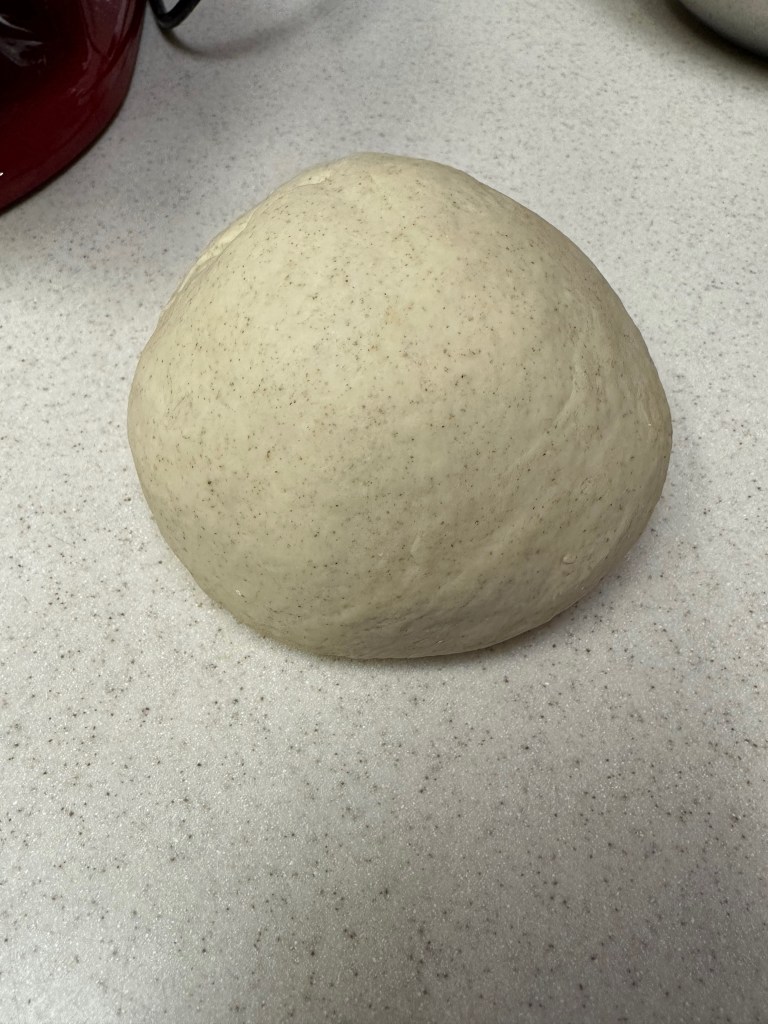
This is a great croissant recipe that produces incredible results without too much difficulty. Nonetheless it’s difficult enough that it shouldn’t be the first recipe attempted in the book. Keep track of time carefully so that you don’t overproof or underproof and don’t miss a turn. The timing doesn’t need to be exact, but it needs to be “close”.
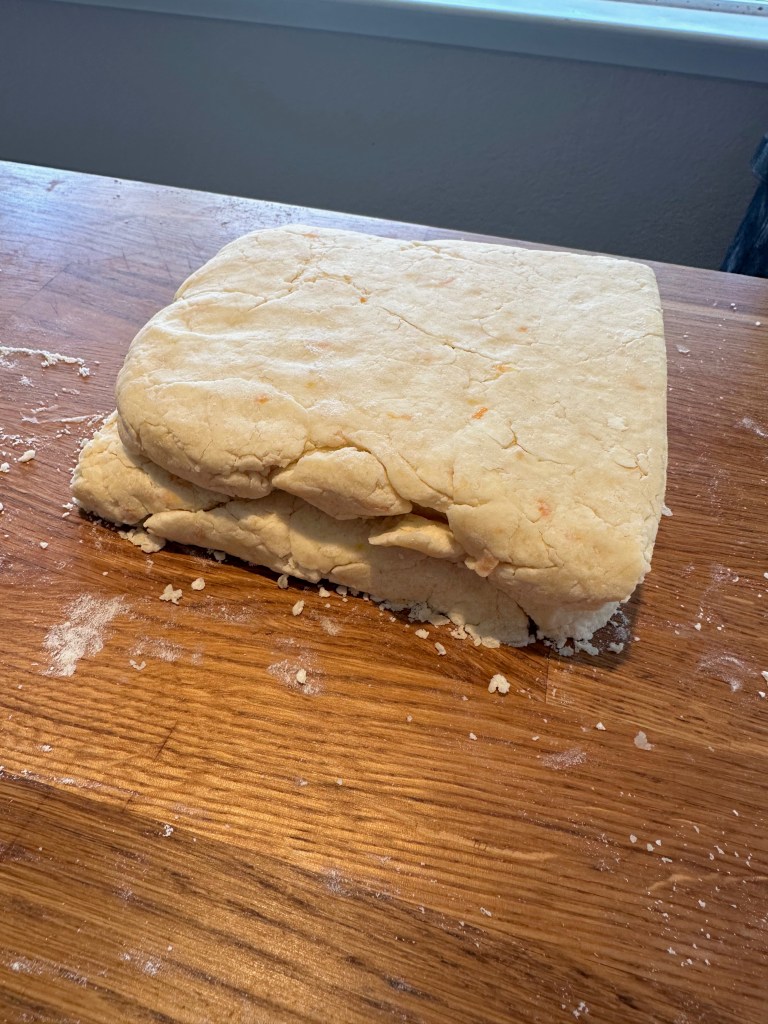
Tip 1: First get the butter into a rough square and then create a package with the parchment paper (tape to seal and flip over). To get it into a perfect square, simply hold one corner and roll into the opposite corner using the rolling pin.
Tip 2: Simply stretch out the dough into the size that will be used using your hands, no need to use a tray.
Tip: In colder conditions proofing can take an extra 2-3 hours, in which case more water can be applied.
Baking The Croissants
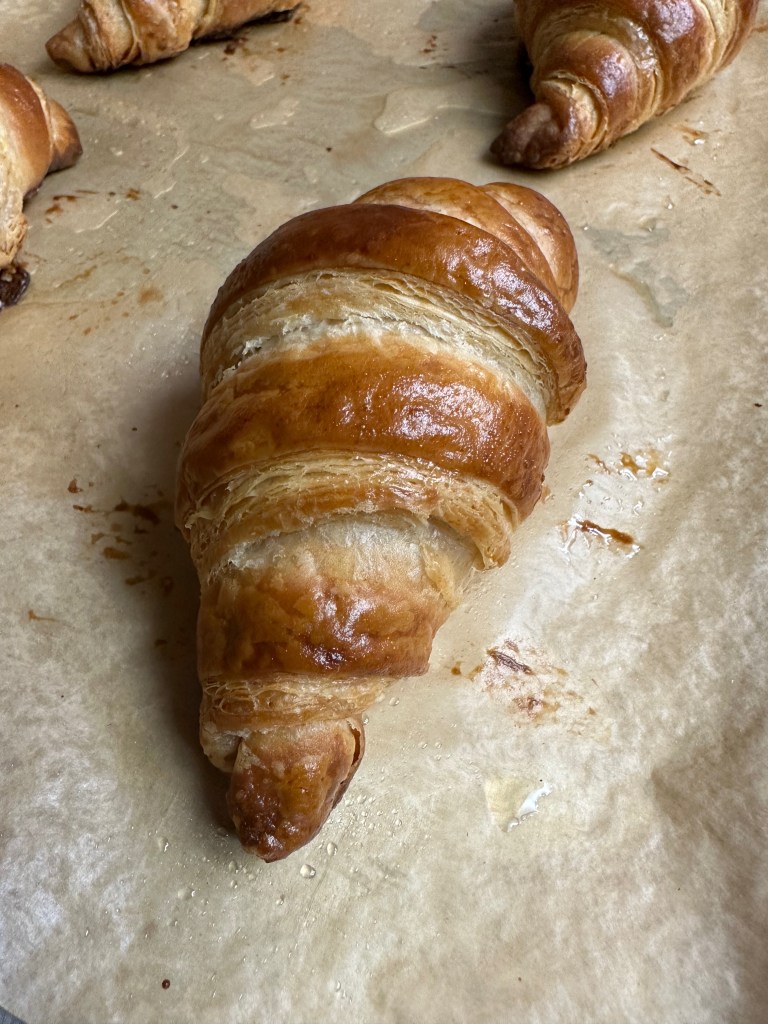
Final Product
Key Takeaways
Time everything carefully. Create a schedule to keep track and always use timers.
Final Score: 5/5 – These were absolutely delicious and overall not nearly as hard as the recipe suggested. Some may find these “too buttery”, but it’s all a matter of taste. These definitely don’t need any additional butter. On a related note, this was our final recipe in Dessert Person. We’ve now completed every recipe in the book.
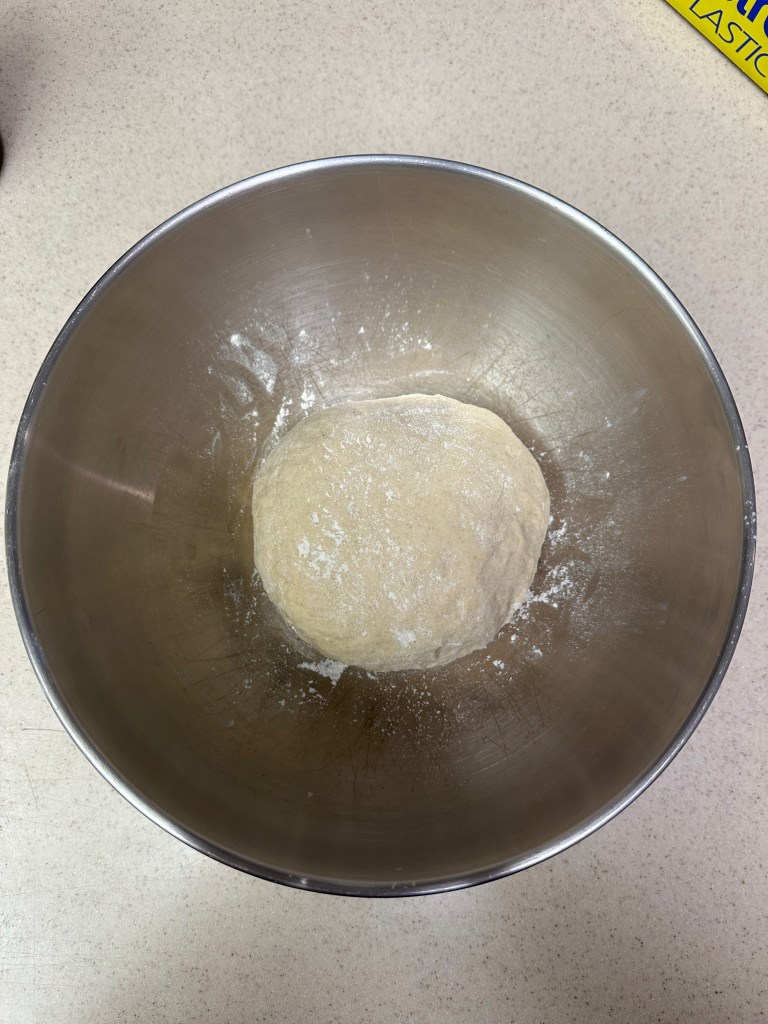
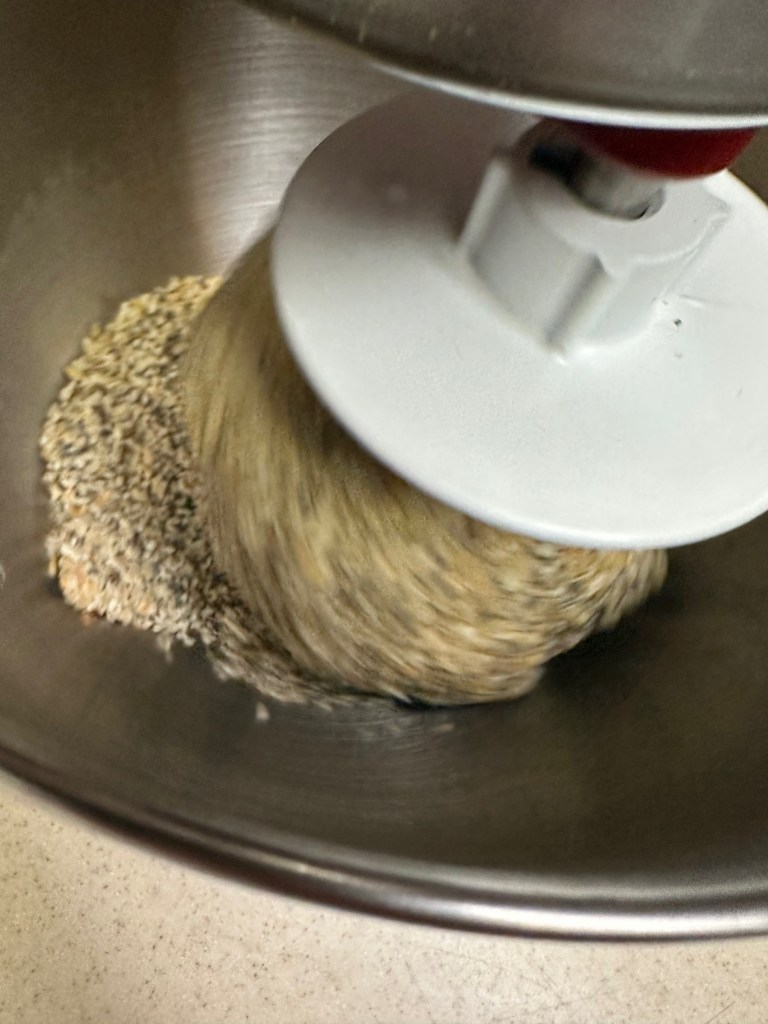
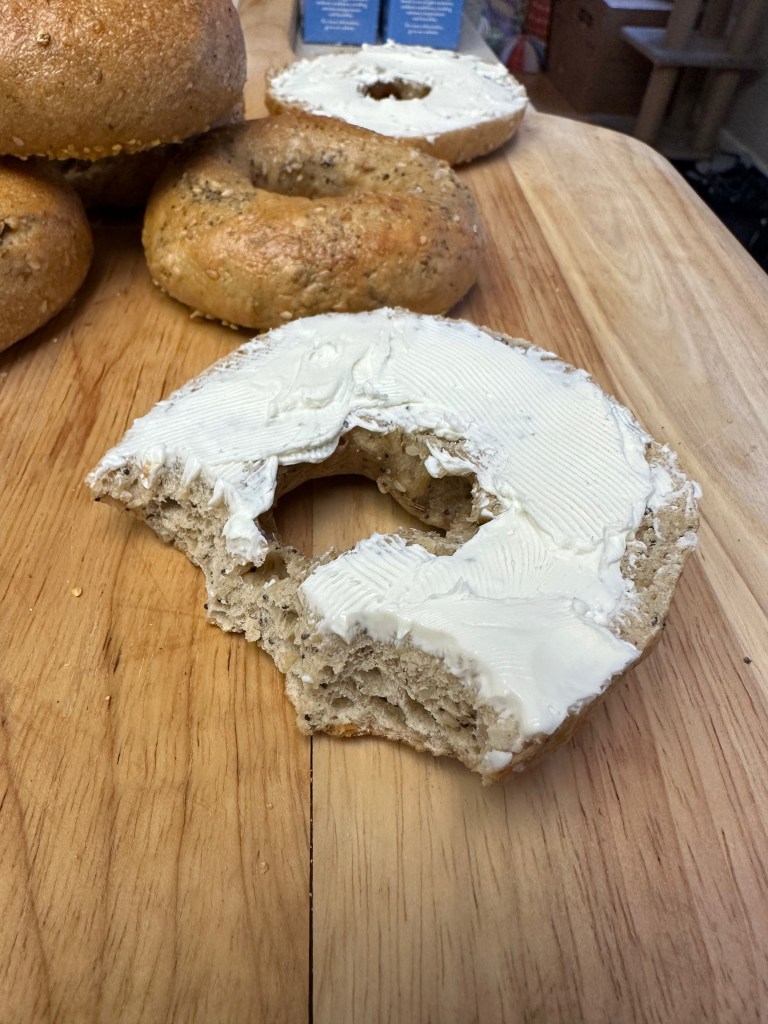
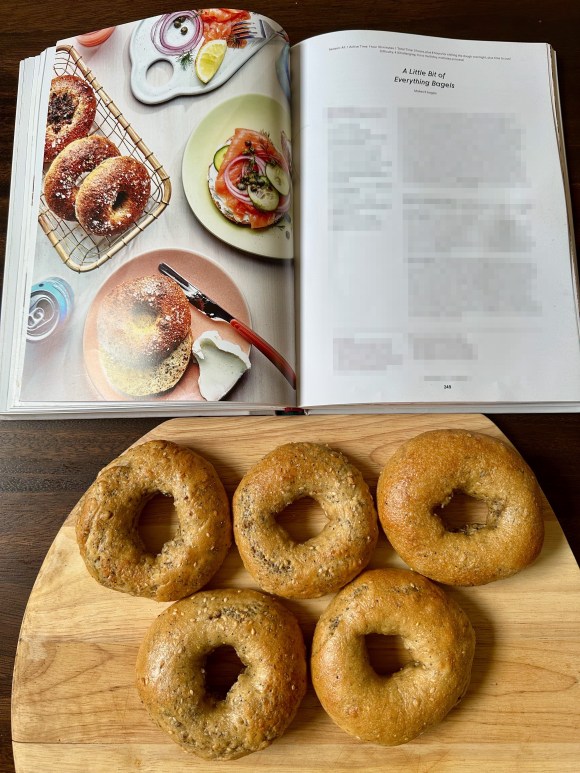
Homemade bagels really are worth the effort. The depth of flavor and taste is incredible. Plus it’s really not that much work. If you’re not a fan of everything bagels, at least give this a try. The everything mix adds a ton of flavor. Definitely one of the best non-dessert recipes in the book. Note that the linked video does not match the recipe exactly.
Tip 1: Adding the everything mix to the batter itself made things a bit more difficult to work with, but did provide flavor throughout. See the video for an alternative technique (simply applying the mix at the end).
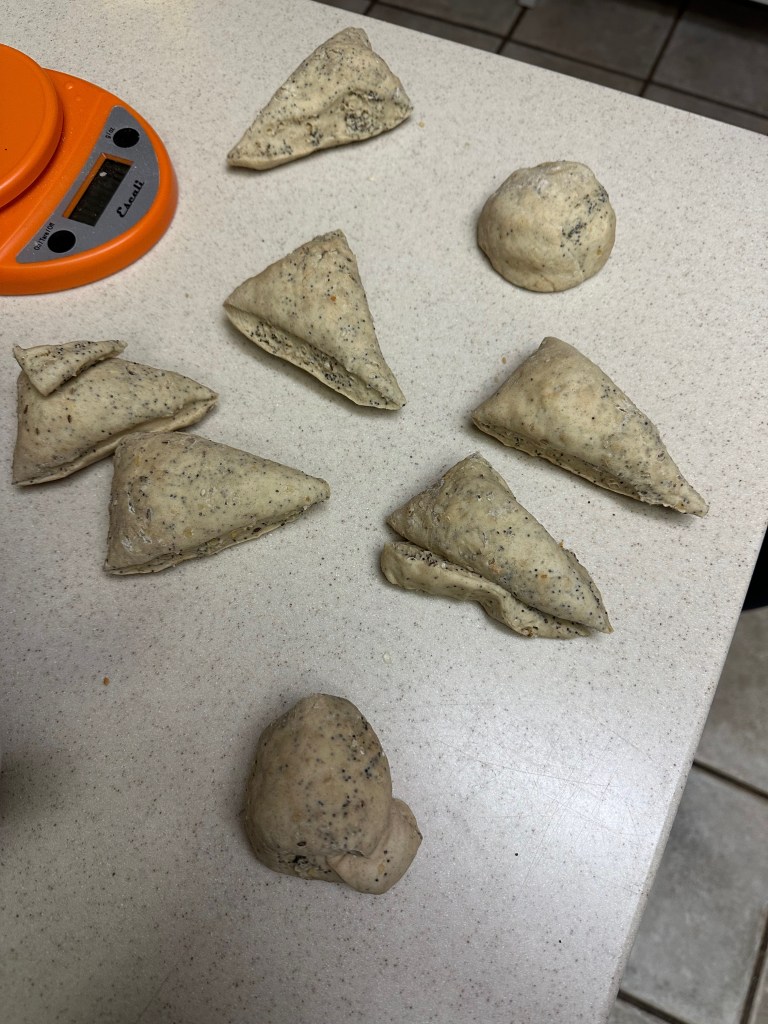
Tip 2: Form rings by poking a hole and then moving the ring in a circle with fingers inside (gravity will help pull the bagel down and expand the ring).
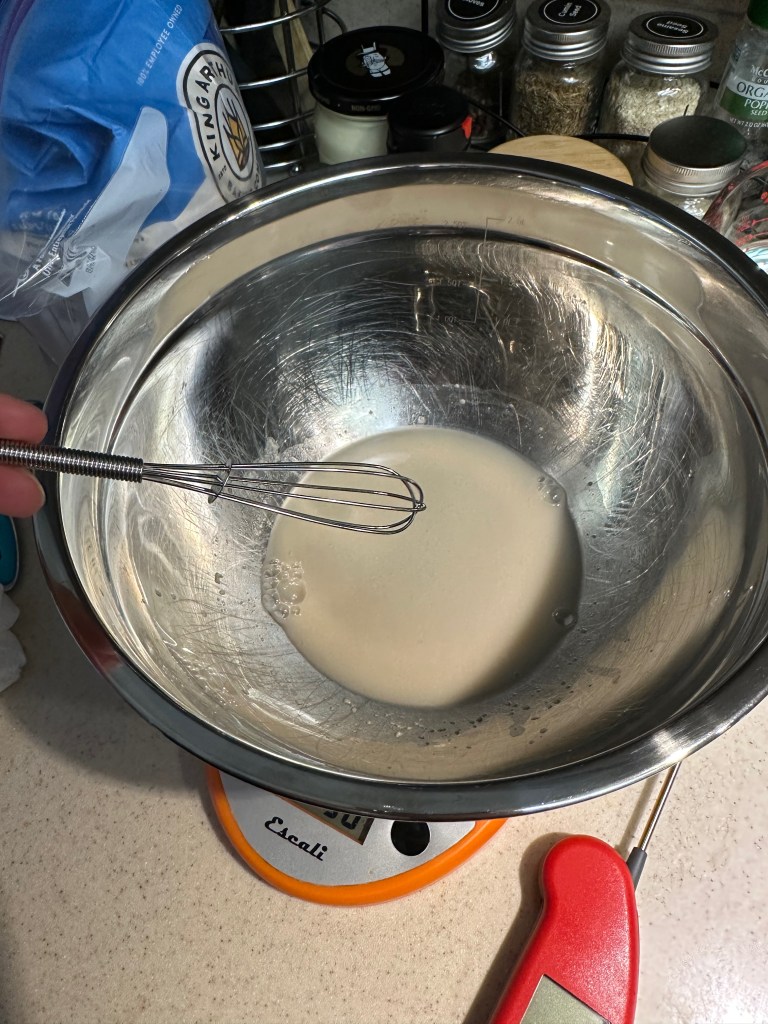
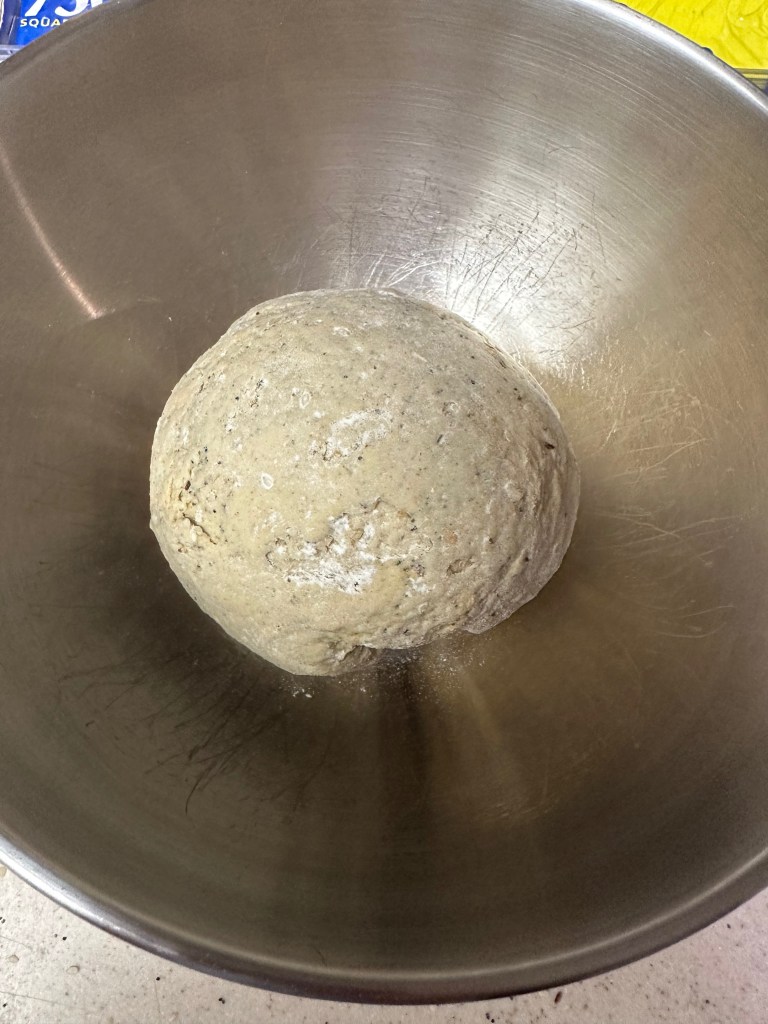
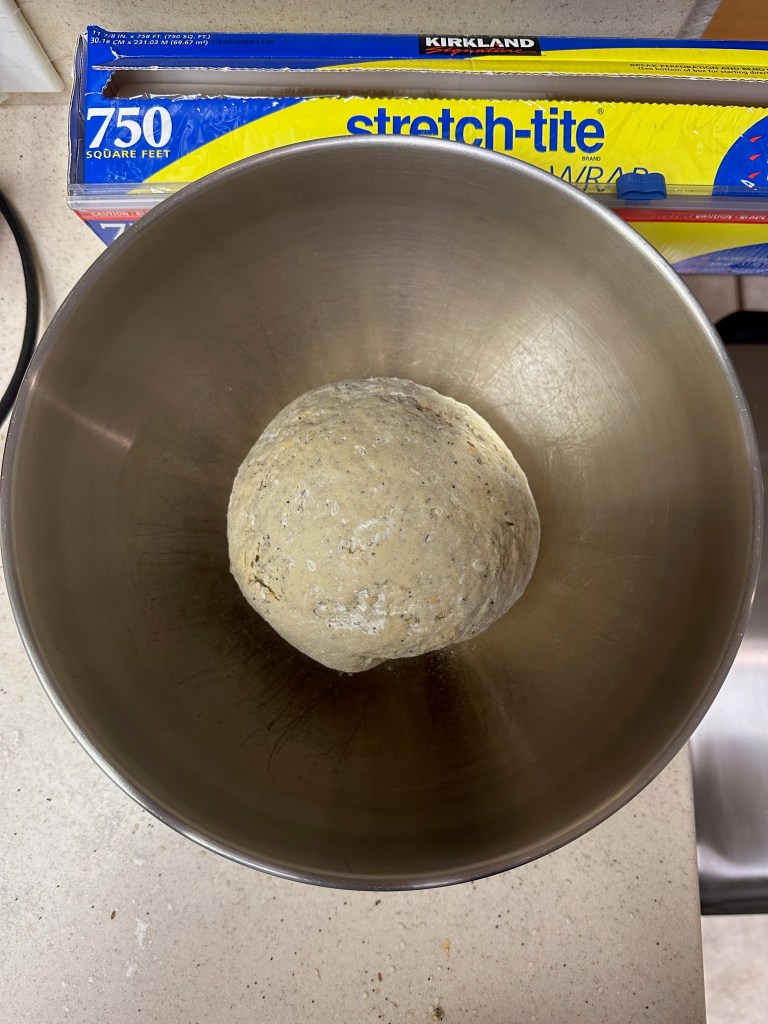
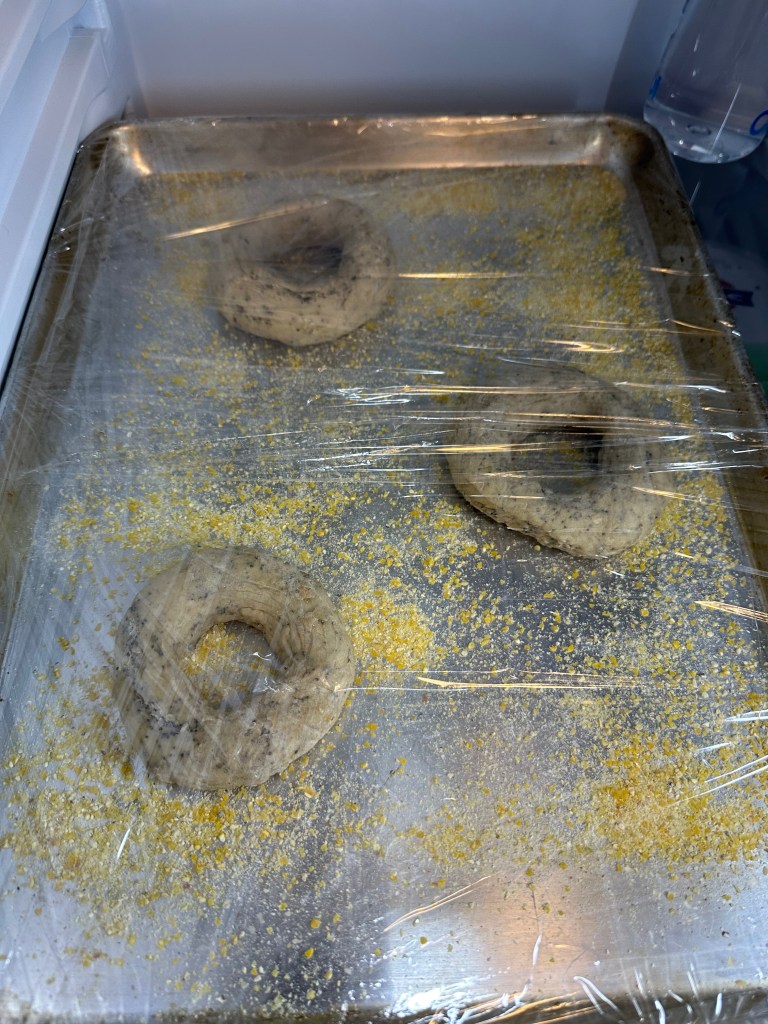
Proofing The Bagels
Tip: If the bagels are not passing the “float test”, they may need to sit at room temperature for an hour or more. A slightly warmer temperature will help with the process. Don’t worry if it takes a while, they’ll float eventually.
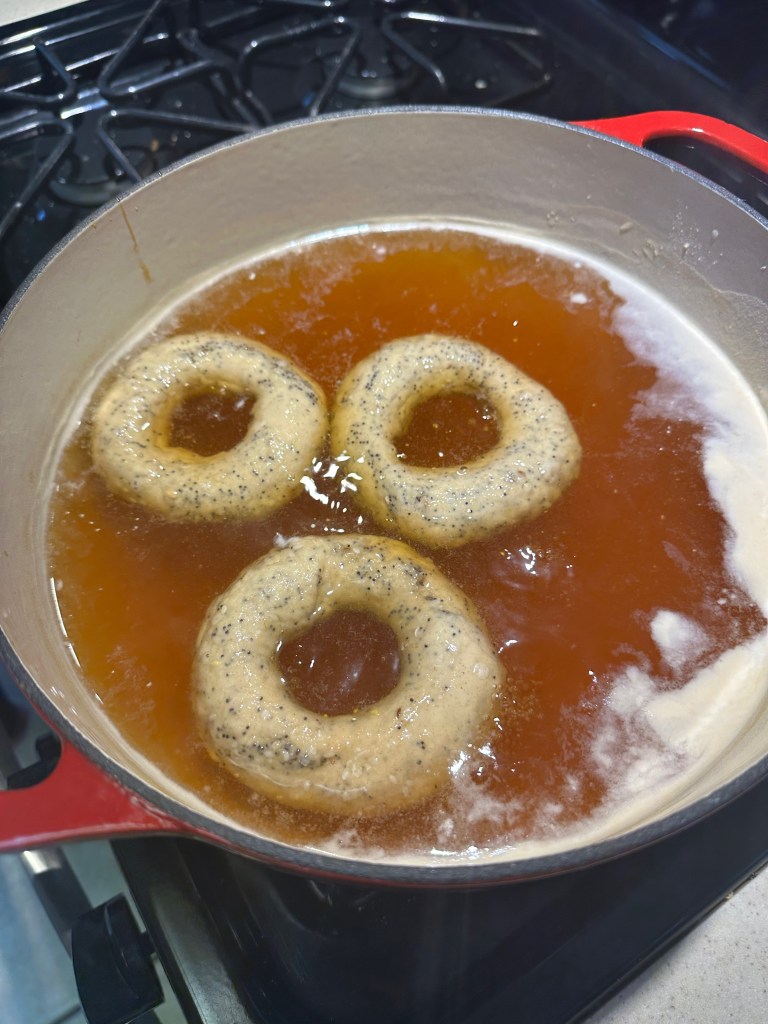
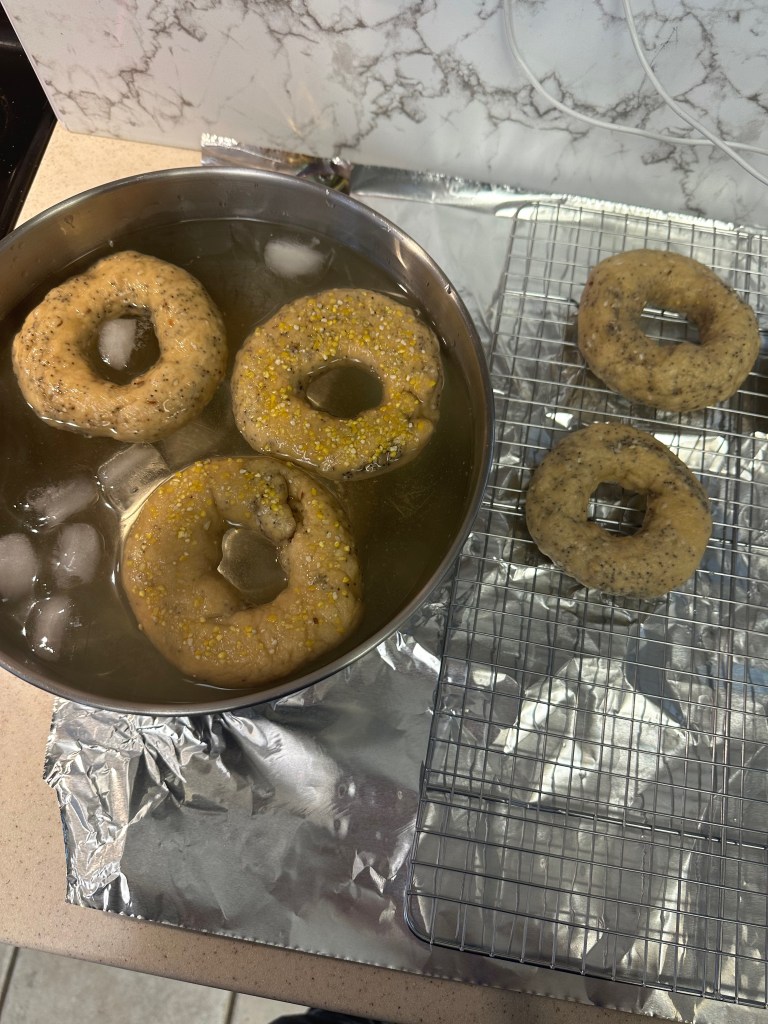
Cooking The Bagels
Tip: Use fine cornmeal to line the tray for baking. Likewise only apply cornmeal to where the bagels will actually sit – otherwise it will burn/smoke in the oven.
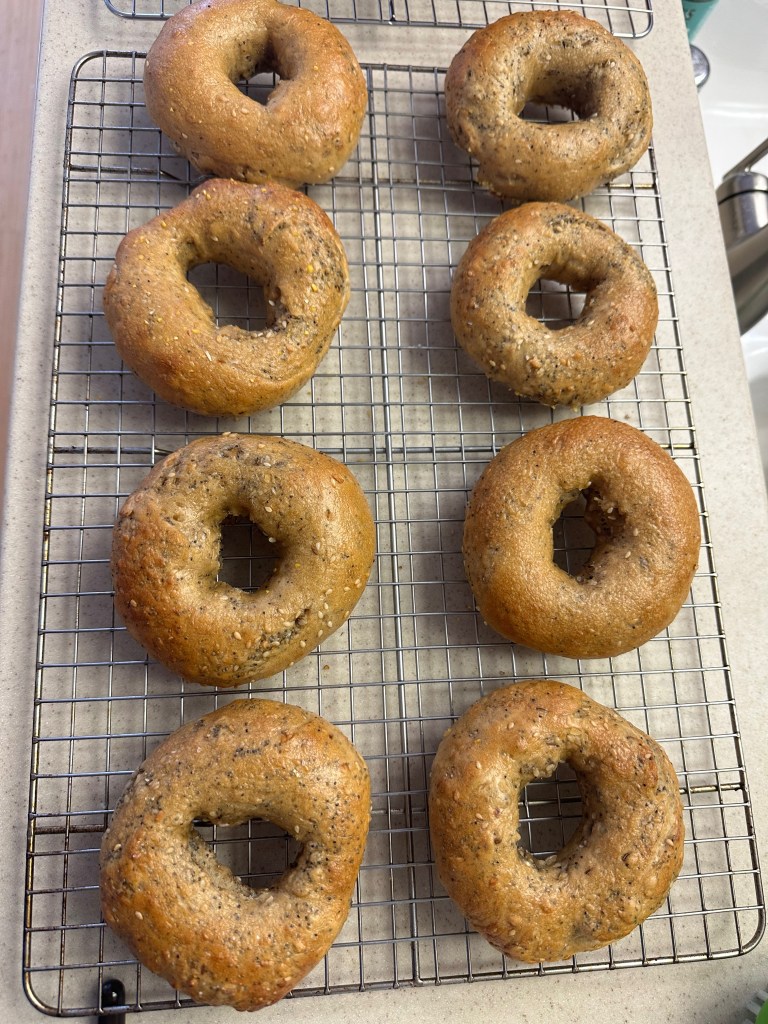
Final Product
Key Takeaways
Be patient with the proofing process.
A spider strainer helps with the cooking process.
Final Score: 4/5 – These weren’t too difficult and the end product was delicious. It’s a bit of work, but ultimately worth the effort. The bagels taste best right after being made and at that point won’t even need to be toasted.