This is a fun, delicious, and easy cake recipe. Not only does it serve as a great introduction to baking cakes, but the end result is something that will make anyone happy. Think of this as an elevated take on the classic boxed “funfetti” cake. This cake doesn’t take too long to make, but make sure you leave adequate time for things to come to room temperature and for the cake to cool.
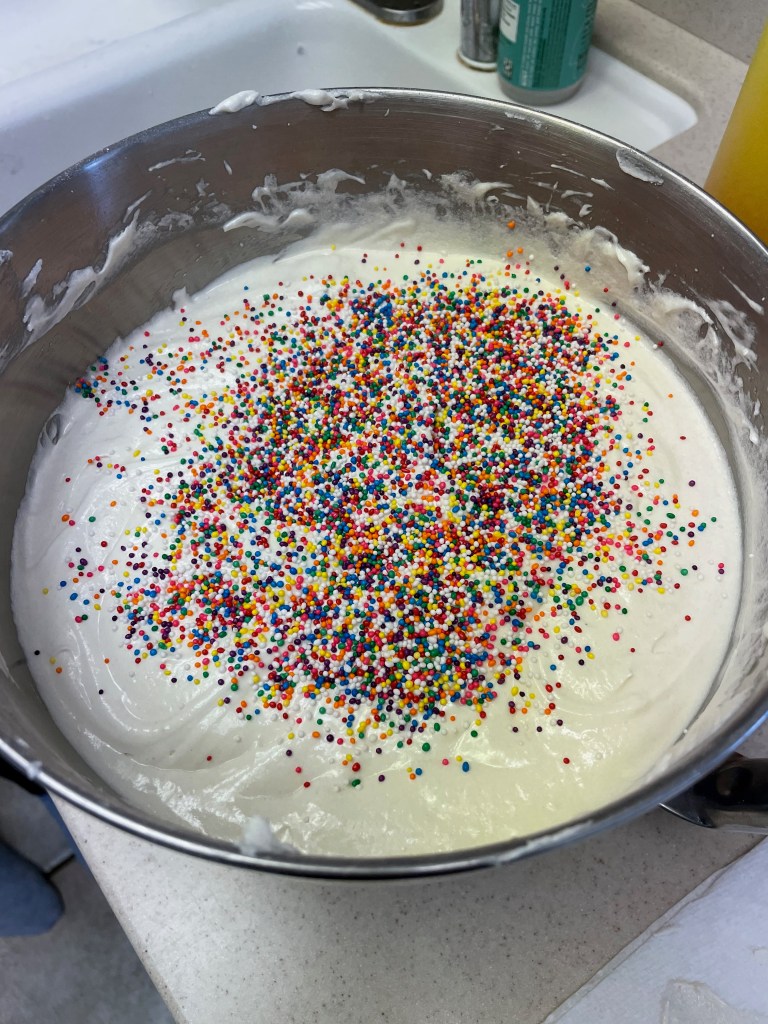
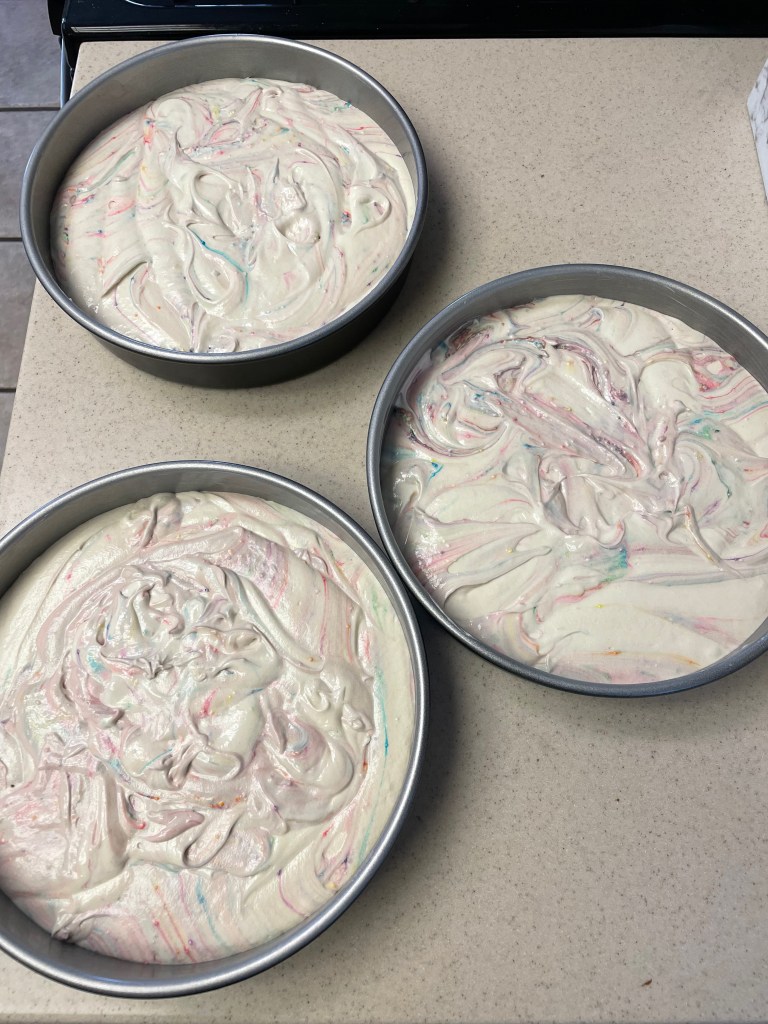
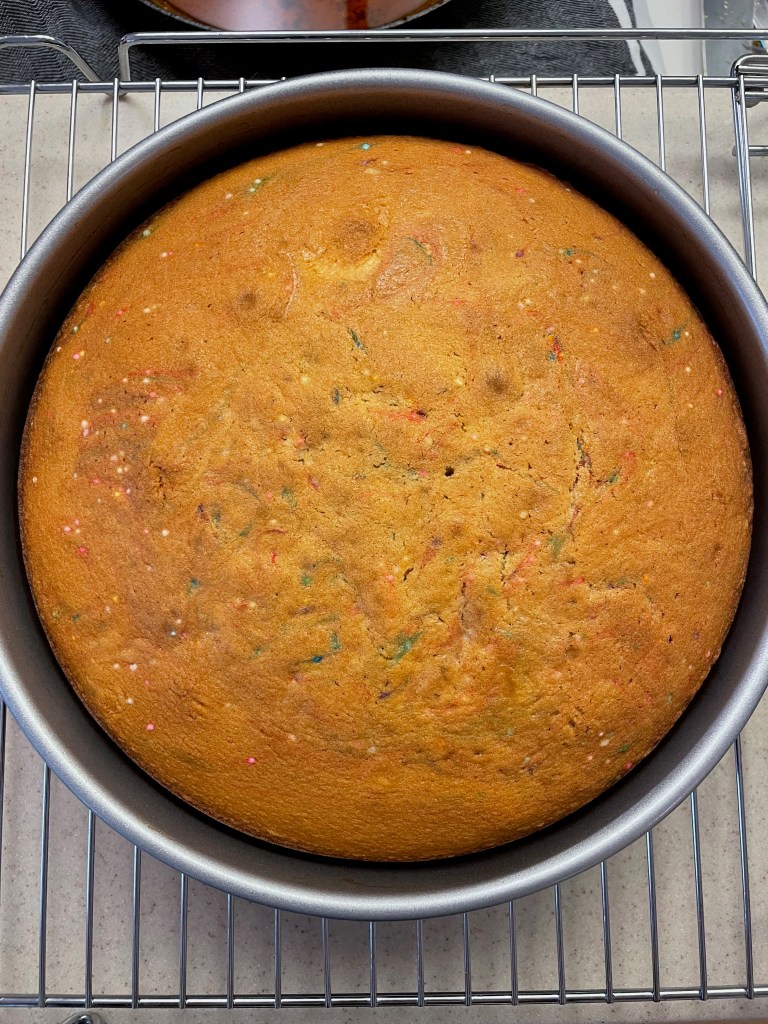
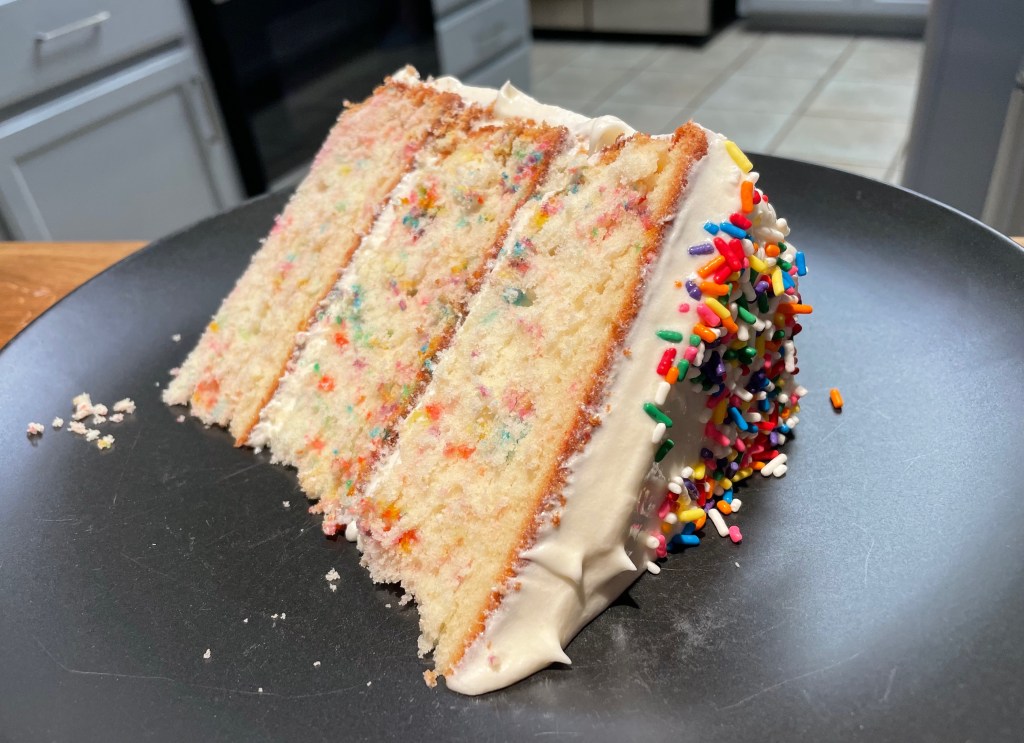
Tip: Don’t fold the sprinkles too much to avoid making a rainbow batter with too many streaks. Some streaking is inevitable, but most won’t be noticeable after baking (see above as a reference for an acceptable amount of streaking). Make sure to fold the sprinkles enough though or you will end up with dense pockets of sprinkles that don’t bake well.
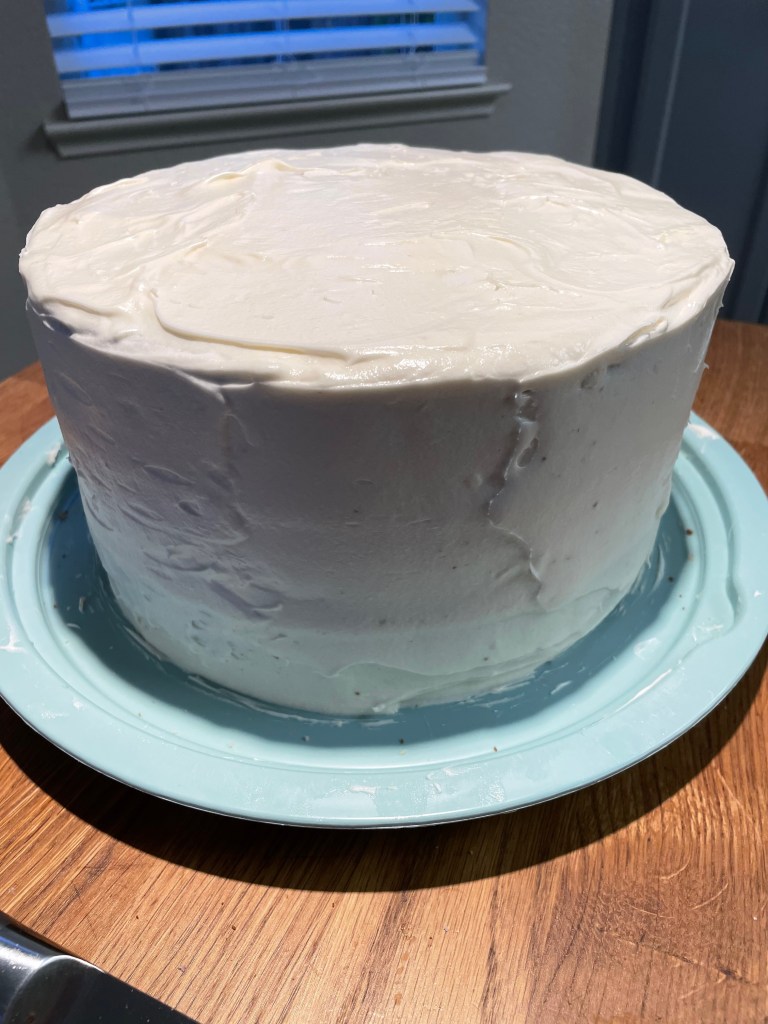
Baking The Cakes
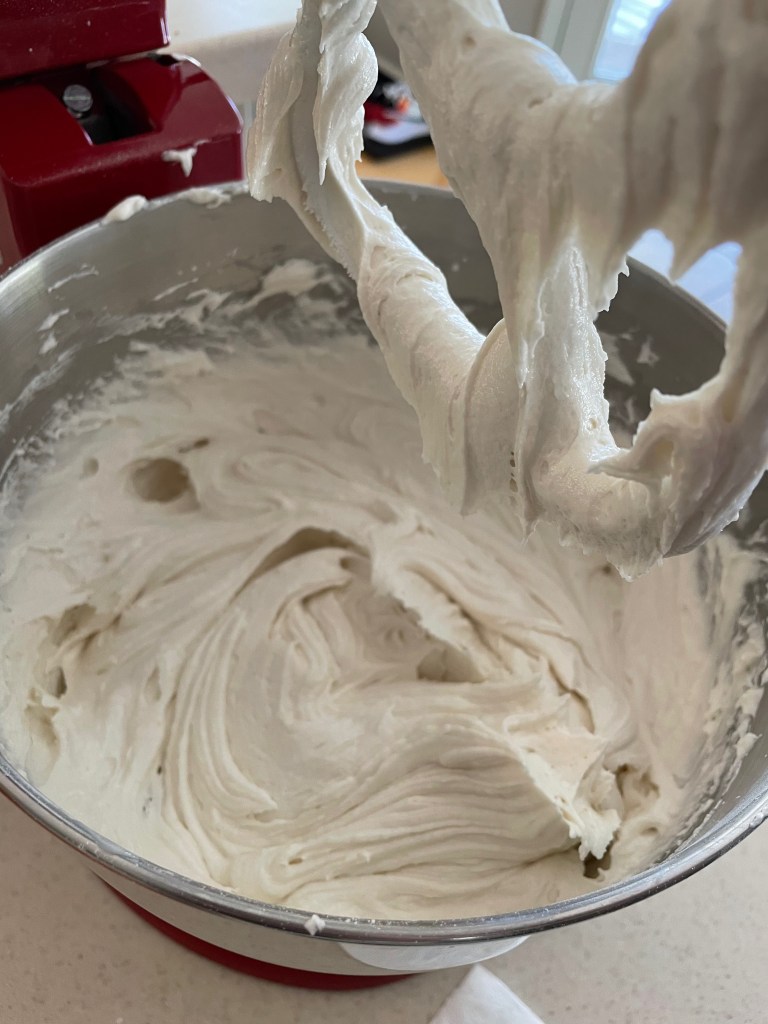
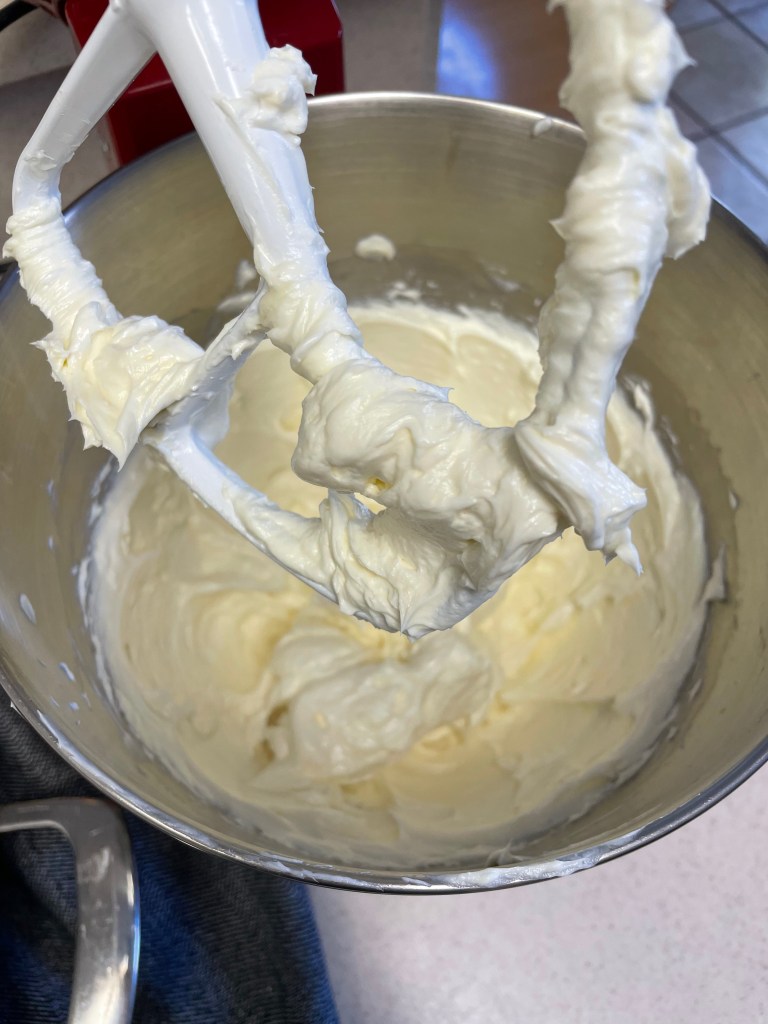
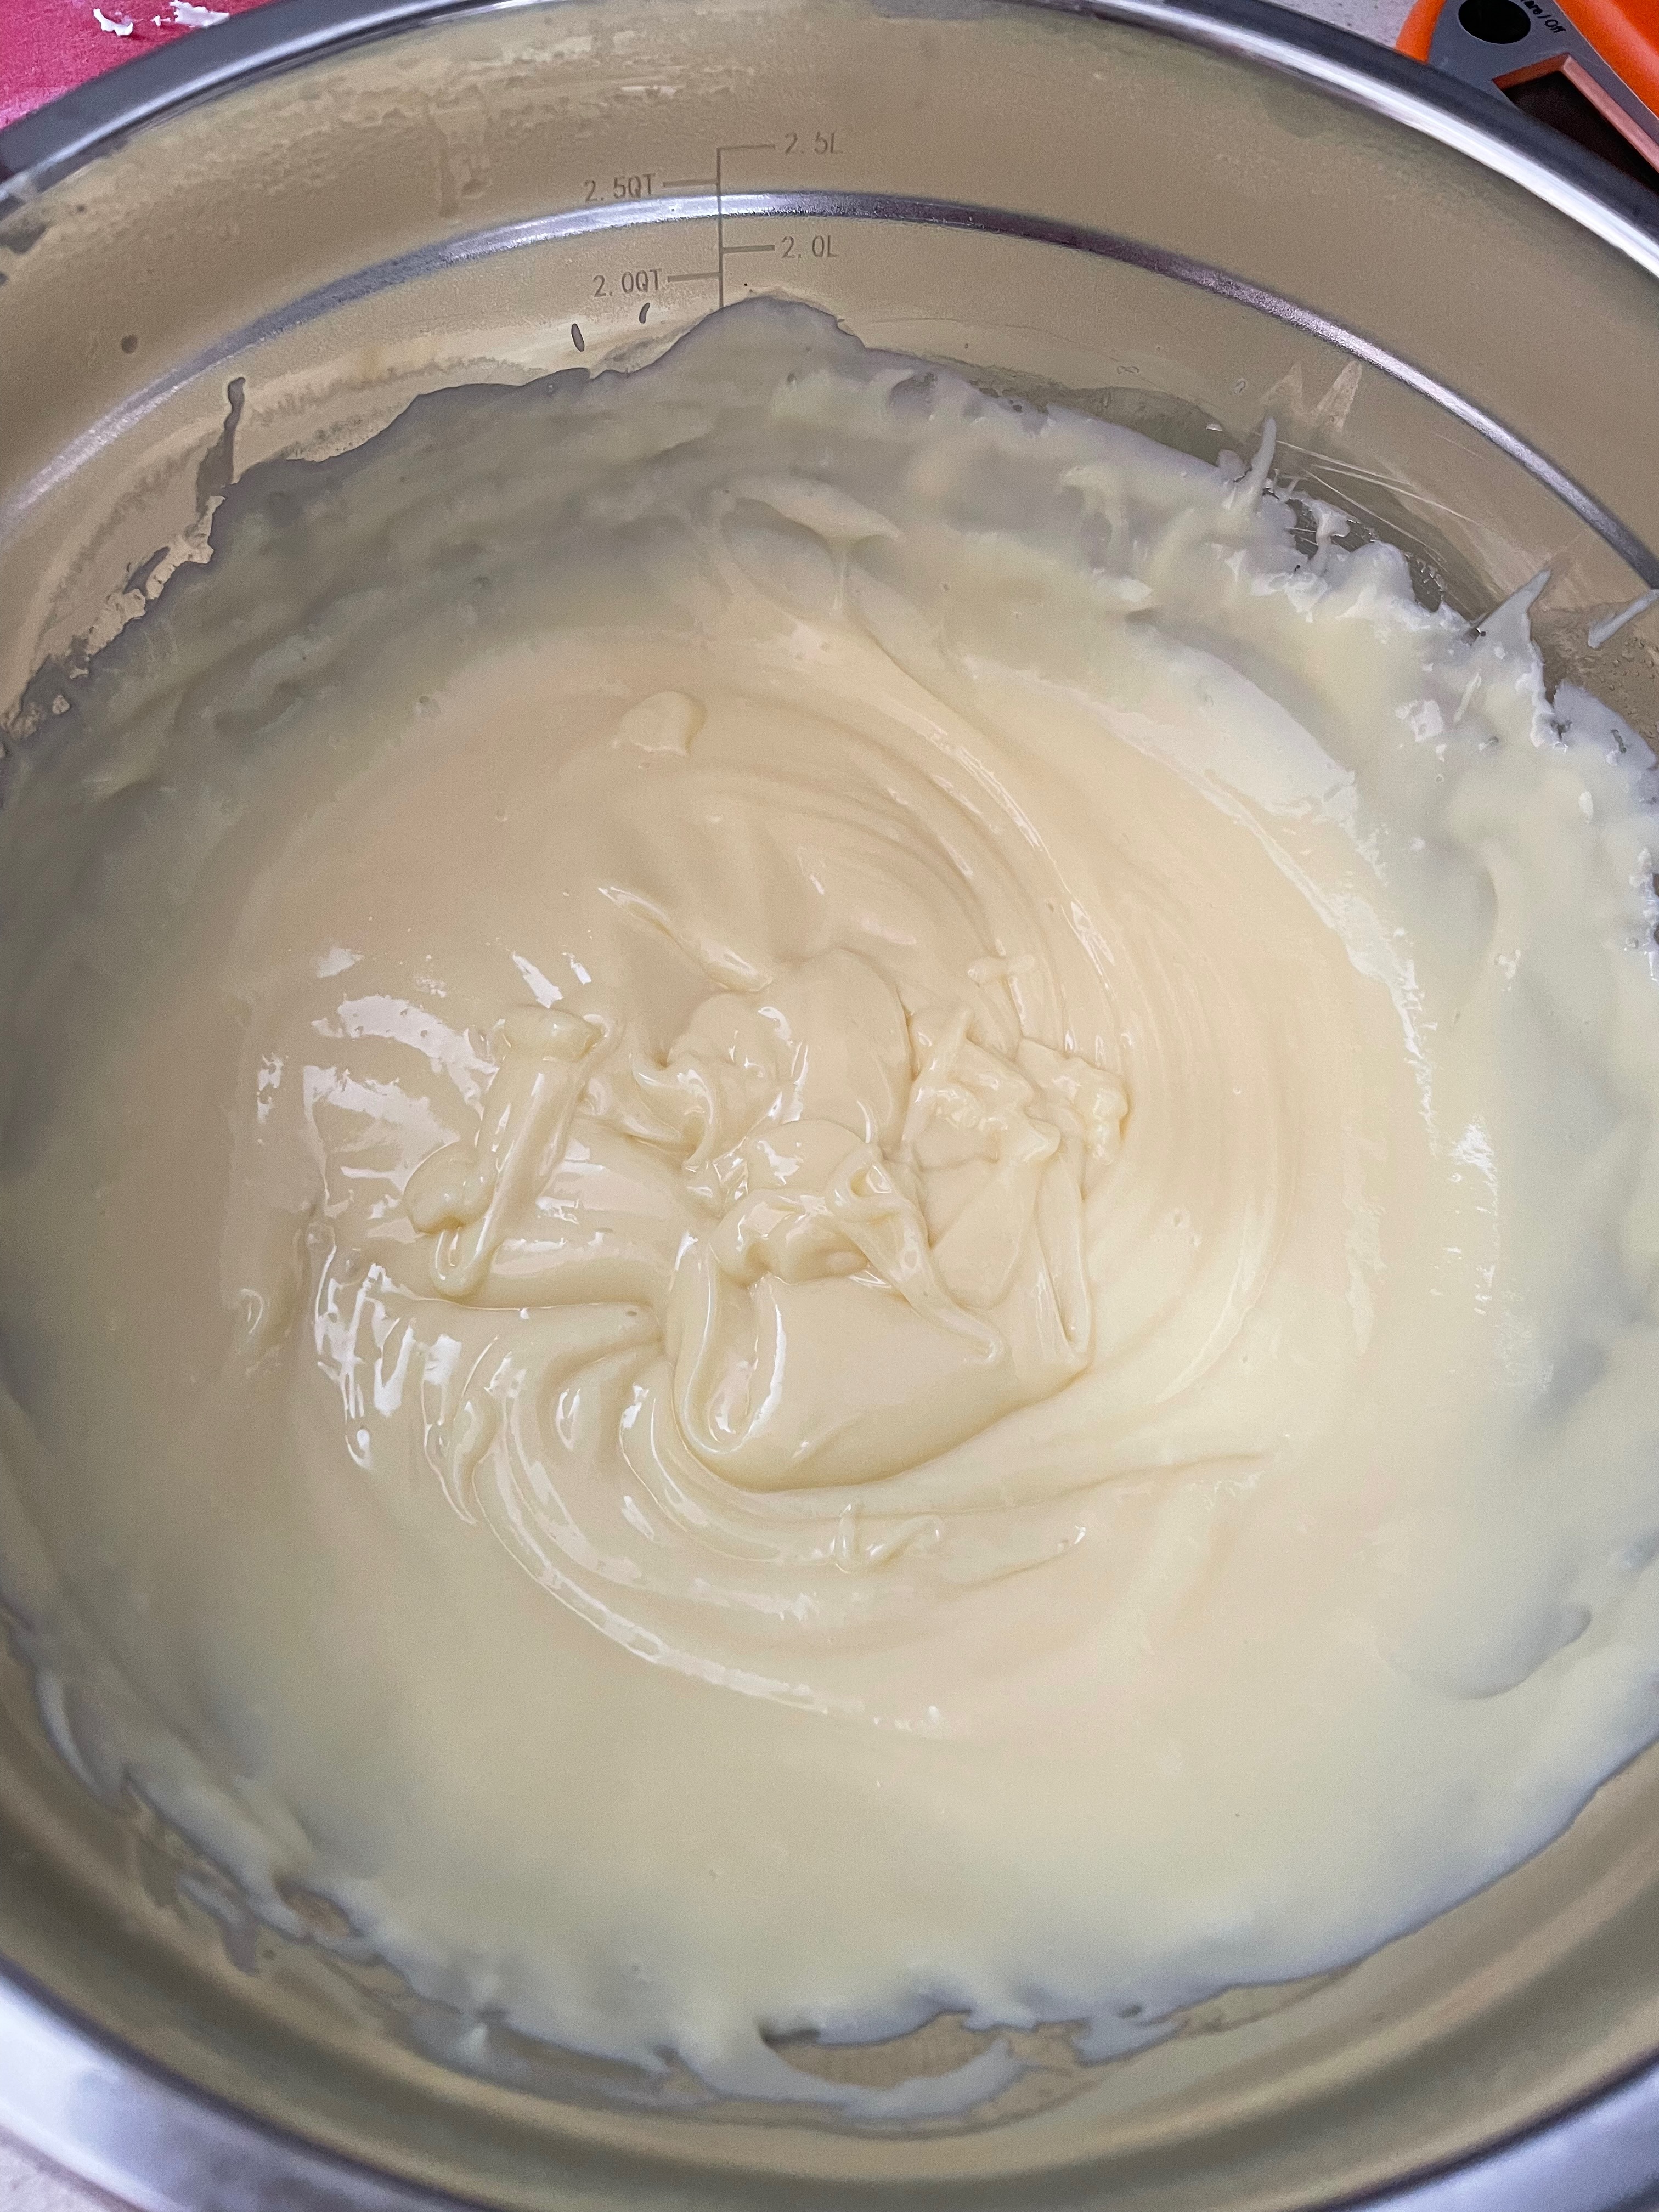
Making The Frosting
Tip: Ensure the frosting is smooth and that there aren’t any chunks of material (butter, etc).
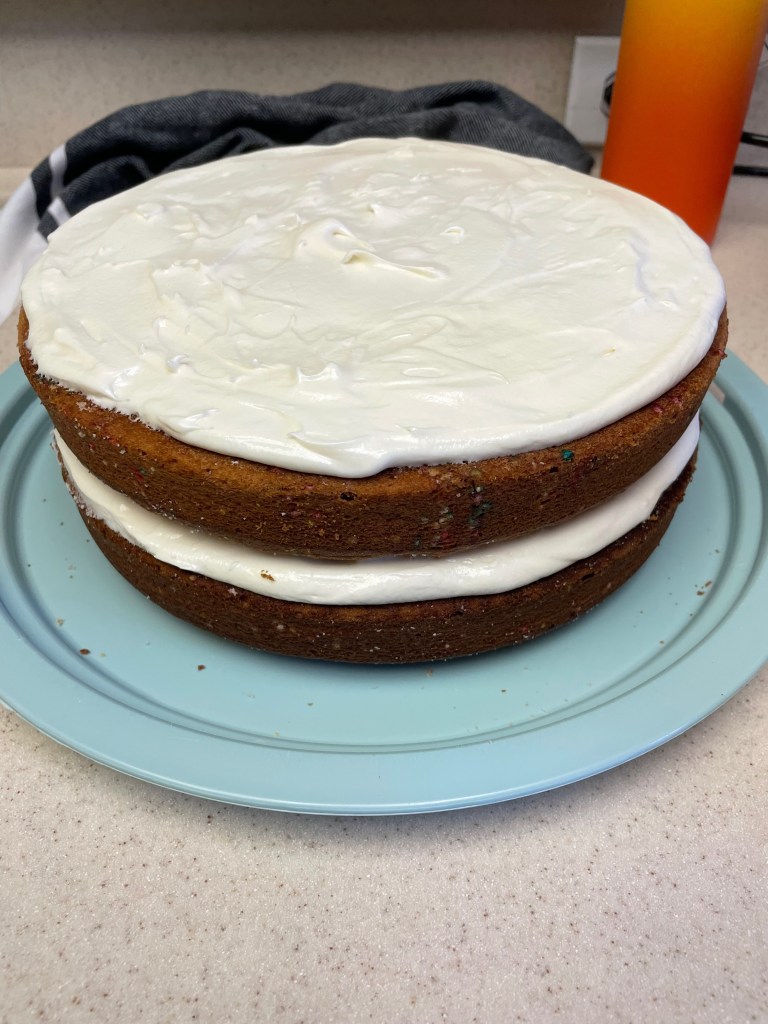
Assembling The Cake
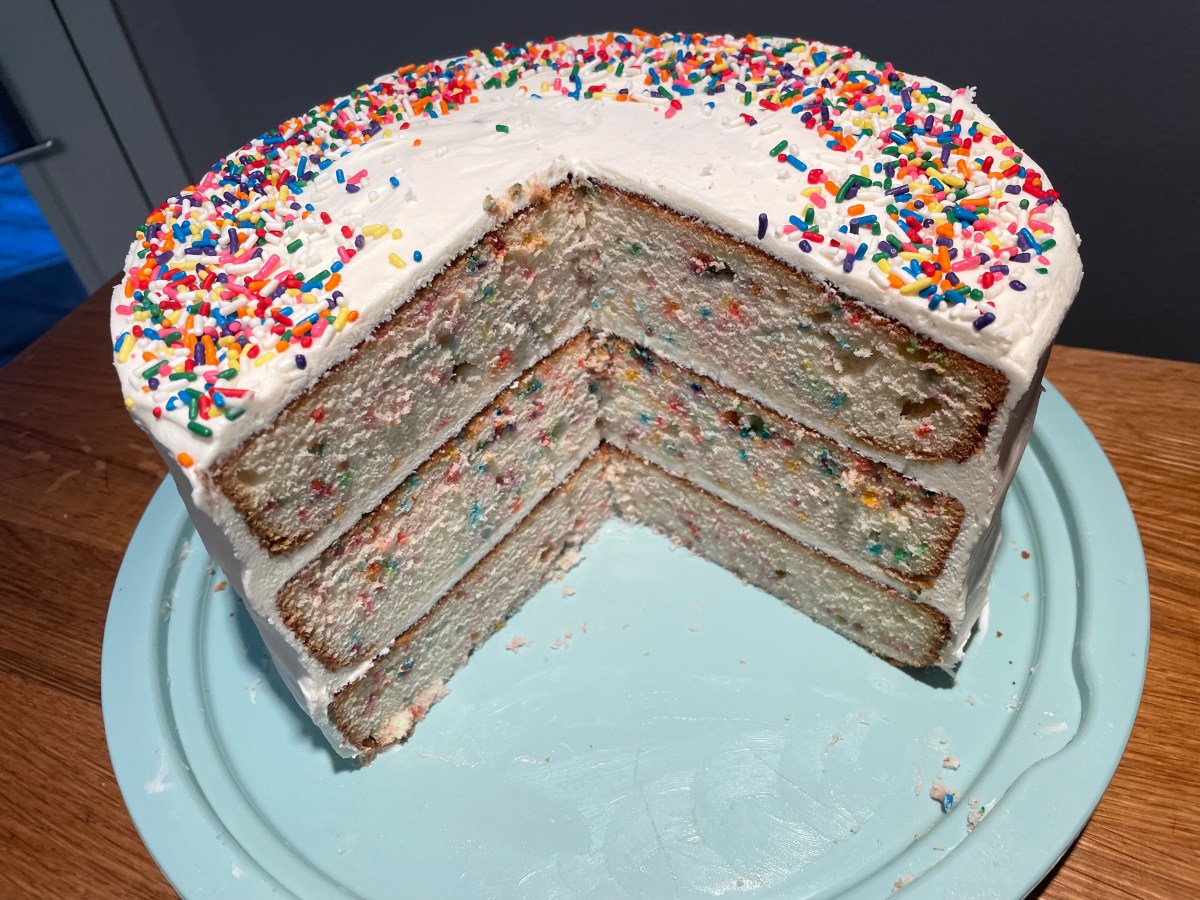
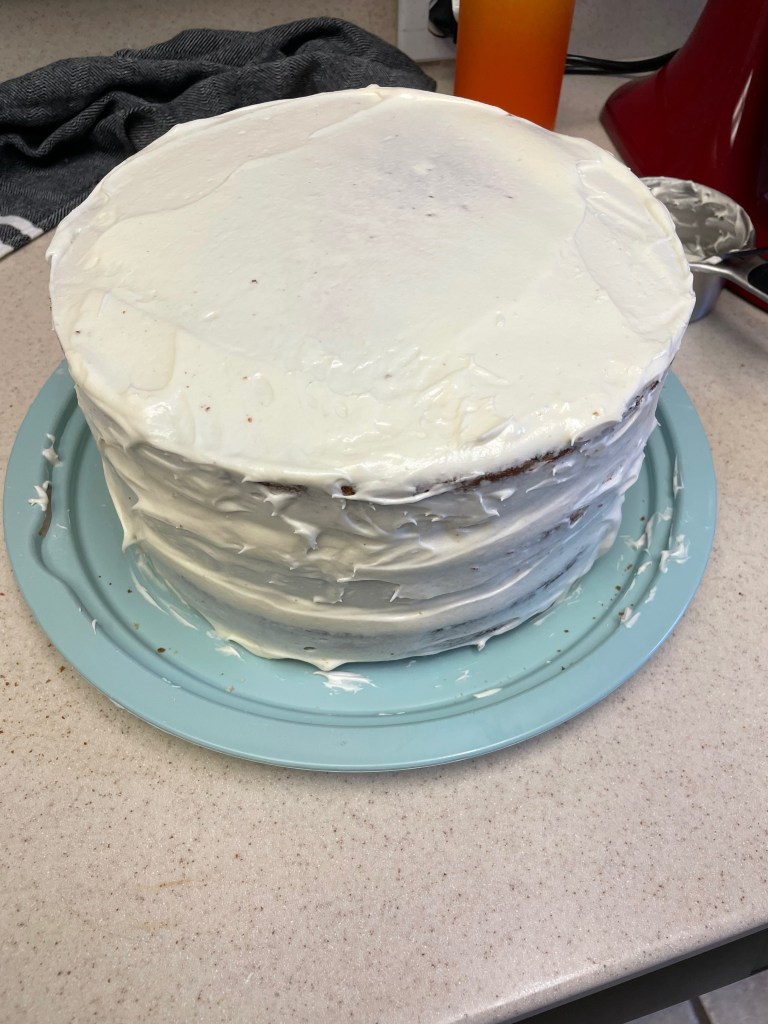
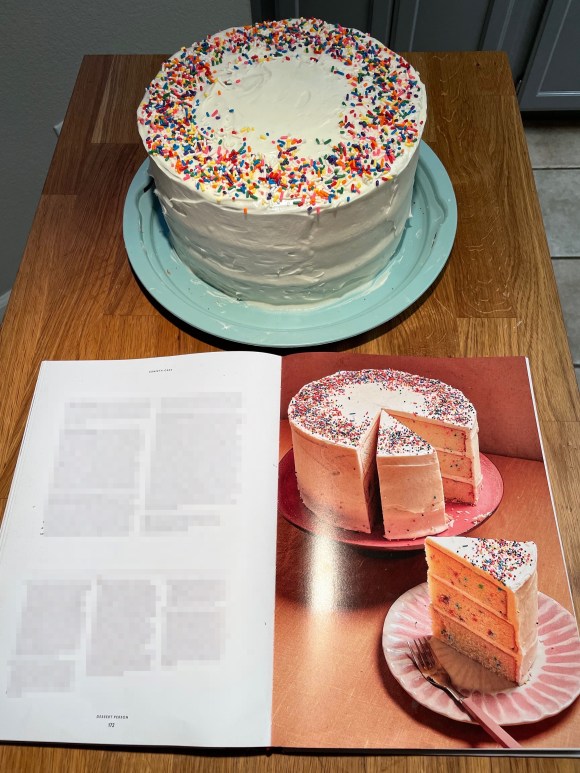
Final Product
Key Takeaways
This is a great cake to learn the fundamentals of cake making.
Consider using a mix of spherical and oblong sprinkles.
Final Score: 3/5 – This is a great and fairly easy-to-make cake that everyone will like. It’s not amazing or particularly special, but is sure to be a hit.
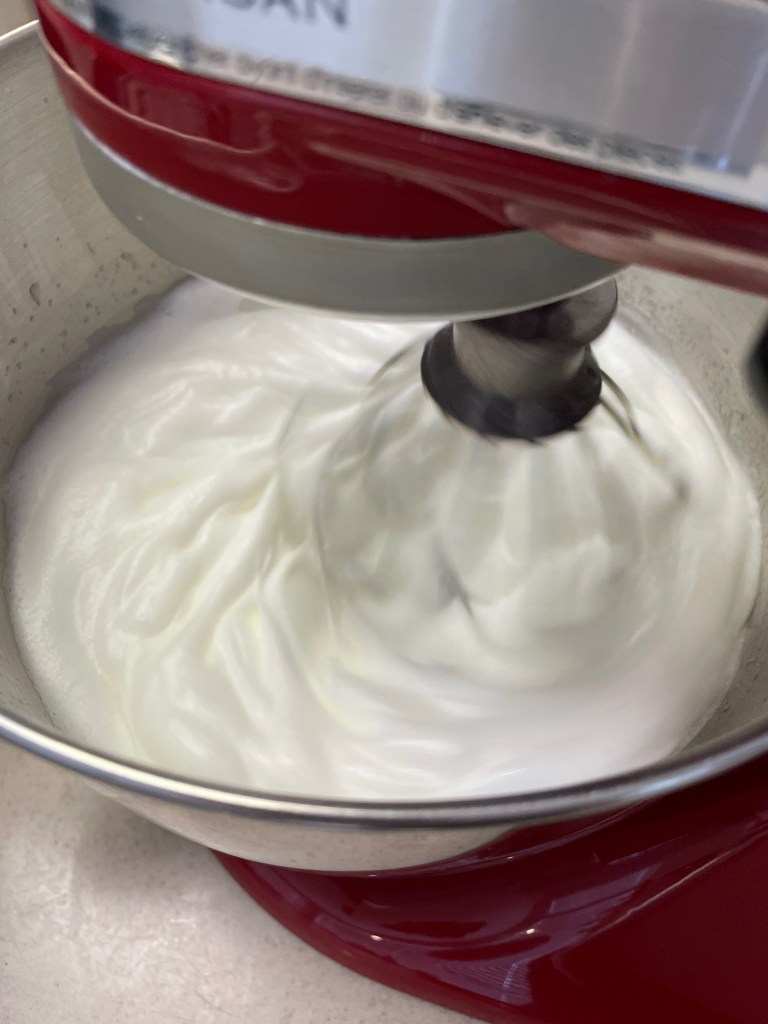
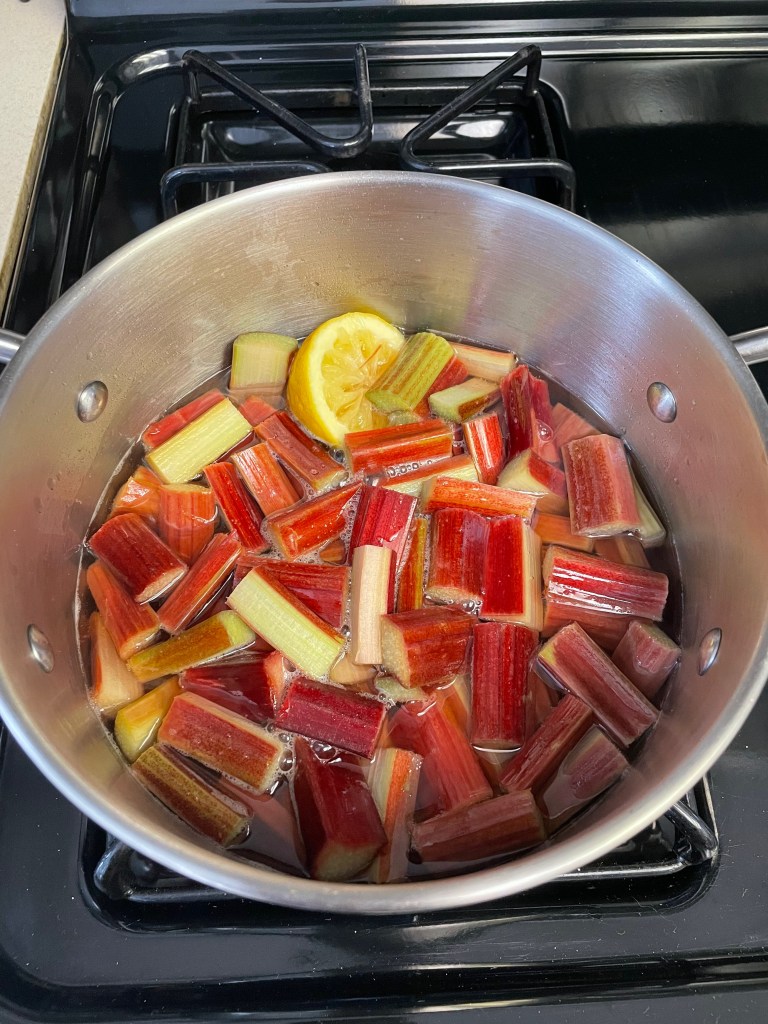
This is a great summertime recipe whenever you have fresh rhubarb and strawberries. The recipe is also a great way to practice making meringue as that’s where most of the effort and difficulty of this recipe lies. The final product is unexpectedly delicious, despite being a fairly simple creation. The recipe is assembled in pieces (first the meringue, then the rhubarb, then the strawberries, then the whipped cream), so it’s fairly amenable to mistakes on any given step.
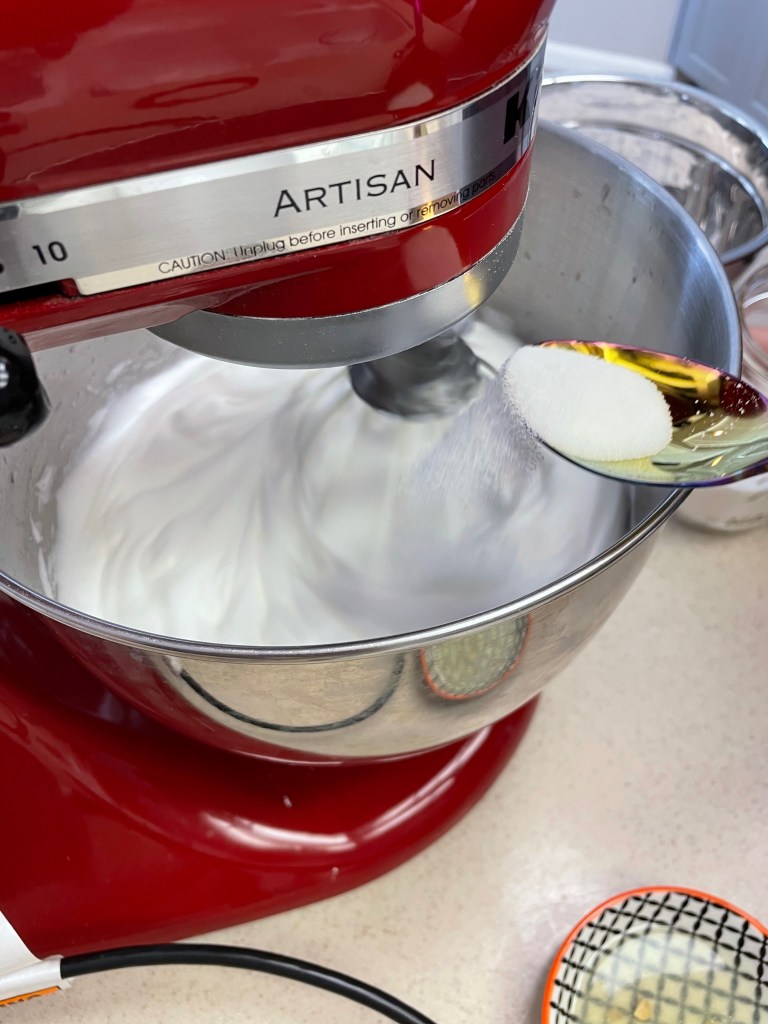
Tip 1: Consider sifting the powder sugar if clumpy so it combines easier.
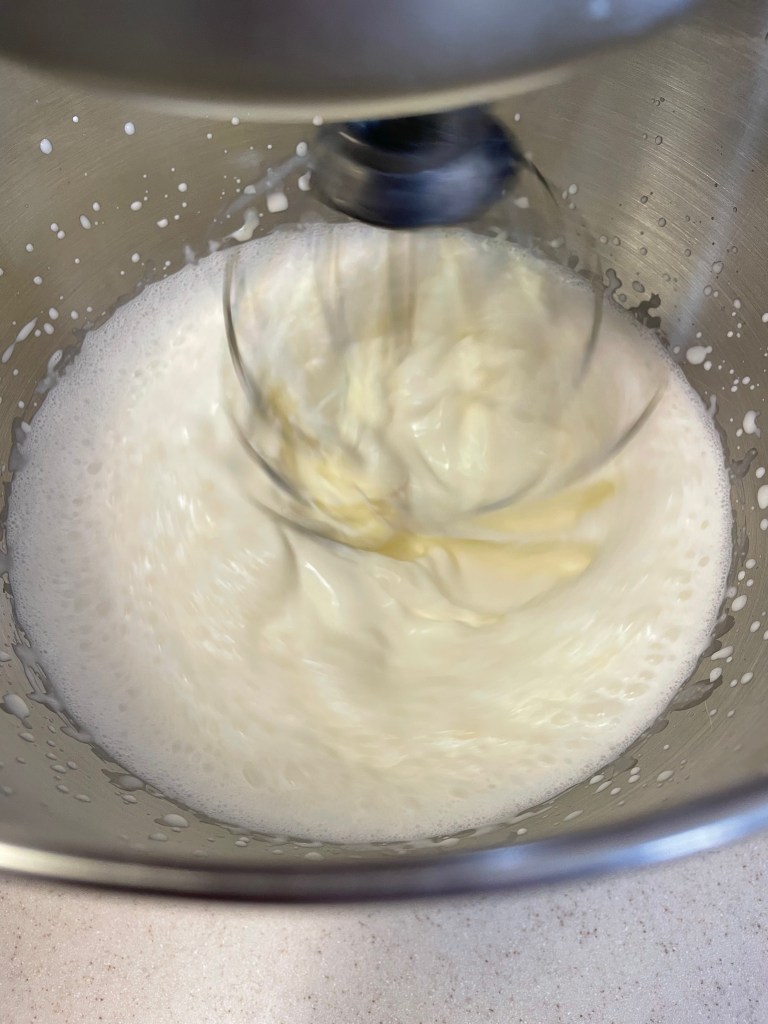
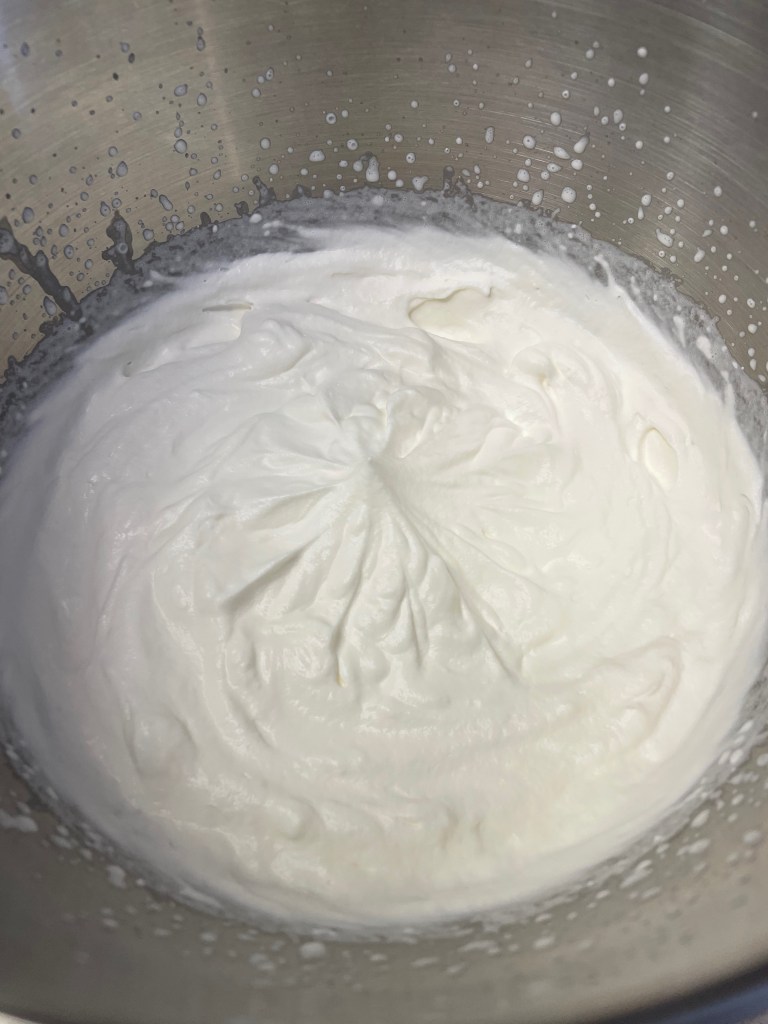
Tip 2: You will likely need to beat the egg whites for longer than recommended in the book. We had to beat ours for significantly longer after adding the powdered sugar to achieve stiff peaks (several minutes). Look up reference images for the various stages of your meringue. There are examples in the book on page 23.
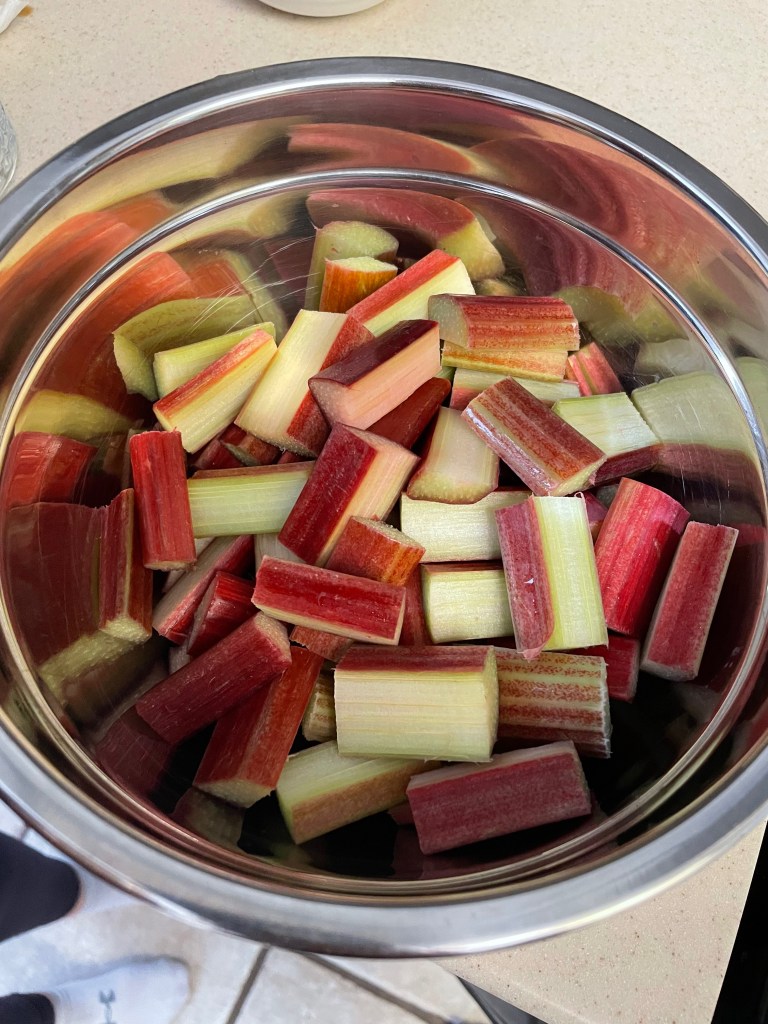
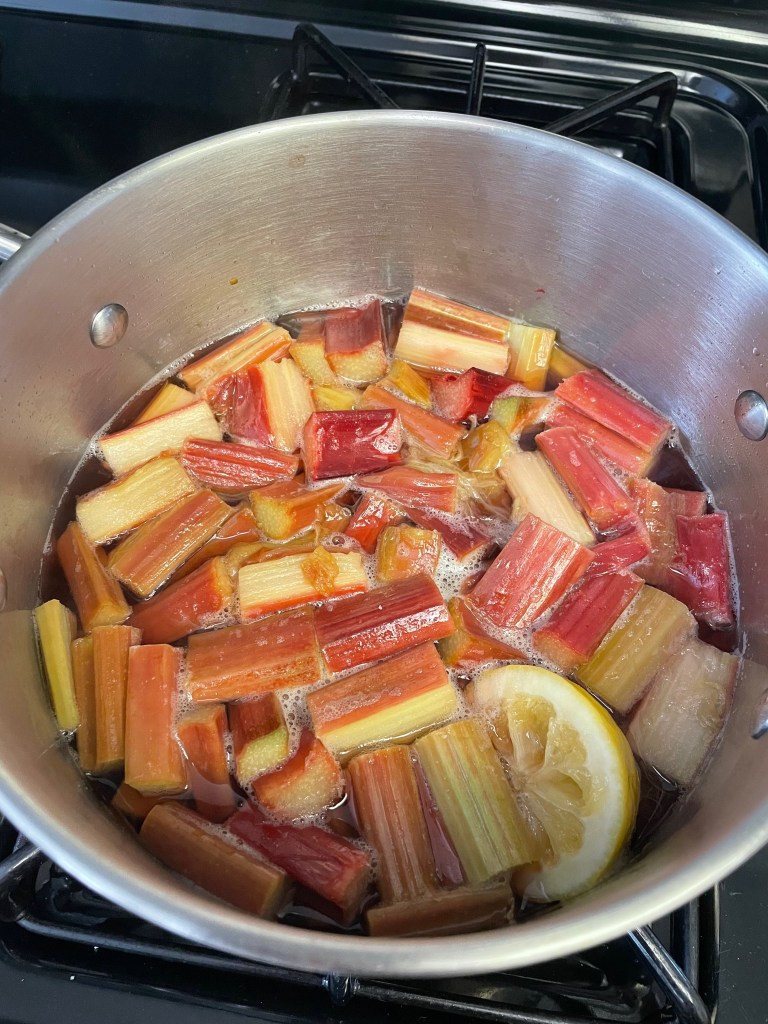
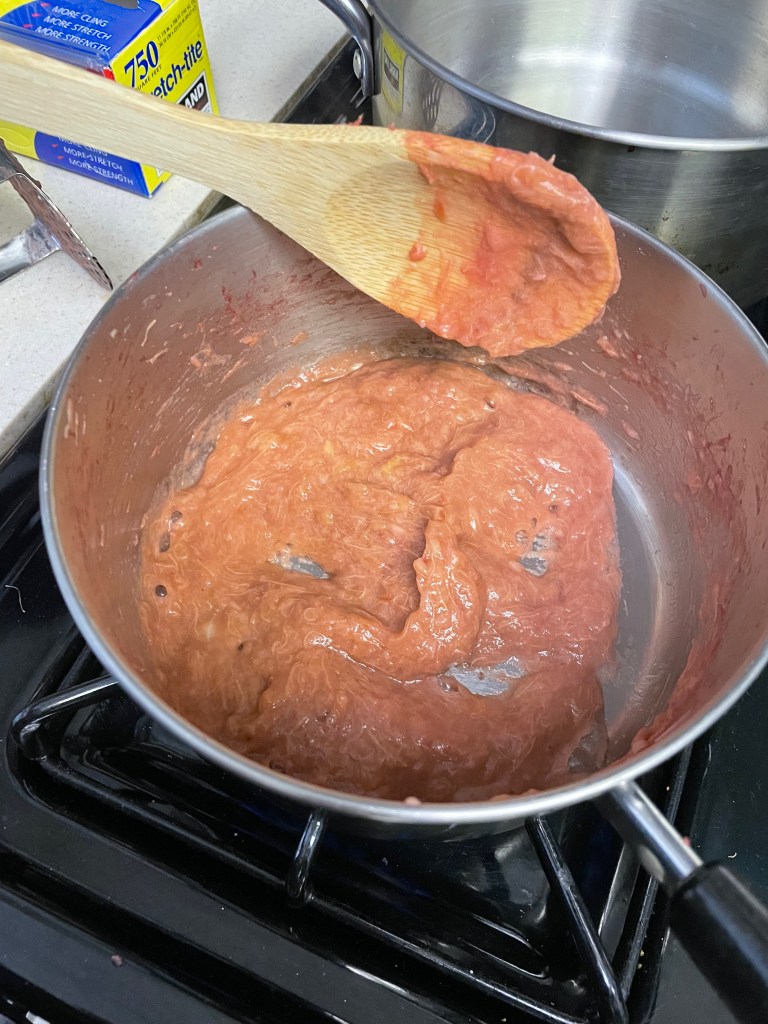
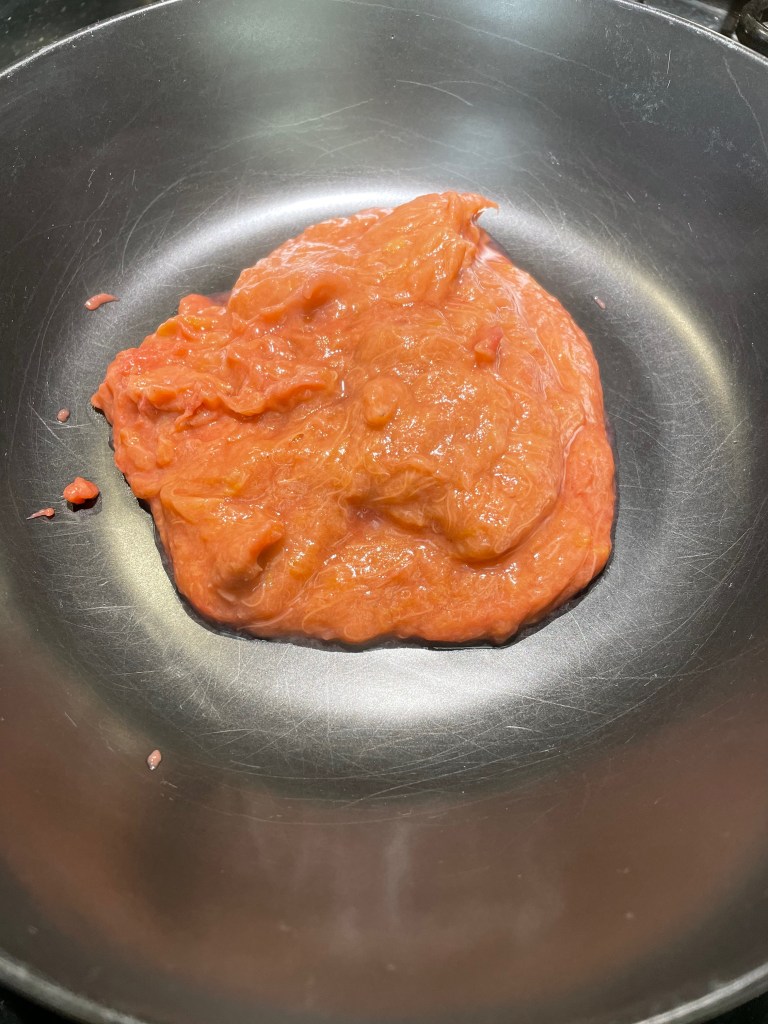
Poaching The Rhubarb
Tip: Not all of the rhubarb will be poached well (rhubarb near the bottom of the pot will likely get a tad mushy). That’s fine, you just need “most” of it to be usable.
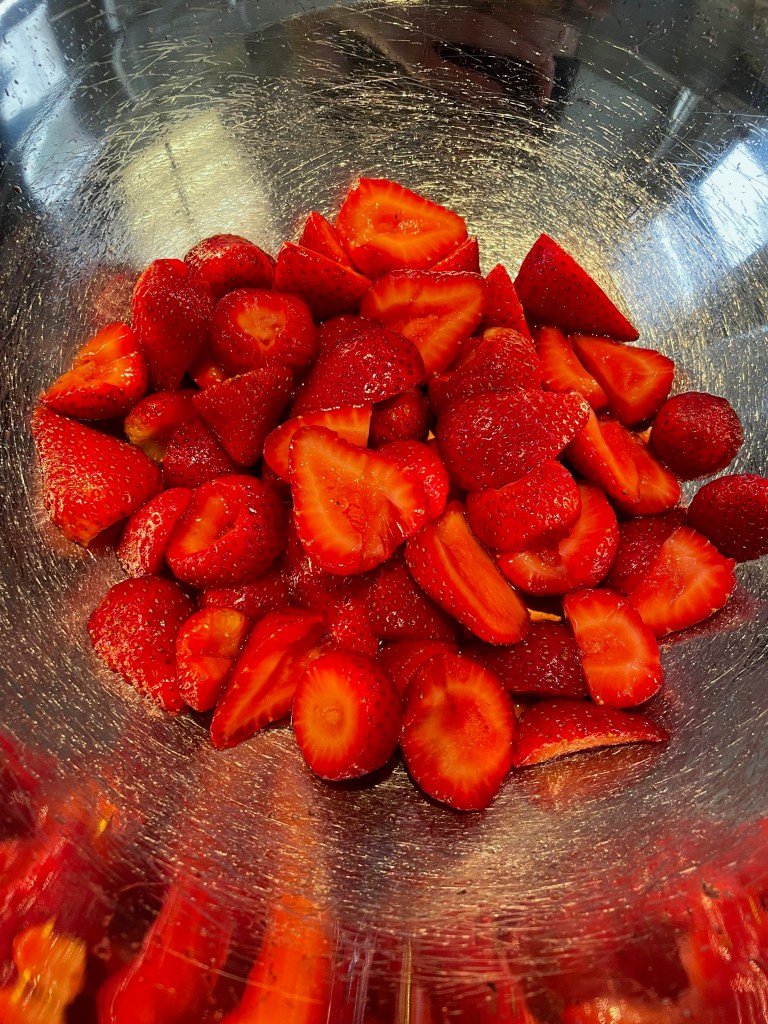
Preparing Strawberries and Cream
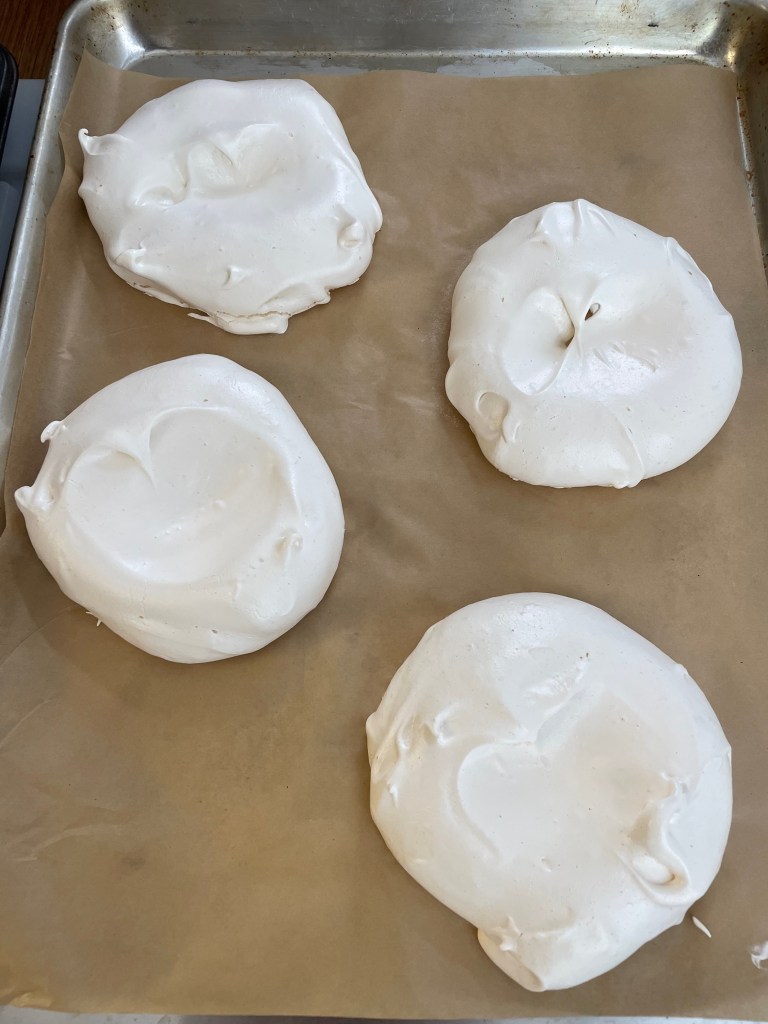
Assembling The Pavlovas
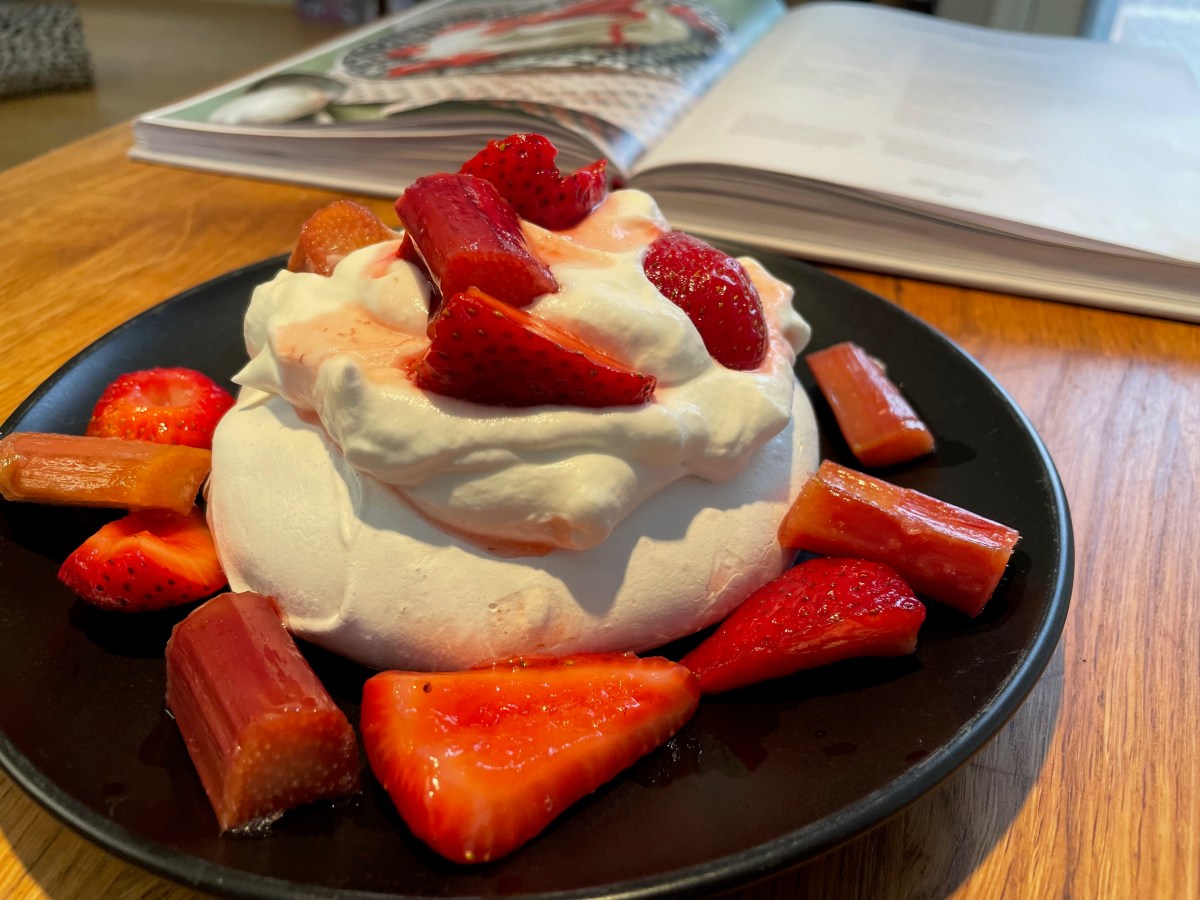
Final Product
Key Takeaways
Keep in mind that the individual components can be made ahead of time and assembled afterwards.
Adding the rose water is optional (and only ½ tsp is used).
Feel free to halve the recipe if you only want 3 or 4 pavlovas.
Final Score: 4/5 – This is a great summer recipe that isn’t too difficult, albeit a bit time consuming due to the meringue. The end result is surprisingly good and flavorful (it’s better than you think it’d be).
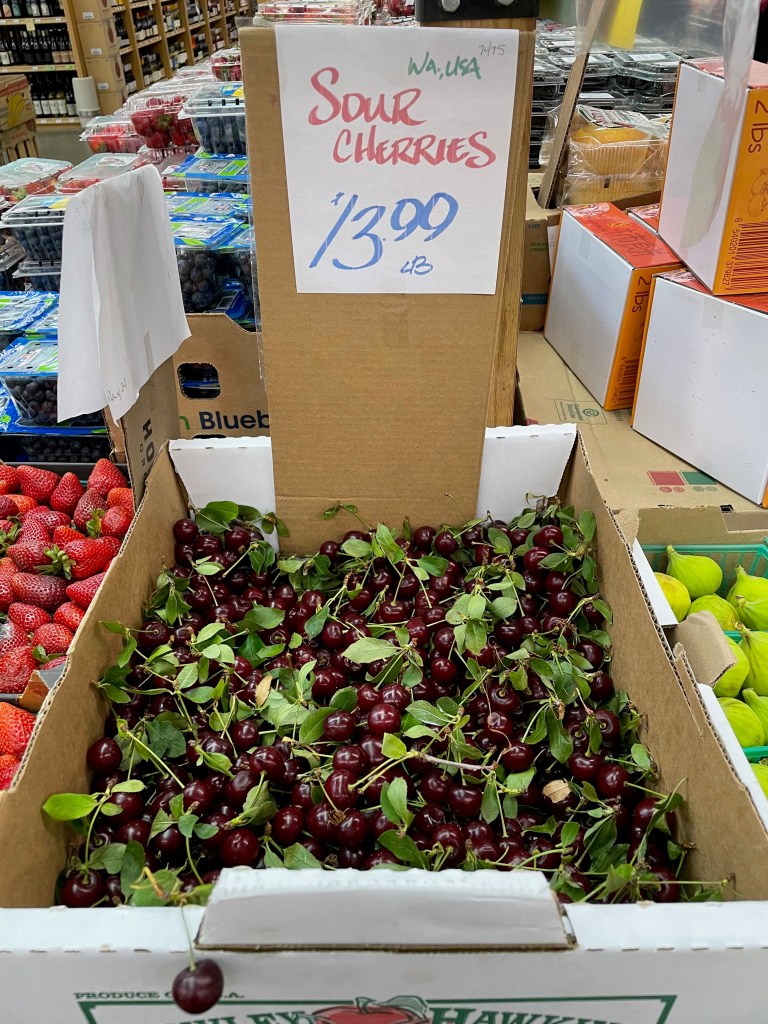
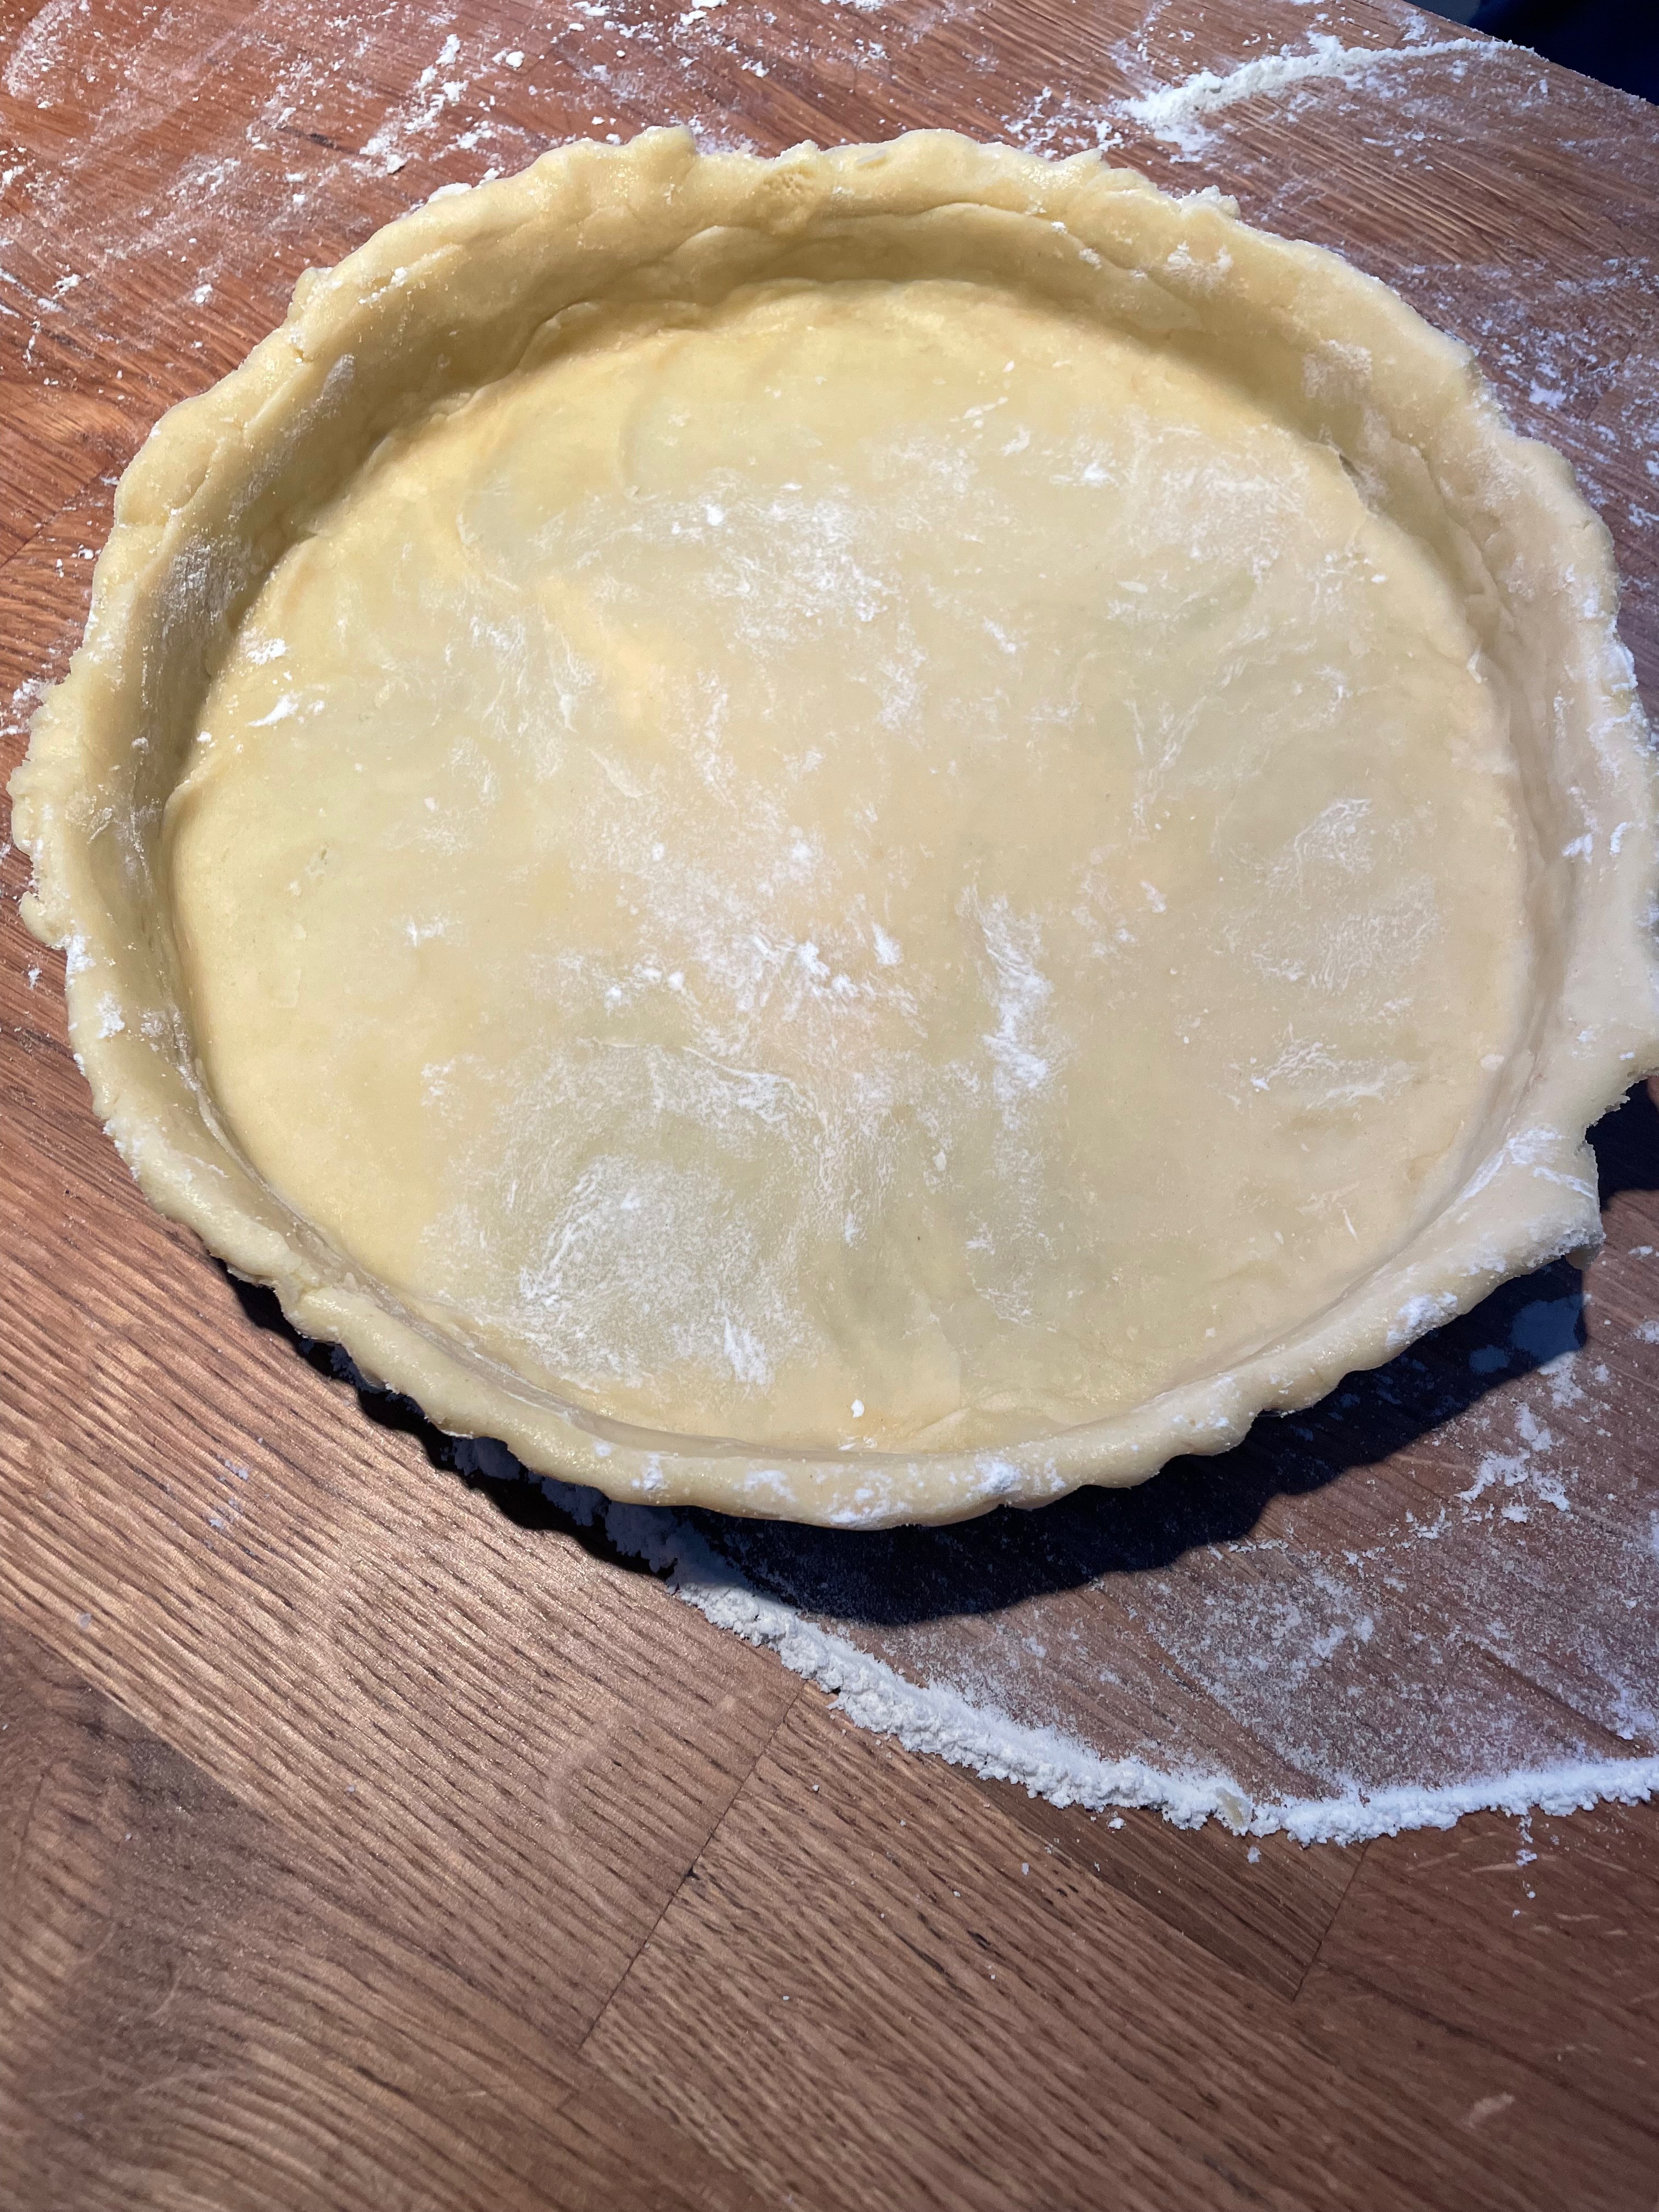
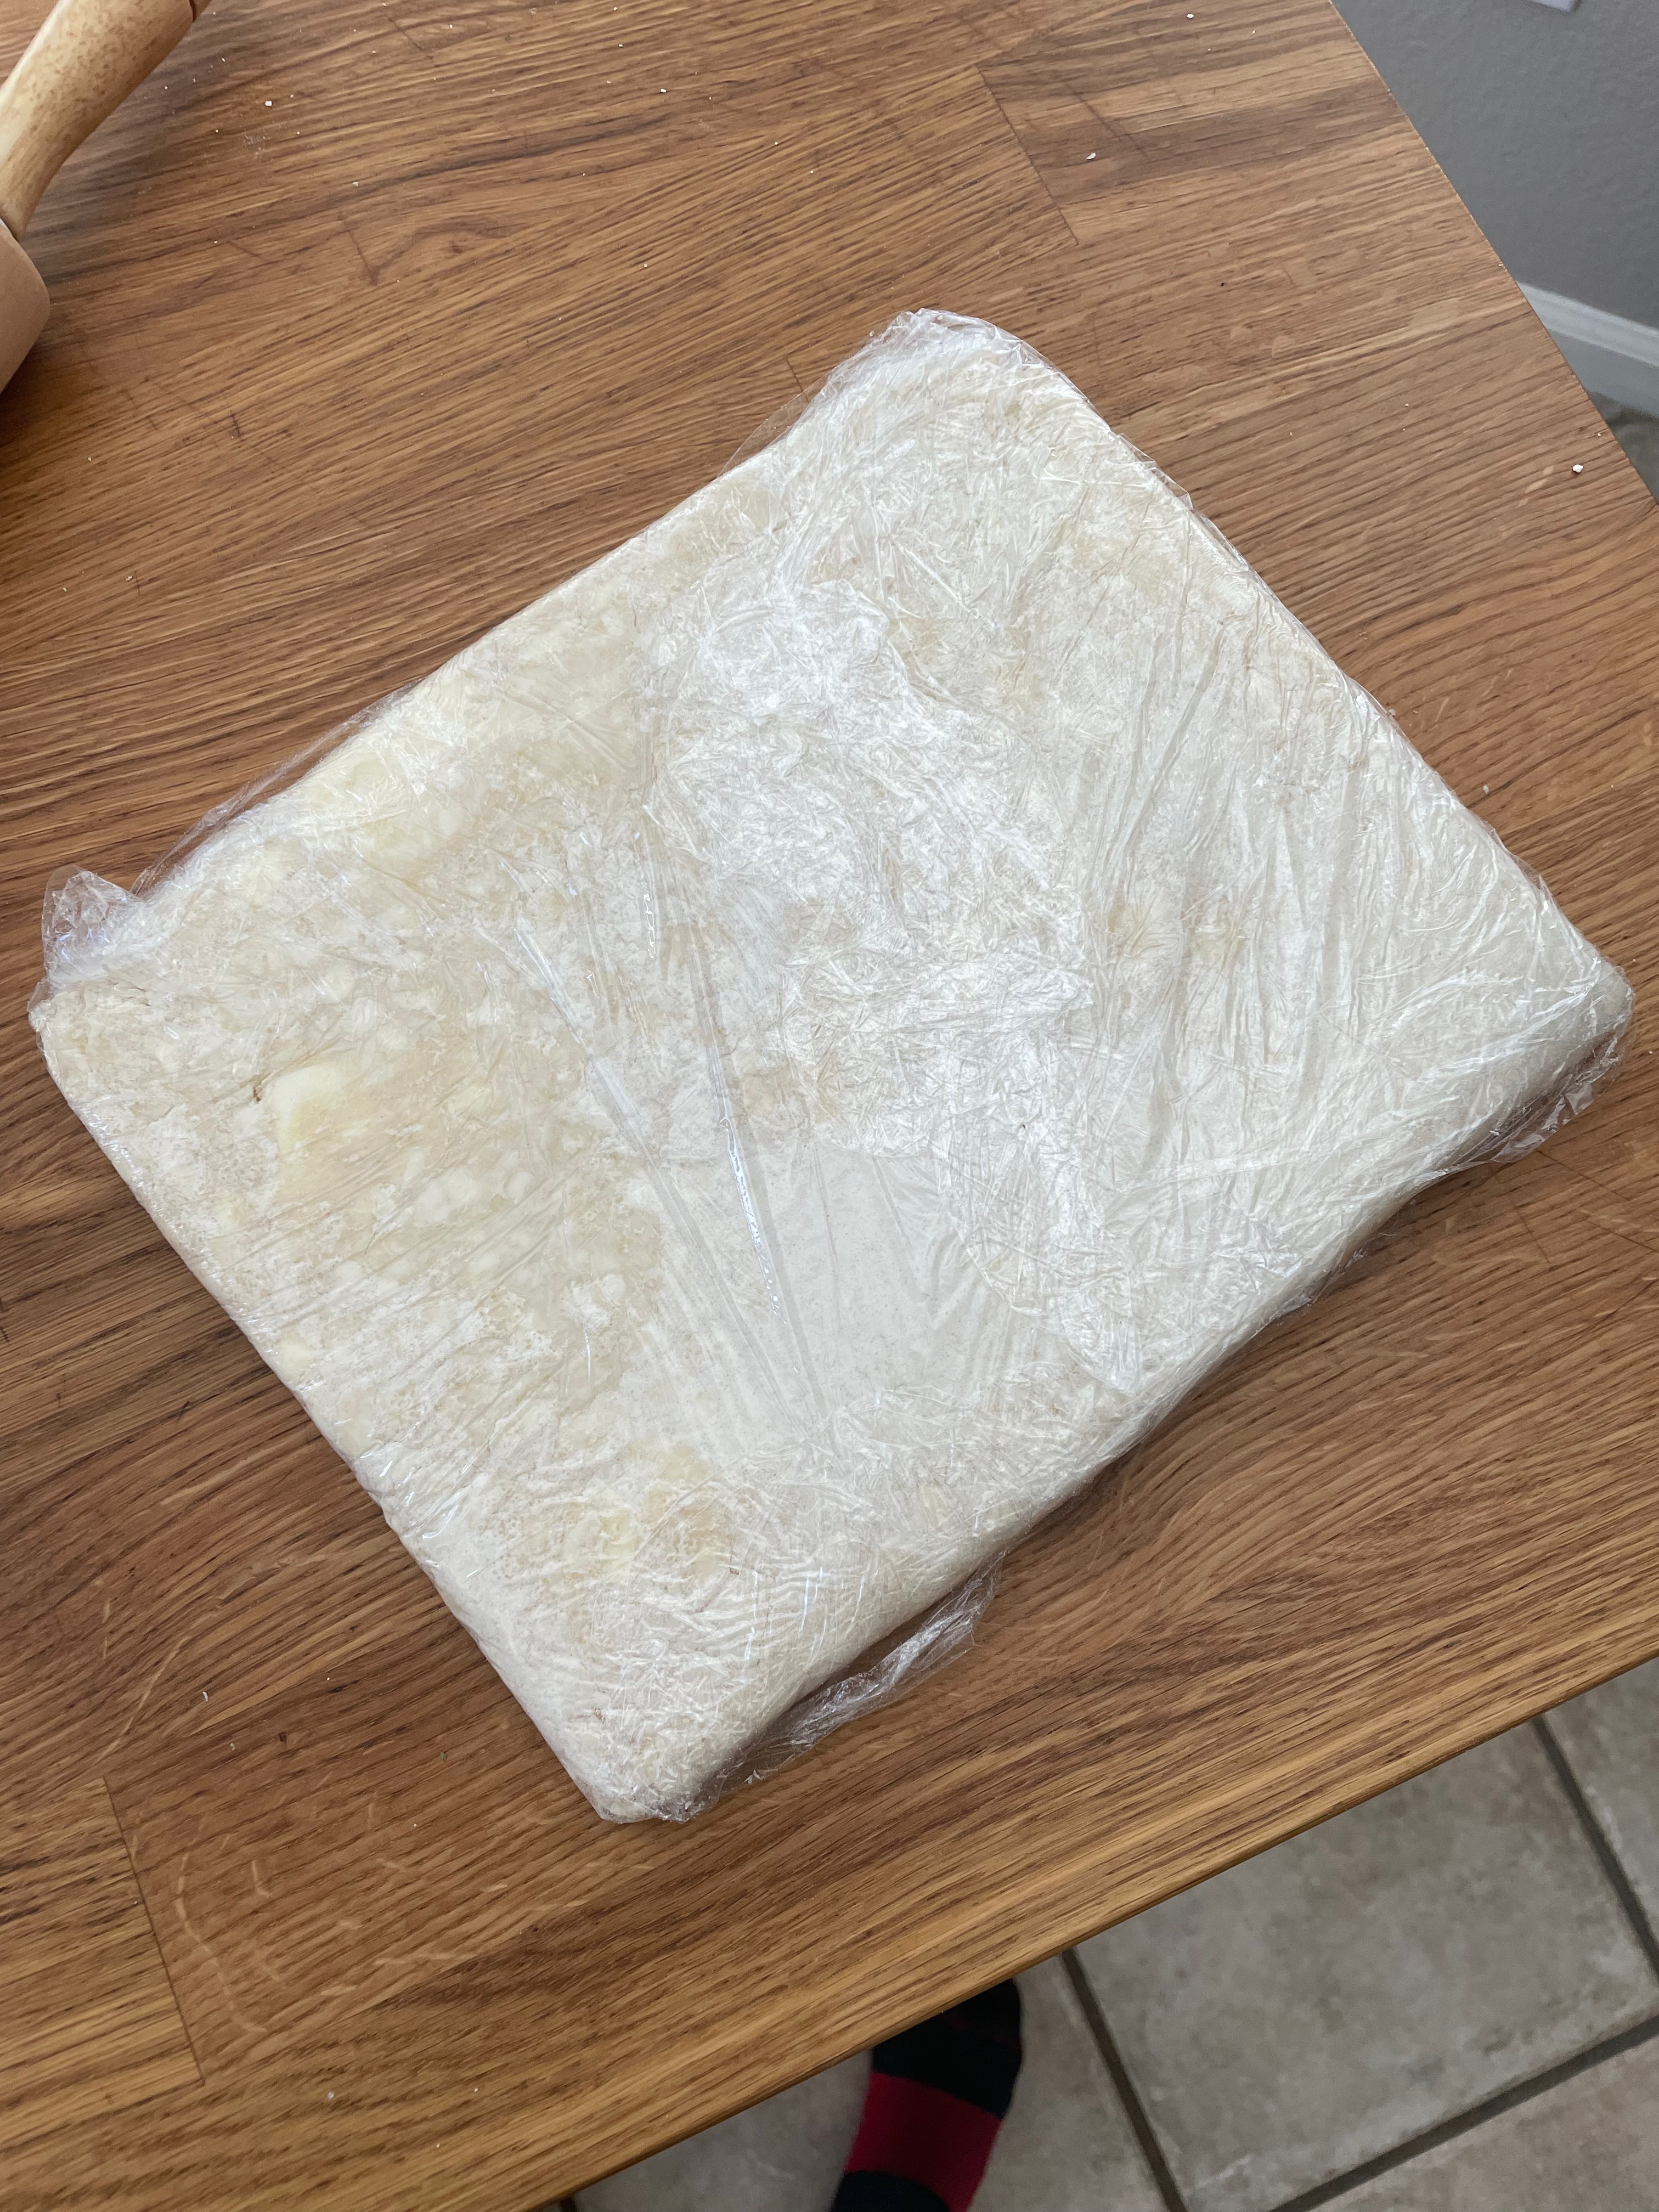
This is the perfect dessert for when you manage to get your hands on fresh sour cherries. They are usually only available for a couple of weeks in July – so grab them if you see them. This pie really makes the cherries the star of the show as they account for ~90% of the filling. Don’t let the fancy crust fool you – the cherries are the star. This pie is a lot of work (don’t underestimate preparing the cherries), but the perfect way to use sour cherries. Plan accordingly as this pie is best done over two days (to allow for freezing the cherries and letting the pie sit).
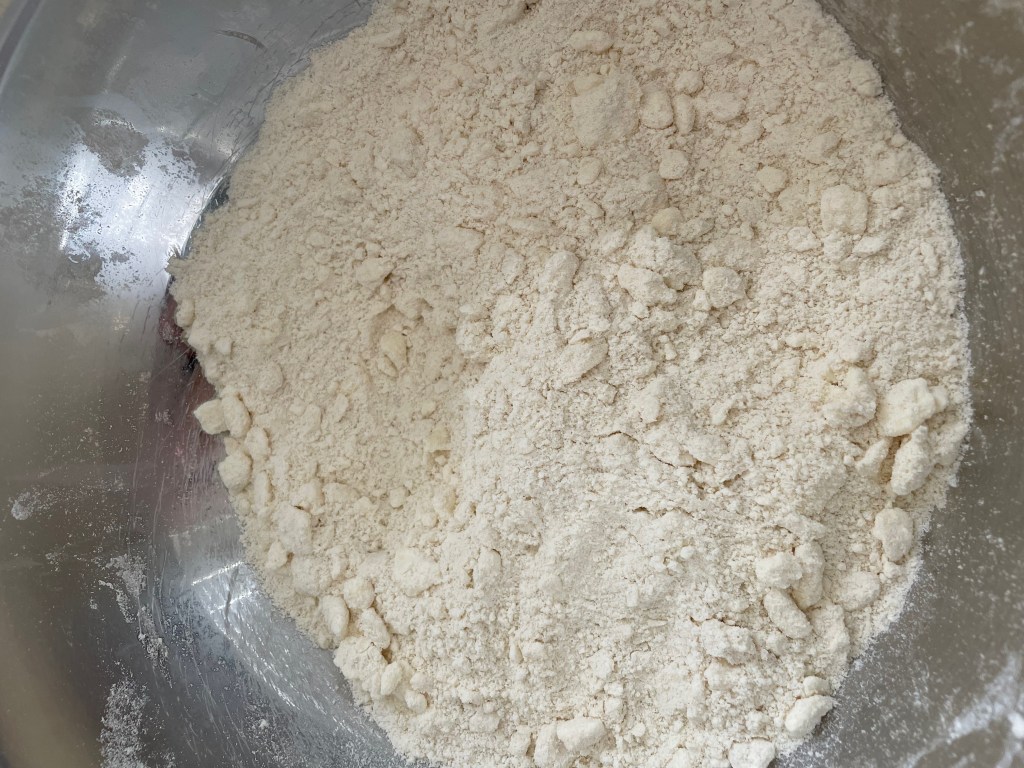
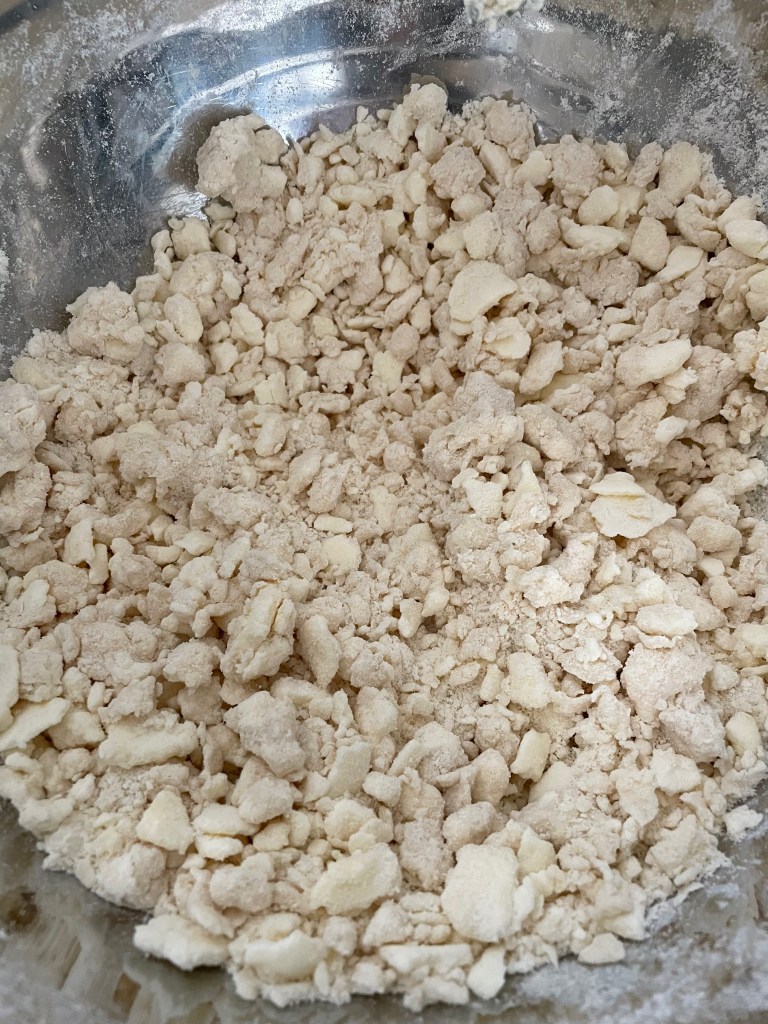
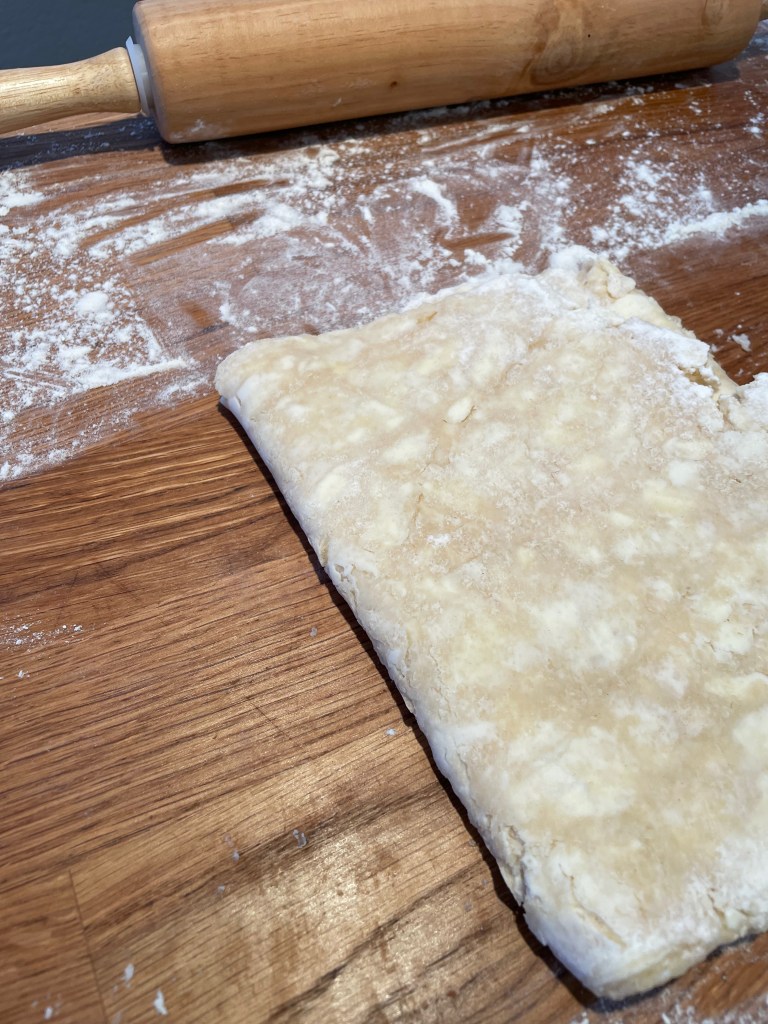
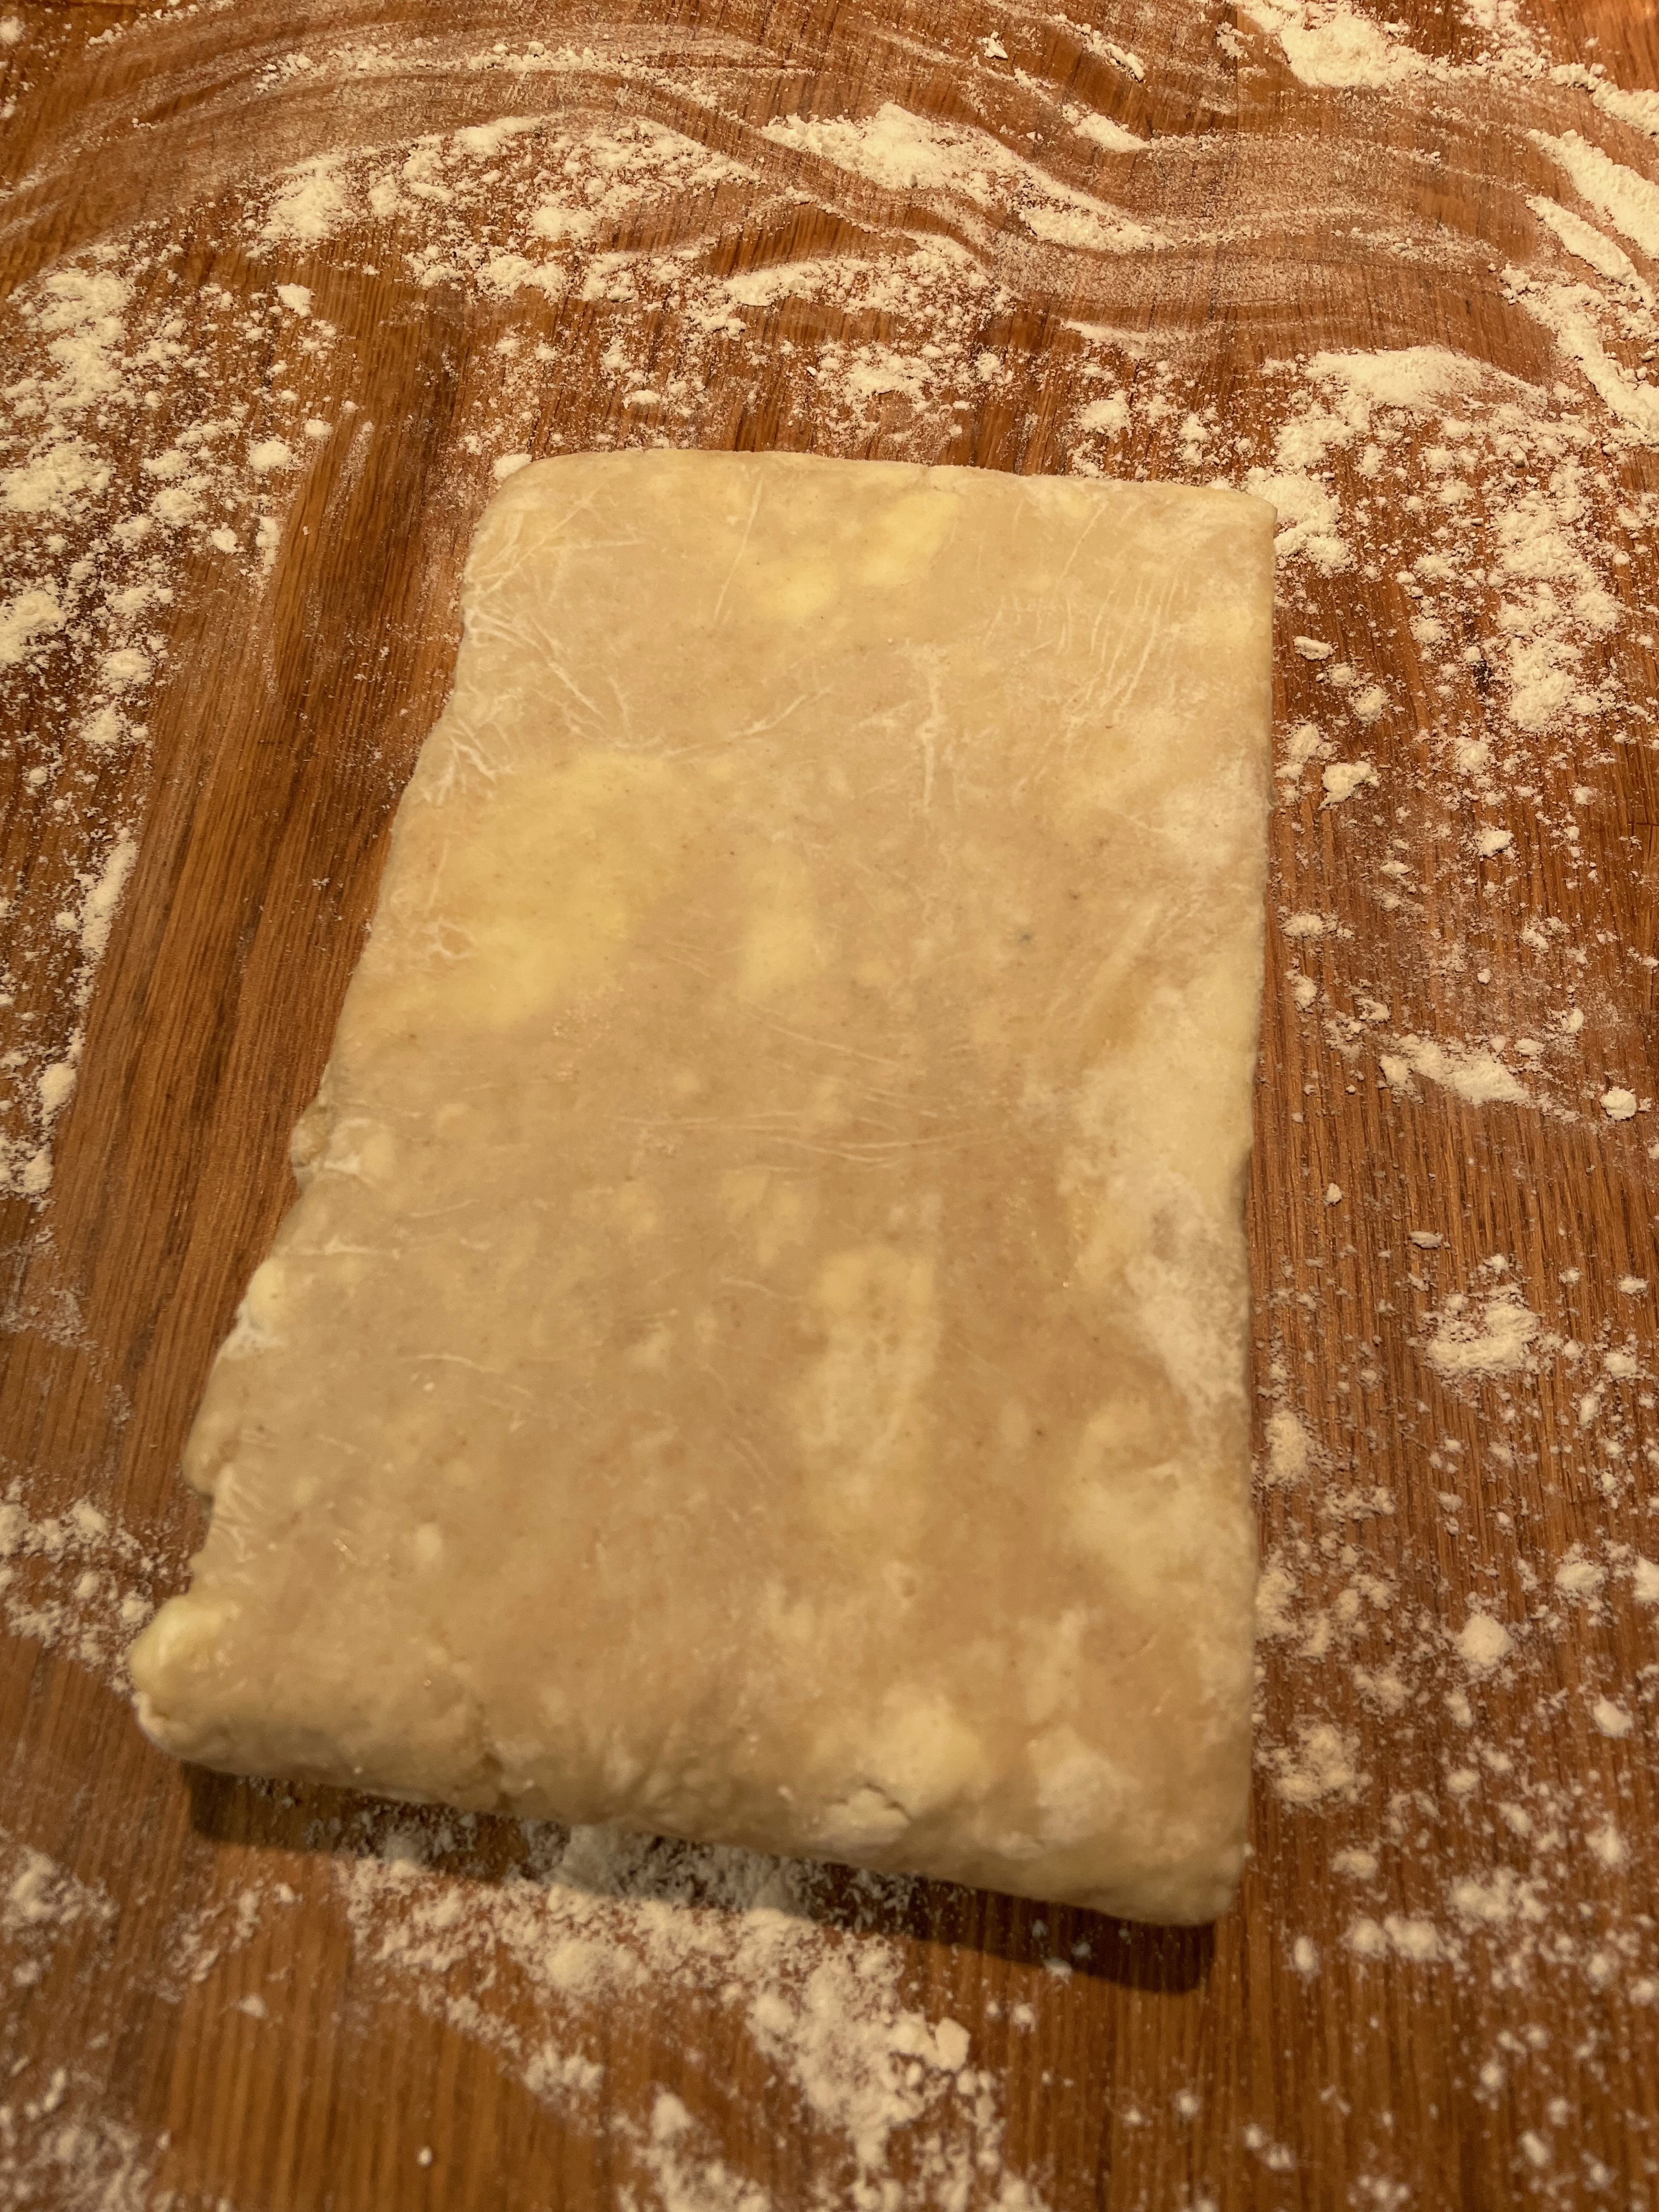
Tip 1: Consider freezing the bowl, the rolling pin, and the working surface (such as a cutting board) to keep the butter from melting. Likewise, freeze the bowl and the flour/butter mixture for at least 5 minutes between each step.
Tip 2: Consider chilling in refrigerator for longer than suggested for both steps.
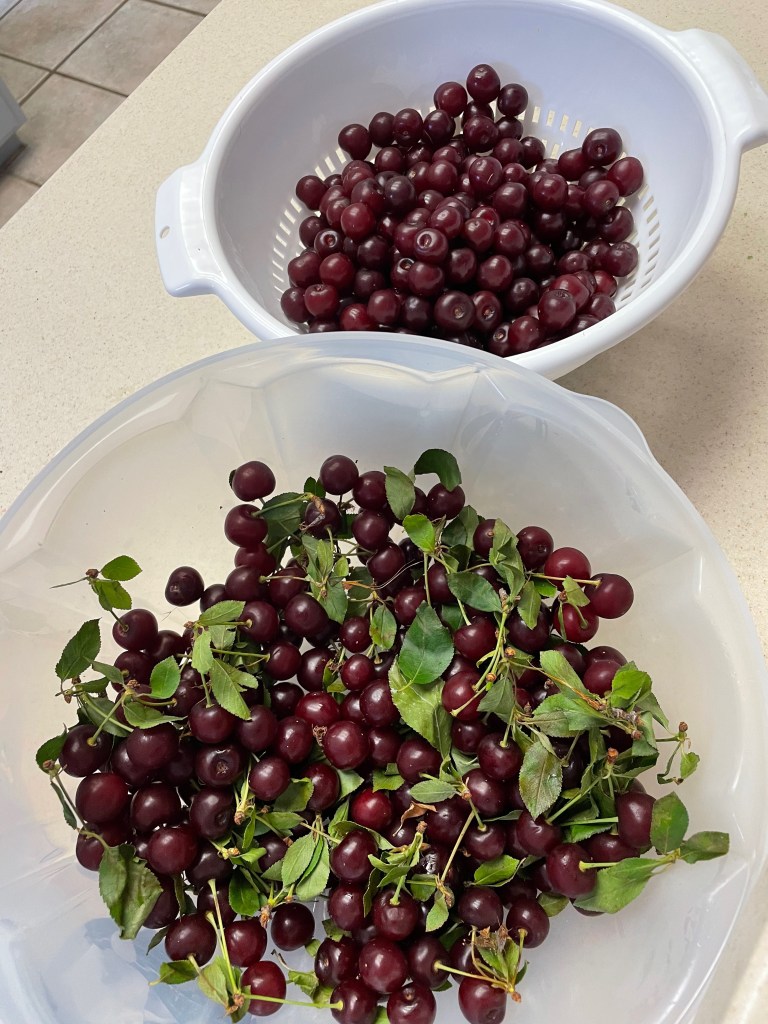
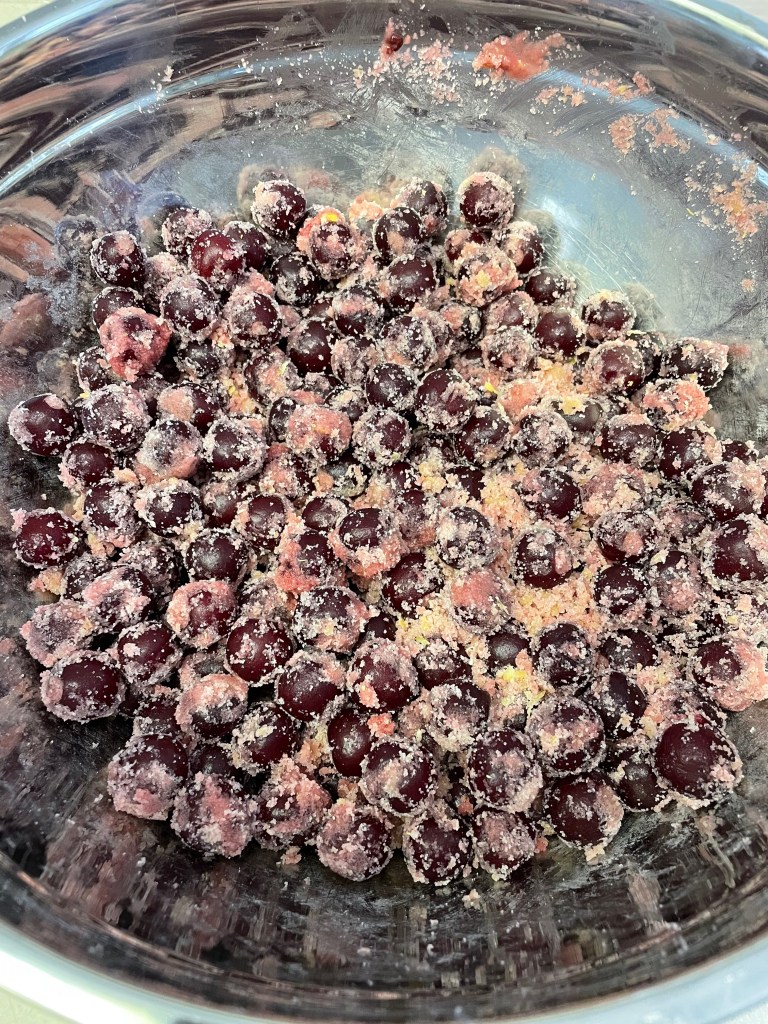
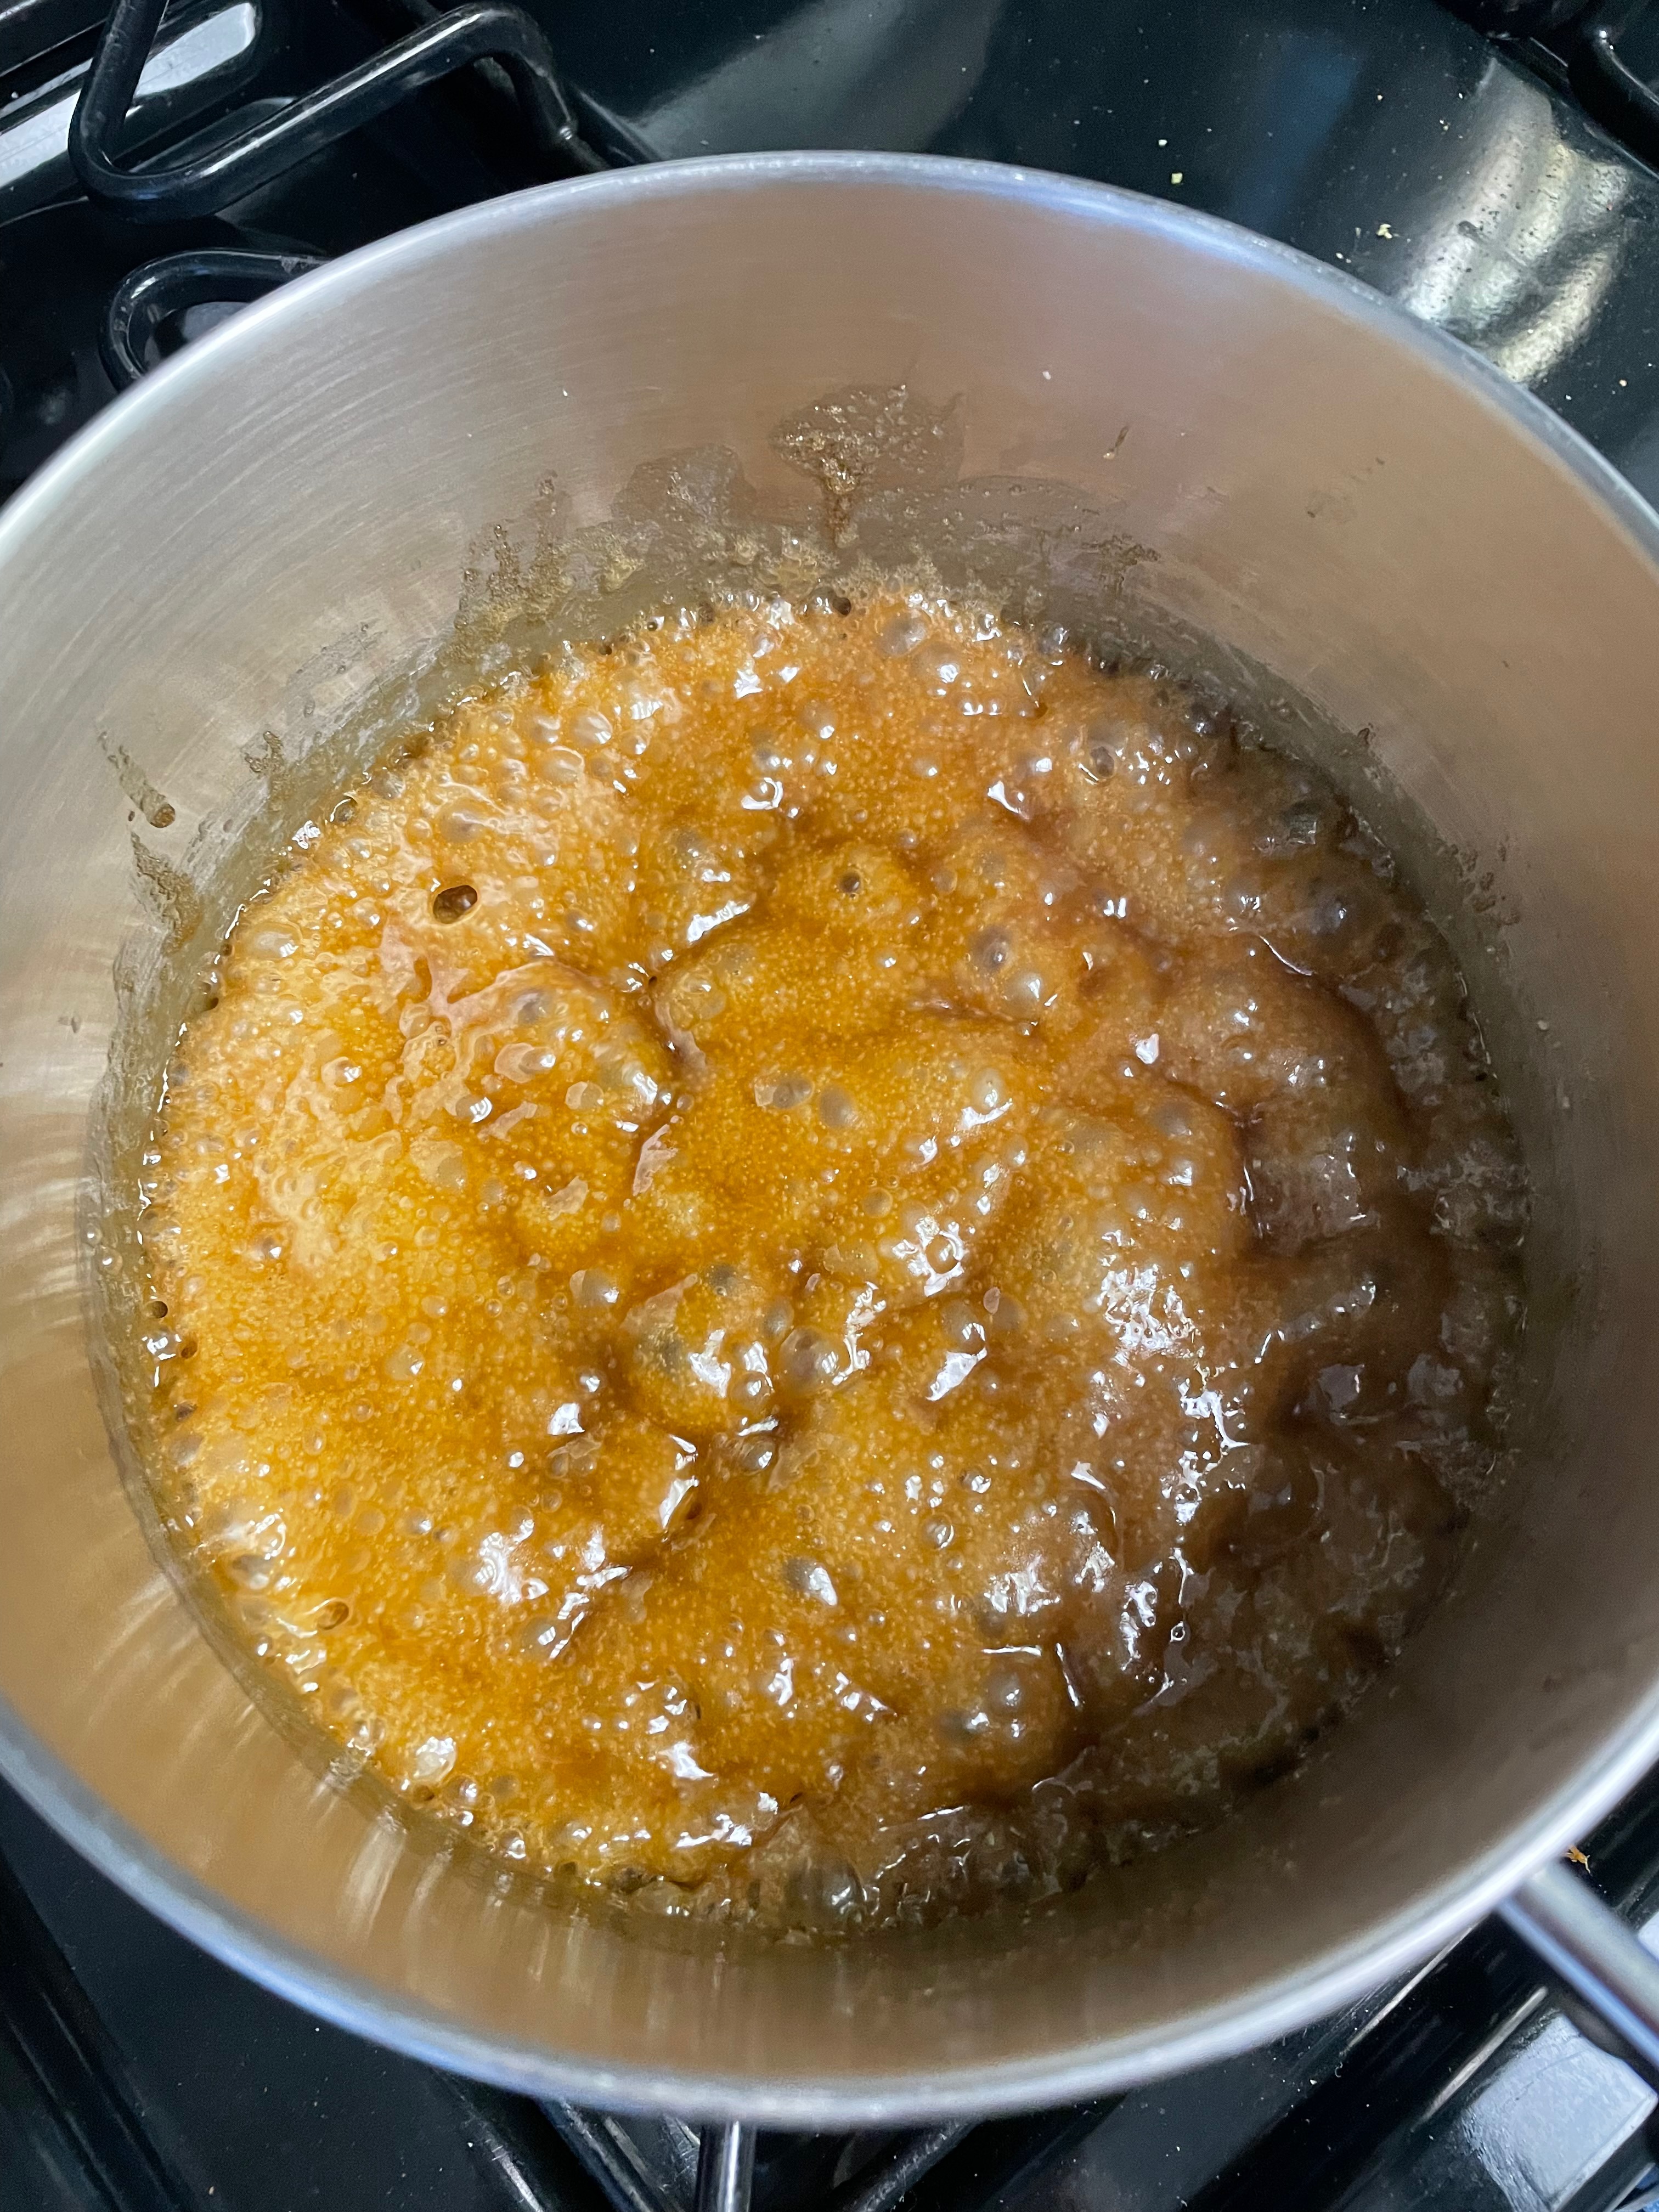
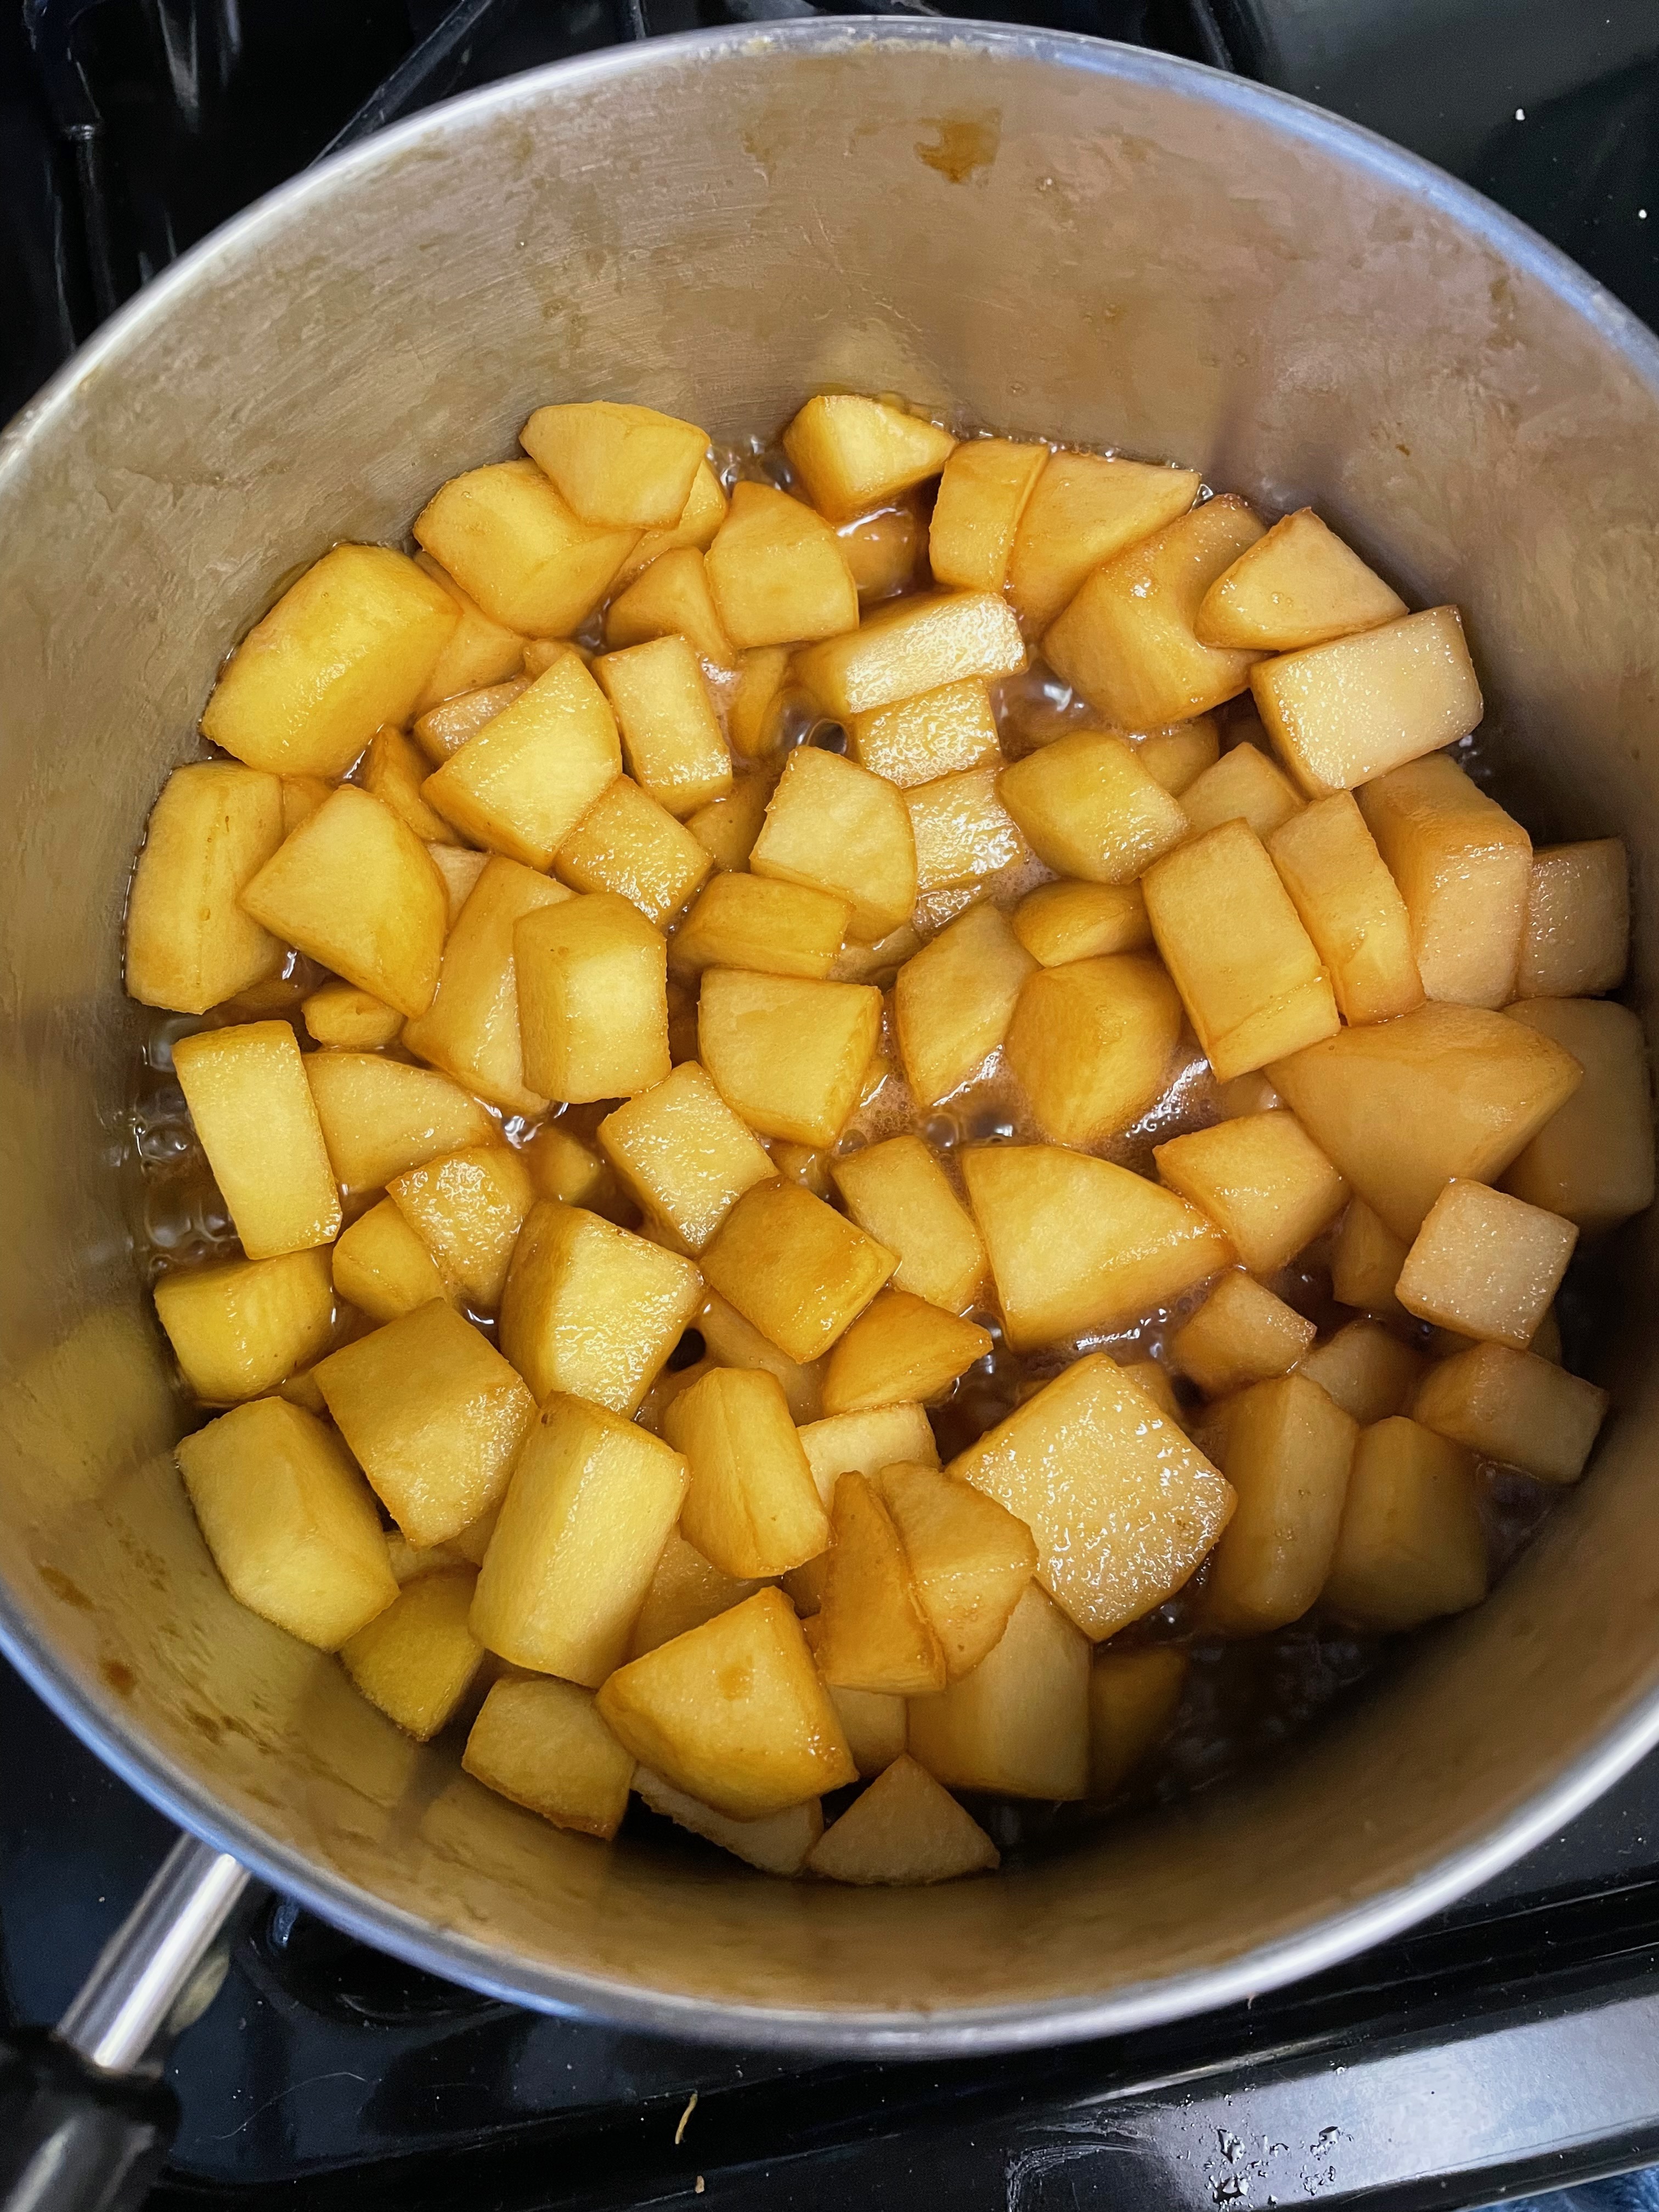
Making The Sour Cherry Filling
Tip 1: It can be very hard to find sour cherries. Try looking in the frozen section. You can find them fresh for a couple of weeks in July at grocery stores and farmers markets. Buy more than you need and freeze any extras. It’s a rare fruit.
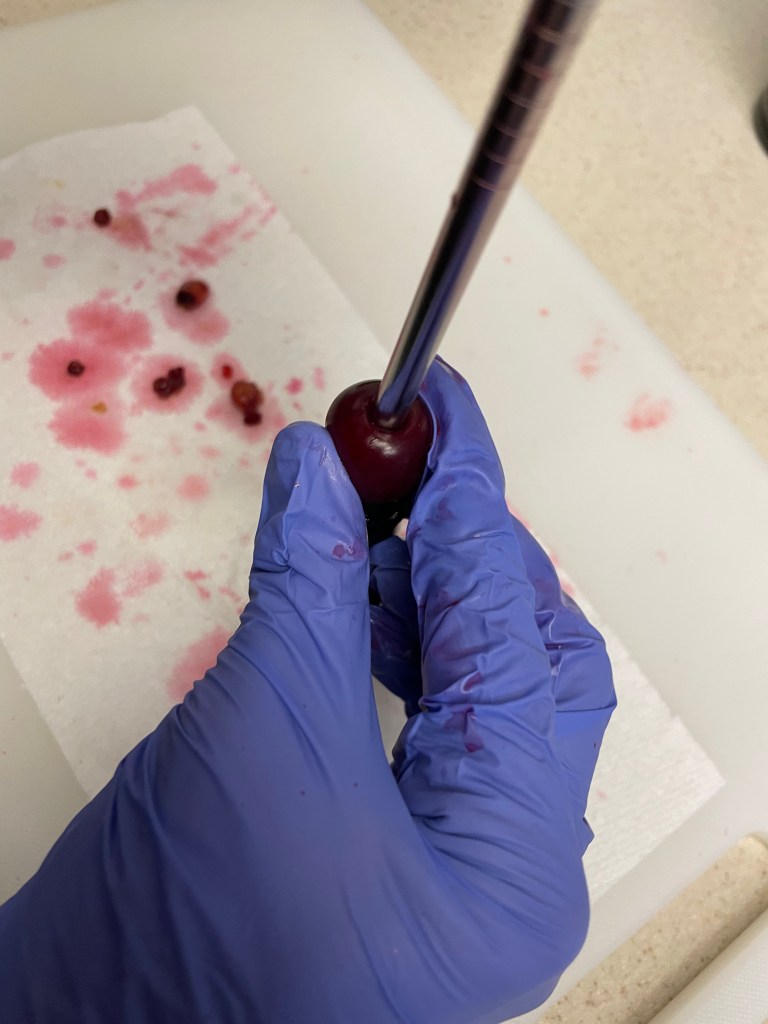
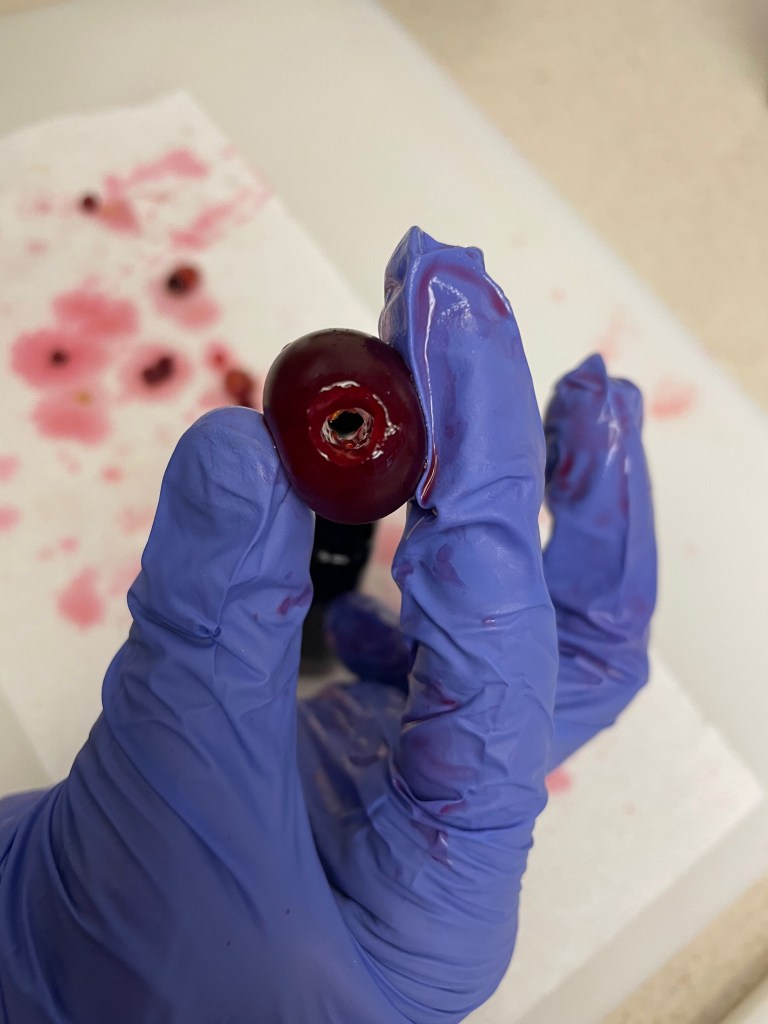
Tip 2: If you don’t have a cherry pitter you can achieve the same effect with household items. Place a cherry upside-down on top of a bottle with a small enough opening that the cherry doesn’t fall in (we used an empty bottle of vanilla). Hold the cherry with one hand and use a sturdy straw to push the pit out into the bottle. As the bottle fills with pits, empty it out and continue.
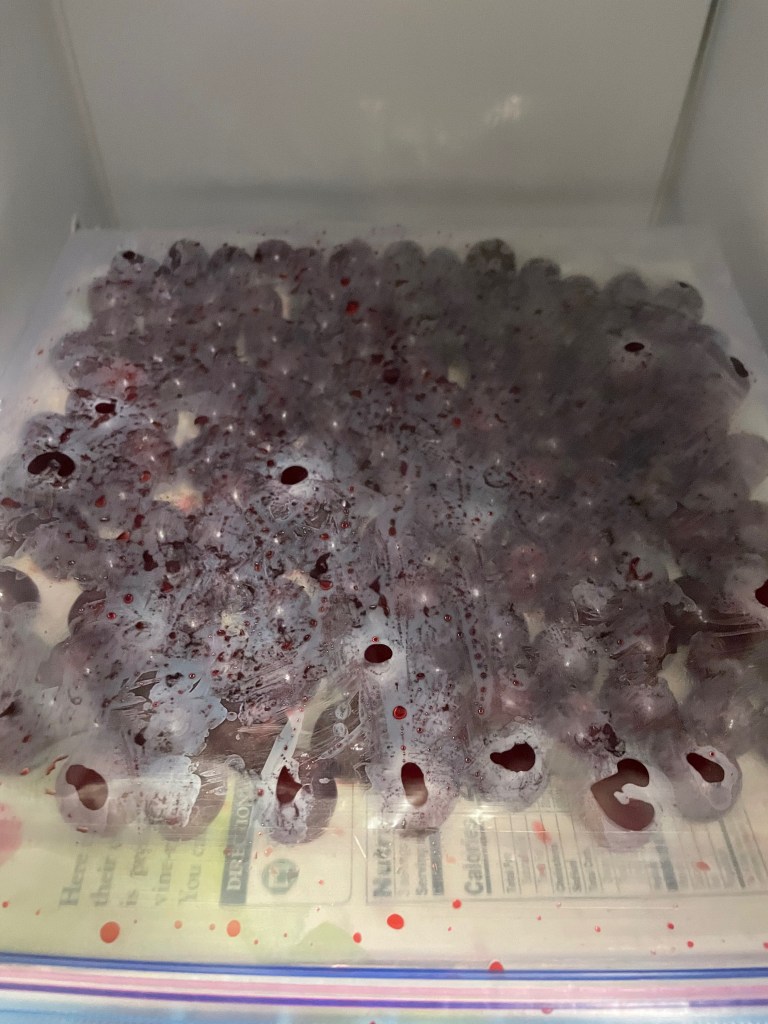
Tip 3: You should freeze the cherries as recommended (pitted first) to avoid excess liquid during baking. Give them at least a day to freeze.
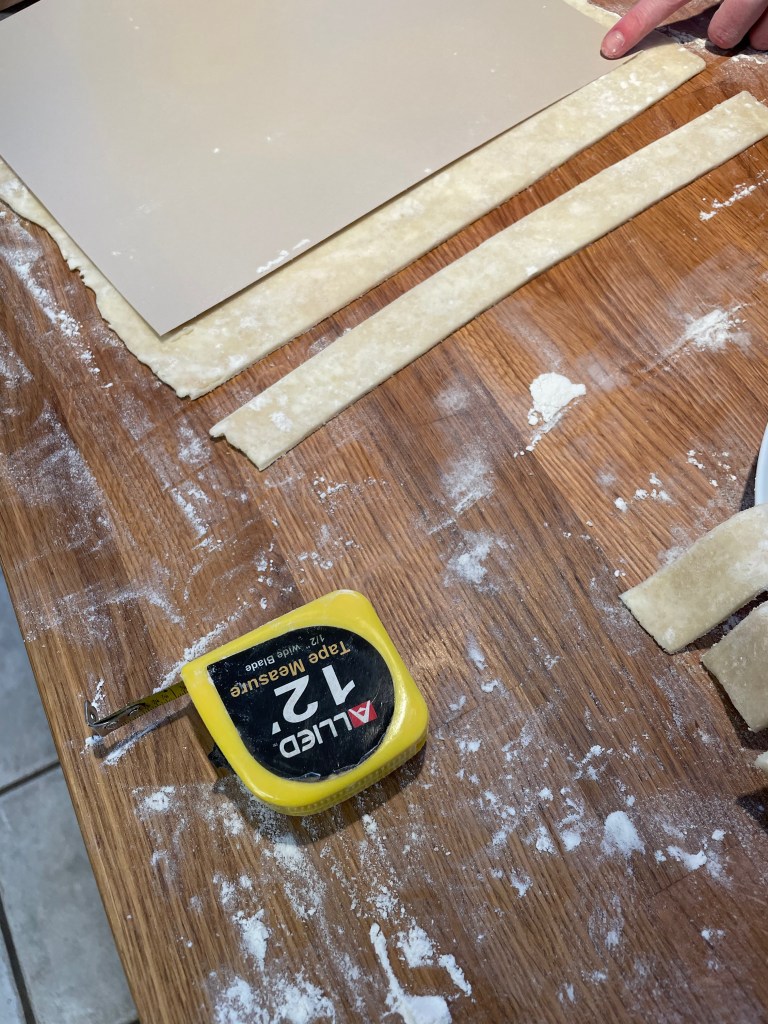
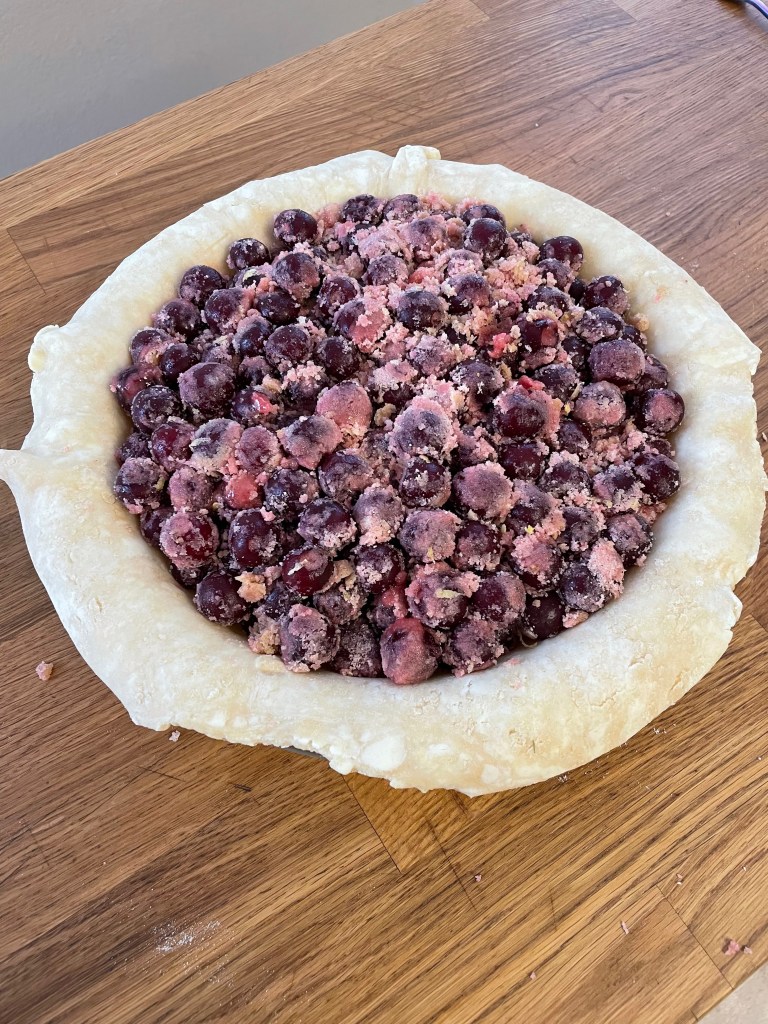
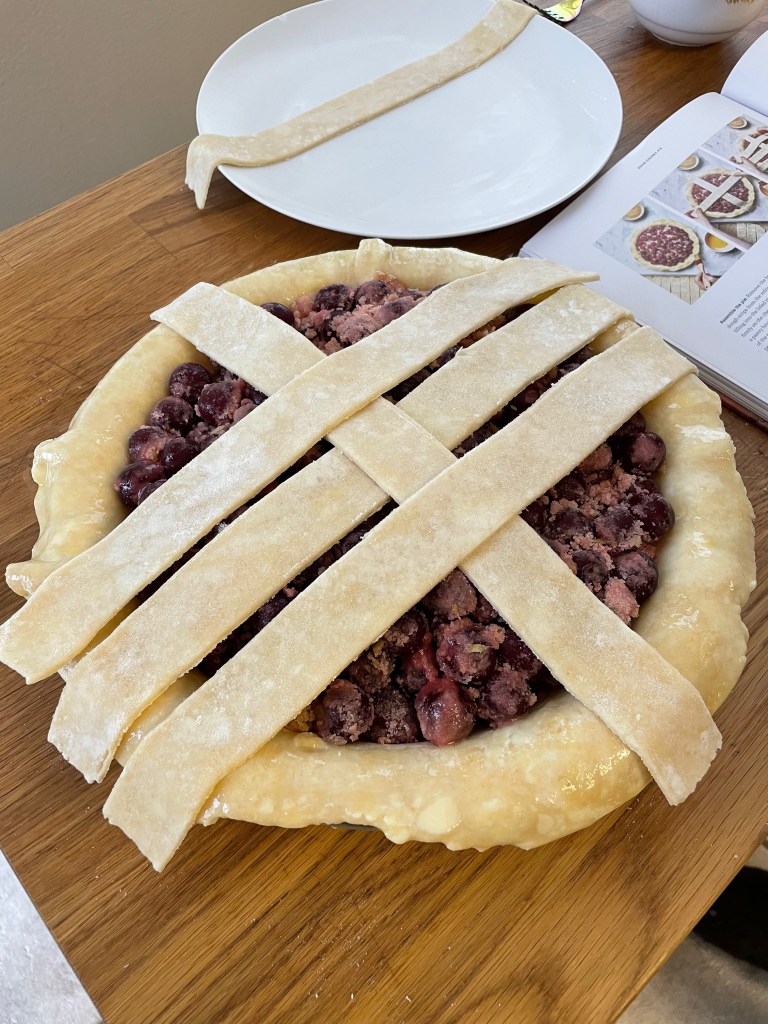
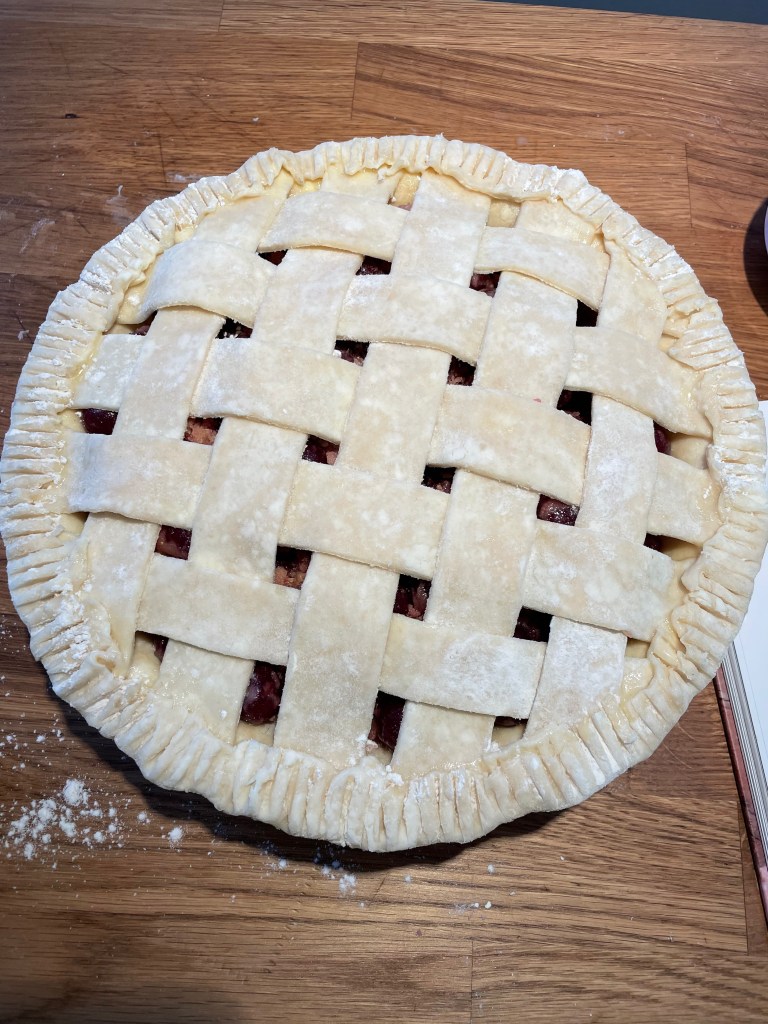
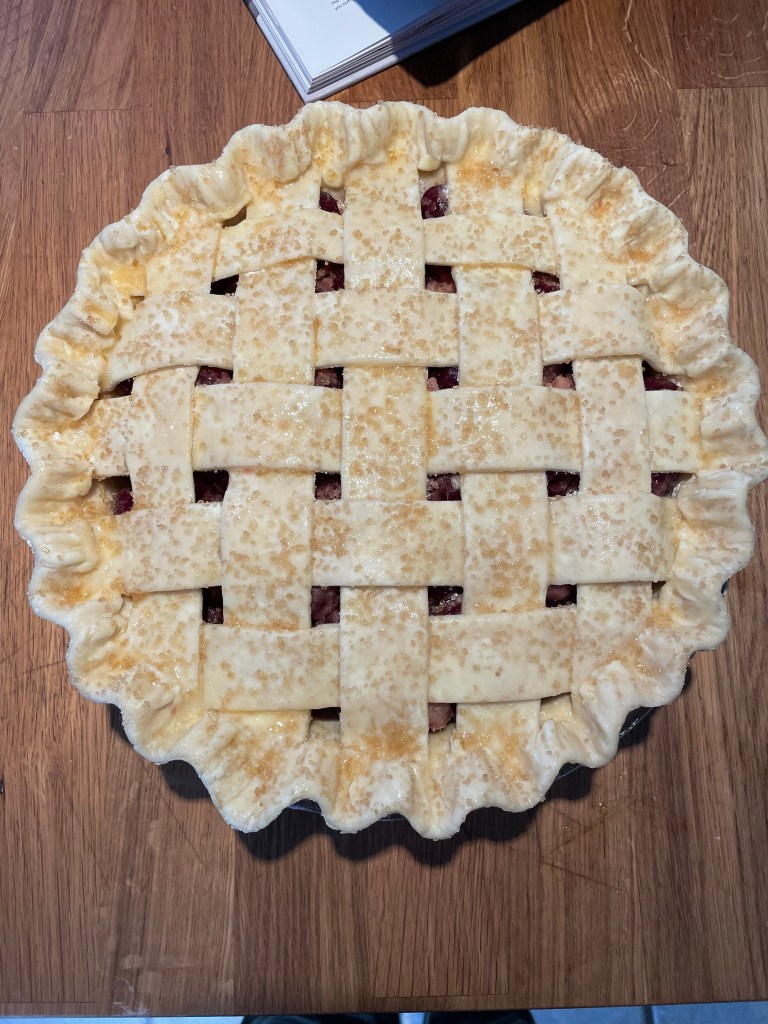
Preparing The Pie
Tip 1: Freeze the pie for at least 5-10 minutes before baking. This is highly recommended in the video, but not mentioned in the book.
Tip 2: After forming the edge, press around with fork tines (making sure to flour the fork repeatedly). This is mentioned in the video but not the book.
Tip 3: Consider arranging the strips so that open gaps near the edges are minimized (so the open gaps in the middle are larger). This will help prevent overflow. Likewise, it’ll give more space for extra filling to rise into.
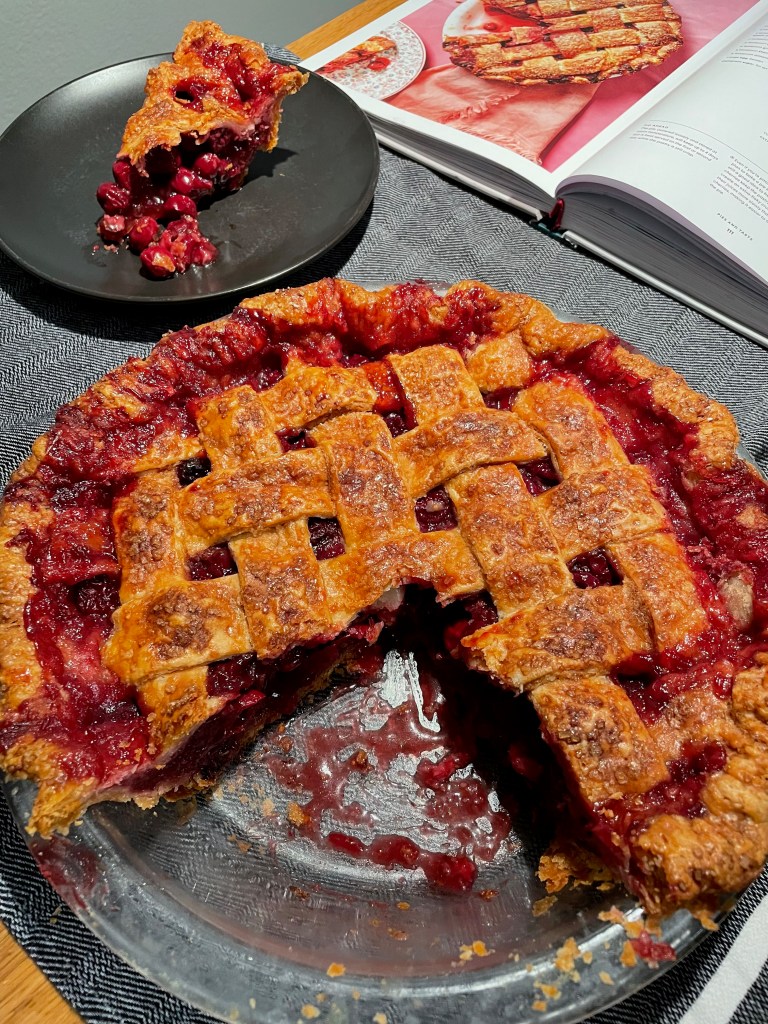
Tip 4: Depending on the dimensions of your plate, using the listed amount of cherries could lead to some overflow. The pie will actually not raise nor sink much while baking – so the level the cherries are at when raw is the level your pie will end up at (for the most part). Consider making the cherries level with the edge or even a bit below. That being said, any overflow is harmless. The star is the cherries and the pie is rather messy to eat anyways. The inside sets well, but collapses when poked at a bit.
Tip 5: Don’t make the cherry mixture until just before you’re ready to completely assemble the pie. Excess juice from sitting around can lead to a worse bake. This is mentioned in the video.
Baking The Pie
Tip: After the first 20 minutes at higher heat (or shortly thereafter) you’ll likely need to tent the edge with foil. This will help prevent it from over-browning or burning. Keep a close eye out for this and be prepared to tent with foil ahead of time. See here.
Final Product
Key Takeaways
This is a rather difficult pie to make, despite the seemingly few steps.
It takes 4+ hours for the pie to cool and really “set”. Consider giving it a full extra day (so plan to eat it the day after you make it).
The preparation is excessive if you are preparing the cherries fresh (not pitted and not frozen). Preparing the cherries can take upwards of an hour and freezing can take over 12 hours. Account accordingly.
Final Score: 4/5 – This is a great recipe if you manage to get your hands on some sour cherries. Don’t hesitate because you may not find them again. You can always freeze them and attempt the pie later (they last forever in the freezer). This pie is quite challenging, but the end result is delicious. Get quality cherries – it’s all about the cherries (the crust is mostly for show).
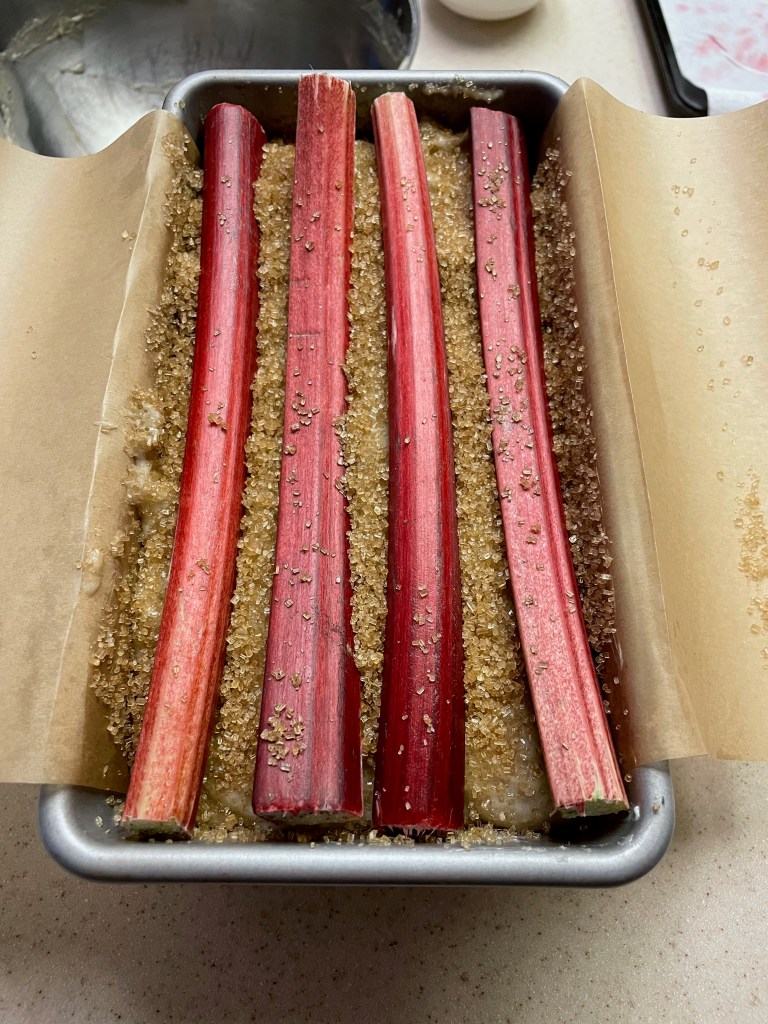
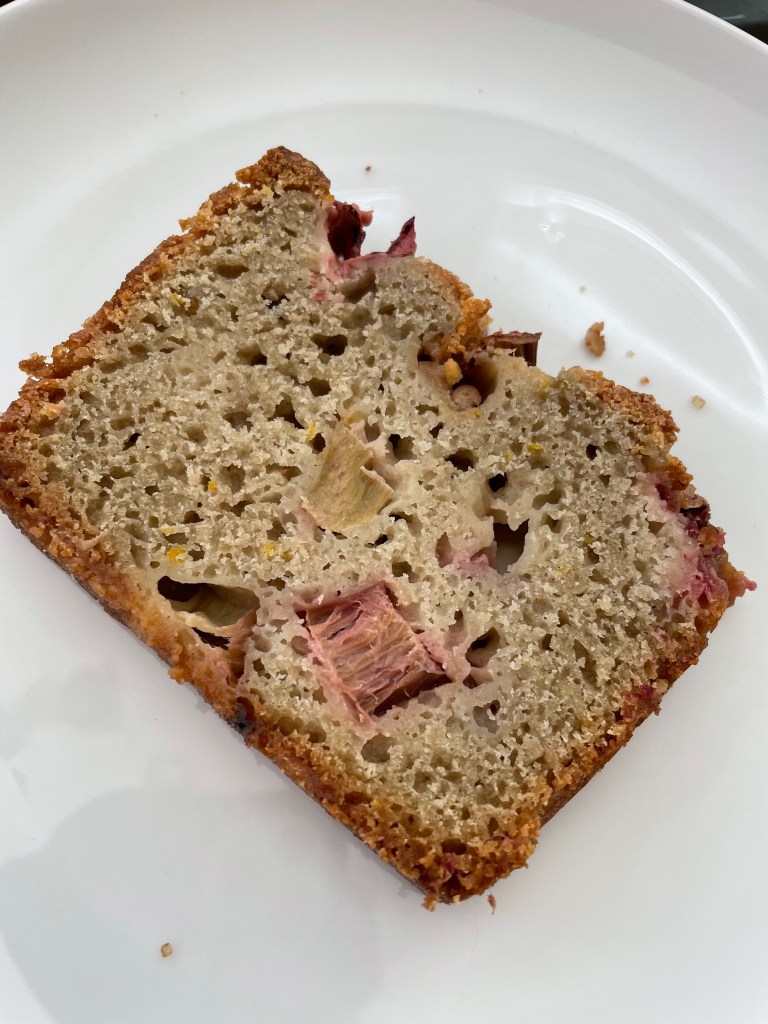
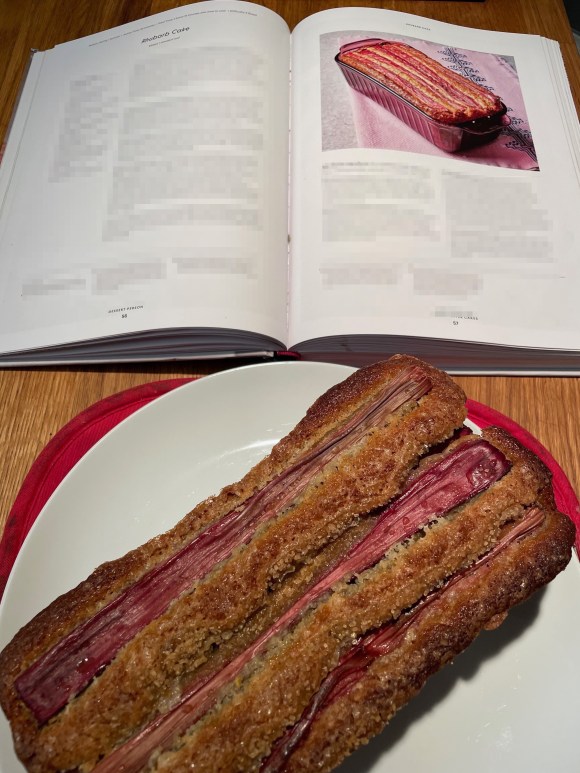
Rhubarb can be a hard ingredient to find, but worth trying out if you’ve never used it before. It’s most common in spring and summer, but may take a few tries before you find some. While the recipe is fairly straightforward, it can be more time-consuming than suggested. The end result is a tasty cake that only gets better with time.
Tip 1: You may want to check how much the rhubarb has reduced. It’s easy to overshoot/undershoot.
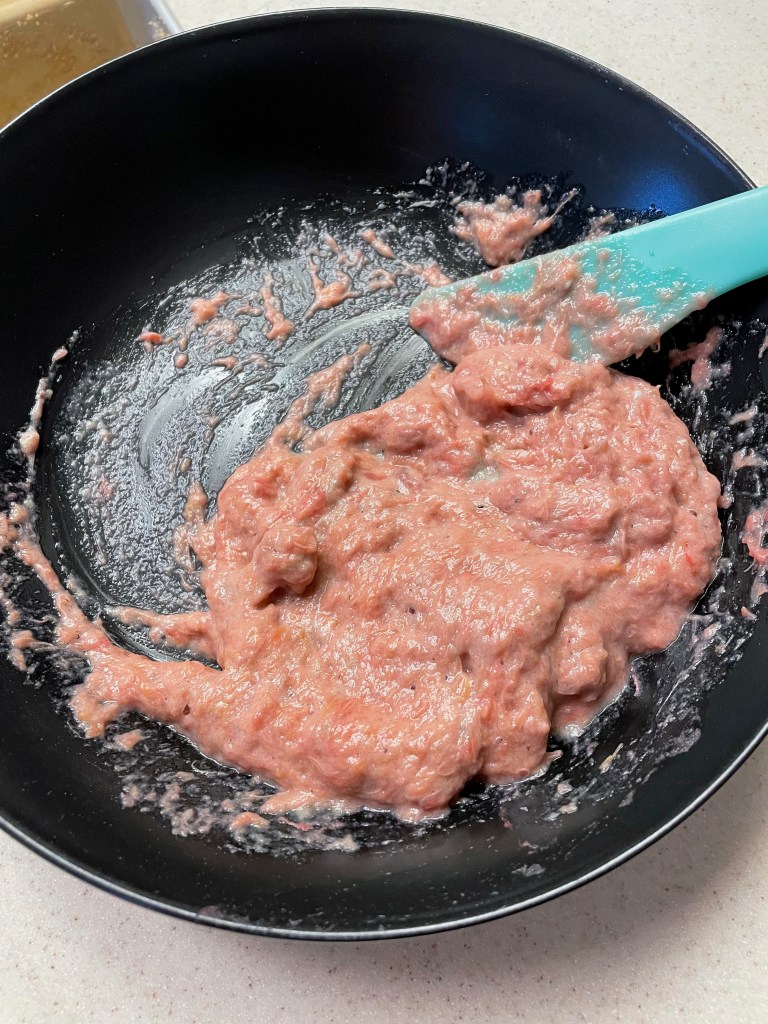
Tip 2: The mush expands when you add the baking soda.
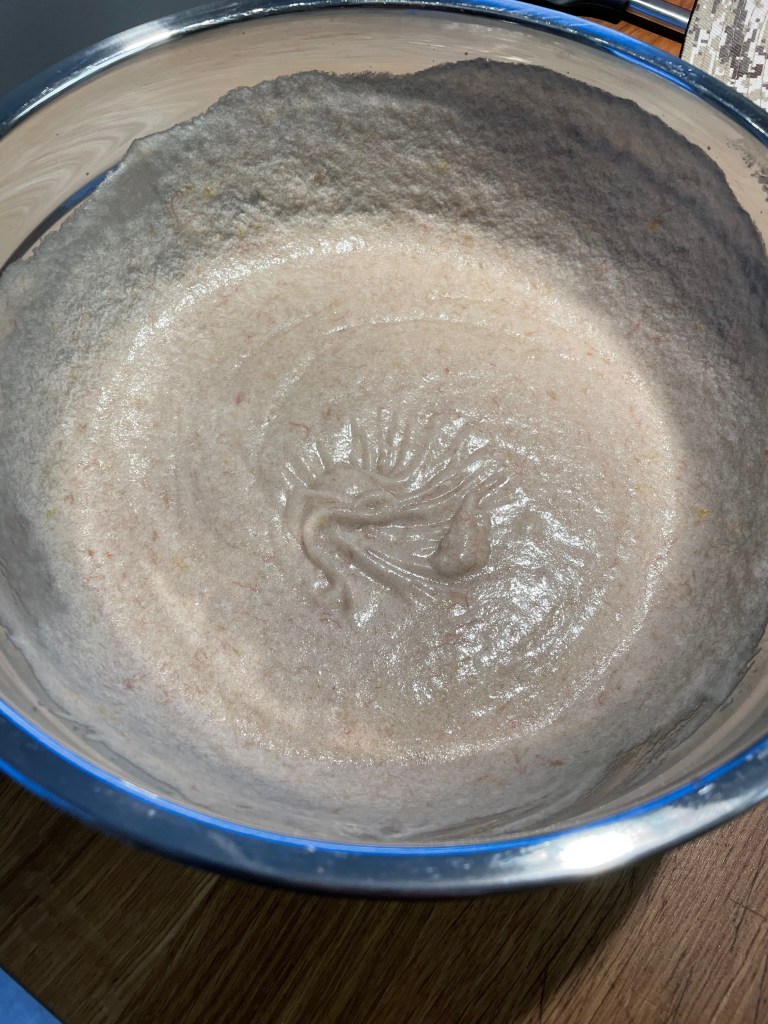
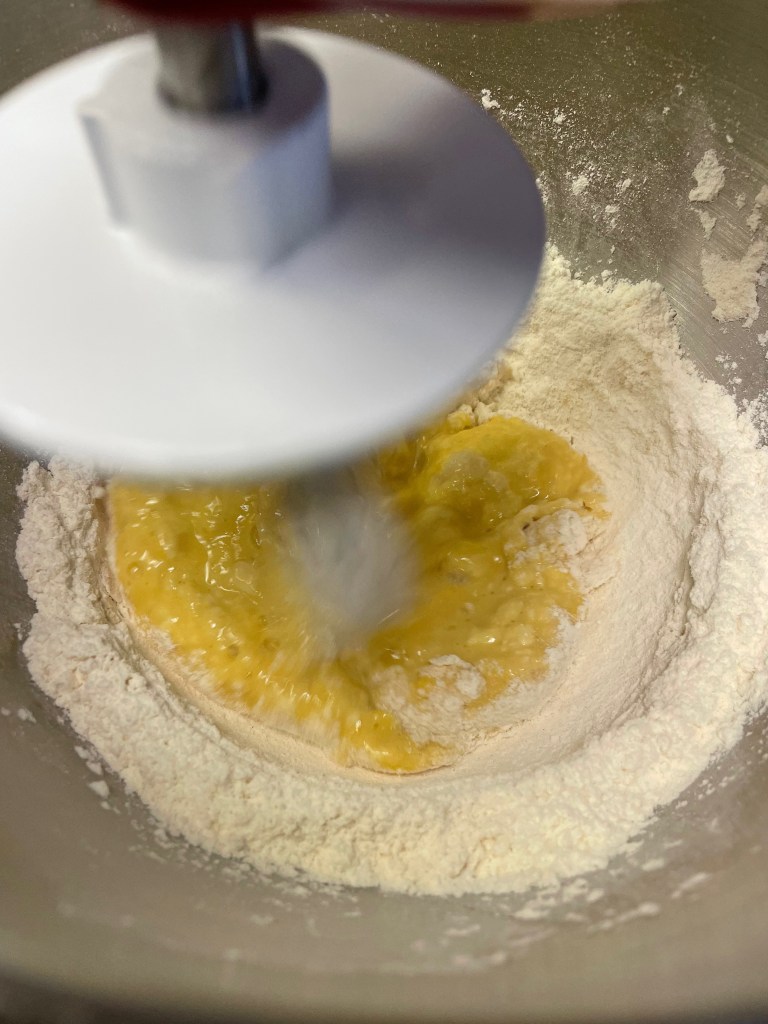
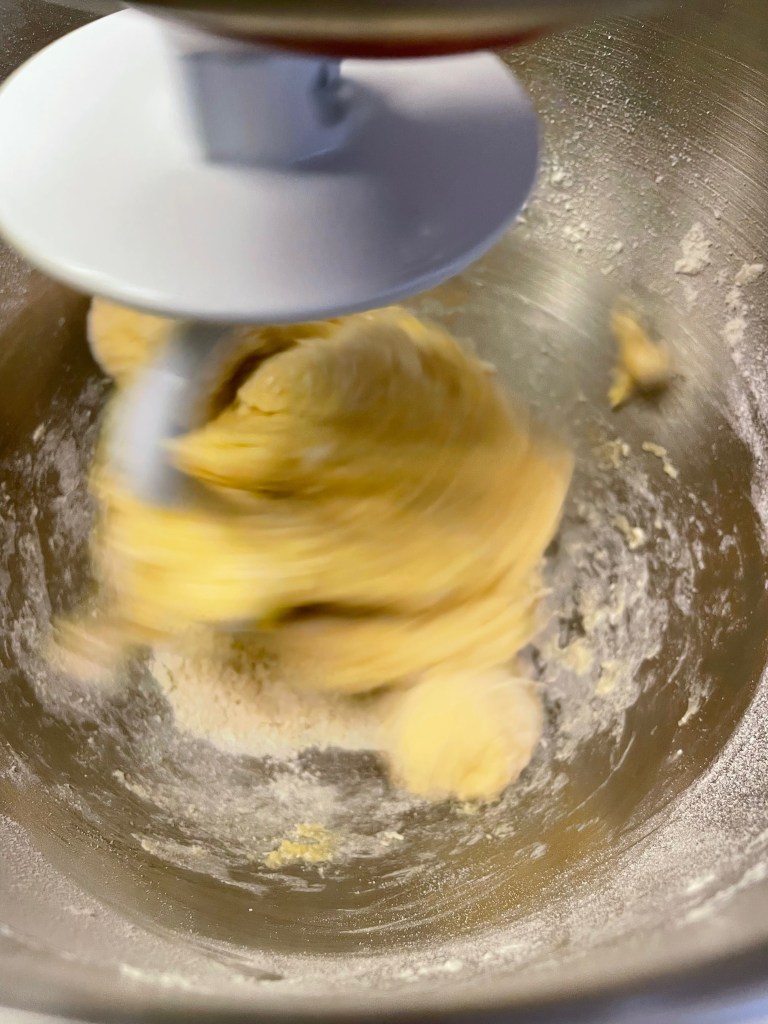
Making The Batter
Tip: Use room temperature eggs. This is mentioned in the video, but not the book. It’s not totally clear whether the greek yogurt should be as well (but probably).
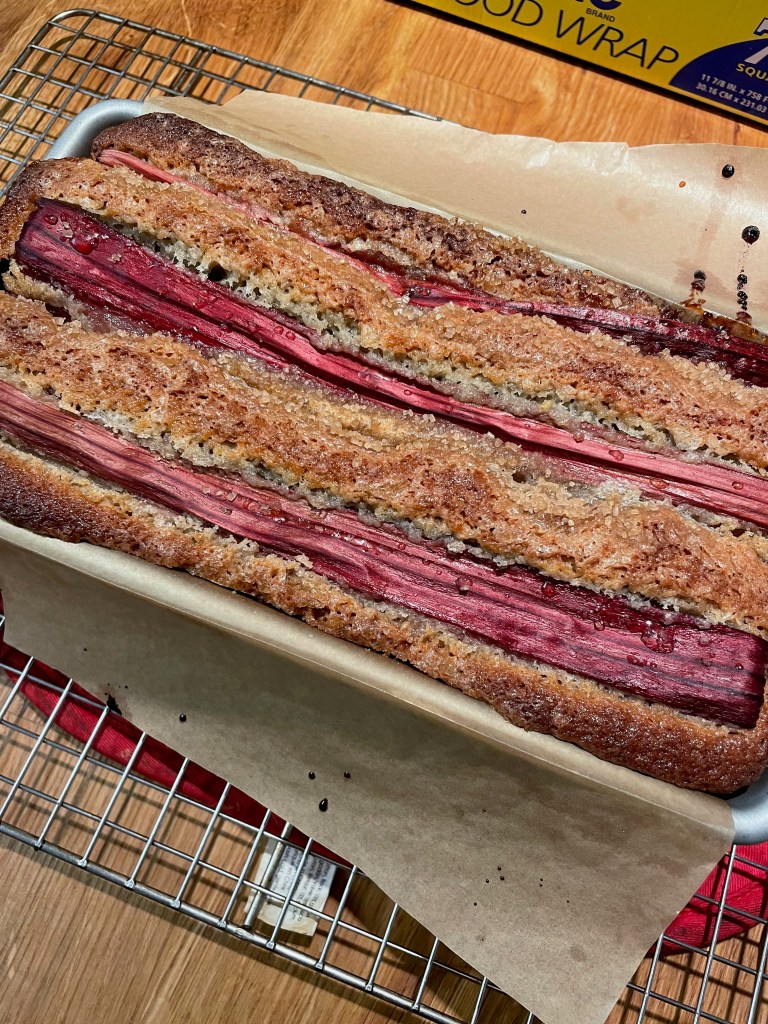
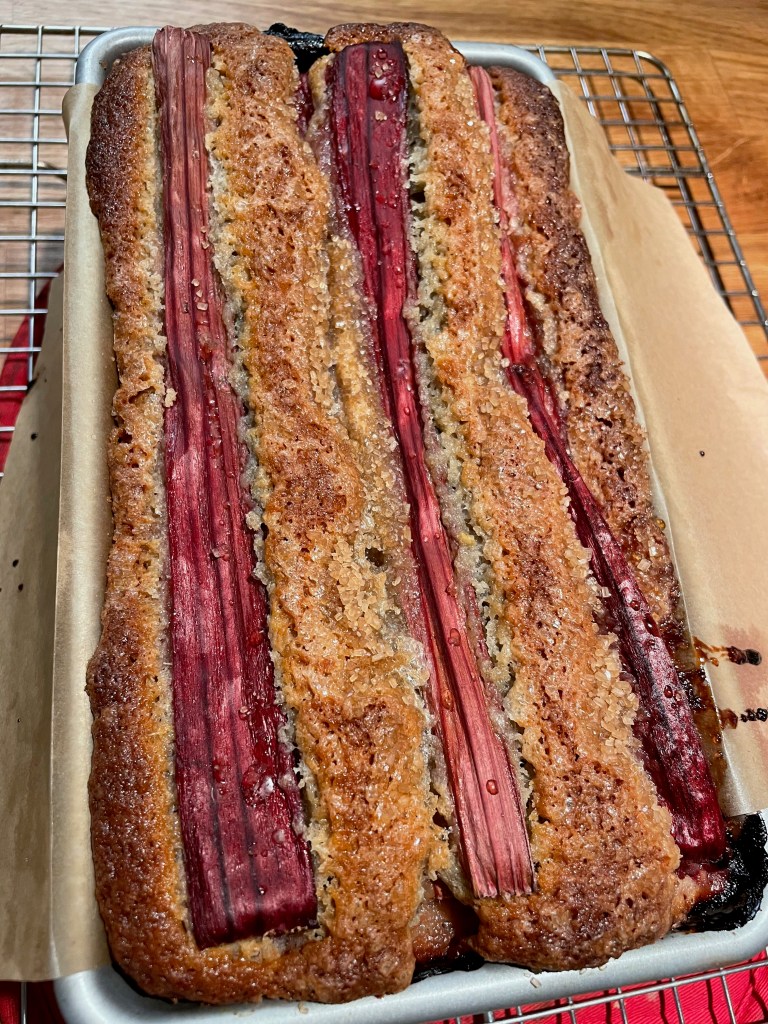
Baking The Cake
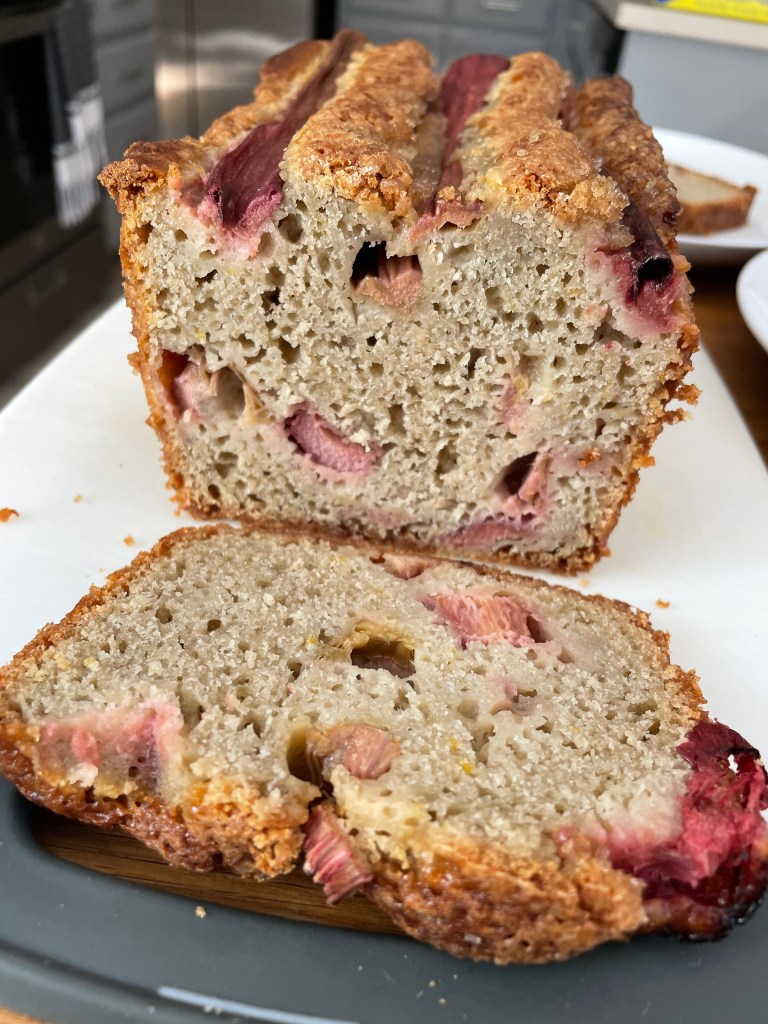
Final Product
Key Takeaways
Rhubarb can be a bit finicky to work with, but regardless of the look it tastes the same.
The cake may be rather moist the first day, but will get drier over time. You may prefer it the second day.
Final Score: 3/5 – This is a nice cake and a great introduction to working with rhubarb.
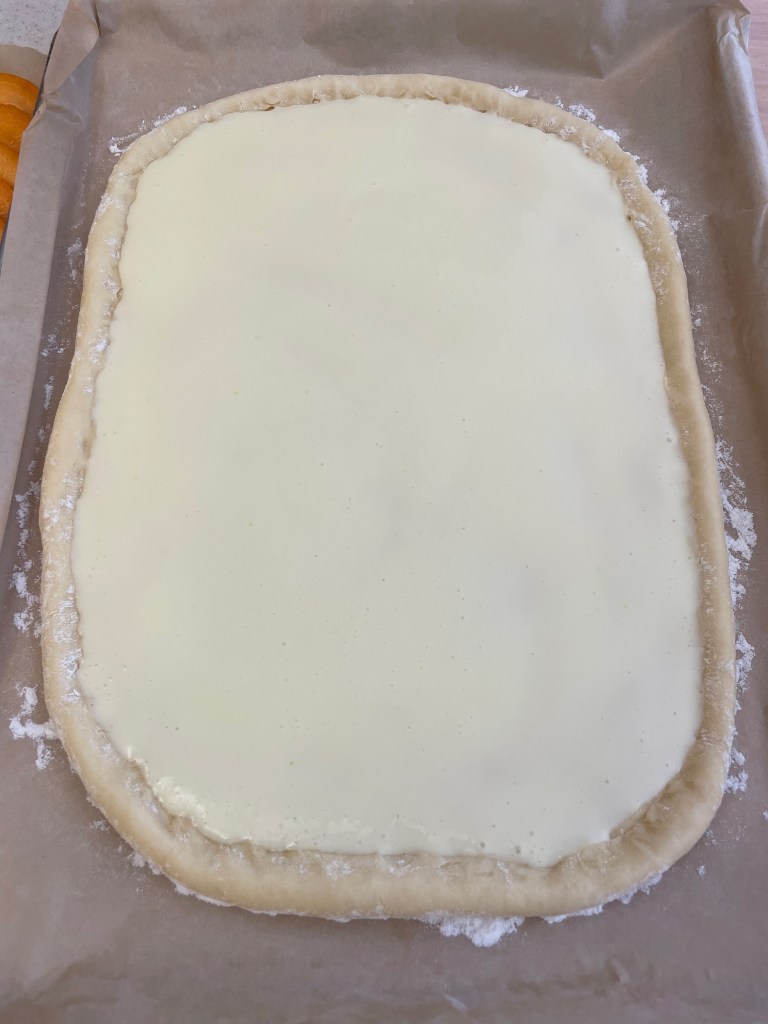
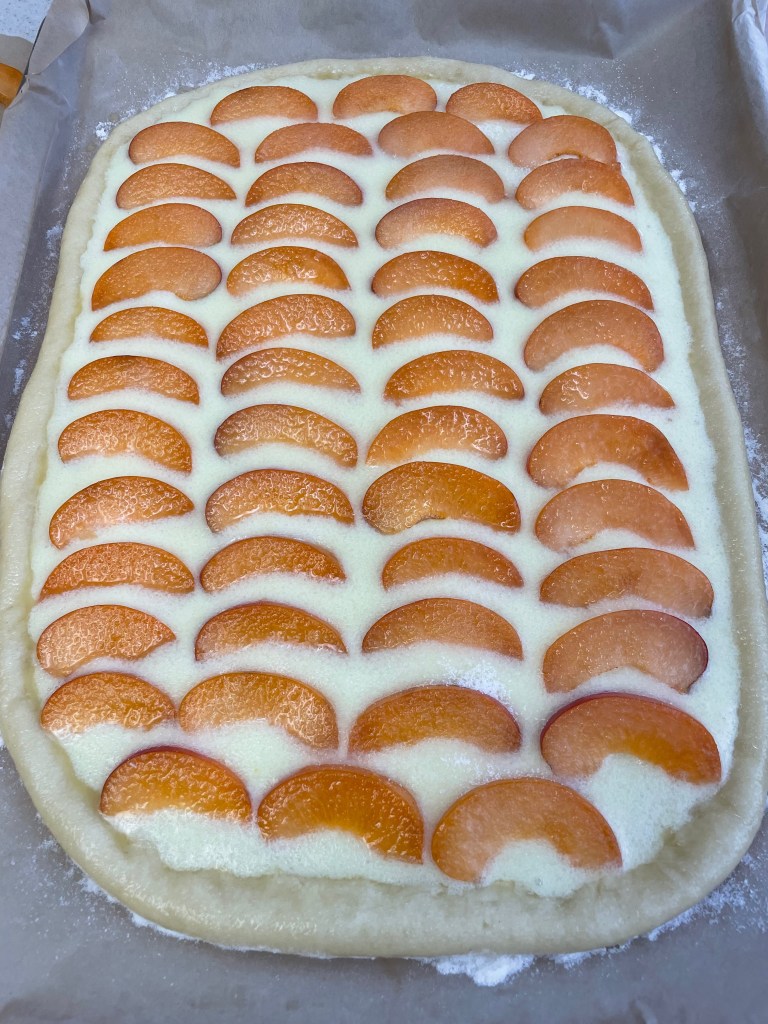
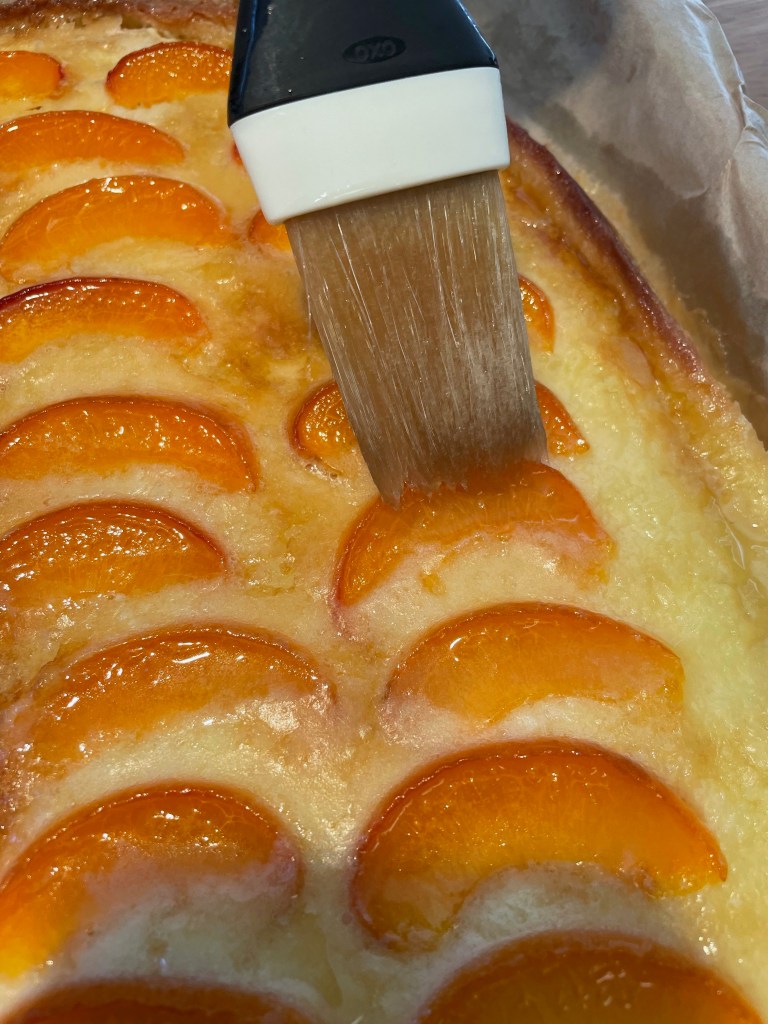
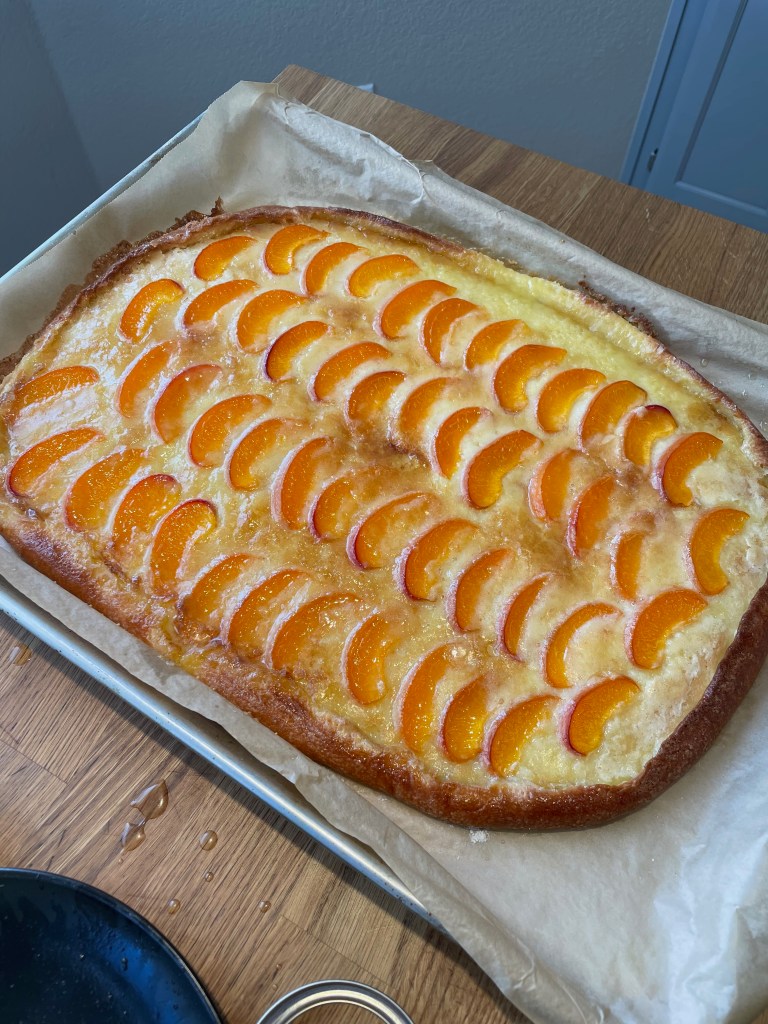
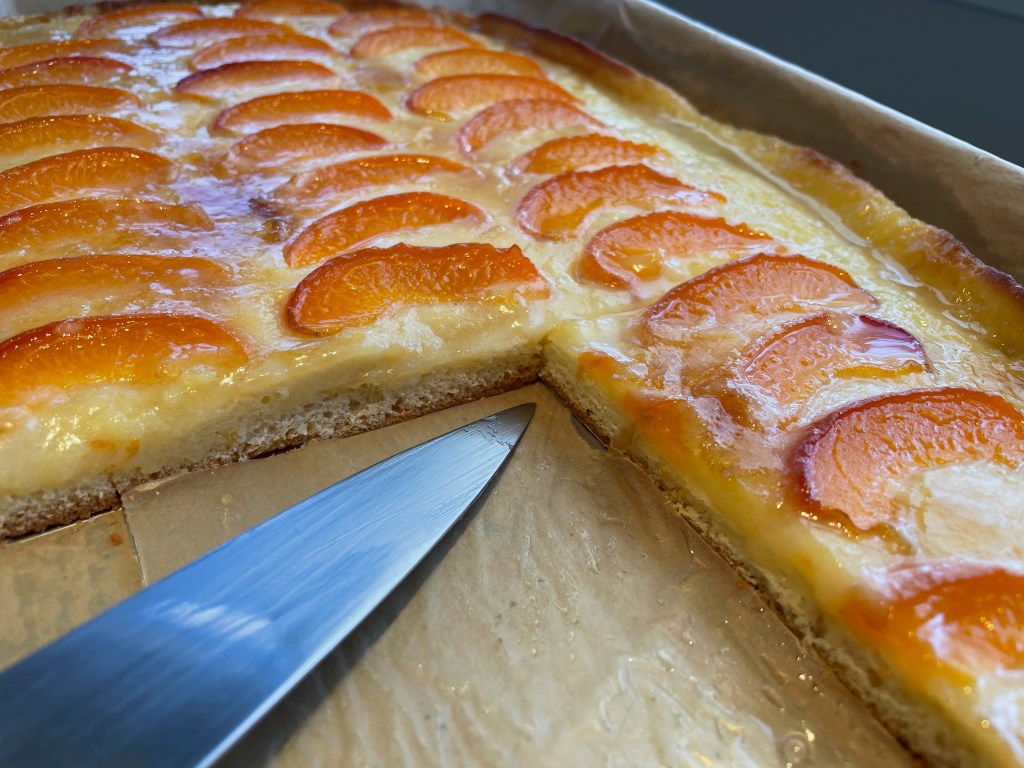
This is a solid recipe to attempt should you ever find fresh apricots. This recipe is also a great way to practice making brioche. Despite having just a few steps, the recipe requires a fair degree of precision. You need to carefully prepare the edges to prevent overflow and distribute your toppings just right to get an even bake. The end result is surprisingly good. It’s light, sweet, and refreshing.
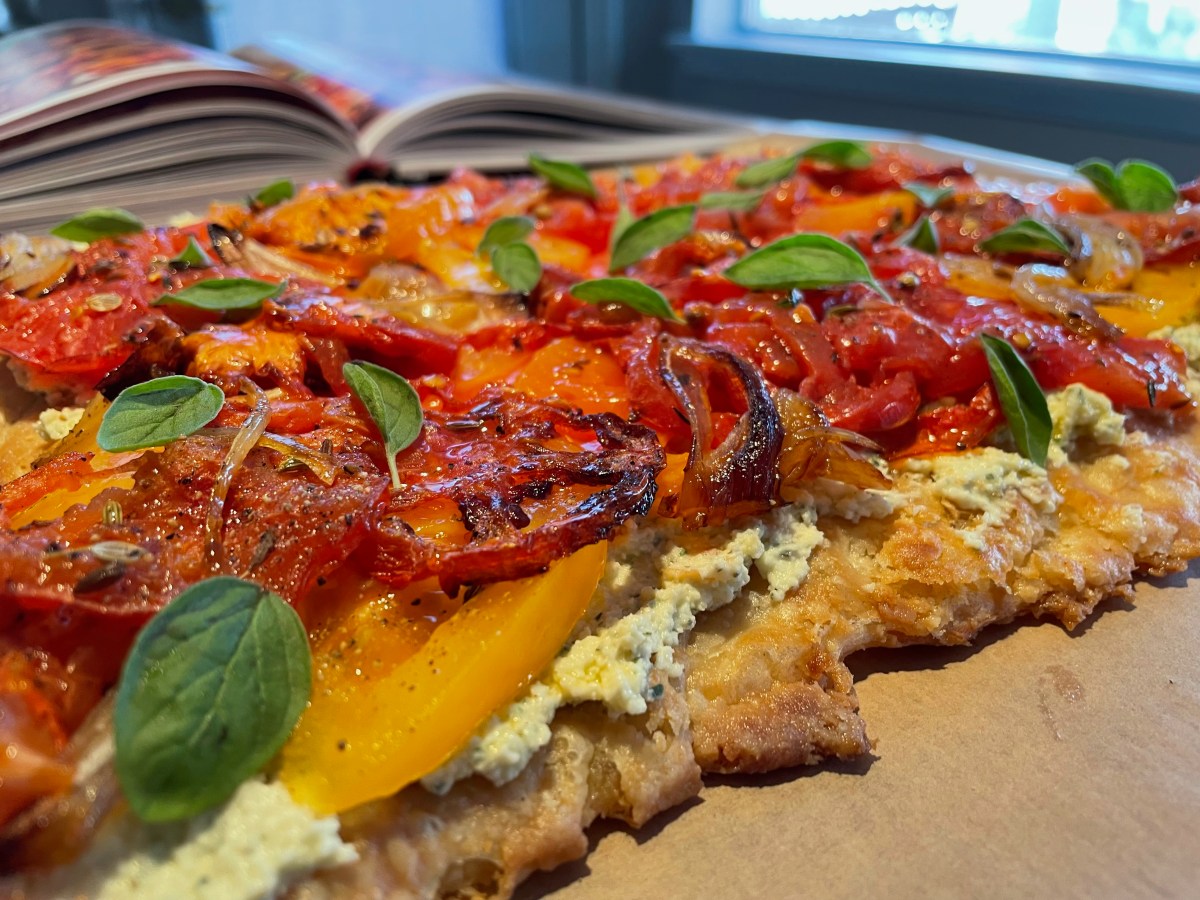
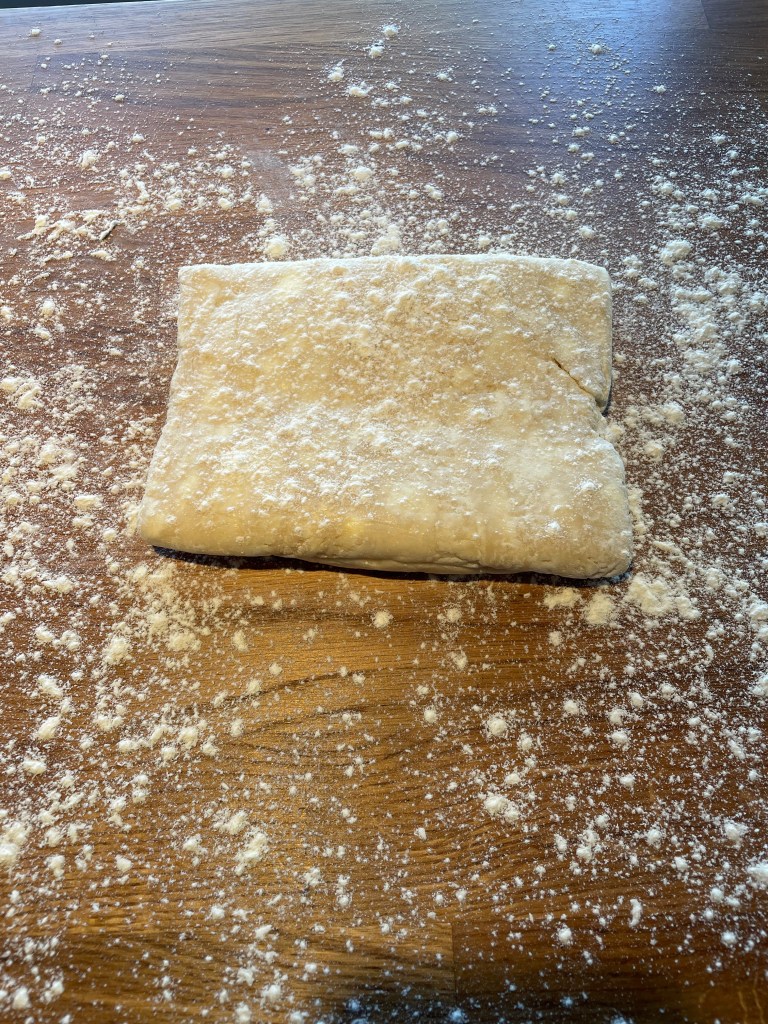
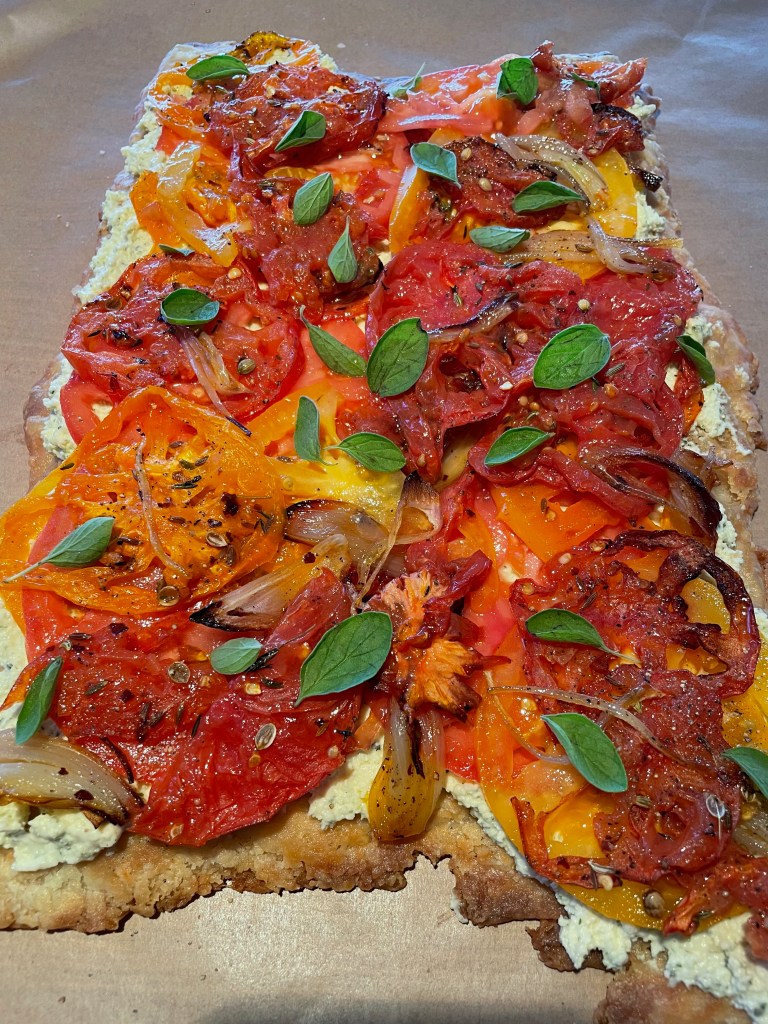
This is a great summer recipe when tomatoes are in season and you can find quality herbs. This tastes like a rich, yet light, tomato flatbread. The recipe is more time consuming than it appears though due to all of the prep work. Nonetheless, if you find yourself with some high quality tomatoes, then definitely give this one a shot.
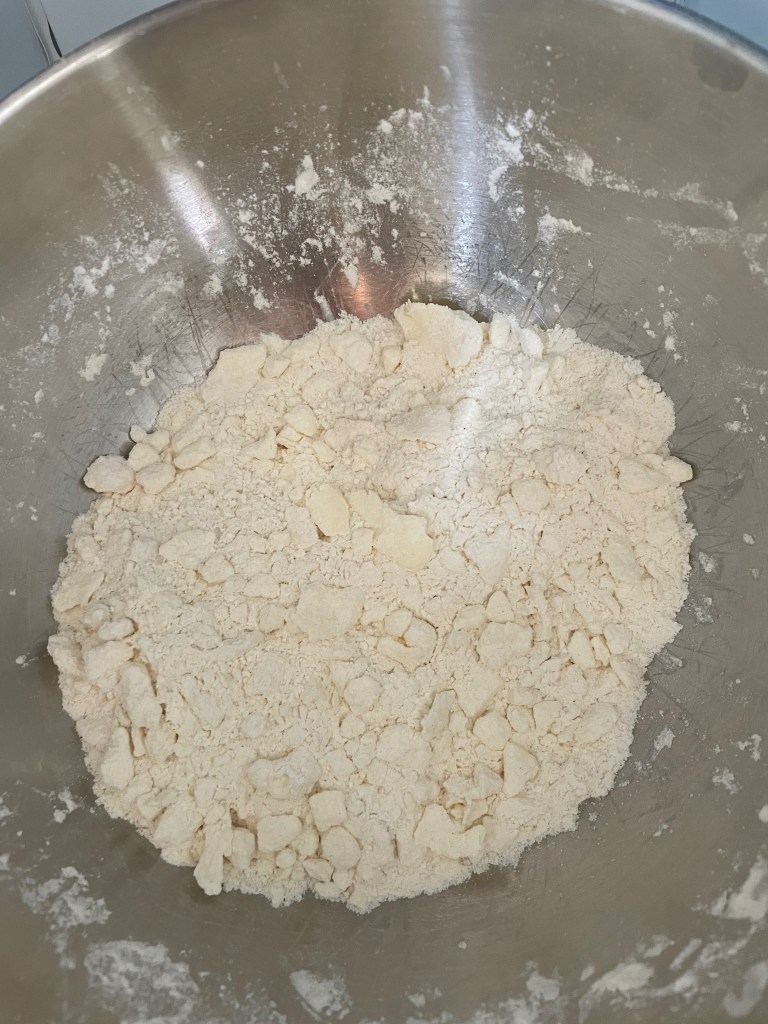
Tip: Consider freezing the bowl, the rolling pin, and the working surface (such as a cutting board) to keep the butter from melting.
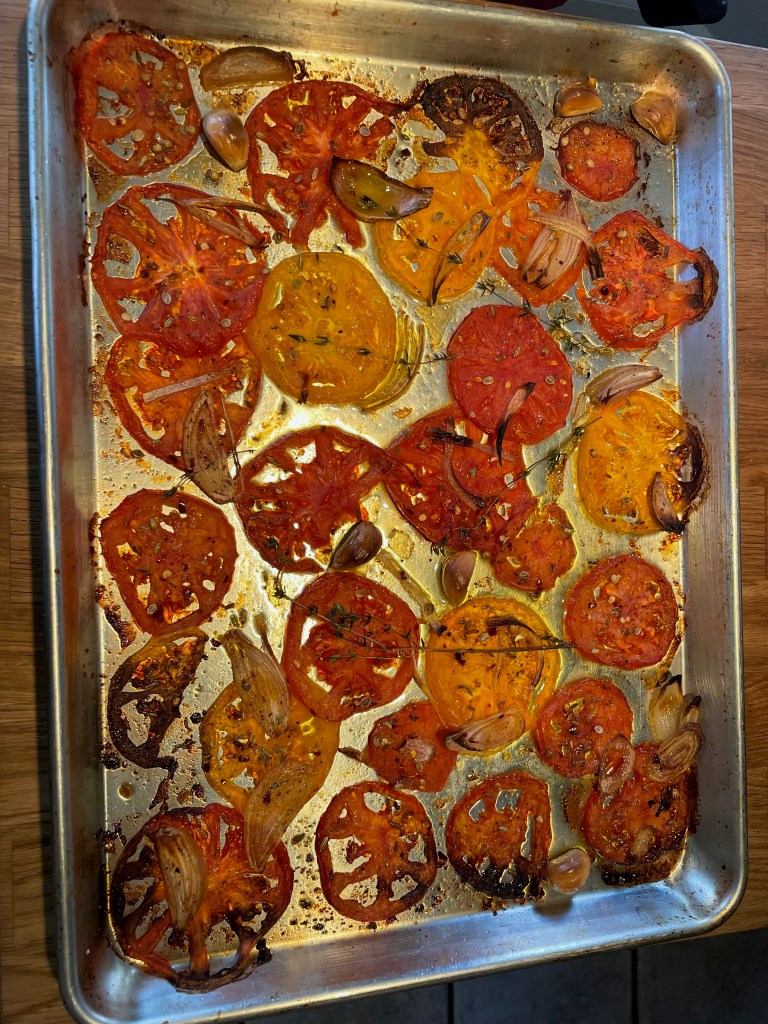
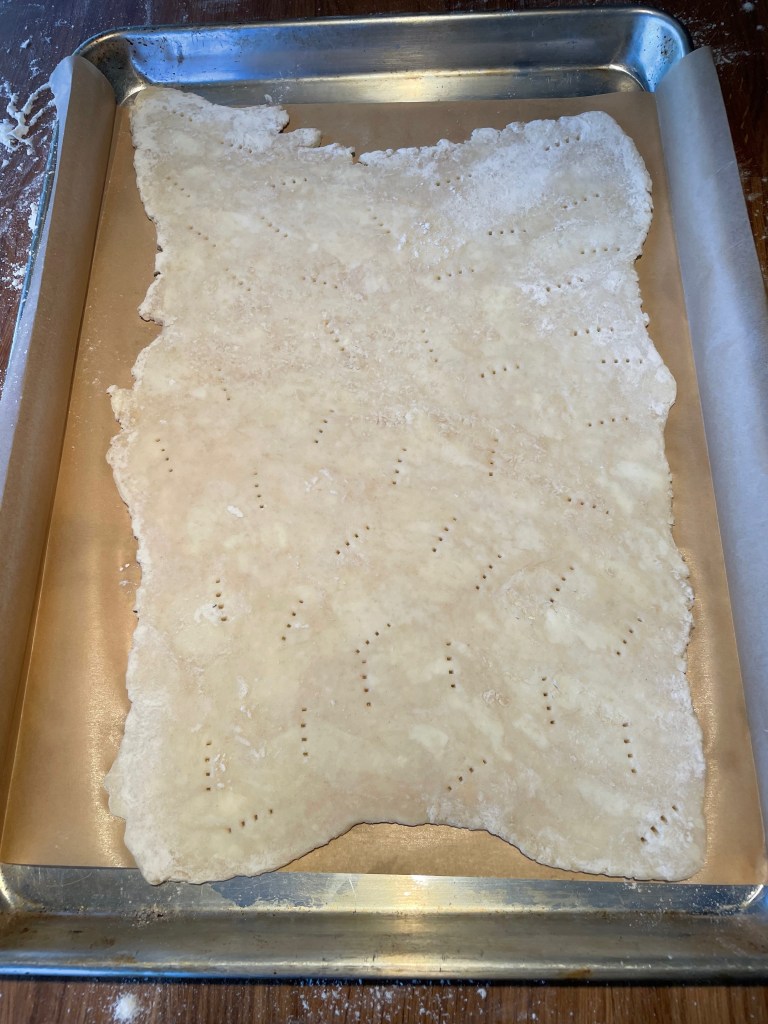
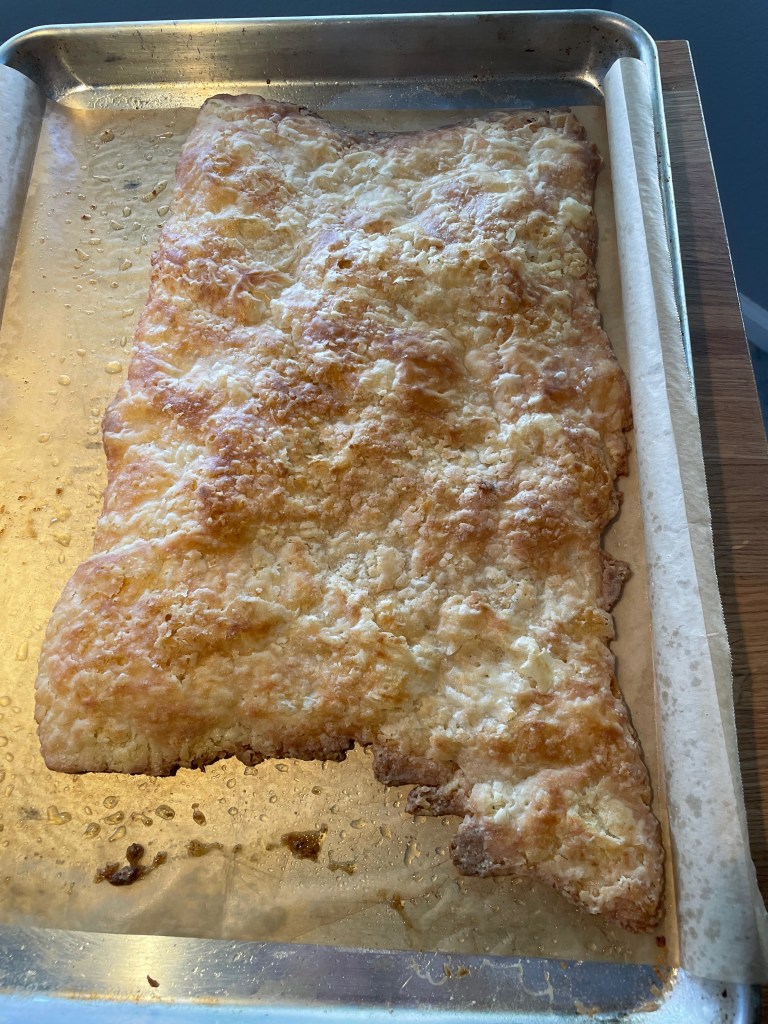
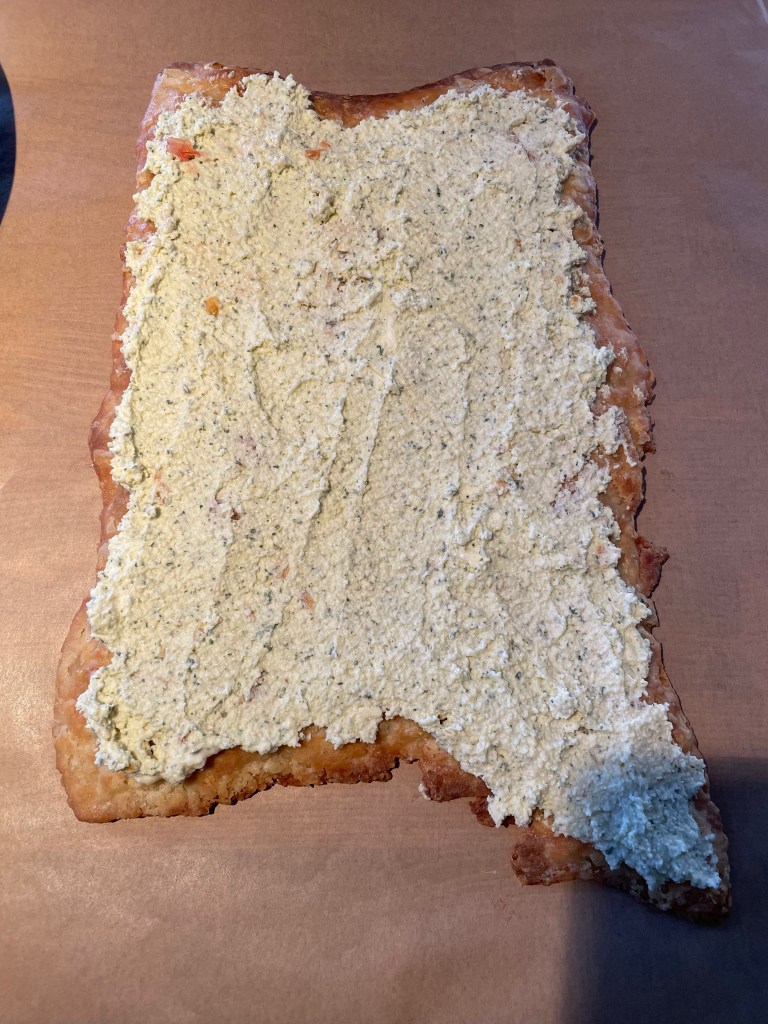
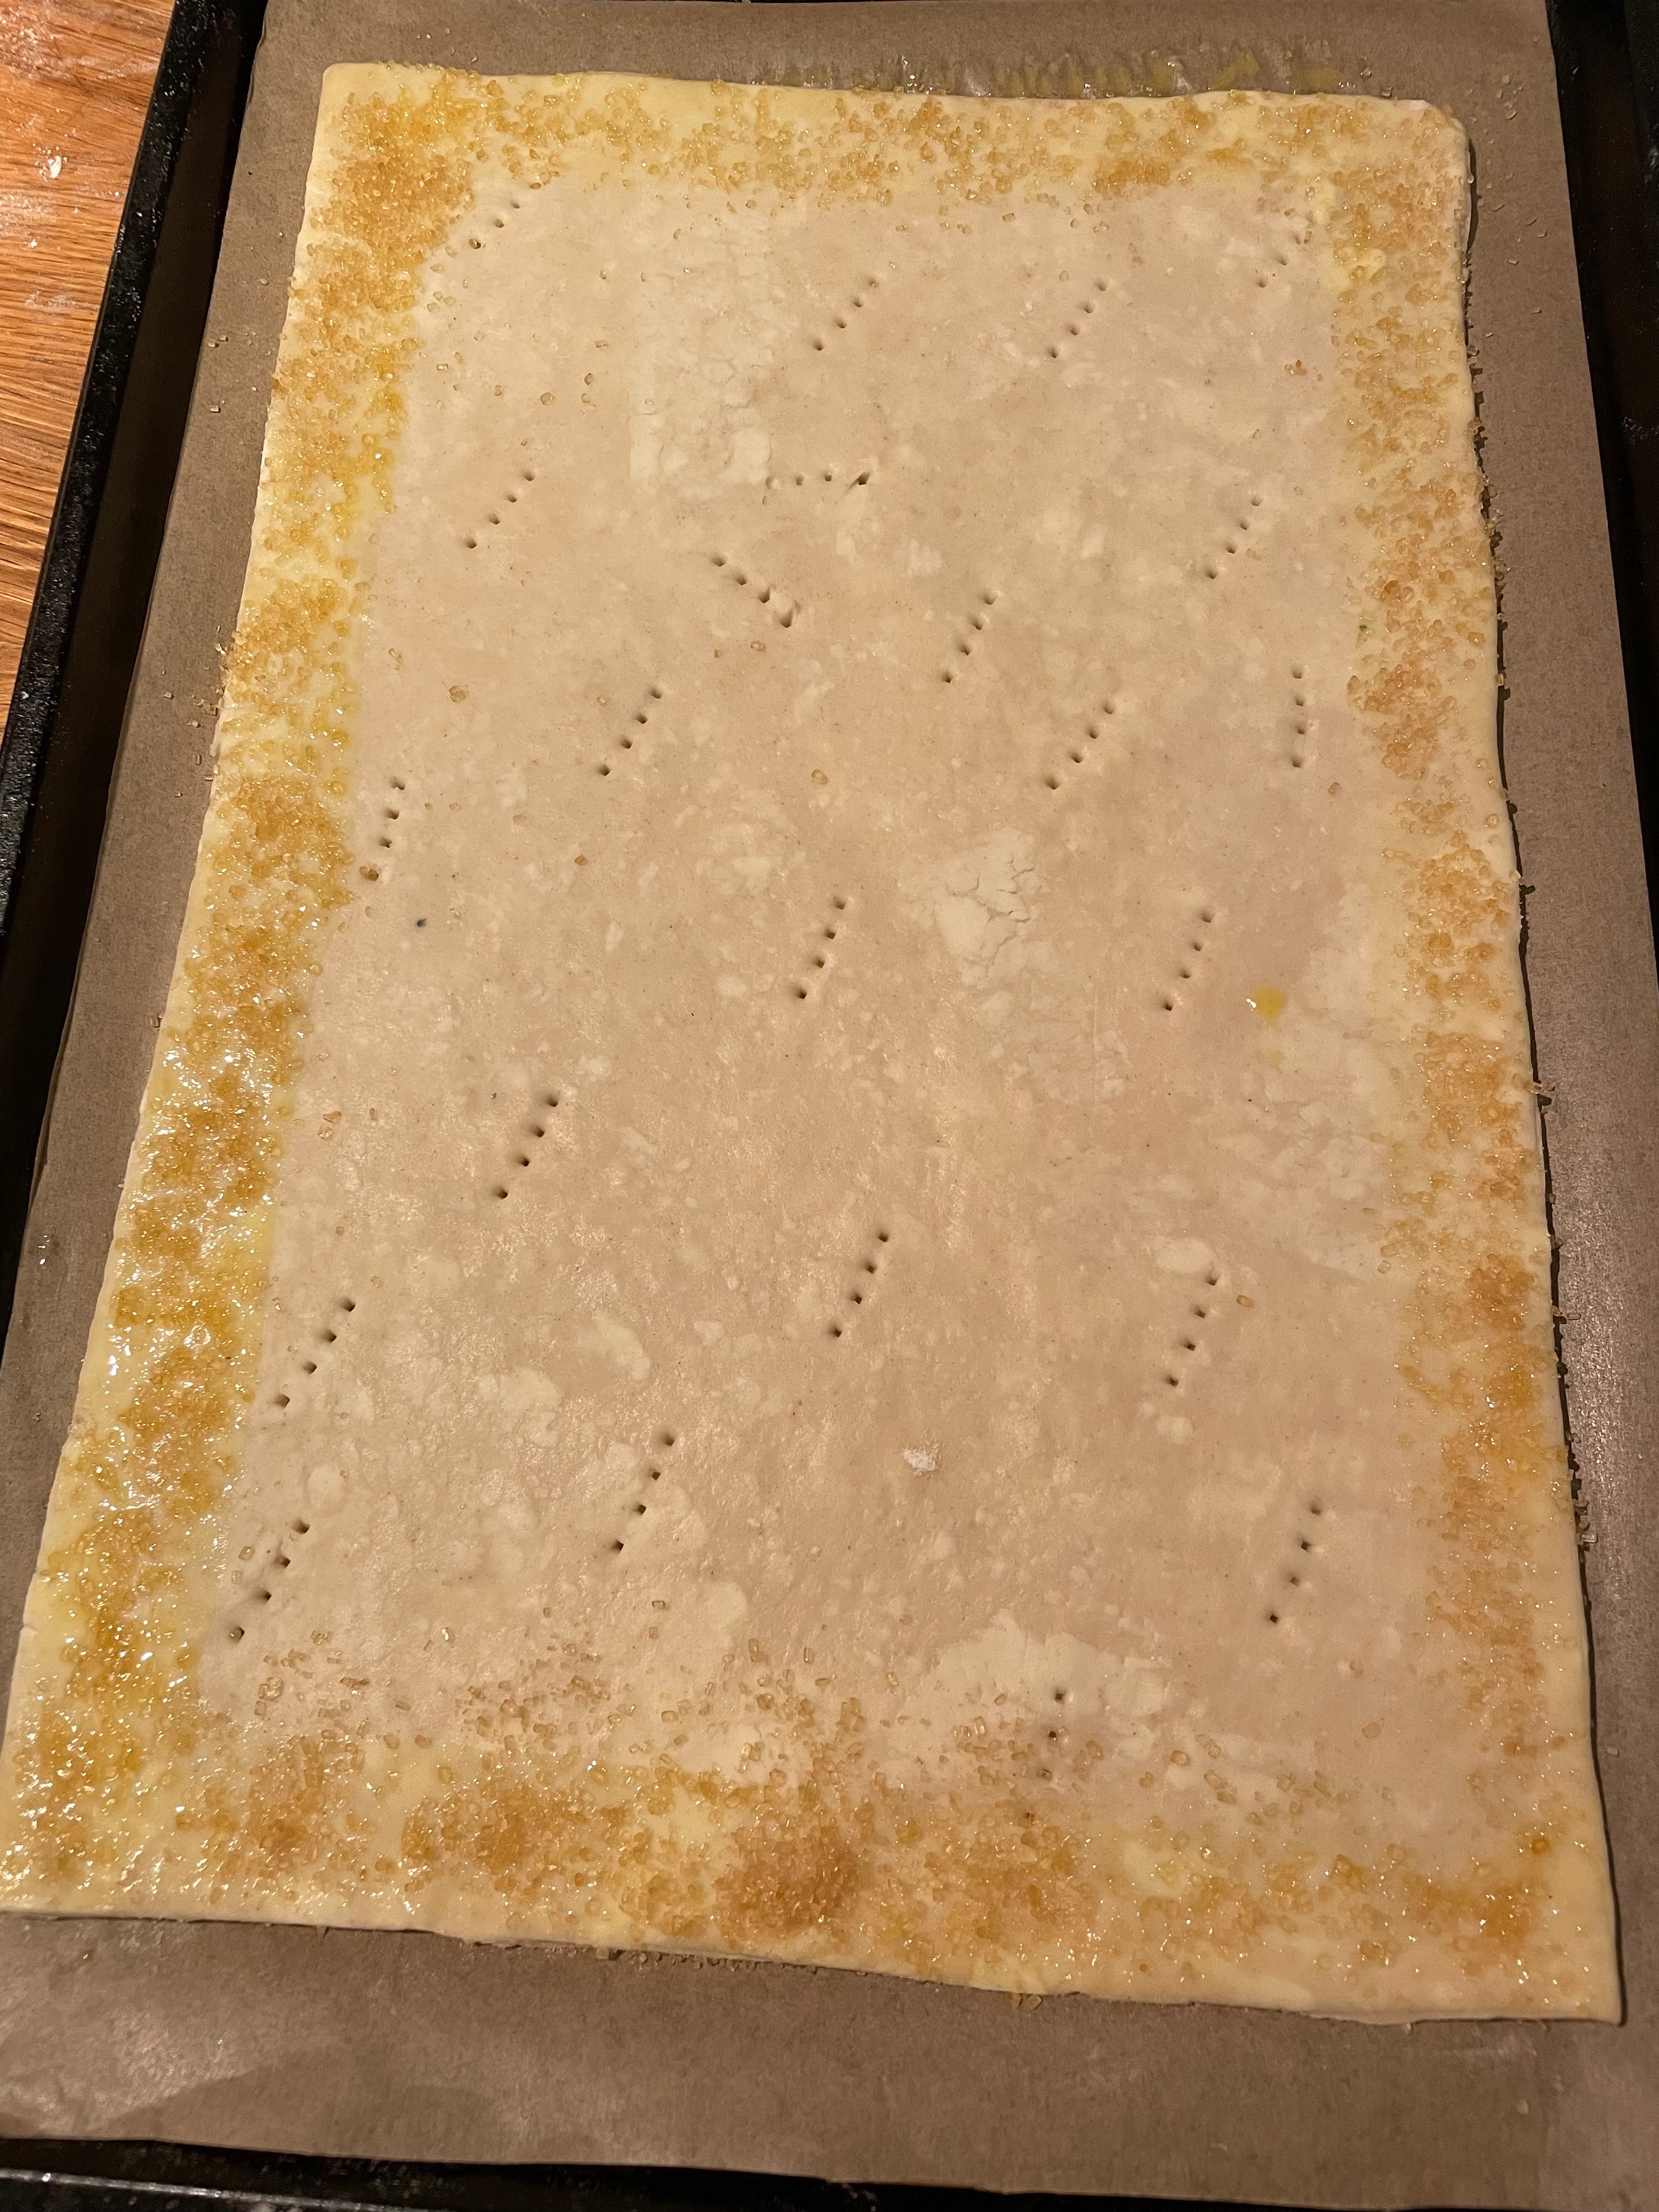
Assembling And Baking The Tart
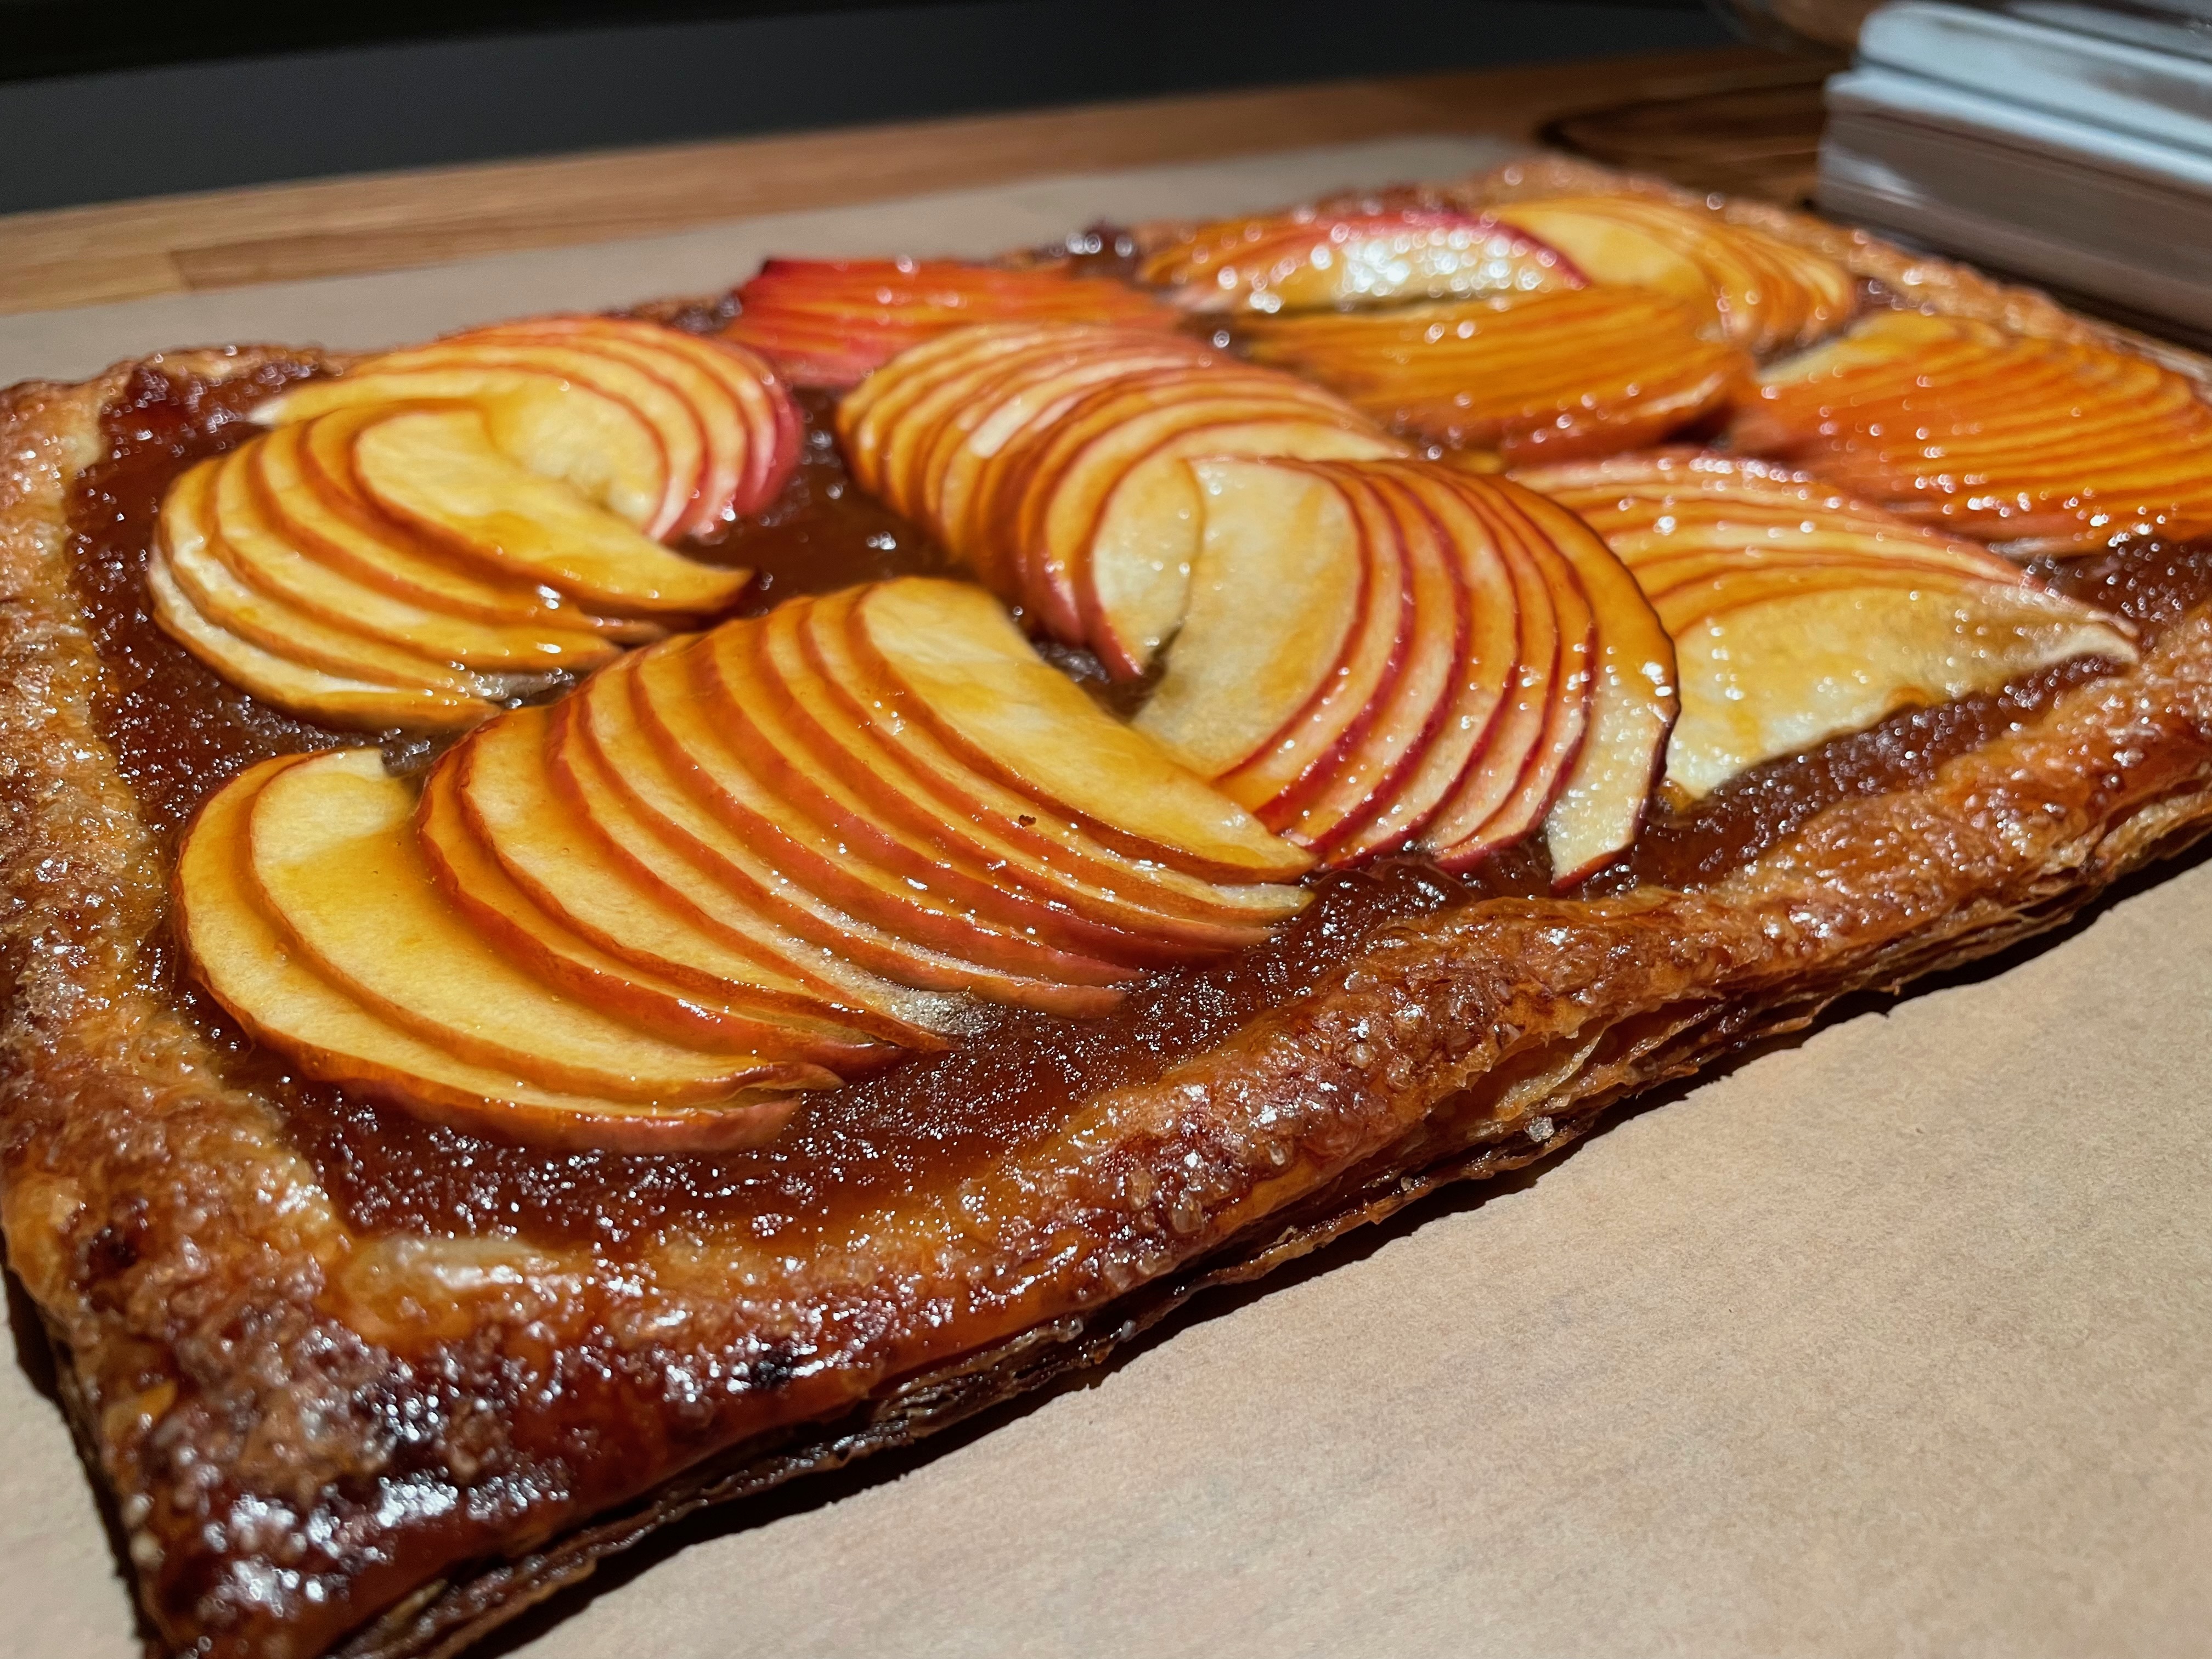
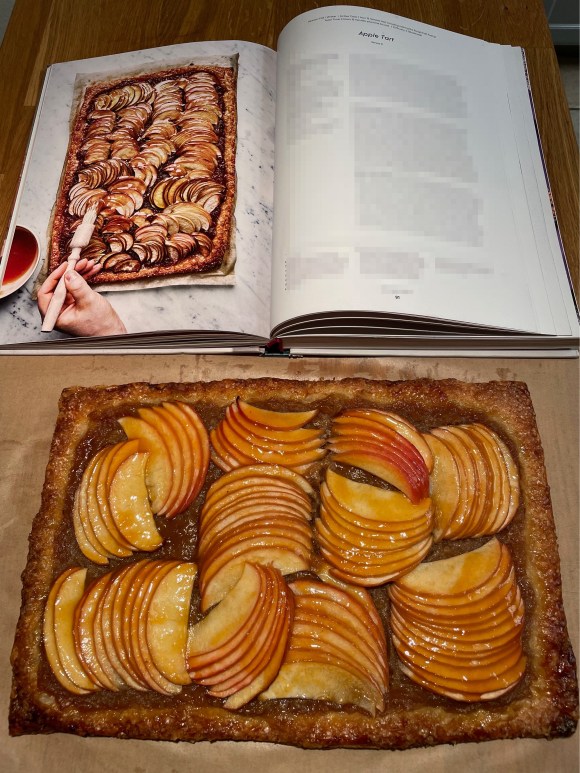
Final Product
Key Takeaways
Only make this with fresh herbs and in-season tomatoes (and quality feta)! It’s all about the ingredients.
Final Score: 4/5 – This is an easy, yet time consuming recipe. A great “dessert” to make when you have fresh tomatoes on-hand. This would also go great as an hors d’oeuvre.
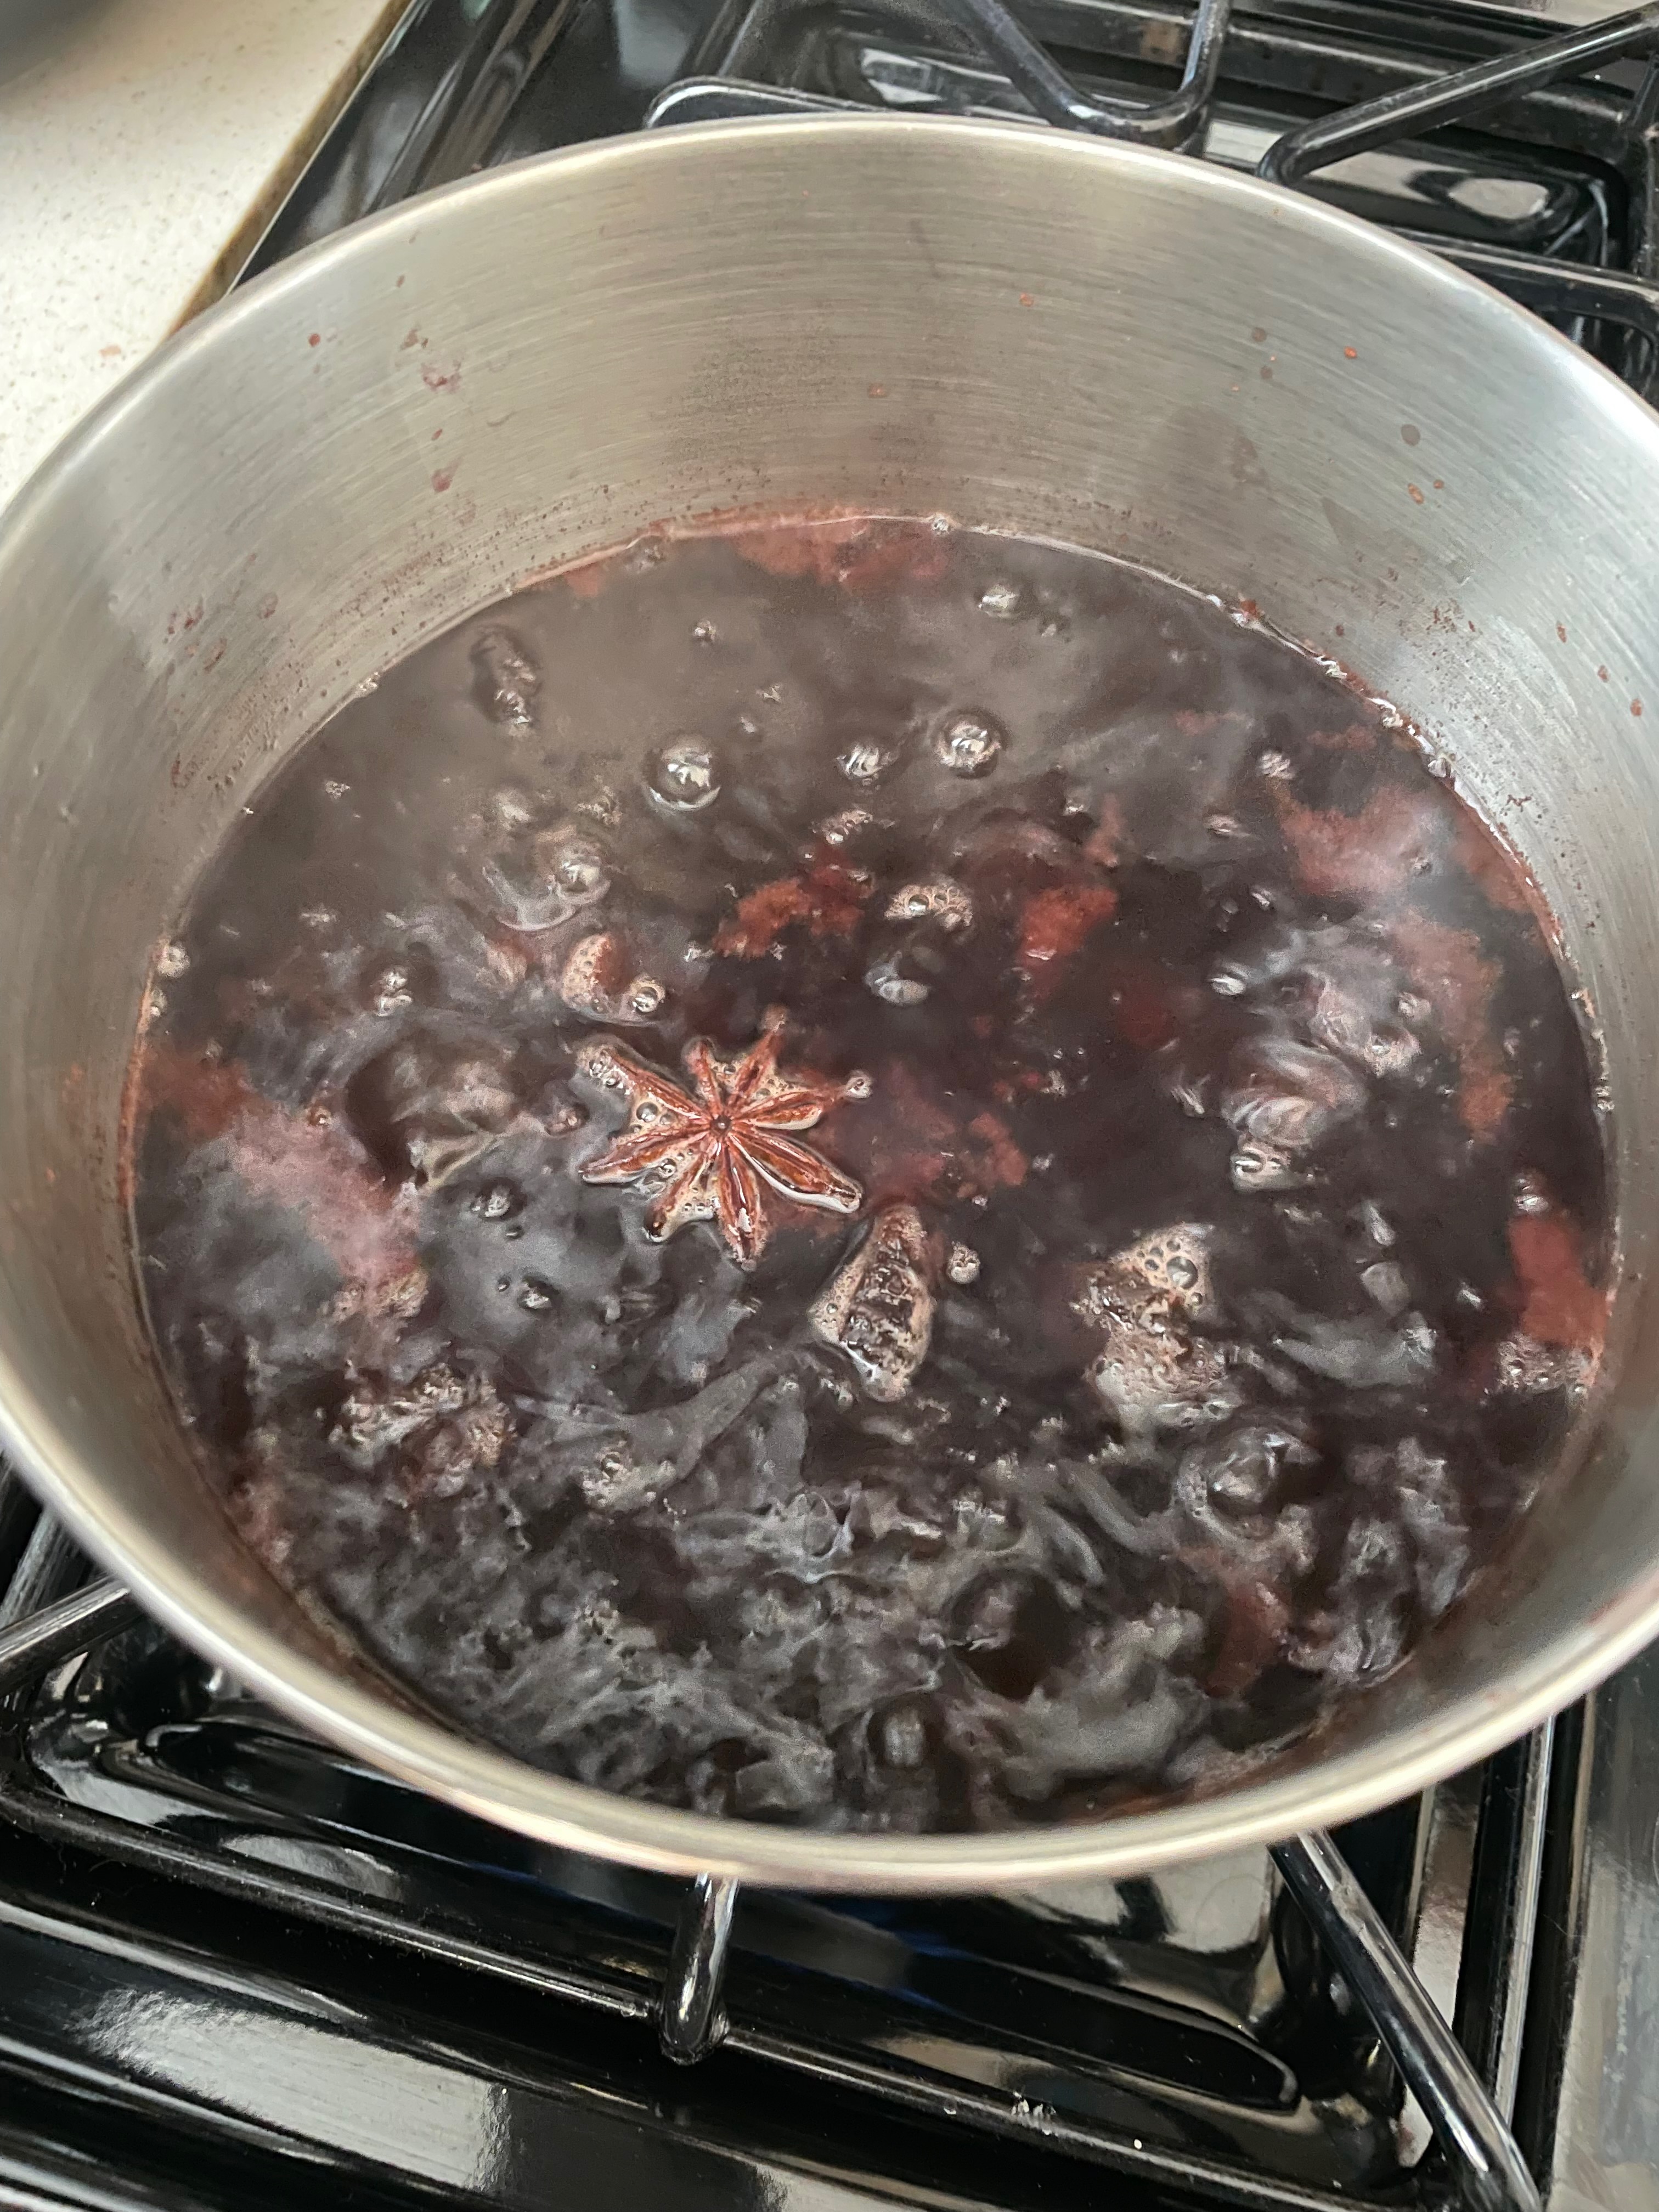
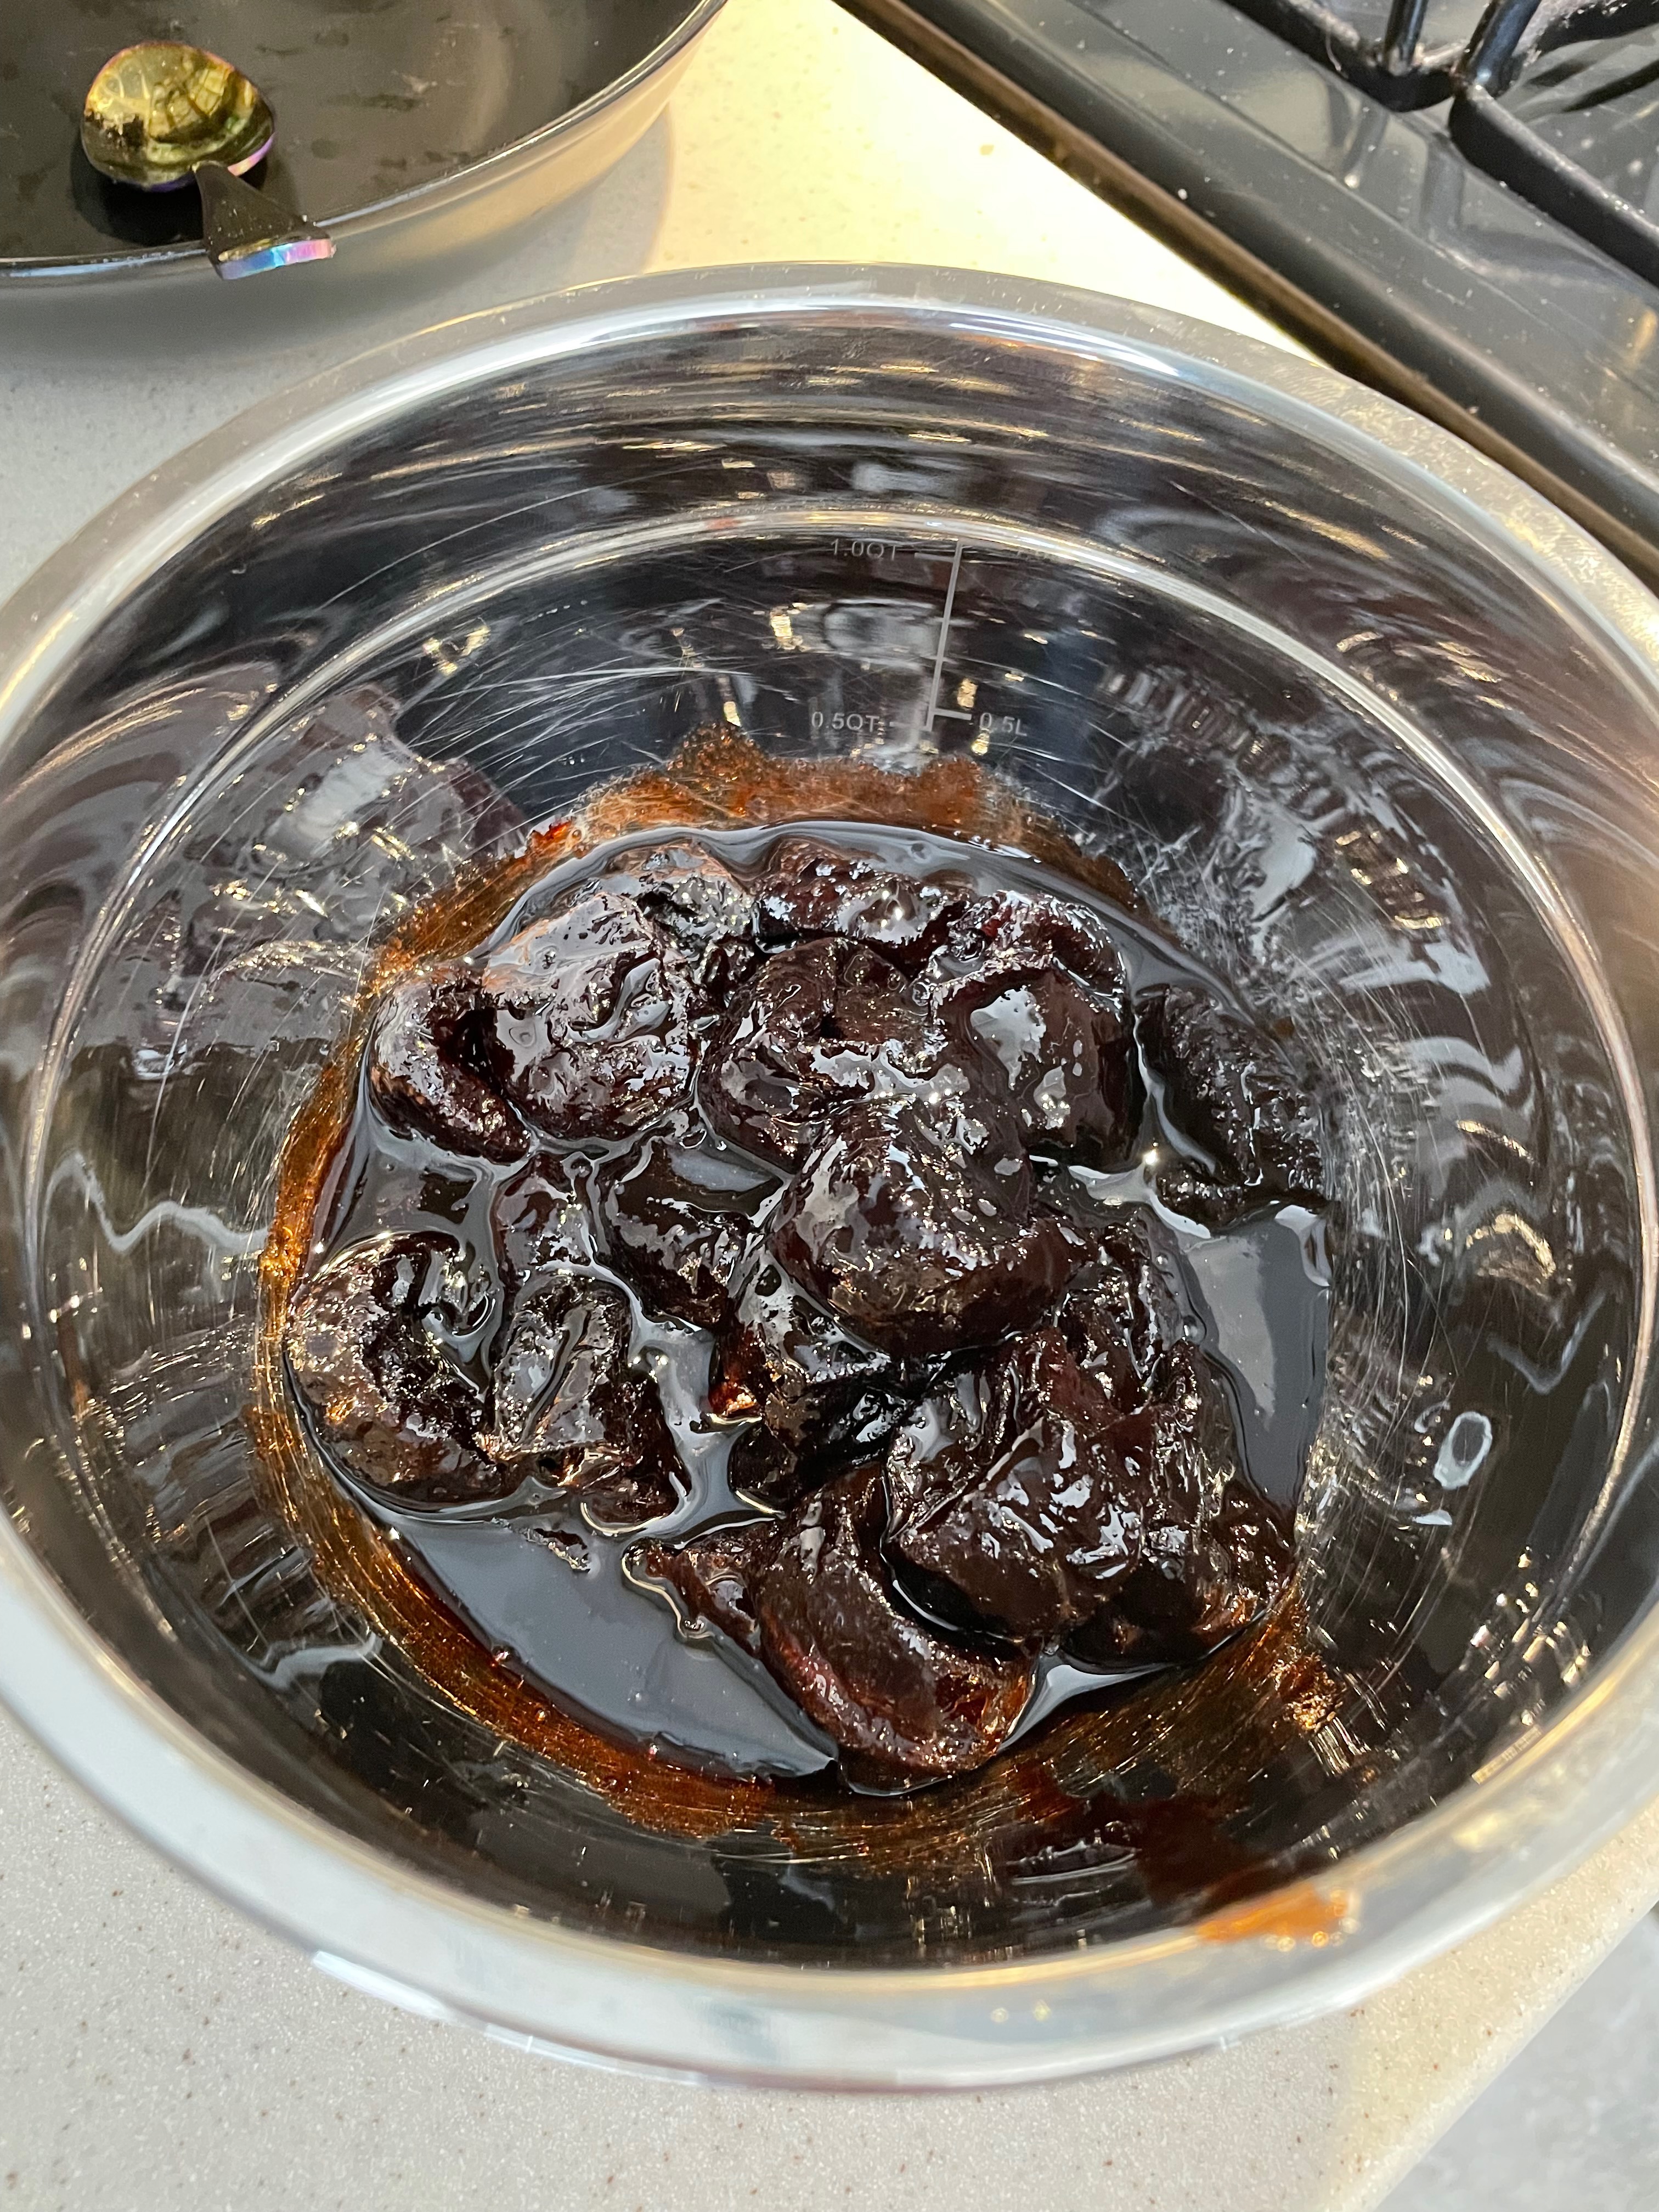
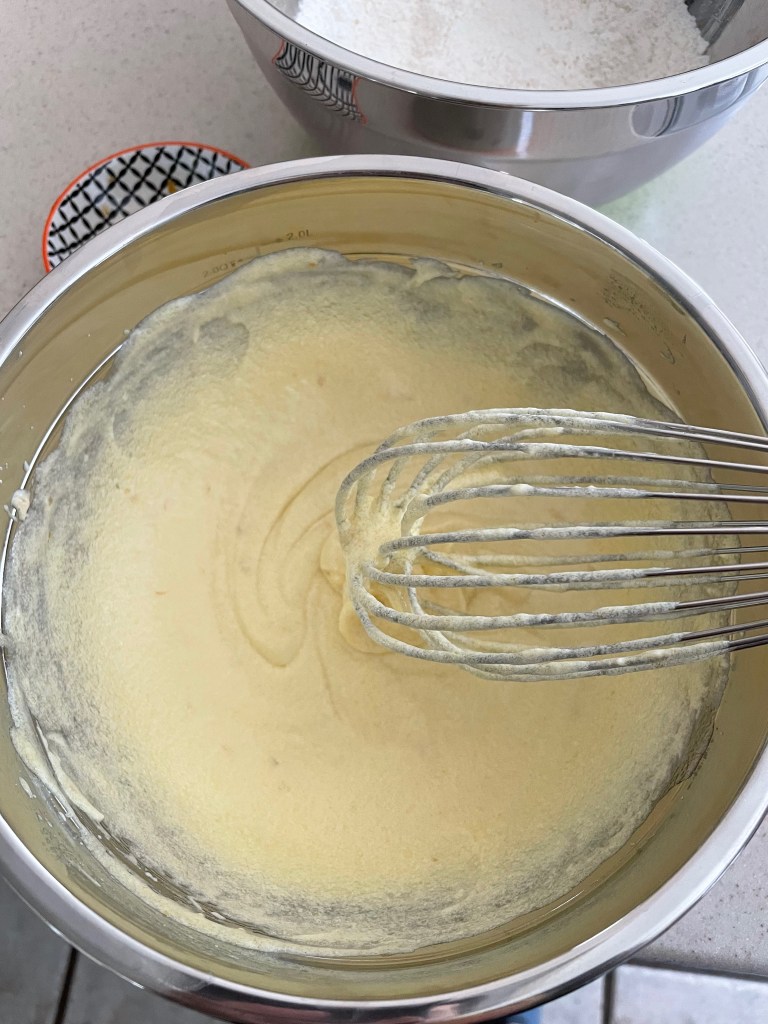
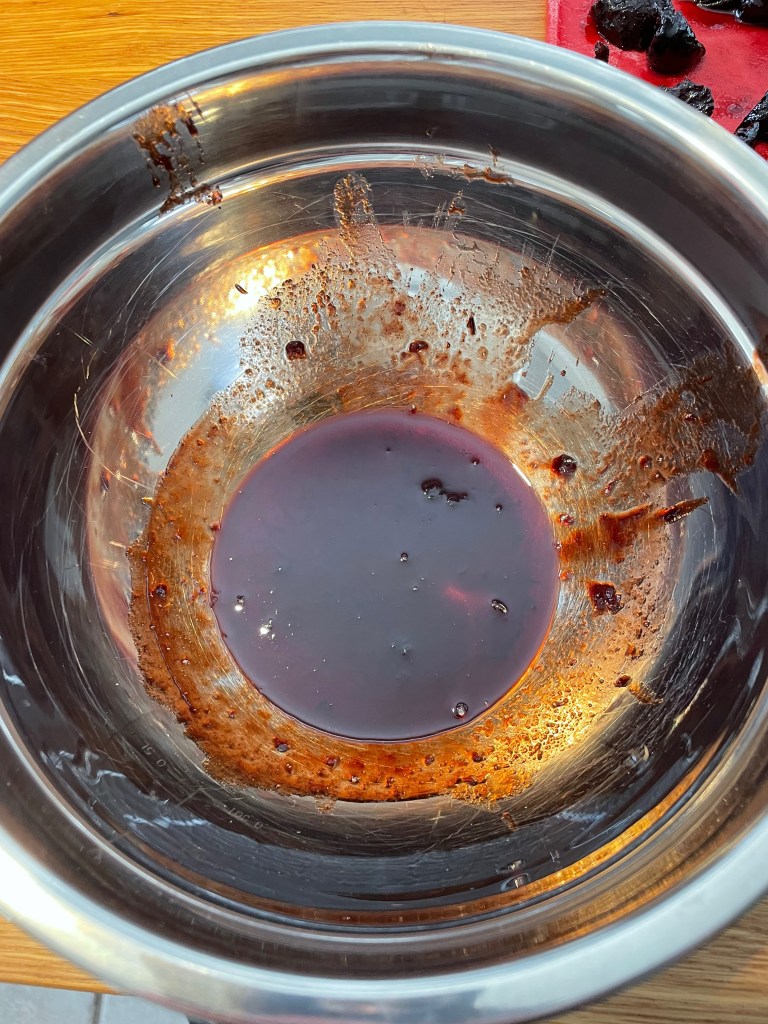
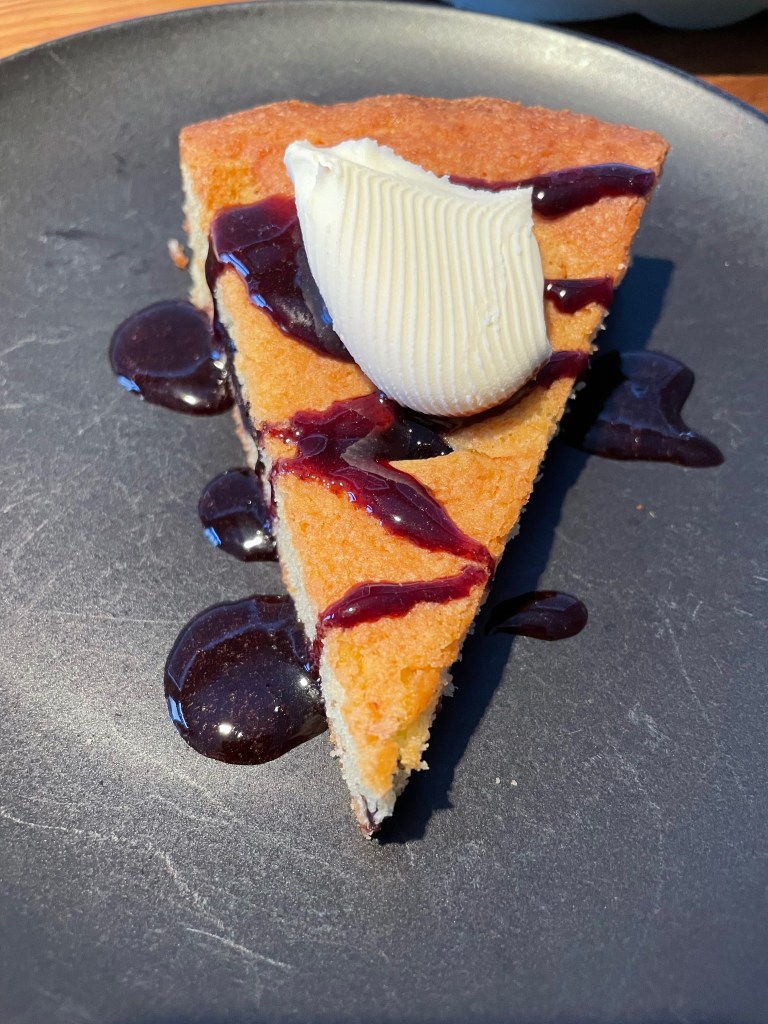
This is a quick and easy recipe. The cake itself is especially easy and could be used as the base for a variety of different recipes. The red wine prunes come out quite well, but takes some practice to get the timing right. This is a great recipe to improvise with and try and put your own spin on – we’ll definitely be giving that a go in the future.
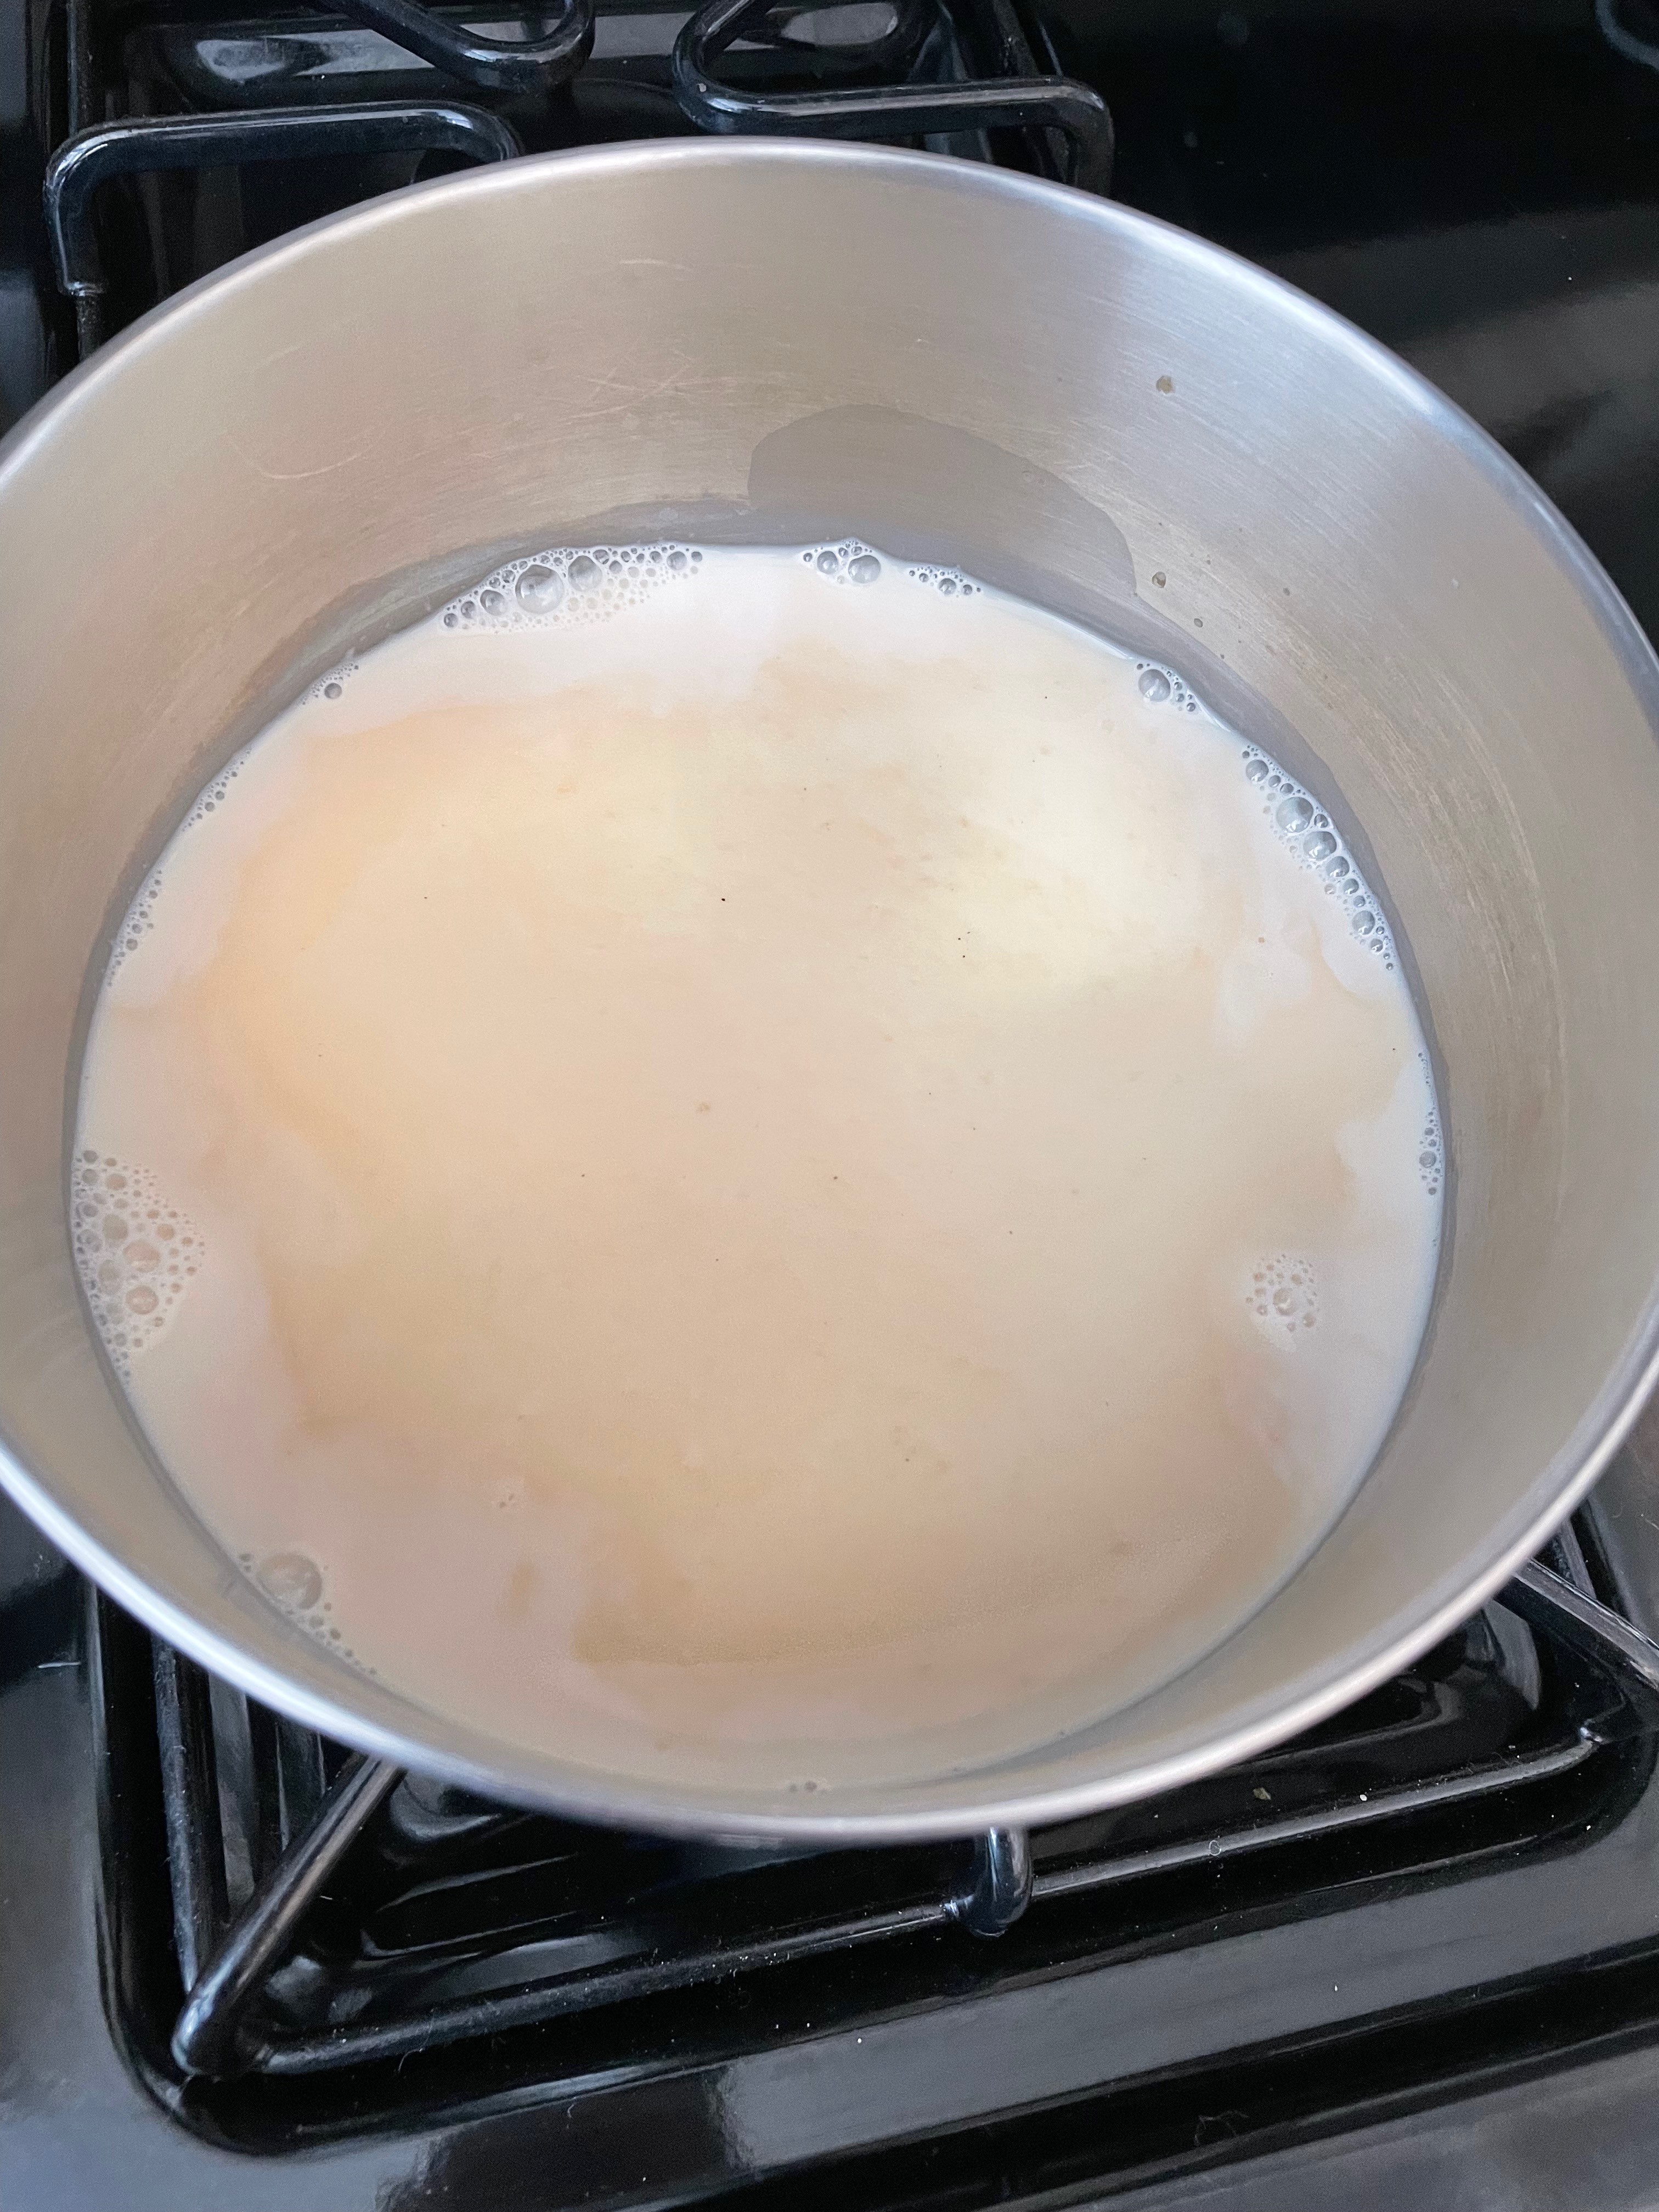
Tip: It will significantly thicken and condense once removed from the heat. So don’t wait until there is only a 1/4 cup of liquid in the pot. Consider stopping it a bit early and returning to the heat if necessary. If you over-reduce it, then the prunes will come out slightly bitter. Likewise, the thicker coating of syrup can weigh the prunes down and cause them to sink into the cake.
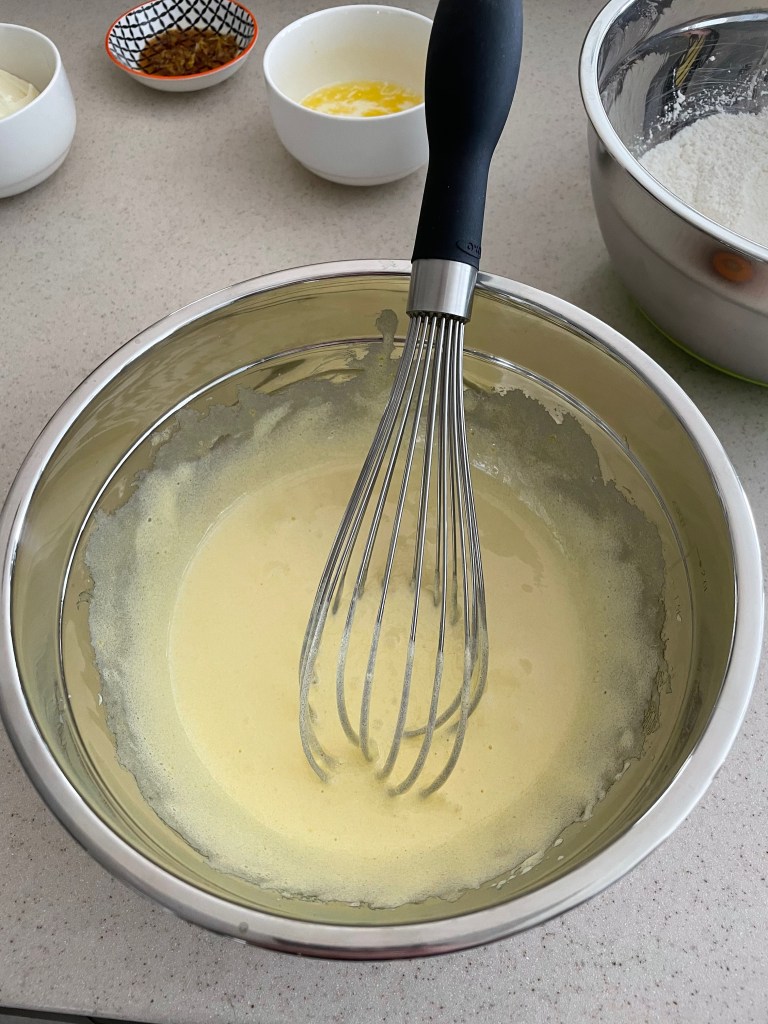
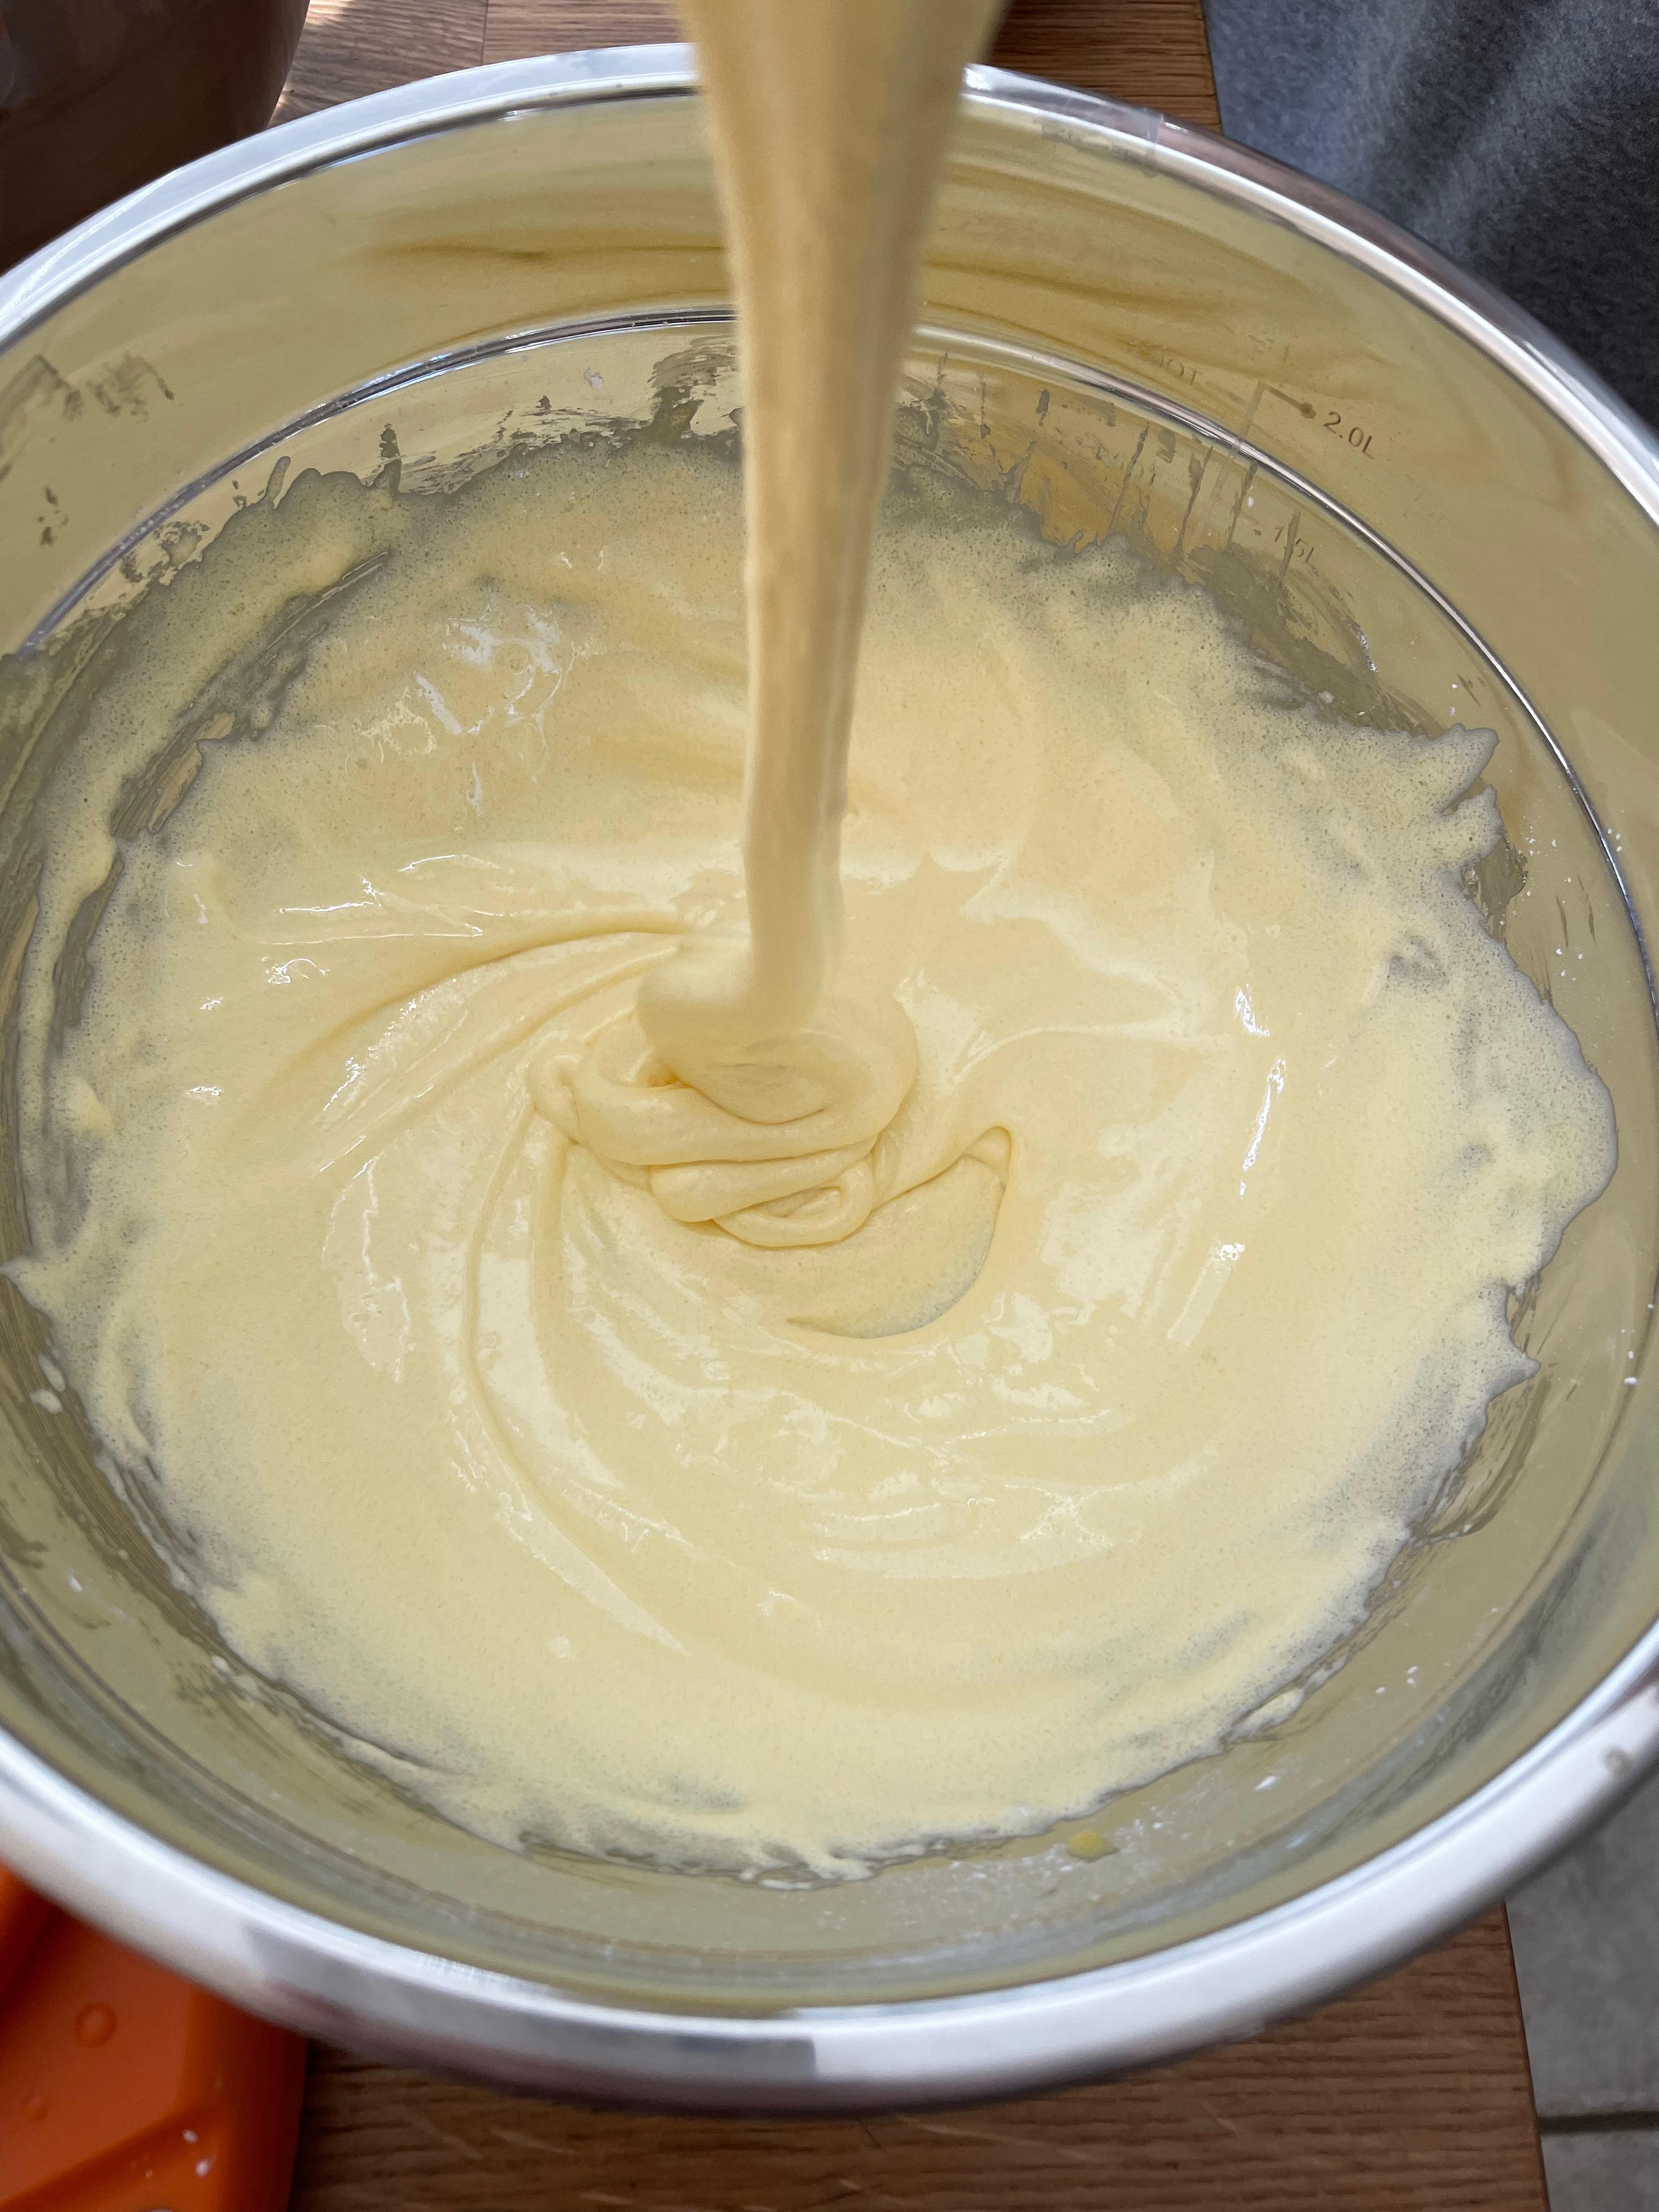
Making The Batter
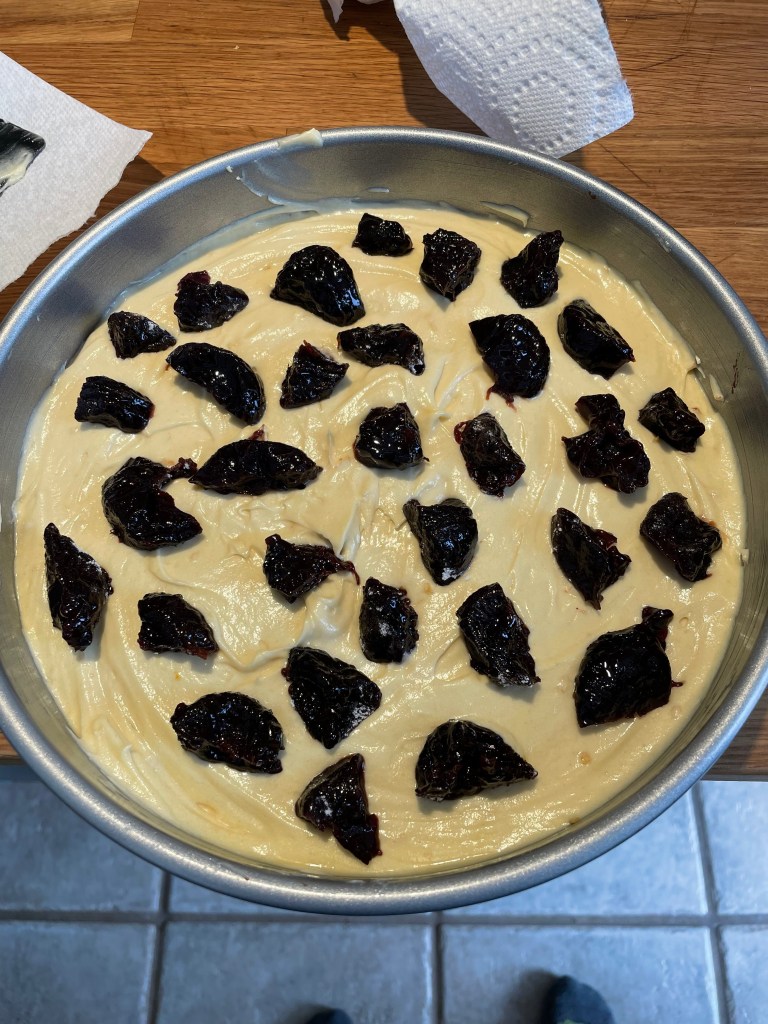
Assembling And Baking The Cake
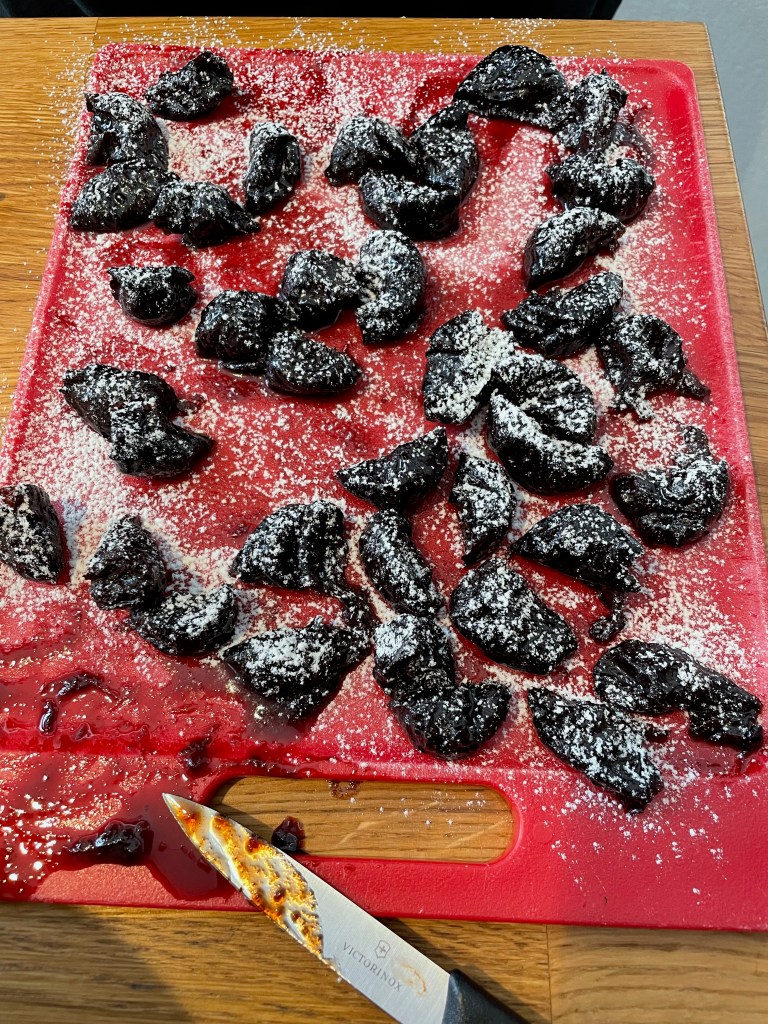
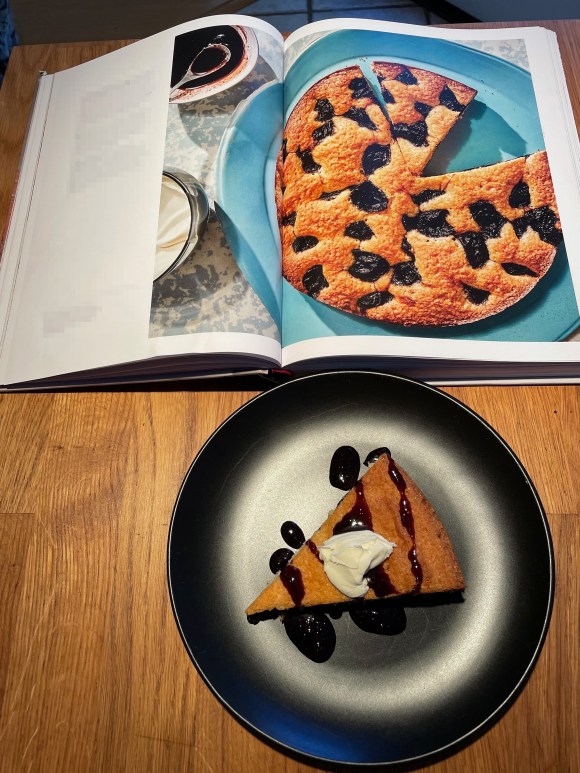
Tip: Both times we made this cake the prunes sunk significantly into the cake. While it tastes the same, it looks slightly less pretty. We even cut our prunes into smaller pieces and dusted them with flour to help prevent them from sinking – but it didn’t make a huge difference. We aren’t quite sure what we did wrong. At this point our best guess is that the syrup over-reduced and weighed down the prunes. See the other tip above this.
Final Product
Key Takeaways
Make sure to use a decent wine for the prunes. The taste will come through in the final product.
Be very careful when preparing the prunes to not over-reduce.
Consider cutting your prunes (after preparing) and dusting with flour to reduce the chances of the prunes sinking into the cake.
Final Score: 3/5 – This is a rather easy recipe. While we did struggle with getting the prunes to stay on top, everything else was very straight-forward. Definitely worth giving a try given how quick and simple it is.
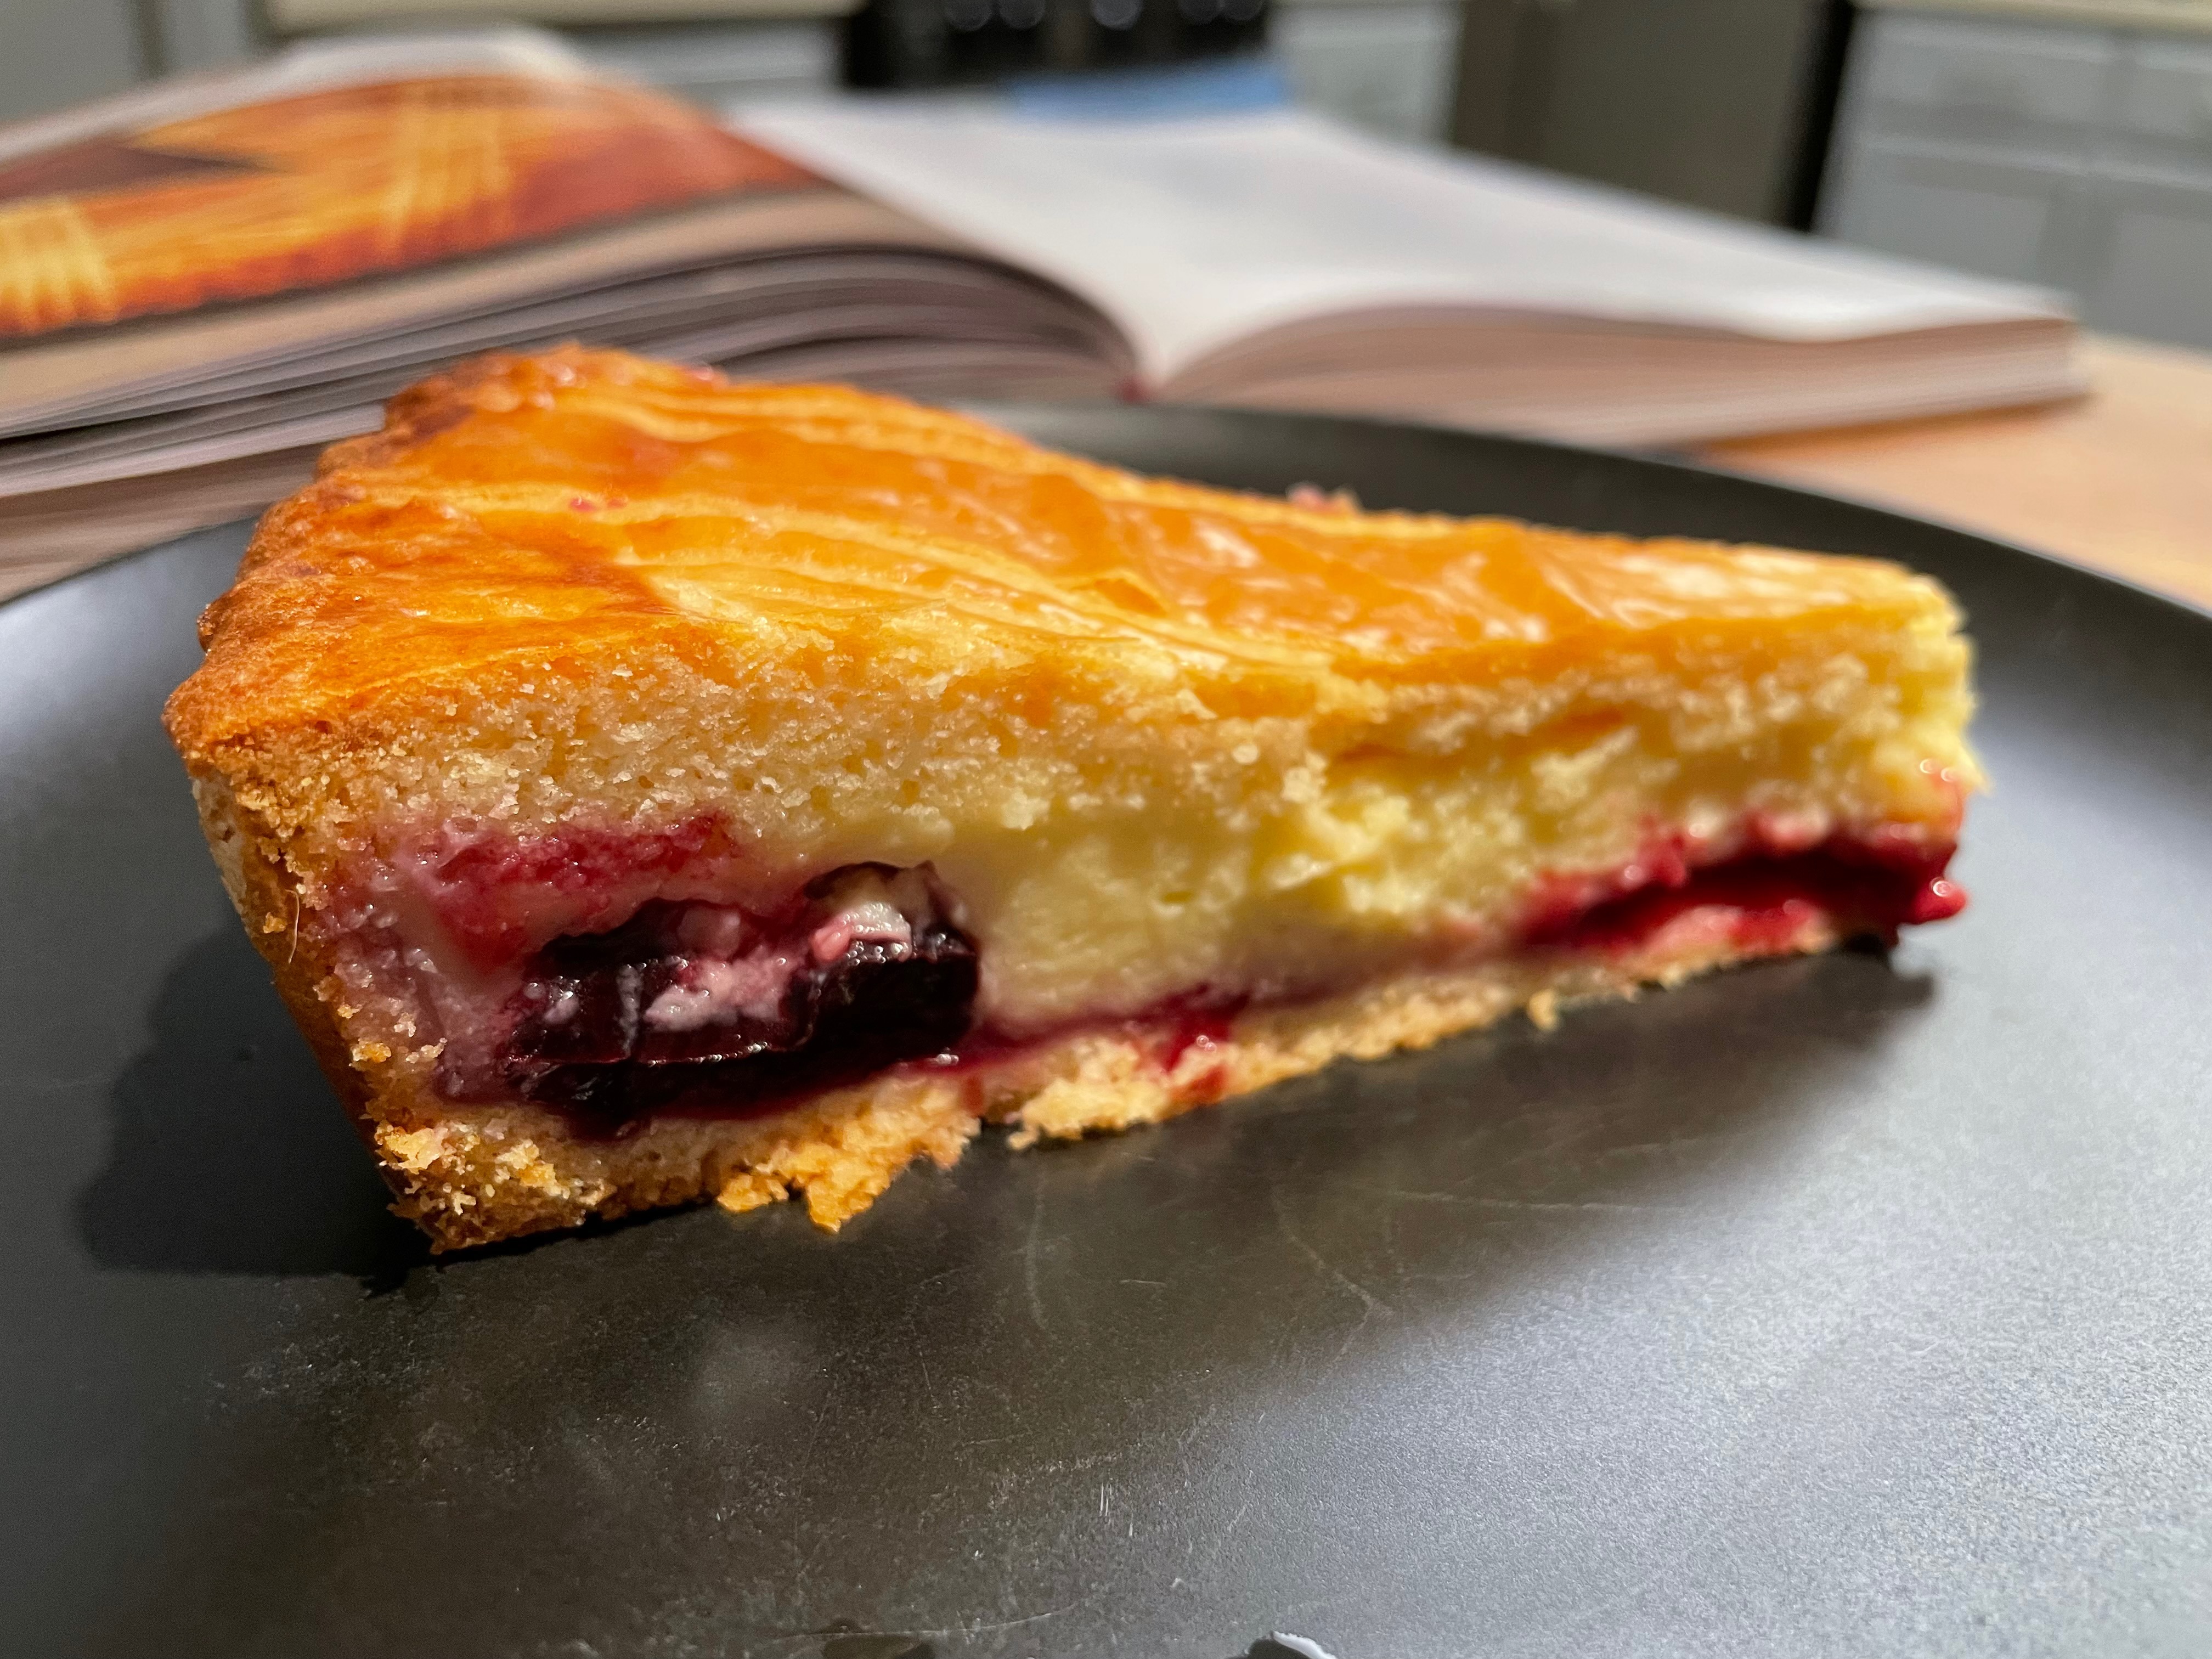
This recipe is fairly challenging, but worth the effort. It can all be made in one day if you start early, but it’s easiest done over two days. The pastry cream, cherry compote, and dough aren’t too difficult to make. The assembly is the difficult part because the dough is incredibly tough to work with. It’s fairly fragile and warms up quickly – it feels like working with a frosting. Nonetheless, much of this can be mitigated by strategic chilling. Keep your cool and work patiently. The final product is delicious.
Recipe Outline
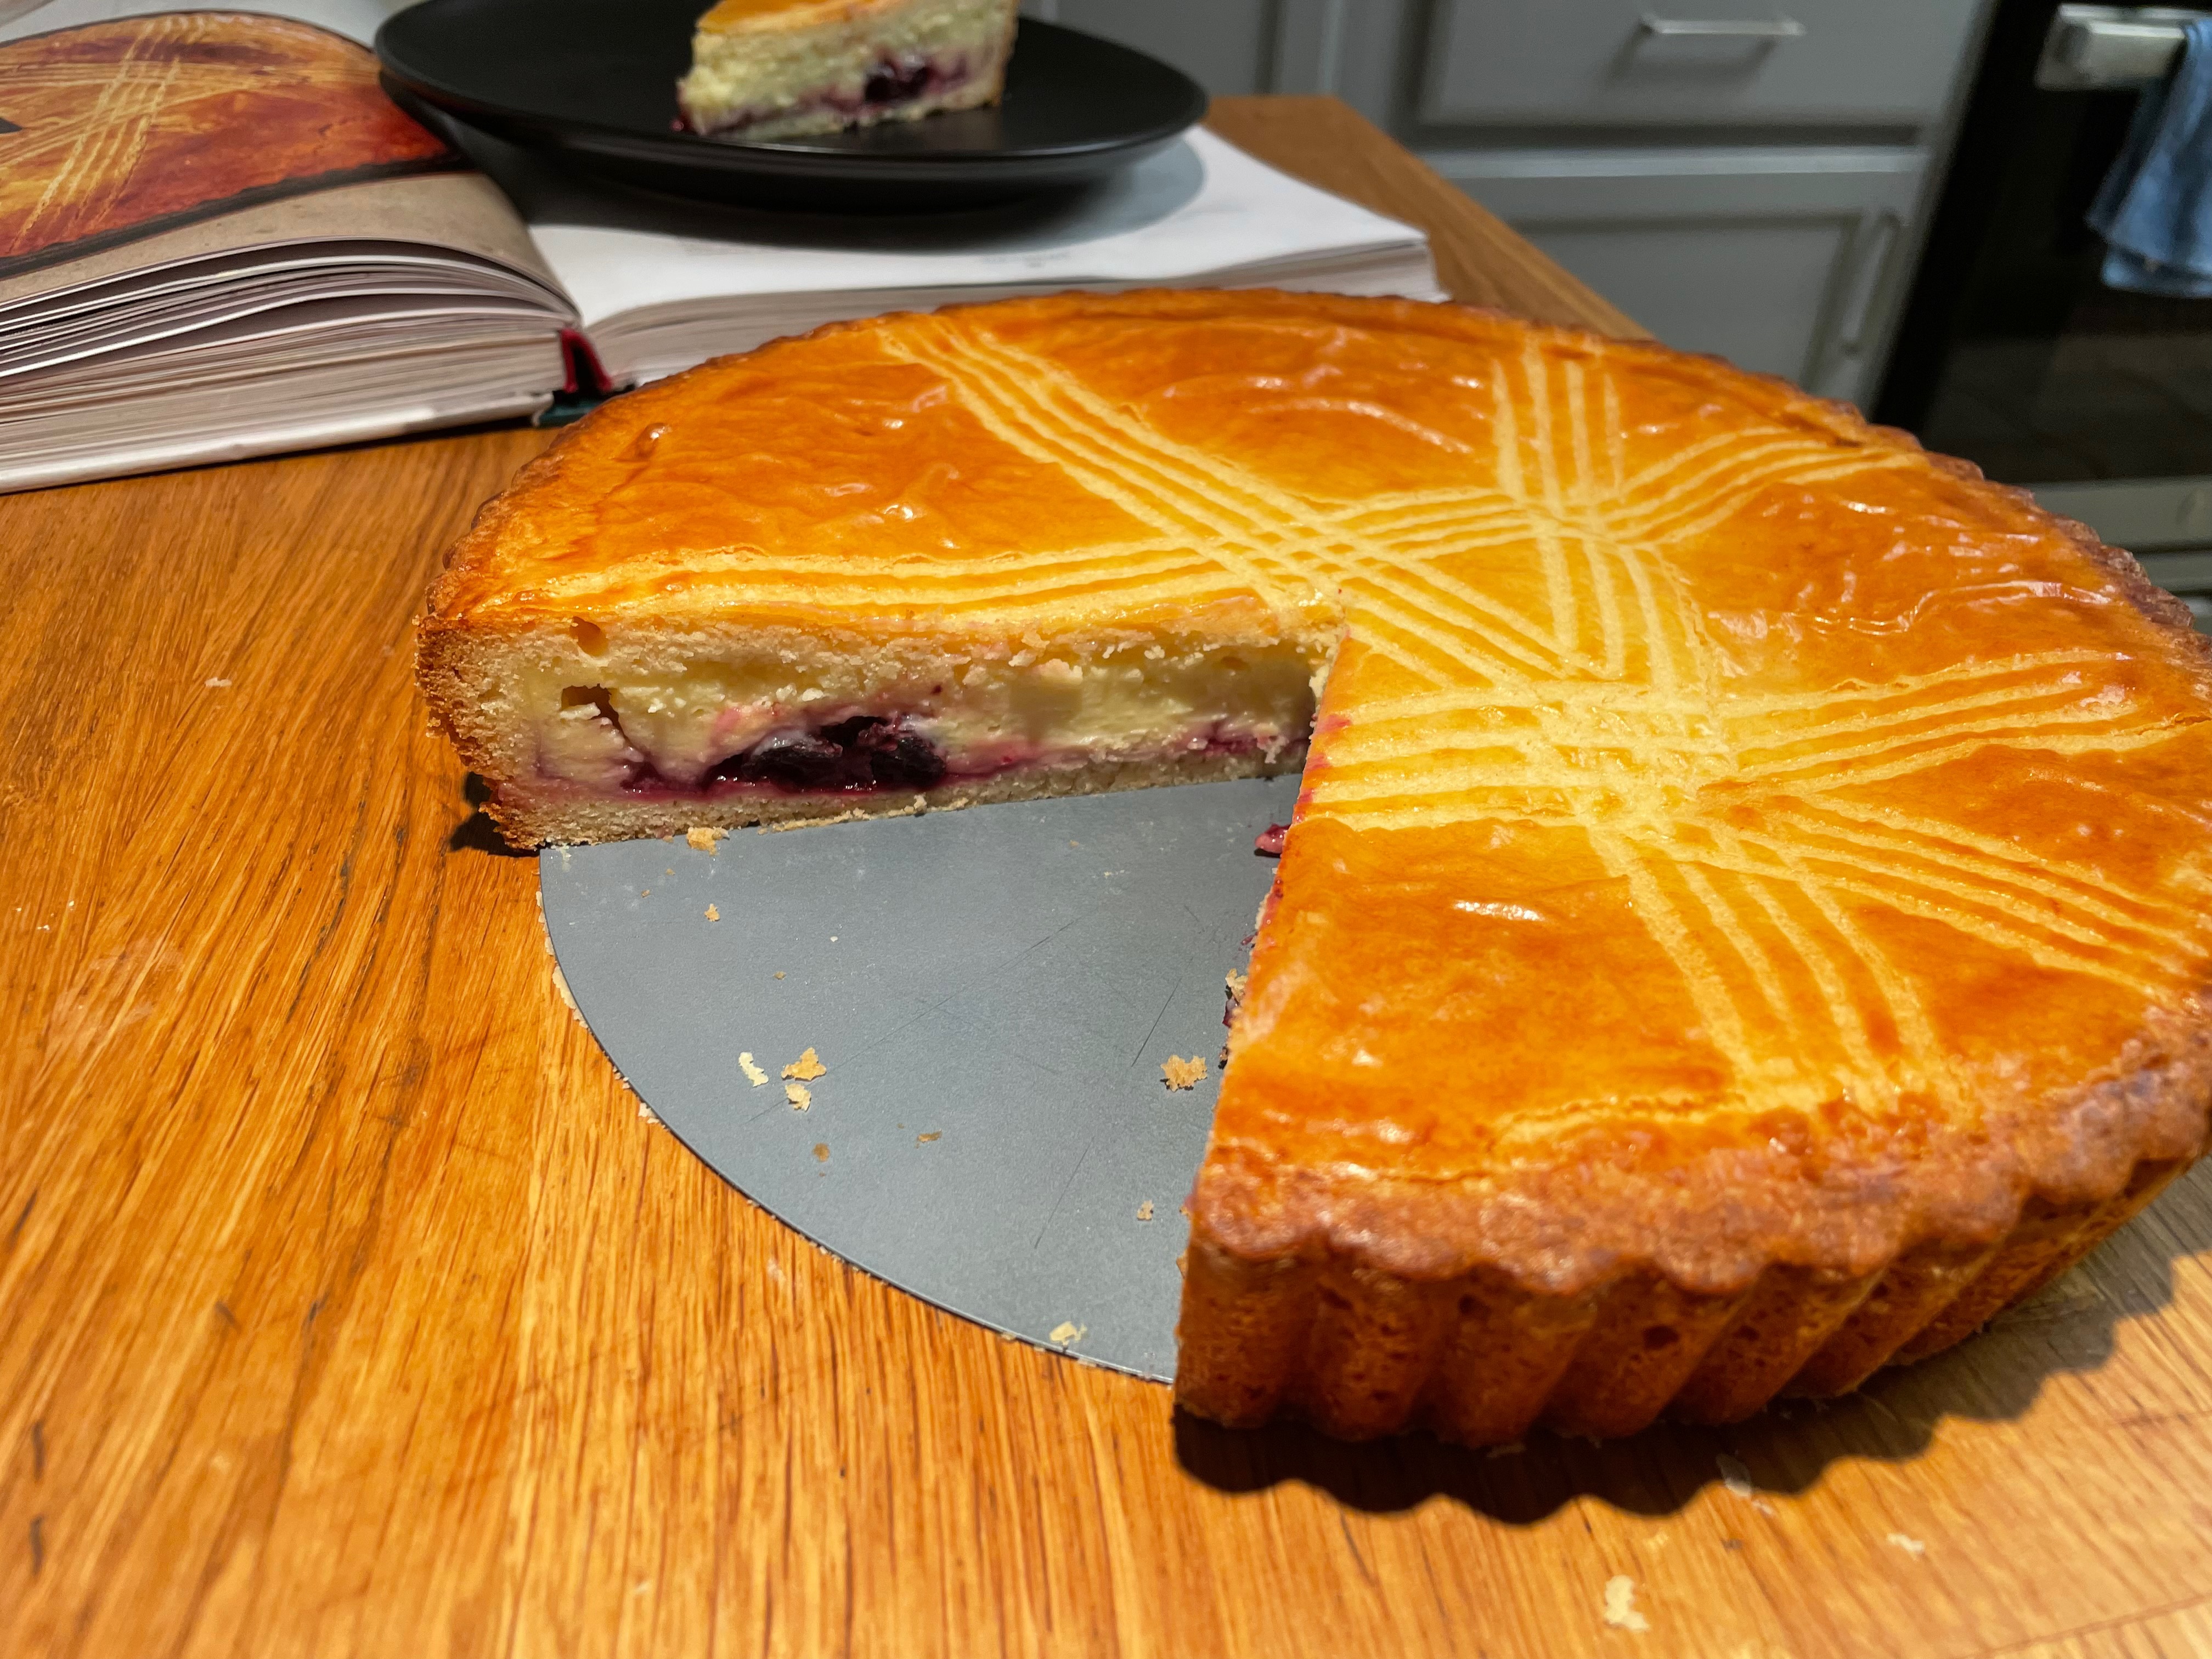
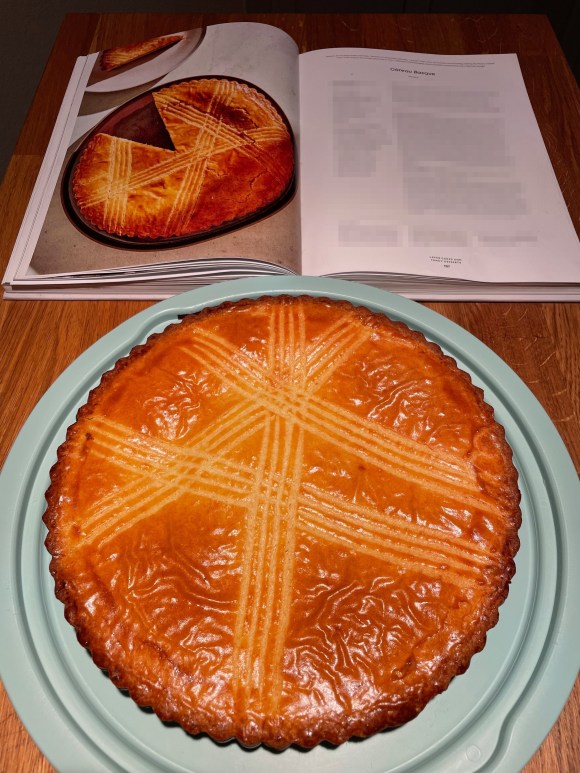
Recipe: Gâteau Basque
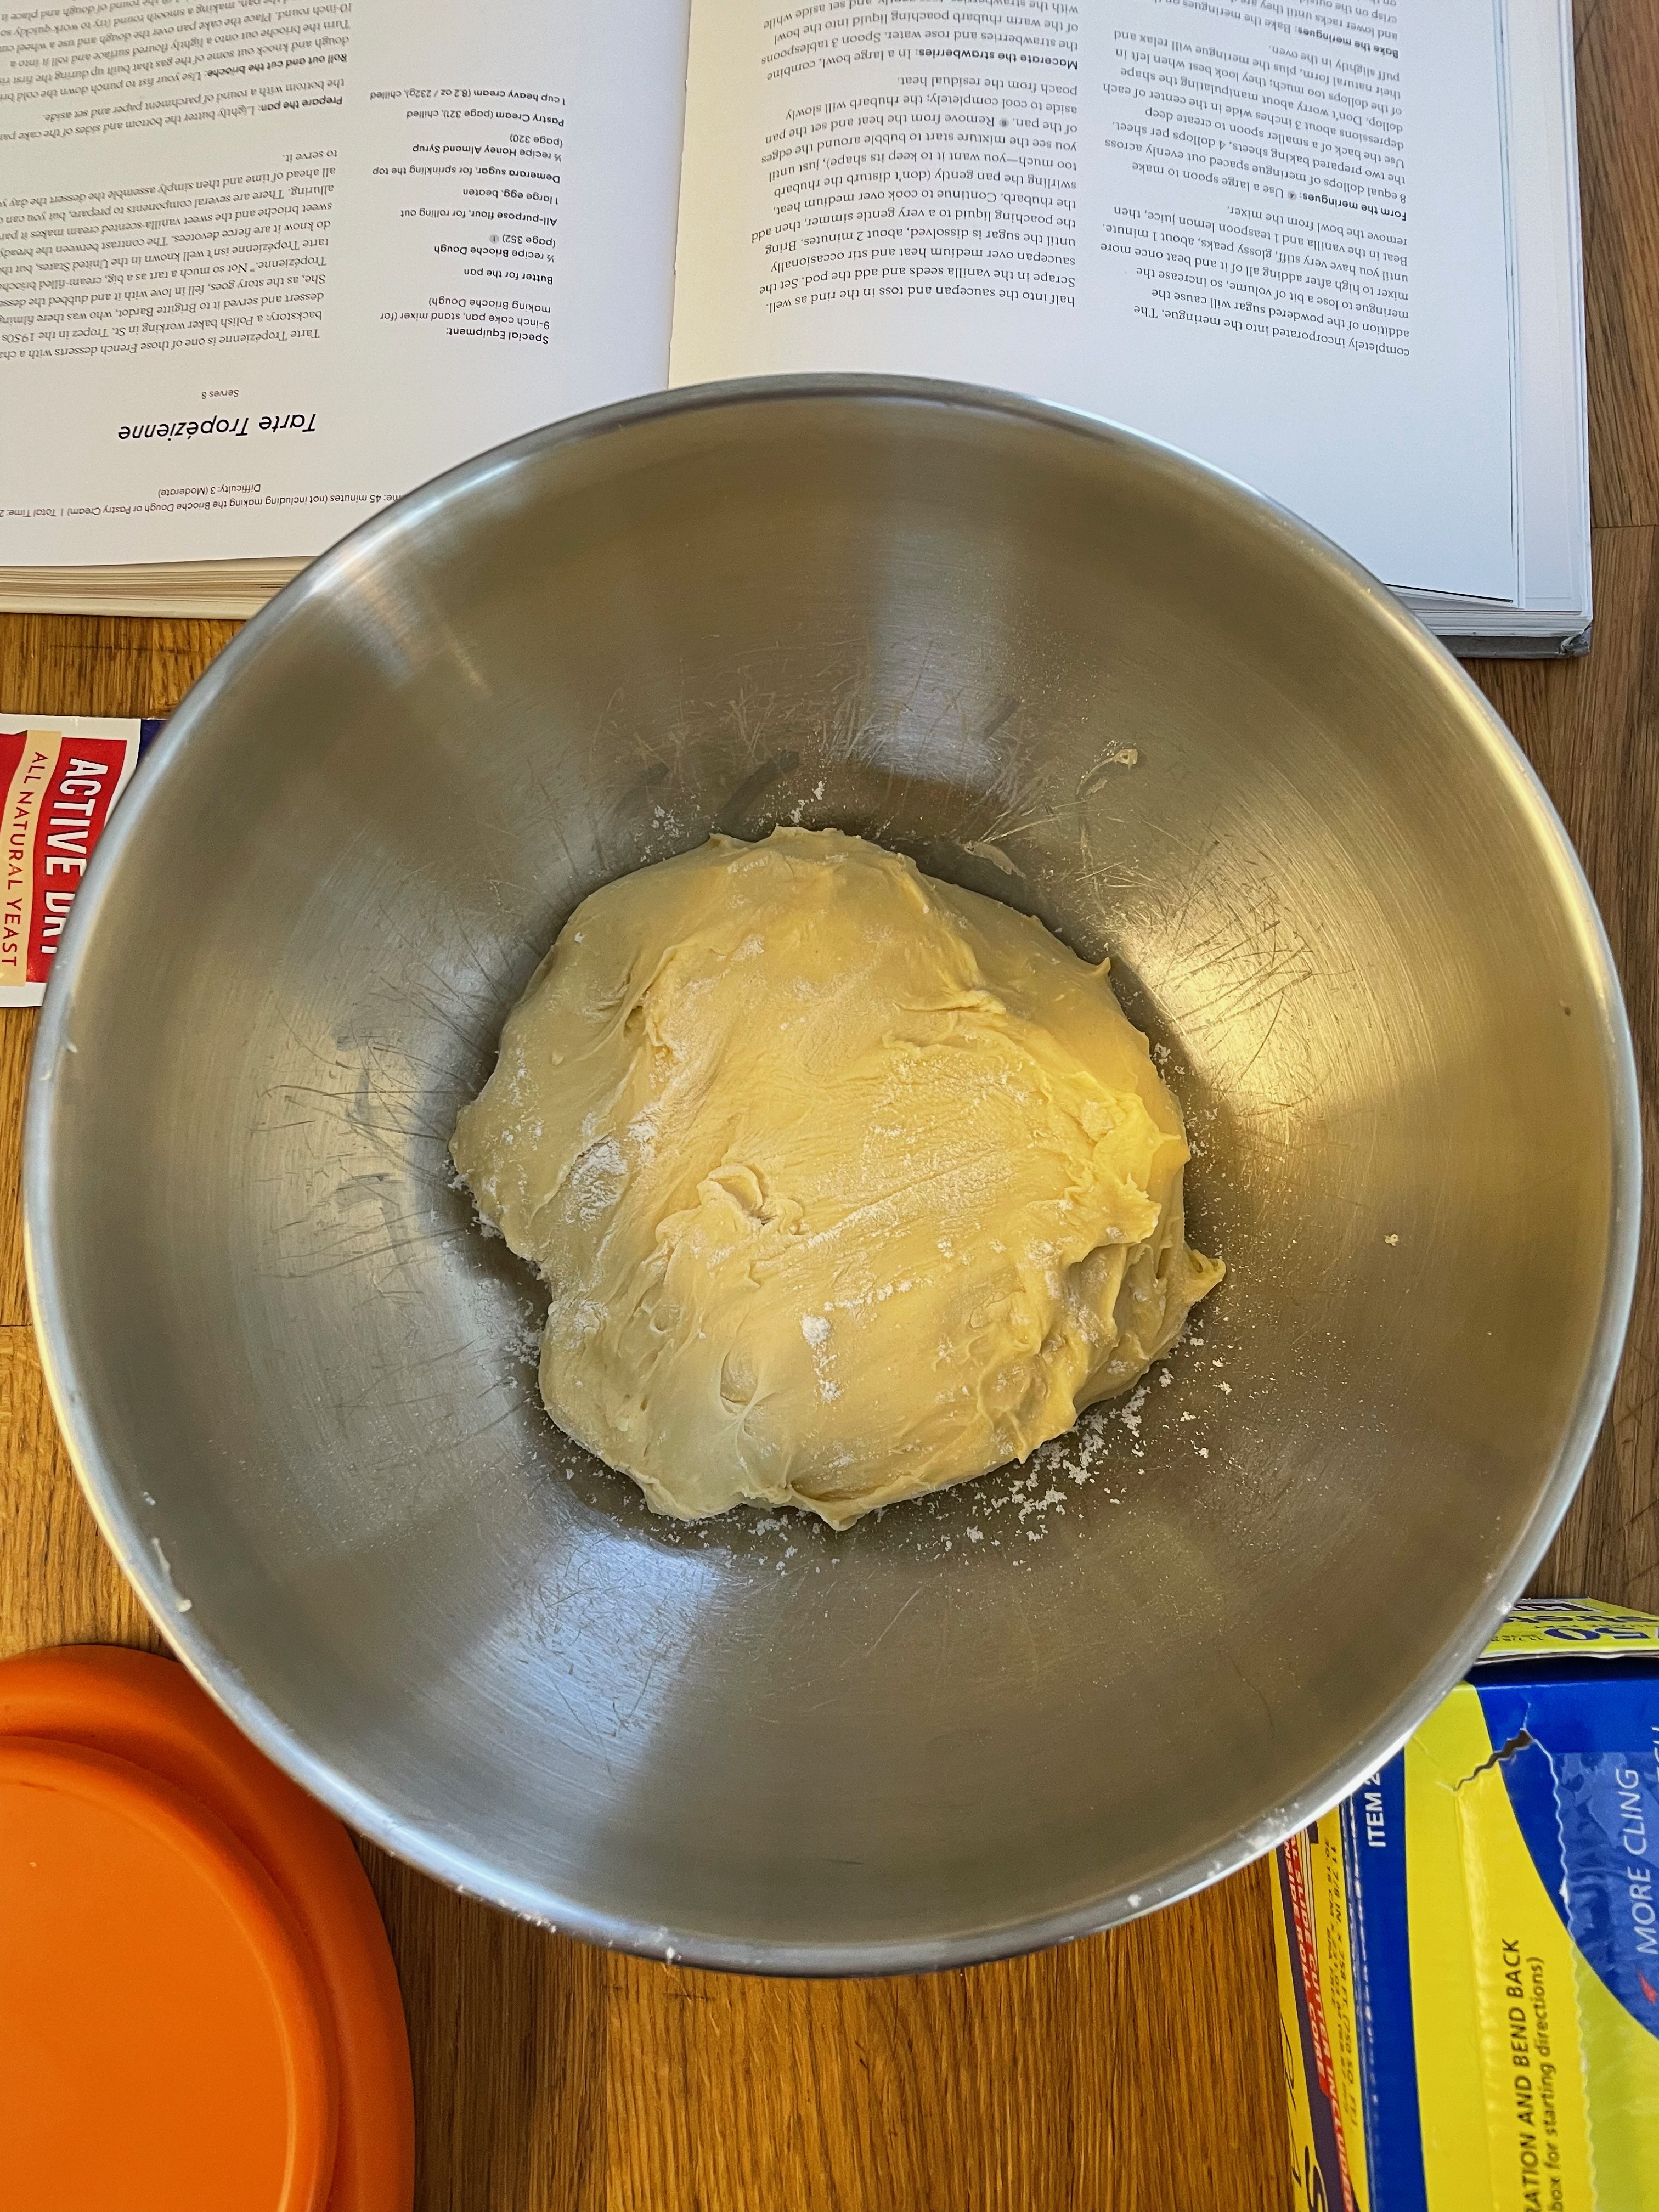
Special Equipment: Stand Mixer, 9-inch Removable Bottom Tart Pan
Tip: Make sure to have everything planned out in advance! Memorize the steps ahead of time.
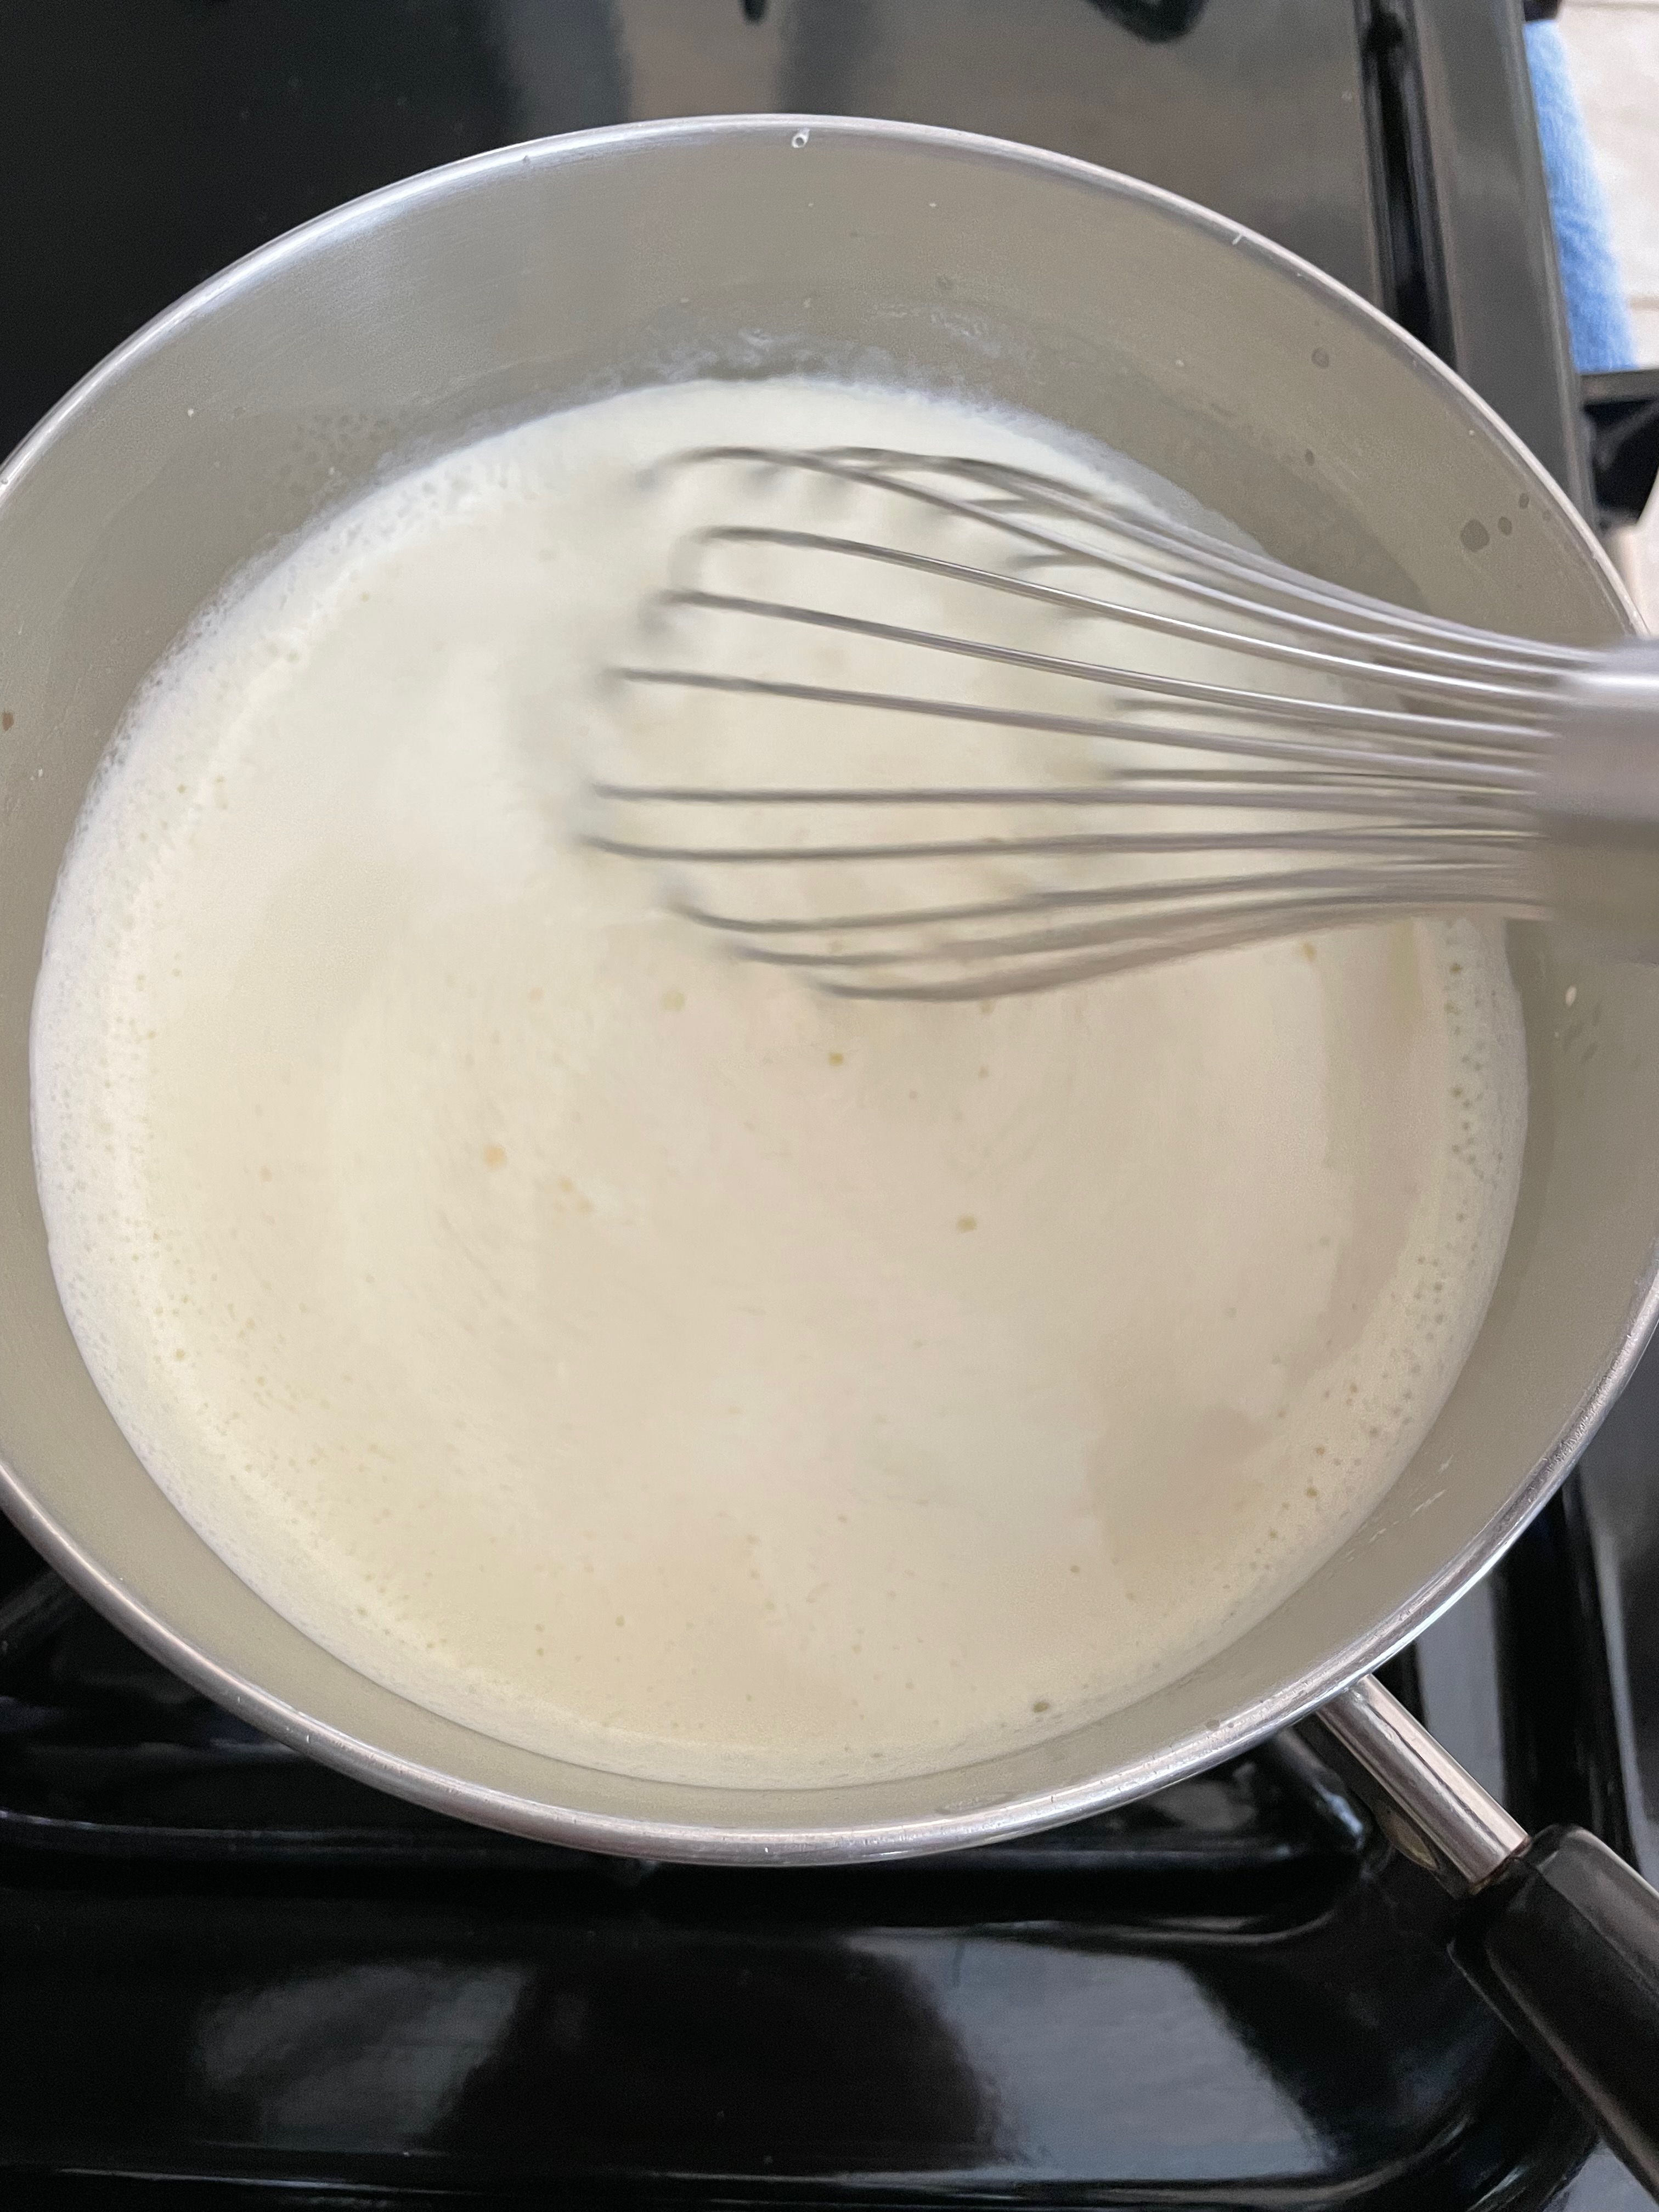
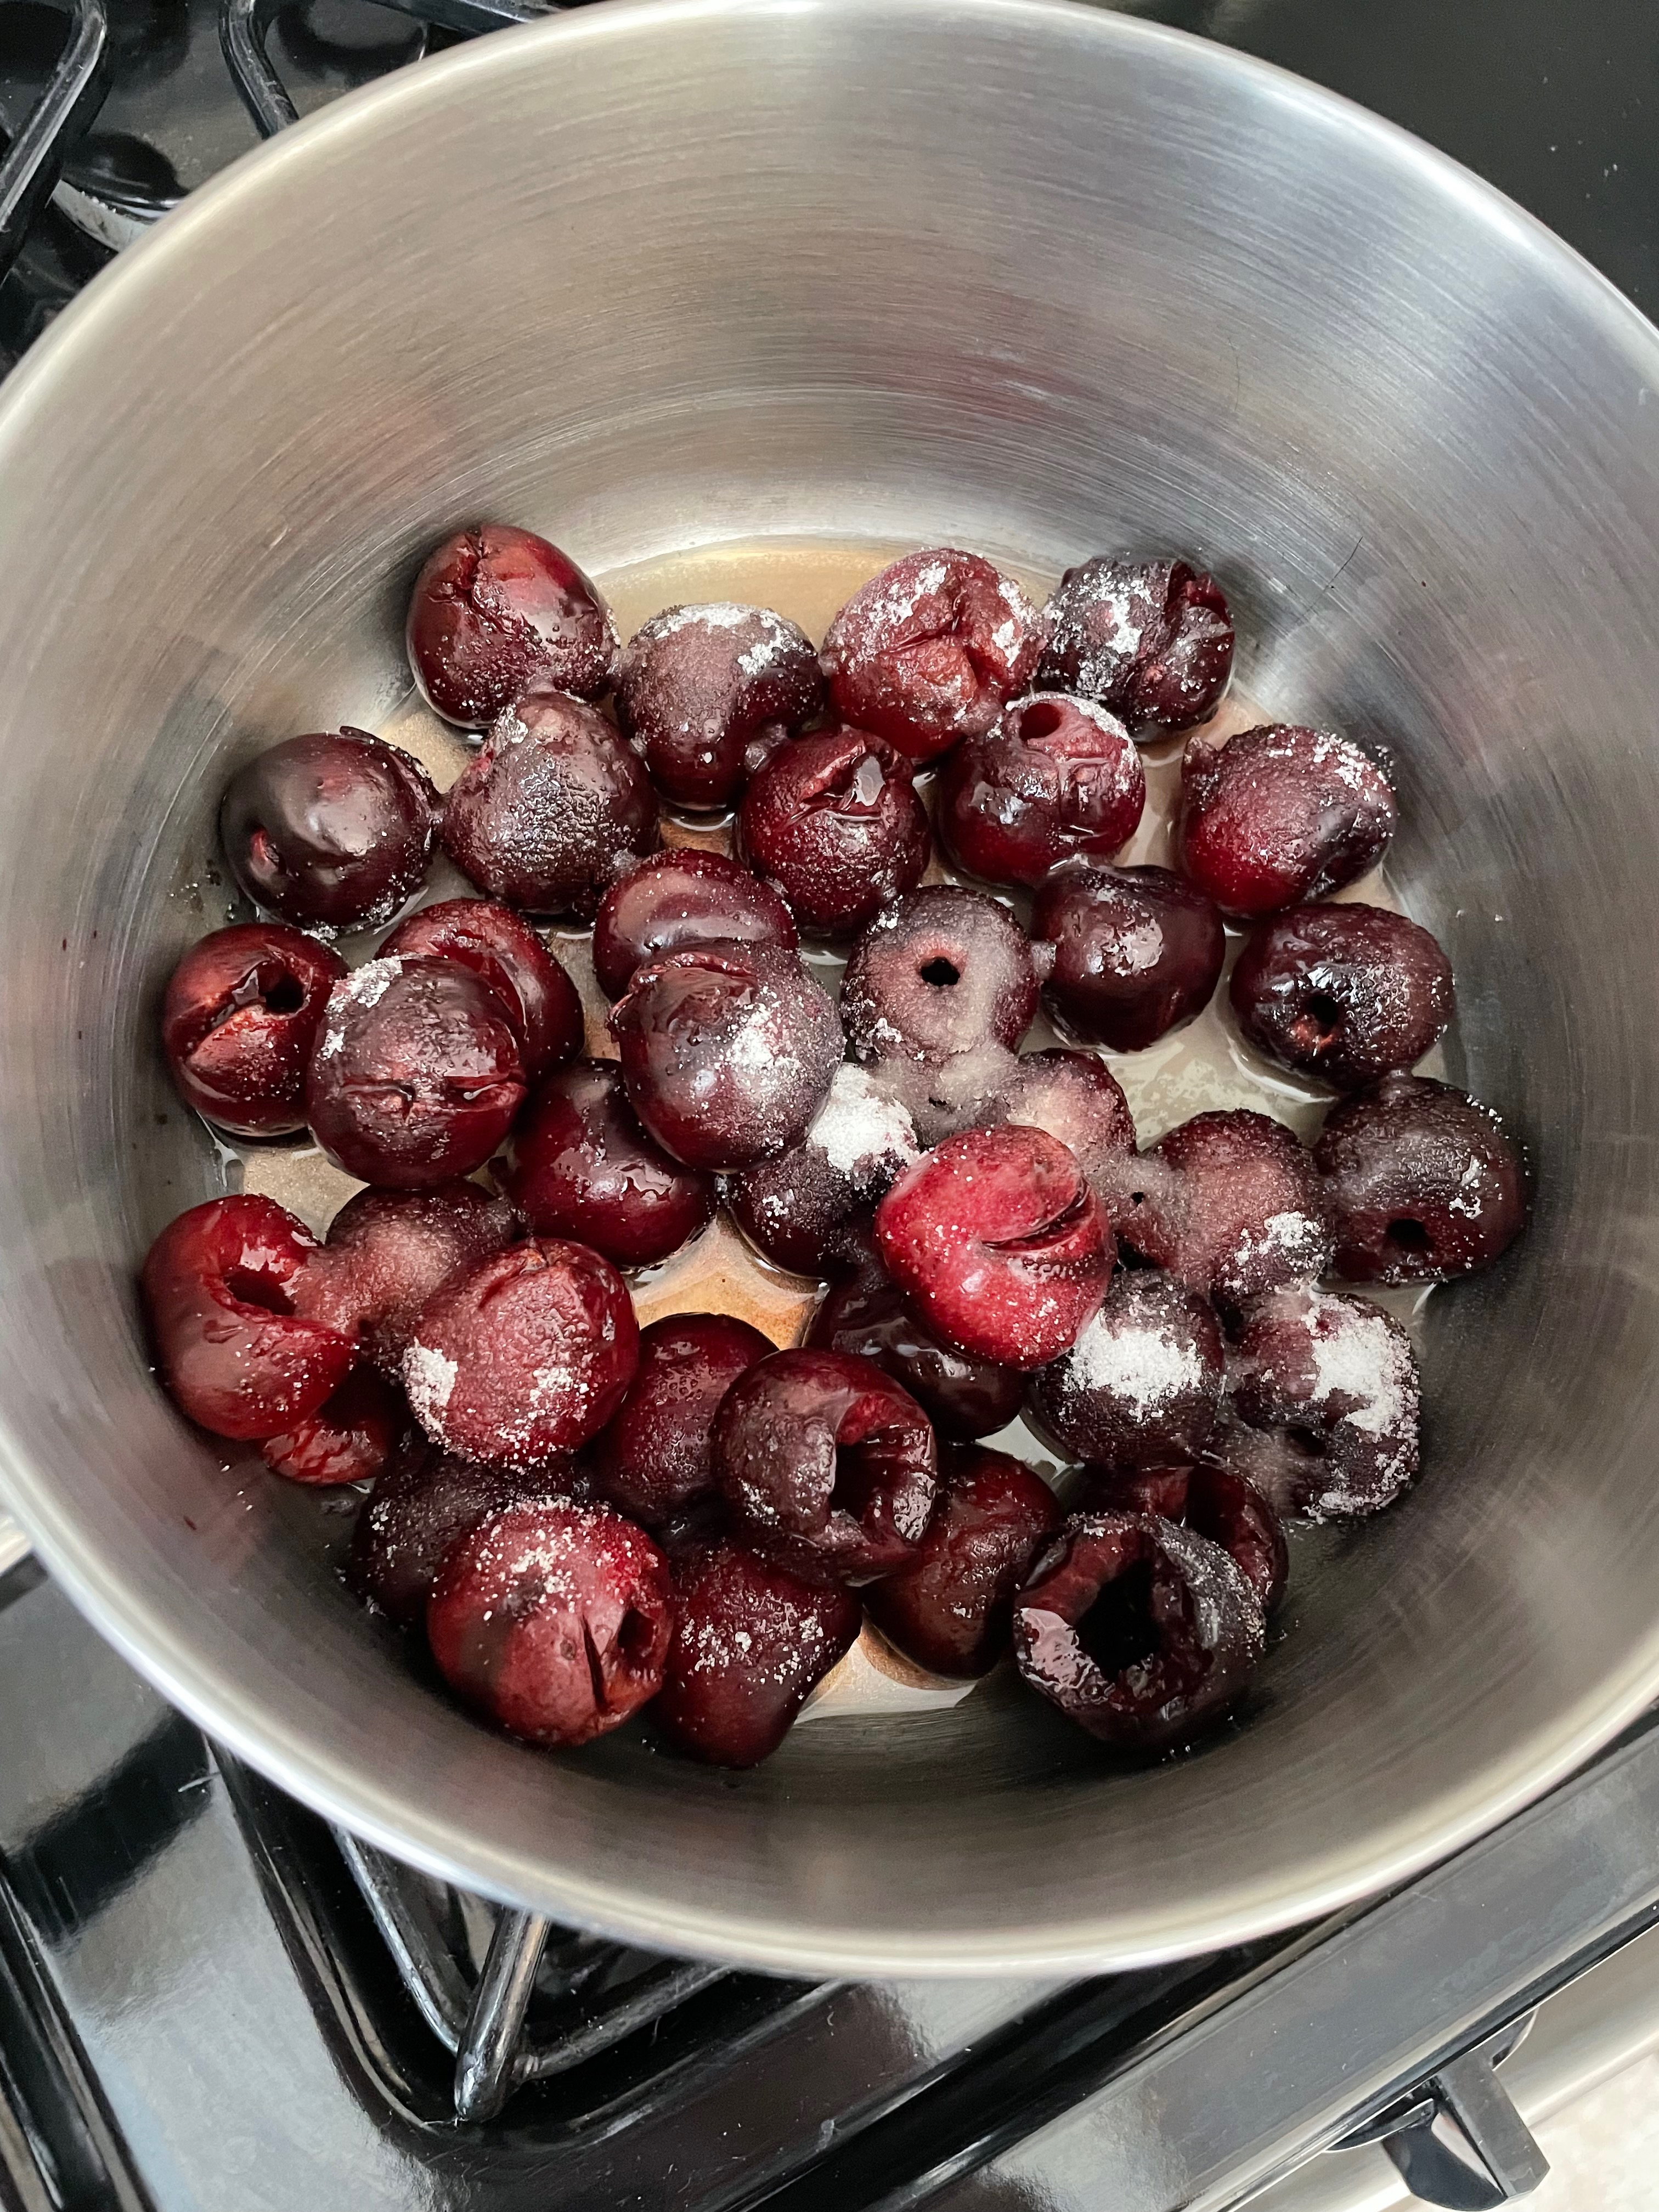
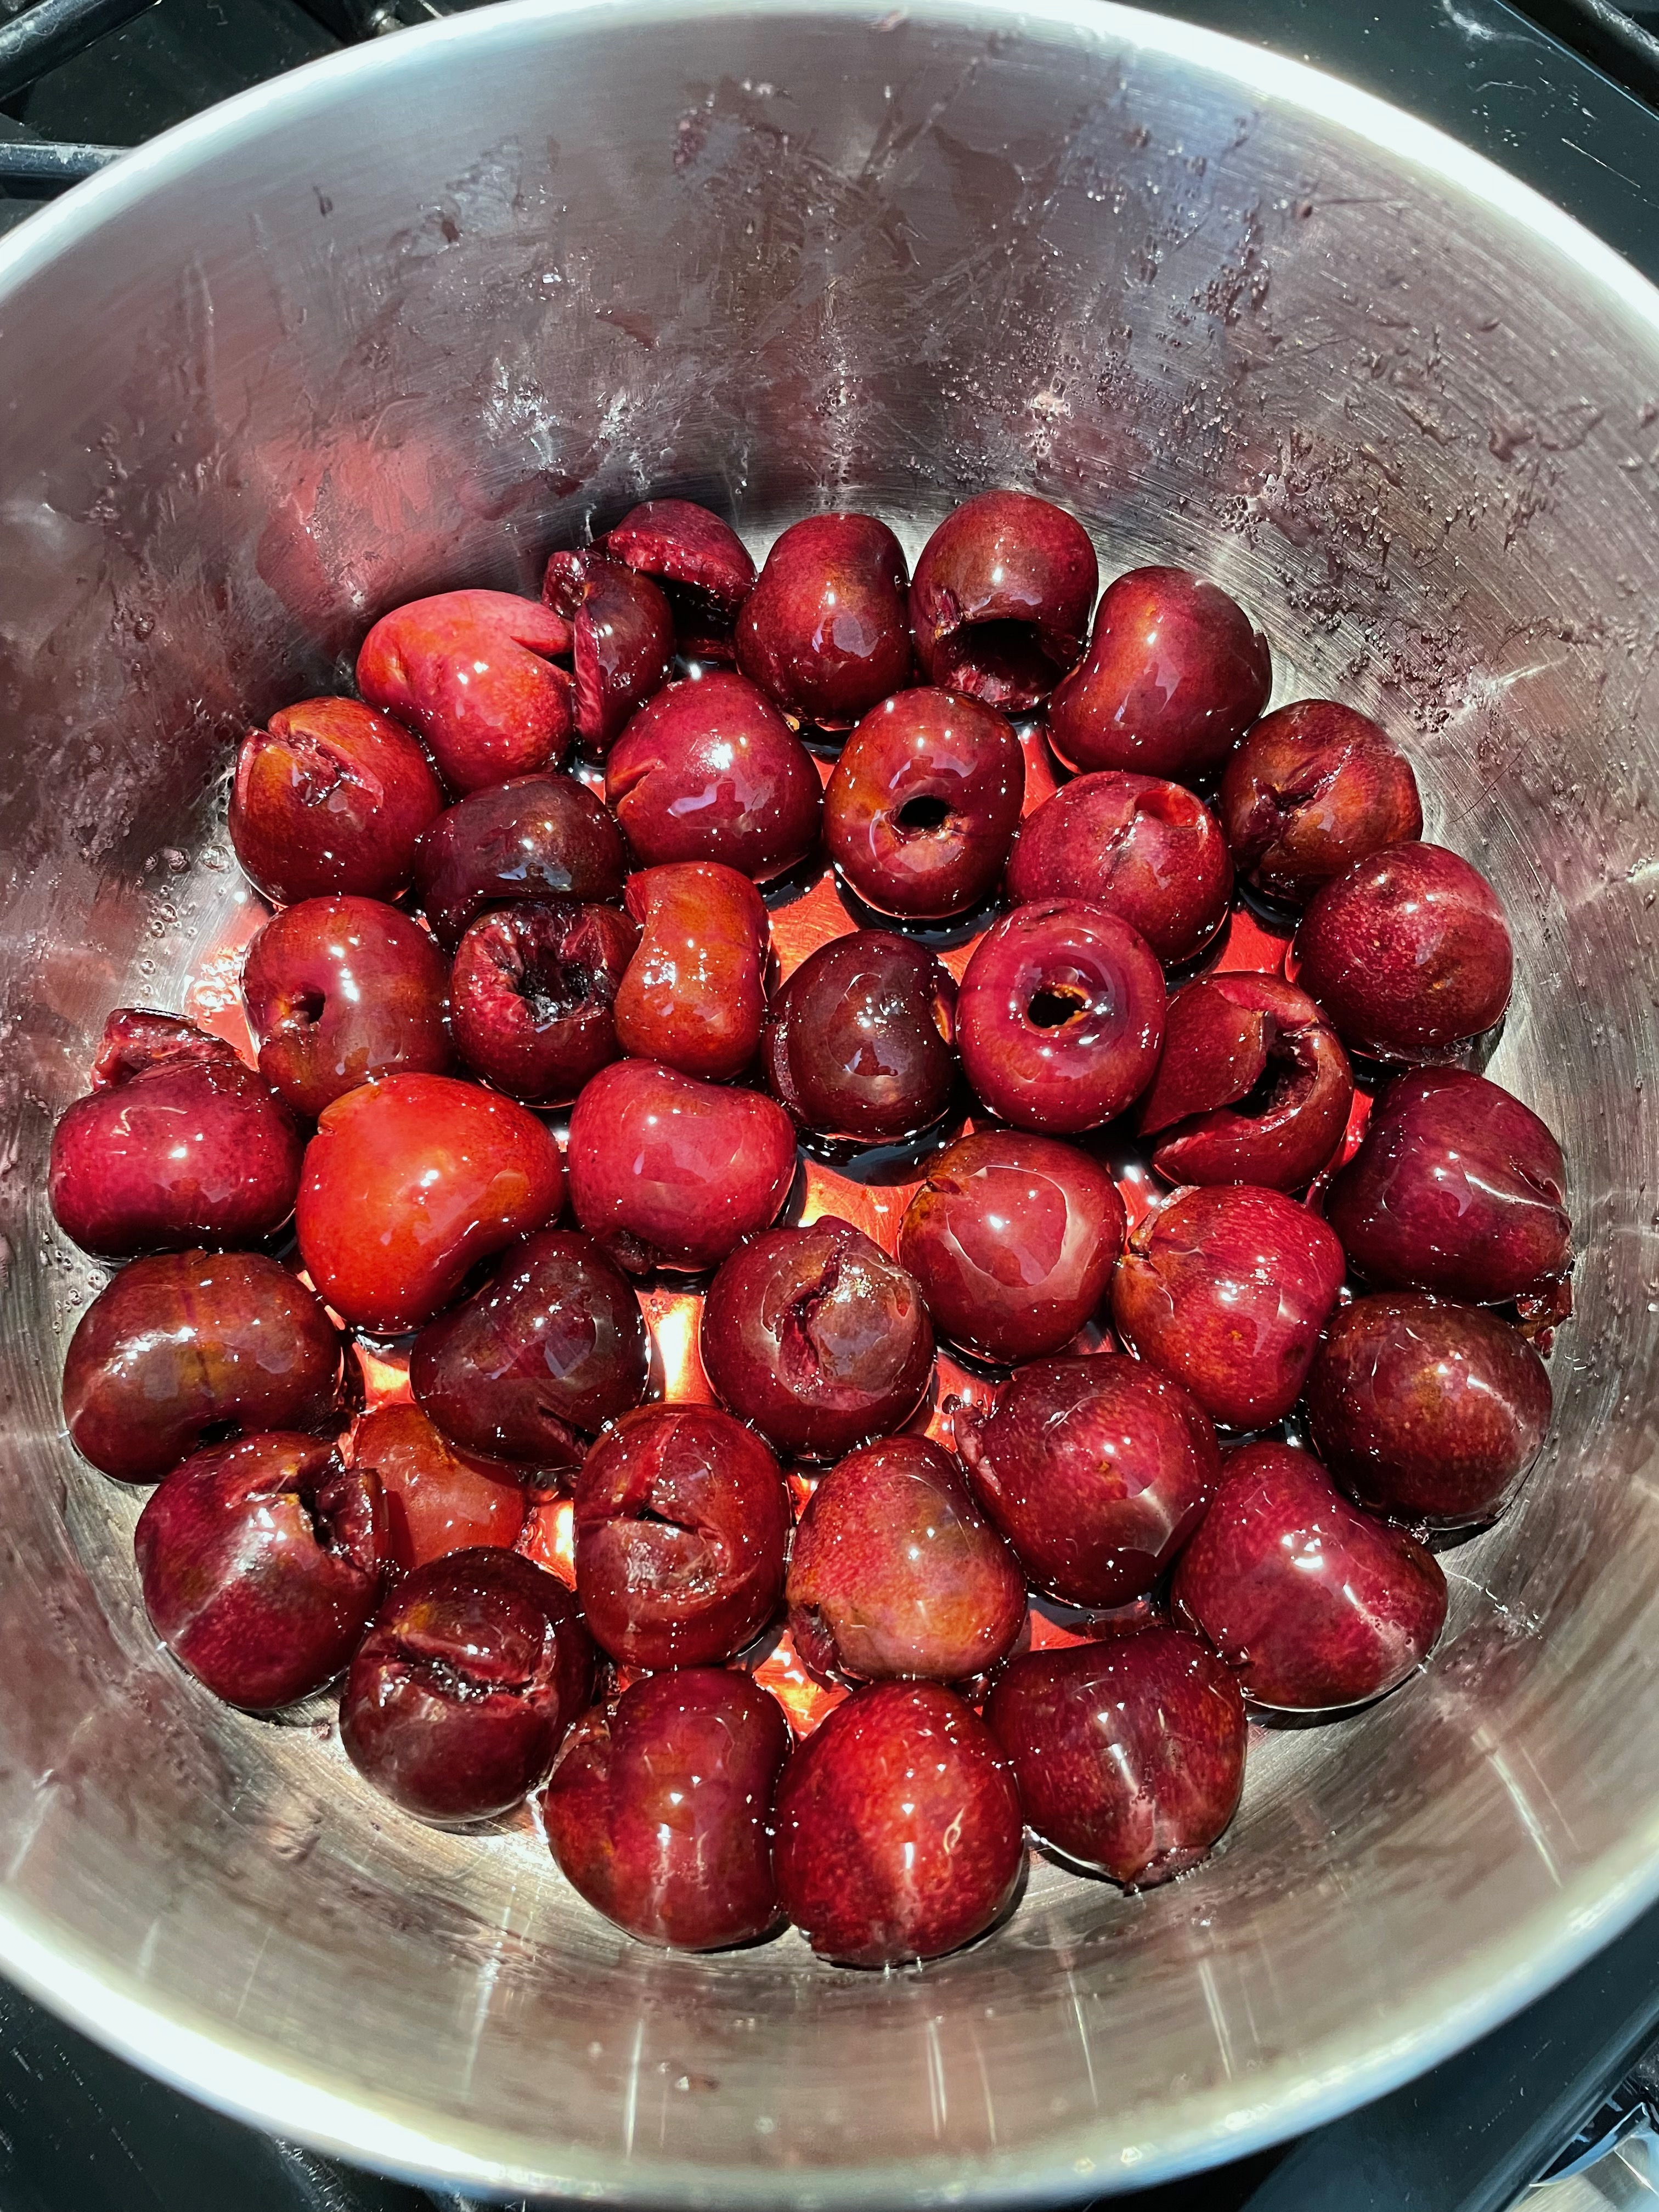
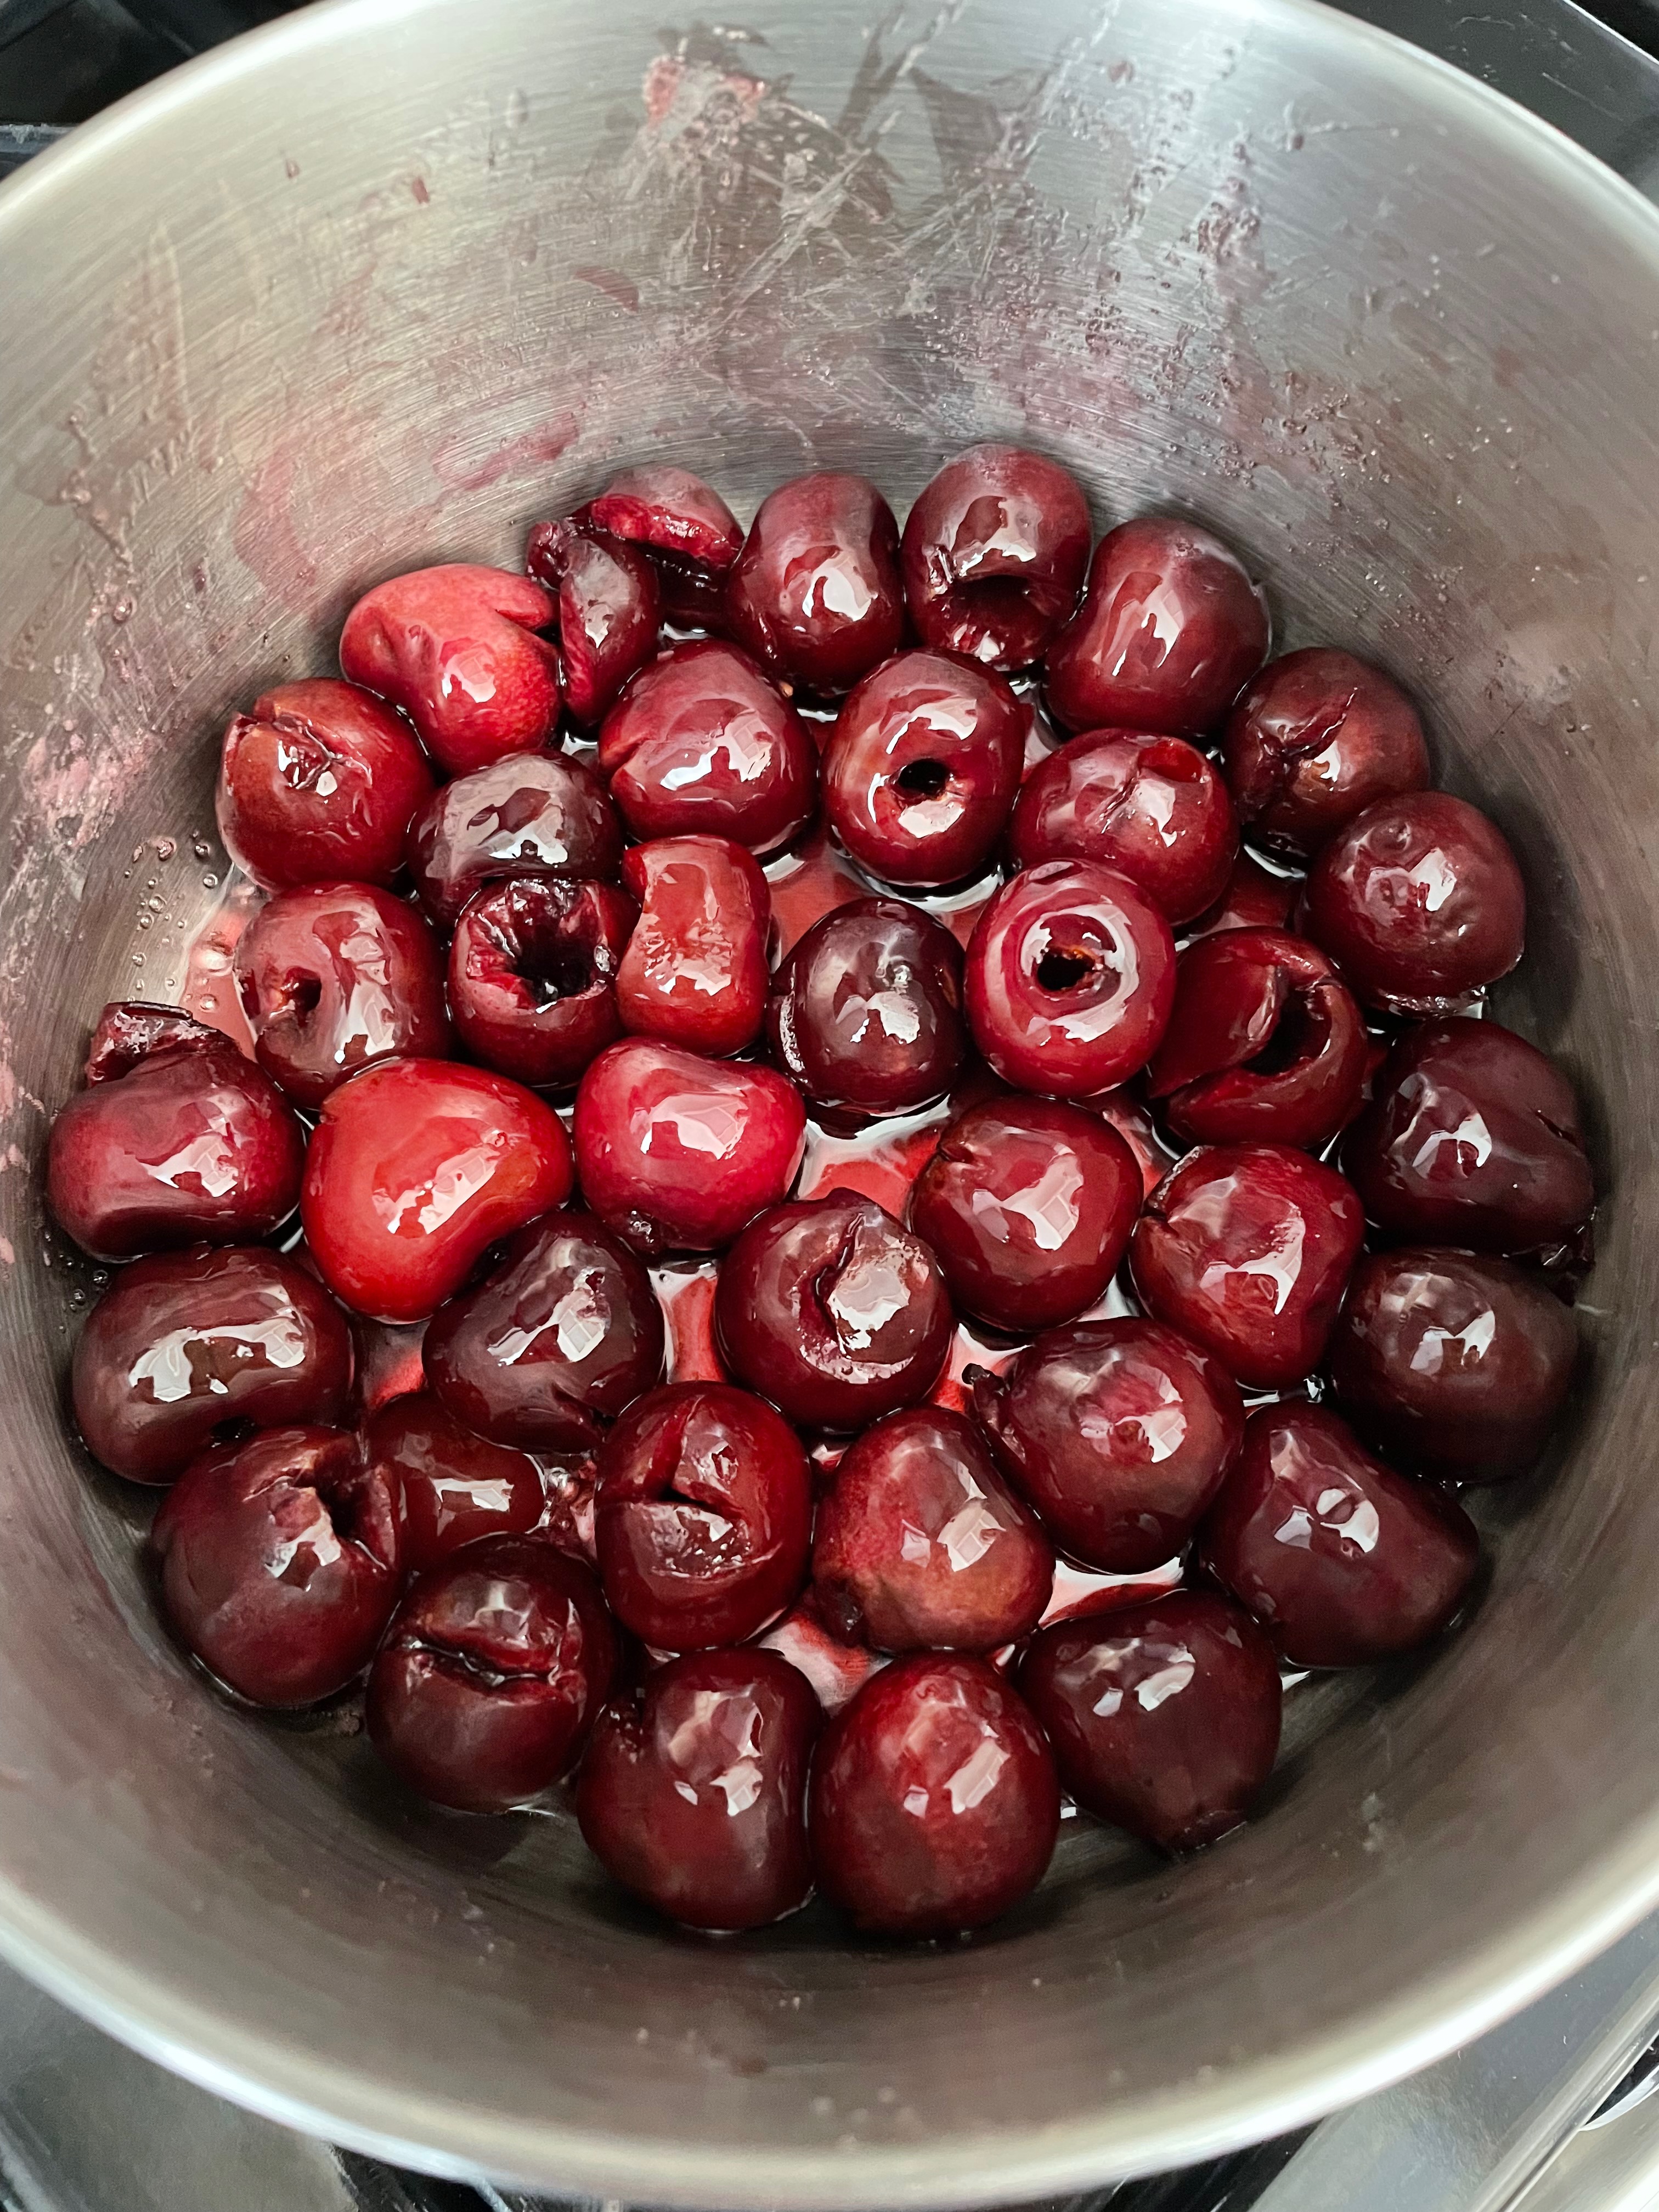
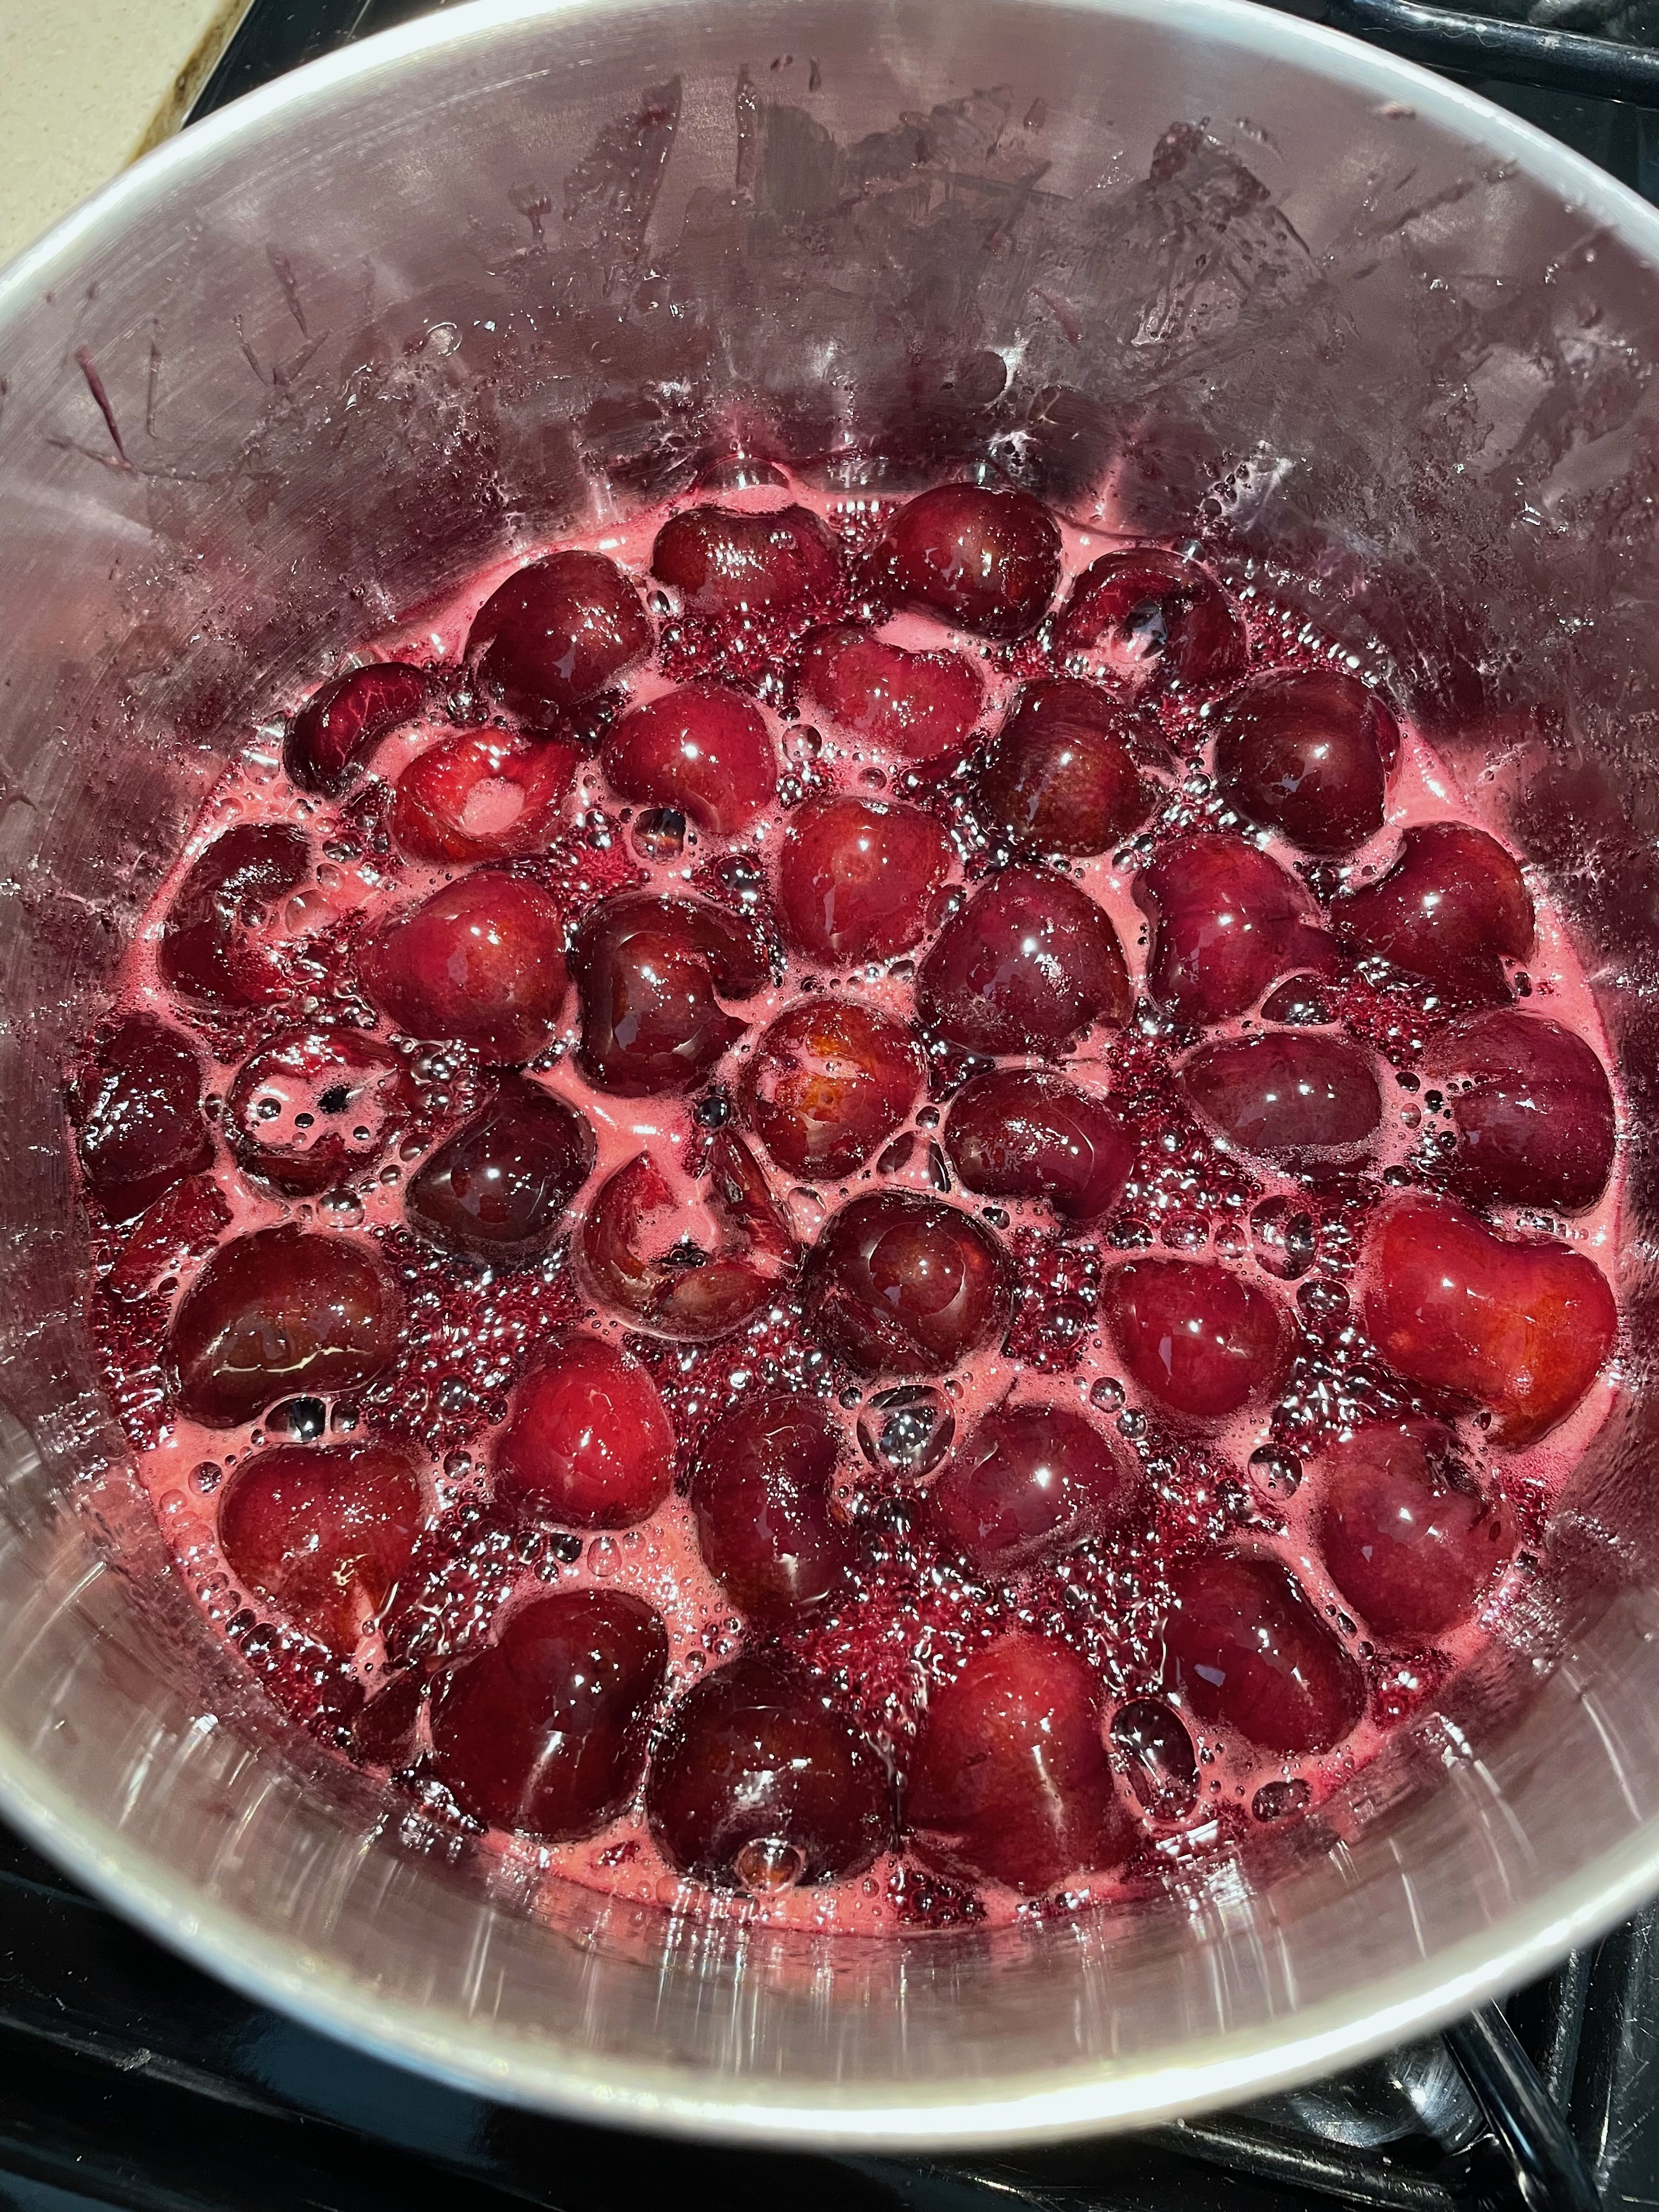
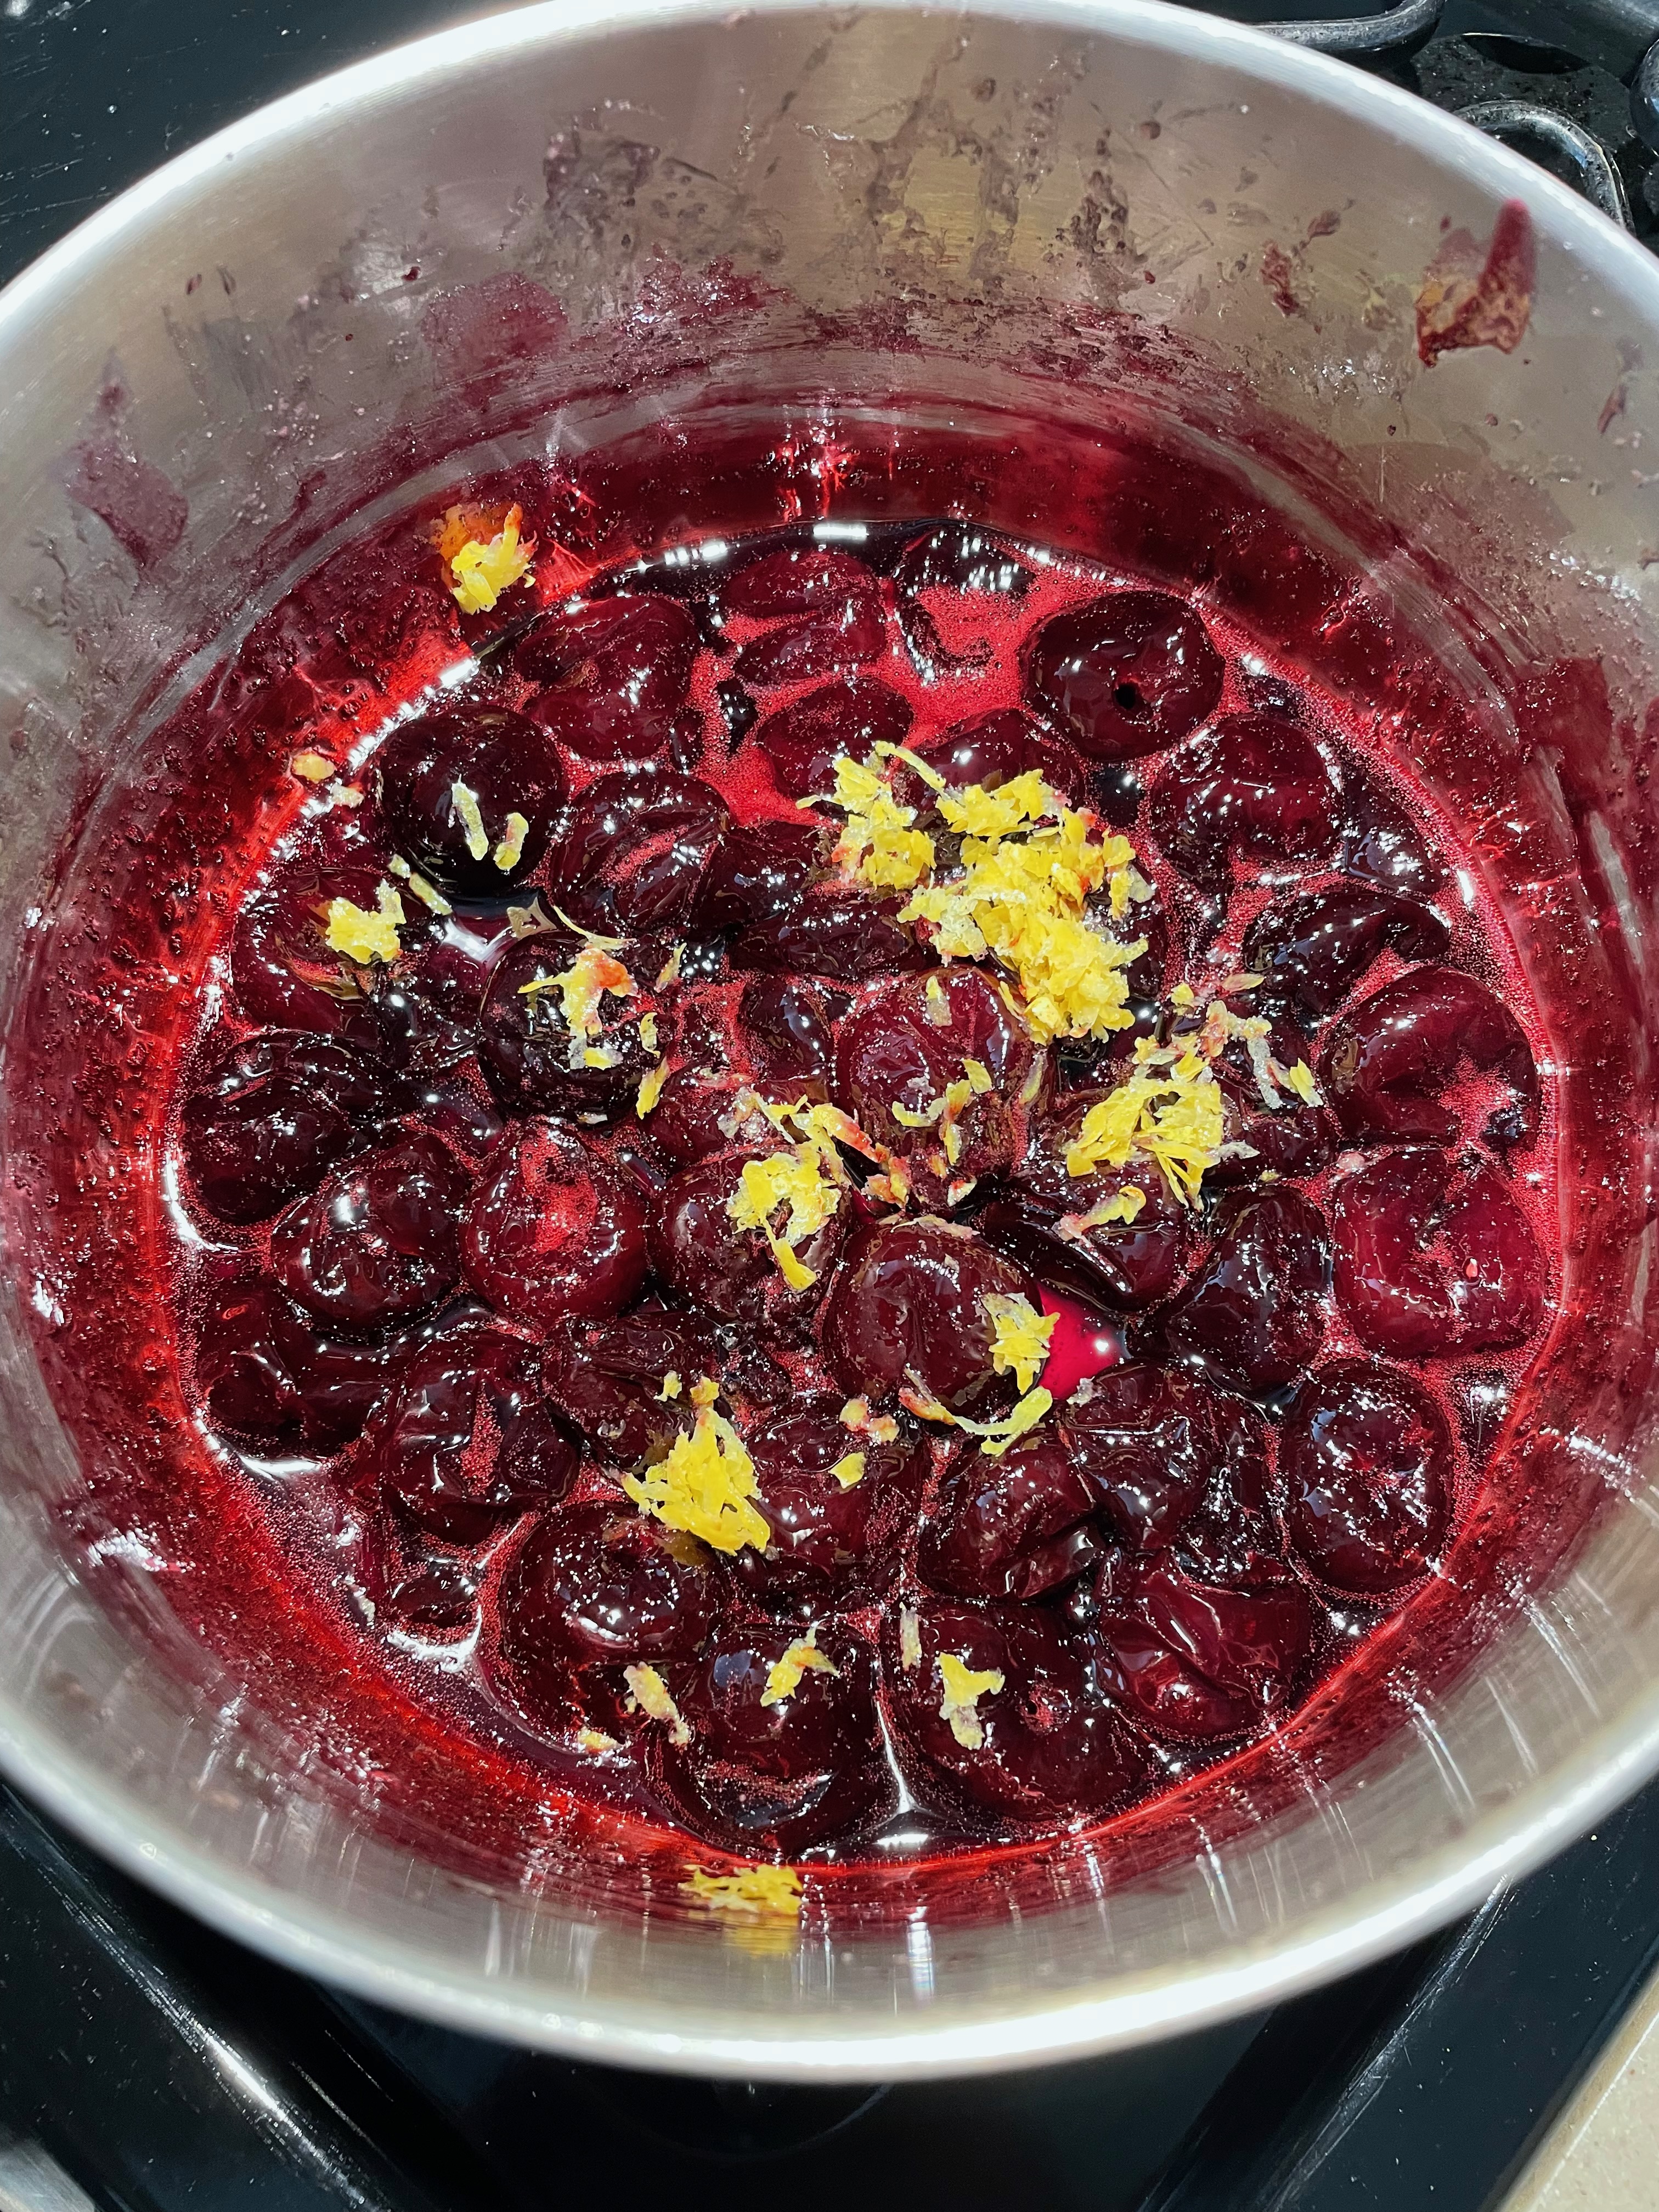
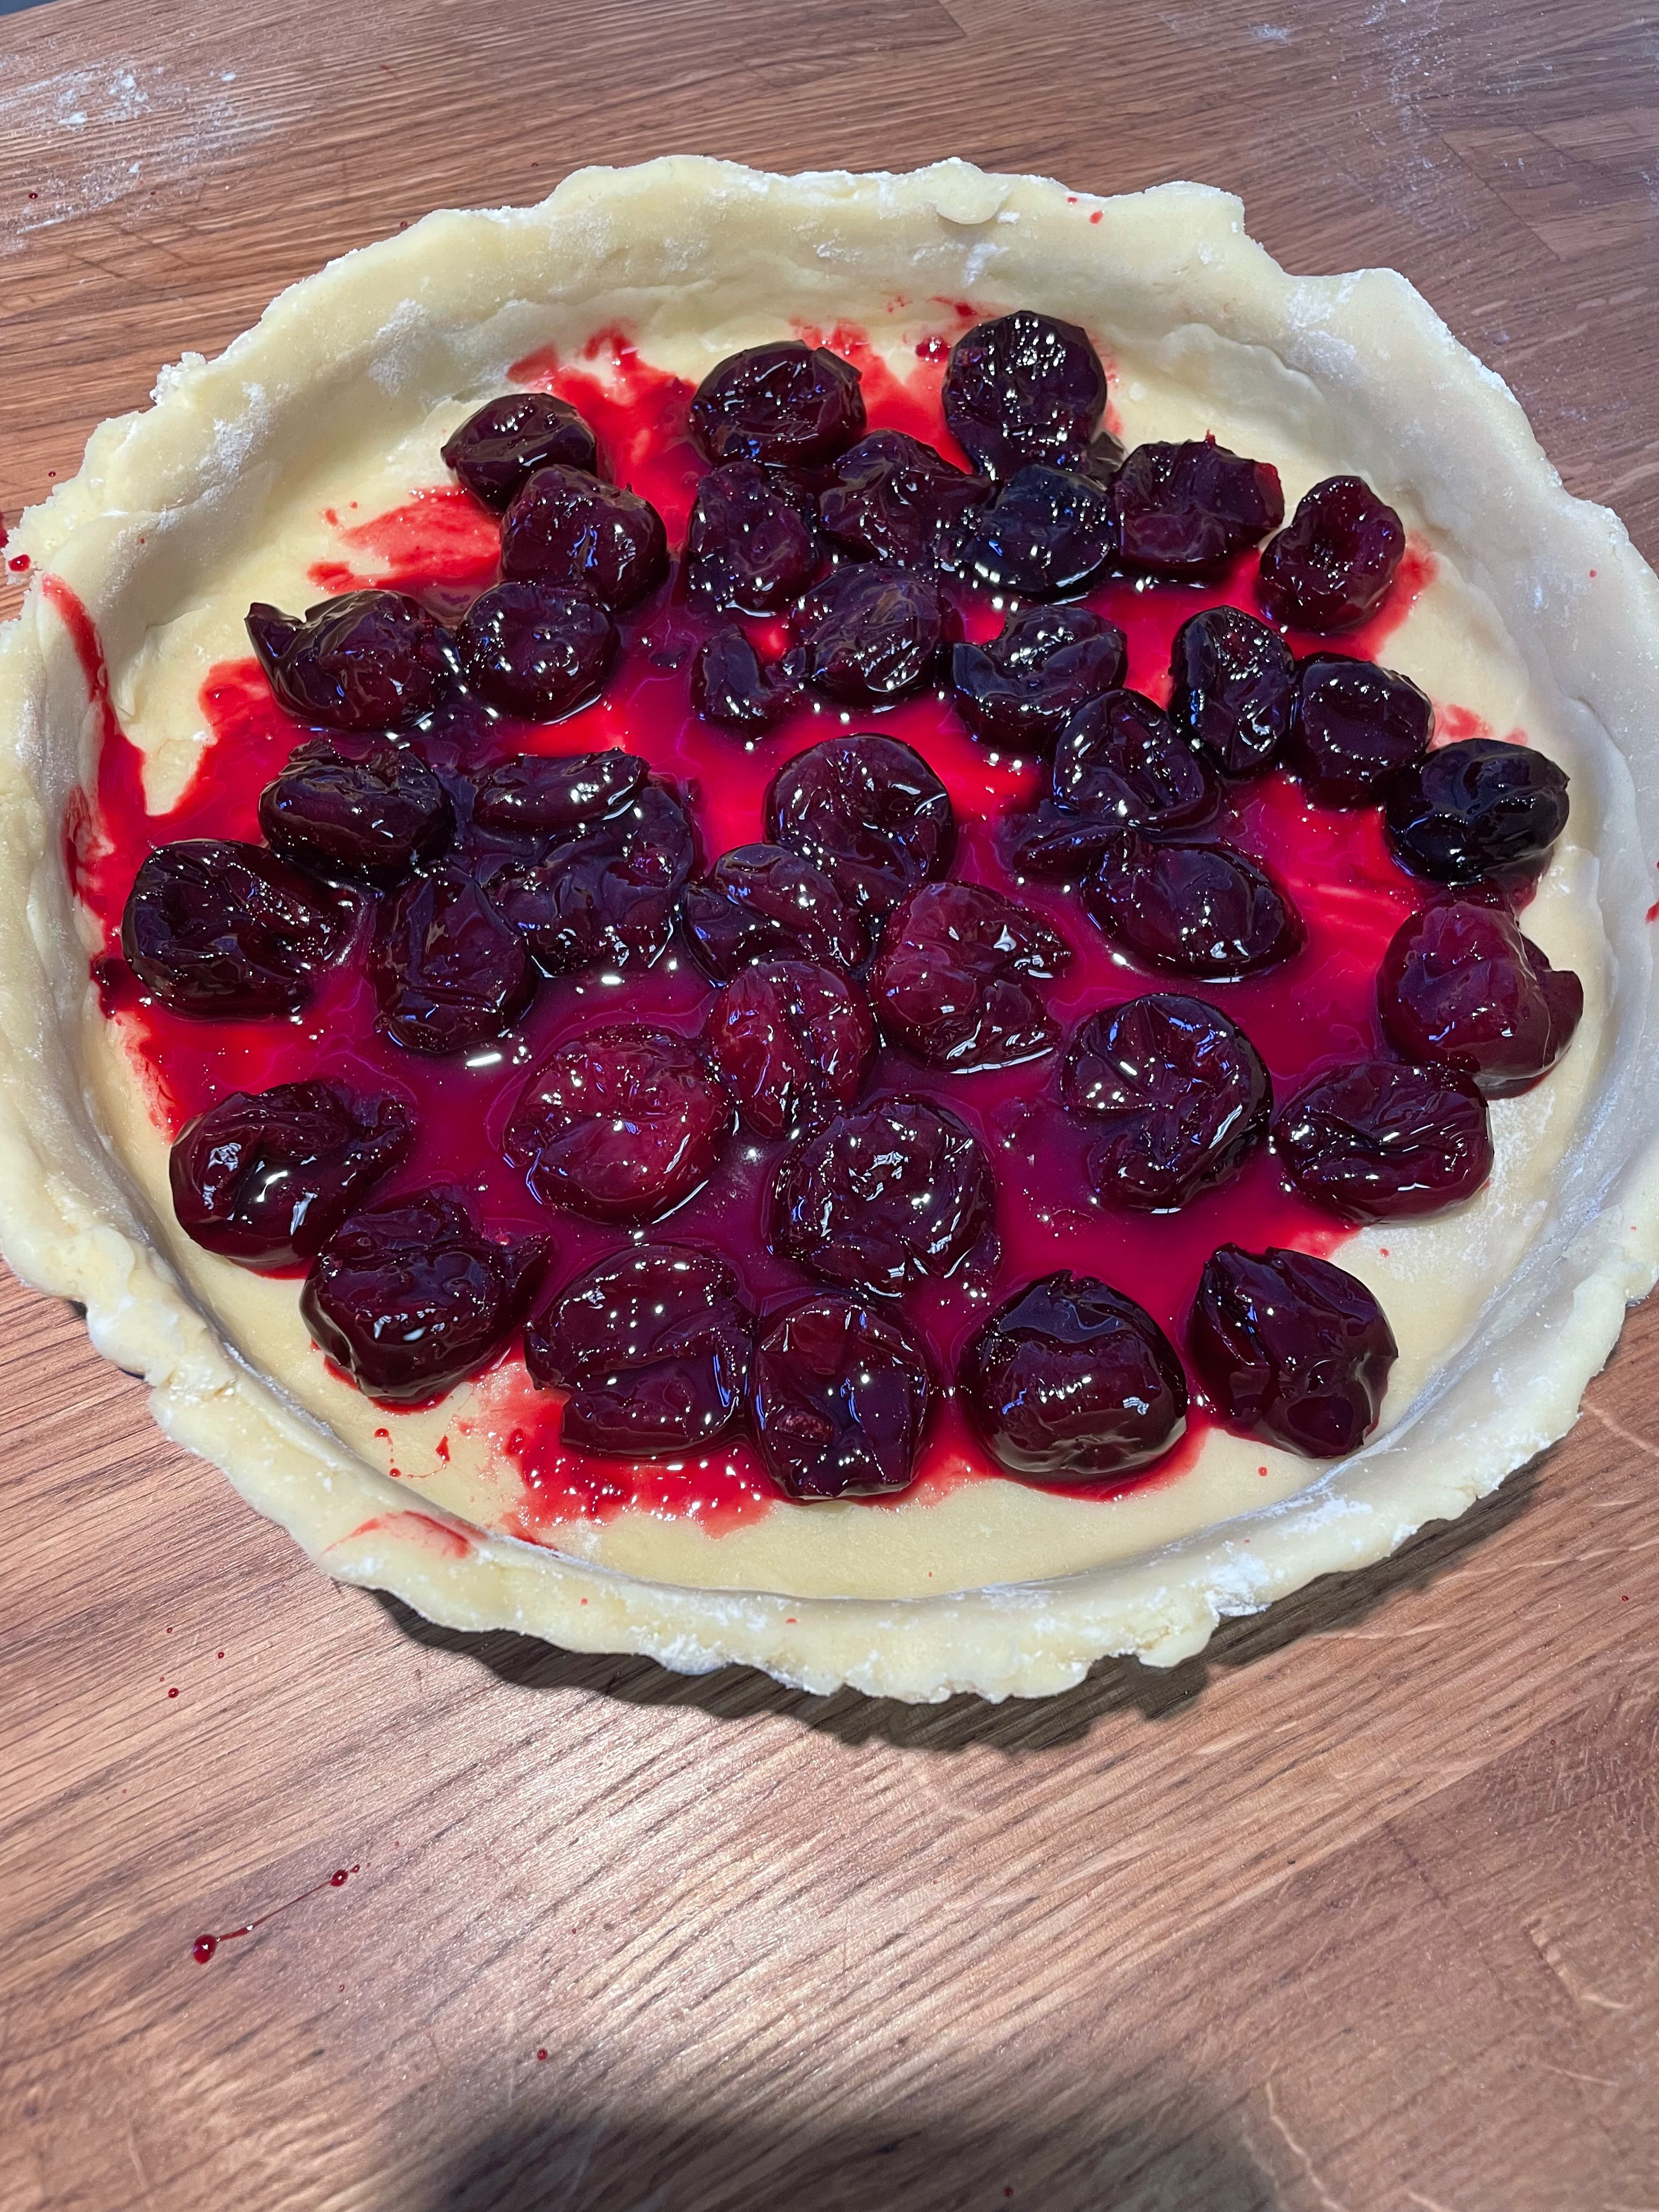
Making The Cherry Compote
Tip 1: It will get quieter as it thickens. Don’t worry, it’ll solidify further in the fridge.
Tip 2: You can use a store bought option instead. It’ll save time and lead to a more even layer in the pastry. However, we found the texture and taste of the whole cherries from making the compote ourselves superb. If you can, make your own.
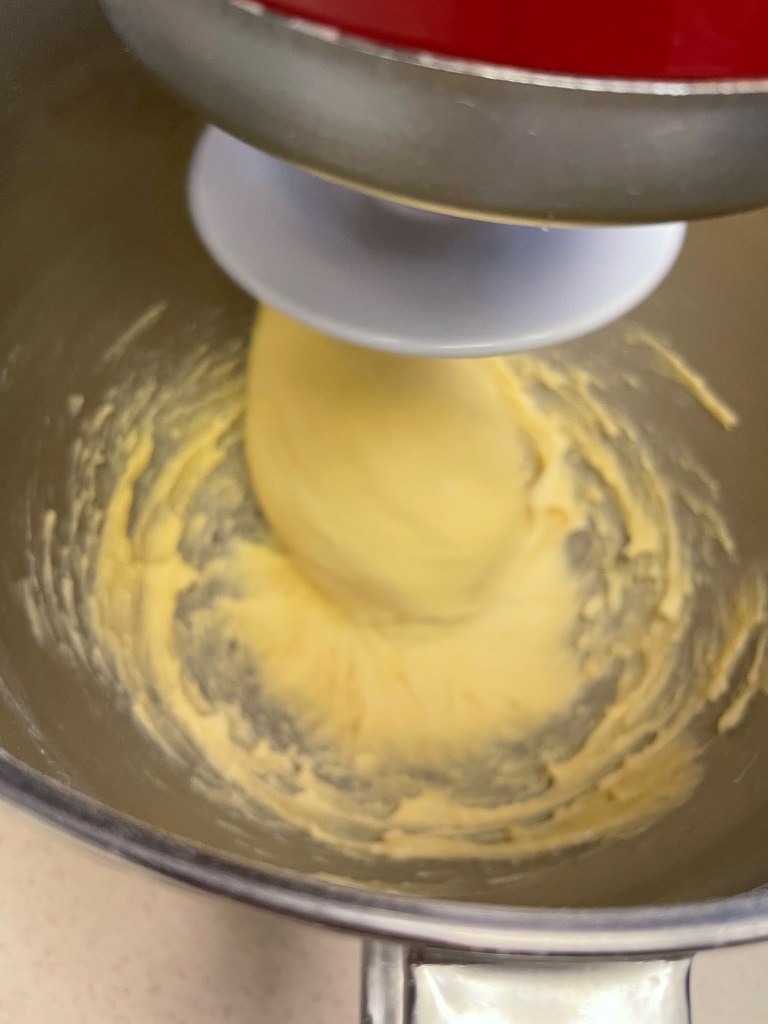
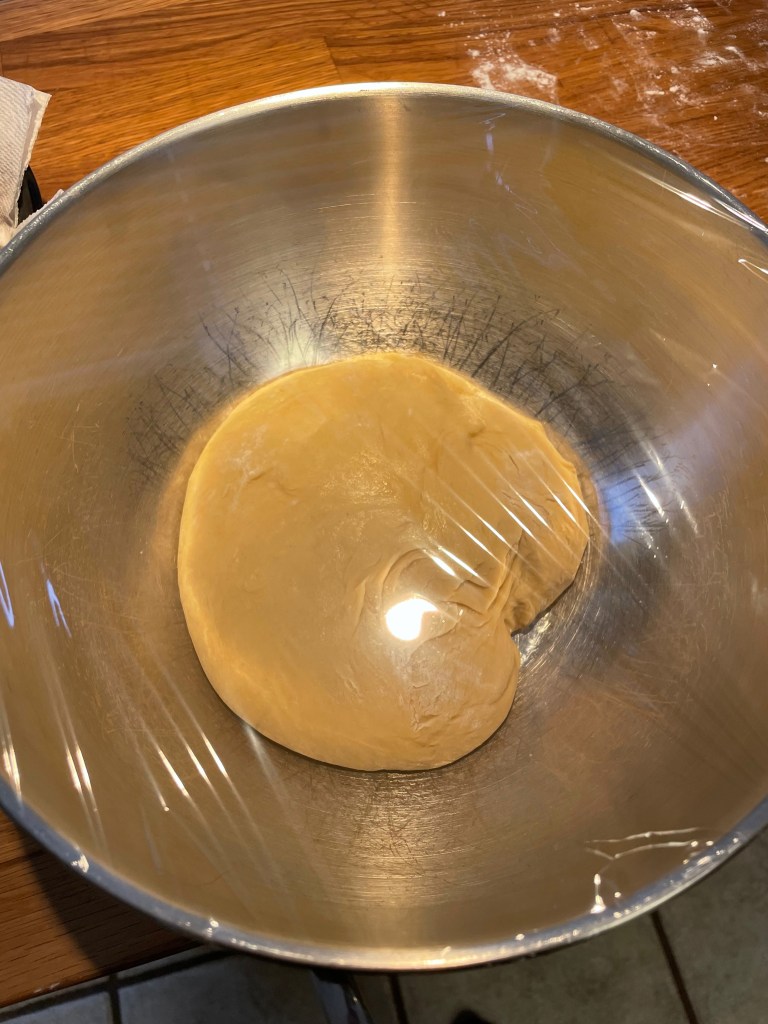
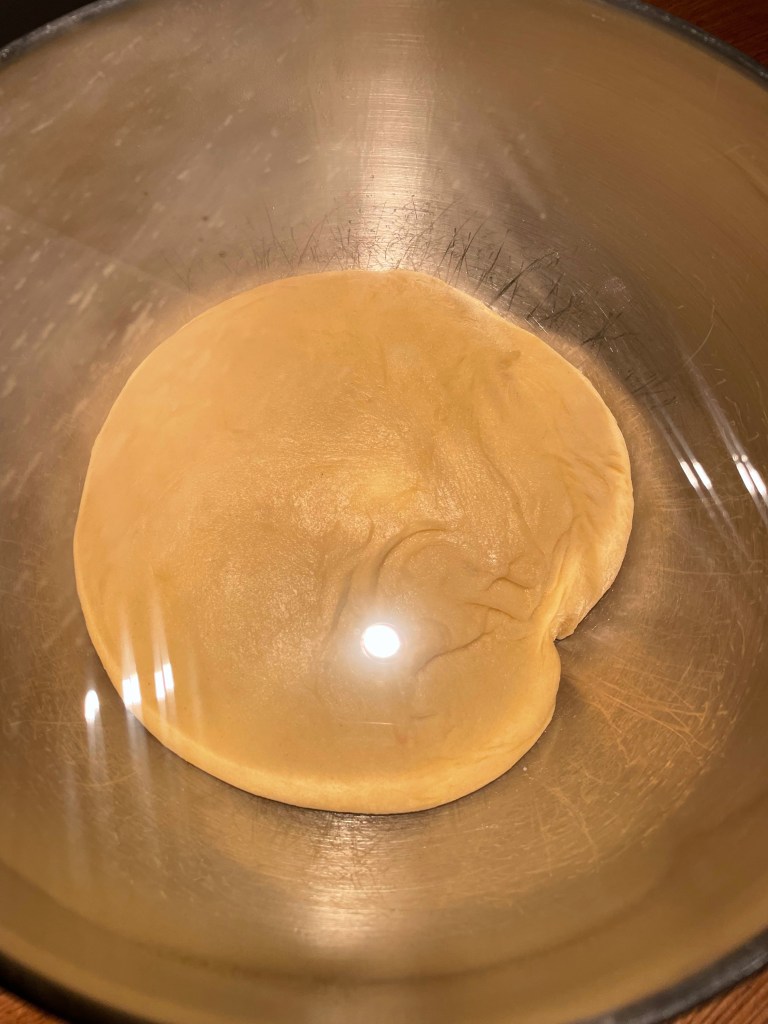
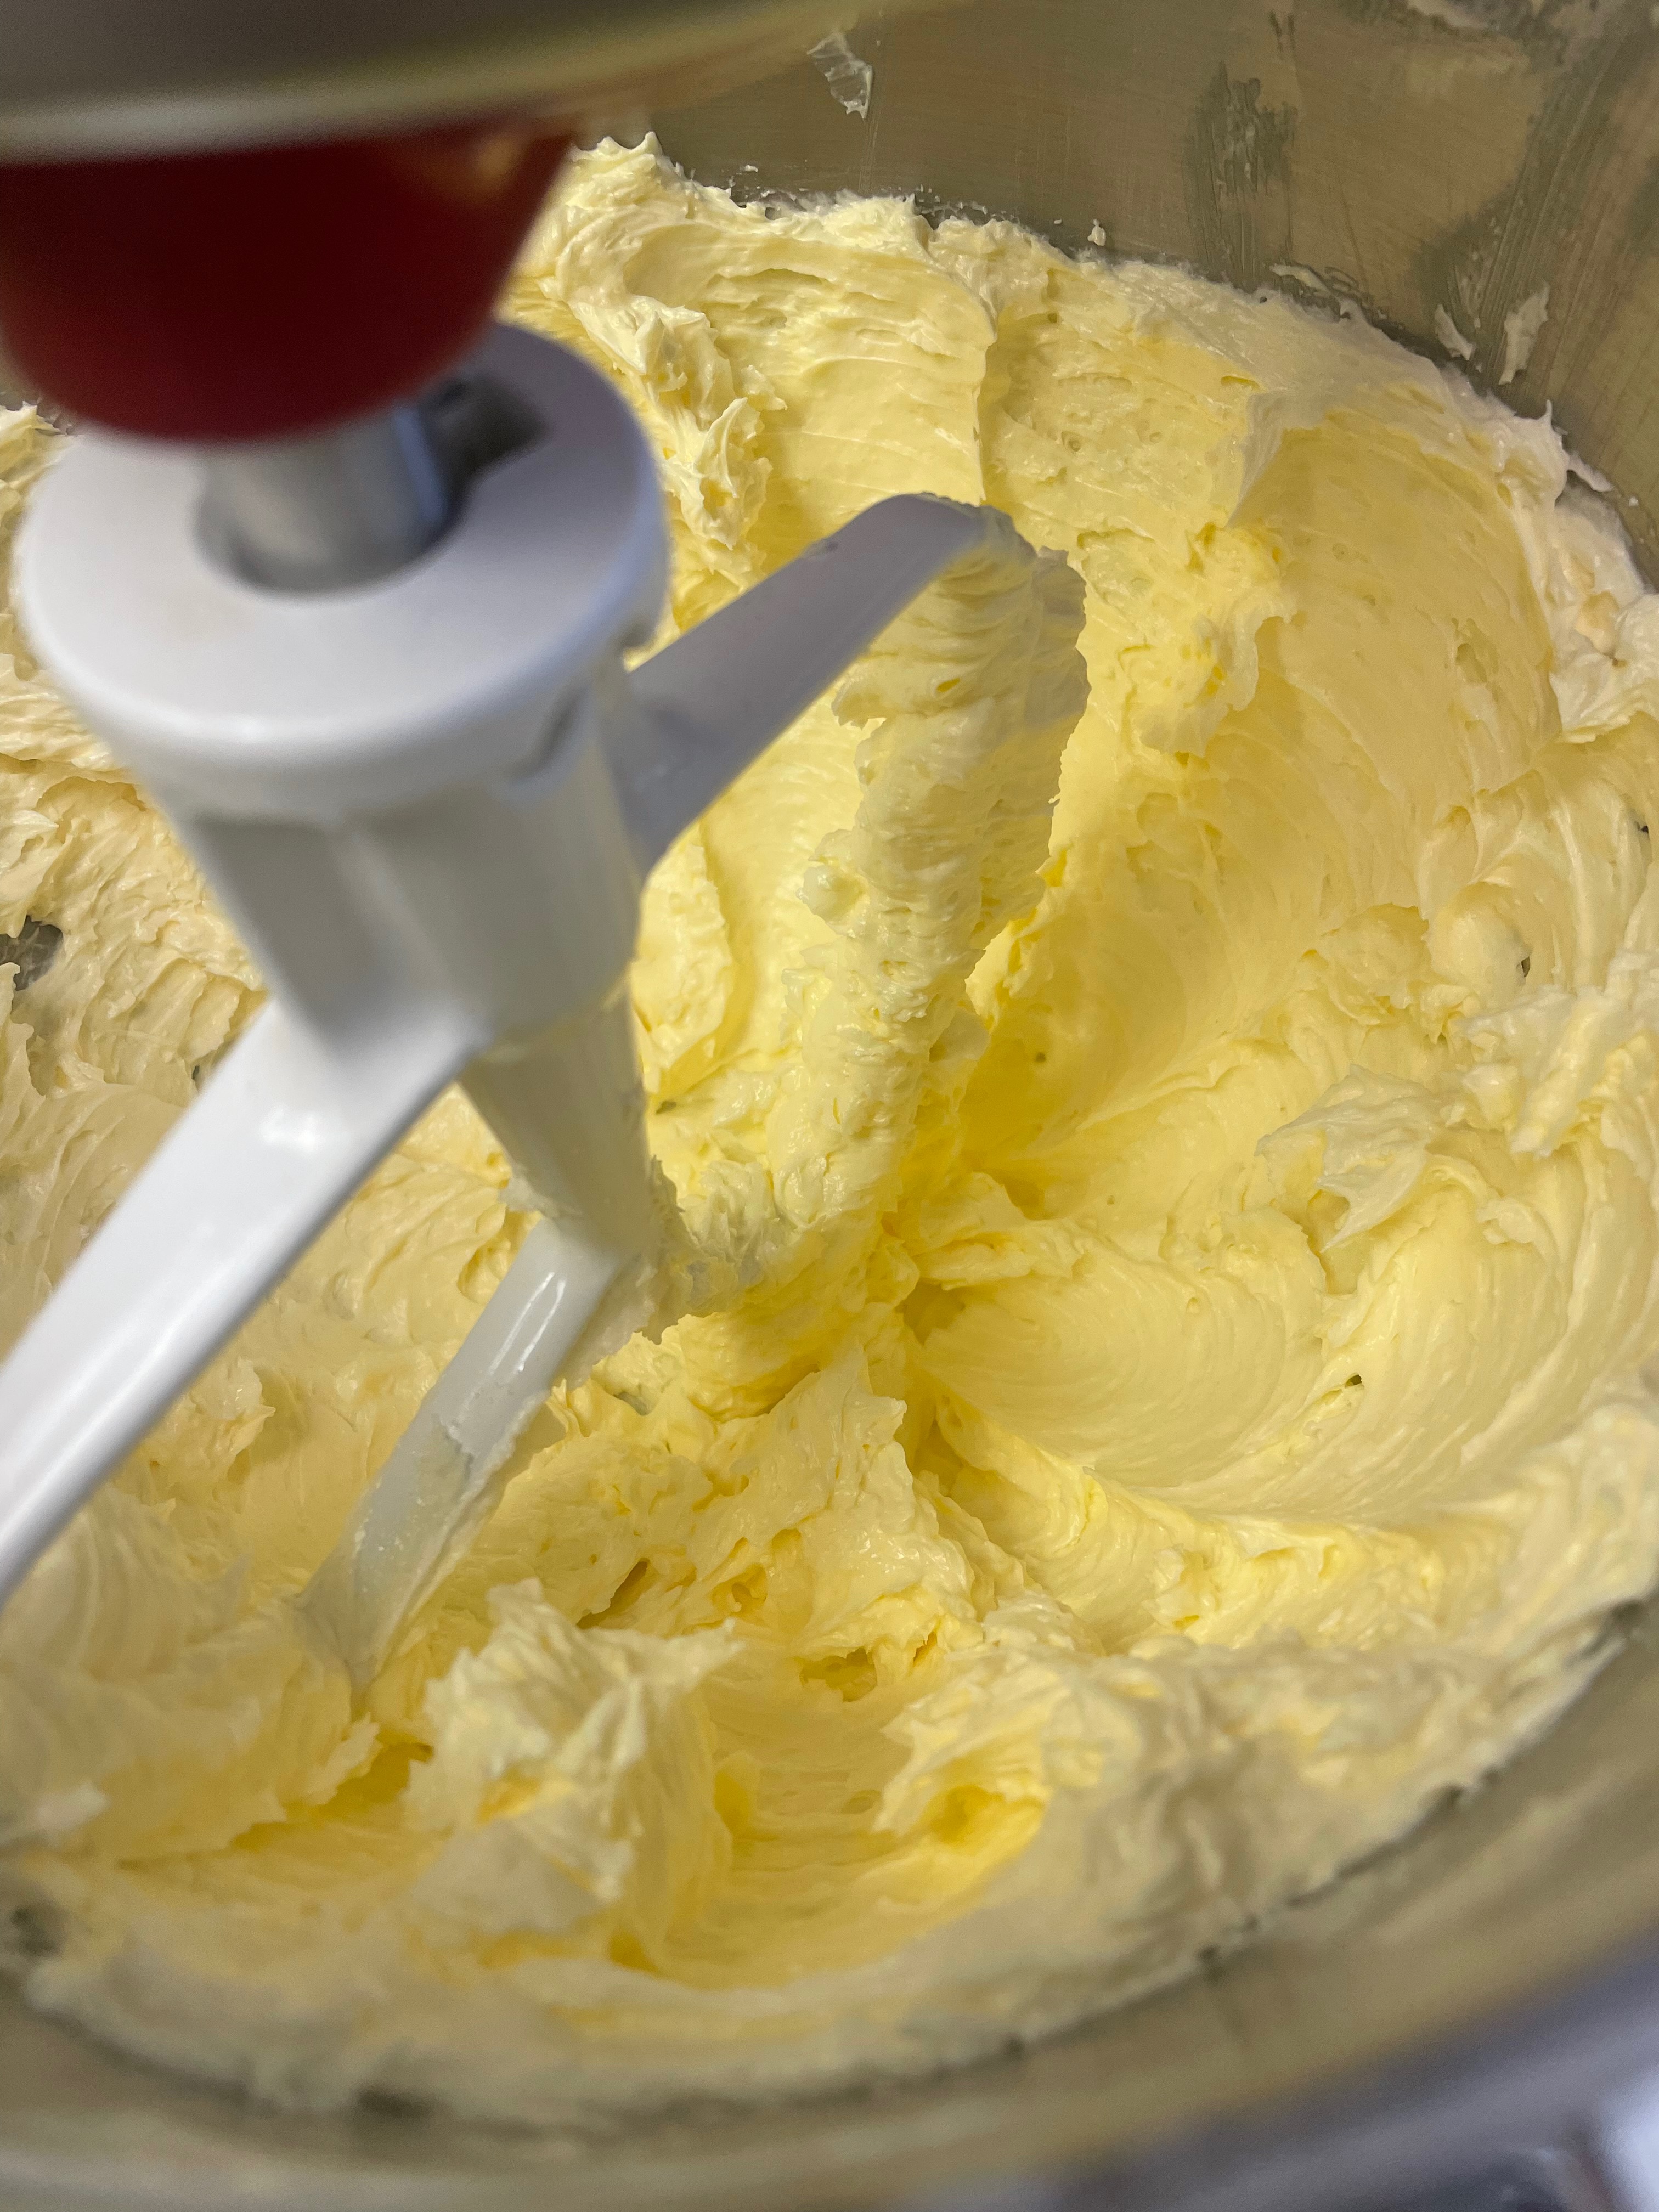
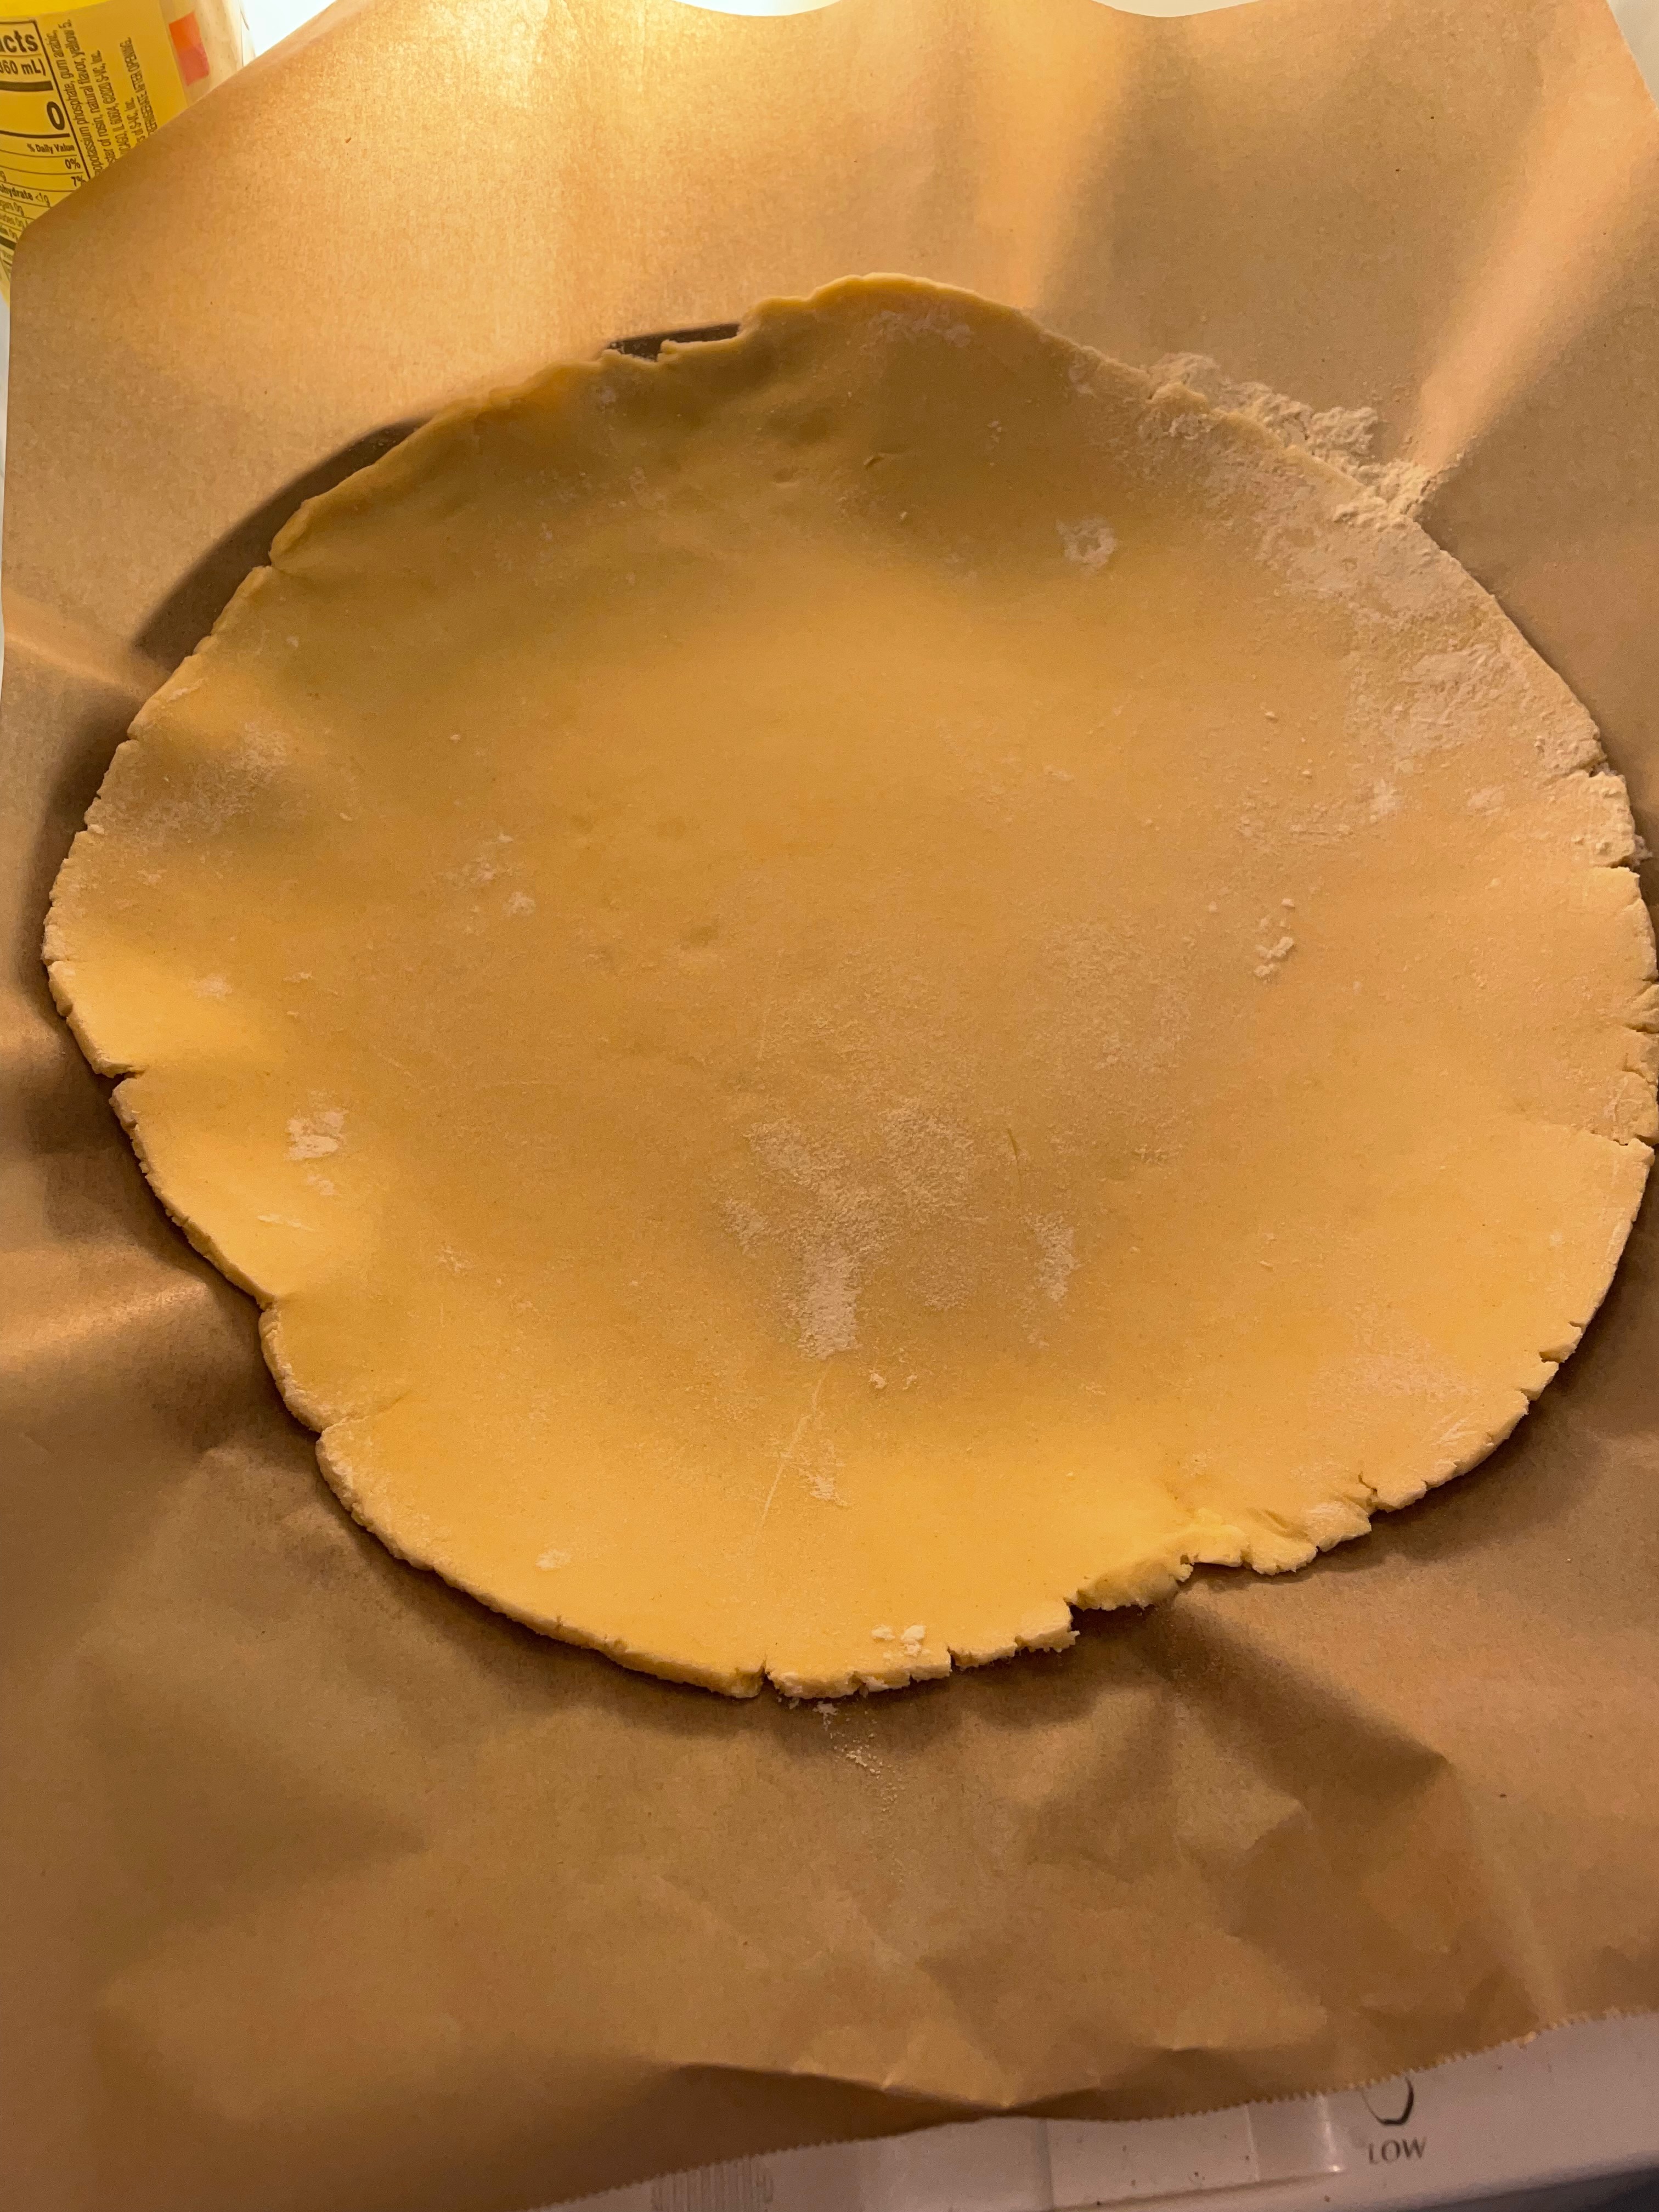
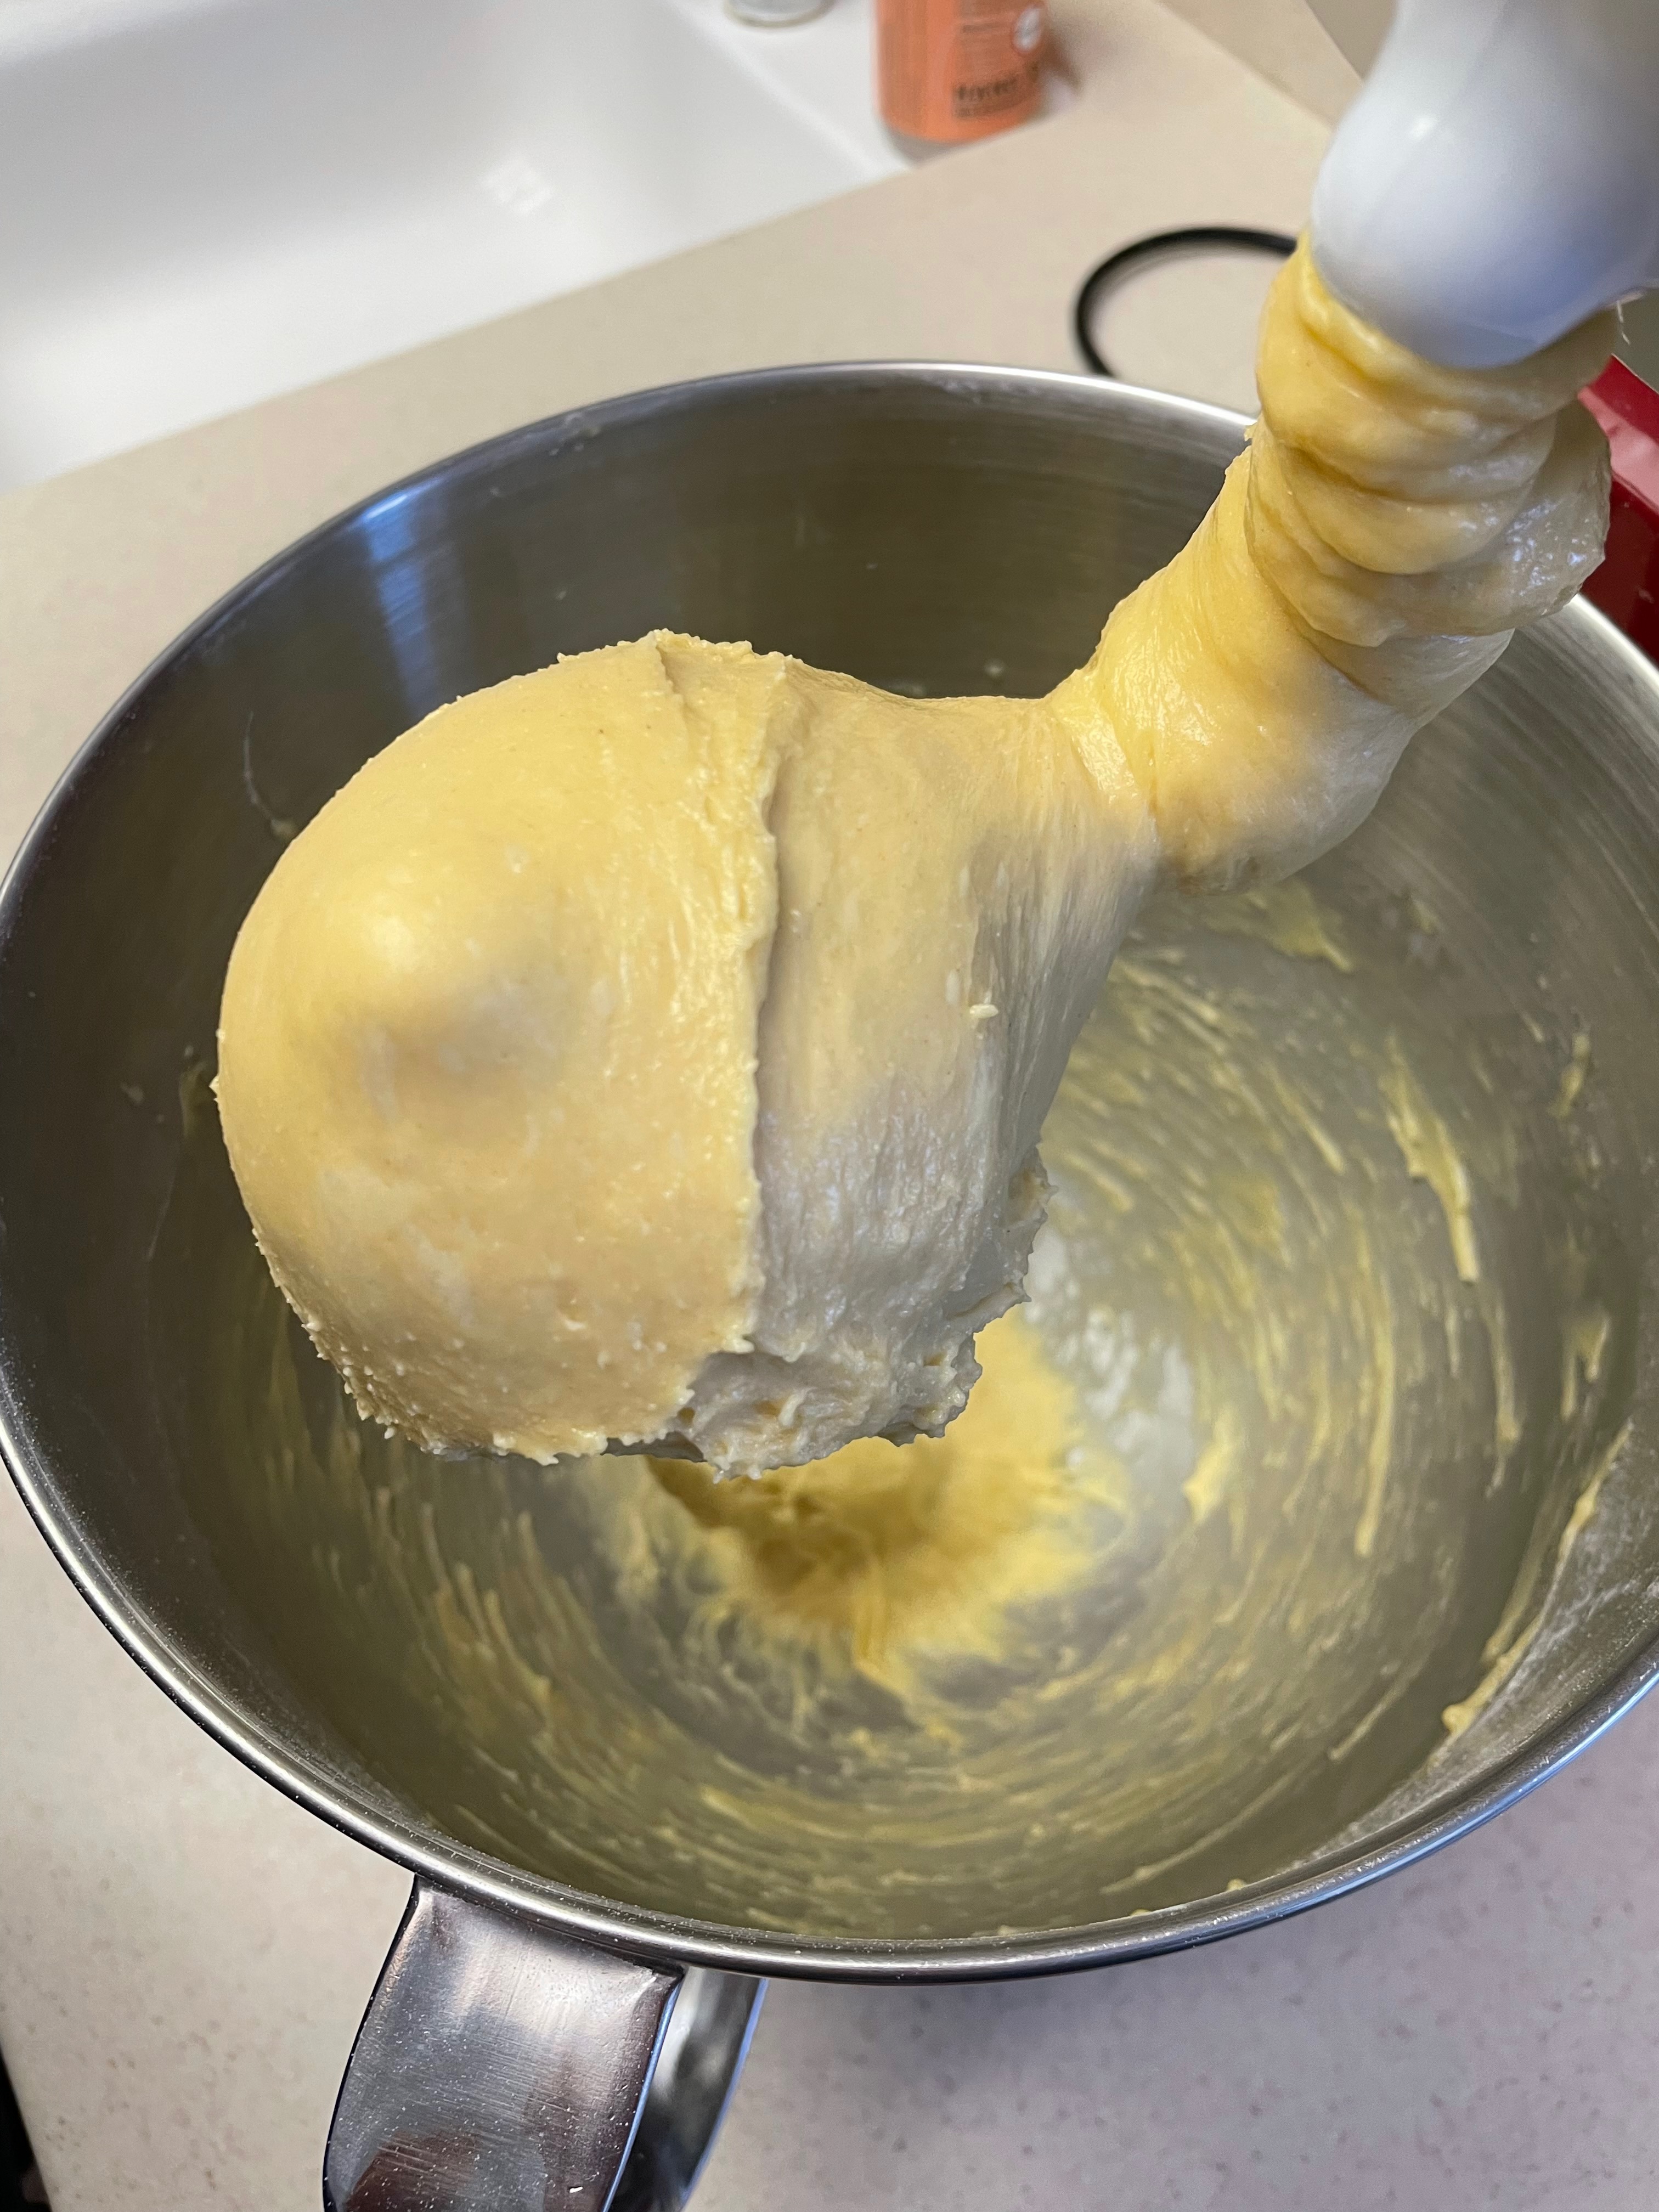
Making And Dough
Tip: The dough is very fragile – almost like a frosting.
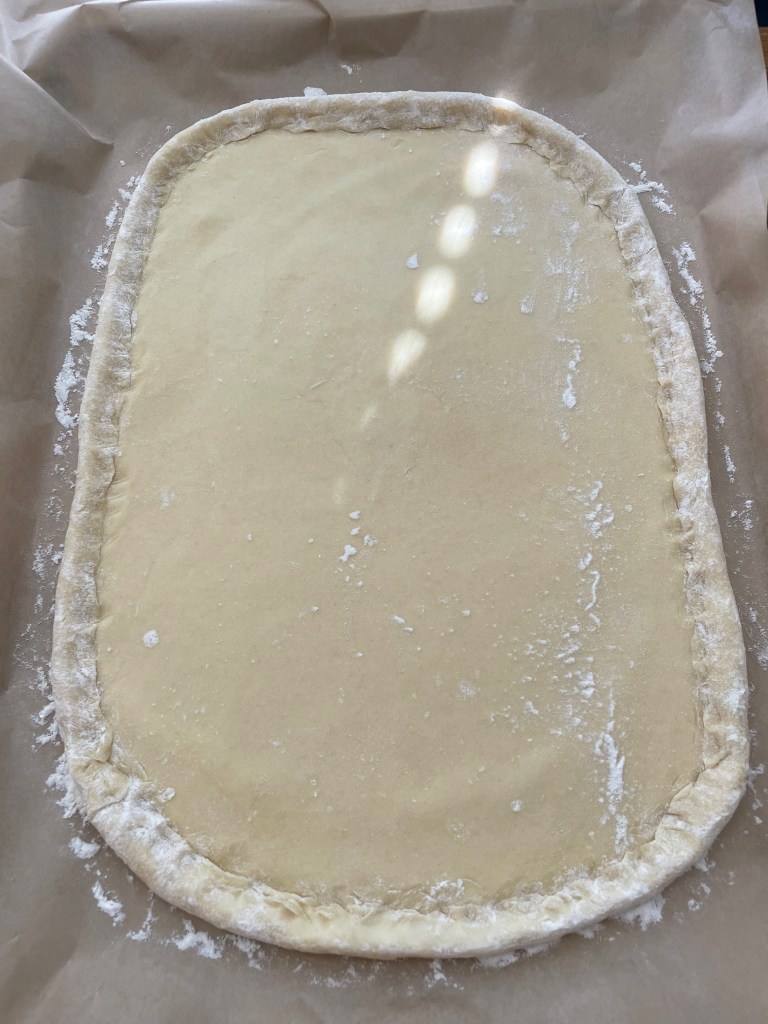
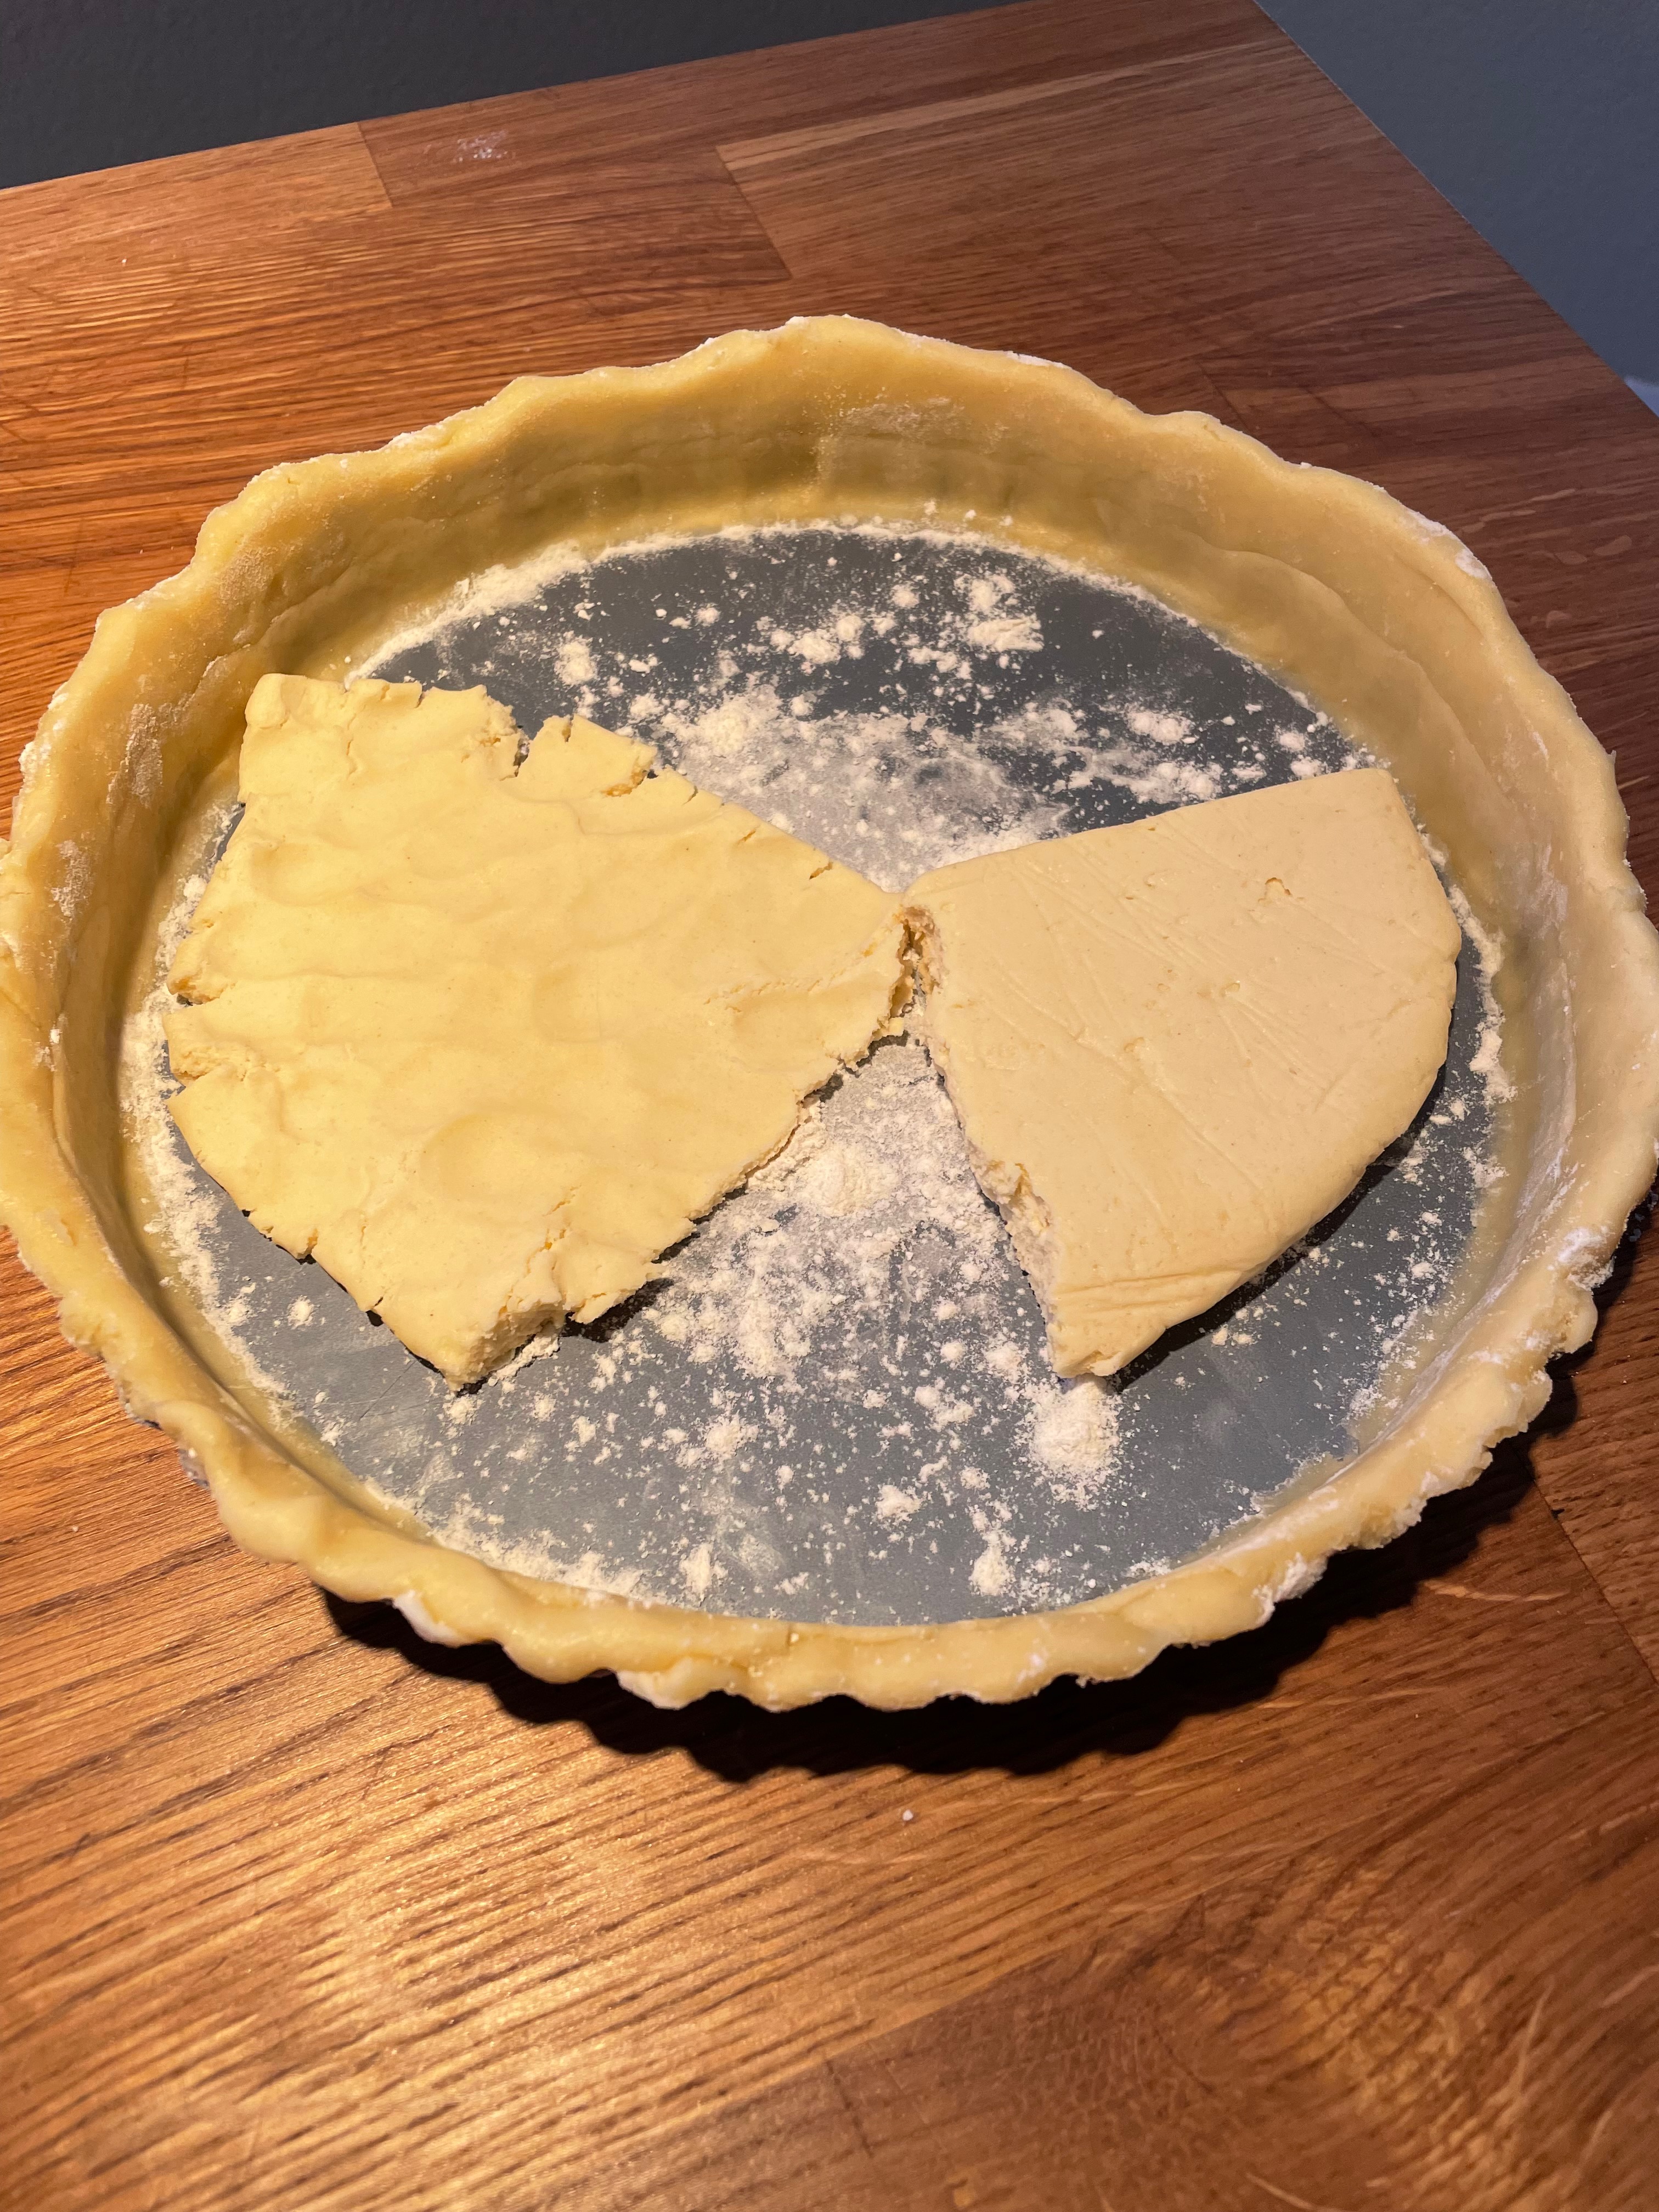
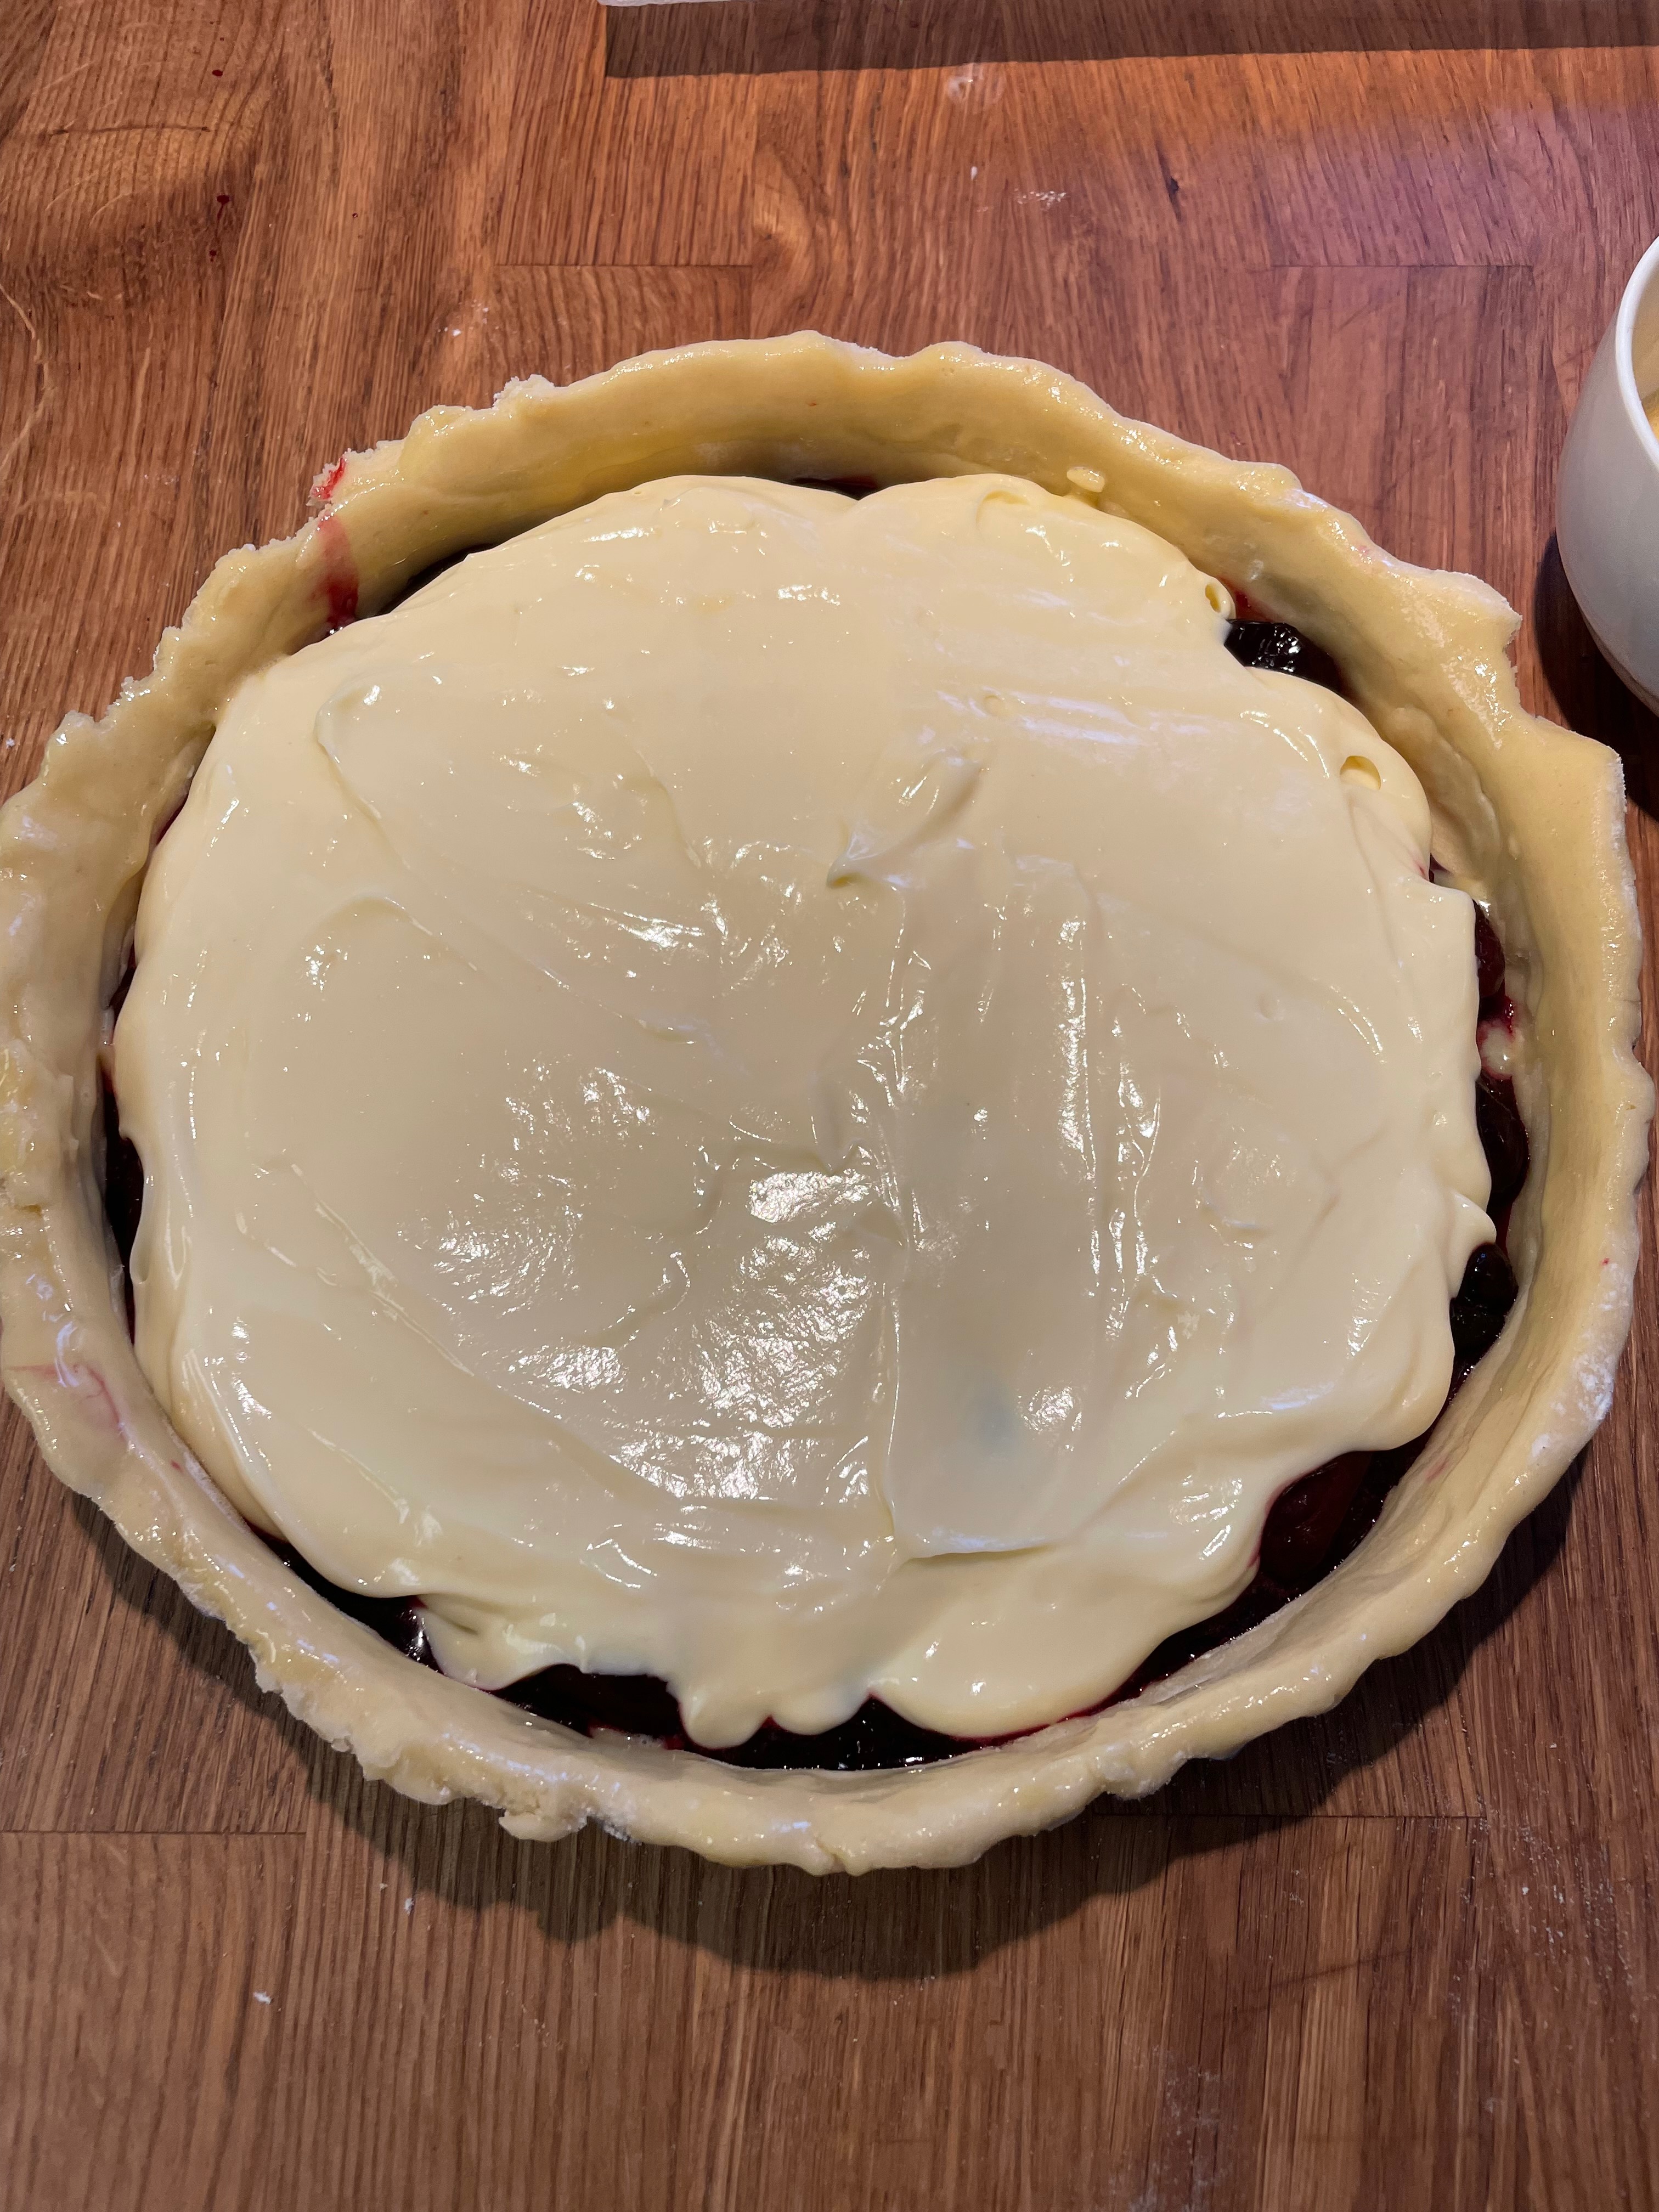
Assembling The Pastry
Tip 1: The key is to keep things cool. If the pastry ever gets hard to work with simply put it back in the fridge for 5 minutes (or the freezer for 2). Consider chilling the tart pan beforehand to help. If you aren’t working with a piece of dough, keep it in the fridge
Tip 2: For the bottom layer, break the dough into 3 pieces and gradually press them out. Anchor each to a wall/edge. Afterwards, take a pass with a chilled, floured 0.5 cup measure and press down to smooth out thin spots from pressing. Reapply flour liberally.
Baking The Pastry
Final Product
Key Takeaways
Make this recipe over two days for a more leisurely process.
Be strategic with keeping the dough cold while working with it.
Ideally, make the cherry compote yourself.
Keep in mind the tart takes a very long time to cool. After a while it can be put in the fridge to speed up the process.
Final Score: 5/5 – This is a great way to practice french pastry. It’s a lot of effort, but it really pays off with this one.
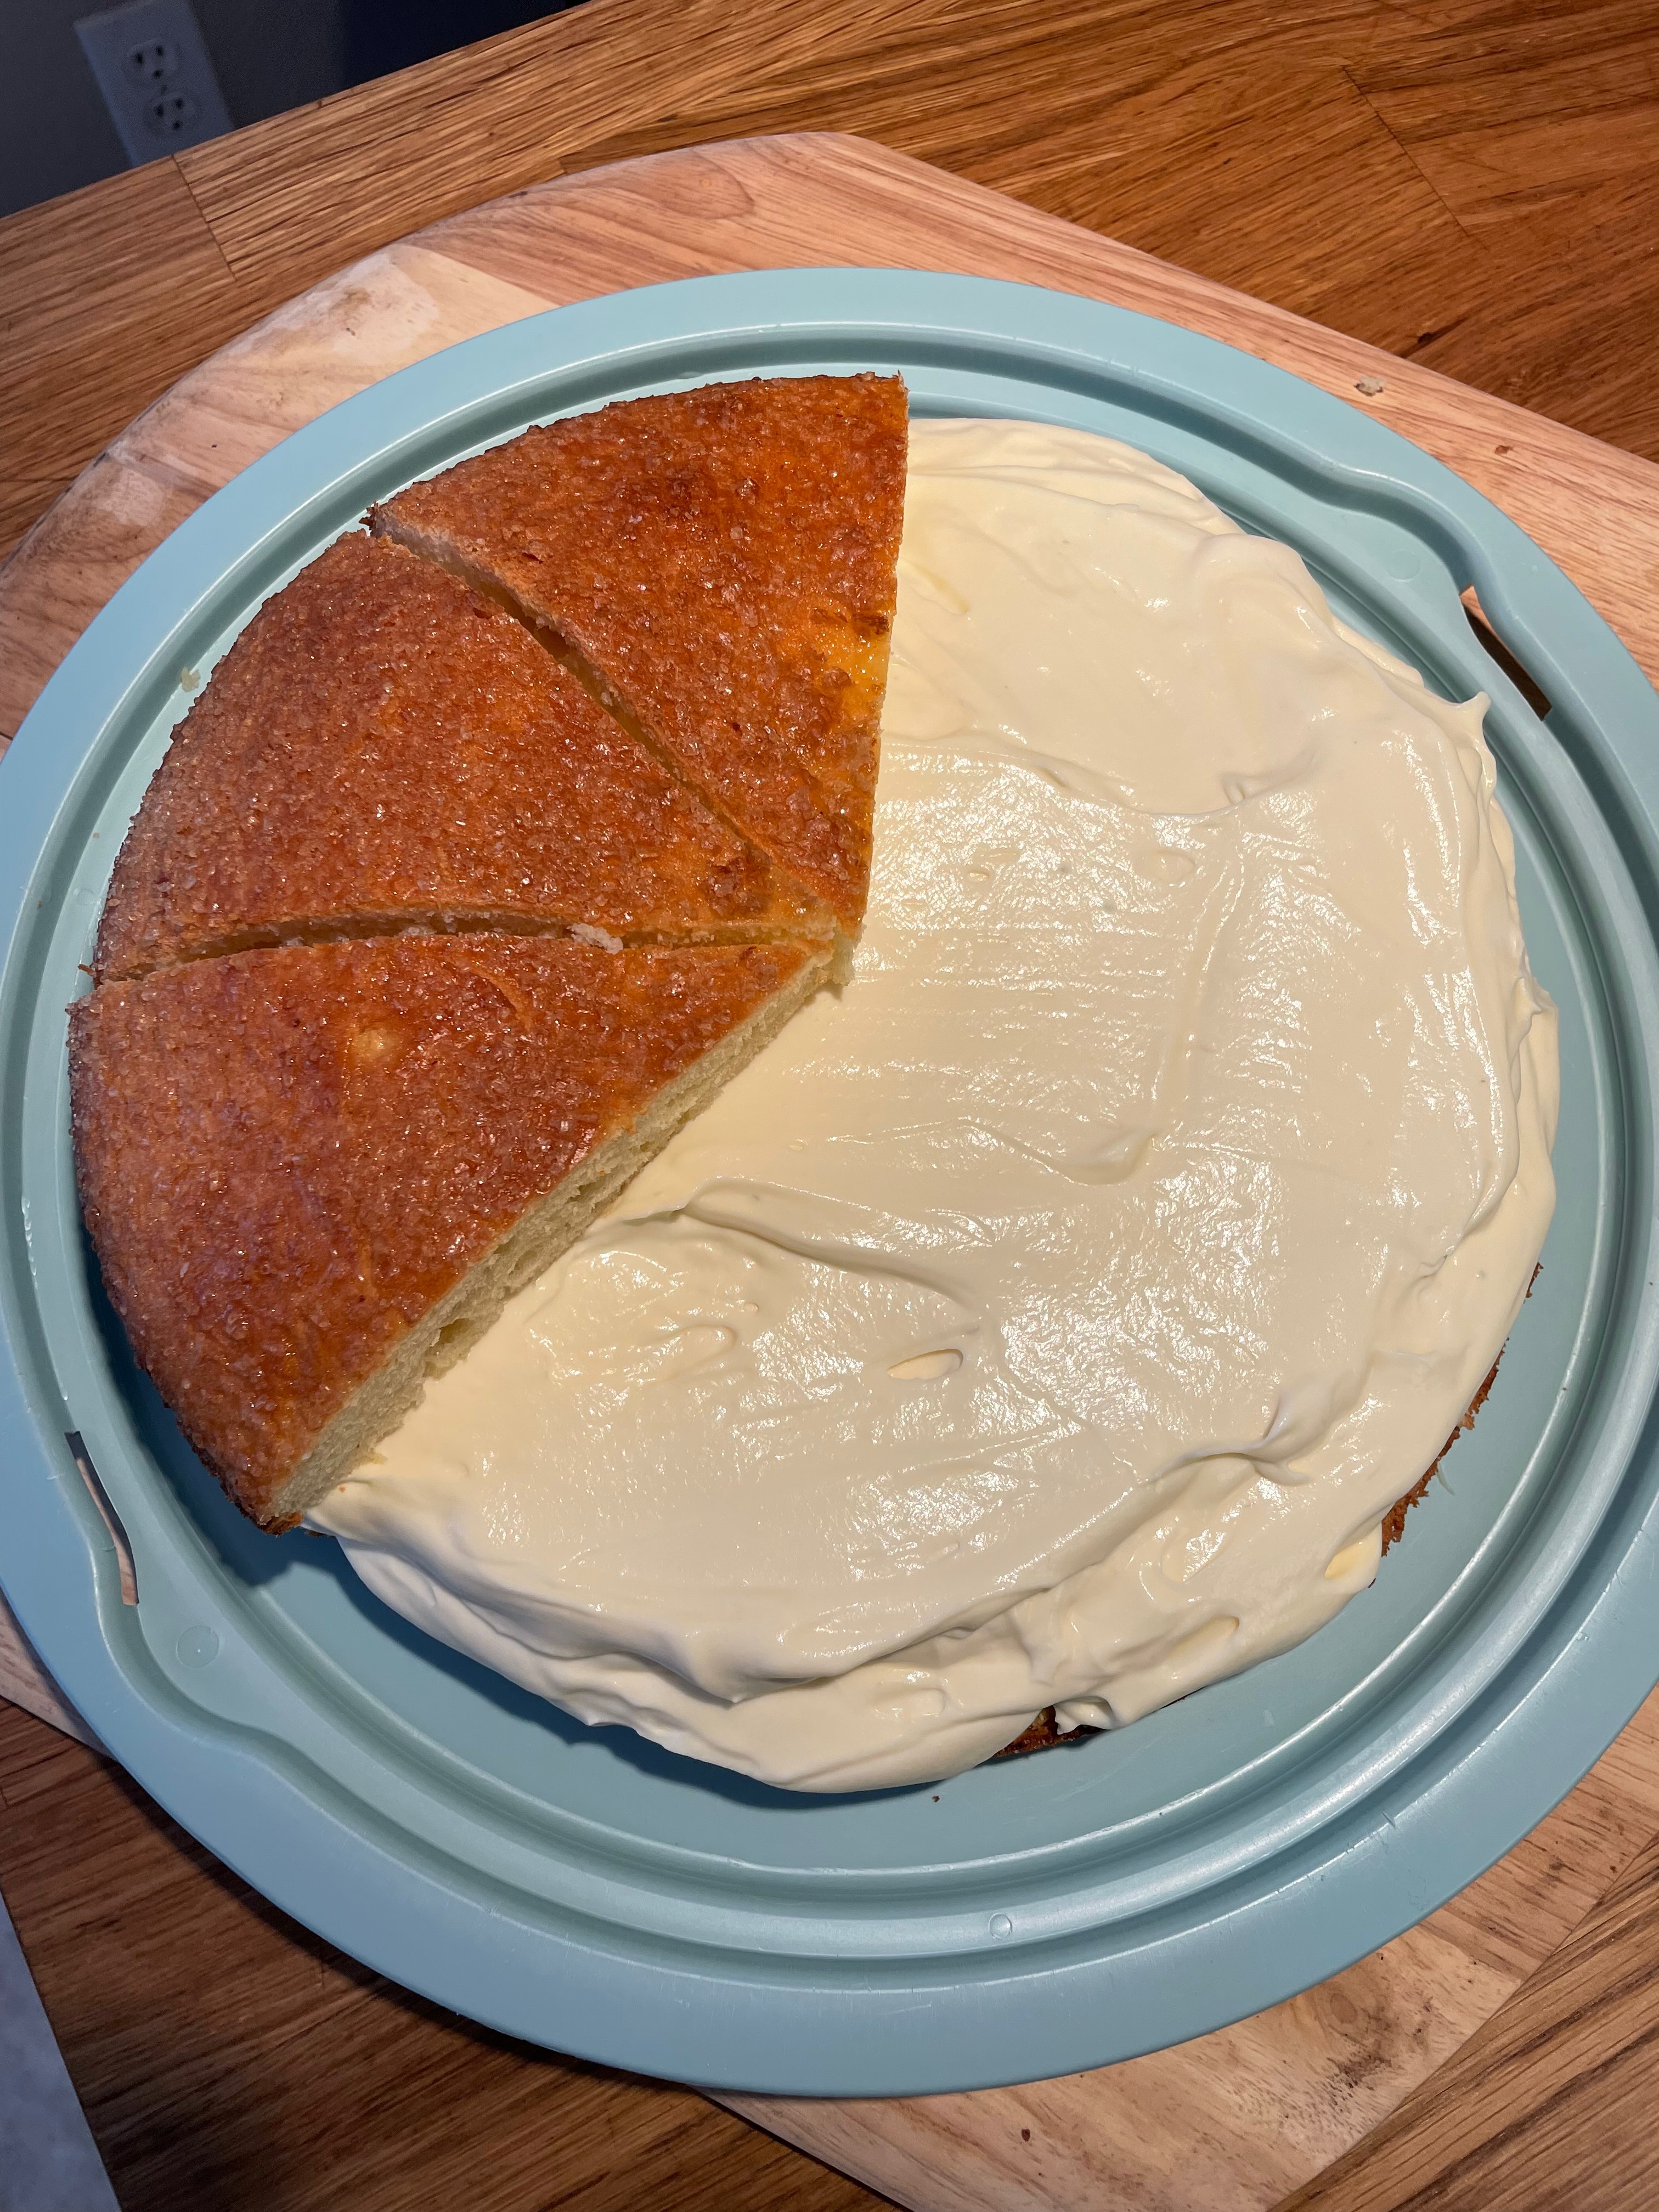
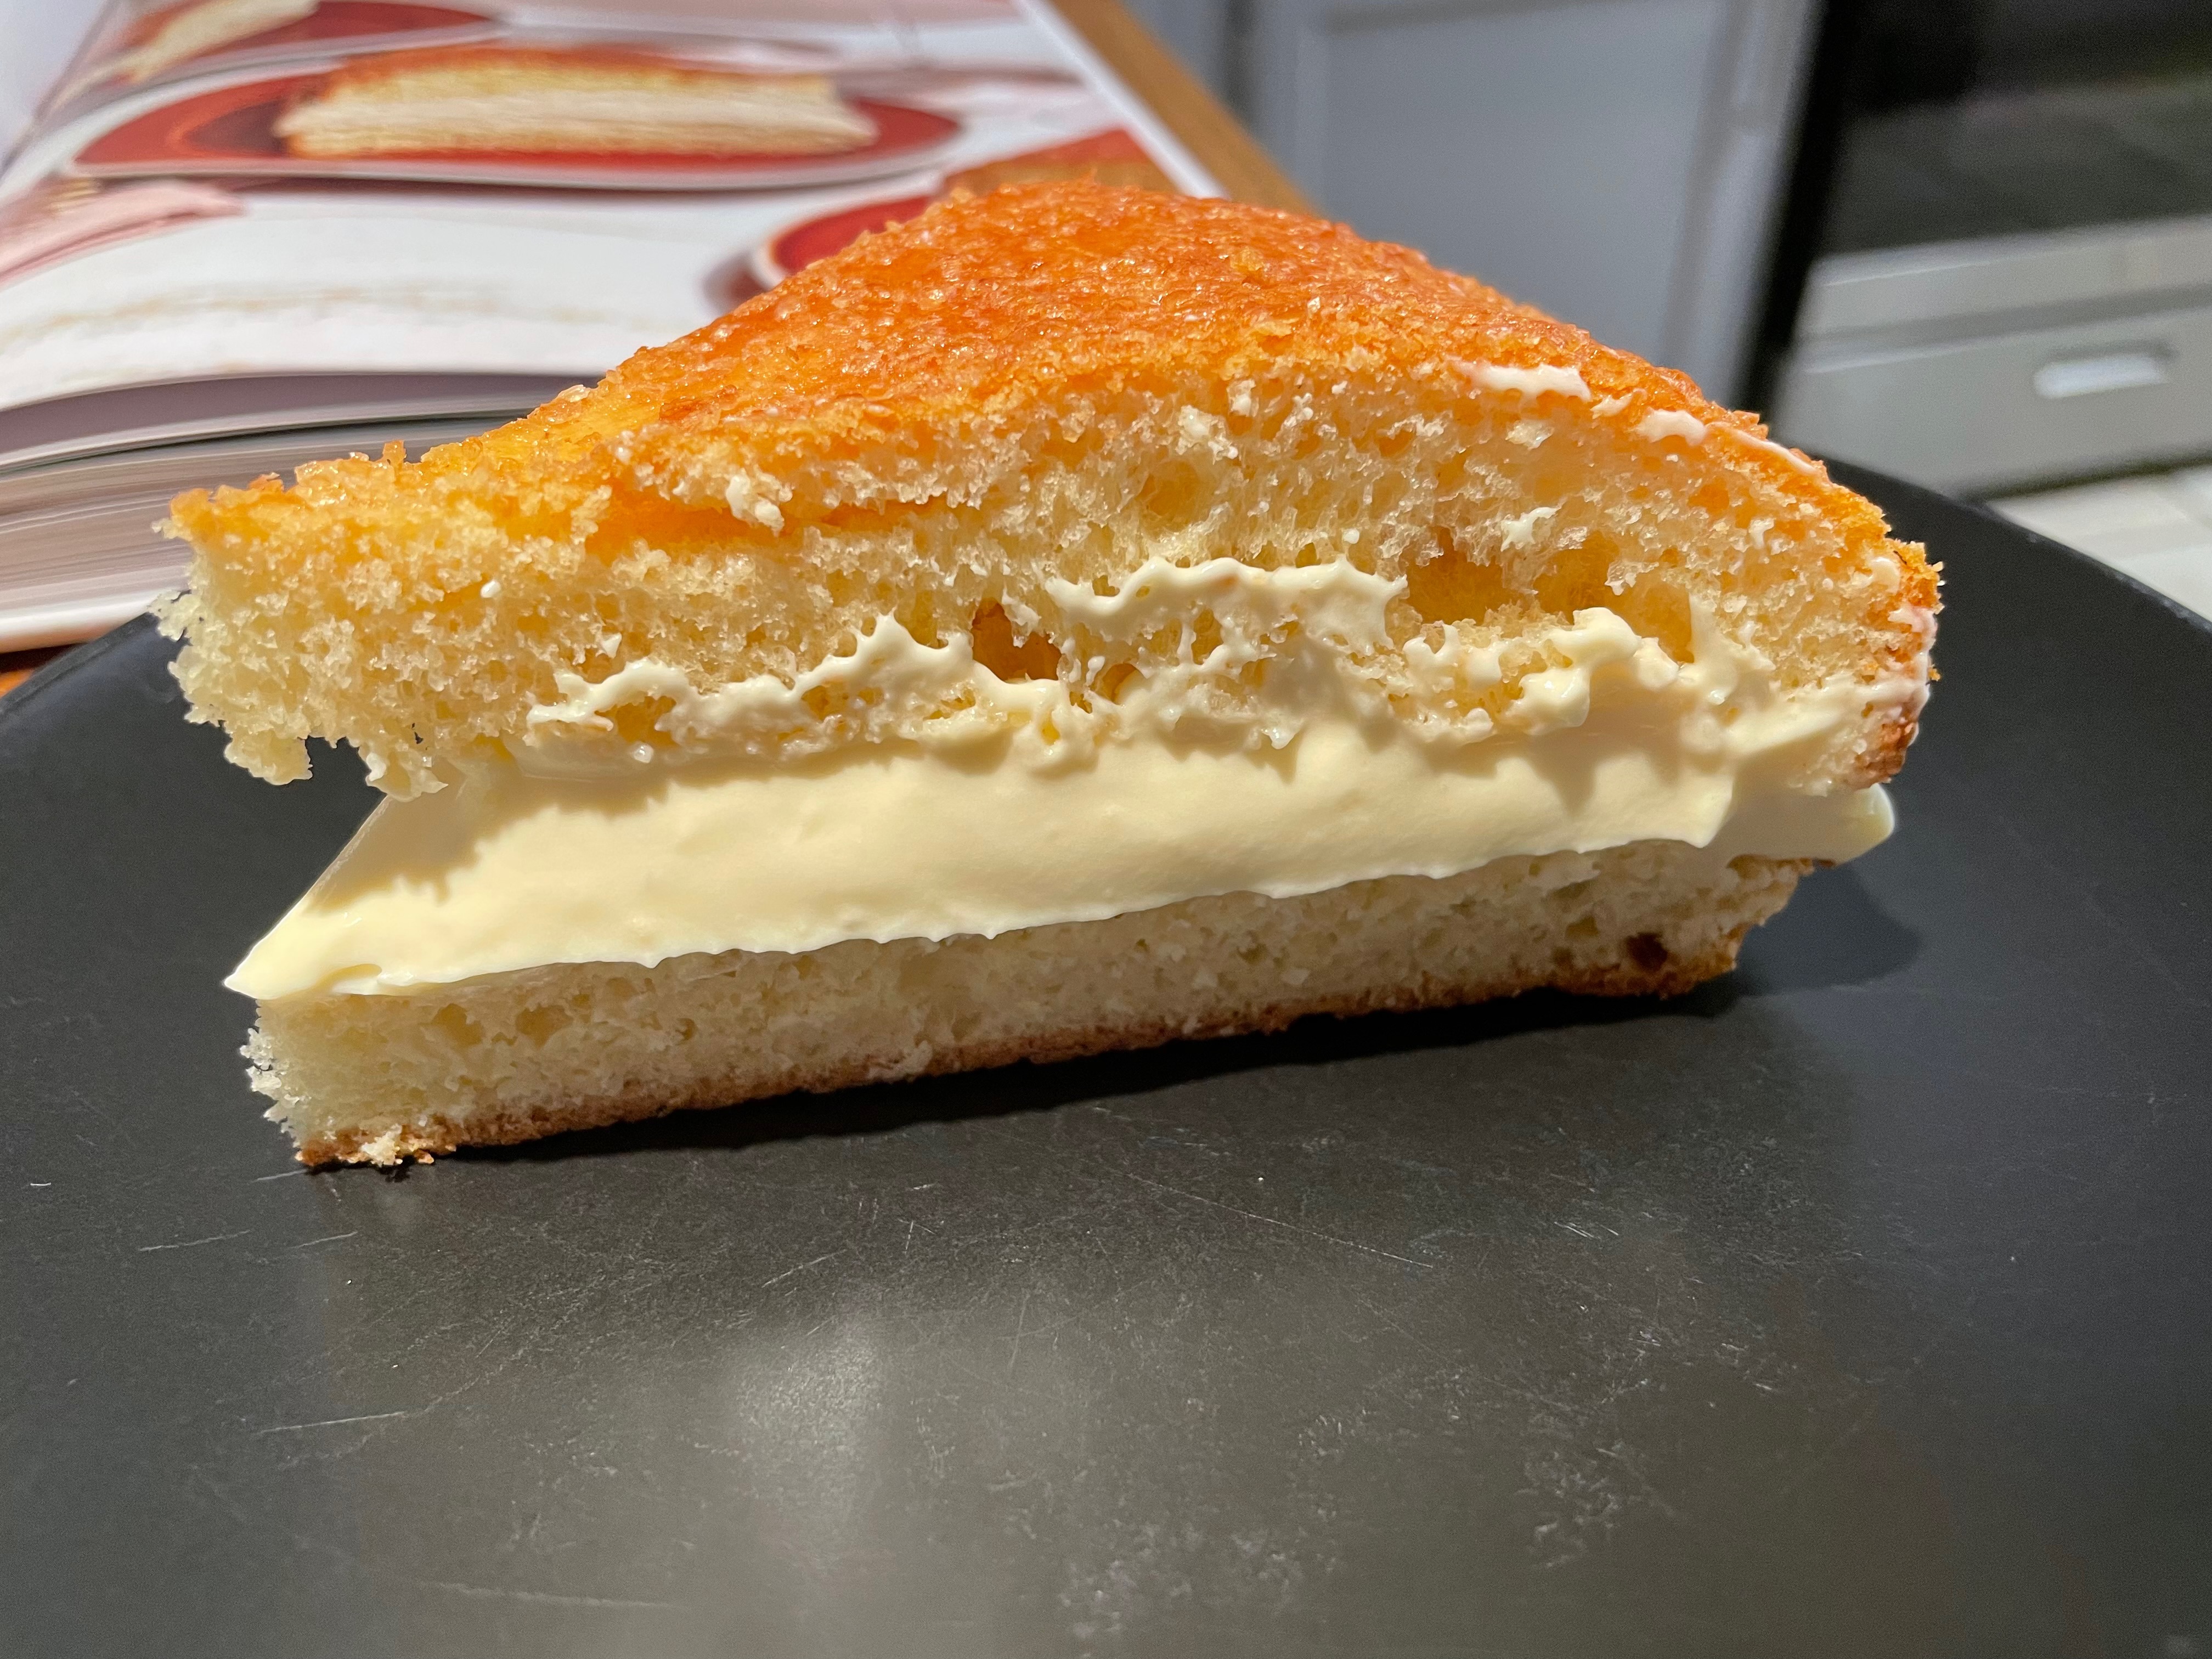
This is quite a fun recipe. It’s a bit complicated and is probably best to attempt after you’ve made brioche once or twice first. Once you’ve gotten brioche down though, definitely give this a try. The recipe is fairly plain in that it’s all milk, flour, sugar, butter, and egg. But the end result is surprisingly rich and delicious. Highly recommended!
Tip: Make sure to have everything planned out in advance! Memorize the steps ahead of time.
Baking The Cake
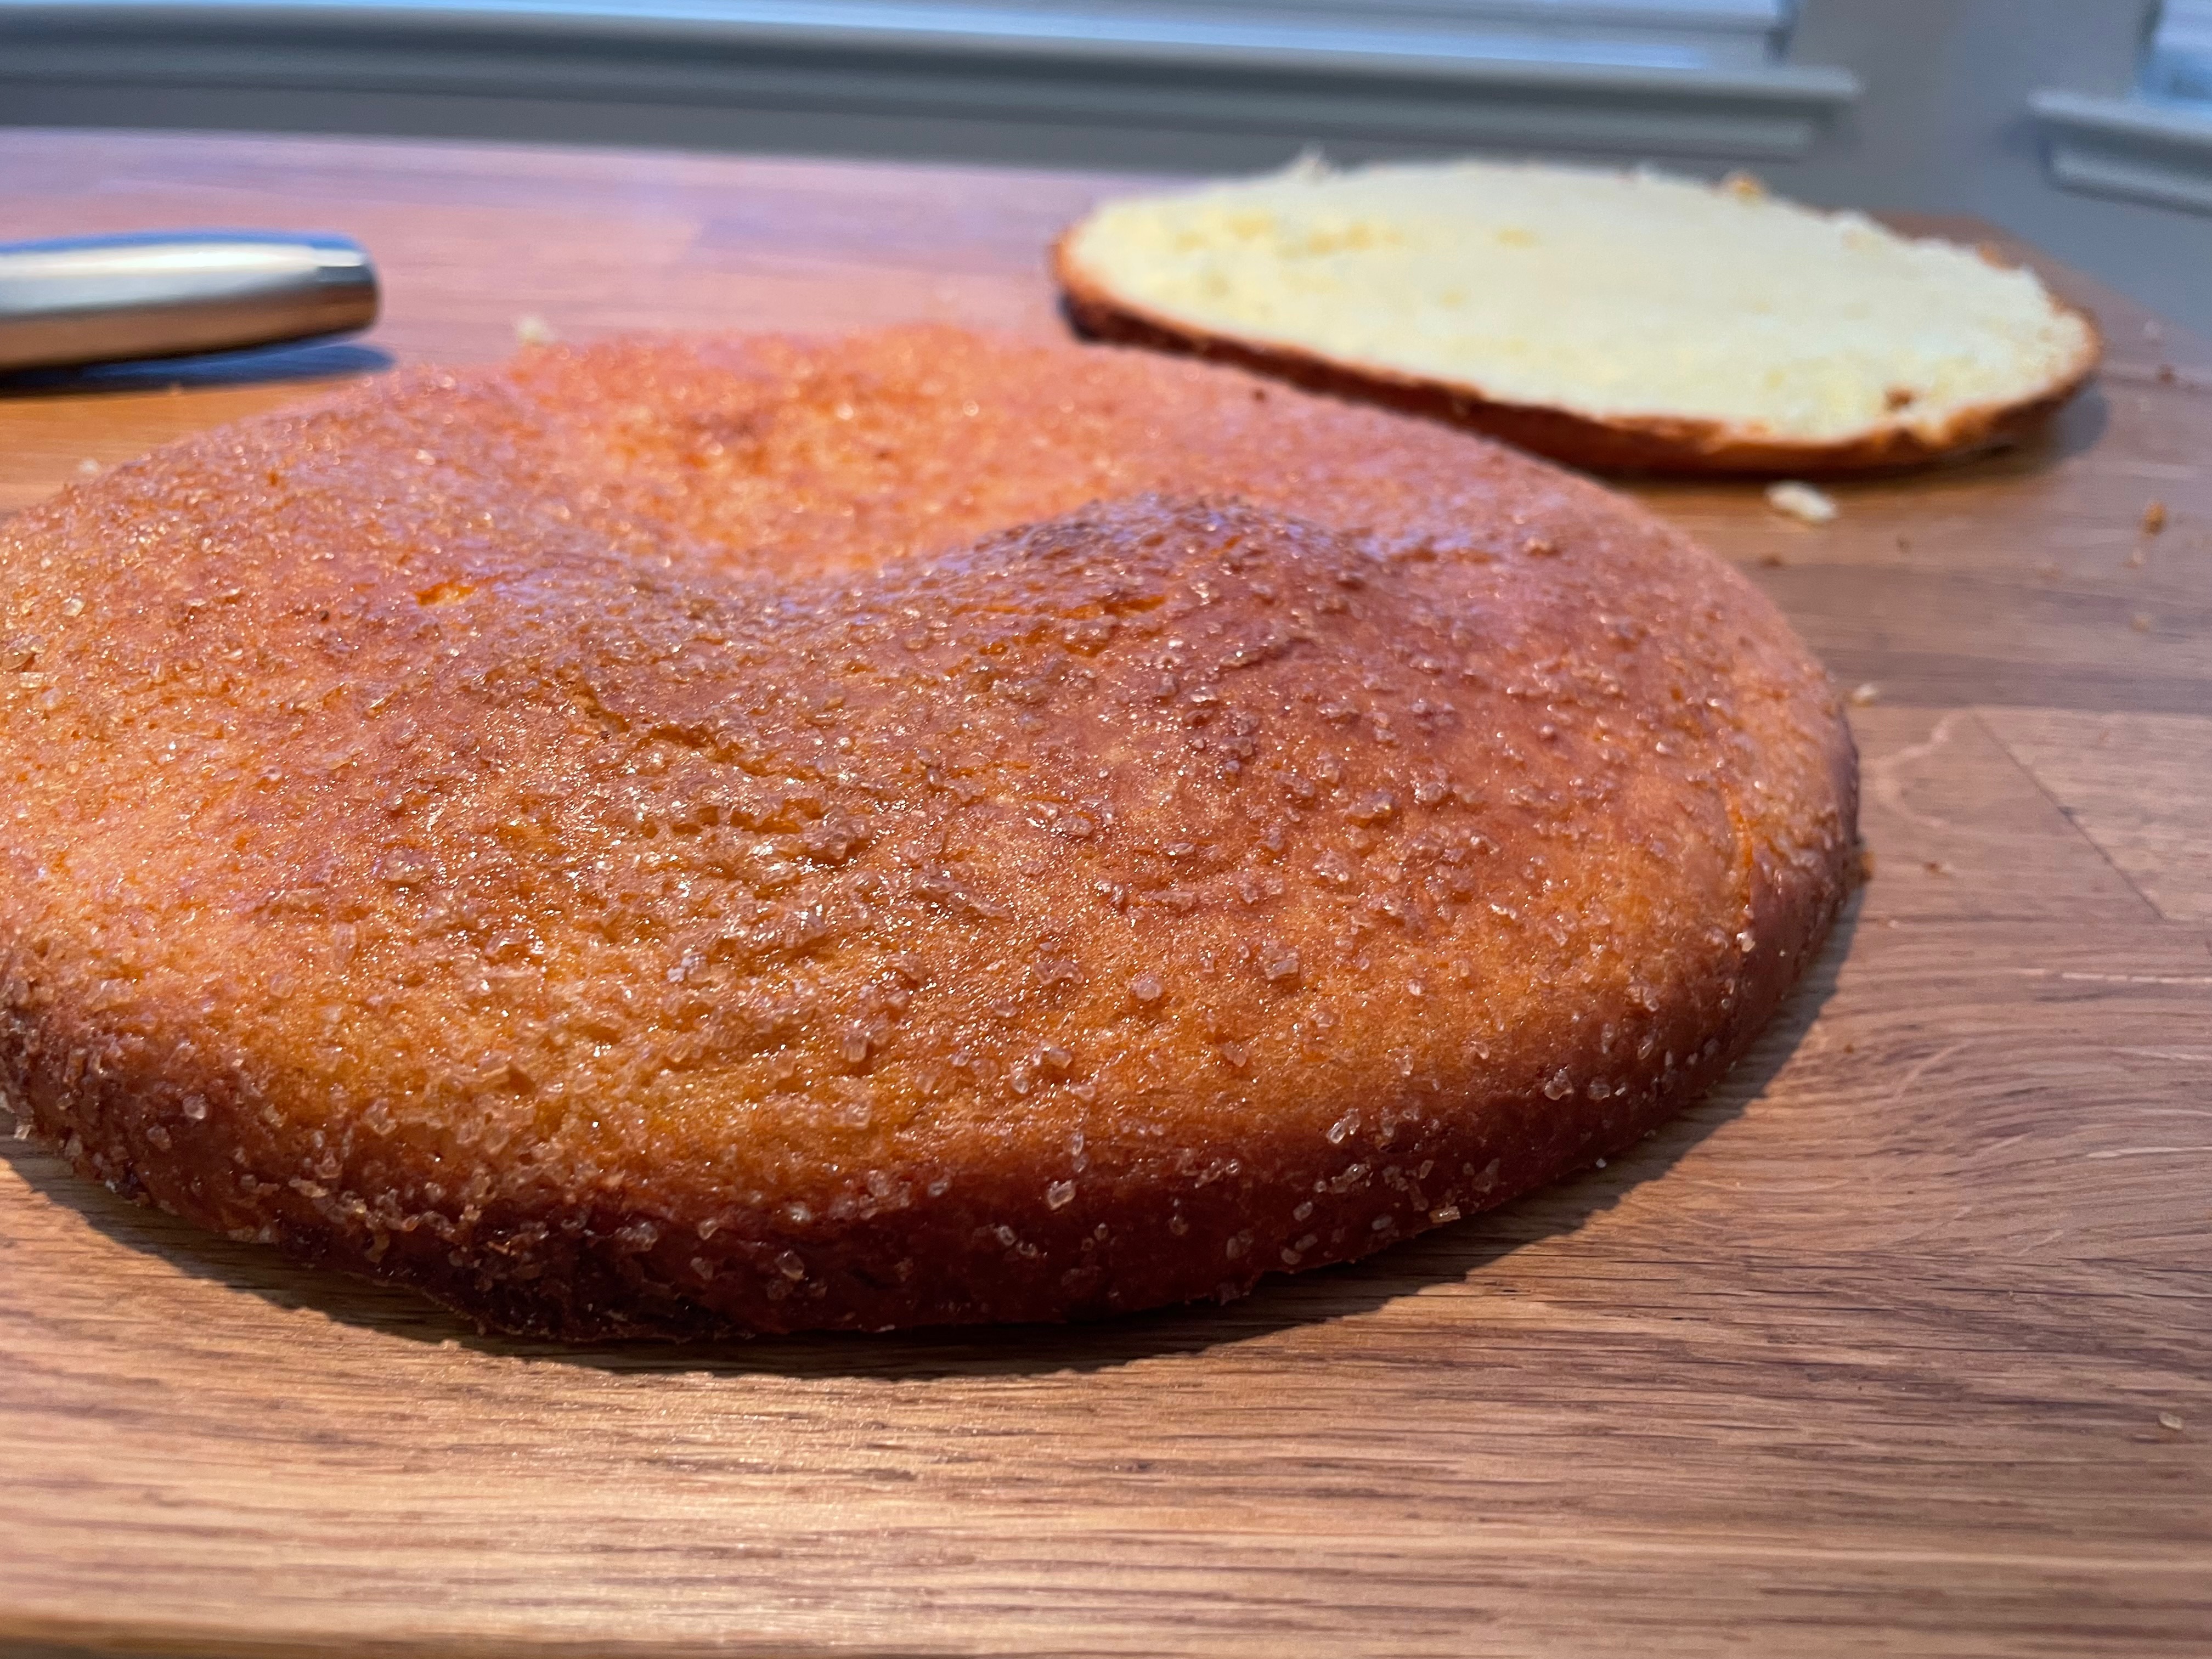
Assembling The Cake
Tip: Make sure to use plenty of honey almond syrup.
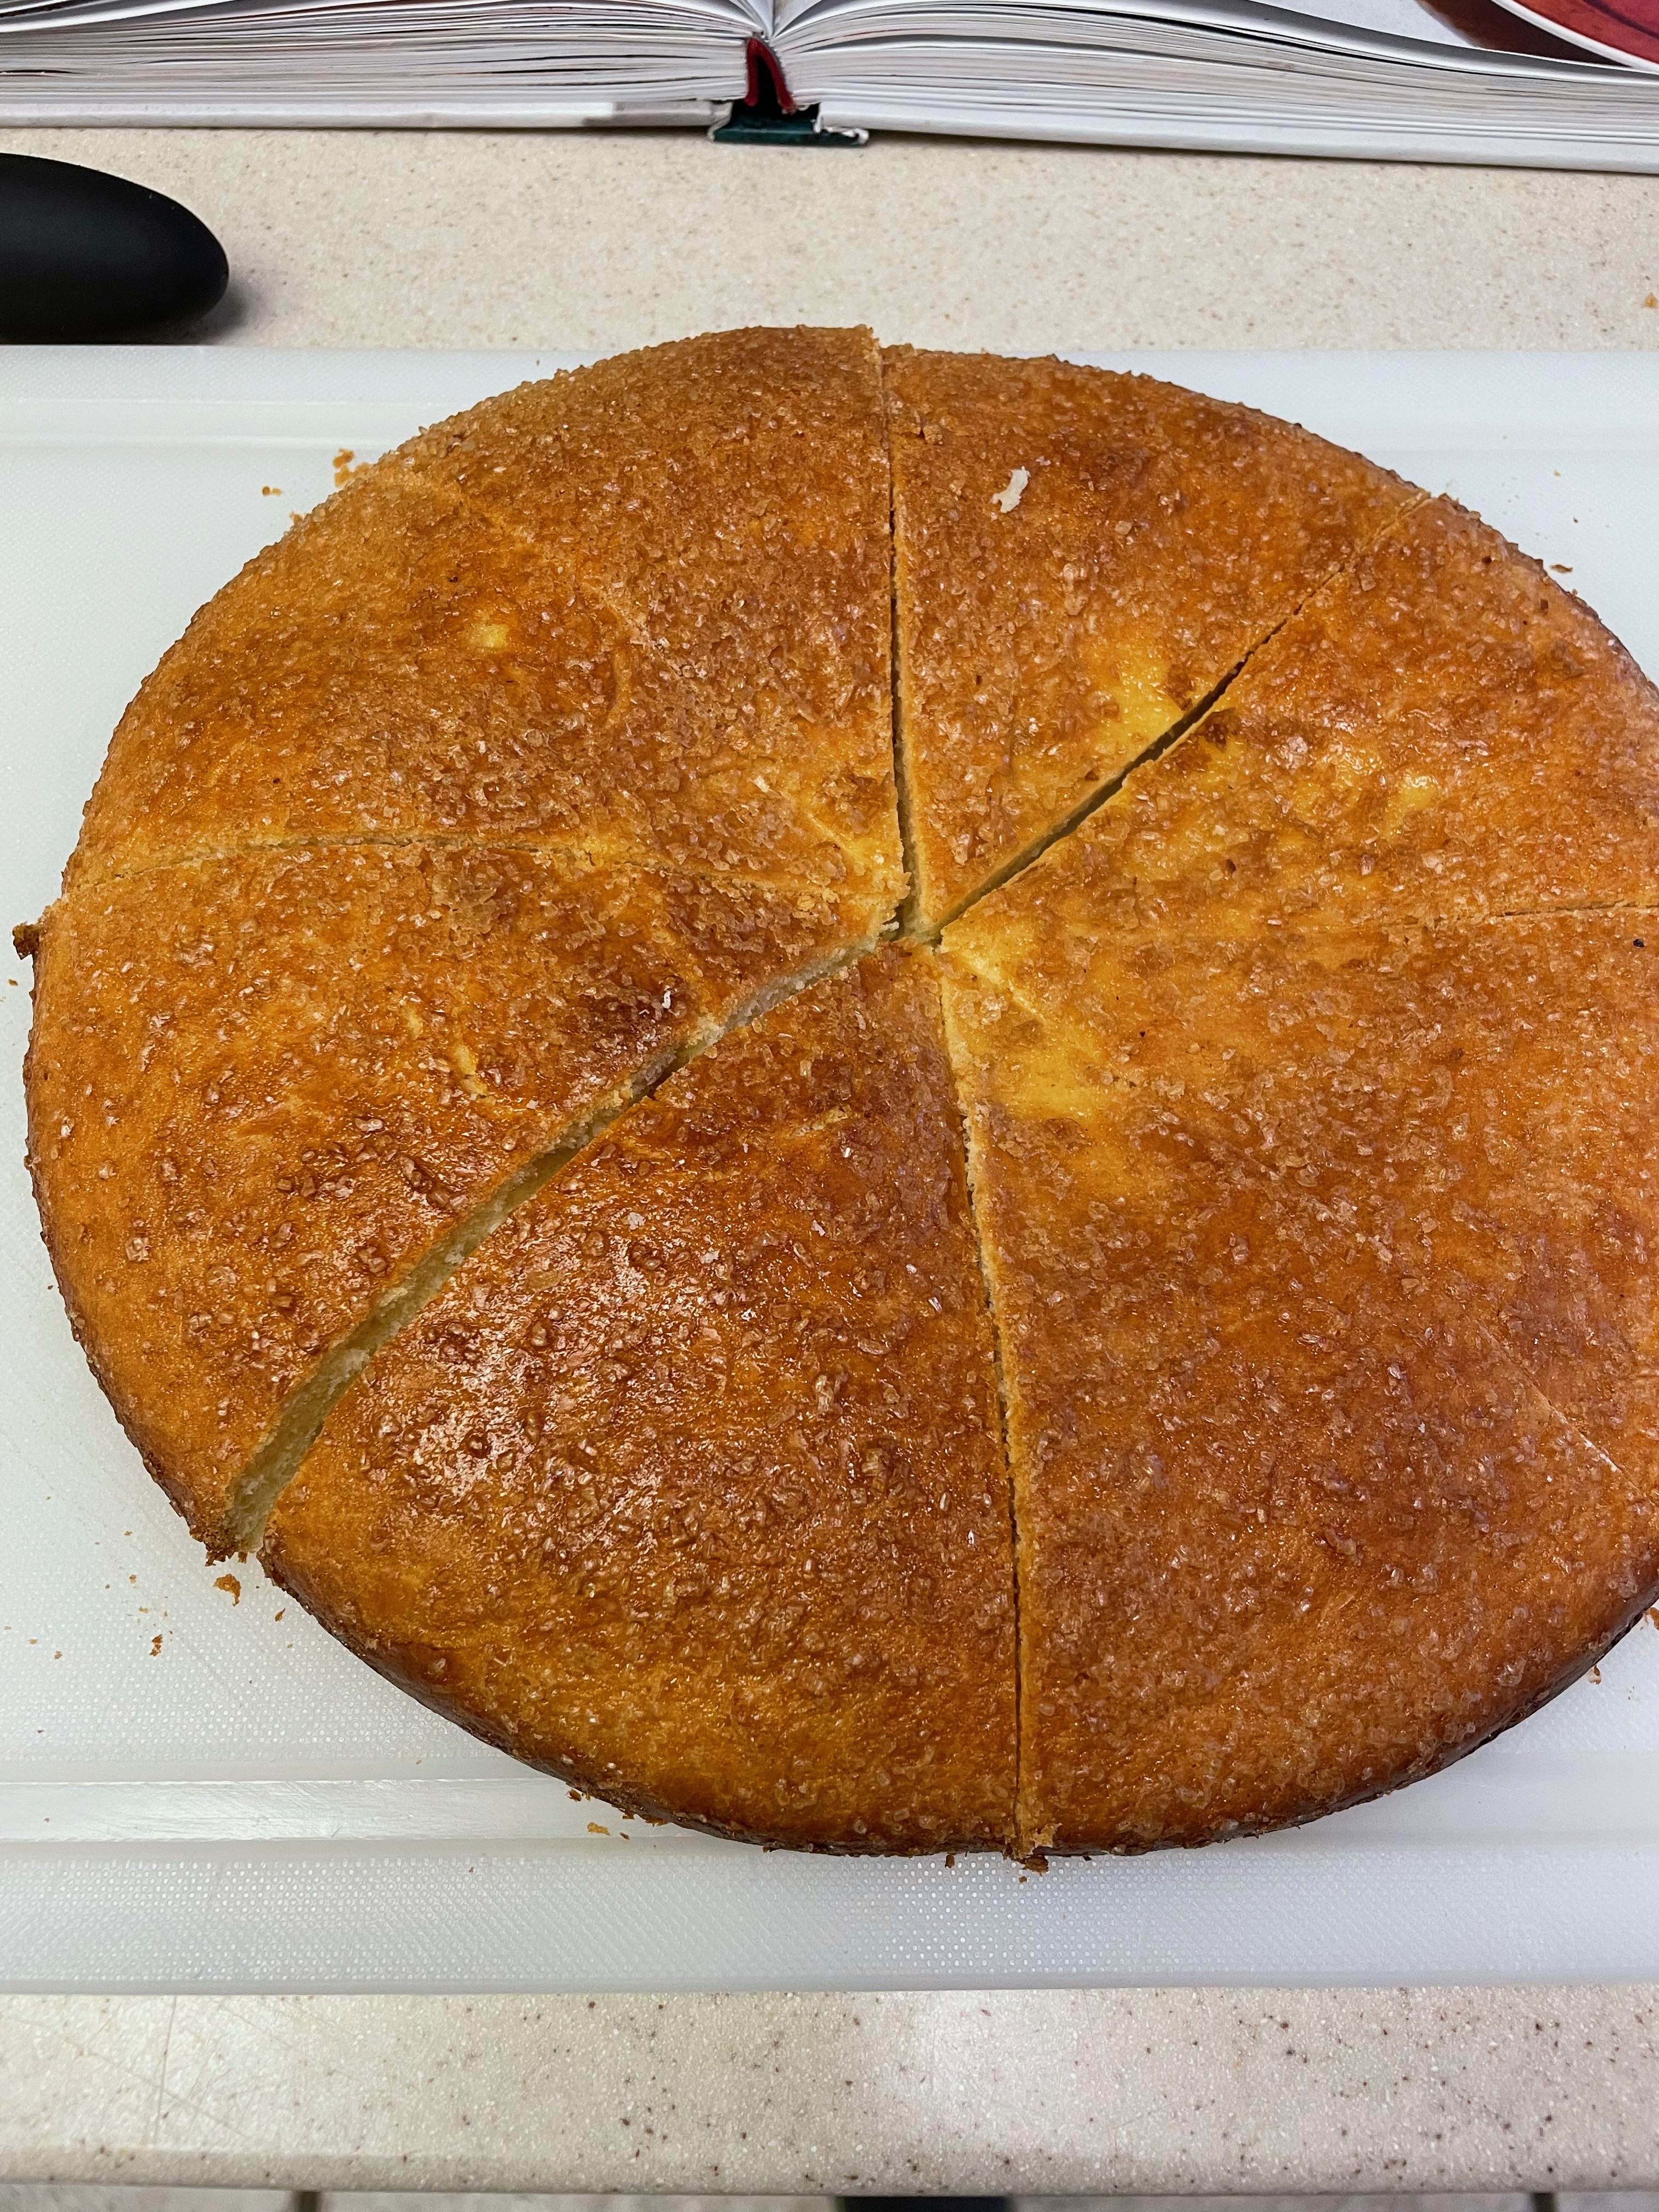
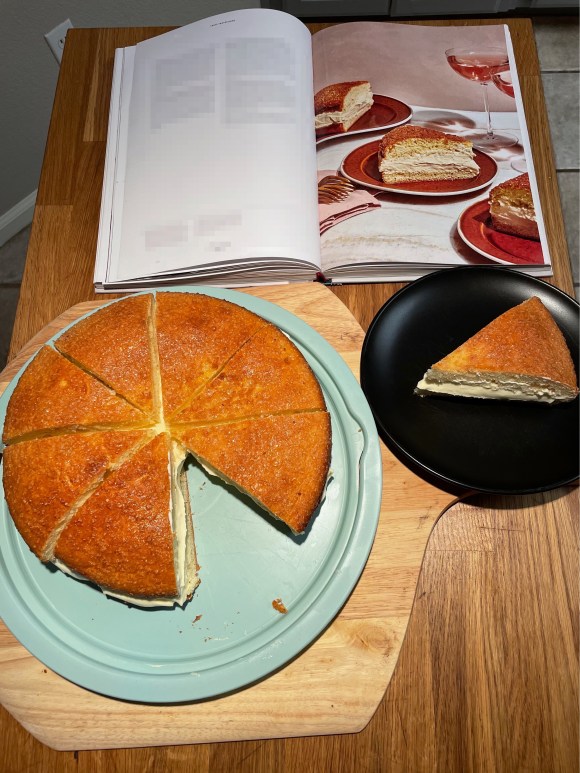
Final Product
Key Takeaways
Each of the components of this recipe can be made independently, making it easy to assemble over the course of a few days.
Final Score: 4/5 – This is a fantastic cake. It’s not the easiest, but worth a try once you’ve gotten brioche down. It’s amazing what you can do with just a few simple ingredients.
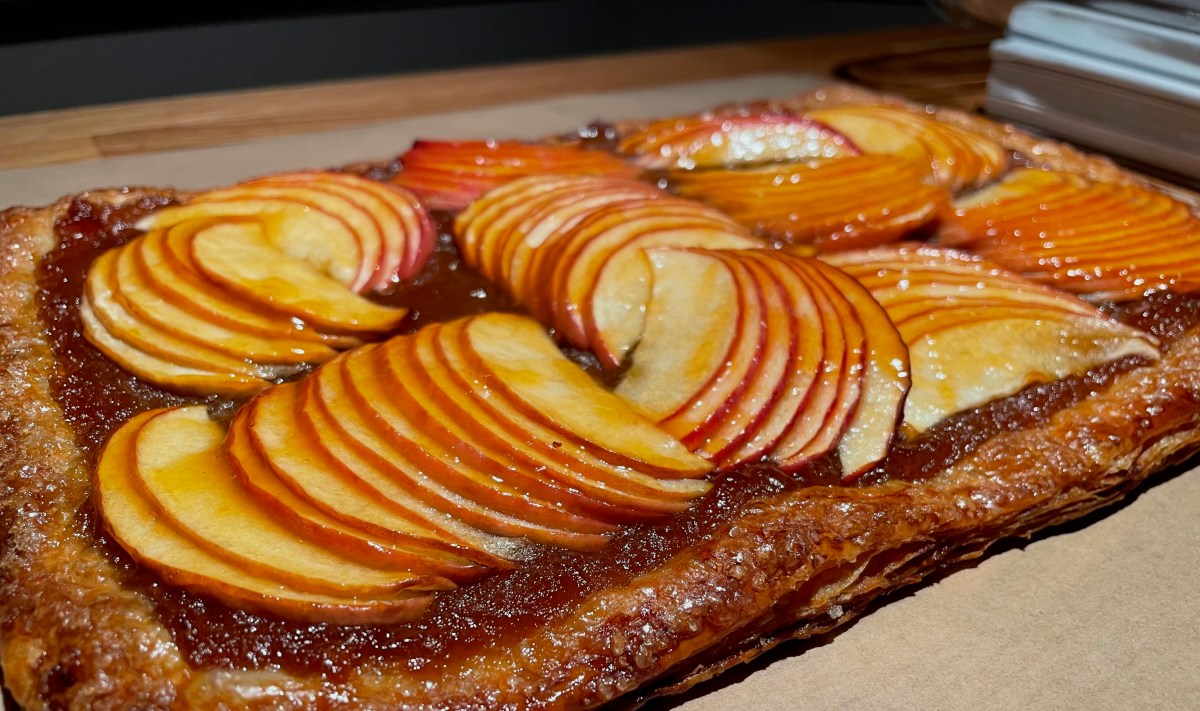
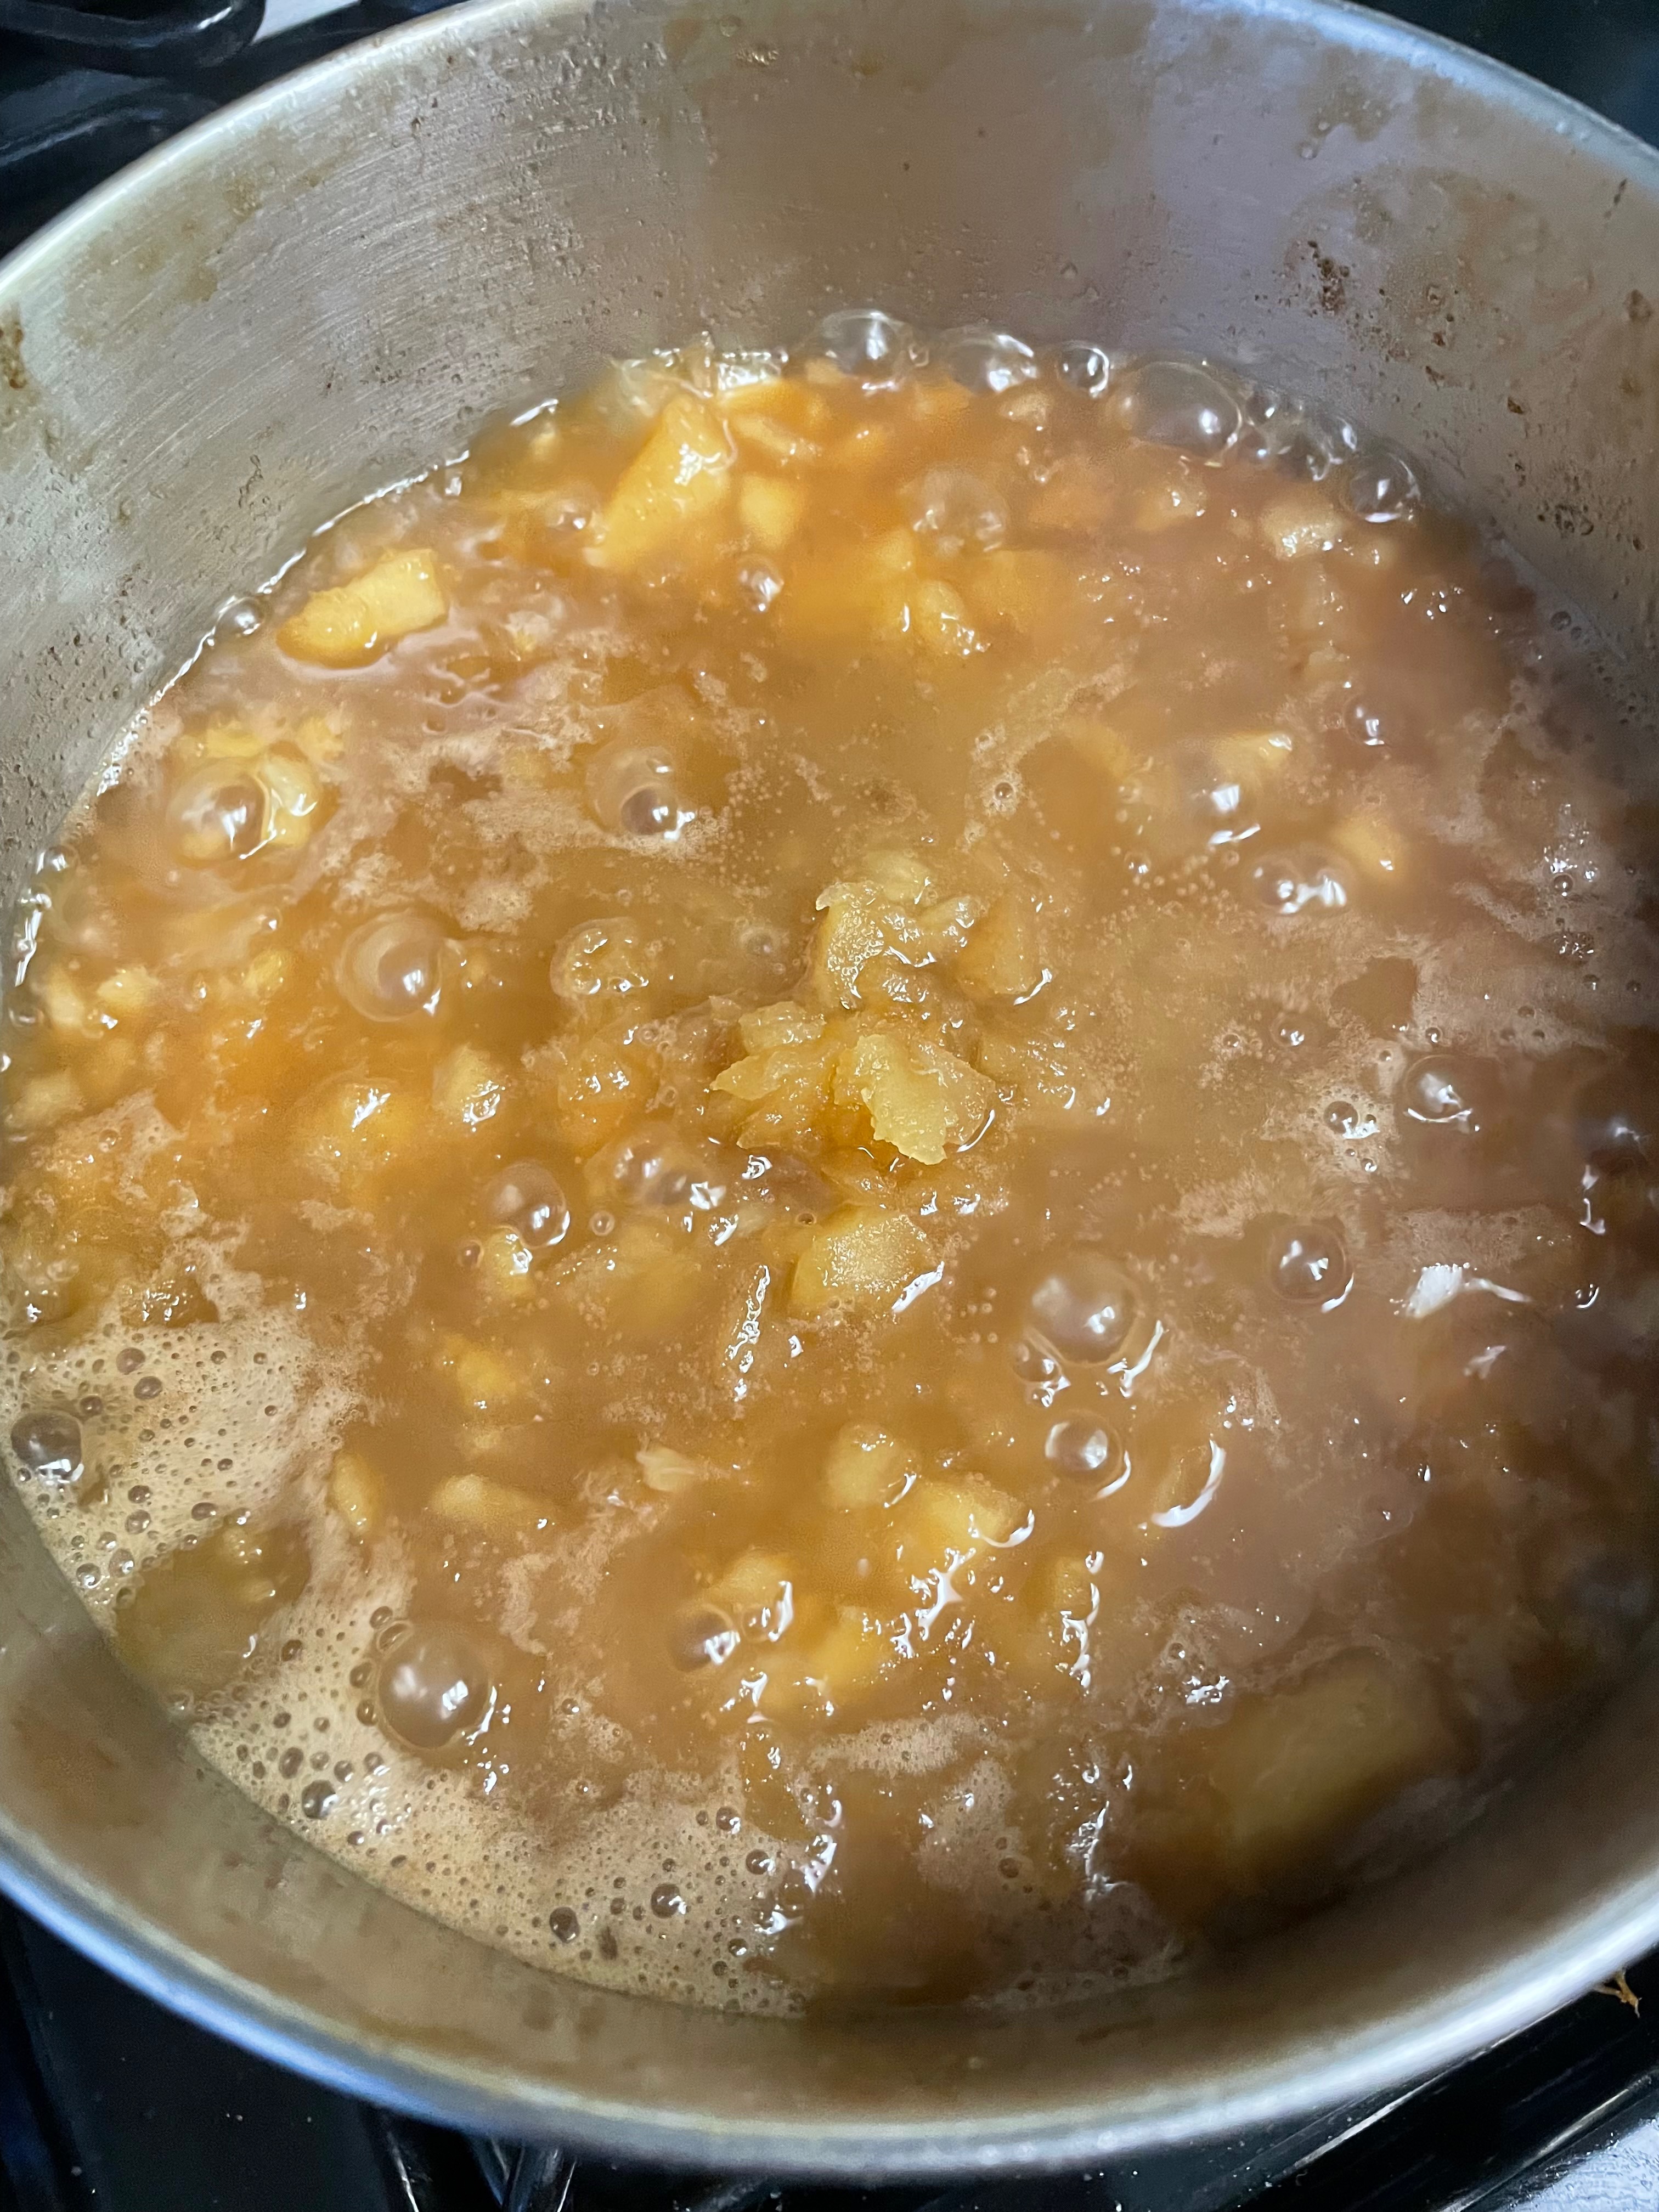
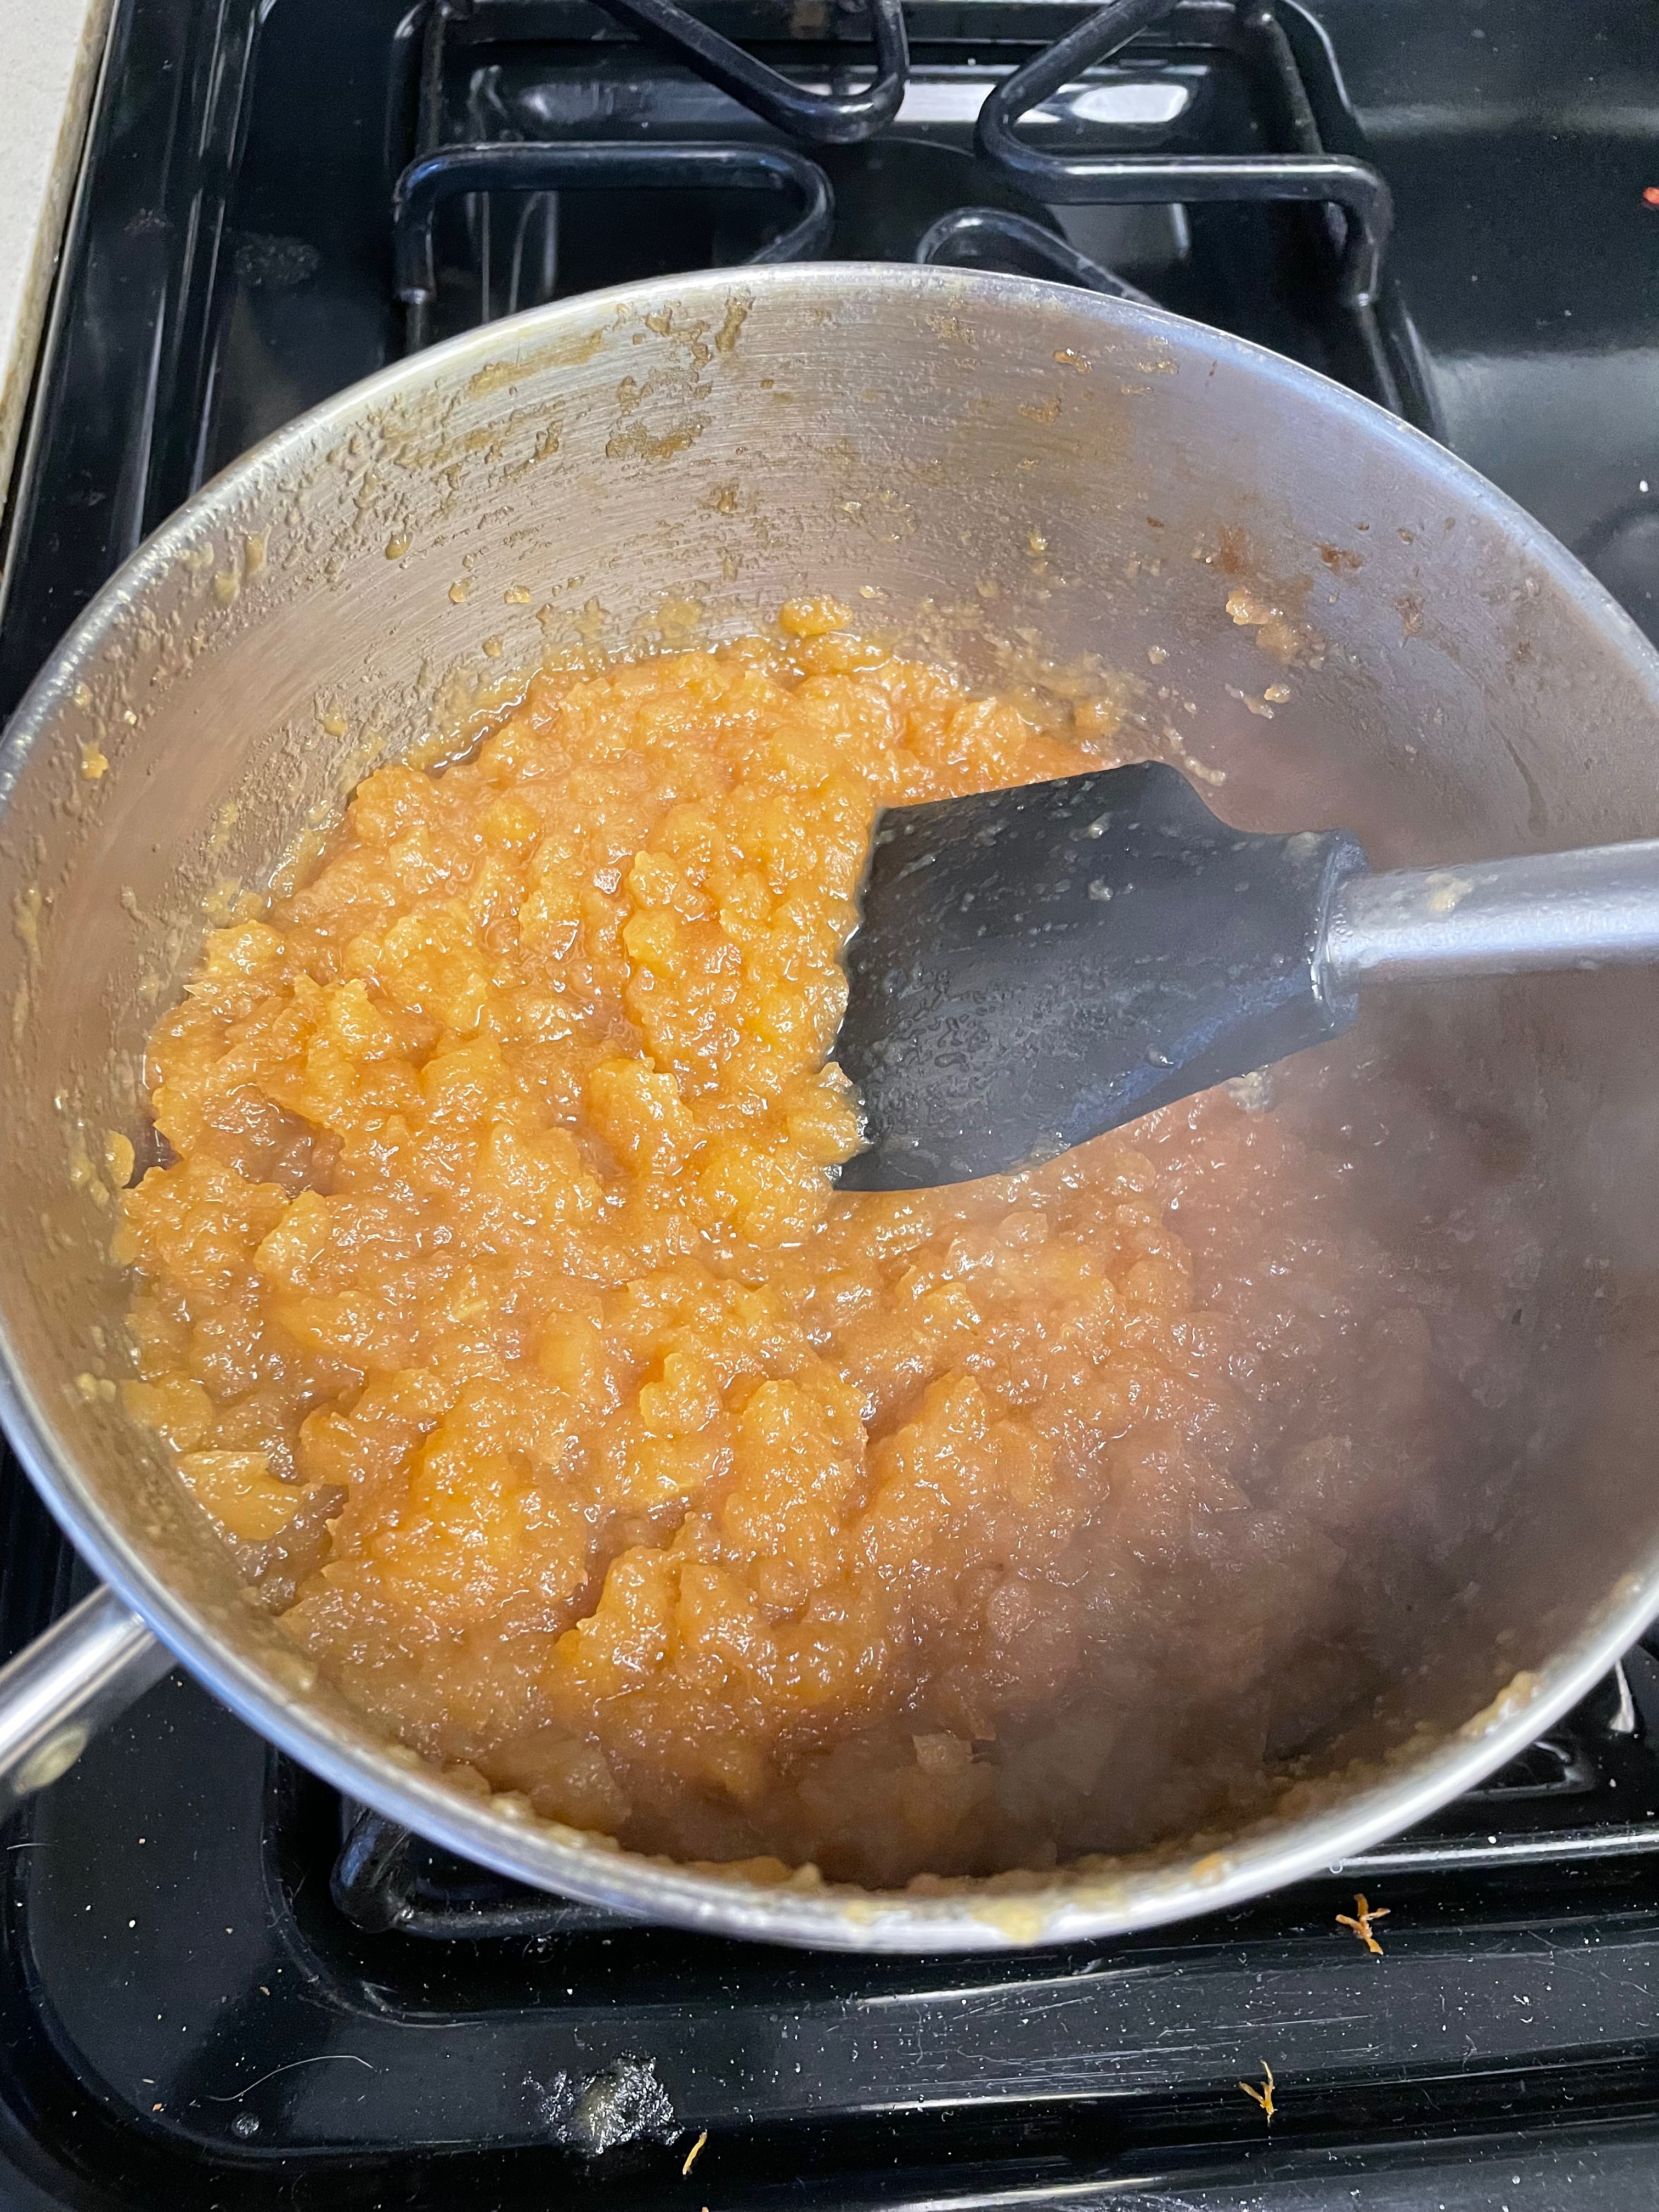
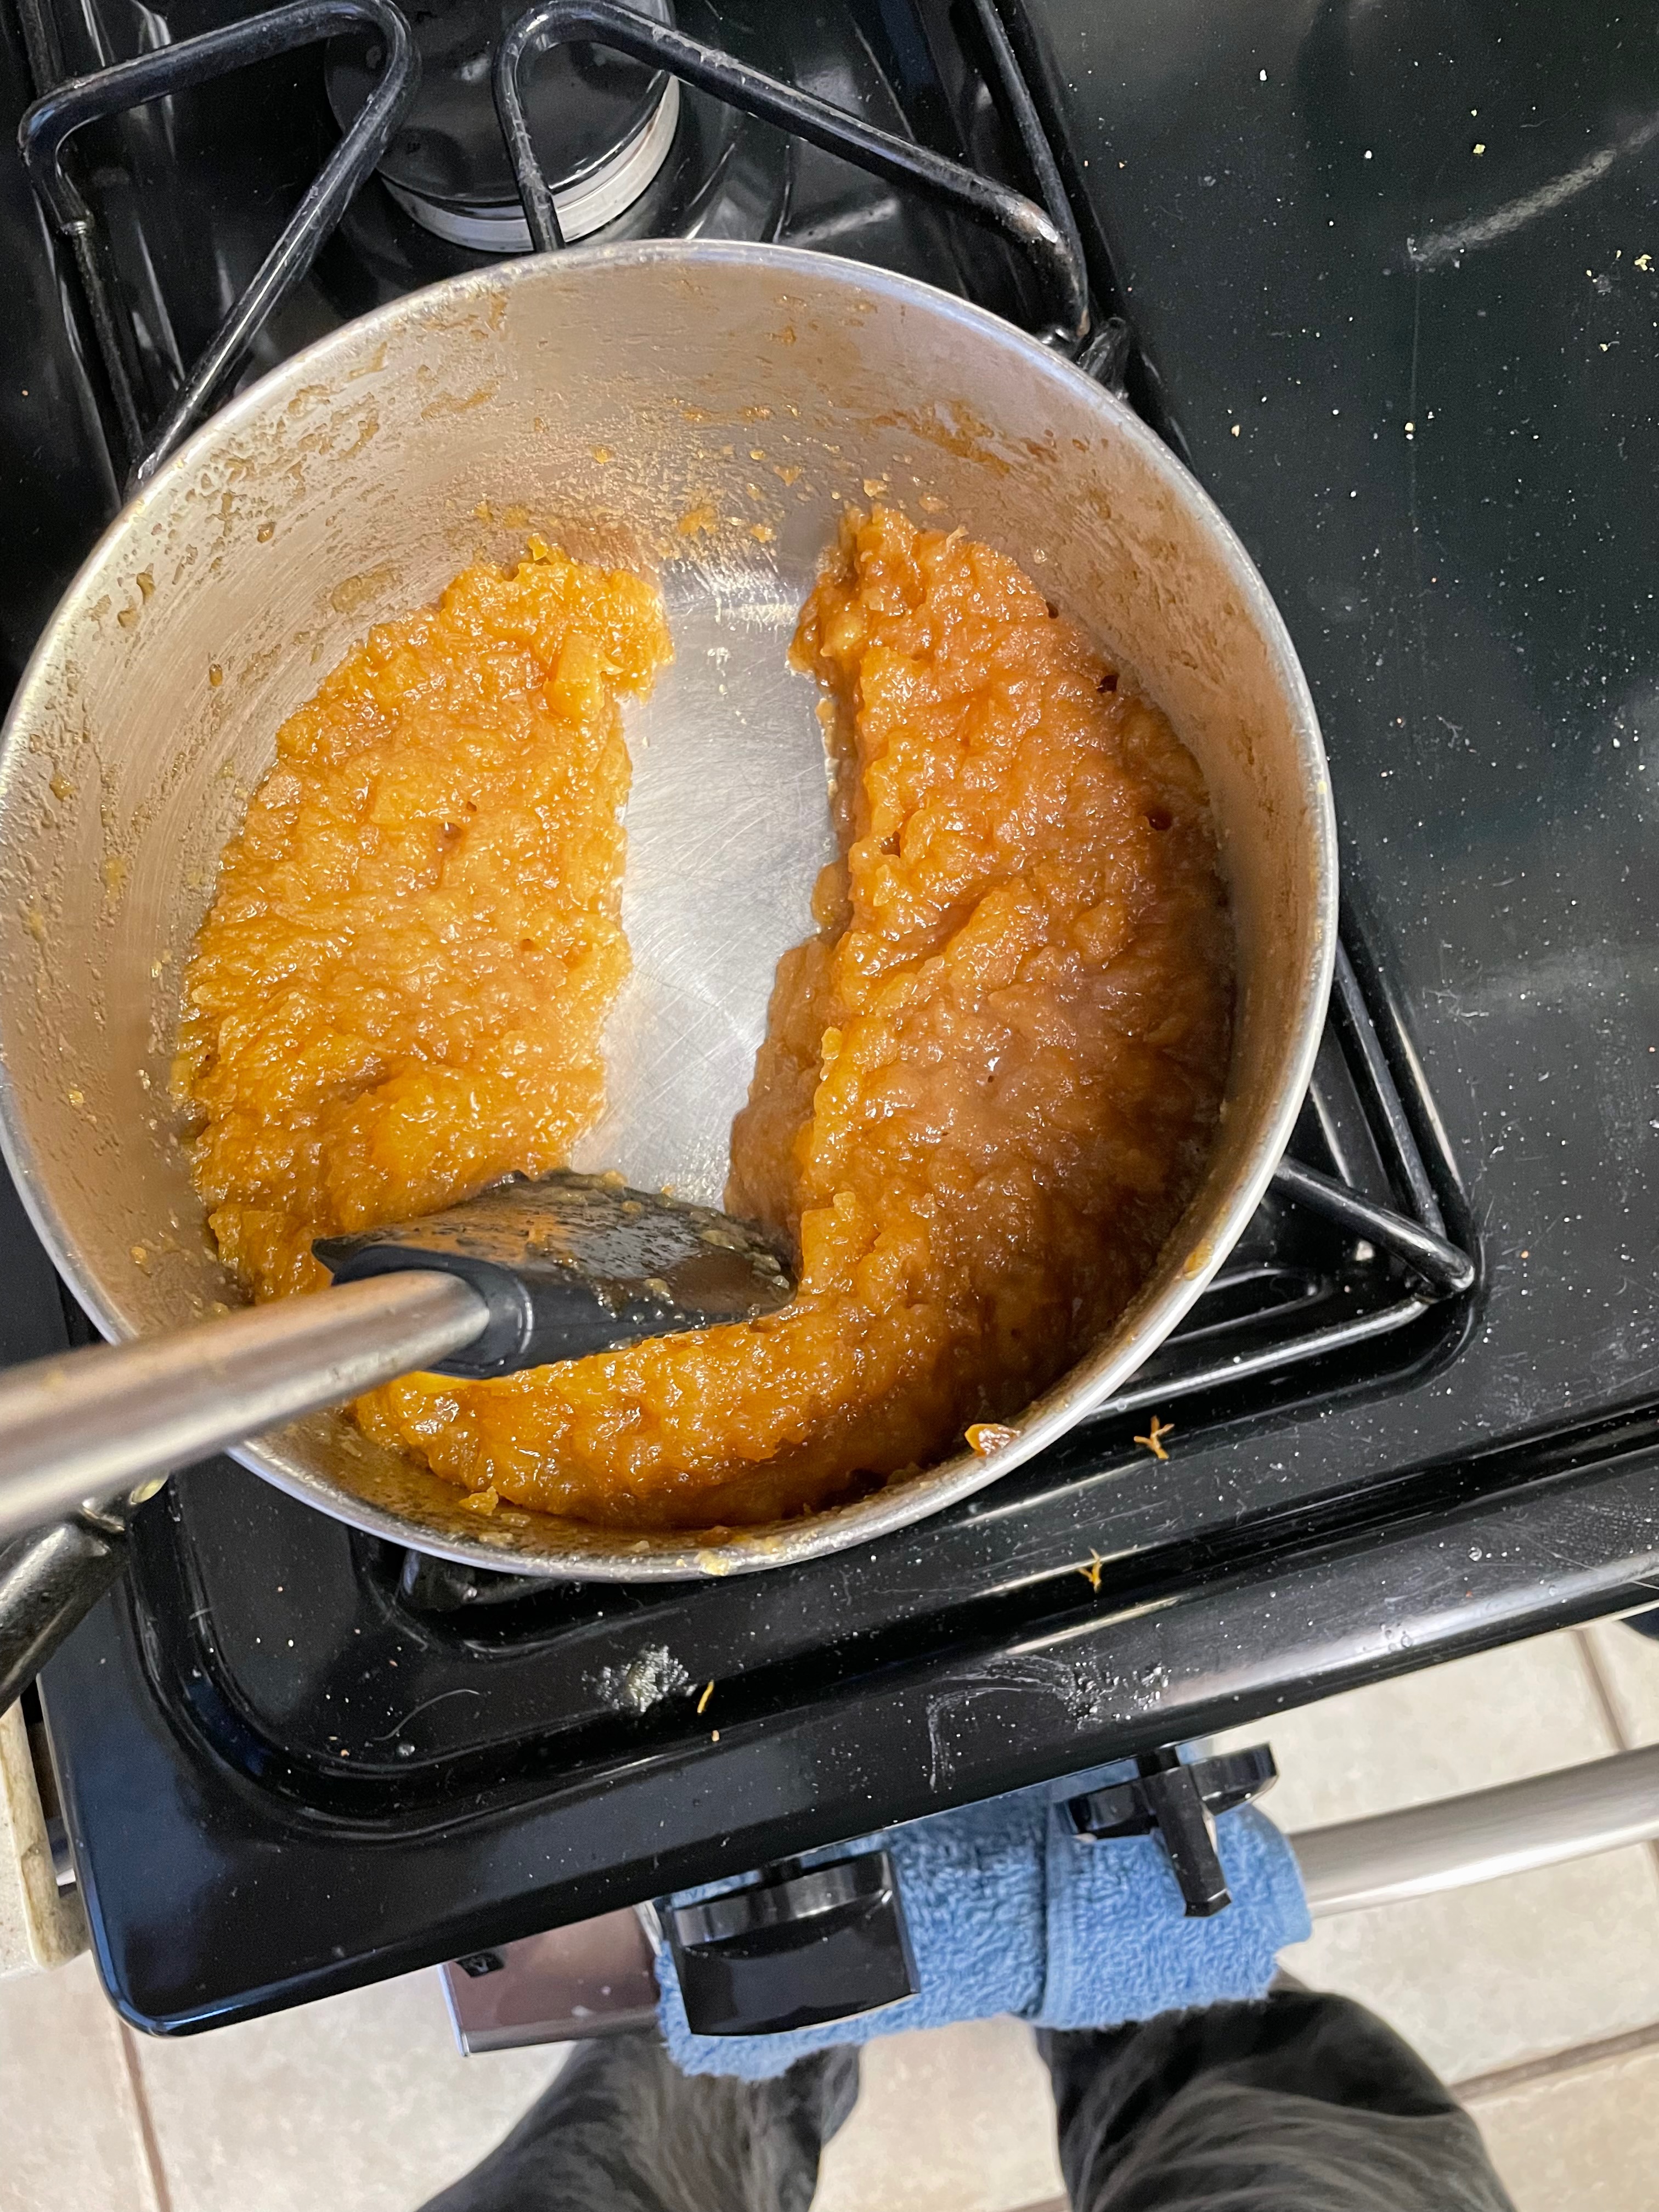
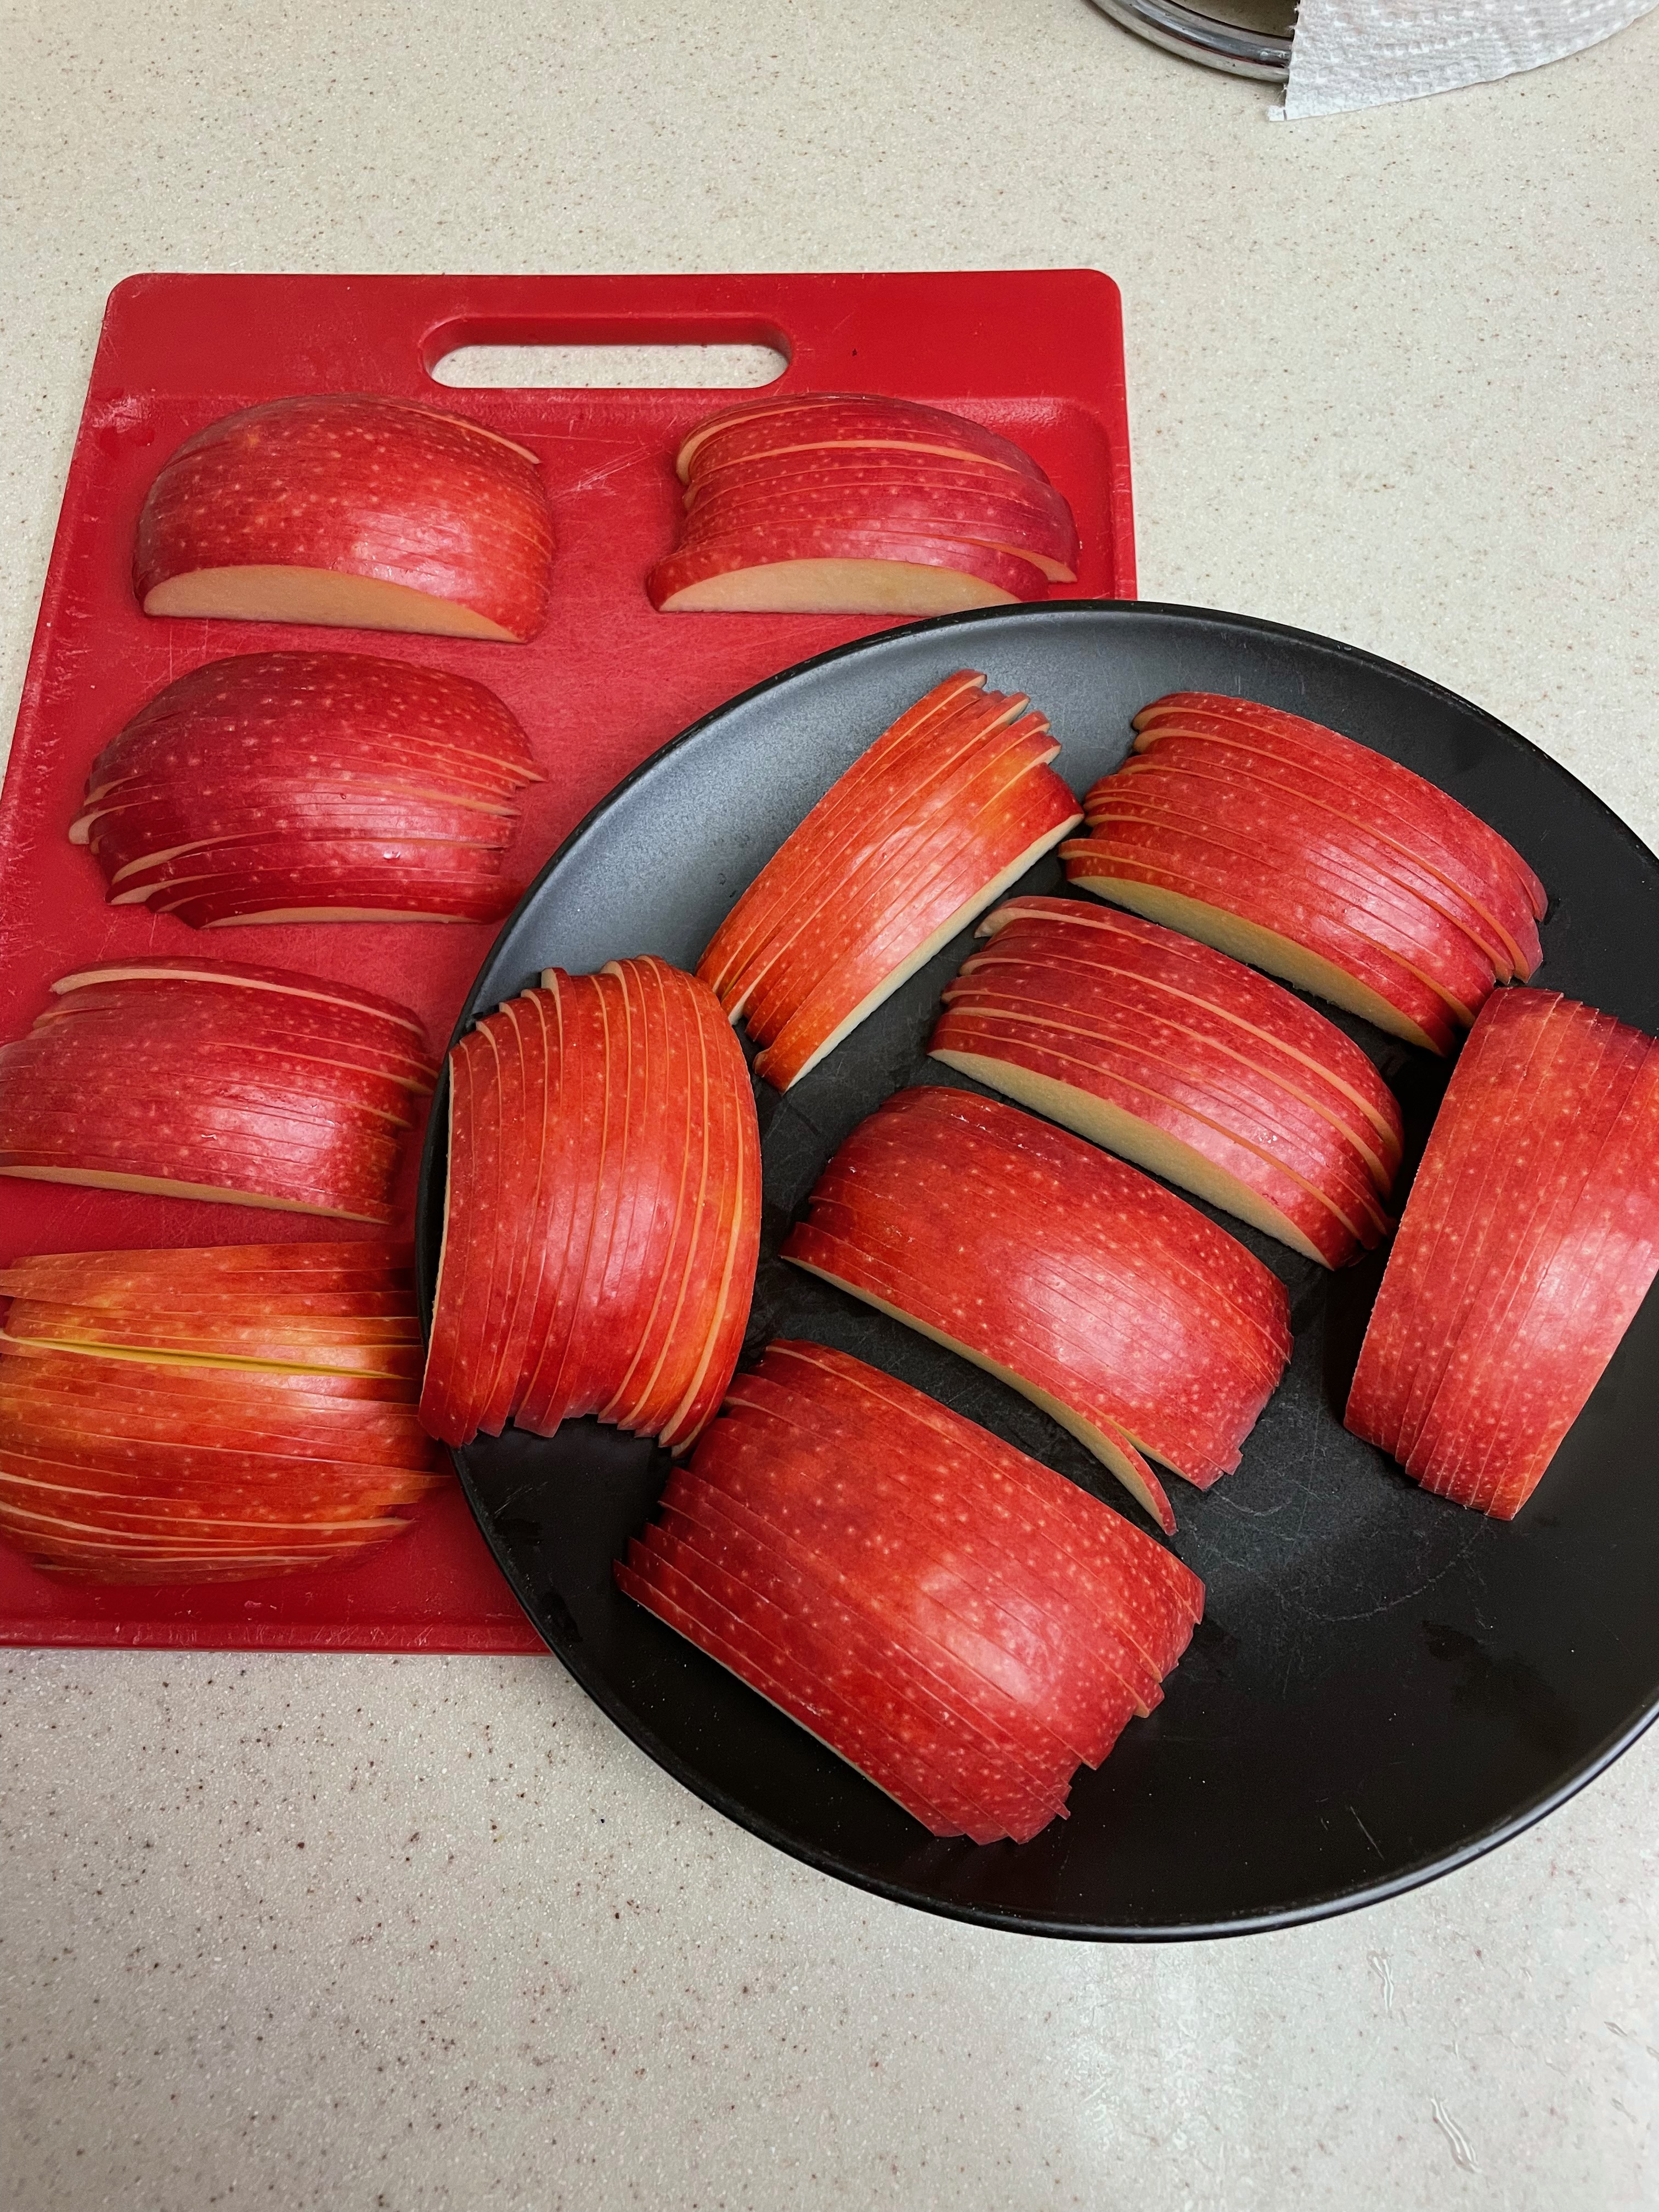
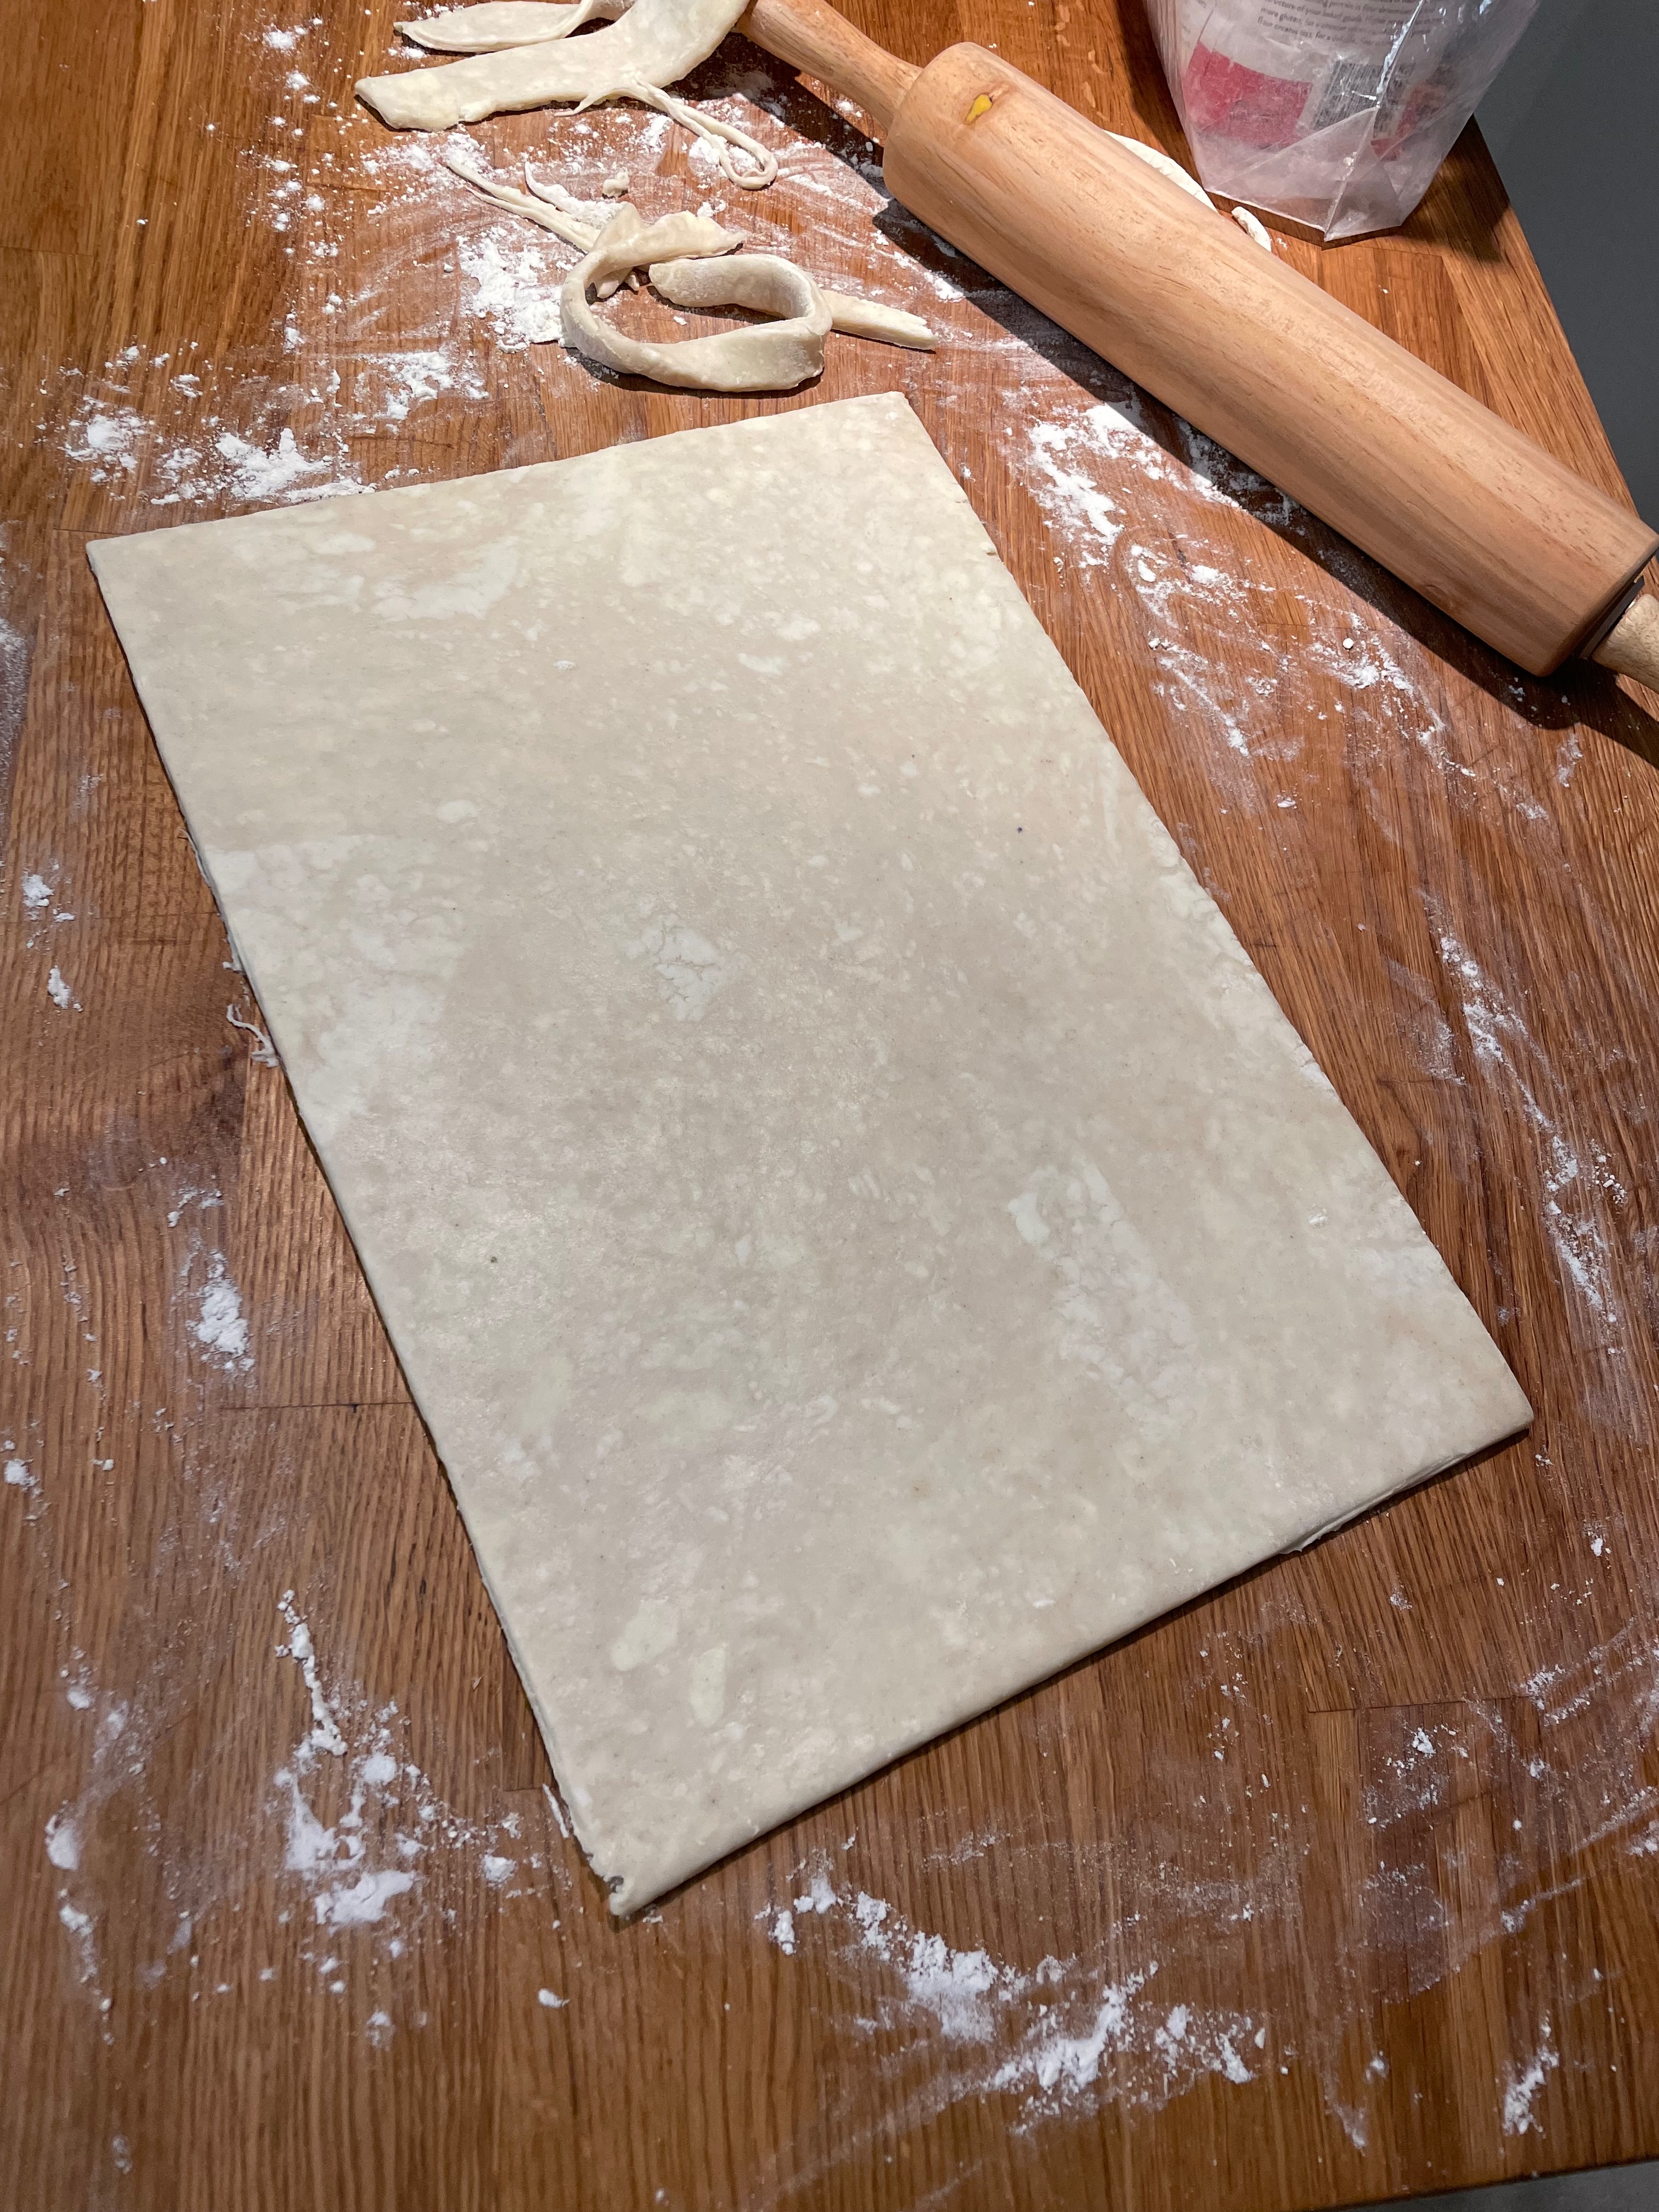
This is a fun recipe that is deceptively time-consuming. While this recipe is best in the fall when apples are at their peak, it can still be done any time of year. Despite there being no particularly complex techniques or equipment, you will need a full day or 2 partial days to make this. The end result is a great tart that anyone would like. Definitely worth doing.